February 2007

Fairy Wings and Happy Things

Uncategorized

Boy_and_girl_fairies I actually (with help) figured out how to display my photo albums!  They are listed here, with multi categories now too.

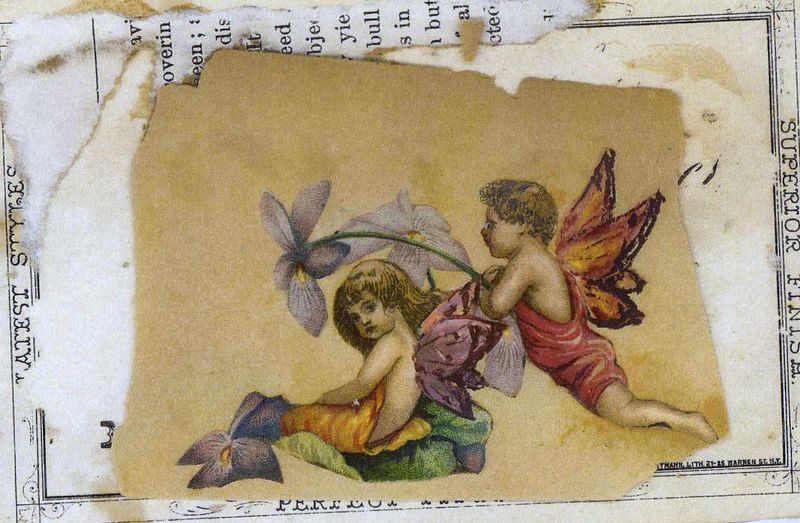
Although that took me a good part of the day, I also had time to paint fairy wings onto ladies on  vintage postcards, and other ephemera. 

Skills of a Different Kind

jewelry

In case you tried to look at my "Downey" album, I want to apologize, because I have lost it somewhere in blogworld.  It is still there, lurking and I can find it from my end, (under an accidental new title) but it doesn’t show up on my site.  Well, I am learning a bit more every day with this. Sometimes, I think I am just learning how inept I am at cyber-stuff.

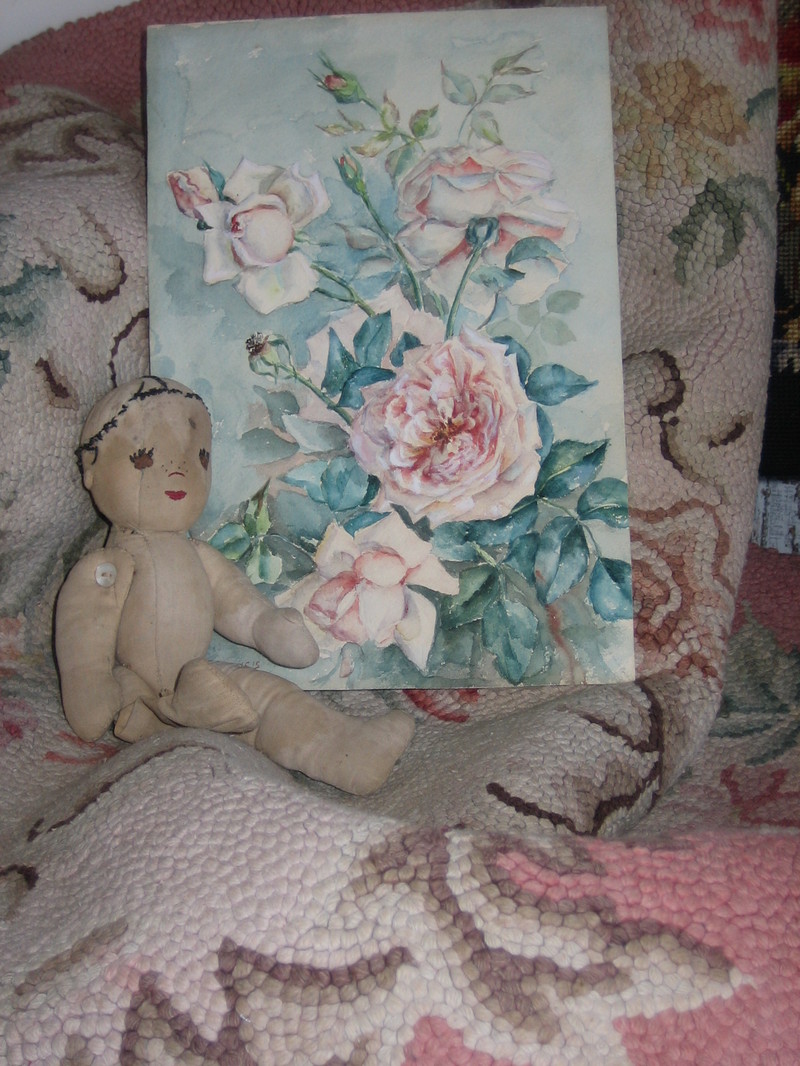
Feb_27_004 Well, one thing I know I am good at is- shopping!  I found some wonderful things yesterday at the Topeka antique mall, and that mall tends to be over priced and not the best place for things of beauty.  I used my skills to their fullest and scrounged till I found these treasures.  The rug is in perfect condition and will go in my kitchen to replace one very similar that I have just washed to death over the years. The lovely little water color of roses was hidden in a hideous frame, and I am sure I will be able to find one better suited to it.  The little dolly is missing most of one leg, but with a bit of stuffing, she’ll be just fine.  Of course, I am not into needle and thread activities unless forced, so she might remain lame and still cute as a bug.

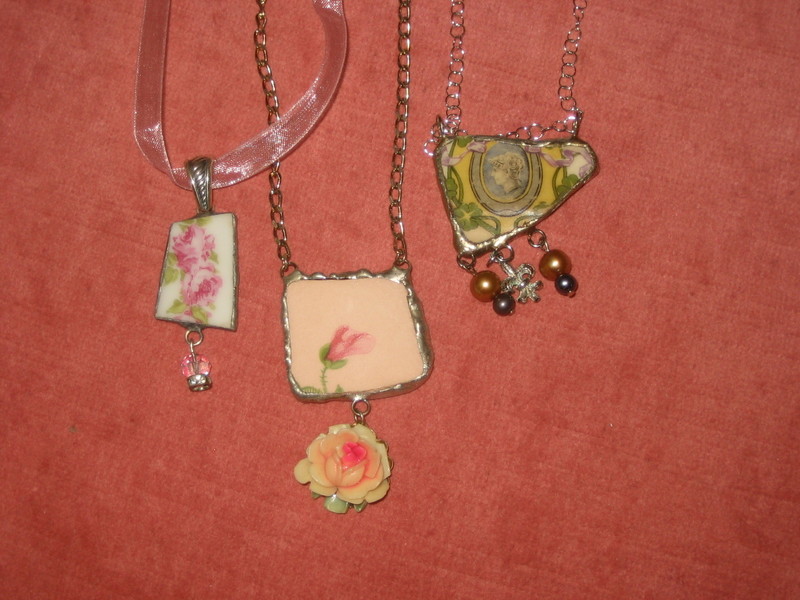
Artwork_samples_014 I am also skilled at crashing into things and breaking them.  On my studio redo last week, I broke a few dishes. I like to scavenge what good I can from a bad situation, so here is what I do with broken china.  I grind the edges down from the shards and solder on chains to make jewelry.  This is a photo of a few of them.

Oh, by the way, I noticed at the grocery store magazine rack today (because who can go to the store without looking through all the pictures in the magazines??) the issue of Country Victorian with my bedroom on page 16 is still out.  The photo was taken for an article I wrote about my house, but it has not been published yet.  The pictures from that story have been used in 3 other stories so far, so it has been interesting to see them pop up in other articles. 

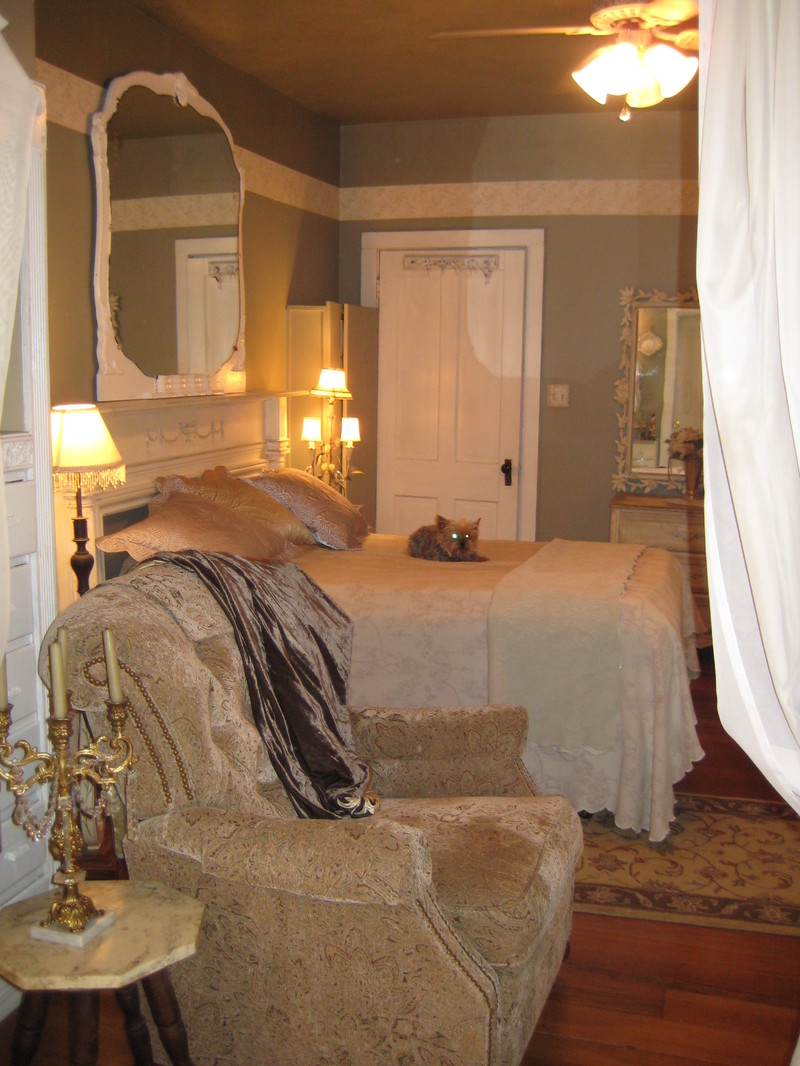
My bedroom looks completely different by now, heck that photo was taken almost a year ago!  Here is a picture of what it looks like now. Well, not quite, this picture was taken in Nov. and I have changed a lot since then too.  But it is closer than the one in the article.Master_bedroom_002

Hubert and Huberta

paintings

My dad passed away this year and has been on my mind a lot lately, I will always miss him.  When I was born, he wanted to name me after him, I was the third daughter and supposedly his last chance for a namesake.  Mom was still under anesthesia when the nurse brought in the in birth certificate to be filled out.  Instead of Karla Jo, as planned, he filled in Huberta Josephine (his name was Hubert).  Mom promptly changed it as soon as she was able, but it was a story that horrified me as a child and entertains me as an adult. 

Berta_and_angel_002_1 Bertas_ghost_matt_nicole_and_lee_lee_006

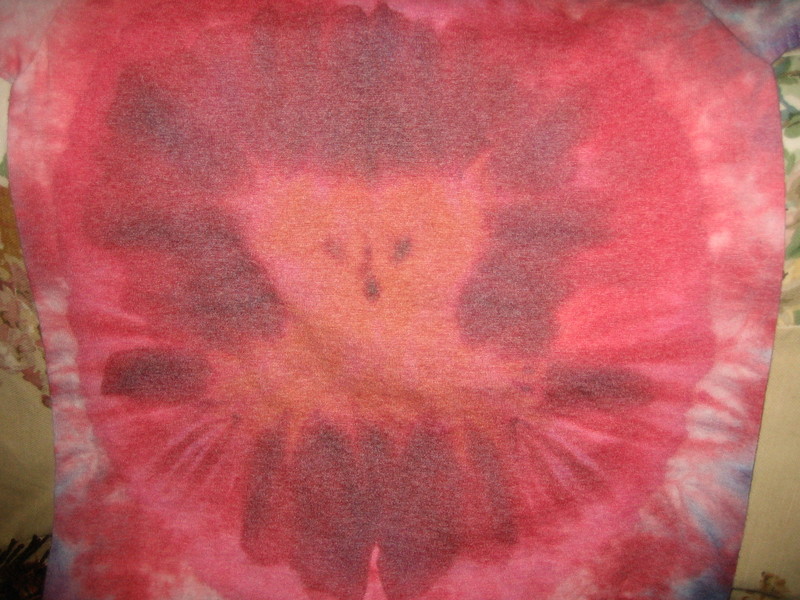
To honor his wishes for someone to be named for him, I named a Yorkie puppy  Huberta this summer.  Sadly, she died 4 months later and I was heart broken again.  Soon after, I made a tie dye shirt for my little grand baby, the fairy girl, Leandra.  I thought I’d go for something fancy from the tie dye video we got and spent time folding and tying off what I thought would be a butterfly.  24 hours later, when I washed it out, I discovered this- Bertie’s portrait!!

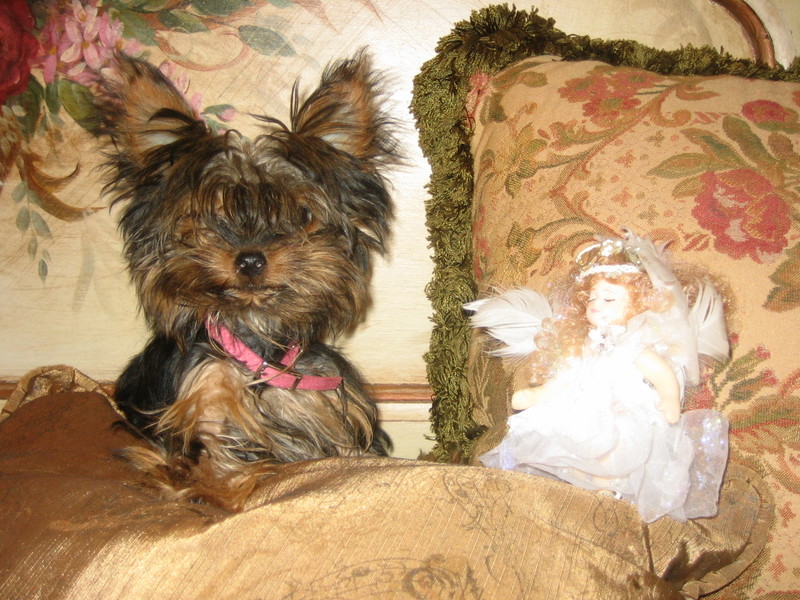
Here is a photo of Bertie the Yorkie on a hand painted bench in my studio, she spent a lot of time out here with me while I worked.  With her is an angel I made from a vintage doll with some sparklies and feathers, after re-painting the face.  And doesn’t the tie dyeshirt bear an eerie resemblance to her?

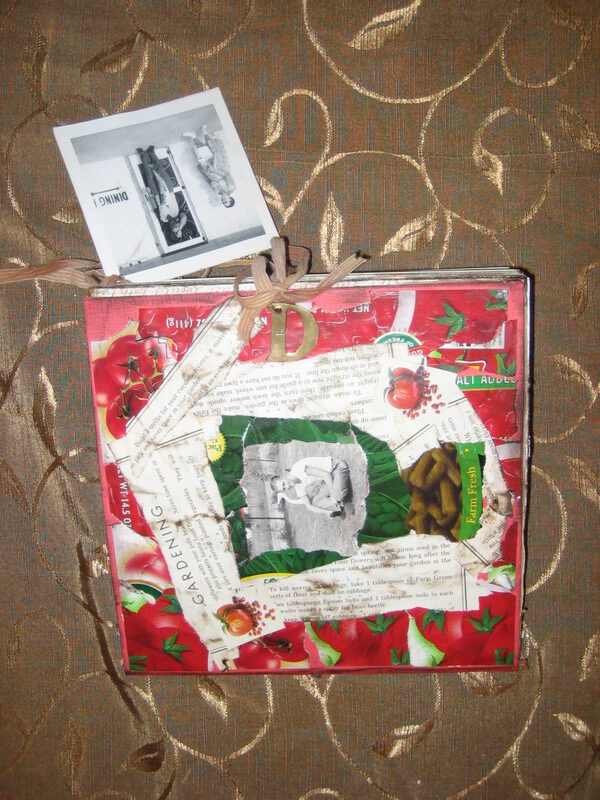
Downey_album_024_1 Recently, while going through my desk, I saw Bertie’s AKC papers and noticed for the first time, that her birthday was my parent’s wedding anniversary.  Seeing that date, freshened the feelings of loss that I will always have with me.  I decided to do something productive with these feelings and made an album in honor of  my dad.  He was an avid gardener and I wanted to express that on the cover.   I peeled the labels off cans of tomatoes and green beans and tore up a 1950s garden guide that was in my stash of supplies, to collage the cover. I think he’d like that.  Tomatoes  were important to him.  At his funeral, when everyone else brought flowers, I brought a tomato plant. 

I have many of the photos in thiscollage album (not all are loaded yet) in my photo album here on this site.  Click on the one labeled "Downey" to see it.  When it is opened, click on the photos to enlarge.   

Details

paintings

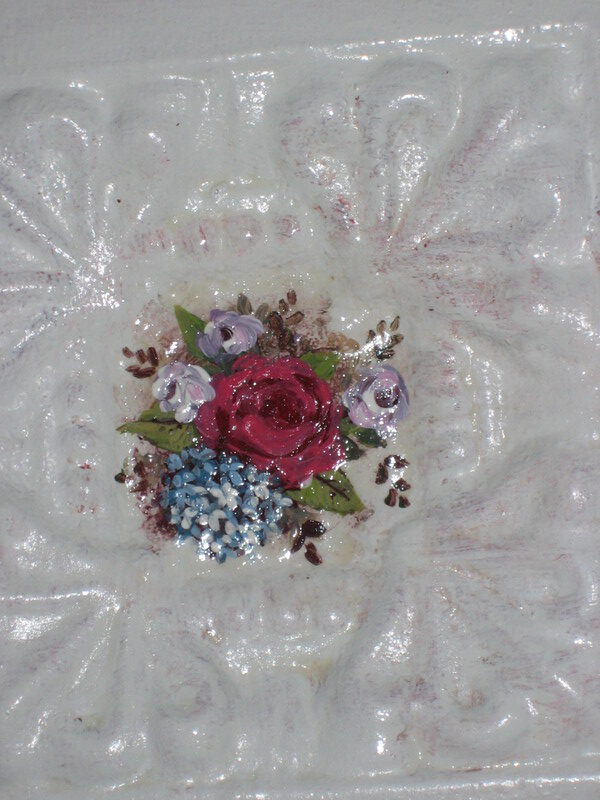
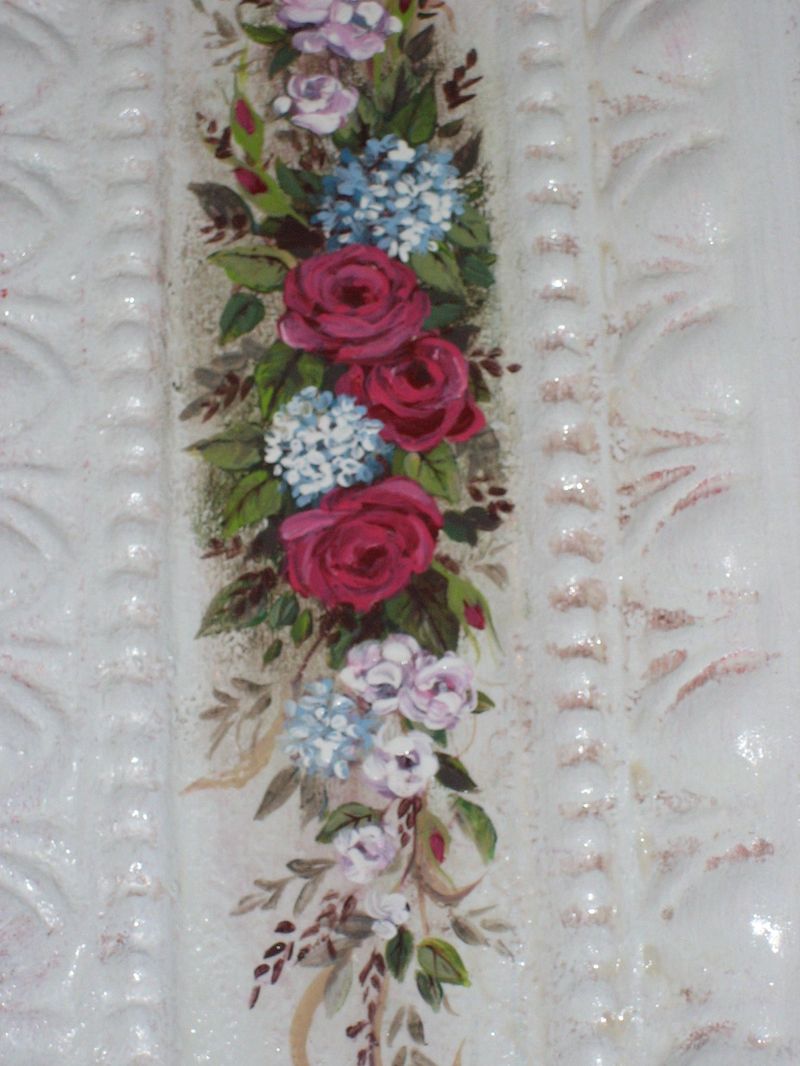
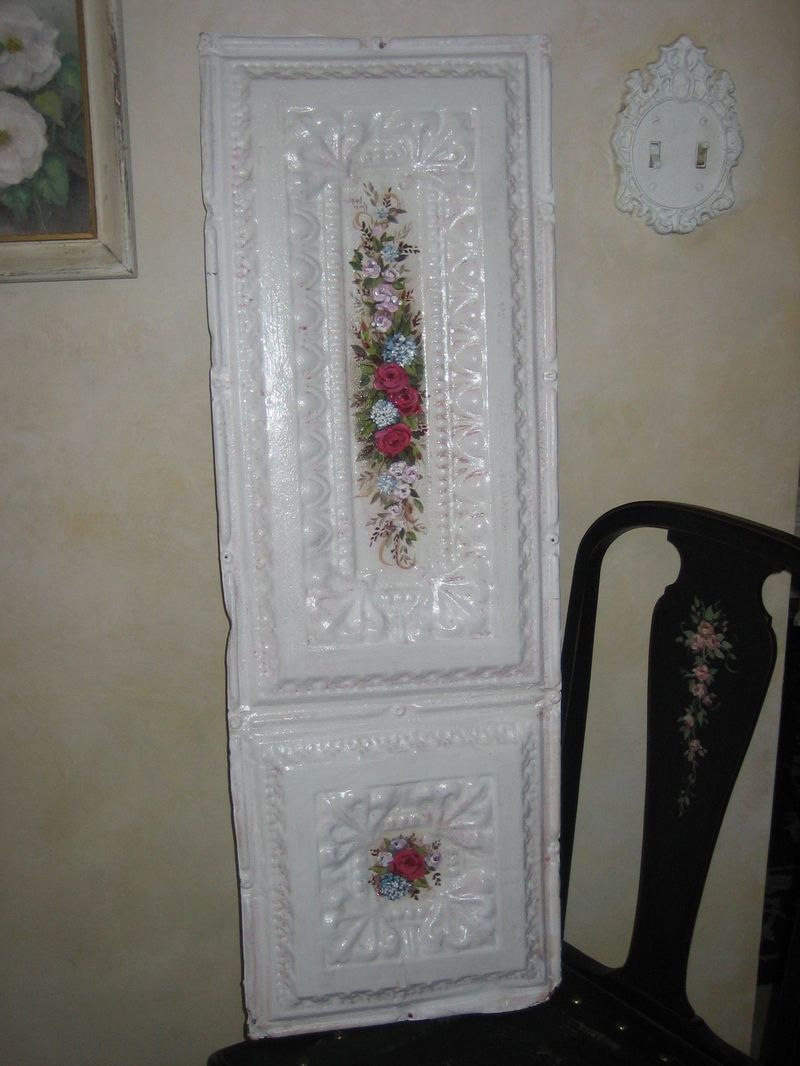
Yesterday, my computer was feeling a bit grumpy and wouldn’t cooperate with downloading my photos.  tDowney_book_007oday, its attitude seems to be better, so I am adding the closeups of the ceiling tin I posted yesterday.   Downey_book_008

Roses with Hydrangeas on Ceiling Tin

flowers

Downey_book_003 Downey_book_003 My junking day find, the old piece of ceiling tin, was calling out to me yesterday.  I covered it with a fresh coat of white, then added a garland of bright pink roses and blue hydrangeas with acryllic craft paint. 

I never get tired of old ceiling tins, I love to paint on them, add mirrors to their center, or just display them as they are.  I have plans to list this one for sale on Ebay sometime in the next couple of weeks.

PAINTING TIP: For building up color and getting depth in an acryllic painting, apply a layer of clear acryllic top coat over your base painting.  let dry thouroughly ( I get impatient and use a blow dryer), add some detail, then clear coat again.  Keep repeating, with layers of acryllic paint and layers of clear coat, ending with a finish layer of the clear coat for protection.

Uncategorized

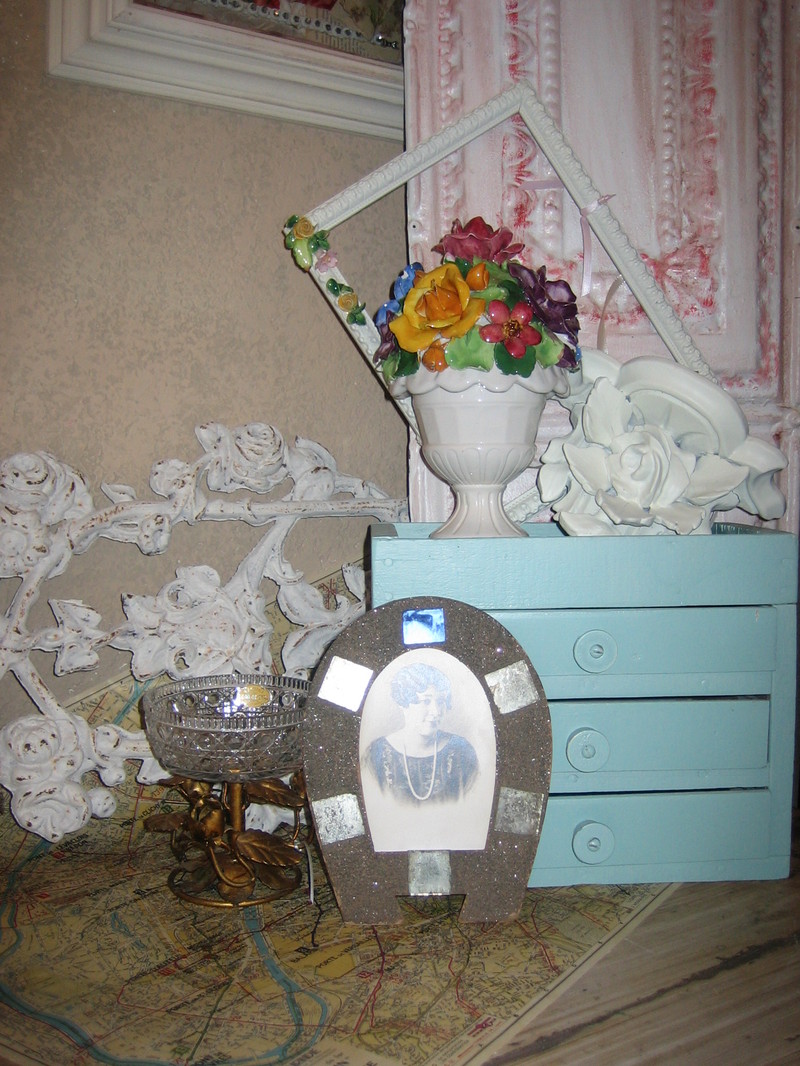
W_shopping_003 Considering the fact that my husband needed to be picked up earlier than I had planned and I spent most of the day lost, and dealing with a poor sense of direction-  I found some good things in Wichita on my partial junking day.  One giant mall, Paramount, could have taken up much more time, if I had any!  Here is my loot from the day, not a big pile, but one full of possibilities.  The map of Paris under all of the goodies isn’t old, but still cool and will be wonderful to tear apart and use in collages.  The old ceiling tin panel is badly painted, but I will redo it and add roses, of course!
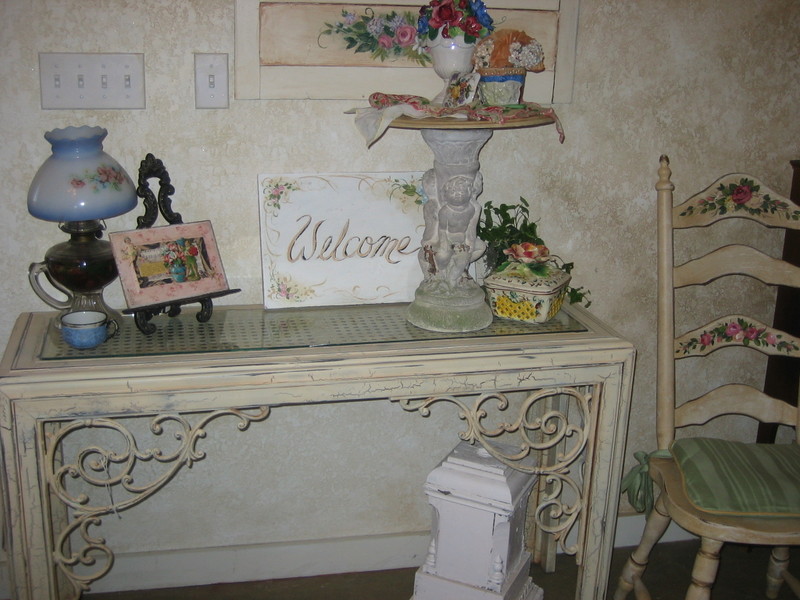
2_w_shoping_004 I have already positioned some of my finds, I love the Italian roses and have a collection of them throughout my home.  Here, I have set the newest addition to my obsession with pottery roses near the entryway to my studio.2_w_shoping_010
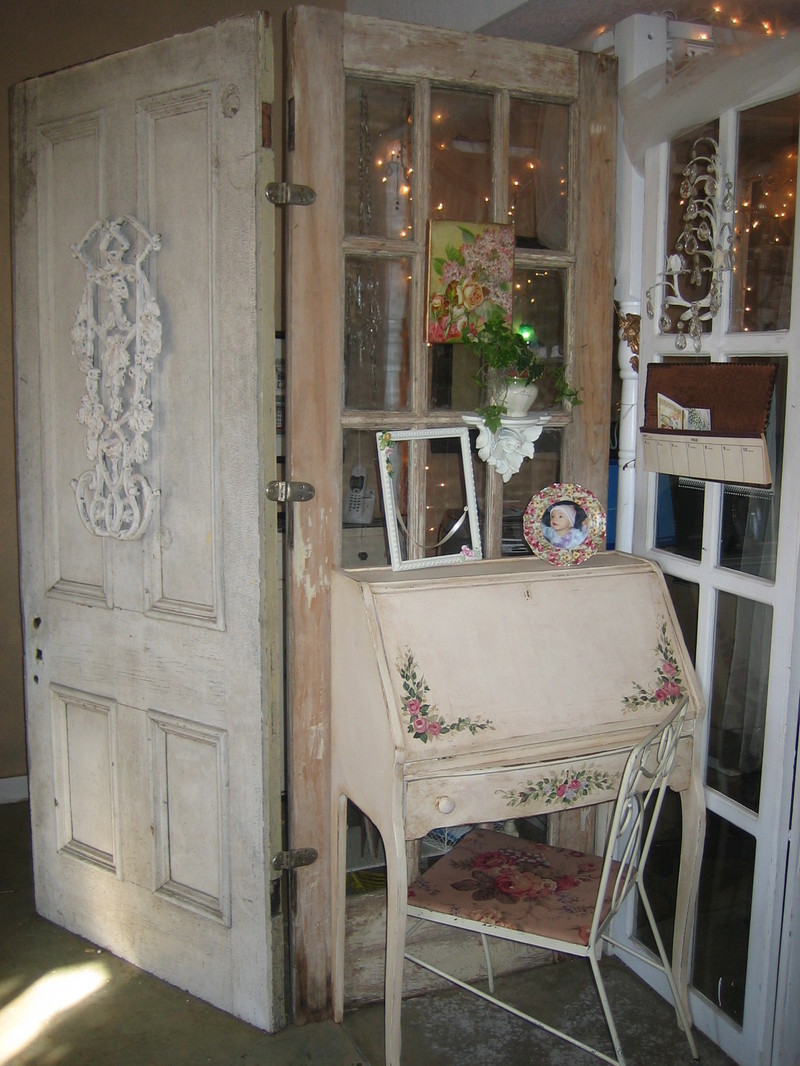
Three of my acquisitions went in my studio office area.  I hung the HEAVY wrought iron roses on the solid, old door I use as a divider.  On the French door it is hinged to, I hung the open frame with the delicate porcelain flowers on it and the tiny rosebud shelf.  Normally, i am a do-it-yourselfer, and don’t buy other people’s projects, if they are something I can do- but I really fell for this cute and simple frame.  But, I did learn a lesson, other people aren’t always as conscientious as I am with their work.  The roses on this frame fell off already!! I could tell they were put on with hot glue, not a good plan.  When you are gluing items, you should always use the proper glue. Hot glue is easy, but rarely the best choice.  I have repaired it with "Crafter’s Pick -The Ultimate" one of my favorite glues.2_w_shoping_017
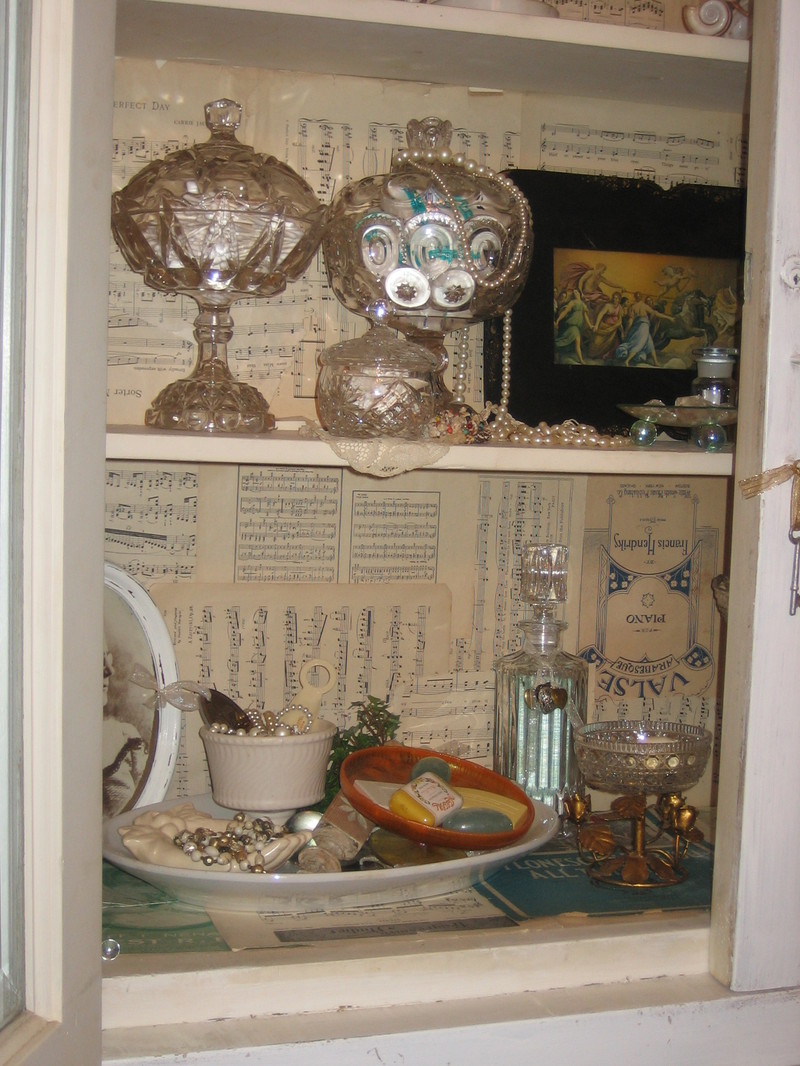
The cut glass compote with the golden roses stem, promptly went into my new bathroom cabinets and was filled with soaps.  The only thing left to use is the robin’s egg blue drawers with spool knobs.  I have plans for it later on when I add some springtime touches to my living room.
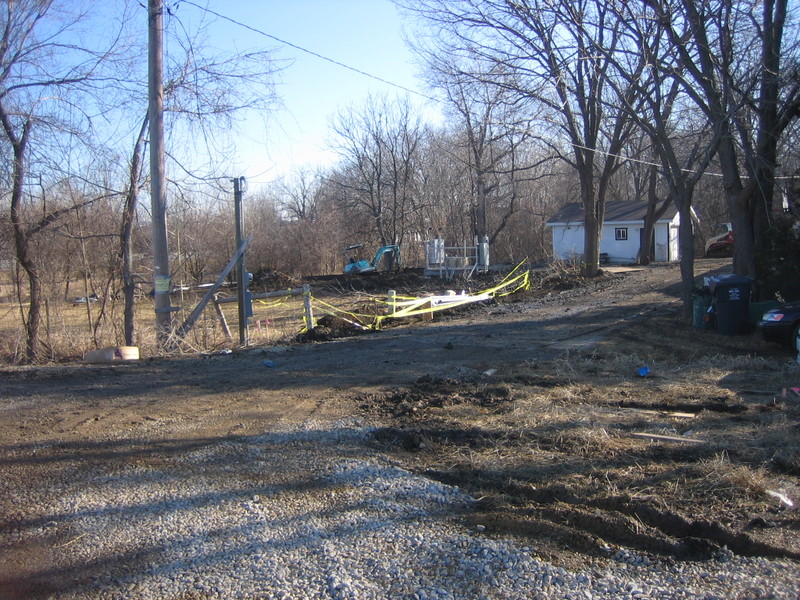
Construction_mess_002 I am desperately in need of some springtime cheer.  Now that all the piles of snow and ice are melting outside, the construction mess has become an even more hideous sight.  I could ignore it a bit easier, when it was under a blanket of white!  Here is a photo of some of what we are dealing with right now.  Between the city redoing the road, and the county redoing the bridge, both right in front of our house, the area was already bad.  Now, TMobile is putting in a cell tower also!  Well, at least they are all being done at once, and that will mean they will be done and over with at the same time.  And luckily, it is not garden season, so there are some plusses to having 3 construction crews invading my yard at once!  There is always the joy of planning some new landscaping projects too…
Fairy Portrait

fairies

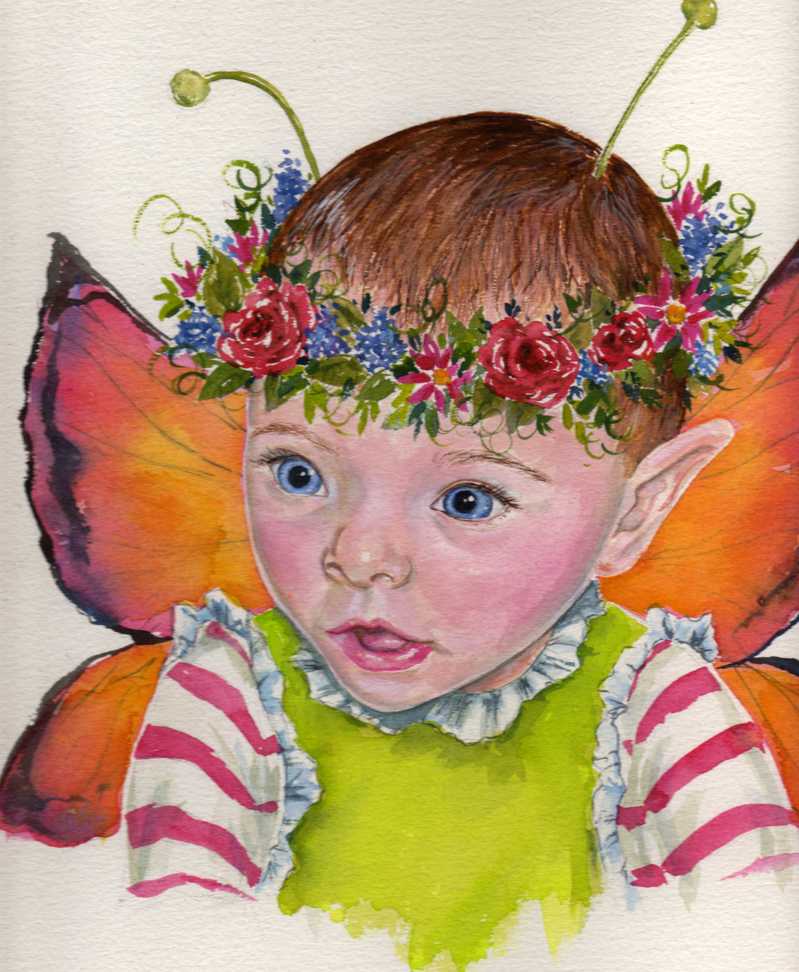
Leandras_fairy_portrait In the photos of my studio, you could see this painting leaning on a dresser, so I thought I would add a close up of it, so it would show the details more.  I have done this watercolor of Leandra (my grand daughter) at about 4 months old.  Hopefully, it is just the first in a series of fairy portraits of her as she grows up. I’ve  gotten wrapped up in buying, snazzing up, and selling antiques so much over the last few years that I have let my painting slide.  When I sit down to do one, I always love the process and wonder why I don’t do more. 

Today, I am tagging along on a business trip with my husband.  Sometimes I like to take watercolors with me to stay occupied in the hotel room while he works. But this is a short trip, so I will take advantage of my free time to go junking.  I am looking for the perfect old frame for Leandra’s portrait, but who knows what will turn up on a good junking day! 

WATERCOLOR TIPS:

For baby soft skin tones in a portrait, use opaque colors and build up layers.  For Leandra’s skin, I used china white, sky blue, brilliant pink, Juan brilliant, with a touch of yellow ocher and burnt sienna.  By using opaque colors on the flesh and transparent washes on the clothing and wings, a nice contrast is formed that makes the baby’s skin even more believable. I used Thalos for the clothing for that bright splash of color.

A Fresh Start

Uncategorized

Studio_redo_014_1 The last few weeks, my studio has become unbearable.  I was piling up messes as fast as I could make them, and was starting to lose my creative edge. I like my surroundings to be tranquil and pretty, so I took advantage of this awful, snowy weather to stay in and redo my work areas. 

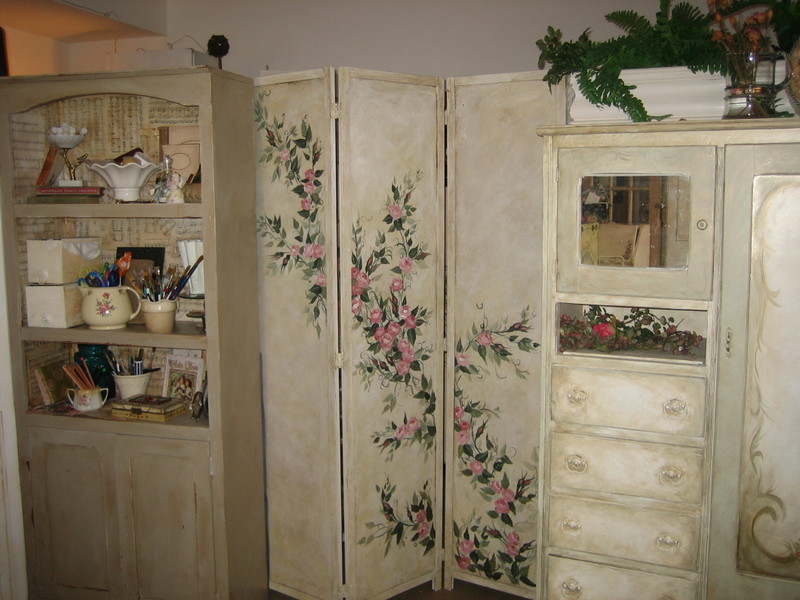
My studio is a big open room that I can divide up with large pieces of furniture and hinged doors and shutters.  I was able to make certain areas designated storage for each craft that I do.  I also used a hand painted screen to make a hideaway for the biggest messes and storage of things not in use daily. 

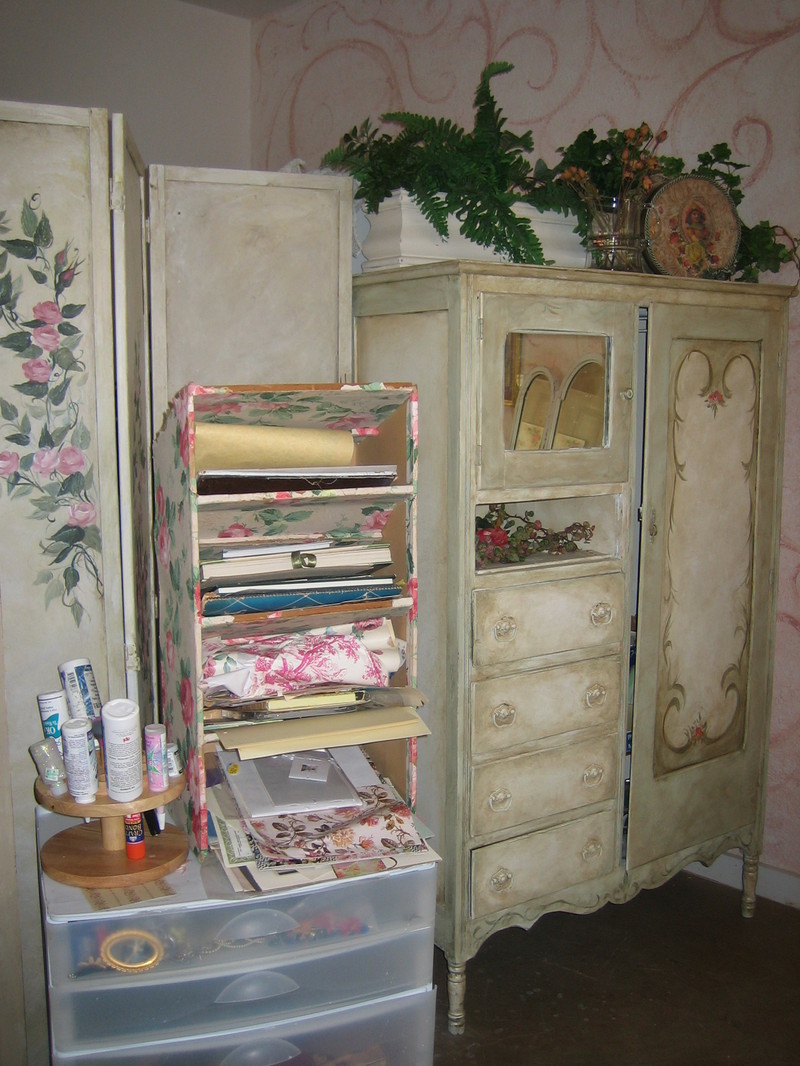
Jewelry and soldering necessities went into the armoire. Studio_redo_008_1 A lot of my collage papers and supplies went into a rolling cart that I can pull right up to the table when I am working, and when not in use, it goes back behind the screen.  Studio_redo_011_1Studio_redo_015

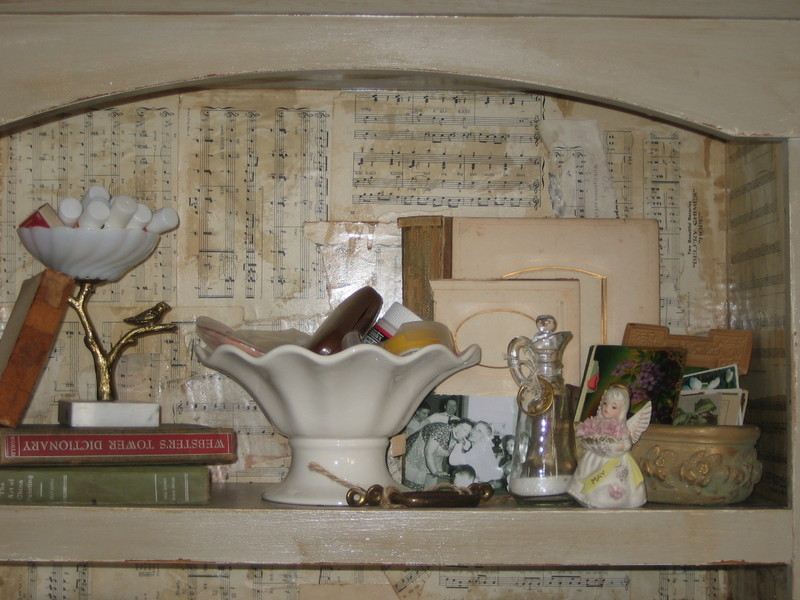
I lined the back of an ugly, $15 garage sale cabinet made of pressed wood and painted it a neutral taupe.  Then filled the shelves with things I liked to have within easy reach. Attractive containers helped cure the clutter.  Fairy dust (glitter) is in a cruet bottle, paint brushes are in flower pots and scissors are in an antique pitcher.

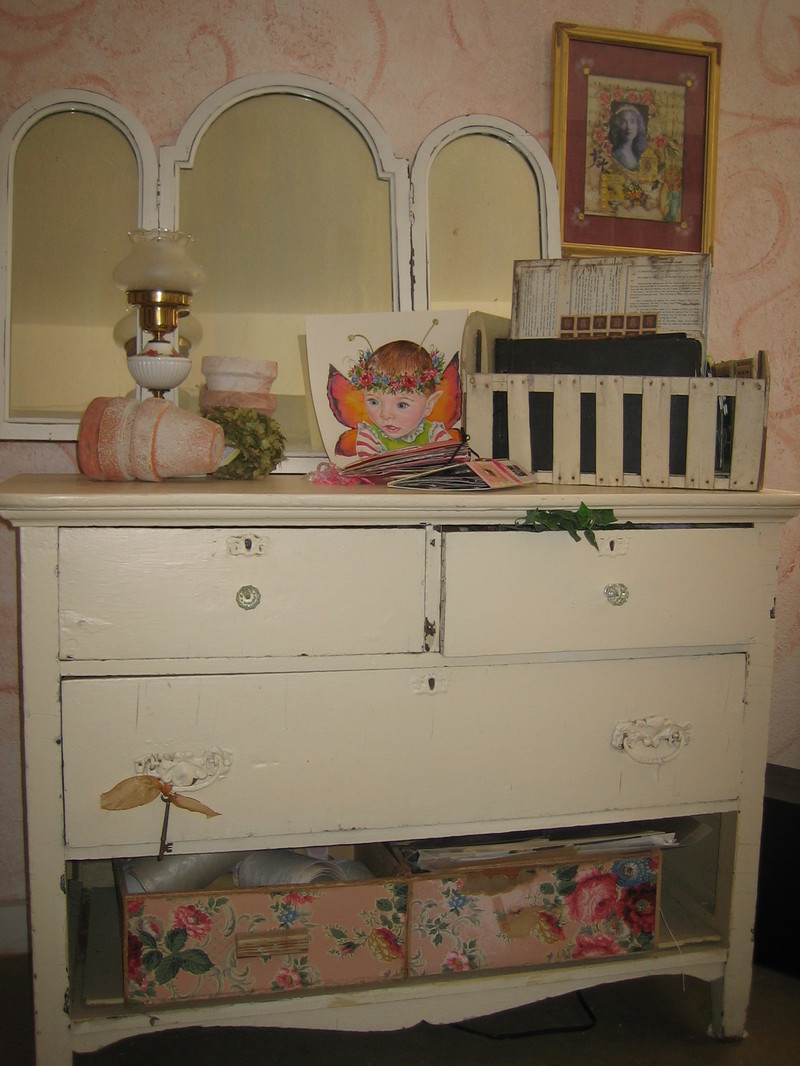
Fairy making supplies and more album and collage loot went into an auction dresser.  I bought it for a song because it was missing the bottom drawer.  After painting it a warm French Vanilla, I used the hole as a shelf to hold boxes of paper.  The boxes themselves are floral paper covered old drawers.

Studio_redo_005_2

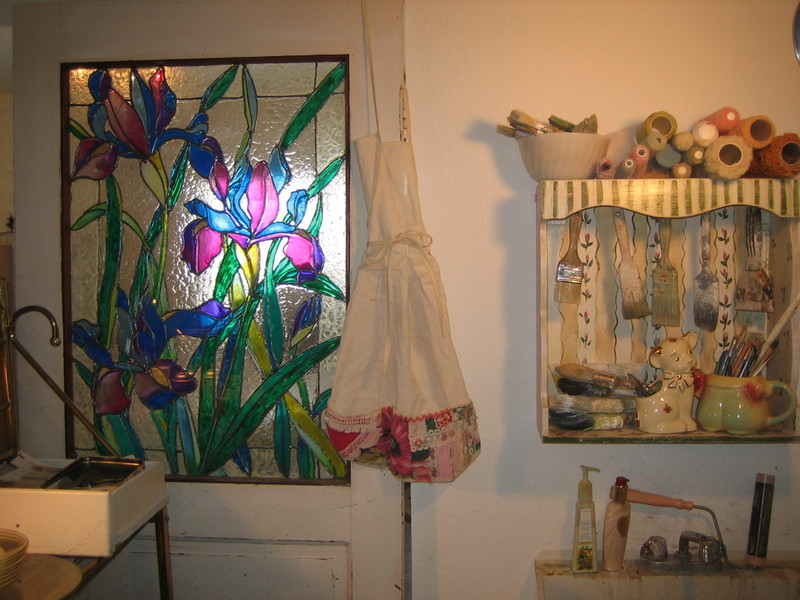
My brushes, paints, rollers (and boxes of junk) are behind the screened area.  I used an old door salvaged from our kitchen remodeling project as a wall by the sink.  The window is done with stain glass paints and lets in a lot of light.  This door was featured in Paint Magic magazine last summer with how-to steps I had written on making one yourself. My friend, Beth, made the apron for me to wear to craft shows and flea markets to carry pens and receipt books.

Sugar Wings

Uncategorized

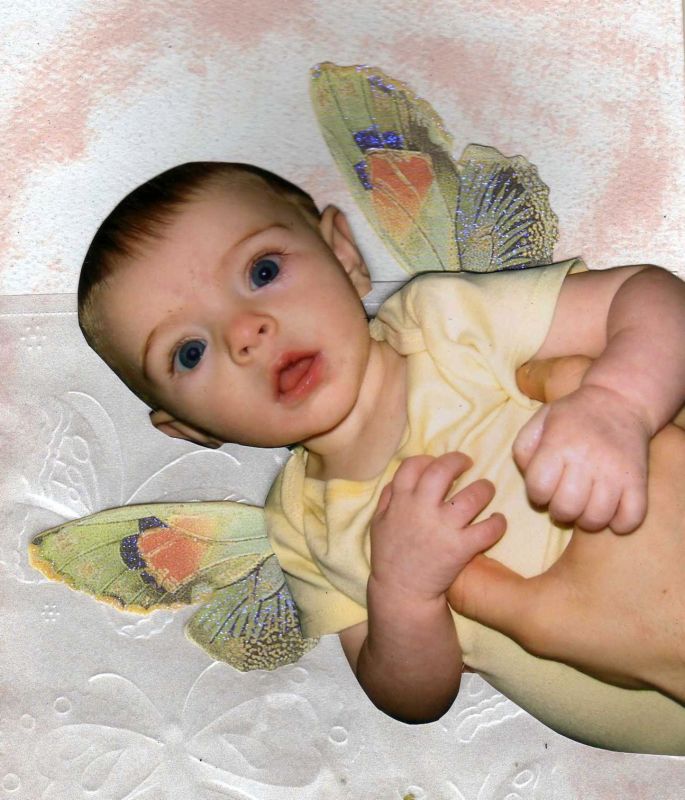
One of my projects for these cold months of January and February has been to organize all my photos and get some albums made up.  Of course, the first one I did was of my new granddaughter, Leandra Joy.  I call her Sugar Wings, so it was fitting to add wings to her pictures, here is my favorite.

Leandra_fairy Usually, I am a bit of a workaholic.  But for the last few months, I have been more of a putter-er.  I keep busy and keep creative, but haven’t been "working" so much as just enjoying making things pretty.  I’ve helped family repaint and redesign rooms and helped our contractor gut and redo our new wonderful bathroom. New_bath_009

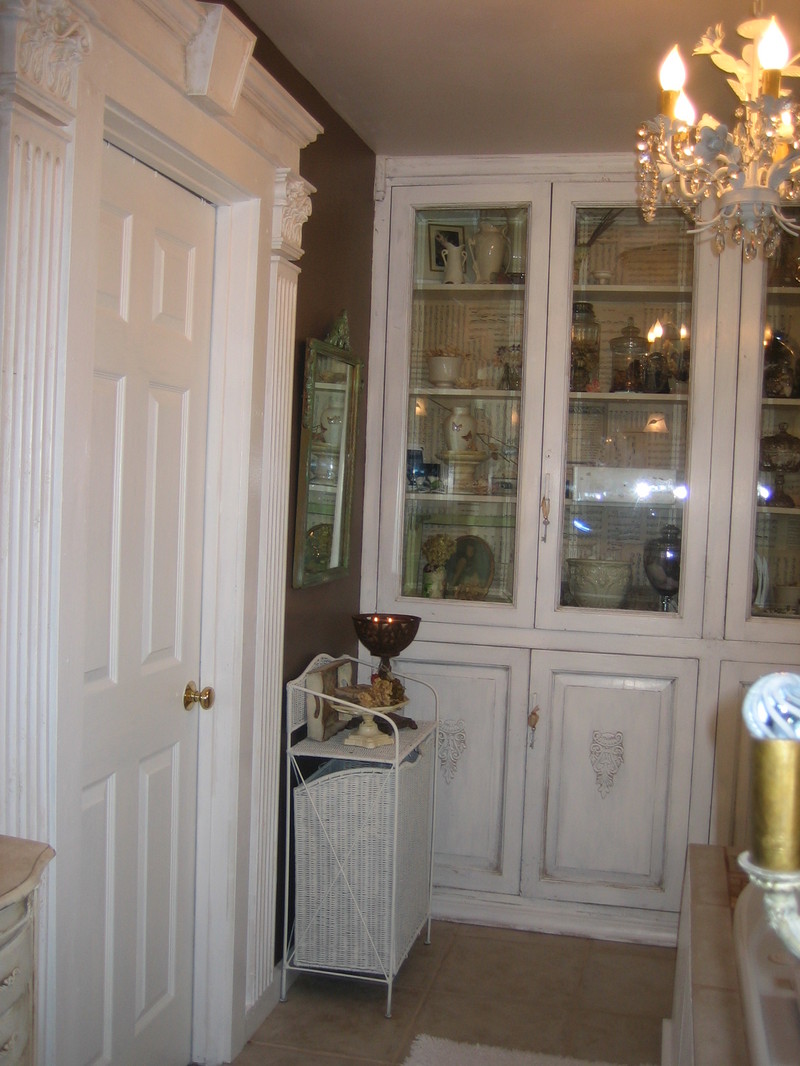
The room used to be my son’s, but since he is out and has his own family, we knocked down the wall and turned it into a master bath.  The walls are chocolatey brown with tons of gold glitter mixed into the paint and the ceiling is the palest pink I could make. I lined the glass fronted cabinets with old sheet music and filled them with dried flowers, soaps, sea shells and apothecary jars.   Doing a lot of the work myself helped with the budget, along with scouring sales to find the best prices on tiles and supplies.  I also got curtains at the Goodwill store and remade them to fit the window.

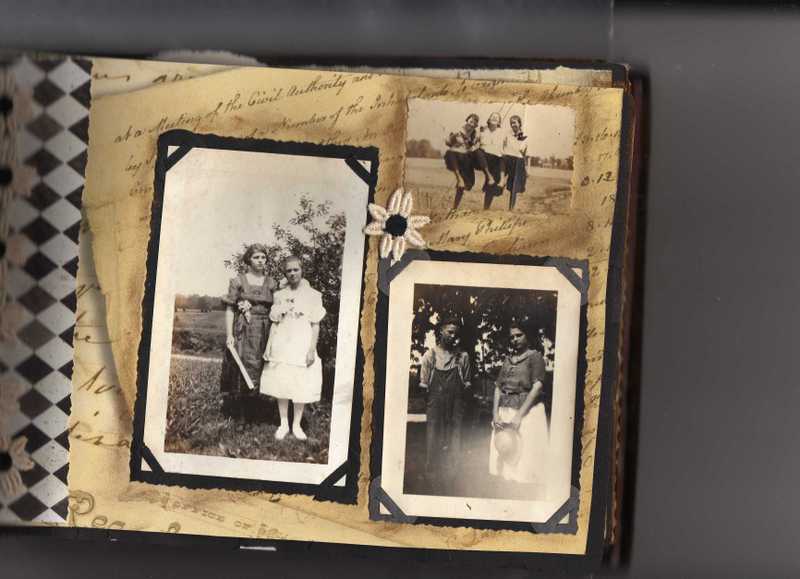
Mary_phillip After all the physical labor of redoing the bath, I was ready to sit down in my studio and get going on some scrap booking. When my grandma died a few years ago, I found an old album under her bed and after all this time, finally got it out and salvaged it.  I used her photos from the early 1900s as well as some pictures I had inherited from my mom when she passed away a couple of years ago. I hadn’t been emotionally able to go through hers and do anything with them, and felt guilty about stashing them in the closet.  So, taking advantage of a slow (and ice cold, here in KS) time of year, I made up an album in honor of Mom and Grandma, trying to reuse as much of the original album as possible.

I bought papers from hobby and scrapbook stores, one of them being a reproduction of an old ledger.  After I had glued these three photos in place on the page, I noticed that centered between them was my grandma’s name!!!  You can see it on this page "Mary Phillips", I have highlighted it by using an aging ink around the word and around the pictures.  Mary is pretty common, but put with Phillips?  I think that must mean that she is happy I am care-taking the album she started almost 100 years ago.

Mermen and Lily pads on a Hand Painted Pond

Uncategorized

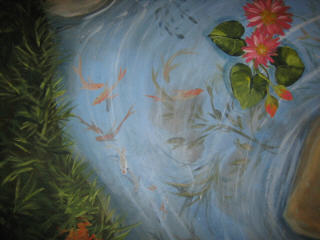
Fl_trip_07_040_1 Fl_trip_07_039_1

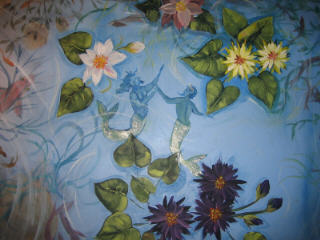
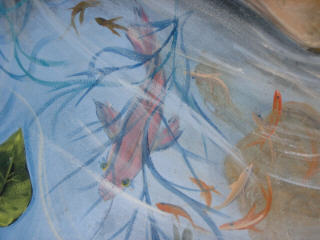
On my trip to Jacksonville last week, my brother, Randy, had me paint a pond on the floor of his craft room.  Every time I go to visit Randy, he has more for me to add to his "mural room".  We started about 10 years ago with a bottle of champagne, Phantom of the Opera playing on the stereo, and a crazy idea to add his friends to the wall of his guest room as fairies.  Over the years, and many bottles of bubbly later, the mural has grown to include  a sunny sky, an enchanted forest and a rock wall.  This trip was the most elaborate change, pulling up the carpet and painting the floor as a pond (with stepping stones in place for furniture to rest on of course!)

Here are steps to follow for a basic floor:

  • Remove all traces of carpet (nail strips, fuzz, etc) and clean the floor well
  • Prime with a water based bonding primer- use an extender poll on your roller or your back will go out before you even begin on the artistic part!!!
  • Roll on your base color in eggshell interior wall paint (my fave is Behr from Home Depot-thick, good coverage, affordable)
  • Using acrylic craft paint and artist brushes, add your creative touch. I recommend sitting on a short stool to stay limber while doing this, sitting directly on the floor is a killer.
  • Top coat with a polyurethane of your choice, usually satin, but of course, it depends on what compliments your design. 

Steps to follow for a pond theme:

  • Chose a blue/green you like for the base of the water
  • Figure out where furniture will sit and add rocks or grassy areas, so the room doesn’t look silly with floating furniture.  Also add rocks in traffic patterns, and later observe how guests will always walk on the rocks, not the water of the completed pond!!
  • Paint the rocks first with a tan color, add depth with 3 colors in a stoney hue that are dark, medium, and light and apply with a sponge for rocky texture. Splatter with all three colors after and don’t worry if spots land in the "water".  Little spots of rock colors will look like small rocks underwater.
  • For grassy areas, paint a dark brown base, then with a 1/2 inch flat brush turned sideways, paint three colors of green in dark, medium, and light with quick strokes overlapping and going all directions, like clumps of grass.
  • Using a darker shade of the blue/green mixed with a bit of clear glaze, paint shadows around all the rocks and grassy areas.  This is easiest with a sponge dipped into the paint and washed on.
  • Start with the "deepest" areas of the water.  Use darker colors mixed in with some of the base coat to make fish and plants look deep.  Shadowey shapes and little detail are all that is necessary.
  • Next paint the mid-level of the water, brighten up the shades you used for the deeper plants and fish, using less of the base coat color.  Still, use few details in your features.  Overlap your first layer.
  • For the shallow parts of the pond, make fish and plants look closer to the surface with more detail and brighter colors, none of the base color mixed in at all.  Overlap this layer onto the other two previous layers. 
  • Let the first three levels dry well, then mix white paint into a clear glaze and make "ripples" over the pond by washing big sweeps on with your sponge.  Make sure some of these ripples and waves overlap the edges of the rocks a bit too.
  • Finally, add floating flowers and lily pads, once again, overlapping a bit of what you have already painted.  Add the white glaze mixture ripples around the flowers. At this point, some of your first fish might not even be discernible, but they will still add a sense of depth to the water.
  • Let dry and top coat.  Keep furniture off for a couple of days.  If using a oil based poly, have plenty of ventilation and keep pets and small children out of the house, the smell can be overwhelming.

Fl_trip_07_041_1

Scroll to Top