A “Family Tree” How-to
Dorkies (Yorkshire Terrriers), family, Food and Drink, holiday decor, how to's, how-to projects, Sugarwings
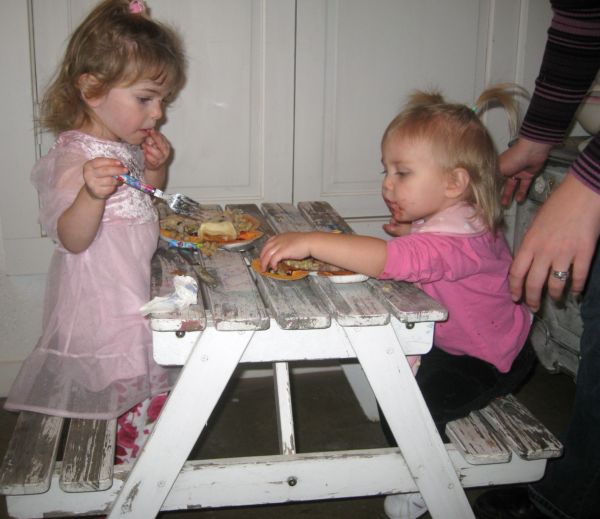
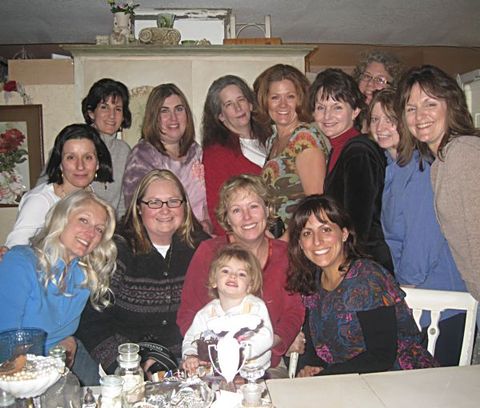
Did you have a wonderful Thanksgiving feast? Sugarwings and her sweet little Pixie Pie cousin sure did. But in hindsight, this idea of using the baby's craft table for their dining wasn't the best. It was a food free-for-all, with two little toddlers up and down and knocking each other over and dumping plates. I can already see that at Christmas dinner we'll be using a duo of high chairs instead.
At my house, we craft before and after holiday dinners. I prepped the meal way ahead of time, making mashed potatoes in the crock pot, and had noodles slowly simmering on the stove all day, while the green bean casserole (from scratch, no canned soup) and turkey were ready to pop in the oven when the time came.
Guests brought side dishes made at home, so we had time to play instead of slaving away in the kitchen! The guys were watching the game and playing pool, so we went to the studio and started cutting and gluing.
We were making the Christmas stars in two sizes, large for tree toppers and smaller ones for ornaments. Or wouldn't they be cute clipped to a ribbon and made into a garland?
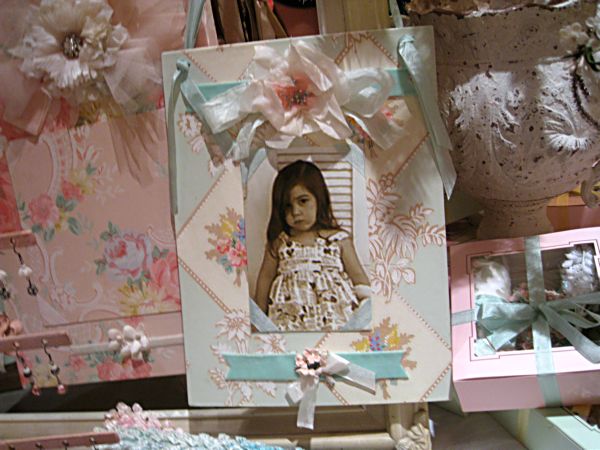
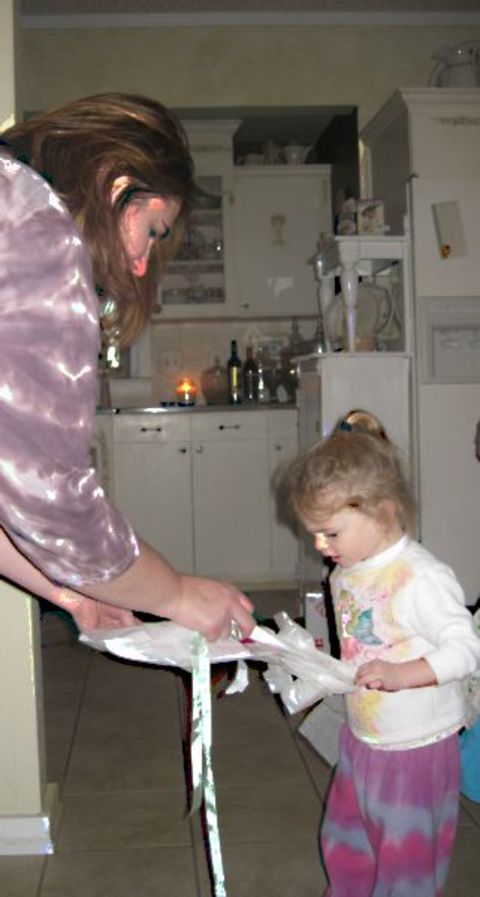
We decided to use family photos on the ornaments, so we dressed the cousins up in their Christmas gowns and snapped a few quick pics of them to print out onto silver, holographic paper.
I wish the photos showed how pretty this shiny paper is.
A lot of you asked for how-tos for this Christmas star, so I thought this would be a good day for it. If you have a houseful of family together for the holiday weekend, this is a fun project you can all do together. Take photos of each other for the centers of the stars and you can make a "family tree" for Christmas.
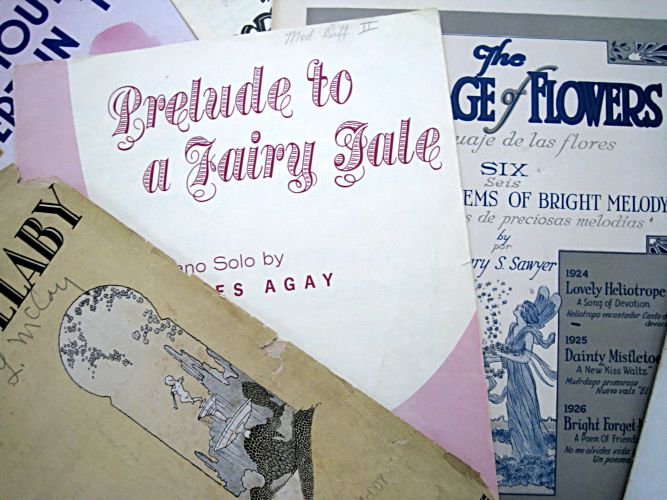
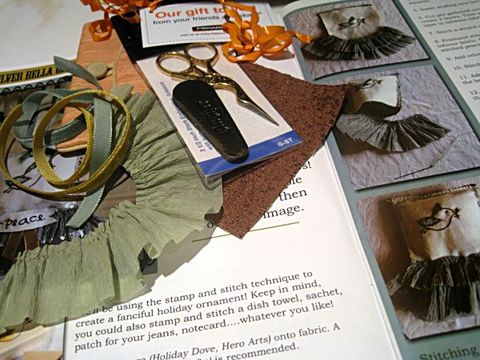
Card stock works best. I wanted a vintage image, so copied this sheet music onto parchment colored card stock. You can use scrapbook paper, or heck, even plain card stock, what ever colors you like for a background.
Cut a piece of paper in half lengthwise and then fold both pieces in accordion pleats.
Then do a second piece to match.
Staple all four pleated sections together.
I suppose that for a tidier look, you could use glue, if you had an issue with not wanting staples to show. But if you do, you'll be wishing you were an octopus. I quickly switched to staples, after starting out using glue.
This is what it should look like.
You will need to cut 2 pieces of card stock to fit the back and the front of the star to hold it in place. Any shape, any paper that pleases you for your design.
For this tree topper, I used plain white on the back.
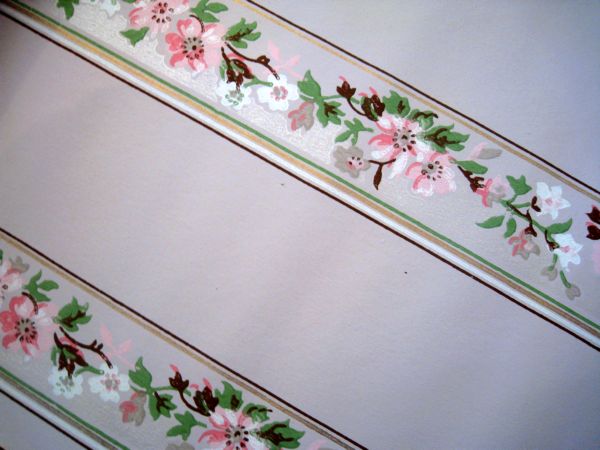
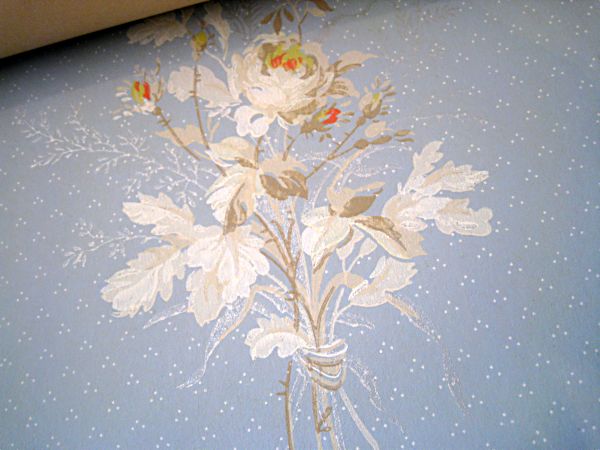
For the front, I used flocked wallpaper glued onto the card stock, then cut into an oval. After gluing, weight the paper down for minute or two till it sticks good.
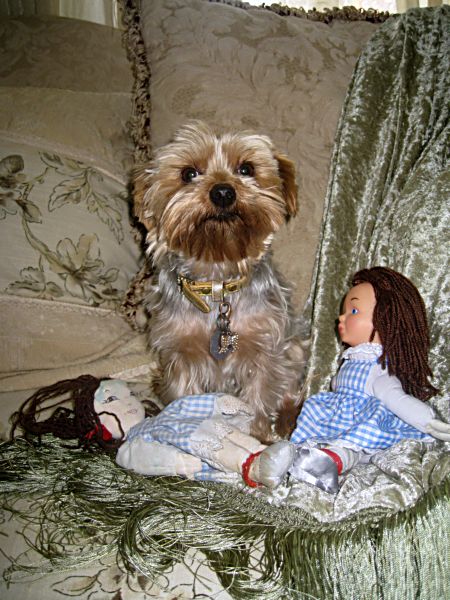
That is a good time to take a break for a quick cuddle with someone furry and cute.
After the glue dries, you can trim the edges to get a star shape. Then with a paint brush (or fingers, like I use) add glue to the clipped edges and sprinkle with glitter.
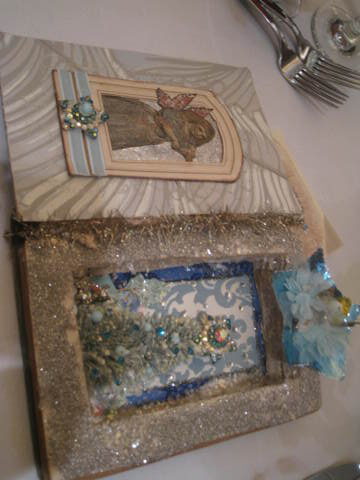
At this point, it is ready to decorate however you'd like. Streaming ribbons, photos, flowers, sparkly things, whatever suits you.
If you think you'd rather make the smaller size, instead of the tree toppers, use one piece cut into 4 equal strips lengthwise instead of 2 pages cut in two strips.
And if you'd like extra sparkly edges, use Stickles as the glue that you add glitter to. (by the way, Stickles is now available at Hobby Lobby!!!)
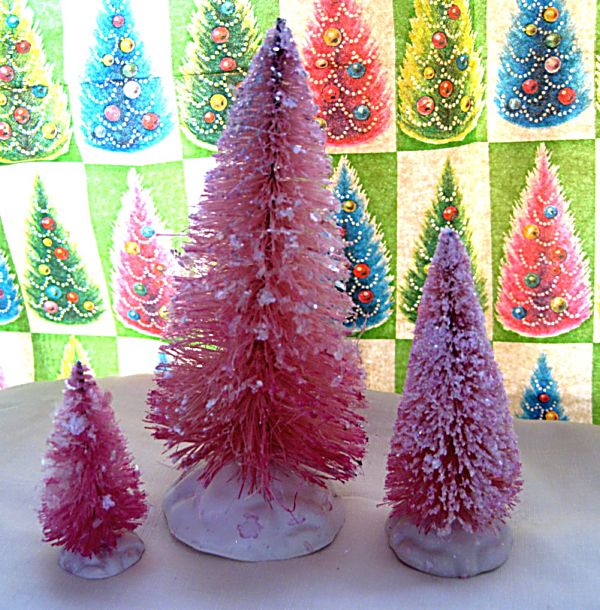
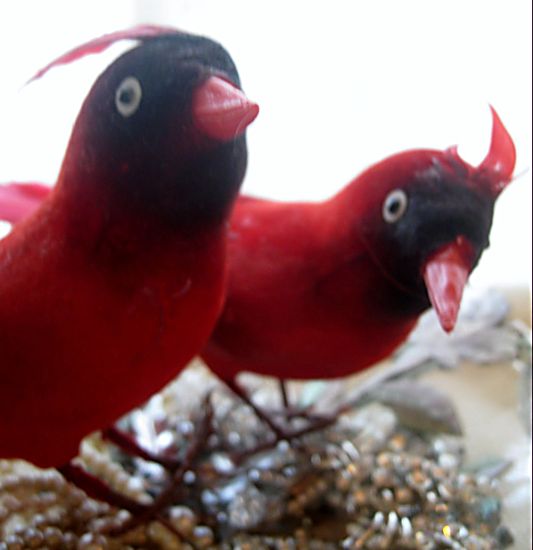
There are actually some new things listed on my Etsy site. Some hand dyed bottle brush trees (more to come) and I am about to list some glittering vintaeg doves that I do-dadded up.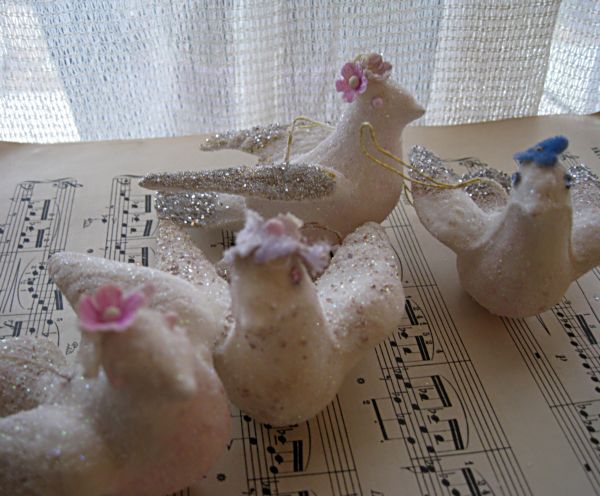
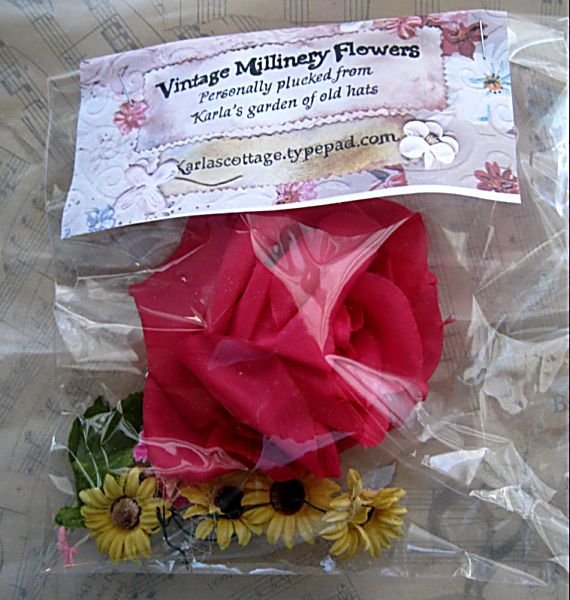
There are also some of my flower packs listed. If you need a specific color that isn't listed yet, just ask. I might have it!
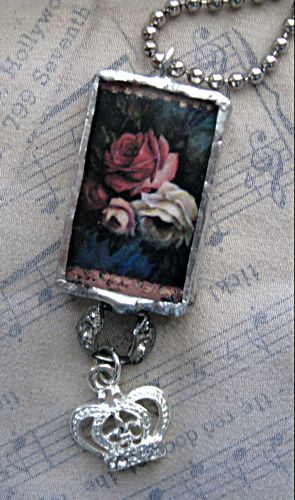 You also have a couple more days to enter the giveaway for November. Good luck!
