March 2011

Lace, starch, giggles, and snorts

redos, Tutorials

IMG_1764

What gorgeous weather we are having! I took advantage of the sunshine to get outside and do some yard clean up.  Last fall, I kind of slacked on the leaf clean up and realized what a big mistake that was this spring.  Leaves left over the winter get soggy, heavy, half decomposed, and best of all, used as a cat litter box.

So, the leaf blower wouldn't do the trick, it took rakes and snow shovels to clean up what I could have just blown away into the woods if I'd done it last fall.

But, its done now and while the yard still has its grey winter gloom look, it isn't buried in leaves.  Everything looks much tidier.  I picked up sticks and branches, and raked over mole mounds to flatten them out.

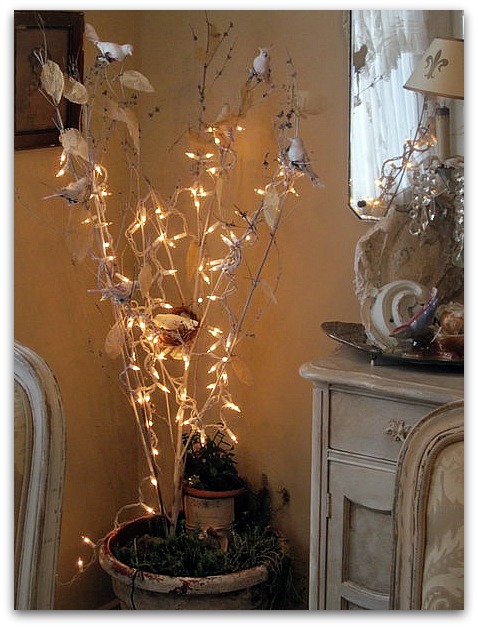
Gee, that's interesting, huh? Well to get to the point of the story, I found a branch on the ground that I thought was a pretty shape, and I spray painted it white to bring into the house.
IMG_1767
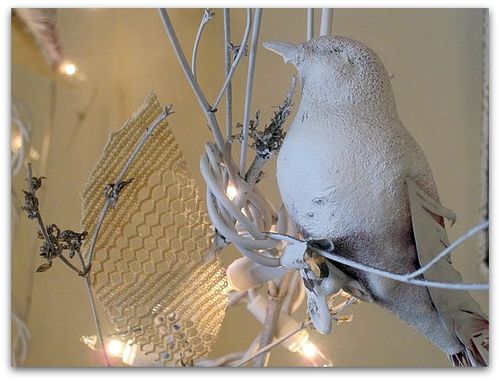
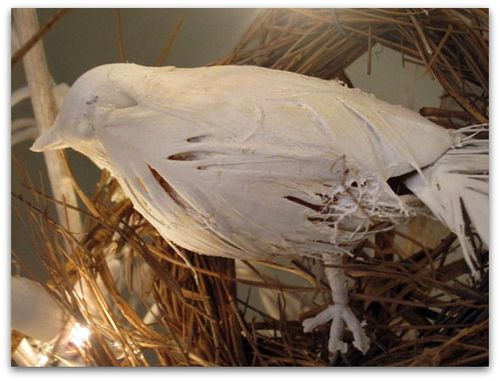
It was a good day to be outside spray painting, so I grabbed a few vintage cardinals and white washed them too.   I thought maybe I'd foof them up and add crystal eyes, millinery flowers, and other pretties, but decided that I liked them just as they were, simple and white.
IMG_1771
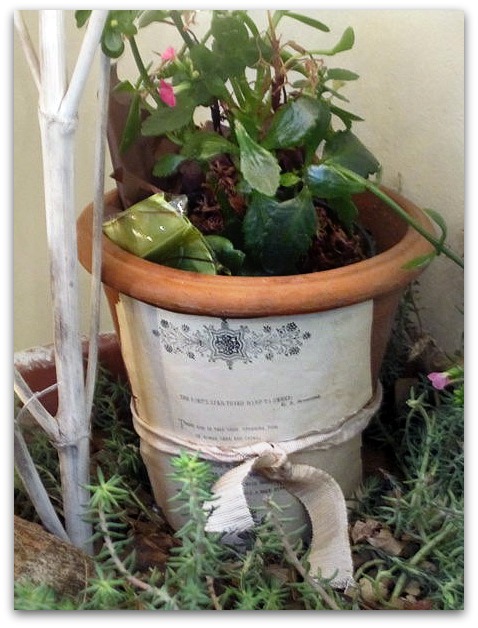
I brought in a peeling paint flower pot full of sedum and stuck the branch down into the dirt.  The sedum was nice, but I wanted a bit more at the base, so I sat a house plant into a terra cotta pot, tied a pretty page from an old book to it, and added that next to my tree.

To make sure the tree stayed upright, its stuck in the dirt nice and solid, and I braced one side with a rock and the other with the pot of flowers.
IMG_1749
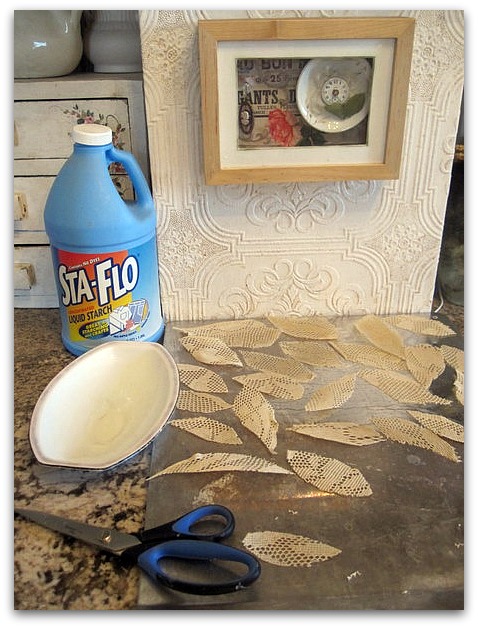
The fun part was making leaves for my tree.  I'd seen some similar ones at Anthropologie last year and wanted to try making some myself.  I don't know how they did theirs but this worked for me.

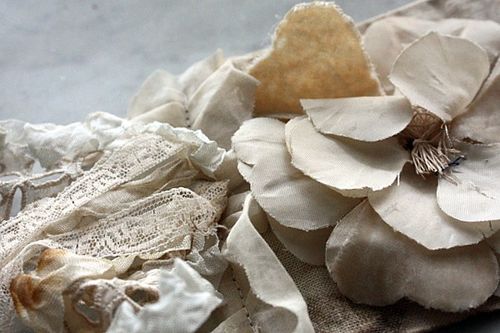
I cut some random leaf shapes from lace and soaked them in full strength starch, then left them on a cookie sheet to dry over night. 

When they dried, I wired them onto the branches.

I'd also wrapped Xmas lights around the tree, and did a slightly crappy job of it, they are just loosely draped. It would have looked better if I'd spent more time on it, and attached them more attractively.  But the branches are pretty fragile and I didn't want to snap them all off by messing around with them too much.
IMG_1765 
One bird sits in a little nest that I found in my stash, the rest of the birds just clipped on.

Besides waiting for the leaves to dry over night, it was a very quick project. And easy to do.  I didn't use a pattern for the leaves, and they are different sizes, just like a leaf would naturally be.  I discovered that it was easier to trim them up into a better leaf shape after the starch had dried, than before I dipped them and the lace was floppy and wrinkled.

If you want to try this, it's probably a better idea to starch the lace, let it dry, then cut the leaves out. 

You could also purchase white birds at a craft store if you don't have any old ones to paint. 

Another variation you could do, is to just put branches into a large vase or urn, not a flower pot full of dirt.
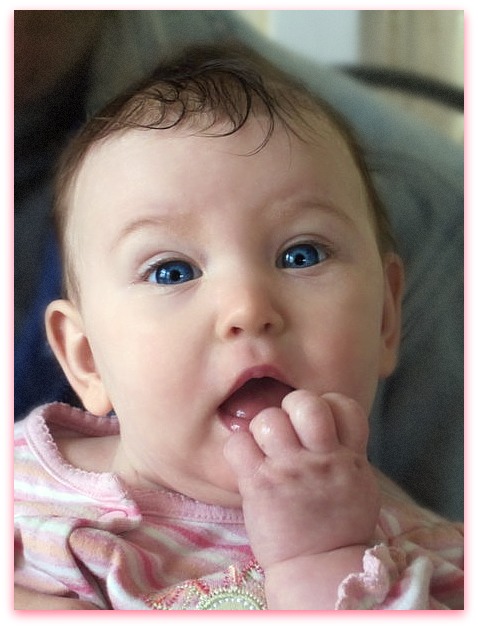
IMG_1760 My weekend wasn't all yard work and spray paint.  The newest Fairy Grand Baby came by to visit for a while and we got in some good giggle time. That baby has the cutest belly laugh/snort thing that she does.
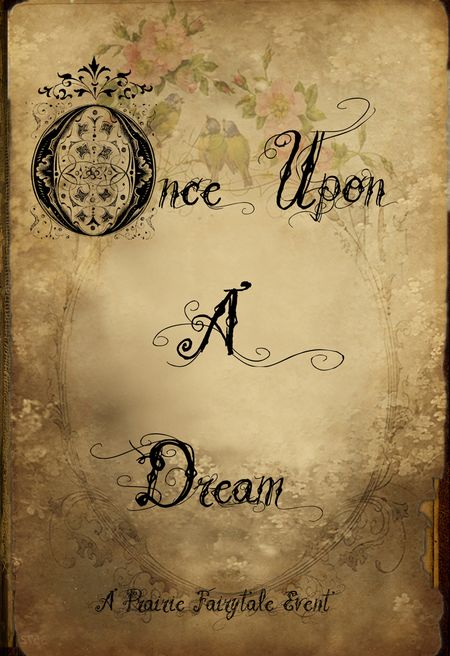
Once upon a dream

fairies, family, the Boutique at Karla's Cottage, Workshops

Thank you all for your kind words about my Bookie.  He was a funny little, odd ball and will be missed. I appreciate you sharing your stories with me about your furry loves too.  They do find their way deep into our hearts!

6a00d8341c8f0053ef014e5fbba529970c-450wi
Oh a happier, much happier, practically gleeful note, Jenn Hayslip's

Once Upon a Dream

event is open for sales!

And oh my gosh, her site is like stepping into a fairytale already. I can't wait to see the actual party!  She is known for her attention to detail. 

IMG_6702

Plus, I might have a slight fondness for fairies…. So this weekend will be right up my ally.  Or up my fairy trail.   No, that sounds a bit wrong, and maybe even little risque, doesn't it?

Our magical weekend in Asheville, NC will be a grown up fairy tale, far from the Disney princess type of fairies.  She is going for romantic and  gorgeous.
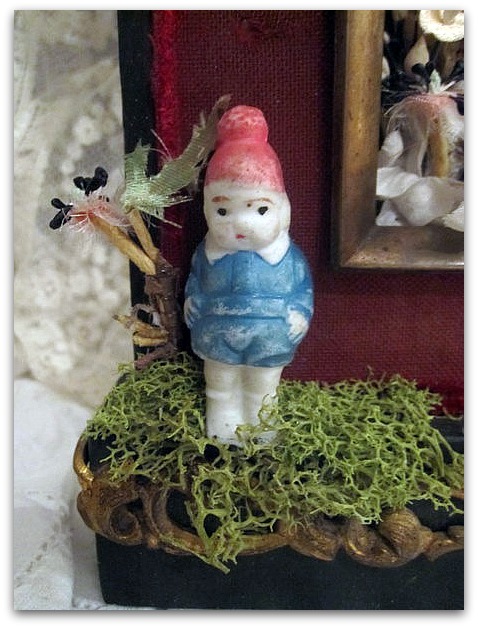
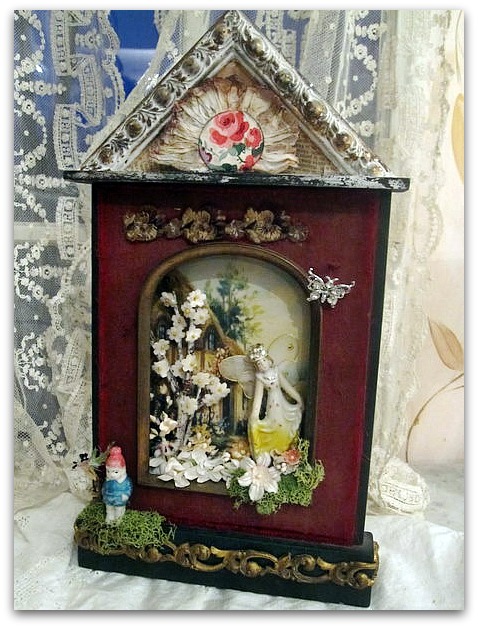
  Blue wings
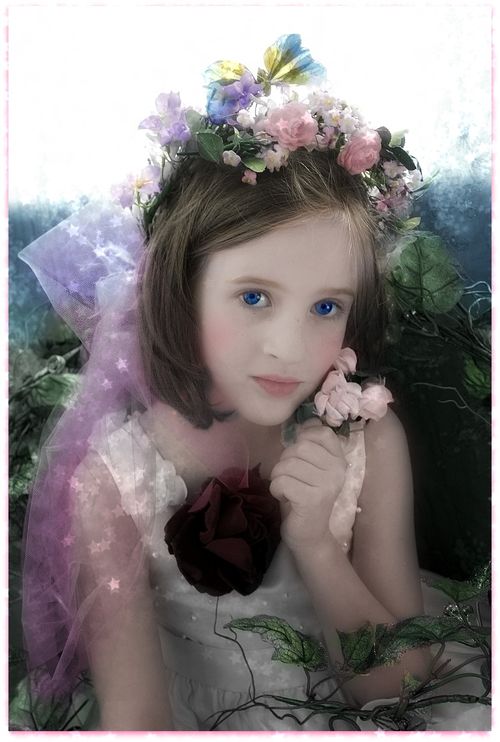
As a matter of fact, when Jenn was first planning this and invited me to teach a mini class, she sent me a lot of the inspirational links that she was looking at and that is what inspired me to take the fairy pictures of all the little girls in my life.
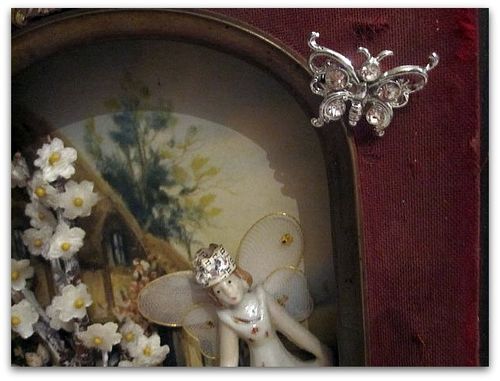
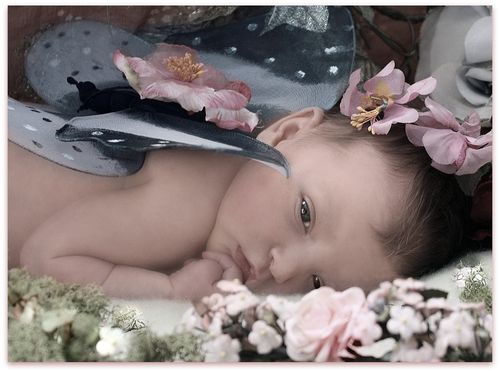
Which reminds me, I should try to get some more sweet winged, naked baby pictures before my tiniest grandfairy is big enough to crawl away!

6a00e008ccd3ca8834014e5fbf1a52970c-700wi
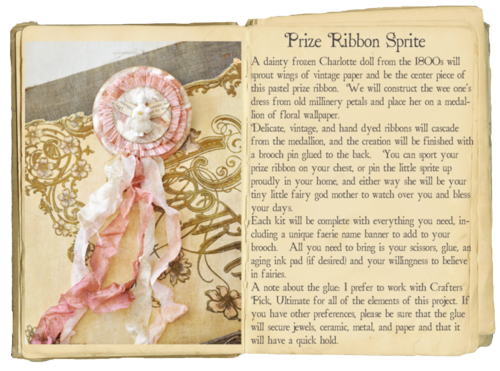
Here is the project that I will be doing at Once Upon a Dream.   We'll be turning a teensy, 1" Charlotte in to a prize ribbon to wear or display. 

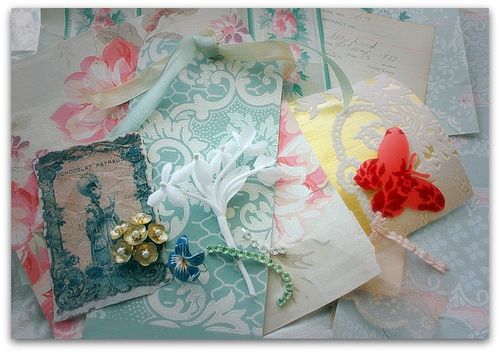
Jenn is providing a generous budget for the kits, and I'll be filling them with vintage wallpaper, and pretty ribbons, lace, some millinery, and sparkle.   Nothing but the Besties!

I keep looking at the Once Upon a Dream site over and over, its just so well done and so dreamy.  I  highly recommend a visit there to get lost in the atmosphere and day dream of fairies.

IMG_9339

Today  in Lawrence, KS, the weather has the promise of Spring. I've got all the doors and windows open, and hope to do a spring cleaning before scooping up my own little fairy, Sugarwings.

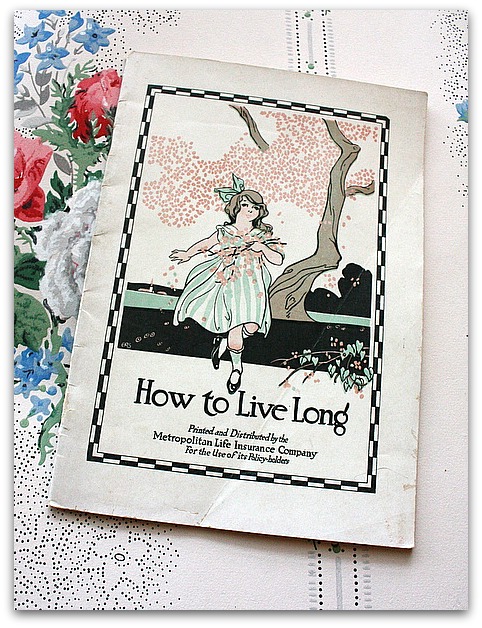
I found this cute old book, that I now have listed in the Boutique, and it has some interesting tips in it.  But I think it should add "Play make believe with your grand-kids" because I can't think of anything else that keeps me feeling as full of life as that does!

We went to the park yesterday, and pretended that the slides were rainbows that we could ride.  We had a treasure hunt using a map that was actually a scrap of some kid's homework blowing across the playground,  and the hunt ended with her finding an imaginary crown for Prince Charming buried in the wood chips.


IMG_9353

I'll leave you with a few more photos of whats new in the Boutique.  I'm still restocking, and there is much more to come!

IMG_9349

IMG_9318
IMG_9327
IMG_9345

IMG_9314
IMG_9368

 
IMG_9225
IMG_9273
IMG_9259
IMG_9425
IMG_9470
IMG_9482
IMG_9476

Bookie the Dorkie Velveteen Rabbit

Uncategorized

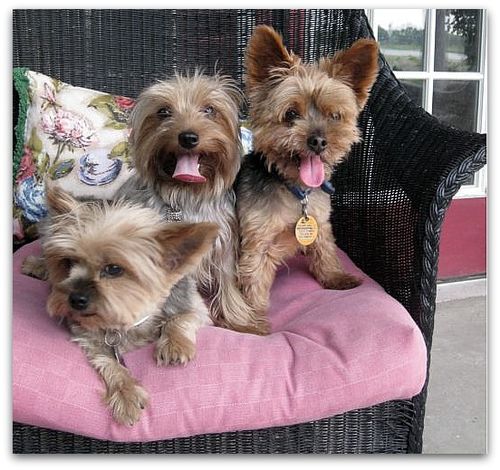
IMG_9406 Over the last few years, you have heard me talking about all my little dorkies, and I have posted lots of pictures of Twinkle, Sparkle, and Agnes Rosebud.

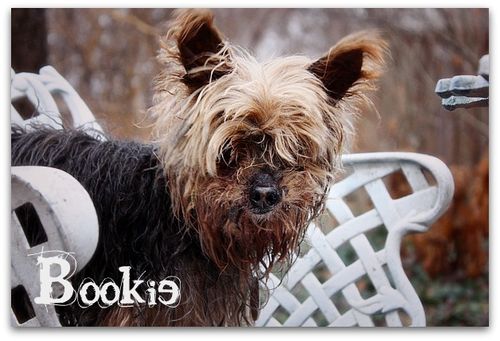
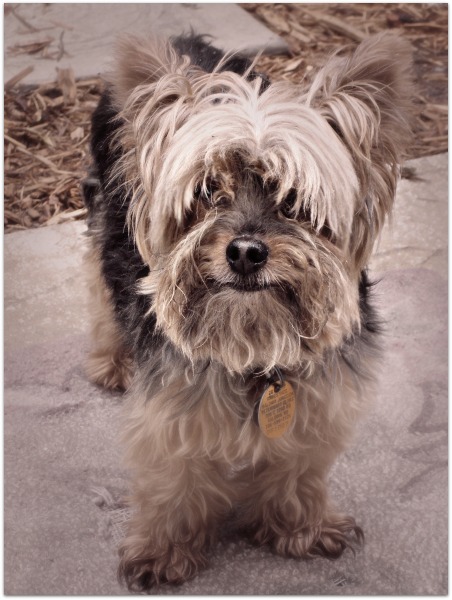
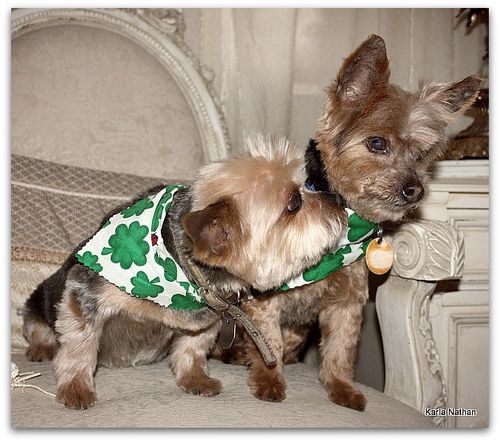
Someone I haven't talked about much is Bookie.  He's the reason I call my Yorkshire Terriers "dorkies".  Because when he was just a pup, he was so silly, I'd always tell him that he was a big ol' dork.   He was such a goofy, little odd ball.

Washing rugs 003

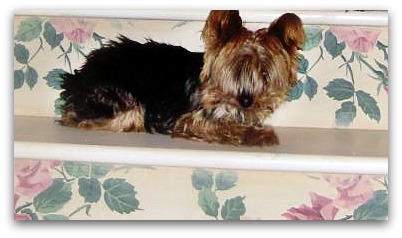
I don't have a lot of pictures of him, because he didn't like to be bothered.  And after fathering litters and litters of pups, I figured he'd earned his time to relax and be left alone.  Plus, the little guy was about 16, so he was around before I had a digital camera and was constantly snapping photos.

Fairywd&s 060

Last year, he was diagnosed with canine dementia, which is basically, doggie Alzheimer's.  The poor guy had been becoming more and more reclusive and confused. 

He started getting lost, in his own living room. 

He would go out the doggie door and not find his way back in, so that we'd have to check in bad weather to make sure he wasn't stuck outside on the porch freezing.

He didn't notice where he was peeing. One day he even lifted a leg and peed right on my foot, and didn't even see me standing there.

He'd pee in the other dog's food dish.  We got rid of every rug, and carpet, and kept vinegar and a mop nearby all the time, to clean up his messes. 

He had no teeth and had to be fed special food away from the other dogs who wanted to take it from him.

He always had a bad cold, and was congested and snotty, so he couldn't smell things very well. Which was lucky, because he was spared smelling himself, and he was always pretty rank.

There's more,  and its all sad.  The saddest part was that he lost that Dorkiness that made him so lively and cute.  He was just a worried, scared, little old man who just wanted to be left alone on his pillow by the space heater.

IMG_9082
So, when he took a turn for the worse this week, and I decided that his time had come, and made a vet appointment for him to be put down, I thought it was the best choice and that I'd be fine about it. After all, I've complained and kvetched about his pee constantly for a couple of years.  And he was such a loner, that sometimes I forgot he was even around, until I had to get the mop out again, that is. 

If I tried to pet him, he'd panic.  I think he associated me with baths and hair cuts, things that he hated.  Plus I was always the one who took care of him when he was hurt, or sore, so when he remembered me, he remembered pain.

I've been  cracking jokes for two years about his odor and said that he already smelled dead, I nicknamed him Zombie Dog because he looked so bad. No matter how often I bathed him, he was crusty with drool and snot.  

It had been so many years, since he'd been my little fuzzy Bookie Bear, my original Dorkie, that I really thought I'd be fine taking him in to the vet today.

Stairway redo 074 For over a year, I've been struggling with the guilt of wanting him to be gone.  I might offend other dog lovers with my honesty, but it really isn't easy living with a dog with that many issues.  And its such a hard decision, just how do you know when the time is right?  He wasn't still part of the family in a very active way, and he was a lot of work and trouble, but still, we owed it to him, to let him live out his life comfortably.  When you get a pet, its a big commitment.  Pet ownership isn't just for the adorable puppy stages, its for the smelly old man phase of life too.

But man, at what point do you say, enough is enough?  I was so paranoid about the pee, I was mopping 5-6 times a day.  This is for a couple of years.  That is a lot of mopping. 

This week, the question was answered when he wouldn't eat, and had some other problems come up. 

I was relieved.  I wasn't happy that he was not feeling well, but I was happy that the end had come.

  IMG_9414

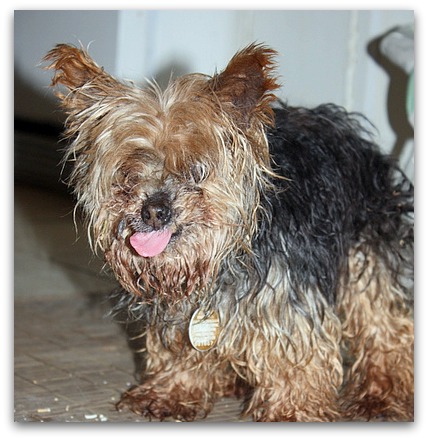
This is how he looked on his last day.  And how he looked most days.  Beth said thhe nicest thing about him, that he looked like the Velveteen Rabbit who was all worn down from so much loving.  Much nicer than me saying he looked like a zombie.

I took him into the vet this morning and said all of his favorite words, things that I though might bring back happy memories.  I whispered, "Sparkle, lake, boat, go for a ride, newspaper, treat," and "cheese", over and over and over.   Words that used to make him jump up and down with glee and act like such a little dork.

And I cried.

And now I miss his stinky little self.

Facing challenges, a how to, and a prize

fairies, how to's, how-to projects, vintage paper/collage art, wallpaper

IMG_9392
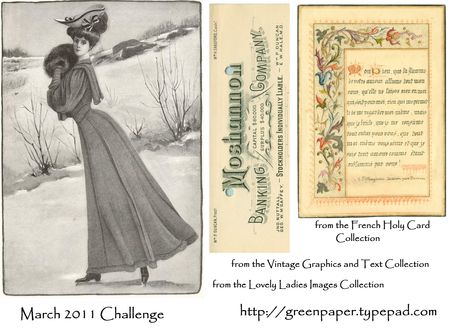
Mary Green hosts a monthly collage challenge on her blog, with a few images from her collections. When I saw it, I had some ideas to change it around. And to banish Winter! NO MORE SNOW, I want Springtime!!

I also wanted to try some beeswax, and thought this would be a good opportunity to experiment.

6a00e008c9f15d8834014e5f91e824970c-450wi

This is what she had us all start with. The rule is to use every image, but that you can add other papers and stuff too.  The last time Mary was here for craft day, she gave all of us pages and pages of printed images from her many collections, so I decided to use only "Mary Papers" in my creation.

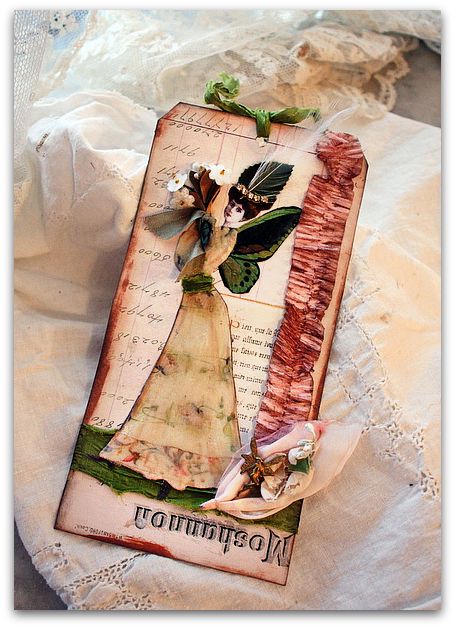
To change the Victorian lady into a fairy, I first cut her out like a paper doll, then traced her skirt shape onto some floral paper and  then cut it out on glued it over the existing gray skirt.  That part was easy, it was a little tougher to piece in the bodice of the dress. After tracing and piecing it in, I had to trim away some extras, and then used a light brown marker over the whole dress to add folds in the fabric.

The French holy card had a pretty border that I cut out and used as a ruffle at  the bottom of the skirt.

I didn't care for the winter theme, so snipped off the ice skate blades and the muff, and glued the paper doll onto a tag covered in ledger paper (from Mary's collection), the text from the French holy card, the bank letter head from the challenge, and some green silk ribbon.

IMG_9415

Have you ever tried beeswax over your art? I did once, in a Silver Bella class, so knew just a little about it. I had to experiment this time to get it right.

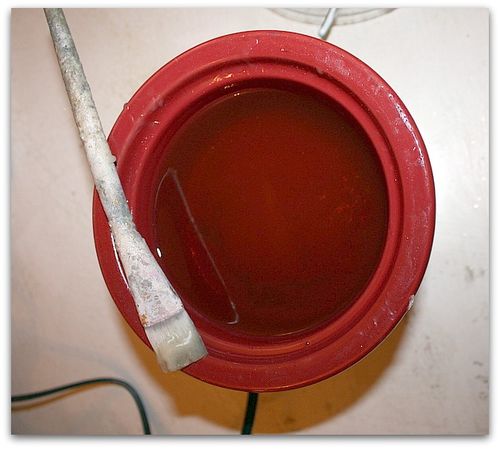
I melted the wax in a mini crock pot that came free with my big crock pot.  


Starting with the smaller areas,like the sleeves,  I brushed wax on with a small brush, then with a larger, flat brush, filled in the skirt.

I discovered that a blob can be smoothed out with another application of wax over it. And its good to work in one long swoop of a brush stroke.

IMG_9393

Adding glitter to the waxed wings sounded like a good idea, but it wasn't. So I discovered that you can scrape away the wax with the flat side of an exacto knife's blade.  

This made a really cool texture, the dress is a heavy coat of wax and the wings are a flat, sheen of wax, just the remnants from me scraping off the glittery blob chunks that didn't work so well.

I also found that I could take the exacto knife's point to clean up the edges and any bumps on the dress. After that, I kind of polished it with a paper towel wrapped over my finger.  Just a light buffing stroke over the whole waxed area made it look really pretty.

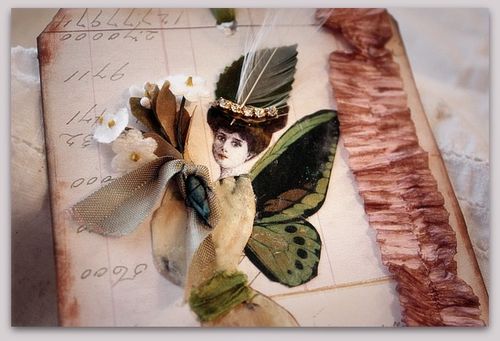
Her hat is a millinery leaf glued on her head, with a white feather and some rhinestones over it. Fast, easy and fit for a fairy queen.  I made a belt for her from the same silk ribbon that I used in the background, and then touched up her hair with a brown marker and her lips with a pink one.

SInce I had cut off the muff she was holding, her hands were gone too, they'd been inside the muff.  To fix that, I glued a bouquet over the place where her hands should be. We'll just pretend she is holding  the flowers.

IMG_9394

You can see the wax better in this close up.   It creates kind of a dreamy look to the "fabric" of the dress.

A ruffle of crepe, (dipped in coffee to age it), a millinery bloom, and a fairy charm and I was done.

Thanks, Mary!

IMG_9422
My studio is full of paper right now. I've been slicing and dicing vintage gift wrap to make up packages to sell in the Boutique. Its not there yet, but I'll let you know when it is.

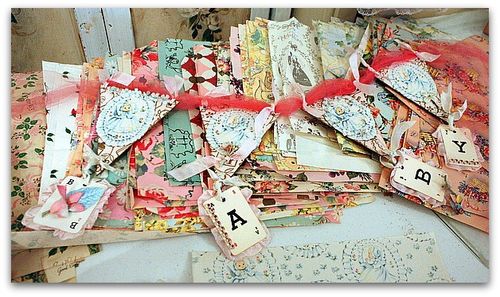
While I was cutting up the paper, I just had to snip some off for myself, and I made up a couple of banners.  This one is done with all baby shower gift wrap and playing cards to spell B A B Y.

IMG_9420
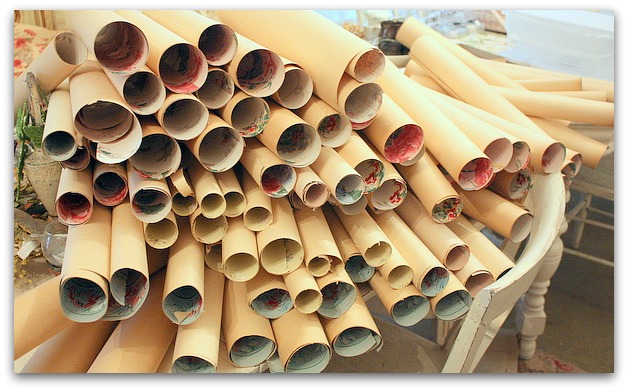
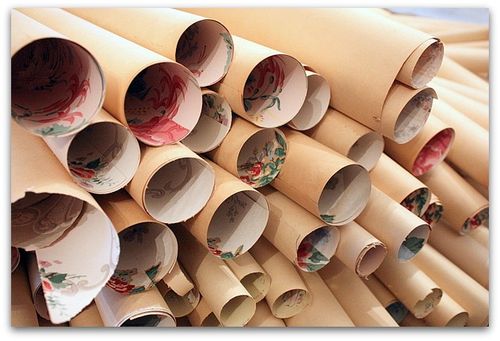
The wallpaper chopping is progressing.  Slowly but surely. Its so freakin boring to do that it takes me forever. I keep thinking of little errands I should run, or tell myself I need to check on something. I'll make up any little task to get a break from this big one. I'm trying to cut a LOT at once and get the shop stocked up.

IMG_9421 At first its fun, because the papers are so pretty and I enjoy playing with them. But after cutting out 5 or 6 of the same pattern I get very burnt out and want to switch to a different roll of paper.   Or just leave.  

Its almost enough to make me want to work on my taxes.  No, not really, no taxes have been done yet.  That is even more tedious.

Honestly, a person who is self employed and works at home should  have better discipline. I need a boss to make me finish this!  

IMG_9089

But here is a fun part of my job, I get to announce the winner of my drawing for the package of good stuff-

And the packet goes to:

Clairice at Storybook Woods (one of the first blogs I started reading)

Are you up for the challenge?

fairies, give away, vintage paper/collage art, We're having a party

IMG_1741

What a wonderful day I have had. Its about 8pm, and I am still jammied up. I've spent the entire day in the studio elbow deep in my favorite things, and was too busy to even get dressed. (which also explains why these photos might be a little fuzzy, I just finished, and took the pictures in bad lighting. But I wanted this post to be up and ready for you to link to on Sunday)

IMG_1740
My goal for the day was to delve into some of those supplies that I'd bought to use, but that were so wonderful as is, I'd just left sitting in my studio and never touched.  Like these little figurines.

IMG_1738
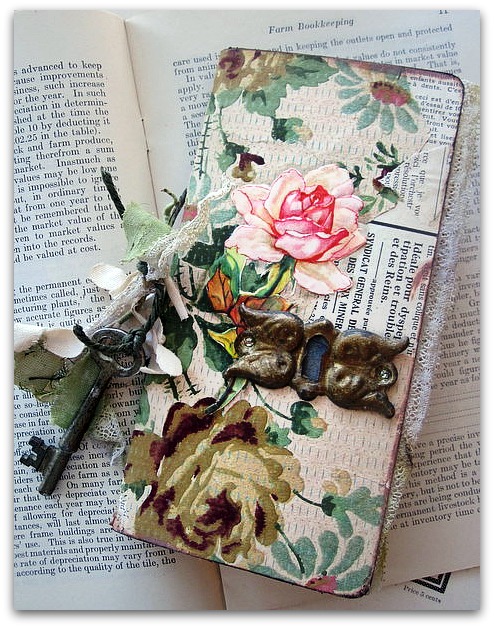
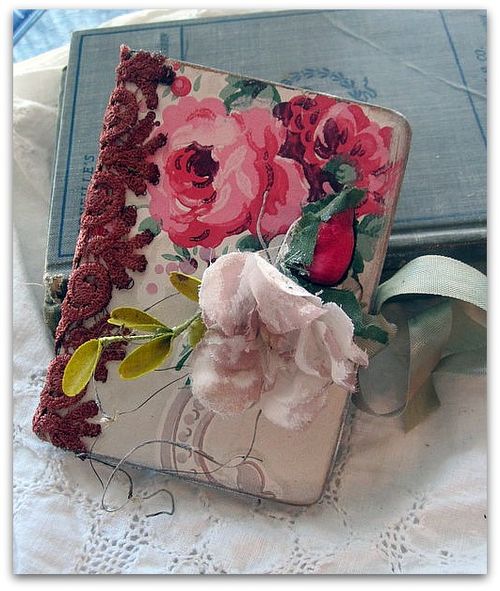
For years, and years, I've had this red velvet, vintage album cover, just waiting to be turned into something, and today I finally did.

And I didn't hold back.  Every tiny bit that I used on it is something wonderful, French text, rose wallpaper, handfuls of millinery flowers, a rhinestone butterfly, and a GREAT, old,  English cottage print.

IMG_1743
It was the best time!  I cut and glued and played all day, my husband is out of town and I am on my own. No meals to cook, no one to tend to, America's Next Top Model and some other deliciously awful trash TV recorded to watch.  And the determination to use The Good Stuff. Yep, a great day!

IMG_1737
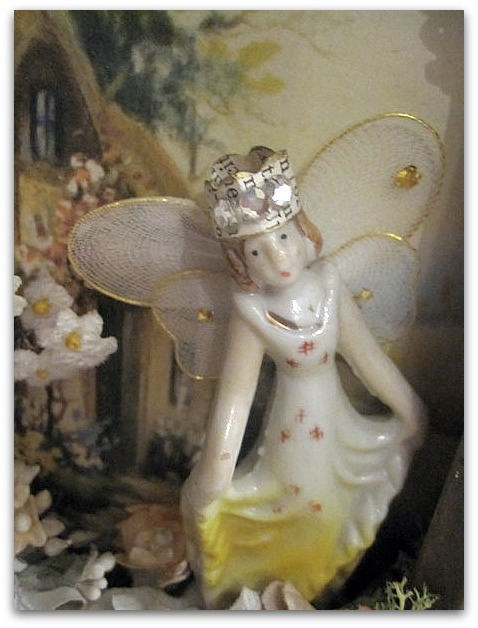
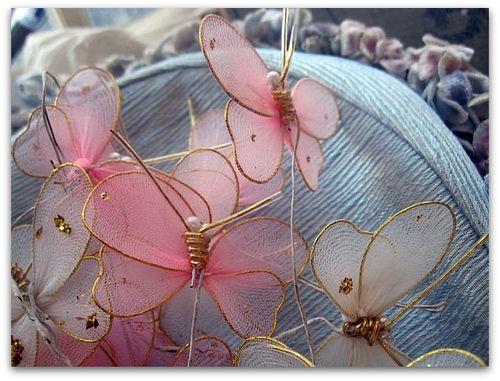
Beth had given me a bagful of these butterflies last week, and one of those was just perfect to use for the fairy princess's wings.  Its tempting to fill an apothecary jar with these and just admire them, but I made myself pop the head off of one and glue it to the figurine's back, (I do think that the antenneas and heads should be removed from a butterfly before adding it as fairy wings.  You don't want it to just look like a complete butterfly on her back, you want it to look like the wings are actually hers.)

IMG_1714
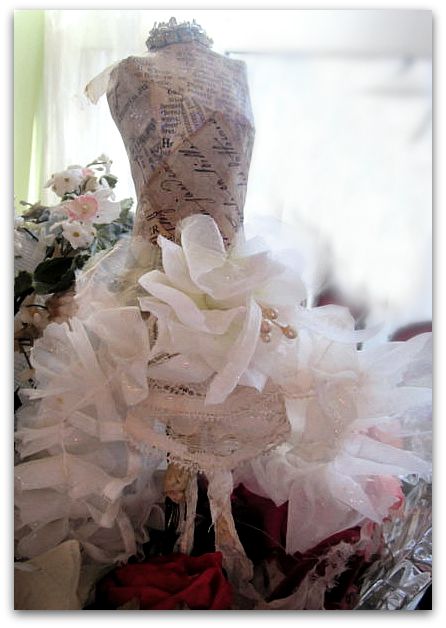
Earlier this week, I'd sewn up  some ruffled strips of salvaged fabric, and while they were not "worth" a lot, I still include them in my besties.  And they are something that normally I would have used sparingly, but today, I went whole hog and used THREE rows of ruffles on this can-can girl dress form that I made.

IMG_1715
And not only did I use a nice old rhinestone button for the top of the mannequin, I also ringed it in rhinestones.  I double foofed it, even though the button alone looked good, the extra sparkle really made the piece.

IMG_1717
We all know its not the cost of the item that makes us want to hoard the best things, its much more than that.  It can be the sheer beauty, the rarity, or a memory tied to it.  We tend to get emotional about our best finds, don't we? 

IMG_1718
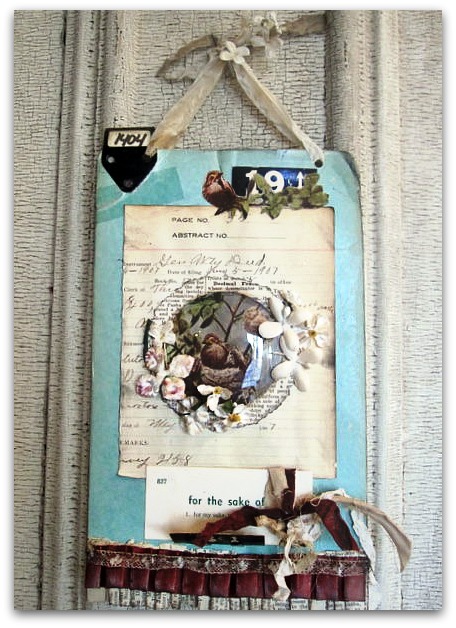
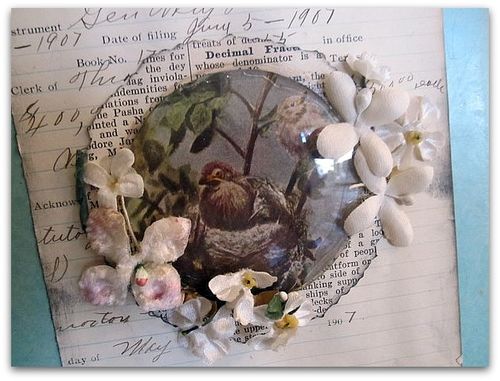
This piece of round, domed glass came out of a ratty frame, and was a dollar at a flea market. But I've left it on a shelf in my studio for what seems like forever, just because it looked nice with a collection of other clear glass items I had in the pile.

But I sure think it looks better over this bird picture than it did on a plate on my shelf!

It felt good to use it.

IMG_1720

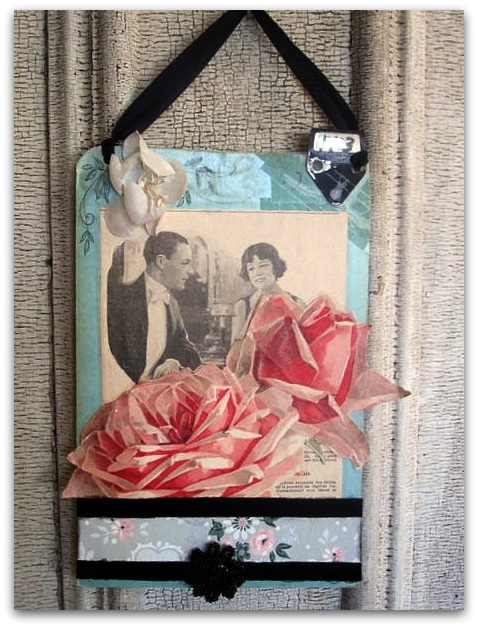
And I'll bet you can guess what the hoarded item in this piece was- yep, the ROSES.  Oh my! Some of the prettiest I have ever had.

 
IMG_1721

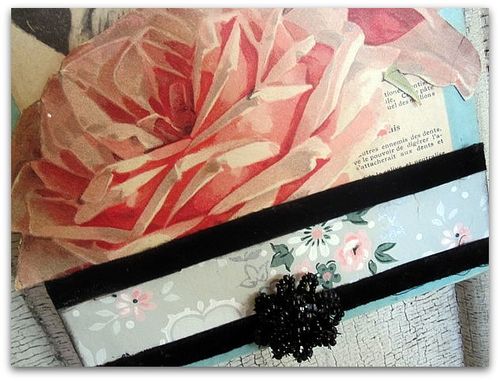
I also used TWO rows of old velvet ribbon, and a beautiful jet bead earring.

IMG_9250

The back ground for these collages is something I just got, and I treated myself to a stack of them before listing some in the Boutique.  Sometimes, I tend to sell the best things I find instead of keeping them for myself. 

IMG_1724
This one features a frame that I'd been holding back on using.

IMG_1725
The frame is something that I've had for at least 10 years.  Now what the heck was I thinking????  Why would I buy something like that and leave it in a cabinet?  Sometimes things get set aside, just waiting for the right project that never comes along.  And it will just sit neglected in a drawer or closet, out of sight, out of mind.  Just because I thought it was too good to use when I first bought it.

Is it too late to make a New Year's resolution? If not, then, mine is to dig through my cabinets and rediscover hidden treasures.  And USE THEM.

IMG_1727
Like this key hole that I found in a drawer today.

IMG_1734

Uhm, did I mention that I was productive today? And inspired!  

If you've embraced the challenge and have been brave enough to dig into your Good Stuff too, I hope that you will add your link to this post so you can flaunt your efforts.  

We all know that it isn't easy to use "the best" and if you've read any of the comments I've been getting on the subject, you'll know that many of us suffer from this.  We buy amazing things to create with and then are loathe to do it.  Our hands shake, and our forehead breaks out in sweat beads when we reach for that perfect, faded rose, or we try to cut into that length of hand made lace.

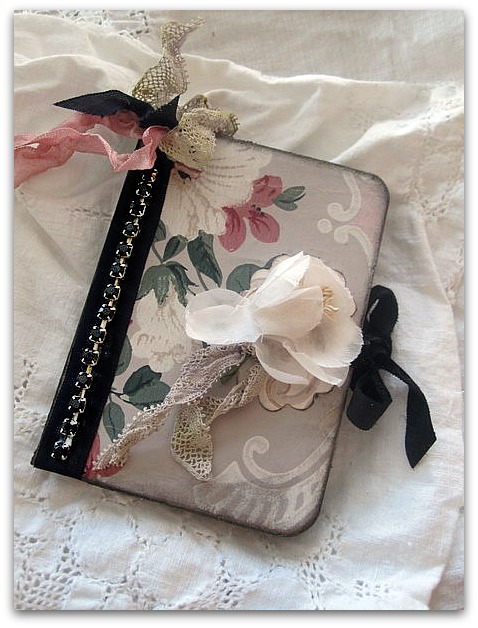
But sometimes, you gotta just go for it.  A good piece of art deserves are best supplies in it.  That note book I covered wouldn't be nearly the same in scrapbook paper, as it is in that beautiful, old, rosey wallpaper.

And I find there is a lot of joy in using the besties.  I hope you've found that joy too!

IMG_1733

So, here is what you do to join in our link party. 

  • Show your challenge project on your blog (or flickr or facebook, or whatever you use)
  • Click on the title of your post, and copy that URL into Mr Linky, not the URL of your blog.
  • Add your link to the bottom of my post where it says, "Click here to enter"
  • Please add my blog address to your post so people can come and visit all the participant's blogs.
  • If you want a chance to win a "Good Stuff Prize Pack" from me or from Mrs. Staggs, please leave a comment on my blog for mine and visit her for her rules.
  • You can use this button if you'd like to

Good Stuff button


Are you gathering up the good stuff?

parties, show and tell, vintage paper/collage art

Good Stuff button

Are you ready to show off your creations?  I'll have the link party ready Sunday morning and you can add your blog to it anytime through Monday evening. 

  IMG_9267

Your project can be ANYTHING at all, where you have broken free of the instinct to hang on to your best supplies and actually used them.

Sewing, collage, a decorative item for your home.  Anything at all that includes bits of your favorite things.

IMG_9287

Please make sure you link to the POST that features the item, not just to your blog.

  And please do mention the challenge and my blog address so that others can find the list of participants and visit us all.

IMG_9242

Your post can be from the past, or a new one.  If its an older post, please edit it to add the link back to the party.

IMG_9280-1

As hard as it is to part with the besties, they sure elevate anything you make. I turned these little vintage postal bags into something I really love by adding my favorite things to them.

I'm hoping to make something special tonight just for the party too. There are some supplies I have been eyeing….  its time to delve in and enjoy them!

  The postal bags, and some ephemera books (all dripping with the good stuff!) have been added to my Boutique.IMG_9092

And don't forget, you can win a bundle of my besties by leaving a comment. 

!cid_0CDBABB850EC42A8844F5D8C28CC5902@Staggs
Mrs. Staggs will be having a giveaway on her blog too.  The challenge was her idea.  Thanks, Lena!!

Sugarwing’s Low Sugar Freezer Jam, otherwise known as a strawberry spread type thing

family, Food and Drink, how to's, how-to projects, Sugarwings

IMG_9291
For not having a recipe and having never made jam before, we did okay last night when we gave it a try.  What we ended up with was a unique strawberry spread type thing, and we really like it. So, I guess that is what counts.  Whether anyone would ever call it "jam" when they ate it, doesn't really matter to us.

We were going rogue.

IMG_9298
While I've never made jam myself, I knew a bit about it. Like you need a LOT of sugar for it to set up. And if you aren't canning it, you need to make freezer jam instead. 

We used very little sugar, because I was making the jam myself so I could purposely cut back on it, since Sugarwings has a little bit of a jelly addiction. Well, with a name like Sugarwings, you might expect her to have a sweet tooth…

  IMG_9297
Here's how we did it, if you want to make some strawberry spread type thing for yourself:

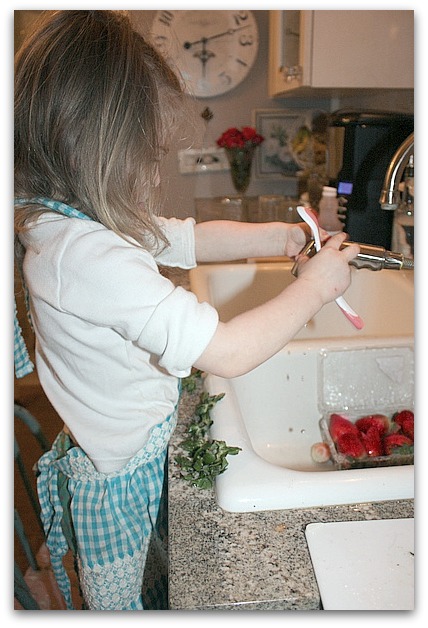
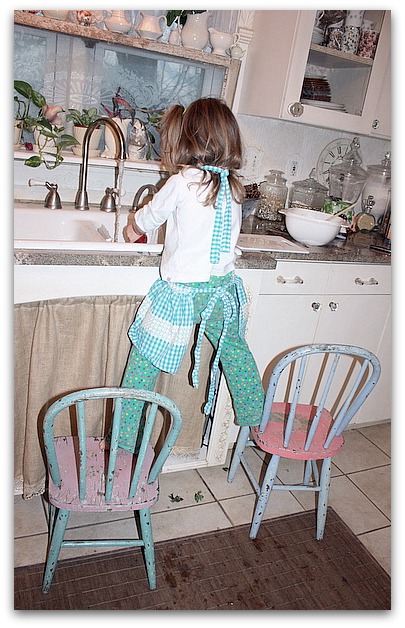
  • First you need a good berry scrubber with skills in pulling off the "green parts".
  • After the green parts are gone, cut off the top, and toss the fruit into a blender.  We used 2 quarts of organic berries.
  • We squeezed half of a lime over the berries in the blender and then purreed them.  To get the most juice out of the lime, we played with it a while, and got it good and smashy before I cut it in half.
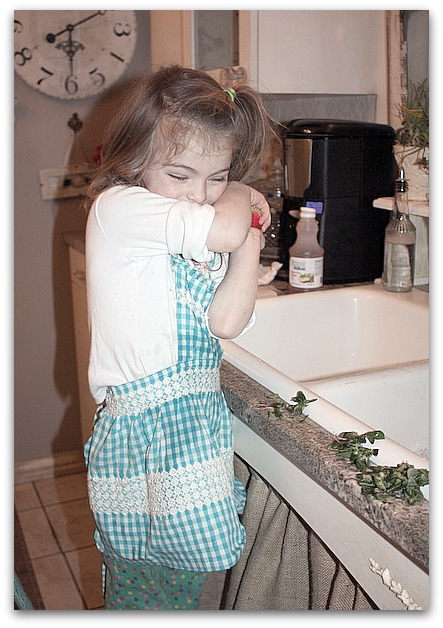
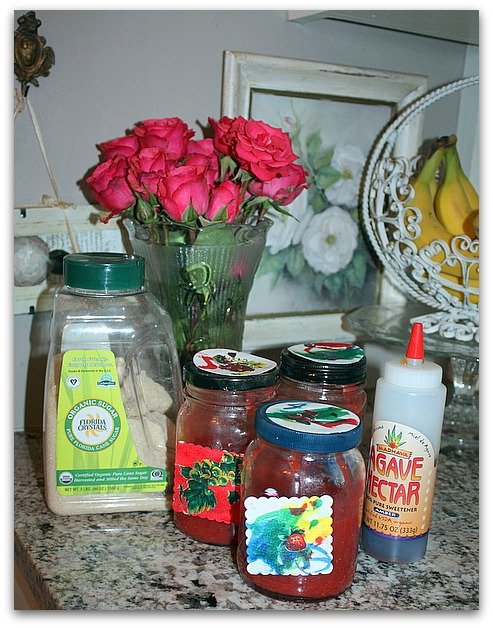
  • To the berry/lime mix, we added a 3/4 cup of organic sugar and about three good sized squirts of agave nectar syrup, and blended them all together. Have the lid on the blender before your helper pushes any buttons, or else be ready to wipe berry globs off your forehead.
  • We opened a packet of pectin (found on the jello isle at the grocery store) and disolved it in a 1/4 cup of boiling water.  I have a feeling that the jam might have been thicker if my helper hadn't spilled quite a bit of the pectic powder when she poured it into the bowl.  If all your pectin makes it into the hot water, you might have a better end product than we did.
  • Mix the pectin/water with the berries and sugar, then pour into jars. Leave space at the top of the jar for the jam to expand when it freezes.
  • Let set at room temperature for a couple hours before cooling in the fridge (or freezer if you want to save it for later)
  • Make labels while the jars set up.  IMG_9310

The whole endeavor might have just been an excuse to make labels.  Our yeild was small, only three partial jars, so we decorated the lids, too. We had looked forward to making labels too  much to stop at three.

For our labels, we used some fruit rub ons and paint markers on water color paper shapes cut out with our punches. 

IMG_9302
My kitchen might still be a little sticky, but we sure had fun.  And our so called jam really is tasty. And good for you too! 

To me, it tastes a bit like a Margarita. Sugarwings thinks it tastes like jelly, but she's never had a margy.  This spread has more of a fresh berry flavor than a jelly flavor.  And I don't think it ended up costing any more than if I'd bought three jars of All Fruit spread.  Sometimes, kitchen experiments can go a bit crazy in the budget department, but this one did okay financially.

IMG_1714

Plus, its something we will really enjoy eating, and it wasn't hard to make.  We also whipped up some home made yogurt, and for breakfast today, we swirled some of our "jam" into the plain yogurt, and it was heavenly.


A new look for the Boutique!

fairies, the Boutique at Karla's Cottage, vintage paper/collage art

  IMG_9205

My Boutique is back in business!

IMG_9224

My pal, Hope, has finished redesigning it and now it is arranged in a much easier way to navigate.


Here is a snippet of how she has redecorated my store for me. It goes along with my blog look better and has a lot of my favorite things on it.  I scanned an old rhinestone necklace for her to use, along with the velvet flowers and old flocked wallpaper.

The roses are taken from a watercolor I painted (that is in my blog header), and then she digitally edited the painting to be sepia.  Hope pulled all of my elements together in a functional way, and created a design I really like.  Then she set up new buttons and categories for me.

IMG_9184

So far, I've only got a few things listed, fairies, tag kits, and a couple of other goodies.

IMG_1712

But my studio is overflowing with inventory to photograph and list, so the shop will fill up soon!

IMG_1705

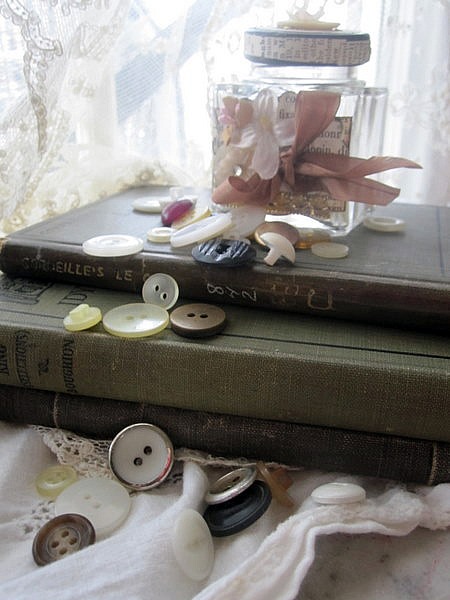
(vintage jars of buttons $12)

My plans to add more today got interrupted, but in a fun way. Well, fun for me, I get Sugarwings for the night! Not so fun for my son, he shattered a tooth and is in terrible pain, so he needs help with the kids.  He has a dentist appointment Friday, which is a long time to wait when you feel that bad. Not fun one bit.

IMG_9192

So I'll be picking up Sugarwings at preschool and we will have a sleepover.  I bought ingredients to make strawberry jam and home made yogurt. So, we'll spend the evening in the kitchen.  I've never made jam, but wanted a low sugar, organic fruit spread for her, and thought I'd give it a try. 

I figure if you don't know how to make something, and its going to be a big, and messy affair anyway, you might as well involve a four year old and make it into an adventure.

IMG_9189

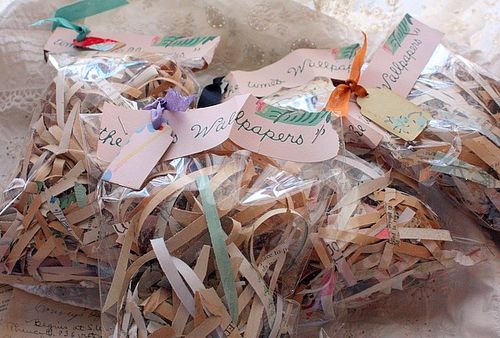
(Shredded ephemera $5)

Another item coming to the shop soon, is a selection of wallpaper packs. I've been chopping and slicing and ironing up a storm getting them ready.  As I cut it up, I have little edges and salvage left over and simply could NOT let it go to waste. So, I made up some bags of shredded paper, and have so much, I added it to the Boutique. 

I had planned on just using it as packing material, but I think that there are arty possibilities too. Like nests? Filling decorated cones? Easter baskets? 

IMG_9199
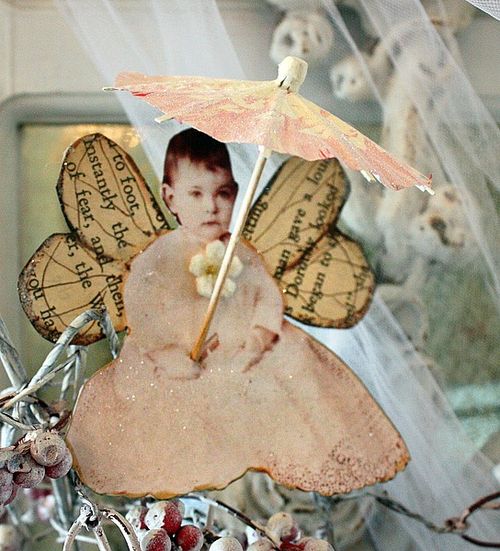
(fairies $12 each)

If you get a chance, I'd love to hear what you think about the new look in the Boutique.  I'm thrilled with Hope's vision of it, and think its much easier to use with this new lay out. Lots of new categories, and sub categories should make it easier to find what you are looking for.

The categories are now listed under the banner instead of down the side of the site. Its much more balanced and a cleaner look, I think.

IMG_9089

And I hope that you are getting geared up to show what you've made with your good stuff? Links can begin Sunday morning and the post will be open to link up with through Monday.

Leave a comment on any post till then (as often as you'd like) to be entered to win my prize pack of good stuff!


Scroll to Top