Fantasy Photo Editing tips and short cuts with Picnik
fairies, family, how to's, how-to projects, photography
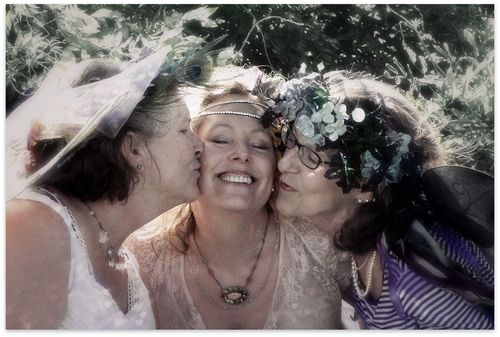
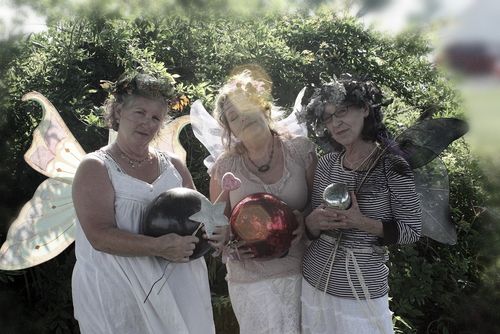
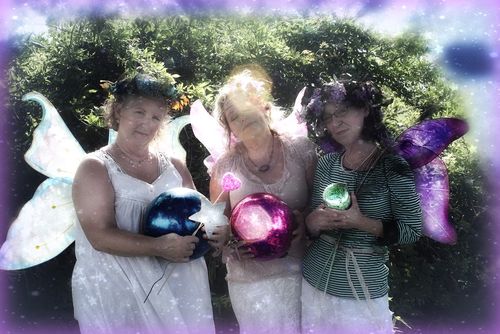
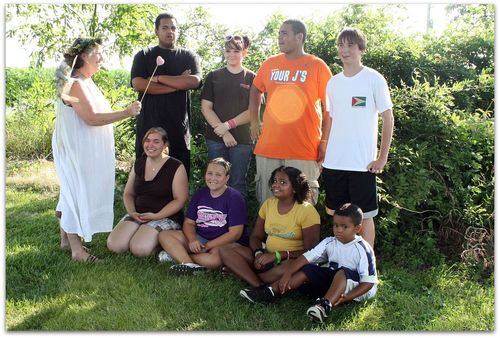
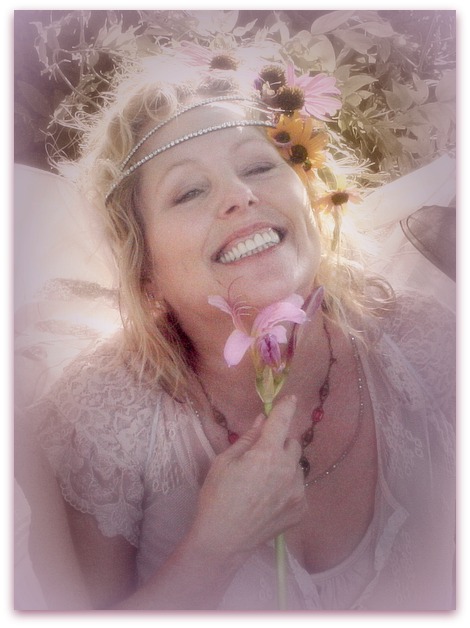
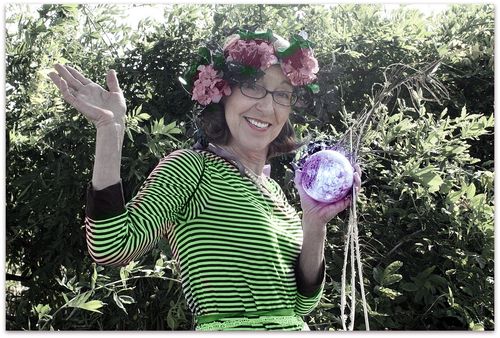
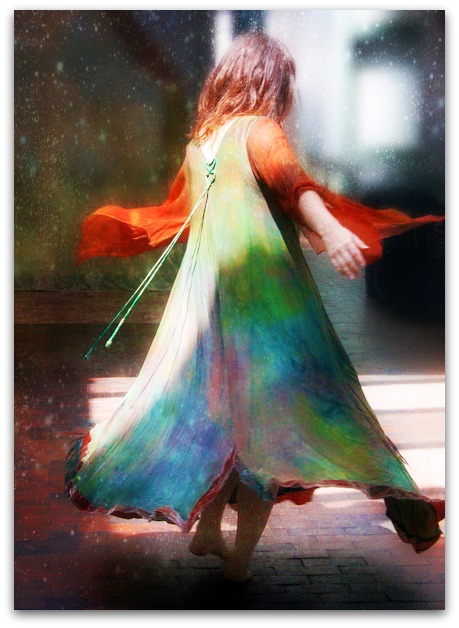
While I was in Indiana, my sisses indulged me and we played Fairy Dress up. Bobbie Sue's husband used my camera to get some photos, and as cute as they were, I thought they could use some added magic. (By the way, my sister lives on a highway and we were in her front yard wearing our fairy gear. Its good to have family that likes to have fun and doesn't get embarrassed when cars drive by and honk when we are being silly)
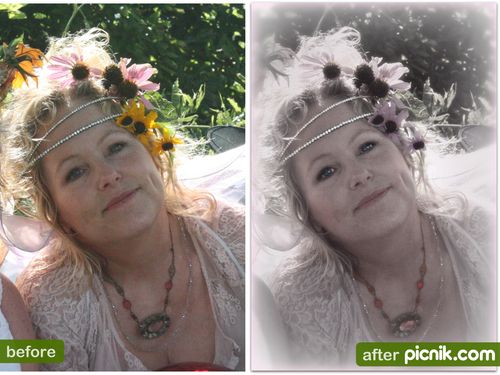
Here is how I did it, if you are interested. I use only Picnik, which is free. But some of my choices are from the premium selections, so they cost $24 a year. Much cheaper than buying Photo Shop, quick, easy and simple. I can't figure out Photo Shop myself, and Picnik is so self explanatory its easy to learn.
I don't spend much time per photo either, never more than 5 minutes each. I take a lot of pictures, and enjoy editing them, so don't have a lot of time to spend on each, or I'd never get anything else done if I didn't keep it quick.
Click on any photo to see it in a bigger window.
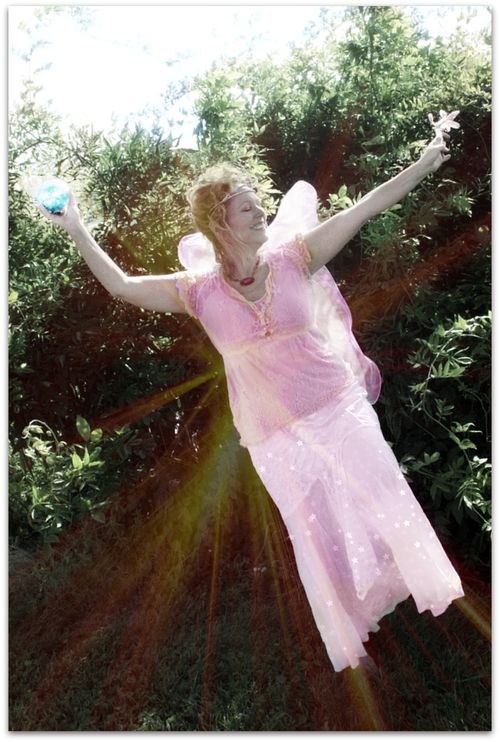
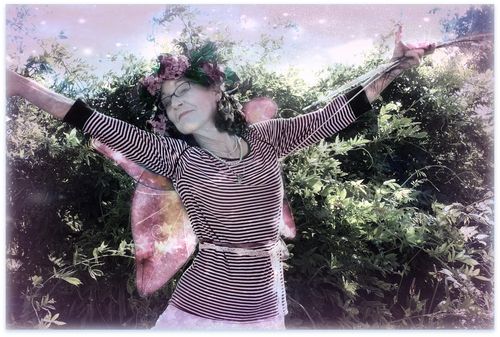
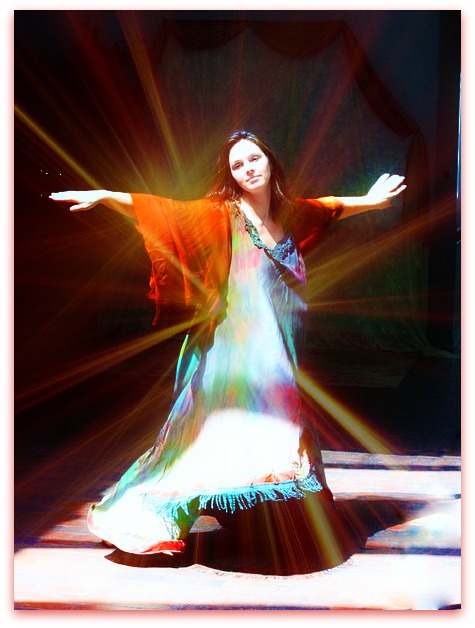
(for the picture of me flying, I tilted it, with Rotate to make it look like I was flying off, the other steps are similar to the ones below)
First, go to "Edit" and auto fix, then slightly sharpen. Next I do auto colors, and then cut the saturation in half.
Go to the "Create" section and in there, find "Touch Up"
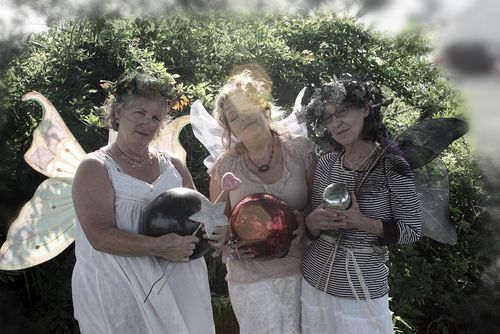
I use Wrinkle Remover to get rid of the red car in the background. It took three applications to get enough strength of the blur to cover it. I ran a circle of Wrinkle Remover all around the edges of the photo to make it match too.
I clicked on the gray eye under Eye Color and used that all around where I'd blurred the edges. You can only do one color at a time. Save each and move on to the next.
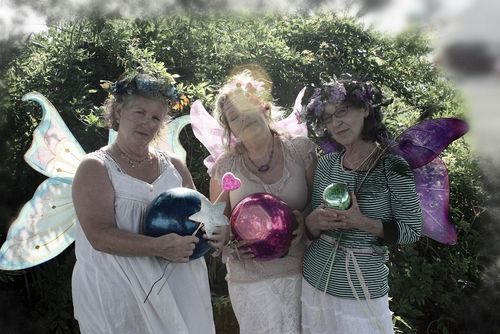
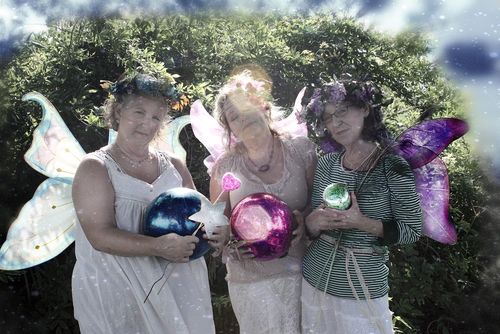
Eye Color was used again to tint all the magic wands, wings, orbs, and hair embellishments, as well as the wings. After tinting, I faded the colors by sliding the bar till I liked the strength of the color.
Over that, I used Eye Bright, then lightened it a great deal, so the wings and orbs had a bit of a glow.
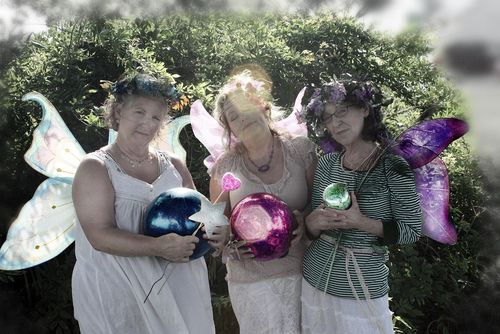
But that wasn't quite dramatic enough, so I used Eye Bright at full strength on the lightening on the orbs and highlights of the wings one more time.
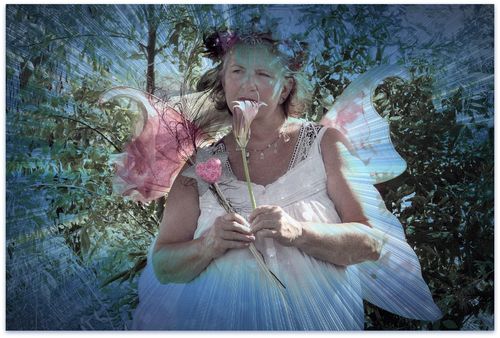
To make the fairie's skin glow more, I used Dodging, still under the category of Touch Up.
Over the blurred background, I did a faded blue Eye Color, then went to the Featured section and added a solar layer, and faded it down.
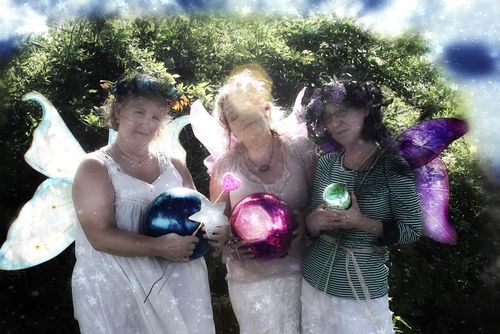
Next, I used Ortonish under Editing, and faded it half way. Over that is Bokah Stars from Fourth of July under Seasonal. I like to make the stars tiny, and do two or three layers of them, in different sizes.
To finish, I used Matte under Effects, in blue first, then faded, and over that, pink, faded and smaller.
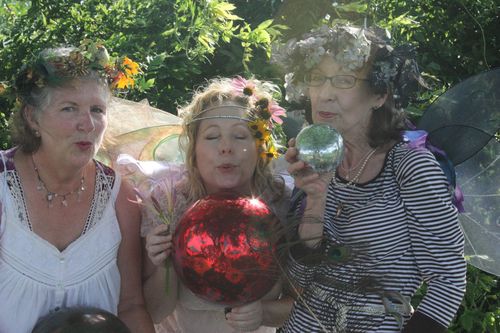
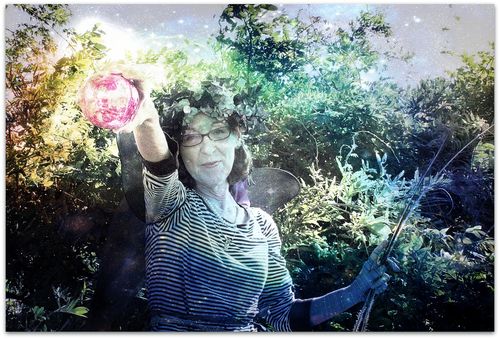
This picture has nice light coming through over my shoulders, so I decided to accent that.
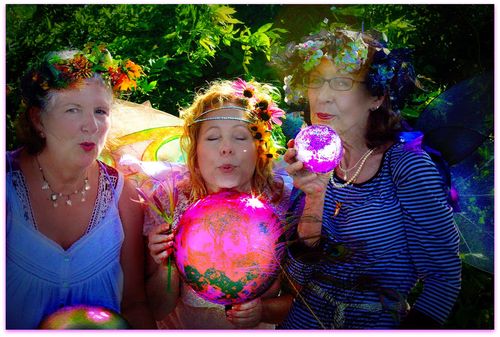
I made it really colorful, not my typical style, but fun and fairy-ish.
Here are the steps:
- Auto Fix
- Sharpen
- tint orbs pink with Eye Color
- lighten and brighten orbs and wings with Eye Bright
- Eye Bright full strength on all jewelry and again on the orbs
- full Saturation (under Effects), before applying, I erased the Saturation from all skin tones
- Lomo-ish (under Effects) to darken the edges and make the center glow
- Eye Bright on wings and around the orbs
- Dodging to lighten the faces
- Drop Shadow in pink
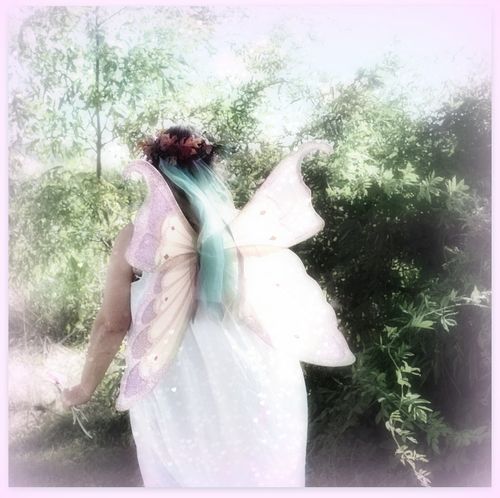
For my next post, I'll show you some softer colors and ideas.
