September 2011

Some Kitchen Remodel problem areas and a mini how to for glaze

Kitchen remodel
 

IMG_4657
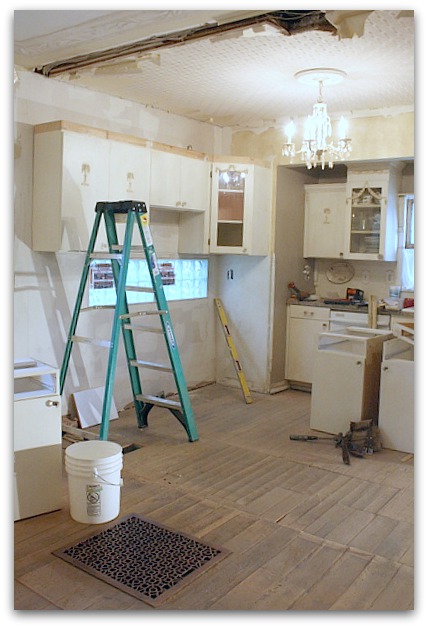
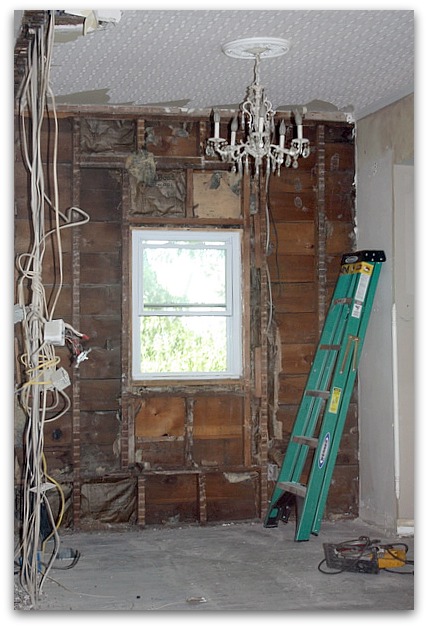
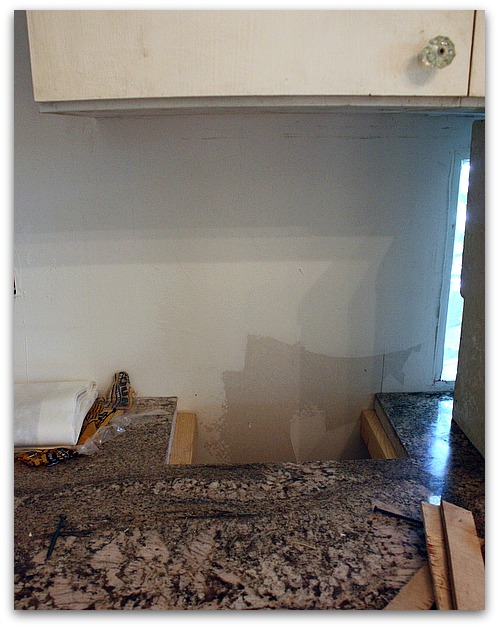
We have tried to be as cost efficient as possible with this kitchen redo.  We have reused all the cabinets and countertops, just moved them to the other side of the room.  One problem that we came across was that previously, the cabinets were built around a flue that ran through the attic to the basement.
IMG_4647
The flue was no longer needed, but the granite was cut to fit around it. And we weren't about to pay to redo the counter tops and toss out my 6 year old granite!  (actually, I think that the granite is thousands of years old, but it has only been with me for a few of those years)
IMG_4649
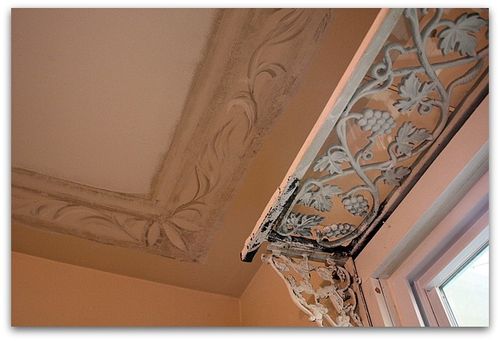
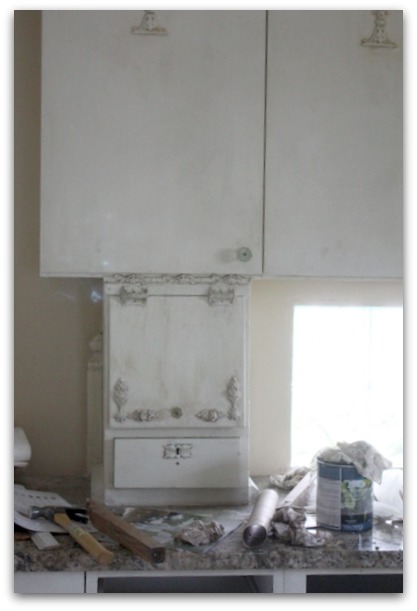
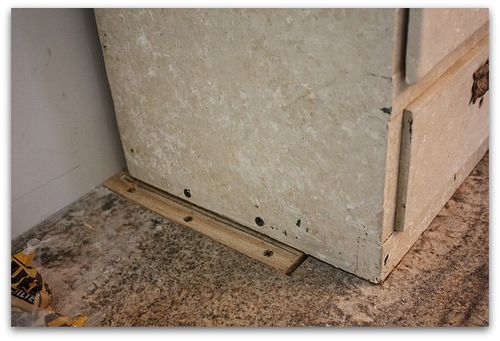
I searched antique malls, flea markets, and everywhere I could think, for something that would fit over the hole.  This little cabinet out in my studio was as close as I came, but still was a tad short. I found it years ago at the very first auction I ever went to. It was $2.

IMG_4658

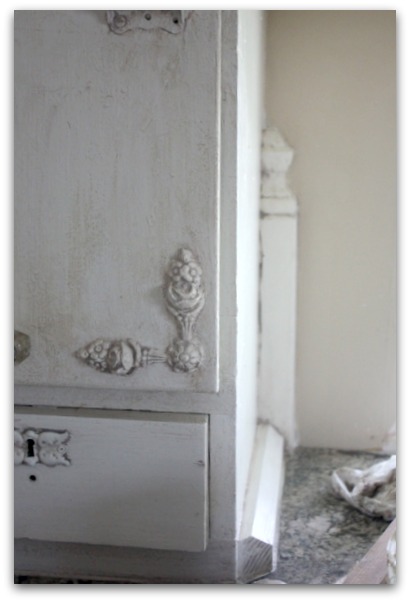
Easy fix!  A bit of trim, some nails, glue, and calking, and you'd never know the cabinet was not always there.  I added some decorative trim and painted it to match the rest of the cabinets, and now only need another glass knob to finish it off.

I added some leftover trim from when we first installed the cabinets.  The embellishments are made of glue. When they are fresh (made to order from the manufacturer) you can just steam them and stick them on, then paint or stain. When they are old, like these, they need to be glued and calked into place.

These come in ANY and every style you can imagine. You can find them here. 

I especially love the rosey ones.  They aren't cheap, but are unique and cost less than wooden trims.  I spent under $400 when our cabinets were being built, and have a bag left over, plus have used them on lots and lots of other pieces over the years. I over bought for the project, but have loved to have the baggie full of rosey bits and other trims to use here and there.  A few pieces in the right spots can really elevate a dresser or buffet.
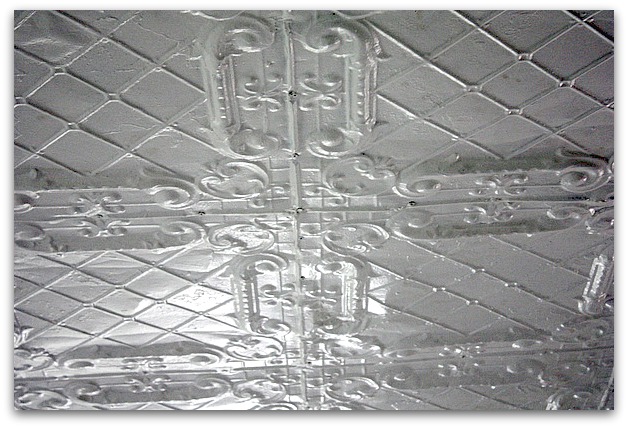
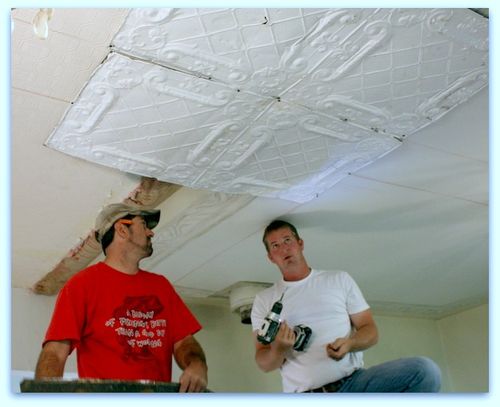
IMG_4652 One of the best things about the redo is the new (old) ceilng covering. Trouble was, I couldn't find enough old tins to do the whole job. I had 20 of two different patterns. One we used all around the perimiter of the room, and this one we filled in with.
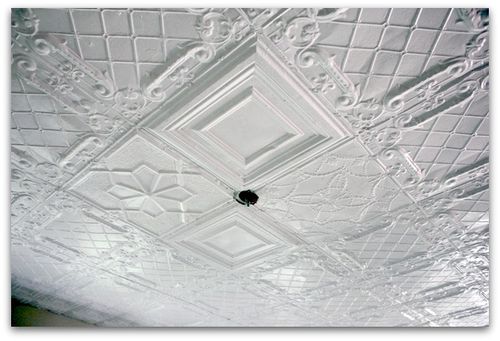
IMG_4653 There weren't quite enough to do the center of the room with the same tiles. There were enough from the border to fill in the center, but I didn't want to do that. Instead, I raided my stash in the garage and found a few odds and ends of different patterns of tin and we patchworked 4 of those around each chandelier.
IMG_4665
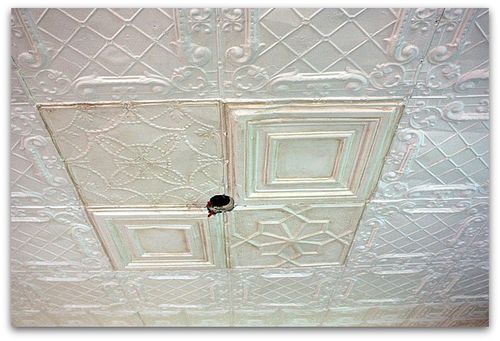
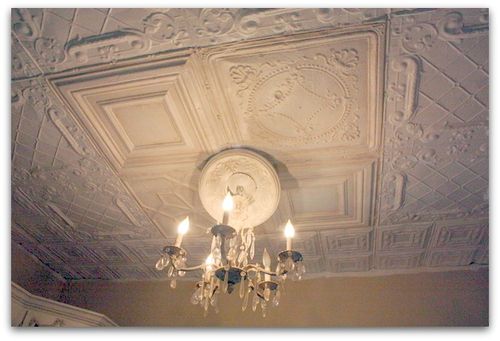
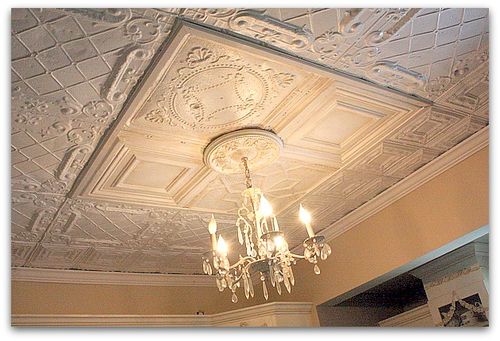
To make it look  like that was a design choice, not an, "Oh my gosh, I'm out of matching tins, grab those over there for me to fill in with" mess up, I glazed the 8 oddball ones to match the chandeliers they hung over. I wanted to accentuate the odd tiles.
IMG_4663
In this photo, the chandelier isn't completely re-installed, but can you see where I am going with it?  I found all the 2' x 4' tins for $20 each, and have enough remnants to do the bathroom too.  The installation was $800 for both rooms, so not bad for the complete transformation they give the kitchen.  Plus, they cover up the fact that one room had a 3" higher ceiling than the other.

Some of the tins were in pretty bad shape and needed a lot of calking to hide it.  The rust will start to peek through all the white satin paint, but I am kinda looking forward to that.
IMG_4690
Here is a photo with it almost done. The guys put up a narrow trim piece around the 4 squares and I still need to calk and paint the trim.  I'm thinking I'll paint it the same color as the wall, since that is the base color I used for the glazing.
IMG_4659
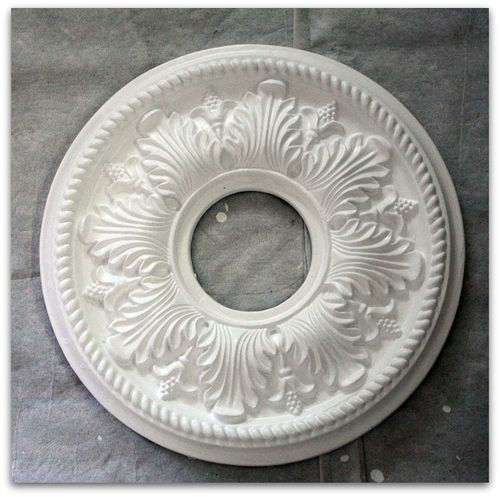
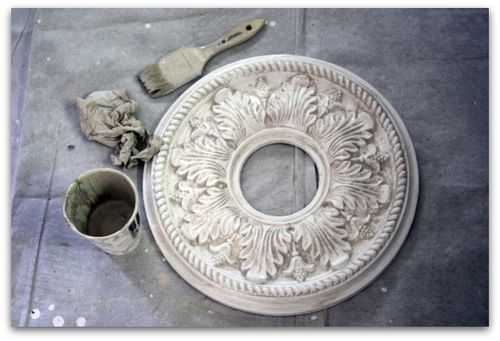
I also bought 2 of these $26  medallions from Home Depot to place over the chandeliers and glazed them to match. Here is how:

First I painted them white.
IMG_4660
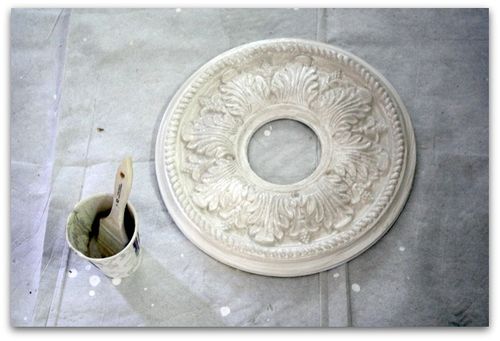
Next, I smeared the tinted glaze all over the piece, making sure to get it down into the cracks and crevices.
IMG_4661
When I glaze something, I usually use a cheapo brush. I want one that I can force into the nooks and crannys and not worry about ruining.

Afterwards, a quick wipe of the highpoints with a dry paper towel and it was done.

I did the same technique on the 4 tins above each light fixture and also on the little cabinet I used to cover the hole in the granite.
IMG_4651
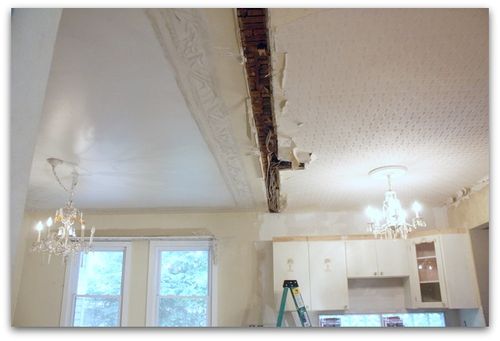
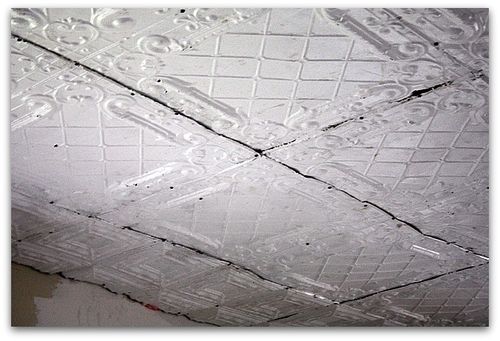
Glazing 8 tiles over head didn't seem like a big deal after spending more than 12 hours calking all the seems and painting all the screws white. Here is a before shot of the seems.

Remodelling ain't for sissies.  Unless you have an unlimited budget and can pay someone else to do it all.   We have a great contractor and crew working on the room, but I'm trying to save money where I can. I'll be staining the floors myself, and have already repainted the front of the exterior of  the  house where they had to reside the area that used to be a window.

We are on the home stretch now!  Its starting to look like home again. That is, under about 6" of old sawdust and drywall powder, I can sort of see a homey place developing.
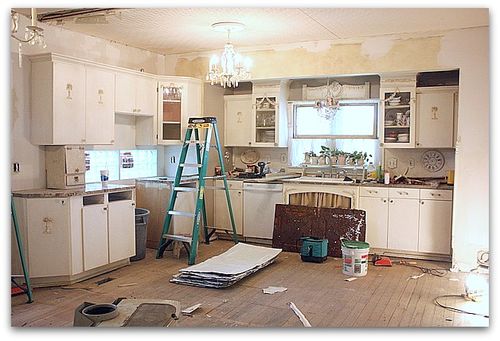
Your flooring input please?

Kitchen remodel

IMG_4617
My kitchen is not done yet, but I am already loving it! I'm head over heels about the new configuration.

IMG_4625
The ceiling tiles make me feel like I am inside a white wedding cake.

IMG_4628
Aren't they pretty!?  I have to caulk and touch up the paint on each one yet, but they already look good.

IMG_4627
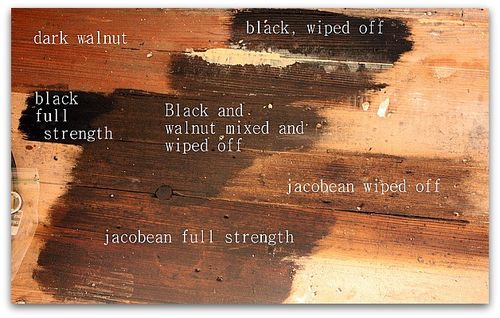
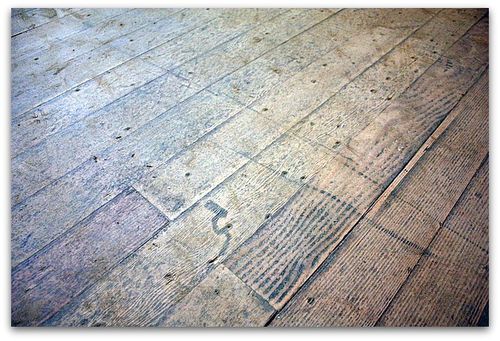
Now, to find the right stain for my distressed old floor.  The wood adjoining this room is the same floor, with a clear coat years ago. I'm afraid that whatever I do won't match it just right, so I want a contrast instead.  So, a clear coat is out.  Plus the old yellow heart pine tends to go orangey, and I'd rather stay away from that.

So, I tried dark walnut stain. That went red, but the grain looked pretty.

I'm great with mixing paint colors, but working with stain and wood fillers is a tricky thing. They morph on you as they dry and they interact with the wood itself and change colors.

I thought a gray/black tone would counteract the orangey-ness of the pine, but all it did was mask the wood entirely. I'd like the cool, old beat up areas to show through, not be covered.  I didn't spend hours sanding out the stains just to cover up the wood completely.

The color I think will be just perfect is Jacobean, diluted with thinner and wiped on with a cloth. When put on full strength with a brush, its just too much.

Now, back to experimenting with putties.   I've found that mixing in the sawdust helps tint the color to match the wood, but I'm still not happy with the end product. Luckily I have the area under the fridge and stove to play with.

What do you think? Any advice on colors, stains, or putty?

Happy Grandparent’s Day!

celebrations, family, Sugarwings

IMG_2722
Did you have a wonderful Grandparent's Day yesterday?  Its one of the biggest, most important holidays of the year, I hope that you celebrated it big time!!

IMG_2725
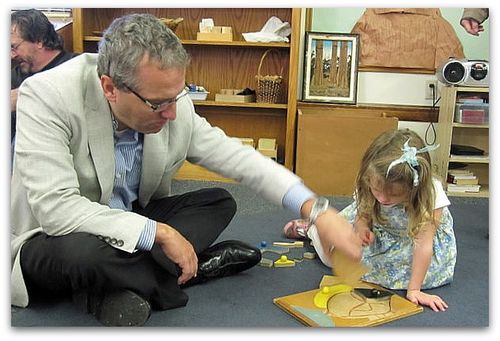
We were invited by Sugarwing's school to come in for a grandfolk's breakfast and got to stay and play a while afterwards.

We all got dressed up for the event, my husband insisted on wearing a jacket.  I always nag at him to never wear clothes that have to be drycleaned when he is not at work. But I am cheap, so personally I don't own a single thing that needs to be drycleaned. Most of my clothes are from the thrift store or a clearance rack, it was be silly to pay more to clean them than I did to buy them.

But he was right, it was an important occaision for our little fairy and she enjoyed helping us pick out just the right outfits this morning before school. Its nice to have  a reason to foof up a bit. I've been wearing my paintin duds every day lately, whether I'm doing any of the remodel work or not.

IMG_2734
This is actually the very first time we have celebrated this day. It was so nice of the school to do something like this, and there was a huge turn out.  The parking lot was filled, and overflowed onto the streets.  The rooms were packed with doting grandparents wearing dopey smiles as their little ones gave them hand made cards and sang songs to us.

Yep, a  beautiful day.

PS- the link to the winner of our craft day giveaway was not correct. Sorry, here it is again. You'd love to see Maggie's illustrations, so please check her out.

A fine, fab, fall day

Kitchen remodel, Sugarwings

IMG_4555
The other day, Sugarwings had to stay home from school because she'd had a fever and sore throat the day before. So, I had planned a day of movies (we never get tired of watching Nanny McPhee part one and two back to back) and all fruit popsicles. But when we woke up, she was feeling fine as can be, and the sun was calling us to go outdoors. What a gorgeous fall day. 

IMG_4557
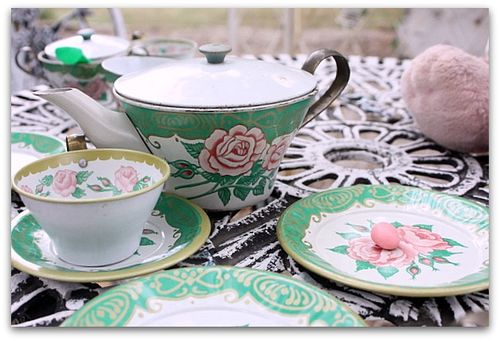
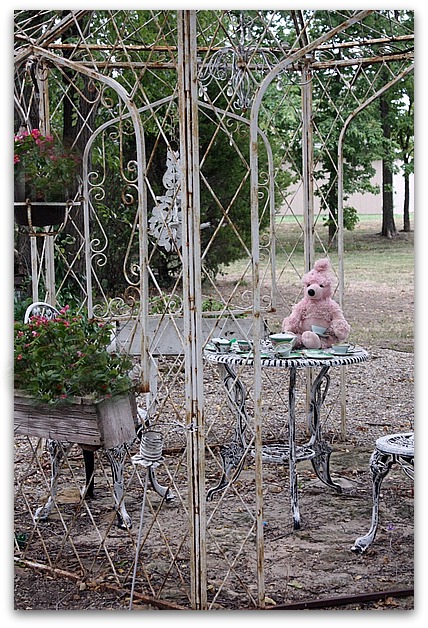
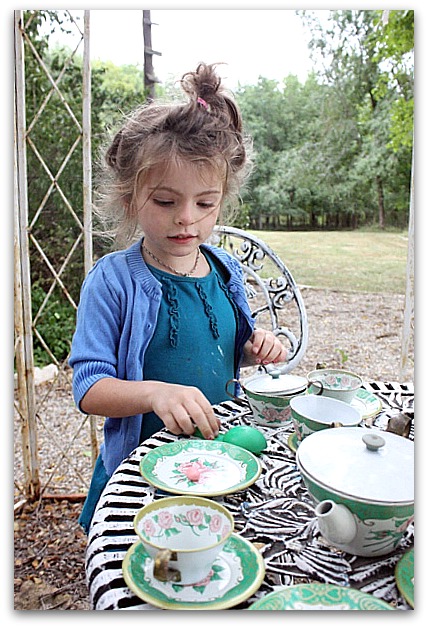
Perfect for a mini tea party in the gazebo.

IMG_4549
With a very special guest who had his ears styled into a top knot just for the occasion, so he would match his hostess.

IMG_4546
She was feeling so good and having such fun that I thought I'd tackle a few projects outdoors while she played with the new teaparty set that I found at a garage sale over the weekend.  Isn't it cute? I like that the cups are actually cup sized, not tiny.  And its tin, so is sturdy. Plus ROSES! The best part.  Oh, and only $2 for the whole set.  The lady I bought it from was in her 60s and said it was hers as a child.

IMG_4560
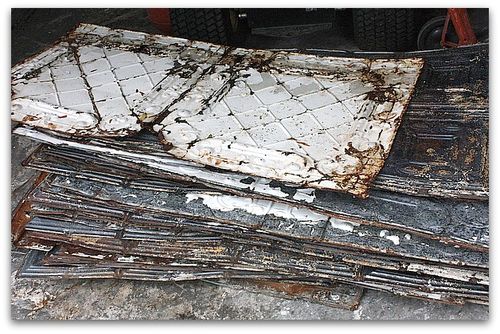
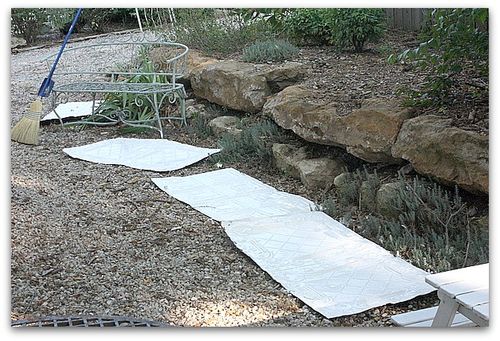
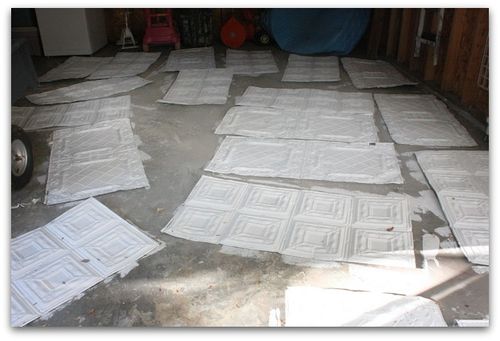
These tins were all power washed and ready to prime and paint, but the weather had been bad and I'd been busy. I was afraid that I would have to wait for them to be installed and they would have been much harder to paint on the ceiling than on the ground.

IMG_4563
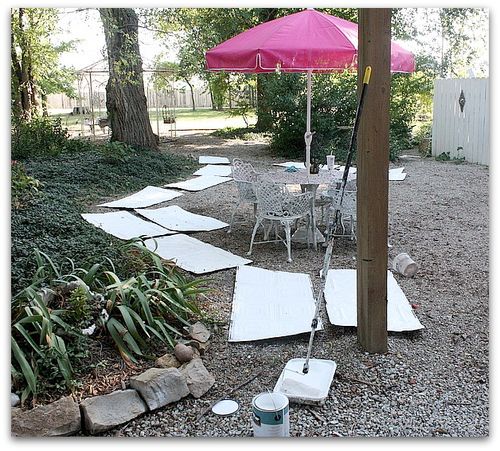
So, I spread them out all around the courtyard, put an extension pole on my roller and coated them with bonding primer (Glidden Gripper) and Behr pure white paint.

IMG_4564
There were a lot of them.  And it was hard to keep rocks and leaves out of my roller.

IMG_4566
So, I convinced Sugarwings to come over to the front yard and play there while I worked on the rest of them in the garage.  She was happy to do it, we had a companionable day, with chatting and keeping each other company while we hung out and both did our own thing.  She really wanted to help paint, and normally I would have let her, but the edges of the tins were just too sharp for her to be near. 
Surprisingly, she accepted my answer and didn't insist on getting her own brush anyway. She can be quite determined about helping me in anything I can do. On the other hand, I don't think I've ever tried to stop her before. Usually she is my assistant in all projects when she is around.

IMG_4616
These tins will cover the new kitchen/dining area ceiling.  The rooms were two different heights and by using the tin, we will cammoflage that problem.  It could have been a complicated dry wall job to make the ceilings the same height, and not nearly as pretty as vintage tin.
I've not decided if I will glaze over the white paint of the tins after they are hung or not. I'll see how they look.  I know they will need a lot of touch up work after being installed, but touch ups over head are easier than painting it from scratch up there.

IMG_4558
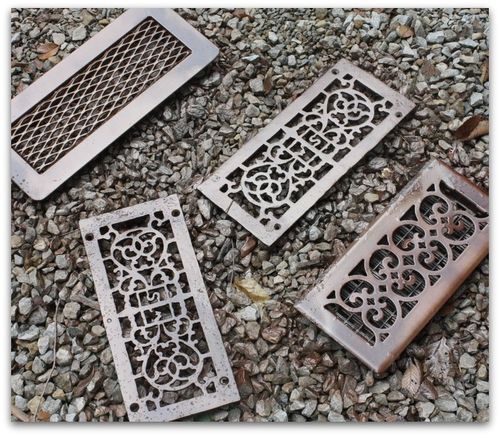
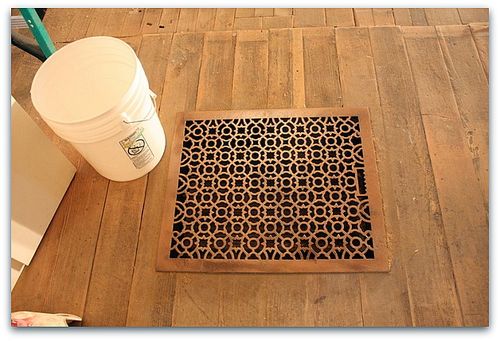
After painting 48 tins, I also took all the floor grates outside and sprayed them with primer/paint in one.  Its a coppery color that will blend in with the wooden floors better.  I had them ivory before, to go with the tile.

IMG_4614
Of course, I still don't know what color the floor will end up, I probably should have waited to see how it looked once it was stained before I painted the grates to match. But, I like this coppery look, and think it will blend in nicely however the floor turns out.

IMG_4568 So far, I'm thrilled with it. It has a rustic, distressed look that is perfect for this house. Like its been here forever.  Because it was here forever, just buried under about 6 layers over the years.

IMG_4567
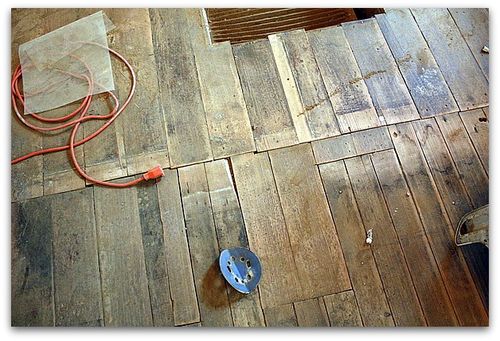
There are still gaps to fill and more sanding to do, but I like the patch work style of the different sized boards. What I didn't like, were some giant, black stains here and there. I spent hours sanding those out and bleaching the wood.  The contractor and his guys are doing the main part of the job and doing it well, but I think a house needs someone who loves it to make sure the details are just right, don't you? 

To get out the big black blobs, I sanded a while, then used a paint brush to apply bleach only to the dark areas and keep it off the edges as much as possible. Then, I laid a towel over it for a few hours. After that lightened it a bit, I sanded some more, then I sanded some more. After that, I sanded some more.

It worked!

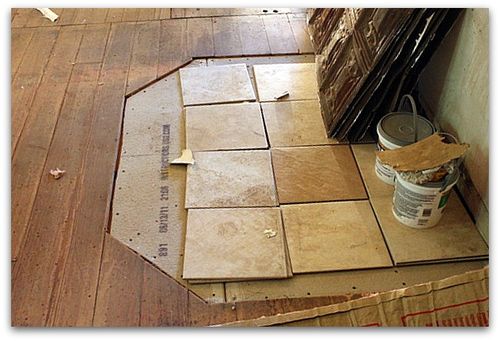
IMG_4518 Have you ever remodeled an old house? If so, you probably know that one thing leads to another… There was a vent in the roof that leaks, a floor that was sinking, and the woodstove area ended up having to be redone. The stove had set on a brick platfrom, but they had to rip out the bricks to get to the flooring underneath.

IMG_4523
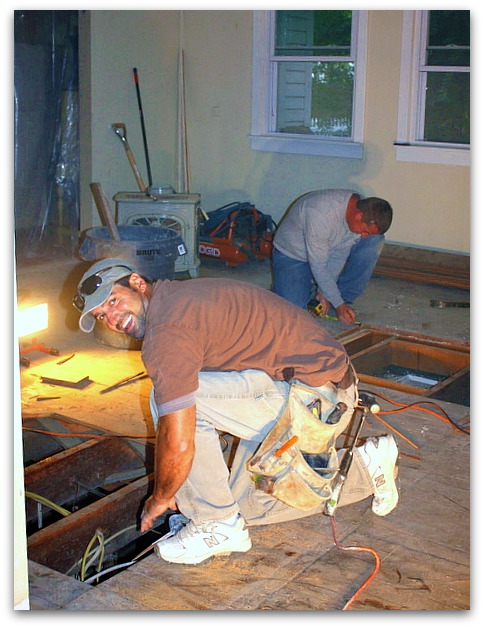
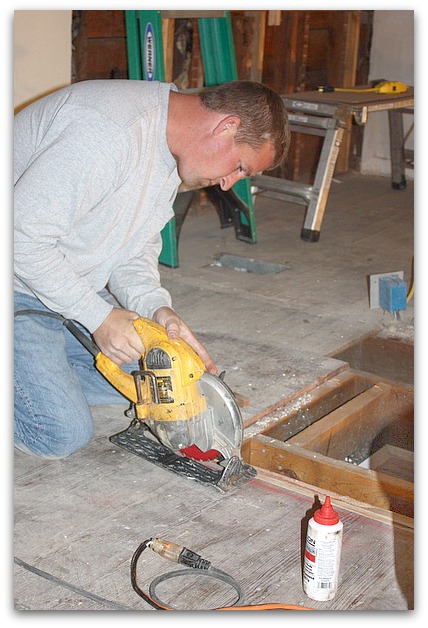
The solution was so much better than what we started with!  The guys cut out the floor, and are going to lay tile so that it is inset into the wood floor. No more tripping over the raised bricks!

IMG_4618

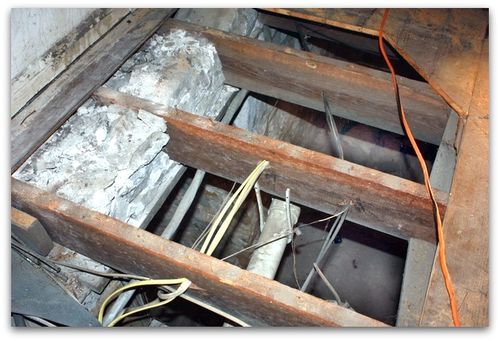
This picture shows the underbelly of the cottage.  Its more of a cellar than a basement. It would take quite a tornado to get me down there.  Ugh. I go there as rarely as possible, any usually it is only to flip a fuse, change a furnace filter, or set a mouse trap.

I think blowing away in a storm might just be preferable to spending time in that dank hole.

IMG_4524
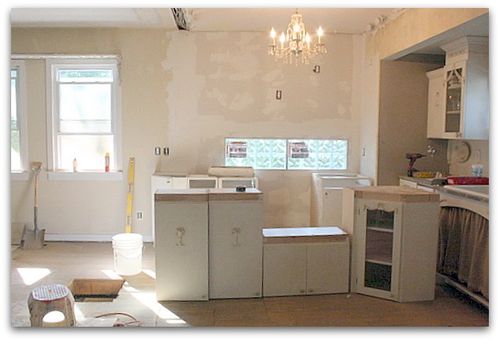
Overall, the room is coming along smoothly. It helps to have the world's best contractor.  What a great guy to work with!  I'm a bit of a serial remodeler and a conniseur of contractors. I've learned that most builder types think my ideas stink and they just want to rip stuff out and replace it with something new, clean and modern. 

Which explains why we had never tried to restore the old floors beneath the layers before. As it had been explained to me by other guys, it was going to be about impossible to do, and would never look right. I let them talk me out of it. 

Well, its been a lot of labor and wasn't easy, but was far from impossible and I like the look it is creating.

IMG_4598

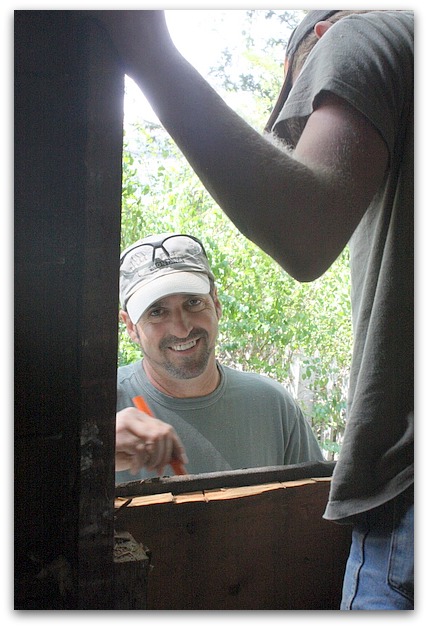
This contractor, Linc Mortenson, has listened to my ideas and expanded on them. He acts like he is honestly interested in what I have to say and tells me about other old houses he has redone.  Having a guy who has worked on and understands old houses makes a big difference. He also is reasonable and doesn't suggest outrageous budget busting plans, either. He has worked with me on reusing existing materials and has been nice about using 150 year old tin instead of insisting on the newer stuff which would be much easier to install. (and he is coming in under budget on the project so far!!)

IMG_4613

Plus, he's a cutey.  That doesn't hurt at all.  His crew is too.  A friend came to visit and see what was going on with the work, and as soon as she got home she texted me that she wanted this crew to come and rip out the wall in her kitchen next, just so she could watch them.

But best of all, the work is going QUICKLY.  Less than 3 weeks from rip out to this point.  

Round Robin Book Swap

Round Robin Book Swap, swaps

IMG_4529
My pal Lisa, sent her first page and cover for our Round Robin book swap, and included some gifts.

IMG_4530
Very generous gifts that  I just love.

IMG_4531 Including some artwork!  Anyone who gets a piece of art by Lisa is a lucky person. She's the best.

IMG_4533
Here is what she has done for her own book.  Now I am supposed to add a page for her, and send it on to the next person to add a page too. This is getting fun already and we barely started!

And speaking of fun, are you LOVING the new fall TV season as much as I am????  As much as I looooove summer time, I sure do love autumn for the television.  Survivor is off to a good start, Simon is back, and Zoey is adorable.  I'm so happy right now.  My DVR is filling up nicely and I'm telling myself that I won't squander it all by watching it at once. After the dearth of programming the last month or so, I've decided to be more careful with my viewing and save some for slow times.  (yes, I am a TV addict and I schedule my nights around what I want to watch next. Sad but true)

Kansas Picker Buddies

antiques/junking

IMG_2667
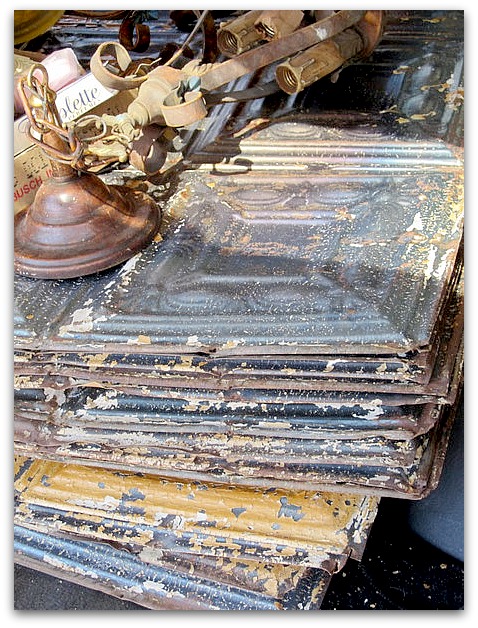
My pal, Angie and I had the BEST junkin day.  Her parents are big time collectors and have a barn full of great stuff. I needed some ceiling tins for my kitchen redo and they had a pile for me to go and pick up.  We stopped at thrift stores along the way, including one in Tonganoxie. 

Detailnew Index

Tongie happens to be where the owner of the Peruvian Connection lives.  And she donates samples of the clothes to that thrift store.  I bought this cotton sweater dress and sweater (brand new) for $15 each.  Of course, they won't look like this on me…. The dress is sheer and lacy, I'll wear it like a sweater over black leggings and a tee shirt.  If I ever go anywhere that I need to dress it up, I can wear it over a black slip and it will be a completely different look. 

IMG_2674
The thrift had lots of goodies for us, and I got a ton of dress up clothes for the grands for about $1 each, lots of nice princessy garb.  We hit an antique mall in Leavenworth and I found a few tidbits too.  That city used to be have a lot more shops, but not any more. The 2nd hand shops make up for it though. I found a couple of children's books from the 1800's for only 15 cents each.  Who even marks things 15 cents any more??? 

Sugarwings was glad. She and I have been reading the cool, old Goldilocks story over and over.  But the story is a bit different, instead of Mama Bear, it is Medium Sized Bear and she is a he.  I wonder if that is the original version?

IMG_2676
Of course, shopping at thrifts means wading through this kind of weirdness too.  This could be even  more wrong than Mama Bear now being a man.

IMG_2670
Luckily, romantic rabbits weren't all we found.  I came home with a pile of tins too. I have 20 of this design and  20 more of another style. I think they'll be pretty together on the ceiling. 

IMG_2677
We also got Crunch Cones!!! How often do you see those any more? This was an old fashioned, walk up dairy bar. The kind that closes soon after Labor Day. I'm so glad it was still open, it has been years since I found Crunch Cones anywhere.  What is that topping made of anyway? Its not nuts, its not coconut. Its just crunch I guess.

IMG_2649
Angie's parents have a barn that would make American Picker's Frank and Mike drool.

A little side rant here:  Mike and Frank aren't always my cuppa tea, but at least they are educated and pass on some info during the show.  I feel like I learn a bit watching them.  But I do get tired of gear head stuff and mantiques. 

On the other hand, the two Daisy Duke wearing actresses on Picker Sisters seem clueless about what they are buying and are just too fake for me. They seem way too full of themselves and their cleverness for me to watch any more episodes. The stuff they buy can be found in any junk pile and I don't think they need to travel all over to find it.  I think they'd save a lot on gas if they just looked in a junkyard or landfill near where they live.  (thank goodness the new fall TV shows are here and I am no longer desperate for entertainment. No more Picker Sisters for me)

IMG_2658
Mike and Frank would know that Angie's folk's barn is full of The Good Stuff and they'd enjoy the treasure hunt. Right down to old, collectible cars buried under tarps.

IMG_2664 Including a silver Jaguar.

IMG_2661
I was intrigued by this cabinet full of great chippiness and alligatored paint.

IMG_2672
These two are some of the nicest people you'll ever meet. Her dad is a Charmer with a capital C.   He has a story for everything and a fun way of telling it. 

And her sweet mom fed me lunch, with home made angel food cake for dessert.  To a person without a kitchen, a homey meal is a real treat and very much appreciated.

They are planning a yard sale to clean out the barn soon, and I was invited back to get an early pick.  Can't wait!  There is everything in that barn. You name it and he has multiples of it.

IMG_2648
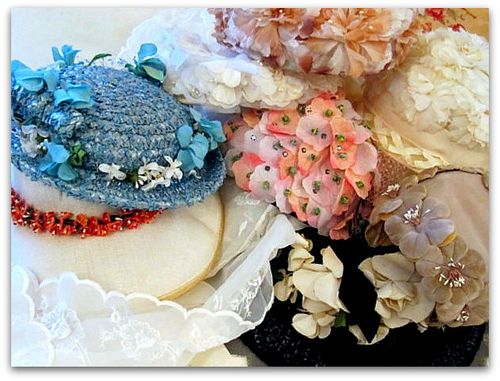
I even got a few hats from Angie's mom earlier, I hope she has some at the sale.  I've been on a millinery binge lately, I've had lots of luck finding bargains everywhere. My hat whispering skills have been on over drive lately. Angie had a few to sell to me too.

She has recently opened a new shop in North Lawrence, the "Now and Then Boutique".

She and her partners are having a grand opening on Sept. 23rd and 24th (that's tomorrow!!!) 

Angie makes everything she touches just lovely and has inherited her Dad's keen eye for Good Stuff. If you are nearby, I hope to see you at the opening!

Img026


Living through the kitchen remodel

Kitchen remodel

IMG_4470
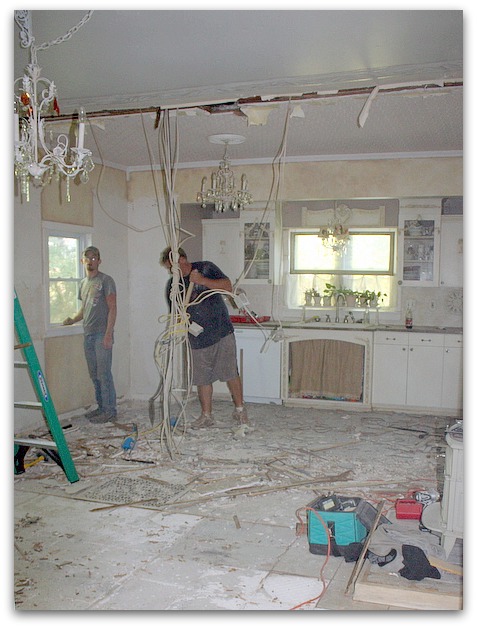
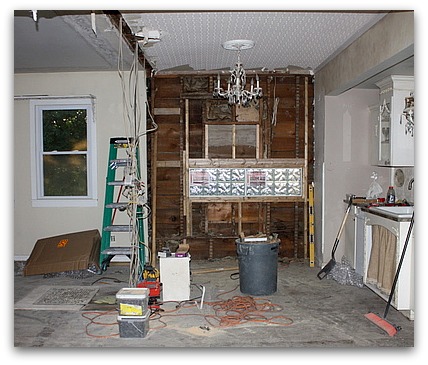
Progress is happening! The guys working on our kitchen are hitting it hard and have been getting a lot done.

IMG_4445 The wall is down, that went quick. 

And they are going to be able to brace it up in the attic, so I wont have a beam going across the kitchen. That was an iffy thing, we didn't know till it was opened up if that would work or not. Old houses are a big question mark when you start remodelling.

IMG_4461
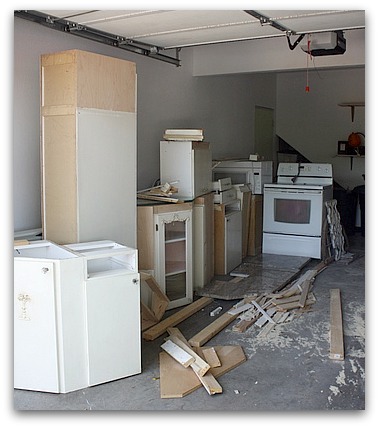
Our cabinets are stored in the garage, waiting to be set back up when the new room is ready for them. My new refrigerator is ordered.

  IMG_4513

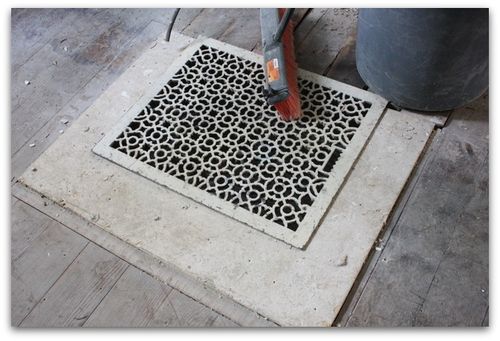
The tiles and four layers of linoleum are up, the nails and staples are pulled from the wood.  There are lots of places that need patched, like around the grate. And quite a few other spots too.  But the wood itself is much better than I dreamed it would be.

There were so many layers ripped up, that my ceiling is a few inches higher now!

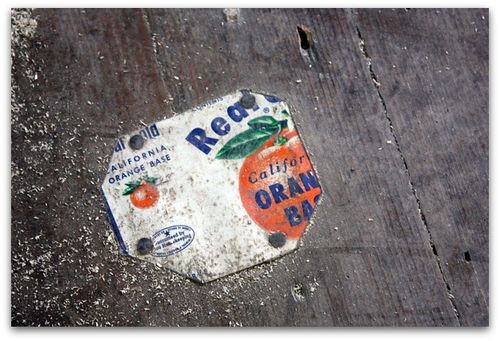
IMG_4514 Someone had already patched some spots, years and years ago. I wish I could leave this as is, for a souvenir, but- it has sharp edges since it is tin.  I think it could be a toe ripper, for sure.

IMG_4511
The guys have removed the window on the wall the cabinets will be moved to.

IMG_4517 There was no choice, the window had to go. I hated the idea of losing the light, so I ordered two glass block windows from Home Depot online (they came in 3 days!) and they are now built into the space where the back splash will be. Won't that be nice light on my counter top?

IMG_4472
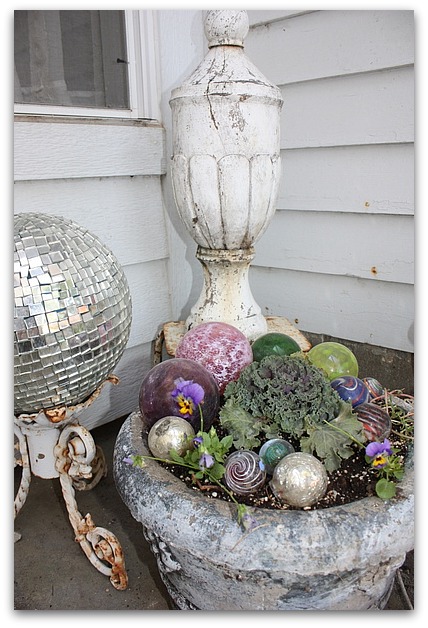
To keep myself sane while having my house torn up, I've tried to keep other areas nice as I can. Like setting out a couple flats of fresh violets and pansies and some ornamental cabbage on the porch. I don't do well with chaos and mess, I like things pretty. Nice surroundings mean a lot to me. So, I needed a few pretty areas to look at and keep my mind off of the messy ones.

IMG_4510
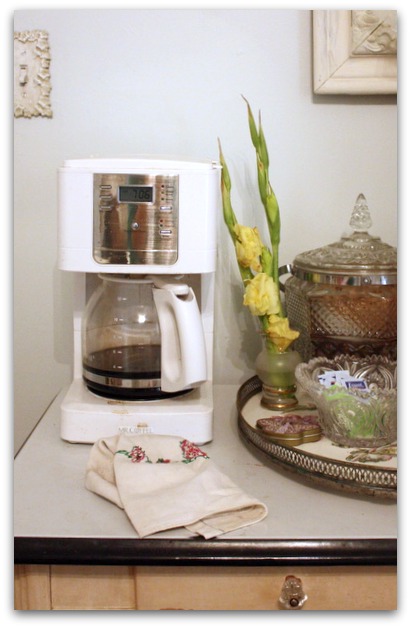
We've set up a coffee station in the bedroom. I like it so much, its tempting to keep it there. Its pretty nice to have coffee so convenient in the morning!

  IMG_4496

We've moved the fridge and some supplies to the studio.  No microwave or toaster oven, and I am craving a hot meal.  

IMG_4451
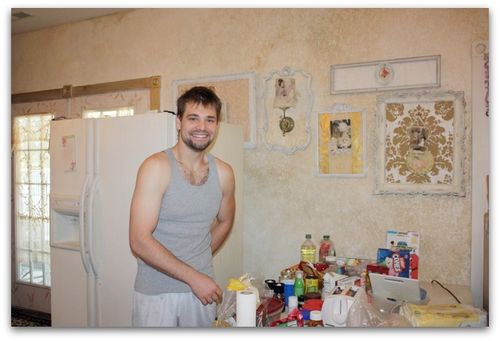
When my husband is home, he grills for us, but I'm not much of a griller myself. Its been yogurt, toast and peanut butter, and fruit for me lately. My son, Ryan, eats turkey sandwiches almost everyday of his life so he doesn't mind.  He watches what he eats, because about 6 years ago, he lost over 100 pounds, and keeps it off. 

He looks good, huh? 

IMG_4455

He is as sweet as he is cute. He kisses me on the top of the head and tells me he loves me every time he leaves the room.  Ryan lives in an apartment on the side of our house, and works two jobs plus spends an hour at the gym every day.  He also does all of our yard work, so keeps busy.

  I just wish he would have a social life.  This is the shyest guy you'll ever meet. 

IMG_4501
The winner of our Craft Day Giveaway was chosen from the entries by Beth when she was here for a craft day again on Tuesday.  Her pick was:

Maggie

If you haven't seen Maggie's work, you need to go look at her recent post about her illustrations for sewing patterns. Oh my. That girl can paint!


Editing in reverse

antiques/junking, collections, Kitchen remodel

IMG_4398
This isn't easy, but I'll say it again. He could be right. My husband says I have too much stuff. And when it was time to put it away before the kitchen got demo-ed, I was agreeing with him whole hearted-ly.  I was ready to pitch it all.

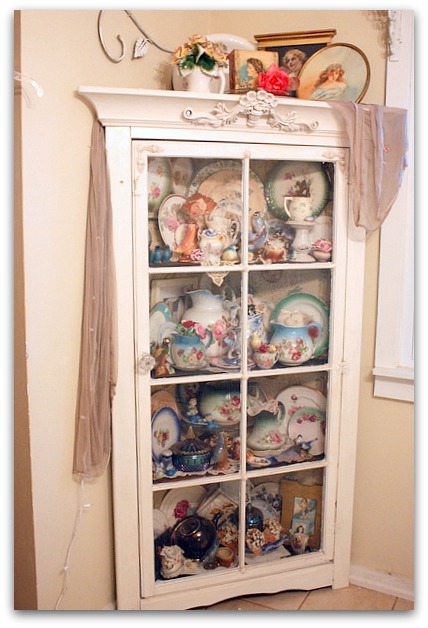
Some of it really will have to go.  This corner cabinet will not fit into the new configuration, so it has already left to go to my sis-n-law's home.

IMG_4399
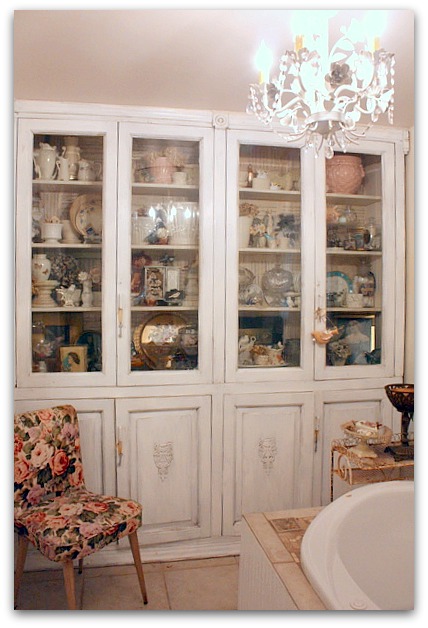
The crap inside it that I can't live without now has a home in this cabinet.

Yep, the china closet stuff went to the bathroom.  Odd.  But it seems to work. 

IMG_4364-2

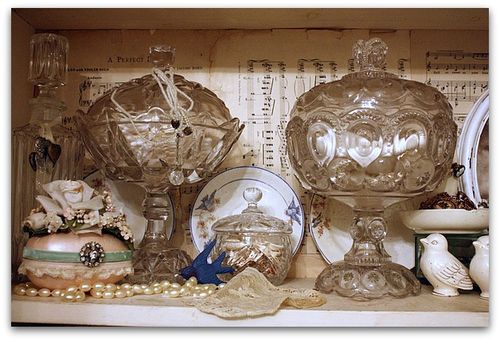
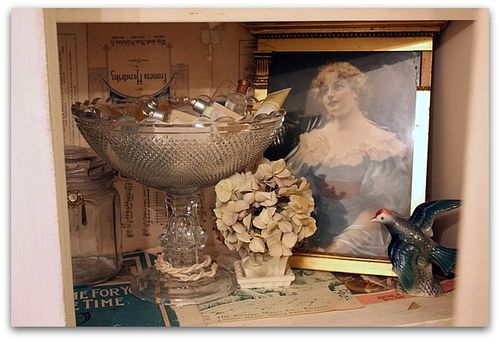
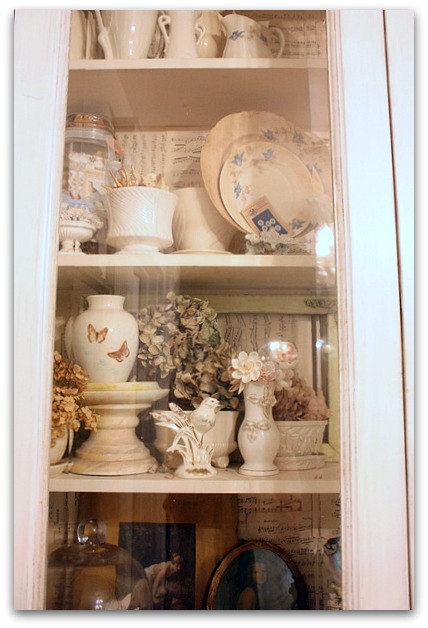
And the white pottery above the windows needs to be changed too. I'm a bit tired of it there. But still love the collection. So, its in the bathroom cabinet too.  I moved all my blue bird dishes, my china birds, and the white flower pots, and squeezed it into the big glass door cabinet in the bathroom.

IMG_4412
The rest of it is all packed away, to figure out later. I'm considering using all of the floral pitchers above the window. The billions of plates will have to go. Somewhere.

  I'm going to miss my hand painted ceiling. But I will LOVE having a vintage pressed tin ceiling!!

The blue carnival glass that was my mom's was too dark to tag along with the other things that got moved, and won't work in the new kitchen either. So they went to live in the guest room, as part of a display of photos of my mom.

IMG_4409
The white pottery seemed to go well with the birdies in their new home too.

IMG_4407
Its not that much different than what was in there before, just fuller. 

IMG_4406
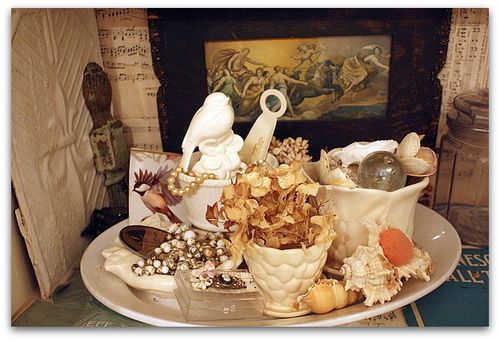
The bathroom type supplies, (tissue packets, Qtips, bars of soap, cotton balls, etc ) are all hidden inside glass containers with lids.  There were already some flower pots in there, and there were lots of shells and pearls tucked in here and there.

IMG_4405
Looks like I need to remember to buy bath salts to fill the jar.

IMG_4400

  Gosh, I'm just not sure. It is probably too much. I tend to over fill everything.  I am going for a more "edited" look in the kitchen/dining room. Why should I double up in another room to make that happen? Maybe I should edit everywhere…

Of course, I could just be high on breathing in dry wall dust and not thinking clearly. Right now, I'm at that point in a redo when I am wondering what on earth I am doing anyway.  Sanity is the first thing to go when the walls start coming down.

IMG_4501
I'll have more updates as the kitchen progresses!  In the meantime, you have till Tuesday the 20th to leave a comment on this post

to enter a drawing to win the craft day giveaway from Beth, Mary and me.


KC Renfest part deux

celebrations, fairies, family

  IMG_2456

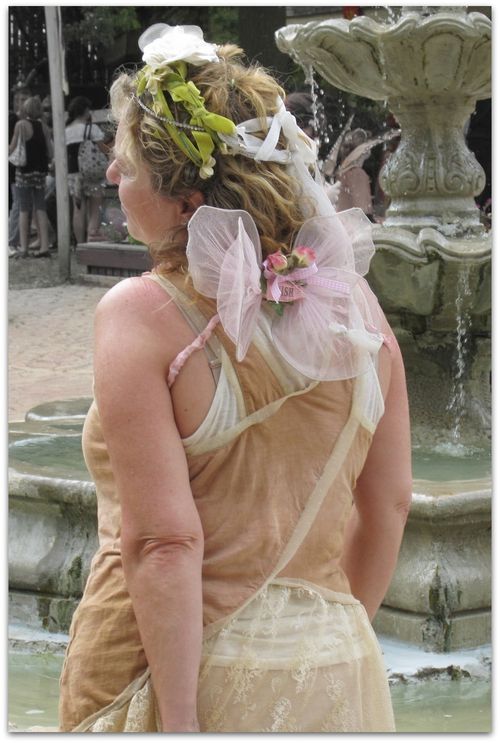
When you enter the park of the Kansas City Renaissance Festival, one of the first things you see is the fountain. Every year, Sugarwings makes a beeline for it, and would probably be happy to spend a good part of the day right there by the water.   As much as she loves fairies, she loves mermaids and water even more.

  IMG_2537

I nick named her Sugarwings before she was even born, I would have gone for a more mermaidish name, if I had waited to get to know her first.  But as I've said before, there is just something very WRONG about "Sugartail".

(By the way, thanks for all of your concern about our little fairy. She is now settled back into the Montessori preschool she was in before we took her out and test drove Kindergarten. She is happy to be there, and is in a pre-K program, that should help a lot. )

  IMG_2569

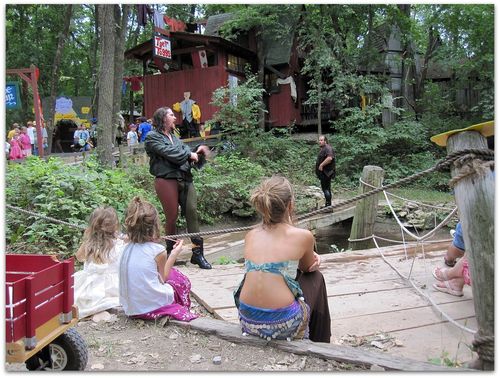
Kids are always so attracted to these painted wooden pieces that you stick your face in.  I am not always a fan of them, but these are extra well done and I love the artist's work.

  IMG_2525

There is so much attention to detail at the park.  From the costumes to the scenery, its just magical.  The location helps, its in a hilly little park full of shade trees and cute buildings.

  IMG_2558

And not really that expensive to attend.  We go on the weekends that are buy one get one free with a food donation.

  IMG_2566

Since we've had a grandchild, I go more than once a season.  In the past, it was something I'd attend every two or three years.  But watching it through a kid's eyes makes the magic seem so real, that I never get tired of going.

  IMG_2568
And I never turn down a chance to see some Jack Sparrow style eye candy.

(although, I think this pirate looks a bit more like McDreamy in dread locks than Jack, don't you? Still pretty either way)

IMG_2632
Normally, the men in tights are pleasing to the eye too. This year, Robin Hood has some extra junk in the trunk though.

IMG_2460
Although, who am I to talk?  I wonder if my tiny wings make my butt look even bigger? Maybe I should go for a giant pair next year…

IMG_2410
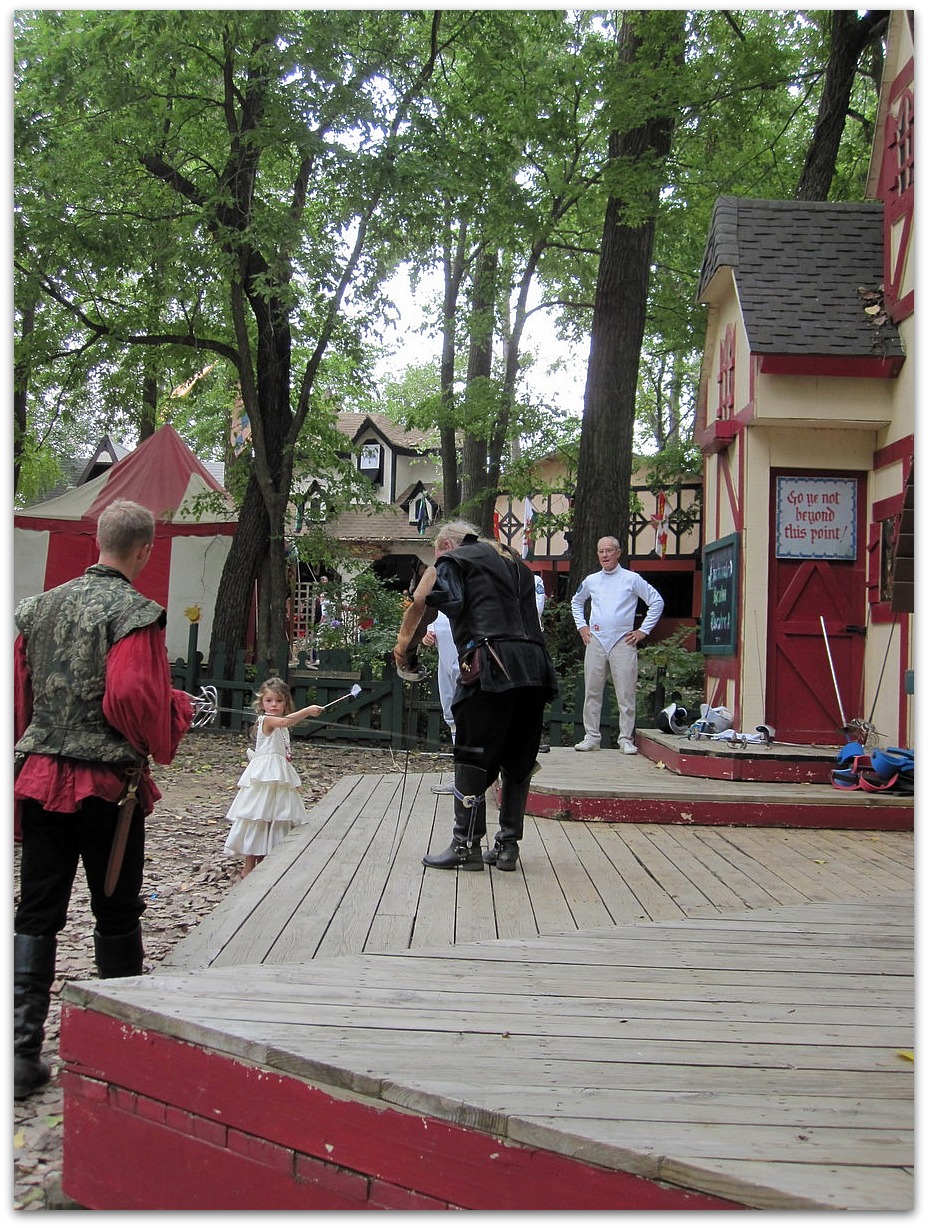
Sugarwings was very taken with the fencing and thought she'd challenge the knights to a duel with her magic wand.

IMG_2444
Instead, she was invited up to take a fencing lesson and be part of a duel with a nice foam sword.

  IMG_2608
There is a petting zoo too, with sheep and goats to feed.

IMG_2610
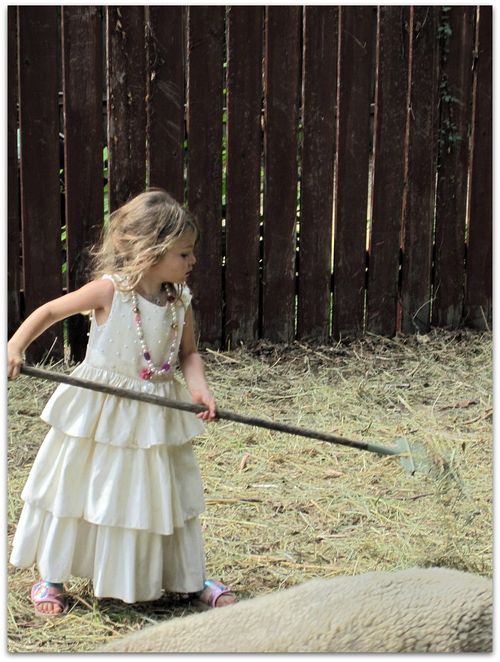
We had a hard working little Cinderella with us, who was ready to muck out the stalls.

IMG_2599

The petting zoo was pretty laid back, we were the only ones in there, so the girls took their time and made some friends.

IMG_2619
My handsome husband enjoys going so much that he gave up a golf game to join us all.  I think he went knowing that some opportunities for baby snuggles would come up.  He can't resist them. (and he got to play golf the next day, so he didn't miss his weekly golfing fix)

IMG_2624
Yes, just looking at these photos, I'm ready to plan another trip there.

  IMG_2523
Sugarwings was about a year older than Mayara when we took her for the first time.  I can't wait to dress this little snuggle bug in a fairy dress and watch her dance with the sprites.

IMG_2560
This year, our Hippy Chick and I got out and danced with the fairies too.  Luckily, I am the one with the camera, so there are no shots of me tromping and clomping around out there like an ogre. I'm not much of a dancer, but it was sure fun to do.

IMG_2637
I wish I was as graceful as Miss Calliope, she twirled and danced with these ribbons beautifully.

IMG_2542
If you ever get a chance to come to Kansas City in the fall, I highly recommend a day at the festival. It goes for 6 or 8 weekends, starting on Labor Day. Each weekend has a different theme, and you never see the exact same thing twice no matter how often you go.  Discount tickets are available at Subway and at local grocery stores, plus there are buy one get one weekends with a food donation.  We bring in some snacks and drinks to save a little, but the food vendors have tasty treats too and are hard to resist.

Maybe I'll see you there?  I'll be the one in the ginormous wings so my butt looks small by comparison.

Scroll to Top