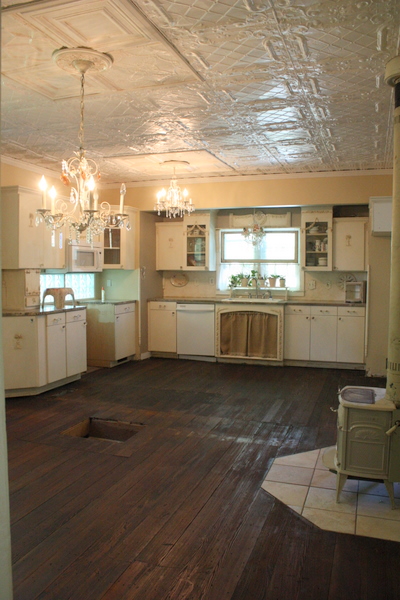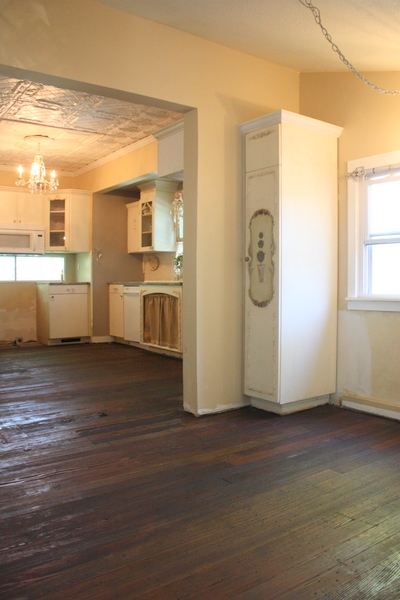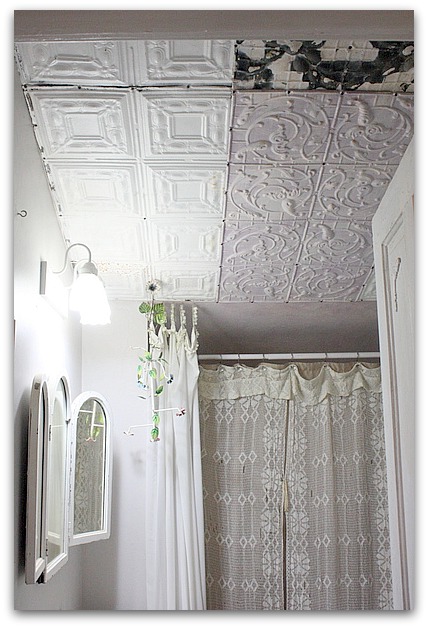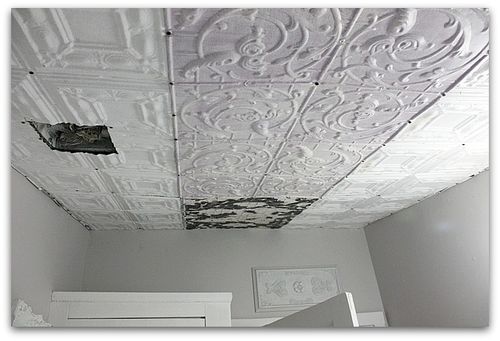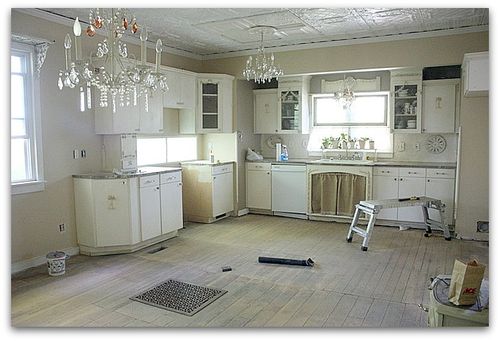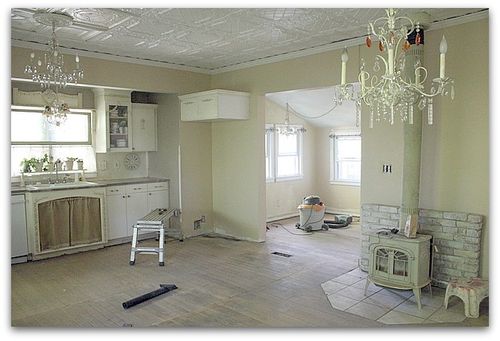
The guys are done!! All the cute workmen are gone, and now the kitchen is all done. Well, kinda. I am painting and caulking trim, touching up walls, and unpacking. The contractor was just wonderful, please contact me if you are local and need his number. I'd recommend him highly. His crew was on time, hardworking, polite, helpful and skilled. Plus it all came in under budget, and we got some other repairs done along the way.
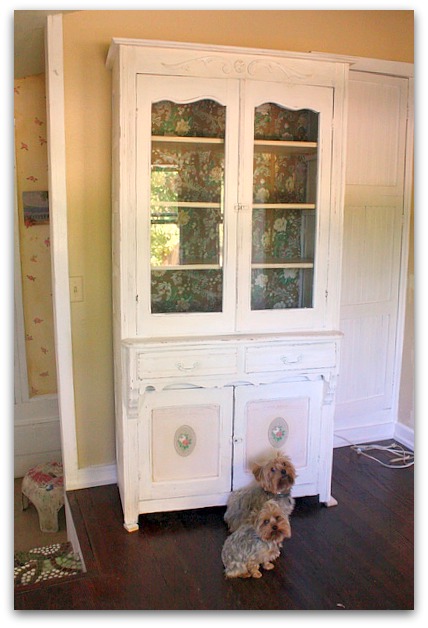
And when he was done, he offered to move all the furniture back in for me! I took him up on this big cabinet that I fixed up to go in the mud room.
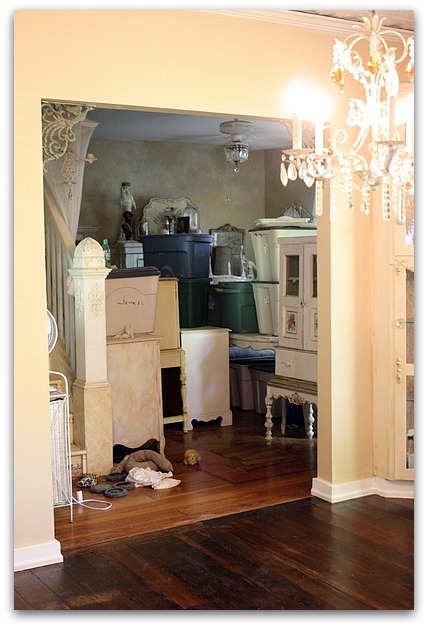
But the rest of it is all buried under this mess of stuff that needs unpacked and put away.
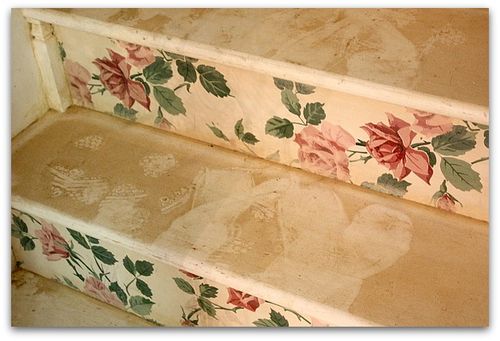
And all of that is buried under a heavy coat of dust. I'll be busy for a while…
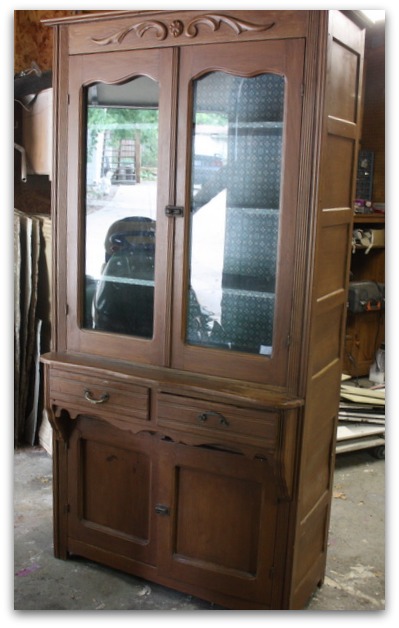
Here is a before photo of the step back cabinet that I repainted for the mud room. I traded the white corner cabinet that used to be in the dining room to my sister-in-law for it. The inside was already covered in nice, old wallpaper, but the color was a bit off for my room.
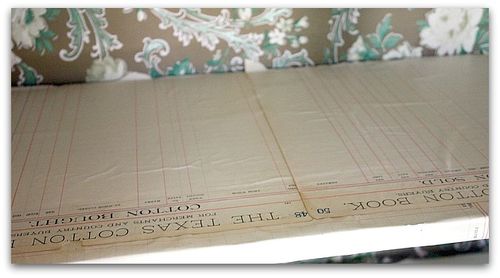 Sadly, it was glued on and I couldn't pull it off to save it. I had to cover over the green wallpaper with another pattern from my stash that matched the room better. On the shelves, I used some ledger paper that I bought at Roundtop.
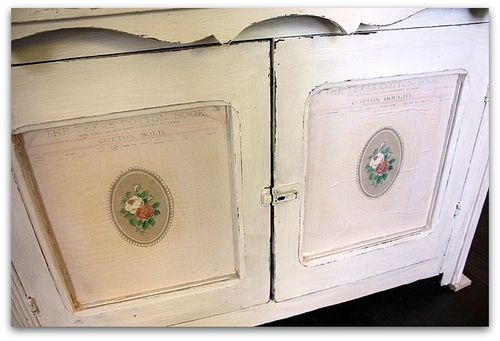
More of the Texas ledger paper was used on the doors, with a medallion of roses from another wallpaper over it.
To paint the piece, I used the technique on my side bar under tutorials. I brushed on Glidden Gripper primer (bonding) in white, right over the finish as is, no sanding. Over that, I brushed on a creamy, toast colored glaze, and wiped it off. Then, I used a rough grit sandpaper to age and distress.
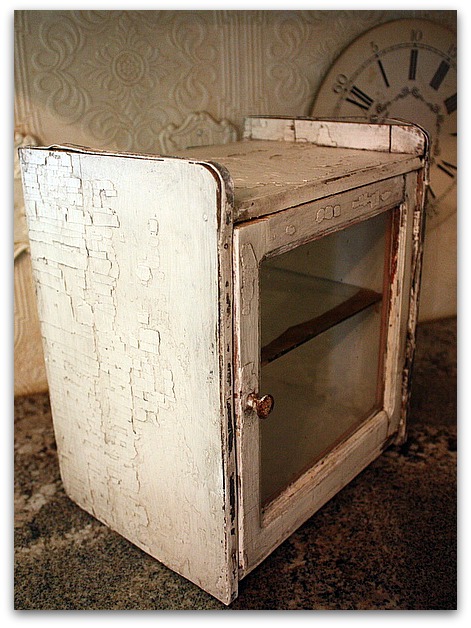
Lately, I've been on a bit of a redo roll. I found this little cabinet at one of my favorite antique malls (4 Corners) and touched it up to match the kitchen. I loved the chippiness of it, but it was red, yellow and white, which just wouldn't work. (sorry, no before pics- Bad Blogger!!)
I didn't want to lose the chippy look, but it was really bad, a lot was falling off in chunks, so I roughed it up and got the loose bits off.
Then, I painted it with the white primer.
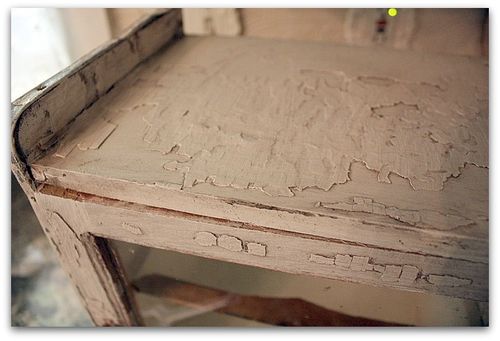
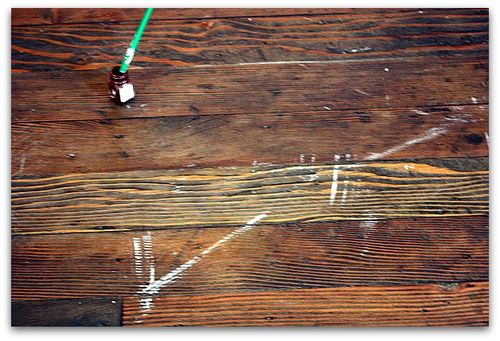
Over that, instead of glaze, I used Minwax poly/stain combined. I have a ton of colors now, since I was trying to find just the right color for my floor and bought multiple small cans to sample.
I brushed on the poly/stain, wiped it off and then let it set outside to dry, since poly is smelly. I think that this will be enough to seal it and keep more paint from chipping off. I gave the interior a clean coat of plain creamy white paint.
I think I'll use it to house our sprinkle collection. Sugarwings and I love to bake, and we have a lot of sprinkles, so it will be fun to have those on display in the new kitchen. I can put them into pretty bottles and fill this cabinet up. It might get some spices in it too.
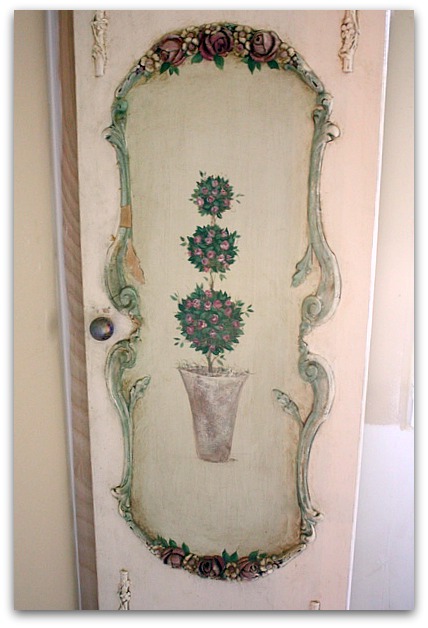
Some of you asked to see a close up of the rose topiary cabinet. It was built by Sugarwings' Daddy, along with all of my other cabinets, and I added the same embellishments to it. You can find them here.
On this one, I added color to them instead of leaving them the color of the cabinet itself. I used a few different ones to form an oval frame, then painted the topiary inside. A little piece of the frame got cracked off and needs repair, and I still have to finish painting the trim around it.
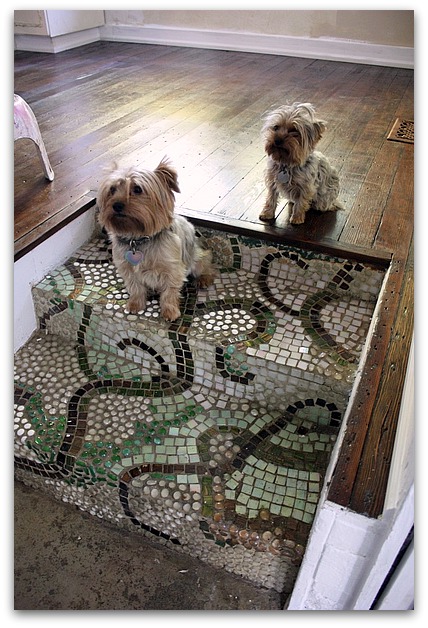
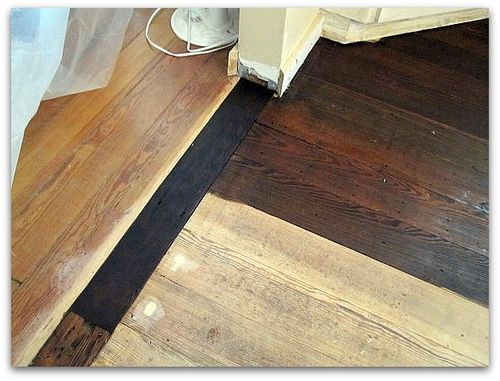
There are lots of little touch ups to do around the room. The top edge of my mosaic steps needs to be redone, since some of the tiles had to come off to rip out the old floor to get to the wood underneath. This will be the last thing I do. First, I just need to get stuff painted and clean so I can get the room functional and back to normal.
Sugarwings and I need to get to baking and use some of those sprinkles!
