November 2011

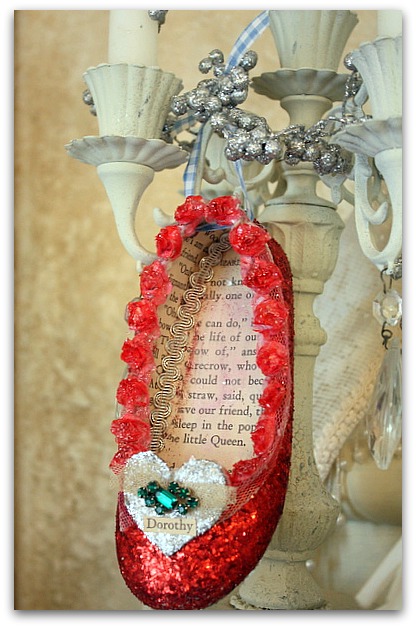
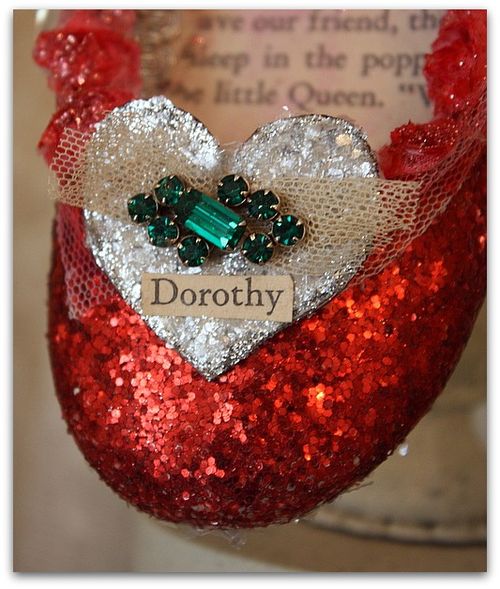
Dorothy shoes

Tutorials, vintage paper/collage art
IMG_5713
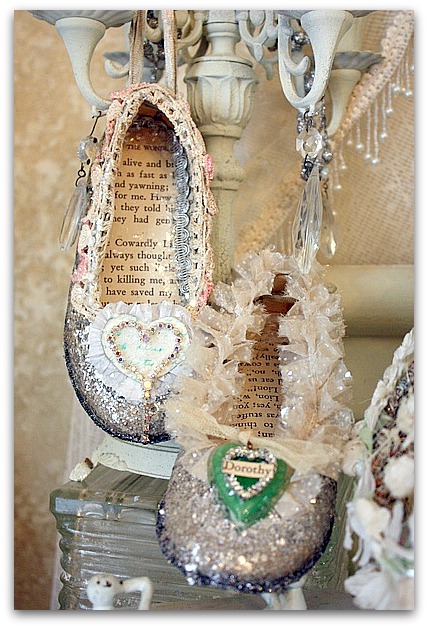
Have you seen Lisa's new tutorial?  She is selling the class to make her darling little ballet slippers that were featured in Somerset Life.
IMG_5712
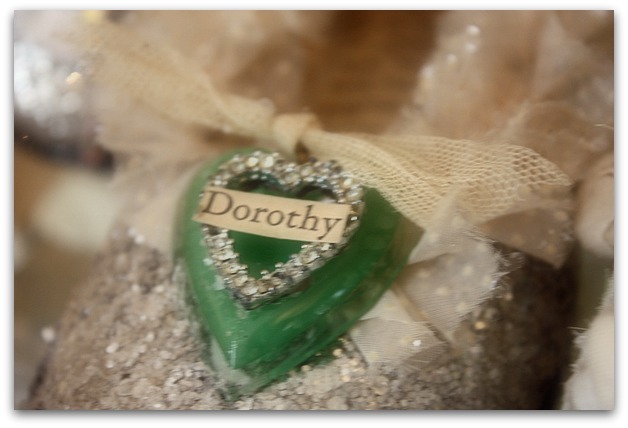
I made some shoes up following her directions, but switched out some of Sugarwing's  out grown shoes for the ballet slippers.  She had the silver glittered "Dorothy" shoes as well as the ruby ones.  (in Frank L. Baum's book, the shoes were originally silver)
IMG_5710
Lisa's steps were easy to transfer to another style of shoe.  But I think I have Sugarwing's ballet slippers tucked away somewhere…. I will do those too. I'm hooked.
IMG_5711
I wonder if I can find a teensy little Dew Drop shoe to foof up for the Christmas tree too?

IMG_5697

Thanks for the flurry of shopping! I spent the morning wrapping up packages to go out in the mail, and have also kept the deal with myself to list a few new things every day. 

IMG_5698

In BOTH shops, too! Etsy and the Boutique.

IMG_5694

Can you hear me slapping myself on the back?

IMG_5703

There are a variety of new goods, and more to come. 

IMG_5685

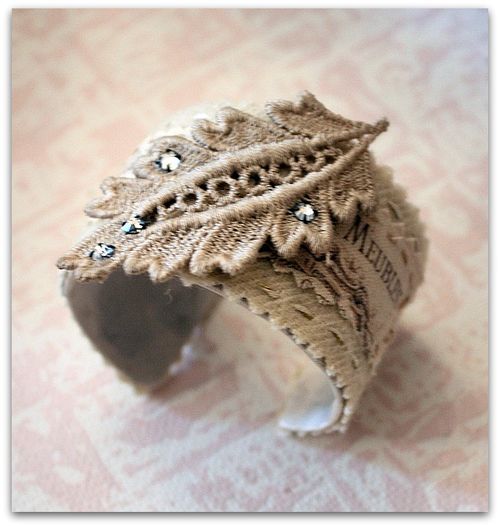
Including some cuffs.  And if you'd rather make your own, the tutorial is available here.

I hope to make up some more kits over the weekend, if you want one to go with the class.


IMG_5692

For now, I'm waiting for the ingredients to arrive, I've ordered some of the aluminum cuffs to make the kits.  I really enjoy putting kits together, its fun to pick through my pretties and find just the right pieces to match.  I get to do the easy part, then send it on to someone else to create!

IMG_5678

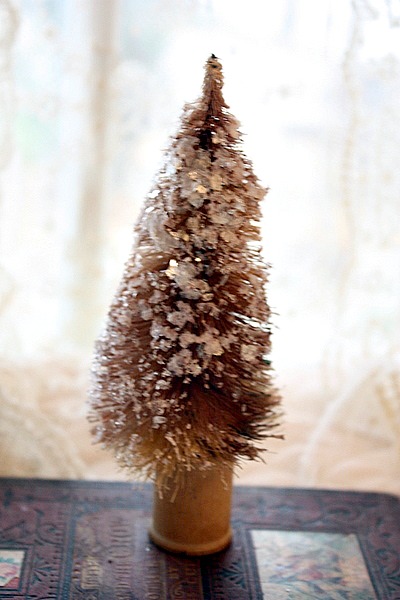
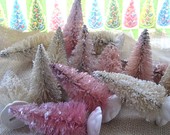
Sugarwings and I have been slaving away over the dyed trees too. Its her job to dip the pink ones.  After they are dry, I glitter them up, arrange packages, and then add them to the shop.

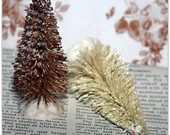
This one is Chocolate brown, which I think is a nice change from the pastels and whites. Or as my fairy grand daughter calls it, "shock-ill-it".  She is a fan of chocolate anything, especially milk, so she liked this color. 

IMG_5700

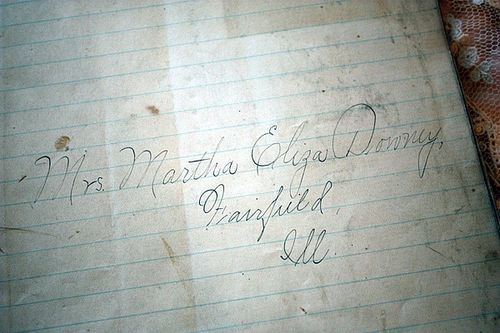
This photo is not of something for sale, it was a page that I found in a book and had to save.  My mom's name was Martha Downey!  But her middle name was Josephine, not Eliza. Still, an odd co-inky dink, huh?

My middle name was almost Josephine too.   I've told you this before, my dad named me after the two of them when I was born, because my mom was ill.  As soon as she recovered, she changed the birth certificate.

Because his name was Hubert. 

He named me Huberta Josephine Downey.  

She changed it to Karla Jo.  I go by Karkie, tho and Karla always sounds wrong to me, although 99% of the world calls me that. To me, I'll always think of myself as Karkie.  Family nick names stick don't they? I'm glad mine didn't end up being Hubie.

IMG_5687

Thanks again for shopping with me. I'll let you know when the trees and cuff kits are done and ready!

IMG_5708

I hope you have a lovely weekend.

IMG_5714

We are getting a new kitten, so I think ours will be fun!
IMG_5735

The No Fretting Rule

Etsy Goodies, I do tend to run on, don't I?, I've been tagged

IMG_5627

Being sick for most of last week has set me behind a bit in my quest to fill both shops up for the looming holidays! 

IMG_5634
Earlier, I got so embarrassed by my inability to keep my Etsy shop stocked that I shut it down for a while. 

IMG_5668

Now, I am happy to say, that while it  might not be filled to the brim with goodies, I have it semi stocked and reopened, at least.

IMG_5671

And I am making a dent in the giant pile of vintage jewelry that I have been meaning to photograph for the Boutique too.

IMG_5555

There is no use beating myself up about not getting it all done immediately.  Old stuff just gets older, it doesn't rot or start to stink.

IMG_5568
The piles will all still be there waiting for me when I get time to get the pictures.

IMG_5553

I tell myself, there is only so much time in a day. There is no stretching it out, that is all there is.  I can make the best of it, or I can just fret.

IMG_5561

Between the kitchen remodelling project and my travel across country to play fairy tales with my friends and visit my sisses, then all the cuddly grand kid time and Halloween fun, I simply had no time left to get sick and be off my game for a week.

IMG_5572
But I did, its over, time to move on. If I start out the beginning of November fretting and fussing and feeling behind, just how much fun will I be having this season?  Its barely begun and I am already stressed!

IMG_5611

So, I'm putting implementing a NO Fretting Rule, and just telling myself that there is only so much one little old lady can do, right?  I should relax, bake cookies with the girls, be social, and enjoy spreading Christmas decorations all over my new kitchen! 

IMG_5559
So, I made a plan.  I'll take a few pictures and list a few things every single day, and what I get done, gets done.

IMG_5583

Plus, you'd rather have new things to look at on a regular basis than a jam packed shop all at once, wouldn't you?

Il_170x135.193396584 Il_170x135.195673876Il_170x135.190706232

Christmas is already in the air here.  Last night, Sugarwings and I started our annual tree dying tradition.  A few are already listed on Etsy, the rest still need to dry, then be glittered.

IMG_5630

On another note, do you remember those "10 things about me" lists that were going around on blogs years ago?  I think they are back. I used to love them and was so addicted to reading them, I would go from link to link to link and just get lost in all the lists and not even remember who I was reading about.

I was just picked to do one again, but, I'm afraid I lost the link and name of who asked me. If it was you, would you please let me know? Sorry.

Anyway, I thought that I would take the time away from doing something else that really needed to be done (kits for a class, a story for Somerset, a project example- or two- or three, gifts to make, listing, listing, listing, and not to mention cleaning house, just to mention a few) and with my new found, No Fretting Rule, I would goof off and write out my list of:

Ten Things About Me

1- I'm always behind, so it wouldn't matter how much I get done, there is always more I want to do, my mind is a swirling, twirling, blur of ideas and colors. Which I why I am always doing different things, and not trying to capture the market on one type of art.  I think I could do well if I stuck with something, but I keep moving on and trying something else. 

2- On the other hand, I love Holiday tradition projects, like dying the bottle brush trees with Sugarwings (she is my little helper elf and loves being put to work). She has helped me since she was tiny. I hope that the trees stay in fashion and I can still sell some.  Or we will end up waist deep in pastel trees, because we are dying another couple hundred or so.

3- I watch way too much TV. If I'd be willing to give it up, or at least do away with a fraction of the time i spend in front of it, I probably would not be so far behind with everything else in my life.  But I can't quit you, DVR.  And I don't want to.

4-  In the studio, I listen to NPR all day, and only allow myself to watch TV out here if I work late at night or on weekends. But I rarely listen to music and don't care much for silence. I do sing a lot, but not to the radio.  I sing all day long, and am most likely the worst singer ever.  Maybe its because I am singing to NPR?

5- I talk to the dogs all day while I work and sometimes forget they might not be in the studio after all, and carry on a whole conversation with no one.

6- This NO Fretting Rule will not be easy for me.  I do tend to fixate on what I need to do. My husband doesn't care much for that trait. 

7- I'm usually pretty quick in everything I do.  I'm not a deep thinker or planner, and work off the cuff.  I rarely sketch or plan ahead.  When I worked as a muralist, I would walk up to a 60' wall and just start painting with no drawing to go from.  I don't like to do the exact same thing twice, so if I had a sketch, chances are that the wall would come out different than it anyway.

8- Once I fell off a horse and broke my back, and thought I was going to have chronic pain forever.  But I don't because I try to stay limber. Exercise and I don't get along well, but I have to make the effort, or I start to drag my left leg.

9- I travel a lot even though I hate to be away from home (and my TV, my dogs, my studio, my Sugarwings, my family, my garden, did I mention my TV?).

10- I will fall for any excuse to waste time, even when time is short.  As you can see by this list.  And by how often I post. And by how often I am on Facebook. Its a good thing I can't quite get the swing of Pinterest. I can feel a huge pit of time seeping away there if I did. And I do appreciate all the pins people have made from my blog, thanks!


Making a kitchen island from odds and ends

antiques/junking, Hand Painted Furniture, how to's, how-to projects, Kitchen remodel, Tutorials


IMG_5619

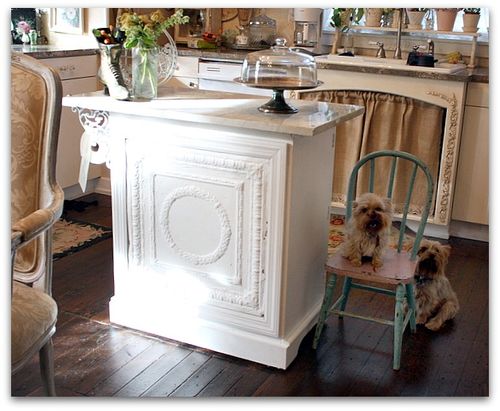
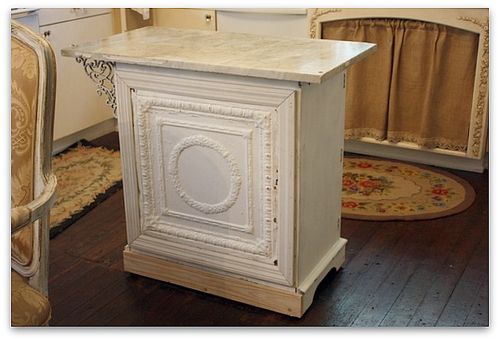
 When I knew we were going to be remodelling our kitchen, I started making plans for a new island. But I didn't want a "new" one, I wanted an old one, of course.  I knew that it couldn't be large, it needed storage space, wheels, and I wanted a granite or marble top.

I couldn't find a piece already like that, so I thought I'd marry an old cabinet with a stone top that I purchased.

Well, after a trip to the local granitorium (I made up that term, but it seems to fit), I realized that a new slab, even for a small piece of furniture was not in my budget after spending a wad of cash on a whole kitchen redo.  At first, I tried to pretend that it was just in the "construction budget" but, I had to force myself to face the truth.  Just because we were spending a few thousand dollars already, it doesn't mean that a few hundred will disappear into it that vast amount like a drop in a bucket.

What it means, is that I had already spent too much and shouldn't spend a few hundred more.

So, I searched for an old piece of stone at antique stores.  I actually found quite a few, for a fraction of the cost of  new (even though all of them are billions ?? of years old, the ones from the granitorium are like "new")

The best piece I found was 28" by 38" and came from the teller's window of an old bank in western KS.  It was only 50 bucks too!

IMG_5272
For a month, I carried those measurements around, hoping to find a piece of furniture to fit them.  I went to flea markets, antique malls, and consignment shops and found some hopefuls, but was being cheap.

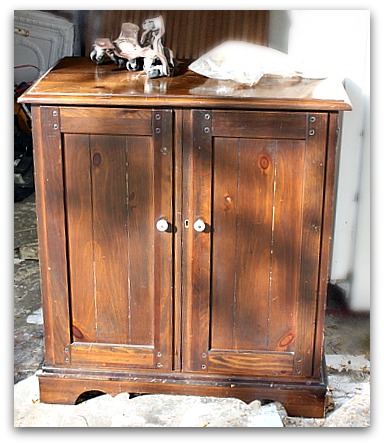
One day, I stopped at our Salvation Army to look for some warm pants for Sugarwings (did I mention that I am cheap?) and found this not so old, but not new Lane TV cabinet.  Its nice, solid wood, and could support the weight of the marble.

Plus, it had a green tag and that was 50% off of green tags day!  I got it for $14.

IMG_2869
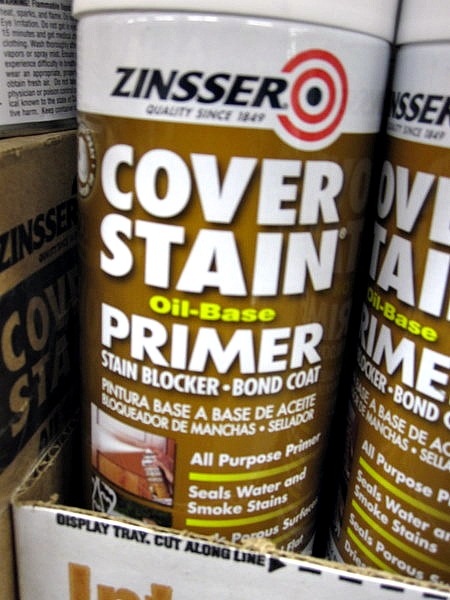
That is about how much I spent on spray primer.  This is the BEST kind to use, and its about $7 a can now at Home Depot. But its worth every penny, no matter how cheap I am, because I hate sanding. With this product you do NOT need to sand! 

There are lots of tutorials on my side bar about how I paint, if you want to redo something and need to know some short cuts.

IMG_5273
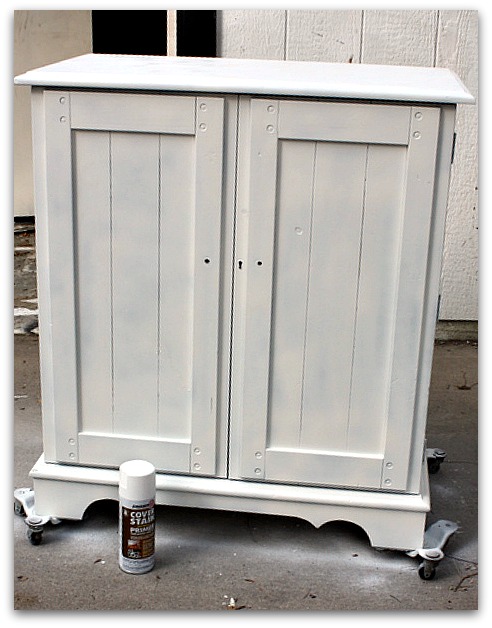
You might notice that I sprayed the top. That was a waste, since I was covering it in marble. 

I also used too heavy of a coat, because I thought I would be using this as the base coat, skipping the paint step, distressing the edges, and just glazing over it. I changed my mind and painted it white, so could have gone with a lighter coat of primer, since I had paint over it after all. 

IMG_5275

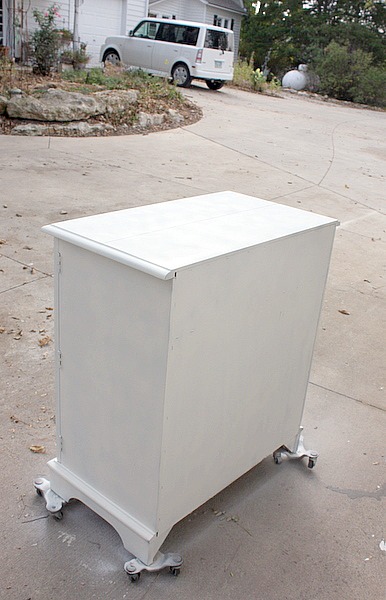
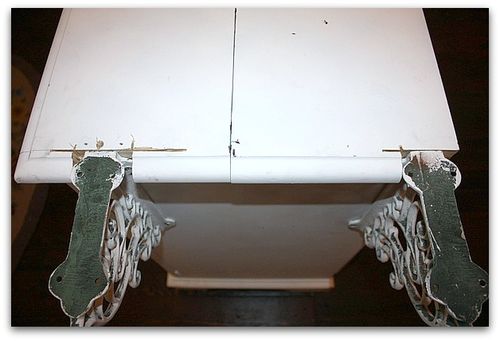
Once I had it primed, there were still some problems. One was that the back was just fiber board, stapled on. The other was that the wheels had no where to attach because of the shape of the bottom of the piece.

Also, the cabinet was a bit smaller than the marble.

While the contractor was here to finish up a few trim details in the new kitchen, I asked him to do a little trim work on this too.I figured that for the small amount I had into it, I could afford to pay him to help me with the hard part of the redo and still be way ahead on this.

IMG_5419

My garage is full of tidbits and doodads. I found a couple of iron brackets and he cut out notches to add them to the side of the cabinet to support the marble that was too long.

IMG_5423
And to cover the fiber board, I added an extra piece of ceiling tile leftover from the ceiling job, then had him trim it out for me so that the rough edges wouldn't snag anyone's pants (or slash anyone's leg, that stuff is sharp!)

We added a block of wood under each corner and screwed the wheels to them.

The marble was attached with liquid nails and set into place.

Then, all I needed was some white paint. I decided it didn't need distressing or a glaze. I kind of liked just the pure white.

IMG_5624
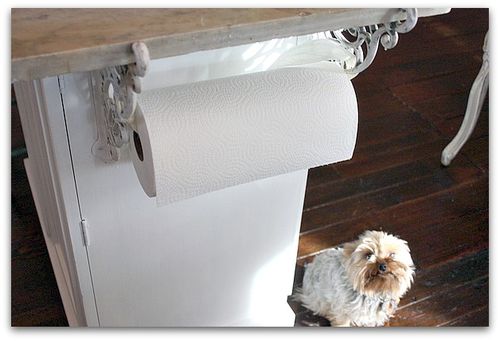
After it was done, I realized that the brackets were perfect to hold a paper towel roll. So far, the roll is just tied up with a ribbon, I'll be looking for a better way to hold it in place.

IMG_5467
Hey, if you are looking for a project for yourself, on a slightly smaller level, my good pal, Mary is doing another glue book class.

A Christmas glue book!

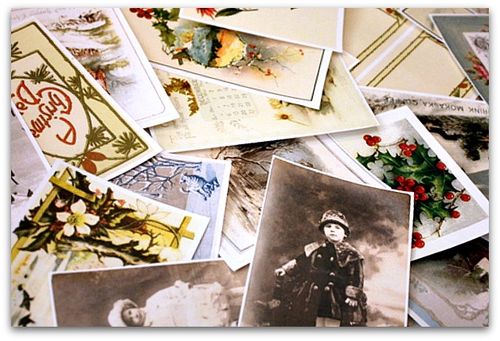
I was with her when she was searching for ephemera to use. We went to a flea mkt together last summer and it was interesting to watch her sift through all the papers, picking and sorting.  She is very knoweldgeable about old paper.

IMG_5470
Mary and Beth were both here for craft day and I got a glimpse of what Mary was making, and I have to say, its a cool class. Button might not look very enthusiastic about it, but he isn't into ephemera like we are.

IMG_5481

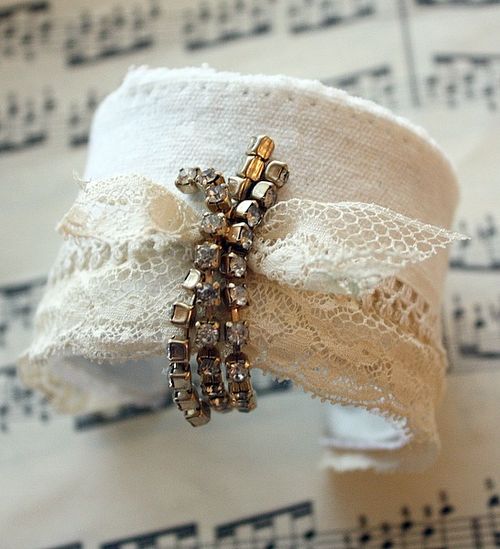
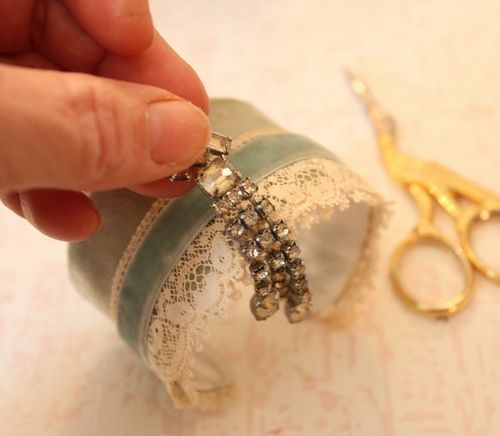
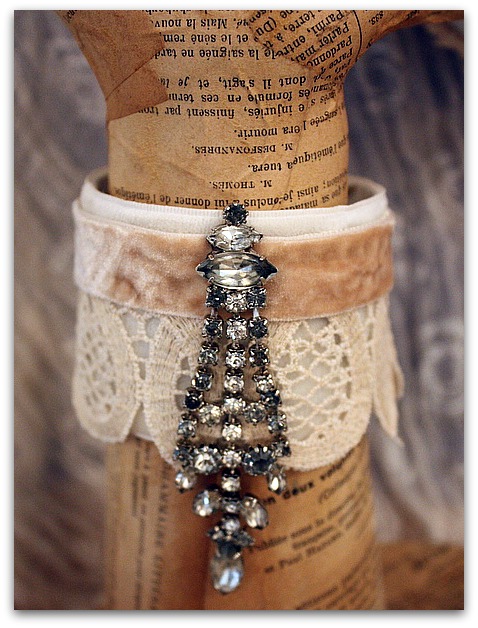
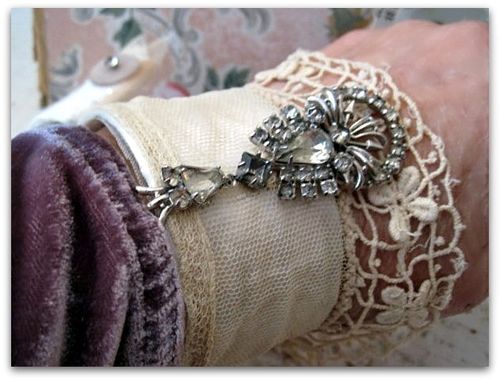
Craft day meant working on my Cuff Bracelet tutorial, and Beth was nice enough to make a cuff for me to show, using my guidlines for the construction. Pretty, huh?  I love craft day!


Cuff bracelet tutorial

Dew Drop, family, jewelry, Mayara, Sugarwings, Tutorials

Cuff tutorial
The cuff bracelet tutorial I promised is up and running. There is a button on my side bar to click on for more info, or click here.

Its a $6 class.

IMG_5479

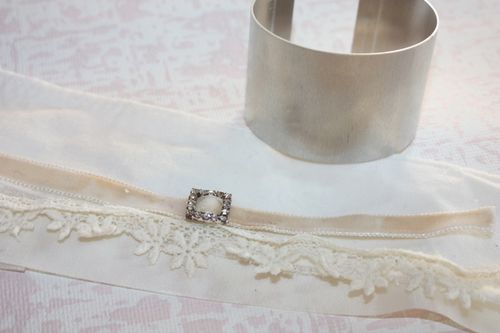
The class is online, in blog form, and holds written instructions lots of photos of the steps that I use to make my own cuffs.

(why on earth don't I ever think of polishing my nails before I do one of these???)

Cuff button

Here is a button for the class if you'd like one.

IMG_4865
Its up and running, with no end date.  So you can refer back to the blog in the future for a refresher. 

IMG_5501

I've also made up some kits for sale. You can find them in my Boutique, on this page.

The tutorial is included in the kit price.

IMG_5502

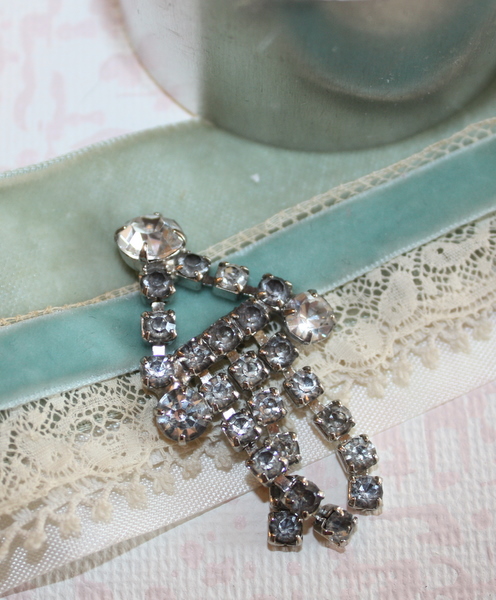
There are a few kits listed and I am waiting on a bulk order of the aluminum cuffs to make up a few more. For now, I have the 1-1/2" size, next week I'll also have the 1" cuffs.  Today I found some toasty, cream cotton velvet too, won't that be pretty?

IMG_2902
And if you aren't in the mood to make your own, I have listed a few that I made myself too.

You can find some here, and some in the Etsy shop, here too. (Yay, I got it reopened! And have big plans to restock it for the holidays)

  I've got another half dozen cuffs to photograph and list, but today was busy with putting packages together. I've been in bed with a cruel stomach bug all week and haven't had a chance to get my orders filled.  But if you are waiting for a package from me, thanks for your patience, its on its way now!

IMG_5375
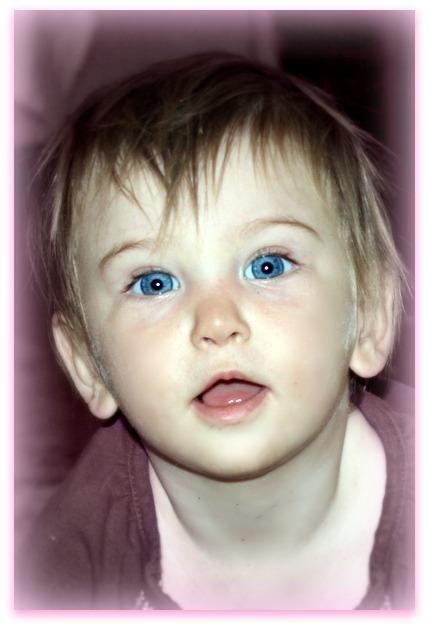
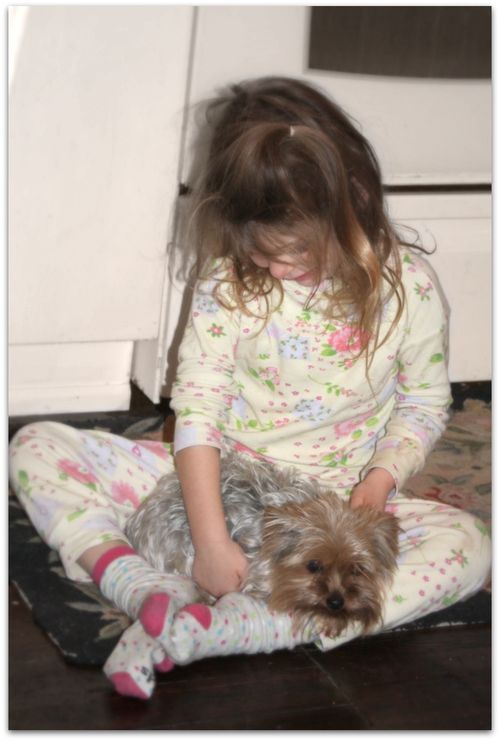
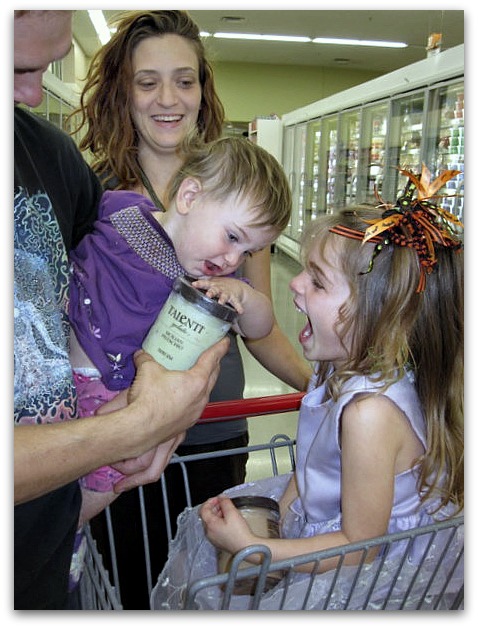
Little Dew Drop and the rest of these photos don't have anything to do with the stomach bug, I figured they were much prettier pictures than anything along the lines of what I was talking about. Its been a rough week, but with a trip to the ER for fluids to revive me, I am on the mend.

Seems like the worst part of being sick (beyond losing a week of work, when I am trying to fill my shop for the holidays) is finally crawling out of my dark, depressing, sick room to find the house a mess. Now, I'm not blaming my sweet husband, who spent the night sitting up in a stiff chair at the ER while my veins were pumped full of that wonderful IV nectar that made me better, and who watched Sugarwings on his own while I was out of it.

IMG_5528
He was just great. He was helpful, he was loving.

But he just doesn't notice messes.

I honestly think he doesn't see them. 

So, when I finally was able to get up on two legs and left the bedroom, instead of just crawling from the bed to the bathroom, I was a bit down to see how things had piled up around the cottage. 

But the worst part was that I passed the bug on to him and to Ryan and then had to take care of them, while I was still feeling like  noodle legged mush myself.  Not to mention taking over the care of an energetic Sugarwings for the night. 

IMG_2875
The two girls were already exposed to the bug last week when their Daddy and his Gypsy were sick, and haven't caught it yet. I'm hoping they don't. Its awful. I feel guilty enough that the guys picked it up while bringing me juice. They were very brave and are paying for it now. So, I'm off to go check on my menfolk, and see if they need a refill.

I hope all is well at your house.  WINTER IS COMING (that Game of Thrones quote stays with me) and so are the bugs. Dang, I miss the summer bugs, as much as I hate mosquitos, they are better than the stomach flu!


Fairy Laurel Swap At Once Upon a Dream

Once upon a dream

IMG_5178
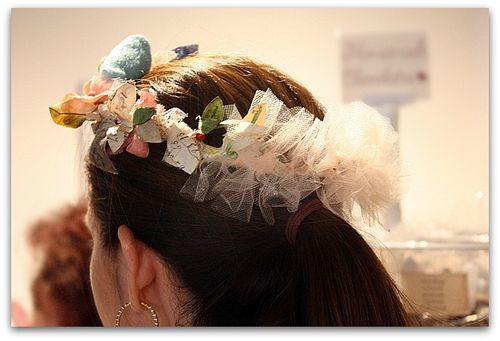
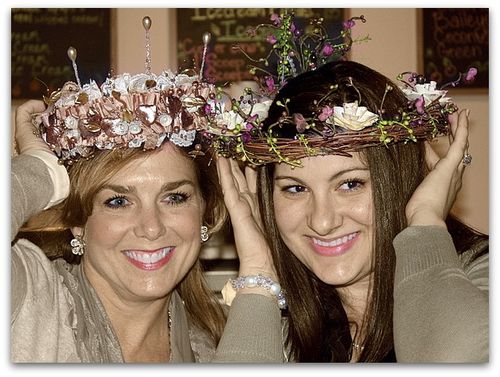
At the fantastic,big girl, fairy tale retreat Jenn threw, I volunteered to host a swap.  Fairy crowns are a favorite thing of mine, so I chose those to host.

IMG_5113
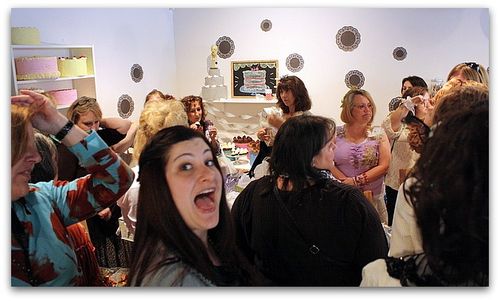
It was quite a party, there were tons of swaps and lots of creative pretties being traded about while we dined on cupcakes.

IMG_5141

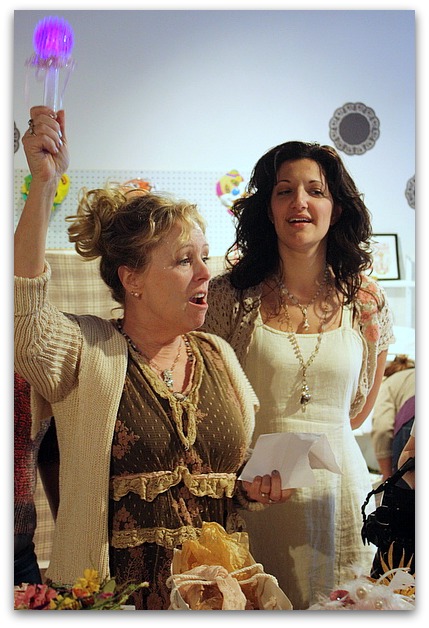
I'm hoping that I wasn't considered obnoxious when our turn to swap came, and I bellowed out the names of the swappers while holding up my glowing wand.

I often am considered obnoxious.  I get carried away sometimes.

IMG_5150
It was a bit loud in there and we were the last swap scheduled.  And there was so much cool stuff to see and talk about and compare, that I was maybe a bit too loud while trying to call out the names….

IMG_5151
It was such fun to see what everyone made.

IMG_5158
Swaps are a blast.  In the past, I didn't participate much in the ones at other events, but I always felt left out when I saw the glee people opened their gifties with.

IMG_5168
So, I've told myself now, that I will always join at least one swap for every event I attend.

IMG_5169
And now, I think I want to host a swap for each event I go to!  I really enjoy that part. I know I've always loved hosting online/by mail tag book and other swaps, and in person ones are just as much fun.

IMG_5195
After this event, I want to do a fairy swap of some kind. I've been thinking about it for a long time, and my sissy has been asking me to.

IMG_5189
If I can get my butt into gear in time, it might be a xmas one.  But, with all the projects, trips, and holiday foofing that I have to do, probably not…

IMG_5185
Oh well, its fun to plan and day dream about. I'll let you know when the plans coagulate into something firm!

Prairie fairyland classes and pretty scenery

celebrations, Chandeliers, Once upon a dream, parties, Travel

Once upon a dream

I wish I could teach more often.  Its a blast. Of course, I am a bit of a ham, and I talk too much, so its wonderful to have a trapped crowd listening to me…Actually, its just plain old FUN to do.  When I make something, my brain works in How-To Steps as I go.  Its natural for me to break down the process of creating something.  

I find myself telling people steps of something when they give me a compliment, which is silly, most people don't care, they are just saying something nice about it.  I can see their eyes glaze over when I go into too much detail, so its nice to have people who really do want to know how something is made.

IMG_5022
The class I taught for Jenn was a mini "workshopette" for opening night, so I only had an hour.  I needed to package it up so that it was easy to assemble.   It seemed to be just the right timing, the ladies had time to finish and come up to the supply table to embellish with glitters and mica flakes too.

IMG_5013
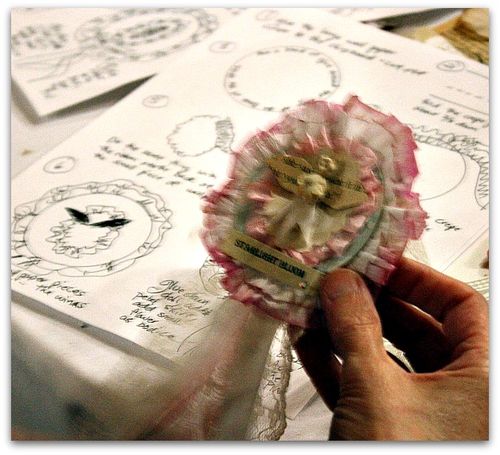
I had felt like it was so simple I didn't need written instructions, but then started to freak out and worry that maybe I was wrong. And yes I was. So, I'm glad I scribbled out some in the bar the night before. The front desk printed them out for me and I was glad to have them for the class.

IMG_5019
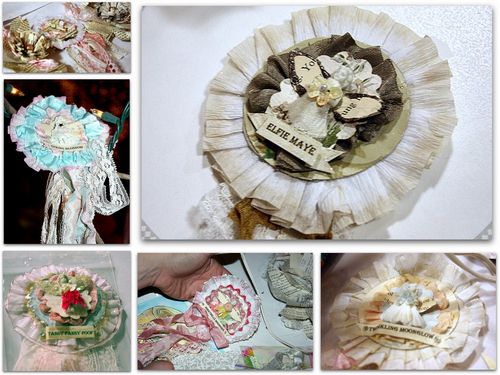
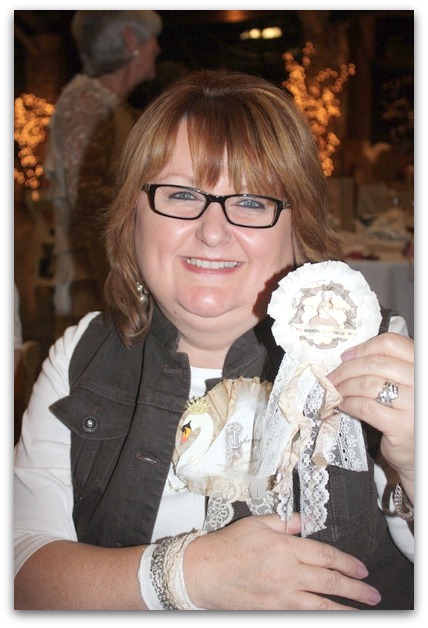
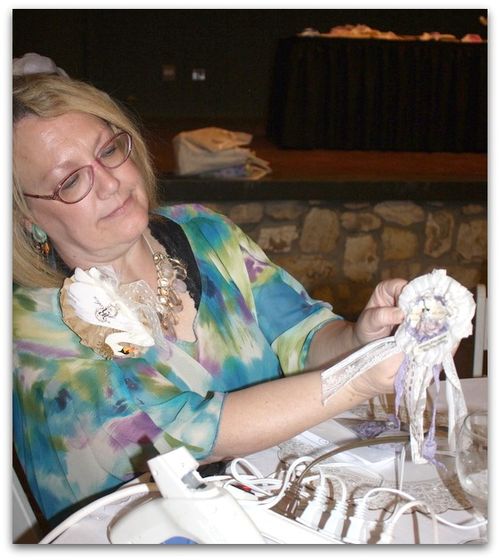
One of my favorite things about the class was seeing all the variations people made on the prize ribbon.  Individuality is important to me and I made sure no two kits were exactly alike, but the fairy ladies took them even a step further to make each unique.

IMG_5017
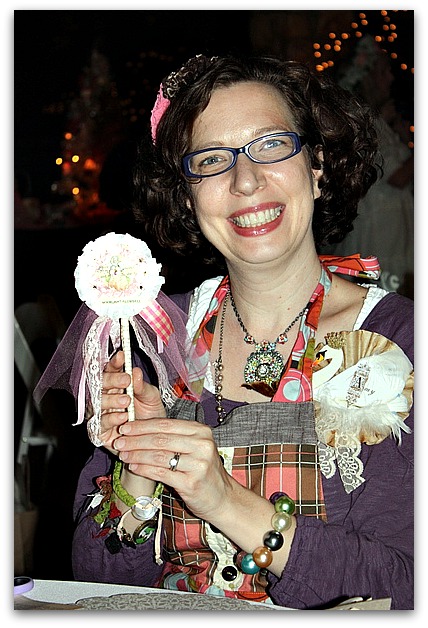
Amy mentioned that she would love to make hers into a magic wand and wished she had a stick. I suggested gluing two glue sticks together and wrapping them with paper.  It turned out really cute!

IMG_5437
If you'd like to make your own, I had some materials left over to make a limited amount of extra kits. They can be found for $11 each in the Boutique

IMG_5041
The projects at the event were all such fun!  This is Dee's and she provided cool images to use.
IMG_5105
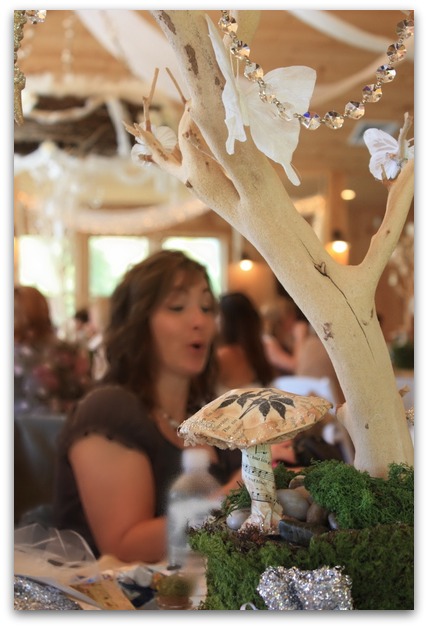
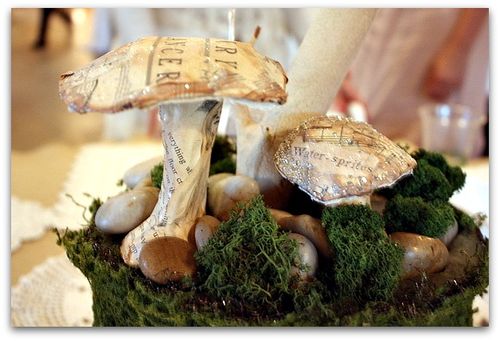
Mine ended up a bit different.  I wanted to use one of my mushrooms that I made for the centerpieces. It still needs a little sumthin sumthin… maybe small prize ribbon rosettes on each side, in neutral colors?

IMG_5083
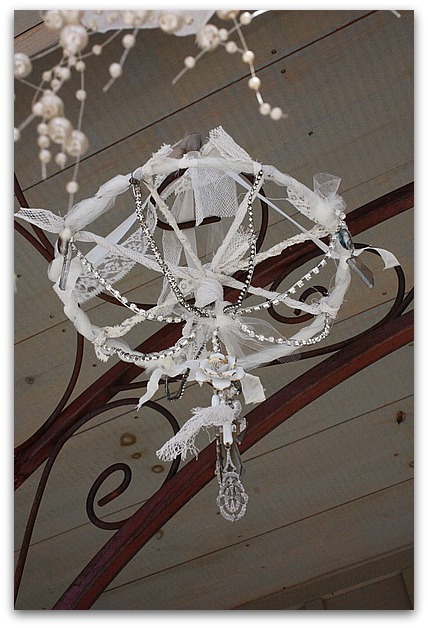
This is my chandy from Natasha's class.  There were a few changes on mine too, I had strands of rhinestones with me and wanted to use those instead of the beading she gave us in the kit. I also wrapped the wire in tulle and lace.

IMG_5080
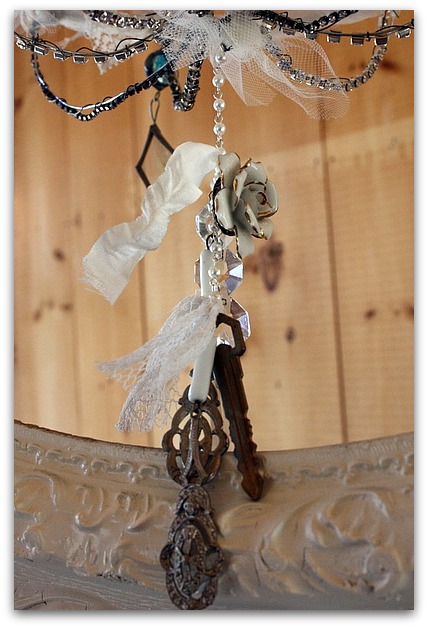
Then, I added a few dangles.

IMG_5031
Well, durn, I don't have a photo of Andrea's lovely necklace kit.  She packed up the best stuff to make the bracelet/necklace.  Lots of semi precious beads, that really made it special. If you know Andrea, you know she has exquisite taste.  (Plus she is sensitive, sweet, kind hearted, and beautiful)

IMG_5003
My pal, Tiffany, taught about taking better photos, and I learned a LOT from her.  She fixed the settings on my camera and I didn't even know they were wrong.

IMG_5074
My roomie, Lori, had a fun class too. I didn't get to sit down and make it yet, because I was walking around and helping with it.   Her kits were packaged really special, and I do have mine to make later.

IMG_4936

On our welcome night classes, the acoustics were a bit off, so all the teachers pitched in and walked around to help, since we couldn't be heard as easily as we'd hoped. Their help made the classes a success. I was sure glad to see them all come to my aid!
IMG_5064
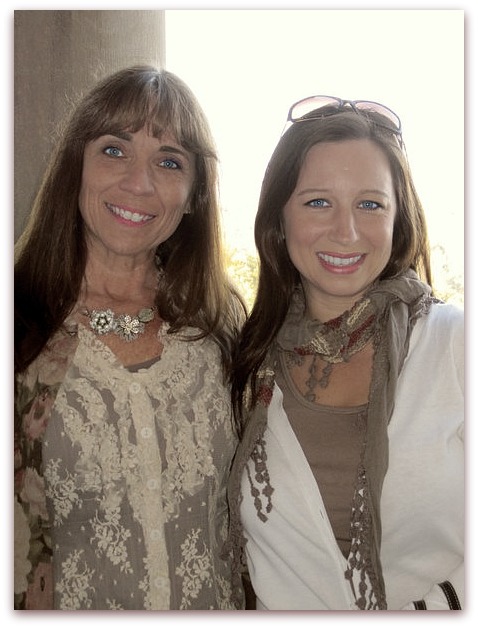
Suzanne was another roomie, and is always a delight to spend time with.  We also got to share a table on work day.

IMG_5070
Our buddie, Kana was at our table too. She was our 4th roommate.  I've never shared a room 4 ways for an event like this, but it does make it even more fun.  Twice the giggles late at night than you get with just one roomie.

  And three people to tell me to stop snoring.   They said I was a polite snore-er and would stop when told.  Suzanne taught everyone that if they snap their fingers I roll over and shut up.  Its a good trick. I felt like I should have gotten treats for it, though.

I've heard that if you pin a tennis ball to the back of your jammies, you won't roll onto your back, and I snore only on my back.  But I didn't have a tennis ball, we had raquet balls, and golf balls. One was too soft, one was too small, but I tried putting both into a sock and pinning it to the back of my sleep shirt.

The trouble was, the sock was too long and it swung around and whacked me in the face, and did no good at keeping me off my back. I was actually more comfortable on my back, with the sock-o-balls on my shoulder, and I would dream it was little Agnes Rosebud nestled up on my shoulder as I slept.

IMG_5053
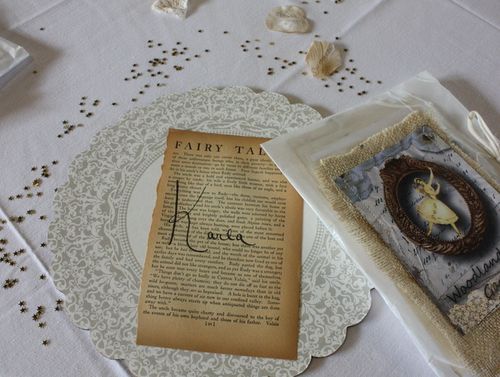
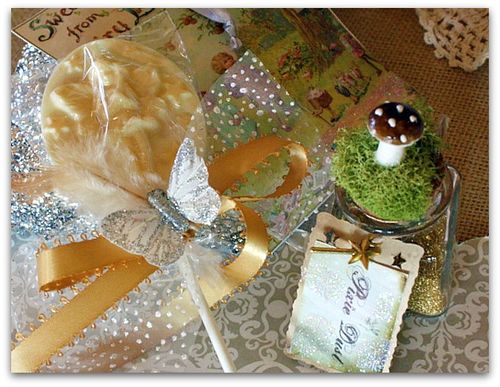
The details at each place setting were as wonderful as everything else Jenn does.

IMG_5090
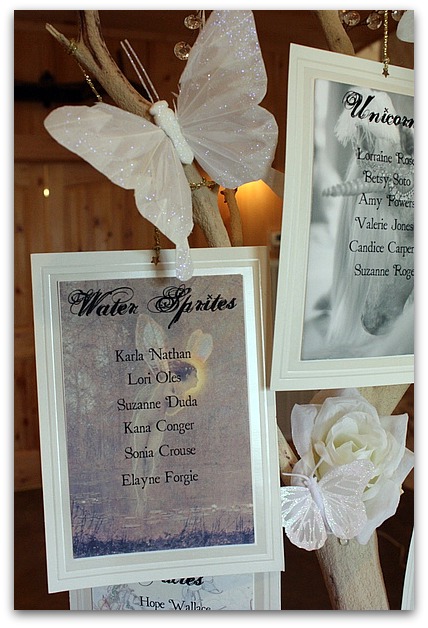
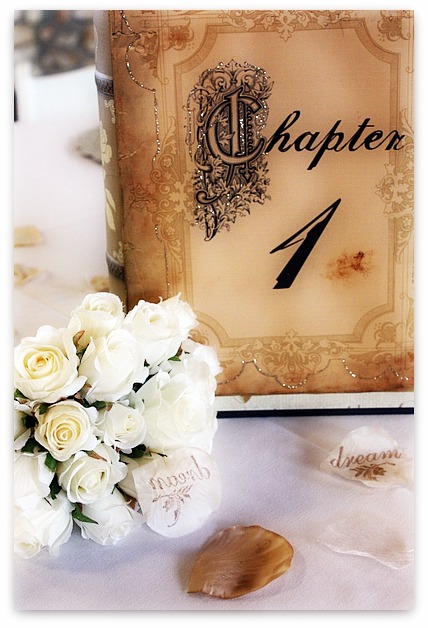
She didn't miss any opportunity to make even the smallest detail into something special. This is the seating chart!
IMG_5098
Our table was the "Water Sprites" which of course reminded me of my little Sugarwings who thinks she is a mermaid.

IMG_5054
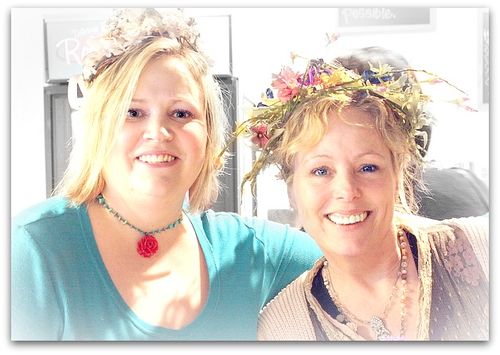
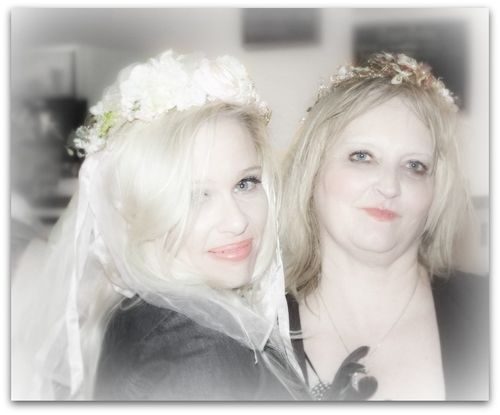
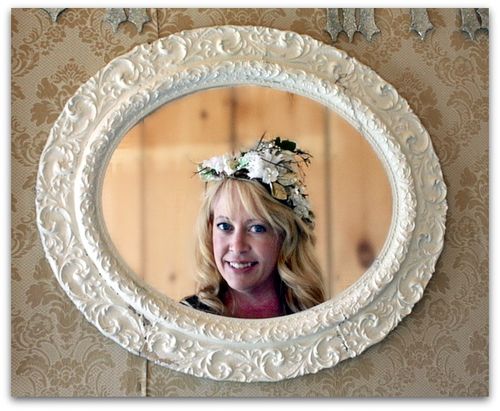
Jenn had wonderful photo ops set up for us, this wall of frames was sooooo pretty.  And so is Valerie (wearing one of the crowns I made)

IMG_5032
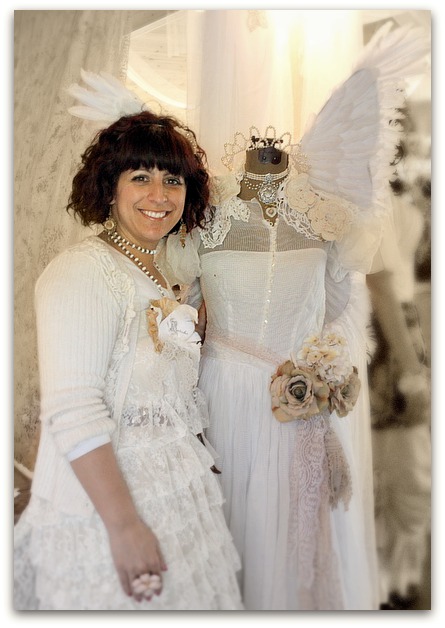
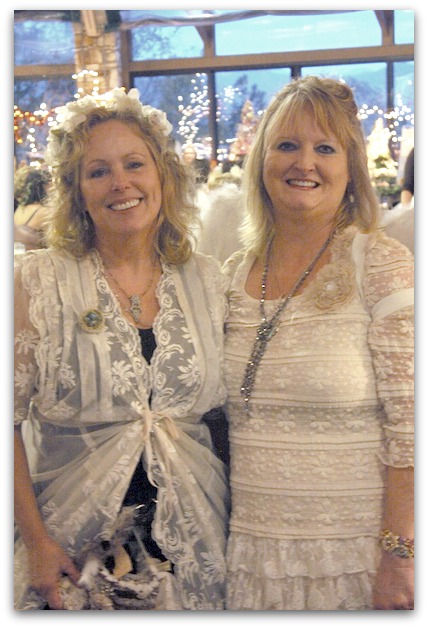
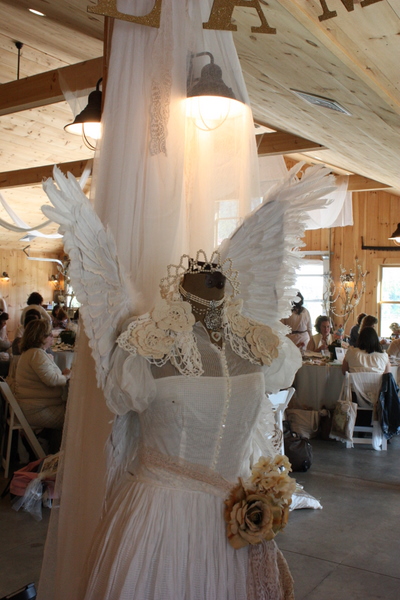
This vintage angel was a great spot to pose too. Doesn't Natasha look like an angel herself too? Well, while she is nice as can be, she is also far from angelic, that girl is full of fire, is stunningly funny, and always ready with a great story.  But she sure pulls off the angel look!

IMG_4950
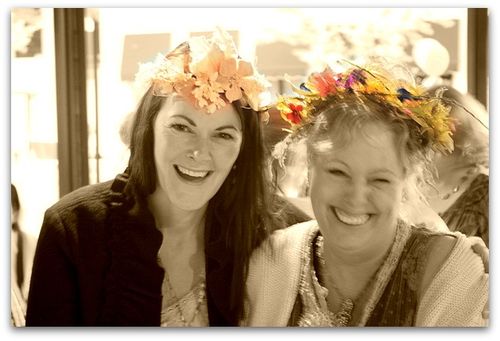
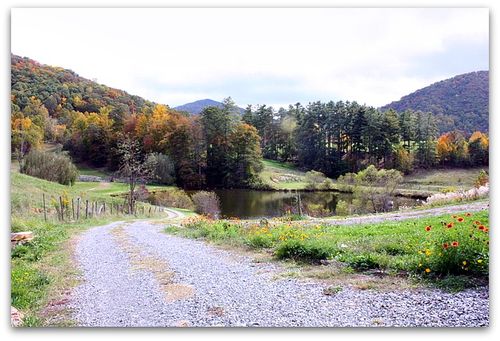
It was great to see old friends, make new ones, and play dress up while surrounded by such stunning scenery.  I'm honored that Jenn asked me to teach, it meant a great deal to me to be part of this one of a kind event.

IMG_5063
Thanks, Jenn for everything you did to make us all feel like pampered princesses right out of a fairy tale for this enchanted weekend

IMG_4932
IMG_4995
IMG_4979
IMG_4951
IMG_5034

IMG_5040
IMG_5043
IMG_5071
IMG_5089

  IMG_2823
IMG_2826 IMG_2833
IMG_2834
IMG_2836
IMG_2837
IMG_2842
IMG_2843
IMG_2846
IMG_2848


Scroll to Top