December 2011

Lightening speed holiday decorating

Uncategorized

IMG_6292

I'm still on my never ending task of Christmassing up my house.  Just when I think its done, I do a bit more.

IMG_6293
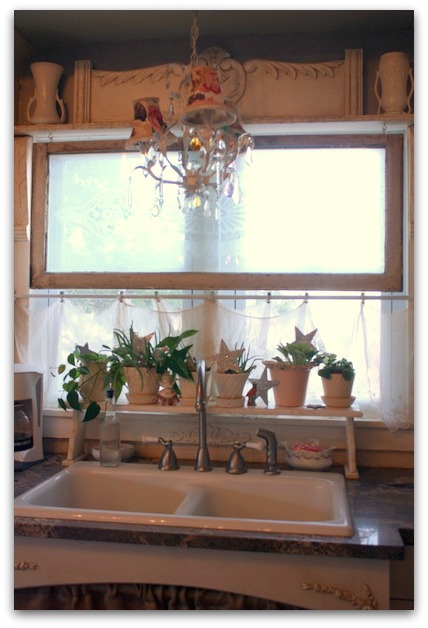
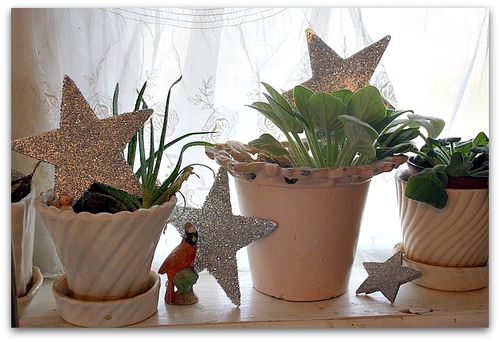
Nothing big, or complicated. Today I stashed glittered stars in my potted plants on the windowsill.

IMG_6295
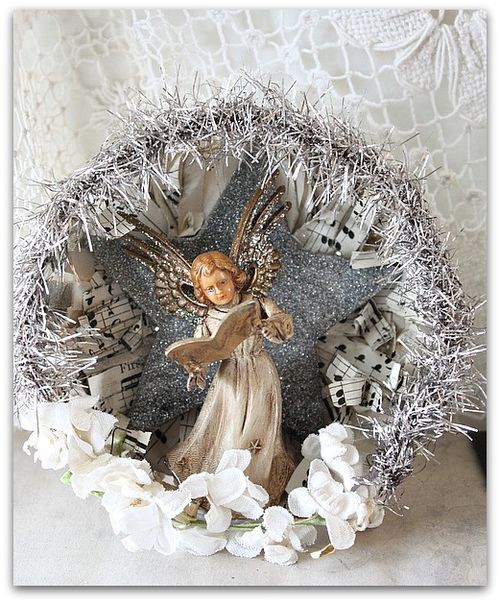
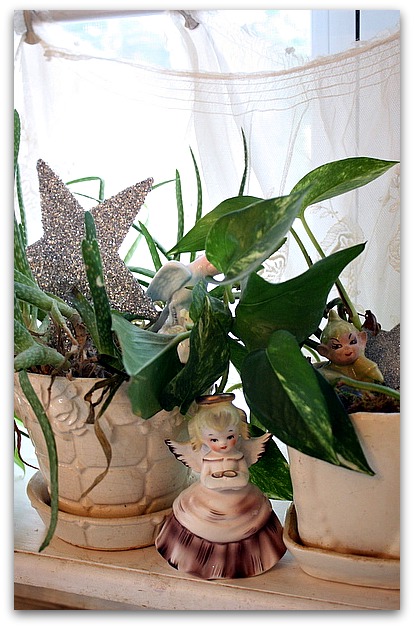
And sat out a little angel.  2 minutes and I was done. And it makes me smile when I wash dishes.

IMG_6291
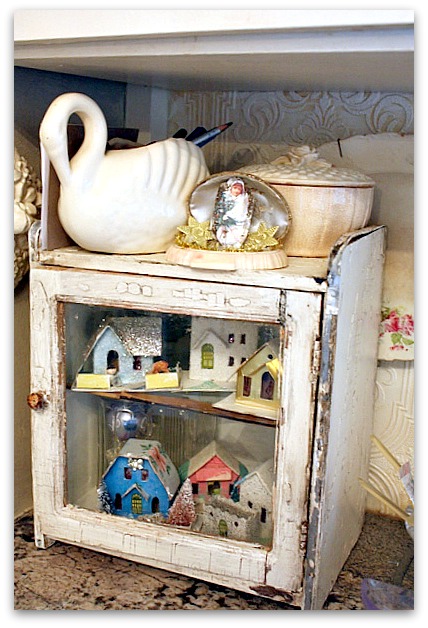
This little cabinet has been sitting on my counter waiting to be decorated every since the remodel and I have not put it to use yet.

Now, its happily filled with little putz houses.  There went another 2 or 3 minutes of decorating time!

IMG_6304
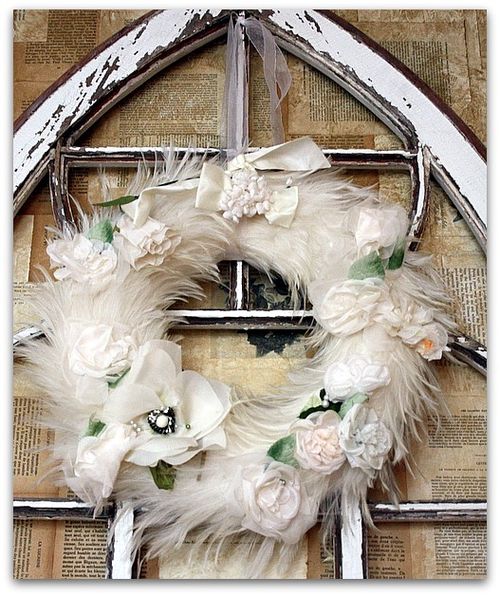
This one was just about as quick.  I had this feather wreath (from a garage sale), and after I hung it up, I was thinking it was looking a little molty.  So, I grabbed a bagful of millinery blooms and stuck them onto it with pearl head pins. One pin for each flower, so it will be easy to take apart when I put the wreath away.

IMG_6306
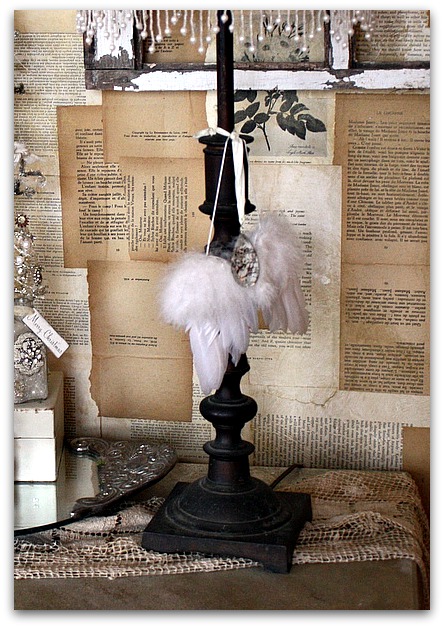
One more speedy project was adding a set of feather angel wings to this lamp.  I tied a crystal to it too, this one was one that we made in the Romantic White Christmas online class last year, the back of it is covered with a vintage image and glitter.

Jen Rizzo is having a holiday party, I'm linking up there today.

And please leave a comment here if you'd like to win a Cuff bracelet or Dress Form tutorial.

Fumpity Fump Fump

celebrations, Dew Drop, family, flowers, Food and Drink, holiday decor, Sugarwings, videos

 We were out shopping the other day and Sugarwings saw this sign on a stand and in her mind, it was the perfect microphone, so she started to serenade all the shoppers.  The kid seems to have inherited my singing voice.  And also the joy of singing out, loudly. 

Its a short video if you want to watch it, and my favorite part is where she is distracted by something shiny and walks away just as she sings "look at Frosty go". 

IMG_6343

This year, the holiday month seems to be racing by faster than I can keep up.

IMG_6317

Its happening too fast and will be over before I know it! So, I'm slowing down and making myself take in every minute of it.  Sugarwings has been spending a lot of time with me and she agrees that we need to make the most of our days. We've had a hot cocoa party every night that she sleeps over, lit only by the lights of the tree.

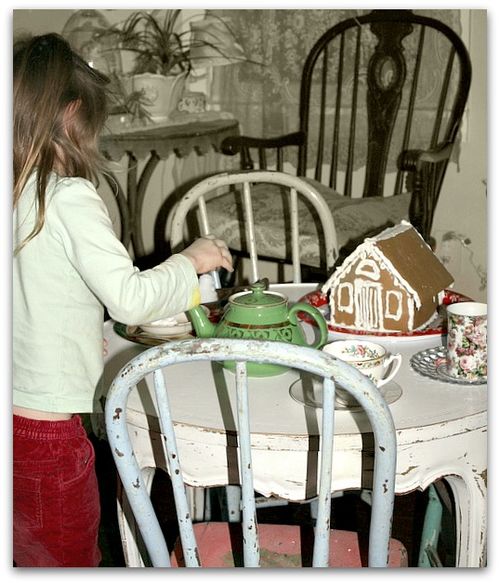
We make an event of it, setting the table with our best china, filling our favorite tea pot with hot milk, and passing around tiny bowls of shaved chocolate, mini marshmallows, and peppermint sticks.  Not only are we getting a delicious bedtime snack, we are learning about manners, polite conversation, and building memories to treasure.

IMG_6321

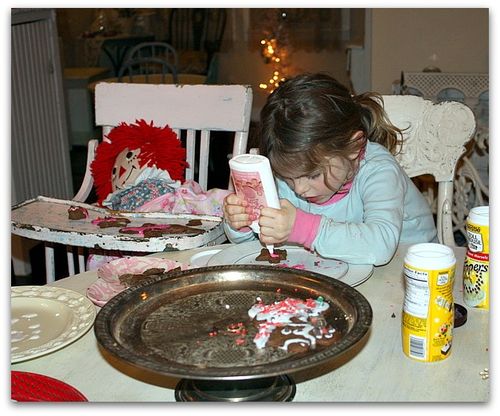
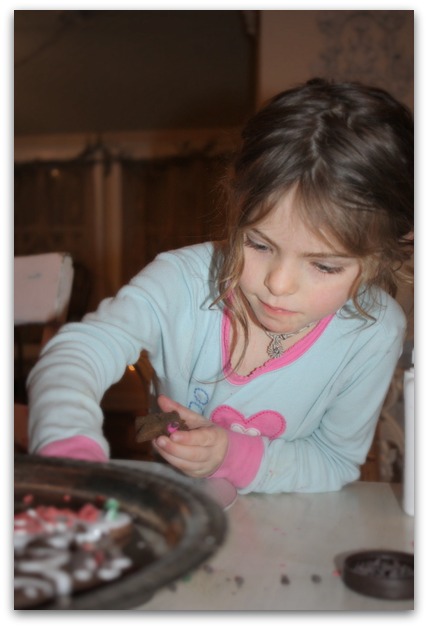
We are watching all the holiday specials that we can cram into our time together, without losing out on time to create and cook too.  As much as I love holiday baking, its even better with her. 

There has been a ton of cookies and fudge being whipped up, as well as a  gingerbread house we had to put together with hot glue before we could decorate it.

I'm trying to show Dewdrop about the joys of baking too, she held the mixer for us last week. Its a start!  Soon, I'll have two little helpers.

IMG_6337
With her Daddy being so busy getting the Yurt weather proof and ready to live in for the long, cold winter, and her Hippy Chick Mommy studying hard for her first semester of nursing school finals (I'm proud to say that she is an A student!), I've been lucky enough to have lots of holiday play time with my fairy girl.

IMG_6352
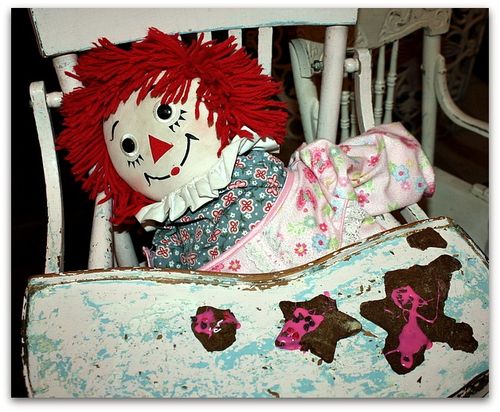
Sometimes, we invite guests to the parties too, like Luna Moona, her Raggedy Ann doll.

IMG_3036
Last week, Dewdrop came to her first bedtime cocoa party and I have a feeling, she will be a regular at them with us next year. She adores anything that has to do with food.

IMG_6344

And for some odd reason, Sugarwings has been setting an extra place at the table for my sisters. She is fascinated by them and talks about them a lot. I guess she knows how much I love and miss them, even though she has only met them a handful of times in her short life and they live far away.


Yes, its been a sweet December!


Holiday French Ephemera labels, free images for you

free images, give away, holiday decor

  IMG_6290

 Holiday decor is an ongoing thing around here. I thought I was done, and was going simple this year… but every day it seems like I think of "one more little thing" that I want to do.

We spend more time in the kitchen than anywhere else, now that it is all remodeled.  Its homey and a great gathering place for the whole family. I've got a table top tree in there on the buffet, and the big tree in the living room is placed so that you see it from the dining table.

IMG_6288

But the rest of the kitchen looked like it could  be any old day of the year.

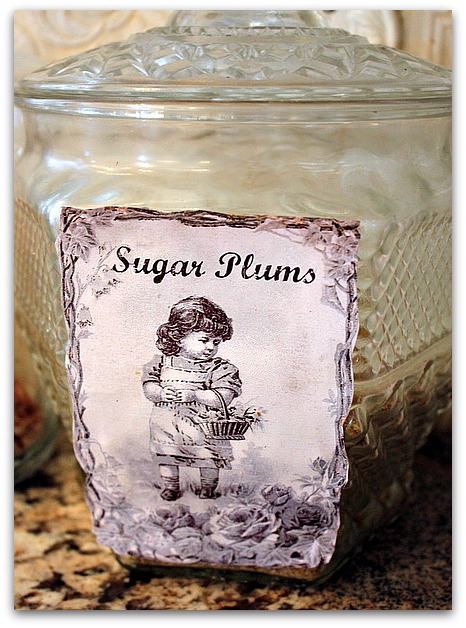
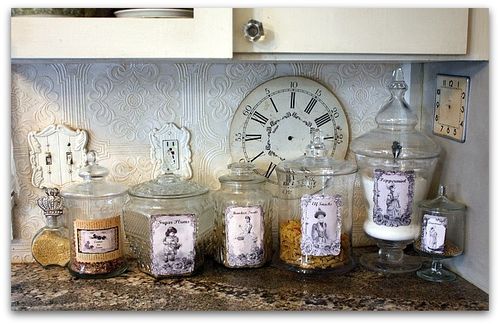
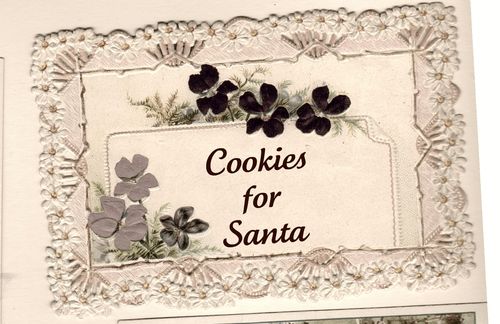
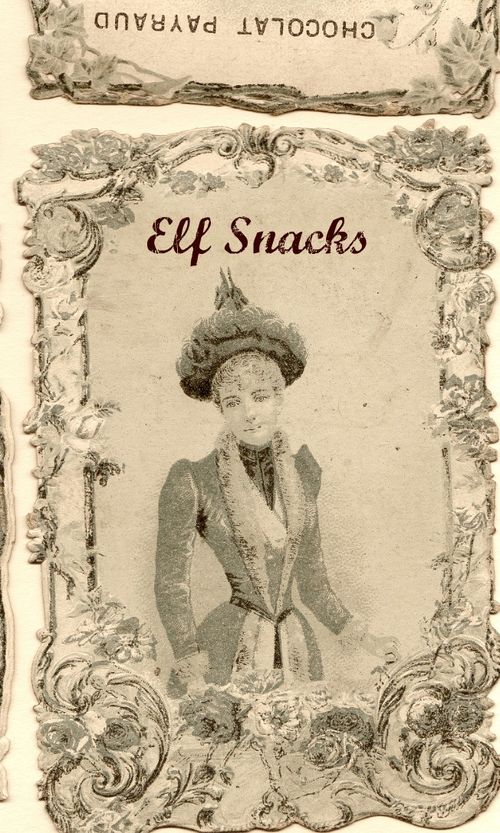
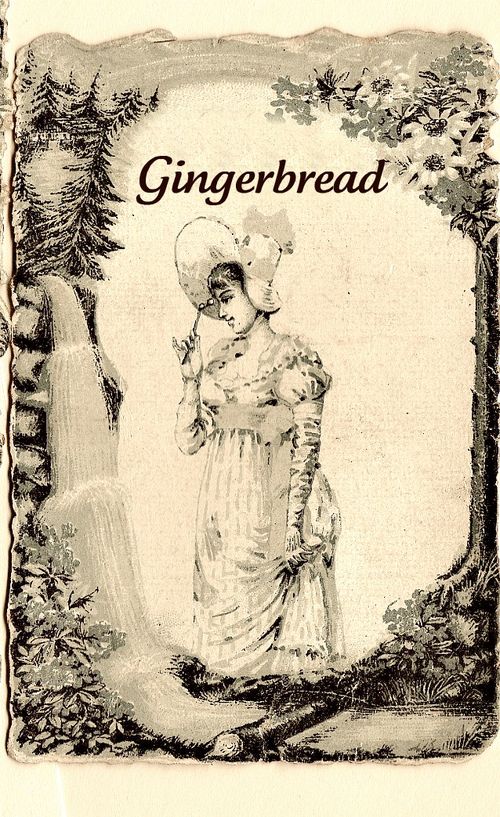
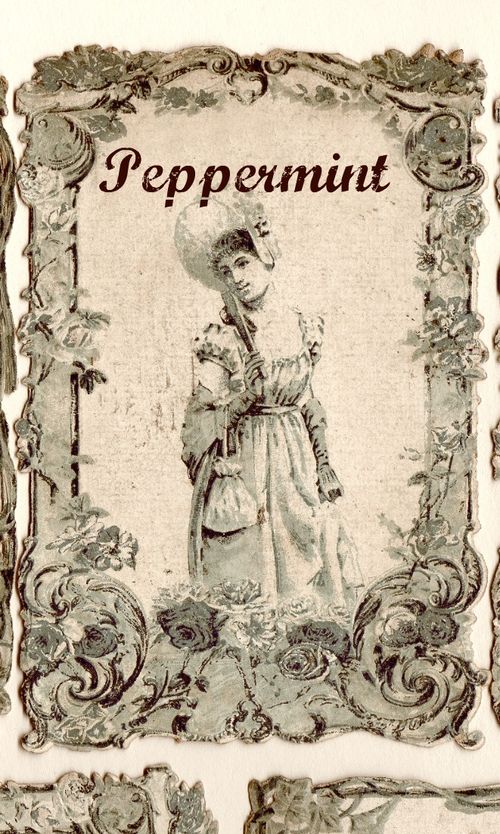
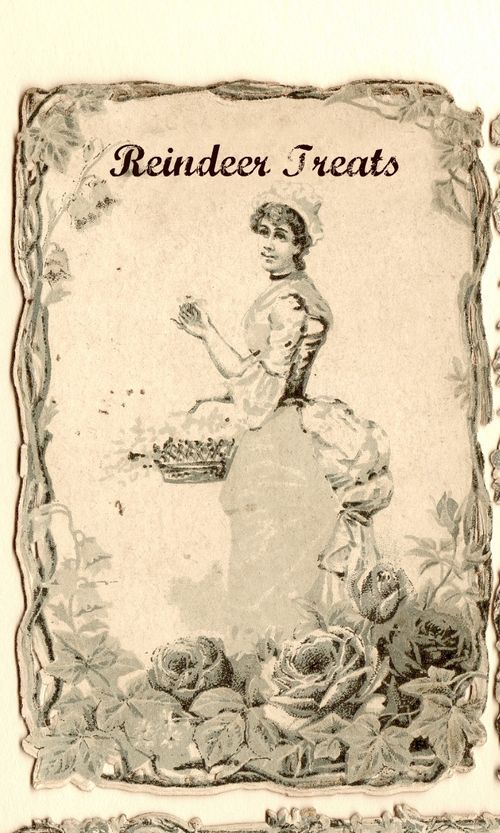
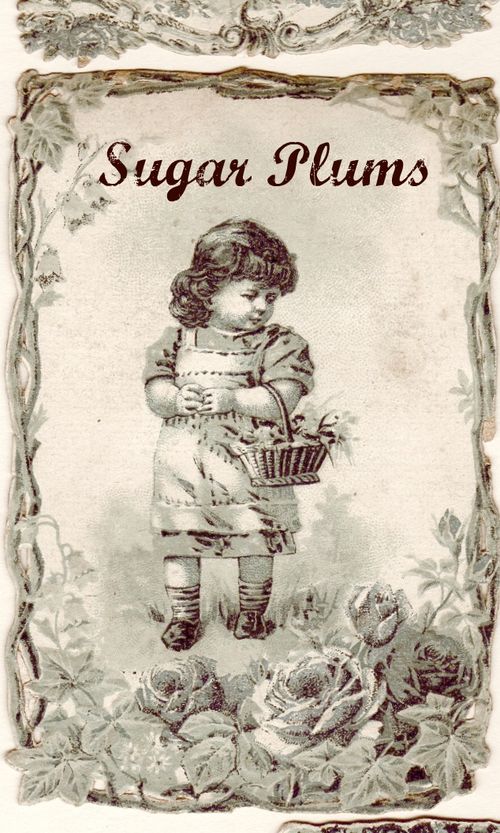
So, I made up some quickie labels using some French images I got from my pal, Gwen of Bottoms Up.  They were chocolate cards, I digitally removed the words and added my own holiday themed ones, and then removed the colors and tinted them all slightly neutral.

I always print my images onto matt photo paper, the results are much prettier than just copy or laser paper. 

The backs got a quick smear of glue stick, and the cut out labels were then pressed onto my everyday cannisters.  You have probably heard me complain about glue sticks in the past, the glue never lasts. Which is perfect for this, because its only a temporary look. 

And yes, if I was really going all out and doing it right, I'd empty the canisters and fill them with candy canes, cookies, ornaments and other holiday foof. But no, this was a very easy, very quick project just to add a vintage and Christmassy feel to this corner.  In January, I'll just take a soapy, hot sponge and wipe the glue away, and with little fuss and bother it will all be back to normal.

If only putting away the tree was that simple!


Button with girls Cuff button

In the spirit of the holiday, I'm also giving away some tutorials.  Please mention in your comment if you are interested in one or the other of these.

IMG_3013-1
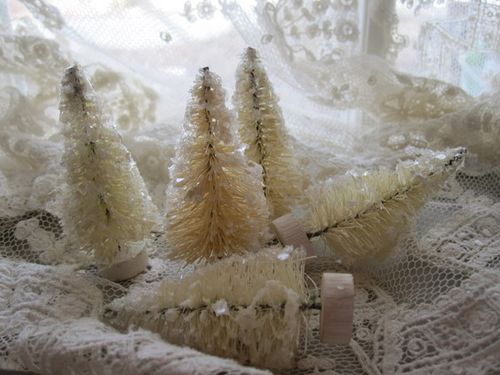
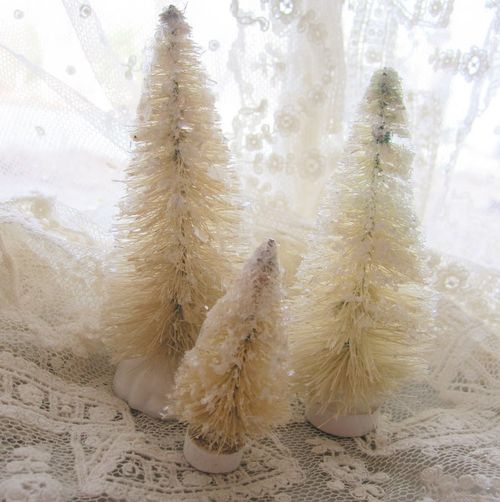
Oh, and by the way, I'm still adding more and more trees to the Etsy site, and there are still a few in the Boutique.

IMG_3012
Its nice to see that they are still so popular, since I enjoy making them so much.  I've had to replenish the stock a few times, but it is getting late in the year, so probably won't be adding any more after this. Thanks so much for shopping with me!

**************************************

Here are the images that I used for my canisters.  Just click on the image to open it in a larger size before you save it to your computer to print it.  Some of the edges are cut off, but that didn't bother me, and it doesn't really show once they are all cut out.

Cookies for santa

Elf snacks


Gingerbread
Peppermint
Reindeer treats
Sugarplums

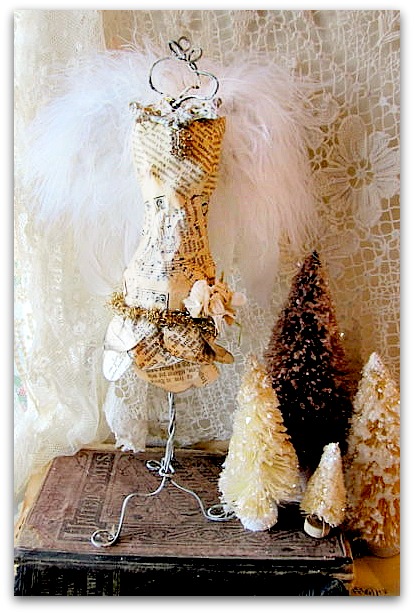
A Christmas Angel mini dress form

give away

IMG_3008
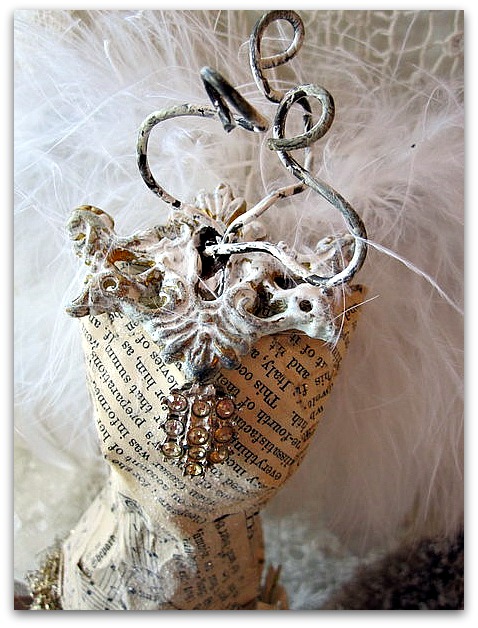
One of my favorite things about the mini dress forms that I've been making all year, is the different ways to dress them up.

This one is an angel, to set out for Christmas.

IMG_3007
She wasn't always an angel. She started out as just one of the gals that I'd made as an example for the online class.

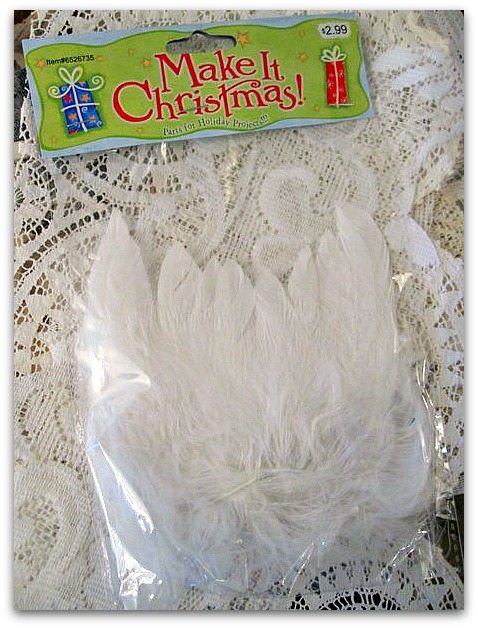
But I saw these premade, white feather, wings at Hobby Lobby (half price this week, too) and picked up a pair.

IMG_3009
I added some glitter to the body, and tinsel to the skirt, then slapped the wings on, and ta-dah!  A holiday angel.

Cuff buttonButton with girls


And if you'd like to win a dress form tutorial, please mention in your comment that you are interested. Or if you'd rather have a cuff one, please let me know. In the spirit of the holiday, I'll be giving away three more classes this week!


Using the Good Stuff with Sugarwings

holiday decor

IMG_6283
Sugarwings and I have been creating. 

IMG_6287
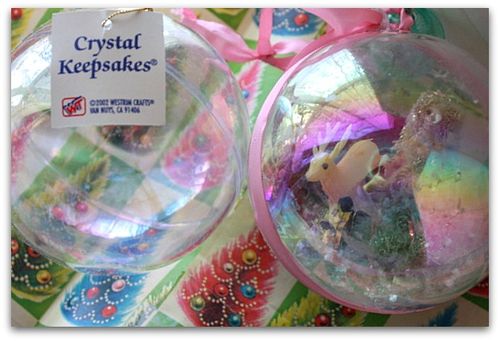
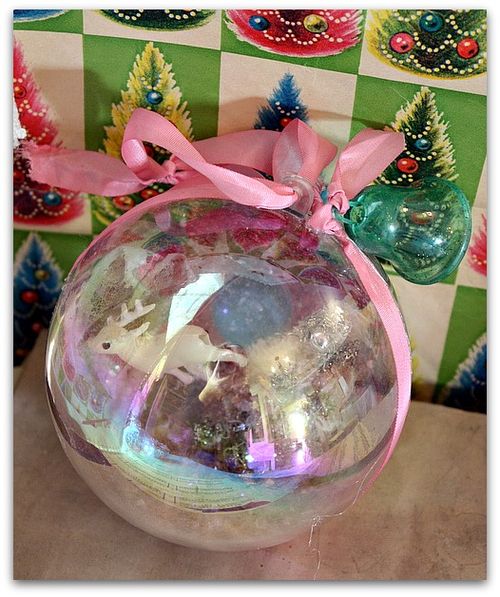
Have you seen these plastic, snap apart ornaments at Michaels?  They are a couple dollars, and come in clear of iridescent.  Sugarwings calls them bubbles and when she saw that I had some, she wanted to make a snow globe with one.

IMG_6286
The rainbow effect of the surface makes it hard for you to tell what it really looks like in the photo, but in person, its really cute. (I'm afraid that you can see my reflection better than the tree inside) She chose all the pieces to go inside, and placed them where she wanted them, then I used hot glue to adhere them into place.

It was her idea to make the white reindeer look like he was flying. He is attached with a pipe cleaner stuck into a bottle brush tree, so that he wobbles when you shake the snow globe.

We drizzled a little glue into the bottom, then she scooped in some mica flakes.Some of the mica is glued down, the rest flies like snowflakes when the ball is shaken.

It was my idea to glue the ball shut tight, then to add ribbon around the seam to keep it that way, but she chose the ribbon and helped press it into place.

I was impressed with her creation.  But of course, she "used the good stuff".  I think that by turning her loose in my vintage stash, she was able to really make something worth saving for years and years.

IMG_6282
There is a big pile of these balls on my desk waiting for me to make stuff with them, but I might be running out of time, Christmas is coming, I have no shopping done, and I need to make up my kits to teach at Kim's on the 17th.  

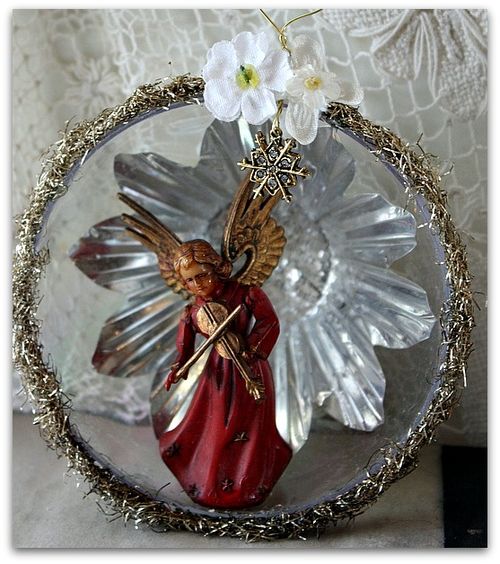
I've only made these two angel ones so far, and I decided to only use one half for each of mine, instead of sealing them back up with the connecting piece. Oh geez, doing it this way DOUBLES the amount of orbs I need to fill!  Maybe I should pass these on to Sugarwings to decorate instead, she seems to be pretty good with them!

Cuff button Button with girls
I've sent emails to the winners of the cuff bracelet tutorial and they are:

Gypsy Rose

Debbie Blanken

and

Kim Budash

If you'd like to win one, or the dress form tutorial, just leave a comment and let me know. I'll draw a few more winners next week.


Tourist time

family, Food and Drink, Travel

IMG_6209
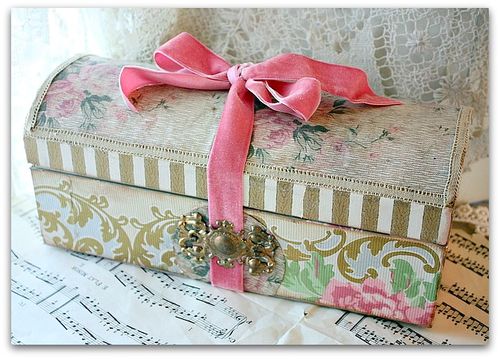
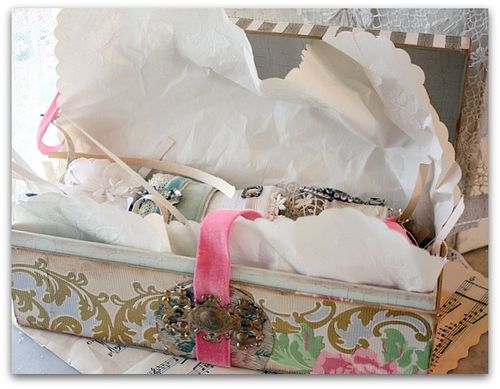
Wouldn't this be a good idea for gift giving? It would be sweet to slip a gift into a box that is a gift itself.

IMG_6210
I made this box for another reason, but it kind of got me thinking of the possibilities. 

IMG_6208
Of course, I haven't even done my Christmas shopping yet, so I should probably stop thinking about what I'll put the gifts in and start thinking about what I'll buy instead!

IMG_3004
There was a teensy bit of time to shop while I was in Palm Springs last weekend, but it was more sight seeing than shopping. 

If I'm in an area where the stores are Rolex, Coach, and other high dollar  specialty stores, chances are pretty durn slim that I will  be buying my family any holiday gifts there.

IMG_2980-1
These guys simply aren't the type to wear a watch that costs thousands of dollars.

Not that I am the type to buy one, anyway.

But it was fun to look. 

IMG_2992
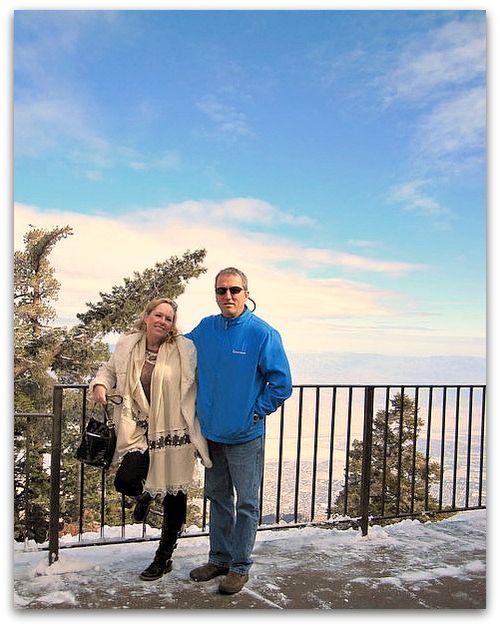
It was fun to be a tourist and go sightseeing. At the stores as well as out and about. We took the tram up the mountain side, 8,500 feet up to catch the views one morning.

IMG_3002
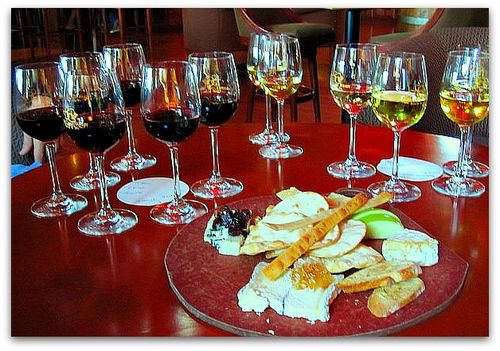
And drove to Temecula to do a little wine tasting after that.

  My brilliant husband had a great idea, that I'd never have thought of. He said we should go to the lounge, sit down and sample there instead of standing in line to belly up to the counter in the crowded tasting rooms.

The four of us got to try a good selection from the winery, relax in comfy chairs, and share a cheese plate. That was much nicer than standing up at the counter in the crowds of other testers.

IMG_2998
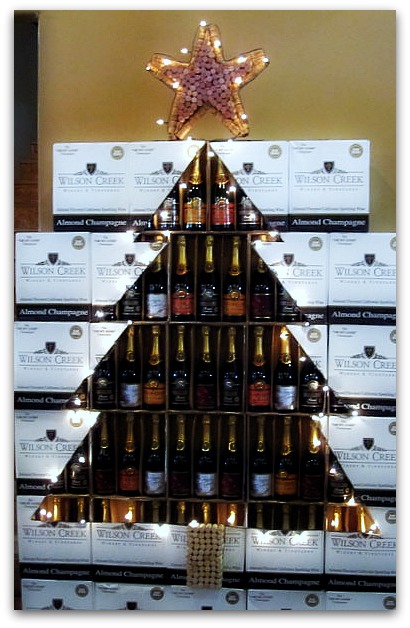
Isn't this a cute display for the holidays?

IMG_3000
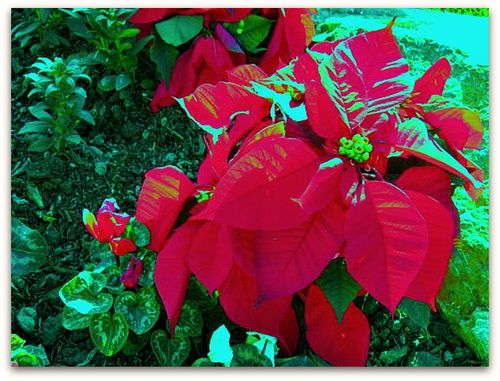
And I loved seeing poinsiettas growing outside!  The weather wasn't perfect, we needed our coats, but it was still warmer than Kansas and I really enjoy seeing all the flower beds full and blooming in the sunshine out in California. Its probably my favorite part of the trip, because back home, my garden is brown and crunchy with a hint of green slime where the last plants froze and are rotting.

IMG_2999
The whole trip was just beautiful.  But its good to be home and have a couple of days with Sugarwings and Dewdrop.  They both stayed over night the last couple of days, so I'm just now getting back to work. That was a great way to ease out of the vacation and back into the real world. 

Two days of llittle girl cuddles was a welcome extension of my time off!

IMG_6230

Now, its back to normal and back to work.

IMG_6212

And thats not bad either!  Its good to be home and I'm happy to be back in the studio. 

What have I been up to? Painting the furniture to match the Christmas tree, of course.

Hand Painted Furniture, how to's, how-to projects

IMG_6159

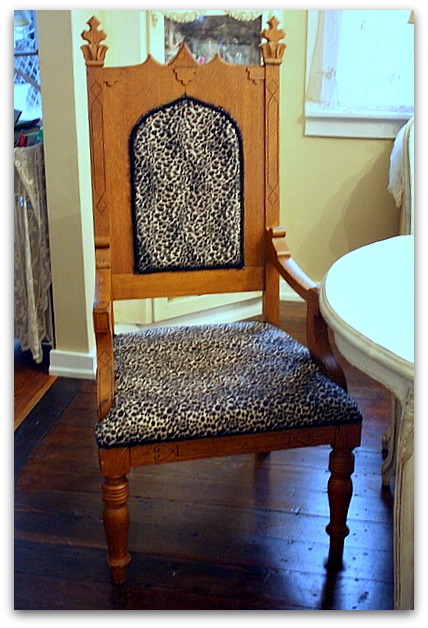
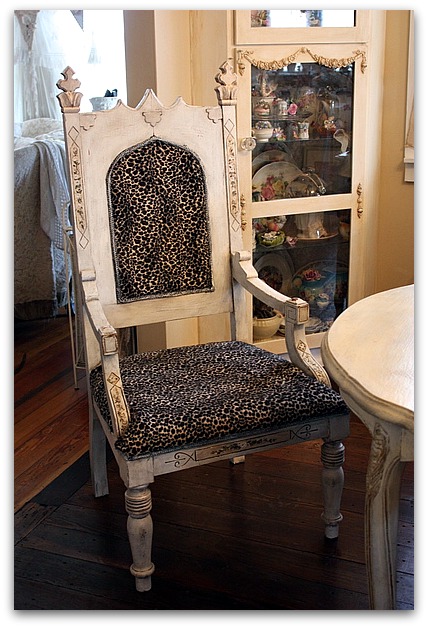
Before I left for CA, I took some time to repaint this oak chair. I have plans to recover it too, but that might wait till after the holidays.  There is only so much time in a day…


IMG_6074
Its a pretty cool chair to start with! We called it "the throne" and I found it at a garage sale for $60.  Someone had recovered it in leopard print.  Its been at my son's for a while, but now that he moved to a Yirt (that is a whole other story) he has no space for it.  And after I had all my Christmas decor up, the dark wood really stood out. 

And who doesn't repaint their furniture to compliment their Christmas tree?

IMG_6147

Since the chair was going to be part of the rest of the dining room table set, I painted it the same way I did the other chairs in there.  Like in this tutorial.

But with no crackle. I didn't want it matchy matchy with the set, I just wanted it to look good together.

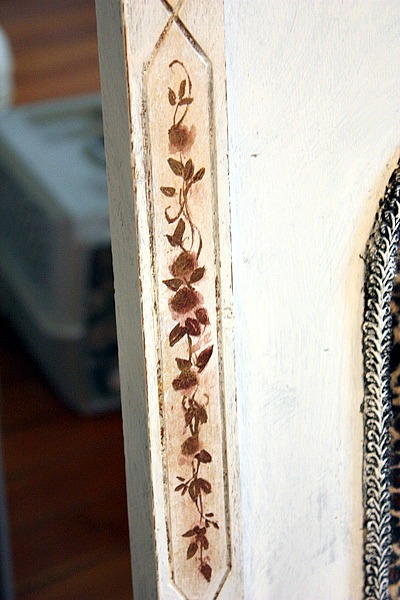
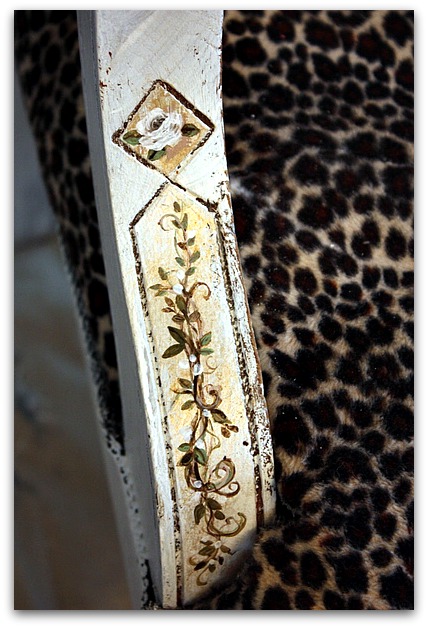
It had some neato designs in the wood that looked to me like they were calling out for hand painted details to be added inside the "frames"

To start, I darkened each of those frames by rubbing a dark brown paint on with a rag, keeping it inside the lines.  Then I dabbed metallic gold over it.

When I paint flowers and vines, I start with dark brown, and kind of draw out the picture, with the flowers just as blobs.  The dark brown is a good base color under the hand painted details and gives some dimension to the flowers.

IMG_6150
The colors I used were sage green, dark brown, light brown, white and cream.

IMG_6156

After the paint dried, I lightly sanded the flowers and vines, then heavily sanded all the edges and corners of the chair.

Over that, I topped it with Minwax dark walnut stain/poly in one.  I don't usually care for oil based products, but they really are pretty and I had a lot left over from doing samples and trying to figure out what color I wanted my floor to be when we remodelled the kitchen.

That stuff goes on kind of tricky.  If you use it, do small areas at a time, and keep plenty of paper towels or soft rags handy.  Brush it on, dabbing the brush deep into details and carvings, and wipe off in the direction of the wood grain.

Remember, just a little bit at a time, it gets tacky fast and doesn't like to be wiped off. 

IMG_6152

I'm much happier with the chair now and I haven't even recovered it yet.  My son is a bit sad, though, he loved it as it was.

PS-

I will be away from home for a few days, but will be checking my email while gone, so please leave a comment if you'd like to win a Cuff Tutorial. I'll be giving a couple more away when I get back.

When I return, I'll get your orders from the Boutque and Etsy out on Monday the 5th.

How to add embellished pieces to painted furniture

how to's, how-to projects, Tutorials

IMG_6146
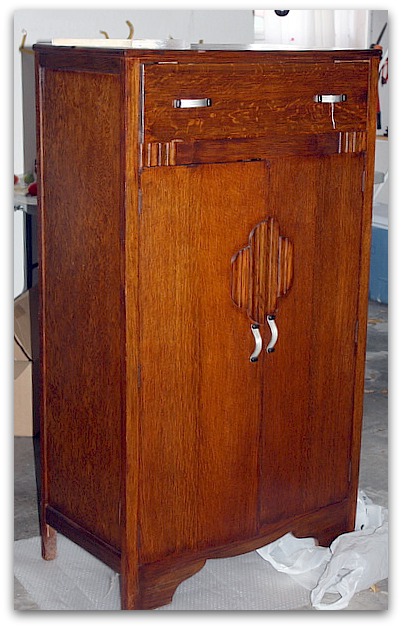
Now that Sugarwings is getting bigger (and so are her clothes), and I have little Dew Drop to dress sometimes too, I needed a bigger space to store the little girl's clothing.  I was lucky to find a cabinet at one of my favorite places, for a great price, but it needed a lot of changes if it wanted to come and live with me.
IMG_6114
Here is how it began, kind of deco.  Which I like, but not for my bedroom.
IMG_6117
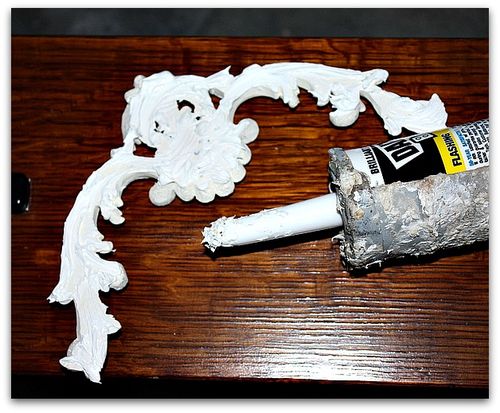
I had some ornate scrolly embellishments in the garage, (you can buy some similar type things at Home Depot, hobby stores, or look online here.) and thought they might help with the transformation.

The trouble with these is attaching them unless you have a nail gun, and even then, they shatter or the wooden ones will split.

I discovered that the easiest thing to do, is to slather the back of the piece with paint-able caulking.
IMG_6116
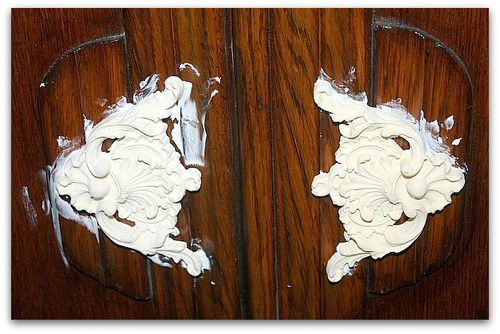
Then, just smoosh it into place.

Make sure you have plenty along the edges, so that there is no gap between the piece and the furniture you are applying it to. You want it to look like it was always there, not just glued on.

With this piece, it was a bit more complicated since the area on the doors I added it to had curved wood.  I was able to squirt in extra caulking to fill those holes.

After pushing it into place, some caulking will ooze out the sides. Clean this up with a q-tip.
IMG_6119
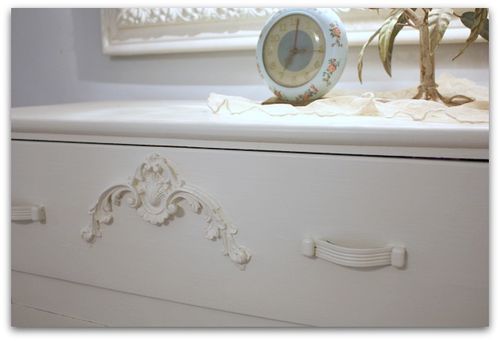
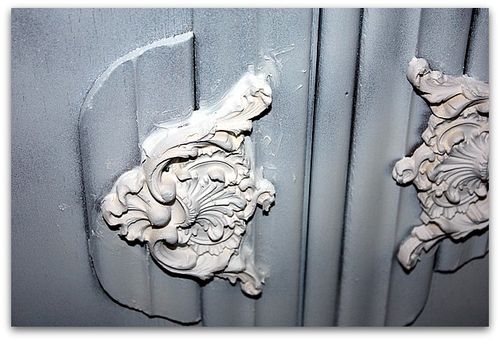
After that, prime the piece to get ready to paint it. There are lots of painting tutorials on my sidebar, for different finishes or looks.

For this, I used my favorite bonding primer, Zinsser Bullseye, spray, in the gold and white can.
IMG_6118
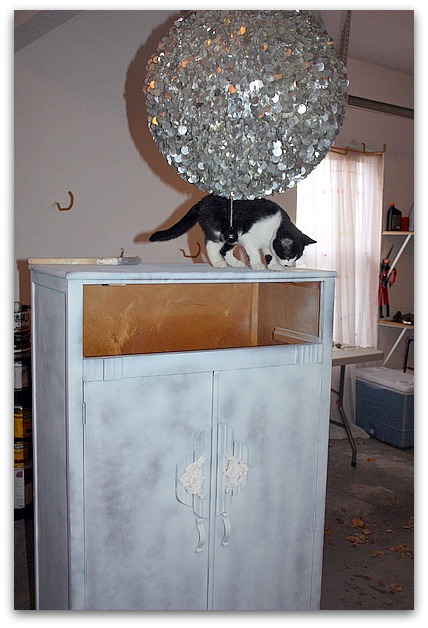
You can see, I didn't use a heavy coat, this is about 3/4 of a can. Its enough to give the surface some tooth to grab the coat of paint that will go over it.

Notice I took out the drawer first?  I painted the drawer separate so it wouldn't stick. And the paint won't run and drip from the scrolly piece and the handles. Its just easier to not have to be as careful if you don't have to be. The same issue exists on the cabinet doors, I'll just had to be extra watchful for drips.

And since I was too lazy to change the hardware, I sprayed right over it.

Yes, that is a disco ball in my garage.  I don't recommend painting under one, because it attracts cats, and it also got in the way of brush strokes.
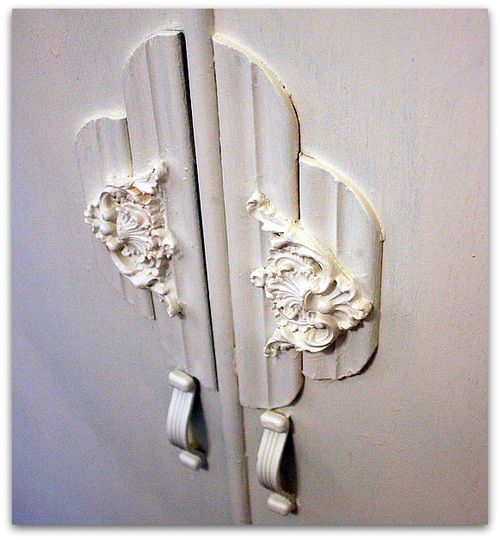
IMG_6145

The decorations, handles, and all got painted with a coat of Behr satin in a French vanilla color.  Behr is good and heavy and usually does the trick in one coat plus touch ups.
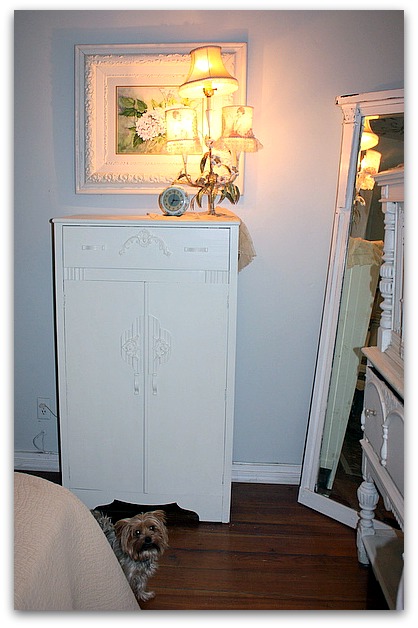
IMG_6144
This was a quick project for me, I didn't wait for the caulking to dry, though you probably should.
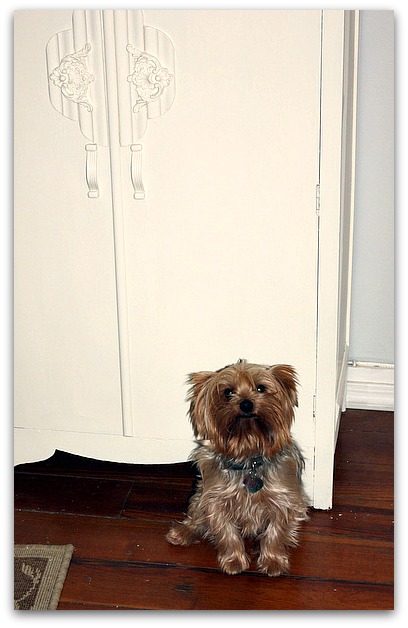
IMG_6143
PS-

I will be away from home for a few days, but will be checking my email while gone, so please leave a comment if you'd like to win a Cuff Tutorial. I'll be giving a couple more away when I get back.

When I return, I'll get your orders from the Boutque and Etsy out on Monday the 5th.
The Halls are Decked!

holiday decor

IMG_6103
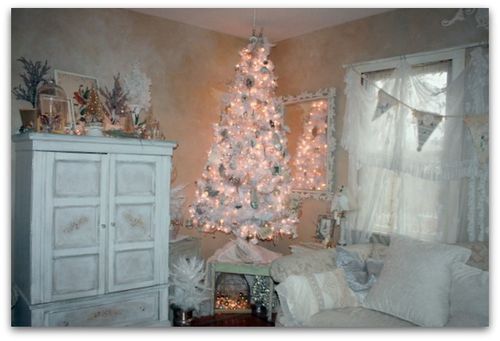
My plan to get the halls decked before Thanksgiving worked out, but barely. And there is still more to do, even though I am cutting back and keeping it simple this year, I'm sort of going all out in the living room and kitchen. The rest of the house stays as is. Normally I decorate every room. 

IMG_6077
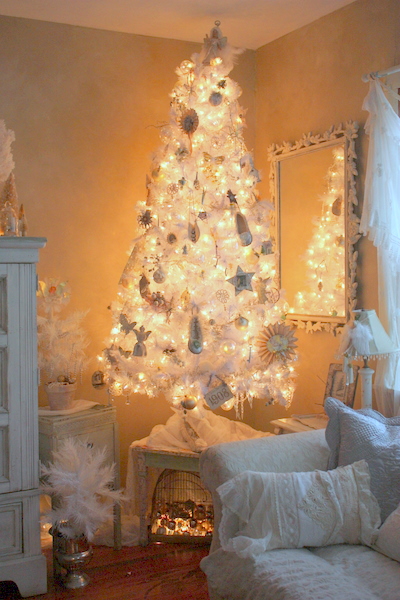
And I adore my new white tree!  Honestly, it was NOT the one I wanted. But it was the one I was comfortable affording.  I'd love to have a really tall, heavily flocked tree, but there is no way I want it bad enough to pay what those things cost! I did a lot of looking online and had no luck. This tree was only $160 or so at Lowes, and came with white twinkle lights.  Its 7 -1/2', and with it up on a table top, I can pretend its a giant tree without spending 300 to 400 bucks.

IMG_6081
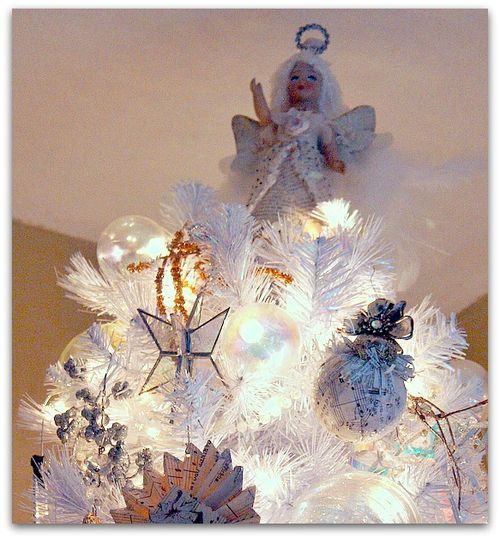
Little Edy Angel seems happy with it. (Maybe because I've hoarded so many ornaments over the years and she is used to a hoarder's lifestyle?)

IMG_6080

When I decorate, I usually take down most of the pictures on the wall and put up something more holiday-ish. And I like to hang a large mirror behind the tree for added sparkle in the room.

IMG_6086
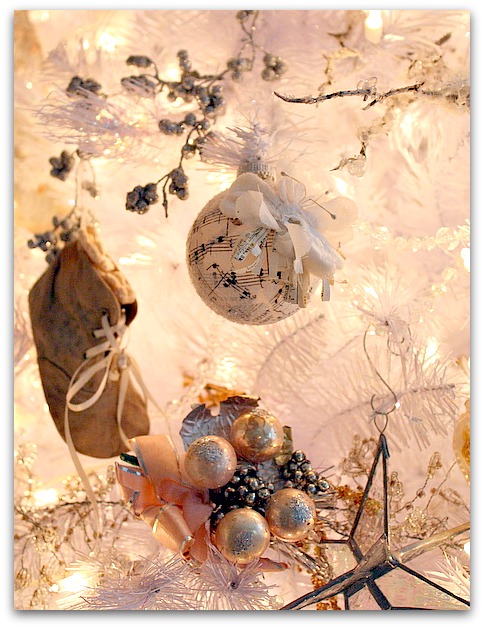
Our tree has a lot of sentimental items on it. 

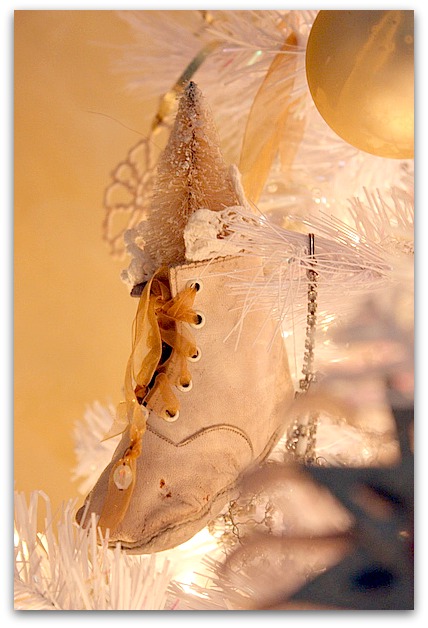
A baby shoe from my husband's mom. 

Stained glass stars a friend made. 

IMG_6087
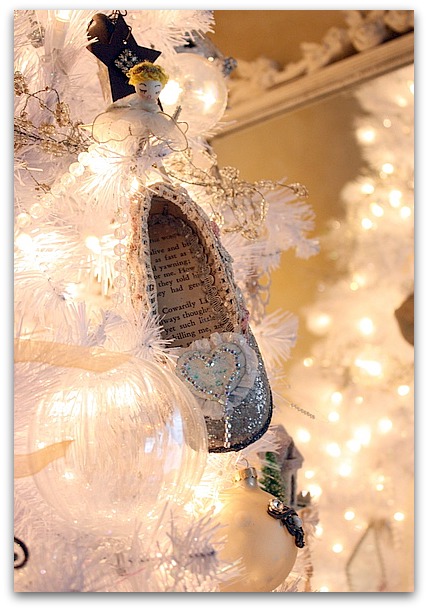
Sugarwing's outgrown Dorothy shoe that I foofed up with Lisa's tutorial.

IMG_6088
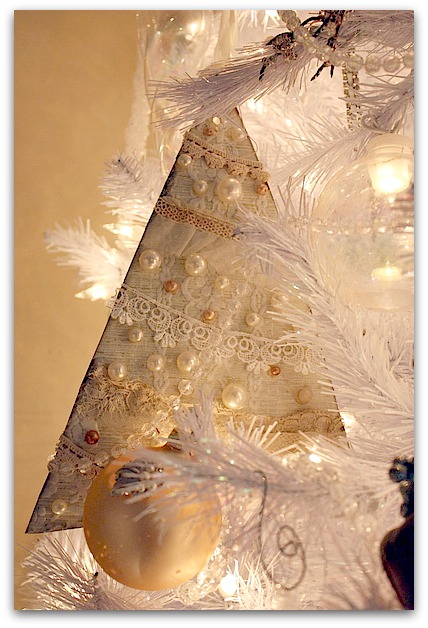
A few other things I've made over the years, including some projects from Romantic White Christmas that Beth and I co-created last year. (this is made with lace I got from my Great Aunt Caroline's estate)

IMG_6089
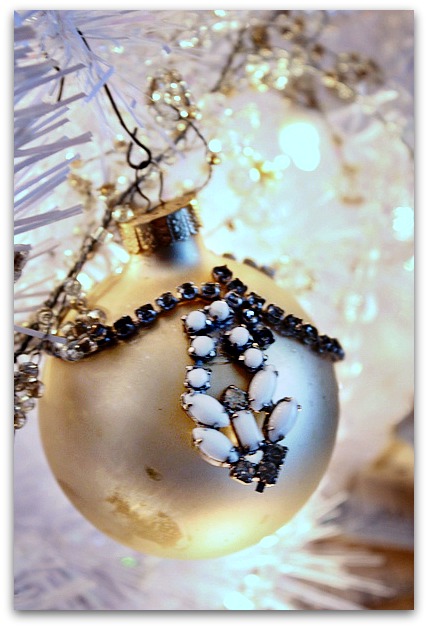
Balls with vintage jewels glued onto them from an article I did for Victorian Decorating a few years back.

IMG_6091
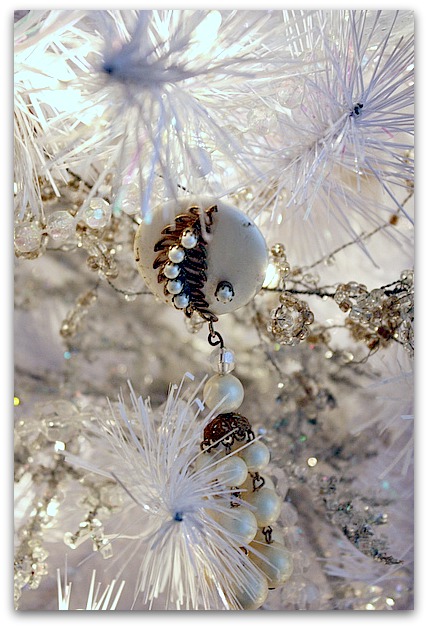
Tidbits of old jewels clipped to the branches, some from my aunt, some from my grandma, and some just from fun days out junking with my friends.

IMG_6092
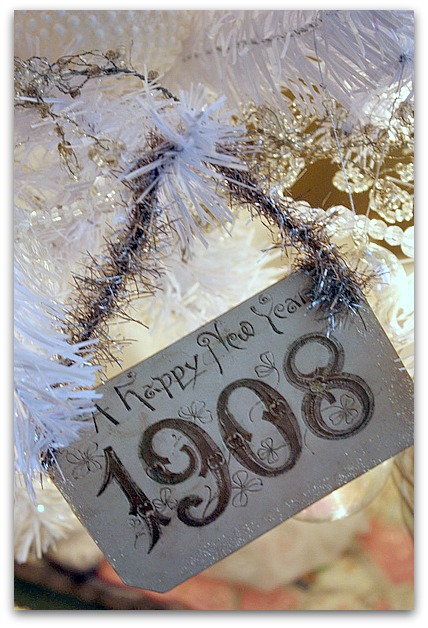
Old postcards tied up with tinsel from another article I did.

IMG_6095

There are also things from my childhood, family photos made into ornies, gifts from friends, and lots of other things I love.   I always say that if you collect things you really love, they all seem to go together in a pretty way.

Cuff button

  I will be away from home for a few days, but will be checking my email while gone, so please leave a comment if you'd like to win a Cuff Tutorial. I'll be giving a couple more away when I get back.

When I return, I'll get your orders from the Boutque and Etsy out on Monday the 5th.
IMG_6222
What's going onto your tree?

IMG_6230
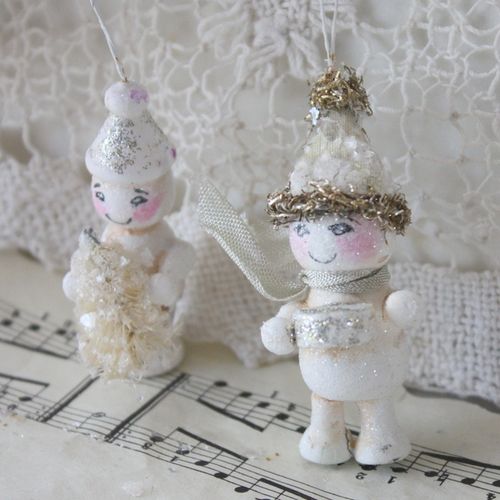
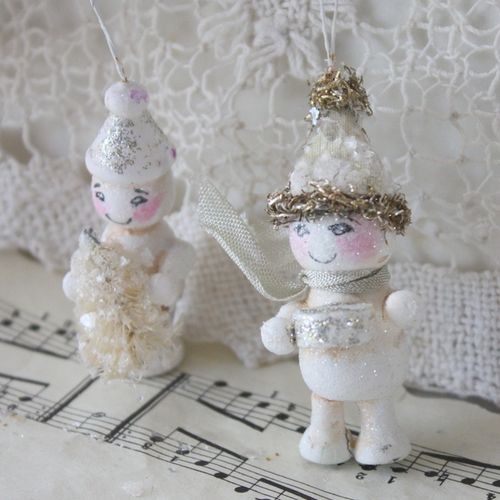
I've got some more snow angels and snowgirls listed in both shops.
IMG_6217
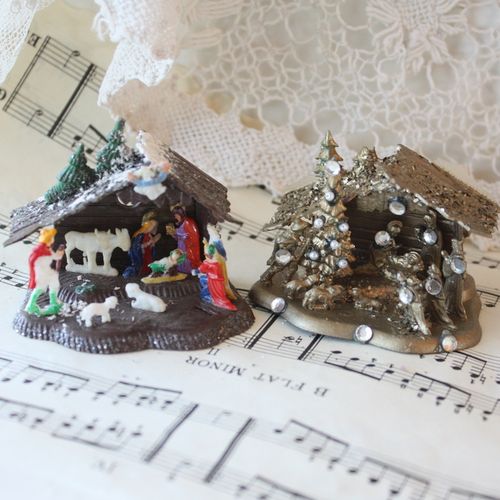
And these tiny Nativity scenes in Etsy.

IMG_6273
As well as some jewels

for you to wear or give as gifts.

  IMG_6265-1 IMG_6269-1 IMG_6276-1

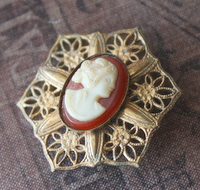
Pearls, rhinestones and cameos. Yum!

IMG_6251
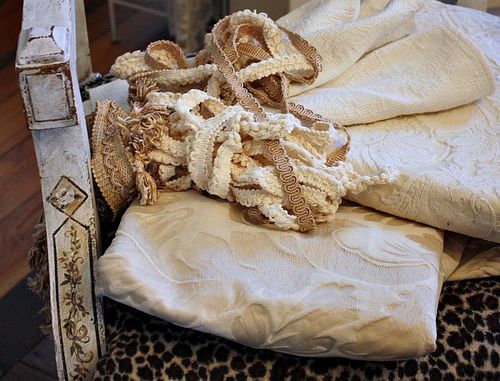
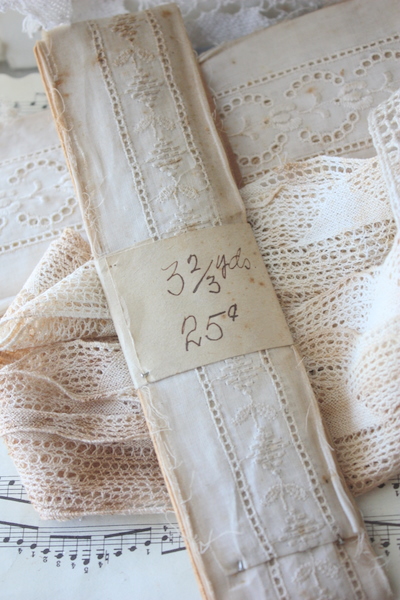
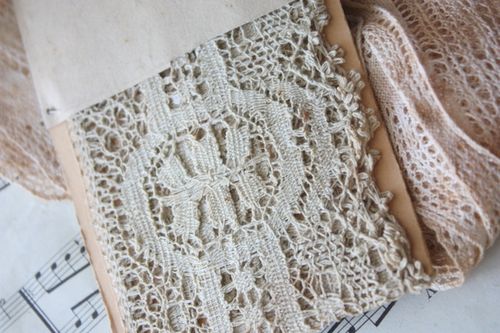
And lots of old trim, much of it on original cards from long ago if you have decorations to make and need some vintage trims.

IMG_6258

Scroll to Top