July 2014

How to make two ingredient Fluff Stuff

family, how-to projects, Sugarwings

Crowncenter 045

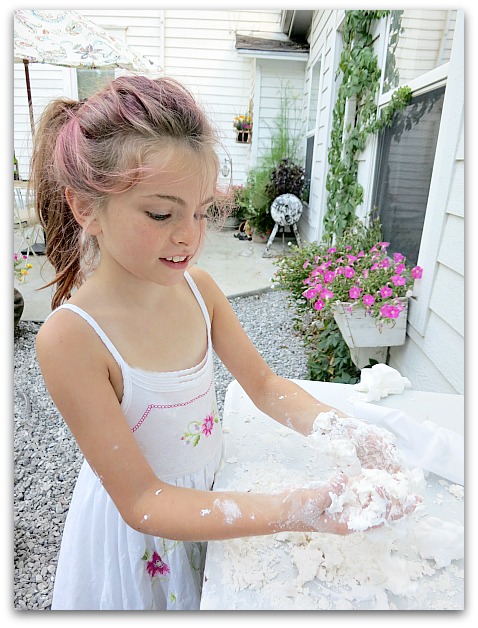
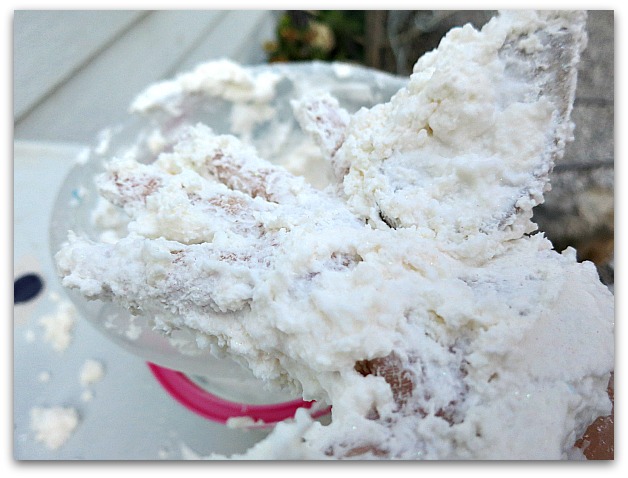
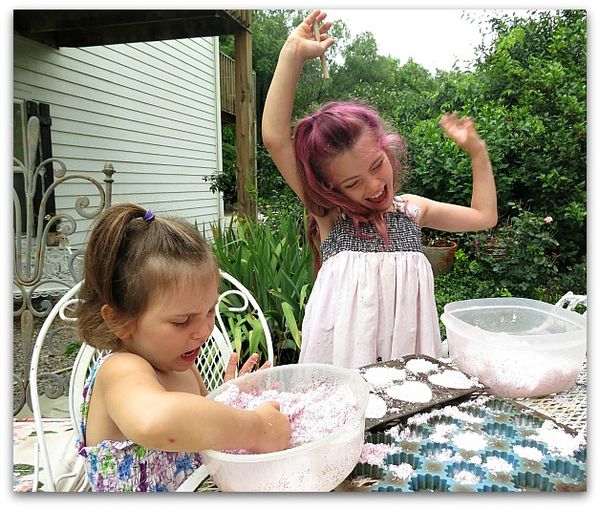
This is the easiest, cheapest, fluffiest stuff to make.  All you need is shaving cream and corn starch. 

Crowncenter 050

I buy both at Walmart, so the supplies are under $2.

Crowncenter 054

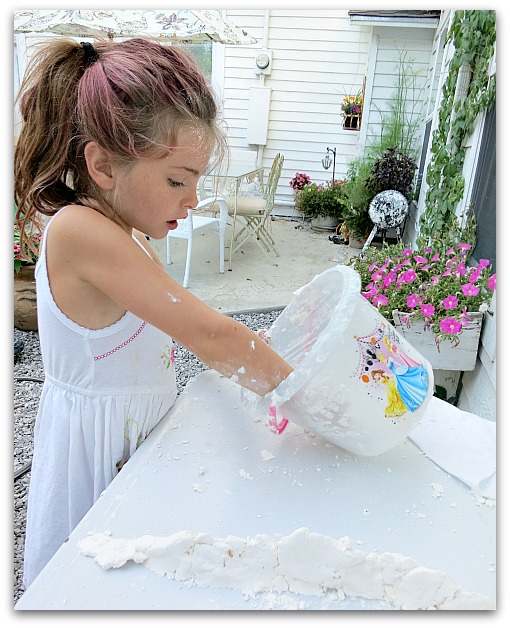
You will also need a bucket or bowl, and spoon.  Possibly glitter if you like sparkles.

Crowncenter 052

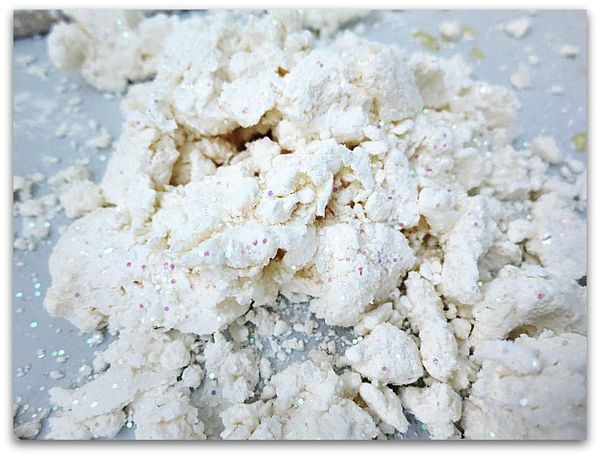
We LOVE sparkles, so dumped in a bunch of it.

Crowncenter 041

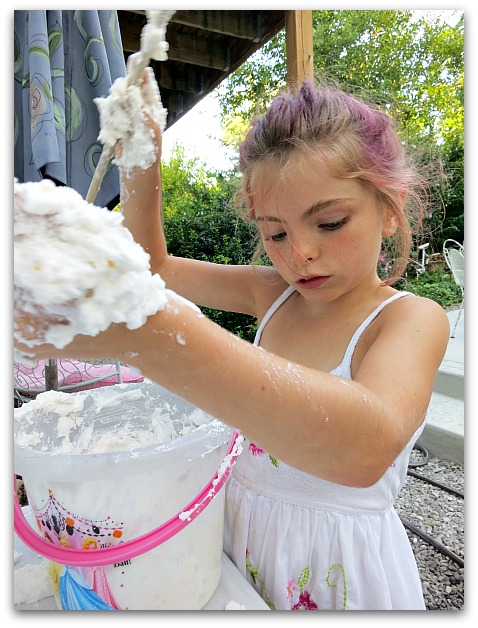
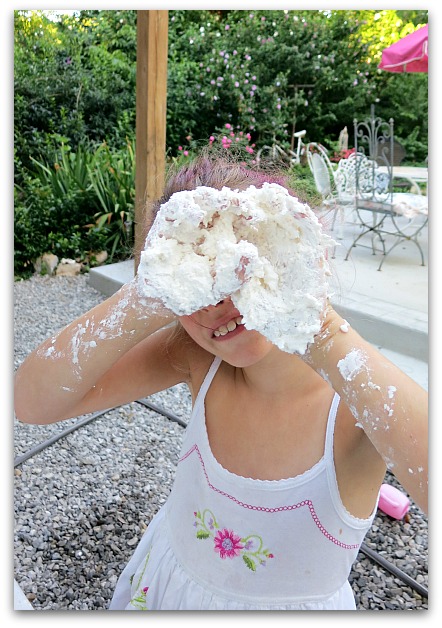
 I know I mentioned a spoon, but we found that it was more fun to mix with fingers.

Crowncenter 044

I didn't say that it was  more tidy to use fingers…

Crowncenter 042

Here is how we did it: 

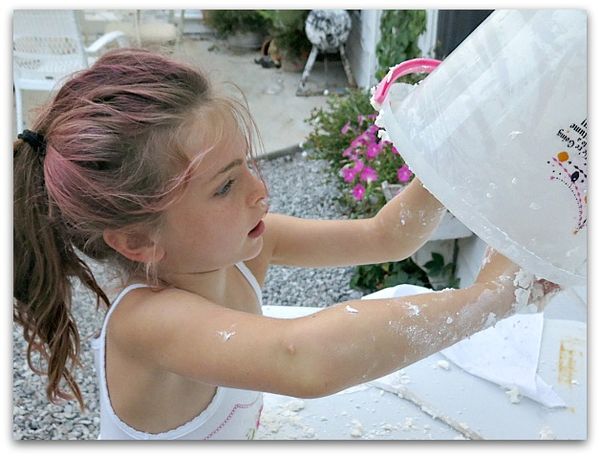
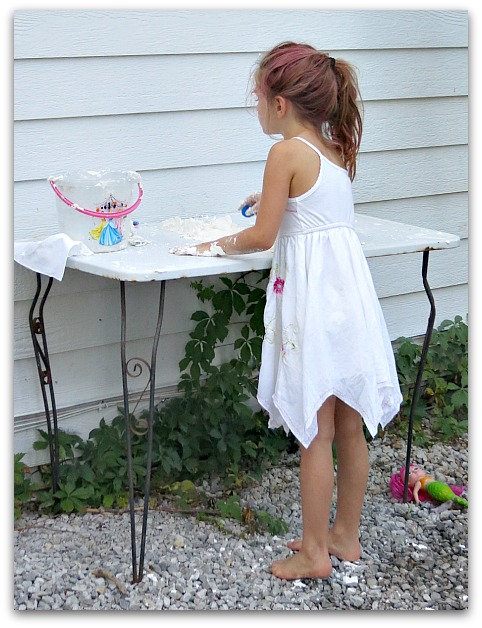
We randomly added shaving cream and cornstarch as we played with it, then dumped in glitter.

Crowncenter 062

Here is how you should do it:

Spray out a giant pile of shaving cream, reserving some in the can in case you need it.

Slowly add and mix in cornstarch  till you get it to a good consistency.  (about 1/2 to 3/4 box)

Add more shaving cream if needed.

Add glitter, if wanted.  (You'll be glad you did)

Crowncenter 060

I'd say you could add some food coloring if you 'd like. But we were going for summertime snow, and singing about Olaf as we made ours.

Crowncenter 064

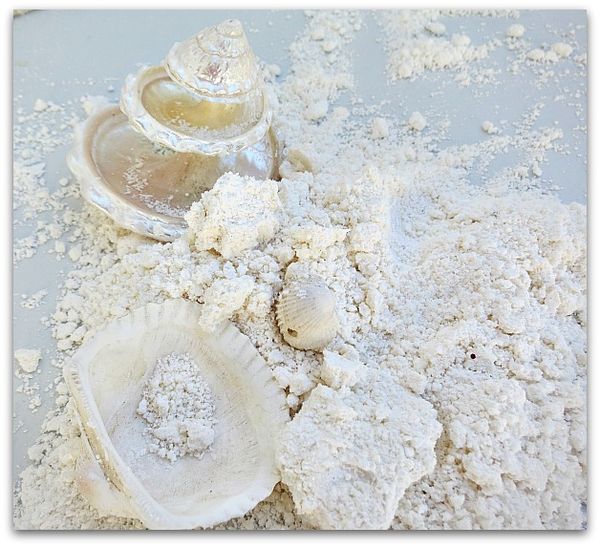
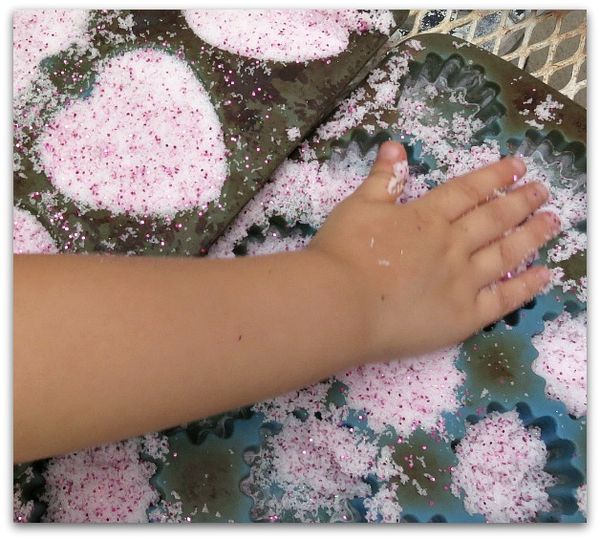
Sugarwings added some shells to play with after she was done pretending it was snow.  This is how it looked after leaving it outside on the table overnight, uncovered.  I'd say it would probably be easily saved in a plastic bowl and reused if wanted. But for us, the fun is in the making, so we'll spend another $2 and make some more next time. 

Securedownload (1)

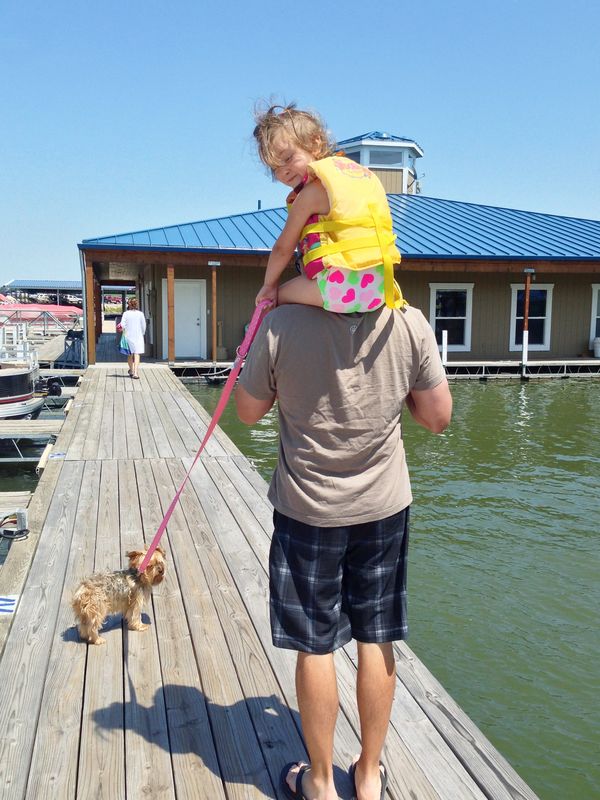
Our Summer Of Fun has been going by much too fast.  

Securedownload (5)

But we are enjoying every minute of it.

Crowncenter 066


Taking time off to be with the girls, doing craft projects, day trips, swimming, and just sitting on the porch telling stories has been good for my soul.


Securedownload

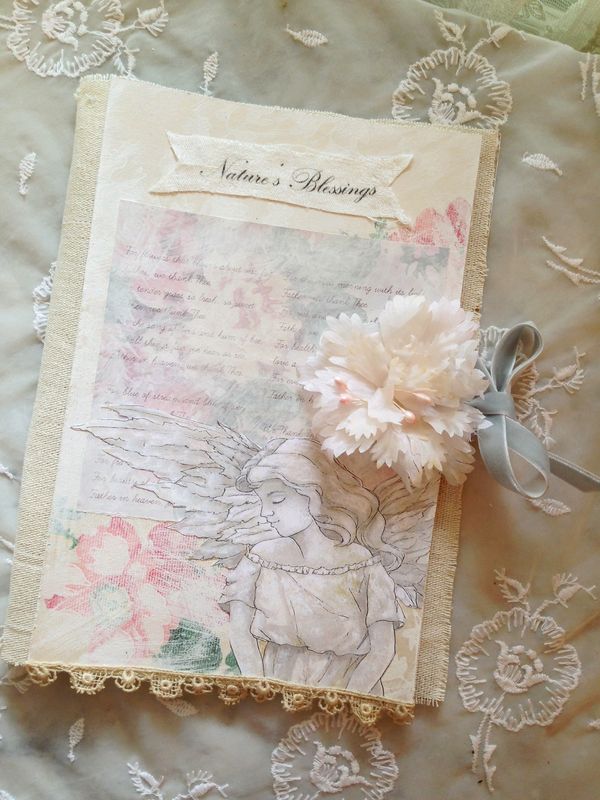
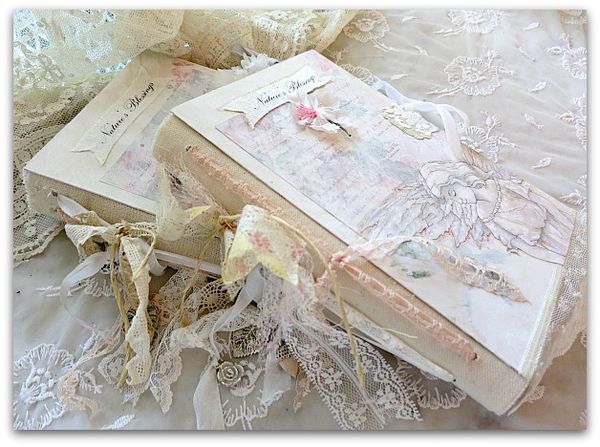
Probably not so good for business… but I have made time to create and am looking forward to the "Journal of Nature's Blessings" swap. (this photo is from my prototype). And I want to thank everyone who helped me de-clutter the Boutique with the purchases made during the 50% off sale! I went from 10 pages of inventory to 6.

 Now, time to rebuild with new goodies.

Securedownload (7)

But not quite yet, I'm going to soak up some more summer fun first!


Jswapbuttonsmall


Interested in the journal swap?  Info here.


Nature’s Blessing Journal Swap page examples

Books, swaps, vintage paper/collage art, wallpaper

Pagesblessings 040

I've been so pleased with the sign ups for the Nature's Blessing Journal swap! Thanks to those of you who have joined in! There is plenty of more space, this is an open ended swap. I'll just keep making books until I have enough.

Pagesblessings 038

Some of the swappers were asking for more detail on how the pages go together.  So, I thought I'd snap some pics of the ones I've started myself as examples.  

There are a LOT of pages to make. But as I said, at least half need to be usable for the new owner. Such as the one on the right, above.  That page is nothing more than journal paper with a border at the top and the bottom.  The one on the left is one that I finished myself. (Although, there actually is some space for writing a note, if the person who owned the book wanted to use it that way)

Pagesblessings 015

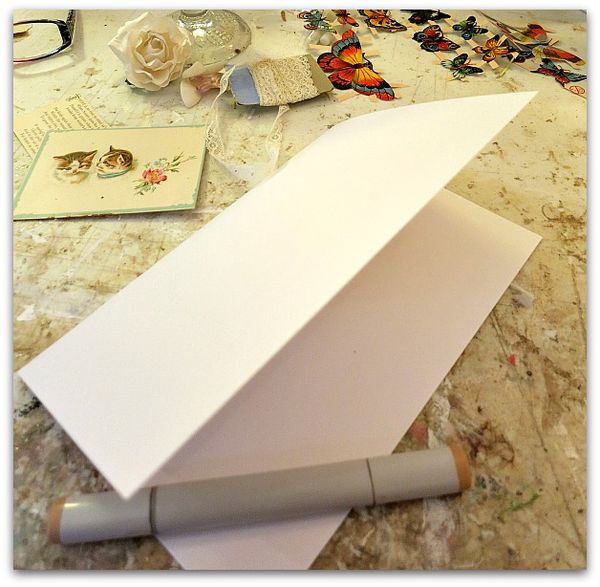
Here is the basic start of each "folio" (single sheet of paper that makes 4 pages when folded).  

Fold a piece of card stock in half, decorate each of the four sides. 

I will put 3 folios together to make a "signature".  

There will be 3 signatures per book, made up of 6 sent in by 6 different artists, and three fresh, blank pages from me.

Pagesblessings 028

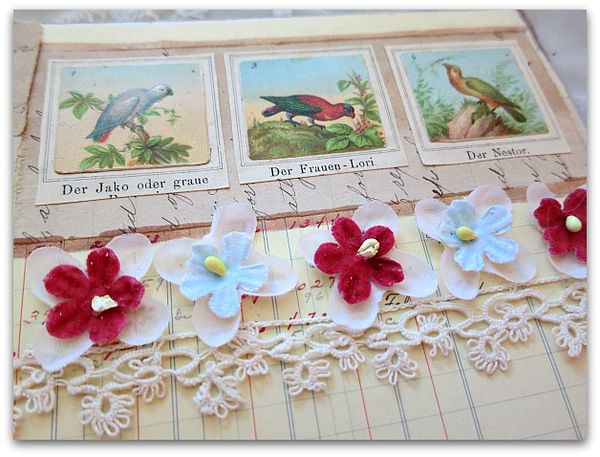
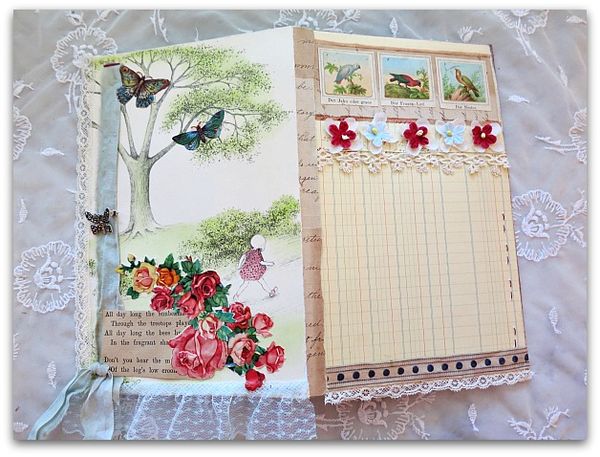
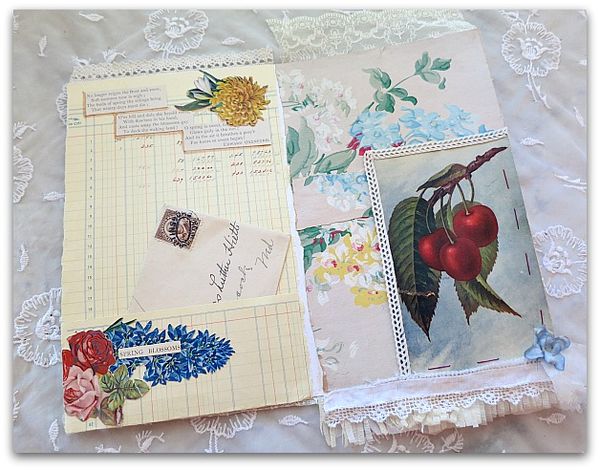
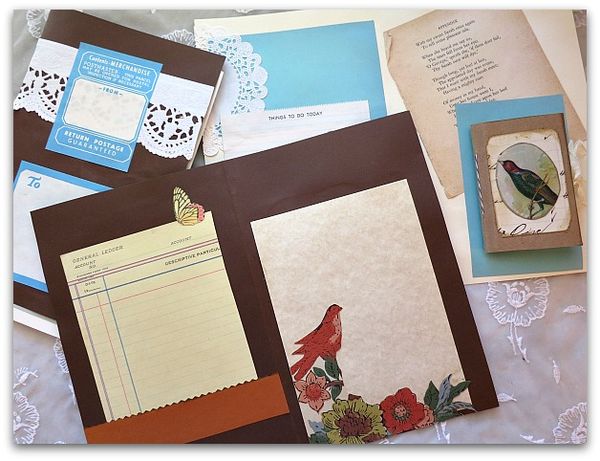
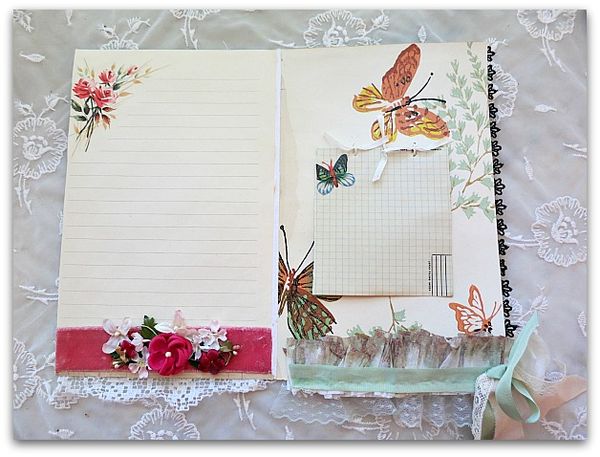
The book will be used as a functional journal.  So, I'd like to see at least half the pages open to be used by the person who receives the book.  Like the page on the right here, once again, I've used ledger paper.  This time, it is accented with lace trim and a single butterfly.

Since the six folios (24 pages) you send in will go to six diferent artists and you will receive artwork from six different artists.  You can make each of your six exactly the same, or do each in a unique way. What ever you like.

Pagesblessings 029

The page on the left didn't save any space for future use, but is a completed arty page.

Pagesblessings 025

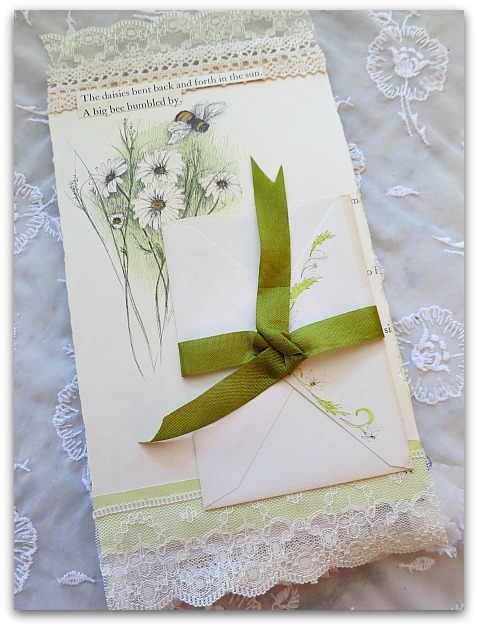
Another way of making the page useful is to add an envelope to hold memorabilia.

Pagesblessings 026

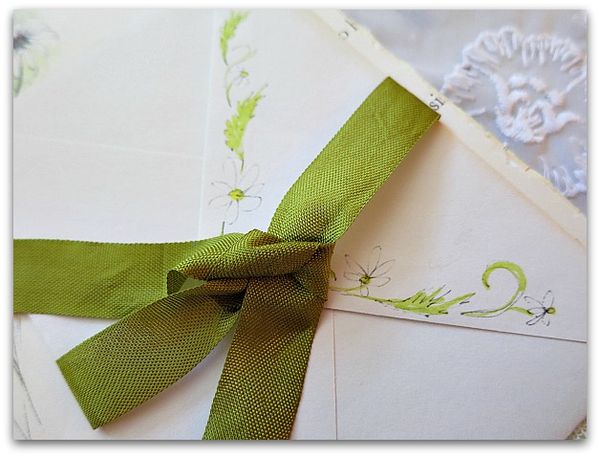
My envelope got a bit of foof with some hand drawn daisies that match the paper I glued it to.

Pagesblessings 022

Pockets are good to have in a journal too.  On the left, not only is there paper that can be used for writing, there is also a pocket to tuck away tidbits in, like the vintage envelope I've added.

Pagesblessings 023

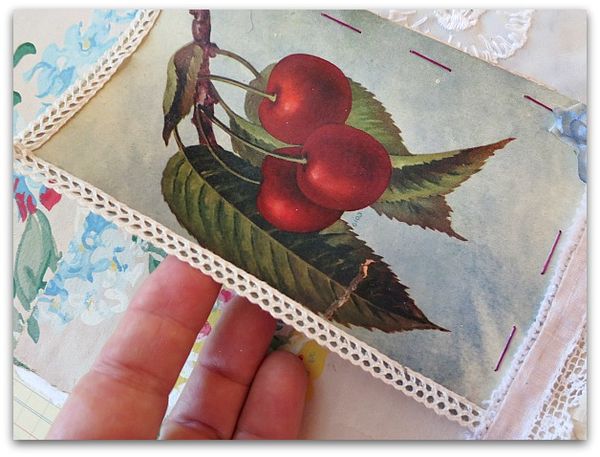
The page on the right is covered in pretty paper (I used wallpaper scraps) with a vintage postcard stapled down in the corner, then trimmed in lace.

I've tried to add lace or ruffles on at least one side of each folio, so that when it is added to the stack of signatures in the book, there will be pretty trims peeking out the sides, top, and bottom of the journal.

Please feel free to add lots of trailing ribbons, laces, etc.

Pagesblessings 034

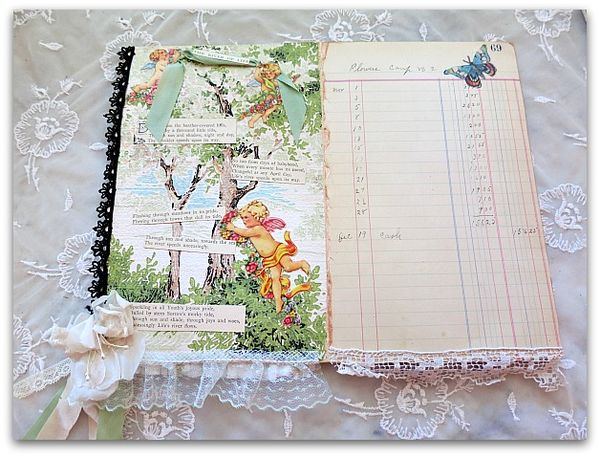
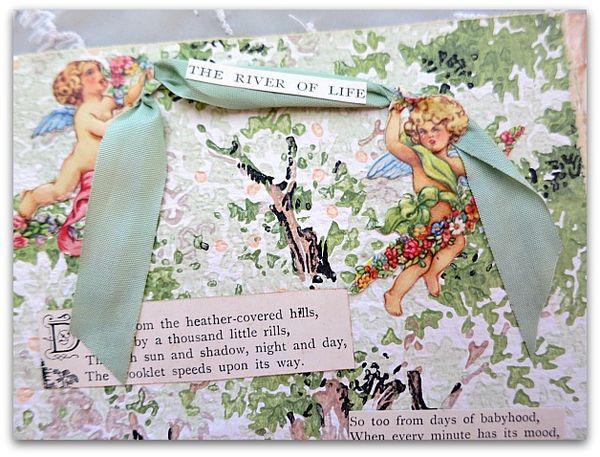
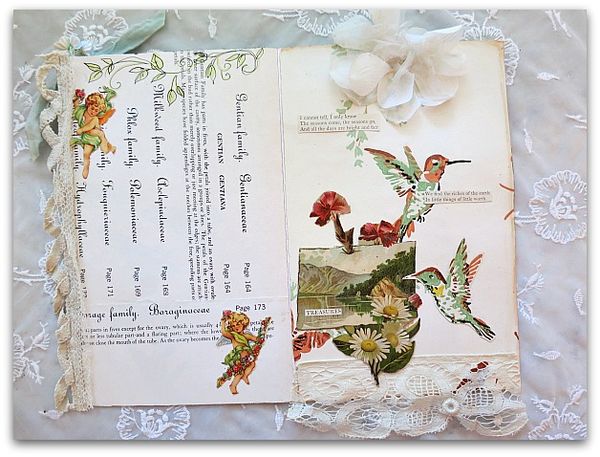
On the right hand page, I've added a fluffy millinery bloom to stick out of the top of the book.  And the page on the left has luscious, old trim down the side.  That page is from a text about flower origins, and has a couple of cherubs and a hand drawn border, leaving the center open in case the person who gets this page in their book wants to glue a photo or something to the center.

Pagesblessings 020

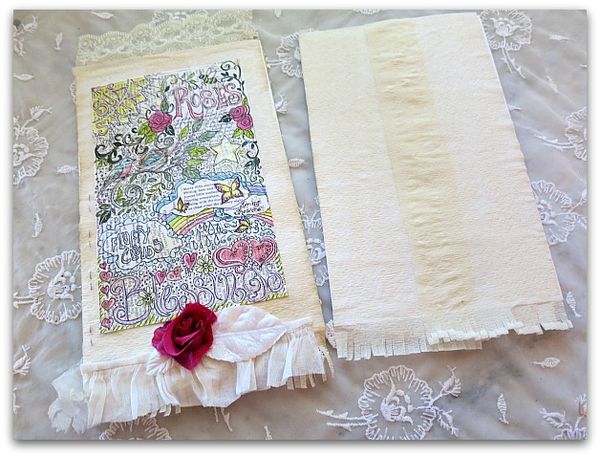
Here is a very good example of just how simple making the pages can be.  Both of these pages are just covered with wide crepe paper, with a trim at the bottom.  (I'll be foofing the one on the right a bit more, I just wanted to show you the basic.)

So, pretty background paper, plain or fancy, a bit of trim or lace, and that page is done, ready for the owner of the book it goes into to embellish it up as much as they want.

This is for my book, so I added a tinted coloring page, to illustrate an option for finishing a plain page.

Bookdetails 022

Everyone gets a page to color and add to their book however they'd like.  I'll show some coloring tips in a future post.

Pagesblessings 037

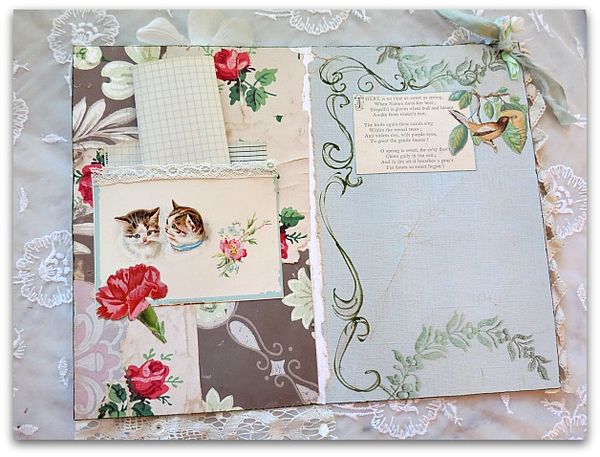
These pages are both examples of "usefulness" . The blue one is open to be finished by the book owner in any way she'd like.  Photos, notes, scrap glued onto it, etc.  

The patchwork wallpaper page has a pocket from an old post card added and it is filled with vintage grafting paper.  

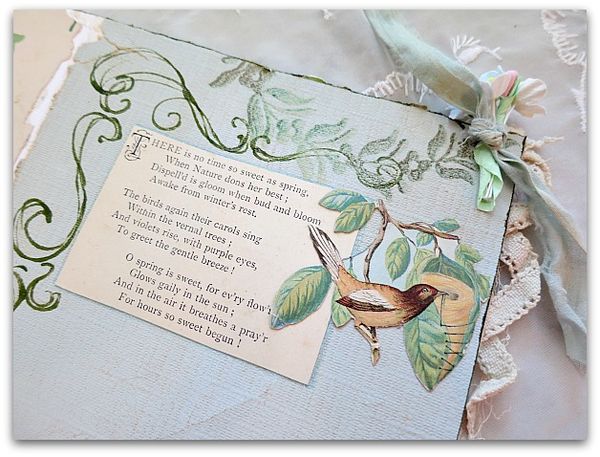
These also show some of the variations on the theme. What do you feel nature has blessed you with? Here, I am saying that fluffy kittens, sweet birdies, and flowers are something I am thankful for.

Pagesblessings 036

Plus, I found this poem about Spring to add to the page.  To me, the changing of the seasons is a magical time of year.

Pagesblessings 033

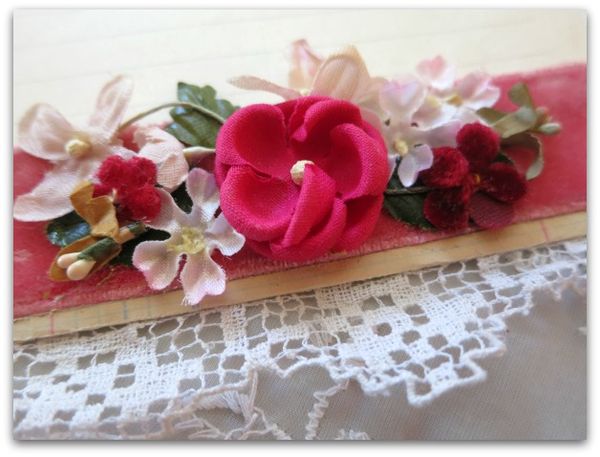
Please feel free to add 3D items, this book should be thick and rich! With lots of trailing trims, like this old lace I've used.

Pagesblessings 041

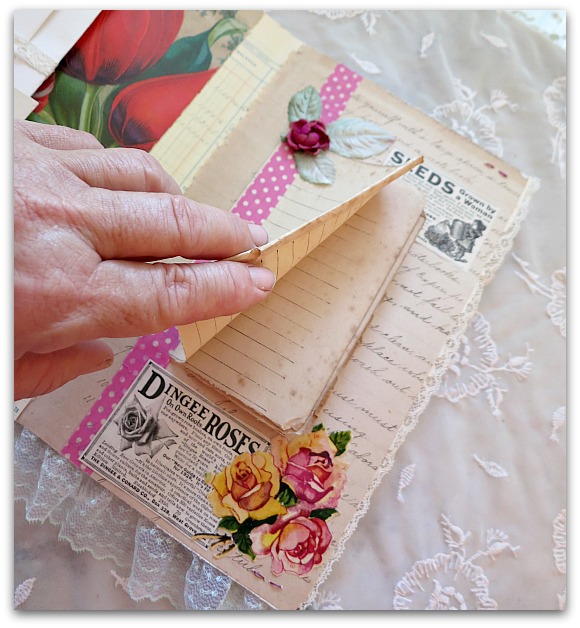
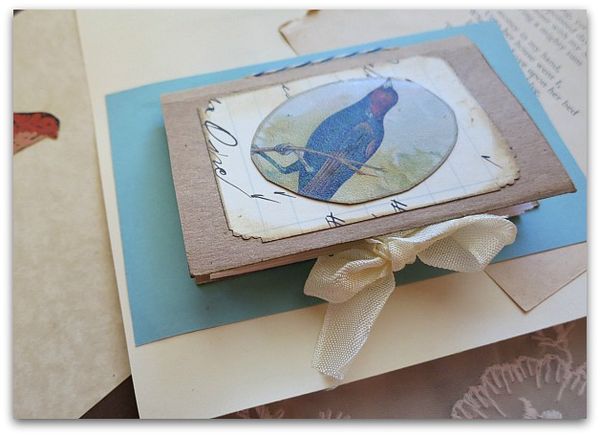
Here is another way to create a space for writing. I've used washi tape to secure a stack of old paper into a tablet shape.

Pagesblessings 049

On this page by Beth, she even glued down a mini notebook.

Pagesblessings 047

See how pretty it looks on her page?  

Pagesblessings 046

And oh my! Loook at this one that she did.  You open up the cabinet card folder and have space inside to add your own picture.

Pagesblessings 043

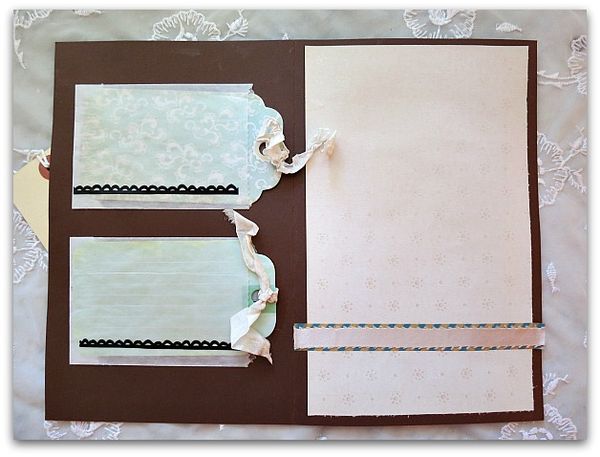
On the left page, she has add clear envelopes with simple tags for the new owner to finish, and on the right, she supplied a pretty piece of paper to write daydreams or plans on.

Pagesblessings 042

I found myself extremely attracted to pockets when I made some folios.

Note that the center of each page is left plain so that I can punch holes to tie the signatures into the book?

Pagesblessings 051

I'll show some  more examples later on, as well as some more coloring page tips.  The finished pages aren't due till Sept. 20th. So you still have time to join if you haven't already. Or you can order a completed, blank book to finish yourself, instead of swapping pages.

Feel free to ask any questions. And more info can be found here.

Pagesblessings 030


Free Fun in Kansas City for kids

Sugarwings, Travel

Crowncenter 006

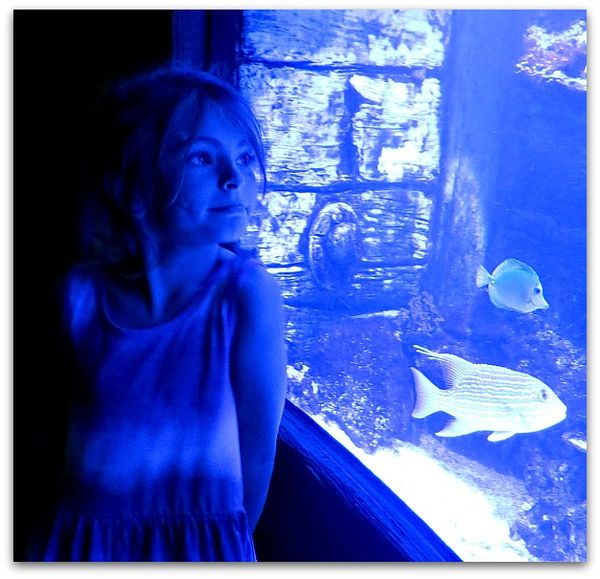
We went to Crown Center recently, and while you can spend a lot there, you can also have a completely free, yet still jam packed day.

Crowncenter 020

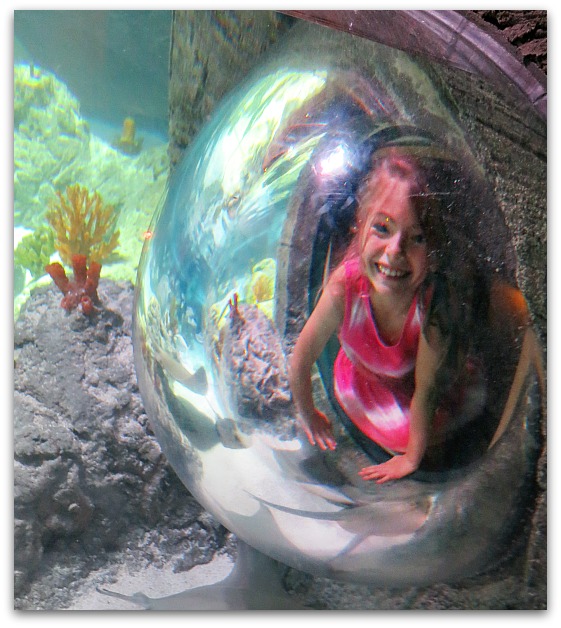
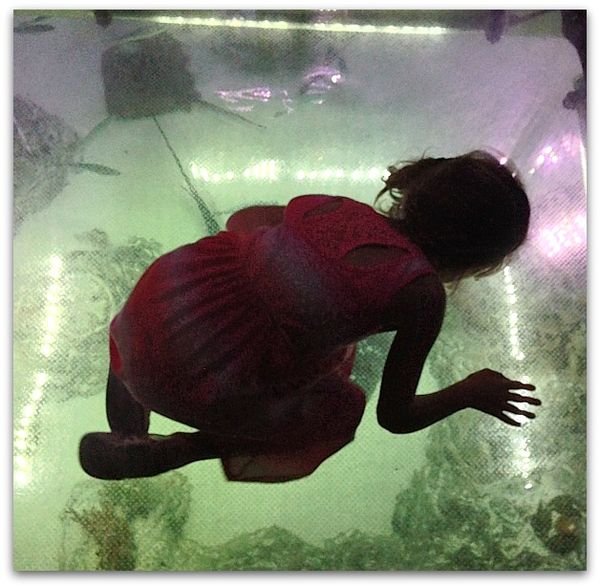
There are a lot of activities there for kids, like the aquarium, which was a bit pricey, $37 for two of us. It wasn't big, but you could easily spend a couple of hours there if you wanted to.   It is aimed at kids and there are plenty of things to climb on and in.

Securedownload (6)

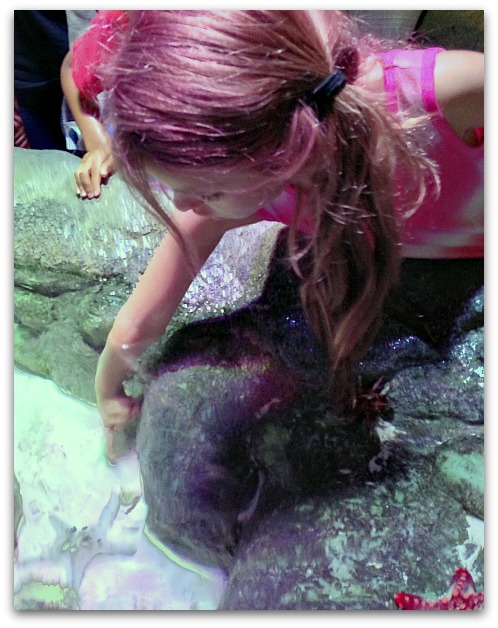
Plus how often are you encouraged to pet a star fish?

Securedownload

My tip is to take your time, it is small, so don't rush it, by following the crowd that is working its way through from one display to the next. Stick around and enjoy the displays, because there aren't that many of them.  

Crowncenter 037
But our favorite part of Crown Center is the interactive play area that changes themes a few times a year.  When we went earlier, it was a tribute to Oz.  I've not been very often, this is only our third visit.  The first was years ago when the play area was set up as a fairy tale land.

Crowncenter 026

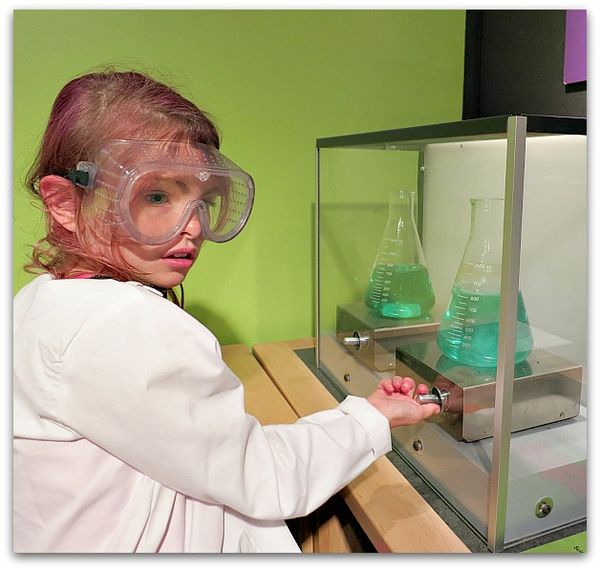
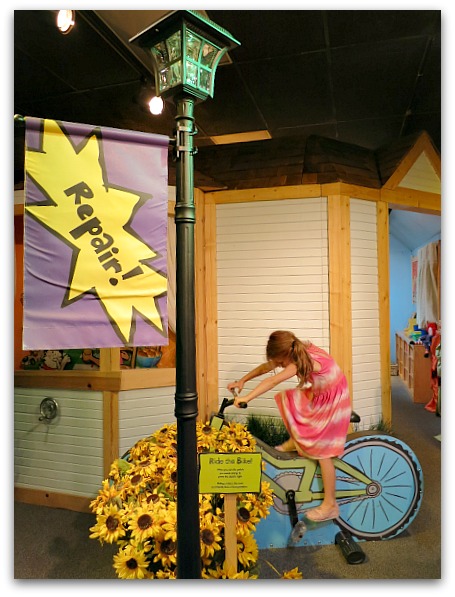
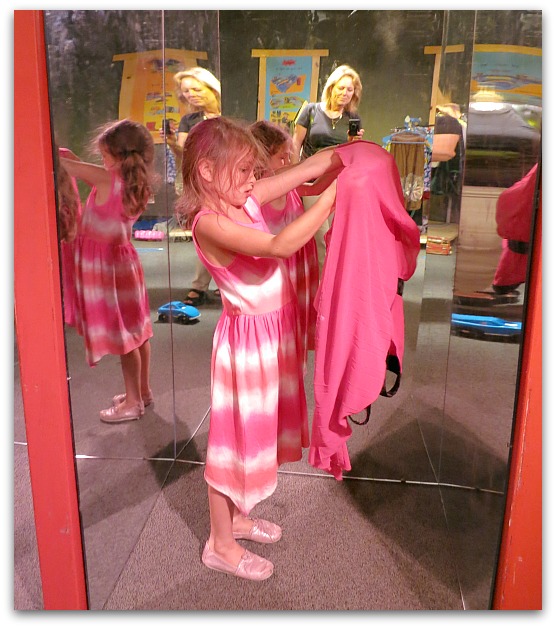
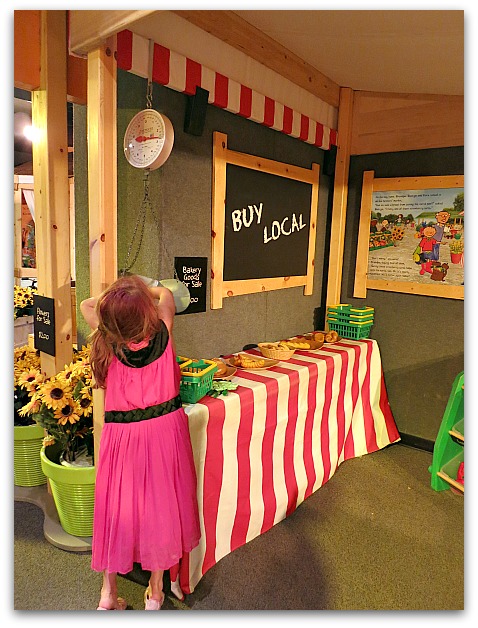
This time, it was all about recycling, reusing, and saving the planet.  Complete with bicycles to pedal and power a light post, a pretend farmer's market to encourage eating local foods, a little play house where you learn to pack a lunch in reusable containers, and a life size doll that you could try clothes on and sort to see what needed to be donated to a thrift store when they didn't fit.

Crowncenter 030

Then, you could play dress up yourself in the thrift store, or sit and read the books that had been donated.

There was an energy efficient car you could pretend to fill with gas and check the tire pressure, and a laboratory to learn about water resources.

Crowncenter 032

Sugarwings lives in a world of make believe, so when she saw all of these props, she was in heaven. We could have spent days there. Or at least she could've…. My limit was about a half hour. But we stretched it to about an hour and a half, because she was thrilled with every aspect of the place. And it was NOT at all crowded. When we visited the Dorothy exhibit, that was packed. A more popular theme, I guess.  Plus we went on a Saturday.

Fridays at Crown Center this summer are also featuring a free concert and outdoor movie.  We didn't stay for that, but did have a snack in the Crayola Cafe and shopped in the Crayola store, where we could do some free art projects.

There is also a free craft area called Kaleidoscope that we have never made it to. Next time, we will plan extra time for that. Hallmark supplies the materials and crafts, and from what I saw the other kids carrying around, they were high quality, good projects.


Jswapbuttonsmall

Interested in the journal swap?  Info here.

How to make fizzy bath bombs

how-to projects, Sugarwings

B

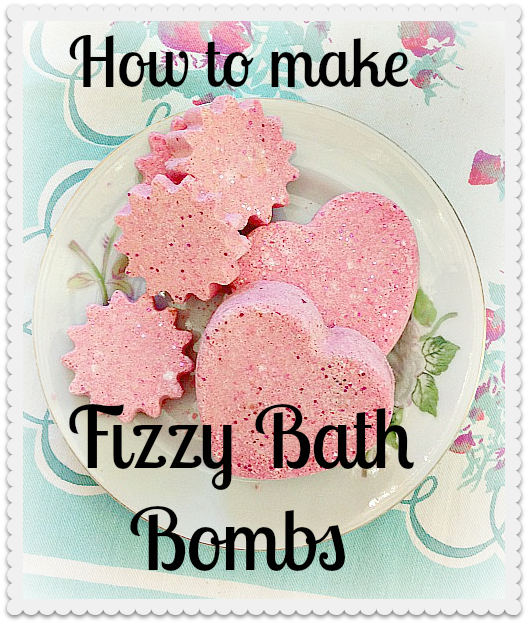
In our ongoing quest for the crafty-est summer ever, we decided to make some fizzy bath bombs.  First of all, those things are way cool. Second, they can be pricey for something that dissolves that fast.  It was a bit cheaper (and more fun) to make our own.

Bath bombs 013

I looked around at various sets of directions and recipes online. Then kind of consolidated and made up my own.

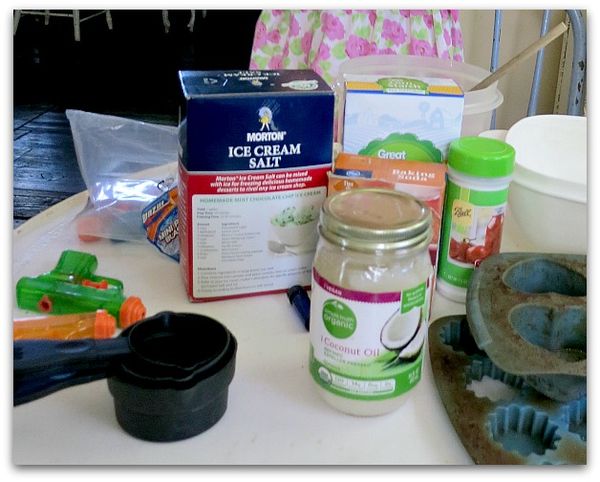
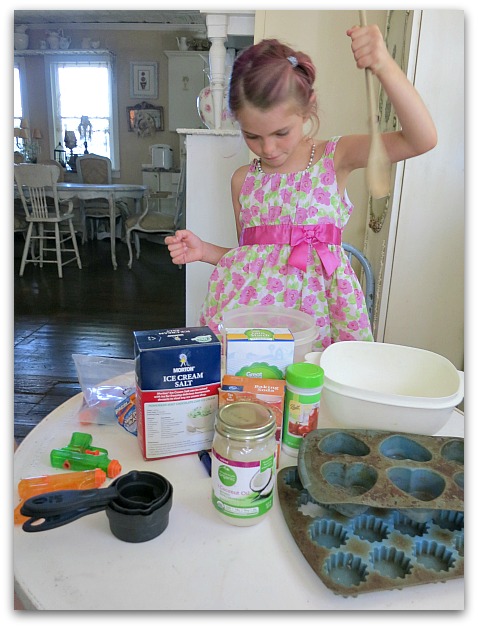
Here is what we used:

1 cup baking soda

1/2 cup citric acid (I found it in the canning section at Walmart, $3 for this little jar, I bought two jars which is enough to make about 3 batches and have a little bit left over to sprinkle on sliced apples for a picnic)

1/2 cup corn starch

2 tablespoons salt

3 tablespoons coconut oil (sofftened, not melted or hard)

about 8 tablespoons liquid (we used water)

few drops of scented oil (we had lavender)

Bath bombs 030

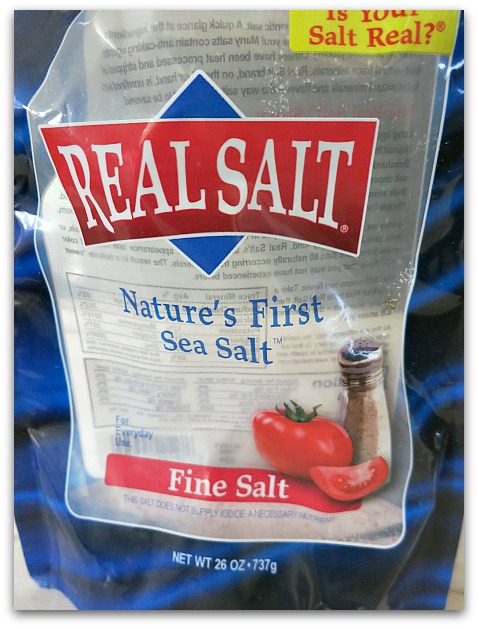
The salt that I bought was the wrong kind, but I had some of this in the cabinet, which worked pretty good.  I'd purchased ice cream salt, that was too chunky to use.  Epsom salt would probably be fine too.

Bath bombs 019

You can use food coloring, if desired.

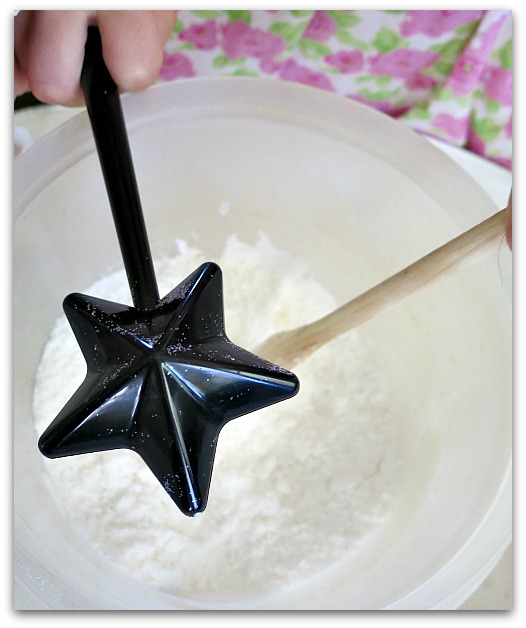
Oh and glitter! Ours was in a magic wand shaker that Aunt Sissy gave to us. 

Bath bombs 020
First you mix all the dry ingredients, then add the oil and the essential oil drops.

Bath bombs 012

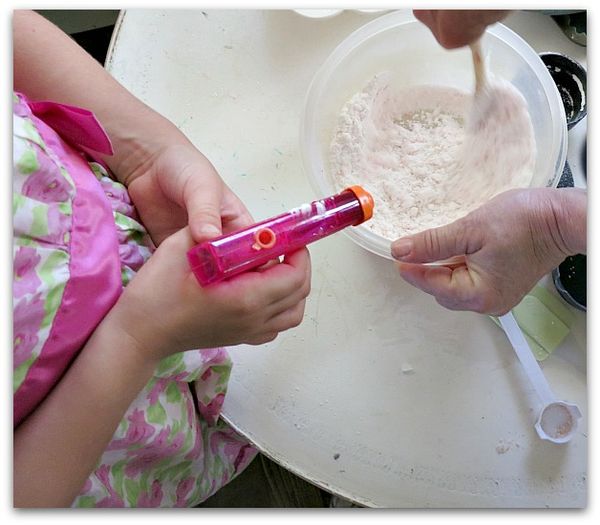
Stir well.  Then mix the food coloring and water together in a squirt gun.  I saw that Martha Stewart used a mister/sprayer thingy in her directions, but we didn't have one of those.

Bath bombs 026
Start adding the colored liquid a squirt at a time.

The citric acid has a reaction to the baking soda when you drop the bomb in the tub, that is what makes the fizziness.  It's also what you want to prevent from happening when you are making them.  Save the fizz for the tub, not the mixing bowl!

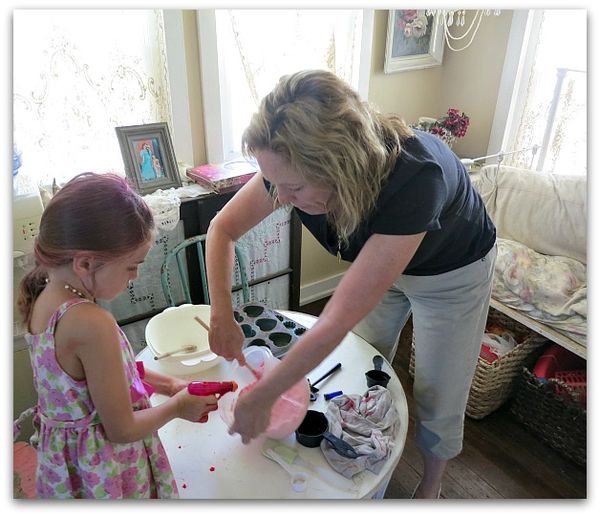
The trick is to have one person add the liquid while the other stirs non stop.  A bit of fizz breaks out with every squirt, but whip it in fast and it goes away.

Mix and mix while adding spritzes of water until you get the consistency that will hold when you squeeze it into a ball.

Bath bombs 027

Next, press it into molds. 

Bath bombs 029

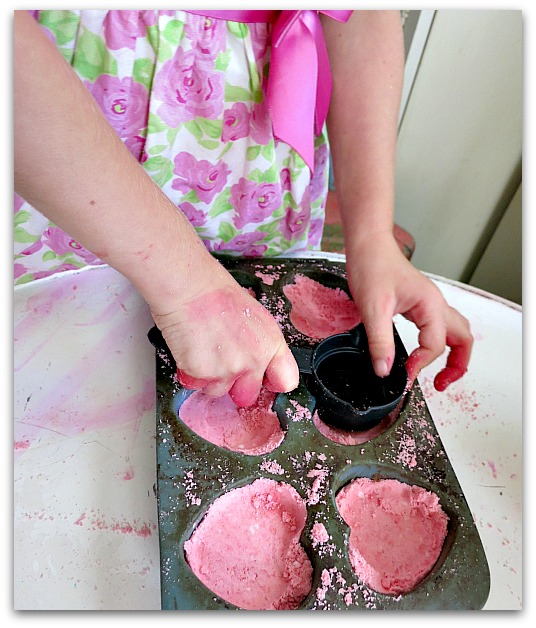
We used the bottom of a measuring cup to press the mixture down hard, and get it compacted.  Next, you wait a day or two till it sets up.

We scraped up all of our crumbs, and all the remnants in the bottom of the bowl and on the spoon, then added some water to see if it would bubble up, because we couldn't wait that long. And yep, it was as fizzy as an alka seltzer!

The food coloring and the glitter make the bath water pretty. But everyone might not enjoy that as much as we do.  You can always leave that stuff out.  

Securedownload (1)

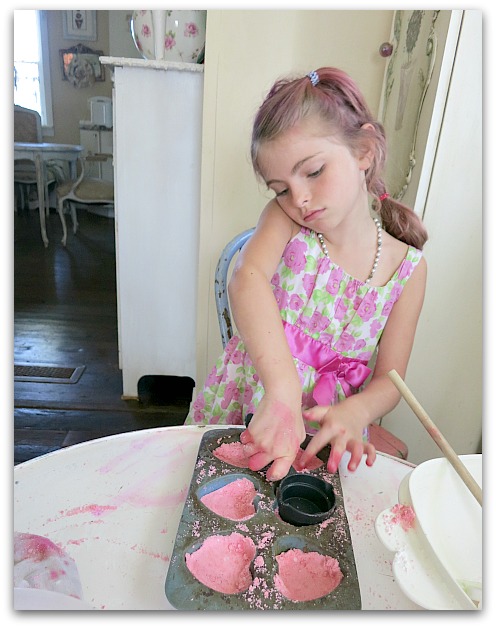
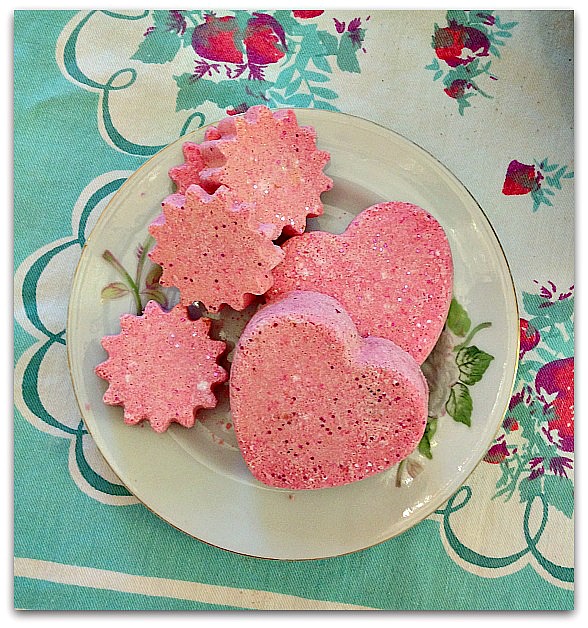
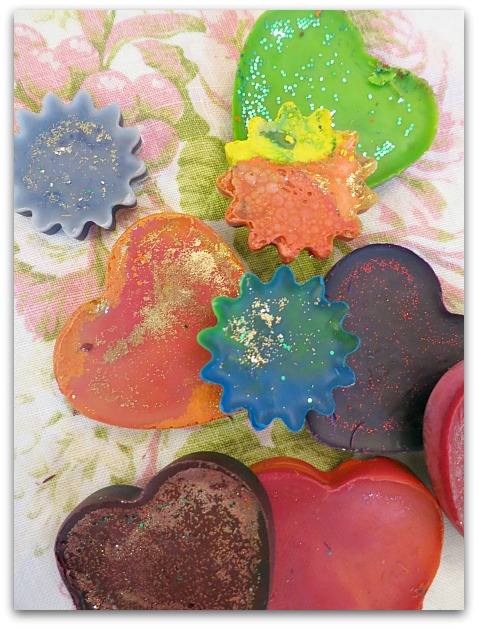
We got about 6 large hearts and 6 smaller tartlet shapes out of our batch.


Jswapbuttonsmall


Interested in the journal swap?  Info here.


Some sparklies, some pretties, and some not so pretties

jewelry

Peeps 008

After Birdsong, I went on a jewelry making kick, after being inspired by Lori and Andrea and the wonderful pieces they had brought for vendor night.

Peeps 011

I had some pieces around that I kept thinking I was going to use for something, and was happy to finally get around to it.

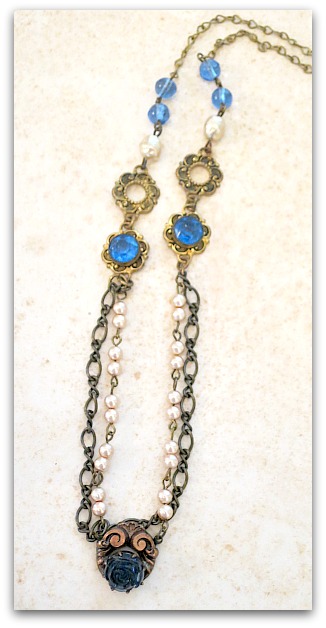
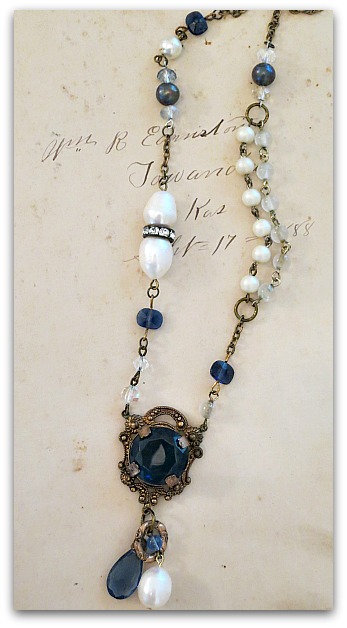
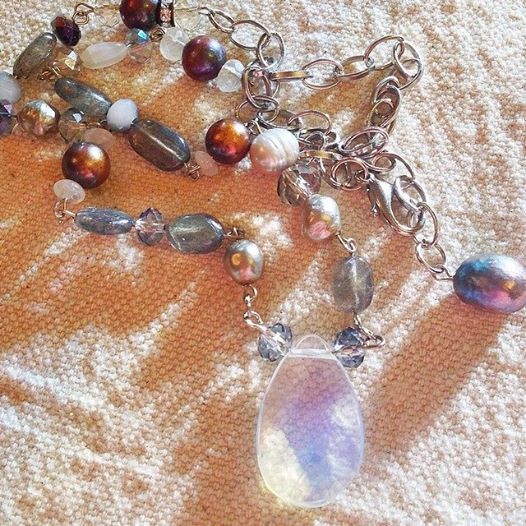
The two that are blue glass with pearls look good worn together.  I hope all that going on around my neck at once deters from my ever growing, saggy, wattle.  I kind of go back and forth on how to deal with that issue. Wear a ton of jewels to distract? Or keep it simple to not draw attention?

Securedownload

See what I mean?  

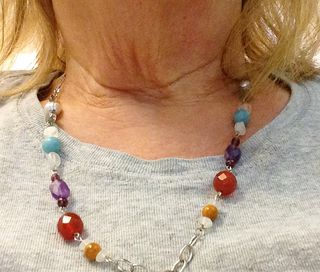
Oh man, I just showed a close up of my wattle!!!!!!  Oh my gosh, what is wrong with me?  I guess, I know that it is there, and can't be hidden or ignored.  I am what I am and need to accept it. Unless I want to wear turtle neck sweaters year round.  Heck, in a few years, I'll look at this photo and think these were the good ole days, back when my wattle and saggy skin were in the newbie stages of just learning how to sag. I'll probably think this is a great photo. 

This is a necklace I made for the Hippy Chick, it is a happy rainbow of semi precious stones.  My pal, Queen Regina, gave me some beautiful beads to work with a while back and I'm just now using them all up.  

 I always wear any necklace a while before selling or giving it away. They have to be proven comfy, and stay together well before they leave.

10402661_10152445908364477_5197125805394855313_n

It had been a long, long time, since I'd been in a jewelry mood. This has been fun.

Peeps 006

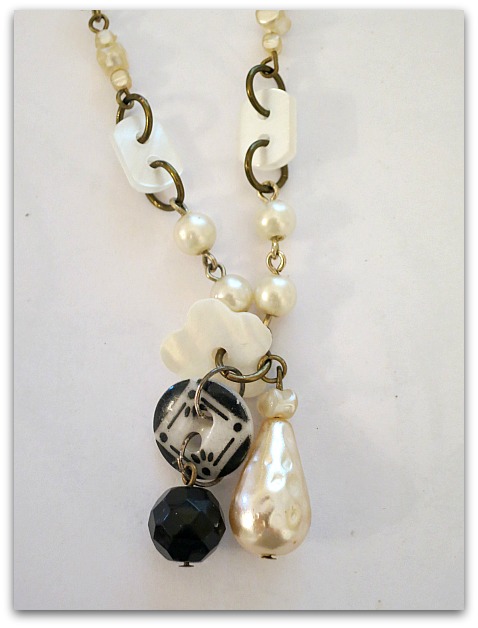
I've made a few as gifts too.  This one is for a friend who loves buttons, my BFF, Beth.

Peeps 005

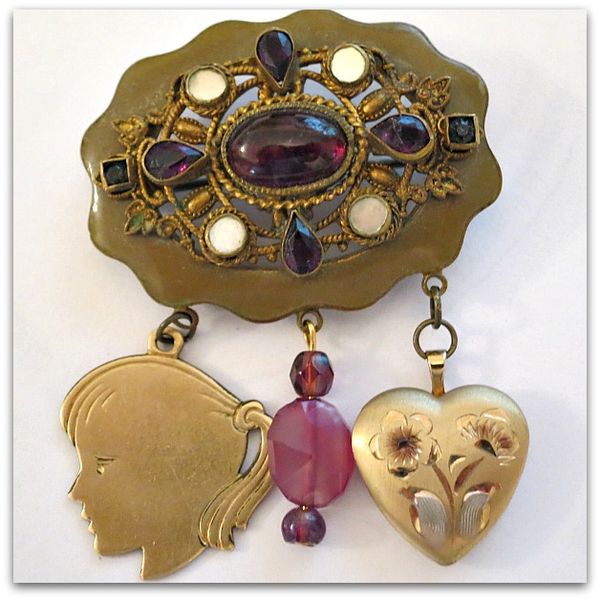
This is an old brooch set with amathyst and mother of pearl. I hung ruby and garnets from it, along with a locket that will hold photos of my girls, and a charm that has my name and birthdate on it. I think it was from my grandma's charm bracelet.  Or maybe my mom's?


  Jswapbuttonsmall

Interested in the journal swap?  Info here.

A Journal of “Nature’s Blessings”- a book swap for you to join

Books, swaps

Bookdetails 002

It's time for a new swap!
Journal swap button
 

Here are the details of what I'll be including and making for the swap:
Bookdetails 010

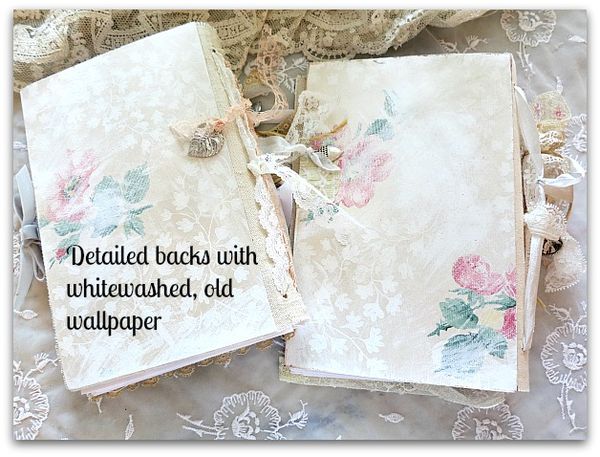
*Two covers, front and back,  with a canvas spine.*
Bookdetails 005

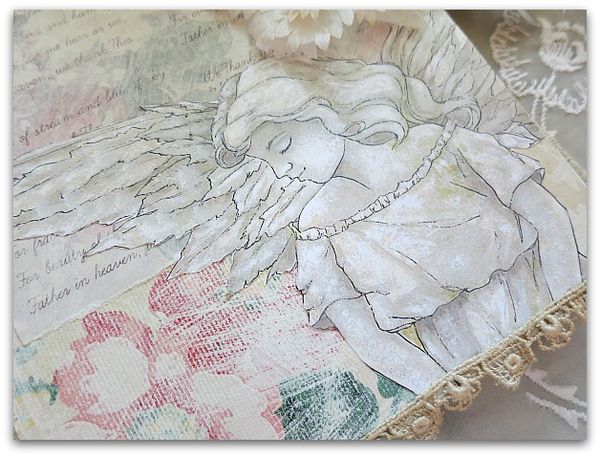
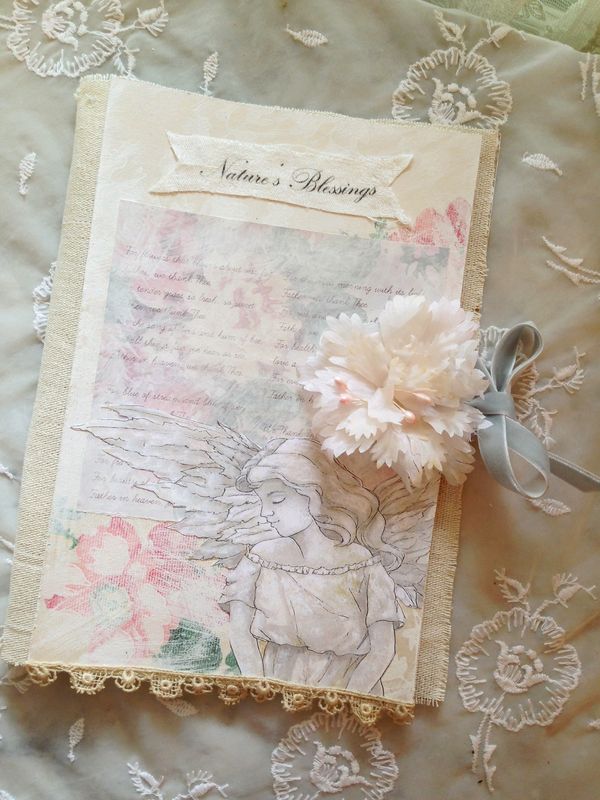
*The front cover will feature an image of a concrete garden statue angel from my own artwork.*
Bookdetails 014

 *It will tie shut with velvet ribbons.*
Bookdetails 007

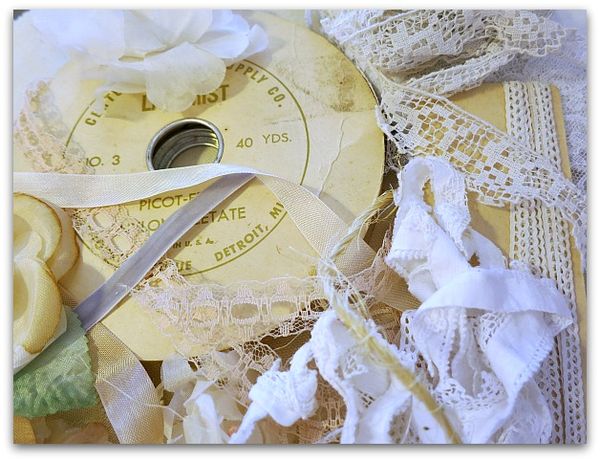
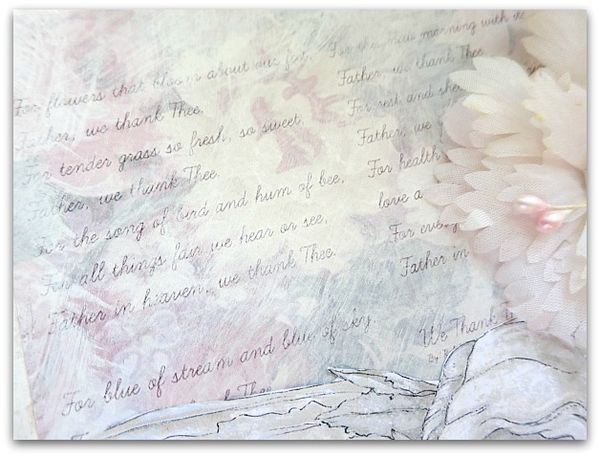
*I will use high quality, and vintage supplies, along with scanned wallpaper from my collection layered with a printed poem by Emmerson. *
Bookdetails 016

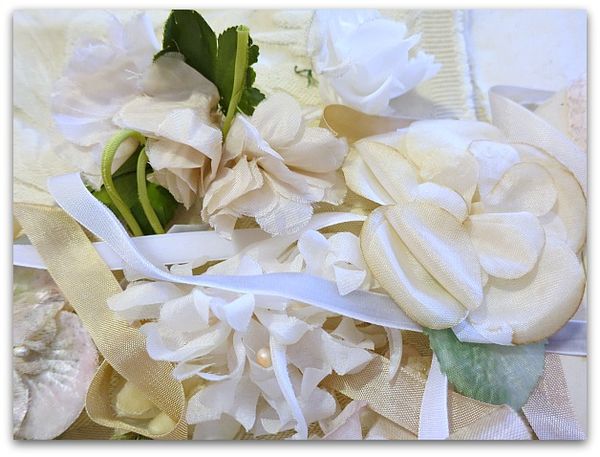
*Each book will have a millinery bloom from my garden of floral hats, lovely ribbons, lace, vintage wallpaper, and each cover will be individually white washed by hand.*
Securedownload

*The book will be made up of 3 signatures of 3 pieces of card stock. You will send 6, I will supply 3 blank pages for you to finish as you'd like in your own book.    This makes a total of 36 pages. *

This will be a functional journal, for you to use for notes, pictures, doodling, memorabilia. So, at least half of the pages created by swappers will be simply finished to allow you space to use in the book.  Such as stationary paper, ledger paper, an envelope, lined paper, plain paper, etc.  Borders, headers, or decorations can be added, but the page should still be usable for the new owner to fill in for themselves.  (examples below)
Bookdetails 009

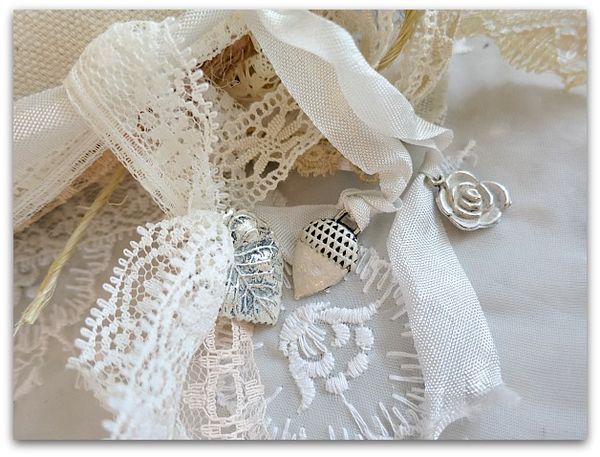
*Nature themed charms will be tied with a bundle of ribbon, lace, and twine to the ribbons and lace that I bind the book with.*
Bookdetails 020

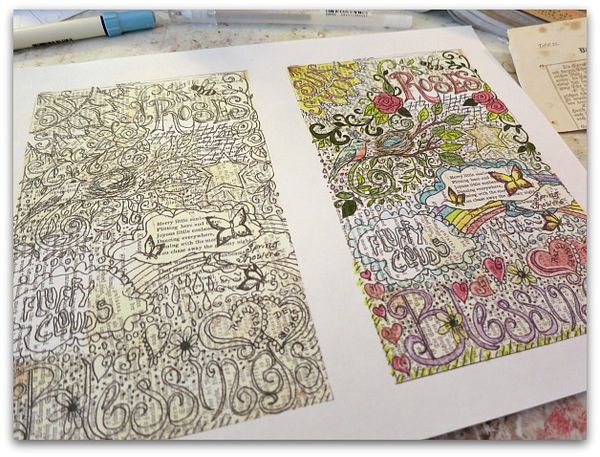
*I will be including a hand drawn "doodle page" for you to use in the book if you would like. (as pictured)*  

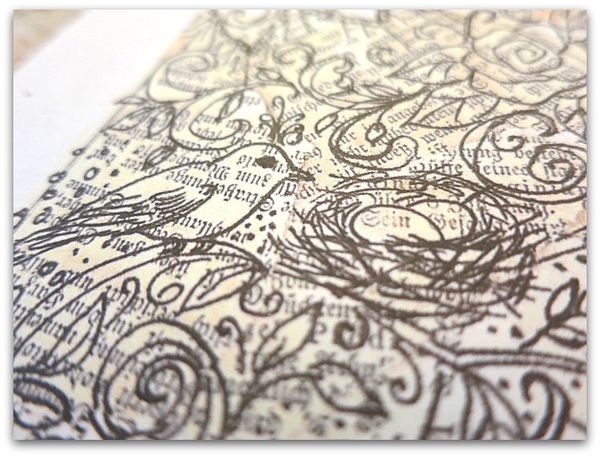
    The drawing was done on a collage of papers from old books, one is a German book about birds from 1817.  Color it as you'd like with markers, pens, etc, and glue it into your journal.
Bookdetails 018

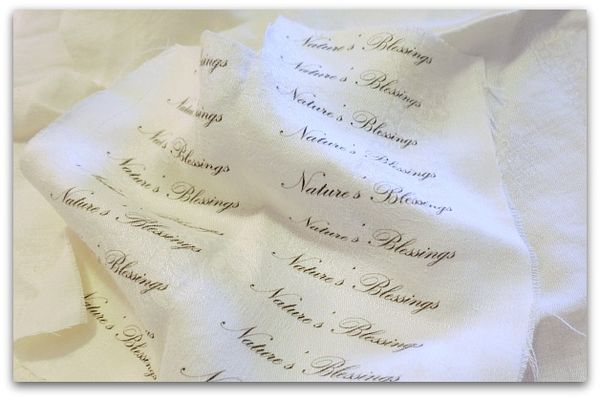
*The book title is printed on a soft, old, damask tablecloth.*
Bookdetails 015

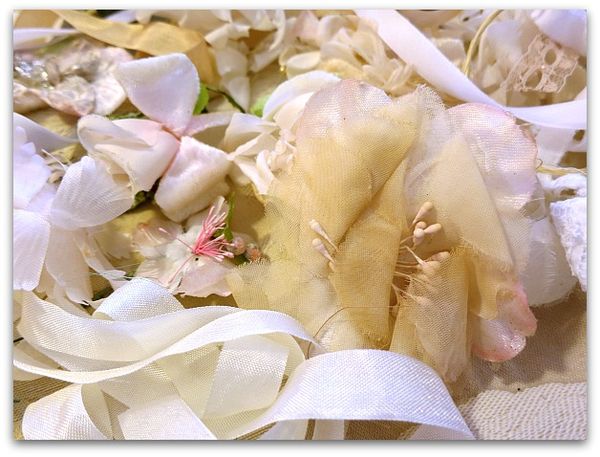
*No two book covers will be exactly the same, since I am using so many vintage elements. * 

***********************************************************************************************
Here are the guidelines, if you'd like to join:
1-The theme is nature's blessings, any interpretation you'd like- plants, flowers, gardens, animals, angels, birds- it's wide open to your view of what you love and feel blessed by in nature.
2- Size is a full page of 8-1/2 x 11 card stock, folded in half to make two 5-1/2 x 8-1/2 pages with a crease in the middle.
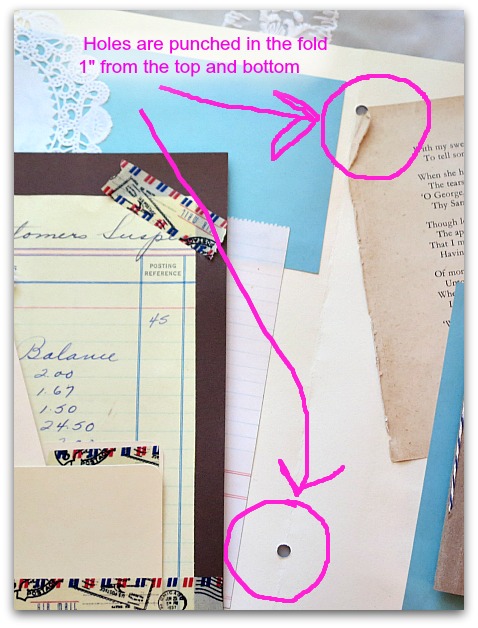
3- Please use card stock.  Add anything creative over it, but the base must be card stock, so that I can assemble the book. Please keep the fold  ONLY card stock and clear of embellishments so I can punch the holes. 
4-  Make 6 folded sheets of card stock front and backSo that means 6 pieces of paper/24 sides total.  This sounds like a lot, but keep in mind that this is a journal.  AT LEAST HALF of those 24 sides, need to be usable.  Lined paper, pockets, old stationary, envelopes, etc, something that the new owner can write on, tuck things into, or add to.  This is a functional journal.         (please check out the examples below)  The rest of the pages can be decorated to your heart's content, but do please keep half usable for the book's owner. (or more if you'd like, but at least half)
5- Feel free to add trailing lace, and other pretty trims that peek out from the covers of the book.  The more trims, laces, and ribbons, the prettier the over all look of the book will be.
6-  Sign your work, add your blog name if you have one.

8- LEAVE ONE INCH ALONG THE CENTER FOLD EMPTY, no 3-D items along the fold, so I can punch holes.  Decorate the crap out of the rest of the page and goober it up as thick as you'd like, but please leave the center 1" for me to bind!  hmmm, I think I might have already mentioned that one…


 To join, please email: karlanathan@sbcglobal.net 

Please include:
 Your first and last name
Your blog name and URL (you don't need to have a blog to participate)
Your email address


Deadline
Pages should be to me by September 20, 2014
In your package, include:
Your first and last name, same as you provided at sign up
A slip of paper with your name, and address, if your mailing address name does not match the first and last name you provided, please alert me

$30 fee for USA, sorry, no overseas swapping this time. (I am sorry also, but do to the volume of books I'll be making, I am not able to honor special requests, or let you know when your box arrives.  I will try to get photos of all the pages and feature them on my blog as I build the books.)  

 If you would like to purchase an assembled book (blank pages ready for you to create yourself) they will be available for the same price. Comes with doodle page.
Jswapbuttonsmall

Here is a button you can post on your blog for the swap if you'd like. I look forward to seeing the nature inspired pages winging thier way into my cottage!

*************************************************************************************************************************

EXAMPLES

Here are some links to our last shared effort, the Fairie Book, if you'd like to see my style of arranging pages. I put a lot of time into sorting the swap pages together to look like cohesive, pretty books:

1- http://karlascottage.typepad.com/karlascottage/2012/09/knee-deep-in-fairies.html

2- http://karlascottage.typepad.com/karlascottage/2012/09/the-tail-end-of-the-faery-book-swap-ill-miss-it.html

3- http://karlascottage.typepad.com/karlascottage/2012/09/faery-book-swap-page-sets.html

Odds 023

And here are some journals that I have bound the same way I will be doing for this  Nature's Blessing Journal swap:

1- http://karlascottage.typepad.com/karlascottage/2013/05/a-book-of-enchantments.html

2- http://karlascottage.typepad.com/karlascottage/2013/02/at-the-valentine-journal-workshop-and-some-free-images.html

3- http://karlascottage.typepad.com/karlascottage/2011/01/if-dorothy-was-a-scrap-booker.html


*******************************************************************************

These books are a different theme, but show some ideas on how to finish the pages so that they can be used by the new owner of the book.

IMG_0668a On the left-  I've covered the cardstock with pretty paper, and added envelopes.

IMG_0665

Left- This page has added note paper.

IMG_0664

Left- This one has a pocket for notes.

Altered books

And here is a big selection of plain papers, with borders.  Lots of space to use for the new journal owner, but still decorative and creative from the swapper.

IMG_9048

Along those same lines, a simple, lined paper with a pretty header.

Album jan10 003_picnik

And this idea is the simplest of them all.  Pretty paper, lace trim, left empty for the new owner to add a photo to.

Album jan10 004

Similar to this, plain paper to add a photo to, and an envelope with a message on the flap.

Novemeber giveaawy 005

And again, the same type of look, room to write on, and an envelope to save special things inside.

Starting the forest 011

This heart is a collage made by Lori Oles, I have added it to a page in one of my books, and by only gluing down the sides, not the top, it has become a pocket to hold tidbits.

Valentine journal workshop cougar hunt 042

These pages were done by a student in one of my classes.

For sale 61 084

Plain, pretty paper on some pages is nice too.

******************************************************************************************************

Bookdetails 022

Here is a detail from the doodle sheet that is included for you to tint.

Bookdetails 023

And this is an example of how I color mine.

Starting the forest 010

Here is an example of a past doodle sheet I've made.  It has a fairy tale theme, as you can see. I draw words and designs on an old book page, and it is copied and ready to be colored in with markers.

A nature themed doodle sheet will be included in your book for you to finish as you'd like.

Odds 018

Here is one with a Love theme for Valentine's Day.
Bookdetails 012

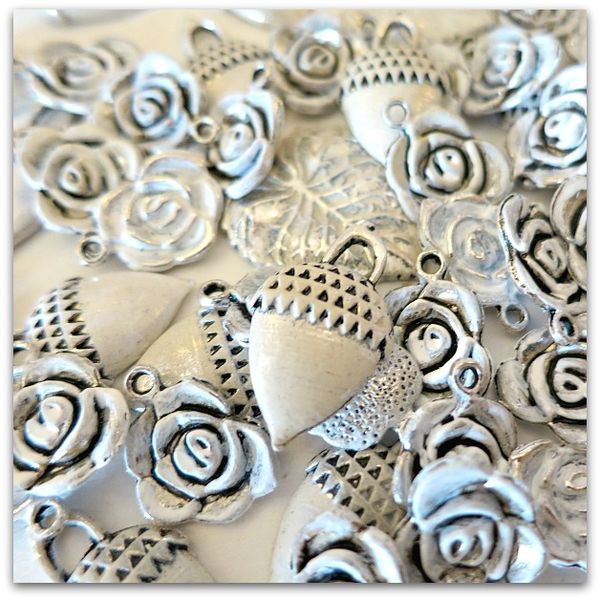
 These are the charms I will be tying to the ribbons on the binding. All are nature themed, and have been whitewashed.
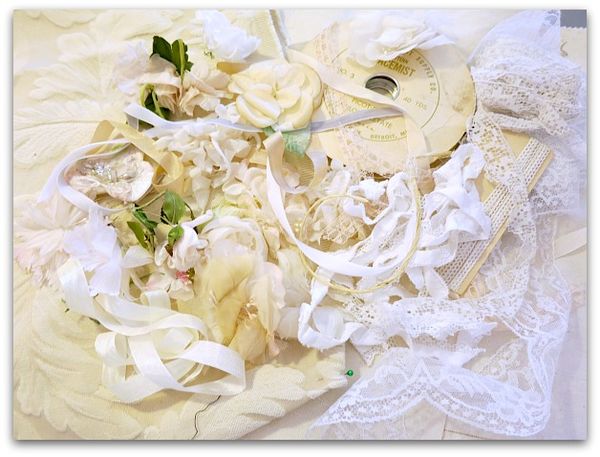
Bookdetails 013

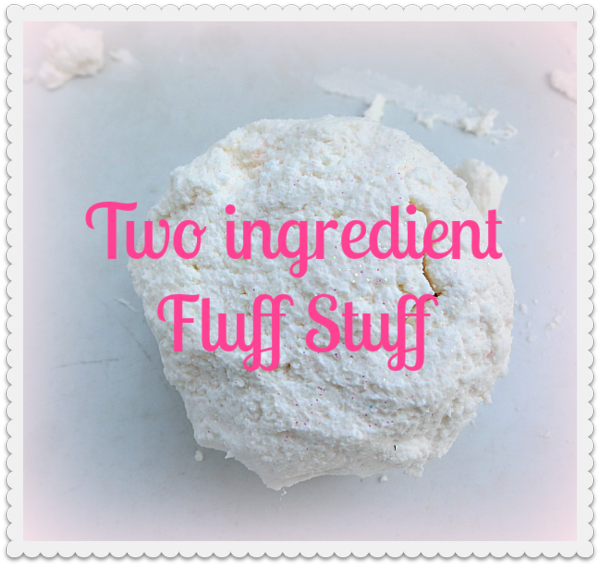
Upcycled crayons

family, how-to projects, Sugarwings


6a00d83451ead569e201a73ddc8464970d-500wi


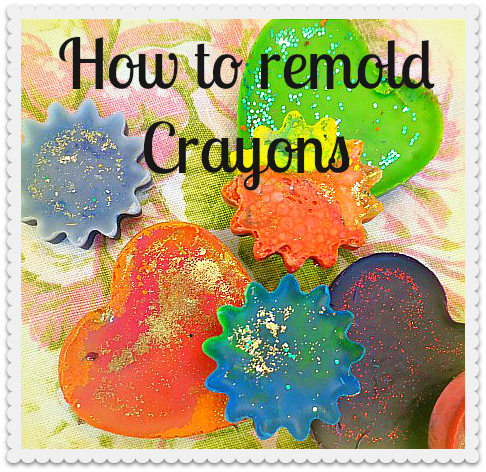
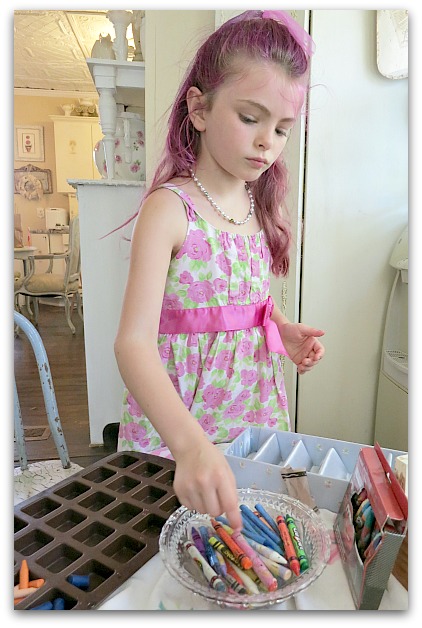
Our summer of projects and experiments got off to a fine start.  This one really turned out good. 

6a00d83451ead569e201a73ddc83f3970d-500wi

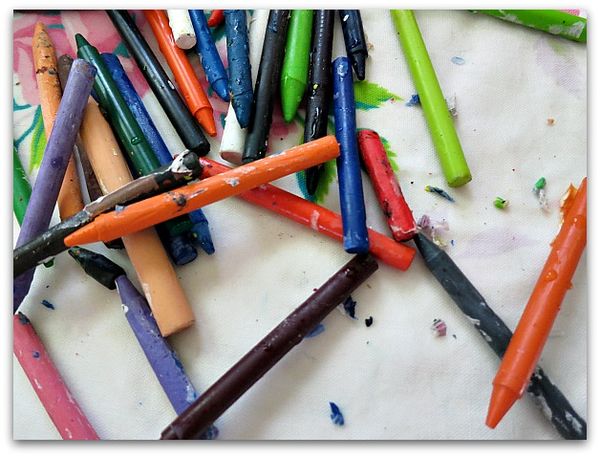
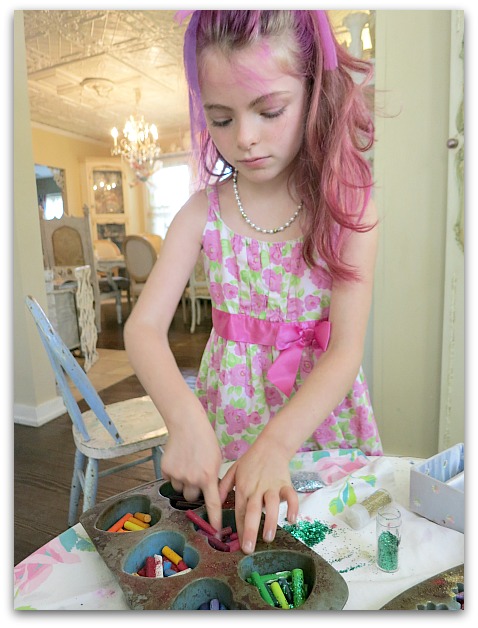
We made some new crayons in fun shapes.  Those two grand fairies had an unmanageable amount of art supplies, and way too many open boxes of "color crins" (what I always called them as a kid, and still think of them as. I really thought that was the name of them and Crayon was the name brand. Like the whole tissue/Kleenex thing- it was crins/Crayons)

Crayons 007

We decided to melt them down into a new look and share them with friends.

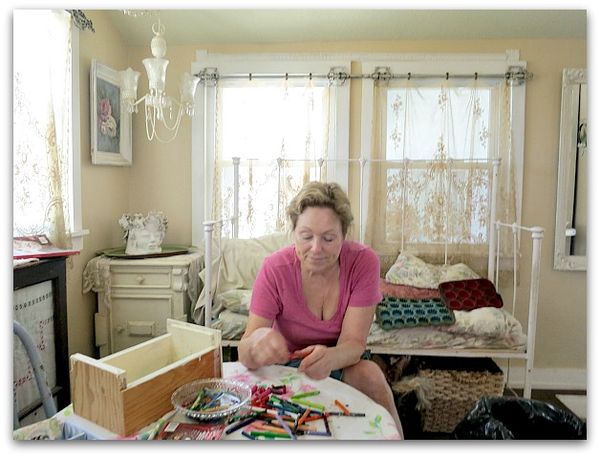
It was also a good excuse to clean out the craft drawers, and along the way we tested each marker to see if they still worked, threw away the duds, and got all the supplies sorted.
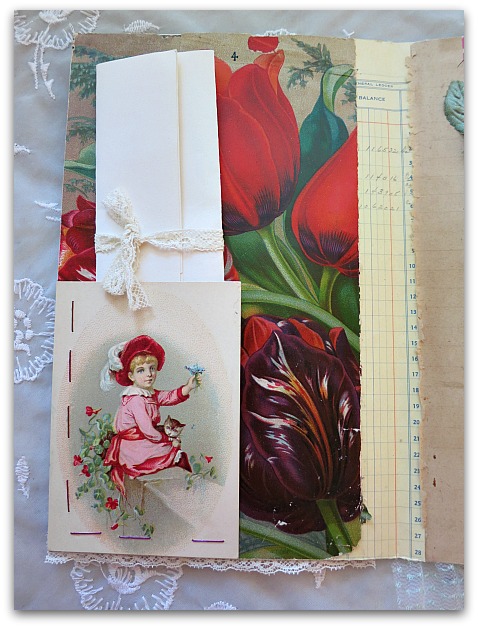
Crayons 013

Here are a couple of things I learned in the process:

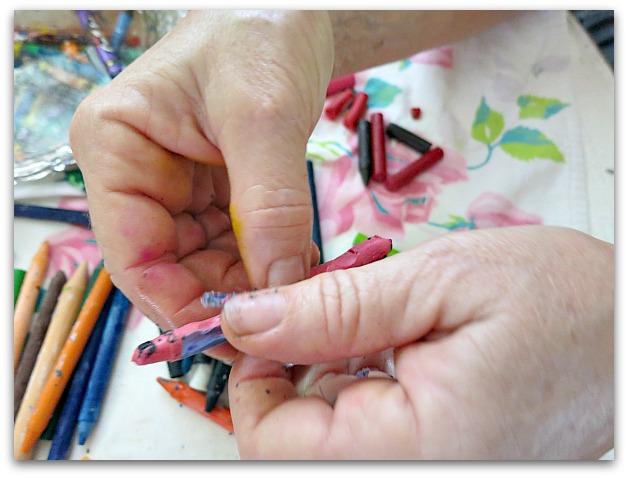
1- The papers come off easier if you soak the crins in hot water for a bit.

2- Name brands matter!  Crayola's are the BEST.  The cheap knock off crayons were not as easy to work with, they got all mooshy in the water, the papers stick and don't want to come off. On the Crayolas, the papers just fall away, and the crayon itself still is perfect.  I know that with my own art supplies, especially paints, cheapos aren't worth buying. I'll remember that for the kids too.

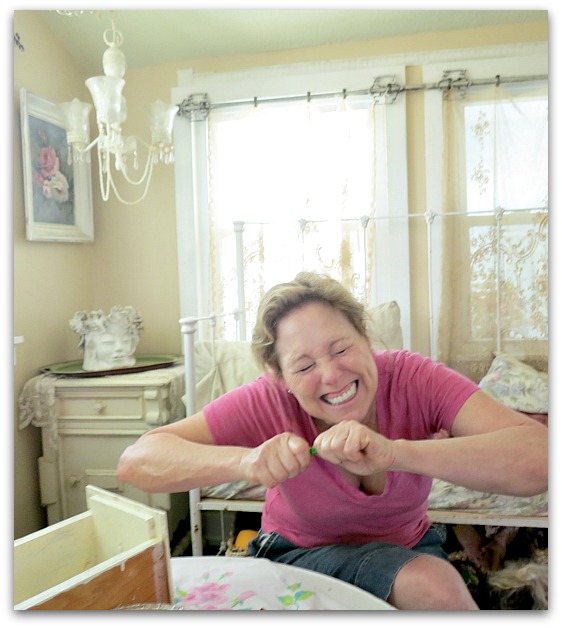
3- Unwrapping crayons is a hideously monotonous job and you should either find a partner with an extended attention span to help, or plan on doing it alone while she entertains herself.

4- One of the most fun parts of the job is shaking the glitter out of the table cloth when you are done.

Crayons 004

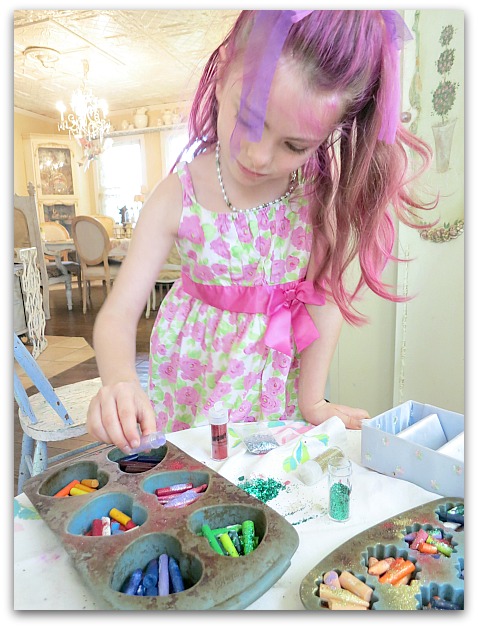
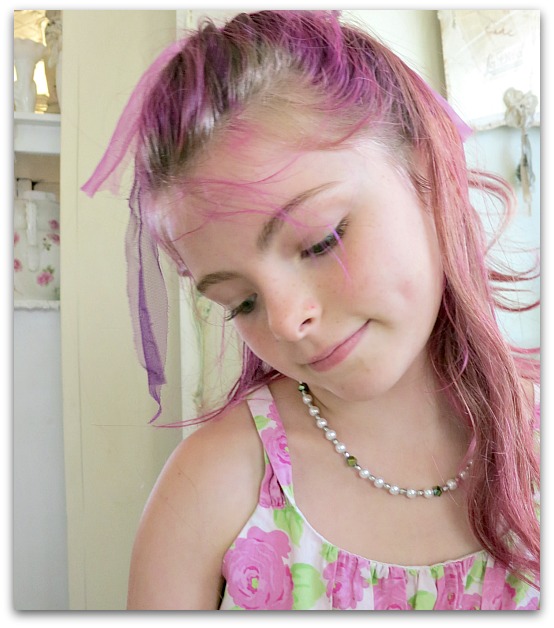
My partner isn't one of those people with an extended attention span. She decided to entertain herself choreographing the project and taking my photos while I worked away on the monotonous part of the job.

Crayons 010

She has some directorial skills and coached me into being a better actress for the camera. (I wish she had directed me to the make up trailer before my closeups…)

Crayons 020

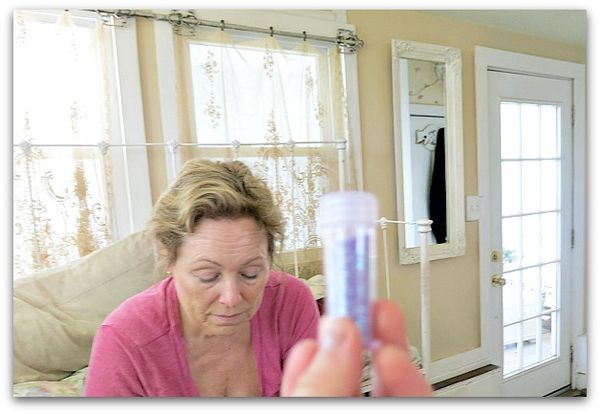
Once we got to the part where she could break and sort the colors, then add glitter, she became involved again. I'll spare you the photos of her toothbrush, closeups of the trash can, and the other items she took pics of while I unwrapped and unwrapped and unwrapped til I gave up and decided we had PLENTY of crayons to work with.

Crayons 011

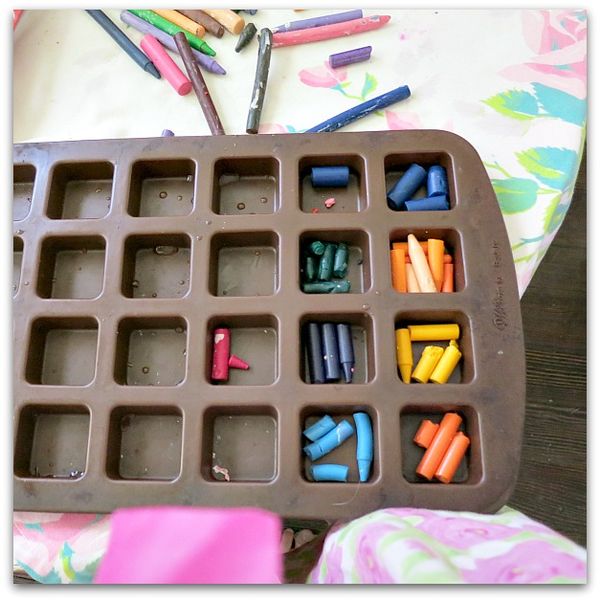
The directions I'd seen for making these, said to use a silicone baking pan. We started to use this one, then decided other shapes would be more interesting.  So, we went for flowers and hearts.  But, I discovered when we were done, that the wax doesn't all come out. I'm glad I didn't follow Sugarwings' advice and make a few of each shape. I'm wishing now that I'd stuck with just one pan, not two.  Because both are ruined.  But I guess that means that they are now craft pans. 
Crayons 001

We will use them for home made side walk chalk and salt sculptures.  Those are some of projects we have lined up.  I filled a shopping cart at Walmart with summertime supplies, here is what we are keeping on hand for various activities:

  • 2 boxes of rock salt
  • 1 gallon of vinegar
  • 4 boxes of baking soda
  • food coloring
  • 6 boxes of corn starch
  • 2 squirt guns
  • 6 cans of shaving cream
  • Pink, purple, and white tempura paint
  • 1 large box of plaster of paris
  • Tons of pink and silver and purple GLITTER!
  • 100 pounds of play sand

Crayons 045

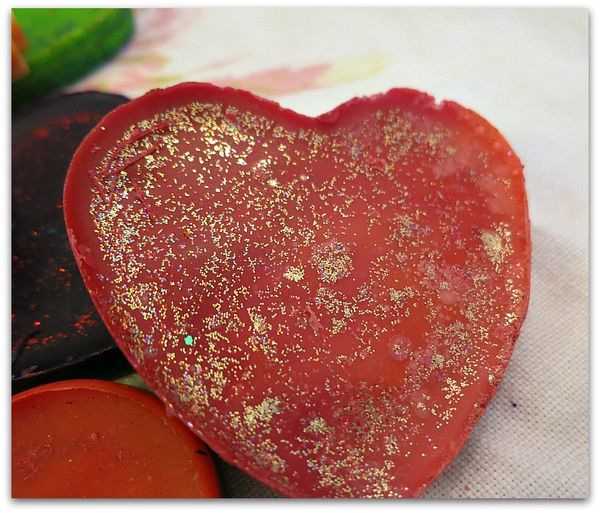
The crayon shapes turned out cute. I don't know that the glitter will actually transpose onto paper when you draw with them.

But we enjoy dumping it into everything we do.

Crayons 052

Here is how you make the shaped colors:

  1. Soak and peel off crayon wrappers
  2. Break crayons into silicone baking pans
  3. Sprinkle on glitter (just for the fun of it, I doubt if it stays on the paper when you color)
  4. Bake at 350 for 5 minutes, check every minute after that till all are melted.  
  5. Leave pans alone for an hour or so. If you try to get the wax out too soon, the crayons break.
  6. Bake some bread or cookies right after so the house smells better. Hot crayons stink.

Crayons 040

  6a00d83451ead569e201a73ddc8464970d-500wi

Where Bloggers Create Tour, another look at my cottage studio, I hope you aren’t bored with seeing this room over and over, but I’m trying to show a few little changes this time

cottage, studio tour

Studiojune 003

The lovely and talented Karen Valentine is once again hosting the Where Bloggers Create studio tour.  

Studiojune 059

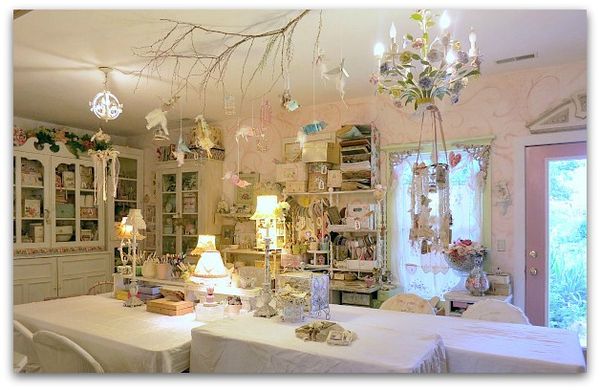
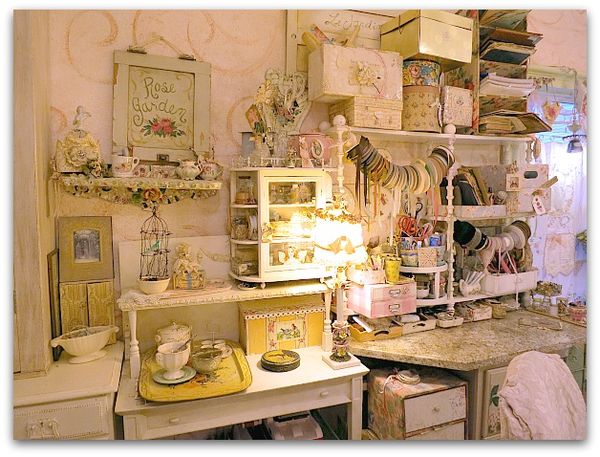
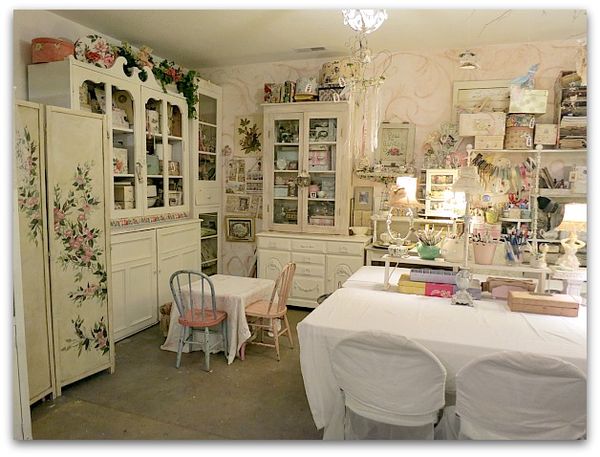
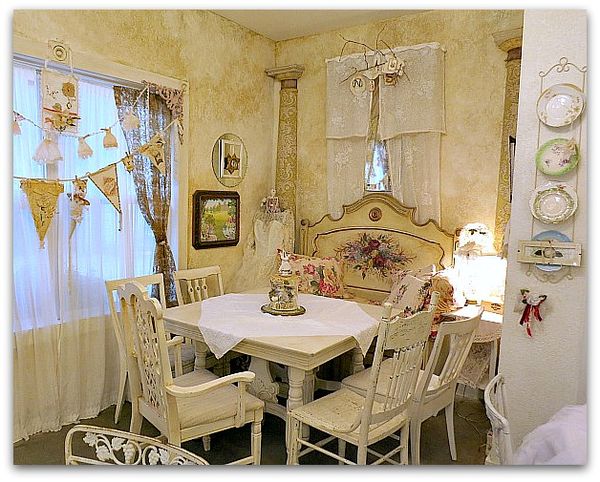
And even though I've shown my studio a zillion mcbillion times, here I go again.

Studiojune 057

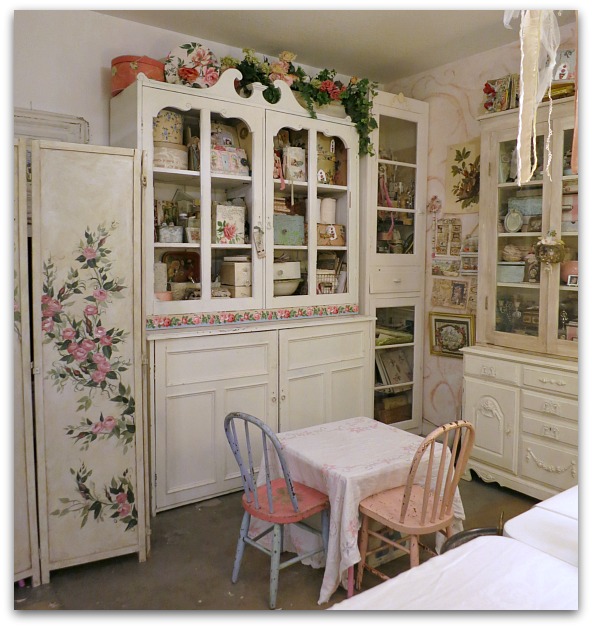
There are always a few little changes here and there.  I've moved a couple pieces of furniture around since last year and added a couple crafty projects. And now my doors are pink. Yay! something different.

This tour is always so much fun to browse through, that I just HAD to join in, I really enjoy this bloggy party. Thanks for hosting again, Karen.

Studiojune 018

And I did mention that there were some new things.

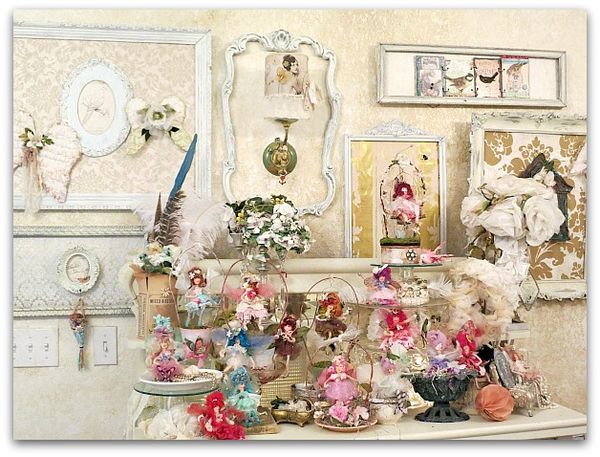
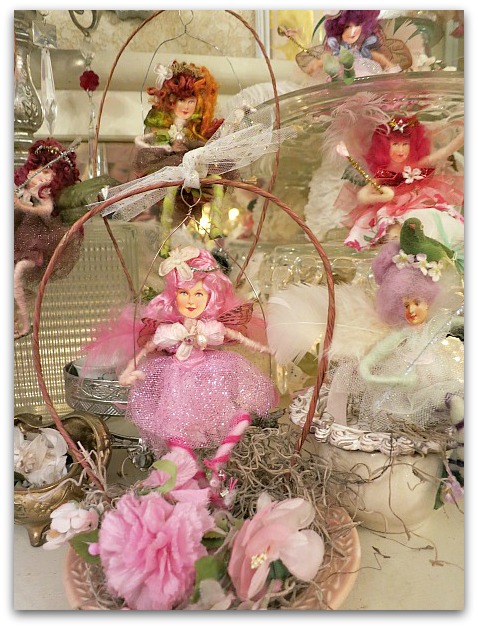
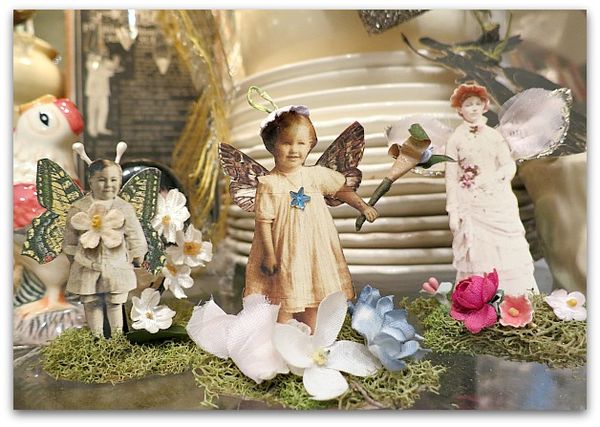
Like "Fairyville" on top of my buffet.   These are a few of the practice fairies I made for the Birdsong class I taught here in June.  I was quite addicted to making these little sprites and couldn't stop! Plus, I love having choices and variety for my kits, and needed completed examples of all the colors I'd provided, kit-wise.

Studiojune 025

And I have a few extra kits left if you want to make one of your own-  Email me:

karlanathan@sbcglobal.net

if you are interested in one for $25 plus postage. They include everything you need to make, and decorate a little sprite, illustrated instructions, plus create a peat pot swing for her to relax in.

I have a few colors, as mentioned.  
Studiojune 006

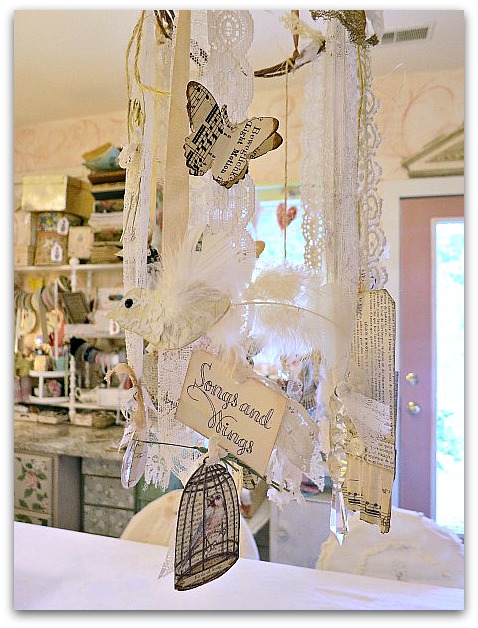
This was my other project for Birdsong, a lace and ephemera mobile.
Studiojune 007

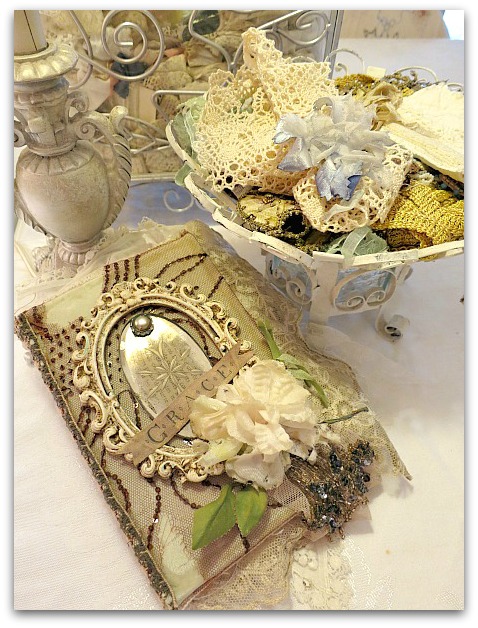
I've found that projects from classes I teach or take are items that I keep around and treasure. This book was made in Karen's (our blog hop hostess) class during the Downton Affaire in LA.  

Studiojune 017

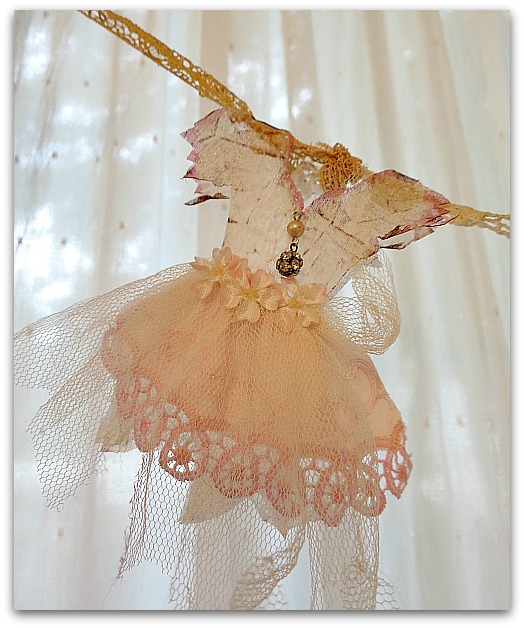
This sweet dolly dress was from Pamela's class at the same weekend.

Studiojune 015

I've got all of the dresses on a lace ribbon, hanging under the stitched sampler we worked on there too.

Studiojune 008

Some items are a constant.  One thing that stays on display in my studio, are the swap books that I have hosted.  

Sadly, last year I missed out on doing a swap, but I'm in the middle of putting one together right now.  I'm painting a portrait of a  cement garden angel, which will be copied and collaged with vintage paper onto the cover of the books we make. I'll create all the covers, each swapper will send in the proper amount of pages, and I'll assemble the books and send them back.

 Details to come, but if you think you might want to make one, please email me and I'll send you a link to the details when they are ready.

karlanathan@sbcglobal.net

Studiojune 041

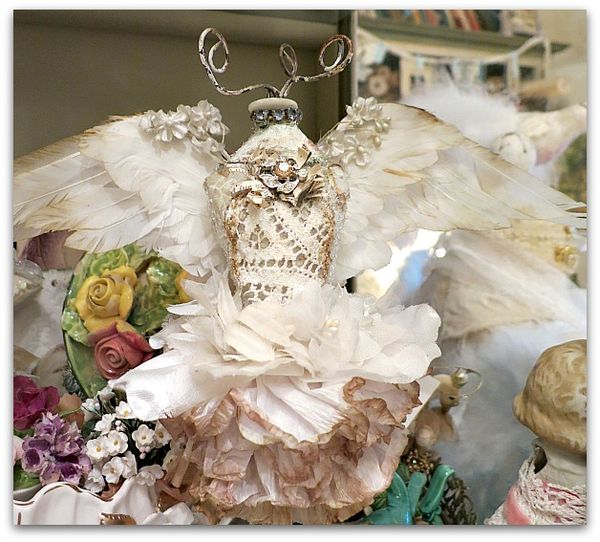
Examples for tutorials are also keepers for me.  This is a mini dress form that I've fairied up.  I kinda like fairies…

Studiojune 043

You'll find the magical little creatures in every nook and cranny of the room. These are some that escaped from my wire birdcage tutorial.

Studiojune 056

Yet one more instance of something I made a gazillion of.  Those birdcages took some brain power to get just right, and once I figured out the short cut to making them, I whipped up dozens to make sure I had the technique correct before teaching the class and writing up a tutorial.  

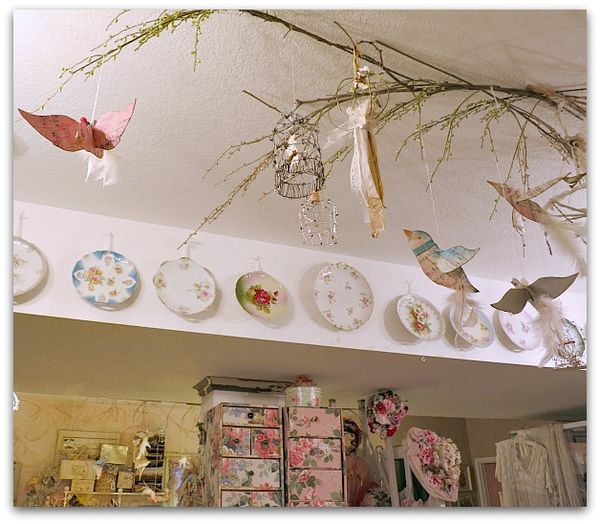
Now, I have these cages hanging from the ceiling, (the room is still decorated with the Birdsong theme from our classes in June. I'll leave them there with the paper birds until fall and I do something witchy instead.)

At Christmas last year, I filled a small tree in the studio with birdcages, and hung shiny brites from the branches.

There are a LOT of birdcages!

Studiojune 009

Millinery flowers are a steady fixture in the studio too. 

Studiojune 023

 I do sell them in my shop, but I always get more! It wouldn't feel like home if I didn't have a roomful of smooshy, old flowers.

Studiojune 030

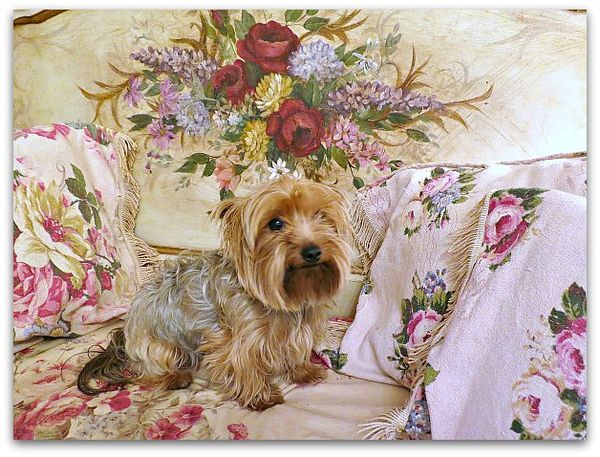
And pupeesh!  Those guys are a very necessary element in the studio.

Studiojune 053

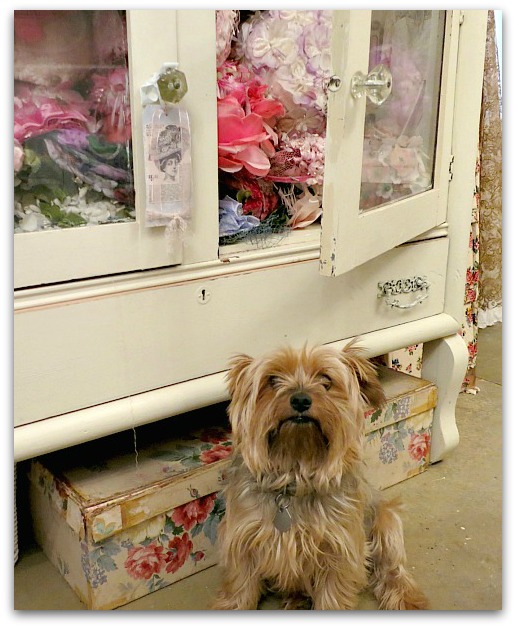
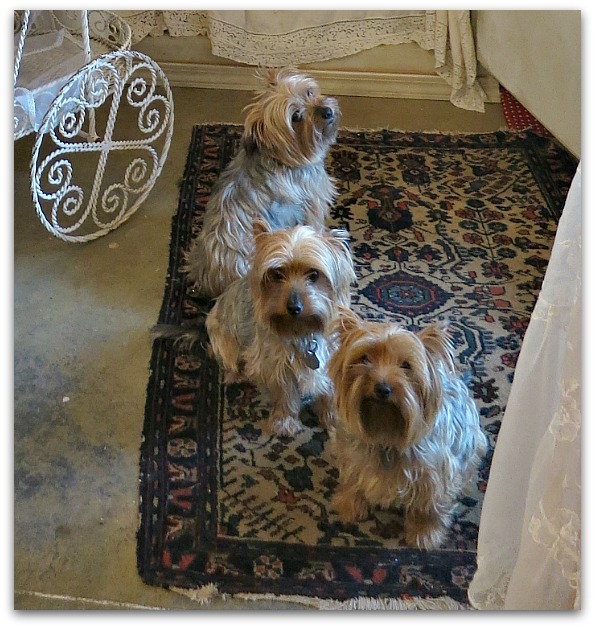
Being an artist can get a little bit lonely. I'm lucky to have a bunch of co-workers out there with me. Between the dogs and the grand fairies, I rarely get lonely.

Studiojune 060

The kiddos have their own corner. But this isn't really what it looks like. This is the cleaned up version.  I had all of their things packed up for Birdsong to make room for guests.  Then, before I could get it all set back up again, a blog friend, Kerryanne Woodberry, asked me to do some photos of the room for her magazine.  

You can look at past issues online for free, here.  It's a gorgeous publication and I'm honored to be invited to be in it.

Bath bombs 008

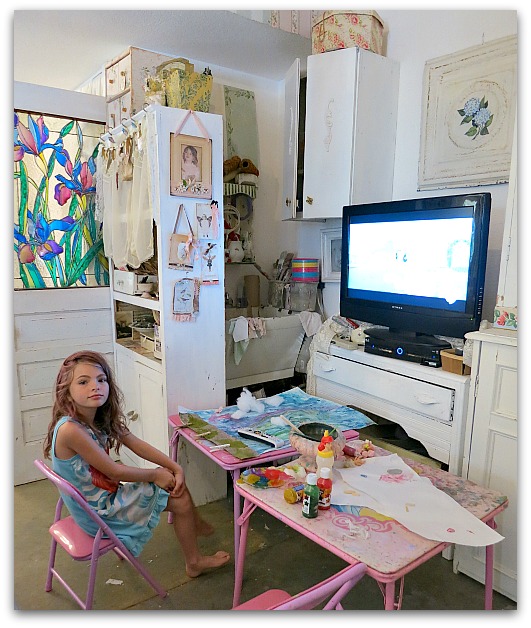
Here is a more, uhm, honest, view of that corner, without the screen to hide stuff behind. There is always a messy pile of works in progress and a TV on Disney Jr.

Studiojune 061

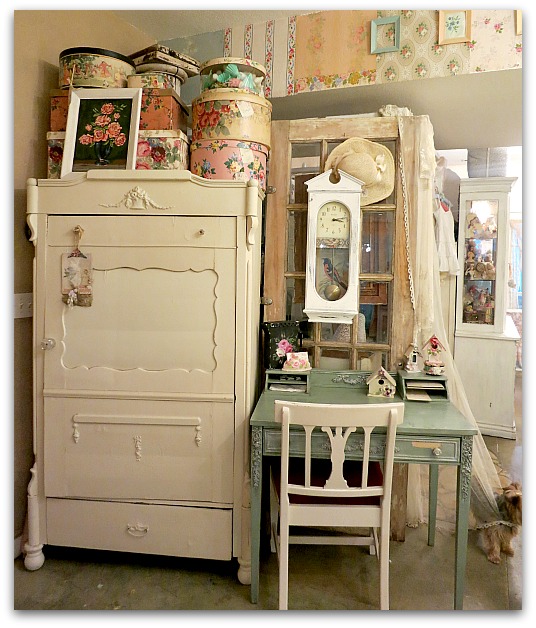
Here is another switcheroo.  Same old stuff, sitting in a new place.  That cabinet is HEAVY as the dickons, and even heavier since I didn't bother to unload the fabrics jam packed into it.  Have you ever used those carpet covered mini frisbee things that you can scoot furniture around on? I have a cement floor, and they are wonderful for moving any of my big heavy pieces with.  

Studiojune 027

The treat cabinet was treated to a tidbit of a makeover in 2014.

Studiojune 032

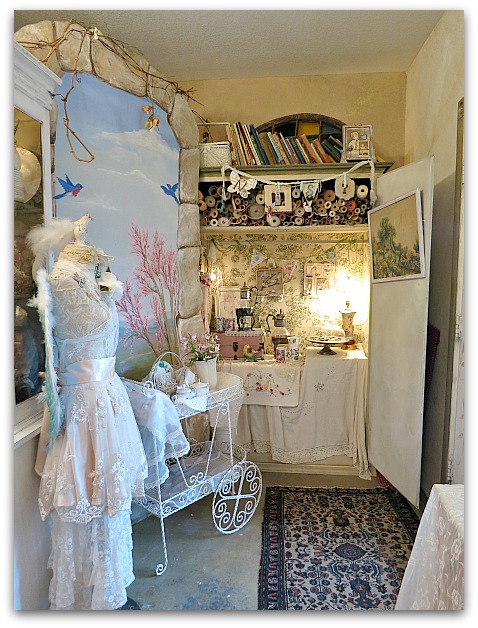
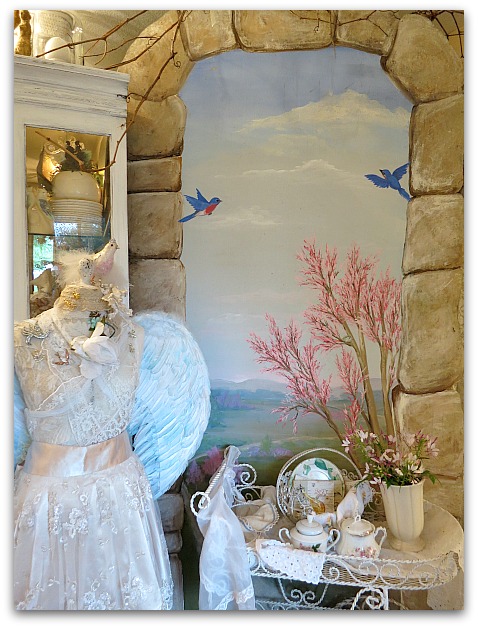
I painted this plywood backdrop to cheer up this corner of the room.

Studiojune 034

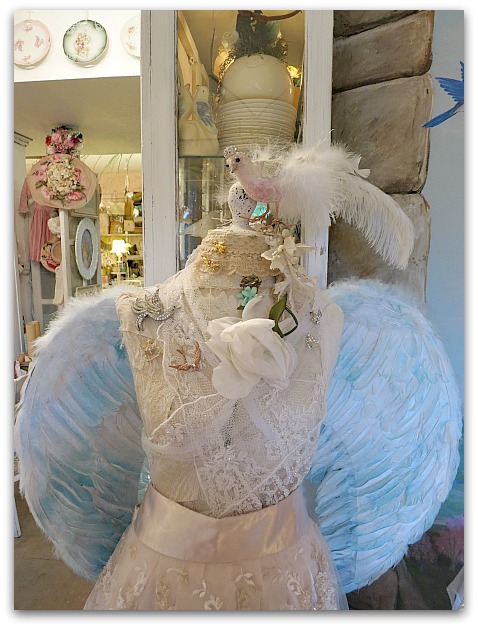
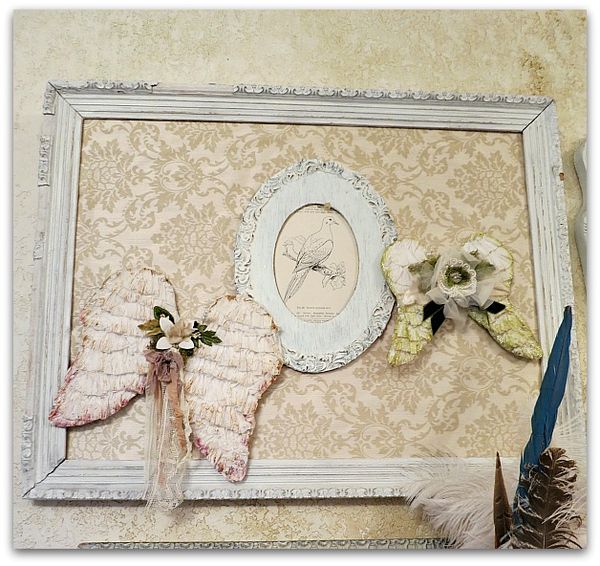
And LuWanda has sprouted Bluebird of Happiness wings.

Studiojune 038

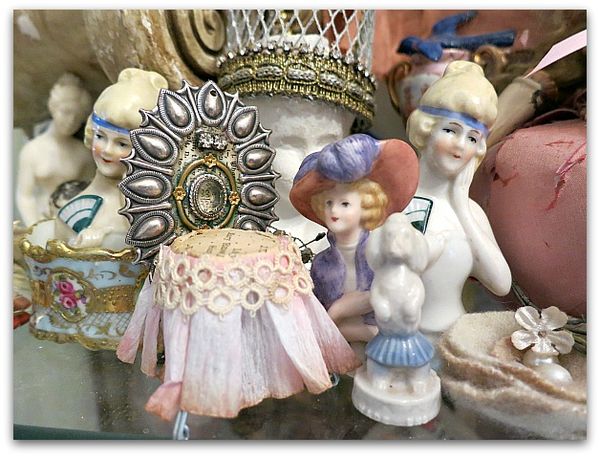
This spring, I took every single thing out of my hutch, dusted and rearranged it.  Somethings went to a "use" pile, others to "sell" or "toss".  

Studiojune 039

Most just got returned right back to where they started. But without the years of built up dust.

Studiojune 012

During spring cleaning, all the cabinets got slightly rearranged, but I have a feeling, that if you compared it to the pictures from years past, it wouldn't be all that noticeable.  But I feel much better about getting my myriad of supplies organized, and cleaned out.

Studiojune 002

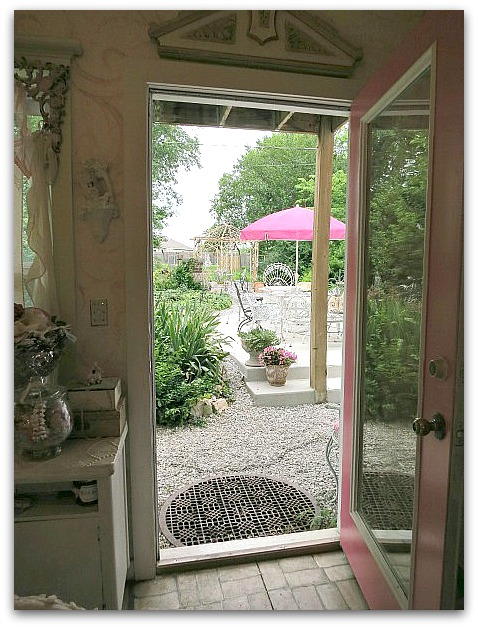
The view out of my back door has improved quite a bit!

Birdsong 004

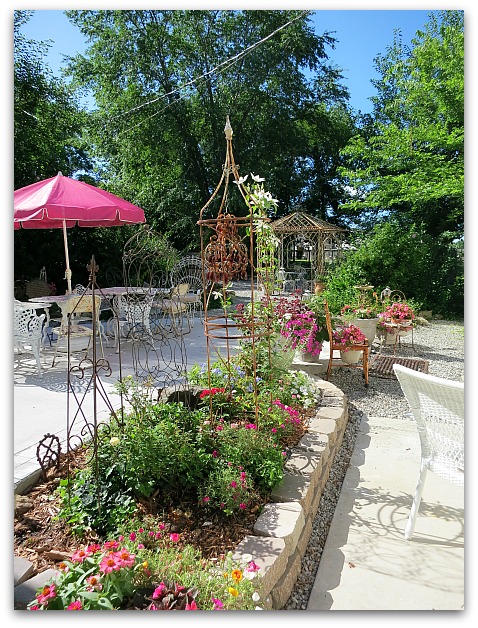
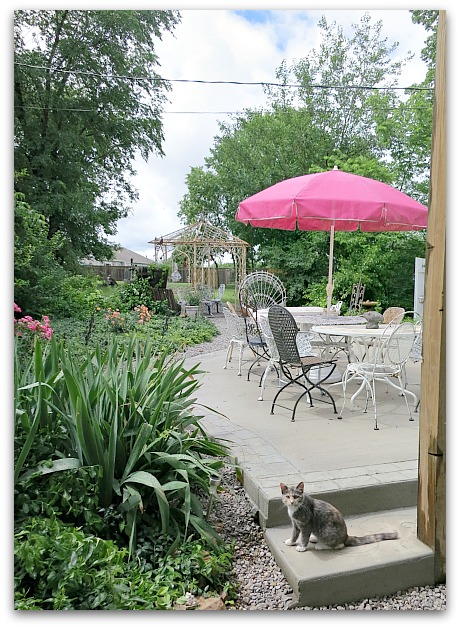
We have added a patio.  No more mole hills and weeds. Or chair legs that sink down a foot into the dirt when a guest sits down.

This isn't exactly part of the studio, but kind of an extension of it.  When I have crafty events, we spill out onto the patio. So, this counts as something new to show for the blog tour, right?
The contractor added the cobblestone stamp,and the flowers are something that I did free hand with a nail  as the concrete was drying.

Studiojune 014Thank you for coming by to visit. 

Studiojune 026

And I'll bet you will have a great time checking out all the other creative spaces on the tour. I know I will.


 ps- I'm having a Summer Clearance sale in the Boutique until July 15th. I've neglected that poor little shoppette too long, I need to clean up, clear out, and refresh it all. You are welcome to soak up some summertime savings and help me get a fresh start, by using this link and getting 50% off everything in the store:


 http://www.karlascottage.com/?code=Summersale


(You must use that address to get the special price. Going to the regular address does NOT take you to the 50% discount)


How to make a champagne cork cage chair

bird song art event, how-to projects, jewelry, vintage paper/collage art

Gifties 002

My good pal, Hope, was a Birdsong newbie this year, and a very welcome addition.  She is fond of bubbly, but had never opened a champagne bottle before.

Securedownload (11)

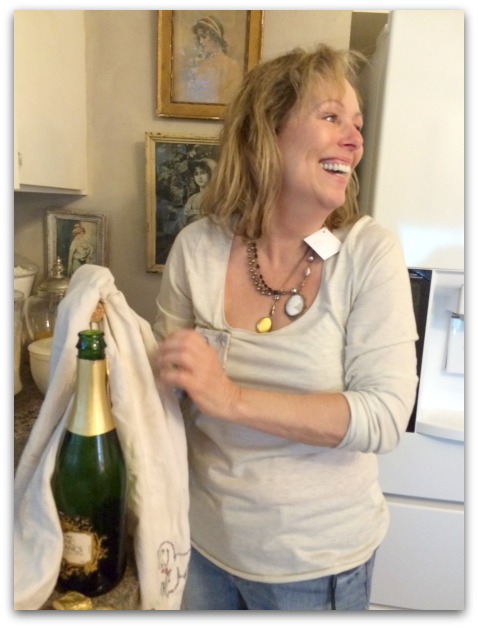
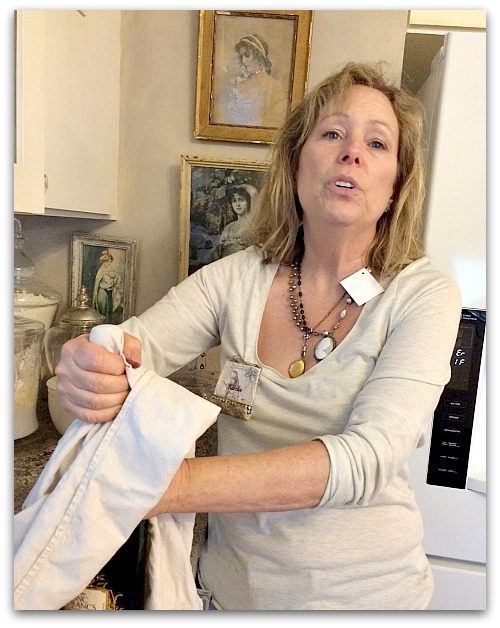
My youth was spent as a single mom who waited tables or bartended to raise my kids.  I've opened a few champagne bottles in my time, so I gave her a lesson.

Securedownload (10)
My tip is to cover the cork with a towel, and then wiggle it side to side.  The cork slips out and the towel stops it from putting your eye or your light fixture out.

Hope is a skilled and avid journaler.  She documents everything, so she took pictures of the lesson.

Peeps 020

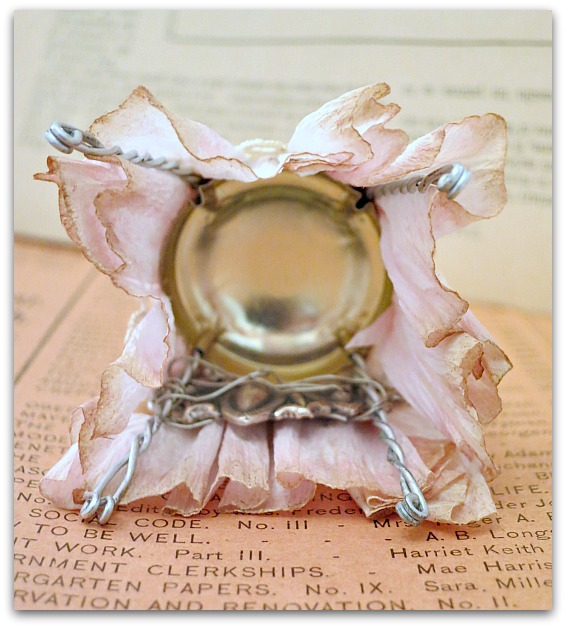
Since I knew she was sentimental, I saved the cork cage for her. And turned it into a chair.

I had a charm thingie that was part of a necklace I'd made in a class last year, but it was a bit large for me, so I took it off the chain, and wired it to the back of the cage, and the squirted in some glue and clamped it together over night.

Gifties 003


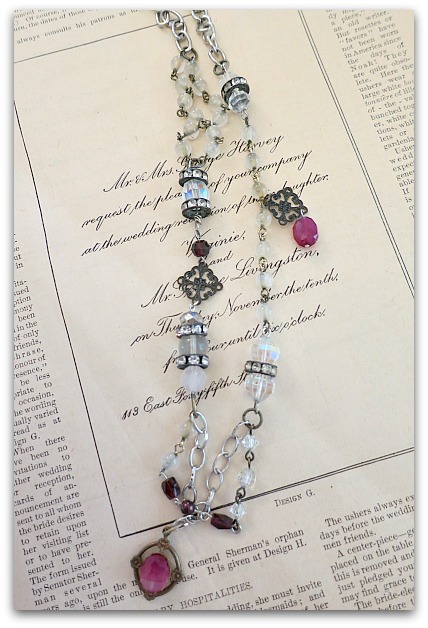
Of course, I remade the necklace so I could wear it without the larger charm I stole from it. 

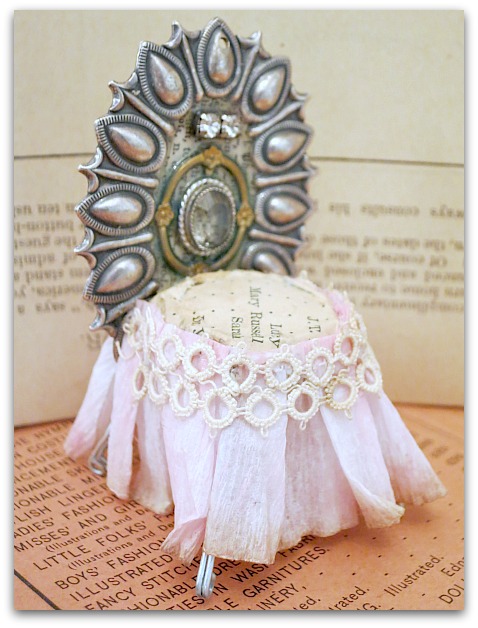
Peeps 017

I then glued old paper to the "seat" of the chair, and added a bit of ruffled crepe paper as a skirt, and topped that with tatting.

There is a hole at the top, that was once used to suspend it from the chain. I left it as is, in case Hope wants to hang the chair from her journal.

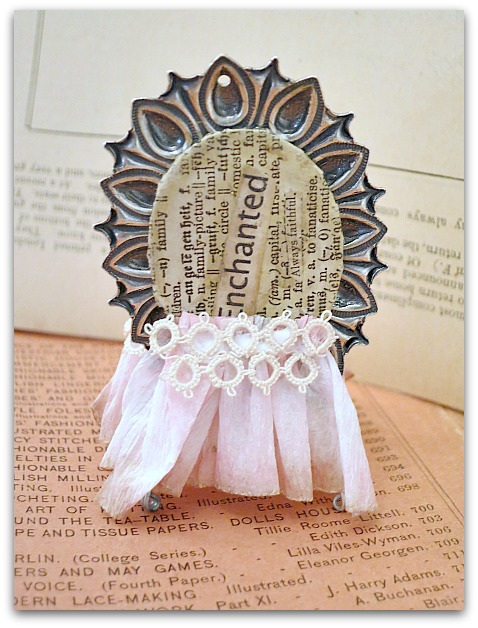
Peeps 018

If you wanted to make one, you could use a brooch as the chair back, fabric or paper to cover the seat, and lace or ribbon for the skirt.  I should drink more champagne, it would be fun to have a collection of these chairs!

 ********************************************************************************

 ps- I'm having a Summer Clearance sale in the Boutique. I've neglected that poor little shoppette too long, I need to clean up, clear out, and refresh it all. You are welcome to soak up some summertime savings and help me get a fresh start, by using this link and getting 50% off everything in the store:

 http://www.karlascottage.com/?code=Summersale


(You must use that address to get the special price. Going to the regular address does NOT take you to the 50% discount)

Silly projects

Dew Drop, Food and Drink, Sugarwings


Roots and bliss 089

Last week, the grand fairies and I made salt sculptures to paint.  I really see no point whatsoever in making them… except that they were fun to do.

Roots and bliss 092

Basically, it is a bowl of salt, a ton of glitter, and enough water to moisten.  Then, you press it in a mold to let it dry, supposedly rock hard so you can paint them and use them for blocks.  Ours didn't get rock hard, they were a bit crumbly still. But fun to paint anyway.

Heck, anything you can smear paint around on, is good for a bit of entertainment.

Roots and bliss 101

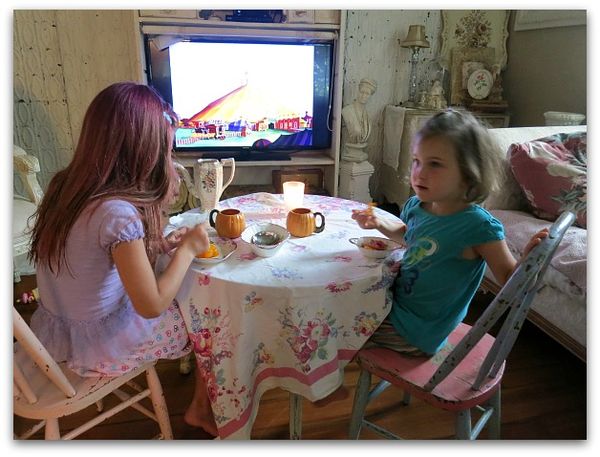
Afterward, we played "dinner theater". I set their table up in front of the tv, which is a giant treat here. The TV is supposed to be off during meals and we sit together to eat.

Roots and bliss 103

But this is summer vacation, so everything is a treat!

Roots and bliss 108

And Dumbo was on,  how could any of us be expected to turn that off to go have lunch????

Roots and bliss 111

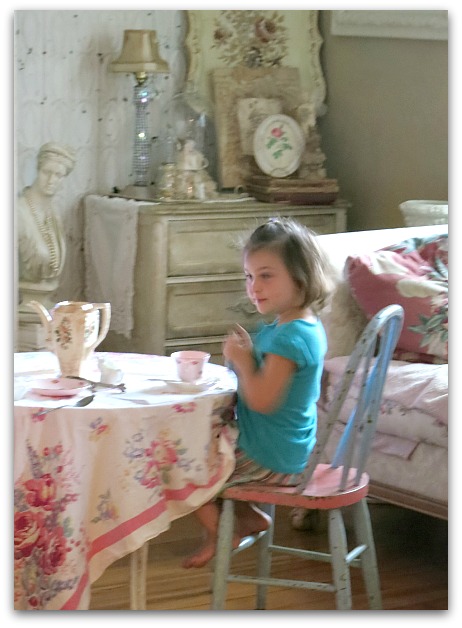
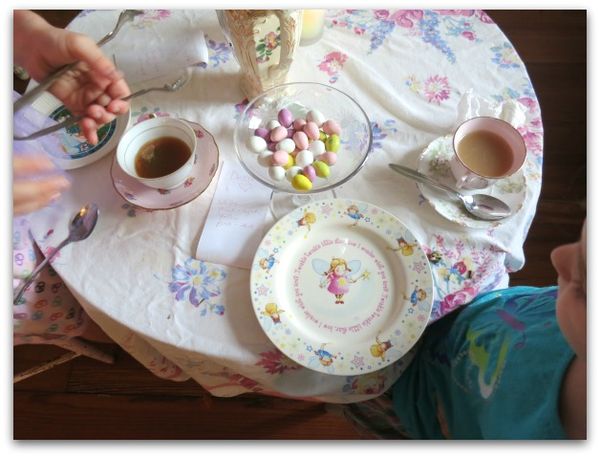
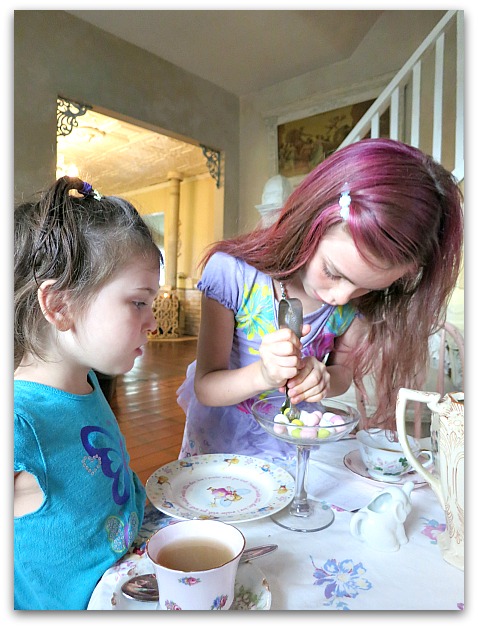
After lunch was served, the littles had some tea, and were given menus featuring all the M&M colors I had to chose from.  I figured I'd sneak in some learning during the fun.  Reading for Sugarwings, and colors and counting for Dewdrop.  Sugarwings read the menu to her little sis, and then they counted out their order as they sorted the colors together.

Roots and bliss 112

And of course, anything tastes better when served with antique silver tongs from a crystal dish.  


 ps- I'm having a Summer Clearance sale in the Boutique. I've neglected that poor little shoppette too long, I need to clean up, clear out, and refresh it all. You are welcome to soak up some summertime savings and help me get a fresh start, by using this link and getting 50% off everything in the store:


http://www.karlascottage.com/?code=Summersale


(You must use that address to get the special price. Going to the regular address does NOT take you to the 50% discount)

Scroll to Top