August 2015

An Arabella Cinderella Farewell Teaparty

cottage, Dew Drop, family, Food and Drink, parties, Sugarwings, We're having a party

Newboat 083

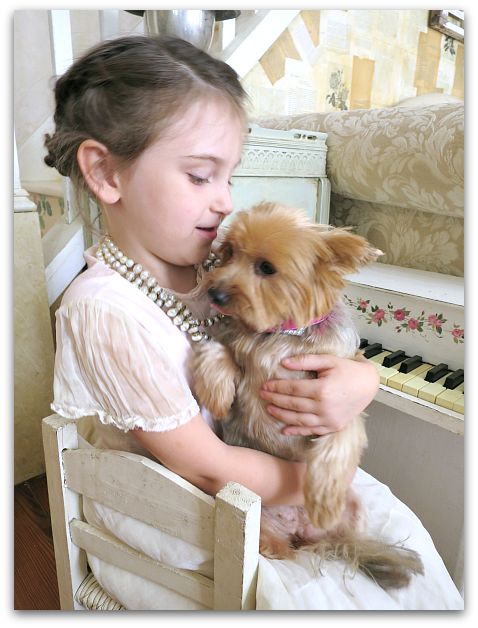
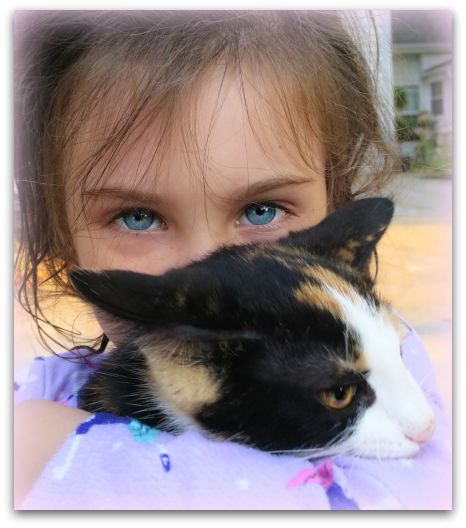
We've had a nice, long visit with our tiniest fairy girl.

Newboat 088

But now, she is headed East to be with her momma. We've squeezed in lots of snuggles and hugs before it was time for her to leave.

Newboat 062

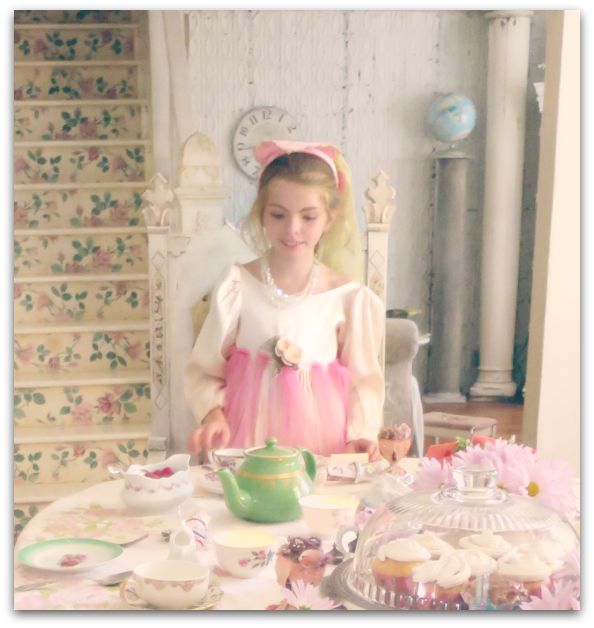
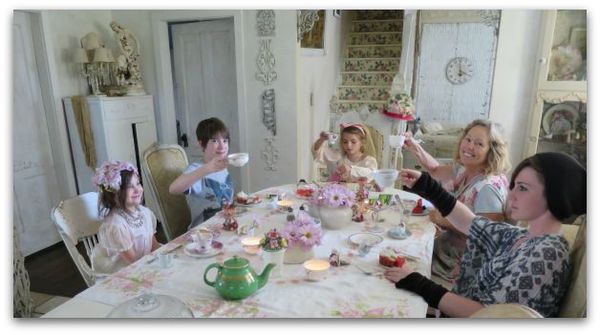
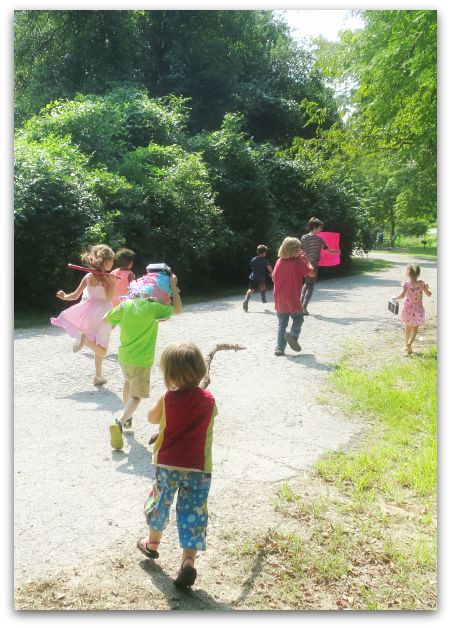
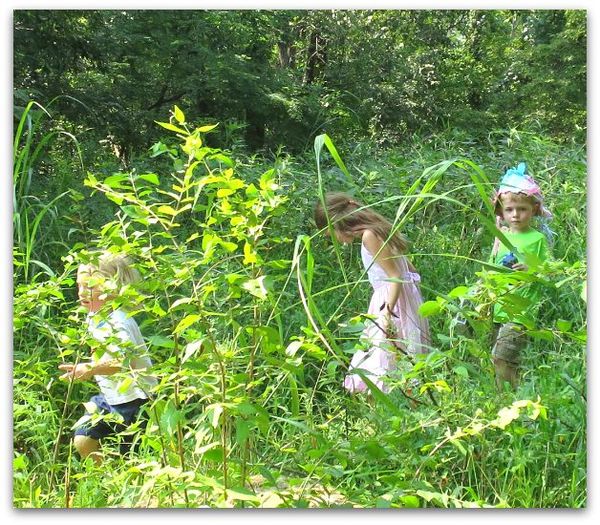
Sugarwings thought it would be a good idea to throw her a going away party, so we planned a tea to send her off with a toast.

Newboat 065

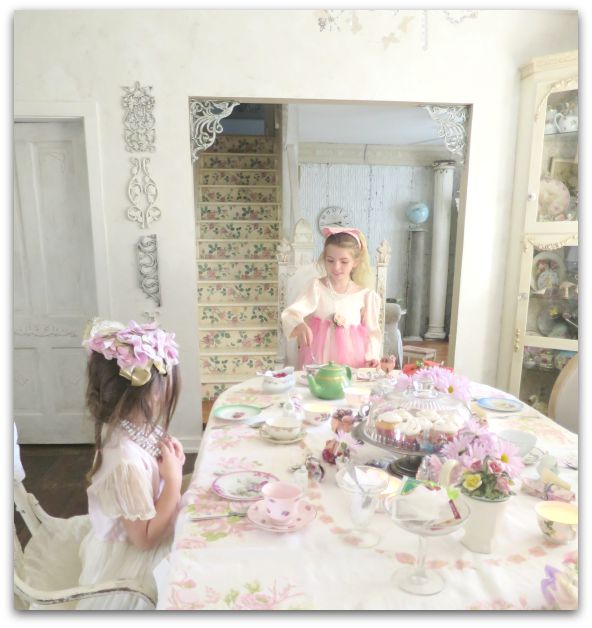
Usually, Sugarwings helps set the table with me, but this was scheduled for right after school to combine after school snacktime with the festivities. I had the table set and waiting when they got home, to save time.  If we delay after school treats too long, they interfere with dinner appetites.

But of course, this girl had to do some rearranging to improve my set up.

Newboat 060

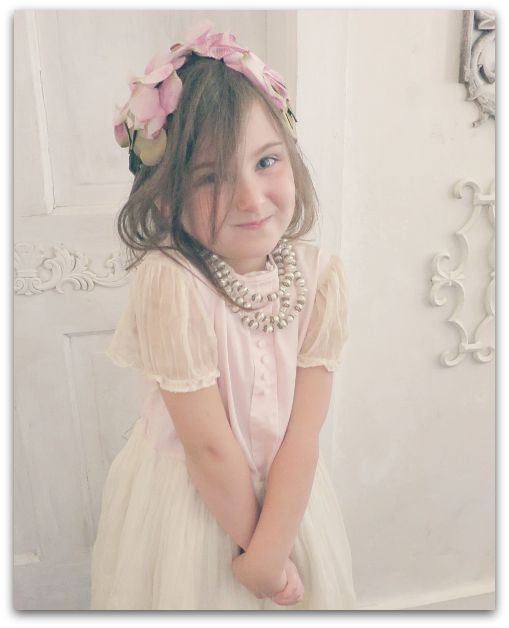
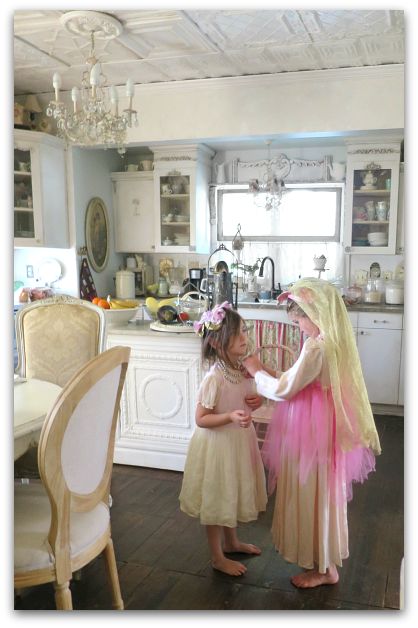
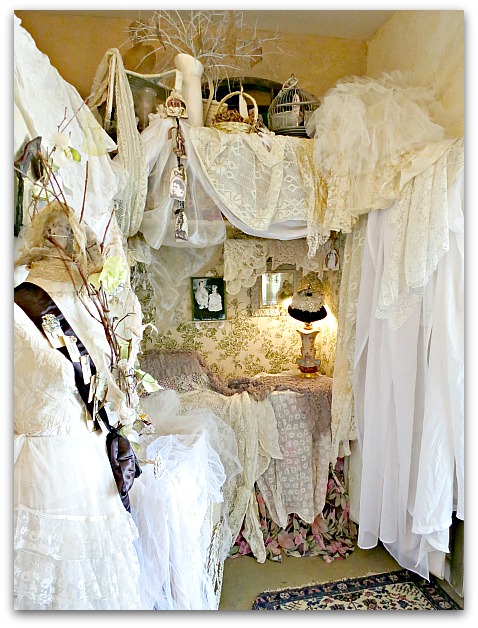
Dewdrop had been admiring some vintage dresses that I had hanging in the studio, and I kept promising her that she could wear them, but we never seemed to get around to it.  

It dawned on me, that if I didn't pull those dresses down and let her try them on, they might not fit her when she came back again in a few weeks, those little ones do not stay little forever.  

Newboat 057

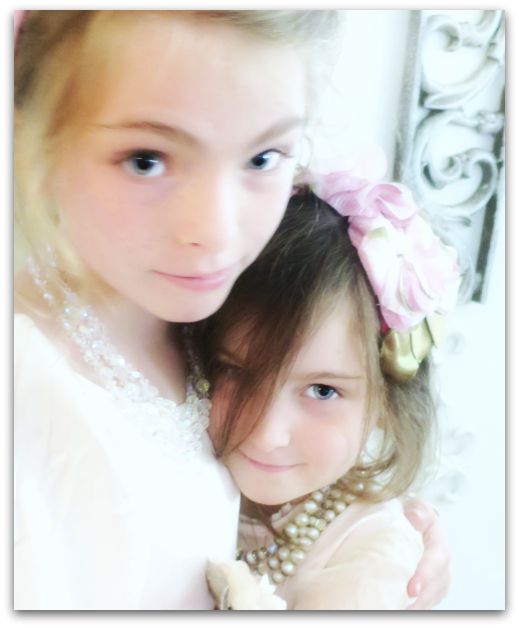
A vintage gown was chosen for Sugarwings too, but she preferred one of her own princess dresses.  Both girls wanted to wear some of the jewelry I had out in the studio and chose some sparkling necklaces to try on.  Dewdrop went with a floral hat from the studio too. 

Newboat 075

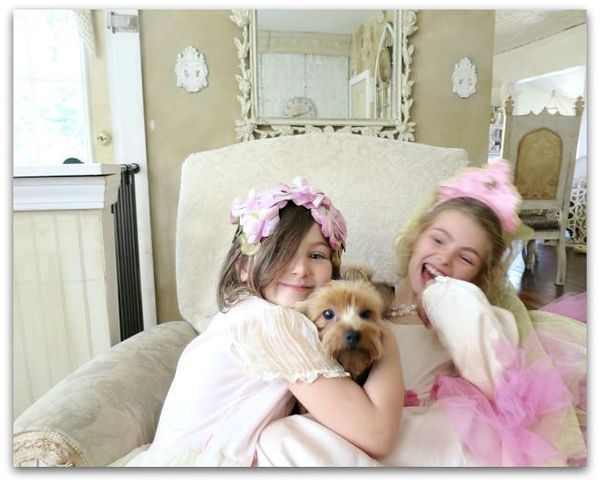
When the bigger girls got off the school bus from Jr. and Sr. high schools, they were good sports and joined in to toast our little sweetie.  Can you tell by the look on her face that she appreciated our efforts and loved her party?  That is one happy, kiddo.

Newboat 067

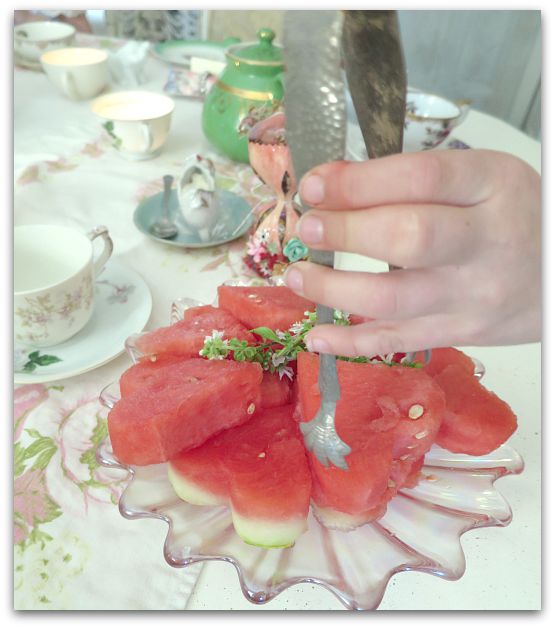
We have recently discovered how delicious basil flowers are. I have always picked them off to make the basil plants last longer, and sometimes fill a vase with the blooming stems.  Dewdrop likes to pick them out of the vase on the dining room table to eat during dinner, so I sprinkled some over our heart shaped watermelon slices for the party (made with a cookie cutter).

Newboat 066

We also served blackberries and cupcakes along with the tea. All the dishes are mismatched and mostly from garage sales, and when set out on a floral table cloth, they feel special.  Not so special that I get upset when one breaks. We had a creamer casualty, but it had only cost a quarter, so that didn't matter much.  I want the grand fairies to enjoy nice things, had be used to handling them, not be afraid to use the pretty pieces.  

Newboat 071

We are all going to miss our silly, funny, little goofball and will be looking forward to planning a return party for her when it is time for her to come back.

Happiest Birthday, Sugarwings!

celebrations, Dew Drop, family, Sugarwings

Newboat 035

August is full of fun around here. Sugarwings' birthday (with multiple parties), the Hippy Chick's birthday, our anniversary, plus trying to fit in a few more fun things before school starts up.

Newboat 018

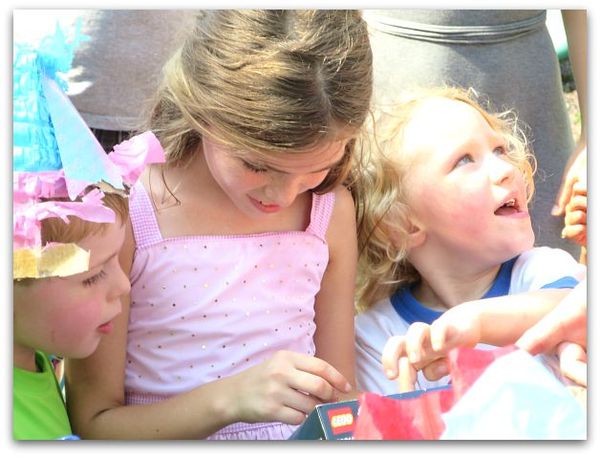
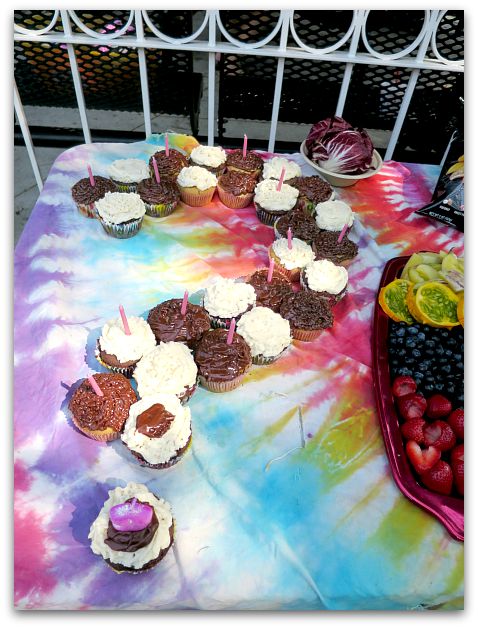
Sugarwings' mommy always throws a special bash for her girl. This year's theme was Mystery. The cupcakes each had something flavorful tucked inside and you didn't know which you were getting. I can highly praise over the ones with peanut butter cups hidden away in the center.

Newboat 014

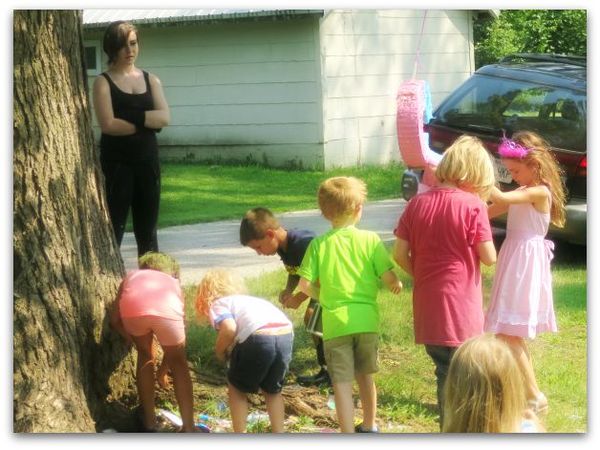
There was a question mark pinata filled with goodies too.

Newboat 027

And the kids had a scavenger hunt, following a treasure map to find the hidden presents.

Newboat 025

 It was all pretty cute to watch.  

Newboat 009


Paper clay fairy

fairies, holiday decor

Legoland 084

I have a love/hate relationship with paper clay. On one hand, it is pretty easy to work with,and no trouble at all to finish, you simply let it air dry.

But it is a bit more rustic/primitive than I like. I wish it was a little smoother.

Sculpy is smooth, but too hard for me to mess with, since I have old lady hands.  That stuff isn't as pliable as I'd like, and I don't want to have to bake the clay when I'm done.

Loris 033

On the other hand, paper clay is ideal for things like these pumpkins we are using for  the classes at Romantic Gothic Ghosts.  For that Saturday's class, I'll be providing one pumpkin and the attendees will be making one from scratch themselves.

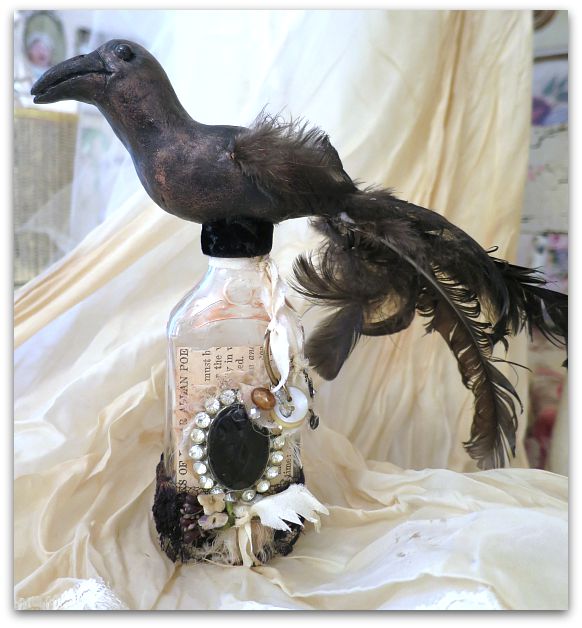
So, I whipped up a few punkins in advance. When done, I had plenty of clay left over and thought I'd make a raven.

Legoland 071

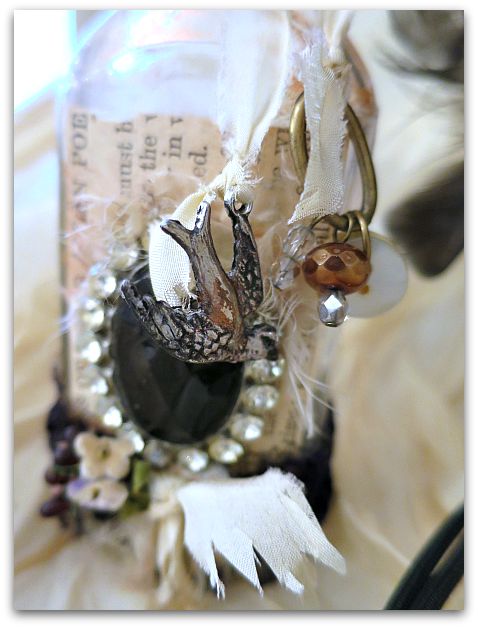
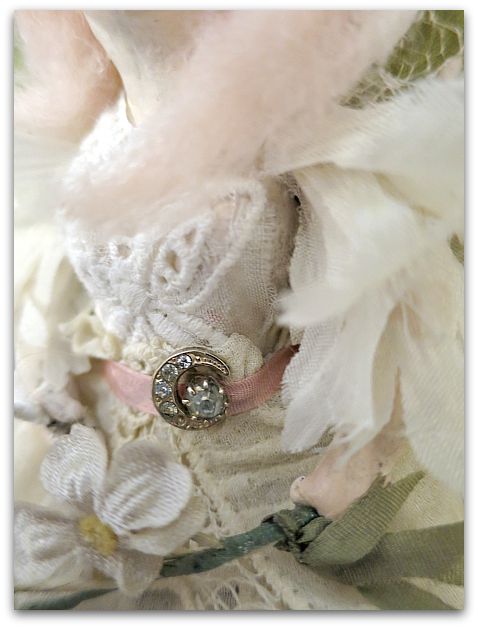
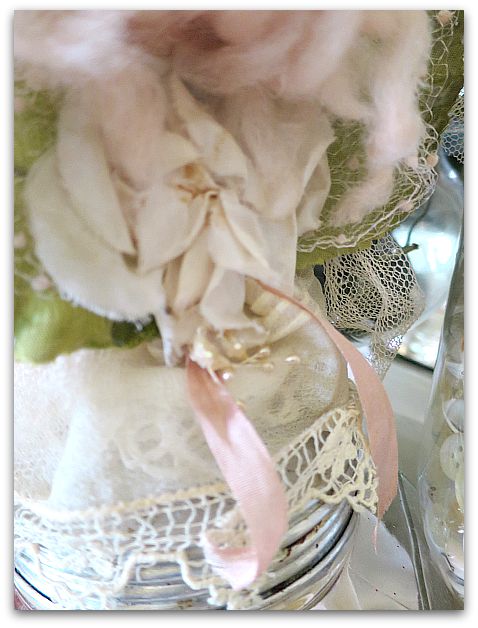
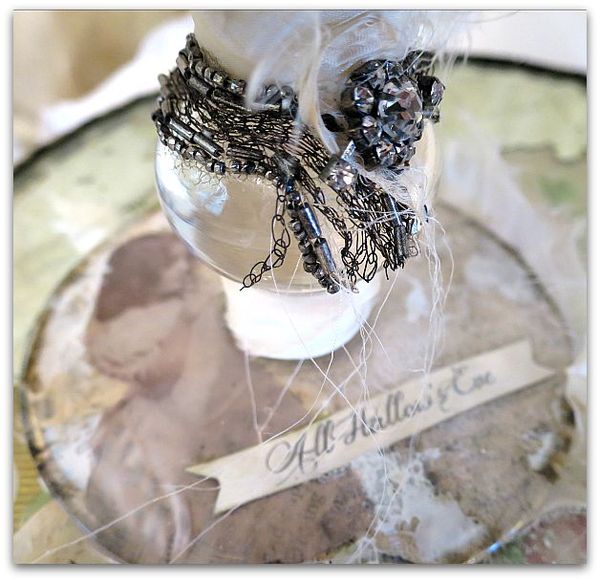
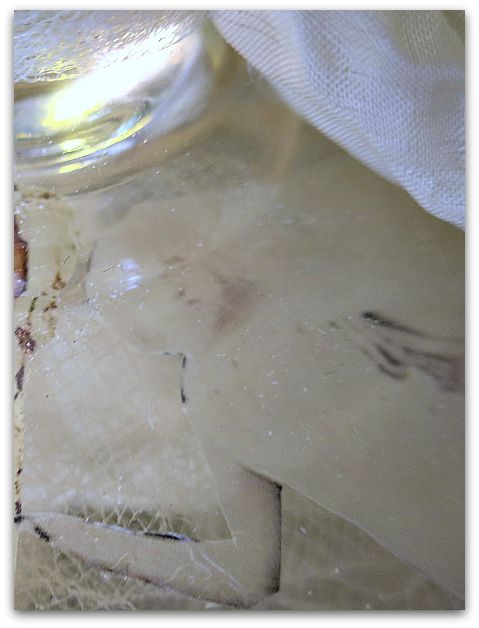
She sits on top of a bottle that got foofed up with old lace, charms, silk, and rhinestoney bits.

Legoland 073

Have you ever tried "Perfect Pearls"?  I bought 4 pack and used the white one on my kitchen walls for the redo.  I tried out the bronze one on the black paint of the raven, on the bottle, and on the charm.  I think I like the stuff, I have some other ideas for using the other colors. I've heard that you can make a spritz with it, similar to Glimmer Mist.  

Legoland 076

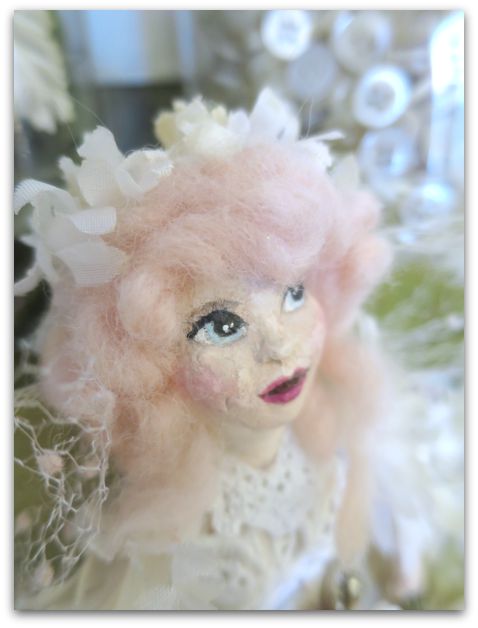
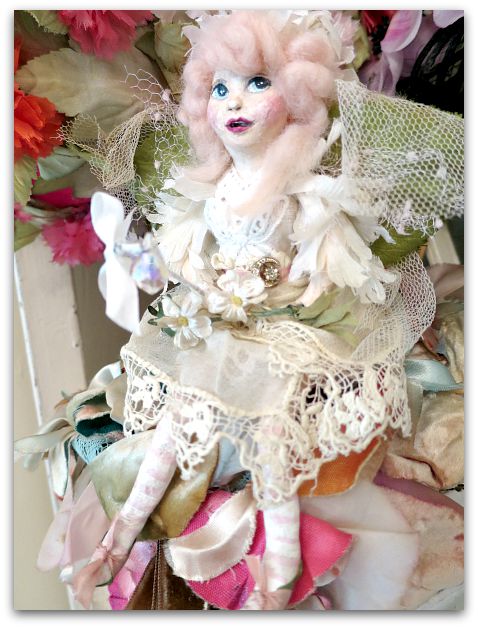
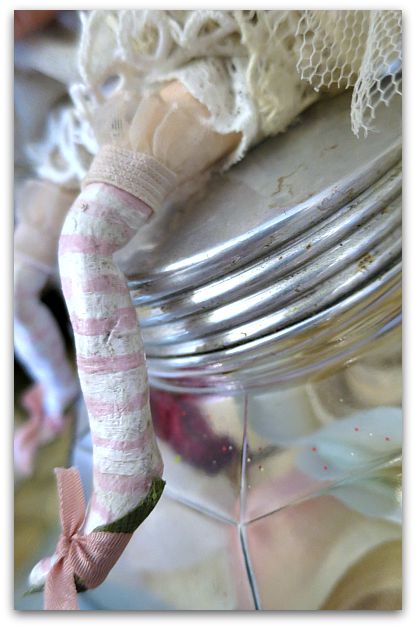
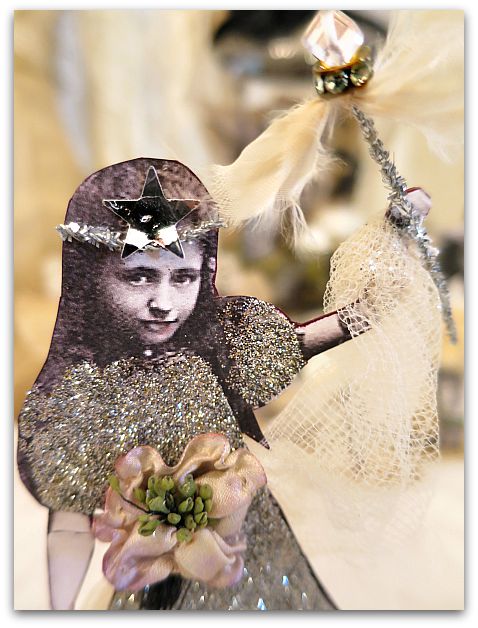
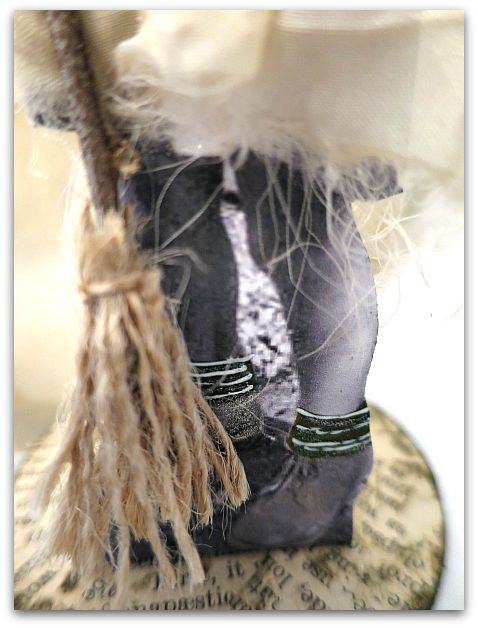
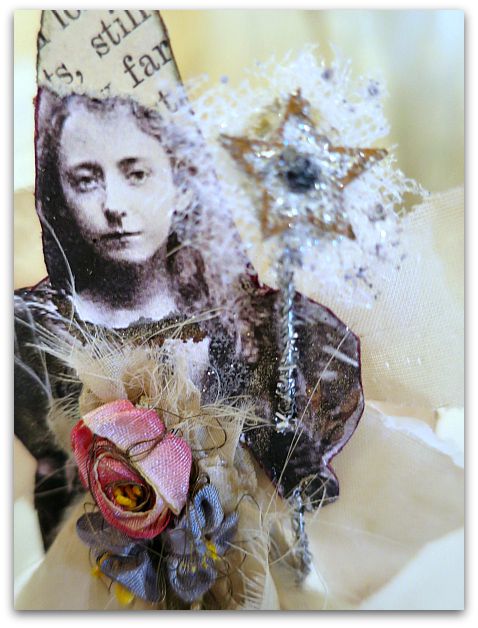
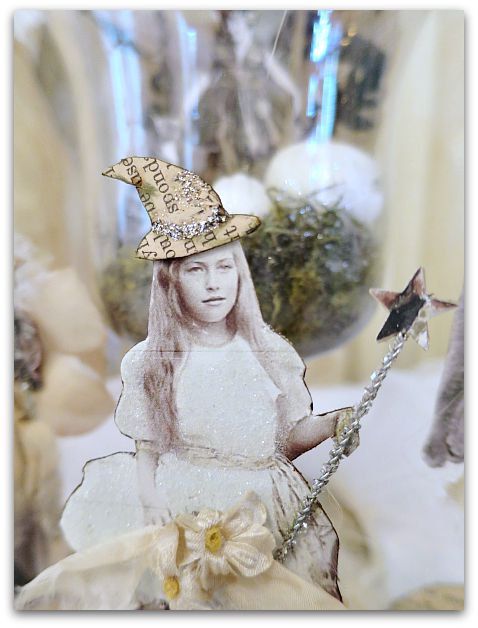
There was still some clay left over, so I made a little fairy.  She is kinda pigeon toed and has two left feet.

Legoland 078

Not to mention the cankles on that poor kid.

But such fun to make.  I could spend all of my time making fairies.  Maybe if I did, I'd get better at the ankles and the fingers… Although I do think that my main problem is that the paper clay is just rough and doesn't do detail well. If only I didn't have those old lady hands, I could work with Sculpey and get better results.

Or so I tell myself.

Maybe I just make badly done ankles and fingers…

Legoland 086

The dressing of the doll is the best part anyway.  I just glue everything onto her, I don't sew her clothes.  Heck, she isn't a Barbie, there is no wardrobe for her, this outfit is the only one she has. I might as well glue it in place and skip the dreaded needle and thread.

And see how I solved the ugly finger problem?  I stuck a posey in her grasp, and glued it into place.

But those ape knuckles she had still showed.  So, I dotted some glue right on those ugly knuckles and lightly tapped the silk ribbon tied to the posies, right into the glue. Ta-da!  Hidden away.

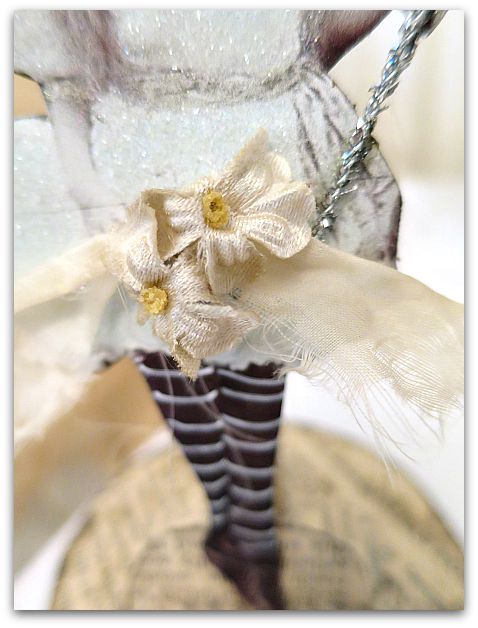
Her shoulders weren't all that symmetrical or anatomically correct either.  She looked a little bit like maybe Quasimodo mated with an elf and she was the result.  Rows of white flower petals that were glued to her arm, and some glued to her shoulder hid all of that away.  The "sleeves" had to be made so that the arm could still move, but that also camouflaged the fact that her arms were more hideous than those legs.

The legs are painted with stocking stripes, and have a ruffle glued to the top. Her bloomers are silk glued to her bottom and a row of lace glued to her thighs.  

Legoland 081

This is the back view.  I did use the Good Stuff, all the materials are vintagey, lacey or silk.  Nice supplies, that I loved working with.  While she isn't exactly the world's most charming fairy, I think that the materials I used elevated her a bit.

If you want to give paper clay a try, we will be working with it on Sat. Oct. 3rd during our class. There is space if you'd like to join us. Details here.

I love new gravel

cottage, flowers, Miss Frenchie's

Propane 024

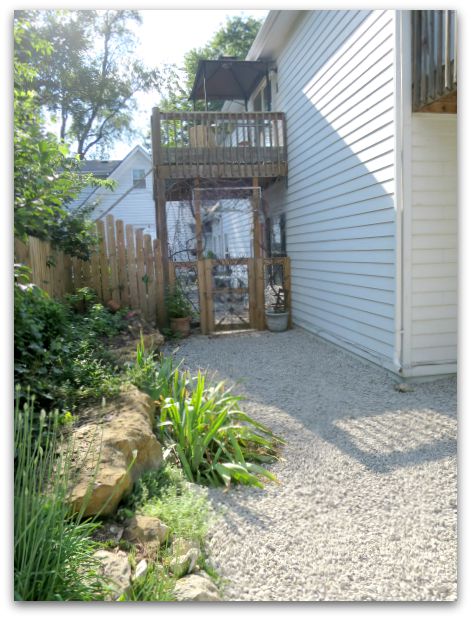
If only our gravel drive and walkways always looked this good! Too bad it is so costly to have fresh rocks delivered, or I'd do it every year. We usually keep it to every four years. Heck, for what we spend over time, we could probably pay for concrete.

Propane 018

Maybe not, we have a LOT of driveway.

Propane 020

And walkways. 

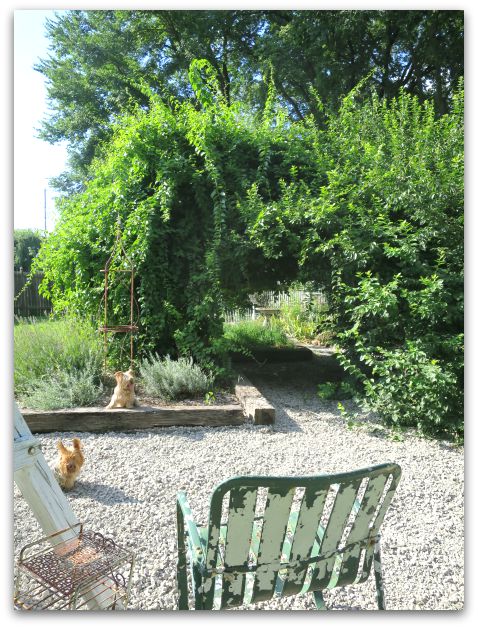
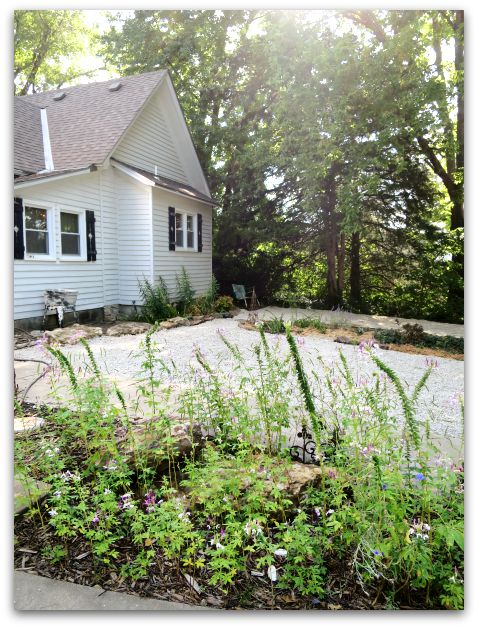
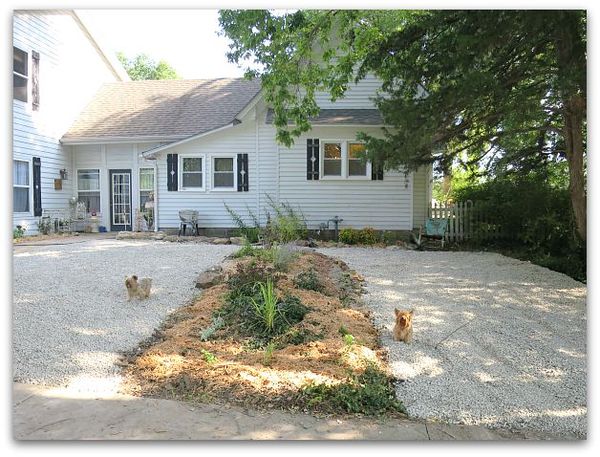
Now, you might think this is a blah subject for pictures. But to me, it is a heavenly site to see a big, expanse of newly spread rock with no weeds or grass growing through it (yet).  And lush, green, overgrown landscaping. After years of draught, I forgot Kansas could be pretty in August. Not much is in bloom, but it sure is green this year!

Propane 011

I love the fresh, clean, weedless expanse of a newly spread load (or three) of rock.

Propane 009

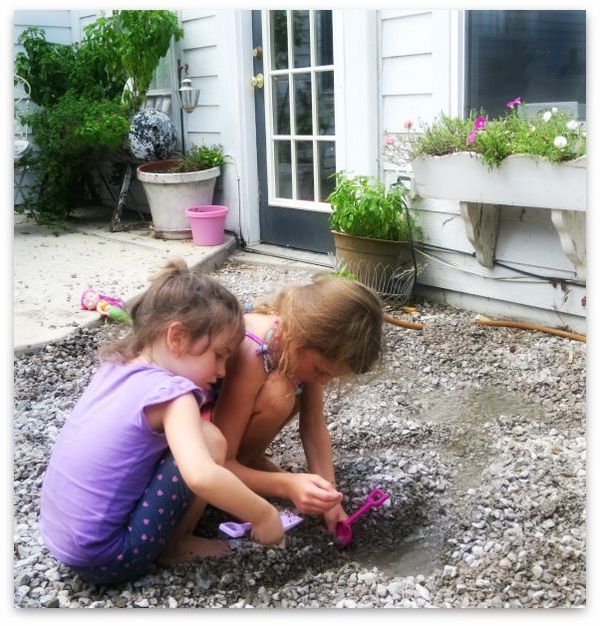
So do the grand fairies. Although, it doesn't look quite the same when they have had their fun with it.

Propane 001

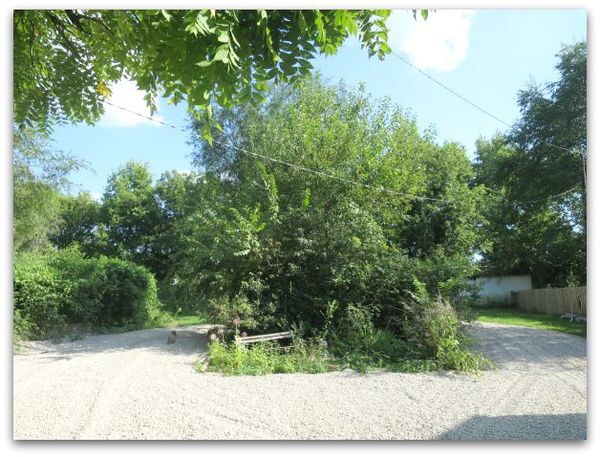
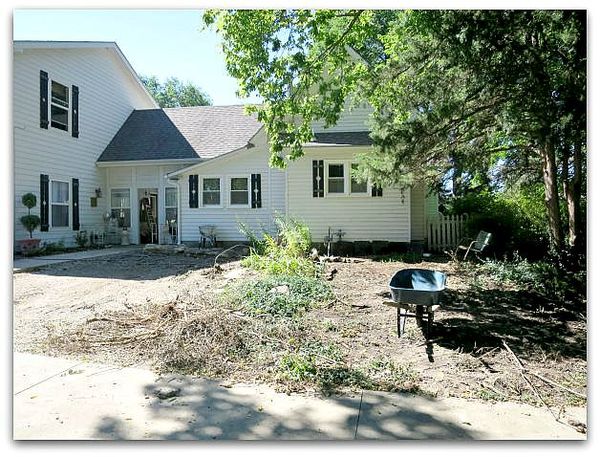
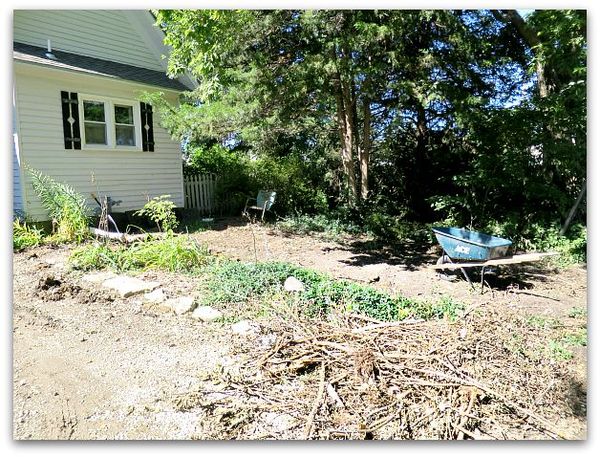
All of this new rock was unplanned.  We had a torn up area in front of the house from digging some gas lines, and needed to repair it.  Originally, there was gravel to the left, a propane tank hidden by a decades and decades old lilac bush, then wild, overgrown ground cover to the right and center.

Taking out the gas lines and the propane tank left this mess and wrecked the lilac.

Propane 003

At first I was discouraged by the look of it all.  

Then, I saw the opportunities. Why not turn this spot into two parking areas instead of one? We do tend to have a lot of guests.

Propane 031

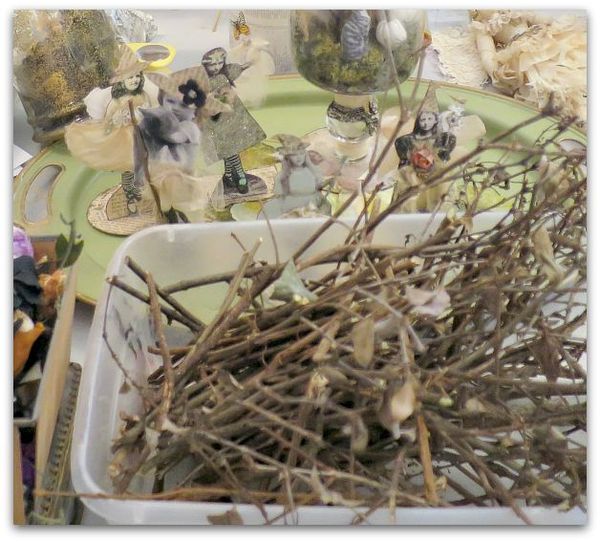
And I turned the ripped out lilac into a pile of prospective broomsticks for the witch kits I'll be making for Romantic Gothic Ghosts.

Propane 026

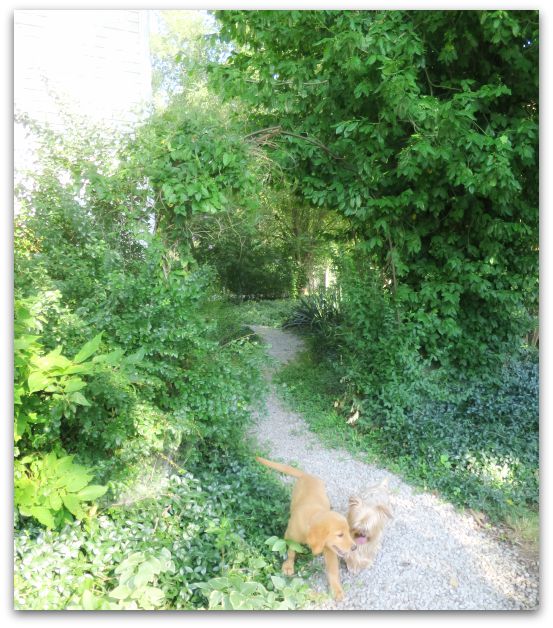
Since we needed new gravel for the front of the house, we had extra delivered and did most of the rest of the trails and drives too. I kind of wish we had done this one, but we just mow it every once in a while and it stays okay.

Propane 014

But this area was a challenge.  The gas line redo had left mounds of dirt where our sump pump drains into the yard and it would cause the water to back up into the basement again.

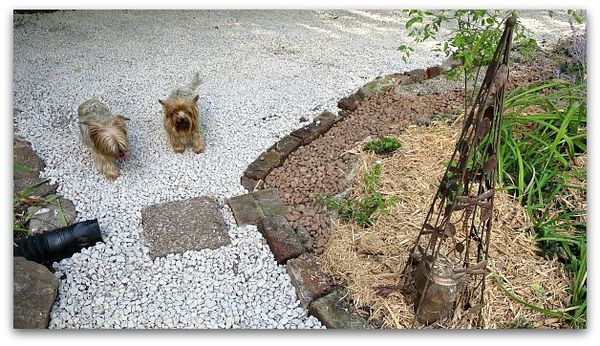
So, I dug a long trench from the house to the driveway, filled it with river rock, and created a flower bed around it before the gravel guys came out.

Not knowing that the gravel guys could have just graded it for me with the bobcat.

Now, they had to work around the area I had slaved over in the heat!! 

Sometimes it sucks to be a know-it-all-do-it-yourselfer.

Propane 017

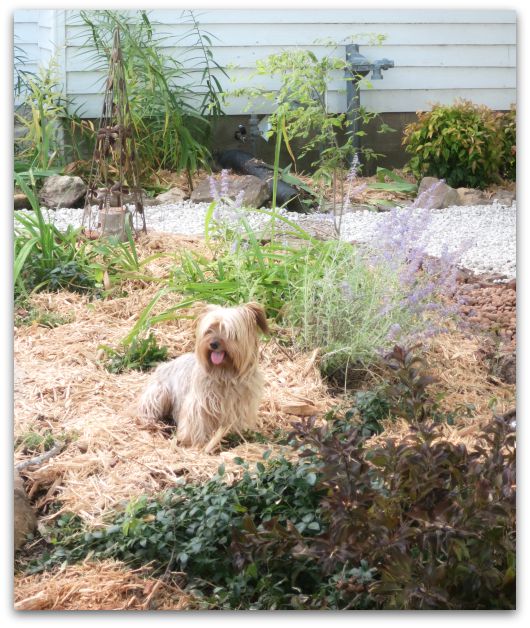
I do like the new flower bed, though.  I didn't line the bottom half with bricks or stones, because I know that cars would just run over them and knock them loose. I've seen it happen here. Also, I plan for the ground cover to spread over the edges by next year.

Propane 015

Along the wall of the house, I made another bed. I've put in shrubs, but need one more. I had to wait till the gas meter was installed so the bush wouldn't be in the way.

The local nursery was having a 50-75% off clearance, and I skedaddled over there to load up on flowers and plants.  It has been a moist summer, so I think it is safe to plant. Normally, the ground would've been hard as stone in August, but it was pretty easy to slip Russian sage, weigela, phlox, lemon grass and daisies into the ground. 

Propane 035

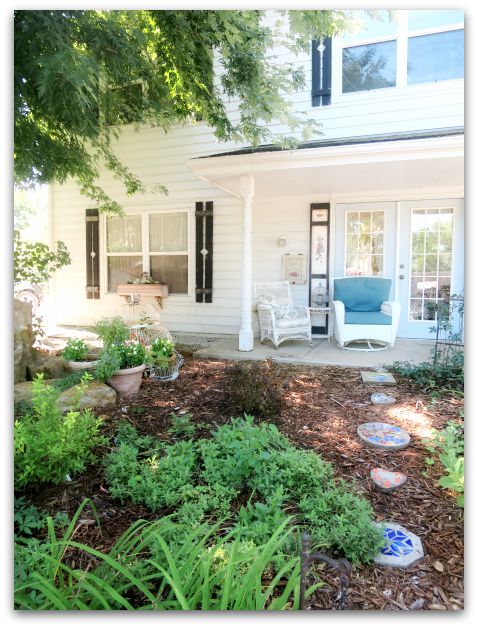
So easy, that I went back to the nursery and bought 18 daisies and painted daisies to add in front of the studio. I can't wait to see if they bloom next year!!  At $1 each, if only half bloom, I'll still feel happy about it.

11811538_10153463962819477_2540146879453158789_n

Speaking of the studio, new gas lines went through it too.  I had the option of ripping up drywall, or just adding an ugly black pipe through the room.

I chose the pipe, painted it white, and hung plates from it. The plates were up there on nails before, so it isn't a huge change in the look of the room, but I think they look pretty hanging from the pipe instead.  Plus, the soffit really needed a fresh coat of paint, it had been about 10 years.  

And it was much easier than repairing drywall!


The world’s happiest dog

Dew Drop, Dorkies (Yorkshire Terrriers), family, kitties, Sugarwings

Hgpstoctk 029

For one thing, yorkies are usually just plain happy.   I started calling mine 'dorkies' because they are often such silly, little, joyful dorks. 

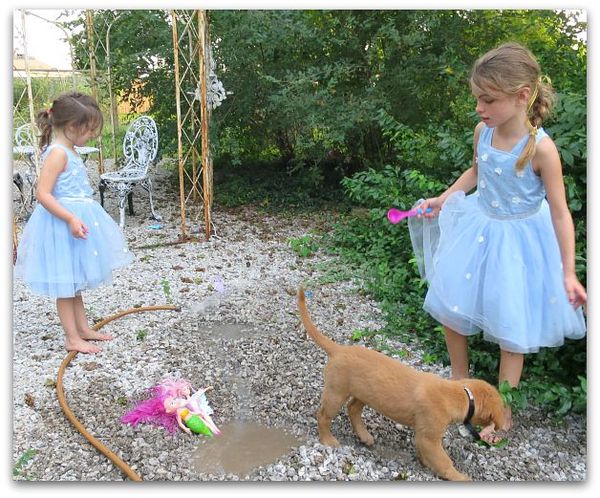
Twinkle adores her buddy, Sugarwings, who she grew up with (both are now nine years old).  Especially when the water hose comes out. Those two can spray the hose together to no end. (glad we have well water!)

Hgpstoctk 018

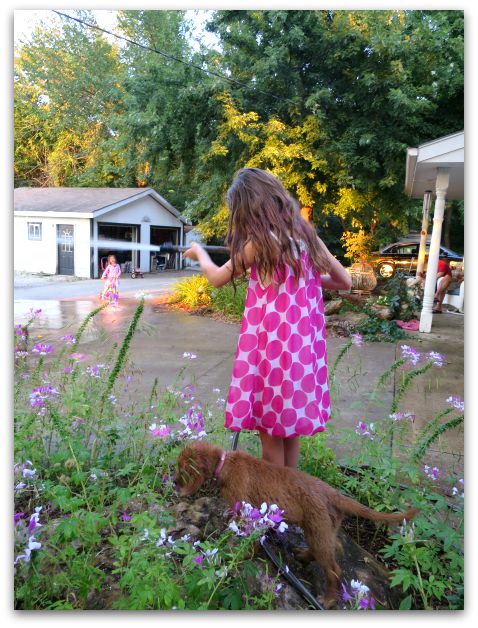
I was watching them the other night as they played outside as the sun was setting, Sugarwings was in charge of the hose, Honey helped her a bit, the other dogs and Dewdrop stayed out of reach of the water. But Twinks? As always, she was voraciously chasing droplets and attacking the spray. If her girl got side tracked and sat the hose down, that dog would go and get her. Trying to tempt her back into playing.  She would run towards Sugarwings, then back to the hose, over and over, till her buddy picked it up and sprayed her with it again.

Hgpstoctk 012

Dewdrop was happier with the dry kitties.

Hgpstoctk 035

Or snuggling with her Pop Pop.

Hgpstoctk 004

Twinkle never let Sugarwings get too far away from her, because she always wants to be in on the action. And while "Joy" is the fairy girl's middle name, it could just as easily have been "Action".  

Hgpstoctk 009

This is our idea of a perfect evening.

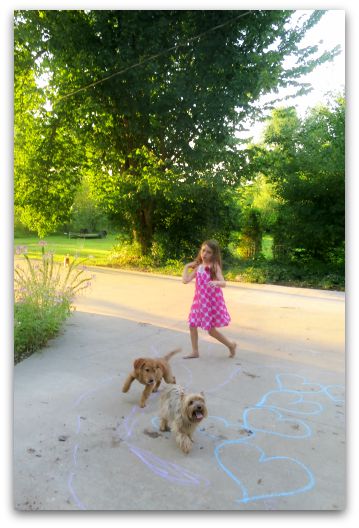
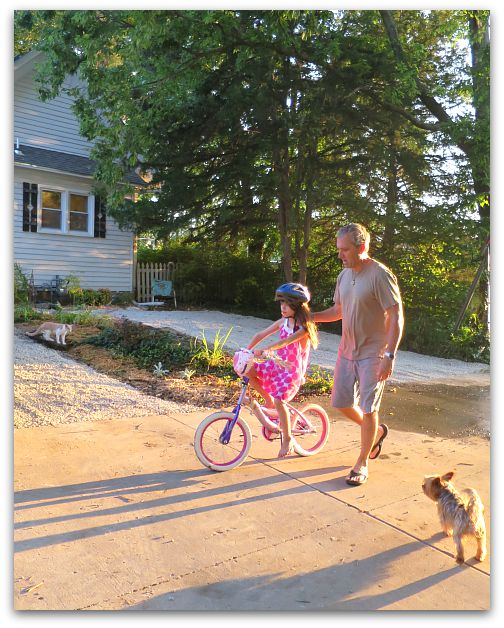
Can it get any better than this?  Girls, bikes, garden hoses, with pups to play with as kittens watch… add in a cool evening with a bright sunset and, yes, that is perfection.


Celebrating

celebrations, Dew Drop, dogs, Sugarwings

Legoland 027

It's been fun around here lately.  Lot's of Summer's End celebrating, getting ready for Back To School, plus Sugarwing's birthday. The grand fairies made cupcakes and we loaded up the family and spent a day at the pool for one party for her.

Legoland 003

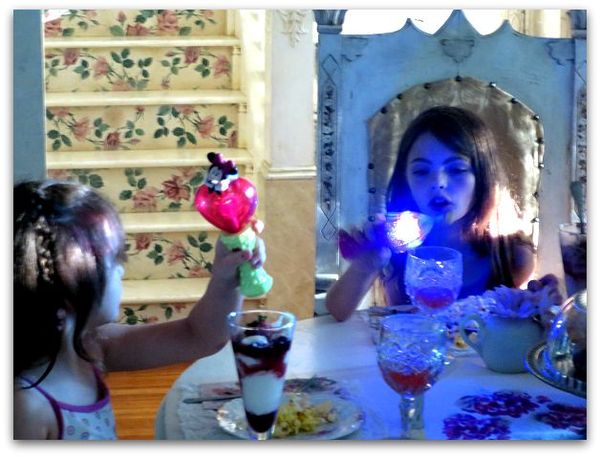
And when we got home, I had bed time snacks set up party style for the littles, using the fancy wine goblets for sparkling juice, and yogurt parfaits served in pretty glasses, along with light up, spinning party favors. 

(The spinners were on clearance for a dollar at Michaels, and the rest of the set up was just stuff from the cabinets. You don't have to spend a fortune at the party store to make a table look special for kids. They appreciate using the fancy dancy garage sale china and goblets.)

Legoland 020

We made a trip to KC's Legoland, too. The girls had wanted to go for a long time, but I've never been tempted. The lines to get in are always practically around the block and never seem to move. Since it was a birthday, I figured I could stand putting up with a crowd, but I was happy to find that the place was near empty!  Most kids were probably back in school, I guess. Anyway, we lucked out, and it was such a cute, little place. 

Legoland 056

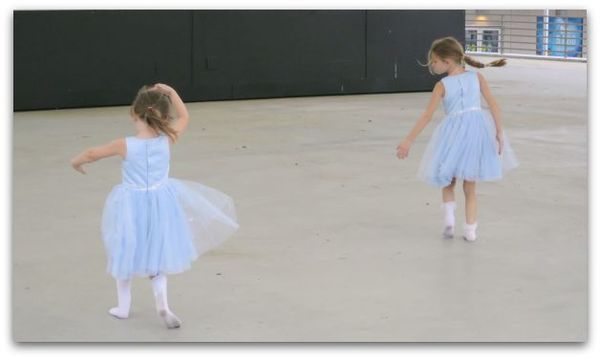
Crown Center has so many fun things for kids. One is an ice skating rink.  But in the summer, its just a slab floor, unless you have an imagination.  

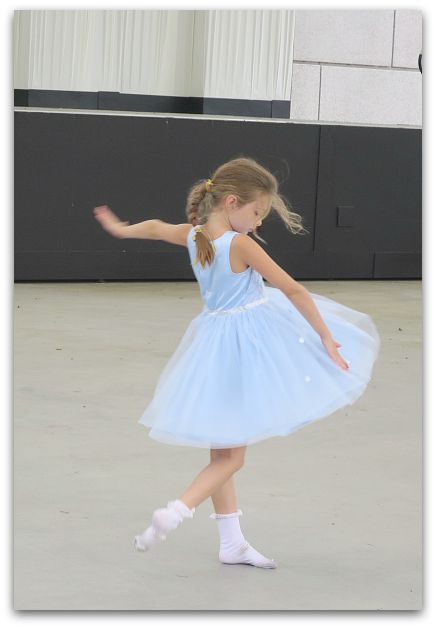
In the mind of these two, they were gliding across the ice, and I think they were getting lots of applause in those little heads, too, because there were plenty of curtsies.

Legoland 048Legoland 054

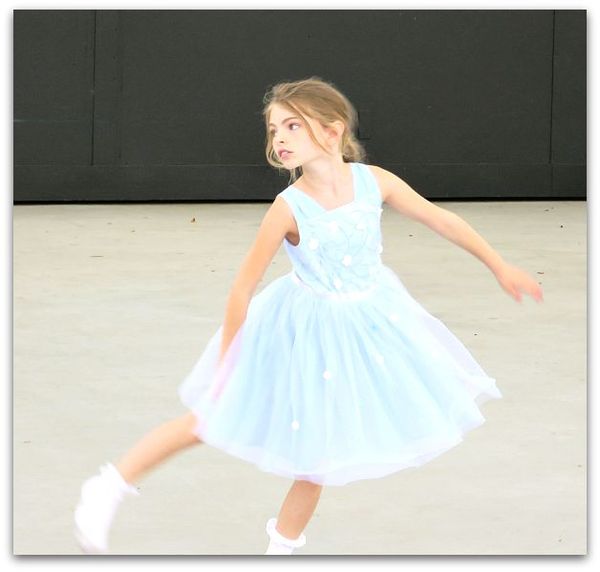
Of course, any activity is best if you have a skirt that can swirl around you.

Legoland 031v

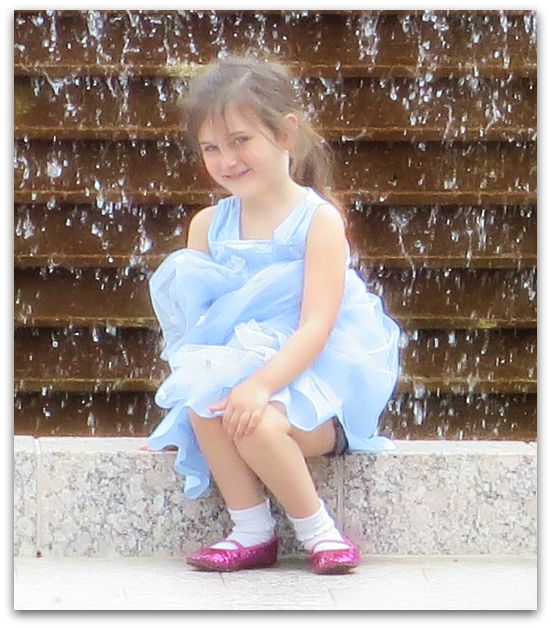
They always have a good time playing by the fountains too.

Legoland 032

I take that as an opportunity for photos. There is something about being near water that gives them both a pensive, thoughtful look.

Legoland 054f

And I'm always happy to have an excuse to take pics of my little pretties.

Legoland 066

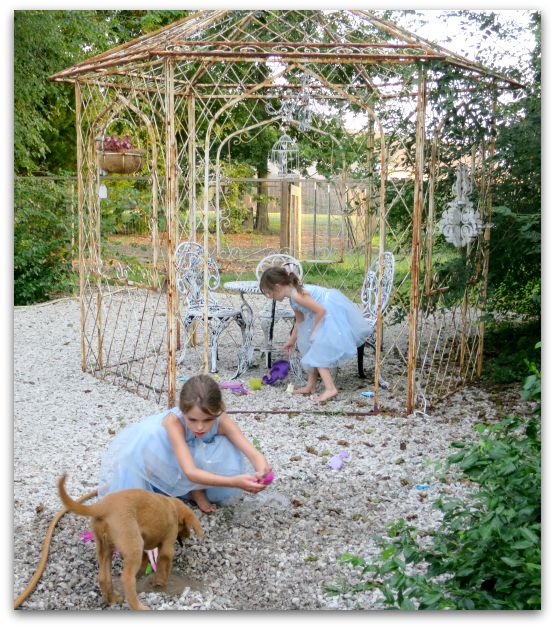
After Crown Center, they played with Honey in the gazebo.  

Legoland 070

Seriously, what could be more fun than digging in the rocks and playing in the water with a puppy while wearing a swirly dress? If I was a kid, that is where I'd be.


Around the cottage in August

cottage, dogs, family

Kitchen plaster 032

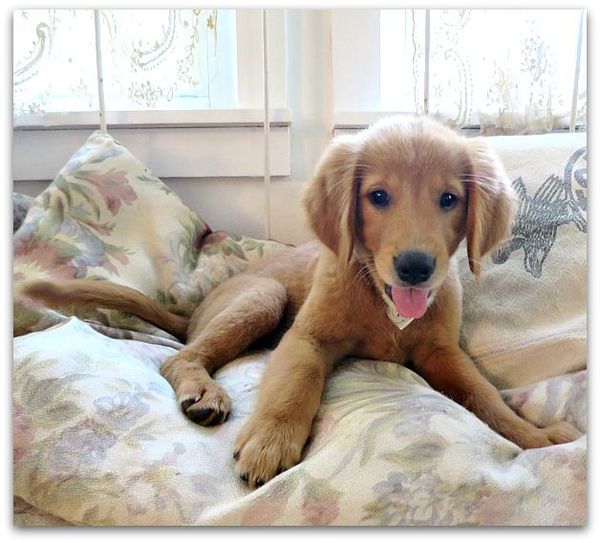
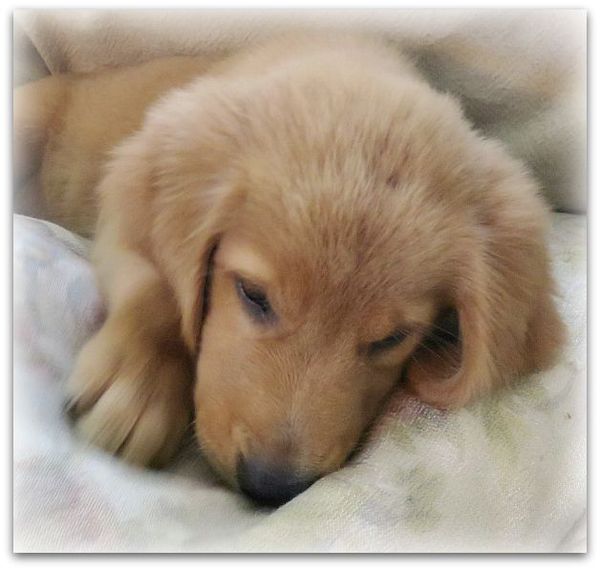
How on earth can anything grow as fast as a puppy? She is doubling in size by the hour, I think.

Kitchen plaster 035

And doubling her sweetness too.  She is pretty smart, potties on command from the first day, sits, fetches, and heels.  

Kitchen plaster 037

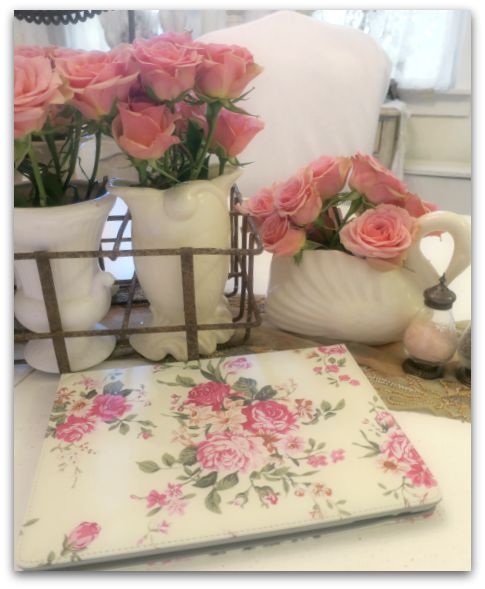
Let's see, what else… I got a new iPad cover.  I call it 'camouflage'.

Propane 032

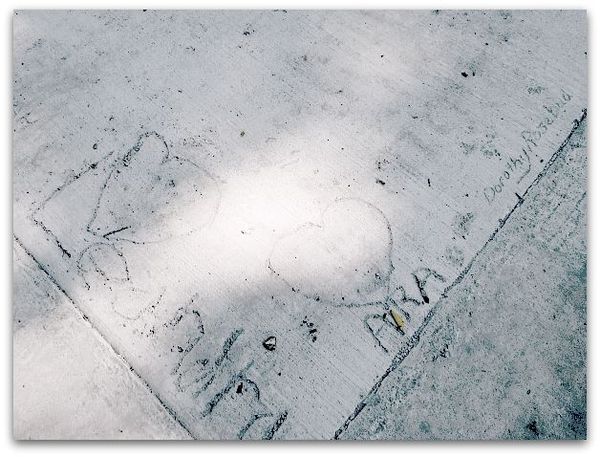
We had some repair work done on the driveway and the grand fairies were just chomping at the bit all day til it was time to write in it. We were hoping for subtle markings, but Sugarwings went big, so we all did. 

Propane 034

We were going to have Honey make baby prints in it, but she decided to run across the whole thing. So, we let all the little dogs have a turn too. Then a kitten. Who sat right in the center and stayed there (and who did NOT like getting her toes and tail washed after)

Propane 033

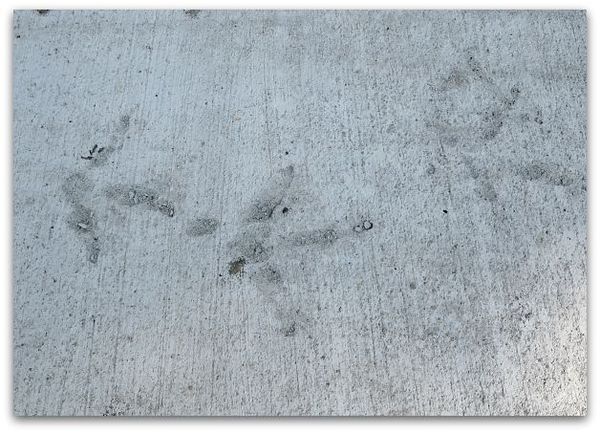
Of course, the ladies had to be represented too, right? So we brought out our friendliest hen (who also didn't like having her feet washed- there is a reason that "madder than a wet hen" is a saying)

She strutted to the center of the cement, just like the kitten did.

Then pooped.

Which I don't think would have left a mark if my husband hadn't tried to knock it away.  Now there is a poo swish mark, dead center of the new concrete.

11822400_10153471454904477_7164493661958646725_n

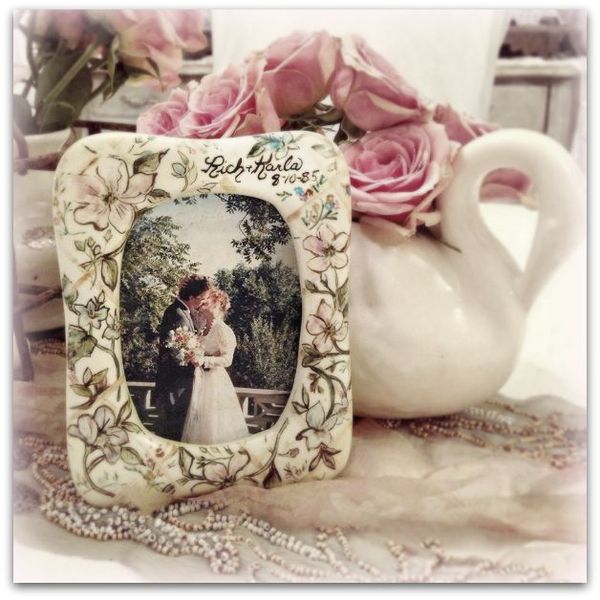
Speaking of that handsome guy, we celebrated our 30th anniversary.  There was talk of going out, but after three days of working on the kitchen, then doing some major garden projects, we were beat.  And we had our big celebration, with vow renewals back in June.

So, we did what we really enjoy, grilled out on the porch and eating tomatoes from the garden, then cozied up with a good movie.  We had the house to ourselves for a few days, so we simply enjoyed each other's company. 

To me, that is much more fun than a big night on the town.


How to paint cabinets with NO PAINT and NO SANDING at all, and some Venetian Plaster tricks

cottage, how to's, Kitchen remodel, paintings

IMG_4867

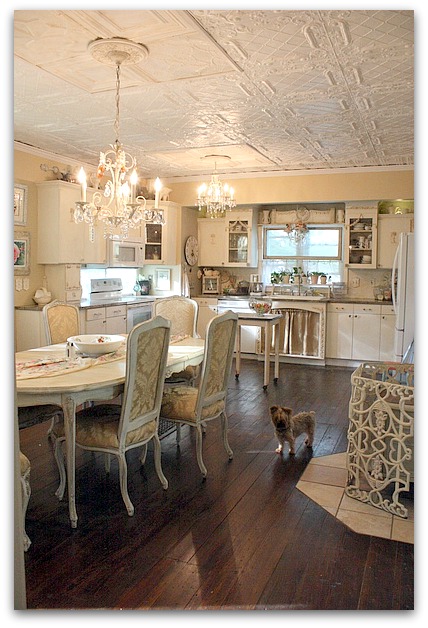
I've been redoing my kitchen recently. Here is a before photo, which isn't bad. But- this was a couple years ago and there has been some wear that required touch ups.  The swags on the glass cabinet fronts had been knocked off, and those two cabinets had to be sanded down after taking off the cracked remnants of the trim.  I no longer had the same paint color, plus, those cabinets hadn't been repainted in a long, long time.

I've been jonesing for an all white look.  (hmm, does that term age me?  "Jonesing" might be something we said back in the 70s) For years, I've loved that look, but have never had it in my own house.  I tend to go cream, tan, or ivory when I decorate. But I've been drawn to photos of pure white rooms and always wanted one of my own.
Kitchen plaster 020

And I got it!

Kinda.

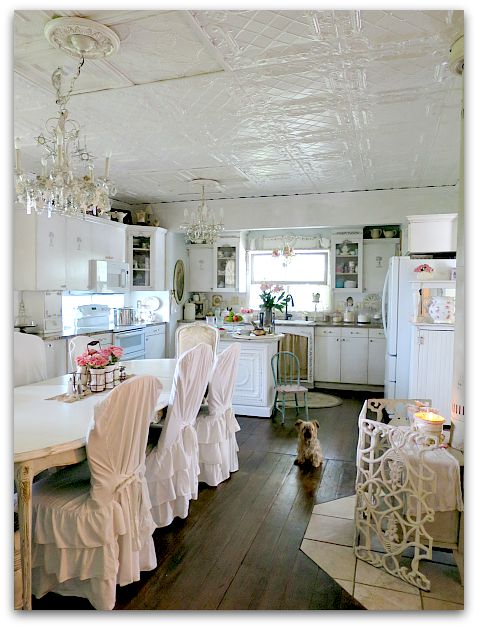
 And I really, really do love it. I kept quite a bit of the ivories and creams, because I still love them, and like the mix. But the overall effect of the room is pure white. Especially in photos.  In real life, you can see more of the textures and tones, and the room feels a bit warmer than the pictures show. 

But still white.
Kitchen plaster 027

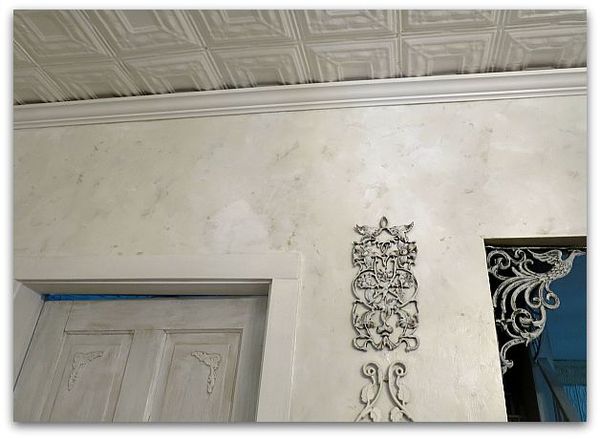
To pull off white without the room looking stark, I felt like textures were important. The ceiling is already quite texturey from the vintage ceiling tiles, and the doors are dry brushed with 4-5 different whites and creams. (Which happened at first by me touching up paint every year or so, and dry brushing over smudges and finger marks with a different paint that was already on the door. I liked it so much, I just dry brush various whites onto it when I repaint periodically- a happy accident that turned into an "I meant to do that" situation.

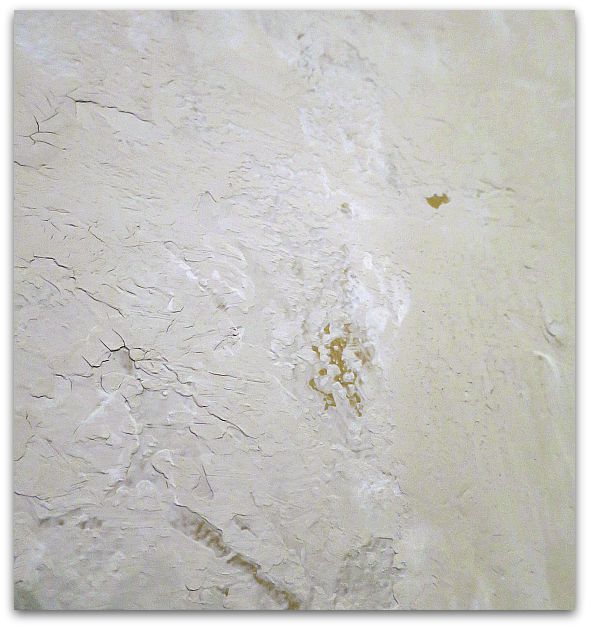
And for the walls, I used Venetian Plaster by Behr instead of just paint.  
Kitchen plaster 001

The walls were already kind of a tan, which made a good background color that I let peek through in some spots.  But the plaster color chart didn't sport any choices that I liked, it was pretty limited. So, I went  with plain, untinted, as is, plaster straight out of the can.
Kitchen plaster 004

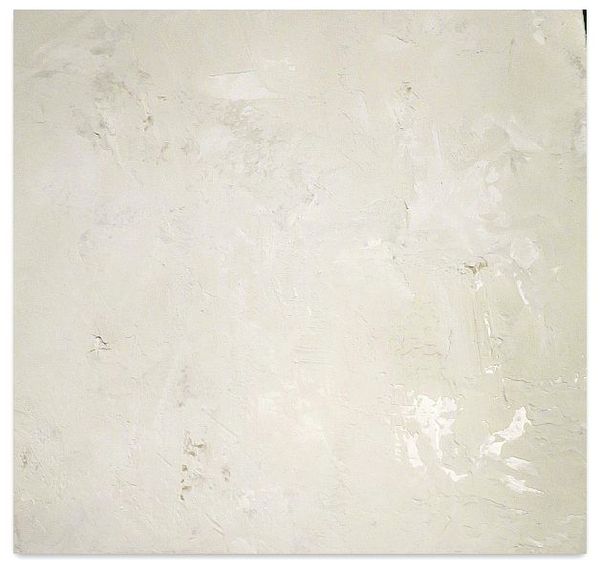
Trouble is, it was a tad bit gray, not as bright as I wanted.  I fixed that by using Behr pure white paint along with it.

I scooped out about two cups of plaster into a paint tray, and poured approximately 3/4 cup of white paint over it.  Next, I took a 6" wide, plastic dry wall or putty knife thing and troweled the mixture onto the wall. It mixed as I troweled, with some areas more white, some more gray, some both.
Kitchen plaster 031

This is NOT what the directions say to do.

But it worked for me.  I went around the room 3 times, doing this.  I also didn't let it dry as long as the directions said, or hold my trowel at the same angle that was suggested.  I didn't burnish it either.

I held the blade pretty flat against the wall each time, the coats I made were thinner, which is probably why I needed three instead of the recommended two. (If I could do much math, I'd tell you the angle)

It was looking like there were tracks in it from the edges of the knife, so I took my red handled Tim Holtz scissors that I love so much, and that will cut through everything, and trimmed the edges of the blade to a curved shape.
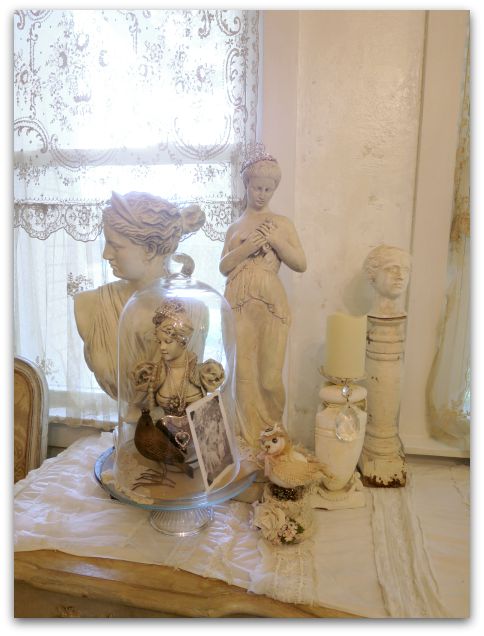
  Kitchen plaster 028

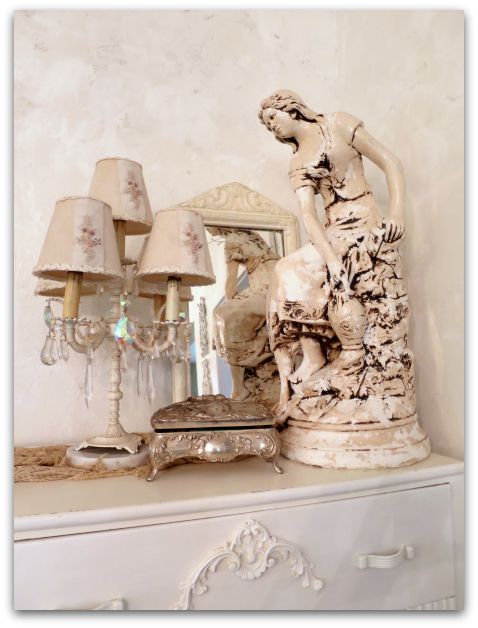
Over the top, I put three coats of Minwax Polycrylic clear coat (water based- satin). I used three because I like the depth that gives the plaster.  I was hoping for a marble-y effect.  

I think that the layers of subtle colors on the wall give the room the light, bright, white feel I was hoping for, but still blend well with my ivory curtains and whatnots around the room.
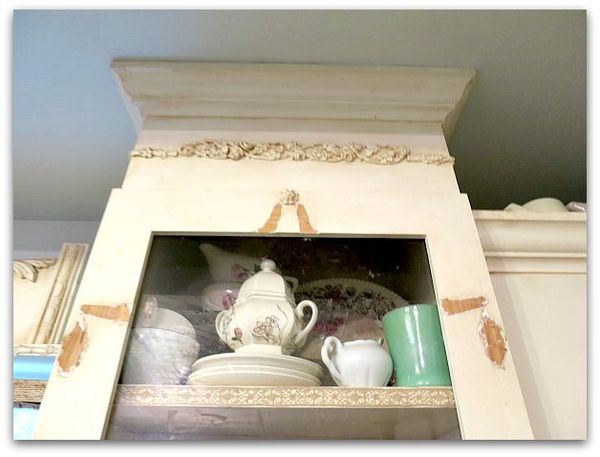
Kitchen plaster 006

After the 3 top coats on the wall, I started in on the cabinets. The broken swag embellishments had to be pried off, then the wood sanded down.
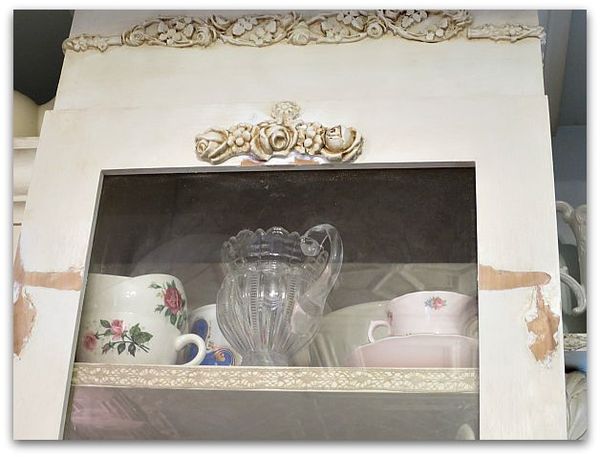
Kitchen plaster 009

I salvaged the roses from the center of two of the swags to glue to the top of the glass.  
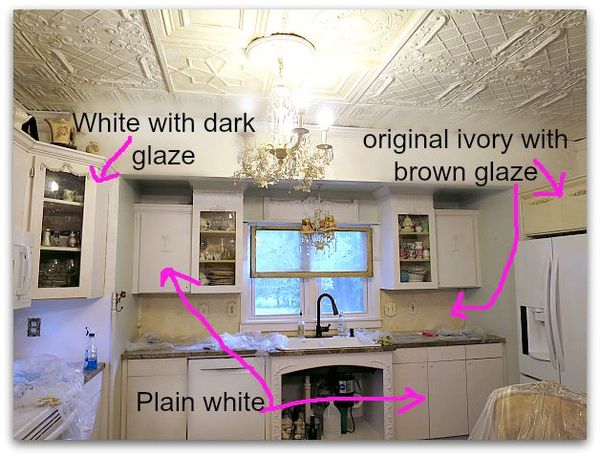
Kitchen plaster 012

Here is an in progress picture.  Some of the cabinets painted white, some stained, some as is.

Next, I painted them with bonding primer.  I didn't want to sand the existing paint, and if you use a primer that says "will adhere to glossy surfaces" or "bonding" you don't need to sand.  Even over oil based paint, like I had used on the cabinets originally.  Very much like in this tutorial, but with a brush, not a spray can. Kind of like we primed cabinets in this post.

It took two coats of primer to get a good cover.  I used one of those small rollers meant for smooth surfaces.

I sincerely loved the white, white, white look of the primer.  BUT- I knew that I couldn't live with that level of cleanliness, too many people worked in my kitchen, too many big meals were prepared there.  Too many splashes down the fronts of the cabinets. Now, I'm not saying I'm a pig, I do wipe the doors off regularly, but not every ten minutes.

So, I decided to add a dark glaze.  If done right, it wouldn't take away from the whiteness, it would just accentuate the rose embellishments and help hide smears that happen as we work in the room.
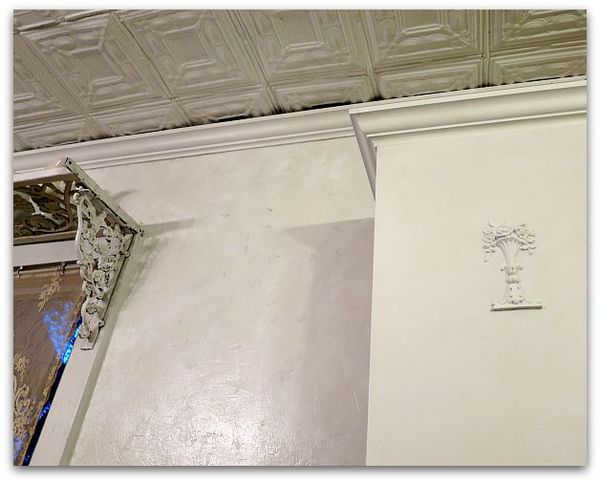
Kitchen plaster 010

This picture is of a primed door.

Since I decided to use a glaze and a  water based clear coat, I decided that I didn't need to do the painting step.

You CANNOT use primer alone and leave it! It is meant to be used under paint. But- glaze is a form of paint, and water based clear coats really aren't that different either. 
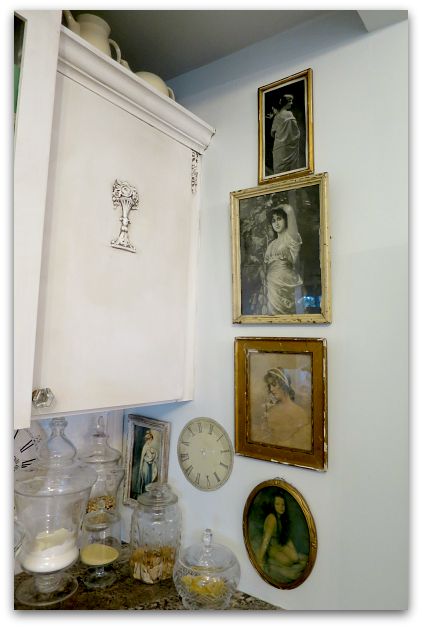
Cabinet 004

But then, instead of tinted glaze, I kind of experimented and used Martha Stewart wood stain (water based) because it was on clearance at Michaels and because I liked the dark, dark walnut color of it. I thought that it would look great with the granite countertops, and could be used directly from the bottle, no mixing like I'd have to do with glaze and paint. 
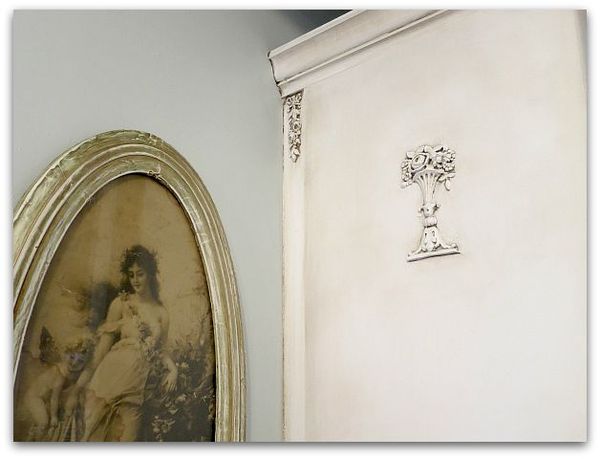
Cabinet 003

I discovered that glaze might be easier, the wood stain had a learning curve.  The trick is to work in very small areas at a time.

First, I brushed the deep color into the embellishments, and wiped it off with a damp rag. Then I buffed it with a dry rag.   After that, I ran a brush full of color all the way around the edges of the door, and blended it with the wet, then the dry, soft rags again, working the color from the outside toward the inside.

If I got it too heavy, or if it dried too quickly for me to get the blended look that I wanted, I found that a wet, Magic Eraser was perfect for lightening up any mistakes!

The crown molding was simple, brush color onto a couple feet, wipe, and keep going.
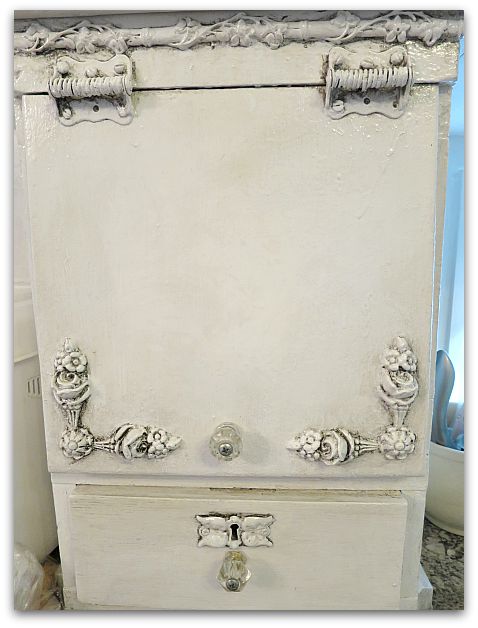
Cabinet 002

These new tones actually match my countertops much better than what I originally had used. Because I'd painted the ivory oil based paint and a coffee with cream color glaze onto the cabinets to match a granite sample that I'd picked out when the kitchen was first remodeled. 

Then, the granite was cut wrong! And we had to pick another similar piece, which wasn't nearly as golden as what I'd first had.

So, for years, I kept thinking I'd redo the paint job, and am just now doing it. And I am so pleased that I did.
Kitchen plaster 026

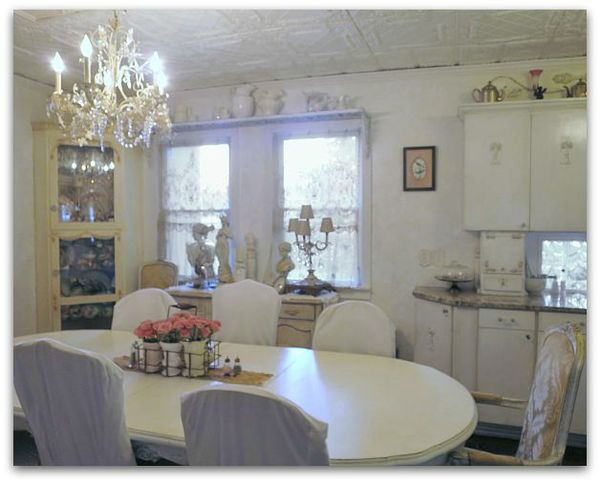
For now, I've left the corner cabinet as it was.

Let's not say that 3 solid days of troweling on plaster, climbing up and down ladders, and twisting around to get into the corners of the cabinets along the ceiling, were too much for an old broad and I was too tired to tackle one more cabinet.

Let's just say that the contrast is nice, and that it kind of ties the mixes of whites together, ok?
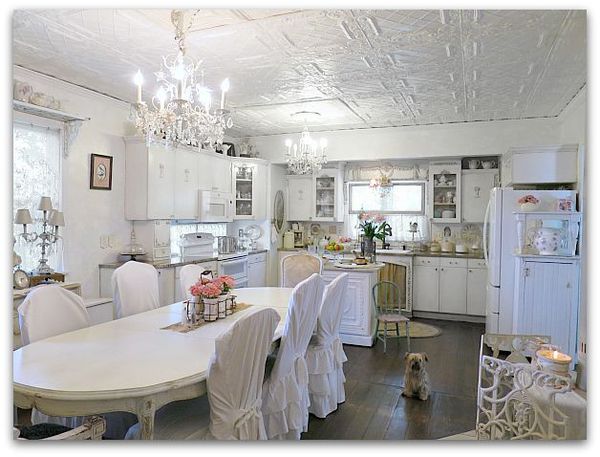
Kitchen plaster 016

I used a semi gloss clear coat on the finished cabinets for durability. If I didn't have such a high traffic kitchen, I'd have gone with satin, because I like that better. But I'd rather it repelled messes. The higher the gloss the more durable a surface is. 
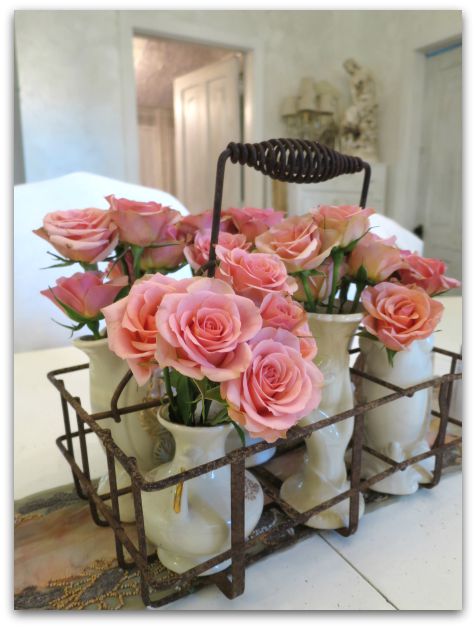
Kitchen plaster 029

I've always said that with neutral tones in the basics of a room, you can change the look with just a few accessories. I think this will be even more true with these clear whites.  And I do like changes. This room can stay white on white, or with a few red accents can have a totally different look for the holidays, still keeping that romantic, serene feeling that I wanted. 

Yep, I think I'm loving this!

 

Crested Butte

friends, Travel

Crested butte 094

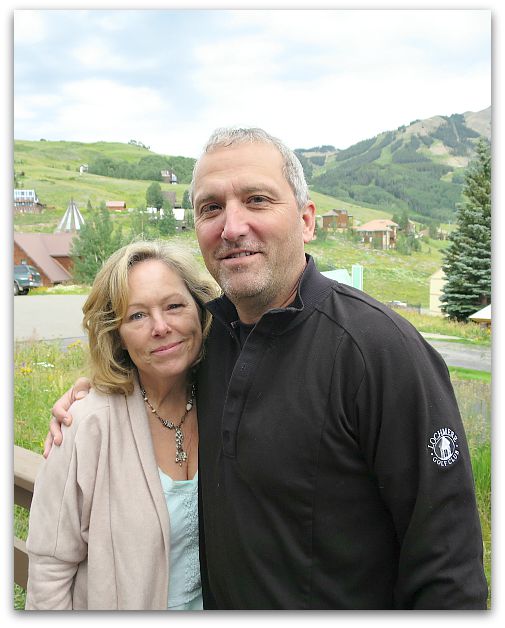
Our trip to Crested Butte sure was nice.  Not only did our hospitable friends have a homey cabin for us to stay in while we visited, they took us out and about, on the town so we could explore the area.

Crested butte 005

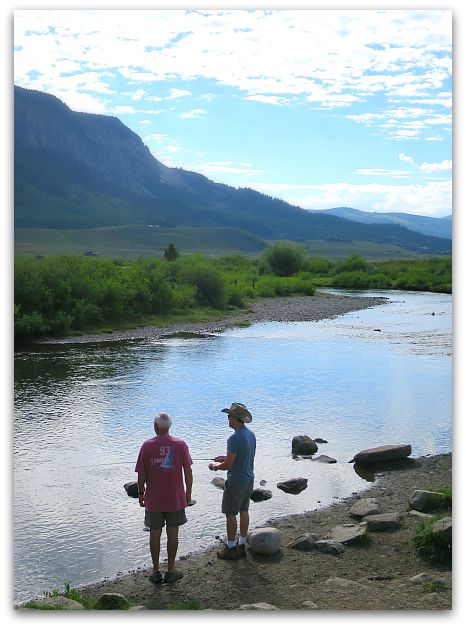
My husband got to go fly fishing, which he says is even better than playing golf.  I watched part of his lesson, but didn't go along on their day on the river.  

Crested butte 088

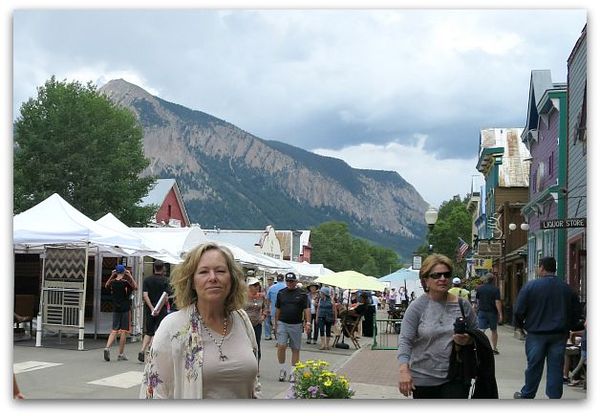
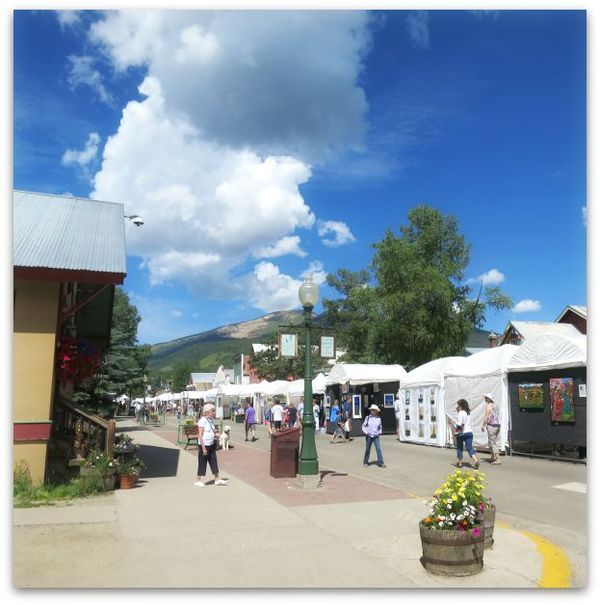
Instead, Judy and I cruised the art fest going on downtown.  First of all, it is one of the cutest downtown areas you will ever see. Quaint buildings, great shops, beautiful view, and good food were all topped off with this big, juried show with artists from all over the country.

Crested butte 068

With lots of booths, filled with spectacular art.  Judy and I both were commenting on how elaborate and well done many of the displays were, I always like to take in the styling of the work as well as the work itself.

Crested butte 072

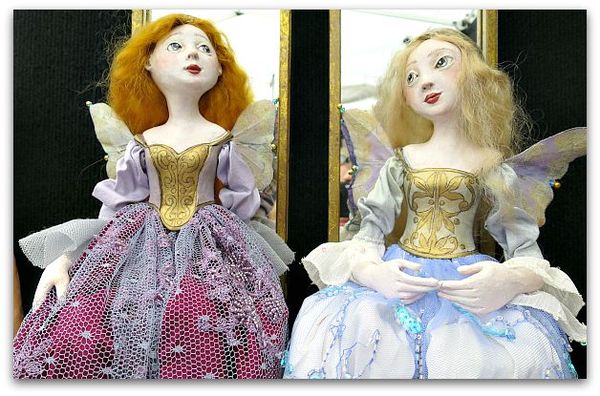
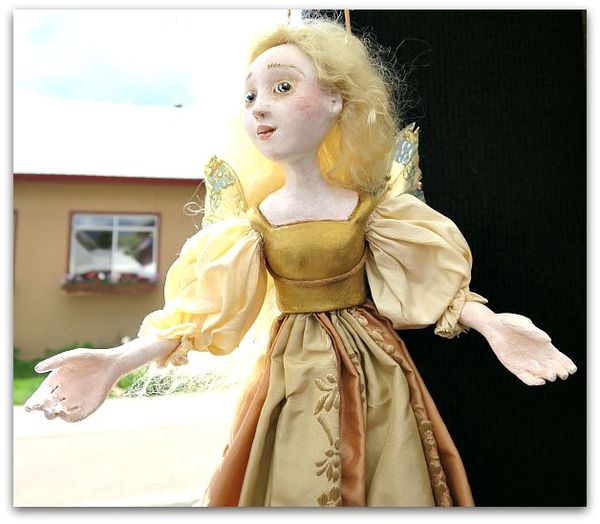
 I had a few faves, like this artist.

Crested butte 071

Ethereal and whimsical.  For me, you can't go wrong with that combo.

Crested butte 077

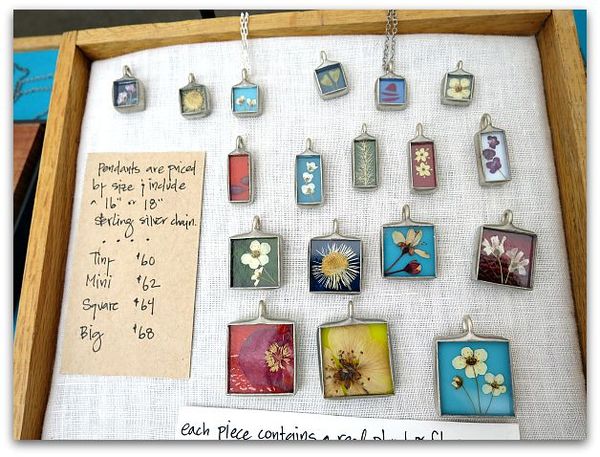
And this artist's work touched me.  So dainty and sweet. I might have indulged a bit in her booth…

Crested butte 086

But as wonderful as the art was, my eye was caught by a less typical festival sight.  

A BEAR!

Yes, a real, live, gobble you up, growly bear.

A real one.

Downtown?

During an art fair?!

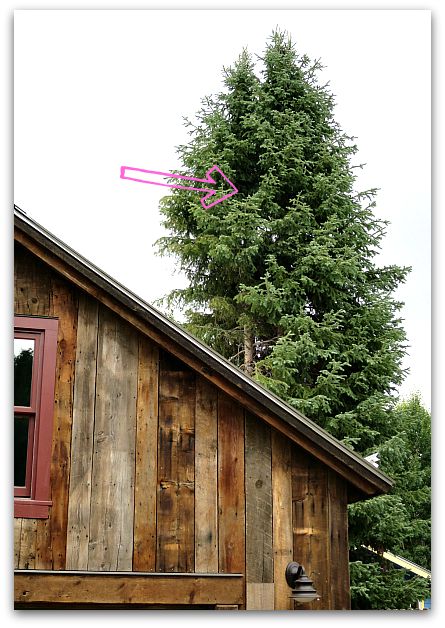
With about a 1,000 people mulling about, shopping, relaxing, having a good time.  Not a single sheriff telling us to stay away from the bear in the tree.  Aparently, they think it is the same bear that was stuck in a tree the week before.  

No one runs away screaming, nothing is barricaded off, everyone goes about their business. Although every once in a while, someone would grumble something about the poor bear and that everyone should leave it alone. Well, it looked to me like it was left alone, abysmally so.   I thought it needed guards!!

Crested butte 013

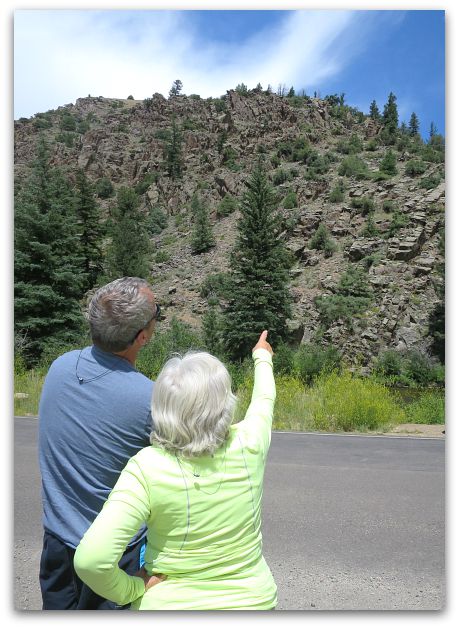
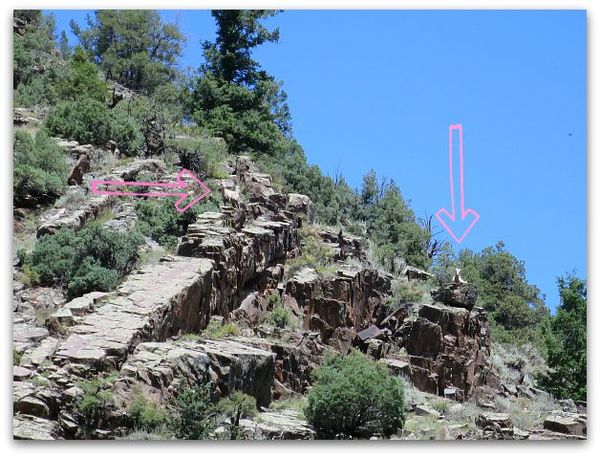
We saw other wildlife too, although not in the center of town. Driving to our whitewater rafting adventure, I spotted two sheep in the mountains, so we pulled over to look.  This is similar to the photo of the bear, you have to have really good eyes to find it.  Colorado had lots of "Where's Waldo" type moments.

Crested butte 014

Impressed that I saw them while driving by? I was!   
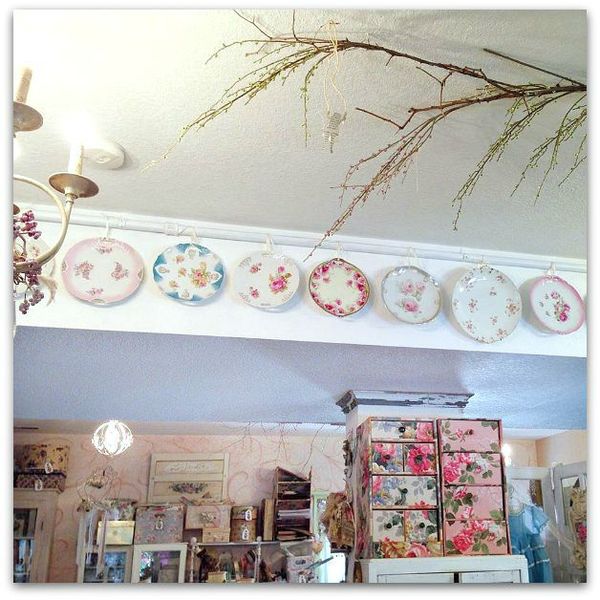
Crested butte 016

I was a terrible failure at white water rafting.  Within minutes of getting in the boat, my paddle privileges were suspended.  My husband was trying to hold onto me as I teetered on the edge of the boat, and quivered in fear over the rapids, so he couldn't paddle himself. I was told to use both hands to hold on, and he was able to concentrate on paddling without taking care of me.

We were much better off with him rowing full time, and not having to worry about me and my pathetic attempts to act like I was using an oar.  First of all, I have no balance, everyday tasks often go wrong for me. Kind of like the day I knocked a tooth out on a cabinet door.  Or right after white water rafting when I climbed into the hot tub and fell face first into it when I missed a step. I was wishing I still had the helmet on that I'd worn on the river that day.

After my oar was put away, and I was a passenger instead of a rower, and could grip the handles with my white knuckled fists, I was a lot more comfy and could enjoy my ride.  It was quite a trip, the river was exciting, and there were rocks everywhere.  When we were driving to the excursion, along the stream, I didn't think that could possibly be the one we would be floating down, I saw so many rocks sticking up out of the water. But yes, that was our wet,obstacle course for the day.

Crested butte 104

We had hoped to get in some hiking too, but between rainy weather and altitude adjustments (ugh, that can be unpleasant), we decided on a lazy afternoon at the cabin instead.  Then, a trip downtown to see more of the sights and go out for dinner. 

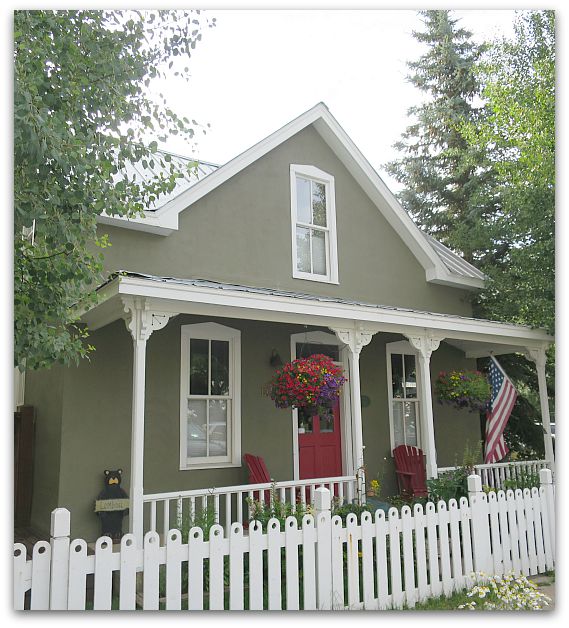
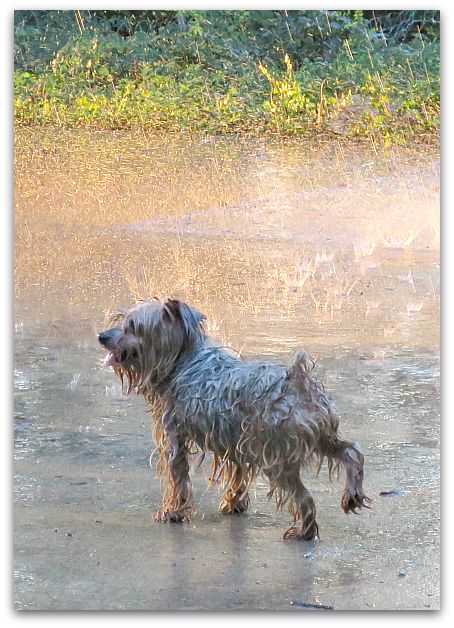
There are such cute, old buildings in the town itself.  How could you not love this little cottage?

Crested butte 080

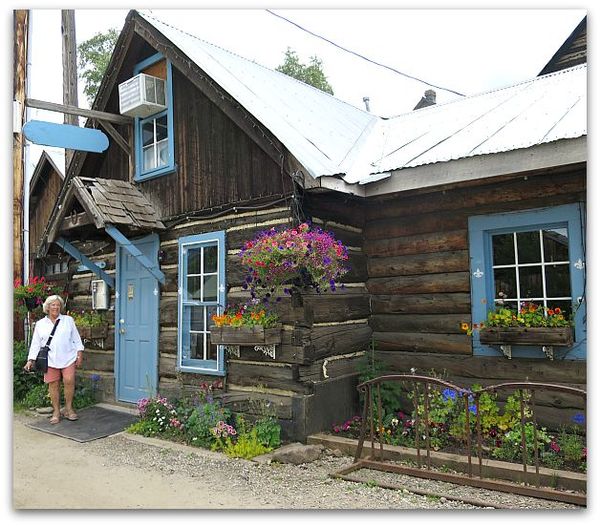
Or this one? 

I hope to visit again someday. What a place!
Crested butte 100

Romantic Gothic Ghosts, two classes at the Cottage Oct. 3-4

holiday decor, Romantic Gothic Ghosts, Tutorials, vintage paper/collage art, We're having a party, Workshops

Loris 038

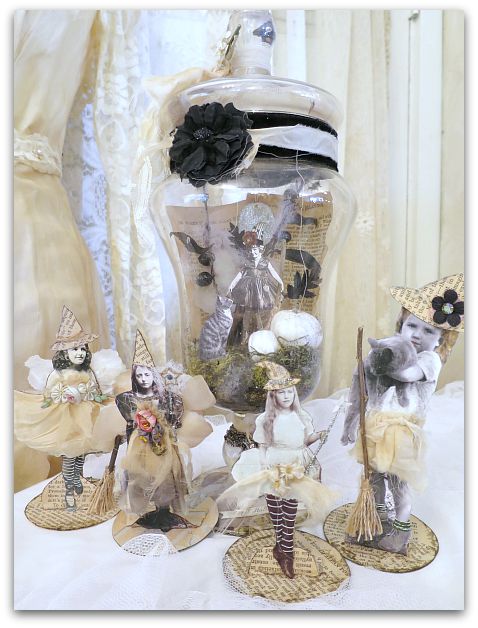
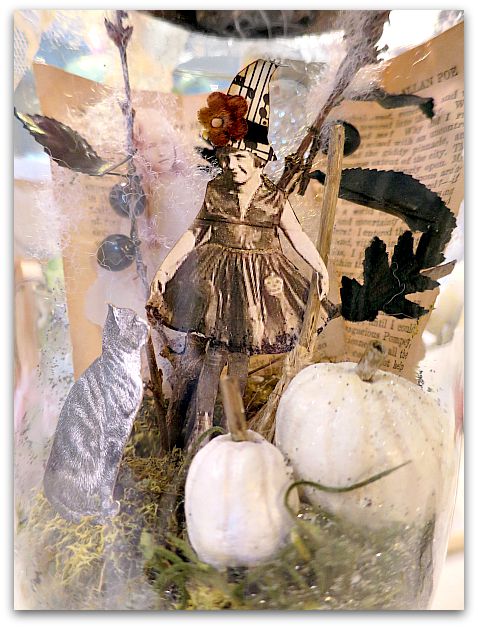
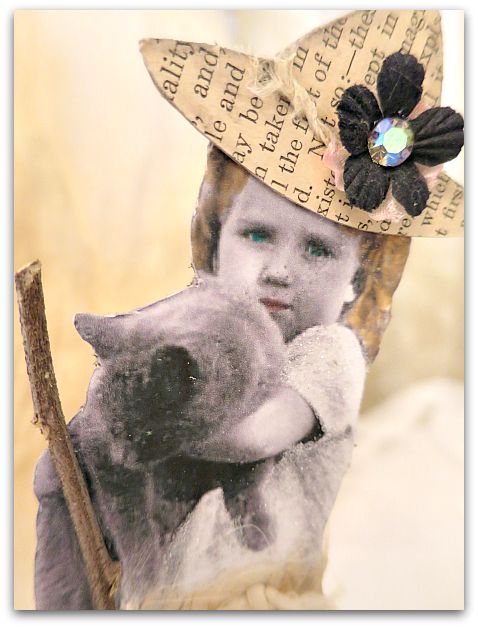
Two different classes will be held here at the Cottage in October. On Sat. the 3rd, we will be making an apothecary jar housing a cute witch surrounded by transparent ghostly images.  

 Witches 044

 And since it is Karla's Cottage, you know there will be choices and we will be using the Good Stuff.  I'll have an array of witchy girl kits for you pick from and make to use in your jar.

  Witchbook 012

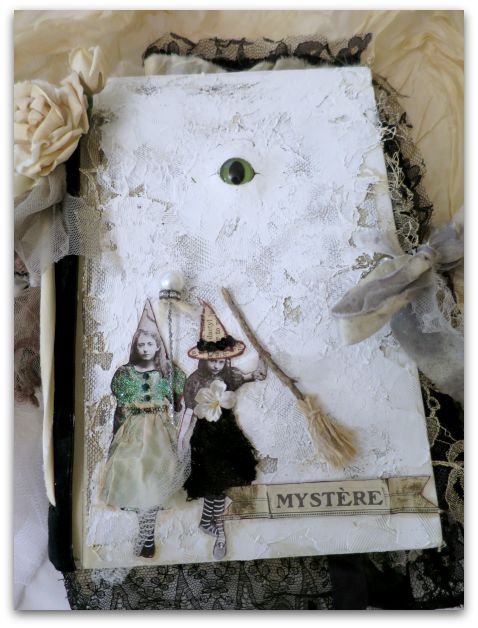
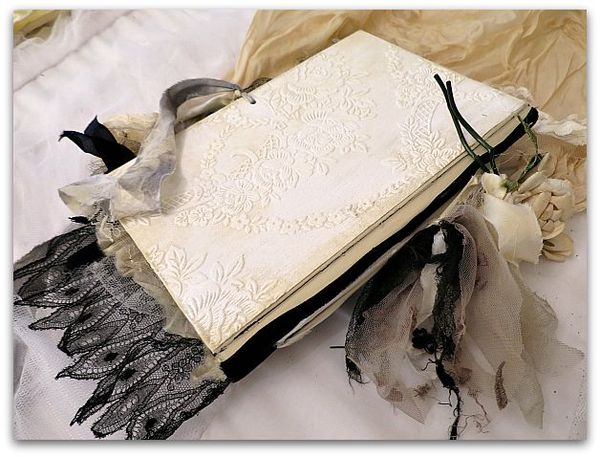
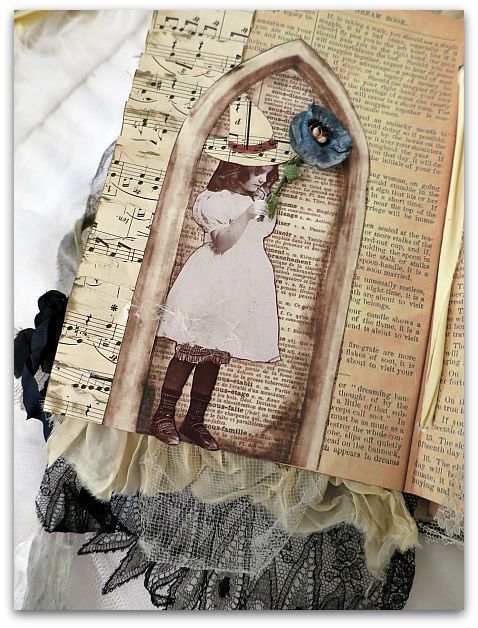
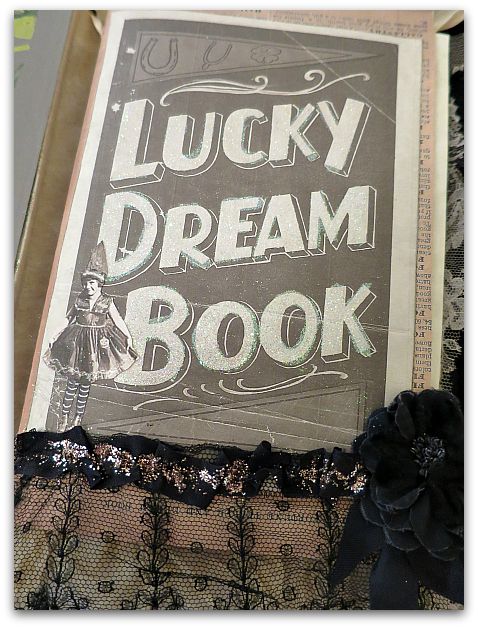
On Sunday, Oct. 4th, we will alter a book with haunting, and mysterious elements.

Witchbook 021

You will make a complete book that day, and receive a trick or treat bag full of delicious goodies to finish the interior pages, if hobgoblins don't allow you enough time to work on the inside that day.

Witchbook 020

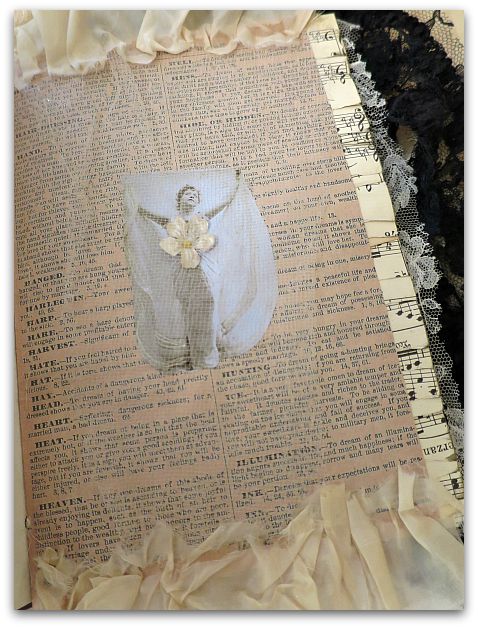
The pages themselves will be printed papers that I have scanned from vintage fortune telling and astrological pamphlets.  So your spell book will be ready for embellishments and additions of your own over the top of the moody backgrounds.

Loris 024

The apothecary jar will be filled with ghosts.

Loris 026

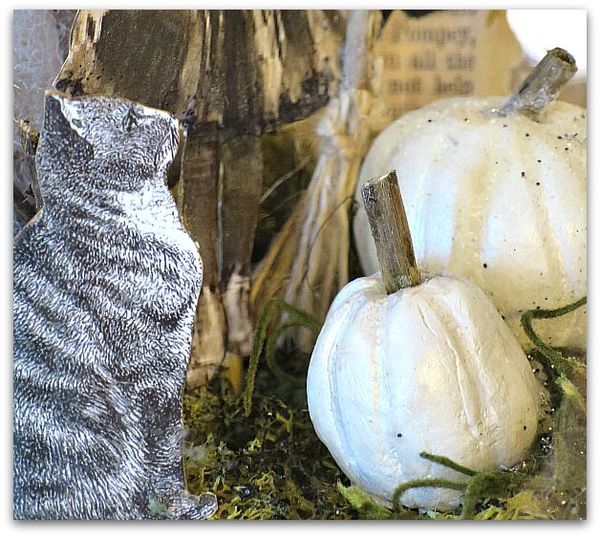
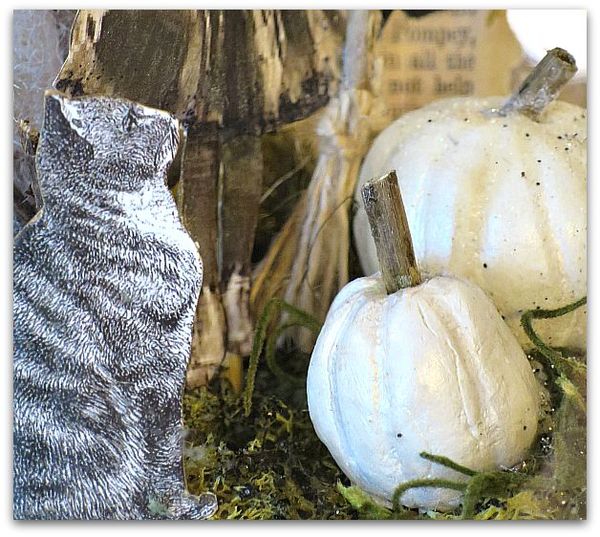
They will be haunting a diminutive witch with her cat, and a pumpkin.  I'll provide one hand made paper clay gourd, and you will make another one yourself. The trees behind her are covered in black millinery leaves and draped in cobwebs.

Witches 037

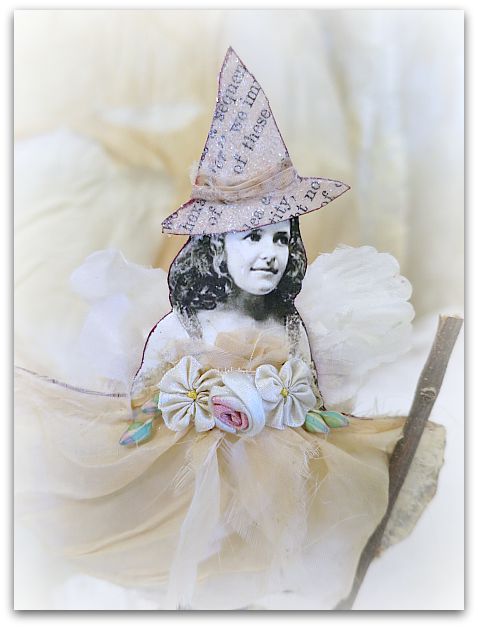
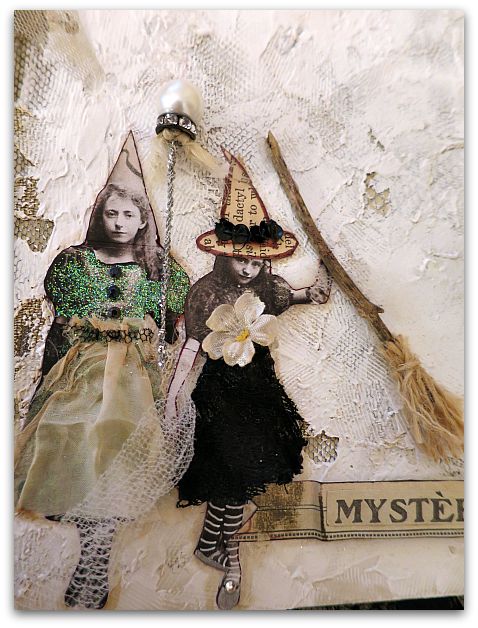
There is a lot of detail to each little witch in the jar or on the book covers.

Witchbook 016

Your trapped, bewitching charmer in a jar (made on Saturday) can hold a magic wand, or a broomstick, both will be hand made during the class.

The book cover (made on Sunday) features 2 young crones, one waving a wand, the other one swishing her broom.

Witchbook 004

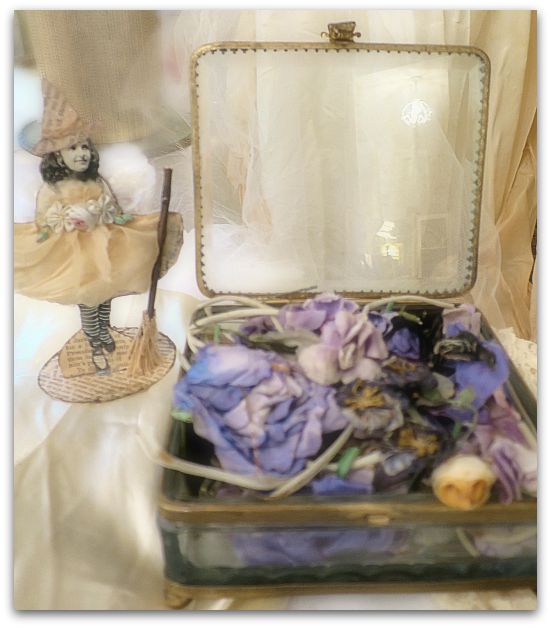
Our colors will be neutral and black, no garish oranges.  But I do like the very faded, old purple of these 100 year old millinery blooms. So if you want a touch of violet for All Hallow's Eve, I think these are the way to go.

Witchbook 006

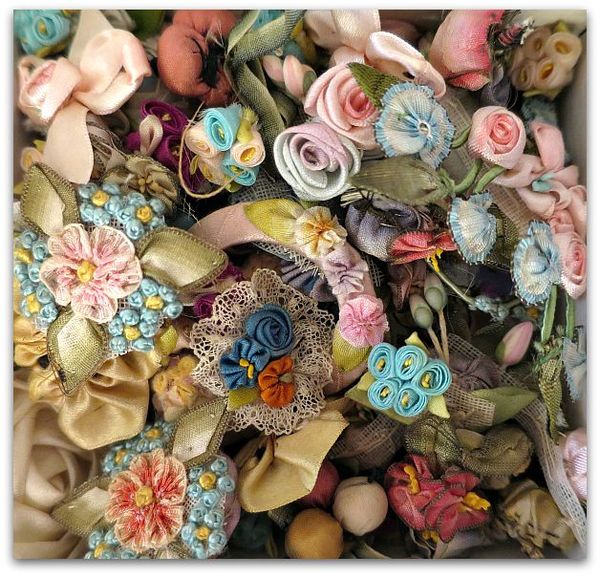
And these tones of vintage ribbon flowers are a sweet addition to the spellbinding girl's gowns. A touch of color here and there doesn't take away from the black and ecru of either creation, since these are such mellow, old tones.

Especially for our sweet, mini sorceresses.

 (If you like them to look aged more, we can give them a quick dip them in dye.  These are vintage new stock, packed away for decades, never used, so might still retain some of their original brightness)

Witchbook 001


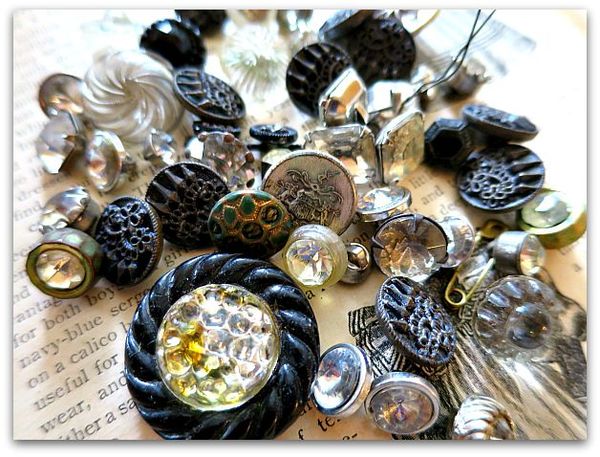
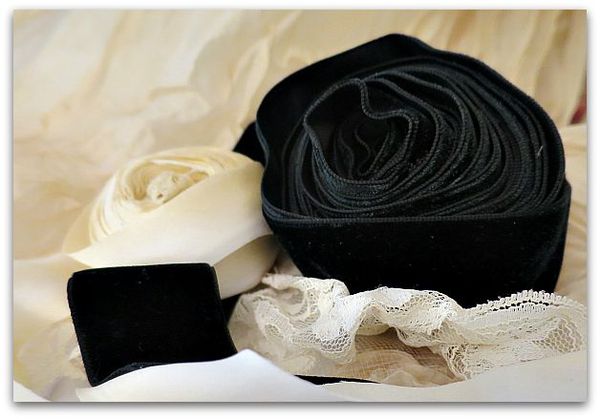
My theory on creating is that you should use the Good Stuff.  Like glass and rhinestone old buttons…

Witchbook 007

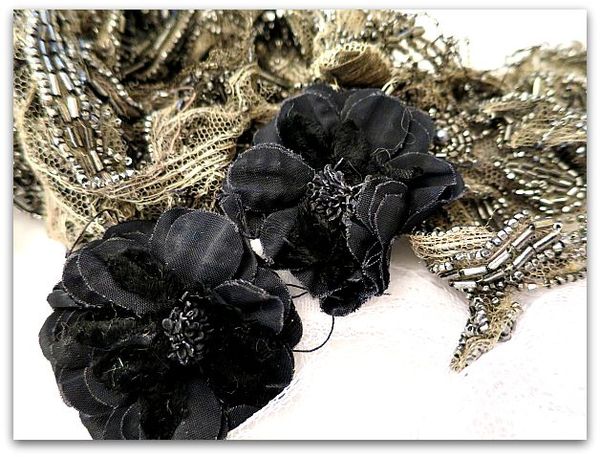
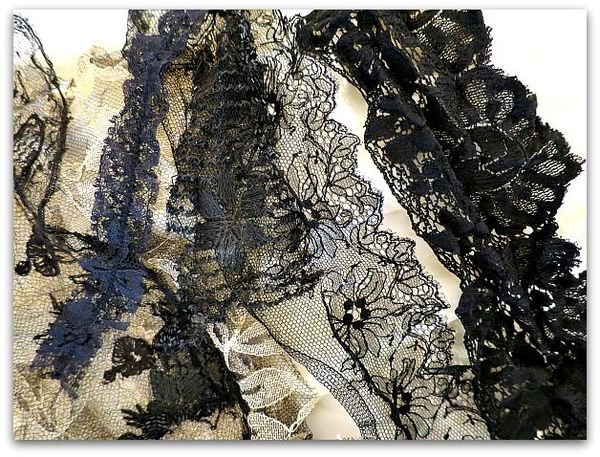
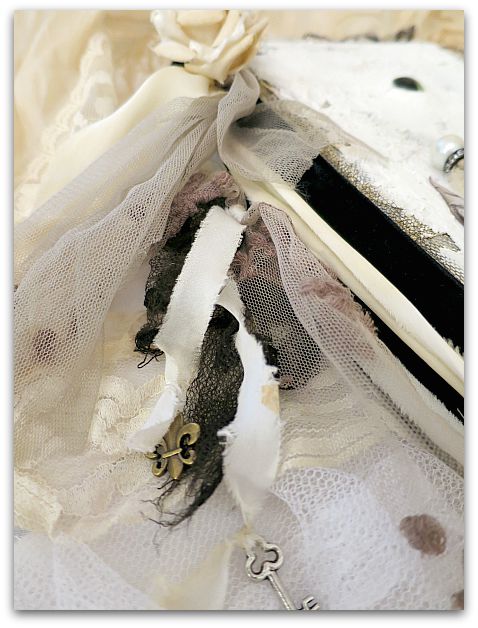
Tattered trims from days long ago…

Witchbook 011

Hand dyed silk, and vintage velvet….

Witchbook 009

And delicate lace.

Witchbook 008

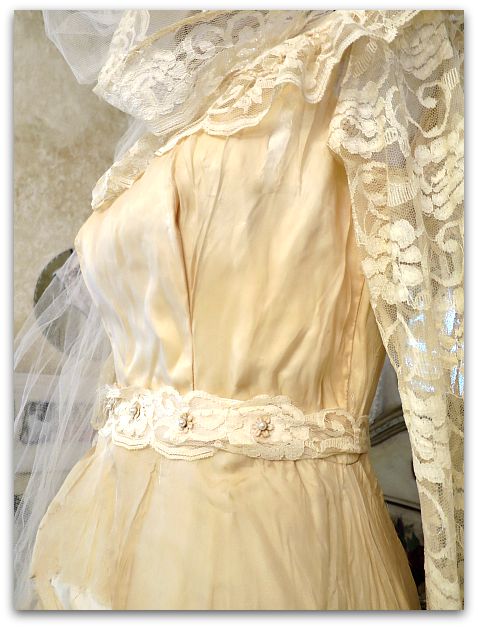
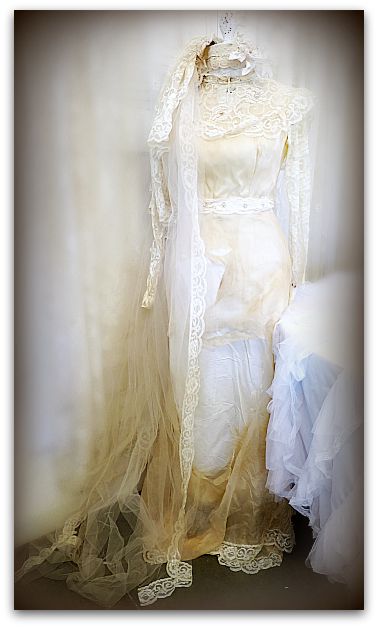
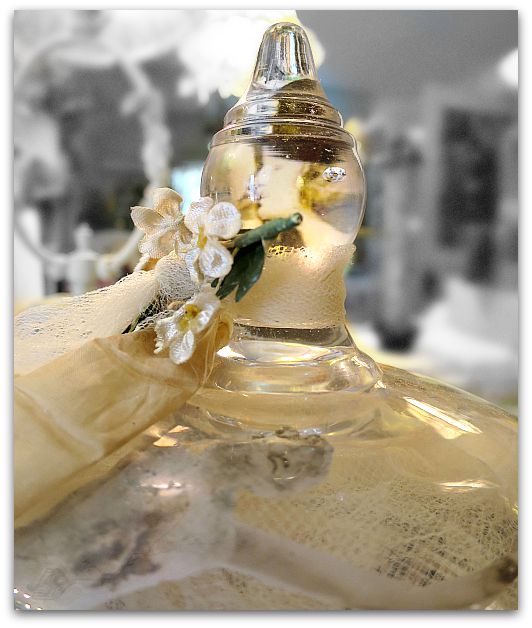
This antique gown from a distant wedding date is properly decaying for our haunting creations.  I'll have snippets of it in each kit.

Loris 039

And please feel free to rip into it for use during the weekend.

Witchbook 015

Each project kit will be filled with romantic elements to create your piece.  And of course, at Karla's Cottage, there is always a table of extras for personalization. I love it when no two finished artworks look alike.

Witchbook 018

We are going for a look of timeworn beauty, not modern Halloween. Expect luxe supplies and lovely images for our specters and sorceresses.

And remember, only bad witches are ugly.

Loris 037

Both classes will fill a  day, and if you are fast worker, there will be plenty of extras for you to play with while hanging out with our fiends friends, and chatting away as we create together in our little coven of crafters.

Studioghost 005

Goodies will be served in the haunted treat cabinet, and we will break for a homemade lunch.

Witches 032

You are welcome to attend one class or both. Each is from 10am-5pm  with lunch at 1:00.  

If you'd like to join us here in Lawrence, KS (50 minutes from the Kansas City, MO airport) please email me – karlanathan@sbcglobal.net -for an invoice. This is a limited sized class.

Saturday October 3- Romantic Gothic Ghosts-  Haunted Sorceress is $100

Sunday October 4- Romantic Gothic Ghosts- Book of Mysteries is $100

If you want to do both, you will receive a discount of 10%, which makes the total for two days- $190

  Loris 033
I'll leave you with some more photos of the projects. I hope to see you here!
  Witchbook 017

Witchbook 013

Witches 048

Witches 033

Loris 025

Witches 035

Witches 041

Witches 045


Scroll to Top