April 2016

Quick fix for scuffed up kid’s shoes

how to's
IMG_7854
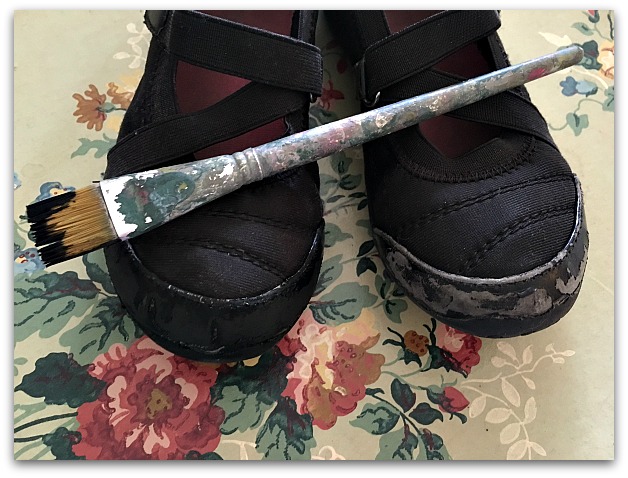
It seems like finding high quality kids' shoes isn't easy.  And there are so many cute, inexpensive options, that I found myself buying a new pair every time we had plans for going somewhere because the girls' shoes looked bad and couldn't be polished.

But it seemed wasteful.  So, I thought I'd try paint on these faux patent leather ones and it worked out pretty good. I used the Martha Stewart high gloss.
Shoes 011

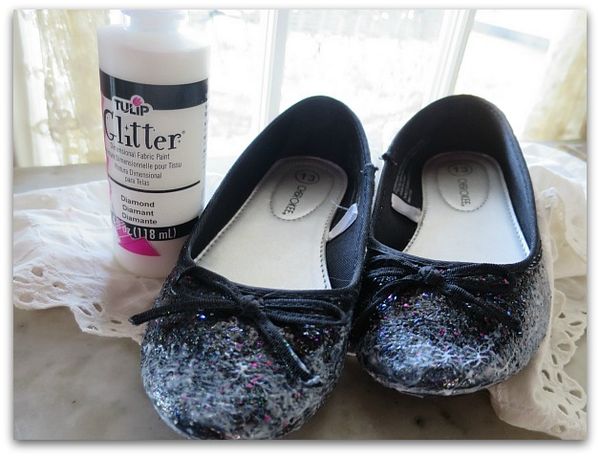
Well, I should've taken a before snap of this pair, but if you have a little girl around, I'm sure you've seen how fast these cute, glitter covered ballet flats get ruined. 

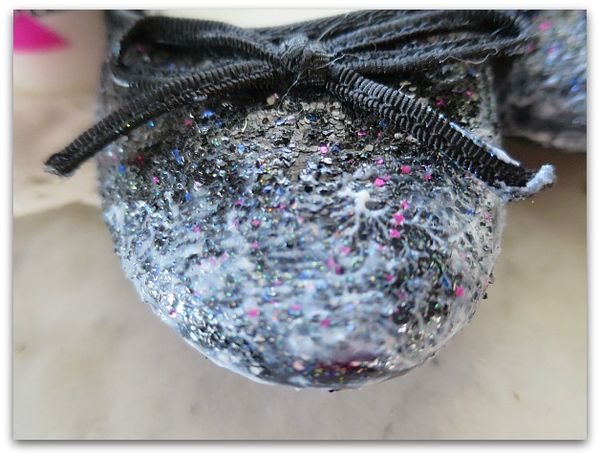
Sugarwings is especially rough on her shoes.  The toes are often scraped up in a day or two.  But I've discovered that they are easy to fix, just add more glitter. 

I don't use the kind you sprinkle over glue, that can be flakey and messy. I've found that the glitter that comes in liquid form is best.  Stickles brand, or generic, it comes in any color you could ever want (including the shade we repair Ruby Slippers with, very necessary around here!)

Shoes 012

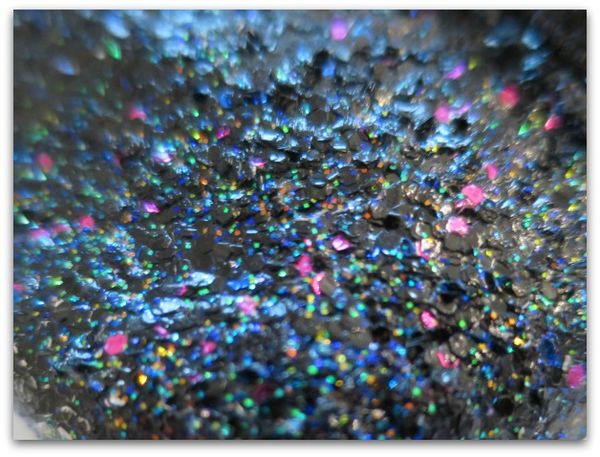
This is something that takes moments to do. Smear it on with fingertips or a brush and then set it aside to dry. It goes on white, then dries clear with sparkling flakes.

Shoes 015

Tah- dah!

And as it scrapes off again, you can easily add more. 

Of course, the best thing ever, is a good pair of nice, leather shoes that can be polished.  But my grand fairies adore those sparkle covered, inexpensive shoes from Target.  I'm just kicking myself because I spent too much money replacing them instead of re-glittering them for so long.  I should've thought of this years ago. 
It was meant to be

antiques/junking, celebrations, family

Easter 019

When I started beading wrap bracelets, out of the blue and obsessively, I had no plan for them, other than I simply wanted to learn how to make them, then couldn't stop.

12924553_10153994436649477_7479736109872739602_n

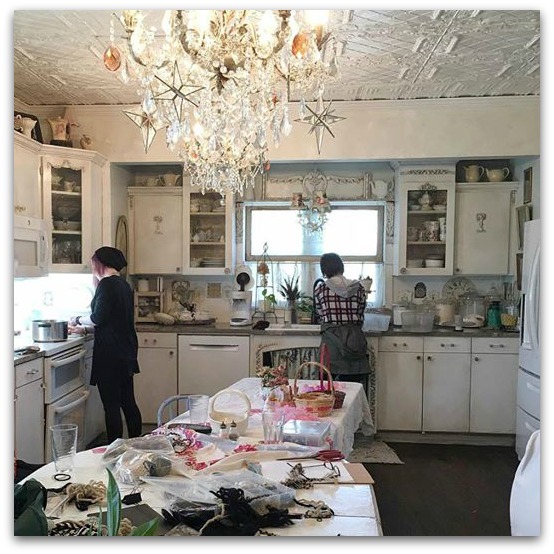
My dining table (for some odd reason, I wasn't working in the studio, maybe because I kept saying, "just one more, then I'll put this mess away") was filled with beads and supplies. Even all day on Easter, before we set the piles aside to sit down and enjoy our family dinner.

Easter 001

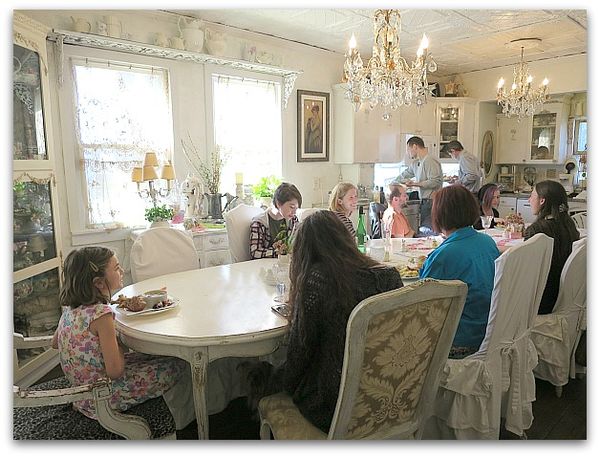
(It was all swept aside and we had dinner with no beads on the table for the first time in two weeks)

I was really into the beading process. It was nothing I'd done before, and I was happy to learn a new skill.  But like I said, I had no plans, no rhyme or reason for the new obsession.

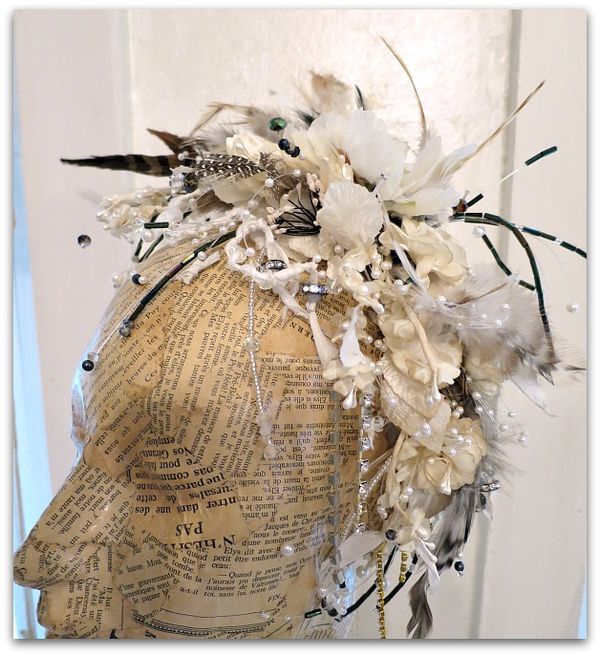
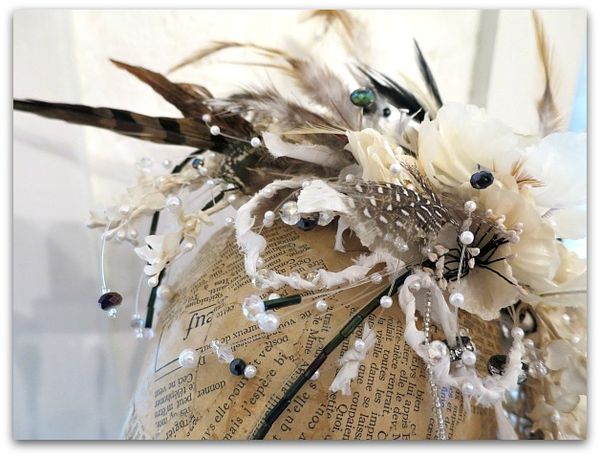
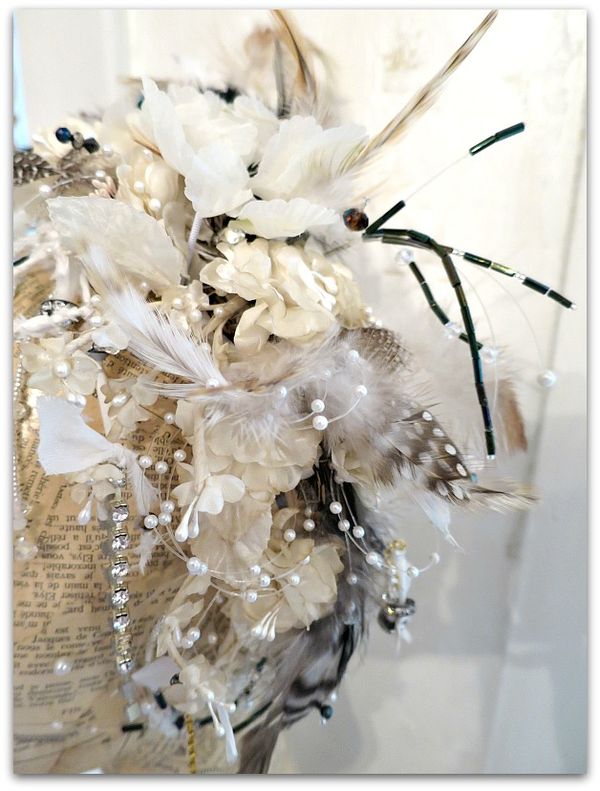
Then, my soon to be daughter-in-law asked for help with her bridal headpiece.  And from her description of what she wanted, I thought my new beading talents would be ideal.  Having the boxes of trinkets and beads on the table in front of us inspired the design of the creation too.

Easter 017

I wonder if any of this would have occurred to me if I hadn't had beading on my mind and in front of me while we talked about it?

Heck, I didn't even own super glue or beading glue until I started doing those bracelets, and then it was right there at my fingertips when I was ready to start on this piece for her.

Easter 016

I had happened to buy some bridal floral picks while in California, because I was in the middle of doing journal pages and hadn't brought enough flowers with me. (is there such a thing as enough flowers????)

While I was able to find a couple of vintage floral hats, I didn't think it was enough (see what I mean, there are never enough flowers!) and I bought some of those white picks with the pearls too, even though they are not my typical style.  I coffee dyed them to lose that bright, bright white sheen, and to vintage them up a bit.

Funny, I didn't end up using the bridal picks in CA after all.  And they were exactly what I needed to build a base for this. I tied them together with silk ribbons, and used some of that super glue that I had in front of me to secure them.

After that, I snipped many of the existing pearl strands that were on loops of fishing line stuff, and changed them out for my own sparkling beads instead then glued those in place.  We placed more flowers, snips of sik, a few rhinestones, and lots of feathers throughout.

Ss 071

Now, the hard part comes.  Miss Tree is an aerialist and will be doing her act right after the ceremony, so will be wearing this hat while being upside down. We have to make it stay on her head, plus she is wanting her hair styled into two buns with trailing tails and tidbits of wildness. We made a few from wool roving and she is working on more. 

Since everything for her headpiece just kind of came together for me with stuff on hand, that I just happened to have, but normally would not, I have a feeling that the rest of the piece will work out beautifully too.

Xmas 048

It was just meant to be.

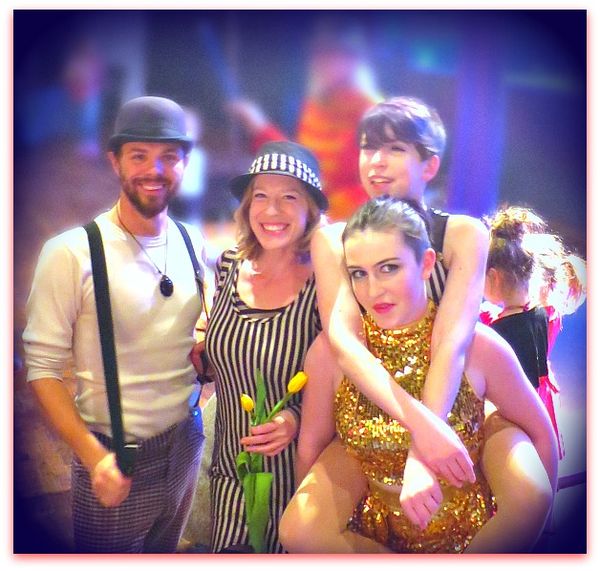
Like having Miss Tree and her two girls as family.

More wrappin

jewelry

Easter 013

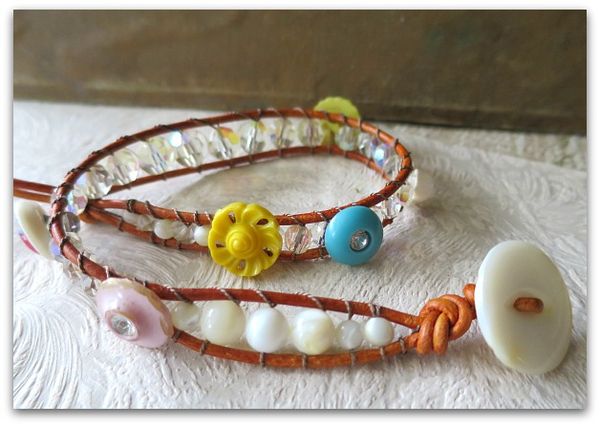
My obsession with braided bracelets continues.  This one was for my friend, Jen, who like kitschy, vintagey stuff as much as I do, and I thought these buttons were just meant to be made into a bracelet for her. They are interspersed with vintage crystal beads and mother of pearl.

Easter 012

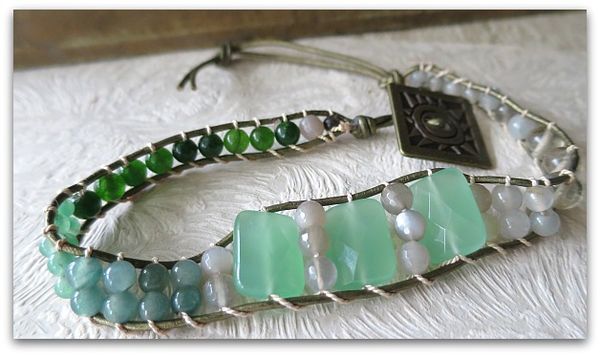
Here is another that I've made for a friend, with all natural gemstones.  

Planning the color themes is as much fun as weaving the beads.  I usually pull out a handful of things I like to use as inspiration for the rest of the bracelet, but I don't actually lay it all out and plan it ahead.  Instead I use the few inspiration beads as a jumping off point and mix and match from them as I go along.

Easter 015

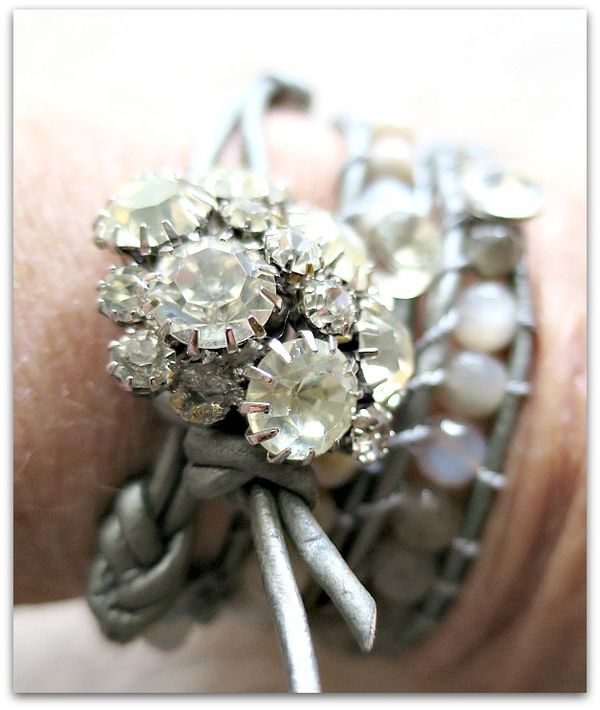
Often, the piece that forms the design is the button clasp.  Like this one. You just can't go wrong with a vintage rhinestone button, can you?


Scroll to Top