July 2016

Wallpapered stairway redo

cottage

IMG_9141

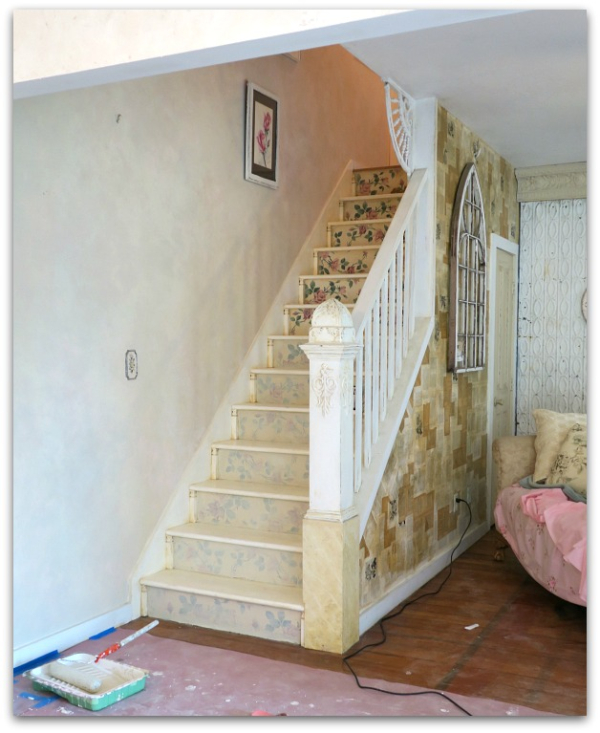
When the wall came down between the kitchen and the room we are adding on, I could see my living room from a whole new angle. 

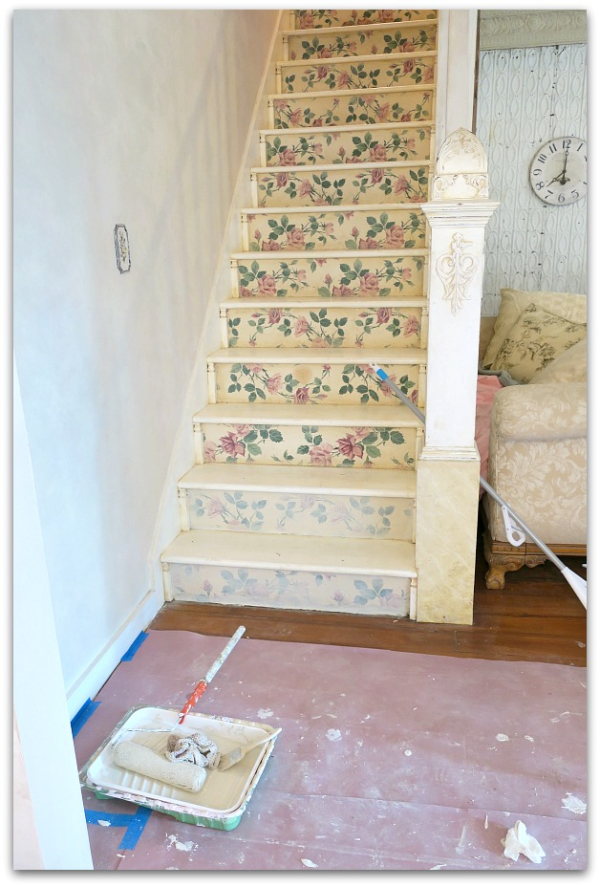
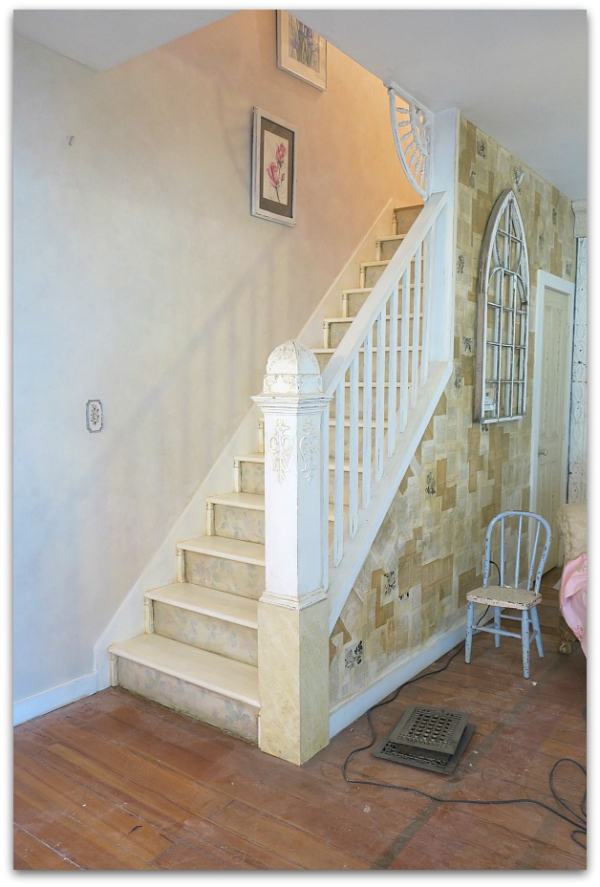
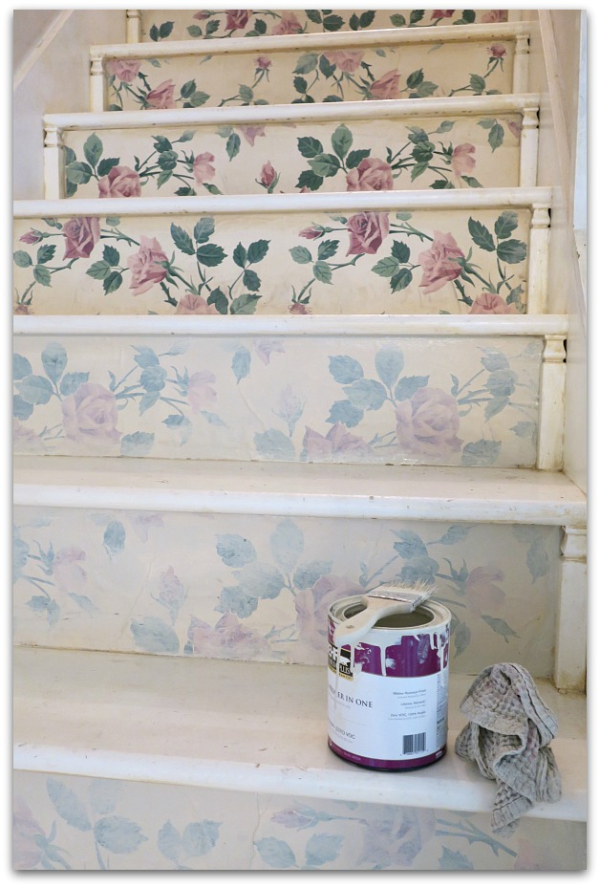
The wall with the vintage book pages now was highly visible along with the rose wallpaper on the stairs. Previously, you could see the stairs from the kitchen, and the wall from the living room, not both at once.  Now that they were on view together, they clashed, it was way too busy for me.

So, I took some of the paint color that I'll be using in the new room (Sandstone Cliff) and washed over the too bright white with roses to tone it down.

IMG_9138

See what I mean?

IMG_9134

At first, I'd contemplated changing the paper, but I did love the vintage rose wallpaper.  With this fix, I still have my pretty flowers, but hopefully they are not competing with the wall covered in old book pages.

(In this picture, I've only washed the bottom two as a sample.)

IMG_9205

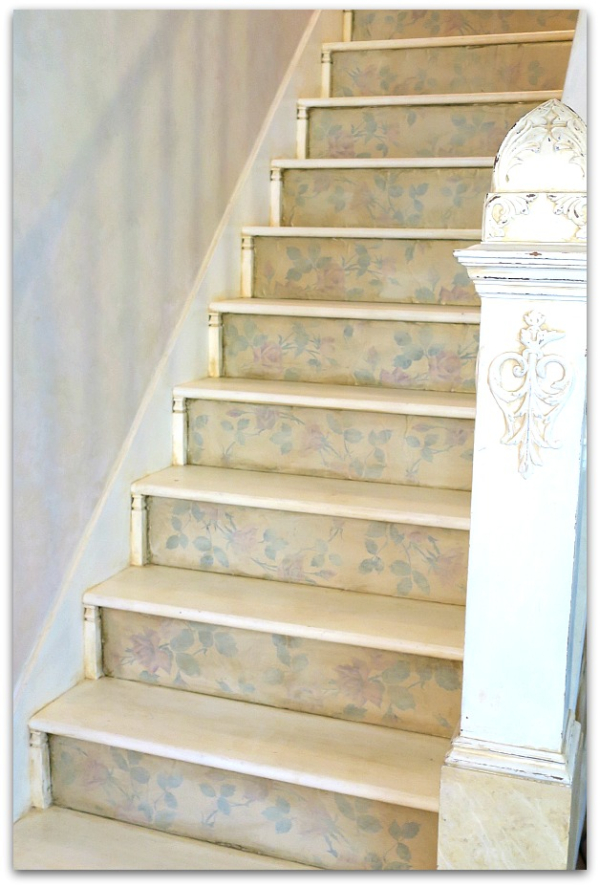
And here it is all done, with an antiquing, bronze glaze over the paint.  You can still see the flowers, but the paper has more depth now than it did with just the paint wash.

IMG_9204

It was a quick fix, under a half hour to wash down all of the risers, then even less time for the glaze over that.  And so far, I'm happy with it.  I'll have to see once the room is complete and I can stand back and see how it all works together.  It seems to match the text wall much better now.

Memory wire beading

jewelry

IMG_8374

This is something new for me.  This spring, I'd been enamoured with the leather cord wrap bracelets,  you can see some here and here.

Then, I read about memory wire bracelets and thought I could get a similar look even quicker.  And they are simple and quick.  But still very beautiful.  Well, I think anything made with these beads can't be anything but beautiful, right?  Even poured into a jar or onto a plate, they are just plain gorgeous.  

IMG_9148

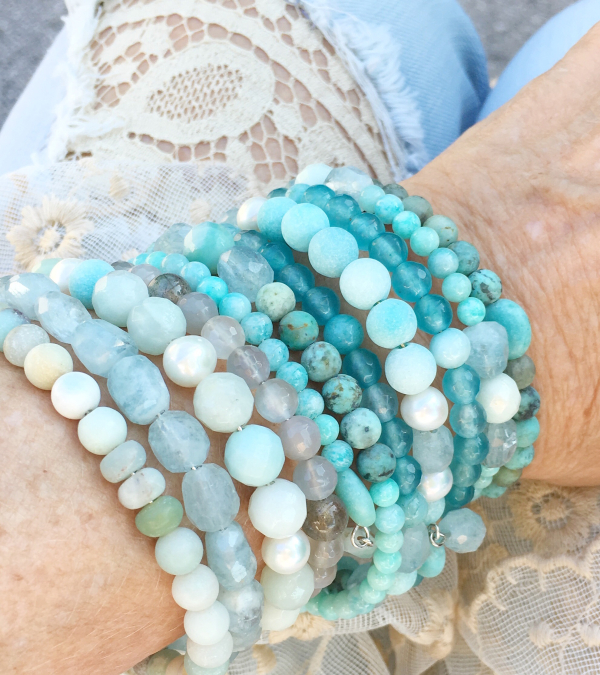
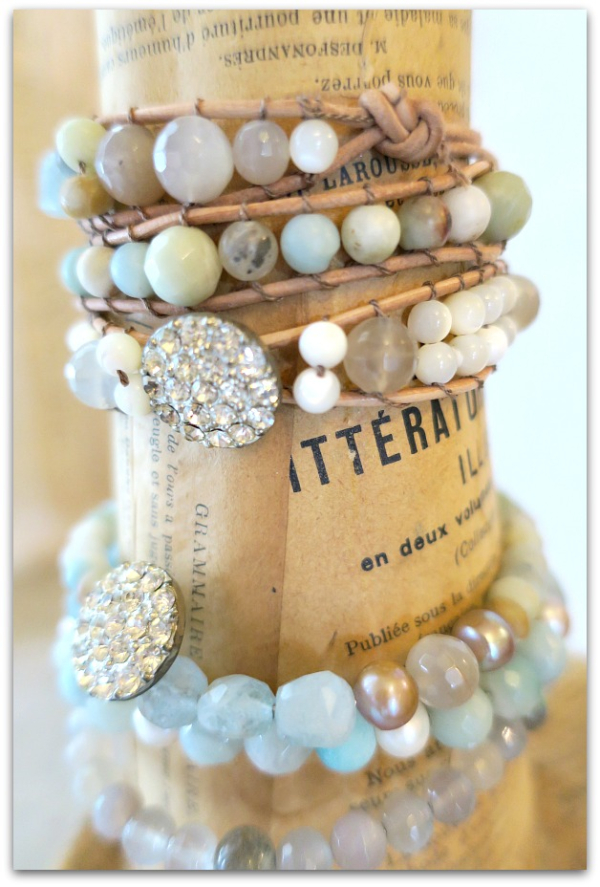
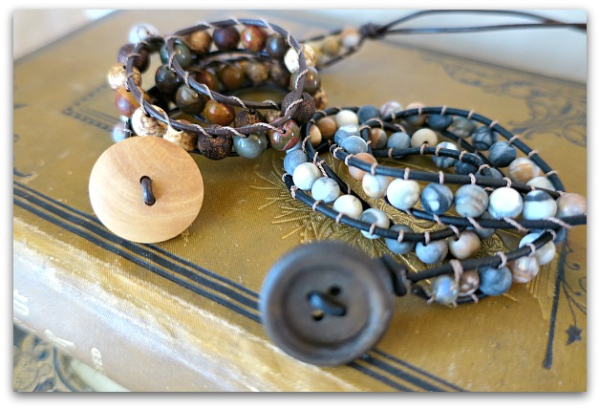
Here are the ones I made for myself, the memory wire bracelet looks nice worn with the leather wrap one. These two have aquamarine, pearls, aventurine, moonstone, laborite, and chalcedony.   I seriously splurged on the aquamarine, and went all out with it on these two.  

IMG_9146

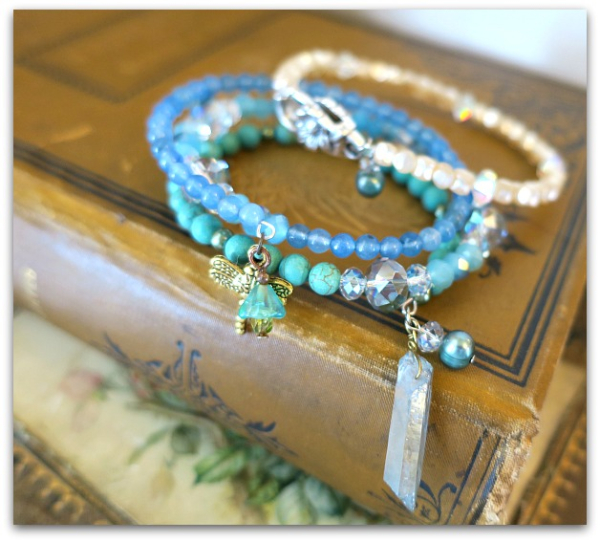
A family member requested a mermaid themed one, and I made this blue piece.  But thought it needed pearls too, so I experimented with vintage pearl beads on a single wrap, hooked with a silver clasp that could stack with the blue bracelet.

IMG_8387

As tempting as it was to immerse myself into weeks of bead heaven like I did last time, I managed to limit my obsession to a couple of days, because I have so much going on with the remodel project.  

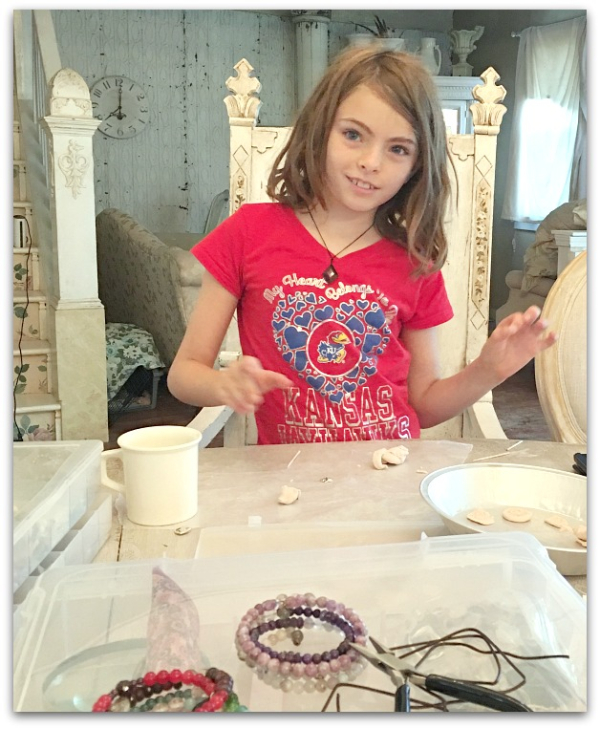
Sugarwings joined me for one of those days, she did some beading and spent the rest of the time working with sculpy clay.

IMG_8391

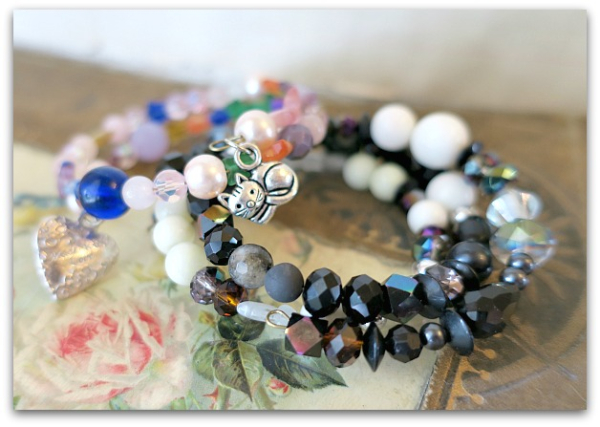
Remember that I said I thought memory wire sounded easy to do? It is, she had no trouble whipping up a few herself, with a little help bending the ends and attaching the charms.

IMG_9151

She even made a couple for her sisters.

IMG_9153

While I had the supplies out, I couldn't resist making a few of the leather wrap style ones for the guys in the family.

IMG_9150

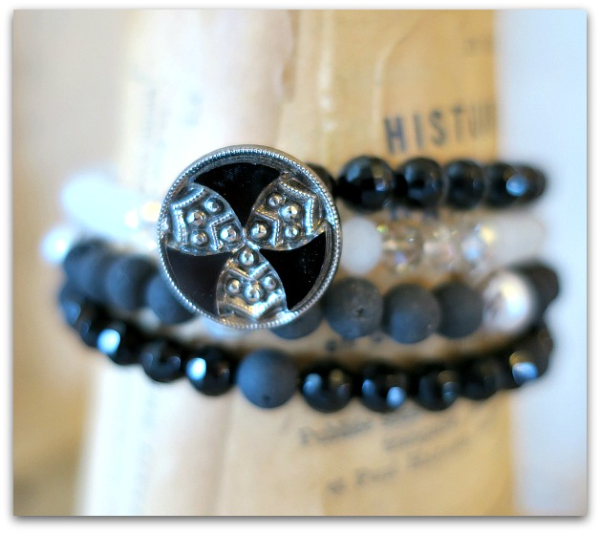
For some of the memory wire bracelets, I used vintage buttons as charms on the ends.

IMG_9145

This one has 2 laborite and amethyst bead dangles and is made up of all semi precious stones.  Which can get very expensive, a lot of beads quickly go onto the wires and before I know it, my stash from the gem show is dwindling! I do love the look of this style, but it takes more beads and less time than the other type.  I think the leather woven strands are more of a challenge, too.  Going back and forth to make some of each was a nicely balanced way of working.

Sadly, I had to pack it all up, there are too many other projects waiting for my attention right now, and it is hard to justify making bracelet after bracelet to give away. Maybe once the dust settles on the remodel, I can get back to beading and make some to sell.  Because, I certainly enjoy creating them, and I can only wear so many at a time… no matter how tempting it is to fill up both forearms and admire the pretty colors.

A big girl room for Sugarwings- circus style

cottage, redos

IMG_9195

Last year, we repainted and laid a new floor in the guest room.  Sugarwings was smitten and kept asking me if she could sleep in there.

 Then, her baby sister starting to sprout up quickly and no longer fit into her tiny, four poster, vintage, pink bed.

Sob!

loved tucking the grand fairies into that itty bitty princess bed, and it was hard watching how quickly their feet began to hang over the end of it. It seemed like that happened overnight.  One night, Sugarwings was all of a sudden too leggy for the pink bed, and we were buying her a twin bed.  Now, it is Dewdrop's turn to spring up over night and need to move into the twin bed.  So, our biggest girl will move into the guest room.

Who will get the precious, mini, four poster?  Maybe the dog… if it fits nicely by the new fireplace.
IMG_9203

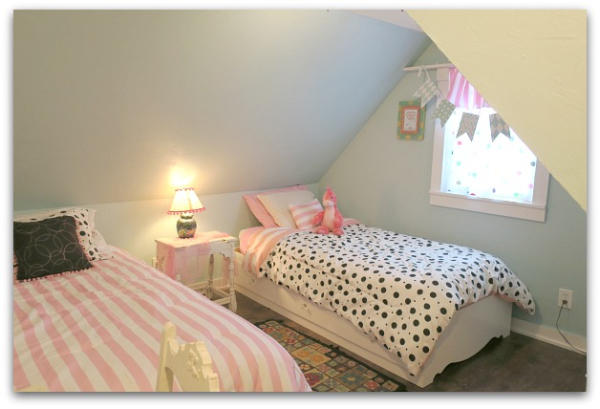
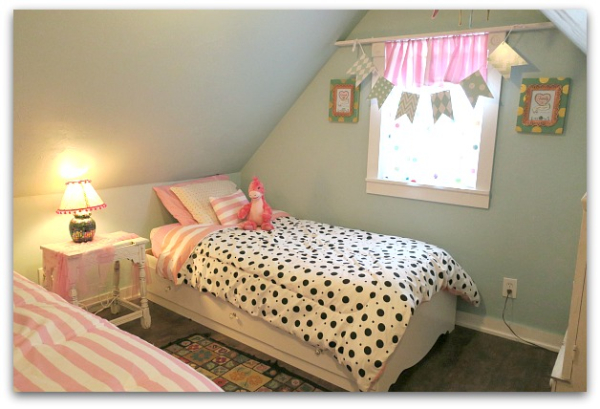
This room was already freshly painted and I thought the aquamarine color was a serene background for a big girl room (although our big kid was still requesting lots of pink).

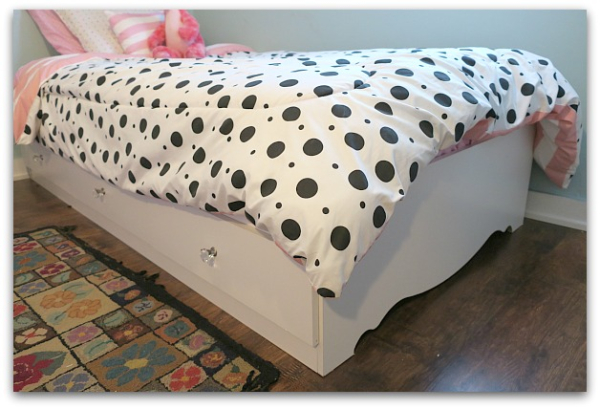
It is a small space, and I still need to use it for guests sometimes, so I had to squeeze in two beds, not just one. I usually shop at garage sales and flea markets, but sometimes when I have to get something of a specific size, I buy new.  And luckily, we have a Nebraska Furniture Mart nearby, where I found a double and a twin sized, space saving beds.  They have no headboards, so fit well in this slanted ceiling room, plus have storage built in, so I didn't need a dresser.
IMG_9194

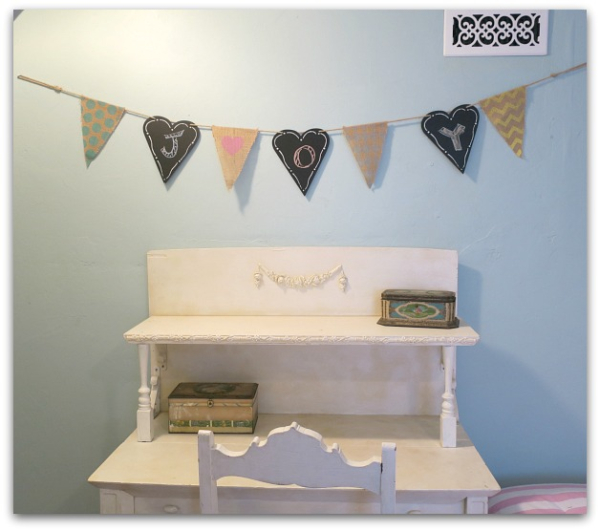
She wanted to keep the desk that was already in the room, to draw at, and has art supplies in the tins.

This chalk board banner was found at Hobby Lobby, and I wrote her middle name, "Joy" on it, but left some chalk for her to change the message if she'd like.
IMG_9201

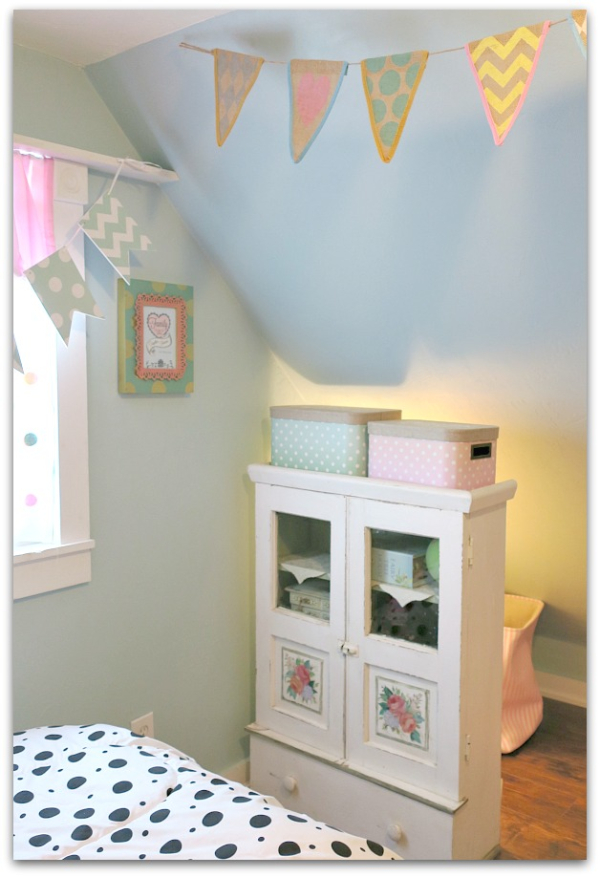
The other banners are from Hobby Lobby too.  The cabinet was moved out of the living room when we started the remodeling.  It fit ideally under the slant of the wall, to form a hideaway behind it.
IMG_9193

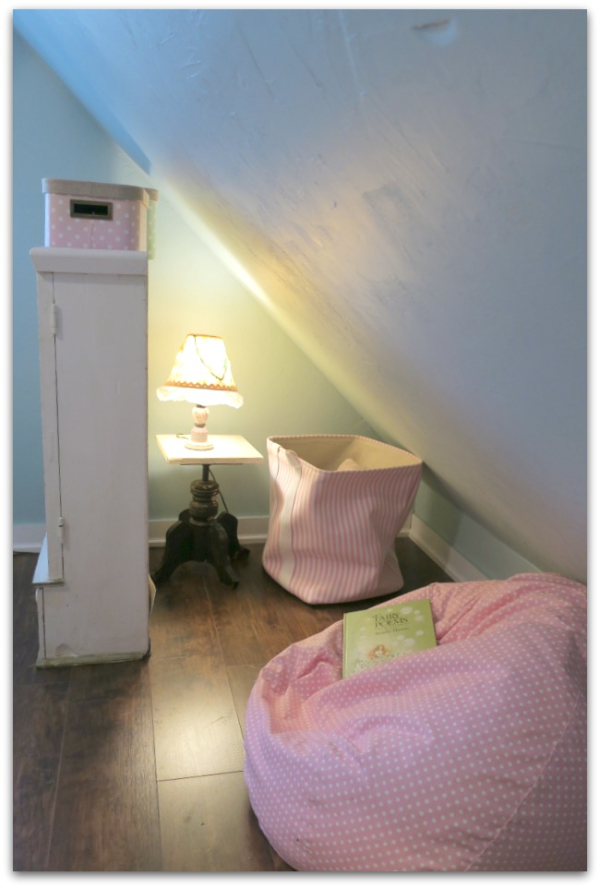
Now she has a cozy nook to curl up in with a good book. 
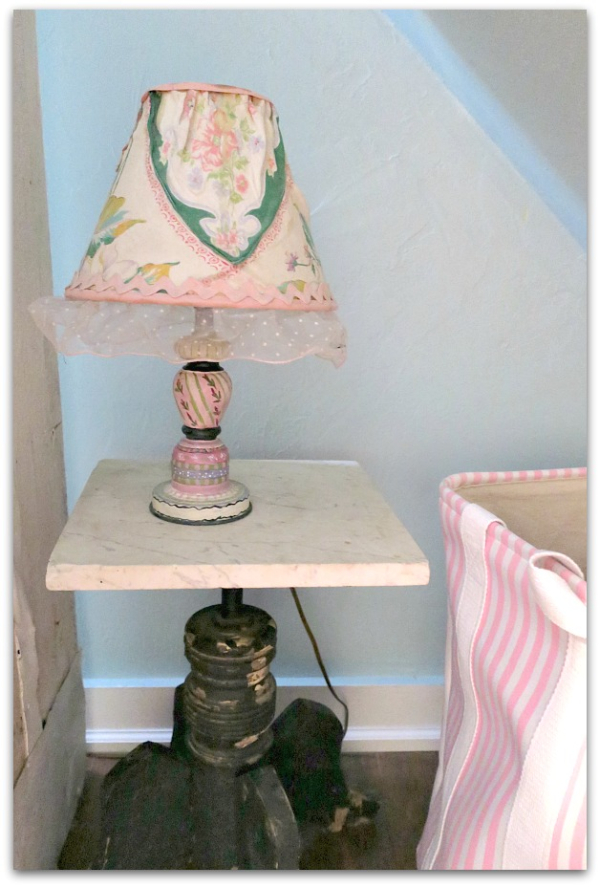
IMG_9202

The  lamp is one I painted years ago. I  might trade the table out and use it in the new hearth room when I find one I like better for here.
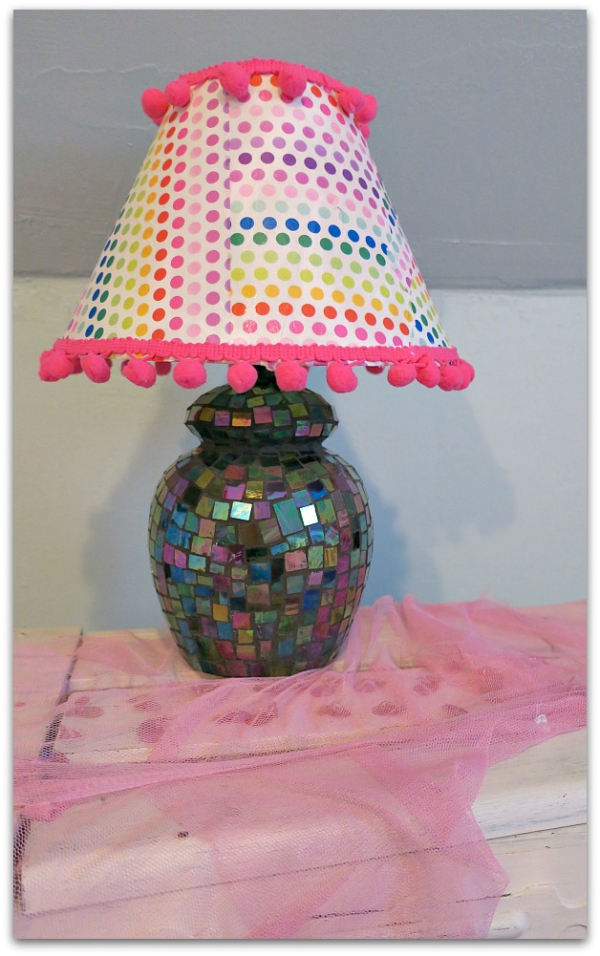
IMG_9198

The other lamp is one that a friend had mosaicked.  I added a garage sale shade covered in polka dotted tissue paper and trimmed out in pom pom fringe.
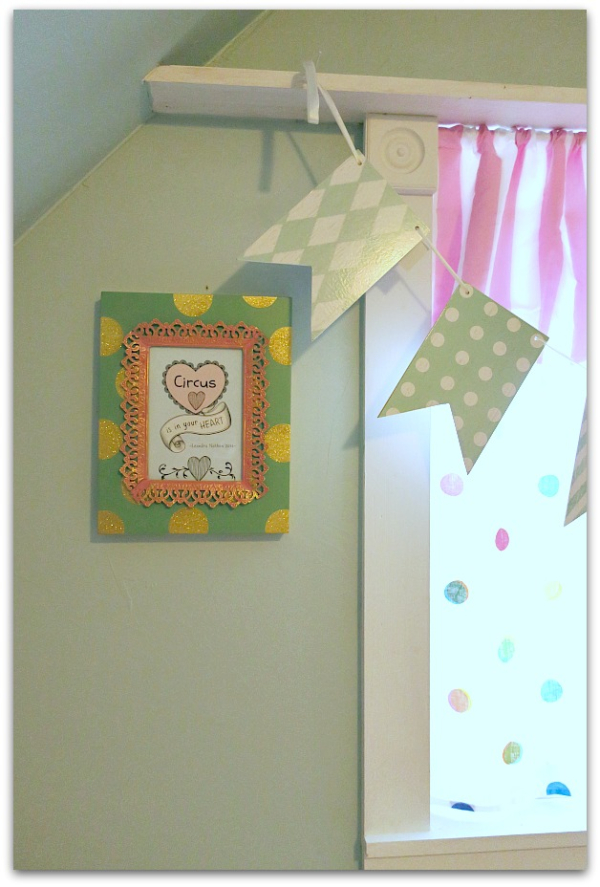
IMG_9200

Her daddy's family has a performing troupe called the "Sacred Circus" and Sugarwings wanted a circus style room, but I didn't want to go too literal with the theme. Instead, we incorporated mismatched polka dots and stripes, with a few banners around the room to give it a big top feel.

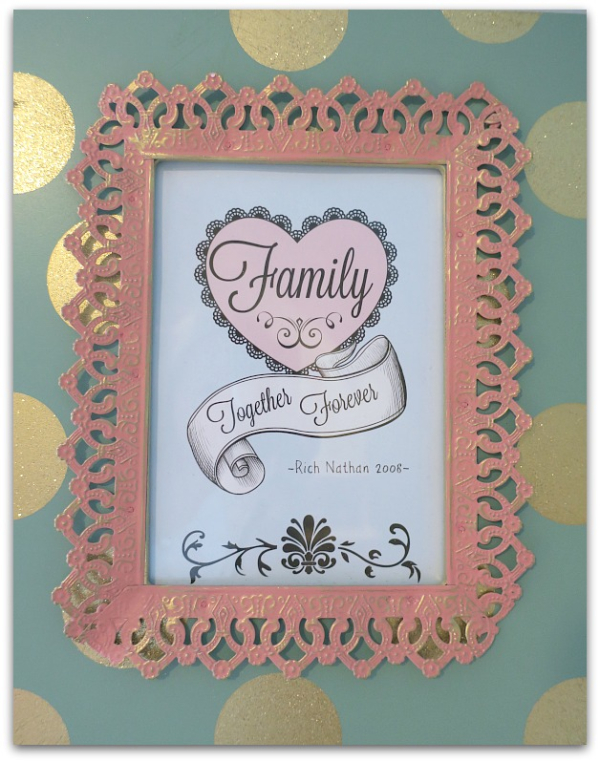
I also hung two framed family quotes. (Created on Picmonkey)
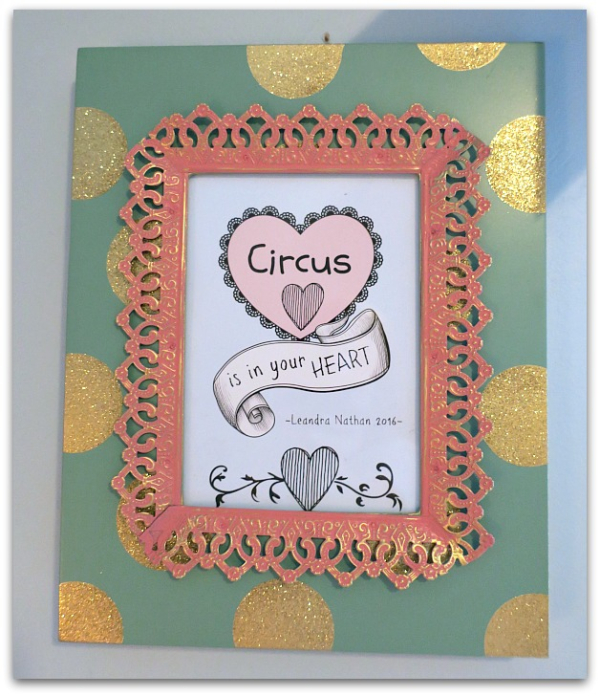
IMG_9190

This one is very special to us all.  Sugarwings said this on stage after this Sacred Circus performance the day of her daddy's wedding.
IMG_9191

And my Handsome Husband made up a song for this little phrase he loves to sing to his grand fairies.  He has us all join in, and link arms while singing it.  The tiniest girls just eat that up. The rest of us groan a little, but secretly, we all find it as adorable as can be.
IMG_9189

Typically, my home is filled with vintagey things, so shopping at Hobby Lobby, TJ Max, Nebraska Furniture Mart, and Ross Dress for Less for furniture and accessories was quite different than my regular garage sale excursions.  It was an interesting challenge and I have to admit, is a little easier than searching at flea markets and estate sales where who knows what you'll find.

I didn't  make much for the room either. I turned a couple of pillow cases into curtains, decopauged the lamp shade, and that is about it. I could've made banners for the room but the ones I found at the craft store were ideal and affordable, so I ignored my do-it-yourselfer's guilt and bought them as is.

Although, I still haven't found a rug that I like, I'm using an antique one for now.

So far, our little one has been taking excellent care of her new room. She makes the bed, then turns off her night light and fan each morning she stays there.  With the heat we've had lately, she has been sleeping on the sofa a lot, tho. This attic room gets stifling.  I've bought a small window air conditioner to install, but I hate to lose all the light, it is a tiny window to start with.  But a hot room is no use to anyone, so it is better to have it a bit darker than not use it at all because of the heat.

The important part is that our lil fairy gal loves her space.  And when her baby sis returns for back to school, she is going to be feeling pretty grown up herself, with a big girl bed of her own, and becoming a kindergartener!
Studio Tour 2016- Where Bloggers Create

cottage, studio tour

IMG_9175

Oops, we almost missed out on joining in on Karen Valentine's annual Studio Tour.

Ya know, you snooze, you lose, right?  But I checked her site and it looks like I can still add myself to the list.

IMG_9159

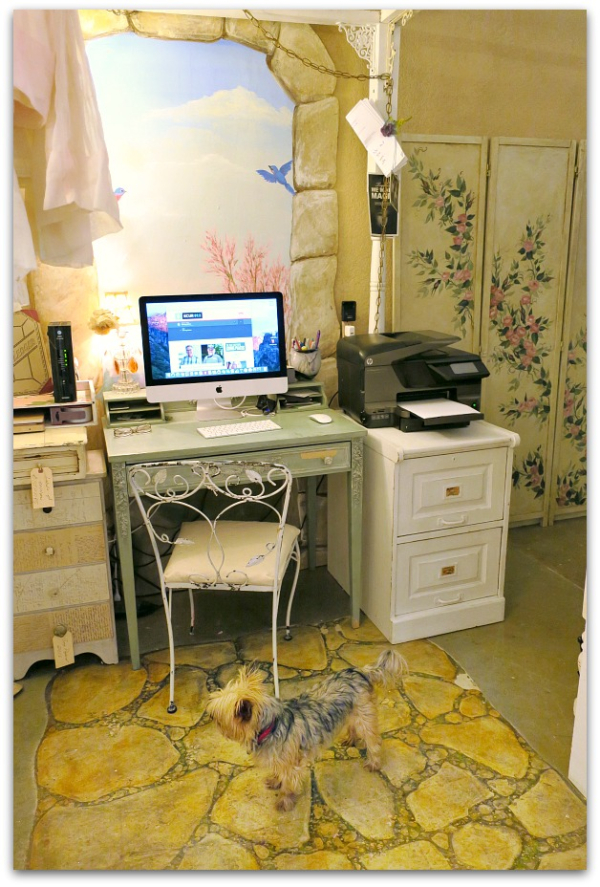
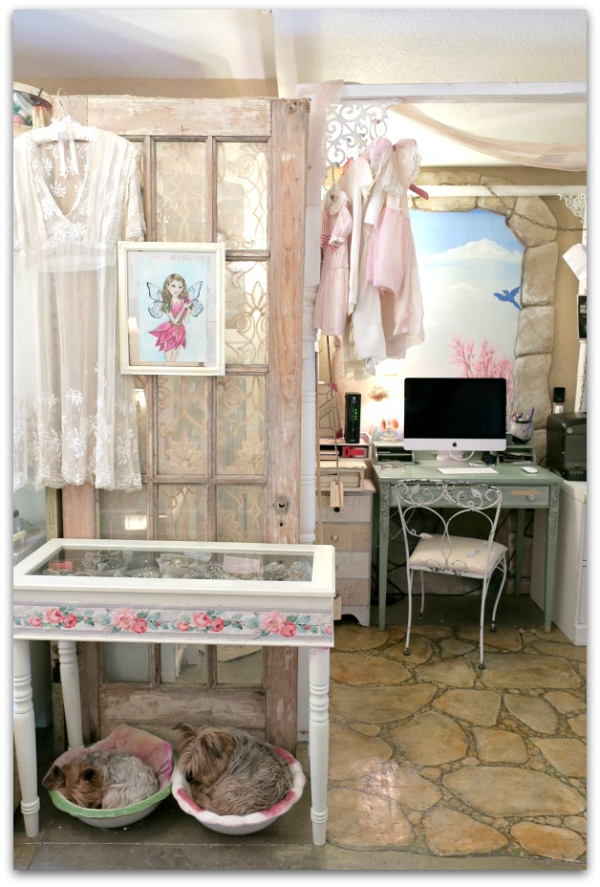
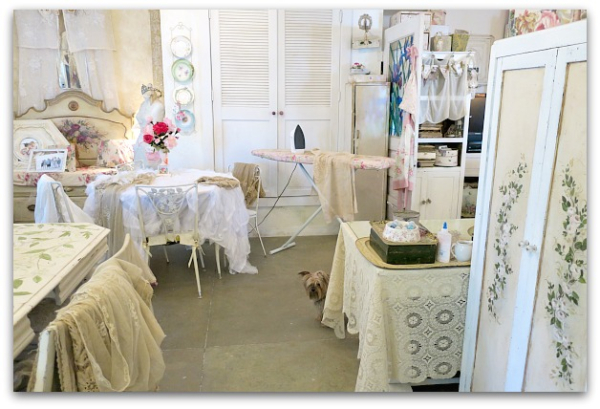
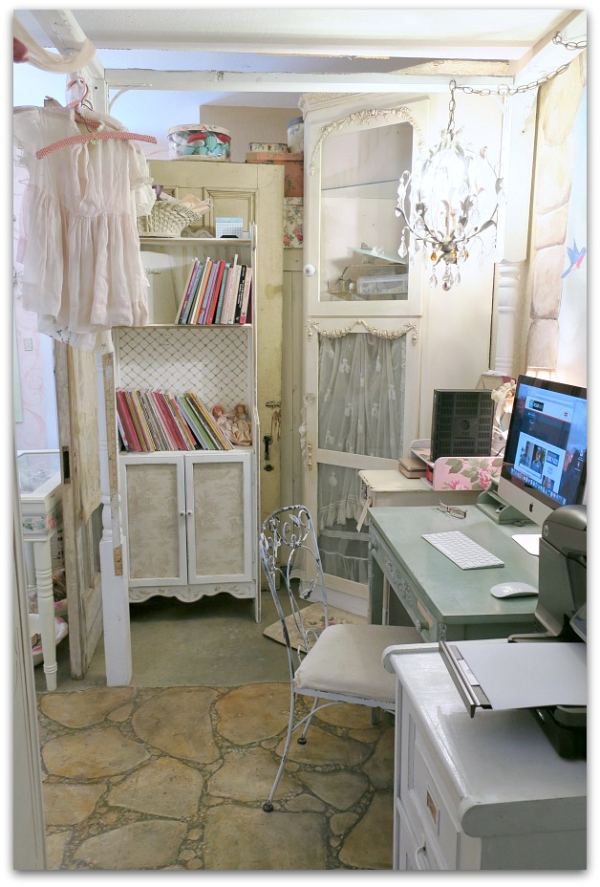
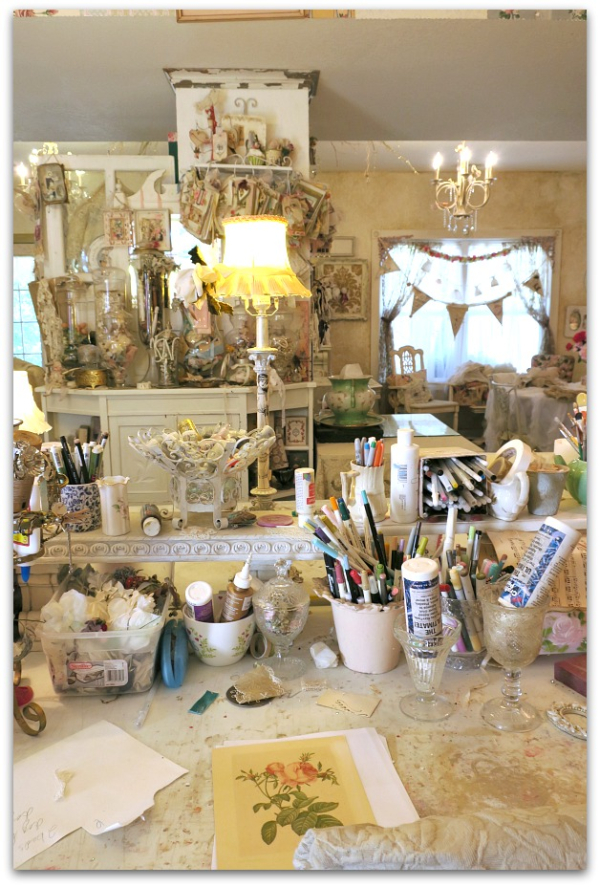
And I even have a few changes to show from past years. Not big ones, but some things did get shifted a smidgen.   Since, sadly, I didn't host Birdsong this year, I decided to enlarge my office space. The whole studio is one big room, just under 1,000 sq ft.  I divide into sections with hinged doors, and large pieces of furniture.  So, the room is rather fluid, and if I decide that I'd like to allot more space to one area instead of another, all I have to do is shift stuff around.

IMG_9176

So, I gifted myself with about 8' of extra room in the office.  Normally, I'm stingy with the desk area, and save all the extra elbow room for seating in the main space.  Since there are no guests now, I thought the space would be nice to make use of in the desk area.

The bluebird backdrop is painted on plywood and usually, it sits by the treat cabinet and serves as decor for my Peeps at Birdsong.  Since (very, very sadly) there was not an art event here this spring, I thought I needed a bluebird view to cheer me up and moved it to sit behind my desk.

Very cheerful!

IMG_9185

And the poor treat cabinet is looking lonely, since I haven't had company to feed. It is being used for storage, not goodies right now.

IMG_9164

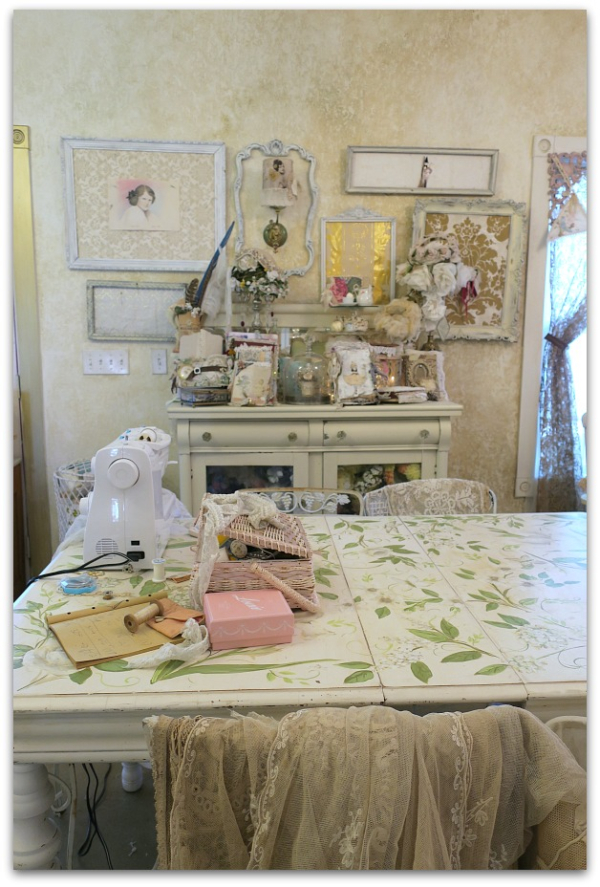
Well, this isn't typical, but for now, the studio is set up for sewing.

YUCK

I really do not like to sew. But…. sometimes it is the solution to a problem.  I'd bought a boxful of old lace curtains at an estate sale (for $6!) and wanted to make them fit the windows in the new room we are adding onto our cottage.  

IMG_9165

The sewing isn't going well, but I'll get there.  There have been a lot of breaks to save my sanity.  Too much sewing is rough on me. 

IMG_9167

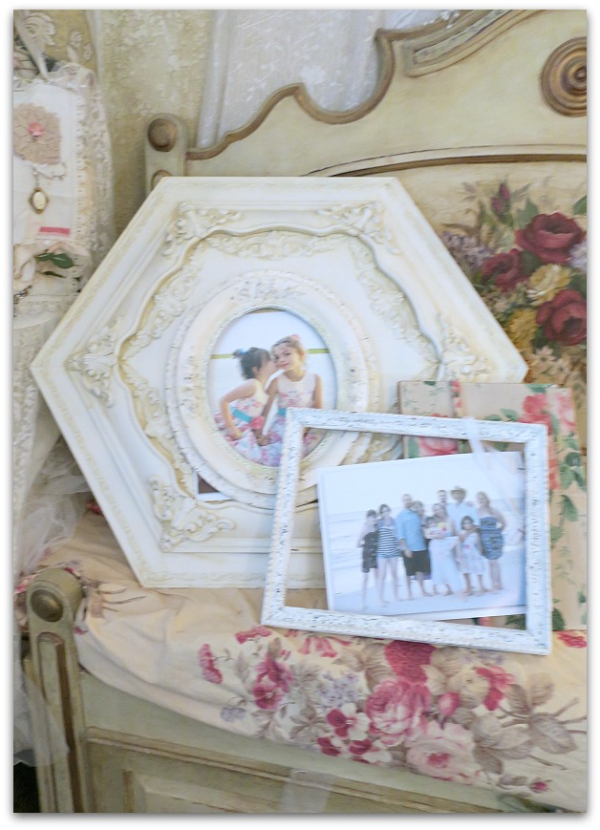
I've been painting frames and getting family photos into them to hang in the new room too.  We will have a fireplace and mantel!  That will be a great spot to display some special pictures.

IMG_9183

Another job that I need to tackle is recovering this ($30) chair from a garage sale. I'll be painting the wood too. Lately, I've been recovering some other seating, and have painted a couple of tables.  

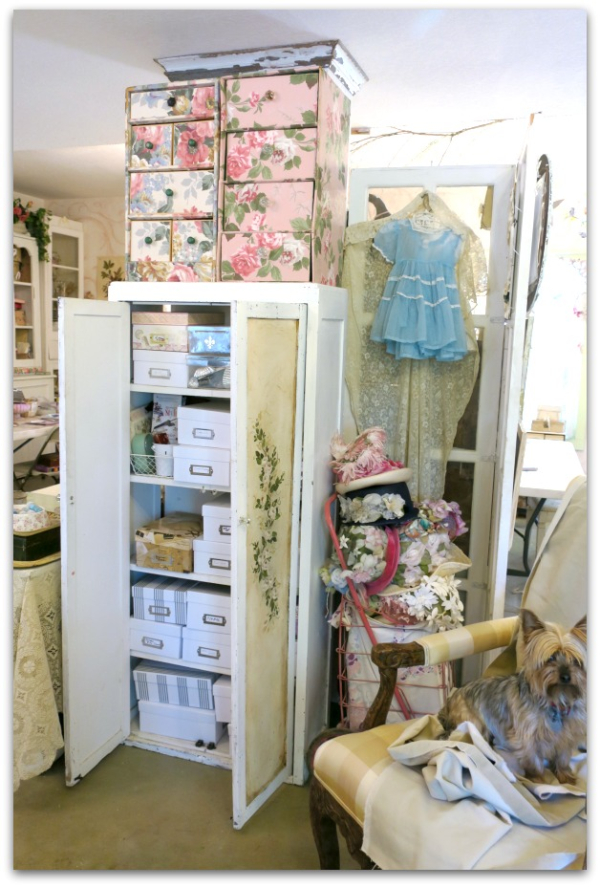
Packing up the living room and kitchen had me in the swing of organizing and spent time going through each cabinet in the studio to straighten and edit the contents.  While at it, I boxed and labeled all of the supplies in this one!  Can you hear the sound of me slapping myself on the back? I'm pretty pleased with the outcome. And in the last couple of months, it has stayed nicely sorted.

IMG_9158

The corner cabinet was moved from the kitchen to the office, that is what started all of the shuffling out there.  My son built this cabinet for me, and while I loved using it as a china cabinet in the kitchen, I think I'll like it even more out here.

IMG_9180

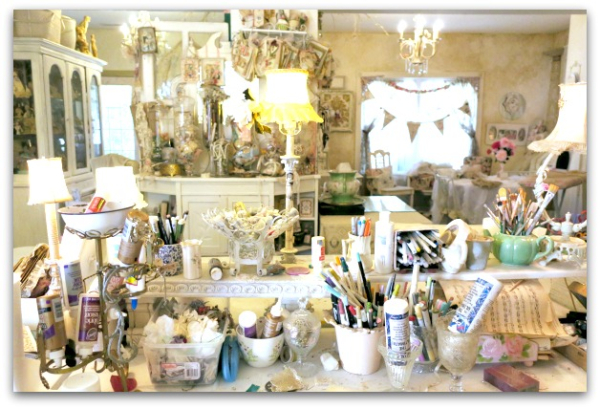
With all of the redos going on, I'm afraid that I've neglected my regular work. I look forward to getting some time at my craft desk soon. Here is a view from my workspace. I miss it!

IMG_9178

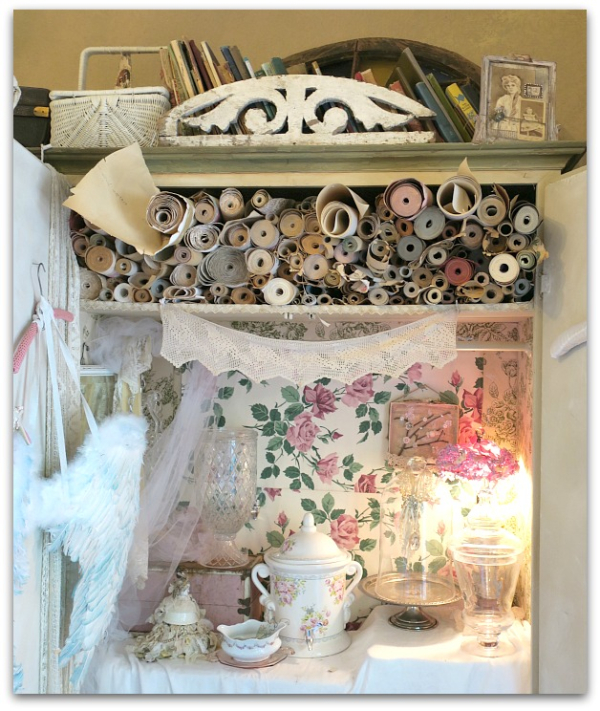
This is kinda new too.  The cabinet on the right was a wooden one in my office area, and I covered it in some of my very favorite and vintagey wallpaper, then moved it to my work zone to keep supplies in.

IMG_9172

As you might notice, I have a collection of these style cabinets. About half are original, the rest are newer ones that I've covered in old paper.

IMG_9162

Of course, in my opinion, any storage is better if covered in old wallpaper.

IMG_9163

Thank you for stopping to look. And have a good time on the rest of the tour, you can find the link on Karen's blog, here.  It is her 8th annual Where Bloggers Create Studio Tour. Thank you, Karen for hosting again.

IMG_9168

IMG_9169

IMG_9170 IMG_9171 IMG_9179 IMG_9187 IMG_9188


In the breezeway

cottage, dogs

IMG_9131

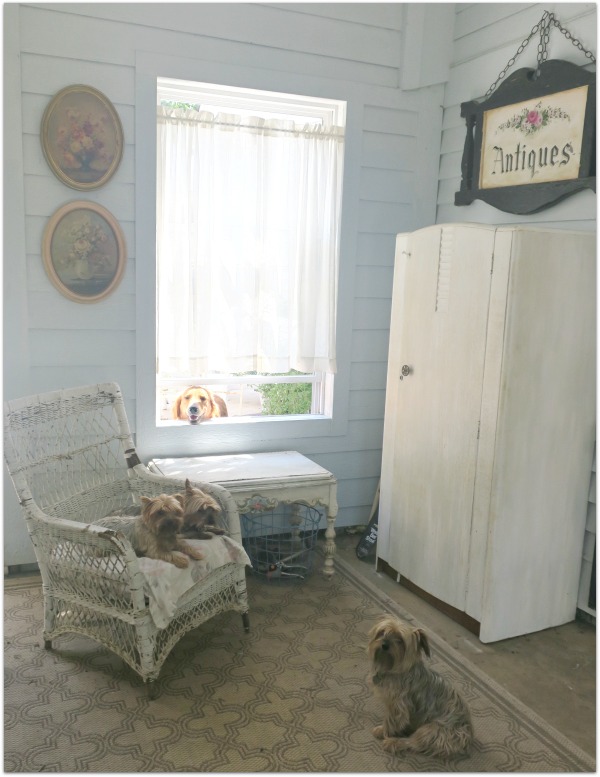
The breezeway of our home connects the main (old) house to the addition with my studio, my husband's office, and our son's apartment.  It is the room that every one sees, the central entrance to all areas of the house.

Yet, it has gone to the dogs and cats.  We feed the cats in there, up on top of a cabinet so that the dogs can't eat their goodies. And we leave the window open a few inches, with the screen removed so the kitties have easy access to the room. We learned the hard way to leave that screen out, those cats are insistent about being let in, if there is a screen barring their way, they rip it apart.

IMG_9128

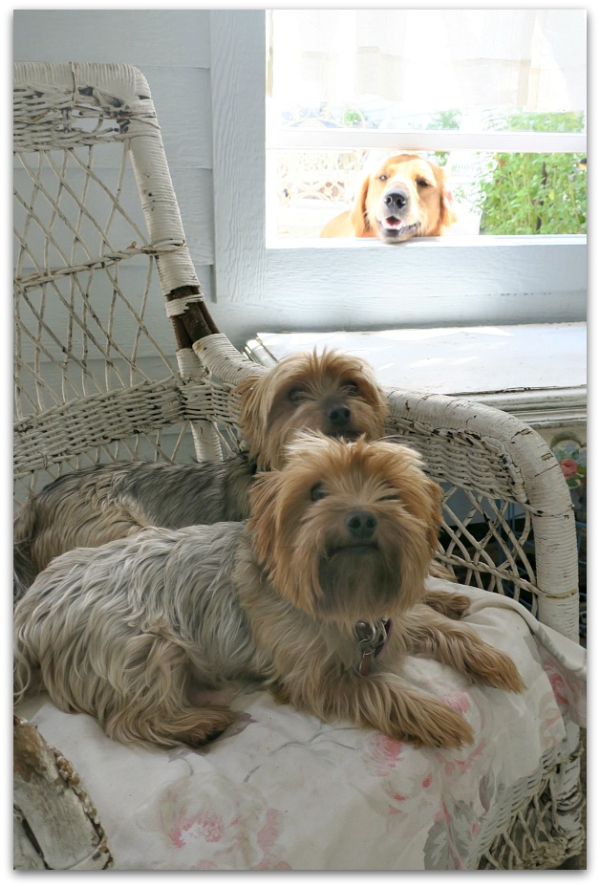
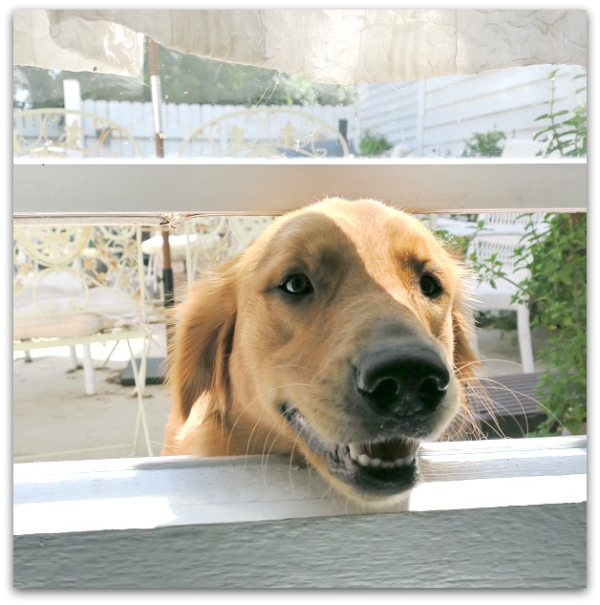
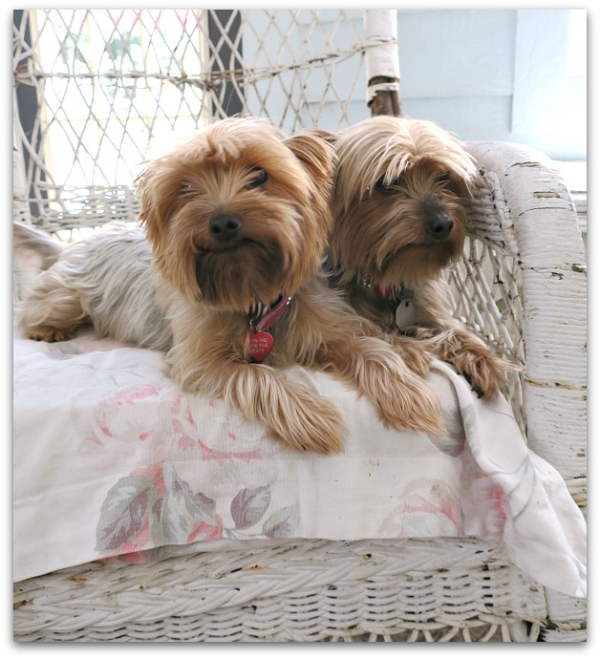
The little dogs hop in and out of the window too, but Honey is too large. Although that doesn't stop her from trying.  Whenever I walk through the room and see her poking her head through the gap, I always say, "Hello, Mr. Ed".    (Remember the palomino who had his head through the top half of the barn door to talk?  ooh, I've really dated myself with that reference)

IMG_9127

This is also the room where the muddy shoes, rakes, tools, and toys end up. Along with wheelbarrows of firewood in the winter.  It has become more of a mudroom than the breezy patio room that I had envisioned.  Too many items pile up, as people go in and out of the house.

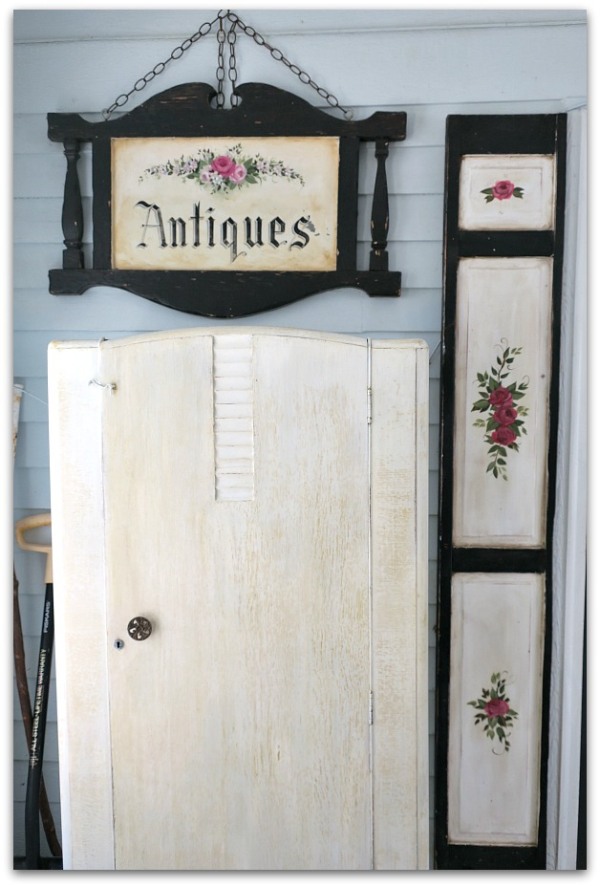
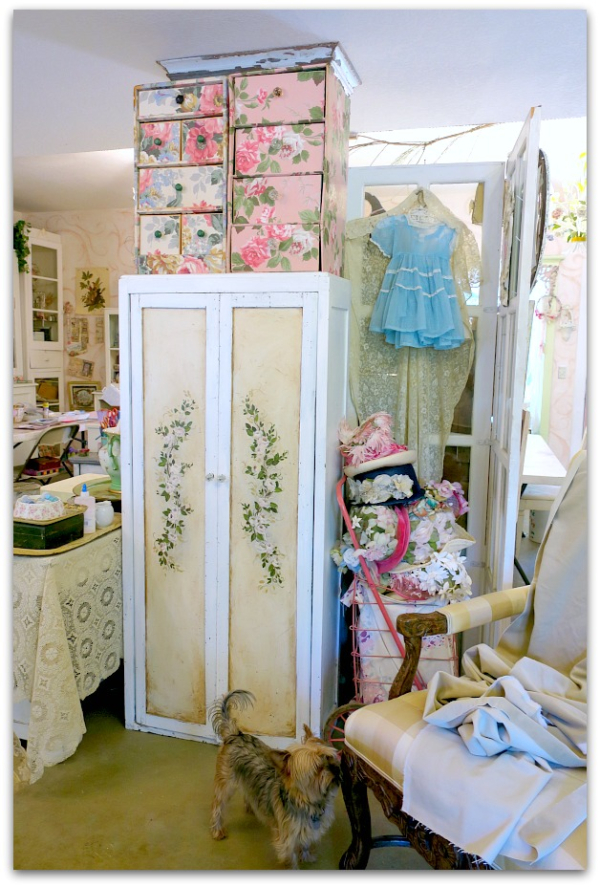
 But, in the last year, I smartened up and placed a couple of cabinets out there to hide at least a percentage of the clutter.  And recently, I finally got around to painting this large wardrobe. It's wood stain stood out too much in this space.  

IMG_9130

Much better!  (You can see a before in this post)
IMG_9133


A trip to Crown Center

Sugarwings

IMG_9074

Sugarwings and I had a blast at Crown Center this week.

IMG_8395

We took in some theater.

IMG_9092

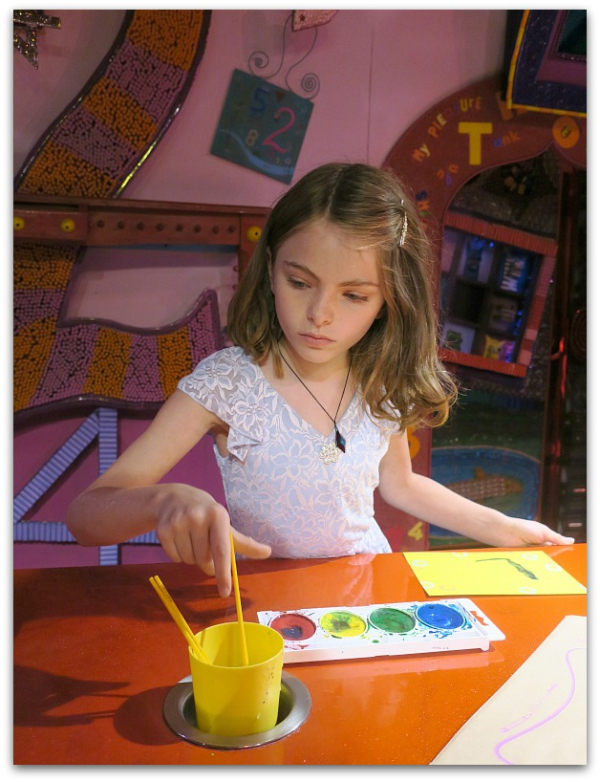
And dabbled in art.

IMG_9113

Our Madagascar tickets were only $12 each, and Kaleidoscope is free. So was the interactive Mr. Potato Head exhibit.  Even the parking was free. You can't beat Crown Center for high quality entertainment for kids at very affordable prices.

And where else can you paint with hot, melted, glo in the dark crayons?

IMG_9106

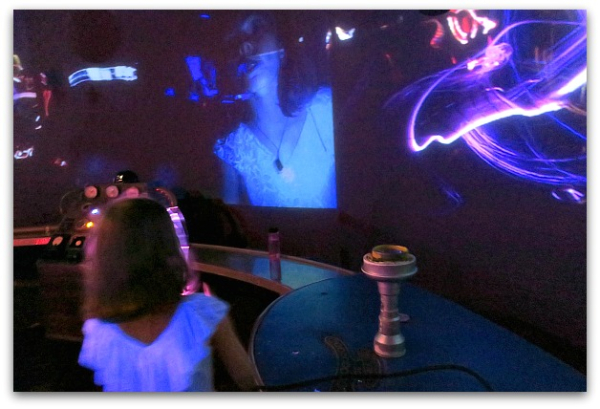
Or draw with light filaments?

IMG_9104

She also got to take photos of herself, and layer them on the wall, about ten feet high.  That was a bit creepy, (or Cweepy, as Dewdrop would say) but fun to mess around with.

IMG_9114

So was turning ourselves into a human kaleidoscope.


Enlight1

We topped off the day with a picnic by the pool at Lionsgate.  

Seriously, a day cannot get any better than this one.  Well, unless Dewdrop could be along for the day, that would have elevated it even more.

IMG_9082

Yep, we had a lot of smiles going on.

IMG_9087

IMG_9076

Have a seat

cottage, Dorkies (Yorkshire Terrriers), Hand Painted Furniture, Hearth Room, Kitchen remodel

IMG_8365

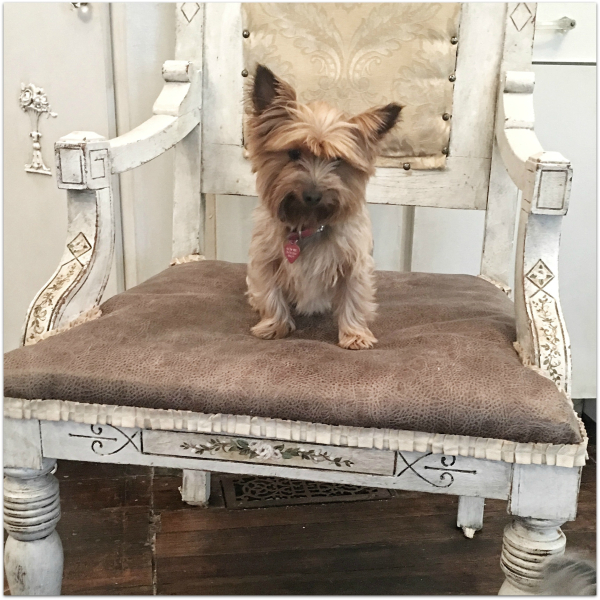
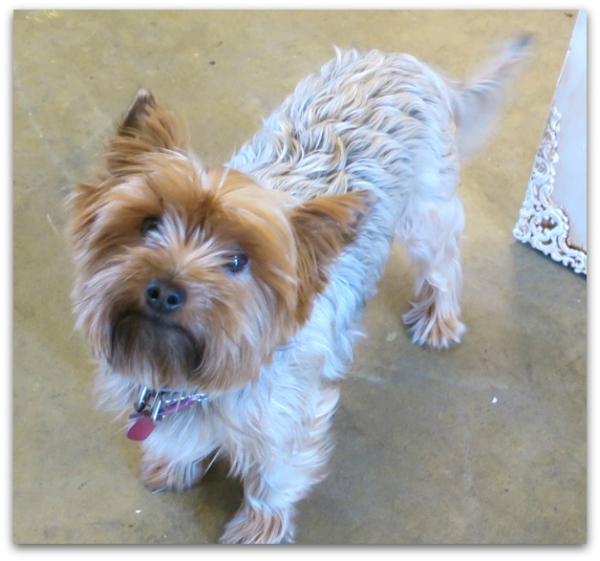
Dorothy is happy to be back and to resume her role as blog model.

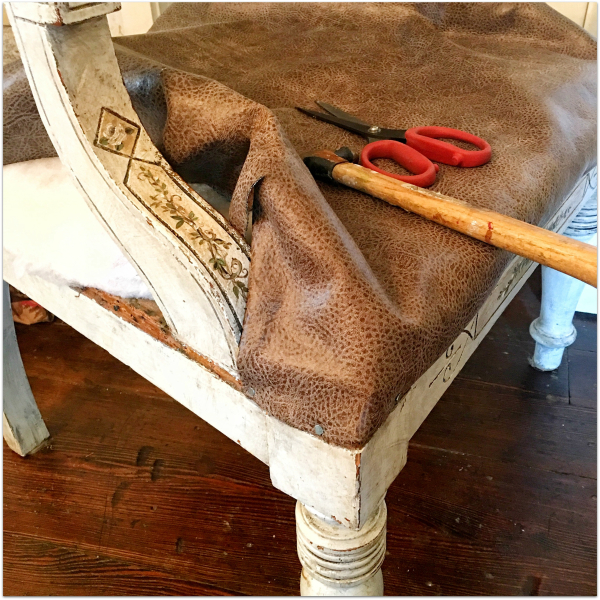
This chair has been needing a new seat for, well, way, way too long. It is Sugarwings' seat at the dining table, and she tends to be…a messy boisterous diner.  The original seat was quite ugly, and I hated it from the minute I saw it, but it didn't show the results of her dining mishaps.  I'd made a seat slipcover to use over it when company came, but didn't leave it on all of the time, because it was light colored.

IMG_8360

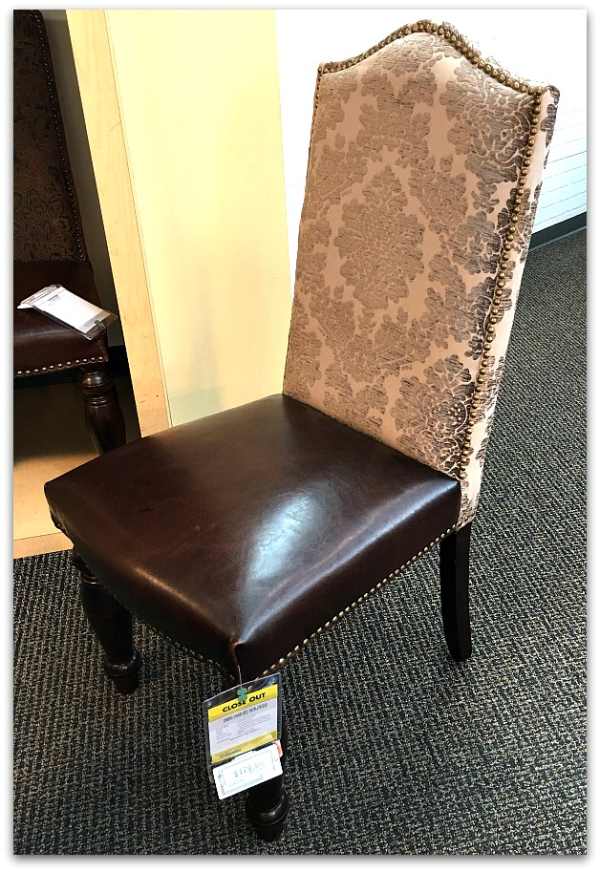
When I saw these chairs on clearance at Nebraska Furniture Mart, I was inspired to recover Sugarwings' seat in a faux leather look, to compliment this chair, which I bought for the other end of the table.

IMG_8364

Hancock Fabric is going out of business, and I got the cloth for 75% off, and a ruffled trim for  an 85% discount.  The two chairs don't exactly match, but I prefer things that blend nicely, not match perfectly.  The other chairs are a mix match too, but I'm considering covering the seats with this 'pleather' stuff.

IMG_8357

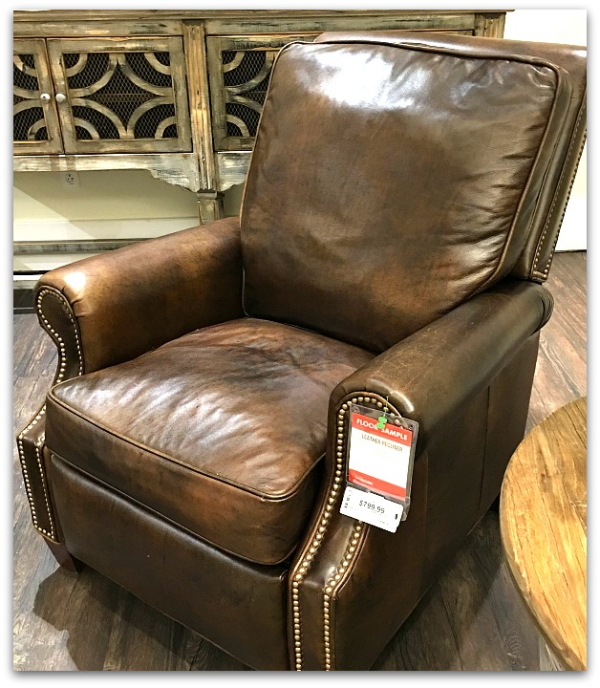
The kitchen/dining/living rooms will all be open to the new hearth room, where two of these genuine leather recliners will sit in front of the fireplace.    The home will still be mostly whites and creams, but I'm looking forward to adding these darker, more rustic elements of leather, especially in the hearth area.

I'm not a fan of recliners, but my husband is.  And the fireplace is his dream.  So I searched high and low to find a couple that we could both live with.  While I'd prefer some cushy, velvet seats with plush footstools instead, I have to remember it is his space too.  And don't you think that this recliner is less recliner-y than most? It reminds me more of a leather club chair than a typical recliner, so I think I'll like it. 

Maybe with a soft throw over each, and a distressed, white table between them?  Oooh, and an alabaster lamp!?

Plus, they were half price. Well, at least the floor model was, and the salesman gave the second one to me at the sale price too!
IMG_8372

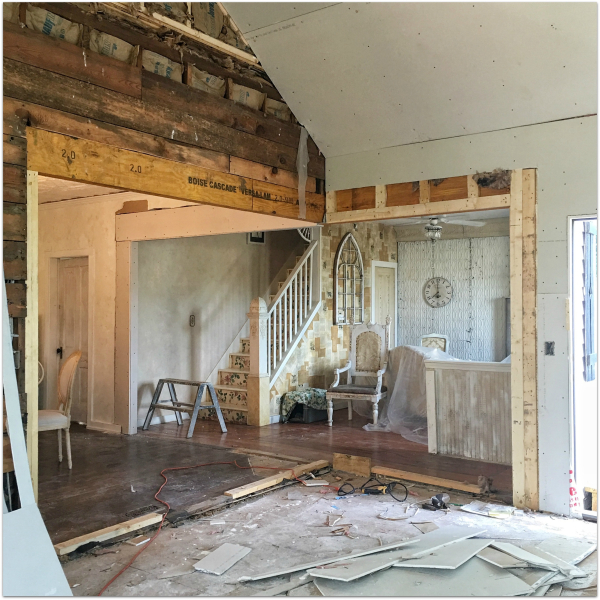
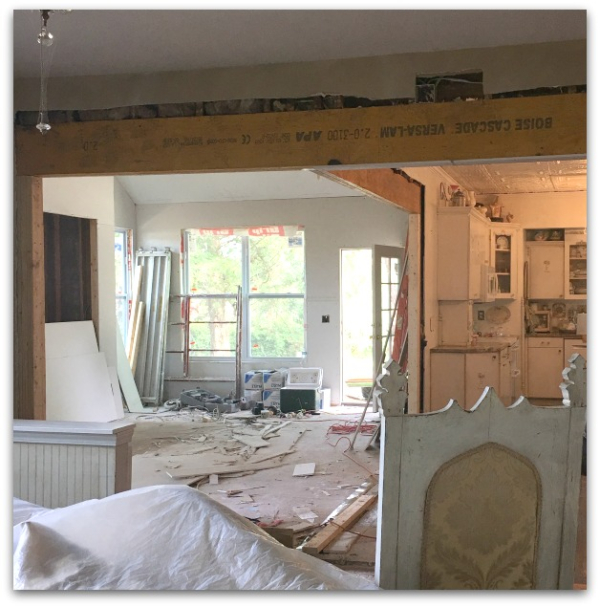
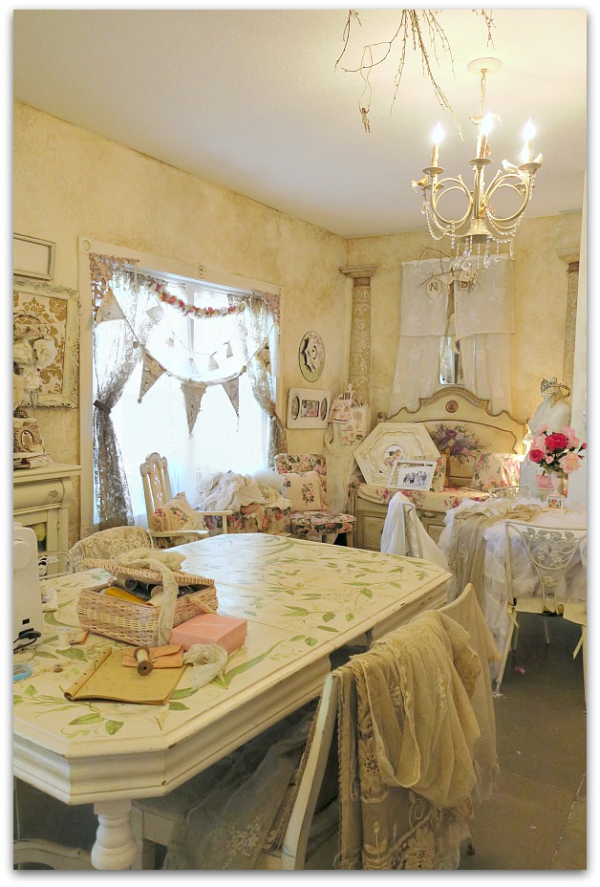
See what I mean about how open it will all be?  When the deconstruction started, it was a gamble, not knowing if we'd be able to have it this opened up or not.  Old houses can be tricky and the builder told us we'd have to see what was in the walls before he could say for sure whether it would require supports or not.  

But we lucked out and the room will be finished as we'd hoped.

Now, to pick out paint colors. And from looking at this photo, I think I need to redo the wallpaper on the stairs. In the past, you couldn't see the roses on the risers and the text on the wall next to them, at the same time. Now, from the new room, they are on full display and look a bit busy together.


IMG_8371 (1)

There is a lot of work ahead, but I can feel it coming together.

Look who is back!

dogs, Dorkies (Yorkshire Terrriers), yorkies

IMG_9045 (1)

Dorothy Rosebud left us months ago, due to her phobias of the momma cat and Honey's playful puppyhood, that both left her trembling in fear. And crying out.  Sometimes, she would get a glimpse of Honey and start shrieking. That squeaky toy noise got Honey's attention and she would run right at the tiny, little girl. Then, poor Dorothy would hide in her cubby hole under the stairs for 8-10 hours, not coming out even to potty.  

She was terrified of life on the farm.

My pal, Beth offered to take her in and love her. Beth and Jeff did love her, but due to a problem that developed  with her brother Button, one of Beth's other dogs, little Dorothy Rosebud had to leave their home.

At first, I was afraid I was in for more heartbreak. That Dorothy would be too scared to be here with us. I made a call to another friend who could care for her.

But while this little girl was away, she developed some confidence.  Honey grew up, and is more under control. The momma cat's kittens no longer needed her protection. Things felt a tad bit safer here for a tiny dog.   No one was picking on her.

She's been back in my arms for a week now and I am thrilled that we kept her.  And grateful that Beth kept her safe til it was time to come home.

Sometimes I like chalk paint, sometimes it isn’t the right tool for the job

cottage, Hearth Room, Kitchen remodel

IMG_9037 (1)

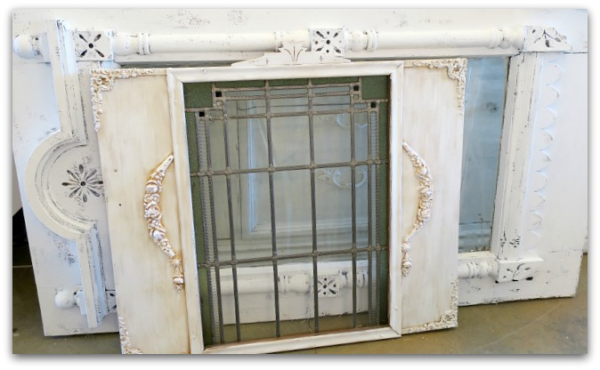
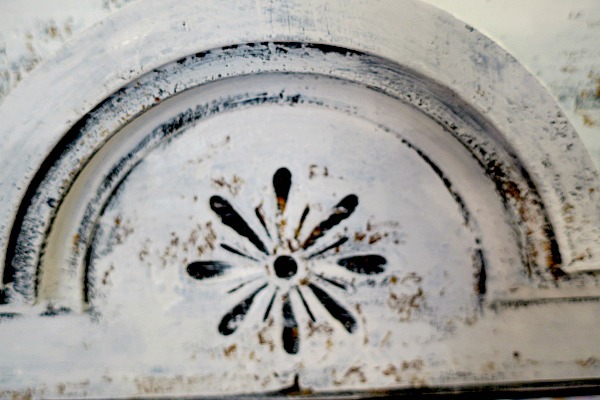
Here are a couple of pieces I am tinkering with to use in the new room we are building. The one in the back is a heavy, Victorian door, or at least a partial door (laying on its side here). About the bottom 3rd has been cut off.  It has a big window in it that I want to put a picture in, then hang the door over the mantel.  My contractor has promised to put a strong anchor in the stone to hold it for me- this is a hefty hunk of wood.

IMG_9003

I was so impatient to get the project started that I didn't get "before" pics.  Although, I did grab my camera to snag a "during" photo.

While I have often complained about the explosion of the the chalk paint trend (to me, it is right up there with the gluten free fads that have swept the country) I do believe there is a time and place when chalk paint is a good idea. It just isn't the only paint in the world you should use ALL THE TIME.   

IMG_9004

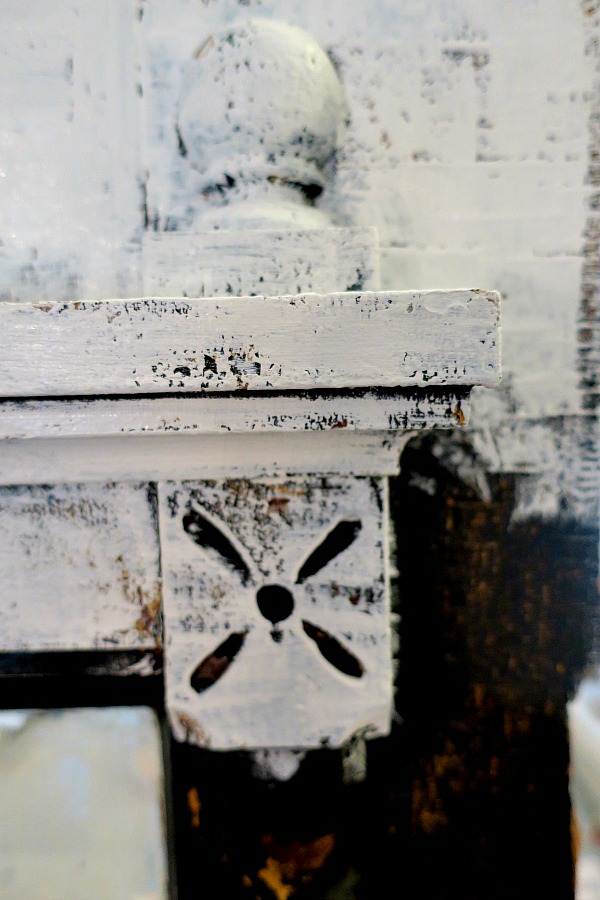
This door is a perfect example of when chalk paint comes in handy.  I wanted to dry brush over the existing finish to allow all of the bumps and alligatoring that developed over time, to show through. If I'd had to sand or prime, I could have lost a lot of that wonderful texture.

Later on, when the picture I decide upon is ready and behind the glass, I'll show the finished door.

IMG_9030

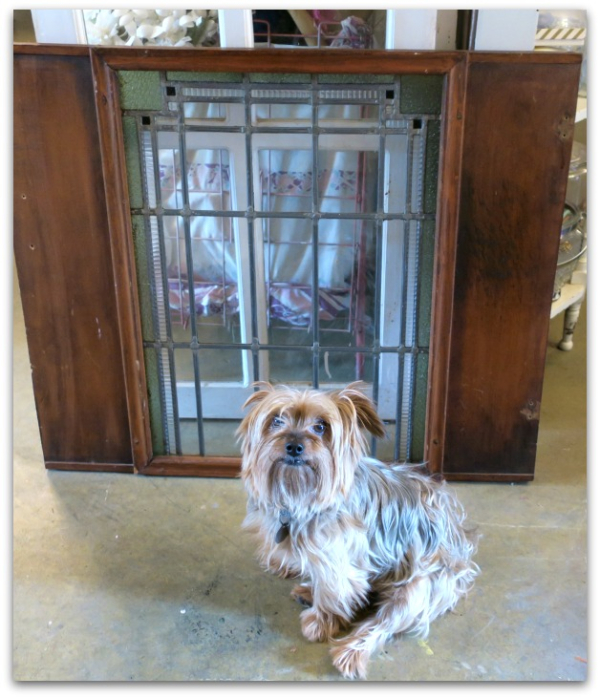
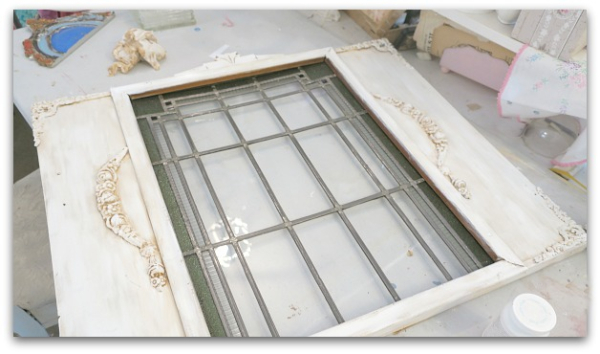
The other piece is also a door, this one is from a shelf/cabinet thing.  The door was a bit awkward to open and close because it is so wide. To get to a book off of the shelf, you'd have to step back to swing this big door wi-i-i-i-i-i-de open.  

It is much better off removed from its cabinet.  I'm giving the doorless shelves to my son's family and I'm going to hang the stained glass door on the wooden wall of the new room.

IMG_9046

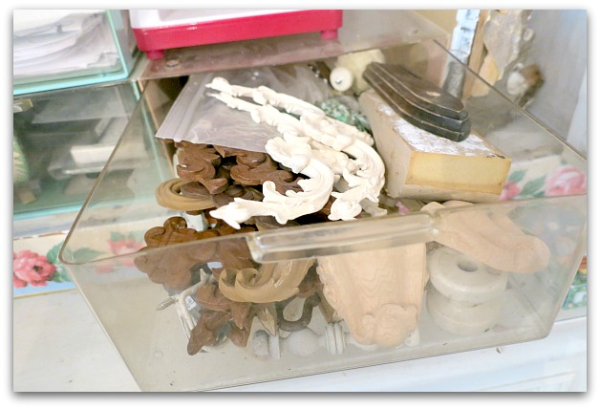
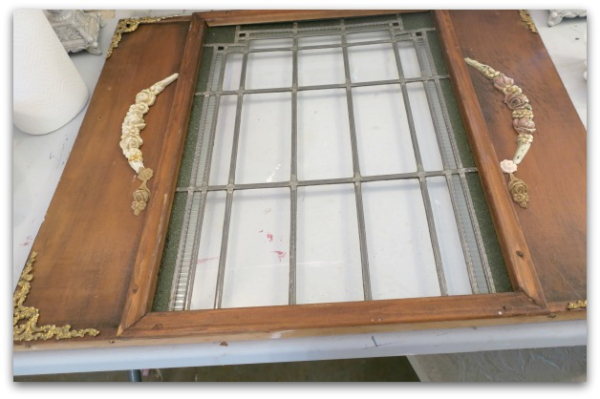
At first, I was going to cut off the two blank, side panels.  Then, it dawned on me to look through my treasure drawer to see if I could find anything to foof those side panels up.

IMG_9047 (1)

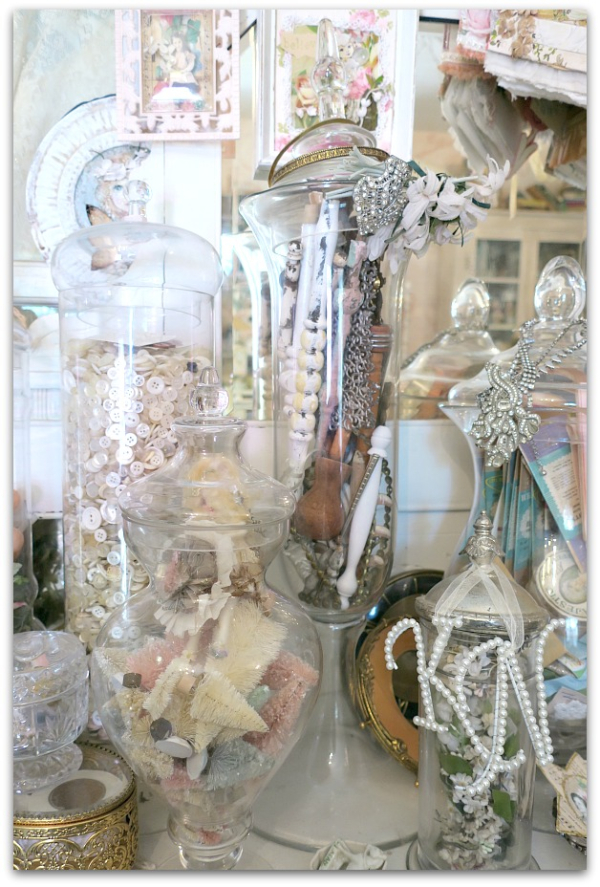
Between the drawer and this apothecary jar of goodies, I had enough trims and doodads to arrange and rearrange til I came up with something I liked.

IMG_9034

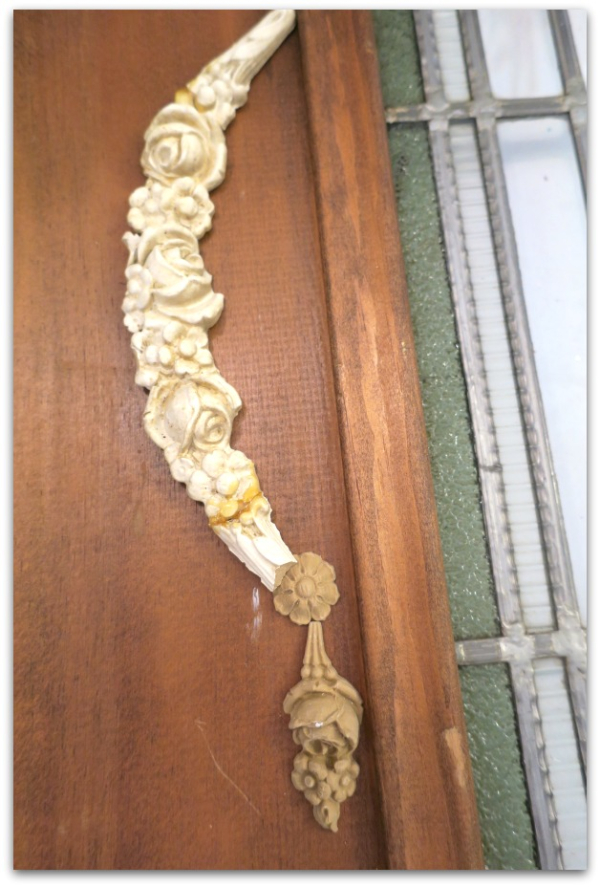
There were a couple of rose garlands leftover from my kitchen cabinets.

IMG_9033

Along with metal corner brackets, and a simple, wooden top piece. It didn't matter that I was using wood, metal, and resin, all were going to be painted after gluing down with paintable silicone.  This is the perfect glue for 3D trim pieces, it fills in the gap where the two pieces meet.  

IMG_9035 (1)

See, once painted, all of the bits and doodads looked great together. And I was glad that I had left the frame large instead of cutting the window out.

IMG_9036

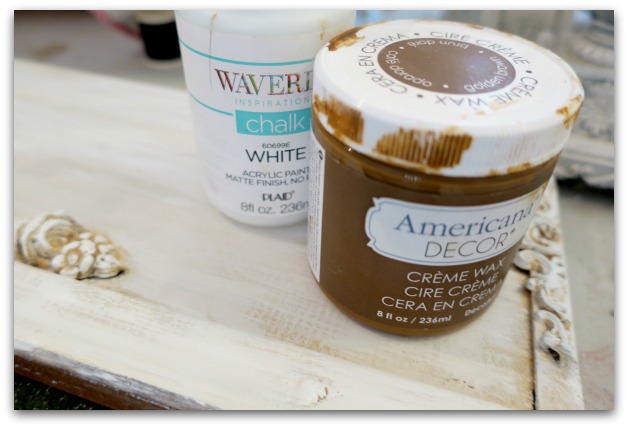
Once again, I used chalk paint.  But not the full price, break the bank kind. I got this from the craft store with a 40% off coupon.  I've never tried the aging wax before, but thought I'd give it a shot.

In my estimation, it is much, much, much harder to control than glaze. Glaze colors can be diluted for a softer look, and have a longer working period to wipe off some of the color.

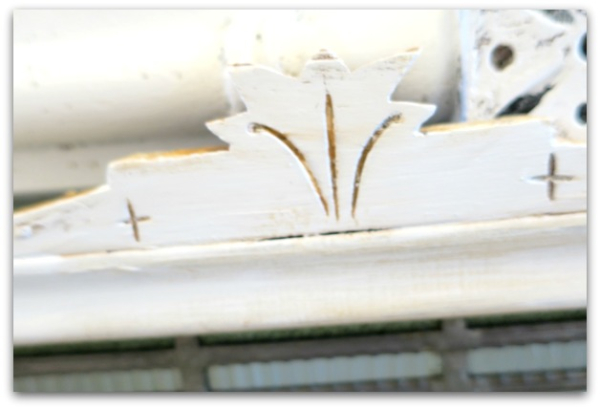
Actually, I disliked using the wax.  It went on too heavy and wouldn't wipe away like my beloved glaze tones do. I ended up dry brushing more white chalk paint over the wax to lighten it back up. Now I guess I need to seal the paint again, huh? 

So, in this case, a bonding primer, a coat of paint, and some glaze would have been quicker and easier than messing with the chalk paint, wax, more paint, then a topcoat.

IMG_9039 (1)

Either way, this was a small project and one more step didn't take that long, so I'm not complaining. I'm pretty happy with how it turned out. 

Now, I need to pick a paint color for the wall it will hang on.  The room is progressing!

Scroll to Top