Recently, I gave my husband's office a spiffing up.

Rich travels a lot for business, but when not on the road, he works from the room above my studio. It is trimmed out in wood salvaged when we had to tear down our 100 year old barn, and I'd had an accent wall painted this bittersweet color.
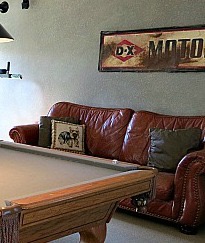
Which looked fine with this leather sofa and pool table, but those moved on to other places and he now has new furniture and has exchanged the pool table for gym equipment.
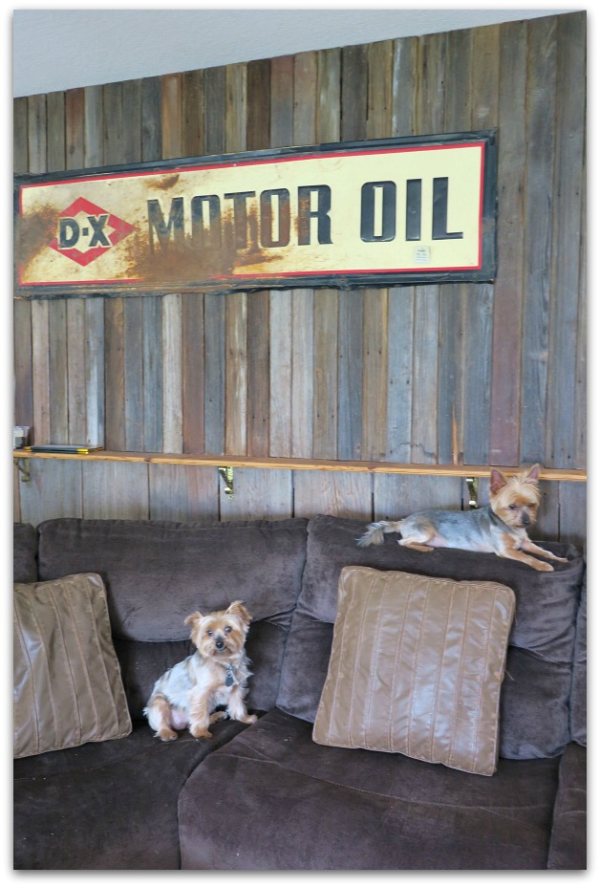
Once he picked out this charcoal sectional, I couldn't stop thinking of Halloween every time I came into the room when I saw it with the orangish wall. (I preferred the leather sofa, but it is his room and he wanted a giant TV with a series of recliners built into a sofa).
The orangey wall was getting dinged up, with glaring white drywall showing through. It had been time to repaint a long time ago, but was never convenient. Because I wanted to do it while he was away so I wouldn't bother him at work, and also, he had to move everything out of the way for me, printers and charts, and other work stuff that I didn't want to mess with.
(This picture is of the barn wood wall, that my son put up when our barn came down, the rusty sign is from Rich's grandfather's old filling station.)
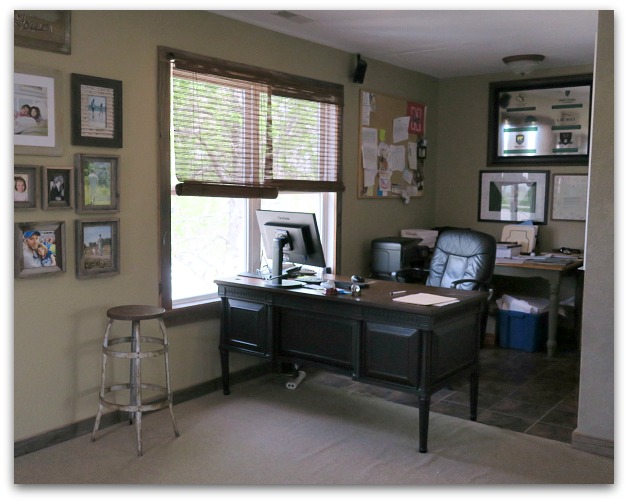
Eventually, our schedules meshed, he got the stuff out of the way, I got to painting on it. Two hours later, I was done. Why wait years to get around to doing a two hour job????
The room is much fresher and brighter now, with no lingering Halloween goblin feel.
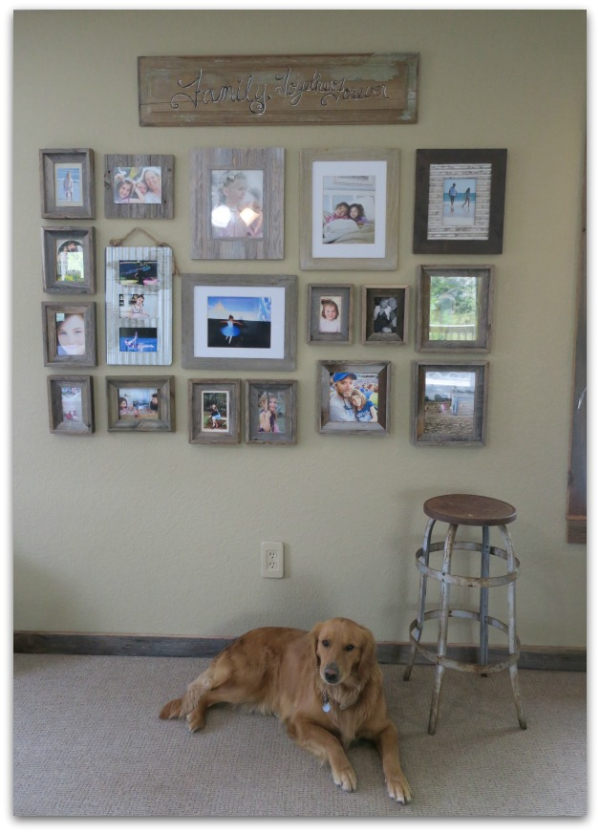
I also redid his pictures, put all of the work related things behind the desk, and did a big gallery wall grouping in rustic frames as the main focus when you walk into the room. All the pictures are from happy moments in our lives, not just school pictures or formal shots. That theme went well with the farm house feel of the space.
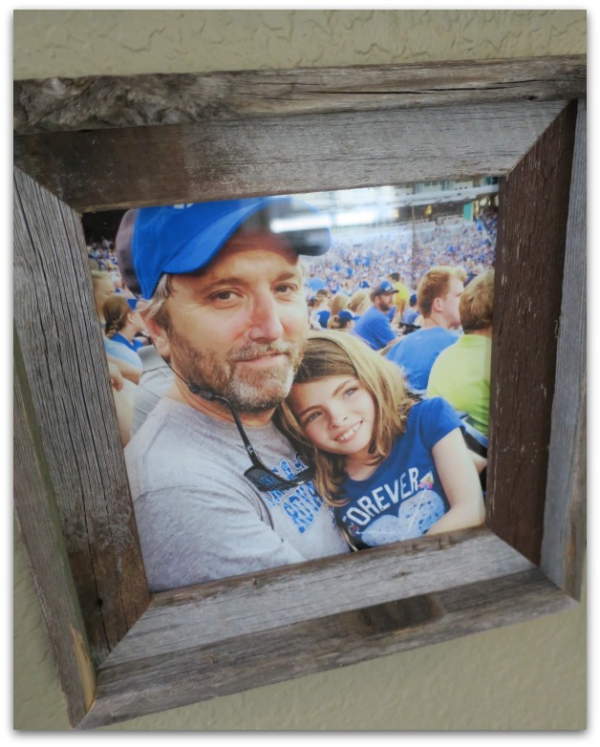
Each picture tells a story of a special day.
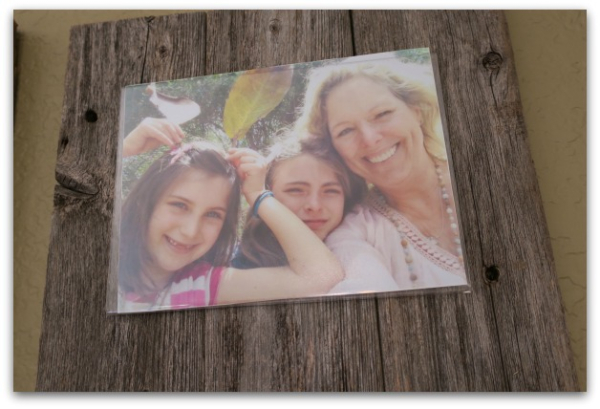
I'd already had a few pictures hung up in there, but didn't have a complete set of matching frames. And they'd not been hung well, were kinda wonky and often tilted. This time, I made sure I had the right hardware to hang with, and I think I'll pick up some of that sticky stuff to put behind each one to keep it from sliding sideways. That hasn't been done yet, so they do tend to drift a tad for now.
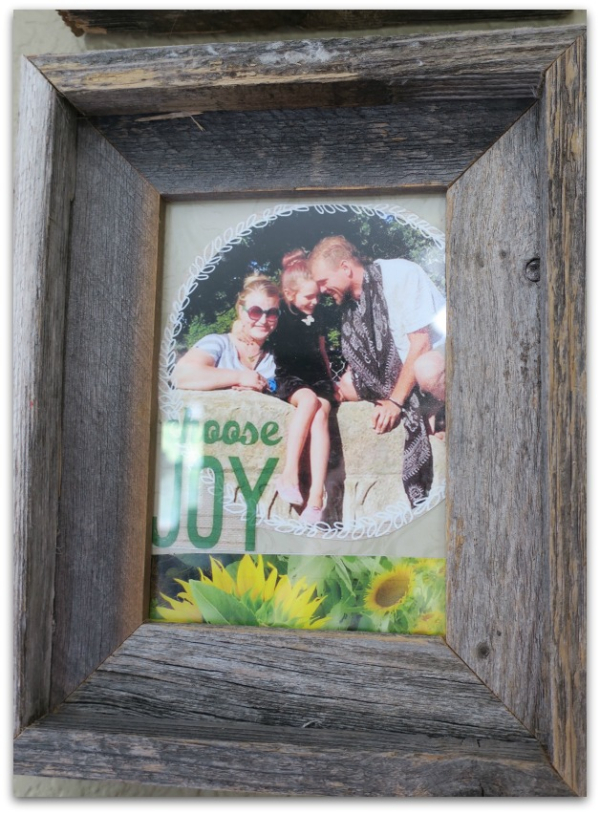
These frames are all from Hobby Lobby. Most are the same style in different sizes, but I mixed it up a bit, used some of the washboard metal and different rustic woods.
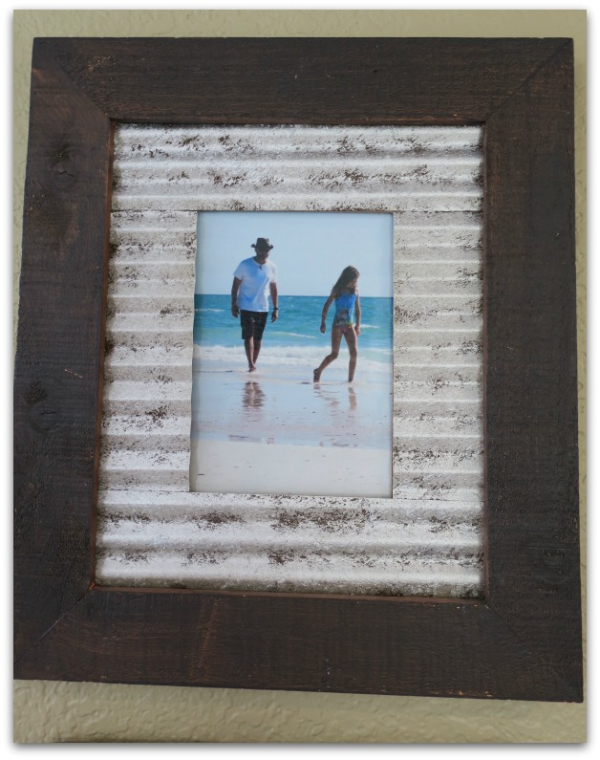
I started by hanging the biggest across the top, from the center of the wall and out. Then added smaller frames around them until I had the collaged look that I wanted. Some of them might have three or four nail holes behind them…..not a process for anyone with OCD, my grouping isn't measured or accurately spaced.
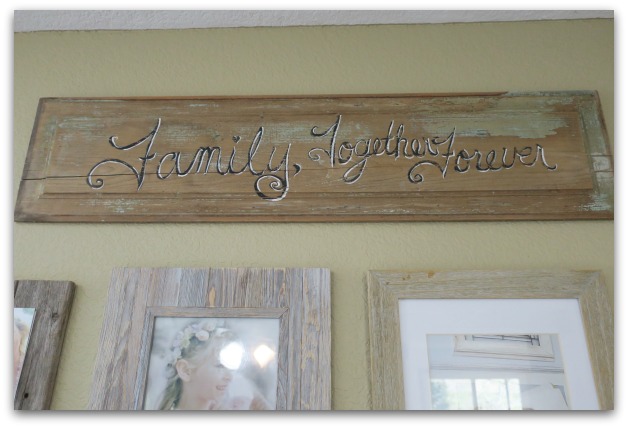
My son, Ryan, suggested it needed a banner. I had this old panel in the garage, but my hoarder fearing husband had "tidied up" the space and thrown it away. Luckily, I found it in the bonfire pit, that hadn't been lit yet, and was able to save it to paint on. I wrote:
"Family, Together Forever"
from a little ditty he sings with the grandfairies. (although, if he keeps throwing away things I have gathered up to save for projects, he will be lucky to have a family at all, right???!!)
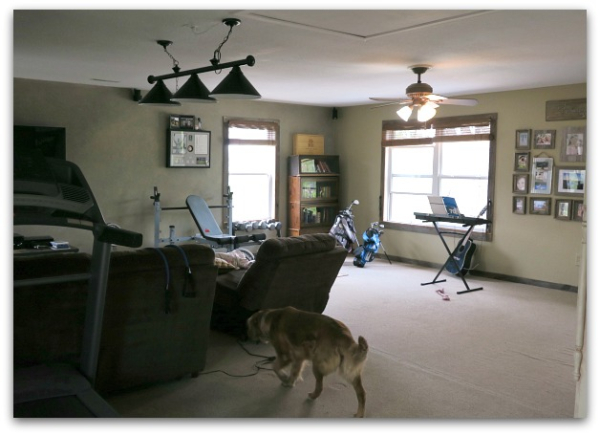
The room is far from perfect, we still have the pool table lights hanging above the couch, which looks odd, and I can't convince Rich, to replace the carpet with wooden floors. But he loves the room, with its gym equipment, big TV, and lots of open space to do yoga or for the grand fairies to play in while he works. It's a comfy room when we have a big group, and while I think the sectional is… uhm… well, I guess I won't say "ugly", it is nice and soft and seats a lot of people.
I like it a lot more now that the Halloween vibe is gone, and am kicking myself for waiting so long to exorcise those ghouls!
