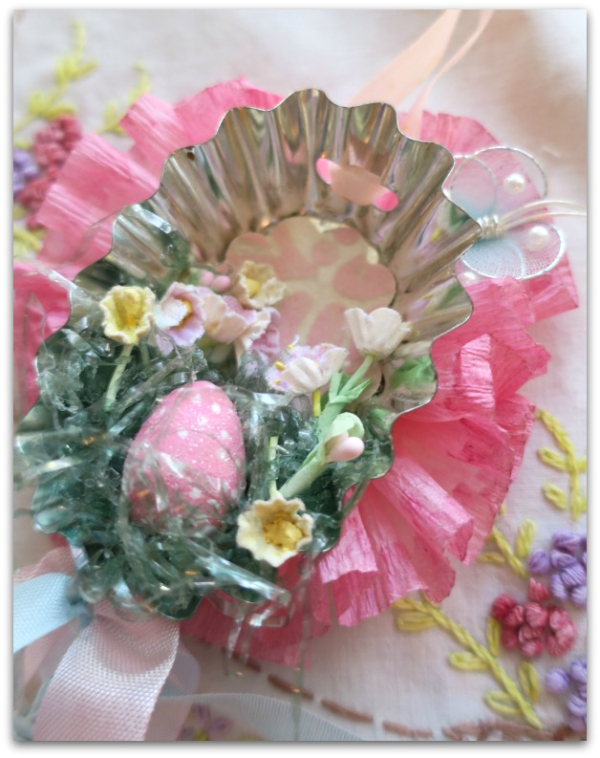
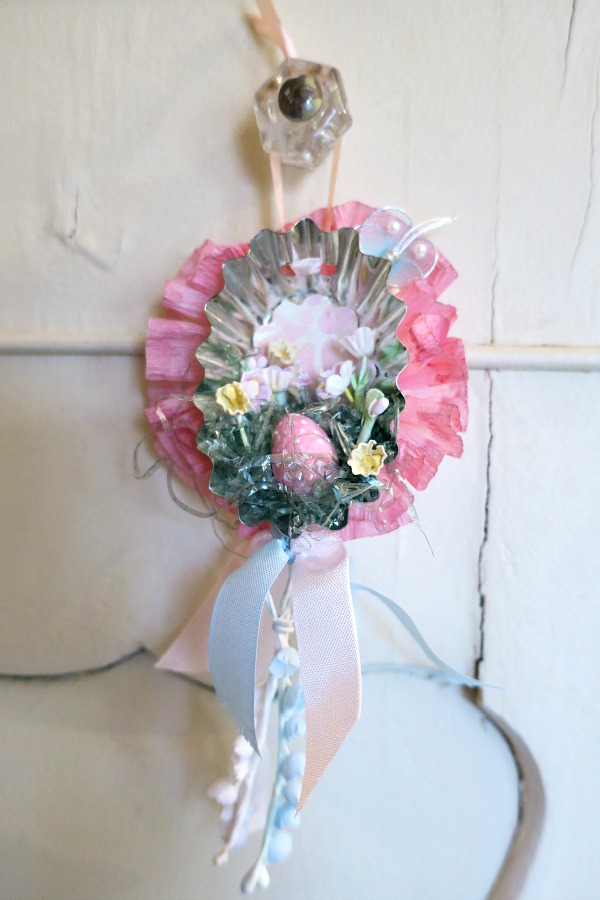
Don't you love tart tins? I never pass them up at estate sales. I especially enjoy making holiday decorations with them, like this Easter egg to hang.
I'll list the steps here if you'd like to make one yourself. Since I have some kits available, I'll be talking about building this with the supplies I used, but you can take the ideas and use your own supplies if you don't order a kit. They are pretty simple to make, and you don't have to do yours exactly like mine, of course.
The tins in my kits already have holes punched into them. If you are using your own tin, a Crop-o-dile makes adding holes so easy to do, like slicing through butter!
The top holes are for the ribbons that hang it, the bottom ones are for a bundle of ribbon.
Please put two holes into the fluted metal, as near to the flat bottom of the tin as you can get, at least on the top of the tin. Putting the holes toward the bottom makes it hang straighter. Too far the other direction and it will hang oddly. Use two at the top, two at the bottom, so you can thread the ribbon through them.
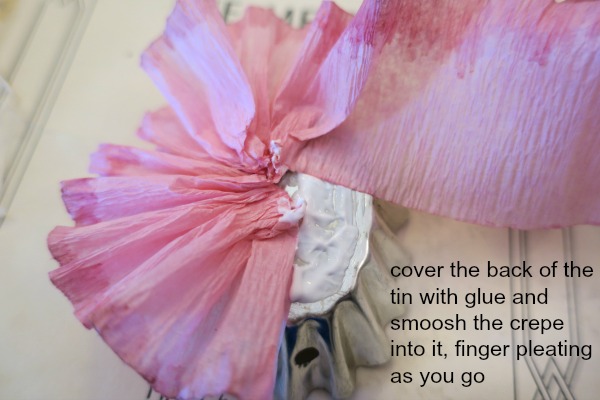
After you have the holes in, glue the crepe paper to the back. I am providing pink crepe, with dyed edging in my kits, so if you are using the kit piece, make sure the deeper color is toward the outside.
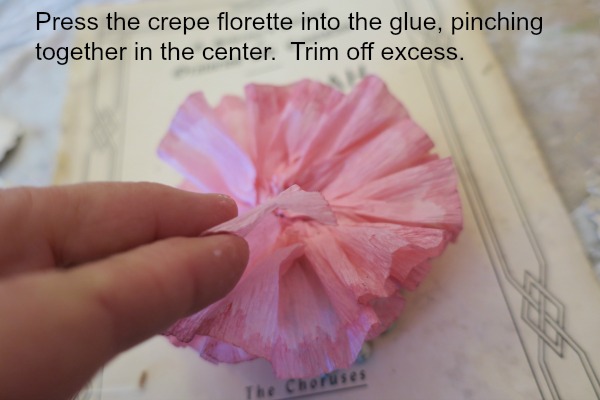
You are making a little floret on the back of the tin with pinch pleats pushed into the glue. I prefer Crafter's Pick The Ultimate glue. It holds quickly, and is strong.
At this point the glue is still mushy enough to slide the crepe paper around and get it positioned, but it will not stay that way long. You can double check that your floret is where you'd like it and the shape is right. Be careful to not tear the paper. (My kits contain extra paper, you won't need to use it all)
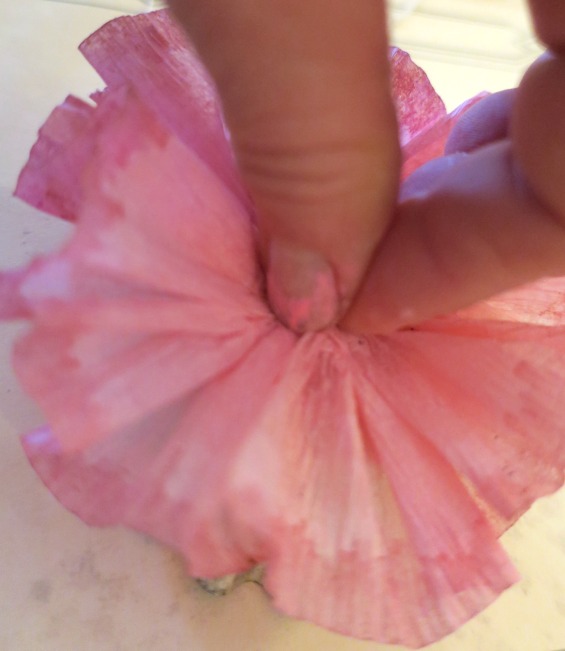
Push the center down tightly.
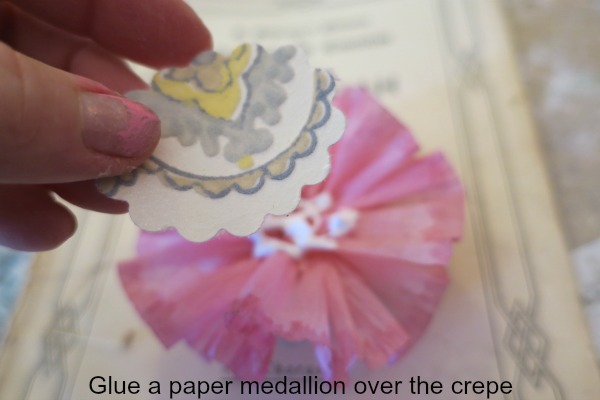
Glue a paper medallion over the back of the crepe paper. (the kits include flocked wallpaper cut and ready to go) I used a hole punch, but if you don't have one the right size, trace the bottom of the tin onto your paper before adding the crepe paper to get the right shape.
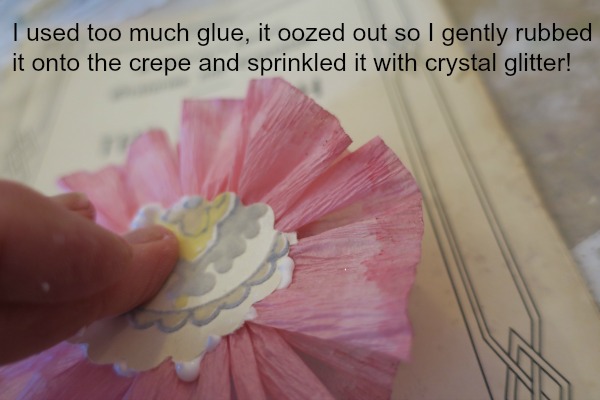
I was sloppy! My glue oozed out from under the medallion.
So, I gently spread the glued out toward the edges of the paper with my fingertip, and sprinkled crystal glitter over my mess. It became an "I meant to do that" moment.
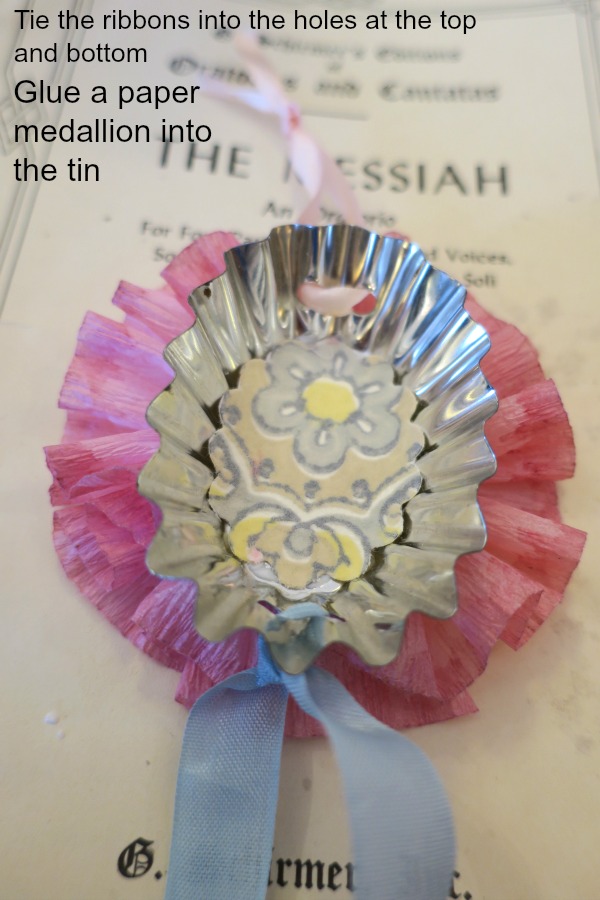
Next, add the ribbon to hang it from, and another at the bottom to tie a bundle of ribbons and flowers to later.
Then, glue in the second paper medallion.
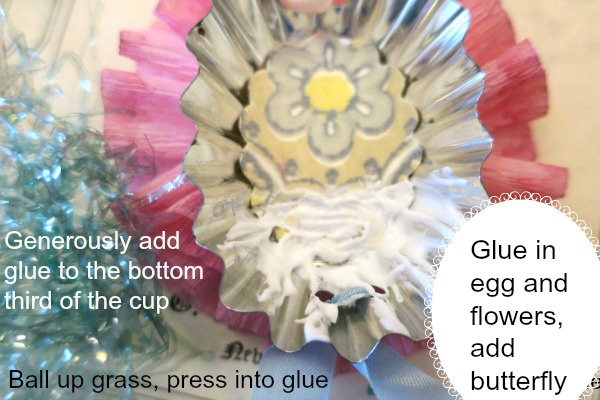
Cover about 1/3 of the bottom of the tin in a heavy coating of glue.
Add Easter grass (my kits are nicely faded, vintage grass).
Drizzle a little more glue over the grass, and add the flowers and egg (mine is a hand painted, wooden one, with polka dots and glitter)
If you have exposed glue and feel it looks a little messy, sprinkle more glitter over it.
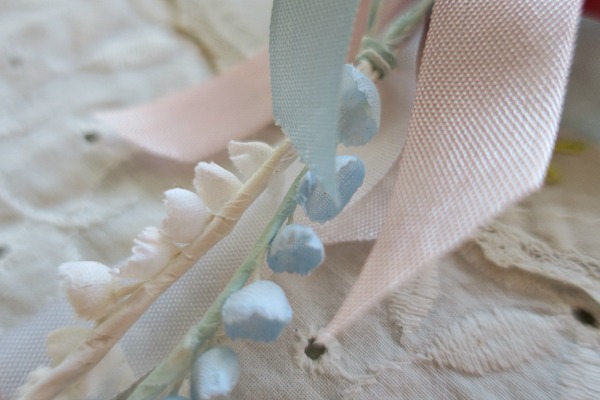
At the bottom, add a bundle of pastel ribbons, and a sprig of flowers.
I have also included a teensy, vintage butterfly in the kits. If you want to add one of these, you can either twist its wire to the ribbon at the top, or cut off the wire and glue it to the piece where ever you'd like it. Maybe inside the tin? I glued mine to the ruffled crepe.
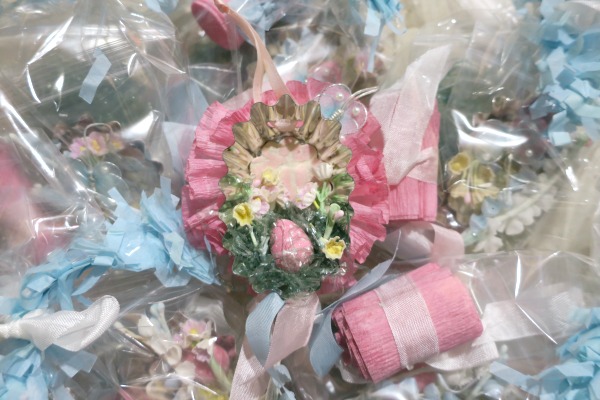
The kits are here if you want to order one. The include everything but the glue, and the extra glitter you might want to use. The painted egg is already "sugared" with clear, crystal glitter.
ps- I'm working on adding a few more tidbits to the Boutique too
Karla, as always your instructions are spot on and the finished product is so pretty. With Lent starting next week it’s about time to bring on the bunnies, eggs and Easter trees. This is timely! Thanks.