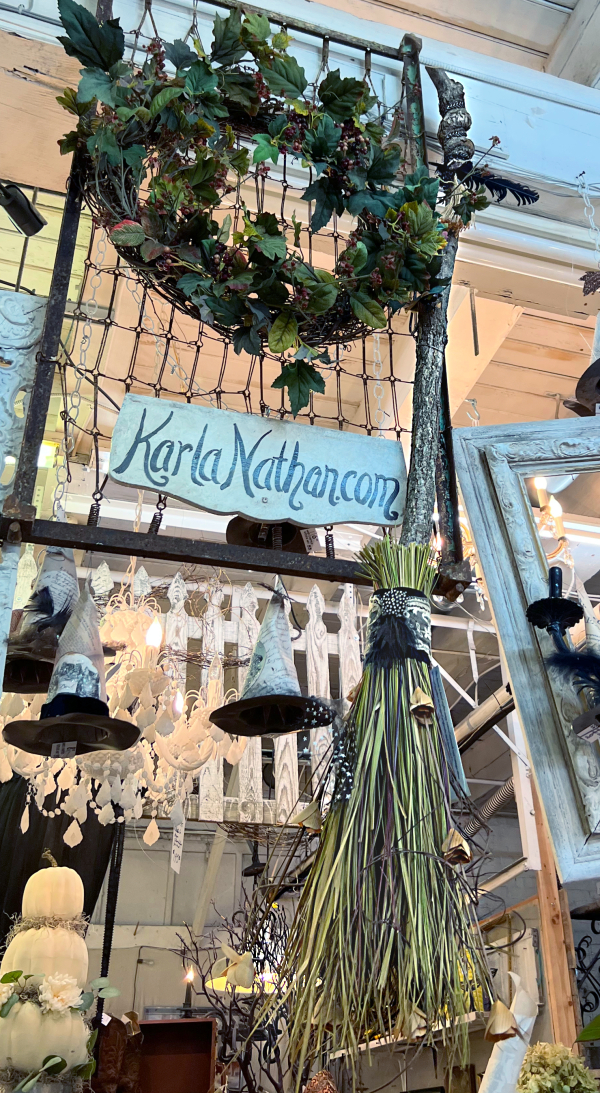
My husband makes walking sticks from grapevine growing in our woods. It needs to age and dry a year or so, then can be used. He said I could use a few, and after finding dried, curly and glittered straw flower arrangements at a garage sale, I knew I wanted to make witch brooms.
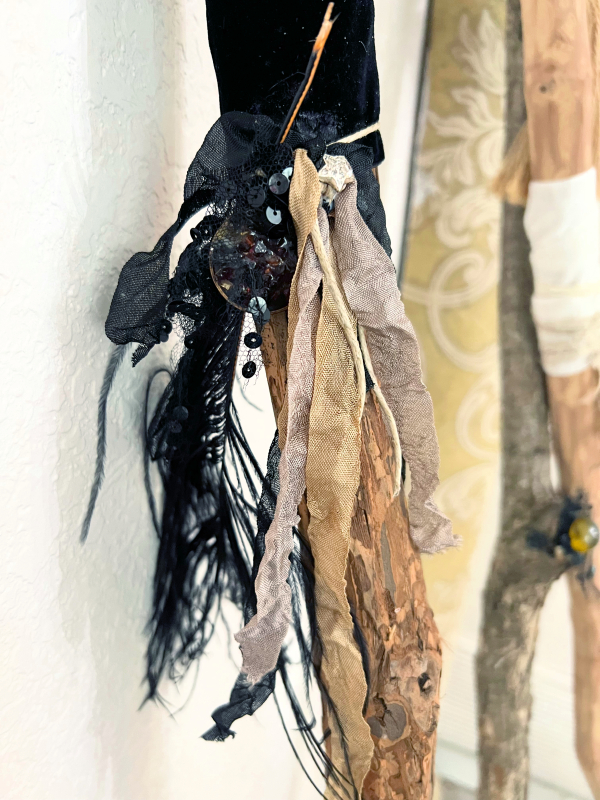
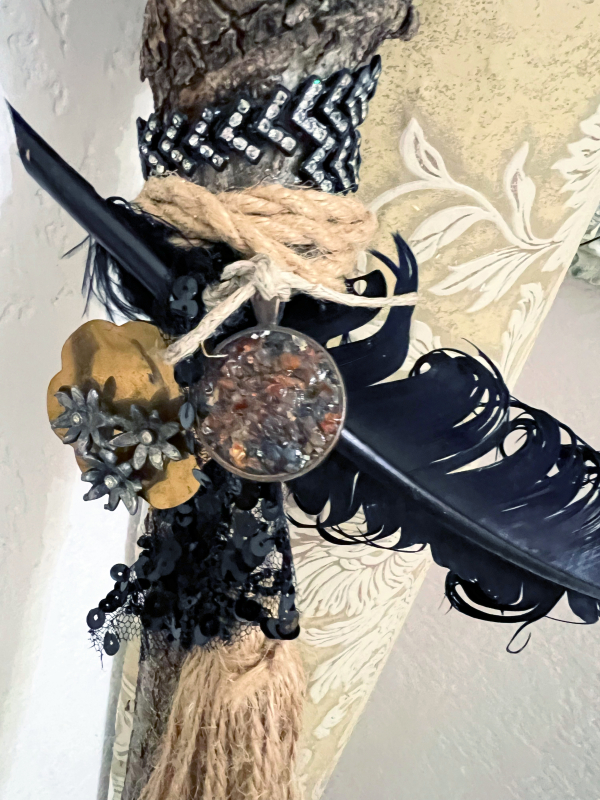
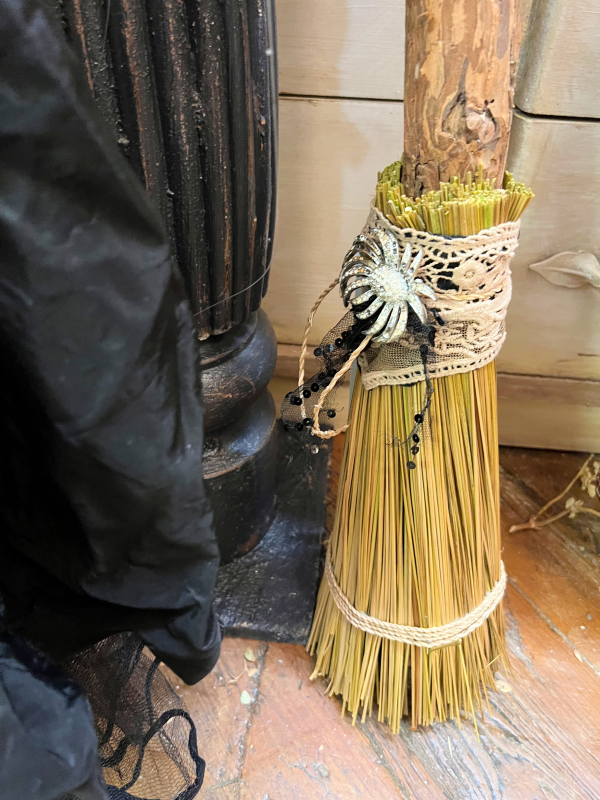
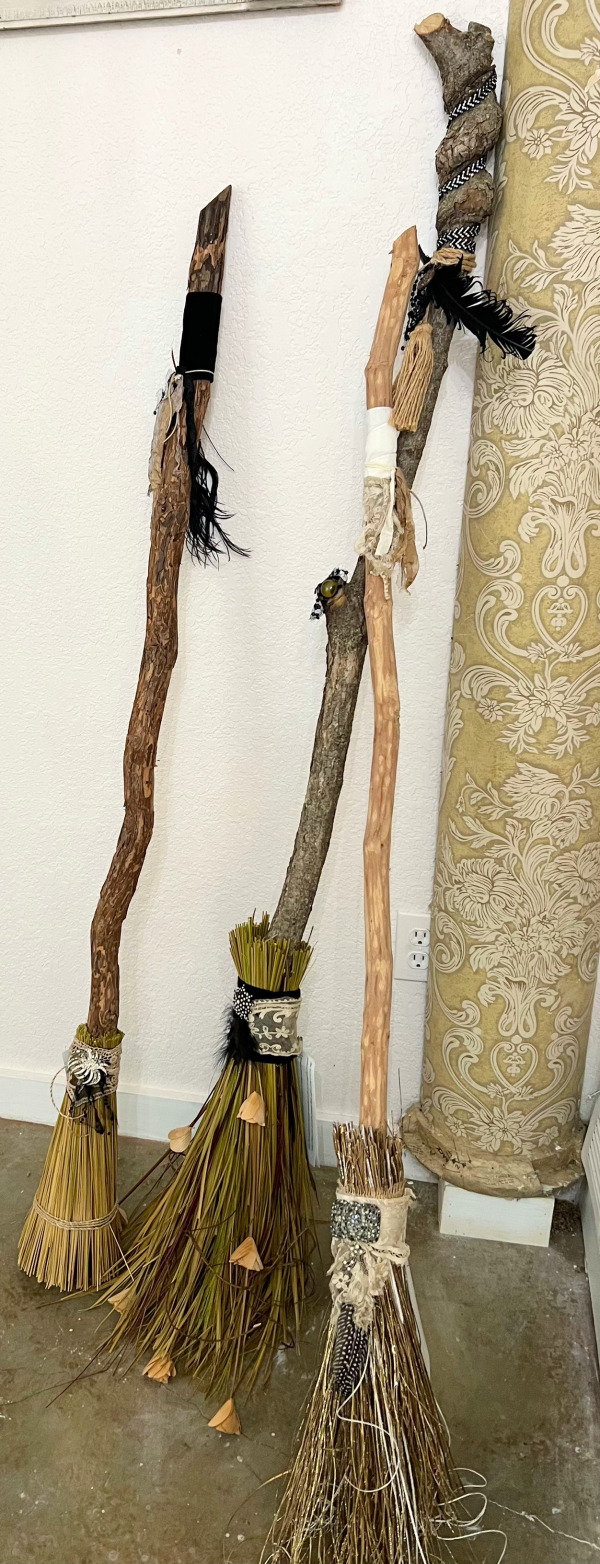
Each one was decorated with velvet and crinkled ribbons, a genuine stone charm, some vintage bling, and feathers.
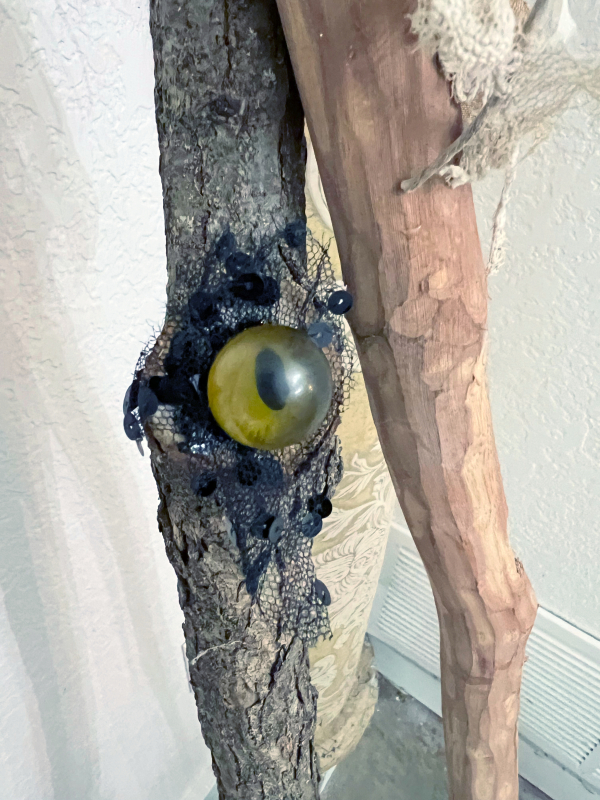
This one had a knothole that I placed a vintage eyeball button on, with a bit torn from a tattered, sequined gown underneath.
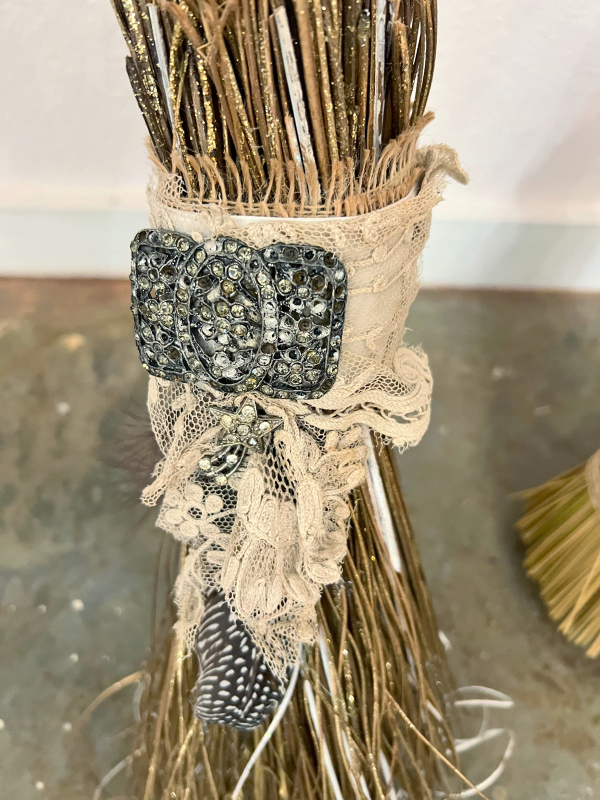
The old jewels I used weren’t in perfect condition, but that is why I chose them. They look like they’ve been flying through the air on a broom for decades, right?
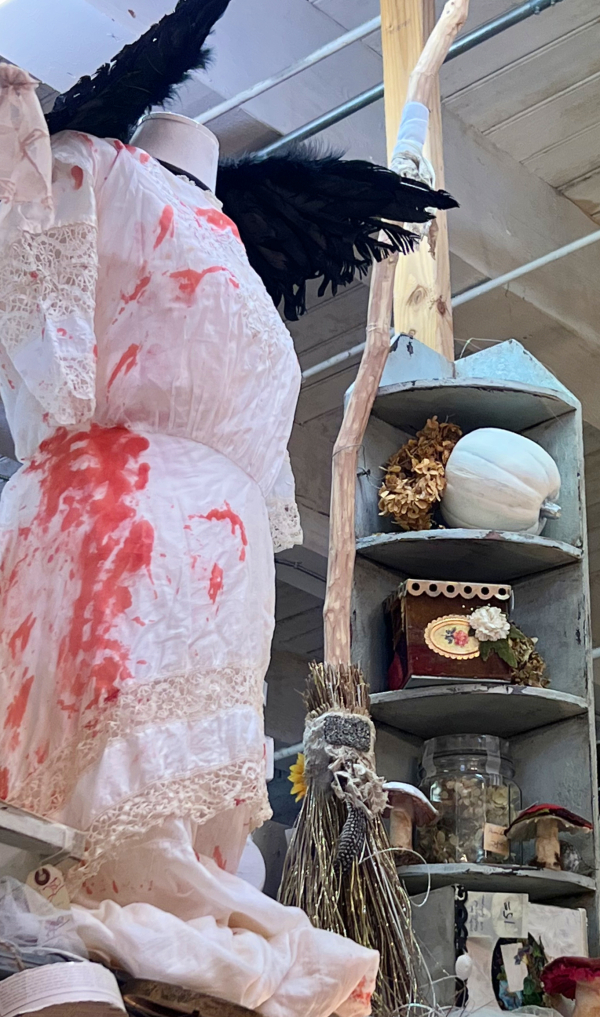
My set up for Good Juju’s First Friday weekend was already complete (and Halloween themed). But I made these work, by hanging one up high, one on the top shelf, and one nestled into a corner. Not the best for showing them off, but I wanted to get them in there case I could sell them this week.
I can show people photos on my phone if they want to see more about the brooms that are up high. And I’m happy to get them down if needed. I know it’s not the best situation, but I only have 8-1/2’ and I fill it up over the brim.
This one is made from the base of the straw arrangement and stands on its own, so it is the one on the ground.
I really would enjoy making more, and in a half size so I could sell them online. But for one thing, I’m starting a major studio redo and have no time. For another, these guys are HARD to make!
Here is the process:
Trim the straw to the length you need
Divide up the straw into small bundles
Add strong glue to the tiny bundle of straw about 4” from the top, then tightly wrap that area in wire
Keep wrapping bundles until you have more than enough to cover the stick
I had the end of my straw at the base of the stick for stability
Wire and glue each bundle together to the stick until the broom is full
Glue and tightly wrap twine around your wired areas
Put screws through large washers and screw them into the wood through the twine area, so the weight of the stick doesn’t make the straw pull away when you stand it up
And now the fun part- cover up the twine/wire/screw area with something pretty and start decorating.
