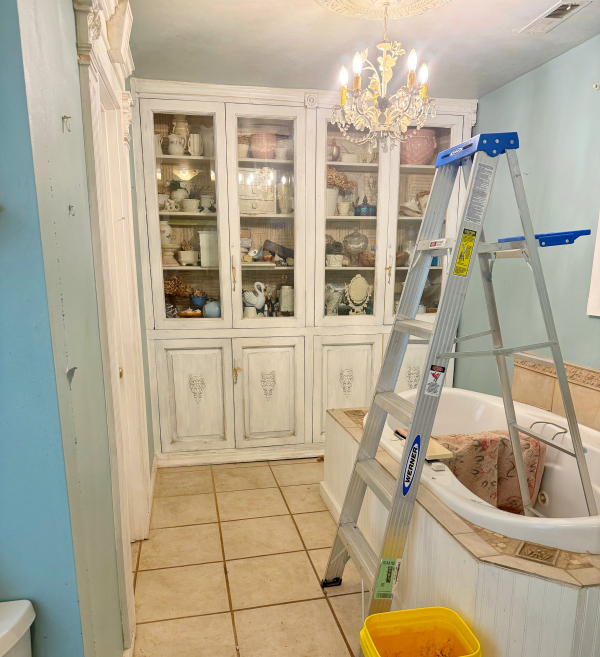
This is how our bathroom was before we ripped it apart to get to the crawlspace. The supports under the house needed replacing, there was no ventilation, insulation, or entry to get in. Major work needed done, and we needed access.
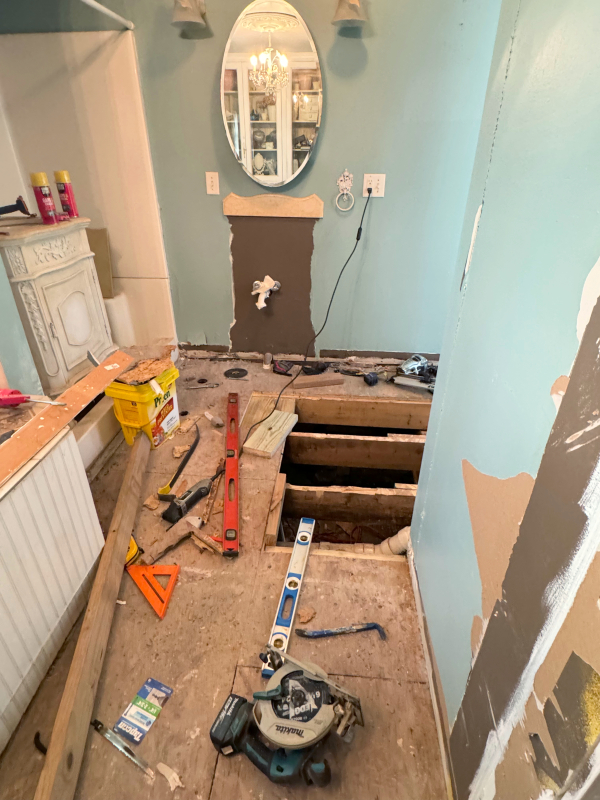
While we probably could’ve gotten away with cutting through the plywood floor in the closet instead, it might have been hard to get long boards through the turn into that room. Plus, the tile had cracks and the drywall was damaged. That space could use a good make over.
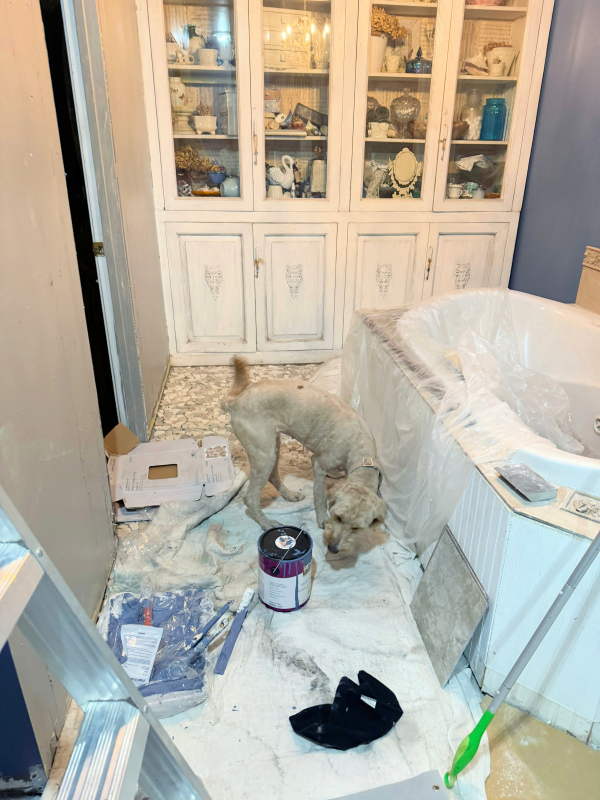
There was also a second door in the bath that led directly to the closet. Not only was it never used, it took up wall space in the closet that could’ve been utilized for storage. And now is, after closing off that entry.
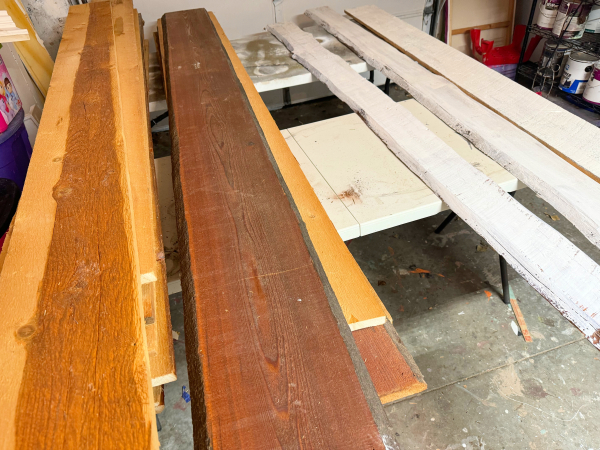
We had been gifted these rough cut boards, that sparked my idea of turning the door way wall into barn wood instead.
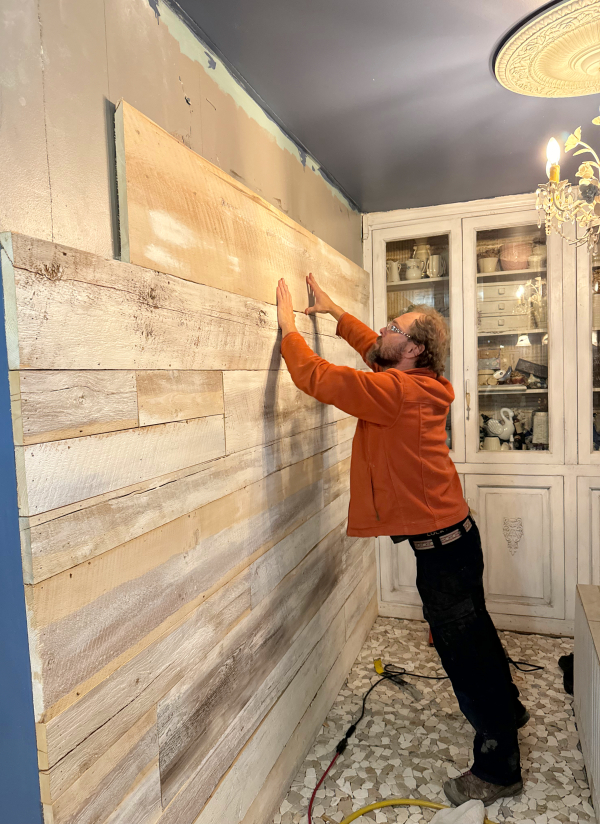
I painted them and my carpenter son put them up.
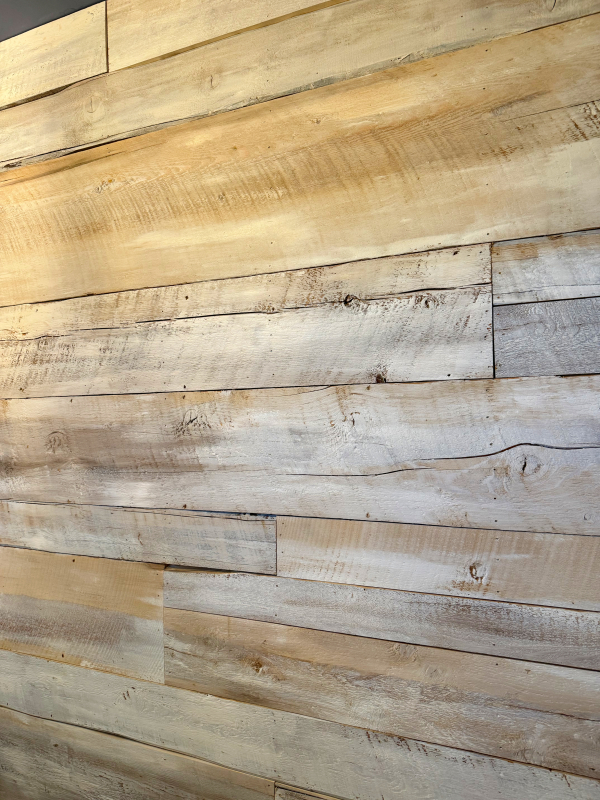
Didn’t he do a great pattern?
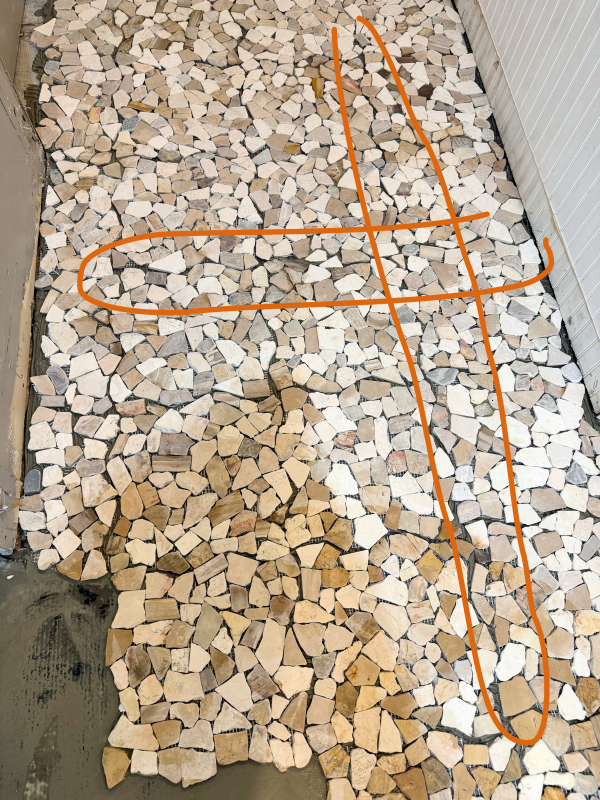
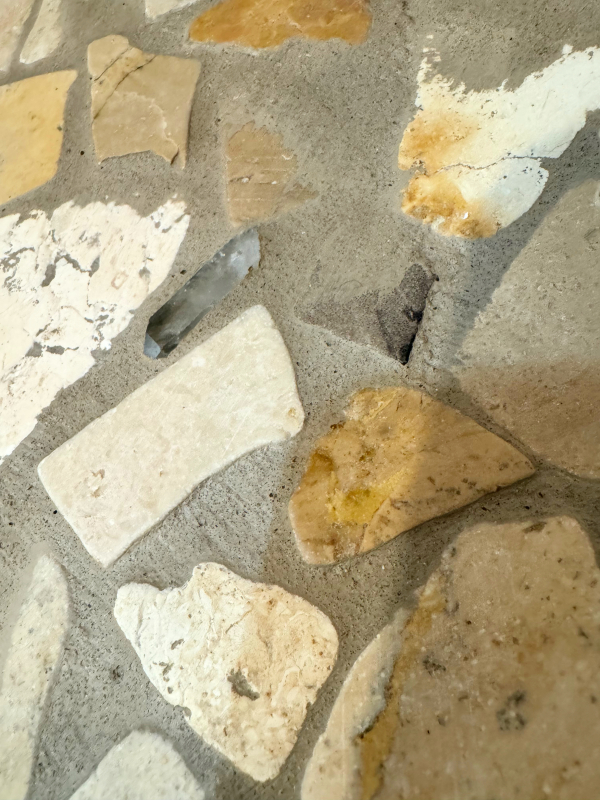
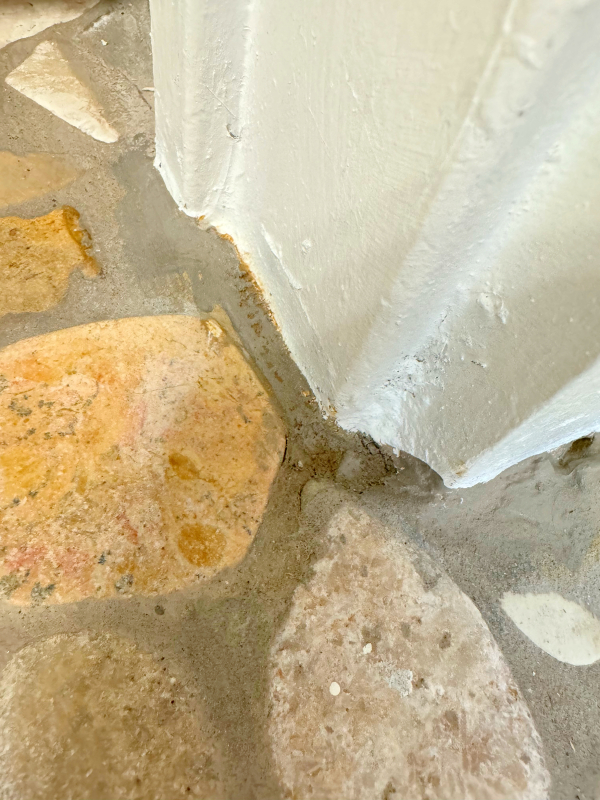
To compliment the wood, we went for an all natural rock floor. But oops! As it went down, we started freaking out about the lines between the mesh squares. Before grout, it looked like a grid pattern.
Freaking out was putting my reaction very mildly.
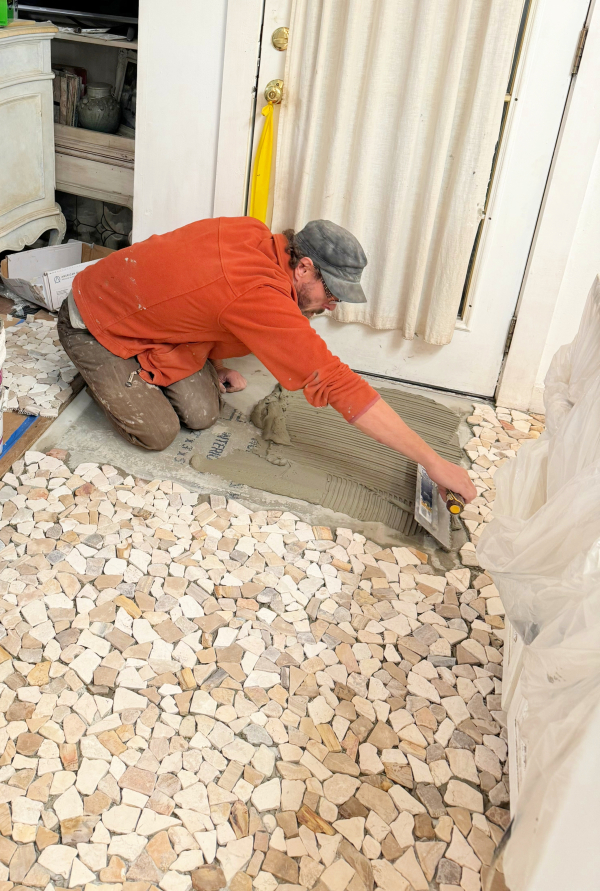
A few adjustments were made with adding rocks into bigger gaps, but over all, we decided to trust the process and start grouting. I like the overly grouted look, with it covering up some stone.
After it was done, all of those scary grid marks were gone! My only regret is in not placing a few more crystals here and there. I’m thrilled with the floor, though.
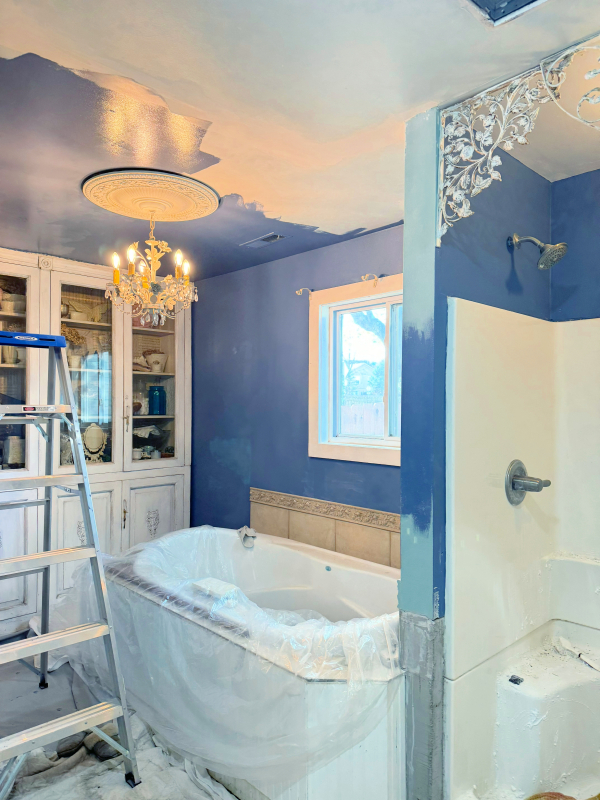
While the room was torn up, I decided to repaint. Everything. Ceiling, trim, door, cabinet, tub surround, vent covers. I even sewed new curtains from vintage fabrics I’d been hoarding.
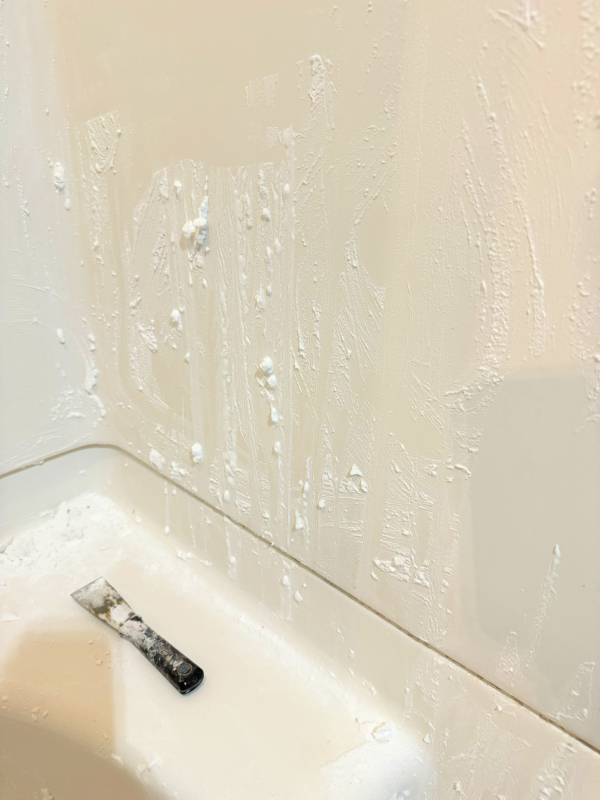
With the shower curtain down, I could see how much hard water buildup there was on the walls. So I made a paste of baking soda, vinegar, and peroxide to leave on for a couple days, then remove with a steam cleaner. It didn’t work as well as I’d hoped, so I scraped the buildup off with a razor blade.
I was committed to a whole new, fresh room, all details mattered!
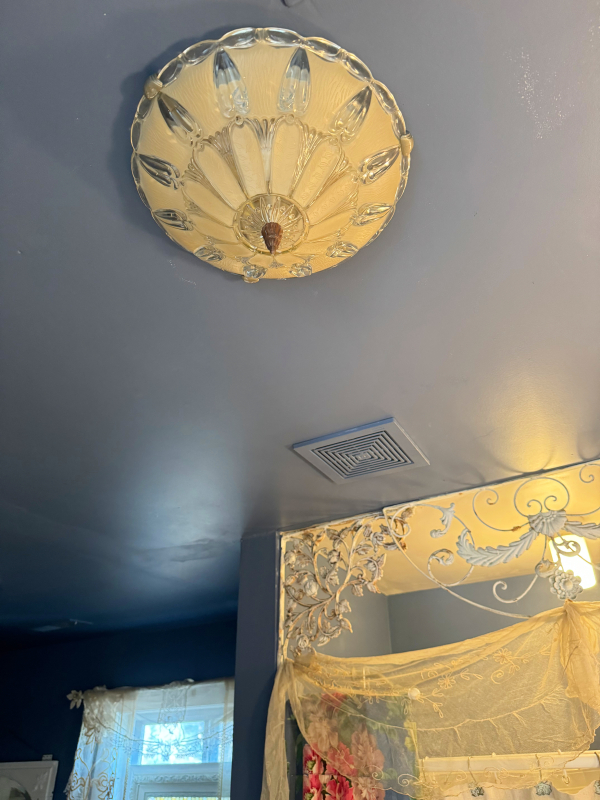
Including washing light fixtures and replacing the bulbs with brighter ones.
I even got out a tiny brush and cleaned up all messy grout lines along the trim too. As hard as we worked on this, I didn’t want wonky lines distracting from the room! My son did such a wonderful job, I love the room and every tiny corner of it!
You all have been busy, and the results look Great!
I love the “new” old world look. It is stunning!