Who is the Dork?
Dorkies (Yorkshire Terrriers), fairies, family, Sugarwings, Travel, vintage paper/collage art, yorkies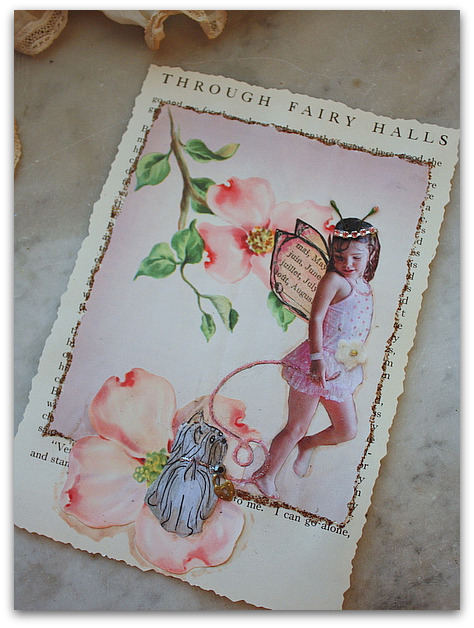
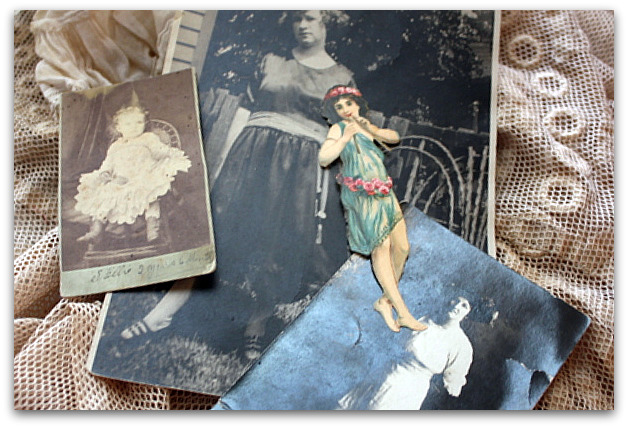
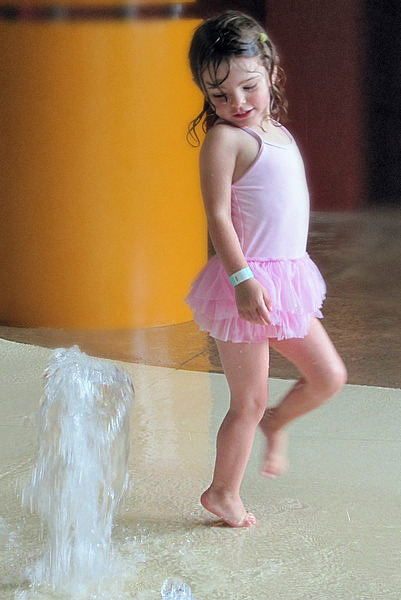
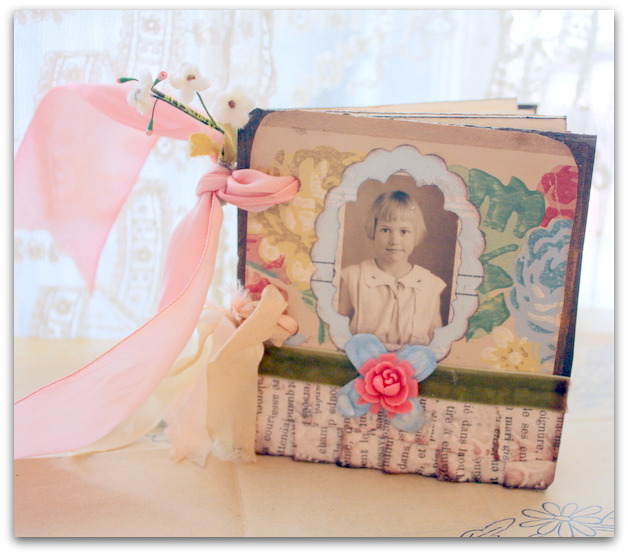
Instead, I'm playing in the studio. This photo of Sugarwings at the water park was just calling out to me, I had to turn it into a fairy collage for my photo album.
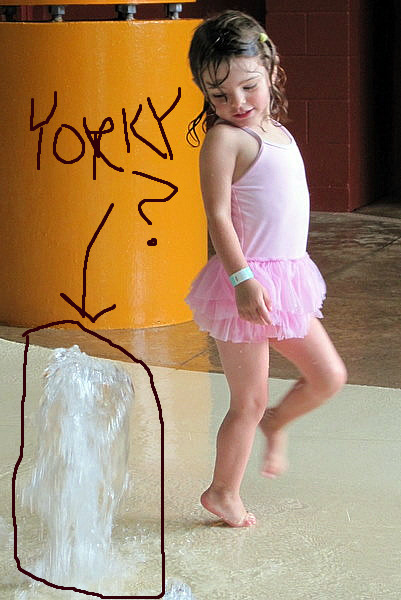
Especially after Beth pointed out that this water spray looks like a dorky! I printed the picture and drew over it, following the dog shape in the water, then cut out the puppy.Okay, so now you know what you suspected, I am totally dog crazed. Maybe I am the dork, not the dogs. But Beth saw it first, so its not just me.
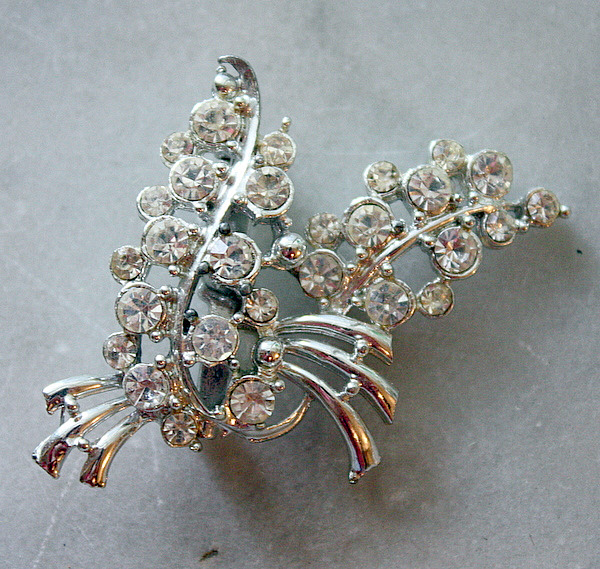
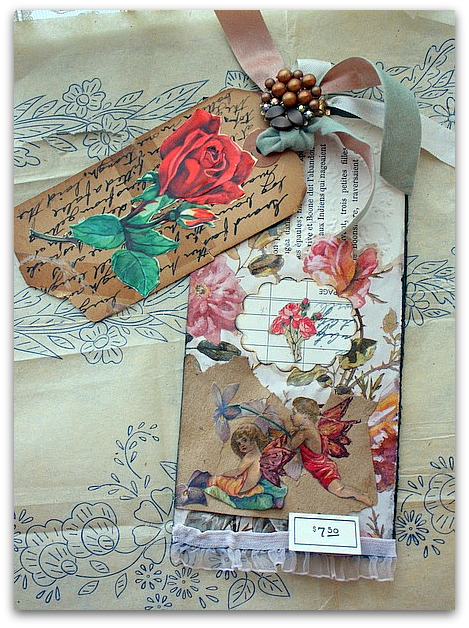
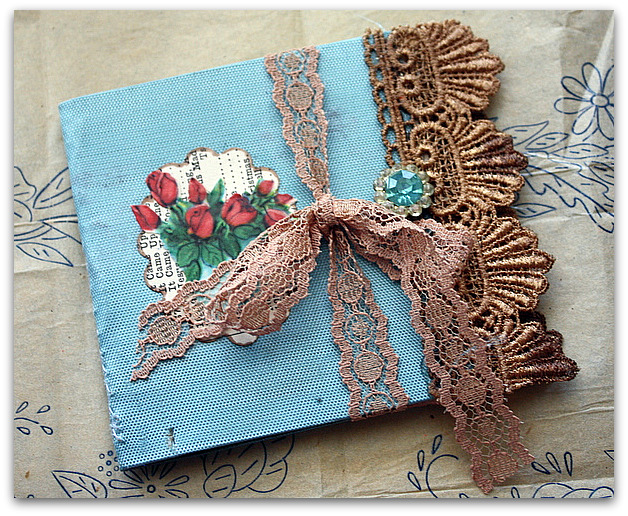
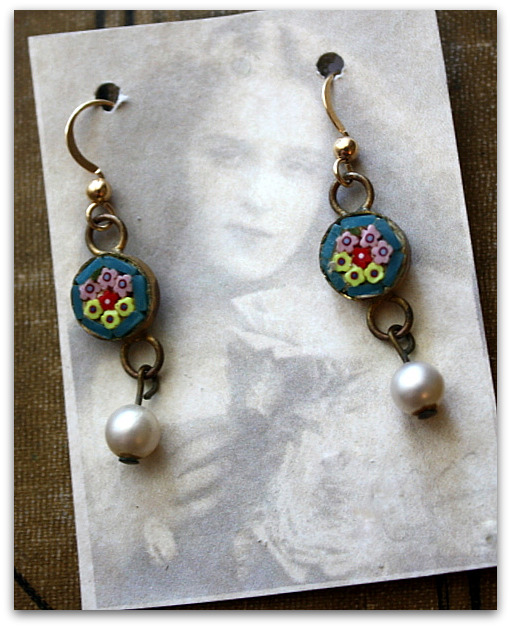
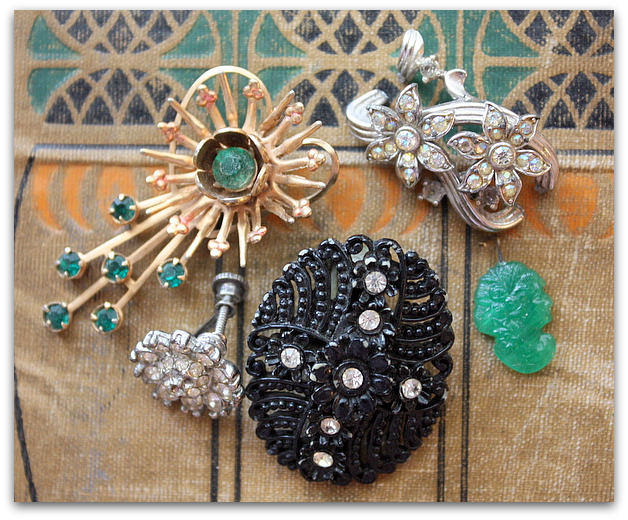
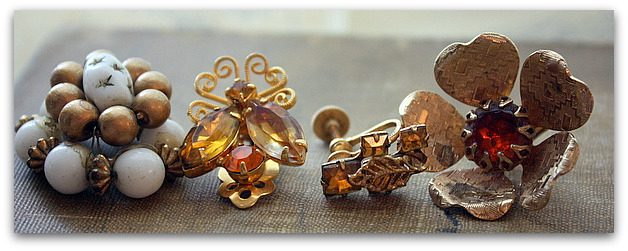
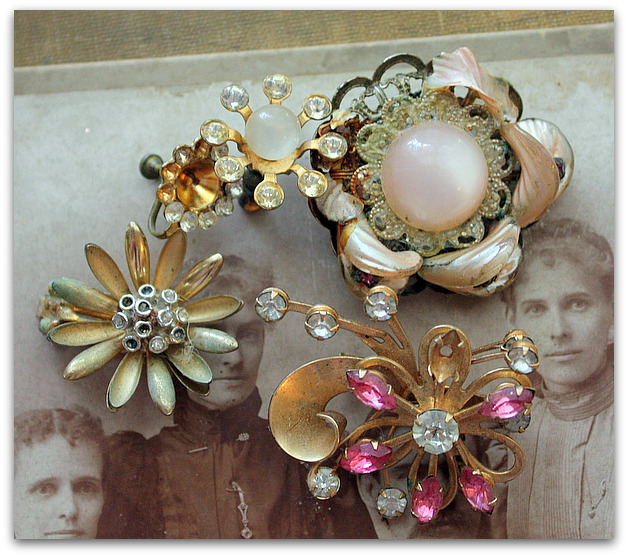
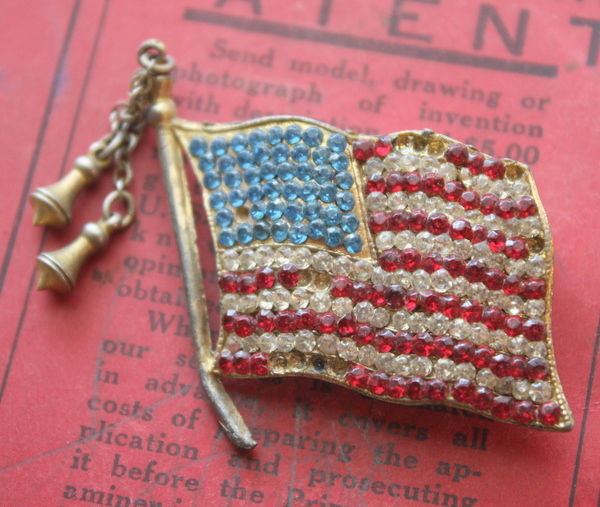
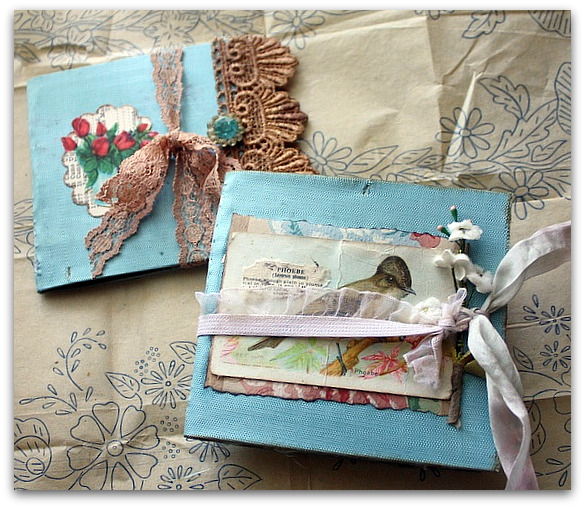
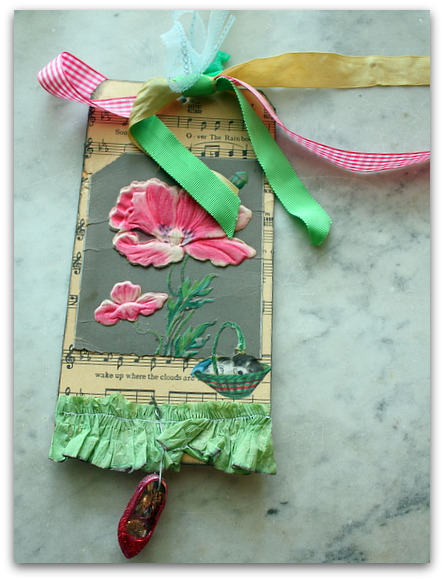
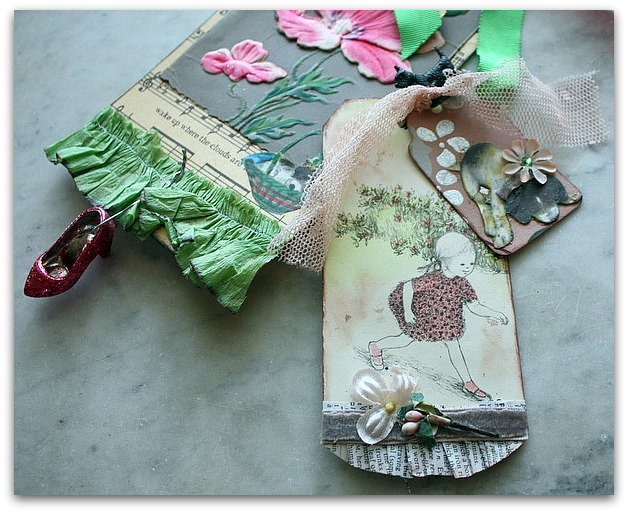
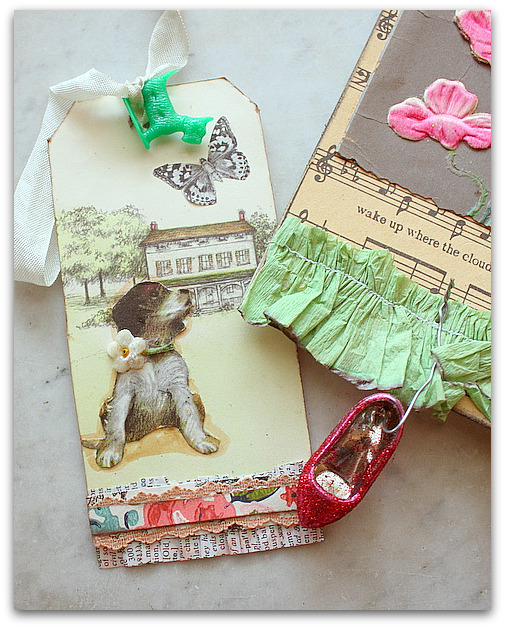
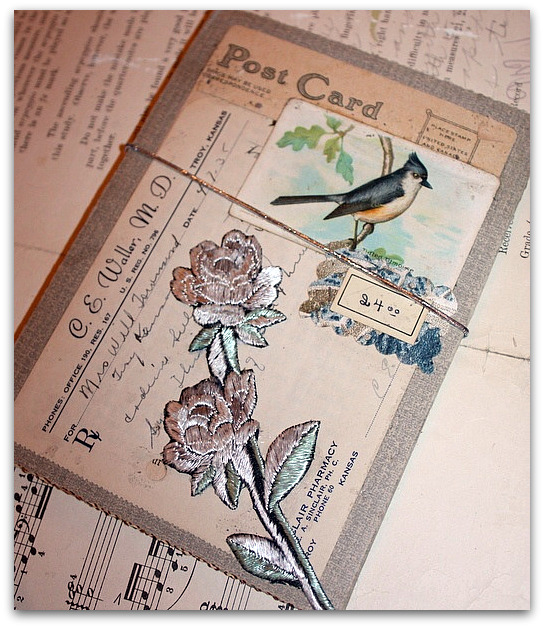
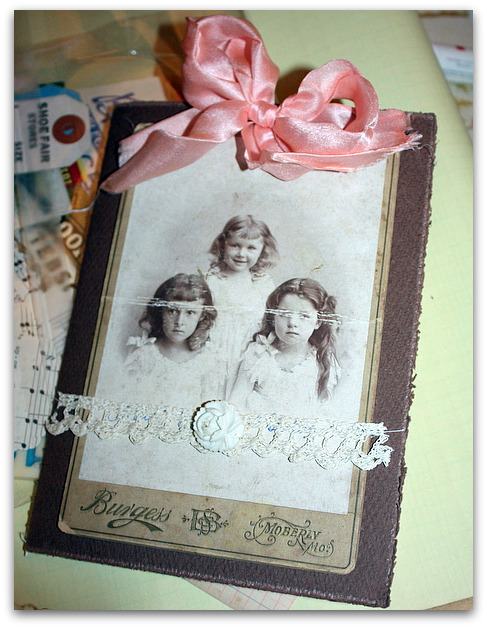
Between playing with the dogs and imagining dog shapes in water fountains, I listed some new things in the Boutique.
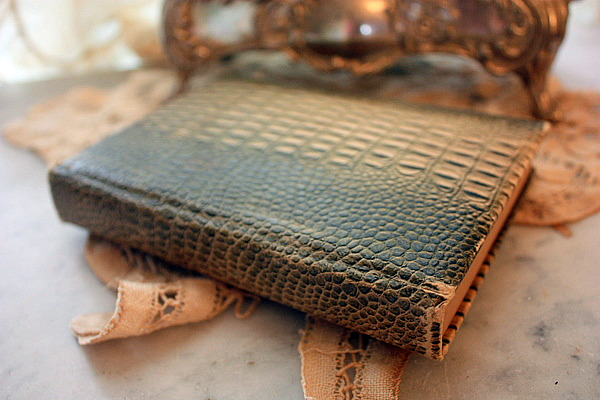
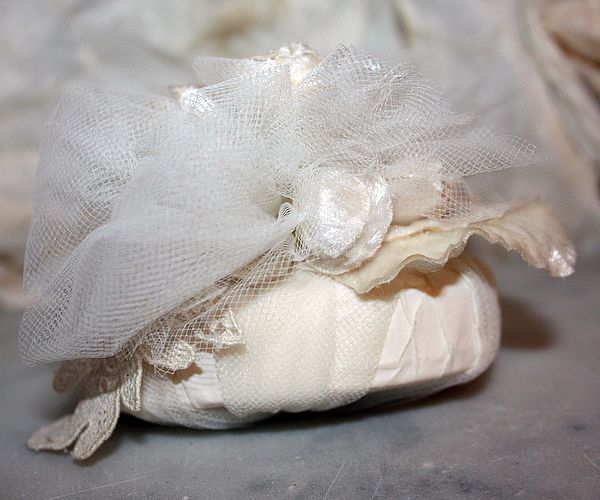
But since I'll be away, I can't mail any purchases till Monday. Thanks for your patience!
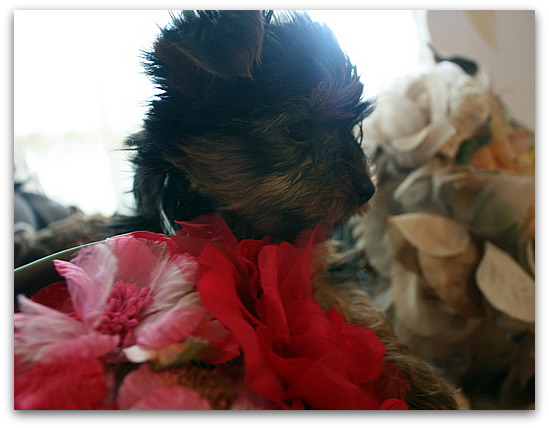
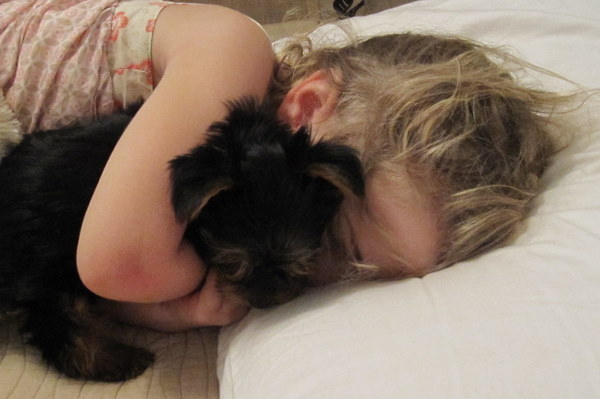
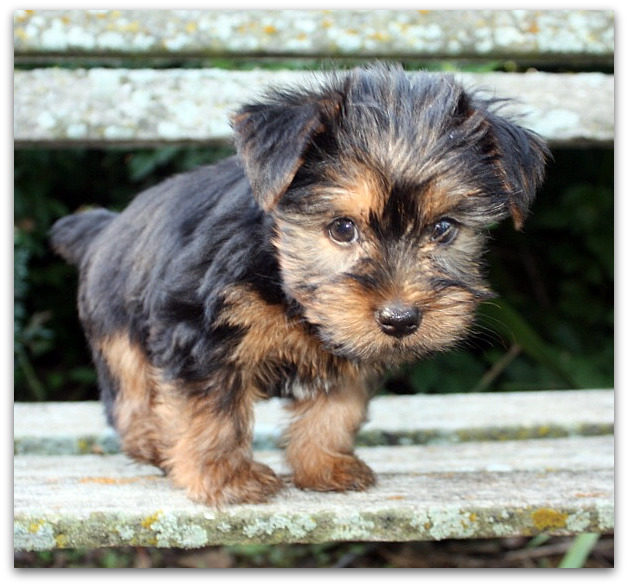
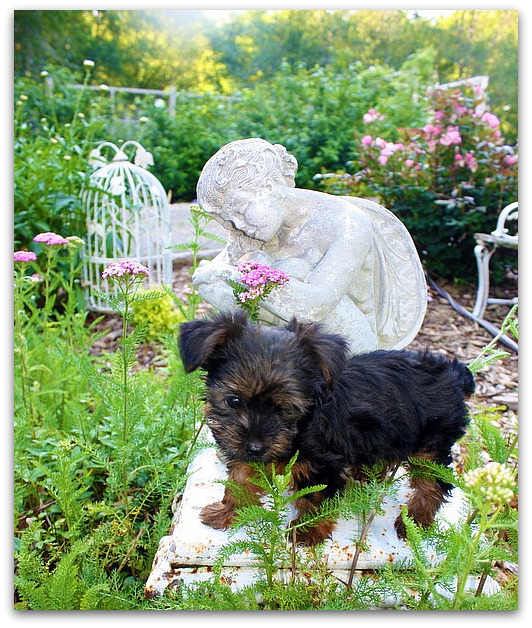
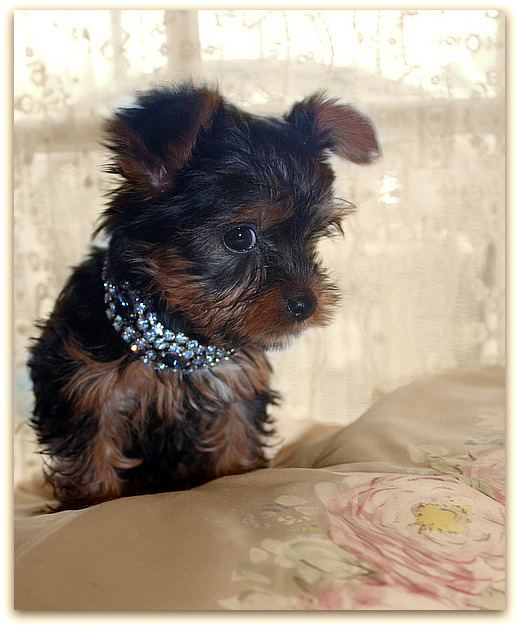
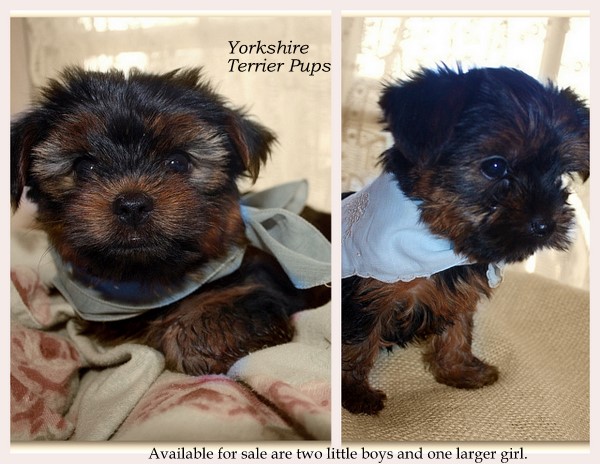
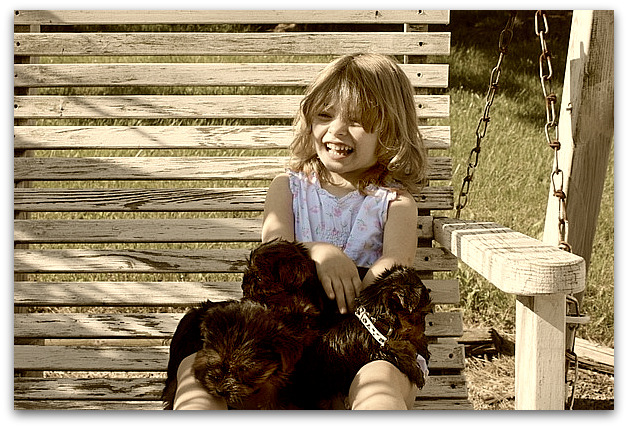
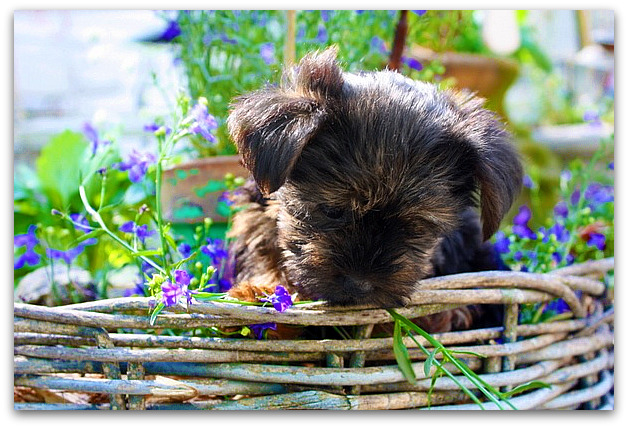
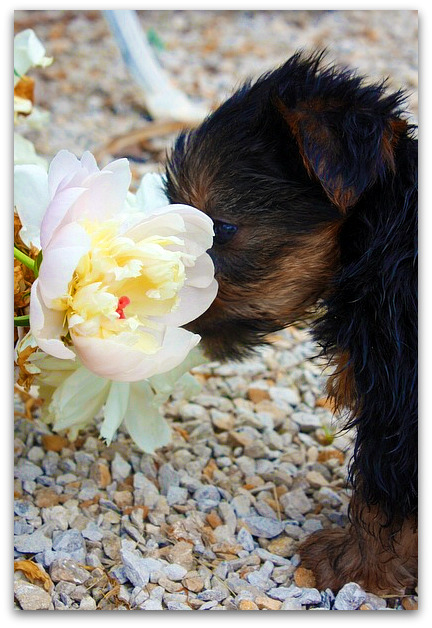
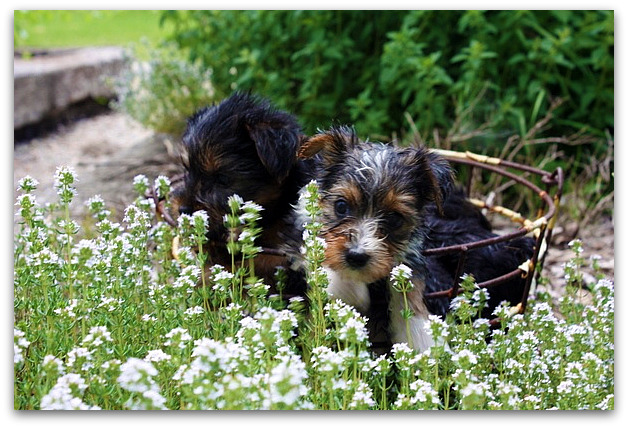
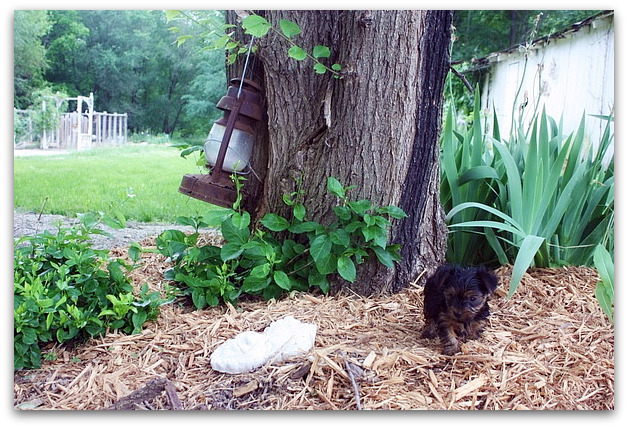
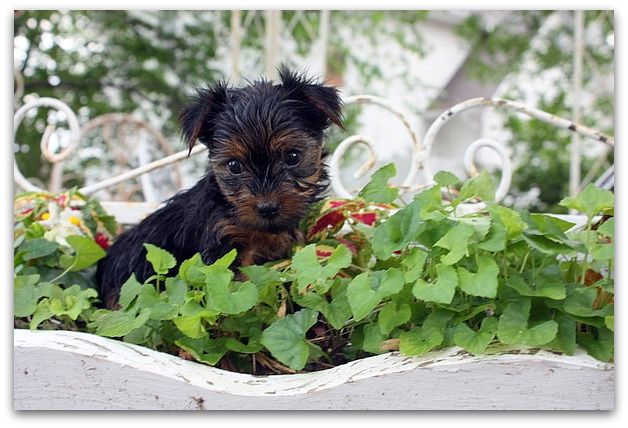
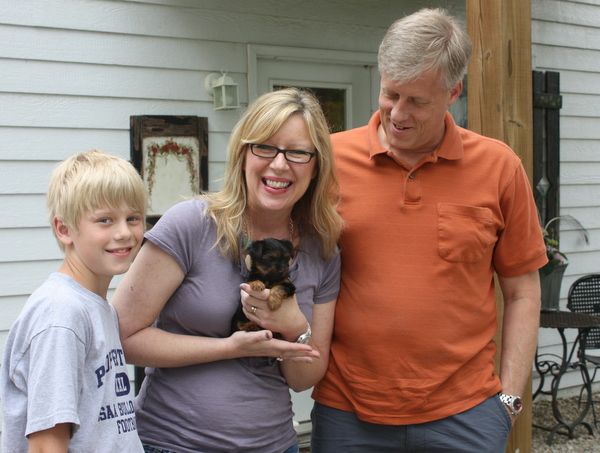
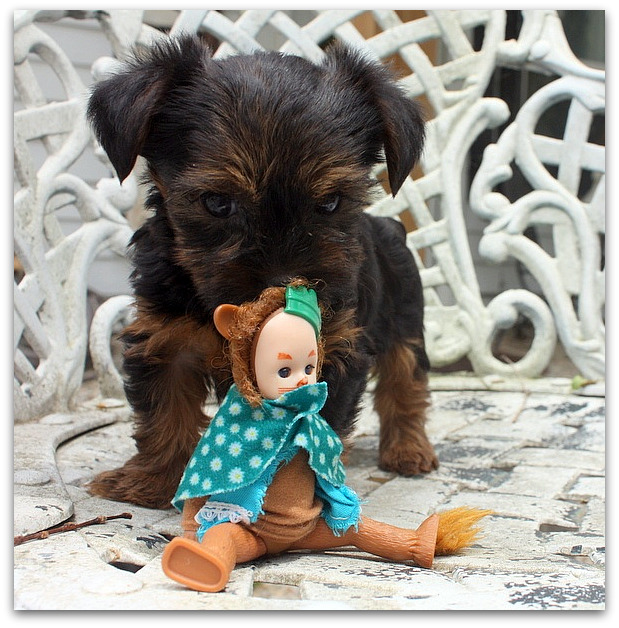
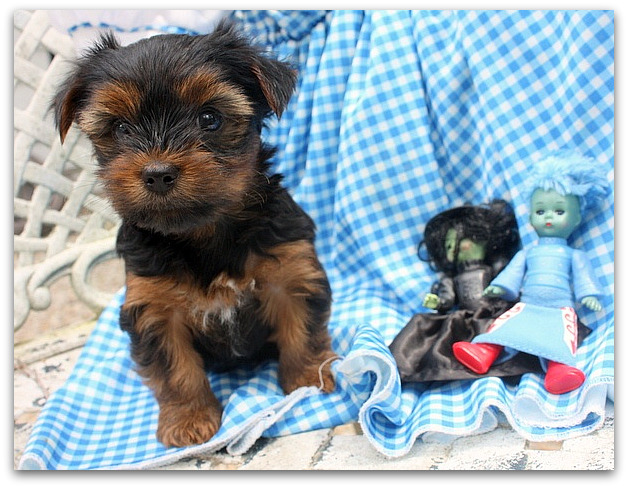
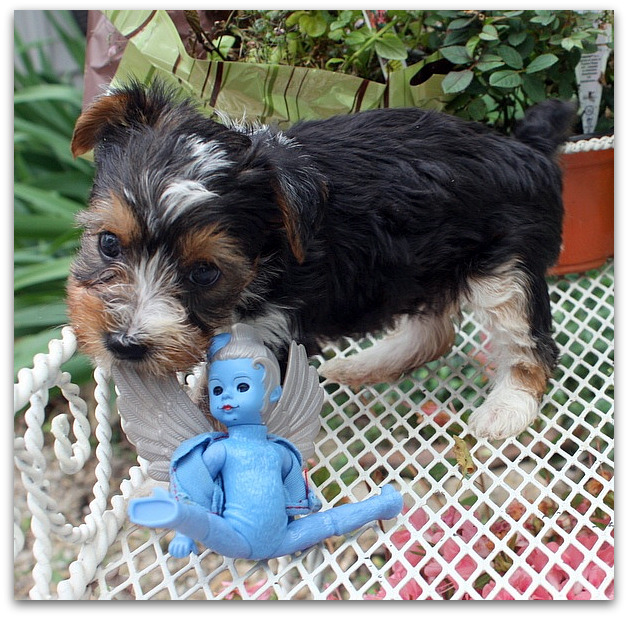
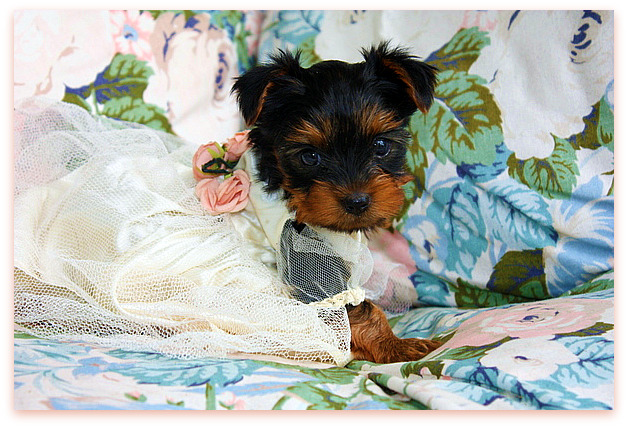
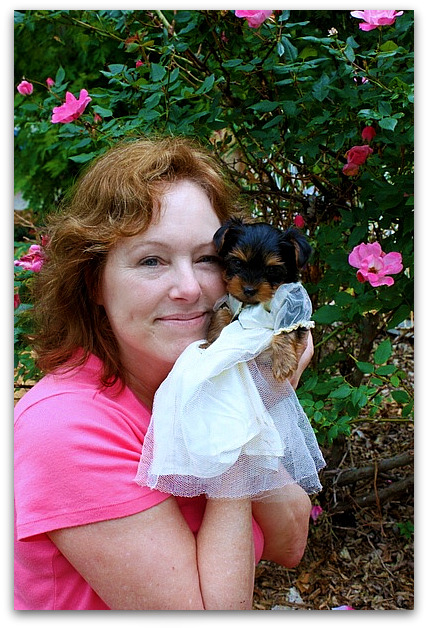
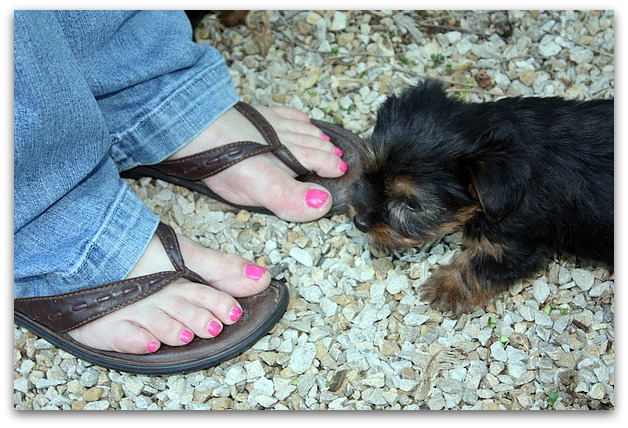
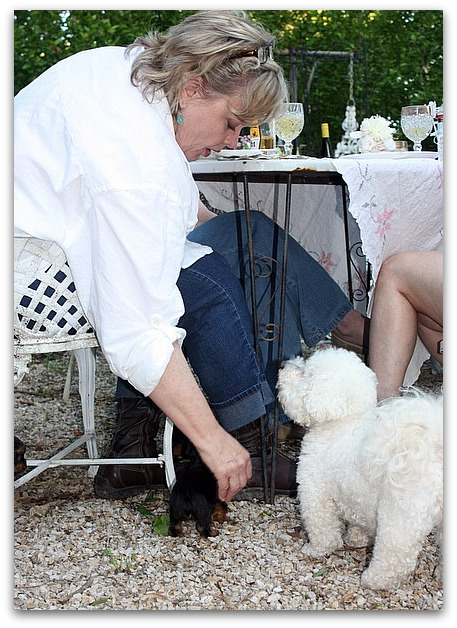
 All the pups are spoken for now. I decided not to sell ANY of them after all!! Each is going to family or friends. I'm delivering one to Indiana to my niece, and another will go to my MIL in Utah. This will most likely be our last litter ever, so I wanted to keep them as "family". I just got too attached.
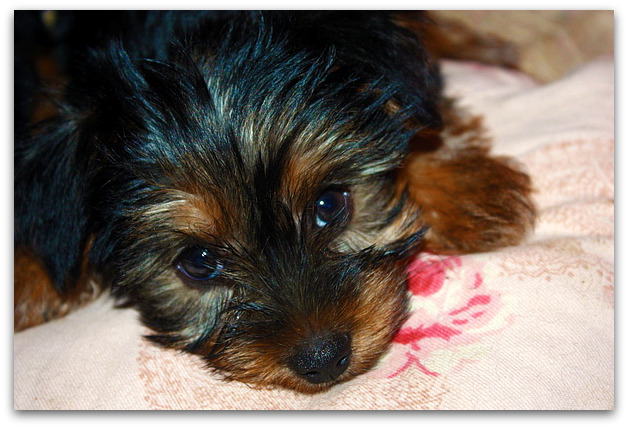
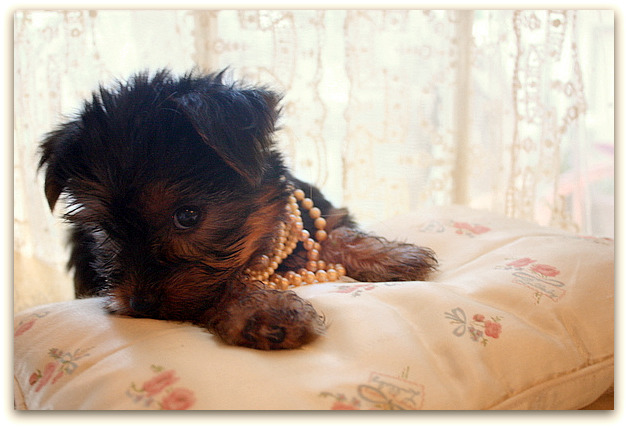
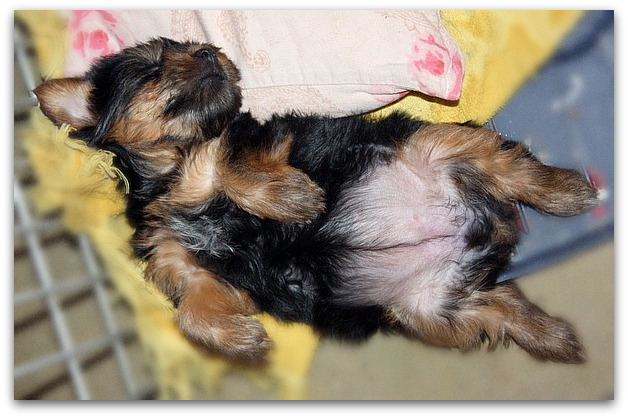
Between listing and gluing this morning, I also made some puppy pillows. I had a pair of rose patterned flannel PJ bottoms that had ripped, and I couldn't bear to toss them. So, I cut the legs into squares and stitched up little pillows, then tossed them in with all the pups. I'm hoping that when the pups go to their new homes, taking a pillow that smells like their siblings will help with the transition.When Teresa picked up her Lily a couple weeks ago, I sent a rosy pillow home with them too. I'm NOT a good sewer, and the pillows are simple as can be. But I think they are a cute idea for the babies.
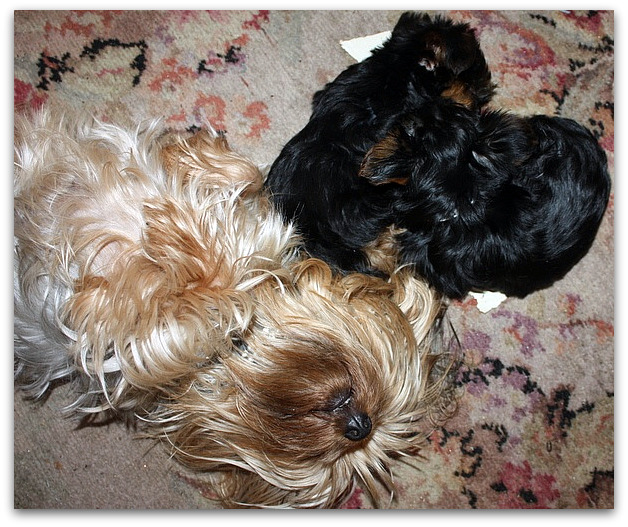
Twinkle and the other big dogs will stay behind on this trip, with Ryan to watch them. Its great to have a grown son around to dog sit! Plus my dogs have a fenced in yard with a doggy door to let themselves out whenever they want. Ryan only has to fill their bowls once a day and say hi to them.
He lives in an apartment above my studio, so when I am away, the house is not empty.
Well, as much as I dread packing, it can't be put off much longer. I'd better start wedging stuff into my poor little car. I have 3 adults, a preschooler, 3 puppies, luggage, puppy gear, toys, and a cooler to fit into a Scion. My car is roomy for a small car, but this could be pushing the limits!
