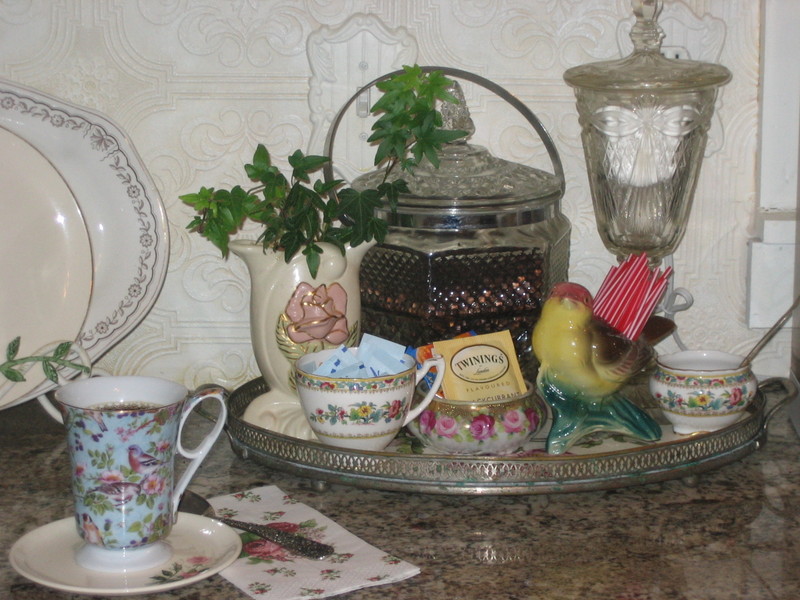
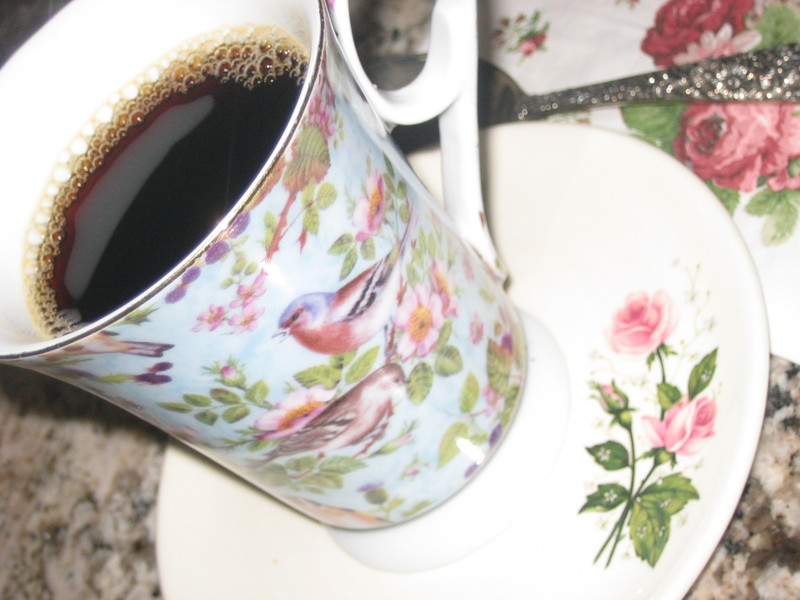
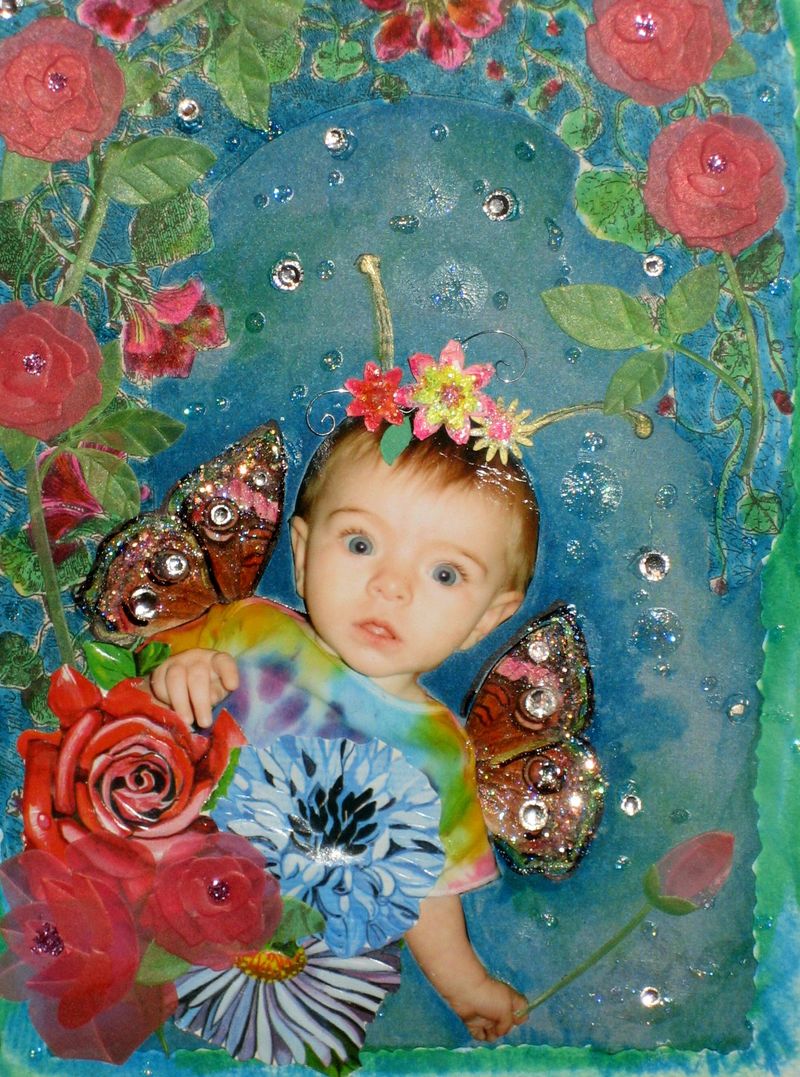
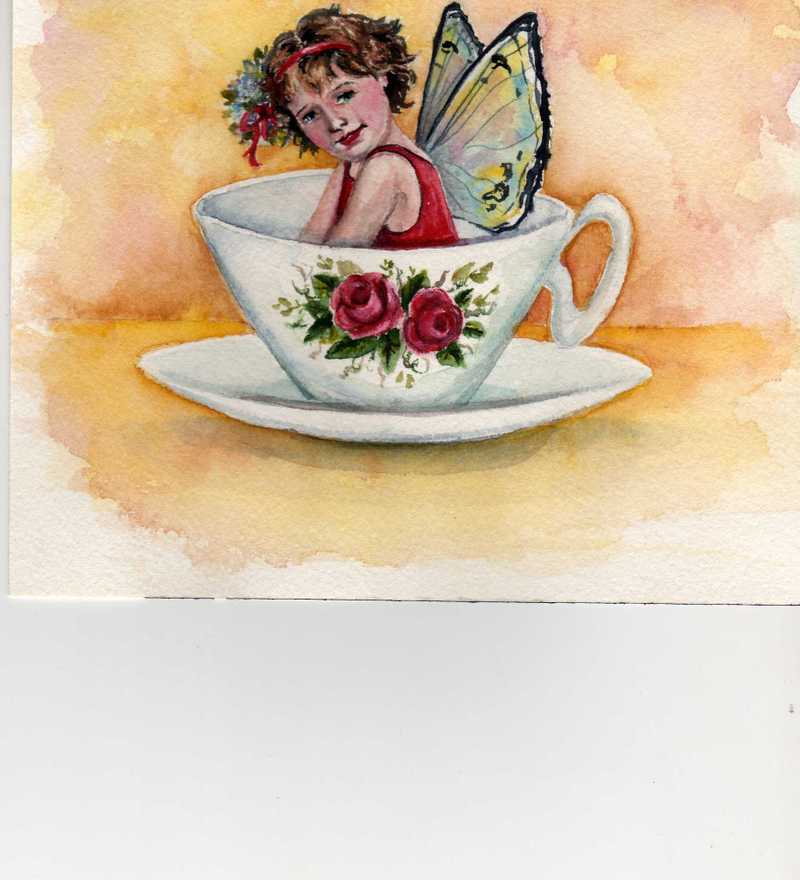
 Welcome to the Spring Tea Party! I think it really will feel like Spring here in KS today, is supposed to be in the 70’s and I am going to cut some forsythia. Here is a tiny teacup fairy watercolor I have done, doesn’t she look like she is ready to play outside on a nice spring day after her tea party?
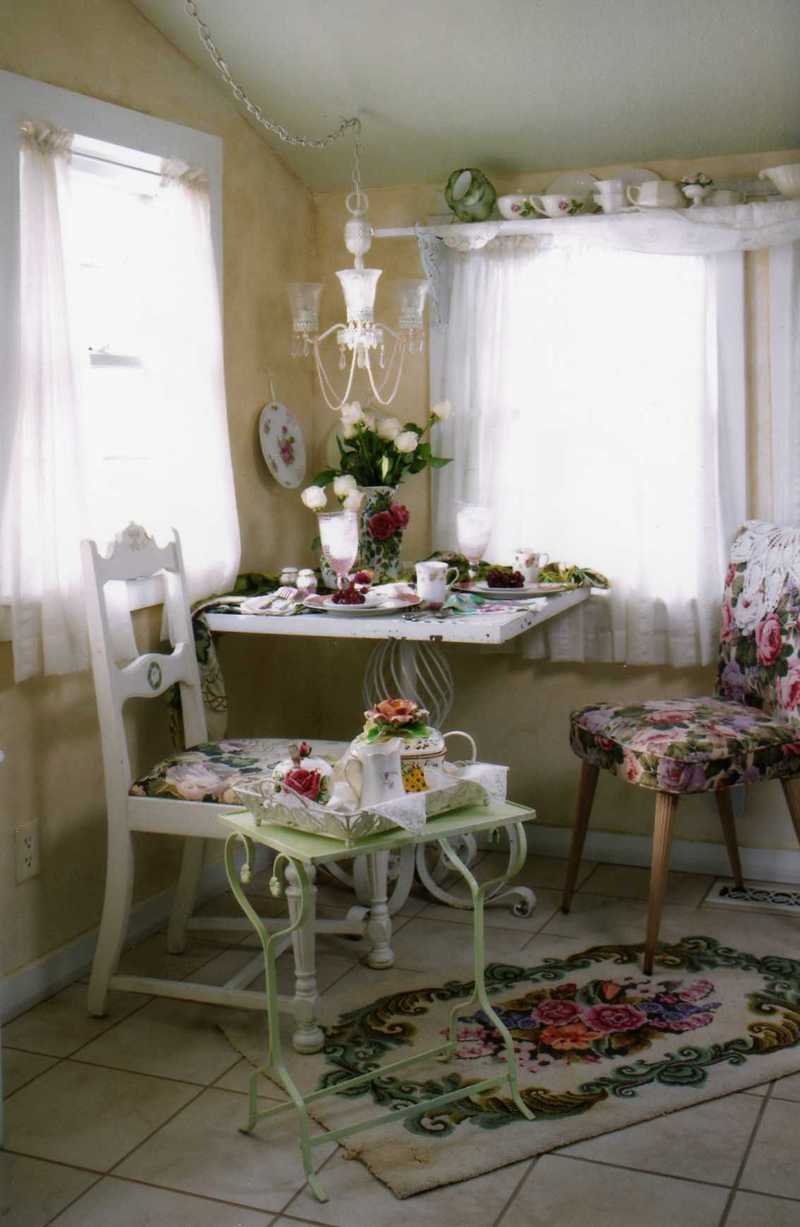
This photo of the breakfast nook in my kitchen was in Small Room Decorating Magazine, page 26, Nov 2006. It was taken by Bill Mathews and styled by my friend, Gloria Gale.
You can see some of my tea cup and sugar bowl collection on the shelf above the table.
Gloria and Bill did these photos too, but they have not been published yet. I wrote an article for the pictures, but don’t know which magazine it will be in or when it will show up. Sometimes, the pictures take a couple years or more before they are used! Which is hard, when I am so excited to see them when they come out! I check the newsstand at the grocery store every week, even though the editor is very nice and sends me a copy ahead of time. It is a good feeling to be flipping through pages at the store and be surprised by photos of my home. 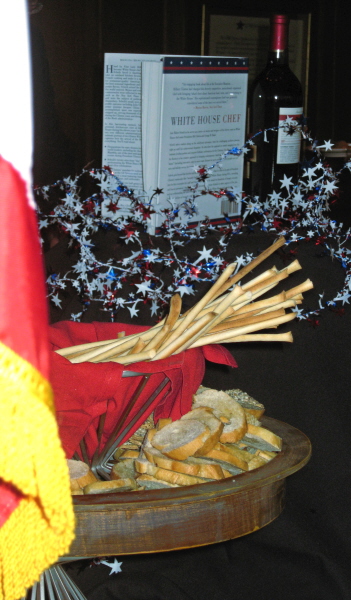
This is the entry way to the kitchen, basically the main entrance to the home. I can’t say it is always this welcoming and set for a party, but I love it when it is. Any excuse for a party is a good reason to get my pretties out of the cabinet and use them. I don’t believe in letting my favorite things sit on the shelves and be left out.
The bright pink rose painting hanging by the door is one of my watercolors. I faux finished the walls in a wash of 3 toasty colors over ivory to warm up the room. With all the white furniture, I didn’t want too much color on the walls, but it was too blah when it was a lighter shade of cream.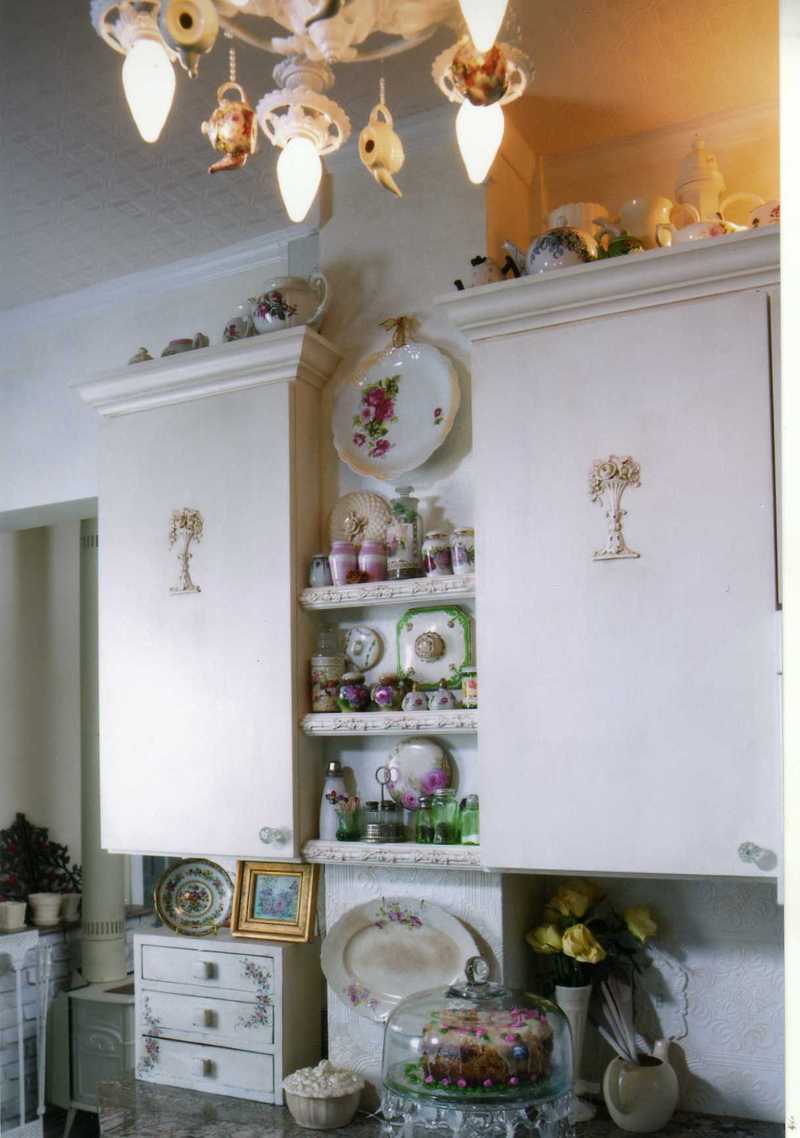
My son was working for a cabinet shop when we were remodeling and he built all the beautiful cabinets for me. I added the embellishments, painted them a French vanilla, then glazed over them with a cappuccino color. Fitting and tasty colors for a kitchen!!
I tied tiny little teapots to my garage sale chandelier after painting it white (I think the last owner was a circus clown, by the color it was when I bought it). For the spring fling tea party today, I will take down one of my favorite teapots from the top of the cabinets and make Black Current tea. I am baking brownies too, and adding white chocolate M&Ms to them. Now, where have the white chocolate ones been all my life??? YUM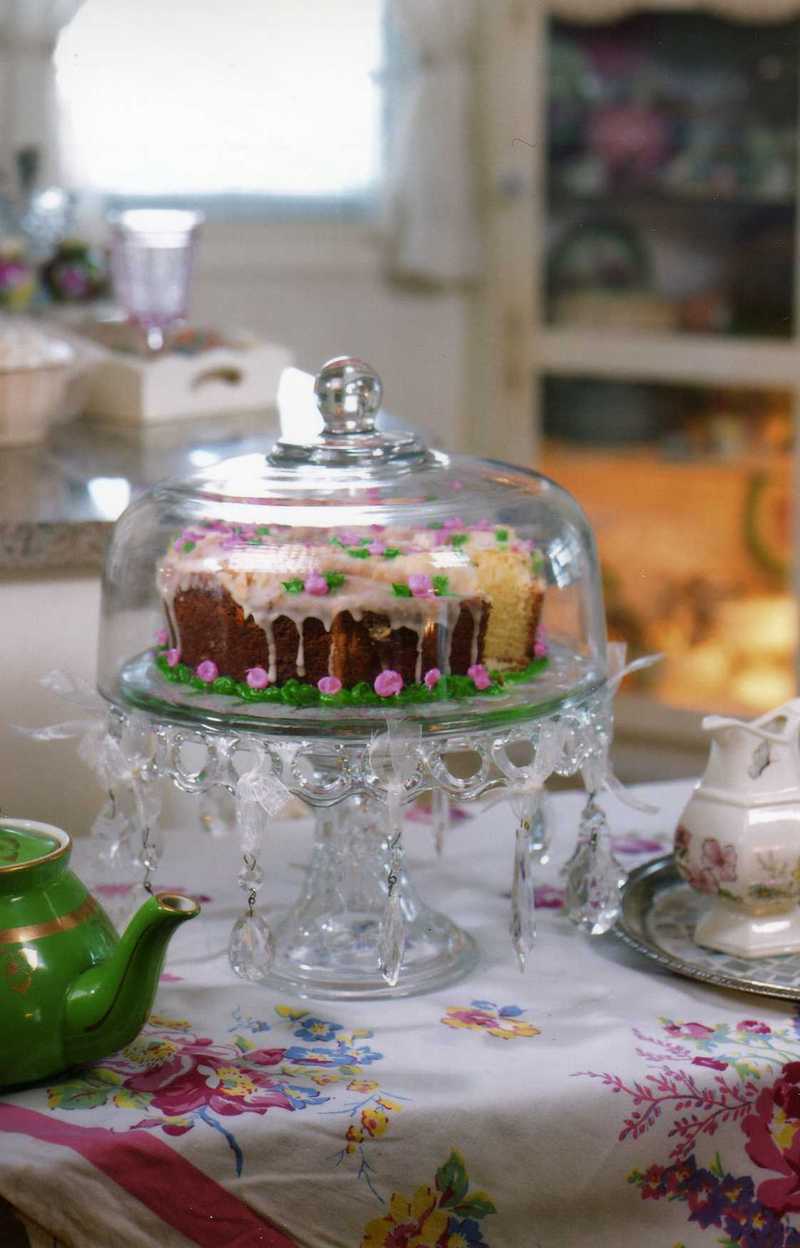
One last photo from Bill and Gloria’s work at my house before I go check out the virtual tea party. If you want to go to, the link is: http://www.artsymama.blogspot.com
This photo is a close up of the cake I had out for the photo shoot. I don’t bake things that turn out pretty, so I always buy a cake a the grocery and doctor it up. Then, after the pictures, we sit down together and eat it!
Wishing you a beautiful first day of Spring, and thanks to Kari at artymama for the idea of the tea party.
 She patiently walked me through each step and gave me advice for a couple of hours. (did I tell you she was a very good friend?) Since I closed my showroom in June, I have been telling people I was going to start selling on Ebay, but just hadn’t gotten around to it yet. At first, I was "taking the summer off." Well, honey, summer is long gone and I just might have stretched my vacation to the breaking point. Time to get back to work!
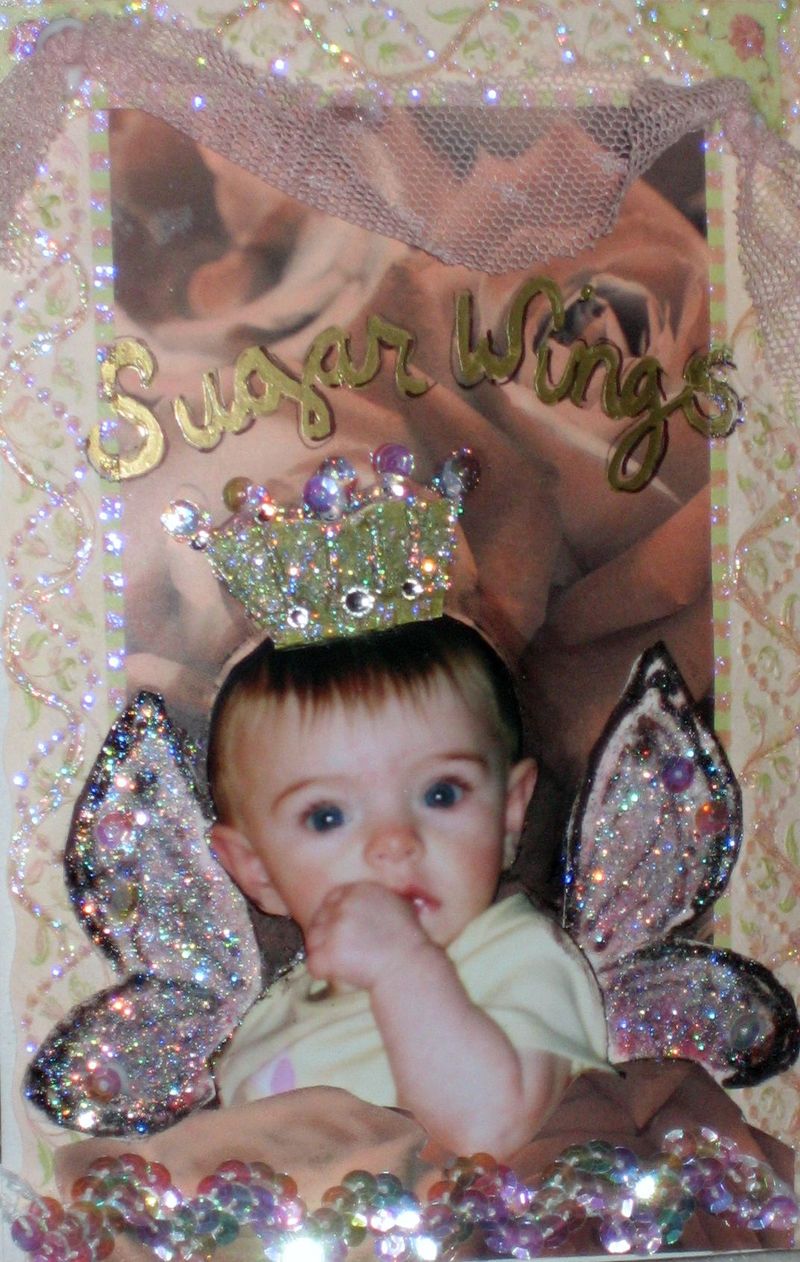
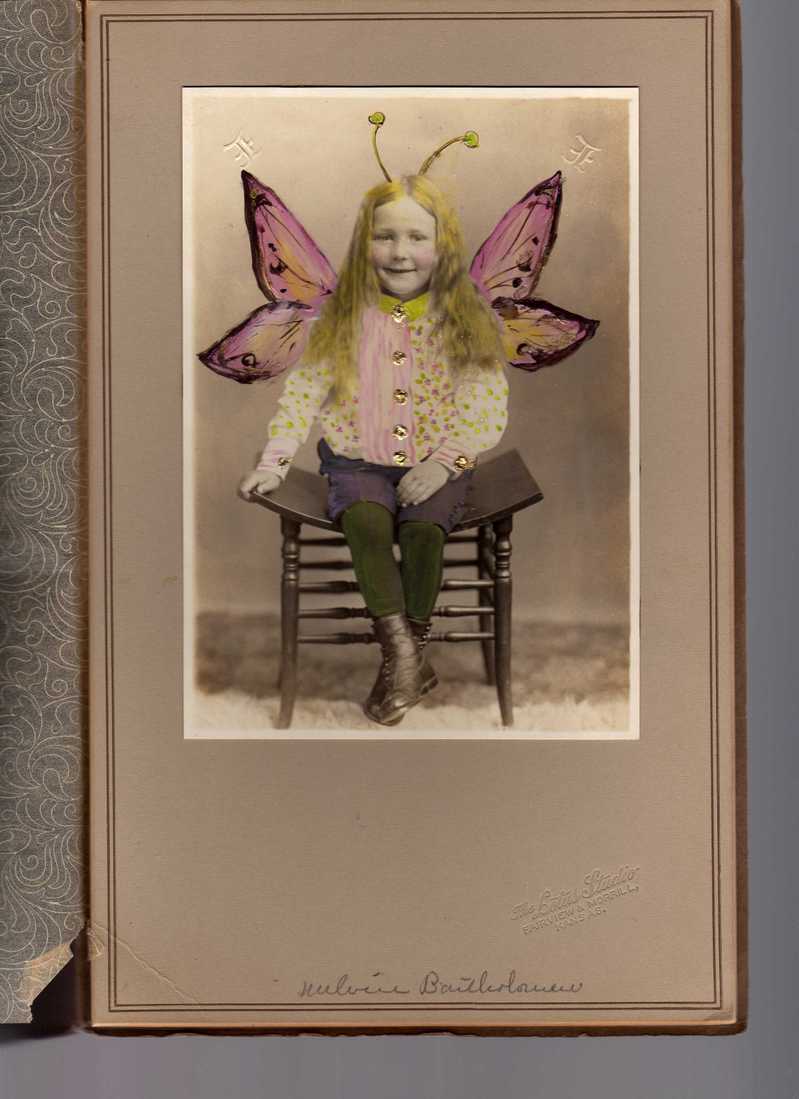
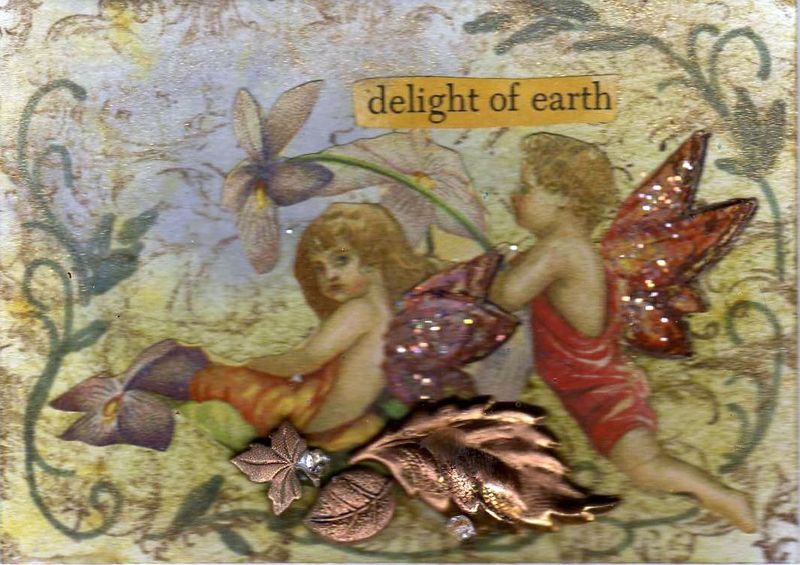 After we listed things, we sat and played with papers. She was making tags with cool old dress patterns, I was making artist trading cards with some of the vintage paper items I had added hand painted fairy wings too. Here is one, titled: Delight of Earth.
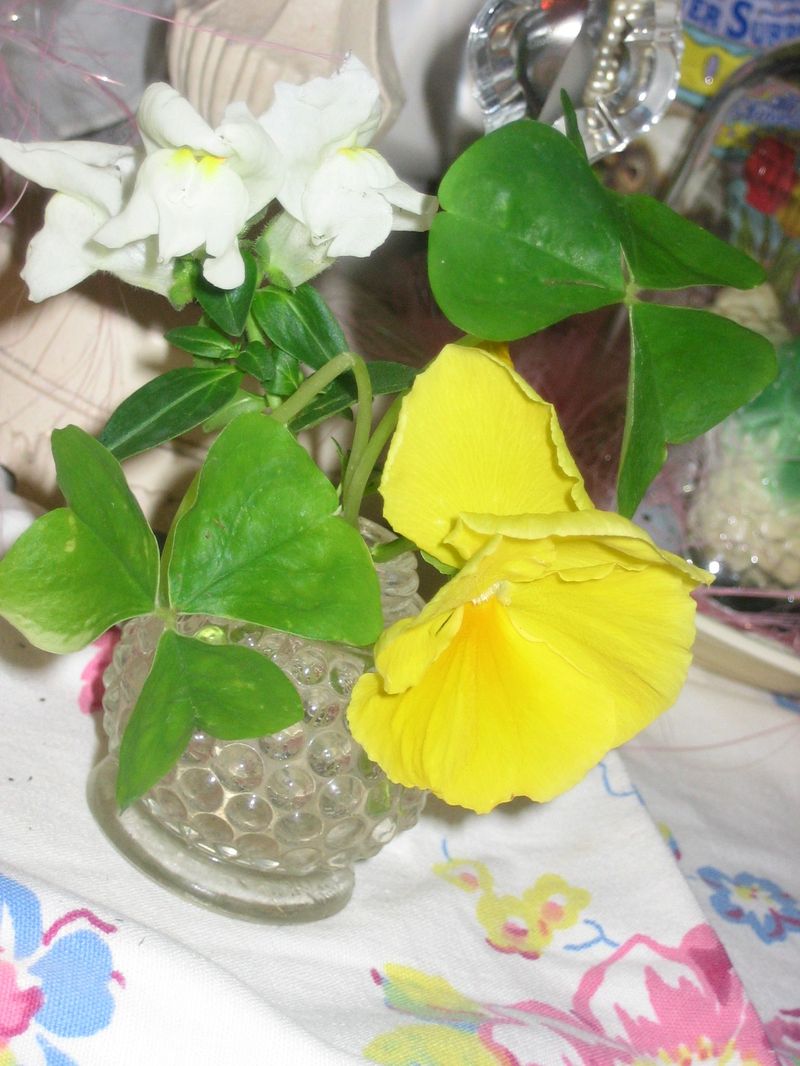
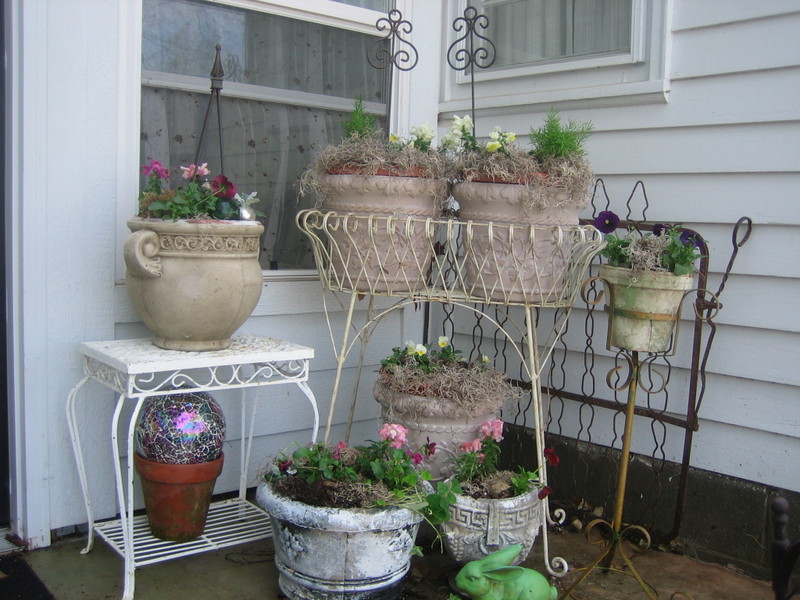
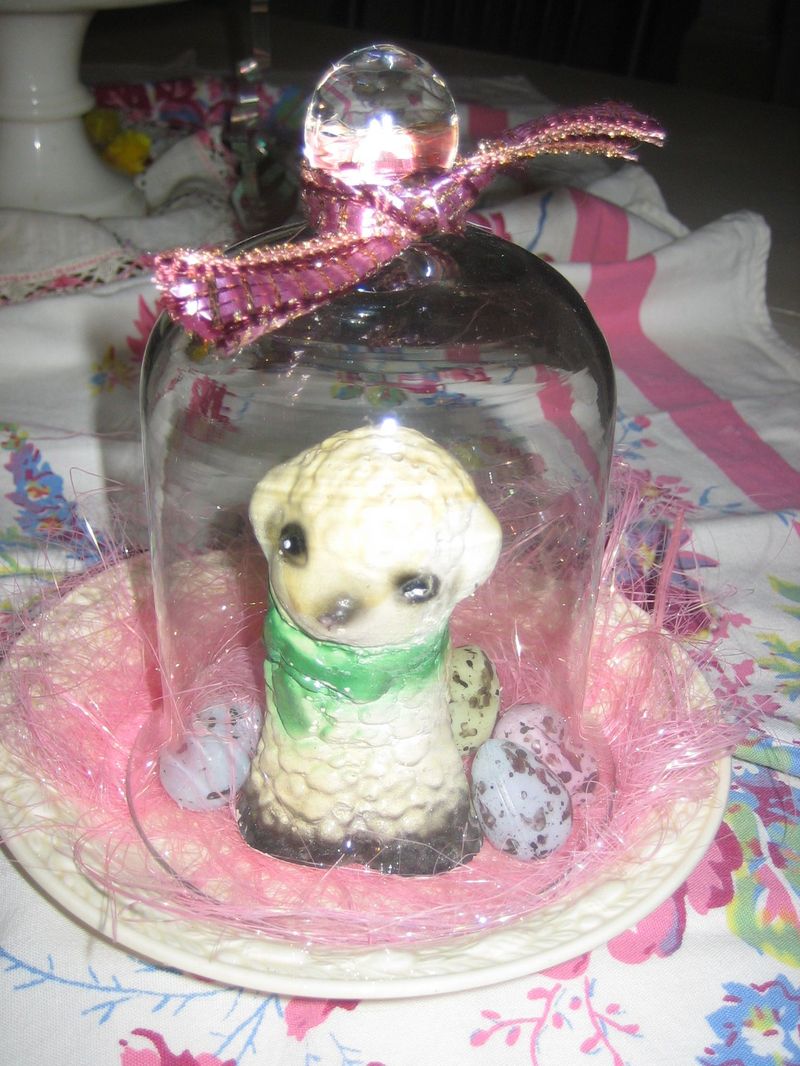
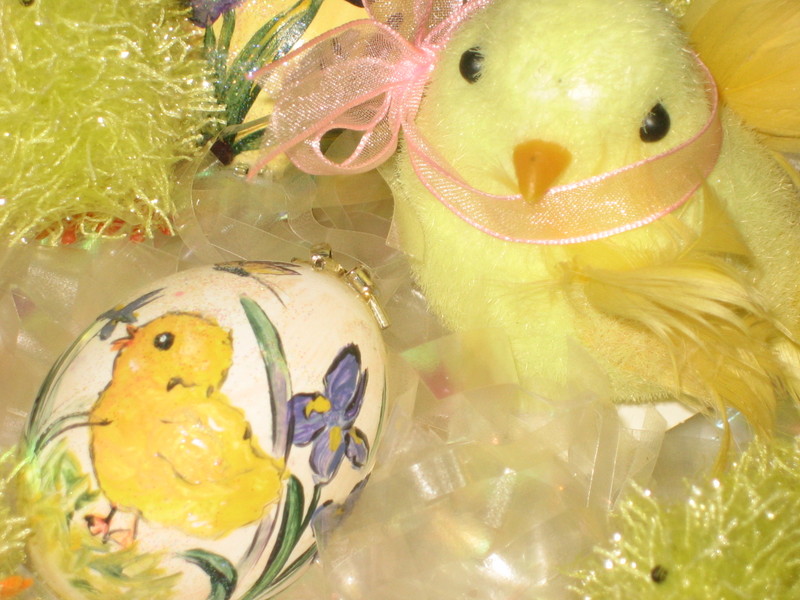
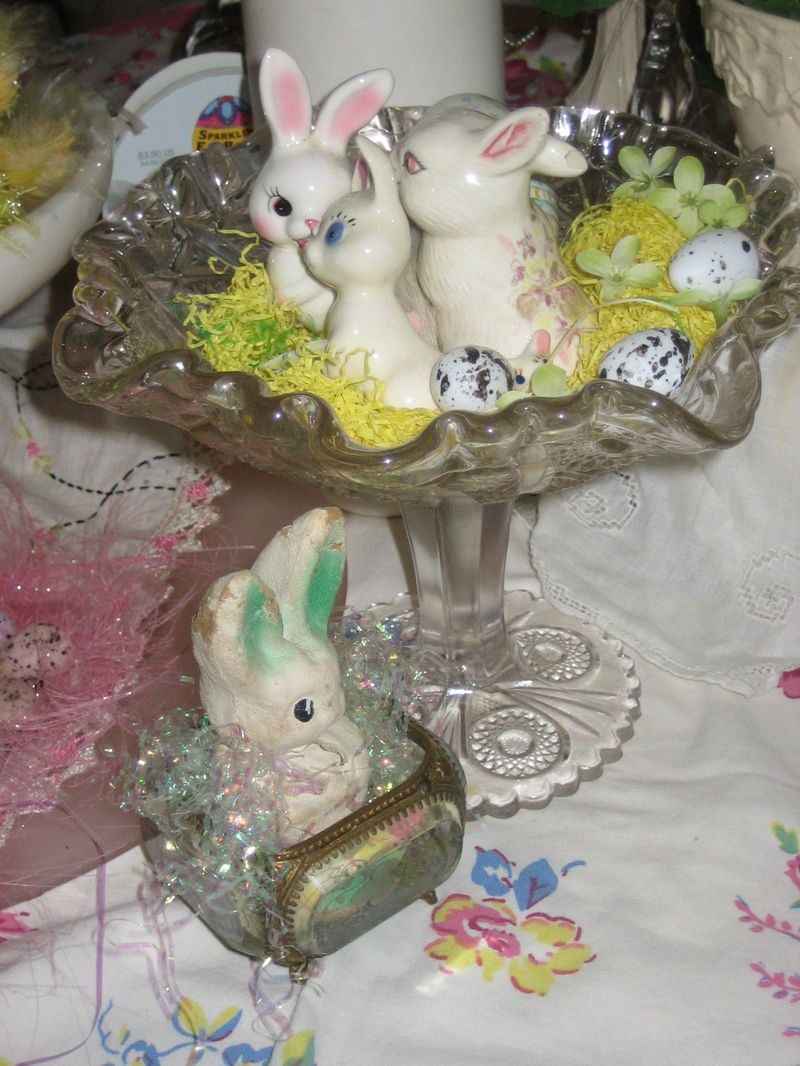
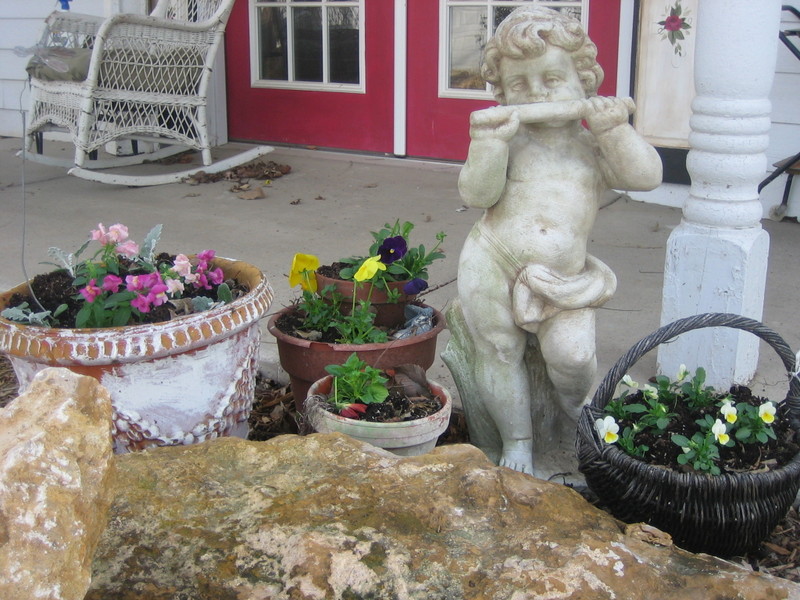
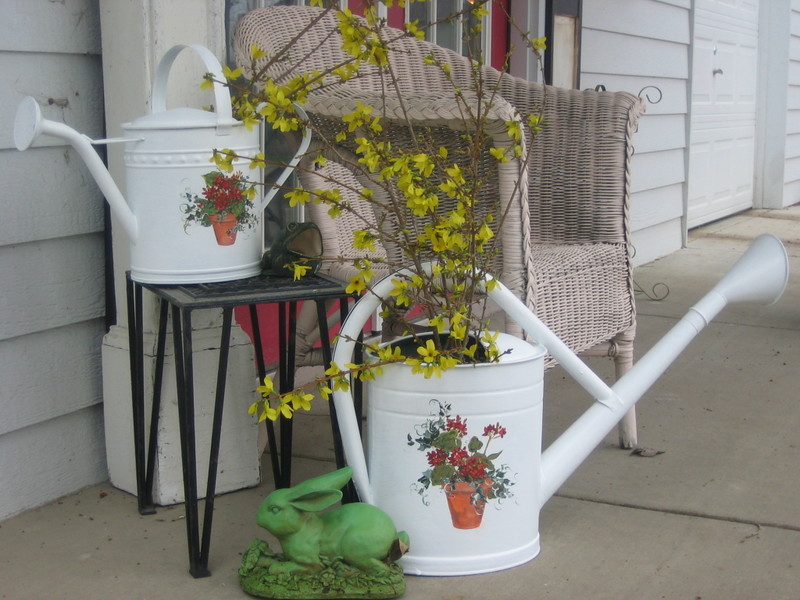 Spring’s arrival, with the Kansas wind blowing and a few little blooms starting to peek out of the backyard was a promising start to the season. Between clicking from blog to blog on the virtual tea party (see 3/21 ‘s post) and meeting lots of new blogger friends online, I spent an hour painting these two watering cans and picked some budding forsythia to place in them. A client I have done a few painting projects for over the years dropped the cans off and asked me to paint them white with red geraniums and ivy. Hope she likes them, I liked doing them. Felt like a very springy type job and made me start thinking about my upcoming garden. I think I’ll buy a few flats of pansises today, that is a flower that is safe to plant this early around here, we could still get a few frosts or freezes yet.


