Books

Bootiful Bootique Books and a lot of how to tips and ideas for art journal pages

Books, holiday decor, how to's, Romantic Gothic Ghosts, vintage paper/collage art
IMG_1048

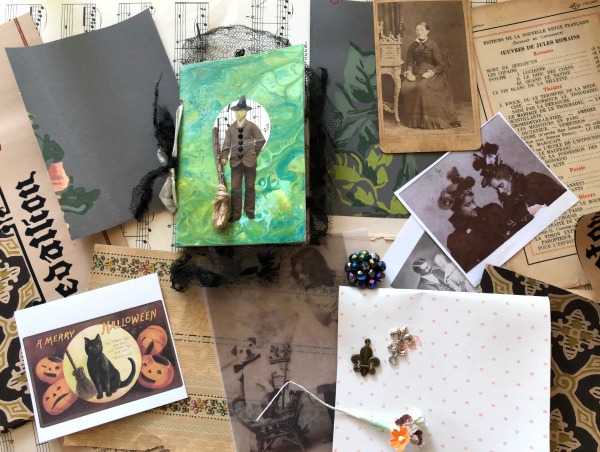
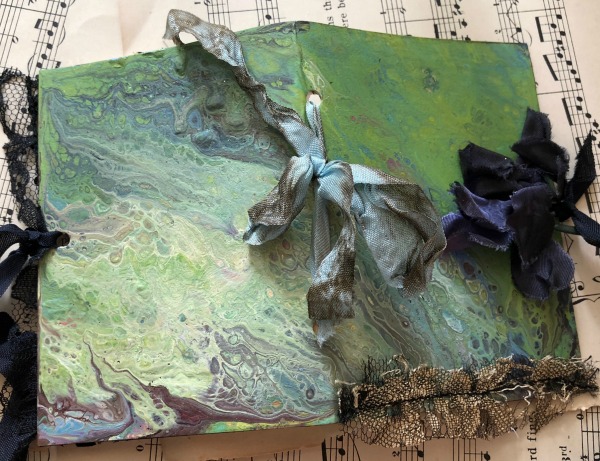
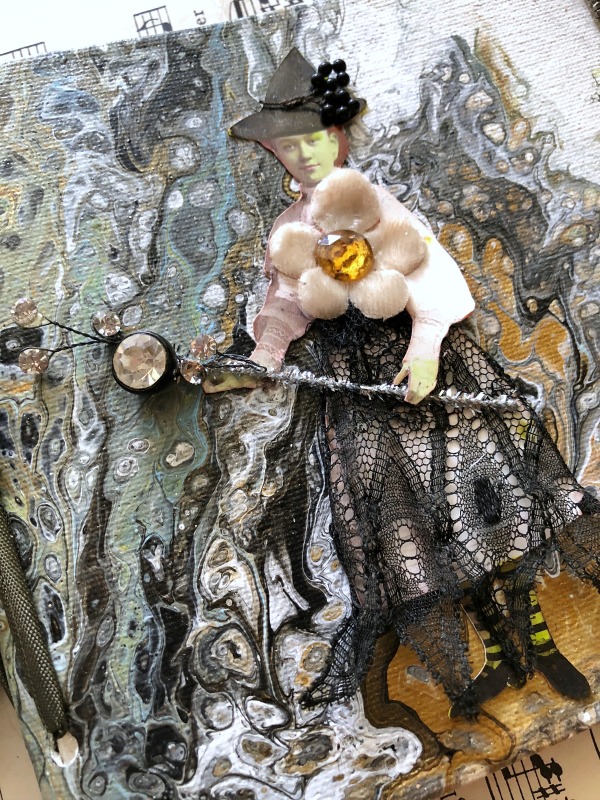
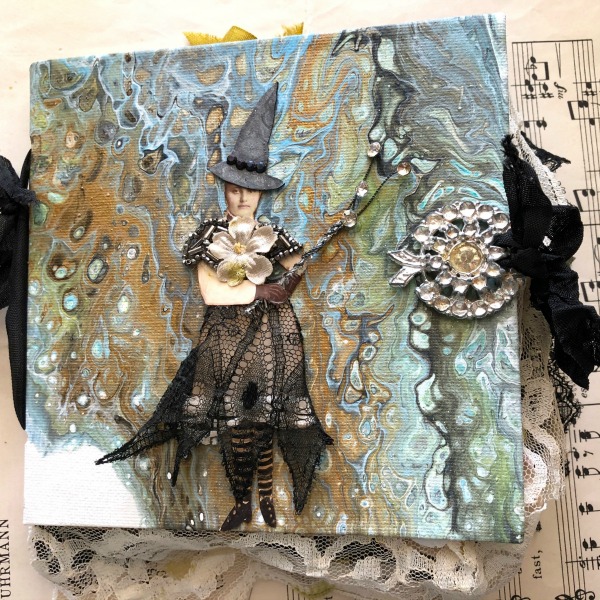
There are a couple more pour paint canvas books with witchy themes in the Bootique now.  This one has the outside covers in flow paint with a witch I've cut from an old photograph and spooky-foofed up. 
IMG_1051 IMG_1052

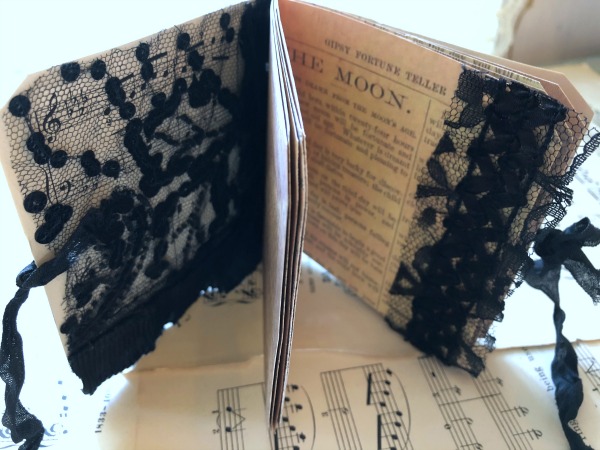
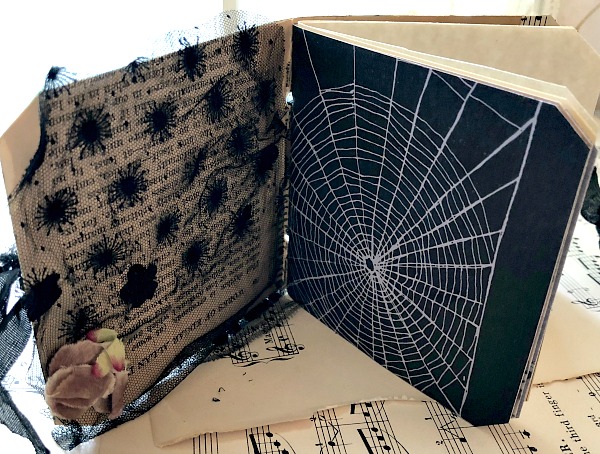
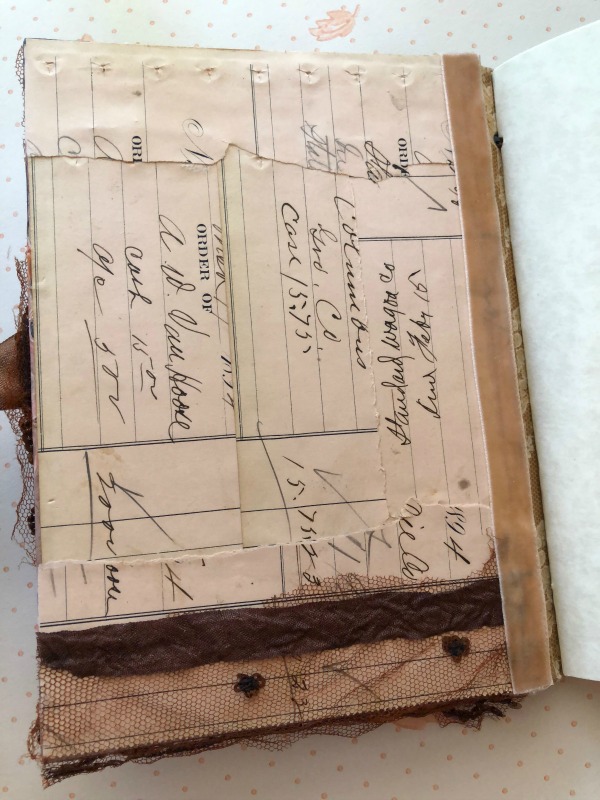
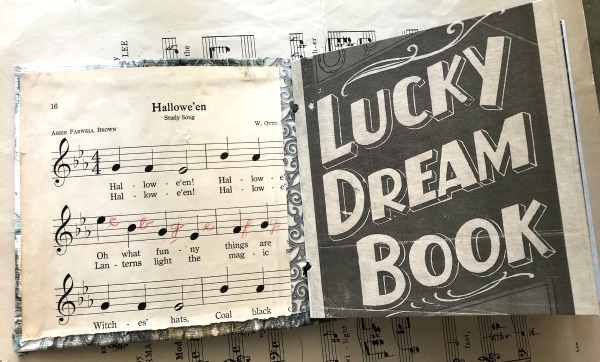
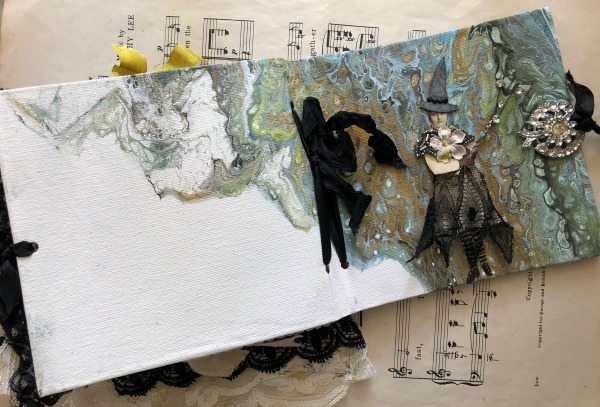
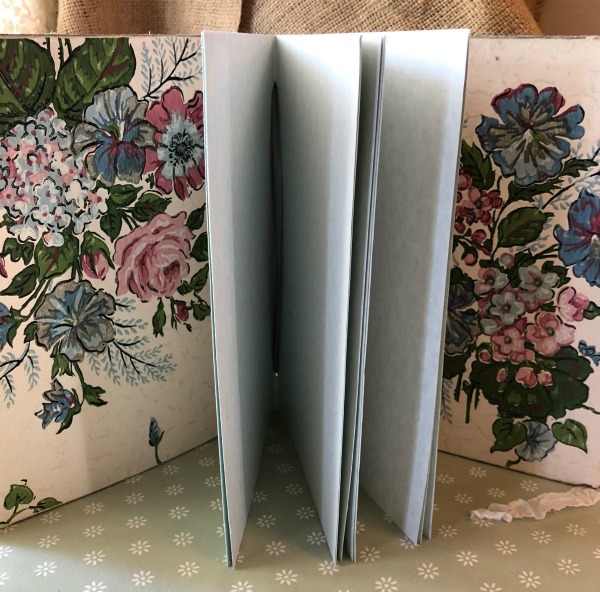
The inside covers are covered in old paper and the interior pages are a grey, parchment style card stock, ready to be embellished.
IMG_1053

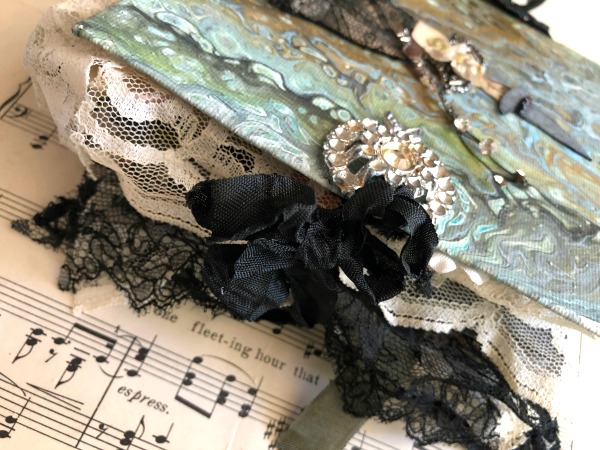
This book has the same type of cover.
IMG_1055

Instead of it being a kit for you to finish, I've gone ahead and journaled it throughout, myself.
IMG_1056

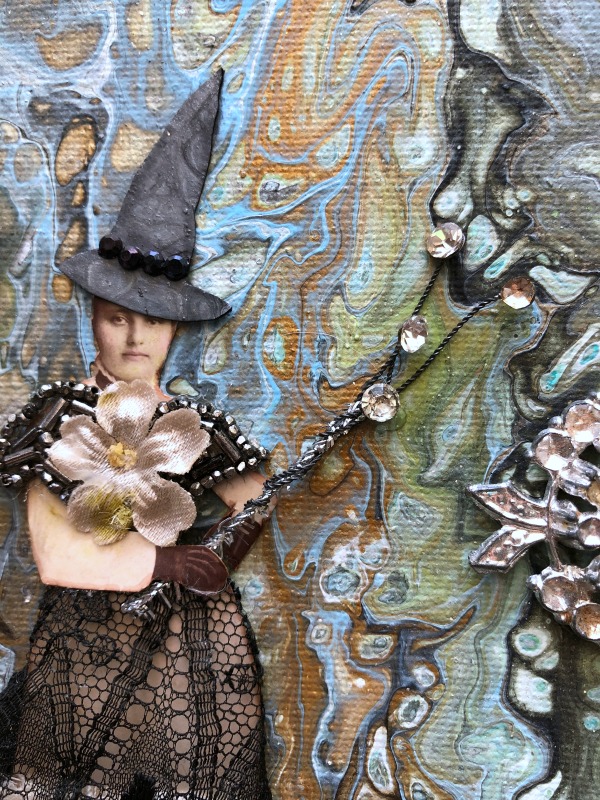
Here is a close up of our sorceress, with her magic wand made of a trimmed pipe cleaner and topped with a vintage rhinestone spray, with its wire wrapped around the pipe cleaner.  She has old lace wrapped around her dress, and a hat made from card stock that I'd painted.  

TIP- When adding a gown to a photo, it is often easiest to cut the person in half after cutting her out of the background.  You will want to stretch the fabric around the figure and secure it with glue to the backside. And arms are often in the way. I either cut around the arms, or in this case, I simply cut the lady into two pieces, added the lace, and glued the two parts down onto the book to reassemble.

And it looks better if you do away with the stark white edges of the cut out person by running a light brown marker or ink pad over them.
IMG_1057

The "fastener" on the book is a vintage brooch.

TIP- Old brooches look great on the side of a book to create the illusion of a closure.  But, they sit unevenly.  Take a pair of pliers and twist off the pin back.  This one still had a sort of stump where the pin had attached in the center, so I punched a hole in the cover and added glue to the rim of the hole, then pushed the raised bit down into the empty space for the brooch to sit evenly  More glue was added to the back of the pin that met with the cover.  
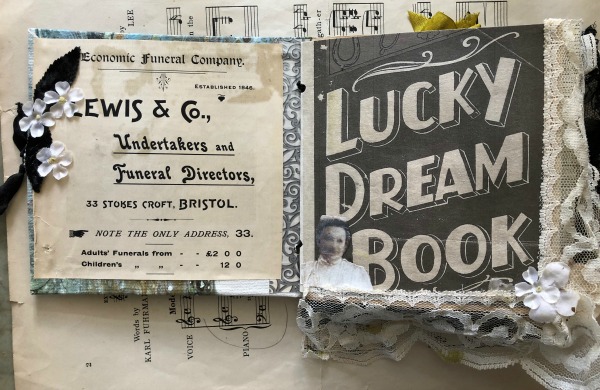
IMG_1058

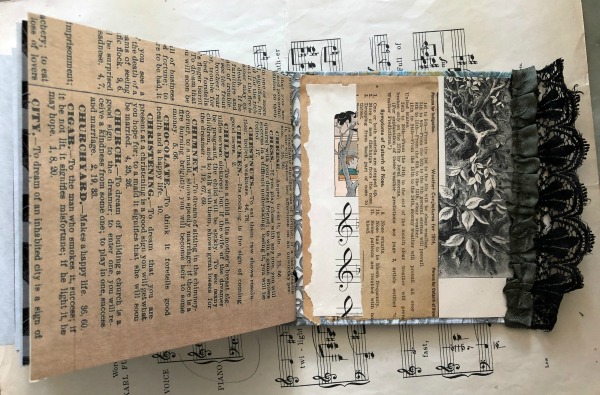
The first page is simple, I've used an ad from an old magazine for a funeral home (Thinking ghostly here). The leaves and flowers are glued over the hole I'd used to attach the brooch onto the front of the book.

TIP- Lots of lace adds a lushness to a journal.  I like to start a book with some trailing from the first couple of pages.  And add it to different sides of the pages throughout the book, on this page it is on the side and bottom.  To hide the pleat, I've added a flower.

The ghost if from an E-zine I did with Beth years ago.  It was called ROMANTIC GOTHIC GHOSTS and included full directions, tips, plus a lot of images to download and print. It is still available here: http://bethleintz.typepad.com/workshops/, scroll down, there are two zines to buy, the first one is a Xmas theme and the ghostly one is at the bottom.  
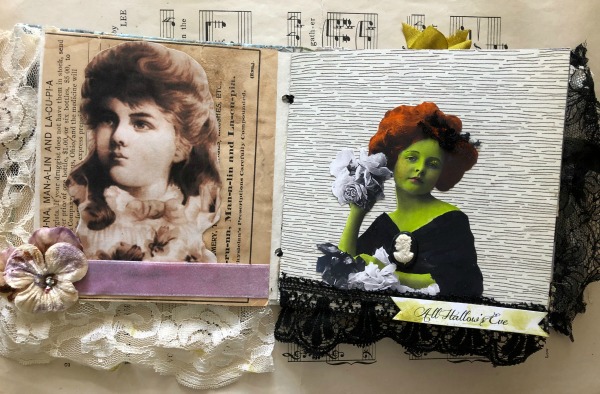
 

IMG_1059

My book features both copies and originals.  It has vintage paper and scrapbook paper.  The sepia girl is a color copy of an old photo, glued to original, vintage text, simply accented with a velvet ribbon and velvet pansy for nice textures.

The next page is scrapbook paper, with a girl cut out of a black and white copy of an old photo.  I've used marker on her flesh to make her look "wicked".
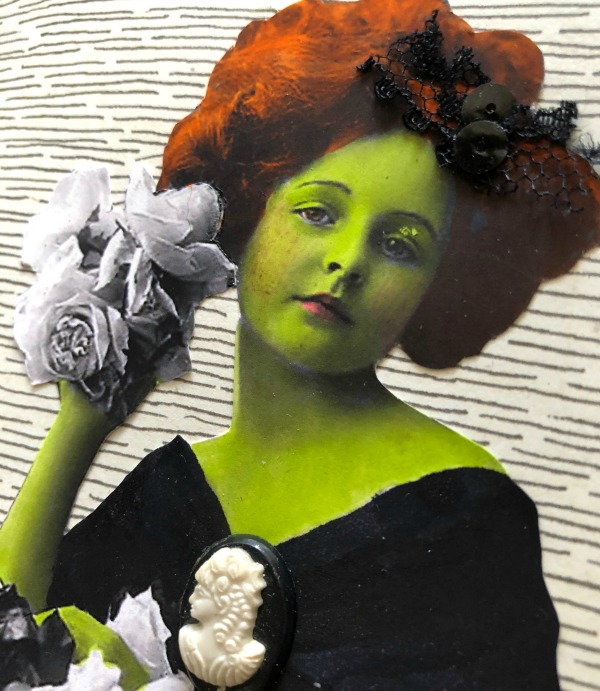
IMG_1060

TIP- I find it easier to color the people before cutting them out of the photos.

And I use a blendable marker in lighter green, then a slightly darker green where you'd apply eyeshadow, for depth.  Marker also works for lips, but please use a red colored pencil to get a realistic blush look.

Add 3D elements like the cameo or hair bow for accents.
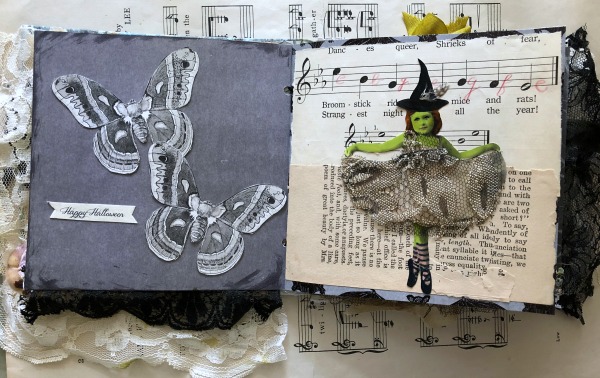
IMG_1061

The moths are cut from copies of images found on Romantic Gothic Ghosts, glued onto plain, gray scrapbook paper with black ink around the edges.

TIP- Simply done pages can add a lot to a book. Not every page needs to have a lot going on.

Next, is another girl I'd treated to a wicked tint.  Her dress is lace, and her hat is cut from other paper and added to her head after she is glued to the background of vintage texts, layered on the page.

TIP- Striped socks are an easy way to change a girl into a witch, just color the socks with marker in a basic color and draw the curved lines with pen.
IMG_1062

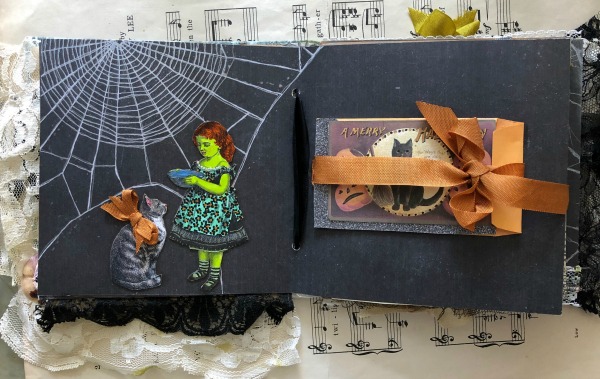
On the left is scrapbook paper from a Halloween book, with a spiderweb. I've drawn over the web with a metallic pen.  The girl and her cat were cut from a black and white copy, and colored with markers and glitter pens, then a bow was added to the cat.

On the right, a small envelope was covered with a vintage image, color copied and accented with glitter pens.  It has a ribbon wrapped around it, and then was glued in place.

TIP- Use envelopes and pockets in your books to tuck away treasures or surprises.
IMG_1064

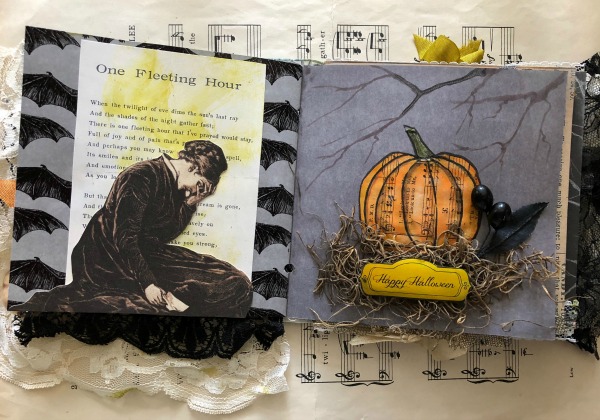
Another simple page with a big impact, bat themed scrapbook paper, topped with a copy of a poem, and a cut out of a grieving woman.  Her dress has been accented with glitter pens.

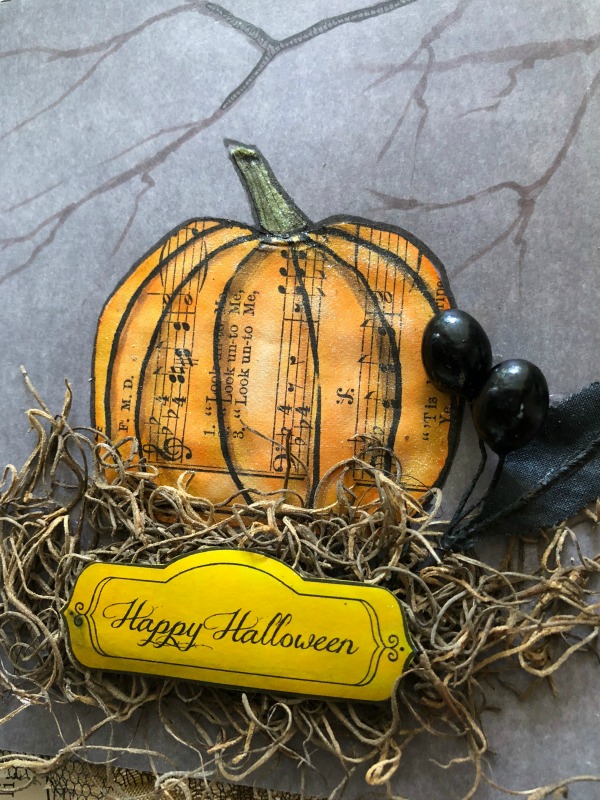
The paper used on the right was also from the Halloween scrapbook pad that I had, but I have added a few hand drawn branches to the background. The pumpkin was drawn onto sheet music, colored with markers and glued down to the page and moss was added over it. The words were printed in black and white and colored with gold marker, then highlighted with glitter pen.
IMG_1065

TIP- Hand drawn or colored elements, whether free hand or done by coloring stamps or stencils, add a lot of interest to your pages.
IMG_1066

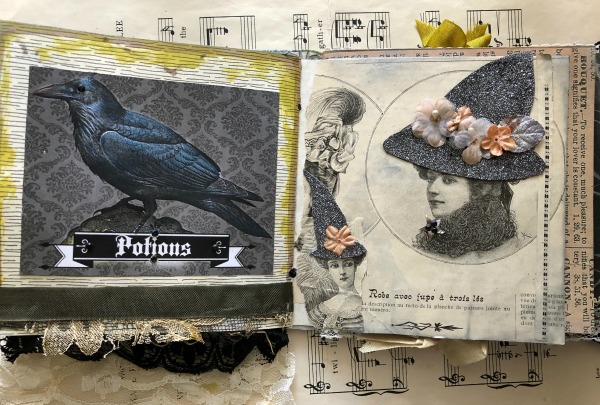
The raven is a printed copy, with the bird itself accented with glitter pens, and the background left with its matte finish.  The bottom of the page is trimmed with tattered lace, topped with velvet ribbon.

TIP- Your lace doesn't need to be pristine.  Old and tattered bits add character to a book.

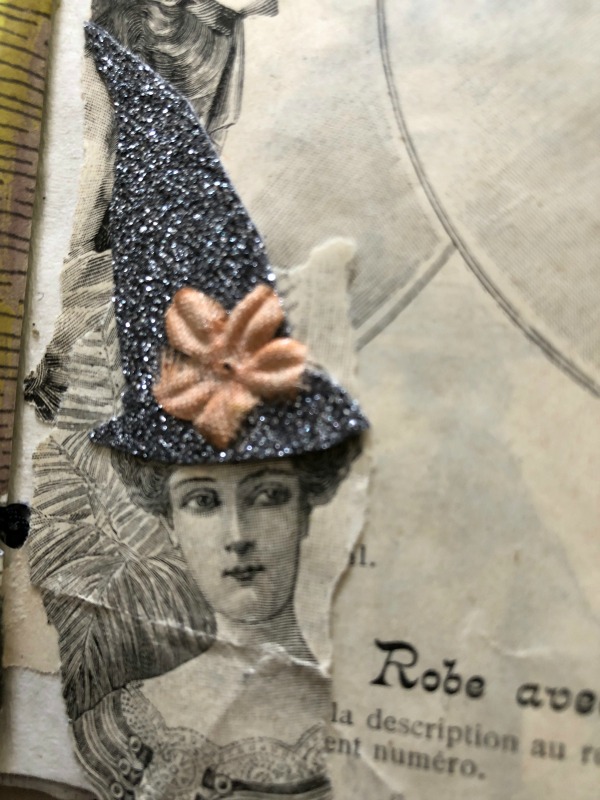
The witches on the other side were ladies from an ad in an old magazine. I've added hats made of glitter card stock and millinery blooms.
IMG_1067

TIP- For a more finished look, I ran a black ink pad along the edges of the glitter card stock hats.
IMG_1068

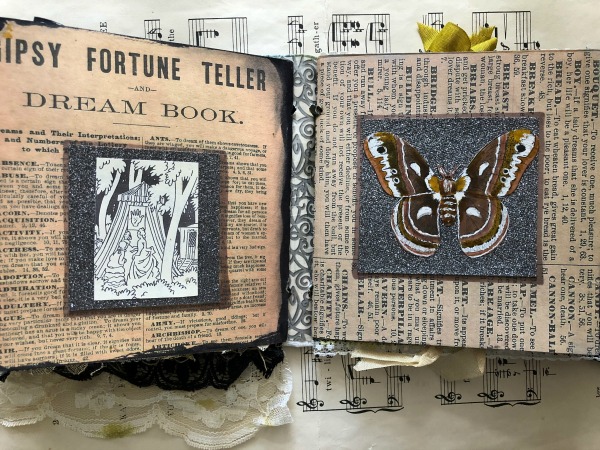
The same moth image from Romantic Gothic Ghosts that I'd used on an earlier page is used over glitter card stock on this page. It is colored with tones of brown markers and a little glitter.

The same style of layering squares over text was done on the left page for a cohesive look.

TIP- Do not be afraid to reuse the same images or ideas in slightly different ways, throughout your book.  Reusing themes can bring unity to your pages.
IMG_1069

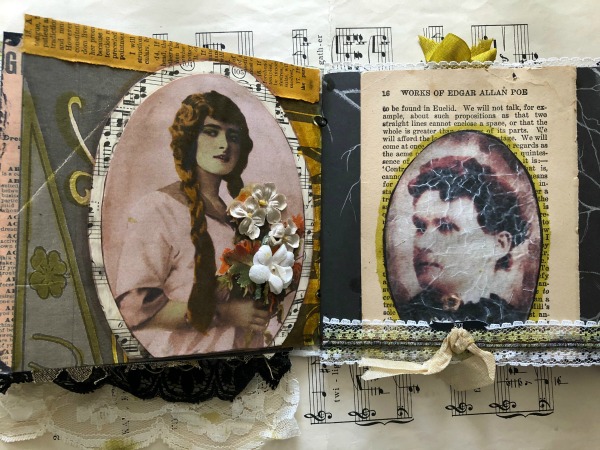
I've done a similar thing on these facing pages.  Instead of squares, I've used ovals, layered with the images.

TIP- Not all dangling trim needs to be lace.  Here, I have a knotted ribbon that hangs down past the bottom of the book.
IMG_1070

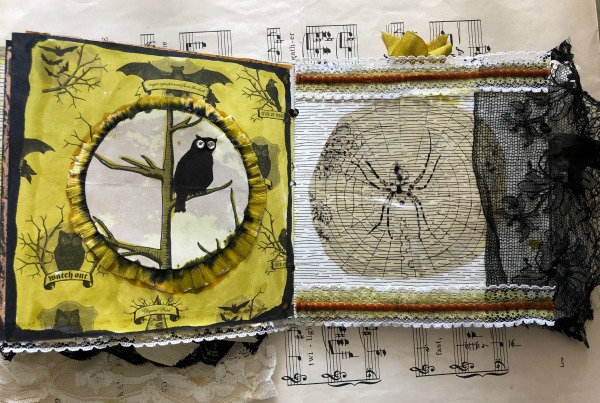
Both of these pages have scrapbook paper as a background.  On the left, I colored the page with a glitter marker in gold, the cut an owl image from another scrapbook page and turned it into a medallion by adding a crepe paper ruffle to the back.

The spider is cut from an image (Romantic Gothic Ghosts) then printed onto a transparency.  

TIP- Photos or images printed onto transparencies or vellum paper can give you a ghostly feel or some nice texture.
IMG_1073

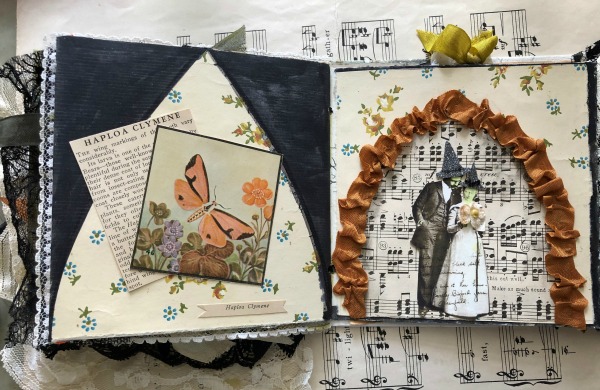
Here is another moth, taken from a biology booklet, centered over a gothic arch.  I've used the same vintage wallpaper in two different ways on these face to face pages, along with two styles of gothic arches.

The couple easily became a witch and warlock by tinting their skin and adding hats.
IMG_1071

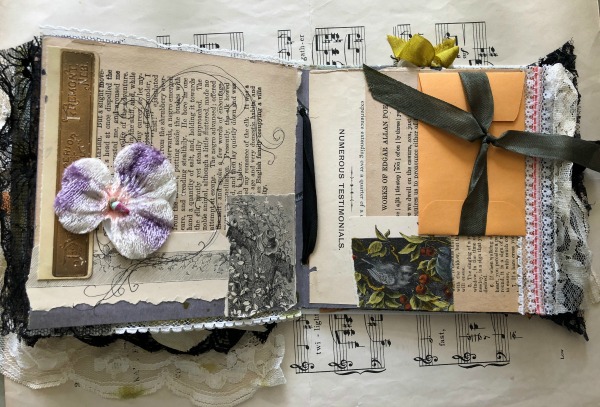
These pages are a patchwork of vintage papers, layered with a flower and an envelope. I've drawn a flourish on the page with the flower and colored the black and white image on the page with the envelope.
 

IMG_1076

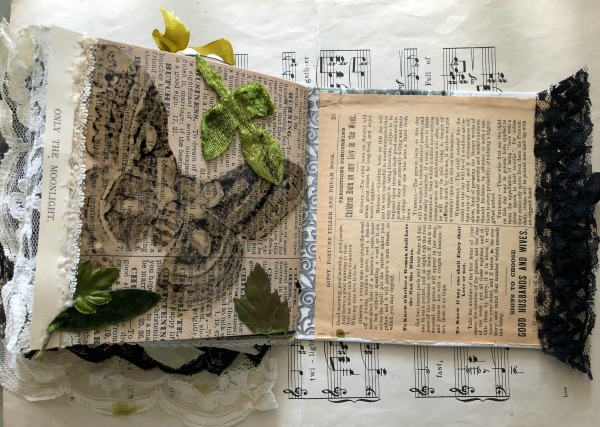
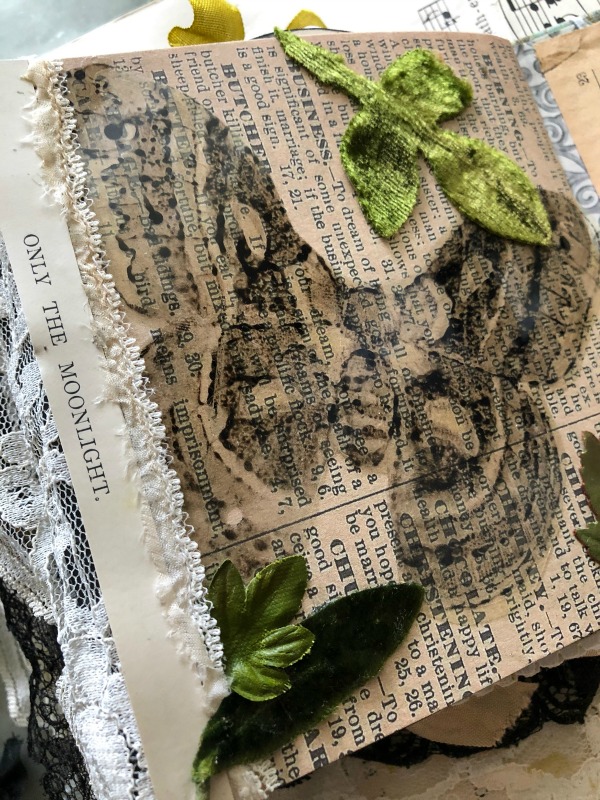
The last page shows the same moth I'd used on two other pages, one as is, one tinted.  This time it is printed on a transparency.
IMG_1077

Velvet leaves were scattered onto the page for texture, and words cut from an old book add atmosphere.

TIP- I make a file of interesting phrases or words and snip them out as I come across them, and save them in the file for later.  If you are specifically looking for just the right words in old books, you will spend all of your time searching and none of your time creating! So, when you see something interesting, snag them then and save them for the future.
Tips

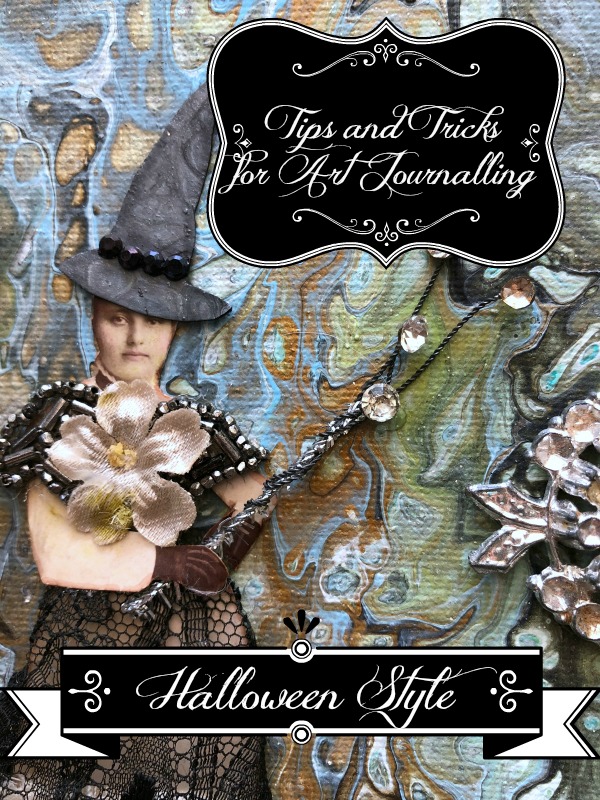
I'll be adding this info to my tutorial, "Creating an Art Journal", it is filled with lots of ideas and designs for making your own books.    
More Witchiness in the BOOtique

Books, the Boutique at Karla's Cottage, vintage paper/collage art


IMG_1044

I've been making more art journal kits. Here is the info about this one:

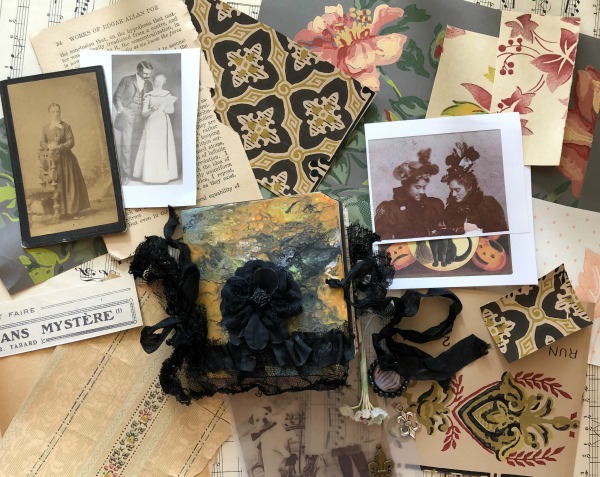
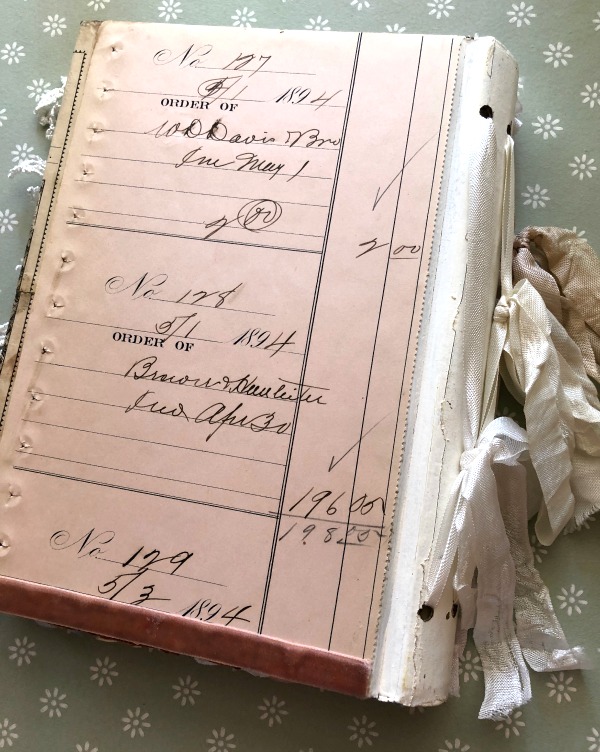
This 5-1/2 x 9" book is completely hand made from top to bottom, using only the GOOD STUFF. I've painted a canvas with and acrylic paint pour techique, with witchy colors including a metallic, color changing peacock blue.The canvas has been adhered to chip board and lined with vintage text taken from a 1914 astrology book.

After reinforcing the spine with decorative tape, I've tied in pages of Halloween themed cardstock (to use as a background or cover as desired.)

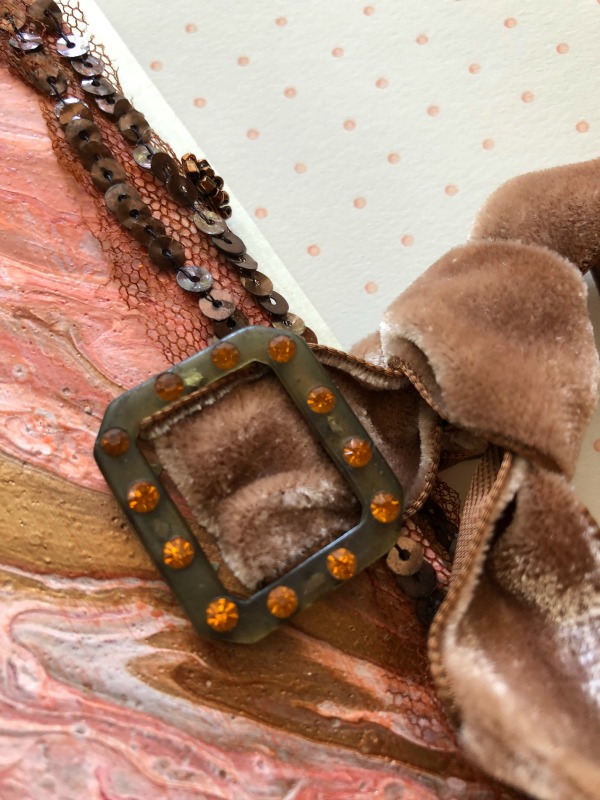
Vintage lace rims the back cover and trim cut from a black, sequinned, flapper dress is used on the front and to decorate the ties at the spine.

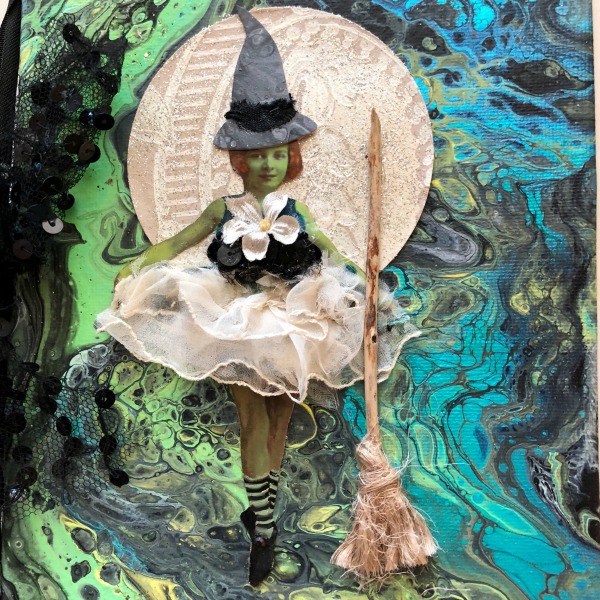
The full moon, is made of vintage wallpaper that I have glittered, and the witch is cut from a copy of a vintage photo printed onto quality photo paper and hand tinted.

The witch's dress is tattered silk, taken from a 100 year old gown. Her hat is also painted with a pour technique in grays.  I've hand crafted her broom and added vintage trim to her frothy dress.

Included, you will receive to finish your book:

a vintage photo

a selection of printed vintage photos

vintage text from an Edgar Allen Poe book

old playing card with a spider back

page of French text

selection of old wallpaper in dark tones for Halloween

2 small collages on vintage paper

sheet music

IMG_1033

And this one:

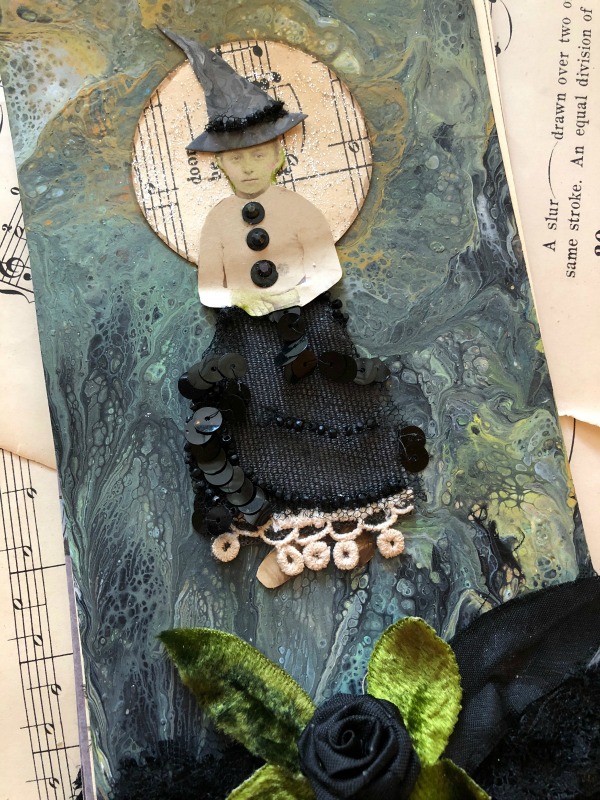
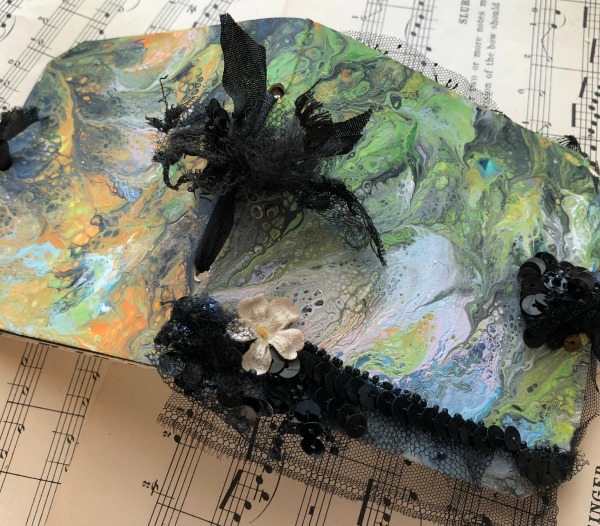
This 4 x 8' tag book is created with hand painted tags front and back using an acrylic flow paint technique in Halloween colors.  I've created a little witch from a vintage photo, pour painted hat, and sequinned skirt to add to the front of the booklet.  He skirt is made of grossgrain ribbon covered in sequin fabric cut from a flapper dress then trimmed in tatting.

More lace peeks from the bottom of the book, with sukver beading cut from another flapper dress, and vintage velvet leaves, topped by an old, black ribbon rose complete the front cover.

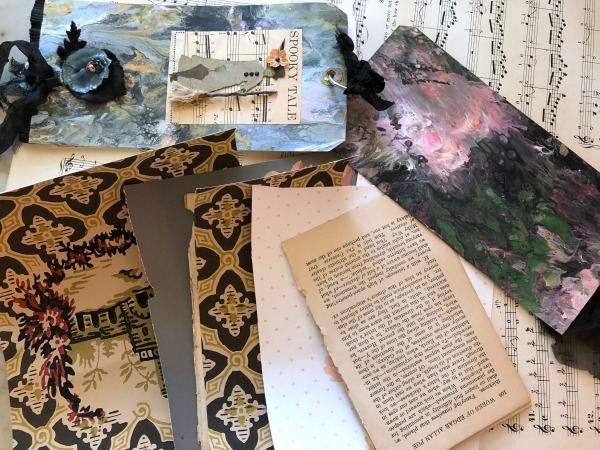
Interior pages are tags and hand cut tags made of decorative Halloween papers.

You also receive sheet music, vintage wallpaper in fall tones, and pages torn from an old Edgar Allen Poe book.

IMG_1037

If you are interested, you can find them in the BOOTique, www.karlascottage.com

IMG_1019

There is a lot of witchiness and wicked greens for Halloween going on there right now.  


Mini Halloween Art Journal Kits in the BOOtique

Books, the Boutique at Karla's Cottage, vintage paper/collage art

IMG_1012

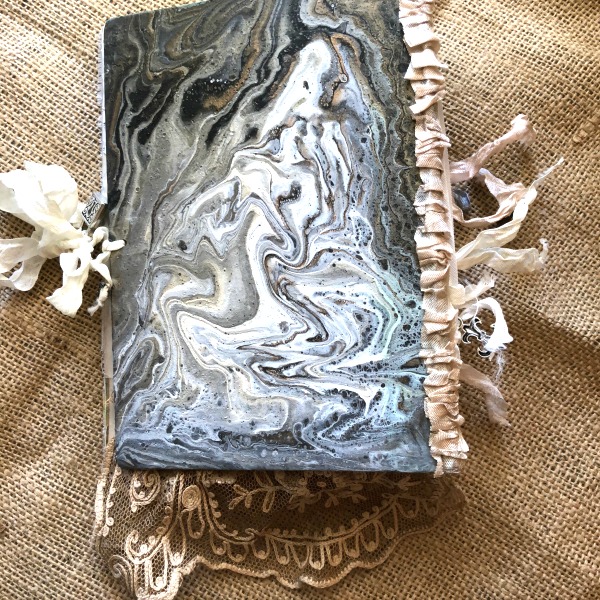
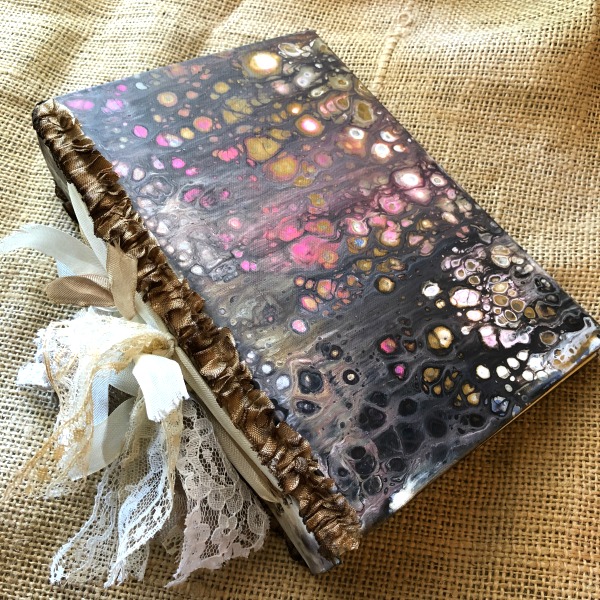
Yep, I'm still paint pouring.

IMG_1019

And still making books.  This one is Wicked Green.
IMG_1017

I thought I'd turn them into Halloween art journals.

IMG_1023

So, I gathered up some vintage black lace and millinery, cut up some pages, and tied them together.

IMG_1009

And of course, they needed some coordinating supplies, right?

IMG_1022

Thank you to those who bought me last little booklets.  

IMG_1029

I've added a few more of the floral ones along with the Ghoulish toned kits, in case you wanted one and didn't get in on the rush.

IMG_1031

I very much appreciate you coming by to look and shop!

IMG_1015

Here is the info about the books and kits:

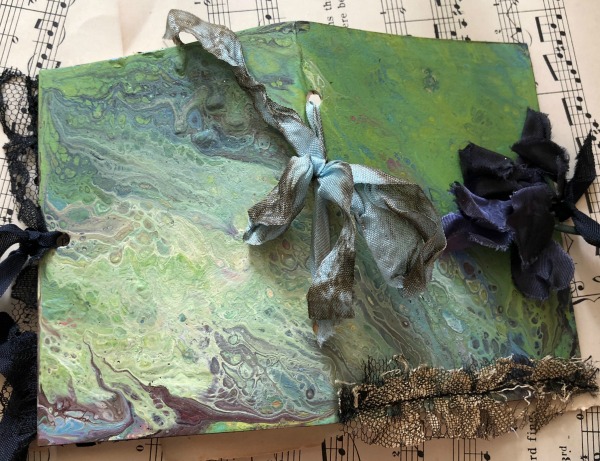
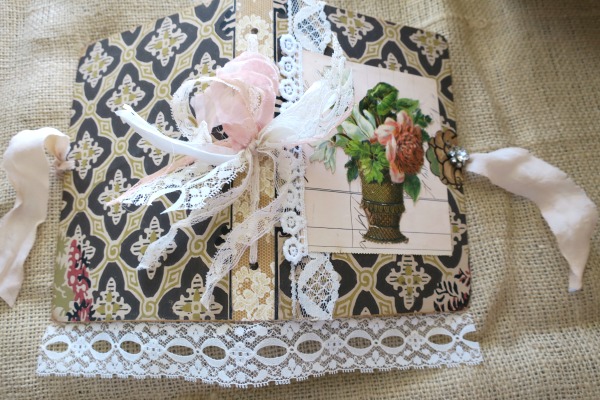
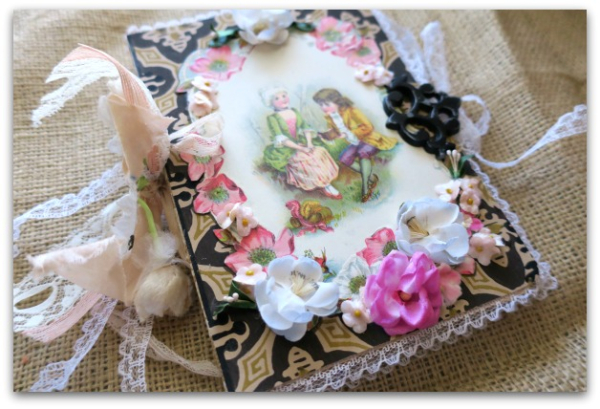
These 4 x 4" art journals are made of a sturdy tag, painted in a "flow" style with acrylic paints, folded over and filled with pages made of themed or plain cardstock to use as is or cover as desired.

The cover was embellished with millinery taken from an old, floral hat and black lace peeks out from inside the books.
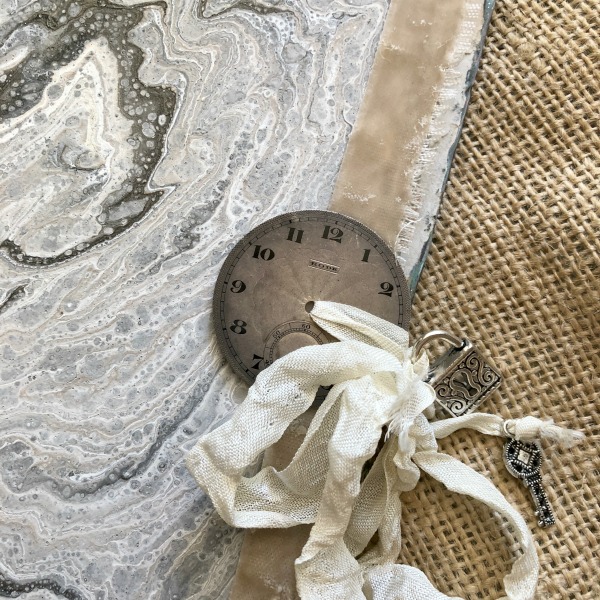
Each kit contains a vintage photo, a sprig of fall toned forget me nots (vintage), an old earring, two fleur de lis charms, an assortment of vintage wallpaper scrap and some text (including from an Edgar Allen Poe book).  There are also a few photo copies of vintage pictures, as well as one printed onto vellum, for a ghostly look.

 Available in the BOOtique- www.karlascottage.com


Mini Art Journal and kits

Books, the Boutique at Karla's Cottage, vintage paper/collage art

IMG_0512

This summer, I have been utterly hooked on "fluid painting."

IMG_0542

Some, I have turned into doodles, some became oceans, or roses, and some I made with a more traditional pouring style

IMG_0541

Recently, I've also used the technique on book covers.
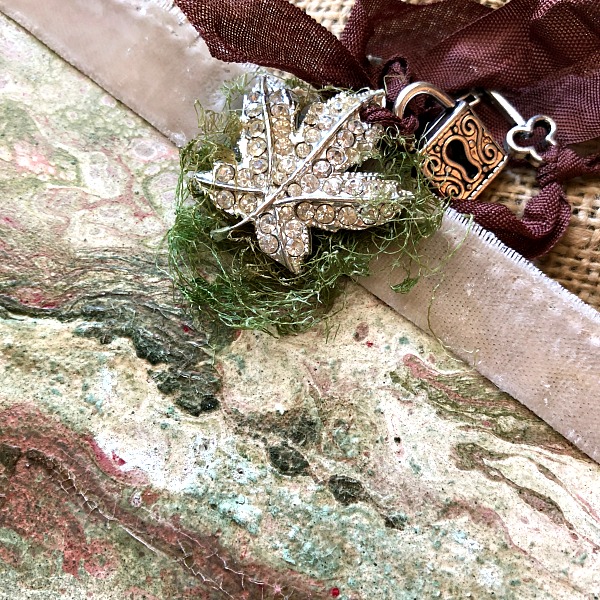
IMG_0522

Which led me to making my own mini book covers too.
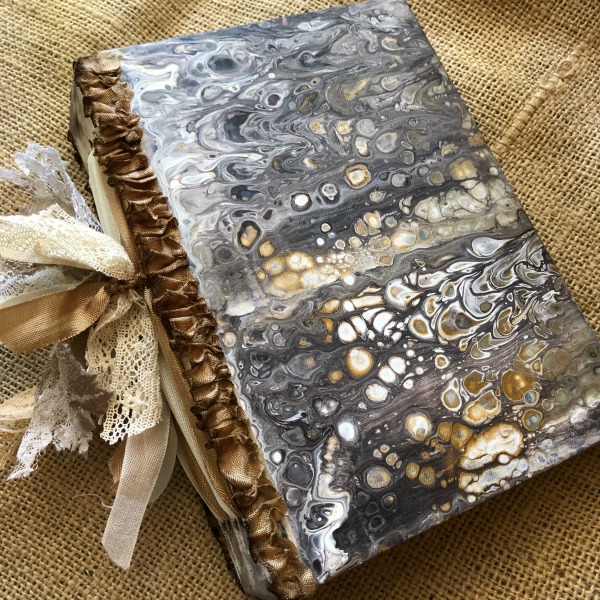
IMG_0518

I couldn't resist melding my new obsession with some of my old and coordinating lovely, old, ephemera with the itsy bitsy books and teaming it all up into kits.  
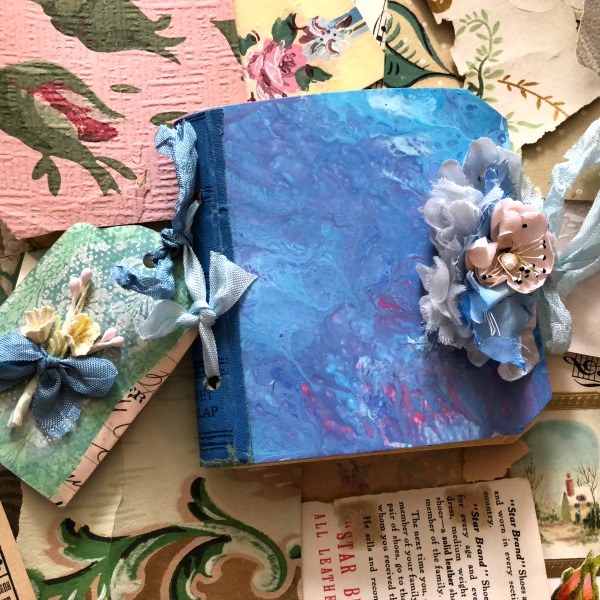
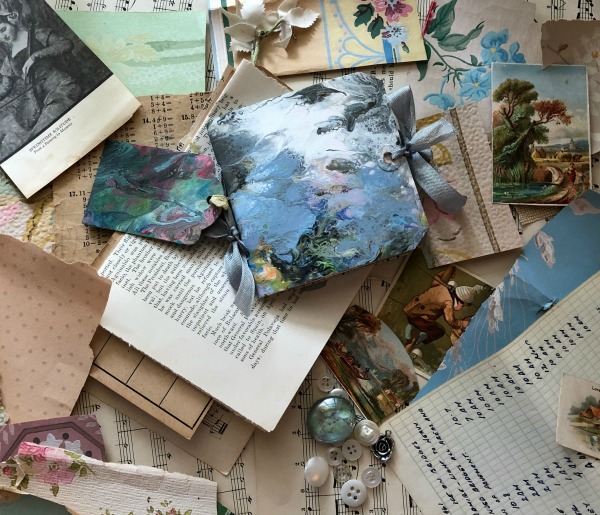
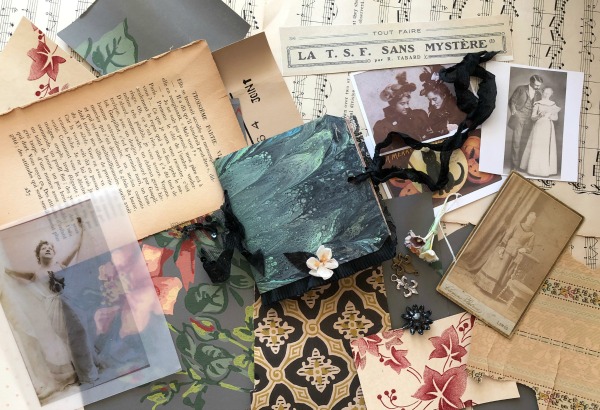
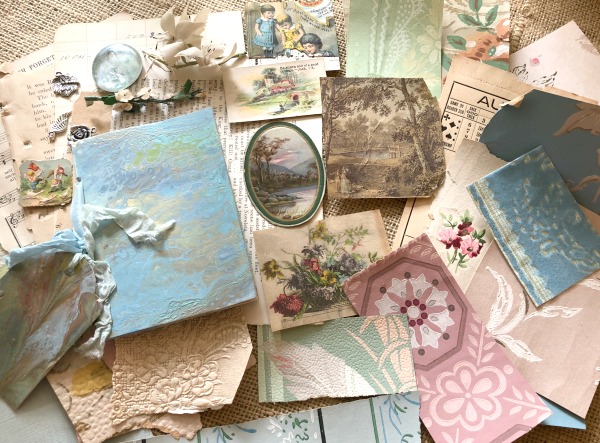
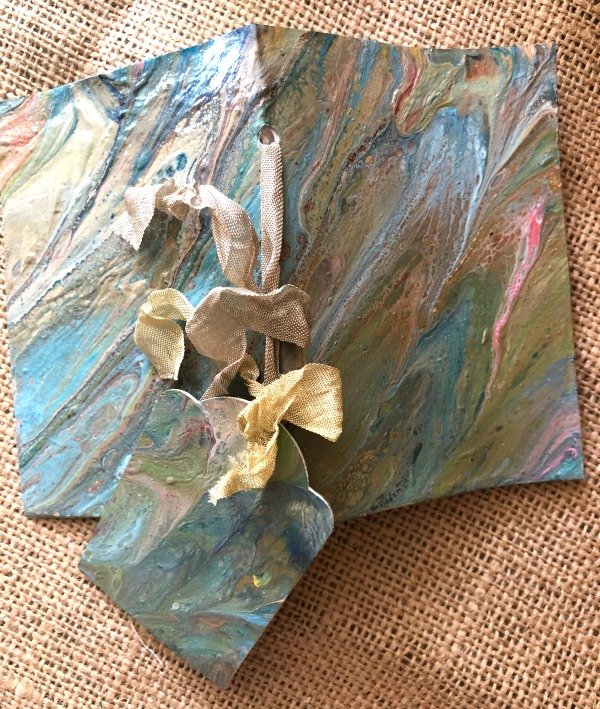
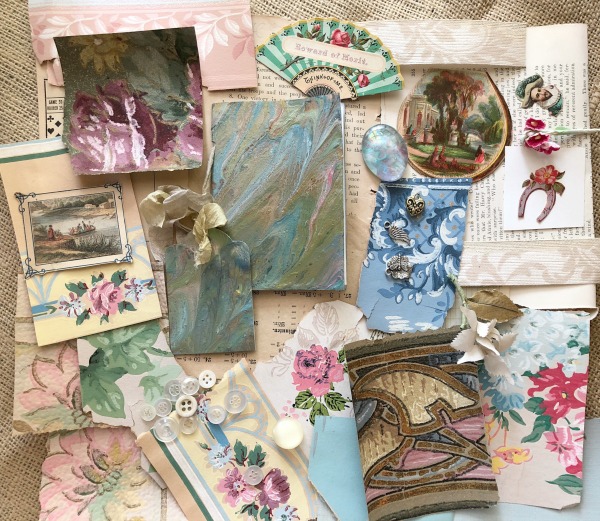
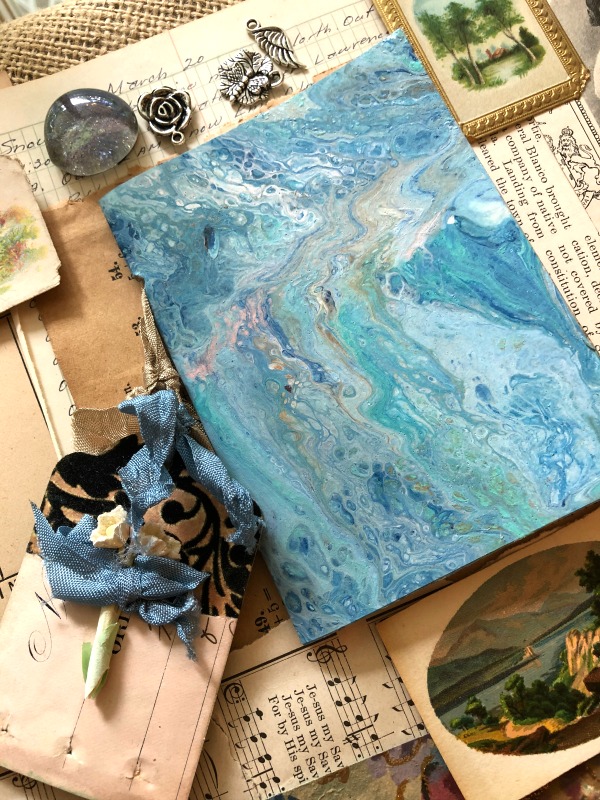
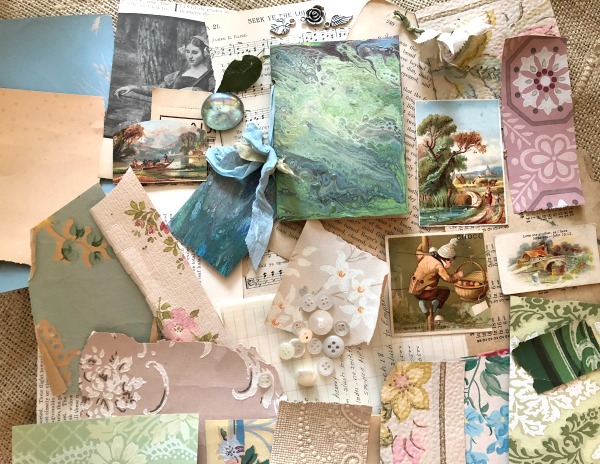
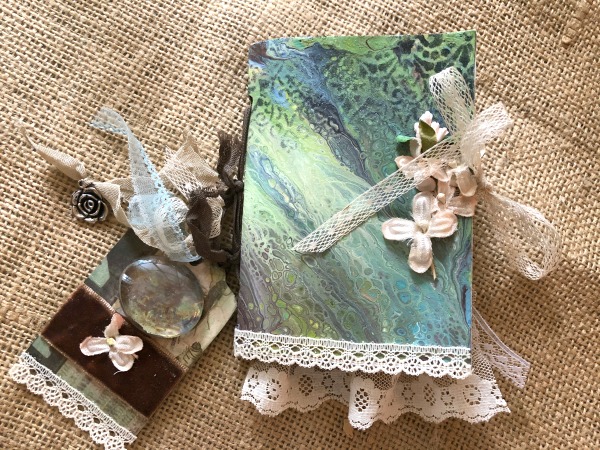
Each 3-1/4 x 4-1/2" hand made mini journal with painted cover comes with a matching tag, attached with ribbon, along with 3 small charms and a glass nugget done with a pour paint dip.  There is an assortment of vintage wallpaper scraps, old text, illustrations, buttons, and millinery.  
No two are alike, since they are made up of vintage bits and pieces, but each is of equal value. I've spread out and photographed each luscious pile of goodies separate, so you will know what your own kit will contain.  The packages will be as shown in the pictures.

IMG_0523

Here is a journal that I made myself with some of the materials.

IMG_0528

The book that I have made is also available in the Boutique, as well as the kits.

IMG_0529 (1)

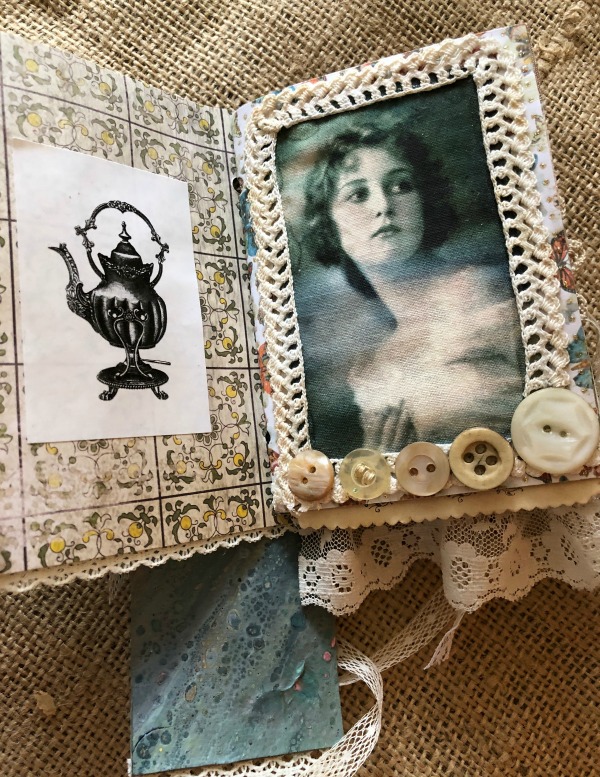
I'll leave you with some pictures of the interior.

IMG_0530

This book can be considered finished, or used as a head start to add more creations of your own.

IMG_0531

It differs from the kits in that, I have used decorative card stock to build the book, the kits are made up of plain papers.

IMG_0532

IMG_0533 (1)

IMG_0535

IMG_0536


Art Journals from Altered books

Books, the Boutique at Karla's Cottage, vintage paper/collage art

IMG_0391

I've been on a book kick lately and have a towering stack of them on my desk now.

IMG_0472

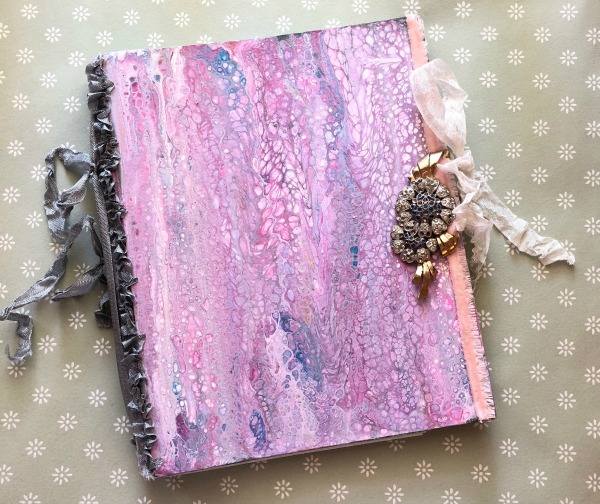
Many have fluid paint covers

IMG_0482

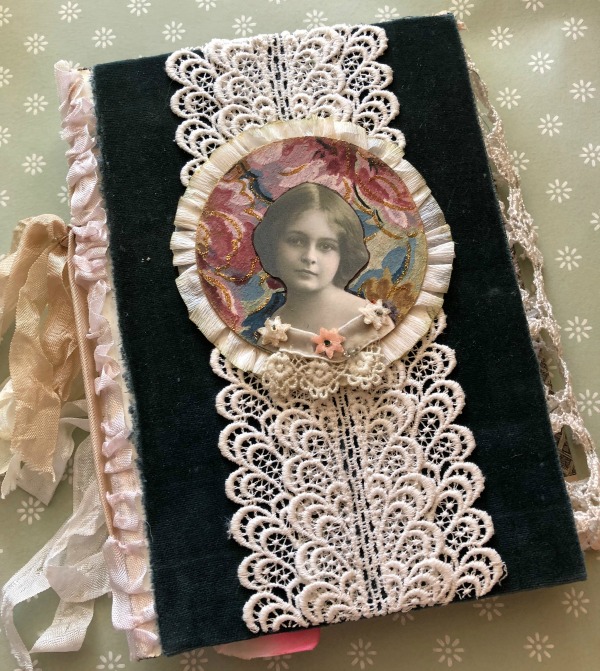
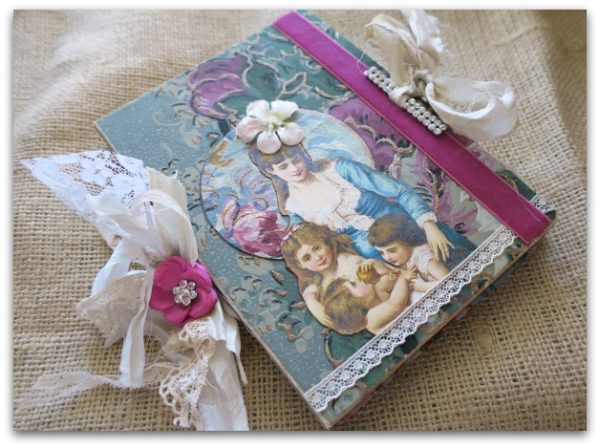
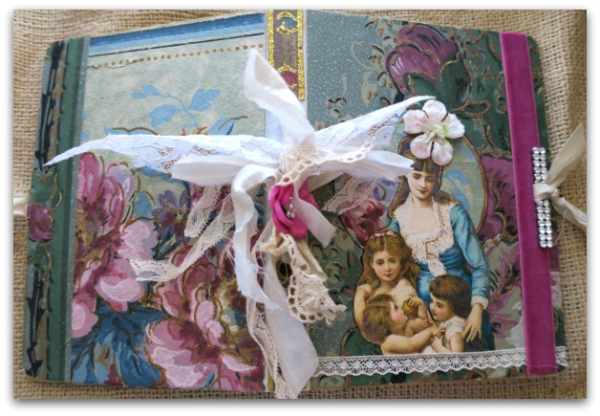
This one has velvet and lace

IMG_0487

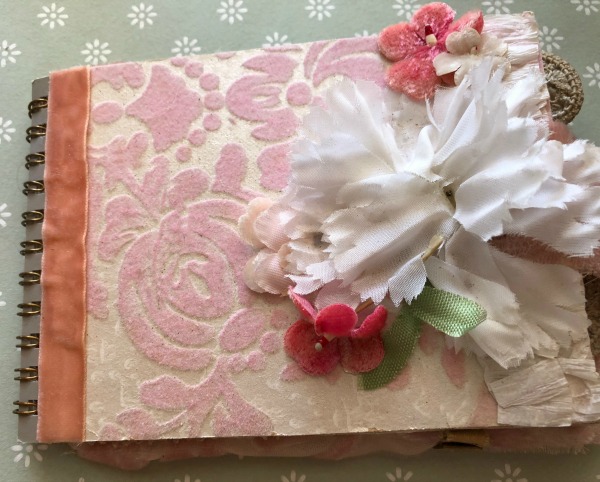
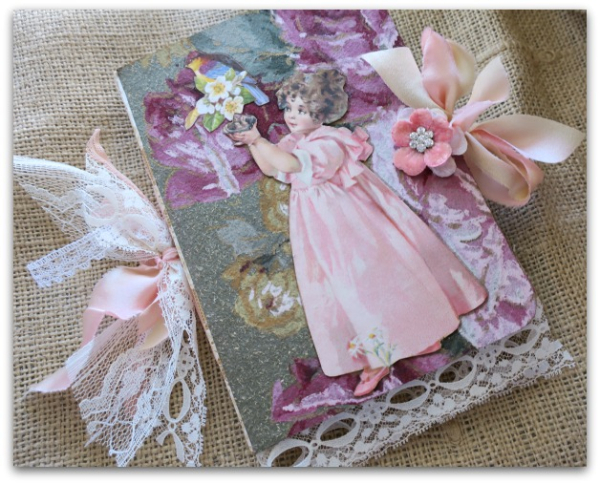
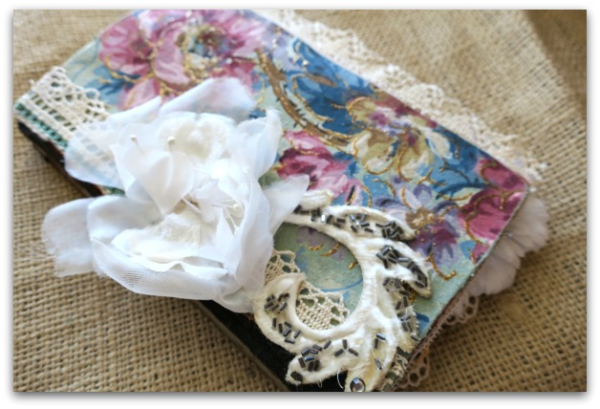
This mini book is covered in flocked wallpaper.

IMG_0475

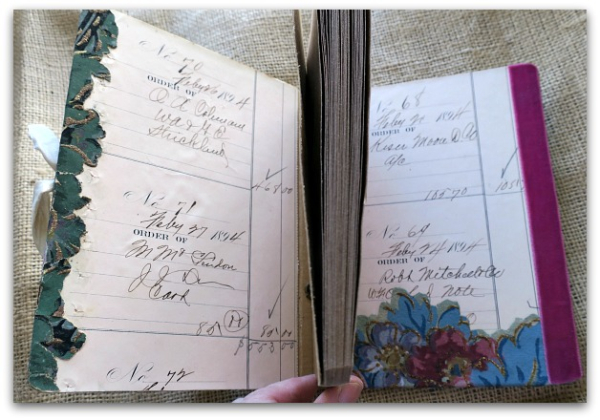
This started as a 19402 reader.

IMG_0478

And has rose wallpaper lining.

IMG_0392

Each has special details.

IMG_0394

And pages ready for you to fill

IMG_0483

If you are interested, you can find them in my Boutique.

IMG_0484

And please check back, I have some mini book kits ready to photograph and add to the shop too.

IMG_0387 IMG_0396

IMG_0471

IMG_0393

IMG_0395

IMG_0486

IMG_0474

Vintage Wallpaper Art Journals and a giveaway

Books, give away, the Boutique at Karla's Cottage, vintage paper/collage art

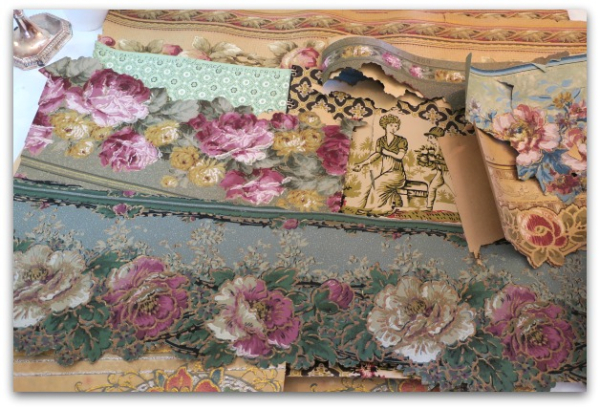
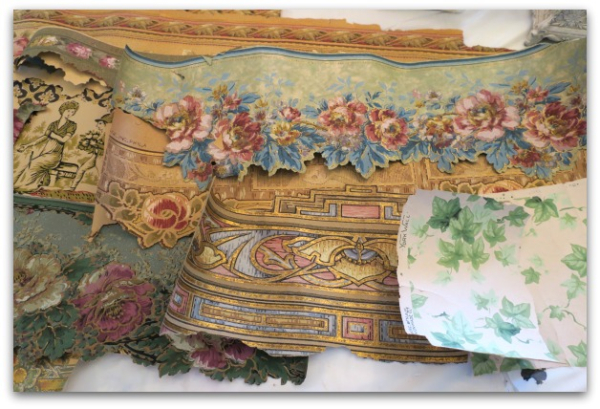
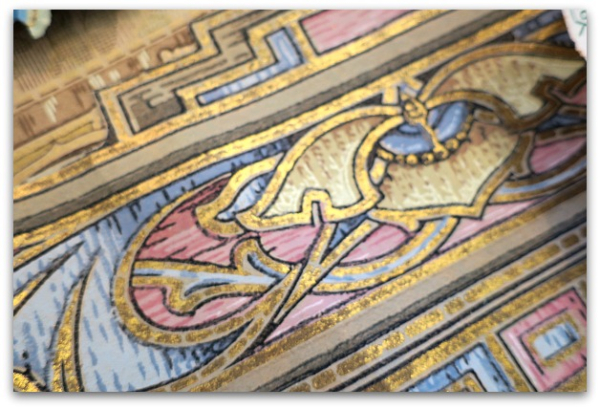
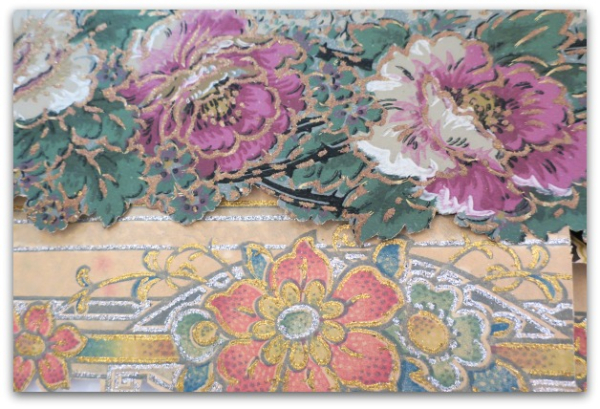
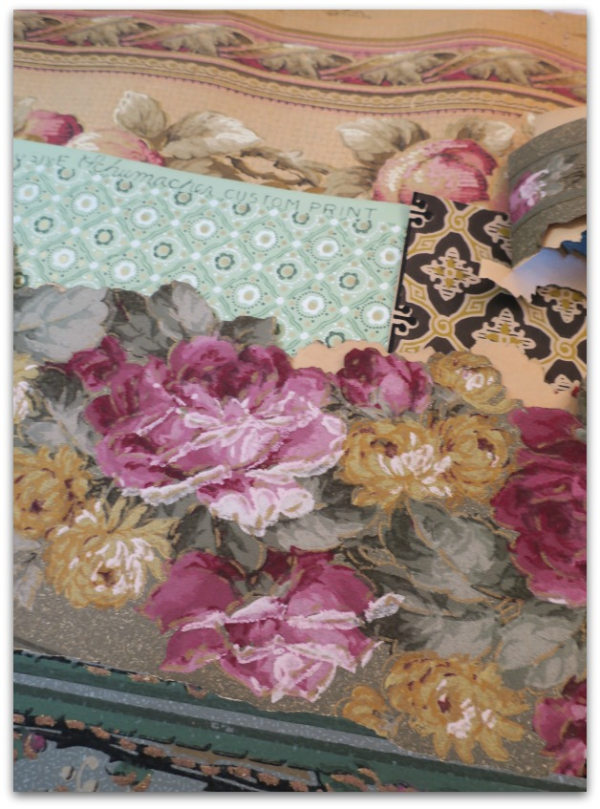
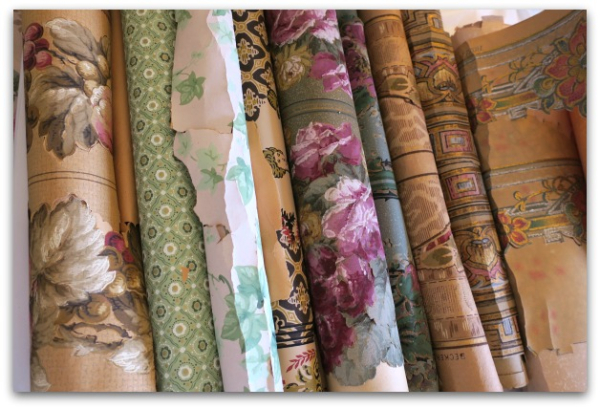
Here are some of the wallpaper journals available in the Boutique now.  Each comes with a scrap pack of more of the great, old paper for you to use as you create in your new journal. 

And if you leave a comment here, or on my Facebook post announcing the giveaway, you can be entered to win some of this wonderful,1920s paper. 

I will be out in Wyoming visiting family for a few days, so shipping will be Wednesday, March 21st.  Thank you for looking!

IMG_3825

IMG_3823 IMG_3824

IMG_3829

IMG_3828 IMG_3827

IMG_3832

IMG_3830 IMG_3831

IMG_3844

IMG_3836 IMG_3837


A rare find- never ending rolls of old wallpaper on a junking day!

antiques/junking, Books, the Boutique at Karla's Cottage, vintage paper/collage art

IMG_3779

Beth and I had a morning out at estate sales and the Old West Bottoms antique district, and while out, I hit paydirt.  Again, and again!

IMG_3780

Which is pretty rare, to find such old, and wonderful wallpaper at an estate sale then turn around and find more at a shop, that wasn't even an antique or vintage store.

IMG_3781

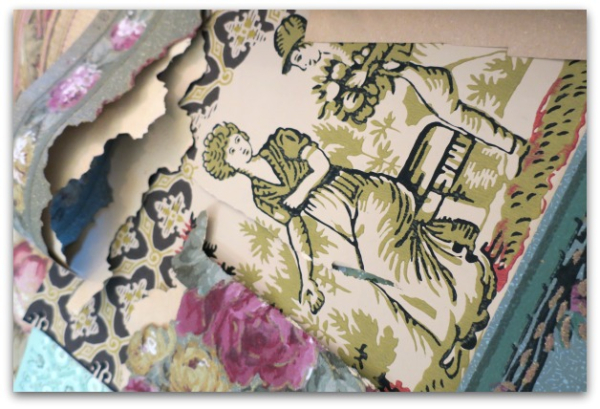
(Well, that scene isn't all that wonderful, is it? But the black, graphic background is really pretty, even though the drawing reminds me of the Sunday funny papers).

IMG_3782

This makes up for the goofy cartoon scenes.

IMG_3783

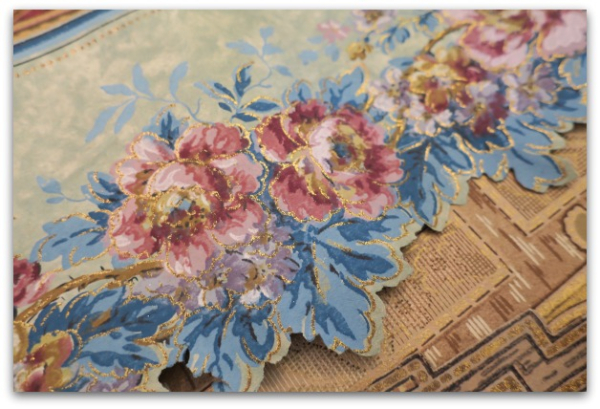
Most of the papers have metallic elements.

IMG_3784

And many have GLITTER!

IMG_3785

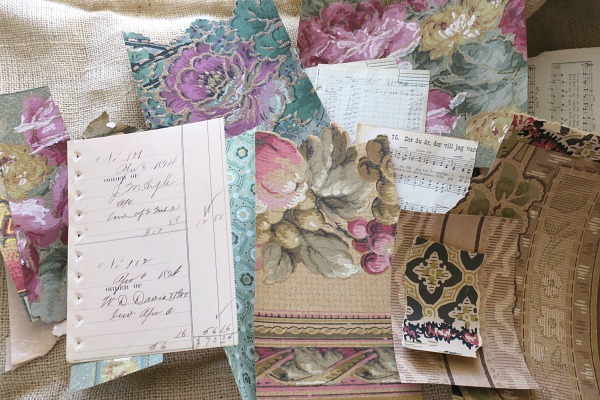
The only problem is that they are extremely old and fragile.  I ironed a lot of it to use, and discovered that it is best for small projects. So I cut up some smaller, scrap packs to sell in the Boutique.

IMG_3786

I'm in love!  

IMG_3791


I had to make something out of it, right away.

IMG_3793

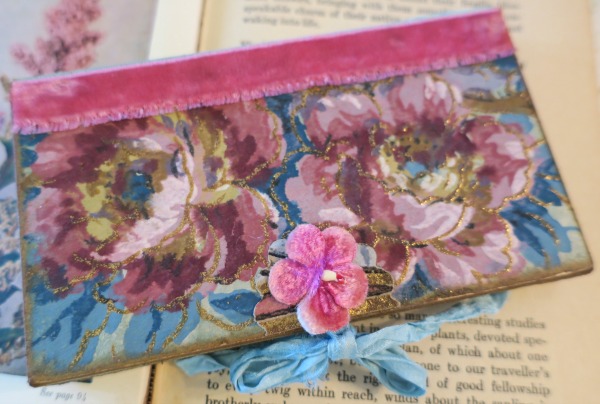
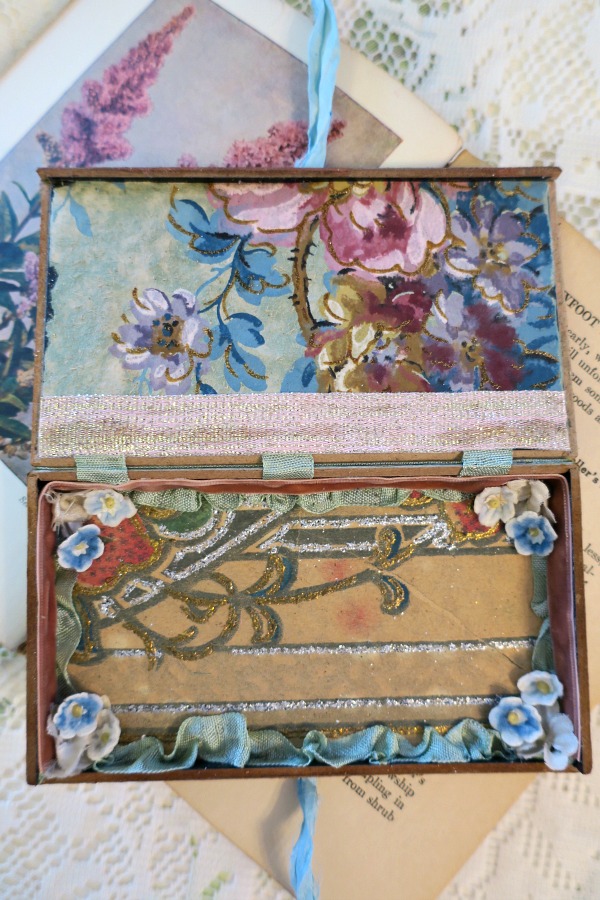
So, I covered this box, inside and outside with some of the glittery goodness.

IMG_3821

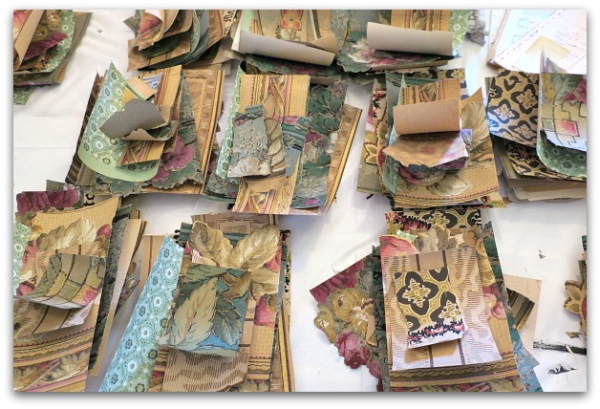
These piles are the scrap packs I told you about. Some are for sale in the Boutique, ($14) one is for a giveaway to celebrate my find (details to come in my next post).

IMG_3822

The rest will be included with the purchase of the art journals that I made with the fab papers.

IMG_3844

You can find the books here.

IMG_3796 IMG_3799

As well as a few other finds, and some bargain markdowns that I put on sale. 

But please be patient with me for shipping if you'd like to order something. I'm headed to Wyoming to see family and will be sending out boxes on Wednesday next week.

Sometimes you want to make an art journal, other times you just need to get some pictures into a scrap book

Books, family

IMG_3769

There are times when I want to create a beautiful book.  Other times, I want to display family photos in an arty way, and spend some time being creative.  

Then, there are the days that I just have to get some pics slapped into a book and get on with it!  

It is important to me to save momentos throughout the year and add them to albums with family photos, but I don't always have the opportunity to spend a lot of time on it.  This book, is one of those kinds.  It is a "git 'er done" book, that  I will enjoy looking through over the years, but didn't take much time to put together.

IMG_3760

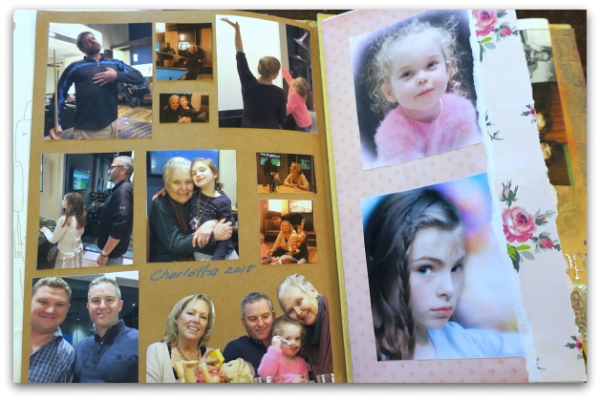
It is made with a vintage album, some of the pages were fragile, and there weren't enough of them. So, I've added scrapbooking cardstock to most, covering tears and weak spots for reinforcement.  Folded pages of cardstock are taped in, randomly to add more space for photos.

Here, I've used the old paper as is, and simply glued down pictures in various sizes.  At the bottom, I cut out a grouping of family members for contrast.  

IMG_3761

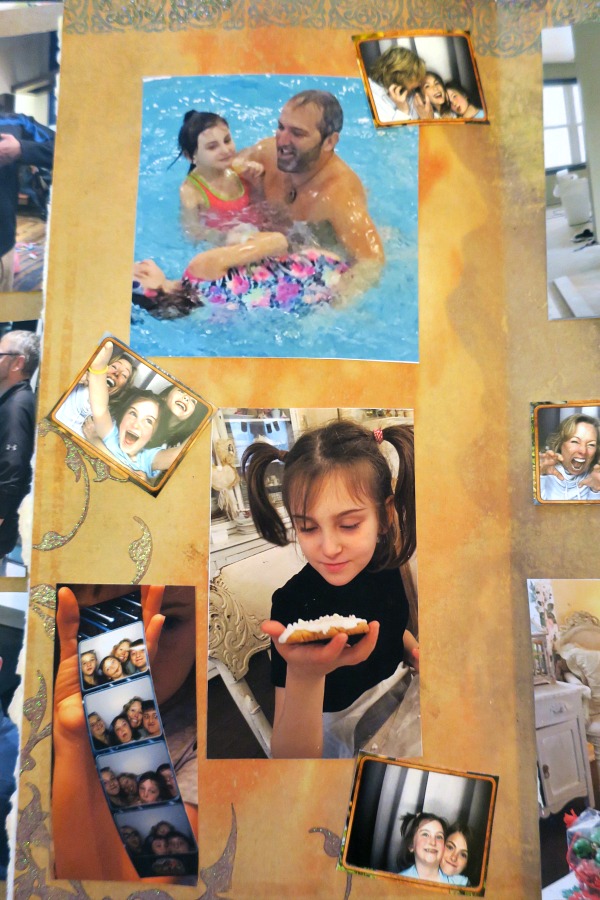
I print out pictures on matt photo paper, and don't use standard sizes.  Instead of doing wallet, 3 x5, 4×6, I insert the photos I want to use into a document, and fill a page with many shapes and sizes.   

The grand fairies love taking photo booth shots, so I save those from places we visit throughout the year, some I glue in as a strip, some I cut up and sprinkle around the page like here.

IMG_3763

And when you get tired of gluing things in, a pocket to fill up is a good idea!

IMG_3765

Another way to make more space is to adhere cards.  They are fun as is, but also open up and have room for photos inside.

This section also has a narrow flap created with folded cardstock, to add more pictures too. 

IMG_3766

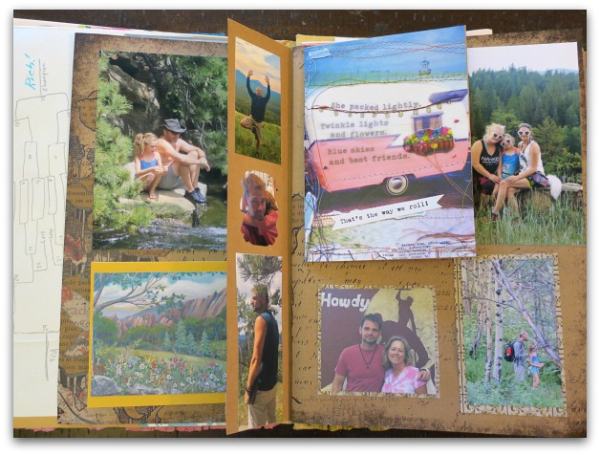
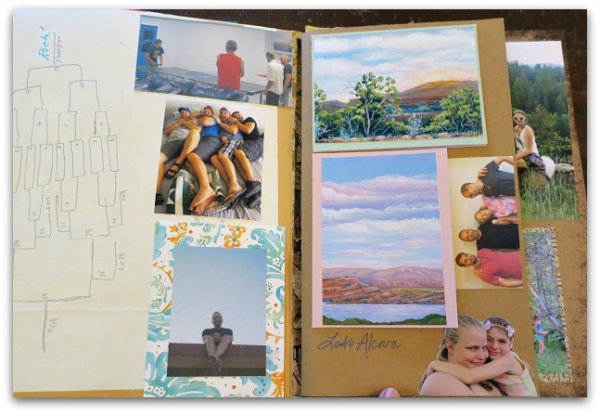
There is a shelf in the studio where I stack up saved bits and pieces throughout the year.  One of the things I saved was a bracket a nephew drew up for the big ping pong match at last summer's family reunion.  The landscapes are from paintings I'd done about the trip, made into cards, so are filled with more photos.  

The photo of my two sons and husband wasn't fitting, so I cut our legs off, made the picture into a strip and turned it vertical.  At the bottom, I cut out Sugarwings and her mommy.  This isn't exactly an arty layout, but it is filled with things that mean something to me and is more interesting than a simple row of photos all the same size and shape.

IMG_3767

Well, that is gaudy, isn't it?

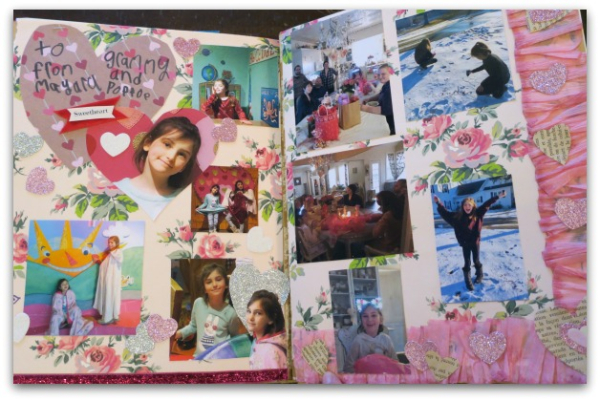
But fun, and suits the subject, the grand fairies at Valentines season.

IMG_3770

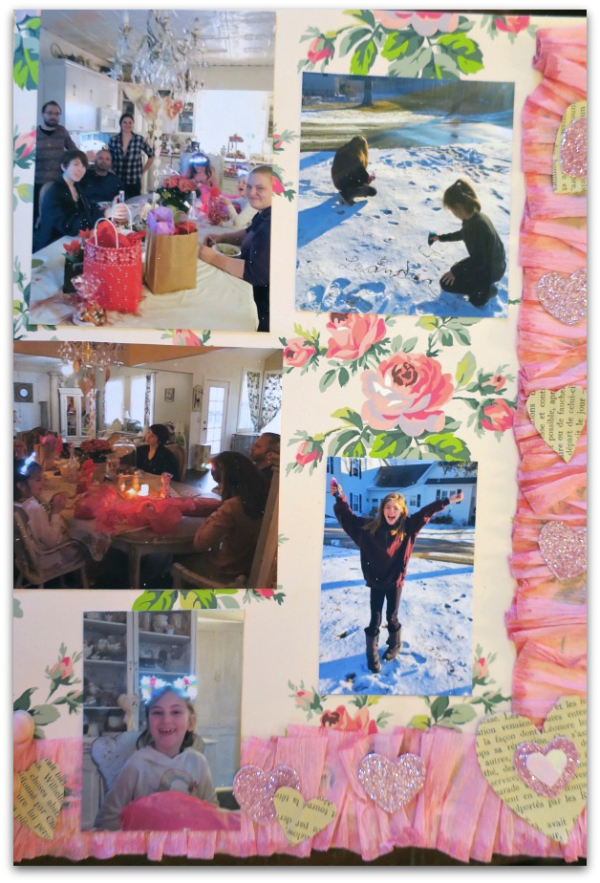
The edges are trimmed out in ruffled crepe paper, and topped with scattered hearts.

IMG_3771


I've tried coordinating scrapbook paper to the photos I've chosen, but haven't been too matchy matchy. It is mostly background. 

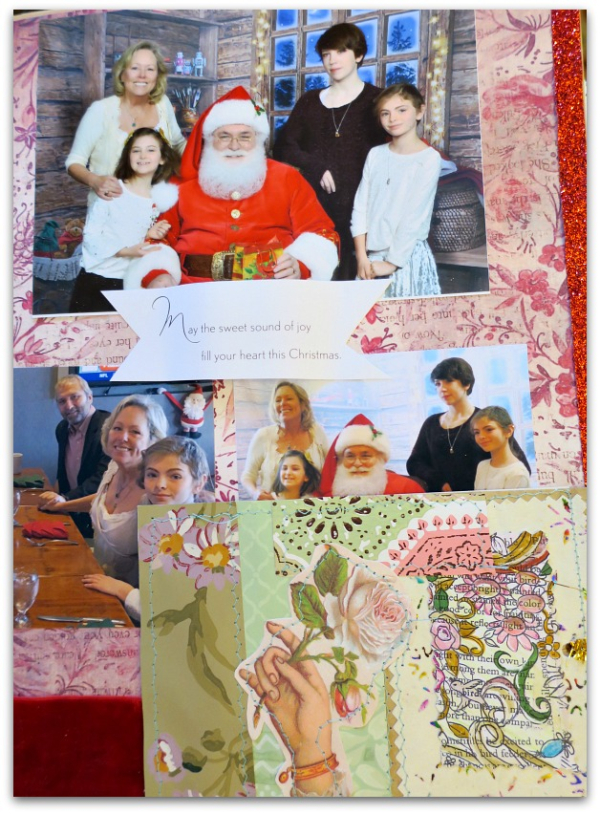
On this page, I added a hand made card from Beth, and cut out a message from another card I'd gotten and added it as a banner.  Beth's artwork has a picture added to the backside too.  The edges of the page are trimmed in velvet and sparkly ribbons for contrast.

IMG_3772

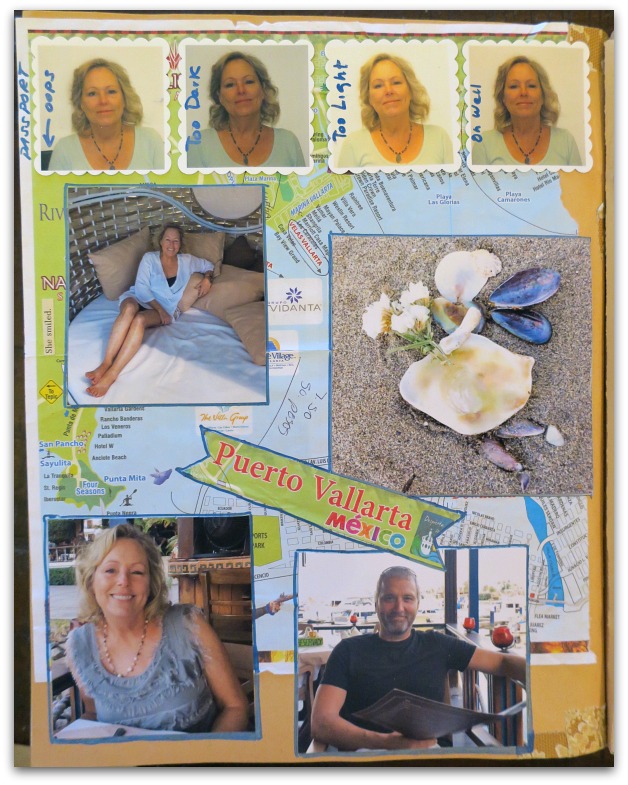
Here is a selection of vacation pics, topped off with a series of sample passport photos.  The maillady who took them had trouble getting them right, and I was at the post office, applying for the passport for over an hour. She gave me some of the trashed ones and I kept them, to add to the book.

The background is a map of the city we stayed in, with Puerto Vallarta cut out, made into a banner, and added over the top.  I really like to save hotel receipts, maps, brochures, and other larger pieces to use as backdrops to travel pages.

On this one, I've outlined the photos with a blue marker.  And not perfectly either.  

IMG_3773

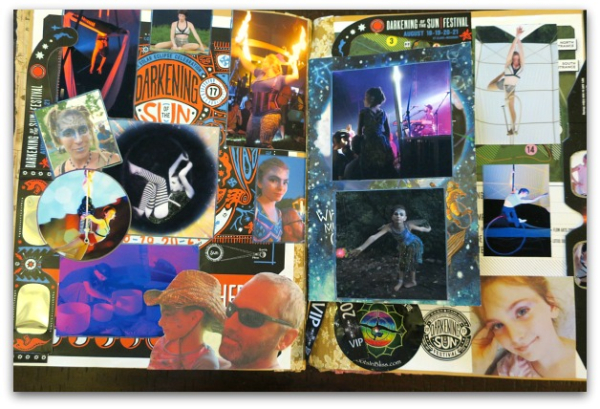
These two pages are an example of layering lots and lots and lots of memorabilia and photos.

The background is a map from one music festival, and it covers both pages.  Over that, I've glued down a booklet from another festival and filled up all of the pages with pictures, including the cover.  I saved a couple pairs of eclipse glasses that we'd worn at one of the festivals, one intact, the other with the lenses filled with pictures like a frame.

Then, I started laying out pictures from both events, and lots of them. Some cut into shapes, some with the people cut out, and glued them down overlapping.  To make them stand out, I drew around them with metallic marker.

IMG_3774

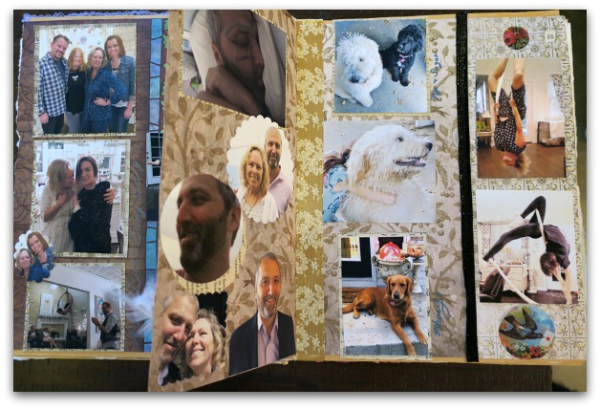
These pages are busy too.  And are tied together with a simple background color. Some of the photos are glued to contrasting paper, and then cut out so they are framed.  Others are cut out with round or scalloped punches.  

In my opinion, a variety of shapes makes an interesting lay out.

IMG_3775

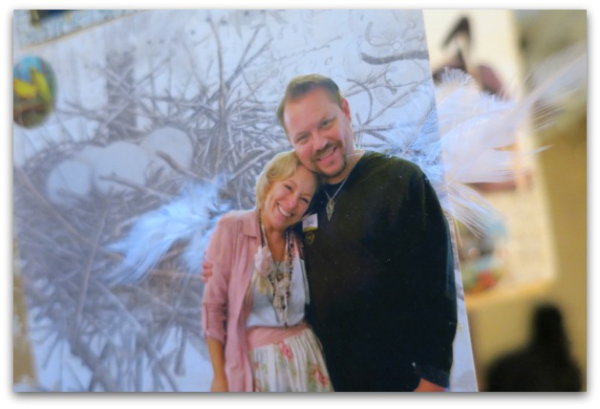
There was some bird's nest scrapbook paper that I put a cut out pic of Guncle Randy and I onto, and I added a couple of little feathers to our shoulders.

IMG_3776

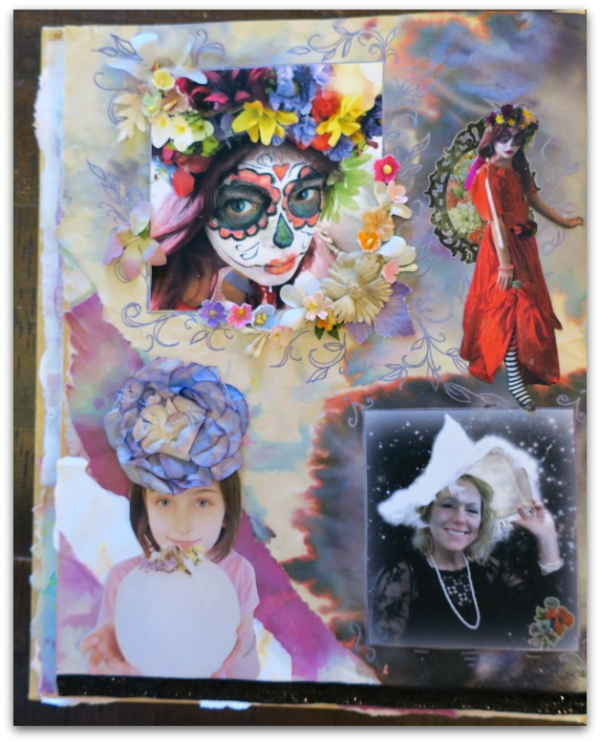
Last summer, the grand fairies painted with shaving cream and food coloring.  I saved some of their artwork to use as a backdrop here too.  I thought the colors were ideal for Halloween. Over the painted paper, I drew some scrolls and vines, this page got a little more attention than some of the other ones.  I also added some old millinery blooms.

IMG_3777

The adjoining page is a simple background, and is layered with two cut out Dewdrops over the other photos.

IMG_3778

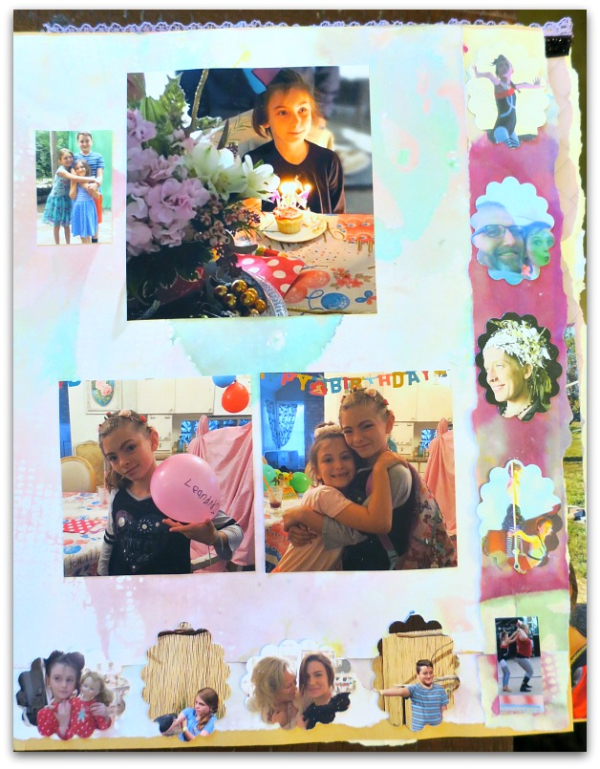
Here is more of the paper the grand fairies painted.    I tore strips of it to make borders, then used a scallop punch to make smaller pictures to paste around the border.


Now, time to start collecting for next year's book!

Scenes from my vacation journal part THREE

Books, family, Travel

IMG_3228

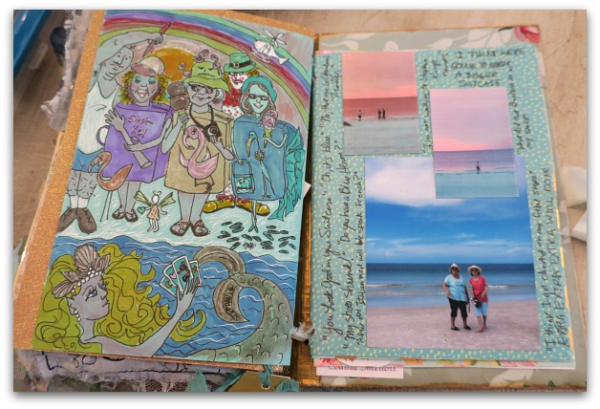
The last part of the cartoon I did on our trip is Sissy all in aqua.

She LOVES aqua. 

And shopping.

Lots of shopping for things that are aqua.

IMG_3214

There she is in the background searching for more aqua stuff while Bobbie and I are goofing off. (at her feet in the drawing, are some of the many aqua shoes she tried on)

She was on the hunt for a golden, Blue Heron too. Since she didn't find one, I put one on her overfilled, exploding suitcase.

IMG_3207

I put her in an aqua skirt as a fairy on this page.

IMG_3213

And the tiny spider at her feet? One night after dark, we walked down to the surf.  We flipped on a flashlight to see a spider by our toes, timed with a wave coming ashore and we both jumped as high as we could and squealed.

The pink sky is for all of the pretty sunsets we watched.

IMG_3212

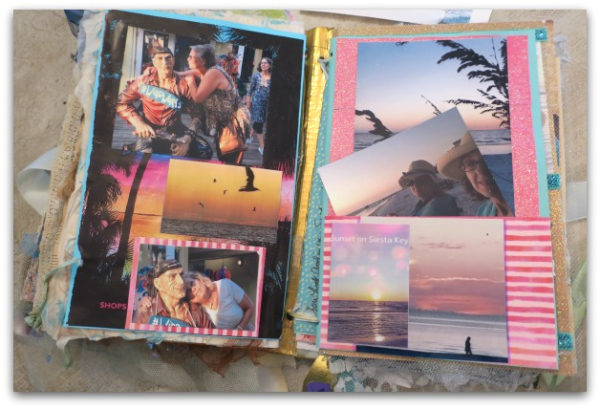
Sunsets in Siesta Key are a major event, with people lining up to watch, ready to ooh and ahh.

With or without spiders.

IMG_2508

Scenes from my vacation journal part TWO

Books, family, Travel

IMG_3222

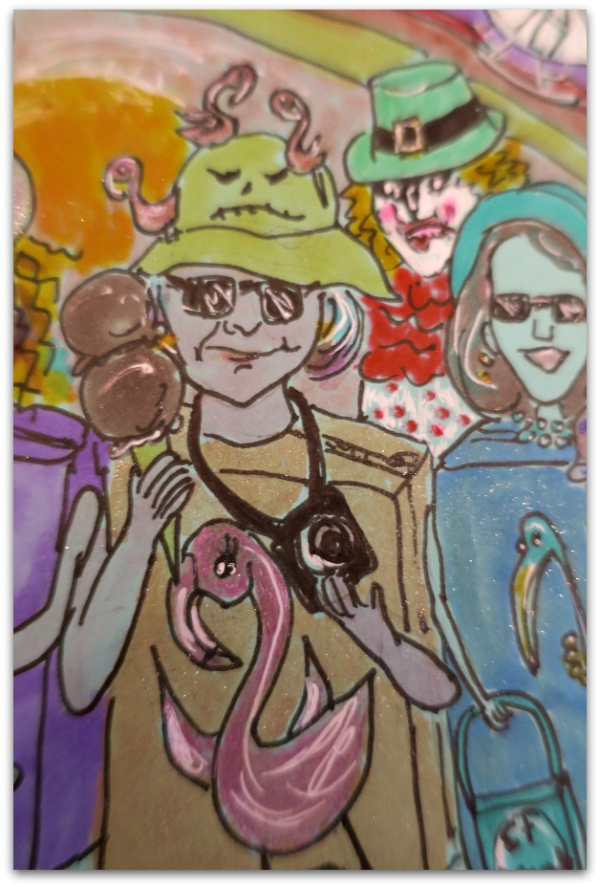
Now, where was I?  Oh, yes, the next sister, and her flamingo suitcase, Bobbie.

IMG_3225

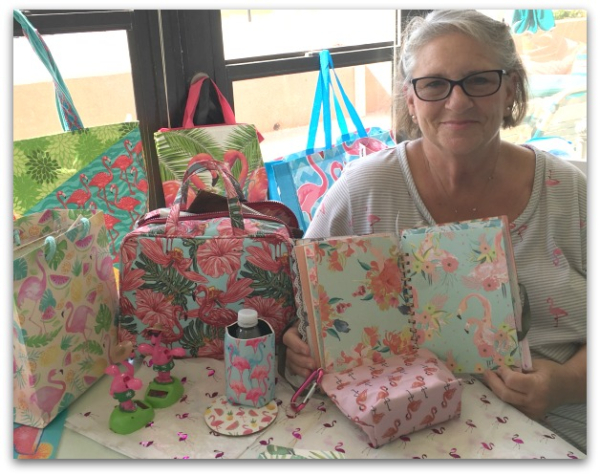
You might notice that Bobbie likes Flamingos.

IMG_2305

She likes them A LOT.

This is just a few from her vast collection. And she shared with us too, I also own a flamingo coozie. And that solar powered dancing bird?? Mine! She even found a bottle brush Christmas flamingo for me.  I've had to arm wrestle Dewdrop for it, she wants it for her own Xmas tree.

IMG_2280

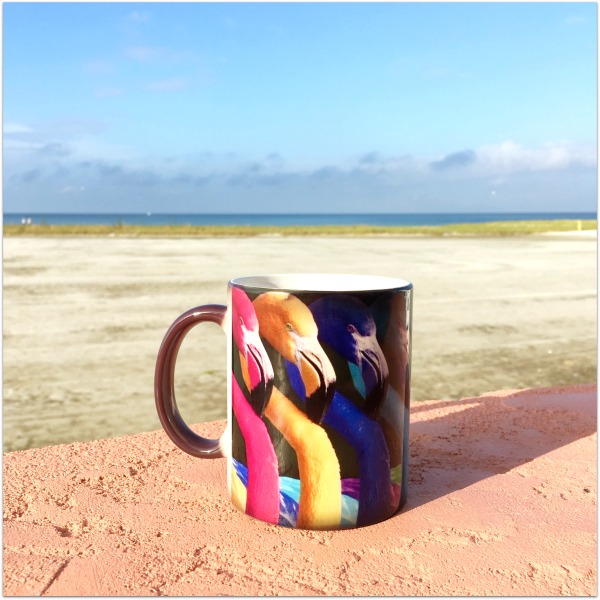
This pretty cup was a gift from her too.  It is black when empty, then turns colorful when filled with hot coffee.

IMG_2517

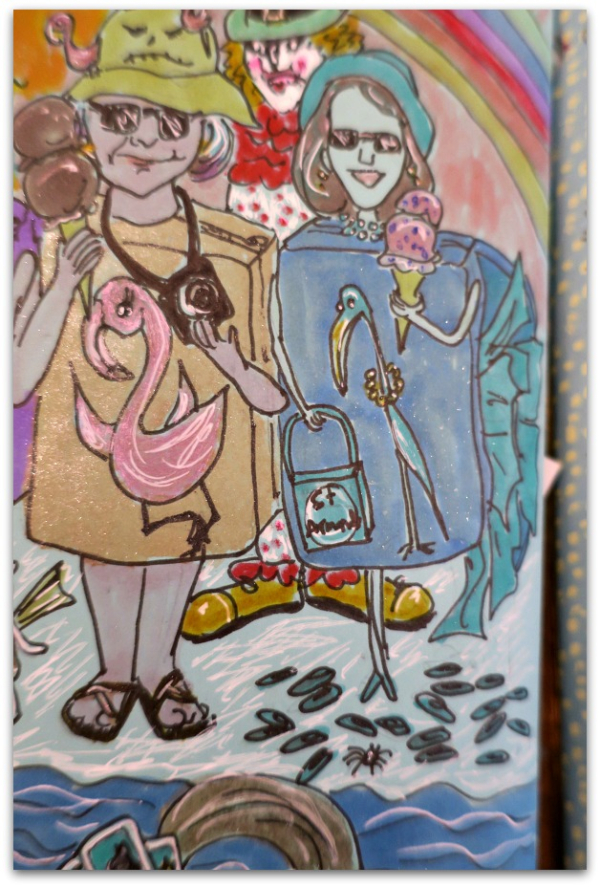
Bobbie is a genealogist and loves lots of photos to document events. She has a great camera and makes sure she gets a ton of photos.  So, in the cartoon, her camera is around her neck.

IMG_3211

And the hat? Inspired by this lampshade.  

The creepy clown was someone we encountered while shopping.

(The colorful costume I am wearing?  That is a mermaid tale that Bobbie gave to me, I was showing off my walking skills in it. The hat is a mermaid bag that I repurposed.)

IMG_2331

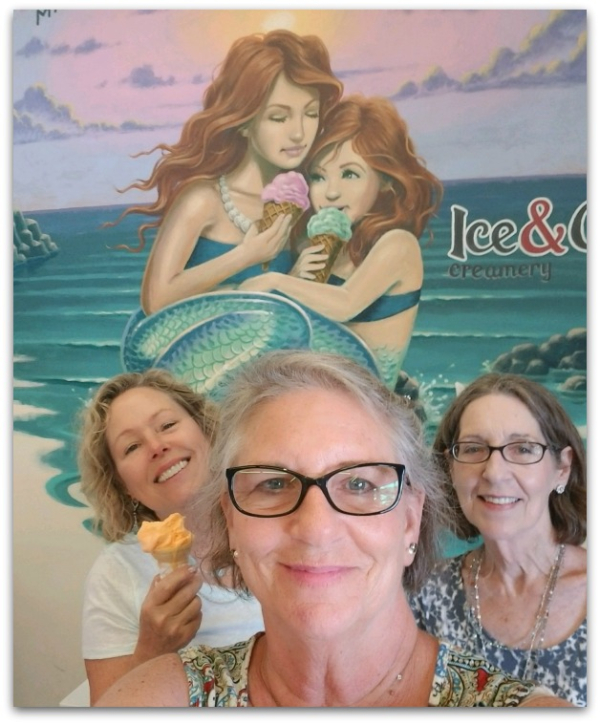
And the ice cream?  Well lets just say that there might have been some frozen deliciousness consumed on the trip…

IMG_3215

Scroll to Top