cottage

More storage space for the kitchen- sometimes making something work turns out even better than what you thought you wanted

cottage, Kitchen remodel

18198993_10155218430329477_90769477351910296_n

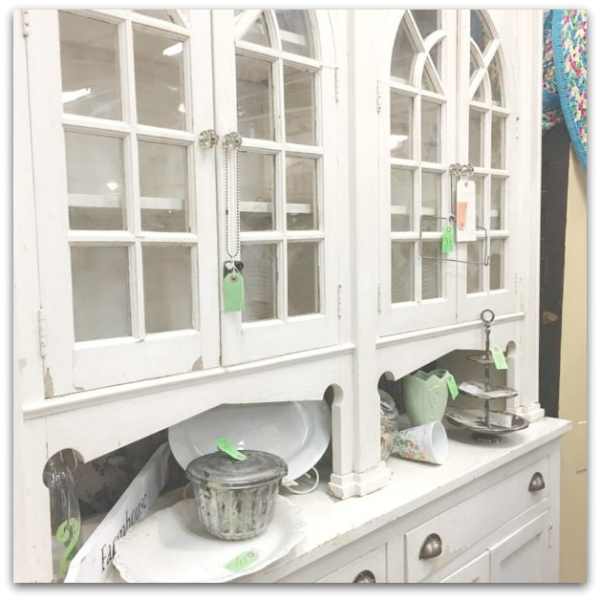
Last First Friday when West Bottoms was in full swing, I spotted this wonderful hutch at Good Juju,  and thought it would solve all of my storage issues in the kitchen.  Still, I dismissed the idea, thinking I didn't really need to be making changes or spending money on the house right now.  

Throughout the month, as I juggled the avalanche of plastic containers, and struggled with the leaning towers of mixing bowls stuffed into my kitchen cupboards, I kept thinking about that piece.  

By the time the West Bottoms opened back up for the big, monthly shopping experience, I was convinced that I couldn't live without it and was fretting that someone else had bought it.

Nope, it was still there.  But it was over 10" longer than the wall I had in mind for it.  Dang it!  Now that I'd decided that I couldn't live without more storage space, and had shown up with a truck and a willingness to open up the pocket book, I WANTED A SOLUTION!

IMG_1032

Well, Good Juju has about anything you'd need. I just had to get creative.  I needed a piece with a big cabinets below, that measured under 59", and had a top with glass doors for the pretties.

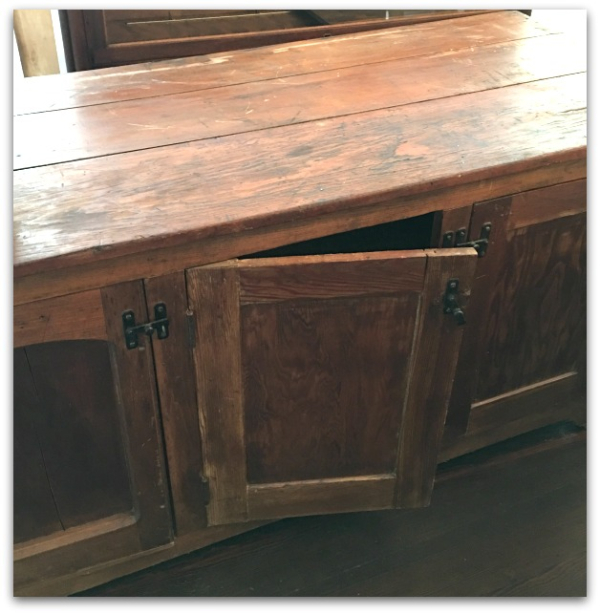
No luck, in finding something that fit all the criteria, but this piece sure caught my eye. It was 58" wide and really deep, I knew I could fill it up with all my kitchenware overflow.   All it needed was a top piece.

IMG_1991

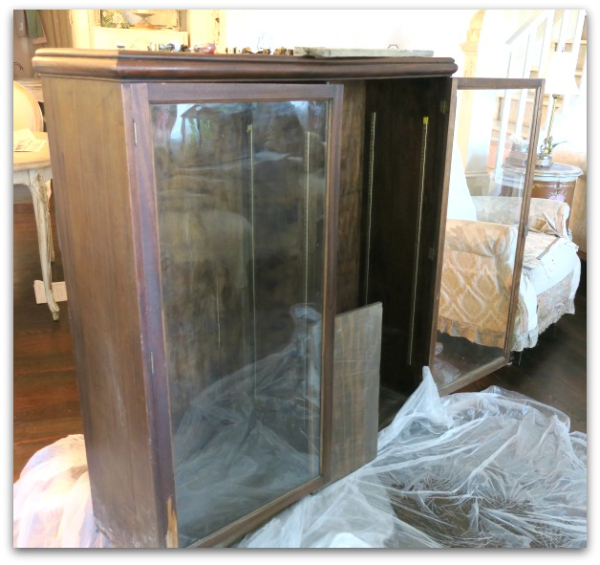
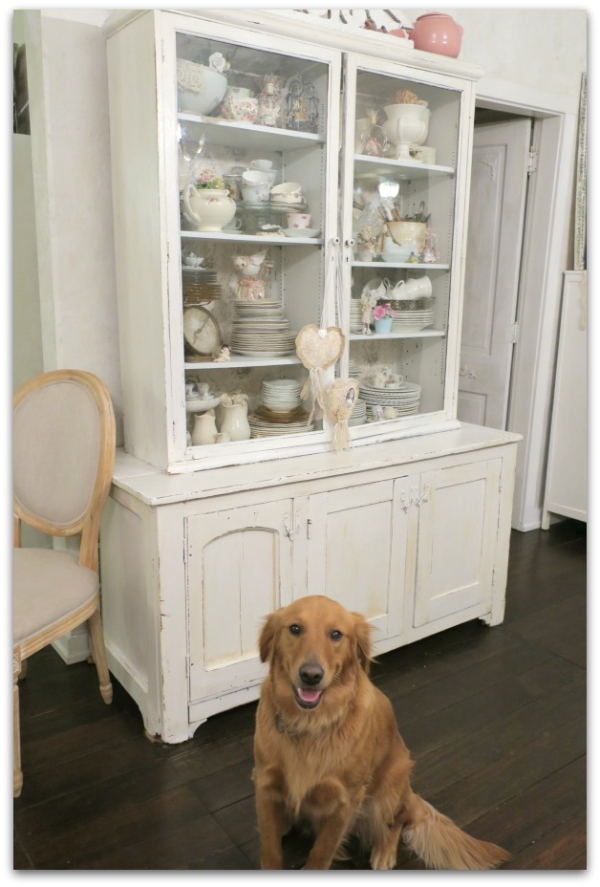
And here one is, found one store over at Serendipity for $70, all it needed was paint to tie the pieces together.

IMG_1053

Now, this isn't as fancy as the one that caught my eye and got me thinking that I had to solve the space problem in the room.

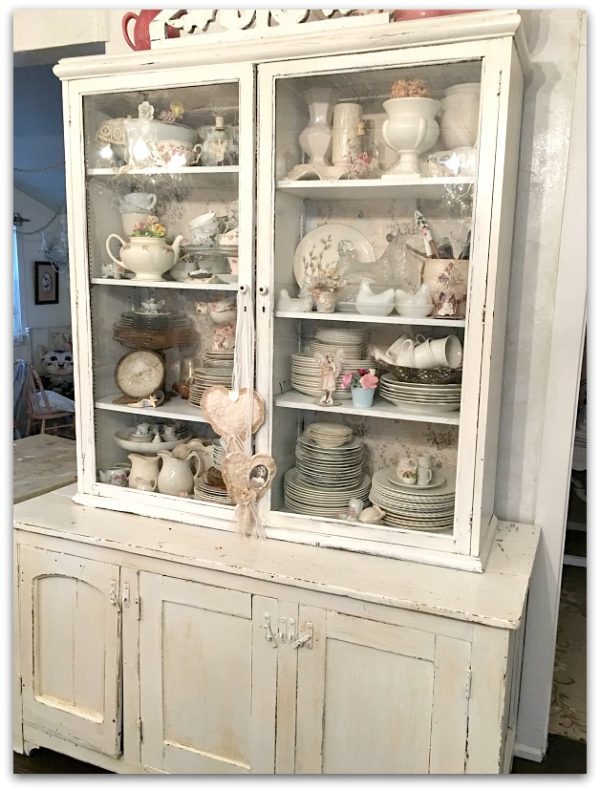
But the kitchen looks good with a hint of primitive style.  I like the mix.

And while this is 10" shorter and fits the spot, it doesn't feel smaller because the base is huge and deep.  And the topper has a lot more room than the one with the pretty, arched windows.  Sigh…I did love those arched windows….

IMG_1997 (1)

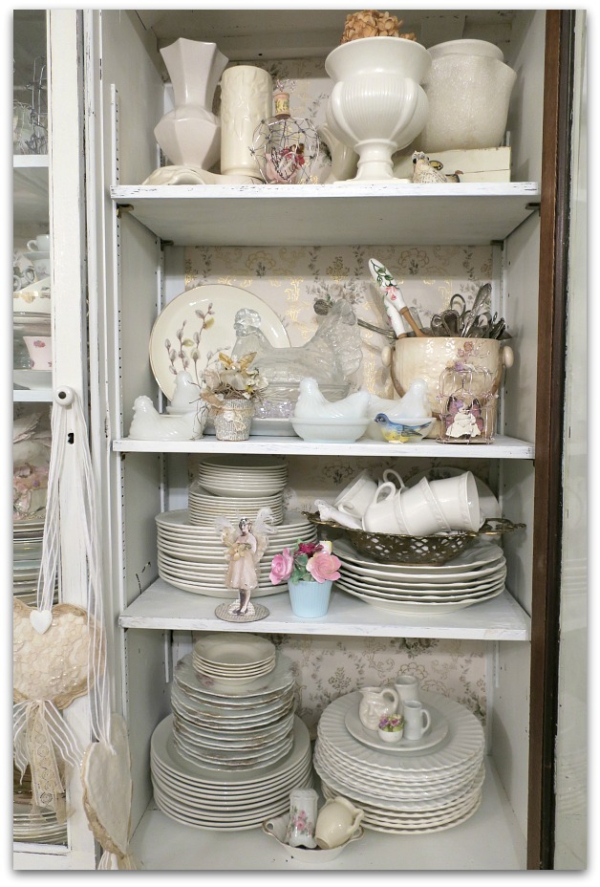
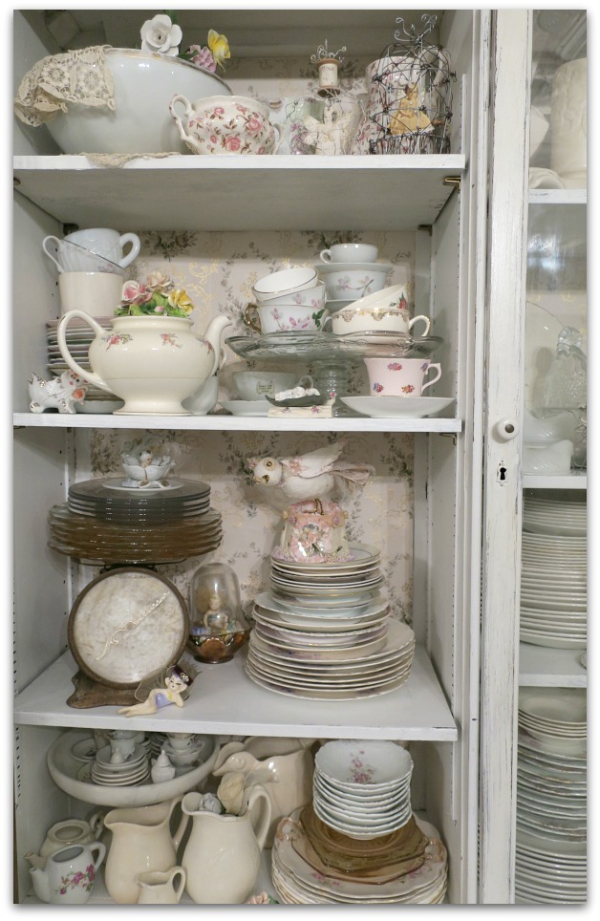
I lined the back with vintage wallpaper to fancy it up.

IMG_1998 (1)

I think I'll be very happy with this solution.  All my favorite tea party or dinner dishes are easy to get to, no longer jammed in tightly like they were in the previous, narrow cabinet that used to be in the kitchen. And I think that the display shows off better than it would've in the hutch that I'd day dreamed about for a month.

IMG_1994 (1)

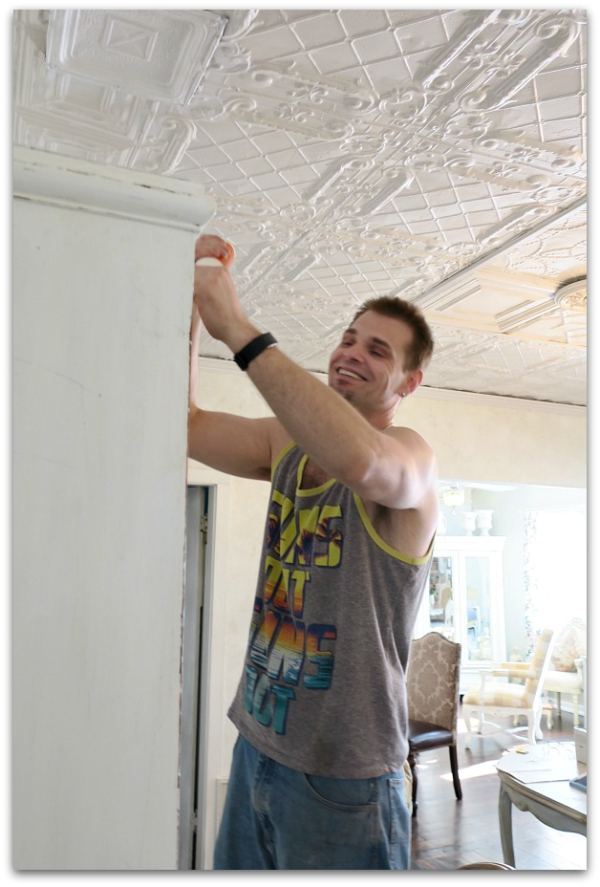
My boy, Ryan, helped me put it together (it was heavy), and he also screwed the top piece to the bottom one so it wouldn't be tipped over.  

IMG_1996

Now, I could've taken my time looking for just the perfect piece, but that isn't how I roll.  Once I get something in my mind, I follow through right away and move on to the next thing.  This might not be the exact look that I had in mind, but sometimes you don't really know what you want till you find it and see that it works even better than what you planned for.


Bee Happy

cottage, how to's

IMG_0920

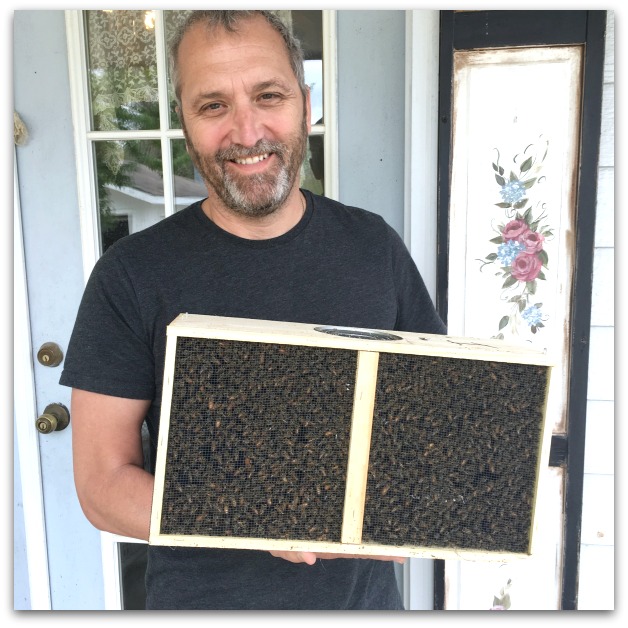
My husband has a new hobby. He has adopted a bee family, and added a hive in the field behind our "Food Forrest".  I know little nada about bees, and was a bit worried when he didn't seem to either, as we were building and painting the hive (it came in a million little pieces!).  And I wasn't all that enthusiastic about the idea of it.

 But he quickly learned and has been talking to beekeeping friends, as well as reading up on the subject, and I am learning more about it from listening to him.  

Not my hobby, so I am NOT going to read up on it.  But I will enjoy the goods from the hive.

Apparently, you don't get honey for a while, you need to let the little buzzers build up enough for themselves before you can have any.  

Seems fair.

But, they have to be checked up on, and if they are building combs in spots that aren't in the right locations, those need to be cleared away.  Since our new pets got confused and built an extra piece, we got to harvest that bit.

IMG_0921

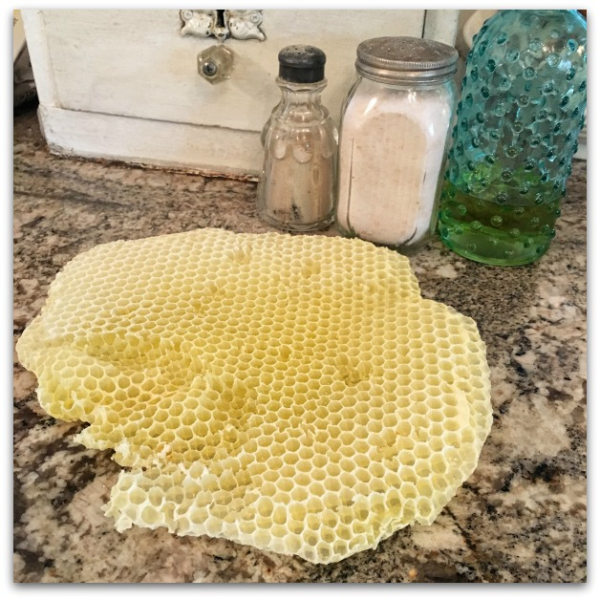
Somehow or another (like I said, I'm not going to get into the details, NOT my hobby) the honey we get to harvest is separate, and doesn't have bee eggs or parts in it.  This chunk was in an area that did contain those.  Also, it held little honey so far.  It wasn't edible, but the wax was good to use to make beauty products.

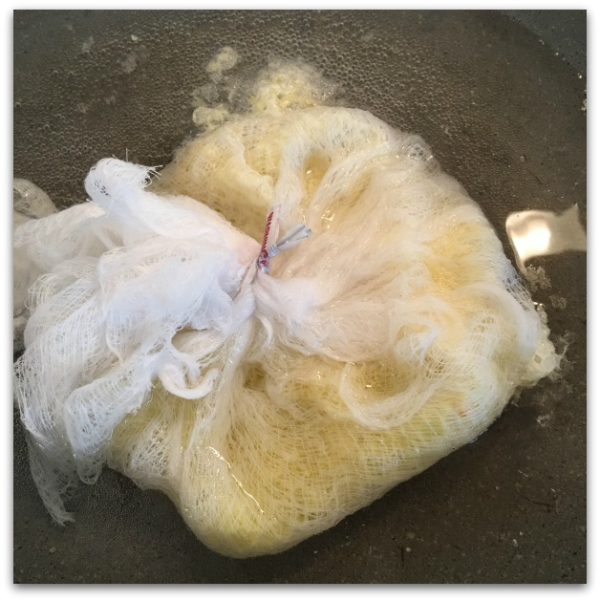
I double wrapped it in cheese cloth, submerged it in water, and let it simmer as the wax melted out. Then, squeezed out the cheesecloth to get as much beeswax as I could, let it cool, and scooped out the wax into a bowl.  To that, I added melted coconut oil and a couple drops of lavender oil, and whisked it all together.

Oh my, it made the best, most creamy, body butter ever!  It was soooo easy to do, too.

Now, I can't say that I did it correctly, or followed a recipe, but I like what I got out of it. I'd looked online for recipes and directions and all were too complicated and even involved scales.  No way.  So I winged it (fitting for dealing with the produce from flying creatures) and was happy with the results.  

IMG_0891

My husband is loving the new family members, and has made himself a little patio with seating to watch them buzz in and out of their home.  I'm loving the beeswax cream that I made.  And I have a feeling that our fruit trees and berry bushes will benefit too.  So, I guess I'm happy that we invited them to come live with us after all.


Restoring an antique table with no stripping

antiques/junking, cottage, Hand Painted Furniture, paintings

IMG_1930

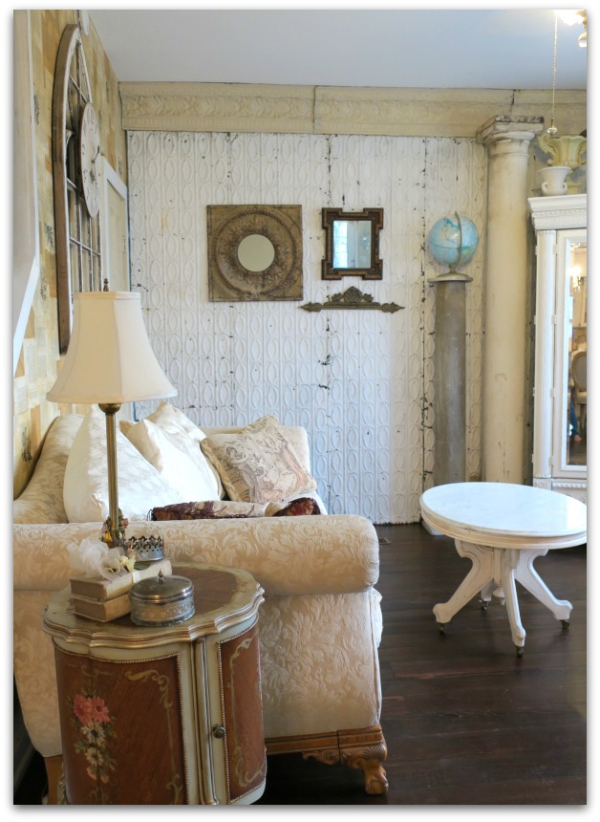
I love my "new" French side table!

IMG_1821

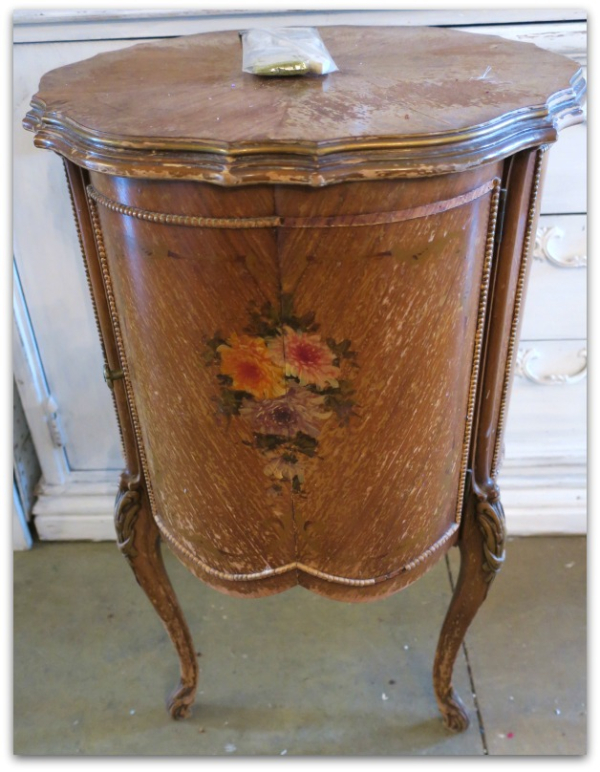
It started like this.  $30 at an estate sale, good lines, ruined finish, missing a few bits of trim, but sturdy.  The first thing I did was rough up the finish with a sanding block, taking off as much old varnish as I could, but not all of it.  

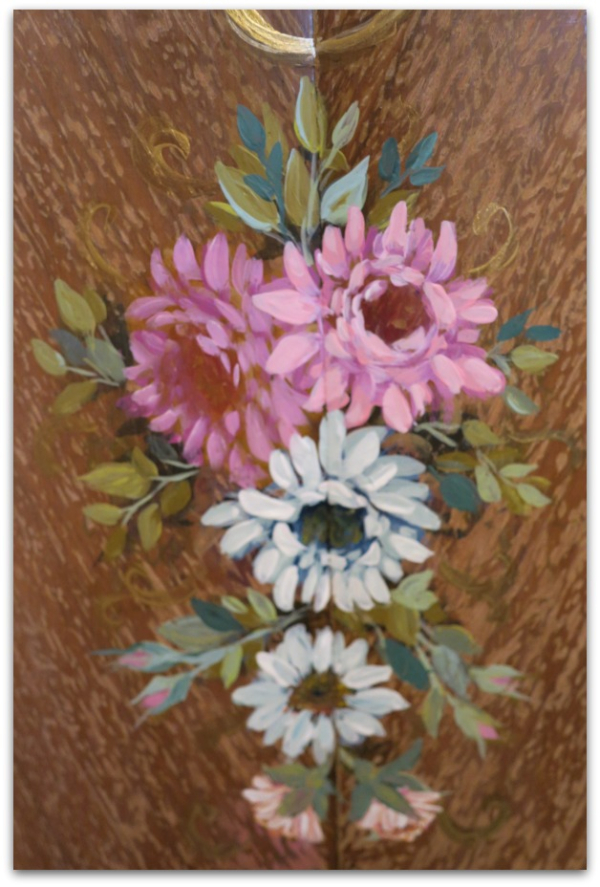
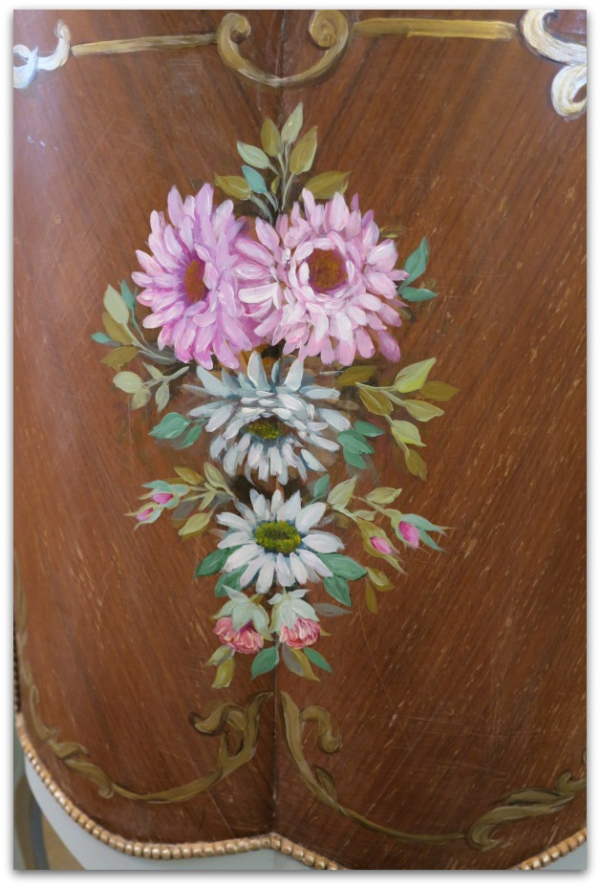
I thought I could touch up and restore the flowers, but it turned out they needed completely repainted.  The style was so pretty, I used that as a basis for my own painting, and tweaked the colors to suit my own taste, a little less purple and orange, a lot more pink and blue.

IMG_1898

You can tell the varnish was still spotty, some came away when I sanded, but I didn't try to get it down to bare wood.

IMG_1896

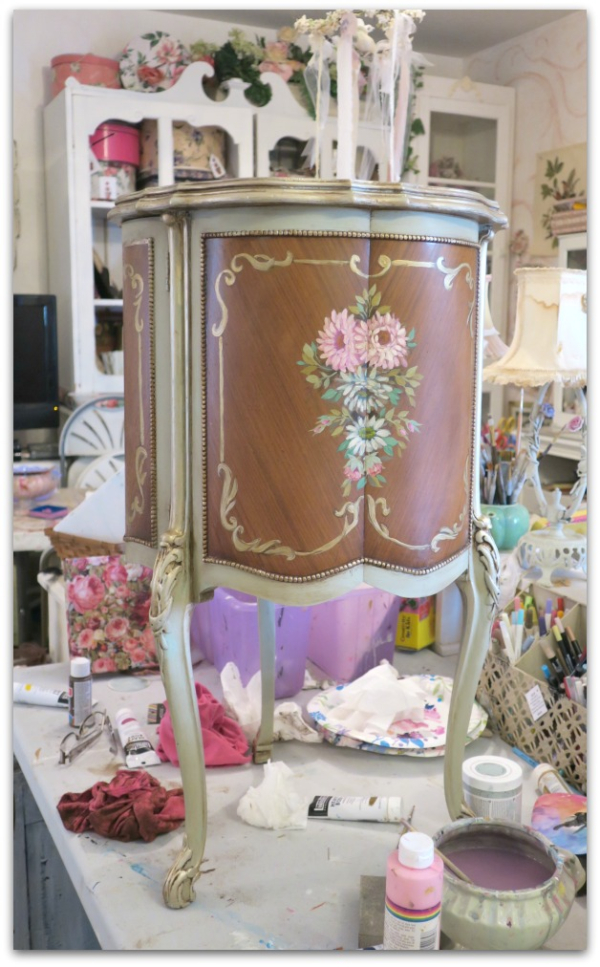
There are flowers on all three sides.

Next I painted the edges aqua with chalk paint from Hobby Lobby.  And added trailing viney-swirly gold, and painted the beaded trim the same gold.  I rubbed that gold paint over the raised carvings on the table legs with my finger tips.  

After that dried, I generously brushed on dark wax, and wiped it off with a soft towel. A chip brush is the best tool for getting down into the crevices of the trim and carving. I added more in places where the bare wood still showed, and made sure it got soaked in to those spots.  The photo above is with one coat of dark wax, it looked better after a second.

IMG_1899

The finish isn't perfect, but perfect is over rated. I like things to look aged and worn. So, some spotty varnish is okay with me. I also didn't try to replace the few places where the beaded trim was missing, that sort of thing happens over time on vintage pieces.

IMG_1906

If you are not a painter, you could still use this technique on old wood, without the flowers I added. It was all pretty quick and easy.

Framing solution

cottage, dogs, paintings

IMG_1873

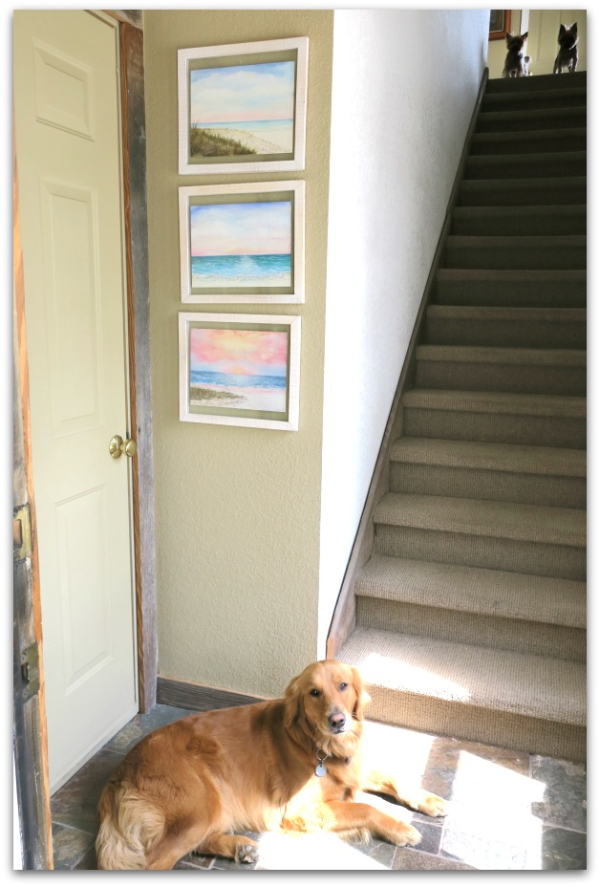
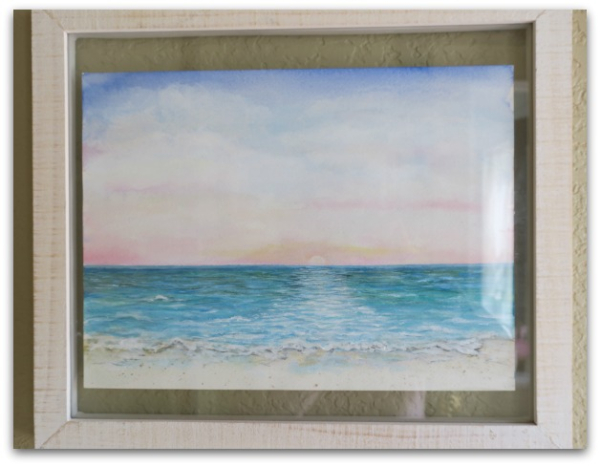
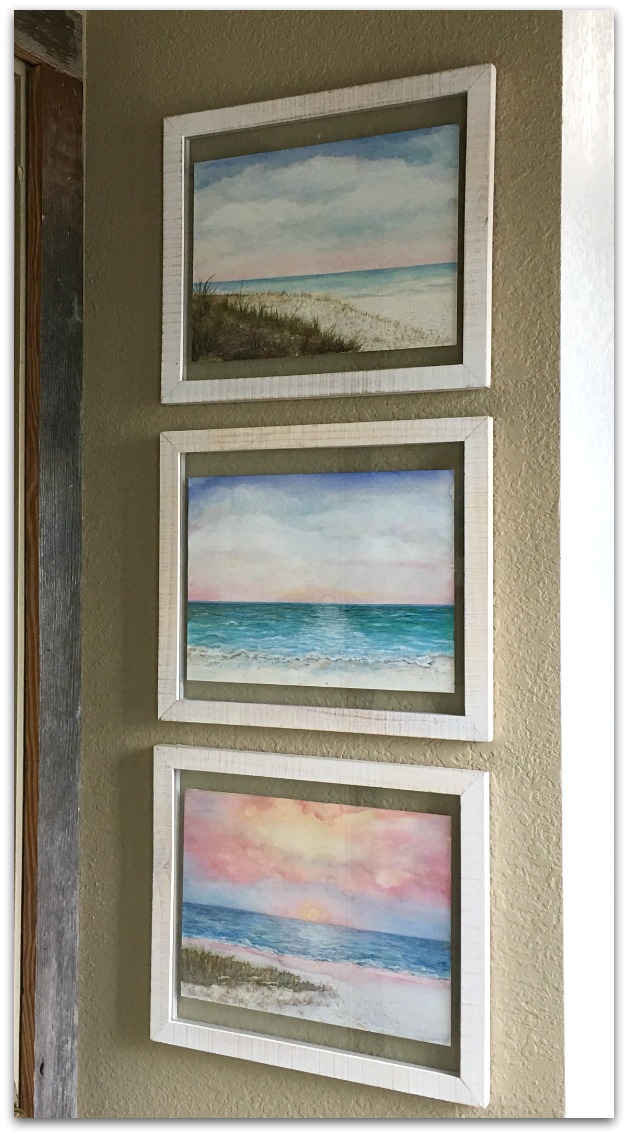
When I was in Florida, I painted these watercolors of our view of the beach from our condo.  But when I got home, I wasn't sure what to do with them. They were not a standard size, to pop into a ready made frame, and not that great that I wanted to spend money on a custom frame for them.  Plus, they looked better up close, they were not paintings that showed much from across a room, so wouldn't display well on a big wall.

IMG_1874

These floating glass frames were on sale at Hobby Lobby, and didn't have to fit exactly like a matted frame would have. (although they do fit better than they look like they do in this photo, it is shot from an angle)

Cheap, easy, and I like the way the sandy colored wall shows through from behind the glass.  That would have been a good mat color!

IMG_0850

Hanging them on this narrow wall at the bottom of the stairs was a good solution too.   All viewing of them is from close up, the way they show the best. 

And walking through here to go to my studio is a nice reminder of a wonderful trip.


More painted furniture

collections, cottage, Hand Painted Furniture

IMG_1919

The grand fairies love to do art projects in front of the tv. (Actually, I won't let them watch tv without a project in their hands, Legos, play dough, coloring, anything other than simply staring at the screen). 

So, we've used various folding tables over the years, while I've kept my eye peeled for the perfect solution in a table the right size that looked good and didn't have to be put away every time, because if left out was an eyesore.

This is a marble topped, walnut one, with wheels!  I can roll it from in front of the couch  to in front of the tv when they need it to work on. I'd painted it white with dark antiquing glaze and didn't like it that way, so put another coat of white over that glaze to tone it down.
IMG_1901

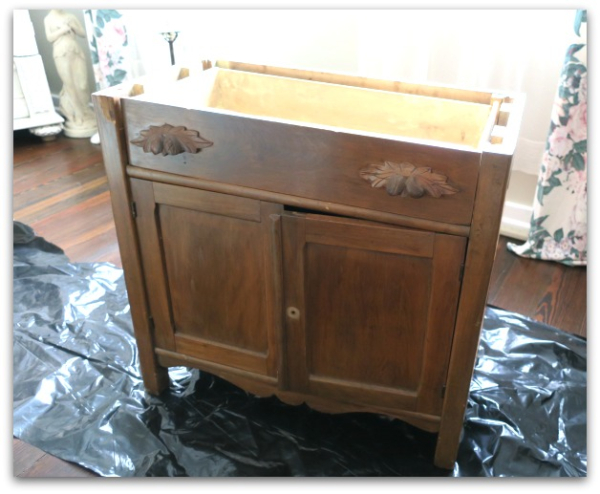
This cabinet has been in the room since last summer when we remodeled.  It has a broken drawer, and a crooked handle, so I got it cheap. I bought it mostly because I like having side tables with storage space in them, and it has a great, marble top.  I even didn't mind the natural wood tones in my house, it was a nice change.  But I got tired of that, and decided to paint it after all while I was on a roll.
IMG_1922

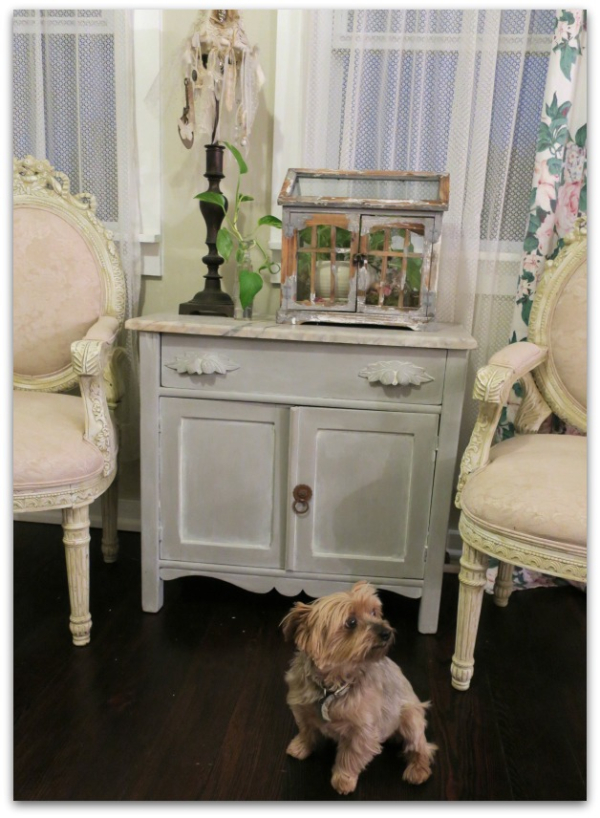
I repositioned the handle, painted the wood gray, and white washed over that. Then, added a rusty, old bit of hardware.  

I might change the handle out to a glass knob.  But for now it is fine.
IMG_1902

But that wasn't the end. I was in a painting mood.

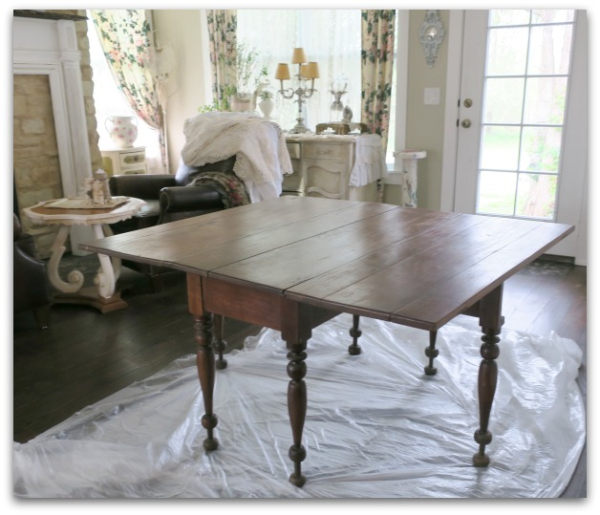
I'd found this drop leaf recently, and fell in love with its lovely, turned legs. I'd searched for a year for just the right table. I wanted one that folded to a narrow size, so I could store it in the new hearth room, and pull it into the dining room to add some space when we had a big group for meals.

It was $145 and is very solid.  Some gate leg or drop leaf tables that I looked at weren't as sturdy, but this one seems good.  If you are seated at the corner, you could use bad manners and keep your elbows on the table without worrying about the top drooping.
IMG_1915

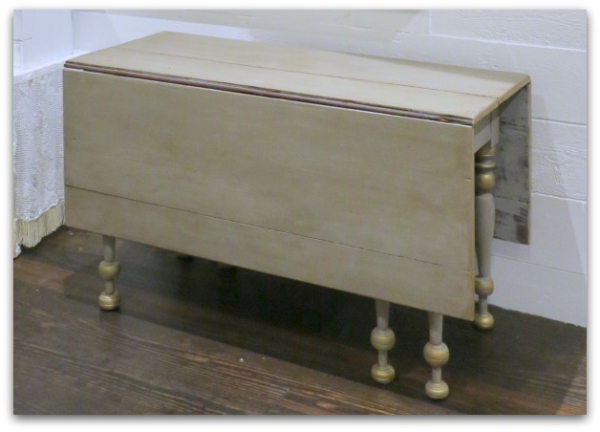
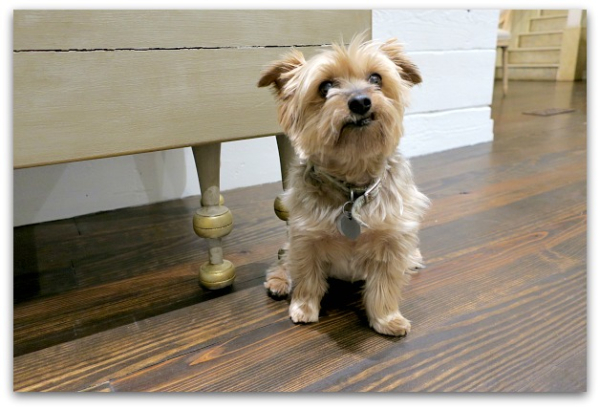
With the dark floor, the table was a little too dark for the room.  So, I painted it the same gray as the other piece, accented it with gold, and wiped a dark wax over it.

I wouldn't use wax on a dining table that got used daily, but I'm fine with it on something that only gets set up for special occasions. I'm afraid that heavy duty use and wiping down would be too much for wax. I have clear poly on my kitchen table. 
IMG_1914

The gold makes the pretty legs show up more too.  
IMG_1932

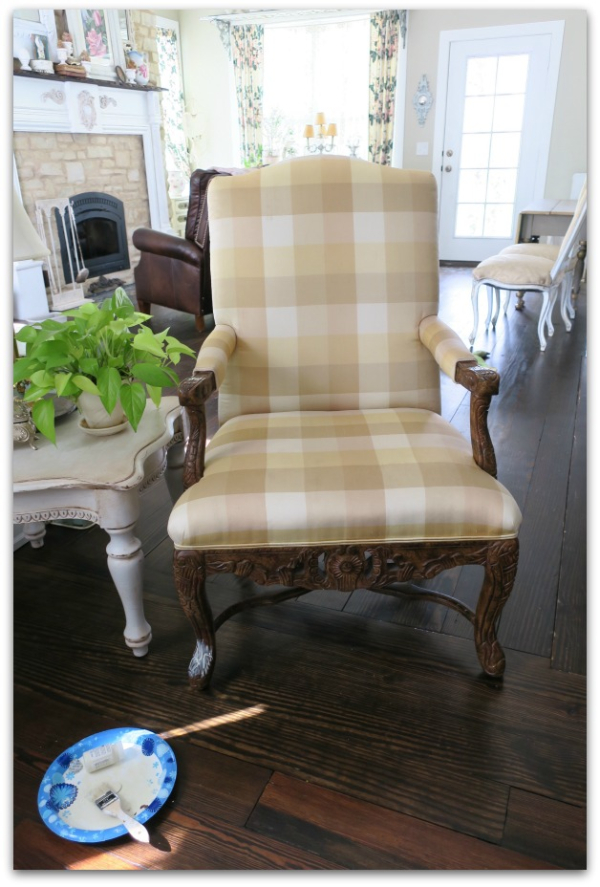
Oh, but that isn't all!  I figured that while I had my  mess and paraphernalia in the house, I should do this piece the same day too.

I've had this chair, ($30 from the Habitat for Humanity REstore) for a while and keep thinking I'm going to recover it. The colors match my house, but the fabric isn't quite me.  But it is silk, neutral, and in good shape. 

I decided whitewash the wood with cream wax, but then hated the look on the leg where I'd sampled it.  The carvings on the chair just weren't pretty enough to accentuate.  So, I painted it all white with chalk paint.

Still didn't like it.

I dry brushed cream over that. Better.  But not quite.

Dry brushed some white over that to blend.  Not bad.

Then, decided it needed distressing.  But my sand paper was worn out, it was midnight and I was DONE.  It got a tiny bit of distressing, a coat of clear wax, and kept its original fabric. NO reupholstering for now.  Also, my camera battery died, so no picture of the finished chair.  I'll post one later.

IMG_1928

It was a busy day, I'd also painted the hive for my husband's new bee keeping hobby, and made this necklace too.

(This is the top of my kitchen/dining room table.)  One thing I like about the room is that there are lots of different finishes and colors that all go together.  I like to vary the tones and treatments on pieces around the room, so that they do not look like they were all painted in the same day (as many were), instead like they were gathered over time.


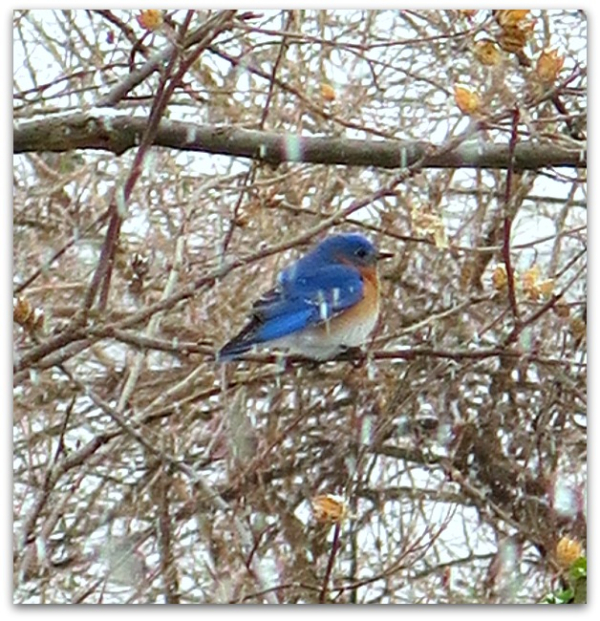
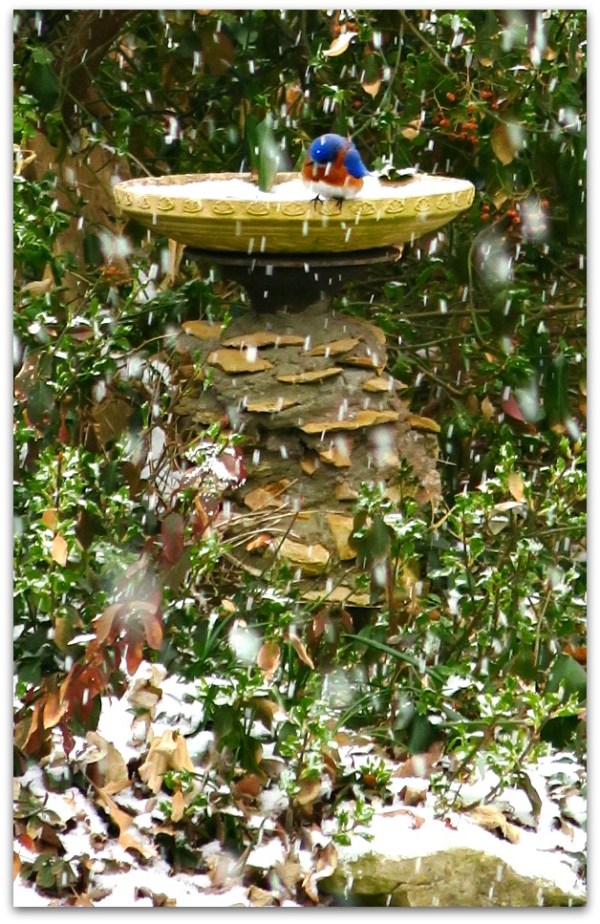
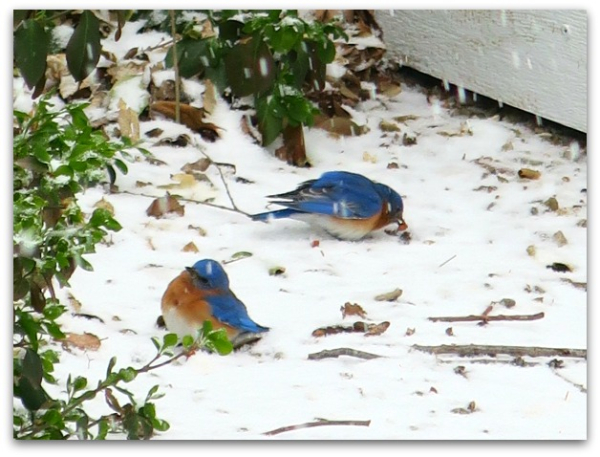
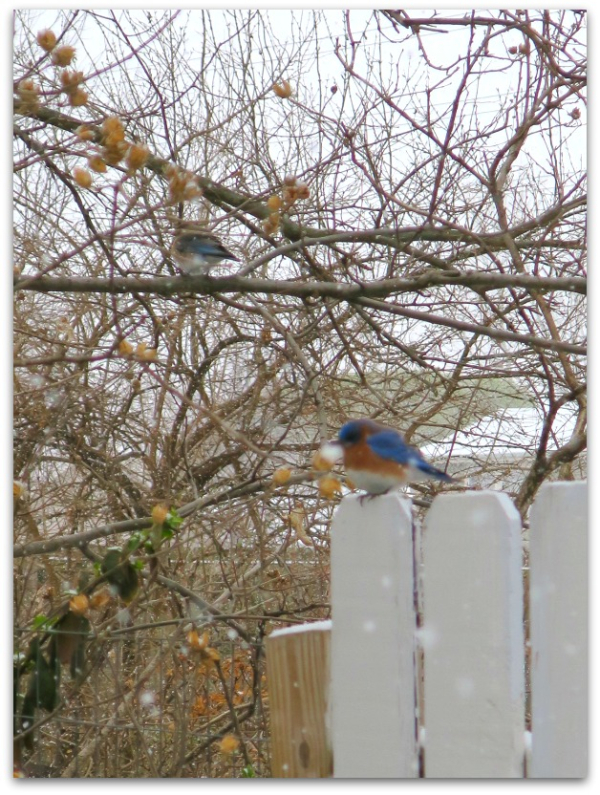
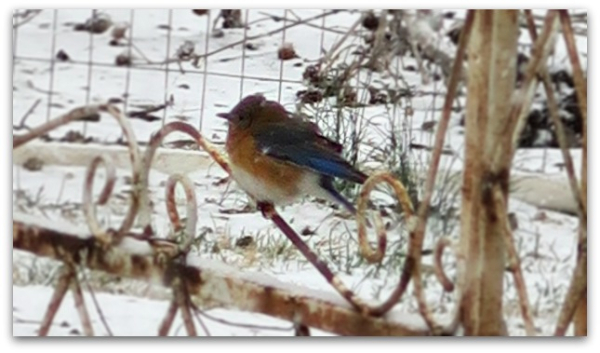
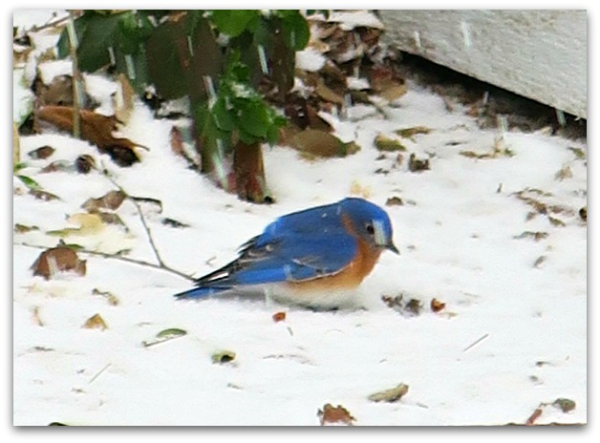
Annual visit from the Bluebirds of Happiness!

celebrations, cottage

IMG_1635

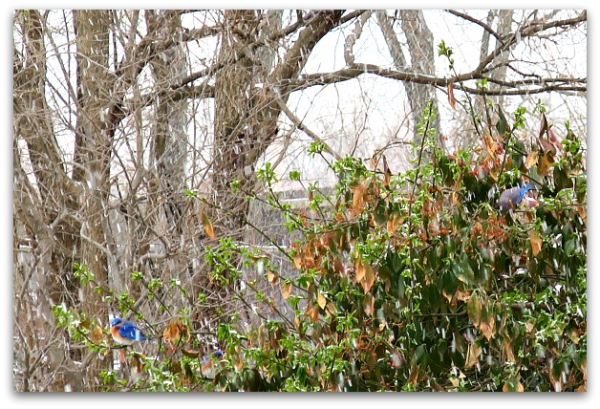
I must be on a migration route for these sweeties, because for 4 years in a row, there is one, blessed day when a large flock comes to see me.

IMG_1620

It is often on a snowy day, always at the end of winter, after a nice break in the winter when we have had a glimpse of spring. Then, cold comes back for a few days, and here they come with it, to make me feel better about facing a few more days of freezing temps.

IMG_1627

Usually, I glance out of the window and see a flash of blue, and know it is my lucky day.

IMG_1626

This year, my husband was the one to discover our visitors. He stepped out the door, frightened the flock, and they flew up all at once.  I was afraid they were gone for the day (they don't stay long).

IMG_1636

But after about 15-20 minutes, they settled back in to snack on the dried berries from this overgrown bush.

IMG_1647

They also love the warmed waterer we keep outdoors in the winter for the  cats.  

IMG_1657

Maybe they remember that warm water on a cold day and pass the message along each year?

IMG_1651

I feel like I need to read up on these birds, I'd like to find a way to convince them to stay longer.  

They eat, drink, rest up for the morning, then are on their way again by afternoon.

IMG_1642

Its quite amazing that I catch the fleeting bit of time that they are here.

 It happens so fast and would be so easy to miss. They arrived the day before I packed up for our trip to the beach, it was a close call.  A matter of less then 48 hours difference and I'd have lost the chance to enjoy them this year.  Or if they had come the day before, I'd have been out running errands all day long and wouldn't have seen them.

IMG_1637

How sad, if I'd lost this brief opportunity for my annual blessing of happiness upon our home!  

And how blessed I am to catch them on their journey, yet again.

They do bring happiness.

A holiday dinner party at the cottage

celebrations, cottage, friends, holiday decor

IMG_9392

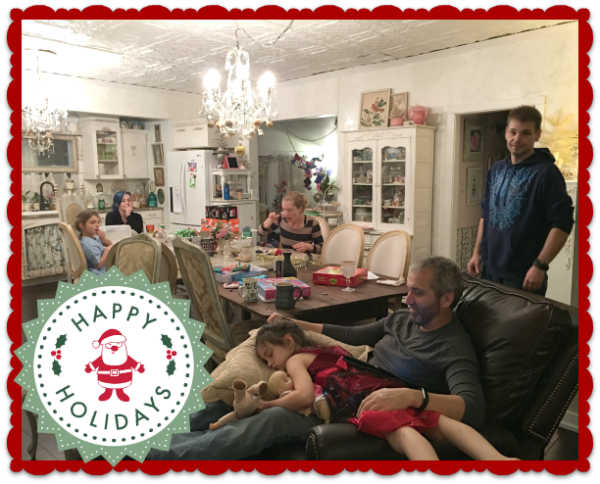
Last week, I hosted the annual holiday book club party. Here is 2014 and here is 2015.  In the past, I've just done snacks and treats, but this year, I thought it would be nice to have a sit down dinner.

IMG_0837

Since we have the new space, I was thrilled to have a chance to use it.  Plus, the book club ladies are a nice group, it is good to have a night where we can kick back and chat about things other than books.

IMG_0845

The new space is ideal for entertaining. I picked up a small, drop leaf table that I keep in the hearth room by the door, and we carried it to the dining area, slanted the main table and added the drop leaf one onto the end of it.

IMG_0846

Originally, I thought I'd get a gigantic, rustic, farmhouse table to fill the space, and to seat my large family.

 But then, I saw the price tags.

So, I bought a $60 drop leaf table to create more seating instead.

IMG_0848

The drop leaf fits nicely, and solves the problem when needed. It is wonderful to have plenty of room to seat everyone without bringing in a folding table.  In the past, I'd have to move the island (I built it on wheels), set up a folding table from the studio, and cram in a few extra chairs.  

Now, all of the guests fit comfortably without having to move the island.  

As much as I like the look of a farm house table, I think I prefer having a more flexible set up. My dining table has 3 leaves and expands to 110", the little drop leaf adds space for 5 more people.  We had 11 for the party, and I think I can probably make three more fit if I got creative with where the chairs go.

IMG_0868

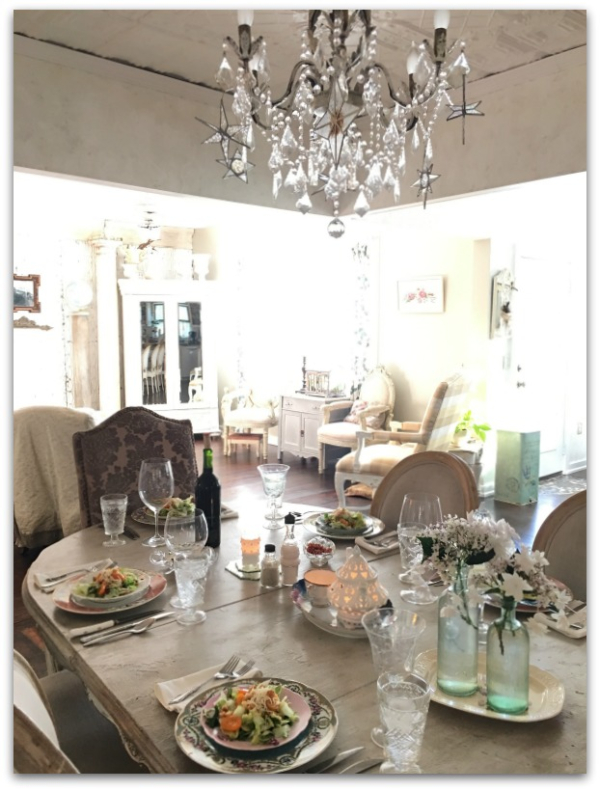
Nothing on my table matches, and all of it is from garage or estate sales.   Sometimes, I think, maybe I should go buy some matching silverware, or glasses…. but honestly, I don't think anyone minds.  The lights are dim, the candles are lit, there is plenty of wine.  

IMG_0861

For this party, I used white dinner plates, table cloths and napkins, clear and gold salad plates, floral bread plates, and clear glasses.   I added a string of battery power lights to a bowl of painted pine cones topped with Shiny Brite fruit, and put some sparkling branches with lights, a pink glass garland, and gold Shiny Brite balls.  

My local grocery store has $1.99 flowers on Mondays, and just happened to have some perfect ones for the party marked down and waiting for me. Pink and green, with a touch of red for the holiday.  

IMG_0854

I was going for a white on white look with a splash of color.

IMG_9396

I made vegetarian lasagna, and stuffed shells with chicken and butternut squash a week ahead of time, then pulled it out of the freezer to bake up that night.  I always believe in as many short cuts as possible when planning a party.  Everyone brought wine to share, I baked some bread, bought packaged salad, and kept the dinner part simple. 

Add a nice bunch of ladies, and it was a very nice party!

Some Cottage Christmas pictures

cottage, holiday decor

IMG_0797

Our cottage is feeling festive, even though the decorations are slightly streamlined from previous years. I spent a good part of a whole day setting up trees and little holiday vignettes like these reindeer figurines on moss.  The day included a lot of breaks, plus a trip to buy a few strands of lights, so it was a lite work day, but I'm happy with how much I got set up.

IMG_0777

It was exciting to have a new room to deck!  I bought a flocked, white tree (half price at Hobby Lobby) that is the perfect height for the nook by the fireplace. Sugarwings did the math to see how tall it would be while sitting on a table (to keep it above the danger zone from Honey's exuberant, but destructive, wagging tail.)  

It is not only the ideal size, it is a happy compromise on color scheme for the kids and I.

They want colorful lights, I like white.

It has been a dilemma for years.

This tree has a button to push that changes the lights from rainbow to plain white!  So the grandfairies can enjoy all of the colors during cocoa parties in front of the tree, and I can have my serene whites when I want them.

IMG_9359

I have to admit, the multi toned twinklies are a nice option to have.  I love the white lights, but this look is fun.

Of course, I always wonder just how long those built in lights will last.  On my old tree, I had to add extra strings as the permanent lights proved to be not so permanent after all.

IMG_0799

I hadn't planned on keeping my old white tree this year, since I had a spanking new one to set up. But I realized that I had plenty of space (we LOVE the new addition!!!!) and I decided to toss the bottom section of the old tree, and keep the top part to create a table top tree for the living room.  

The small table between the rooms is our cocoa party area.  It is perfectly located with a view of both white trees, as well as the TV, so we can watch Frosty or the Grinch as we sip our cocoa and stir it with a candy cane.

IMG_9362

We made our own cocoa mix with baking cocoa, organic sugar, chocolate chips, and vanilla beans in the blender.  It's so creamy and rich when we stir it into warmed milk poured from a floral teapot, that we hardly need marshmallows.  But we throw a couple in anyway because it's all part of the ceremony.

Around here, tea parties and cocoa parties aren't just about the treats.  We love the traditions of getting out the good teacups, setting the table pretty, using the silver spoons from my mom and Great Aunt Caroline, then passing the dishes of toppings around the table while practicing our best manners.

 Well, Dewdrop still is in it just for the treats, but she is only in kindergarten, she'll learn soon enough that it is the holiday traditions that make the season special.  Sugarwings and I are teaching her.

IMG_0794

I'll leave you with a few more pictures around the house.

IMG_0785 IMG_0783 IMG_9354

IMG_0790 IMG_0789

IMG_0782

Close ups of the gallery wall

cottage, family, Hearth Room, photography

IMG_0663

When the new room was finished, I decided I wanted some of my favorite family pictures hung in it.  This one is from our big getaway to Siesta Key a couple of years ago.  I printed it at 8×10, but wanted it to be more prominent to show off the darling, but so fleeting, proof of sisterly love.

So, I framed it in an oval, vintage frame and attached that to the center of an ornate clock frame that I had. I'd taken out the clock and painted over the brass frame, then painted the oval frame to  match.


IMG_0664

Recently, I read one of those posts that pop up here and there, you know, those lists of the Top Ten this or thats, often about decor or fashion?  This one was about decorating trends that make your home look dated.  And one of the things listed was having displays of family photos. Their point was that a bunch of pictures was grandmotherly.

Hmmm.

Well, as often as I get sucked into reading all of those lists, they aren't something I believe in our care much about.  They are slightly addictive to me, just like the TV show, Naked and Afraid. I'd NEVER be a survivalist, but I am glued to that series and can't turn away when the bugs start crawling on the starving people who can't build a fire.  I follow those lists just like I follow that show.  They are hardly ever ideas that I use, but I sure am hooked on reading them.

I do like it when I see a photo from my own home pop up in one of the lists, though!  (hopefully on a positive list)

Like here or here.

IMG_0667

So, not caring if my gallery wall made my home look dated according to a very important top ten list on the internet, I went ahead with collaging and framing some of my loved ones.

IMG_0668

This one is not flattering at all to a single member of the group, but I still think it is a great pic.  A photo doesn't have to be perfect.  This one is full of emotions and that beats perfect any day.

IMG_0669

Ryan seems to think I have an over abundance of grand fairy shots.  He could be right.

IMG_8937

Here is how they all look, puzzle pieced together on the wall. The glass block window is the backsplash behind my kitchen stove on the other side of the wall.  This used to be the cottage's exterior, and I liked that window, so we kept it with the remodel.  

The fabric is the silk from the circus apparatus that hangs from the ceiling, and we need a pulley, so it can be fitted into the corner without it swagging as it is now.

All of those photos might be a little busy with so much going on right now, the top of the buffet is full of Halloween decor.  Normally, it is more demur.  At Christmas, it will be fantastically, over the top, so for that, I'll probably take the family pictures down and replace them with a stained glass window or some mirrors.  

IMG_0647

Until I get a pulley for the rope on the silks, this is how we hang them up after use.  Who needs a ladder when you have circus kids? I wonder if she can reach the ceiling fan blades to give them a dusting while she is up there too?

Scroll to Top