cottage

How to paint cabinets with NO PAINT and NO SANDING at all, and some Venetian Plaster tricks

cottage, how to's, Kitchen remodel, paintings

IMG_4867

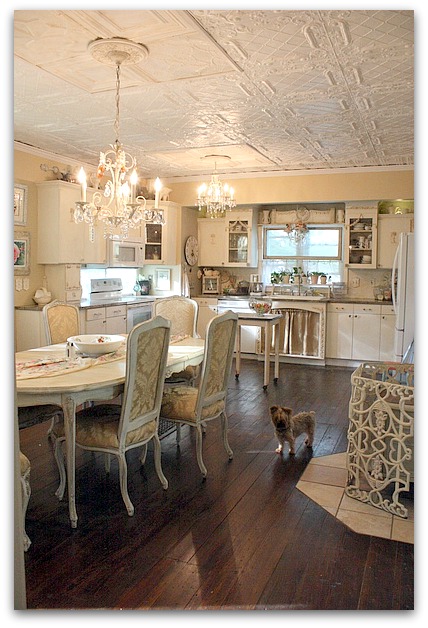
I've been redoing my kitchen recently. Here is a before photo, which isn't bad. But- this was a couple years ago and there has been some wear that required touch ups.  The swags on the glass cabinet fronts had been knocked off, and those two cabinets had to be sanded down after taking off the cracked remnants of the trim.  I no longer had the same paint color, plus, those cabinets hadn't been repainted in a long, long time.

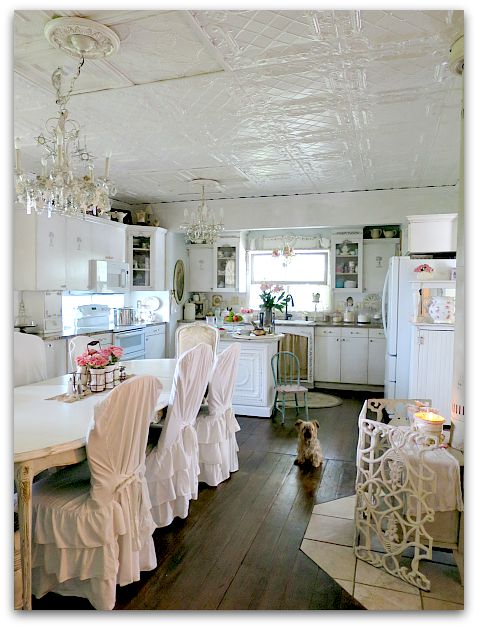
I've been jonesing for an all white look.  (hmm, does that term age me?  "Jonesing" might be something we said back in the 70s) For years, I've loved that look, but have never had it in my own house.  I tend to go cream, tan, or ivory when I decorate. But I've been drawn to photos of pure white rooms and always wanted one of my own.
Kitchen plaster 020

And I got it!

Kinda.

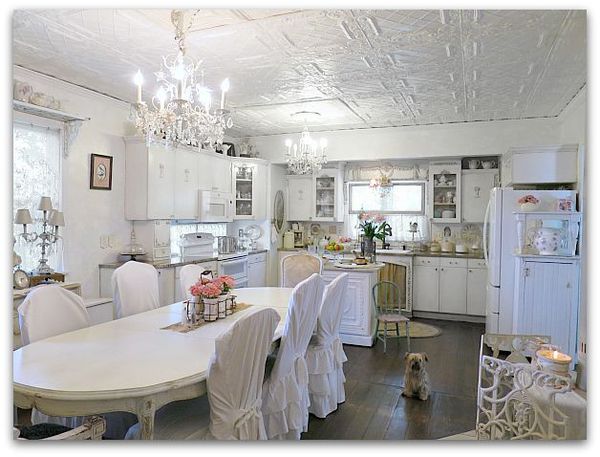
 And I really, really do love it. I kept quite a bit of the ivories and creams, because I still love them, and like the mix. But the overall effect of the room is pure white. Especially in photos.  In real life, you can see more of the textures and tones, and the room feels a bit warmer than the pictures show. 

But still white.
Kitchen plaster 027

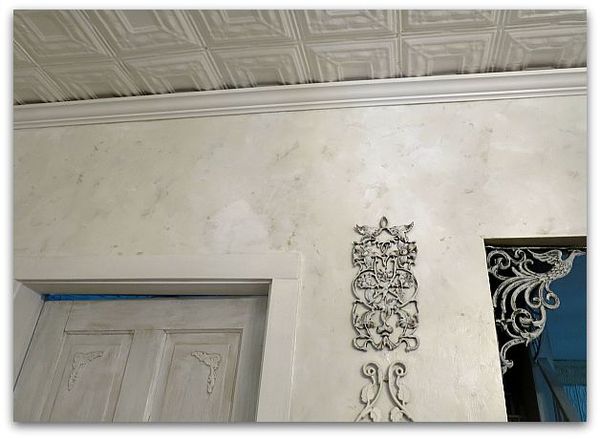
To pull off white without the room looking stark, I felt like textures were important. The ceiling is already quite texturey from the vintage ceiling tiles, and the doors are dry brushed with 4-5 different whites and creams. (Which happened at first by me touching up paint every year or so, and dry brushing over smudges and finger marks with a different paint that was already on the door. I liked it so much, I just dry brush various whites onto it when I repaint periodically- a happy accident that turned into an "I meant to do that" situation.

And for the walls, I used Venetian Plaster by Behr instead of just paint.  
Kitchen plaster 001

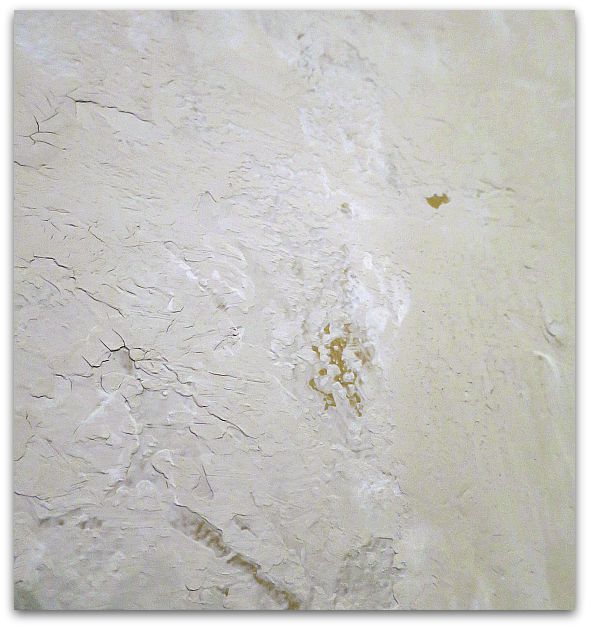
The walls were already kind of a tan, which made a good background color that I let peek through in some spots.  But the plaster color chart didn't sport any choices that I liked, it was pretty limited. So, I went  with plain, untinted, as is, plaster straight out of the can.
Kitchen plaster 004

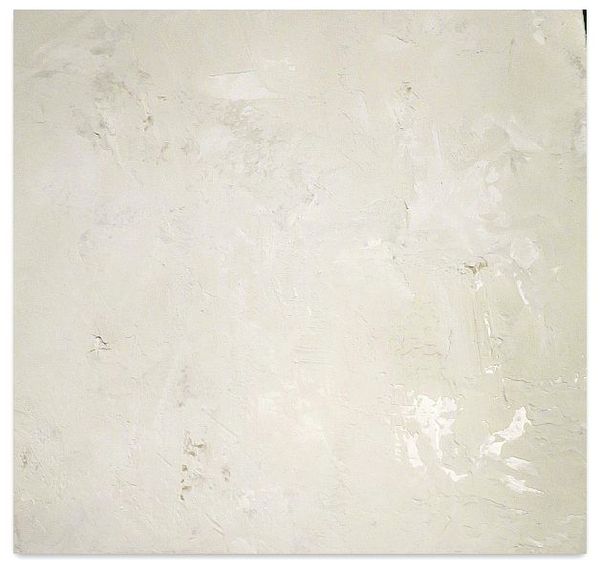
Trouble is, it was a tad bit gray, not as bright as I wanted.  I fixed that by using Behr pure white paint along with it.

I scooped out about two cups of plaster into a paint tray, and poured approximately 3/4 cup of white paint over it.  Next, I took a 6" wide, plastic dry wall or putty knife thing and troweled the mixture onto the wall. It mixed as I troweled, with some areas more white, some more gray, some both.
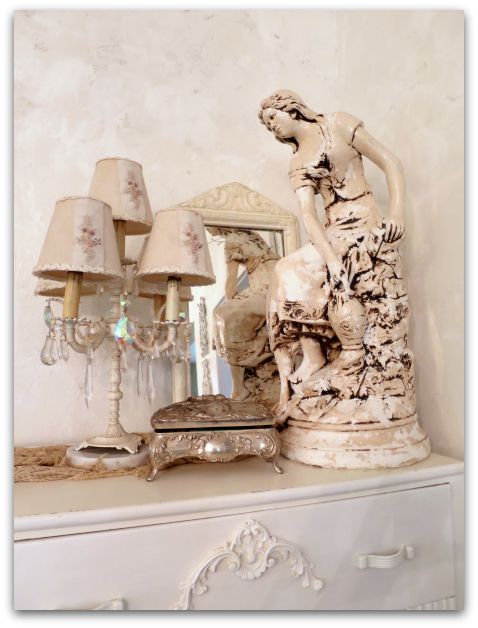
Kitchen plaster 031

This is NOT what the directions say to do.

But it worked for me.  I went around the room 3 times, doing this.  I also didn't let it dry as long as the directions said, or hold my trowel at the same angle that was suggested.  I didn't burnish it either.

I held the blade pretty flat against the wall each time, the coats I made were thinner, which is probably why I needed three instead of the recommended two. (If I could do much math, I'd tell you the angle)

It was looking like there were tracks in it from the edges of the knife, so I took my red handled Tim Holtz scissors that I love so much, and that will cut through everything, and trimmed the edges of the blade to a curved shape.
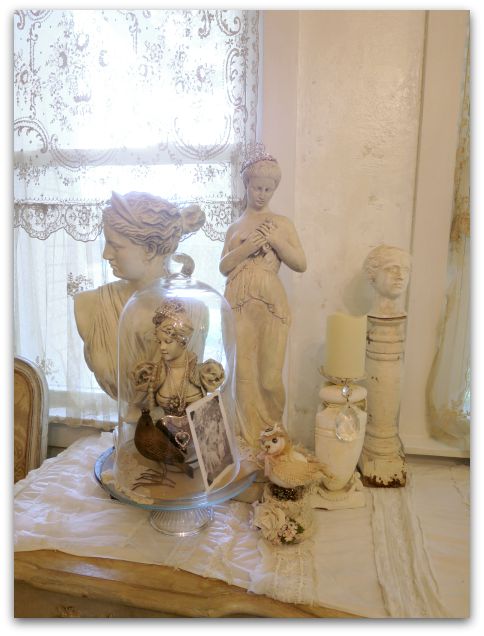
  Kitchen plaster 028

Over the top, I put three coats of Minwax Polycrylic clear coat (water based- satin). I used three because I like the depth that gives the plaster.  I was hoping for a marble-y effect.  

I think that the layers of subtle colors on the wall give the room the light, bright, white feel I was hoping for, but still blend well with my ivory curtains and whatnots around the room.
Kitchen plaster 006

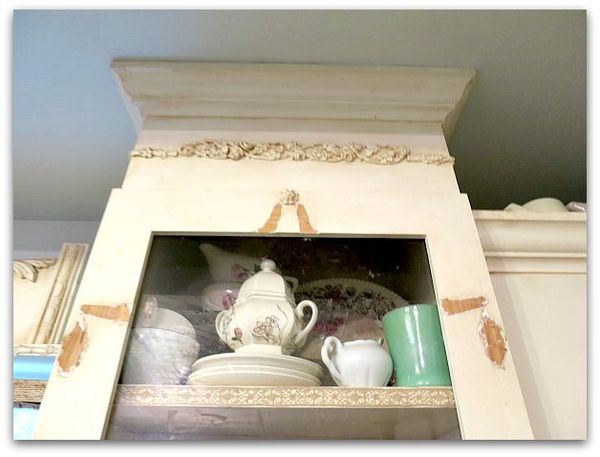
After the 3 top coats on the wall, I started in on the cabinets. The broken swag embellishments had to be pried off, then the wood sanded down.
Kitchen plaster 009

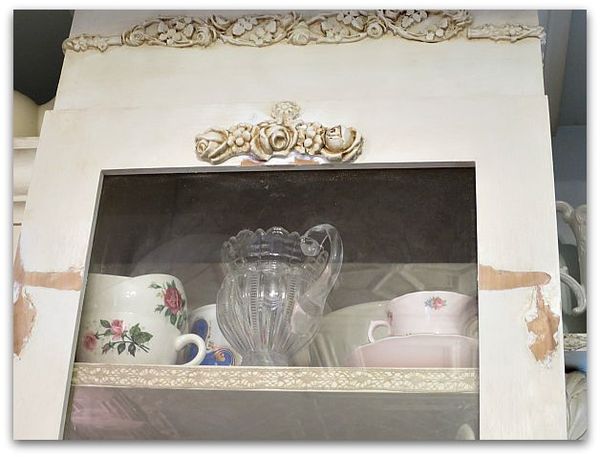
I salvaged the roses from the center of two of the swags to glue to the top of the glass.  
Kitchen plaster 012

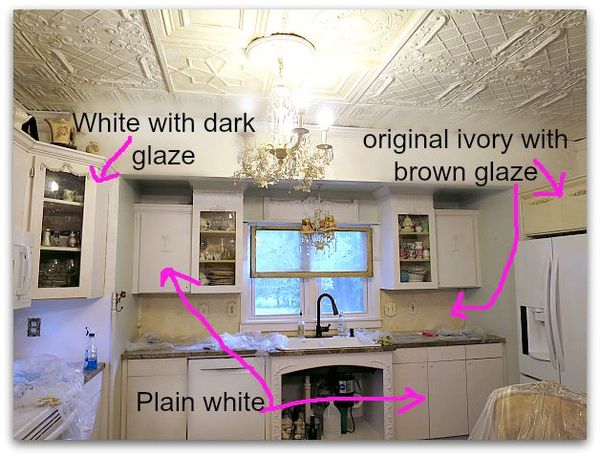
Here is an in progress picture.  Some of the cabinets painted white, some stained, some as is.

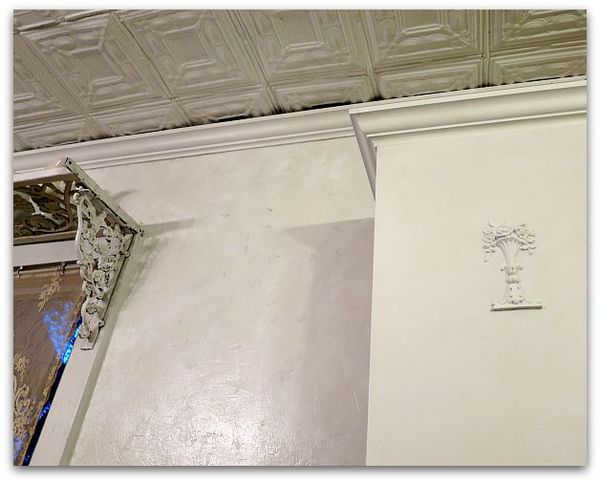
Next, I painted them with bonding primer.  I didn't want to sand the existing paint, and if you use a primer that says "will adhere to glossy surfaces" or "bonding" you don't need to sand.  Even over oil based paint, like I had used on the cabinets originally.  Very much like in this tutorial, but with a brush, not a spray can. Kind of like we primed cabinets in this post.

It took two coats of primer to get a good cover.  I used one of those small rollers meant for smooth surfaces.

I sincerely loved the white, white, white look of the primer.  BUT- I knew that I couldn't live with that level of cleanliness, too many people worked in my kitchen, too many big meals were prepared there.  Too many splashes down the fronts of the cabinets. Now, I'm not saying I'm a pig, I do wipe the doors off regularly, but not every ten minutes.

So, I decided to add a dark glaze.  If done right, it wouldn't take away from the whiteness, it would just accentuate the rose embellishments and help hide smears that happen as we work in the room.
Kitchen plaster 010

This picture is of a primed door.

Since I decided to use a glaze and a  water based clear coat, I decided that I didn't need to do the painting step.

You CANNOT use primer alone and leave it! It is meant to be used under paint. But- glaze is a form of paint, and water based clear coats really aren't that different either. 
Cabinet 004

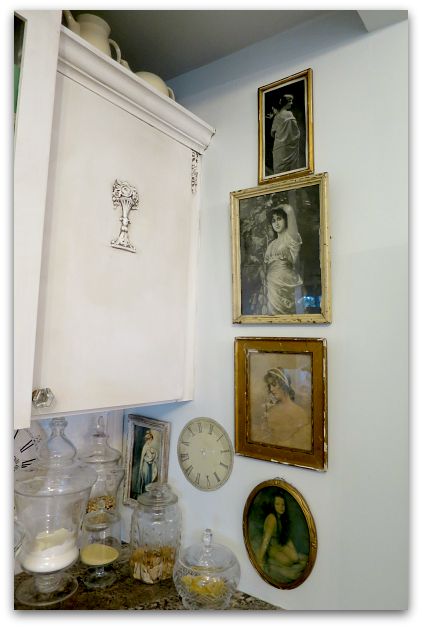
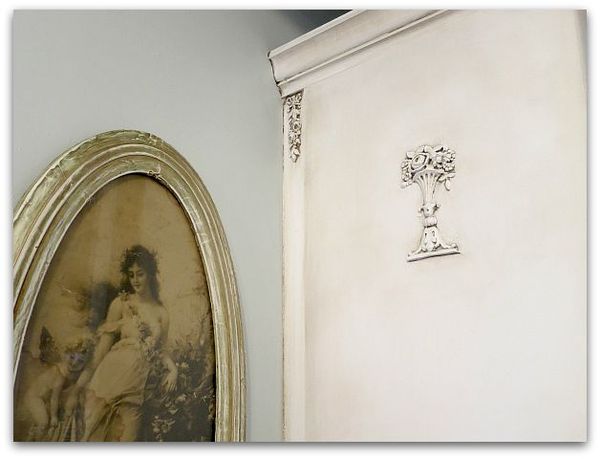
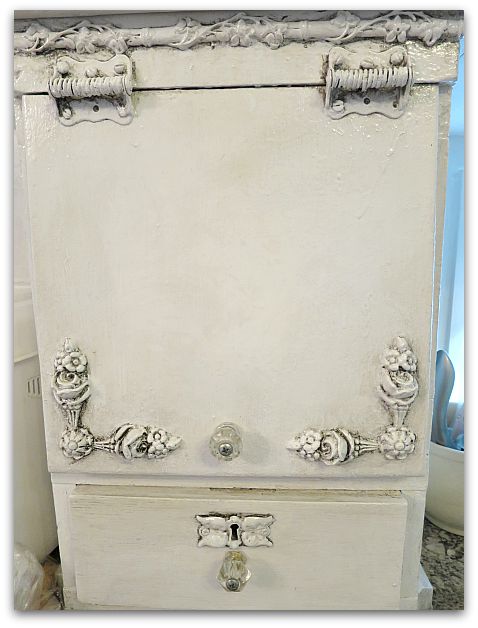
But then, instead of tinted glaze, I kind of experimented and used Martha Stewart wood stain (water based) because it was on clearance at Michaels and because I liked the dark, dark walnut color of it. I thought that it would look great with the granite countertops, and could be used directly from the bottle, no mixing like I'd have to do with glaze and paint. 
Cabinet 003

I discovered that glaze might be easier, the wood stain had a learning curve.  The trick is to work in very small areas at a time.

First, I brushed the deep color into the embellishments, and wiped it off with a damp rag. Then I buffed it with a dry rag.   After that, I ran a brush full of color all the way around the edges of the door, and blended it with the wet, then the dry, soft rags again, working the color from the outside toward the inside.

If I got it too heavy, or if it dried too quickly for me to get the blended look that I wanted, I found that a wet, Magic Eraser was perfect for lightening up any mistakes!

The crown molding was simple, brush color onto a couple feet, wipe, and keep going.
Cabinet 002

These new tones actually match my countertops much better than what I originally had used. Because I'd painted the ivory oil based paint and a coffee with cream color glaze onto the cabinets to match a granite sample that I'd picked out when the kitchen was first remodeled. 

Then, the granite was cut wrong! And we had to pick another similar piece, which wasn't nearly as golden as what I'd first had.

So, for years, I kept thinking I'd redo the paint job, and am just now doing it. And I am so pleased that I did.
Kitchen plaster 026

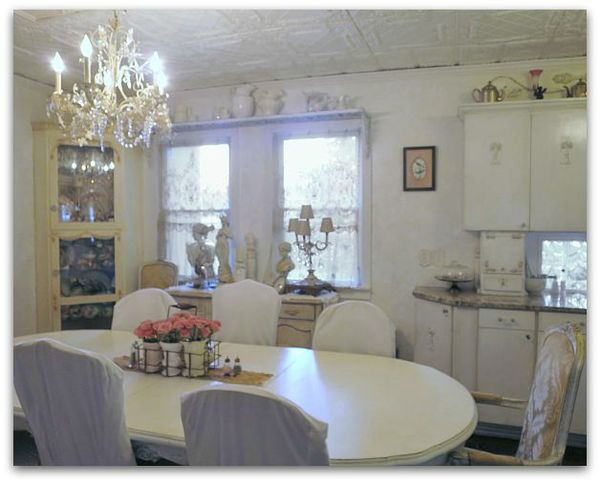
For now, I've left the corner cabinet as it was.

Let's not say that 3 solid days of troweling on plaster, climbing up and down ladders, and twisting around to get into the corners of the cabinets along the ceiling, were too much for an old broad and I was too tired to tackle one more cabinet.

Let's just say that the contrast is nice, and that it kind of ties the mixes of whites together, ok?
Kitchen plaster 016

I used a semi gloss clear coat on the finished cabinets for durability. If I didn't have such a high traffic kitchen, I'd have gone with satin, because I like that better. But I'd rather it repelled messes. The higher the gloss the more durable a surface is. 
Kitchen plaster 029

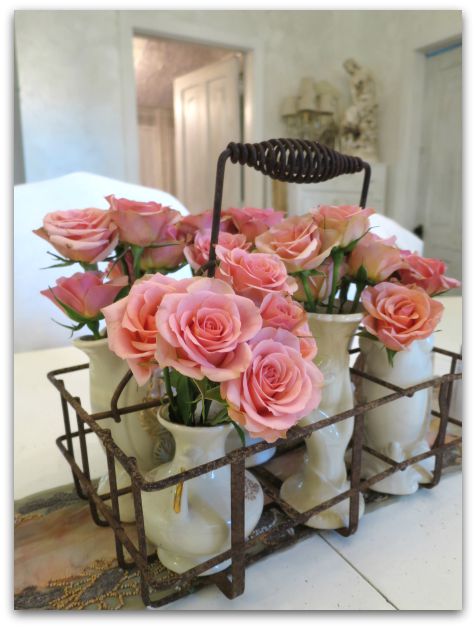
I've always said that with neutral tones in the basics of a room, you can change the look with just a few accessories. I think this will be even more true with these clear whites.  And I do like changes. This room can stay white on white, or with a few red accents can have a totally different look for the holidays, still keeping that romantic, serene feeling that I wanted. 

Yep, I think I'm loving this!

 

A quiet 4th of July

cottage, family, flowers, Garden, kitties, Sugarwings

,elted 031

We had quite a nice holiday weekend. Not at all typical for us, no parties, no people, no fireworks, no trips.

,elted 018

The weekend started on Friday with a performance at Theatre Lawrence, from the workshop Sugarwings had attended there.

,elted 001

It was very impressive to see how the teachers could corral all of these little ones and get them to understand the workings of being in a play, learning lines, songs, and choreography in just one week. And it is great for the kids to have a chance to be on the fancy stage.

,elted 006

Sugarwings is very serious up on stage, but does sneak looks up to where family is sitting, to make sure we are watching her. And at one point, she broke out in an impromptu, improvised tap routine that had nothing to do with the show. 

Maybe tap lessons should be the next class she takes…

,elted 024

Her favorite part seemed to be the way her sparkling cape could swirl with some twirling in the lobby.

,elted 039

The rest of the weekend was pretty laid back.  My husband and I did some hiking at the lake each morning, then spent the rest of the days doing yard work around the cottage.

,elted 032

Now, my husband isn't exactly a yard work kind of guy.  At least as far as flower beds go. He is more of a chainsaw  type, but when I mentioned that my rose bushes had become so overgrown that they weren't blooming the way they should and were more like thorn bushes than flowers, he was right there with a chain to wrap around them and pull them out with the John Deere Gator.

The roses were planted in bad places, that seemed fine when the plants were little. One was by the patio of the studio, and three were along the side walk to the front door.  As they grew, they needed major trimming to stop their thorns from snagging unsuspecting people walking by.

I've not got a lot of experience with roses, but it seems to me, that the more you trim them, the woodier they become, and the less they bloom.  These were turning into giant thorn trees with woody trunks, not green bushes with flowers.  So, out they went, and the one by the studio was replaced with a hydrangea instead.

,elted 036


For the sidewalk area, I purchased 2 azaleas and a topiary. But the topiary wouldn't work, because there is a bedrock of gravel under the bed, and we couldn't dig through it.  The base of the topiary was just too large, but the smaller pots of azaleas were just fine. So, the tree is in a temporary basket for now, and I'll set it in a pot when I find one later (it's time for some good 75% off sales at the greenhouses!)

We also dug out mulch and added a row of gravel along the foundation, due to some termite issues we are having. My husband got to fill his Gator with gravel and use the dump truck function to fill the trench he'd dug.  

,elted 045

We also worked in the veggie garden, and had to pull some vines down from the walls. A vine covered cottage is a beautiful thing, if you don't care about termites and damage to your siding.  If I could let them go, I sure would. Especially since they just start climbing on their own, it looks so charming and natural.  But, nope, they had to be ripped away.

Lots of hard work got accomplished, and we had a good time doing it. I really can't remember the last time the two of us were on our own, and hung out together all weekend.  We tend to have a lot of separate interests and many other people that take our attention from each other.  This was nice.

I hope your weekend was a memorable one too.  I thought I'd work in the studio and add some things to the Boutique, but didn't get around to it til Monday.  

And I didn't mind at all.

,elted 062s ,elted 055s,elted 060s

Here are a few things that I listed.

,elted 057 ,elted 051,elted 048


A little cottage creation

bird song art event, cottage, vintage paper/collage art

 Arabellacinderelladay 132

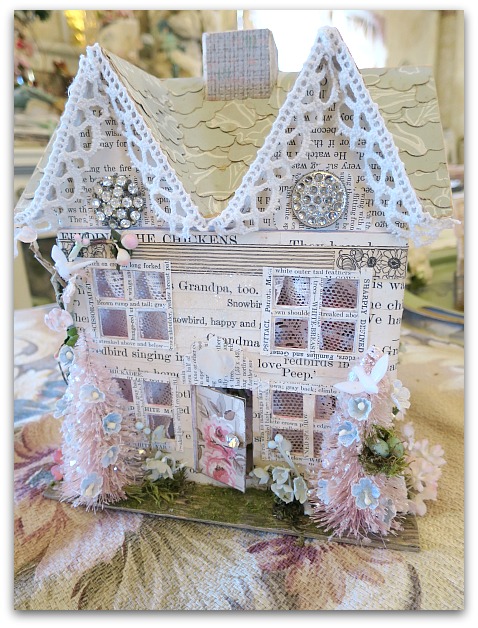
My long time friend, Gail, hosted a swap for Birdsong.  It involved those paper mache cottages you find at hobby stores. The minute she announced it, I HAD to make one!

Fairytale village 071

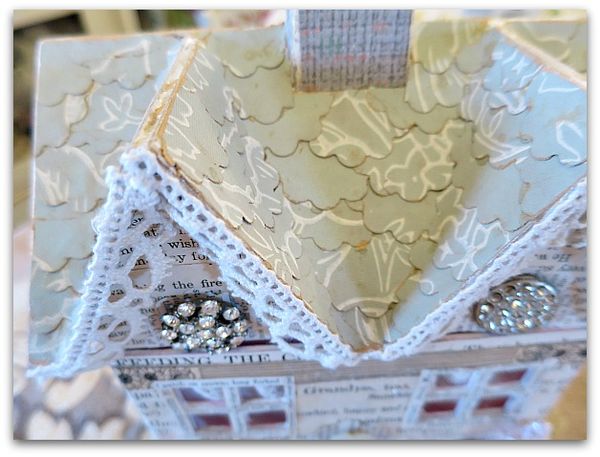
My first step was to paint all of the edges and corners that might show.  Then I covered the roof in vintage wallpaper, cut into scallop shapes to make shingles.

Fairytale village 069

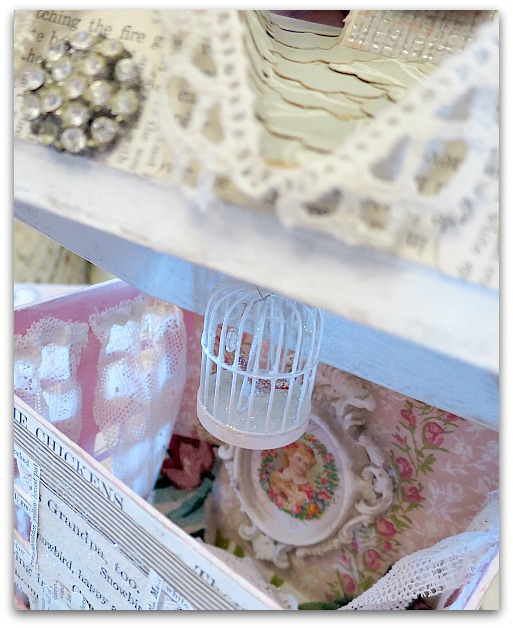
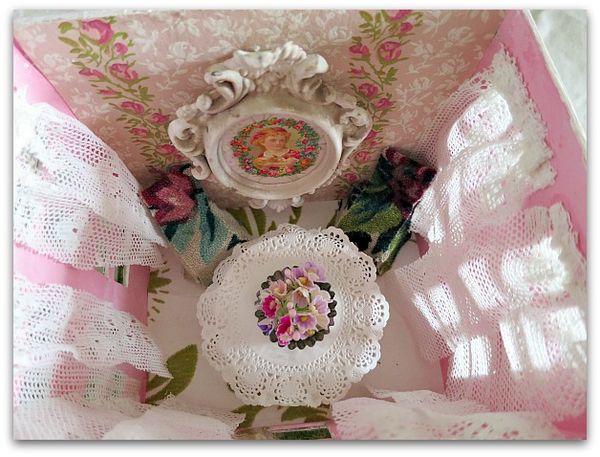
The rims that fit the lid to the base of the box were also painted white, because if you cover that with paper, the box lid sticks and never quite fits right.  I also painted the inside and front walls pink, and wallpapered the back inside wall.   I thought it would be much too complicated to try to paper the walls of windows, too many tiny holes to sand around!

The bottom, or floor, is covered in a large patterned, flocked wallpaper.

Fairytale village 001

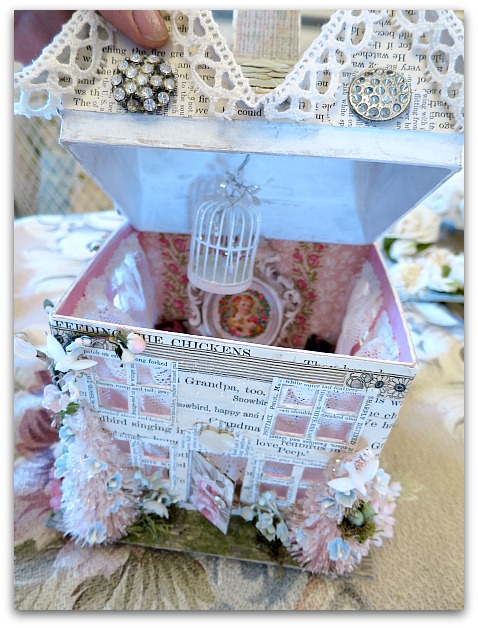
Next, I covered the chimney with another wallpaper, and poked two holes in the top of it to thread wire through and attach a bird cage from.  The little glittered cage now dangles over a table made of an empty spool of ribbon covered in a paper doily.

I lazily cut out strips of lace to cover the upper and lower windows instead of making separate curtains for each.  They are gathered up and squished into a bead of glue to hang.

The chairs are made of chip board and are covered in scraps of vintage fabric we are using for my journal class.  And the portrait on the wall is a small frame that I painted and added a post card picture to. It is a little over sized for the room, but I prefer to think of it as dramatic.

Fairytale village 003

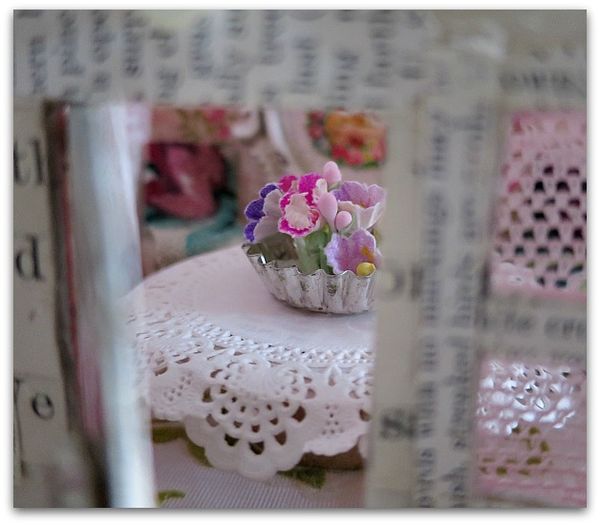
The final interior touch was a bowl of posies.  They are millinery blooms in a mini tart tin.

Fairytale village 065

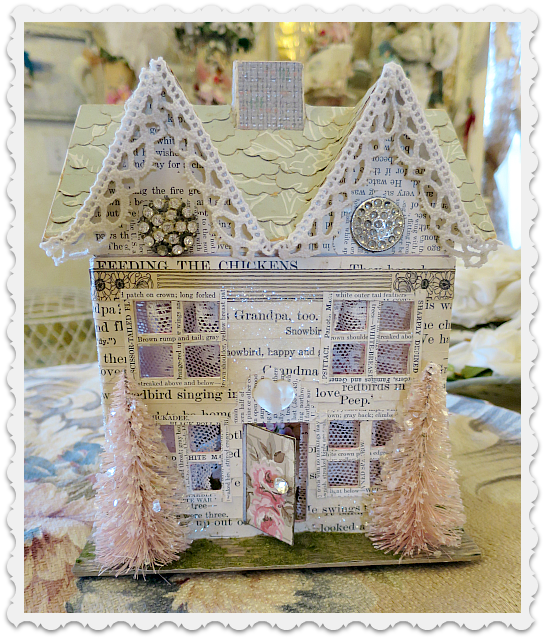
The exterior was covered in strips of text from a 1930s Kansas Primer.  Well, I'd hoped it would look like siding, but it really doesn't.  The window and door trim is strips cut from an old book about birds.

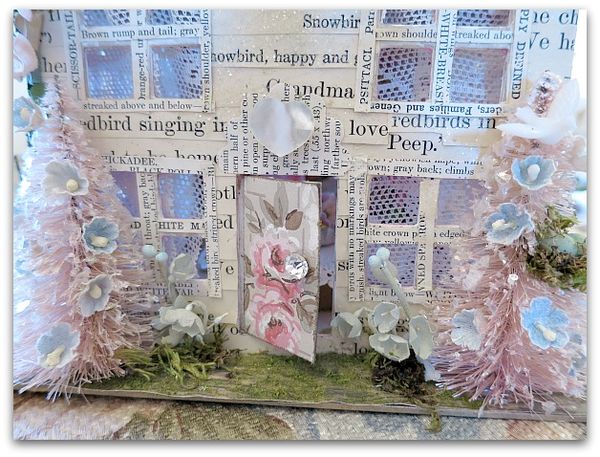
I glittered the "siding", added moss on the "ground" and two small pink trees. Then, I thought it looked way, way too Christmassy.

  Arabellacinderelladay 136
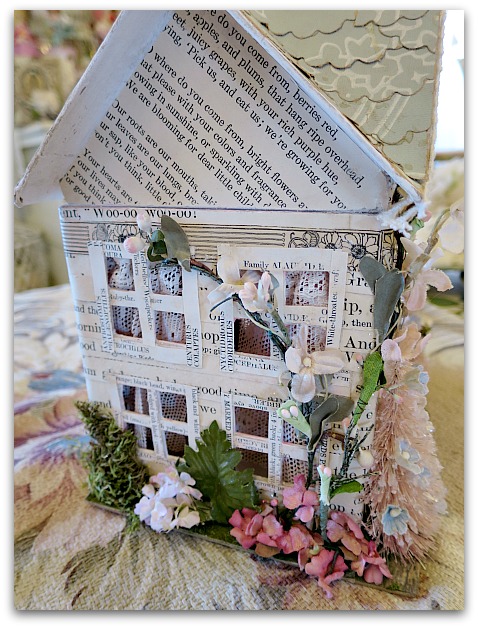
Adding some blooms to the trees and some flower beds around the foundation helped.

Arabellacinderelladay 133

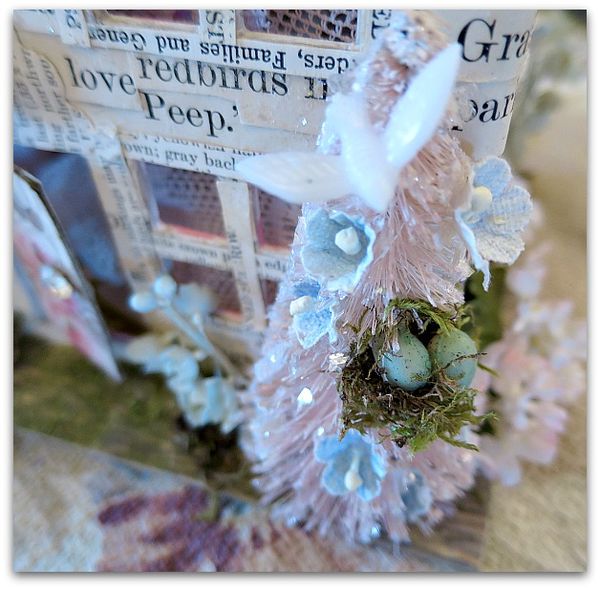
I thought a bird's nest made it more springlike.

Arabellacinderelladay 135

As did some climbing vines.

Arabellacinderelladay 137

But my favorite part? The anticipation of the excitement of swap night at Birdsong!  Swaps are such a generous sharing of talent. I am always touched by the thoughtfulness.

Mulberry season

bird song art event, cottage, Dew Drop, family, Food and Drink, Sugarwings

Chien 013

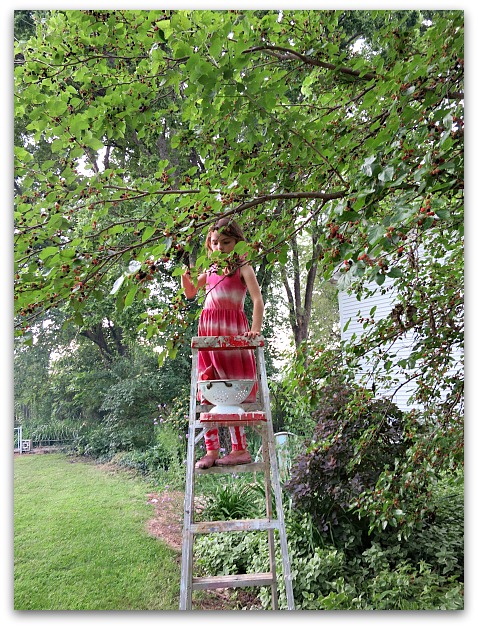
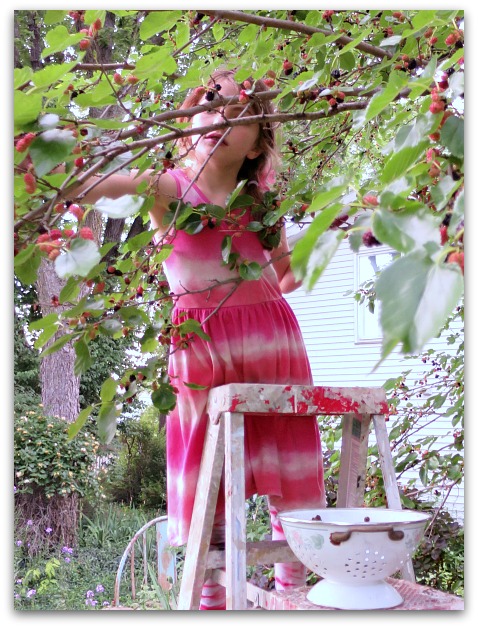
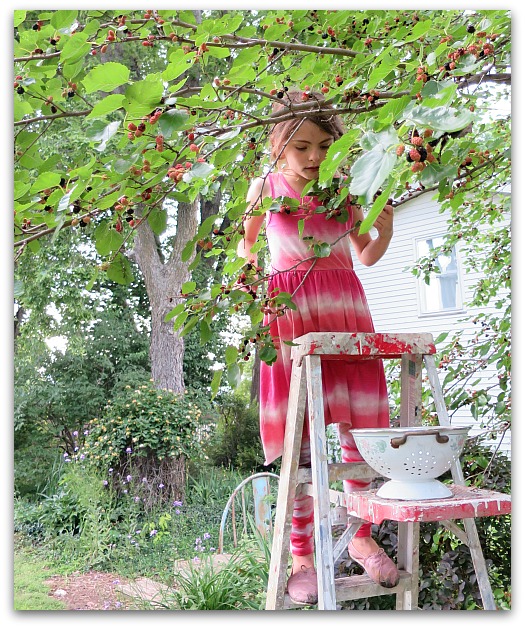
It's mulberry season here at the cottage.  Which means that Sugarwings spends hours up on a ladder snacking away, and filling bowls up, just to spill onto the ground and start over again.

With dozens upon dozens of mulberry trees (which is how the Fairy Berry Trail got its name), there are plenty to go around, so if a few spill, no one worries about it. The chickens are actually pretty happy about that when it happens.

Chien 009

Dewdrop has a ladder of her own, but prefers being down on the ground. 

Chien 011

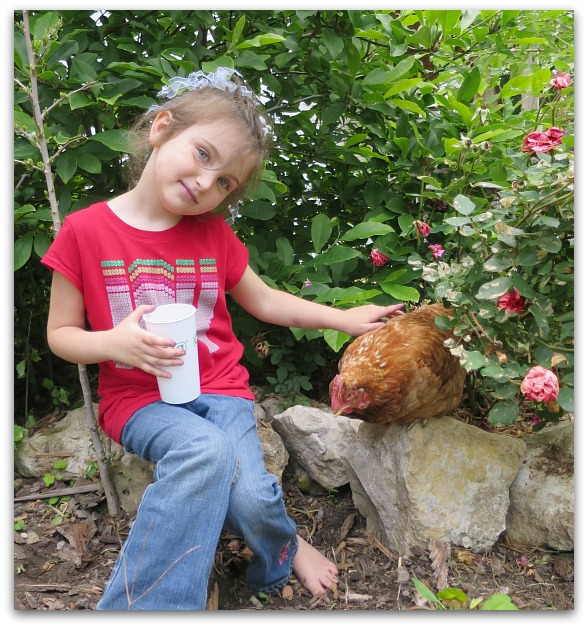
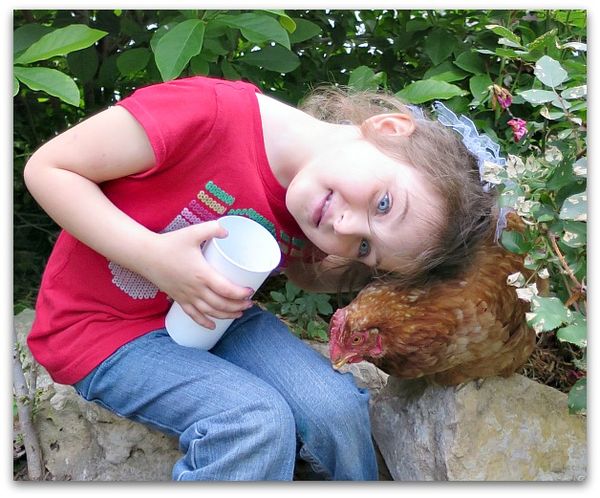
Especially if there is anything soft around to cuddle.  I'm always surprised at just how silky, soft a hen is. they are so nice to pet. Sadly, only a few of our ladies are friendly. The dozen we bought this spring still act like we are only entering the coop to murder them, not to feed, pet, or gather eggs. But there are still some older gals around who don't lay eggs anymore, but who are very sweet, little pets.

Chien 016

We had a nice family evening, watching Sugarwings drag her ladder from one tree to the next and eat her weight in berries. I popped her into the bath before dinner, and as soon as she was done eating her grilled shrimp, she was back outside and climbing up the steps again, this time way, out in the woods- with no bug spray on.  I had to toss her right back in the tub again before she left with her day, so she wouldn't wake up in the middle of the night, itching and scratching from chigger bites. (if you use soap after being out in the woods, you wash away those pesky things)

Mulberr 021

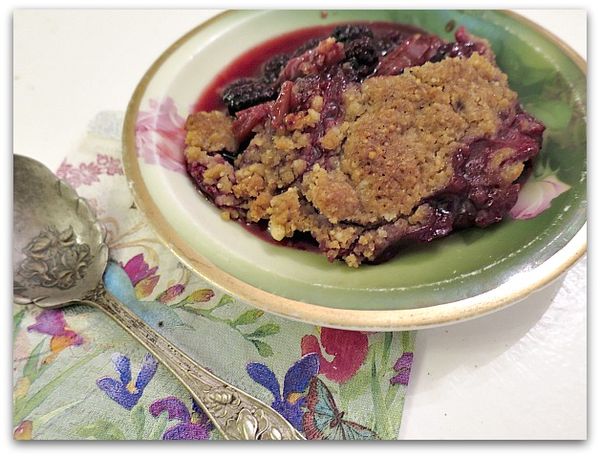
We managed to get one bowl filled with enough mulberries (thanks to her daddy) to make a cobbler.  I used about 6 stalks of rhubarb and a pint of strawberries in it too, since mulberries are a little bit bland.  

This was far from bland, and I had a big dish full for breakfast this morning.  Now, that is the way to start a day.  I'd love to make more for my Birdsong peeps who are arriving soon, but I have a feeling, time is too short. I need to bake bread, cupcakes, and a few other treats yet.  And this cobbler isn't going to last long enough to feed it to my guests this weekend, although I do know someone who is up to the task of picking enough to make another one.

Chien 017

Around the kitchen

antiques/junking, cottage

Dishes 022

I've seriously been hoping to spiff up the kitchen before Birdsong…. I've wanted to go pure white.

Walls and cabinets both.

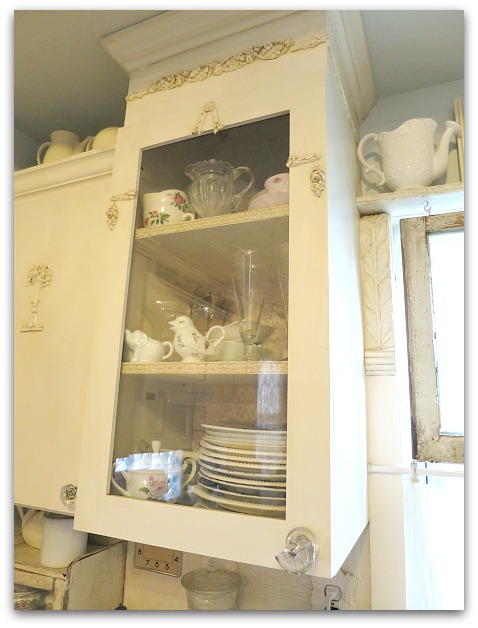
Now the cabinets are ivory and glazed with a creamy coffee color, and the walls are tan.  Not only do I want a new look, I kind of need one, to take care of some repairs.

Dishes 019

Do you see the problem here?

Dishes 020

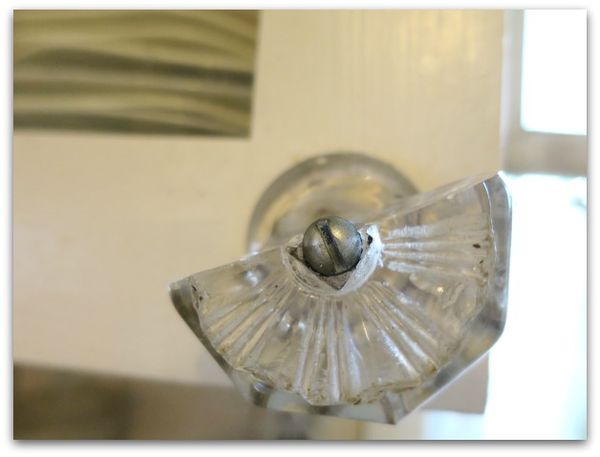
This knob snapped in half (I will have to epoxy it, or find another before someone cuts a hand off), and the trim on the door fell off too.

Dishes 021

I'm afraid that I'll have to repaint to repair this mess. I'll have to take the trim off both matching cabinets, sand down the area where it was glued on, and repaint.  I can't just patch this. I'll have to find some other trim or do without. There was a minimum of a $200 order where I got this trim the first time. I certainly don't need to buy that much again, since I am no longer in the furniture redoing biz like I was at the time.  It was good to have plenty to spruce up the new cabinets and a ton left over to use on odd bits of furniture I was refurbishing back then.

Dishes 010

When there is no time for a big redecorating project (no matter how badly it is needed) sometimes a tiny change helps.  Like some new plates.  Beth asked me to help her with a mini redo at her antique booth, and I always say yes, because I get first pick of what she brought in to sell  she is a good friend and I enjoy doing it with her.

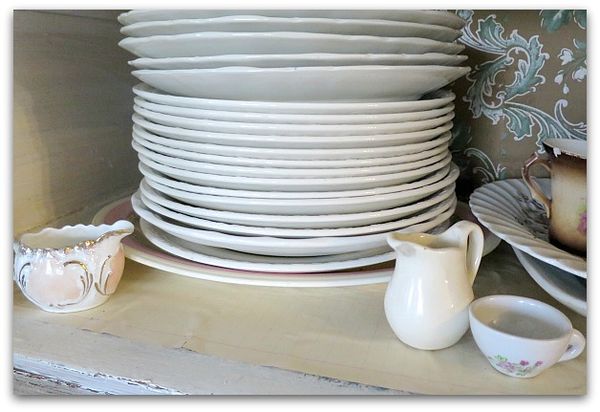
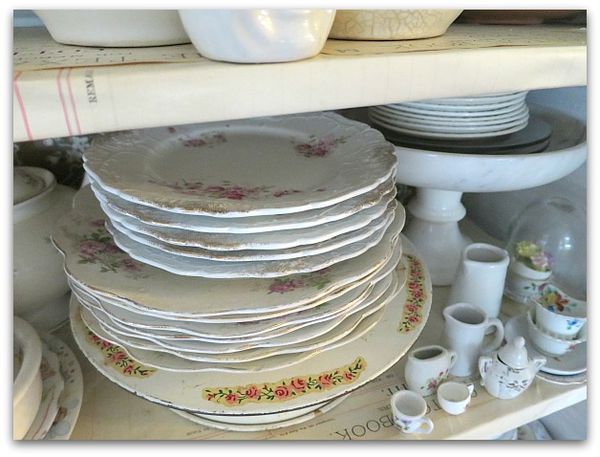
She had these great, old dishes for only $3 each, plus gave me a discount.  

Dishes 011

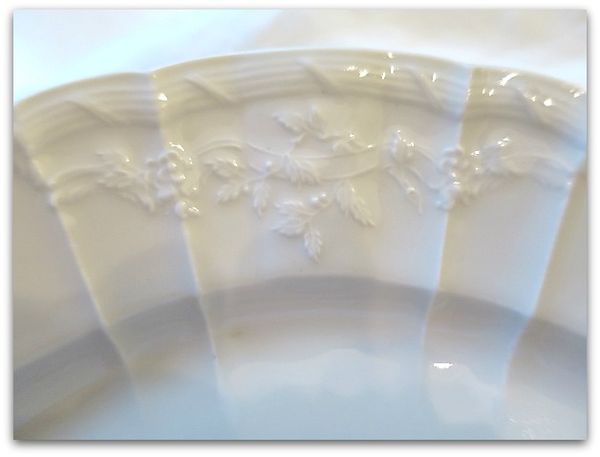
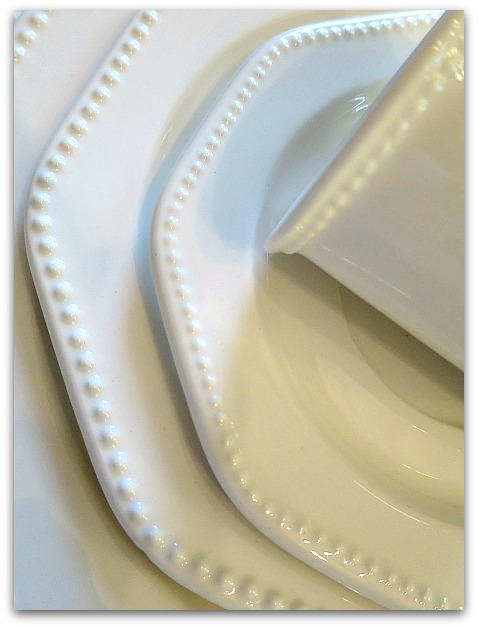
White dishes are my fave, and these will go well with my other good dishes, now I have plenty for a big party. (I like a mix-match look for parties)

Dishes 017

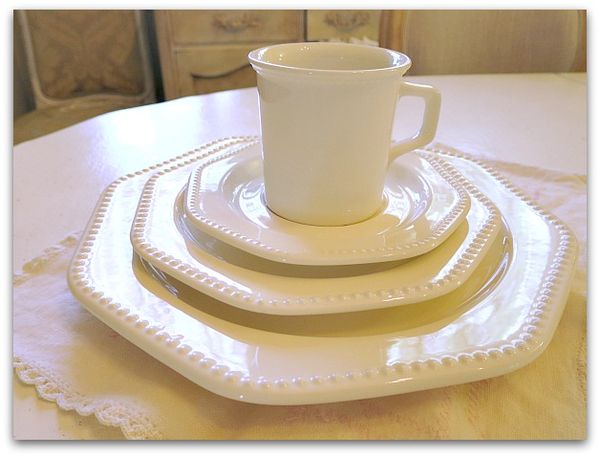
I got these every day dishes from her too.  I'd been admiring the polka dot trim, on white plates, that I'd been seeing everywhere.  I had just about decided to purchase a set from the dollar store, because they looked every bit as nice as the ones from Walmart or World Market, and were a fraction of the cost, even thought W.Mkt is not an expensive store, it is hard to beat $1 each.   And I won't even try to compare that to the price at Pottery Barn for the look!

Dishes 018

Til Beth emailed me that she'd found a boxful of these vintagey ones at an estate sale at $8 for 6 full place settings.  I was thrilled to get them.

Dishes 013

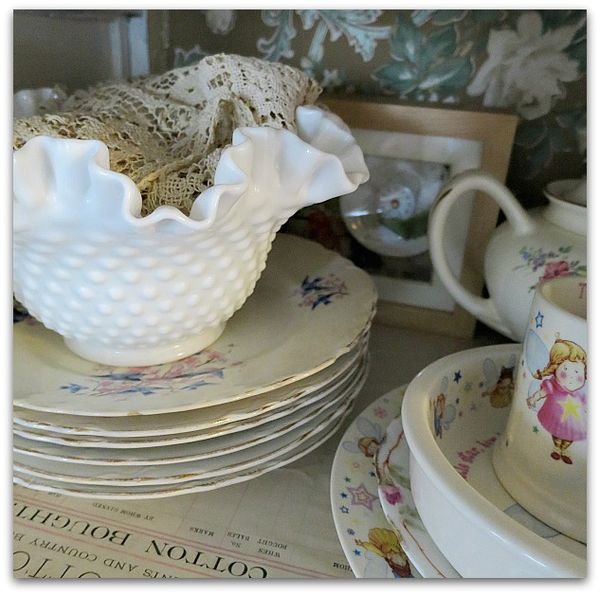
I do have a thing for dishes…

Dishes 012

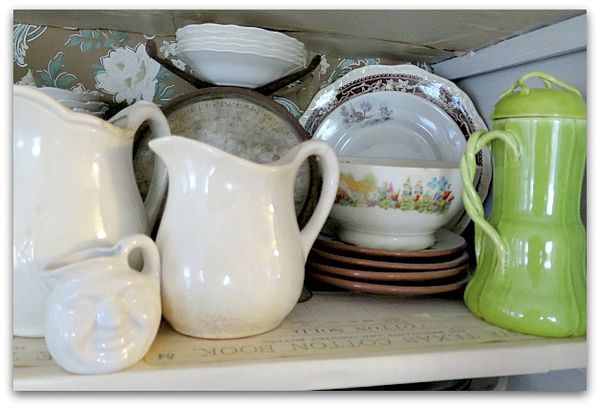
And since we entertain regularly, I get a chance to use them all.  There isn't a full set of any one thing, but like I said, mix-match is my favorite anyway.

Dishes 016

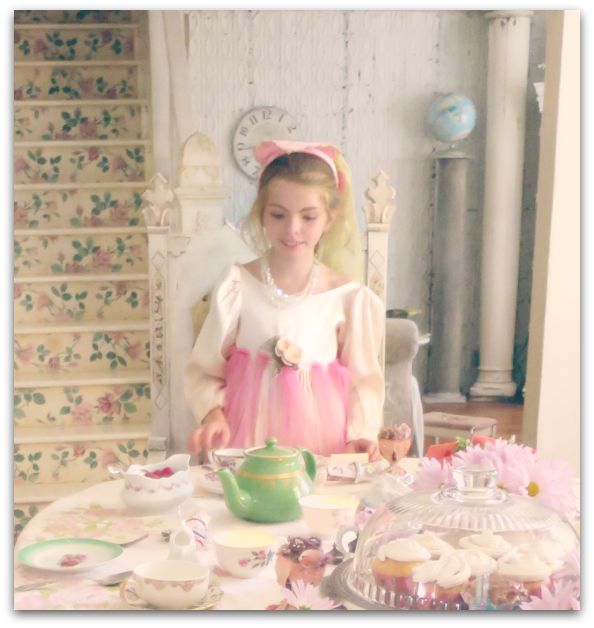
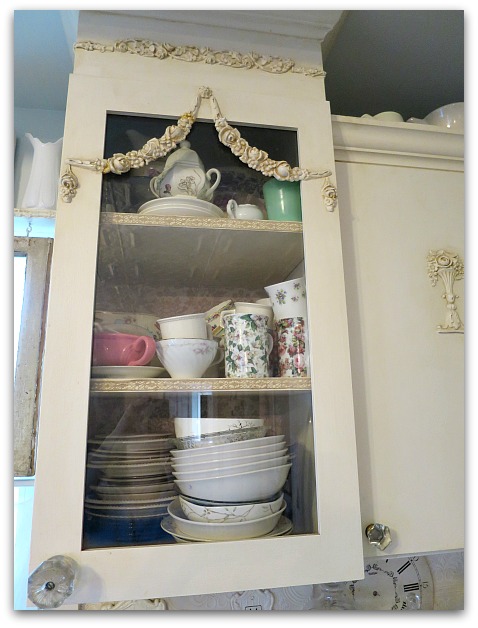
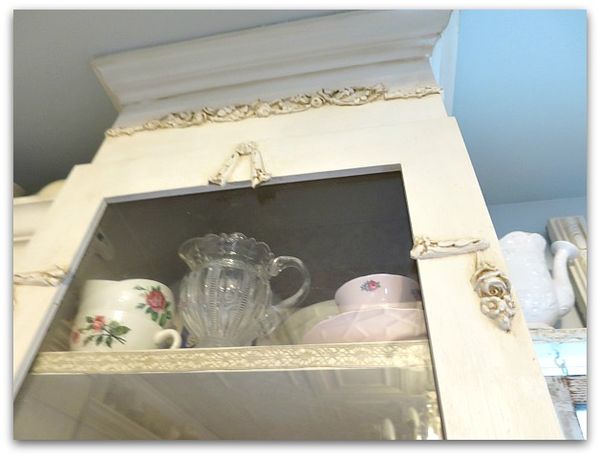
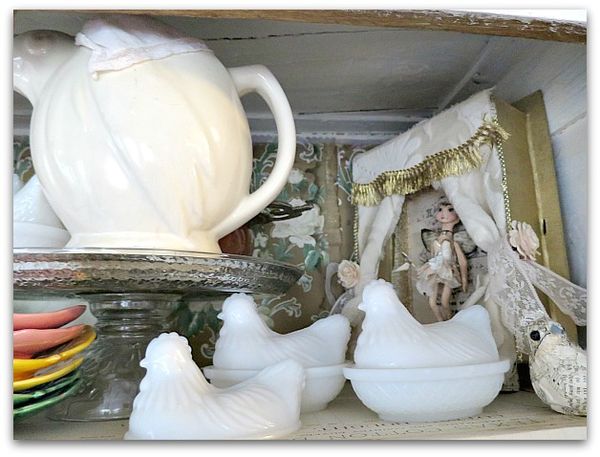
Everything in this cabinet gets used at some time or another. That green tea pot? It reminds me of a fairy piece and is ideal for fairy tea parties.

Dishes 014

A ramp for the cat

cottage, family, kitties

Dishes 003

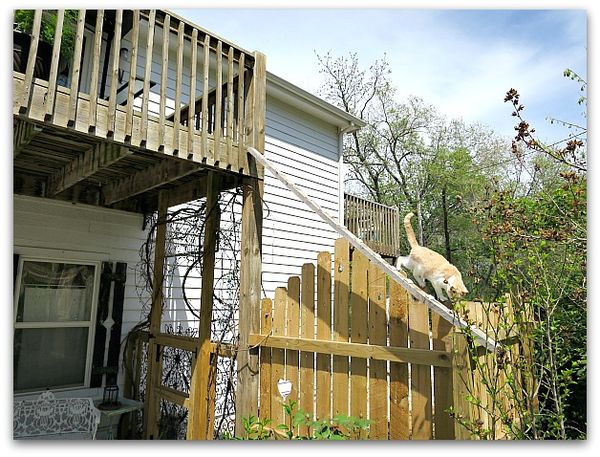
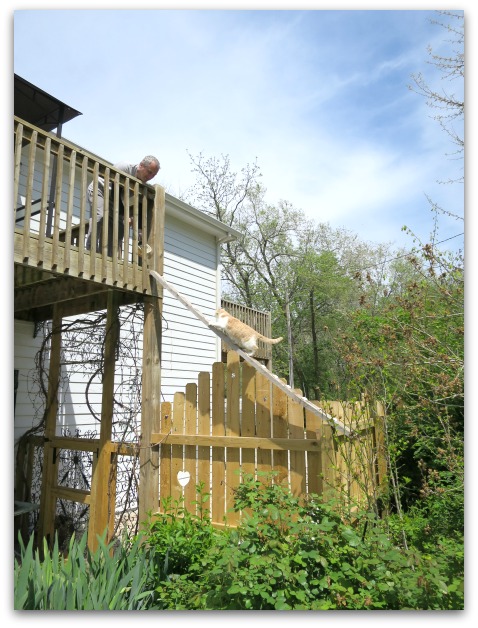
We do love our animals around here.  And my husband is one to spoil them a little.  He is very fond of Pumpkin, and leaves his office door open for her to visit when he is upstairs working. But being the soft hearted guy that he is, he worried about her climbing the vines to get up on the deck.

Dishes 001

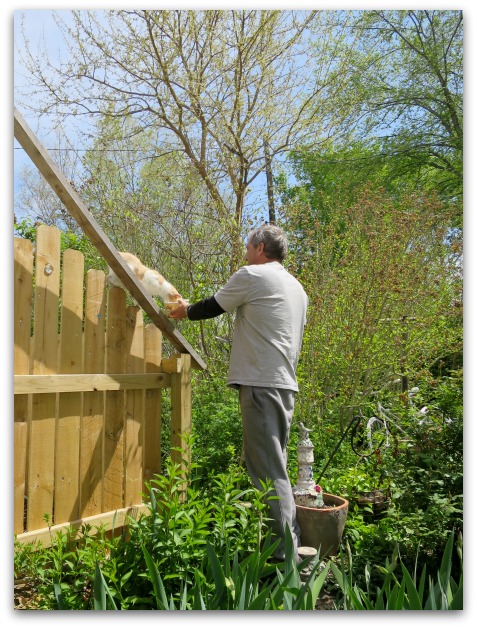
So, he built her a ramp, complete with stair steps for good footing while climbing.

Then, he taught her to use it by treating her with some melted ice cream and running upstairs to call her up, then running back down to get her to walk down the ramp to get another lick of ice cream.

Dishes 006

He even removed one of the slats on the railing for her to get through easier. (It is still too narrow for a small child to squeeze through).

She is pretty happy with the set up. I think we might get a pet door that fits into his sliding glass door so she can pop in as she pleases once summer comes and it gets too hot and buggy around here to leave the door open.

11150728_10153234364959477_1872680839249076736_n

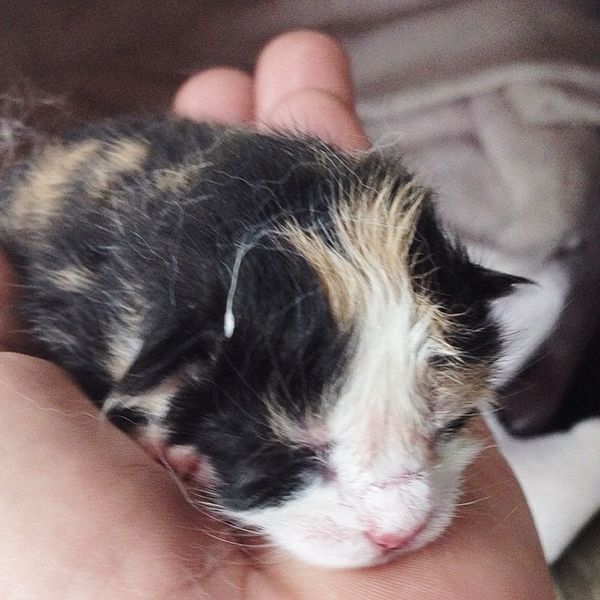
She loves her ramp and private patio so much, she had her kittens up there! 5 little furry balls of cuteness.

Earth Day

cottage, flowers, Sugarwings

Earthday 012

Around here, school gets out at 1:30 on Wednesdays.  And if I'm lucky, that is my day to play hooky from work in the afternoon and pick Sugarwings up.  Since this Wednesday was Earth Day, we decided to plant something in honor of our planet.  And what better to plant than some poppies along the Yellow Brick Road that we had been fixing up?

Earthday 009

Sugarwings was excited to see the Lily of the Valley crowding its way out of the ground, she thought it looked like mini cornstalks and decided that when we got our Scarecrow made, it should go right there in the midst of the lilies. 

She also had some ideas about getting yard art gnomes to use as munchkins, which sounds do-able.  But when she started in on some sort of idea about big emerald gates, I told her it might be out of our reach.   I was answered with, "You are an artist, you can make it work, just think about it."

hmmmmm……

Earthday 018

This tutu was $2 at a garage sale recently, it is actually a dance costume for a much older girl, but with a few safety pins, it made a lovely Glenda gown for my little sprite.

10003191_10153201135154477_2395072727545240215_n

I think this was the first time I'd ever seen her give up the role of Dorothy to play another part when she is imagining Oz.  It didn't last long, though. Soon, the story became that Glenda (or Ga-linda if you are a Wicked fan) gave Dorothy a magical gown, and Sugarwings was back playing the starring role, just not in blue gingham.

Earthday 017

A Daphne’s Diary Surprise

collections, cottage, magazine pictures or articles

Daphne 001

A while back, Fifi and  Mark  styled and photographed my home. The pictures were in Romantic Country and Country Sampler Home Tours.   When you sign a release, you have no ownership of the pictures and it is a good thing for the photography team to be able to market them and use them as much as possible. It's also flattering when the pictures are popular and resold.

But…. it is nice to know when they are going to be published. I know, I know, I know, that once the team leaves my home, I am out of the loop. That is just how it is.  They are on to the next venue and not looking back.  That is the industry.

I've done dozens of articles, sometimes as writer or stylist, this time just as the home owner.In the past, I've seen a picture of my bedroom from one article show up years later in another article featuring 5 or 6 different bedrooms. Same thing with my bathroom, or other pictures here and there.

It was always a sweet,little surprise.  

Daphne 006

But I've never had a whole entire article published in a magazine without knowing about it before.  This was a huge surprise.

Daphne 009

A friend mentioned to me on FB that she had enjoyed seeing the article. I was flummoxed. What article?

Daphne 011

Now, I'm not saying that I'm pissed or that anybody did anything wrong, because no one did. This is just how the publishing industry works.

BUT… it would have been nice to get a heads up.

When you open your home to a photo shoot, it can be a TON of work to get ready. And when I spend time on getting my home ready, I neglect the rest of my work. So, it not only doesn't pay, it takes away from time I could be working and earning some moola.

I think of it as a lark, though, and do enjoy the experience.  And I adore my home, it is special to me. So, it is a delight to see it in print.

That is why, it would be nice to know if  and when it is printed.  Seeing the house in print is the only perk you get from all the prep and hard work, and from the chaos and mess of the day.  After photos are taken, the house looks like it has been through hell and back, from all of the moving, shifting, and redoing that happens all day long. 

Daphne 005

From looking at the article, I'd say that the writer took a glance at one of the other articles the pictures had been used in.  And what they didn't get from that, they just made up.  Like saying the ceiling was plaster, not pressed tin.  Or saying that I recovered a sofa with worn upholstery. Nope, the sofa was in great shape, I just covered pillows in vintage fabric to change it. 

Not that these details really matter at all to anyone, nothing earth shattering or rude or unpleasant. 

Just incorrect. 

Because no one asked me. They just wrote what they wanted to.

Daphne 004


Although, if I really had a piece of Chinese pottery, I'd be hiding it in the back of the closet, because I really dislike that stuff.

Daphne 003

And while my son did build my cabinets, they are far from plain, I added ornate embellishments to all of the cabinet doors. 

It was very kind of Daphne to compliment me on my painting, but the piece of furniture that she added to the page was not anything I own, painted, or have ever seen before.

Daphne 002

And I didn't exactly horde a special roll of wallpaper for years, I am an avid (obsessed) vintage wallpaper collector and can open a cabinet in the studio to pick up a roll anytime I need one.   

So, attributing the statement that I held onto it, knowing it would come in handy someday, is pure fabrication.

Daphne 007

As is saying "that Karla had so much fun doing it."

Not that it wasn't fun to redo the old farm house. Well, some of it was fun, I guess.  But I didn't tell her that it was so much fun. She made that up.

Daphne 008

Maybe some of the meaning was lost in translation.  It is a magazine from the Netherlands.  And it is a very, very pretty issue. It is an honor to be a part of it.

So to recap, here is what I'm trying to say:

  • I'm honored, it is a lovely article
  • I wish I'd known about it 
  • I wish someone had interviewed me
  • No one did anything wrong, or violated copyrights, I'm not angry, and hopefully I don't sound bitchy about it
  • Thanks to Diane for letting me know I was in this, or I might never have seen it
  • I hate Chinese pottery and do not use it along with jugs when entertaining
  • I didn't paint that green piece of furniture

 ps- If you're interested in seeing a few of the other publications I've been in, I have some listed here. I recently updated it, this page had been neglected for quite a while.  

Updates along the Yellow Brick Road

cottage, Dew Drop, flowers

Yardwork 012

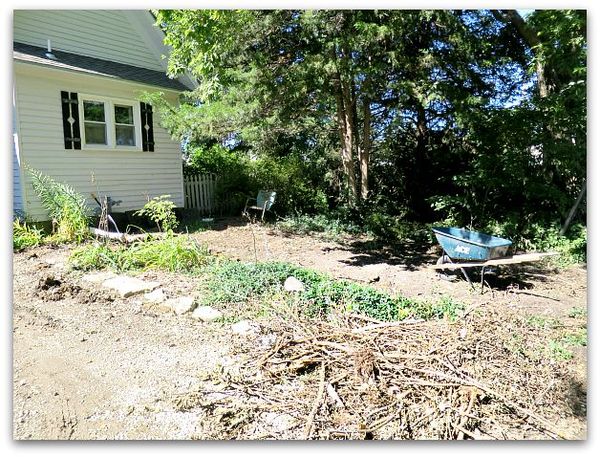
You know what I love most about Spring? That the views change daily.  Just a bit ago, I posted about repainting the yellow brick road, and the flower bed was dull and gray.   Spring popped out some colors and brightened the place up for us in what seemed like overnight.  

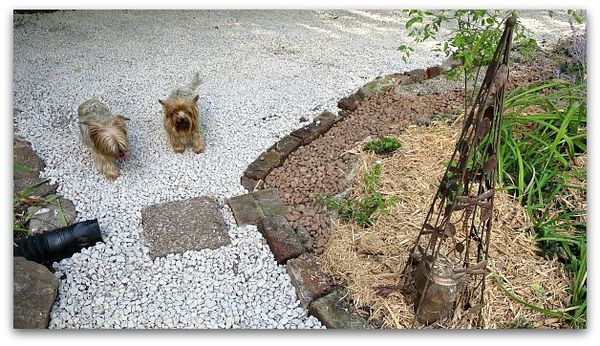
I also was inspired by my uninspiring, dull photos to do a bit more work in that neglected bed. First of all, by cleaning out the old dead things, like some spireas that were hanging on by a leaf or two, and some overgrown brush that had seen better days.  Then, I straightened up the rock border, and added mulch. Dark brown to the raised part of the bed, and regular cyprus to the main part.  

Yardwork 002

After all of that, I still wasn't happy, so made a run to the garden center, and came home with 2 dwarf fruit trees, 2 rose bushes, and a reblooming azalea.  I also bought a hydrangea at the grocery store floral department that was on sale for 99 cents because it was done blooming.

I've not had a lot of luck with azaleas in the past, but I have my fingers crossed for this one. And it doesn't really show in the photo, but I"ve got it centered in a shady spot while the roses and fruits are in  brighter spots in the bed.

Yardwork 003

We already have lots of fruit and nut trees in the food forest, but seriously, can you have enough?  We added a couple more to the courtyard behind the house too.  Home Depot had the small trees for $29.  Heck, I think I spend that much a week on fresh fruit already. How wonderful it will be when I can just take a walk in the garden and pick my own fruit instead of having to go shopping for it.

Now, why didn't I do this 20 years ago??? Well, at least it is done now.  It's never too late.  

Yardwork 001

We spend a lot of time sitting on the studio's porch and reading, or watching the grand fairies play, so the yellow brick road bed is always right in view. Plus it is one of the first things a visitor sees as they pull into the drive. For some reason, it has always been slightly (some years mostly) neglected.  

Yardwork 019

Not this year!  I might even plant some annuals out there, I rarely have, because well, as I said, it hasn't been well cared for.  But since I have new trees that will need water, I'll be tending the area better and can keep some flowers watered too.  

The shrubs on the outside border of the bed probably need to go. I had hoped they would grow into a hedge to block the view of the highway, but they never get any bigger and just turn brown.  Any ideas on what I can plant in their place?  We live right on I70 and the turnpike could use a good blocking!

Yardwork 010

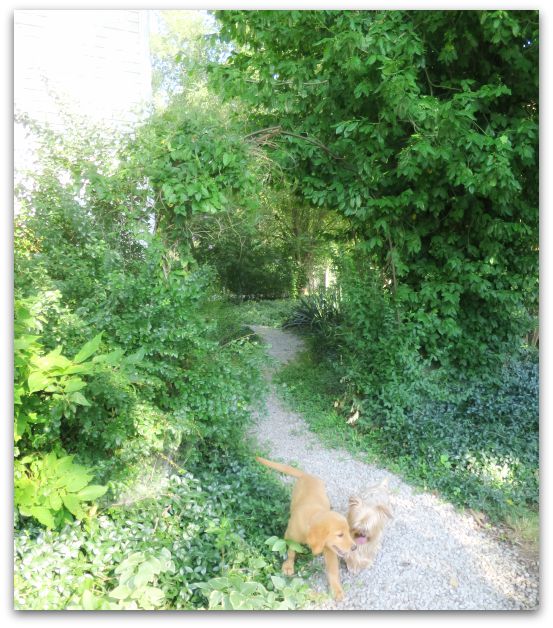
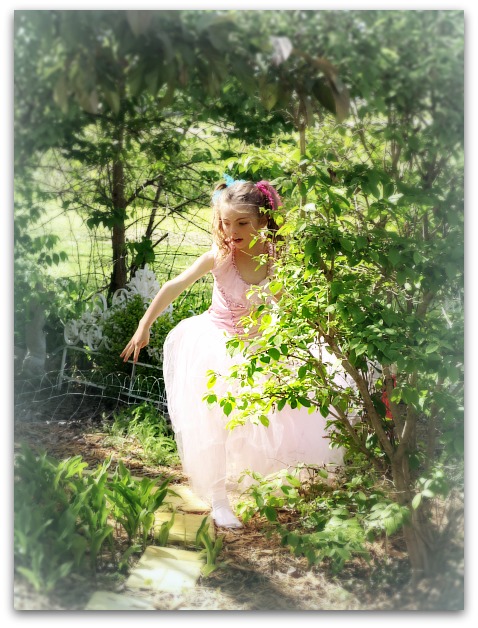
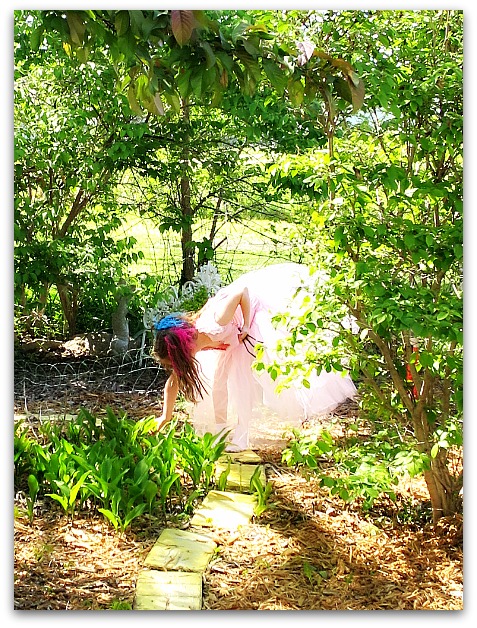
My very favorite thing about this flower bed is how it attracts fairies.  This little, curving path is a magnet for sprites, whether they are pretending to be Dorothy Gale, or just skipping along for the fun of it.  


Some of our Cottage Critters

cottage, dogs, Dorkies (Yorkshire Terrriers), kitties

Photo (3)

These shrubs were planted in front of our farm house decades ago, and bloom abundantly in the spring. 

11146280_10153162436784477_6558499037662352418_n

The rest of the year, they are just overgrown bushes that are a bit overwhelming. I used to cut them back to waist high every fall, but they grew so fast, it seemed like a sisyphean task, and I decided that I should just grow to enjoy them as they wanted to be- giant and shaggy! 


Easter15 017

These two kitties are soul mates, Pumpkin and Joy Joy are the best of friends.  While their cuddling looks adorable from inside the window, I'm not thrilled about their choice of snuggle spots.

Easter15 018

And neither is this newly planted lavender in the window box. Their habit of using this box as a perch might not be an easy one to break.

Unless I plant cactus? Nah, probably not a good idea…

Sometimes, you just have to let it go and give in to nature.  Giant, overgrown shrubs might be a bit much, but the blooms they share in the spring make them worth it. And while I'm not pleased about the kitties taking over the planter box, it sure is funny to see them up there taunting the short, little dogs and it is cute as a bug to watch them curl up together and purr.

Time to replant the lavender, I guess.

Scroll to Top