cottage

Rosy room redos

antiques/junking, cottage, Hand Painted Furniture, hand painted signs

Thro 004
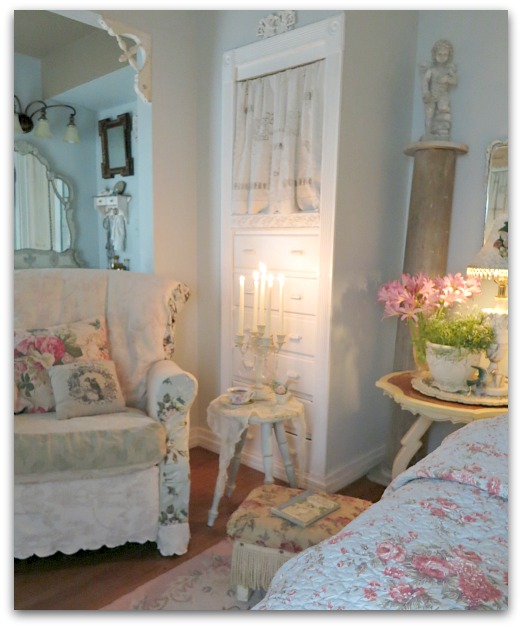
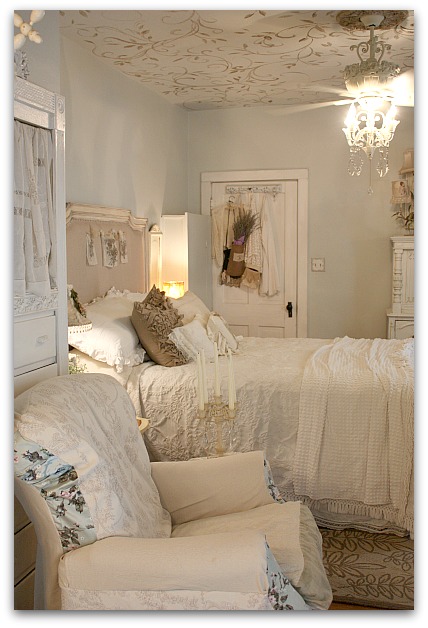
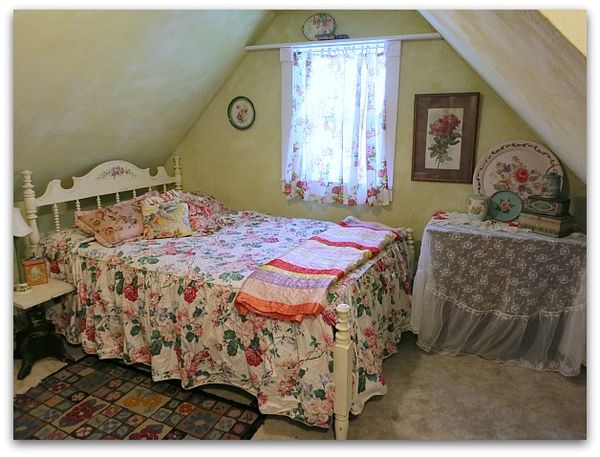
While I was taking time off, hanging with the grand fairies and on my home improvement kick, I spiffed up the guest rooms a little.

Cottage 029

 
Not much, just some switching of linens for this room, and bringing in a bedside table. (I really, really hate the carpet, but the room is used a couple times a year, it's not worth ripping it out and putting in wood or laminate, like I'd prefer)


Cottage 061

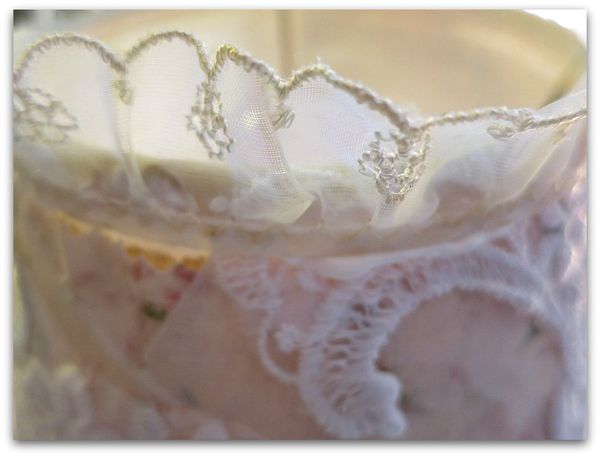
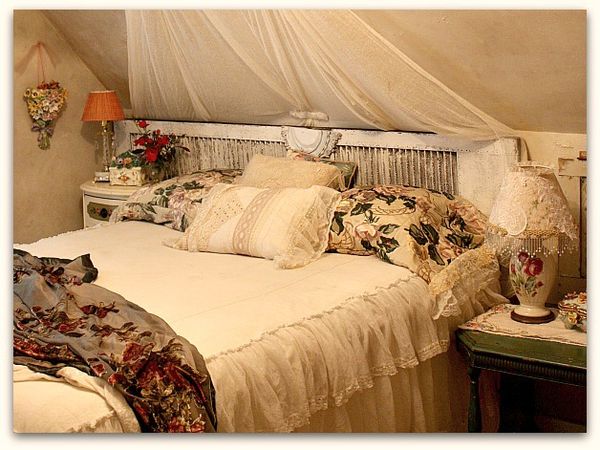
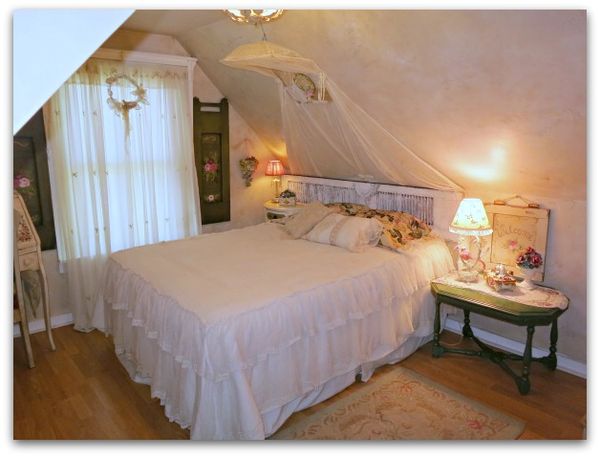
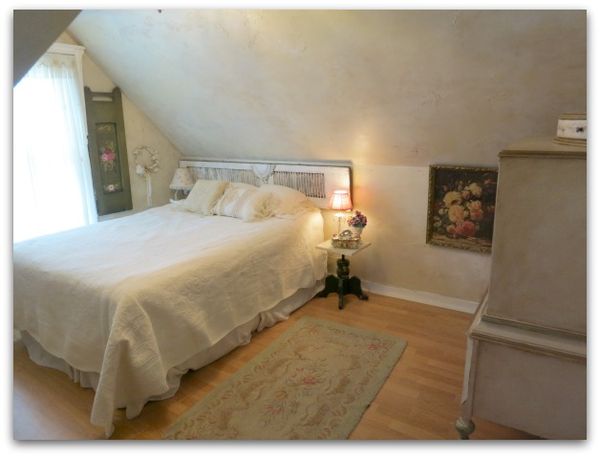
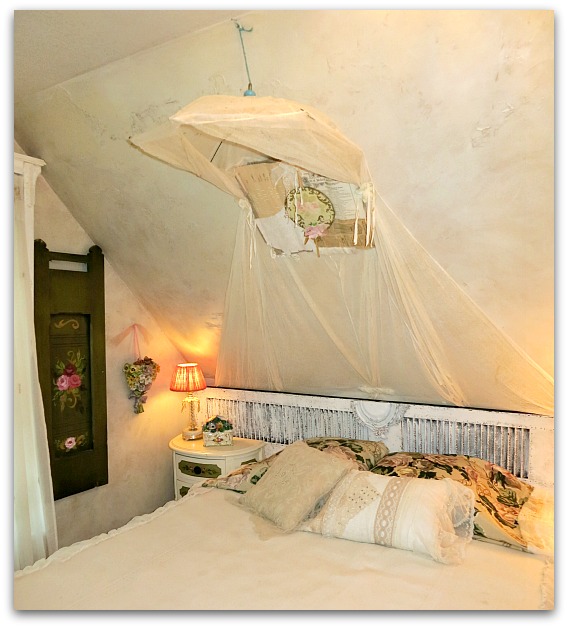
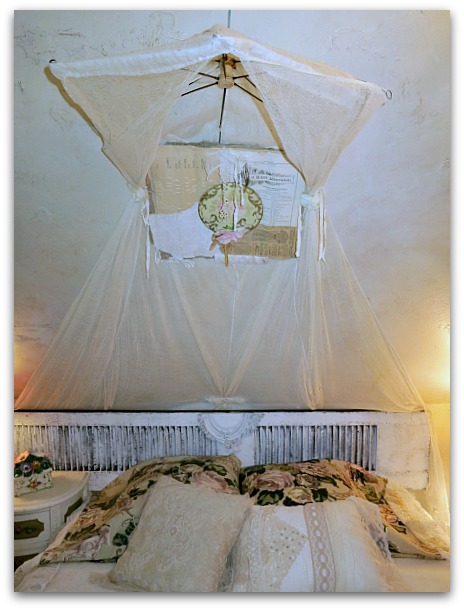
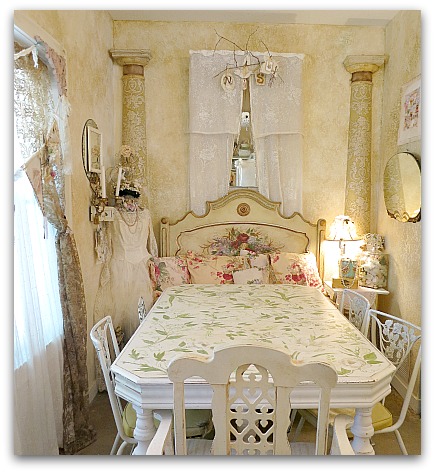
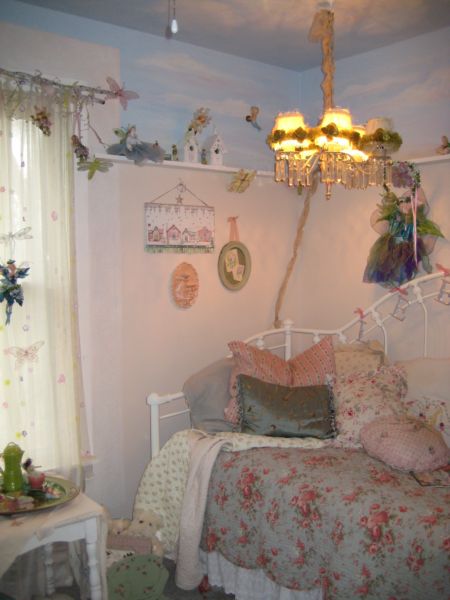
The second attic guest room got more of an overhaul.   I hung a cool, old, mosquito net that Lisa had given me, and added a gorgeous net and lace bedspread from her too.


Home 2013 july 042

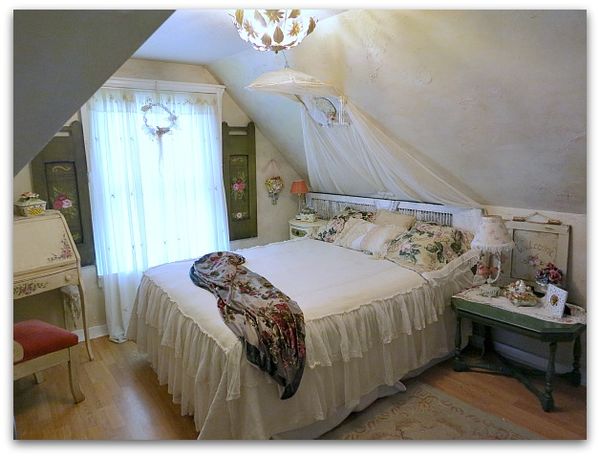
Here is a before. We don't use the room much, and around here, the guest rooms seem to just get leftover bits and pieces put in them.  It was okay, but a little blah.

The dark green shutters on each side of the window needed balance and I happened to have a $7, dark green table from a garage sale wasting away, and thought that helped a little when I brought it in. (both are things I thought I'd paint white and never did, but I'm liking the contrast with the rest of the room)


Cottage 055

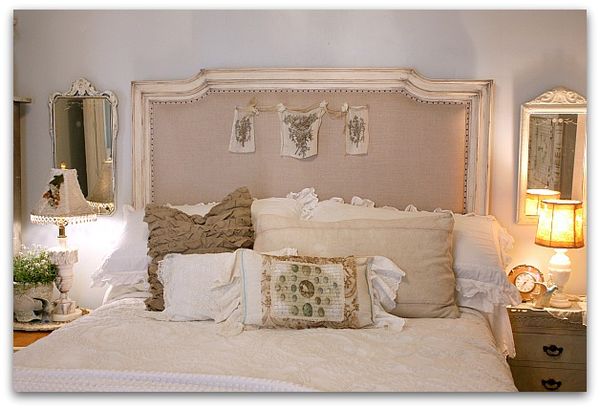
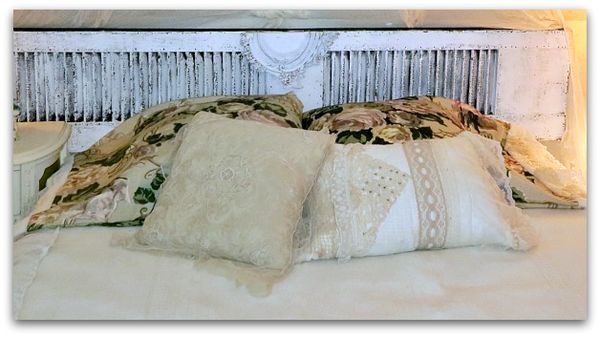
But it made the bed look washed out, so I added some pillow cases I made out of some green and rose curtains from the 40s.


Cottage 059

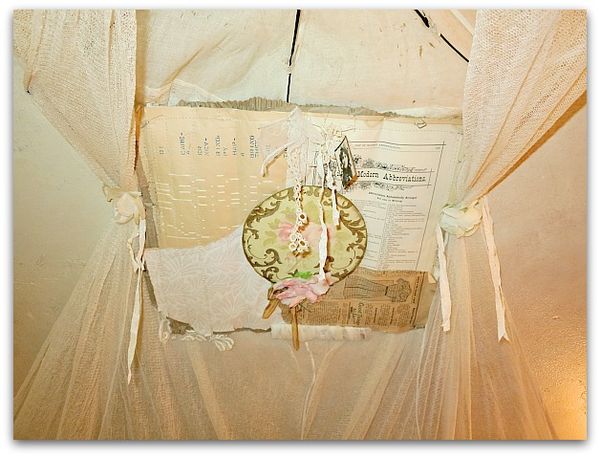
I had a heck of a time getting the netting to hang right, so it wasn't drooping down too much.  I decided to use a beautiful hand made bit of wrapping paper from Lori Oles as an anchor to hold it on the wall.  It worked, but was too light colored, so I pinned a round piece of floral wallpaper in the center of it.


Cottage 056

Then, I broke a ruler in half, wrapped it in torn strips of ivory cloth.  I gathered the netting, and nailed the fabric wrapped ruler over it in two places to hold the pleats in place.
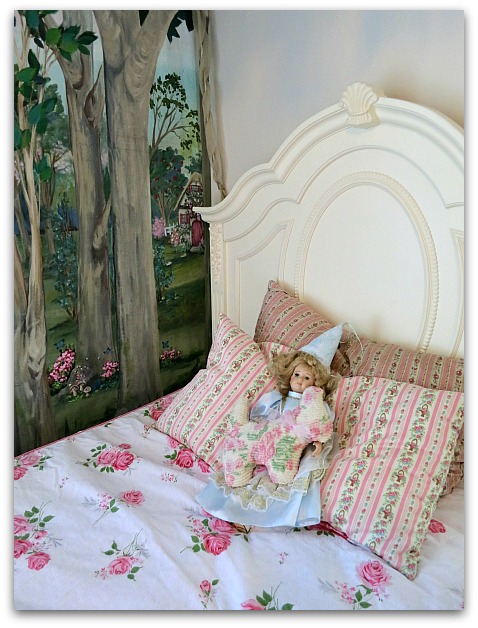
The room is hard to photograph since it is so small and has those angled roof lines. The canopy thingamajig looks better in person than it does in the pictures. The bed is kind of cozy looking this way.


Cottage 065

I stapled a millinery flower on each side of the ephemera piece, and trimmed Lori's ribbons to dangle a little bit, but not too far.


Cottage 057

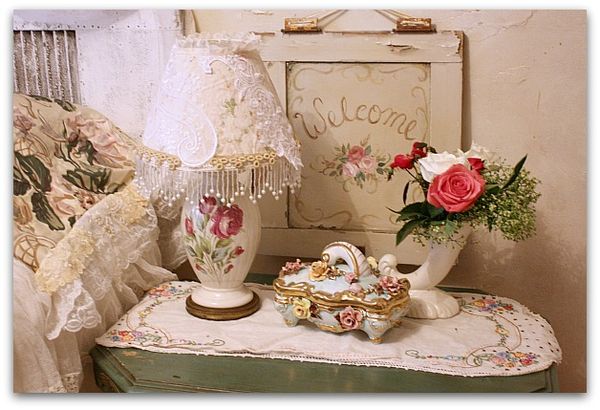
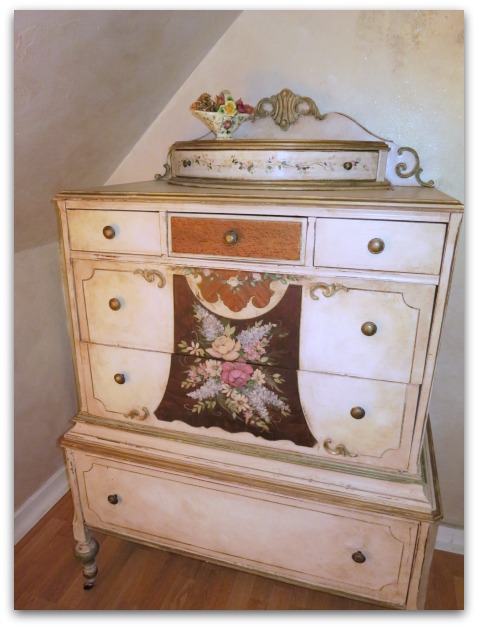
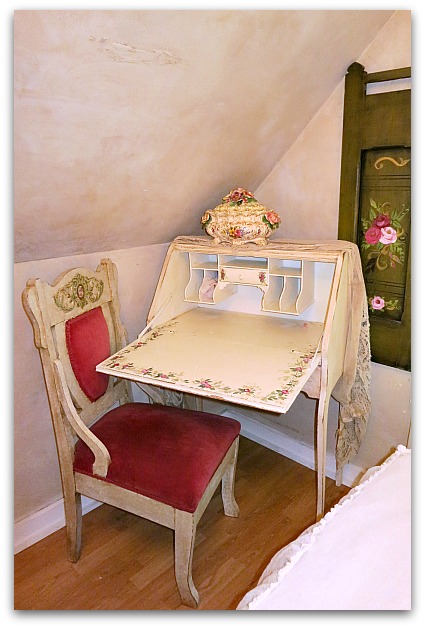
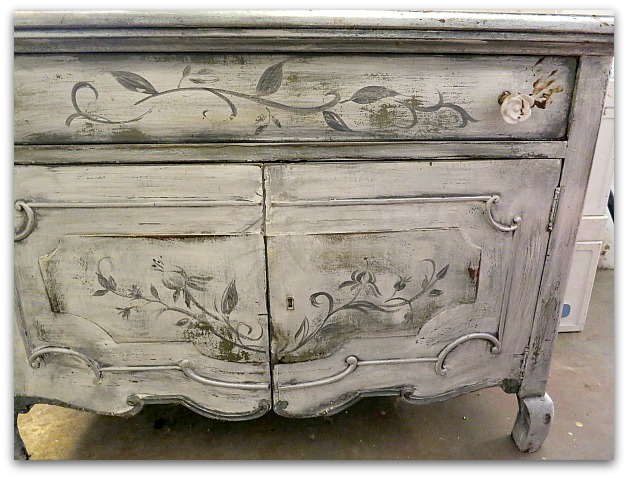
This room is full of hand painted rose pieces too.  I used to have an antique biz and I'd paint furniture.  All this is leftovers from that.


Cottage 064

Sometimes I think my house only has things that no one else wanted it in. Either stuff I never sold, or things I bought dirt cheap second hand because another person wanted it gone. (except for the lovely gifts from Lori and Lisa, this room is all cast offs)

These shutters are actually a custom order that was never picked up, which is why they were dark green in the first place.  And that inspired the rest of the redo. And it wasn't even something I'd chosen to do for myself or the room. 


A fairy play room part 3, a hand painted mermaid bed, with no sanding

cottage, fairies, Hand painted, Hand Painted Furniture, how to's

Cottage 082
As I was telling you last time, we did a few changes in the fairy grand daughters' room.  And of course, one change leads to another.  A fixed up area makes its surrounding areas look left out and forgotten.

Sugarwings loved that we were redoing her room, but as she looked around, she said, it would be nice to have a pink bed.  And pink curtains.

Well, I think I have some sheer pink curtains packed aways somewhere, I'll need to dig those out. But for now, I've been redoing her bed.


Mermaid bed 001

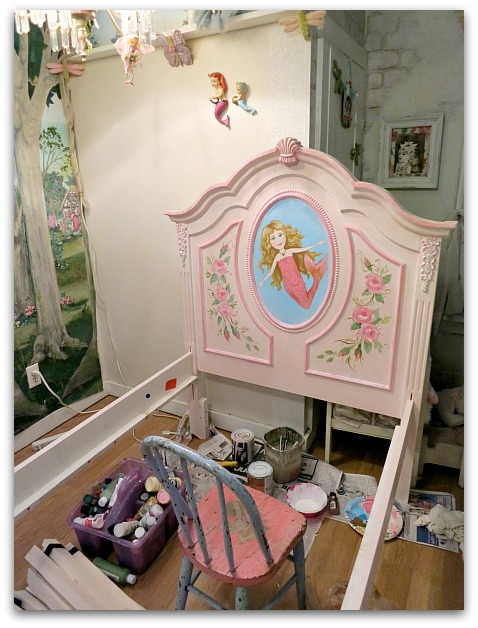
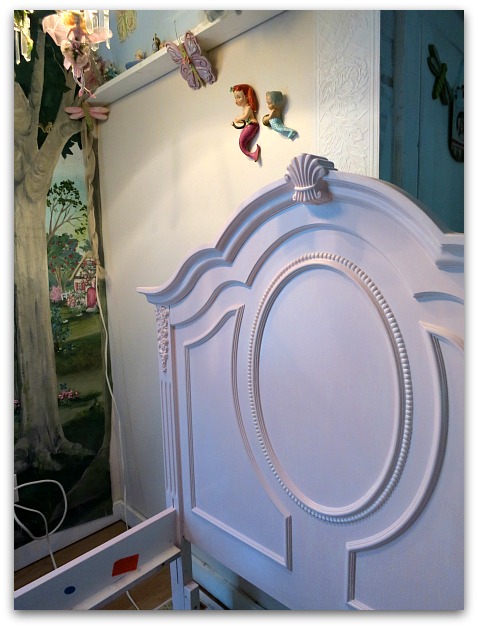
Very few things in my home are brand new.  But sometimes when you need something, you need it now, and don't have a few months to find the perfect vintage piece. So, we bought this bed for our little fairy when she outgrew her tiny bed, and had declared herself too big to sleep there anymore.

Little did I know, she was just making a play to sleep downstairs on the sofa… and didn't sleep in her new bed for a year after I got it. I guess I could have searched for the perfect vintage piece after all.

Anyway, it was creamy white and was fine, but not to the taste of Sugarwings, who thinks the entire world should be pink and has taught Dewdrop to ask for pink in everything too.

First step, NO sanding. I hate to sand.  I use Glidden Gripper bonding primer under my interior wall paint and never have a problem with peeling. 

There are multiple posts about how I paint furniture, you can get step by step instructions here.

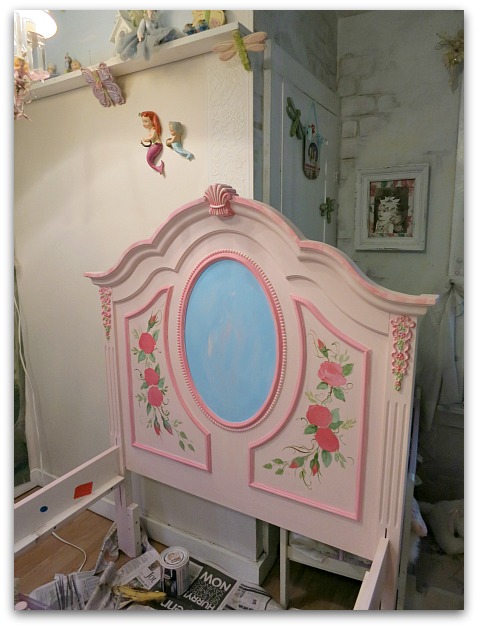
I chose Ballerina Pink from Glidden to paint the whole thing.


Mermaid bed 002

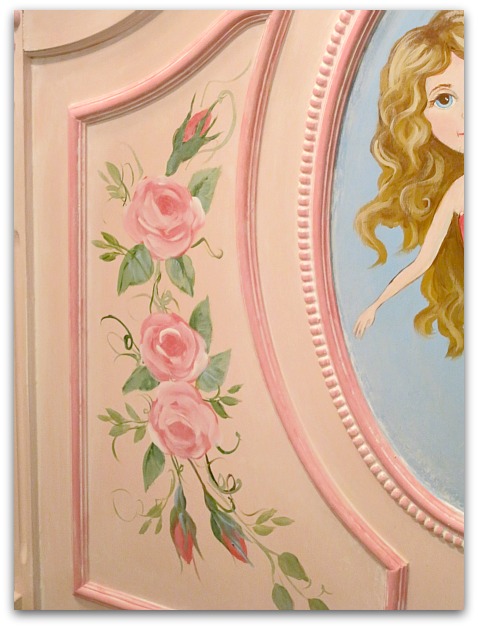
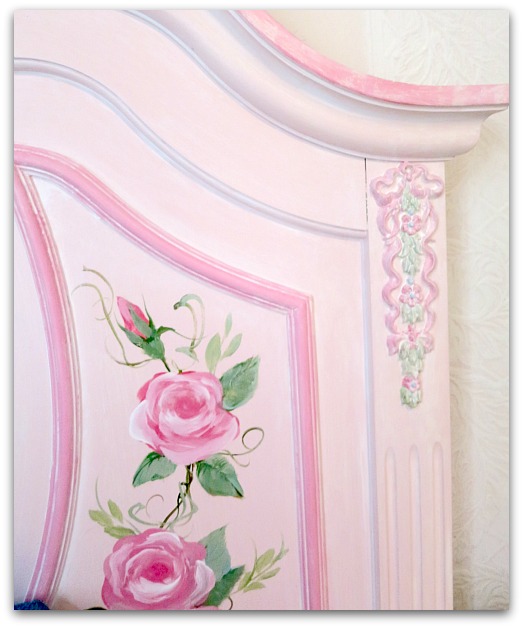
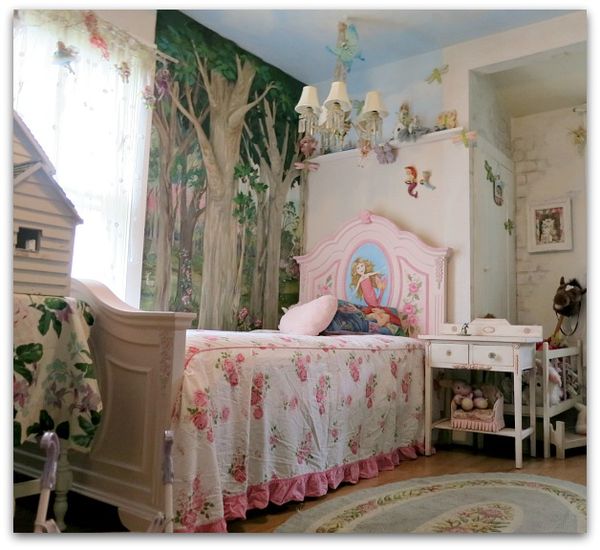
After the base coat, I added a blue background in the oval and color to the trim, plus some roses on the sides.  I was too lazy to paint the foot board, it is just base coat pink, no flowers on it.


Cottage 081

This little girl loves mermaids and has been a huge fan for almost her entire life. If I had it to do over again, her whole room would be an under the sea theme.  But then, Dewdrop would feel left out because she loves fairies and "honies" (My Little Pony, or unicorns).  And I like the fairies that are already there.

Since the room is such a jumble of choppiness and different things going on anyway, I went with mermaids in the woods with the fairies for her.  We'll just call it a fairy tale theme and not worry about the details.


Mermaid bed 003

 I painted a mermaid in the center of the oval.  She adores Ariel, but I went anti-disney.  Plus, I wanted a sweet little girl, not a teen.


Mermaid bed 016

And I know, I should have added a crown, but didn't feel like going back to do it later when I thought of it. At that point, my paint plate had dried out over night and I wasn't up to mixing up the colors again. You can't just slap a crown on, you have to blend it in with the right shadows and make it look like it is actually sitting in her hair. 


Mermaid bed 005

When she (sob!) gets too old for mermaids, it will be easy to paint over this oval and change up the bed for a more grown up look.


Mermaid bed 015

Over everything but the portrait and the flowers, I painted on and wiped off white glaze.  I mixed one cup of clear glaze with one 2oz. bottle of white craft paint.  I made sure I got it down in the cracks and crevices really good, and wiped it off the high points.


Mermaid bed 020

Now, where are those pink curtains at? I'd better go look through the closets, I know they are hiding somewhere.

Mermaid bed 013

A fairy play room part 2

cottage, fairies, Hand painted, Hand Painted Furniture, Snow White

Cottage 086
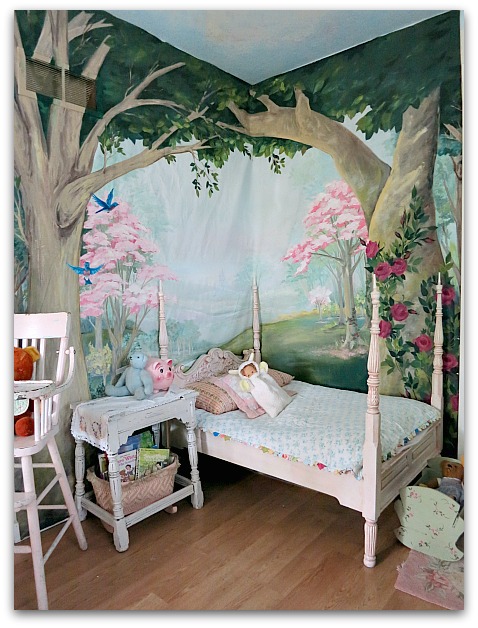
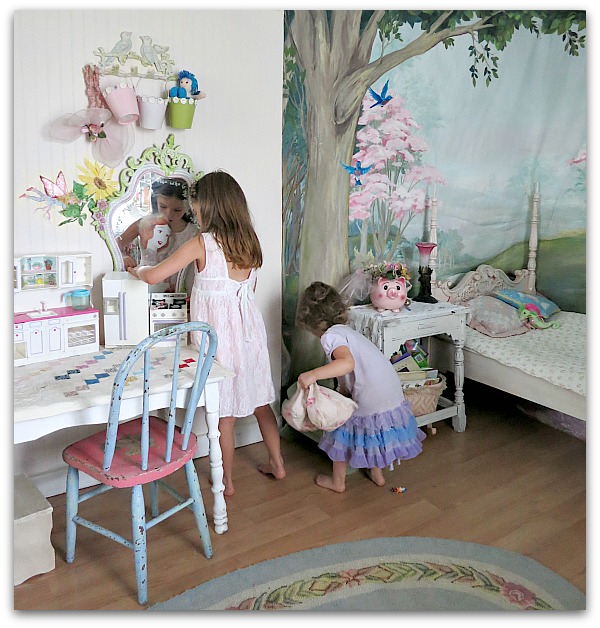
A few weeks ago, I showed you some photos of the little fairies' room after I added part of the canvas mural I'd done for An Enchanted Affaire

After thinking about it, and talking to Sugarwings, we decided that more of the mural needed to go in the room.


Enchanted weekend 031

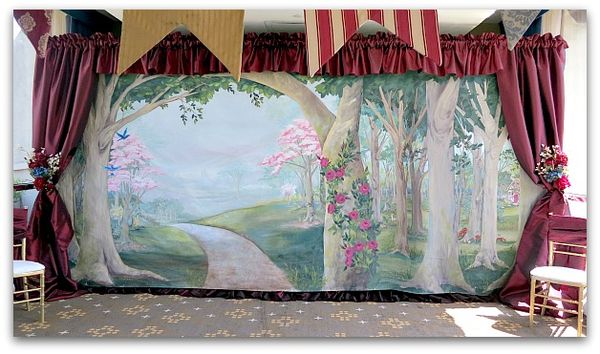
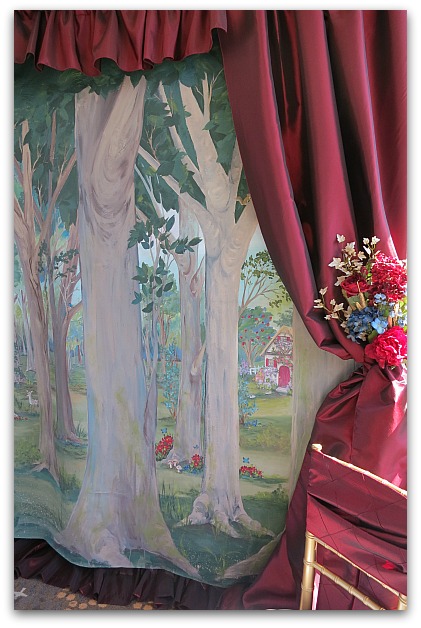
Here is the whole thing, set up at the event.  I'd designed it so that the right side was a darker side of the forest and the main interest was to the left.


Cottage 092

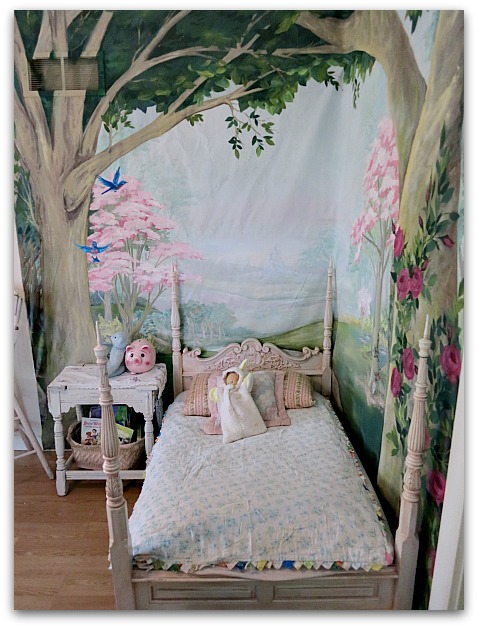
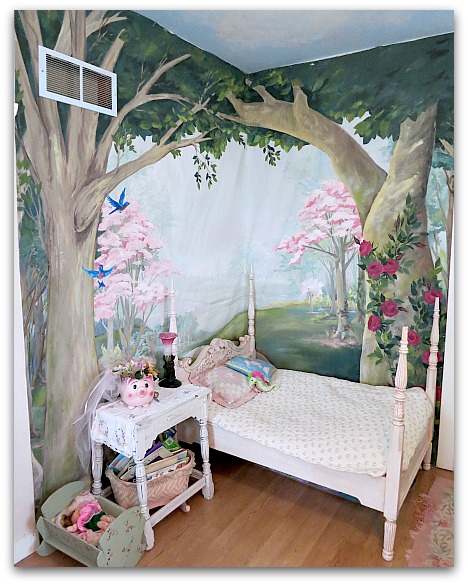
We cut off  the sunlit meadow side and put it behind Dewdrop's tiny little bed.


Cottage 076

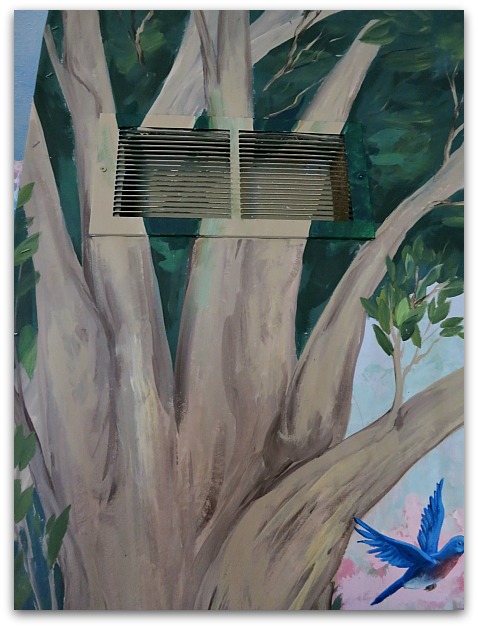
Later, I went back and painted the vent to make it blend in.


Enchanted weekend 034

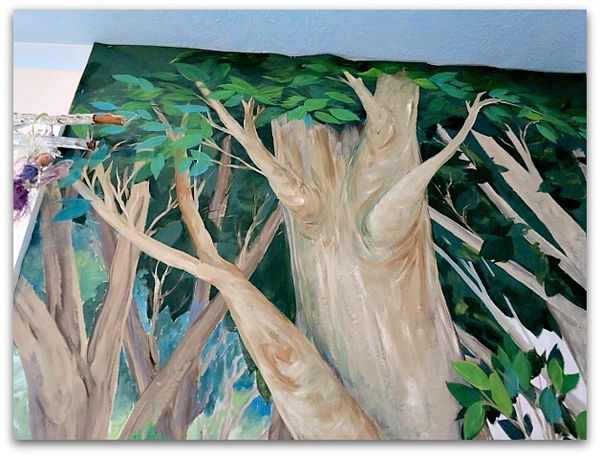
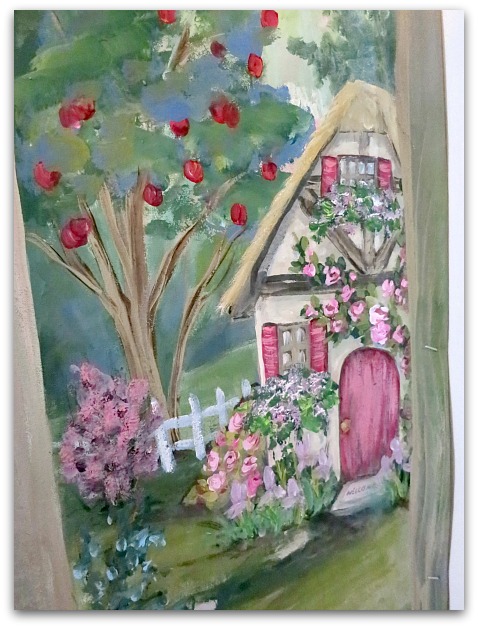
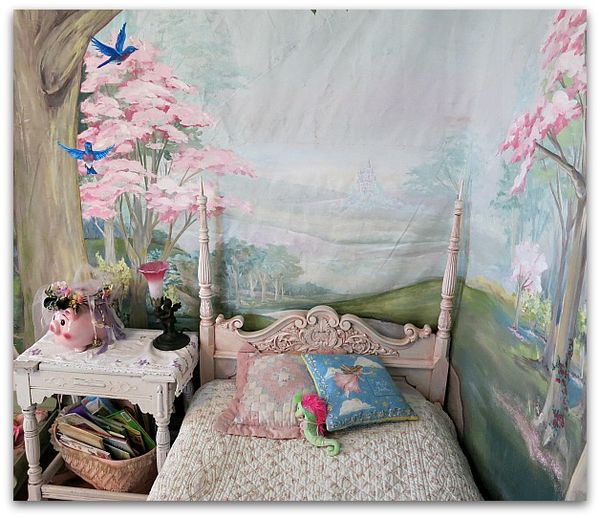
This was the section left over to use by Sugarwings' bed.  For one thing, the center tree is just blah, it wasn't meant to be a focal point. For another, the flowers were too red, and so was the cottage.


Cottage 075

So, I livened up the central tree with more branches and some lighter toned leaves.


Cottage 072

And pinked up the cottage. (sorry, the crooked photo makes it look like the house is melting)


Cottage 074

One of the smaller trees in the distance got some vining roses.


Cottage 073

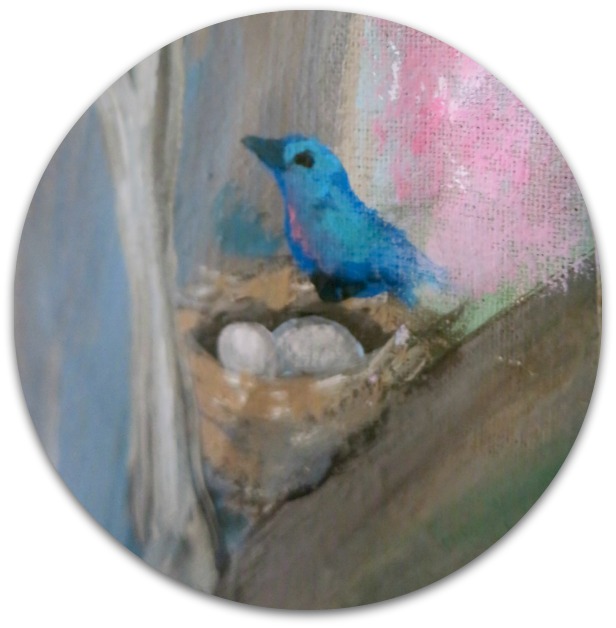
And the blue bird got bluer.  Basically, I wanted the whole thing a bit lighter and brighter since it was going to be part of a little girl's room now.


Mermaid bed 009

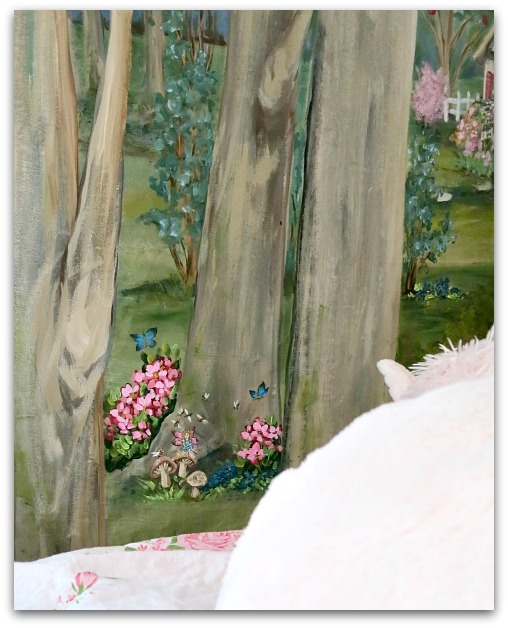
All the red flowers became pink ones, and a fairy with a flock of bumble bee friends was painted in right where Sugarwings could visit with her when she laid down to sleep.


Cottage 068

My poor, old, eyes! This girl was only about an inch or so tall. 


Cottage 084

After repainting the forest, I looked around the room to see what else we could do.

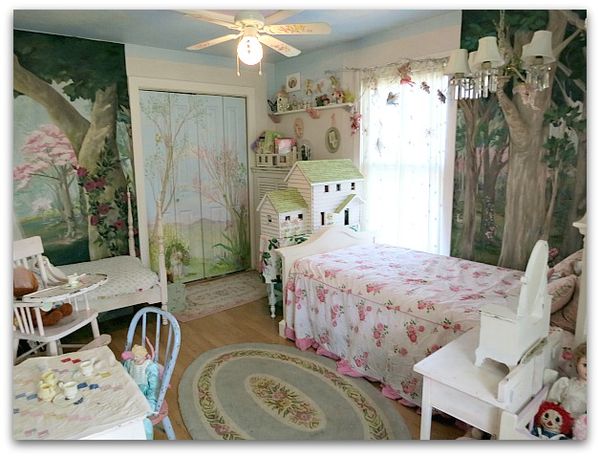
I changed out the bedspreads with some lighter weight ones for summer. The girls also now have a vintage, pink high chair to use when it's feeding time for the teddy bears.  Dewdrop had outgrown the chair and I was wondering what to do with it. Giving it to them to play with has been a hit with them.


Cottage 085

I'm not sure about the droopy wrinkles in this part of the canvas, but the kiddos don't mind.

Cottage 079
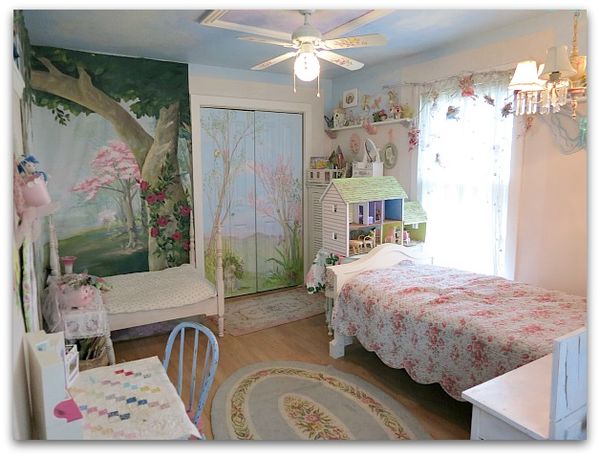
Just like they don't care about the choppy look  the room gets from it's various wall treatments.  From a design standpoint, this could have been done much better, and I know that the original mural on the closet walls doesn't go with the canvas ones that we hung in there.


Cottage 077

But it has some sweet fairies on it, so the theme still fits, even if the style doesn't.


Cottage 091

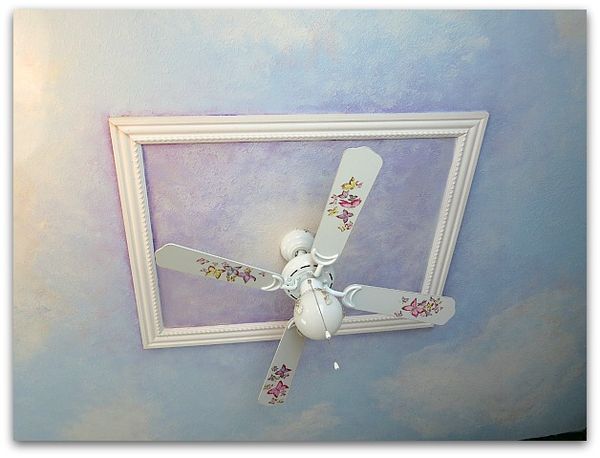
At least the ceiling still matches, I painted it like a sky before Sugarwing's was born.  When she was still just a wish, not quite a person yet.


Speaking of wishes…. my little one loved the redo, but was wishing for a pink bed. So, what do you figure I did about that?

Part three of the saga up next!


Sewing a vintage slipcover

cottage, dogs, Dorkies (Yorkshire Terrriers)

Cottage 037
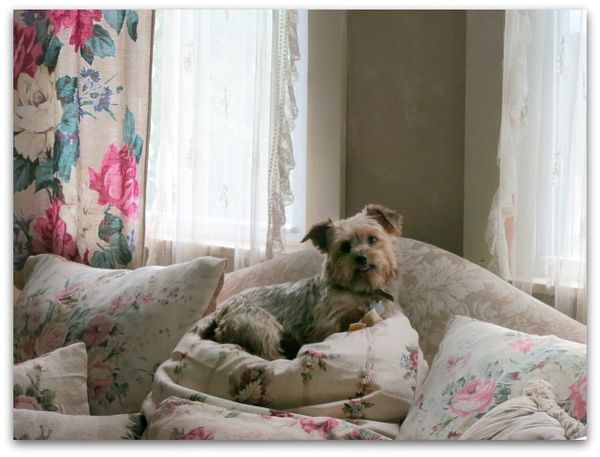
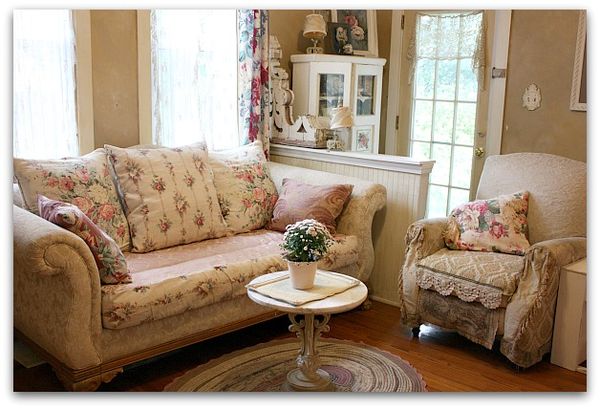
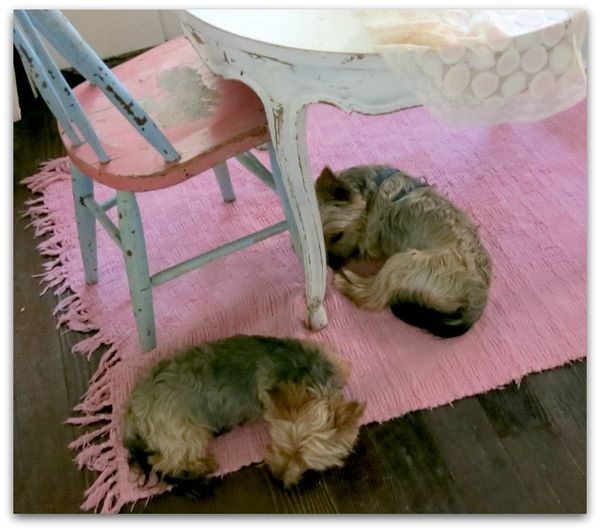
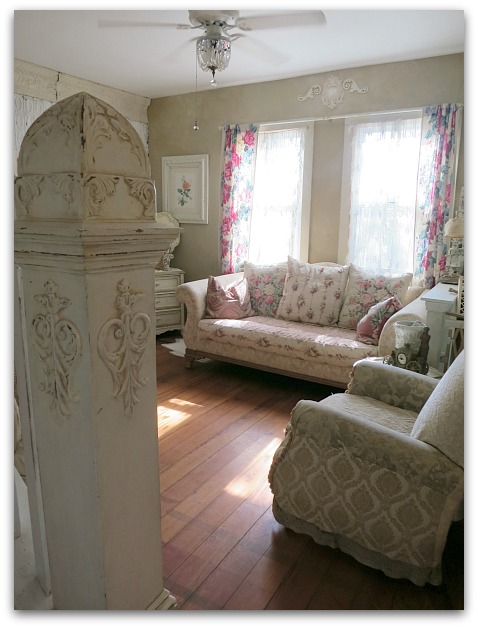
Lately, I've been on a home fix up kick.  Just little things, like new pillows and touching up paint. (yes, those a doggie pee pads on the other side of the couch, those little brats are hard to train! They'd rather use a pad than go out their dog door.  And they think rugs are pads… so no rugs)


Studio tour 2013 024

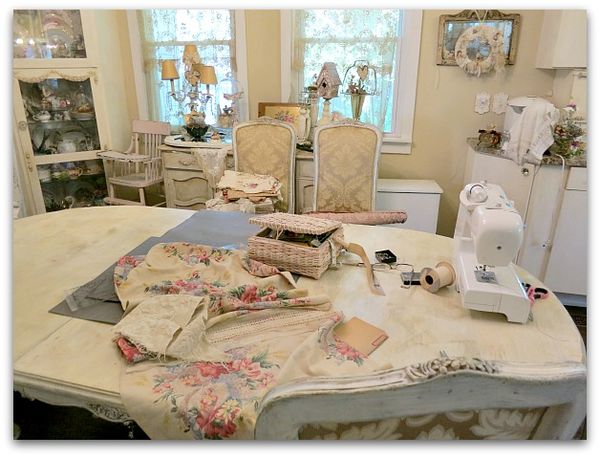
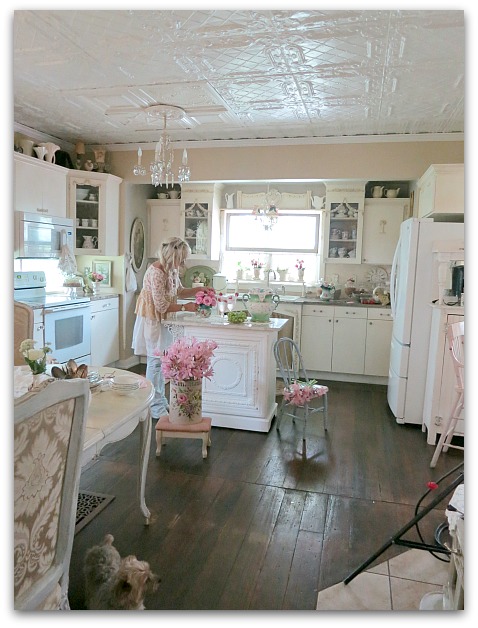
Sometimes cleaning up means more messing up.  I could go out to the studio to sew, but since I was making sofa cushions, it was more convenient to bring the sewing machine into the kitchen.

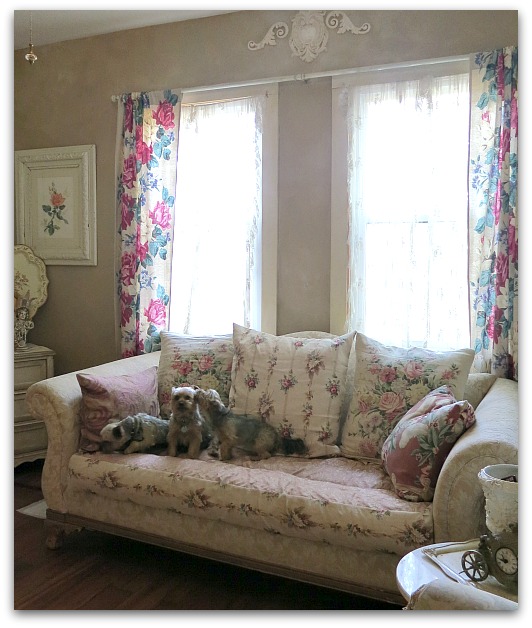
I'd been collecting old drapes and fabric for years and finally got around to redoing my couch cushions with them.  I'm not a big fan of sewing, but I can make a simple pillow case for my cushions and pillows, and get a whole new look for the room with some garage sale fabric and a straight stitch.
I don't really measure, I just lay out the fabric, put the pillow on it, cut around, then turn the fabric inside out, pin together and run it through the machine, hoping the bobbin lasts through the session.  I use whatever color of thread was last put on because I am a total loser at changing threads and bobbins. 
It's far from a pro job, but I'm usually okay with the results. The whole job took me a couple of hours and less than $60 in materials.  

Some of the fabric was too bright, even though it had to have been at least 50 years old, so I flipped it over and used the backside for a more faded look.  I also bought pieces that were far from perfect, and just cut around the holes or stains and used only the good parts.


Home 2013 july 003

The pink silk brocade on the seat cushion is from an entire roll of old fabric that I'd found at an antique mall for $9.  I doubt if I could buy a yard of cloth that nice for that kind of price at JoAnn's or any where else, brand new.   The roll was in good shape too. 

And funny, after I found this, I ran across a half roll of a slightly darker version of the same cloth at the Salvation Army ($5)!  So, I used it to coordinate with the lighter brocade and the different floral pattern curtains I'd been gathering. I used it on the backside of all the pillows.

It doesn't show much, but looks nice when you sit on the couch and it peeks out when the pillows are mussed around. Which, with two little girls and three dogs in the house, they usually are.


999830_10151678122979477_942202248_n

While I was at it, I moved the furniture around. Then a week later, I put it right back where it used to be.

I think the new pillows look better with the bark cloth drapes behind them than with the emphemera covered wall.

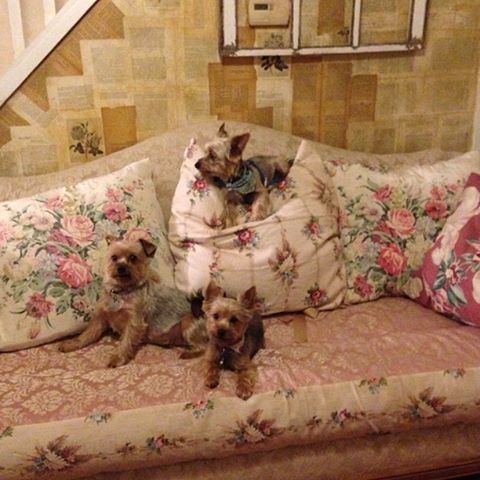
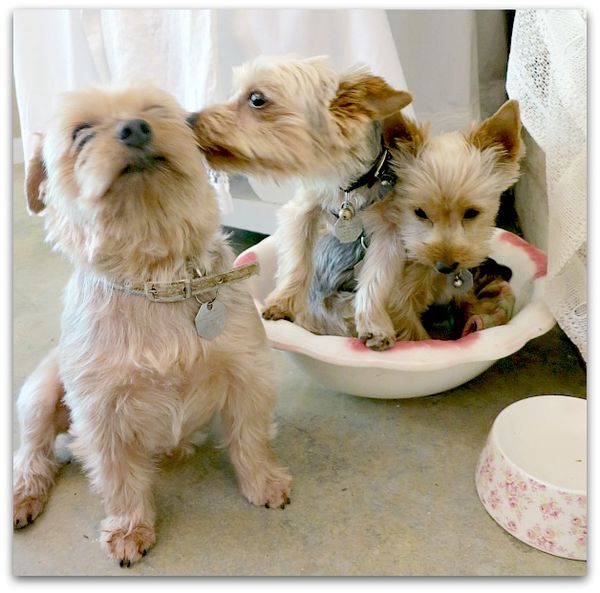
The dogs don't care, as long as I point a camera in their direction, they are happy. Especially if it involves being on a soft pillow.


1069277_10151698038299477_219588430_n

Do you ever have little things around the house that bug you, but you try to ignore?  Since I hung these curtains (years ago), I'd been irritated that some of the clips were dark brass and some were painted cream.  I finally grabbed a brush, and stood on the buffet with a capful of paint and quickly made them all match. 

It only took a couple of minutes.  Now, why did it take years to do??


Studio Tour 2013- Where Bloggers Create

cottage, Dew Drop, studio tour, Sugarwings

Studio tour 2013 093
Karen Valentine is once again hosting a "Where Bloggers Create" blog hop. 


Studio tour 2013 082

Thanks for stopping by!


Studio tour 2013 042

I've shown my studio so many times, I wondered if I should join again, was there anything new to see?


Studio tour 2013 045

Basically, it is still the same. But there has been some rearranging. 
Studio tour 2013 048

At least a few tables were shoved to new locations.


Studio tour 2013 142

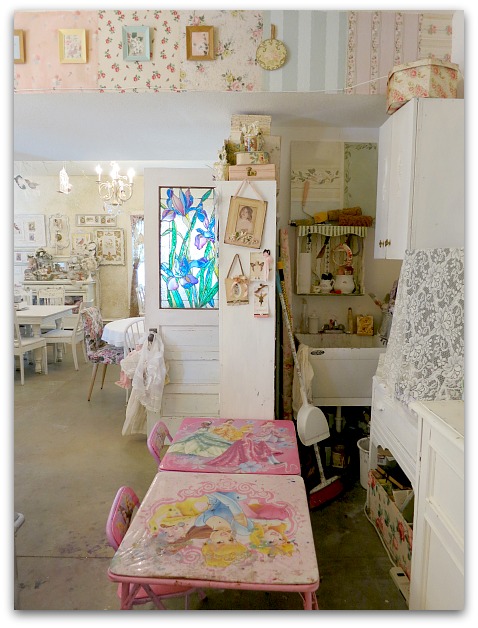
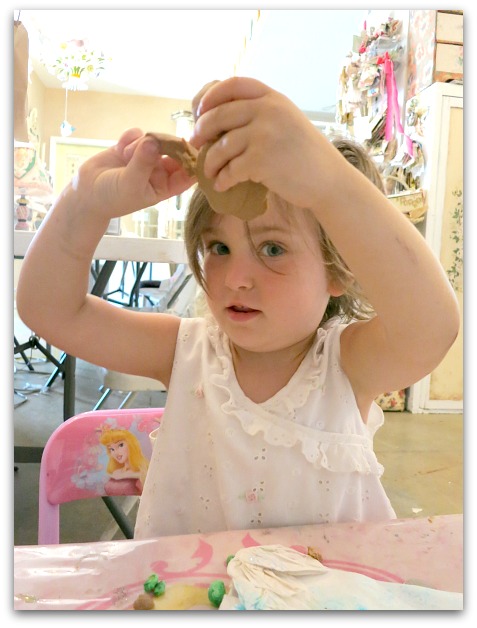
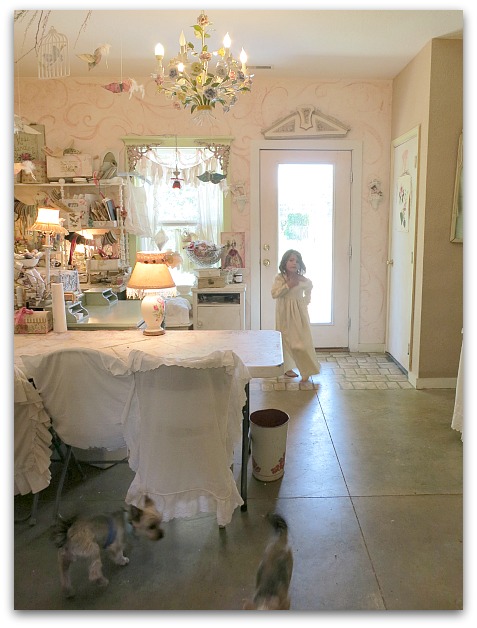
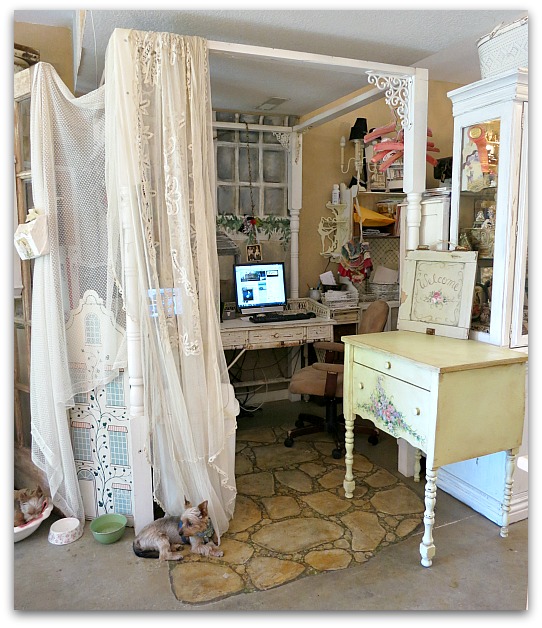
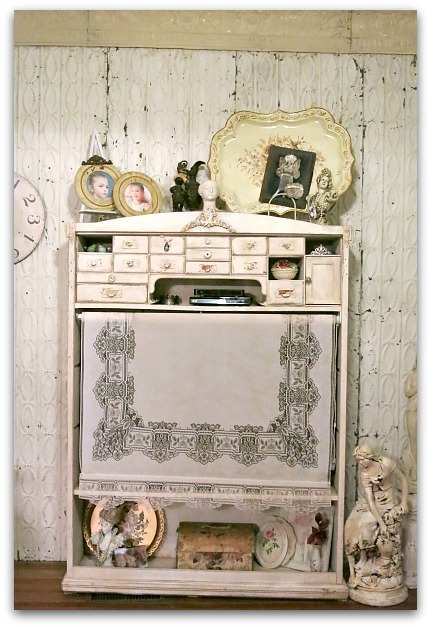
And a 2nd table was added to the fairy grand's area.  I finally got smart enough to move their things closer to the sink, broom, and TV (behind the lace).  This spot is much more convenient for them to work in.

They are no longer teetering across the room to the sink with a tipsy bowl of paint saturated water, that splashes and spills half the time. Now, it's a quick reach over to the sink to wash out brushes.


Studio tour 2013 165

I also moved their cabinet of supplies right over next to their work area.


Studio tour 2013 034

It seems to be a hit.

(I love the clothes they pick out when they dress themselves. Dewdrop's shirt is inside out and backwards, Sugarwing's dress is vintage silk and also inside out)


Studio tour 2013 027

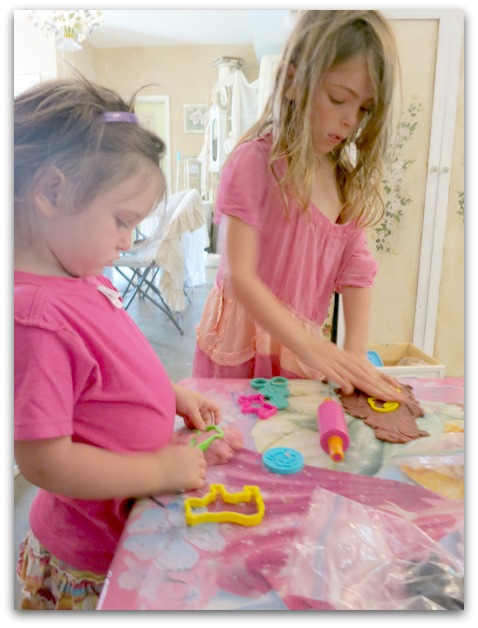
Lately, home made play dough has been the craft of choice, but moods change, fairies are whimsical sorts who flit from one activity to another.


Studio tour 2013 041

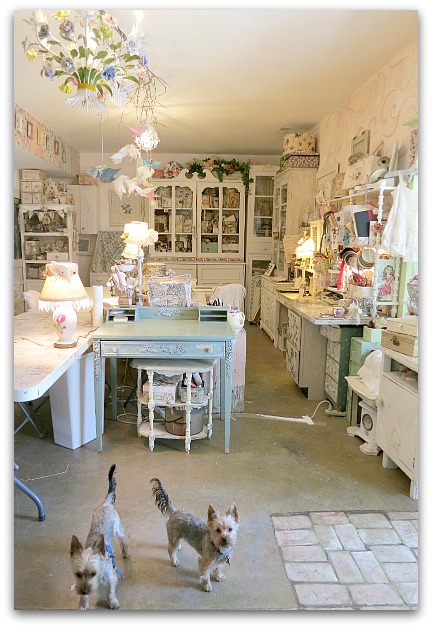
I really do love my studio. And even if I have shown photos of it over and over, I never get tired of the space.


Studio tour 2013 036

I like that it's such a homey place, filled with things I love, my fairy babies and the dorkies.  Since both girls have moved into the cottage with us for about half the week, my work schedule has changed a bit.  There is often a couple of little faces pressed to the glass door waiting to be invited in.


Studio tour 2013 050

How can I say no?  But we did have to make some firm rules. 

First Rule of Studio Club:

There is no crying.

Second Rule of Studio Club:

There is no crying.

I tell them that the Studio is our Happy Place and no tears are allowed. If someone happens to feel like they should have the pink paintbrush instead of their sister, or that the other girl's wad of playdough is bigger than theirs, they have to talk it out.  If crying occurs, the cryer is picked up and set down outside the door till she is ready to discuss the problem instead of crying.


Studio tour 2013 069

Other rules?  You work at your table, I'll work at mine. I won't use your supplies without asking, you must ask to touch mine.

It's going well.  There is only a trace amount of snot and tears on the door from cryers on the outside wanting back in. We are keeping the Studio a Happy Place.


Studio tour 2013 059

I've enjoyed the company of my two little sprites, but it's nice to have the space to myself every once in a while too.


Studio tour 2013 134

Here is my work spot.  I rarely have more than a 8" working area, because I clutter up so much. It was nice to have the excuse of this blog hop to clean up a bit. 


Studio tour 2013 058

Who am I kidding?  A bit?? It takes more than a bit of cleaning to make my studio look good for photos.  I spiffed it up all morning.   See, all of the ink pads are even neatly tucked into their box.


Studio tour 2013 077

Everything was tidied up for Birdsong last month, and after that, I did some rearranging and found a new order for the room.  I'm trying  a slightly different set up and it's working out pretty well.


Studio tour 2013 108

Whenever I host a class here, I end up moving things around  afterward when I put the room back together, and end up getting a more useful and better set up every time.  This year, since I had more attendees to the event, I had to clear out and make extra space. One thing I did was to make the office part of the room smaller.  I thought I'd change it back after, but I kind of like it this way.  I'd rather have the roominess out in the room, not in the computer area. 


Studio tour 2013 139

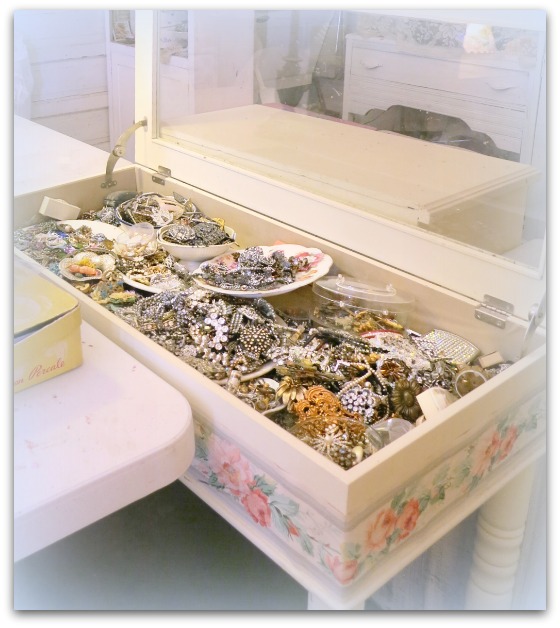
I've also changed the spot the jewel table sits.  I'm not sure if it will stay there. If I leave the lid open, it gets in the way of the TV.

But that isn't too bad. Since I am such a TV addict, I have to be careful to limit myself out here. I listen to NPR on weekdays and don't allow myself to turn on the set.  Unless the grand fairies are visiting, and then only when they have been working awhile and begin acting restless.   We are all trying to control our addiction, they love TV as much as I do. Especially Sugarwings.


Studio tour 2013 080

Most of  my Birdsong decor is still up.


Studio tour 2013 075

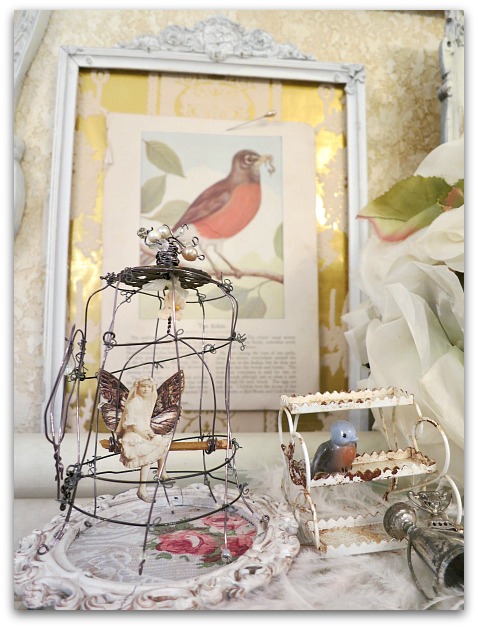
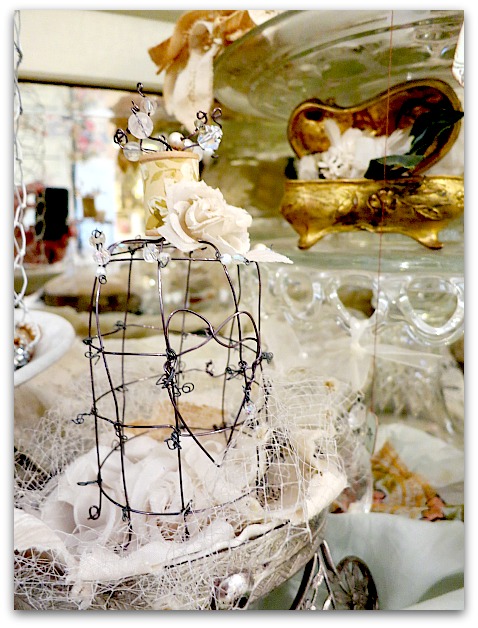
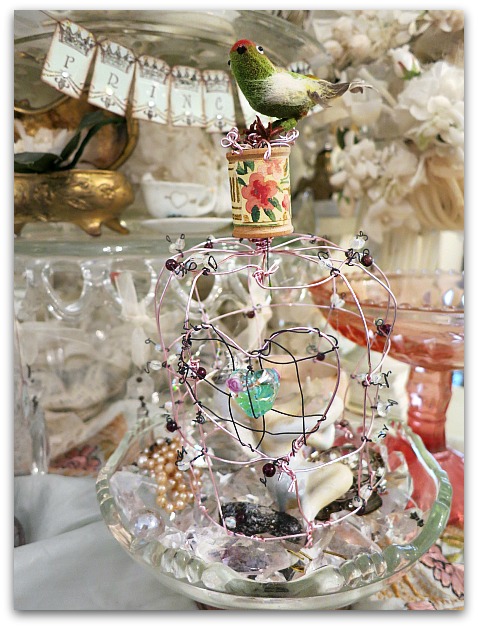
Including the little wire cages we made in my class.


Studio tour 2013 073

I'd made so many to perfect the technique before I did an online tutorial and a class here for our arty weekend, that they have taken over!


Studio tour 2013 074

Plus, I like them all too much to pack them up yet.


Studio tour 2013 064

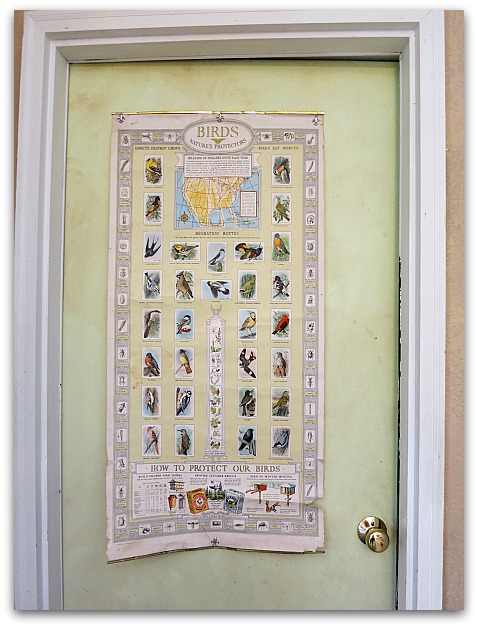
And some of my Birdsong decorations just might be permanent.  I really like this old poster. Although,  I do think I'd like to paint the door. I'm over this green right now.  I've just not had a chance to get rid of it.  I'm thinking about aqua.


Studio tour 2013 118

Most of the little birds from around the room have been packed away till next year, but some favorites remain out.


Studio tour 2013 094

And the birds I made to hang from the ceiling are still there because I can't reach them without going to get a ladder. Which explains why I had to take down Valentine hearts from the ceiling in June when I hung these birds up for our party.


Studio tour 2013 025

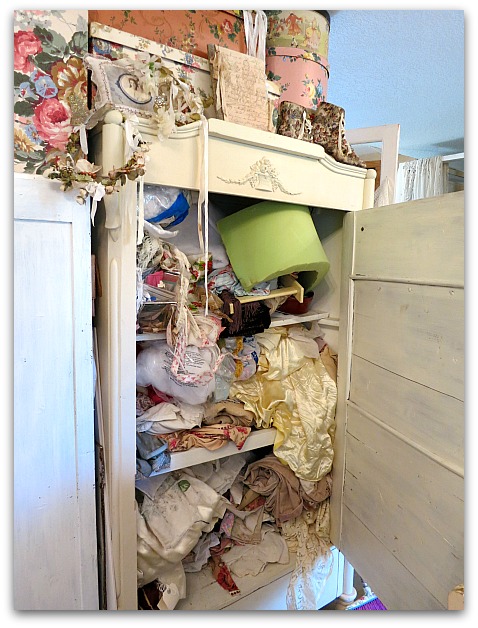
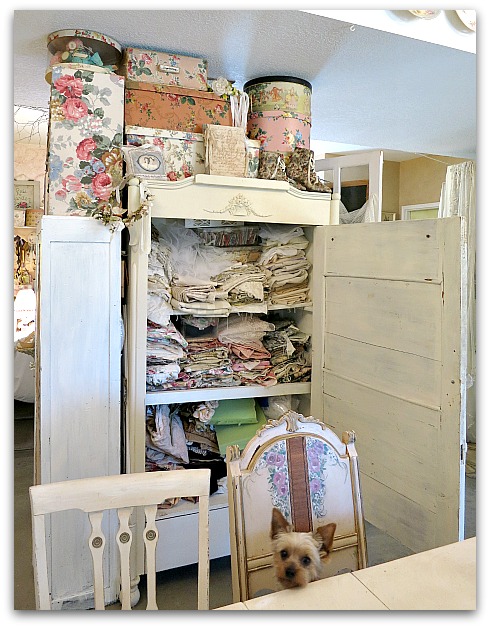
This is another thing I'd been putting off.  All of my cabinets are pretty full, and each is meant for  different category of supplies. But this fabric wardrobe had really gotten away from me.  I hate folding and my linen closet doesn't look much better, I'm afraid.


Studio tour 2013 115

I'd taken on a sewing project this week and had such a hard time trying to find my rose patterned barkcloth, that I decided enough was more than enough and I tackled this jumbled up mess after avoiding it for years.

A silly little tiny amount of time later (only an hour and a half out of my life, why didn't I do this sooner instead of ignoring it for sooooo long?) and it is not only functional, the door shuts correctly now.


Studio tour 2013 141

Most of the cabinets around the room are display pieces for my supplies, so I keep my favorites out where I can see them easily and get to them quickly.  I mix in completed pieces and pretties too.


Studio tour 2013 157

I've got a ton more photos to show you. I'll stop rambling and yammering on and just leave you with some pretty pictures. It's more like bombarding you with pictures. There are a LOT.

Thanks again for coming by. 


WhereBloggersCreate2013-Button

You  can see the rest of the studios on tour (and it's always a treat to peek in on the creative spaces!) by going by Karen's blog for a list of sites.

And if you'd like to see my studio from previous years, you can see the past couple here.

Studio tour 2013 038

Studio tour 2013 039
Studio tour 2013 046
Studio tour 2013 047
Studio tour 2013 054

 
Studio tour 2013 056
Studio tour 2013 057
Studio tour 2013 060
Studio tour 2013 065
Studio tour 2013 068
Studio tour 2013 079
Studio tour 2013 081
Studio tour 2013 085
Studio tour 2013 086
Studio tour 2013 087


Studio tour 2013 091

Studio tour 2013 092
Studio tour 2013 098
Studio tour 2013 099
Studio tour 2013 101
Studio tour 2013 117
Studio tour 2013 161
Studio tour 2013 158
Studio tour 2013 155
Studio tour 2013 153
Studio tour 2013 151
Studio tour 2013 149
Studio tour 2013 147
Studio tour 2013 130
Studio tour 2013 128
Studio tour 2013 121
Studio tour 2013 123
Studio tour 2013 125

Studio tour 2013 145
Studio tour 2013 138
Studio tour 2013 133
Studio tour 2013 132
Studio tour 2013 131

Studio tour 2013 104
Studio tour 2013 106
Studio tour 2013 107
Studio tour 2013 109
Studio tour 2013 110
Studio tour 2013 112
Studio tour 2013 113

A fairy play room

cottage, Dew Drop, fairies, family, Hand painted, paintings, Sugarwings

Girls room redo 007

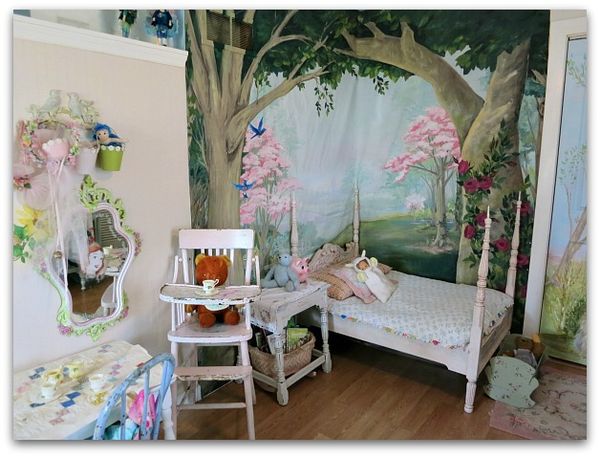
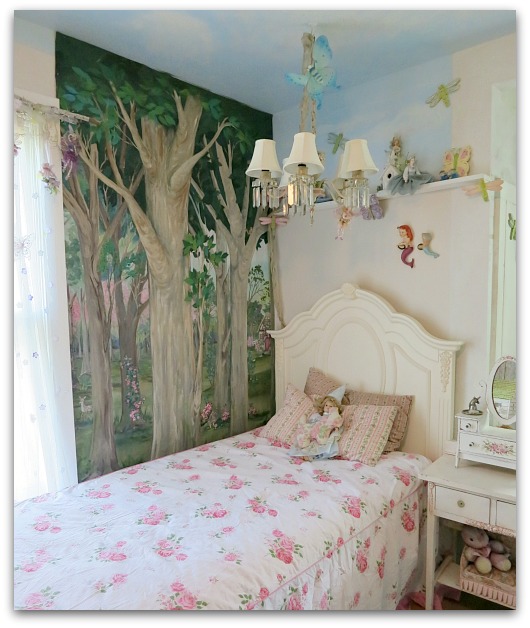
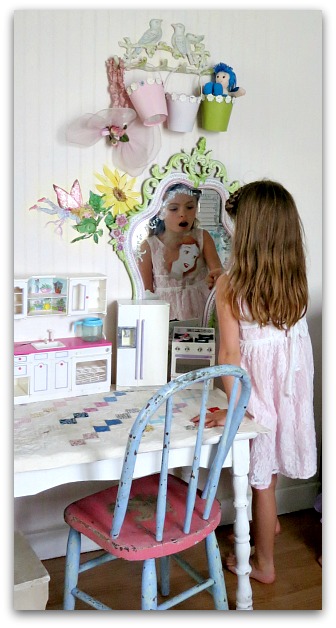
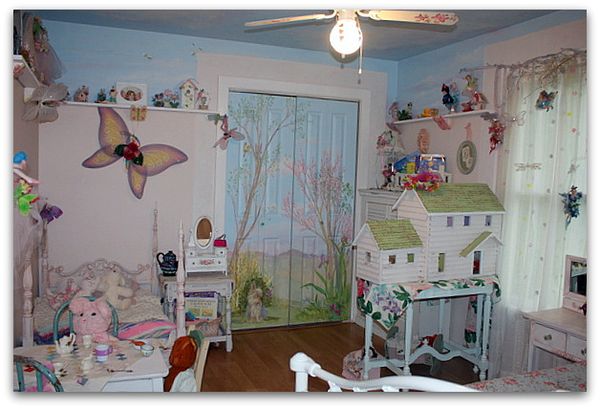
Remember the canvas mural I painted for Kim's Enchanted Affaire?  Instead of trying to sell it, we cut it up and are using it in the fairy grand daughter's room.   I still need to touch up the vent so that it doesn't have that ghostly glow and stand out so much from the painted trees.


Girls room redo 006Sugarwings had not used her bedroom since we bought her this big girl bed.  So, I never bothered to repaint it like I had originally planned.  Now that the enchanted forest is part of her room, she has been happy to stay up there, so I'd better get busy and paint something in the ovals of her head and footboards.

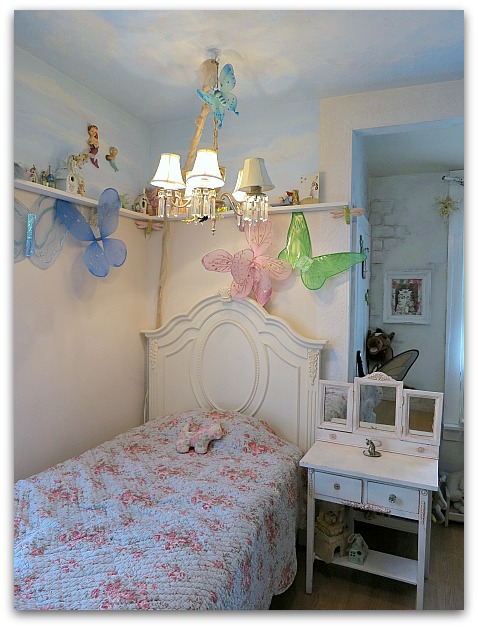
Previously, there was a shelf all the way around the top of the room, and a sky painted above the shelf.  The rest of the bedroom was left that way, my son only took the shelf down in the space where we added the canvas. 


Girls room redo 010

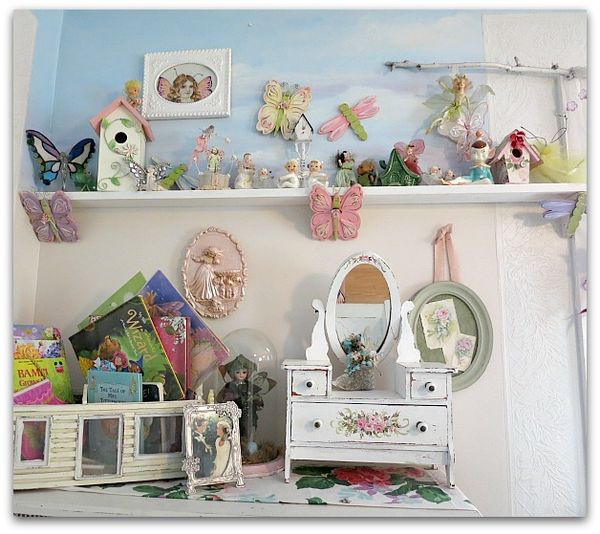
Since we lost a big section of shelf, it was a good excuse to dust and redo the rest of the shelves. 


Girls room redo 013

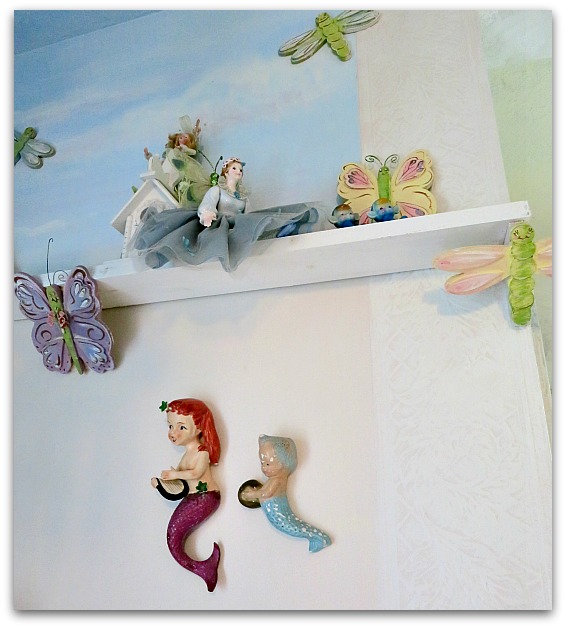
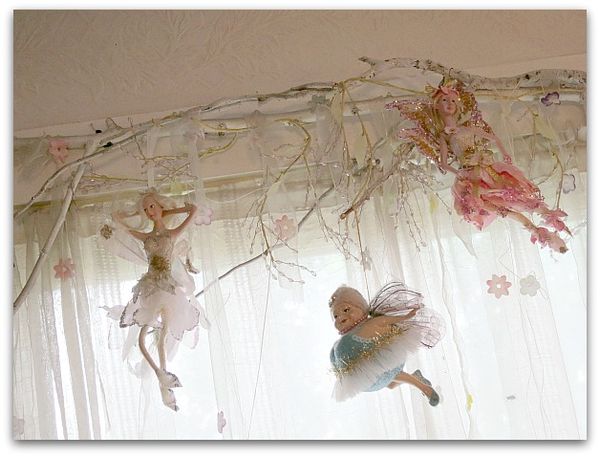
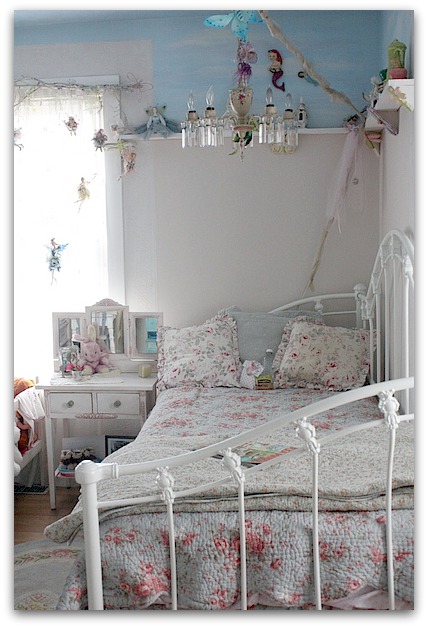
While I was at it, I tidied up the fairies hanging above the windows from sparkly white branches.


Girls room redo 014

There are fairies peeking out from all sorts of vantage points around the room. 


Girls room redo 018

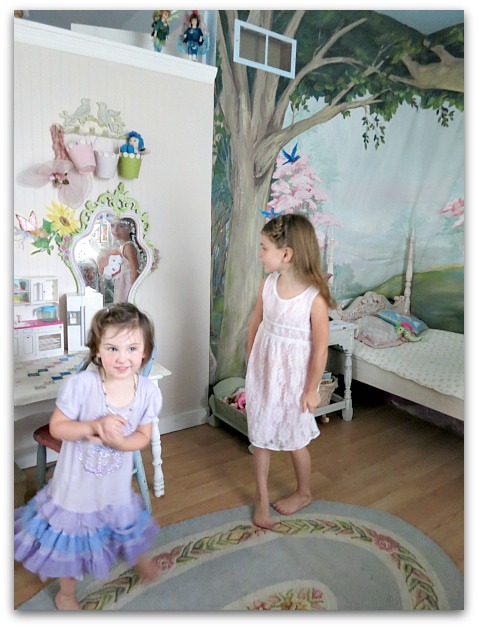
And of course, real live fairies running around the room too.


Girls room redo 021

Little girls seem to like a newly redone room as much as big girls do.  As soon as I finished getting it all put back together in it's new configuration, they set to tearing into every corner and exploring toys they'd over looked or forgotten about.


Girls room redo 008

The canvas is stapled all the way  around, but hangs a little loose.  If I ever have more time….(yeah, right) I hope to tighten it up a bit, or at least steam out some wrinkles if they don't straighten out with time.  I'd like to add some fairies too. Maybe portraits of the girls as fairies?


Girls room redo 015

I'm not so sure I still like the closet doors painted as a fairy garden any more since it doesn't match the new scene. I'll have to do something about it. 

On the other hand, the kids like it as is and it is their room. So that probably means more than my sense of continuity.


Girls room redo 017

At least the ceiling was ideal for the new look, it blended in perfectly!


Girls room redo 020

Of course, the room is not this tidy any more.  Instead of two little fairies flitting about, it looks like it had a couple of ogres tramping through it. For dainty little cuties, they sure can trash a place.  It is now knee deep in dress up clothes and who knows what else. 

(the magic mirror on the wall is one that I made for Sugarwings.  Here are the directions if you are interested)

IMG_1356
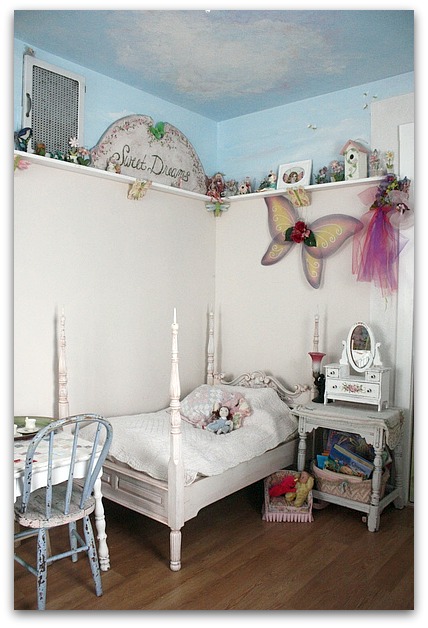
Here are some pictures of the room in it's various looks over the last few years.


IMG_9809
IMG_9808
OH MY GOD!!!!!!!!

I just discovered that all my older photos are GONE.  I'd thought I'd found most of everything from before my hard drive died, but just now realized that I don't have any photos from before 2009.

Thank goodness my life is on my blog. I can retrieve all my favorites from there.   I only started taking digital photos in '07, when I began my blog, so I'm missing two years of pictures.  All of my previous pictures are in print. And I'm sure that most of my faves from the missing years are printed and in albums. But still, it's disconcerting to look for a file to reuse a pic and not find it.  At least I know that it's only the file that is gone, I have the photos in albums or on my blog.


6a00d83451ead569e200e54f8157b88833-800wi

durn

But look at how fast I found a couple from my blog archives.


6a00d83451ead569e200e54f94b5c88834-800wi

I'll seach out some more later, after I talk to the Best Buy Geek Squad and see if they can find any other old files.  This whole hard drive/wireless debacle has taken it's toll on me.  Stress, stress, stress.

While my computer was down, shoppers waited so kindly and patiently for me to mail their 30% sale packages from the Boutique, that I gave them another 10% off when I finally got things mailed.

I've decided to extend the 40% off sale before I start to restock the shop.  Since I haven't really kept up the poor little store since the holidays, months ago, I thought a Christmas in July Sale was fitting.

Use this link for an automatic 40% off at check out:
http://www.karlascottage.com/?code=sale

And please note that I do refunds of shipping overages after I box up the package and figure the actual cost to mail it.  Sometimes, buying lots of little things make the shipping price go sky high according to the way the website calculates it, so I adjust and refund as needed.

Antique bookshelf makeover to a flat screen TV cabinet with no sanding and no painting just primer and glaze

antiques/junking, bird song art event, cottage, Hand Painted Furniture, how-to projects, redos

Girls room redo 031

When we were updating to a new flat screen TV, I knew I'd have to lose the cabinet we'd used for the older set that we had.


Tin wall 003

Our living room is pretty small, and the armoire we kept the TV in wasn't all that big, but it was kinda bulky and seemed to take up a lot of space. But it wouldn't be wide enough for a newer set.

It is one of the few brand new pieces of furniture that live in my home, it was bought to fit the TV, and looked way too new, so I repainted, and aged it, then added glass knobs the day it was delivered.

I searched everywhere for a cabinet that would fit a new 50" flat screen and still have doors.  Our TV is on a  LOT, but when it isn't, I don't like to see the big, black hole that it makes in my white on white decor.  But when I looked at new cabinets, I was told that the door span would have to be so wide to accommodate a large set that it made the cabinets top heavy and dangerous.  So, most TVs go onto a wall, a mantle, or a flat surface.


Birdsong 3 weekend 044

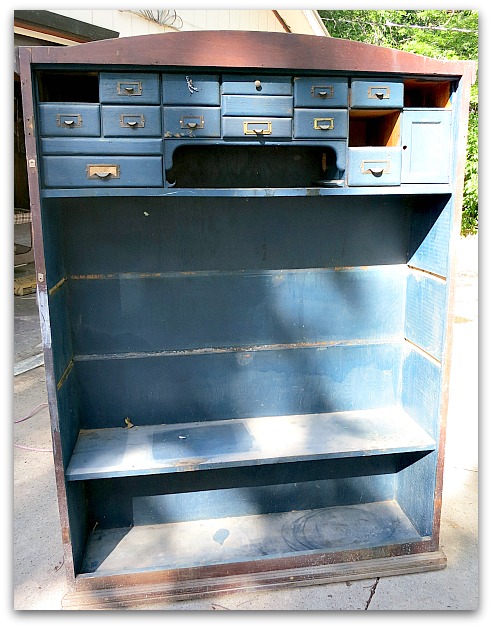
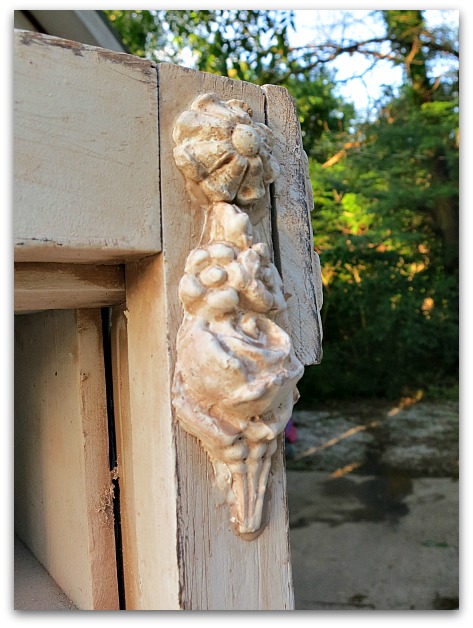
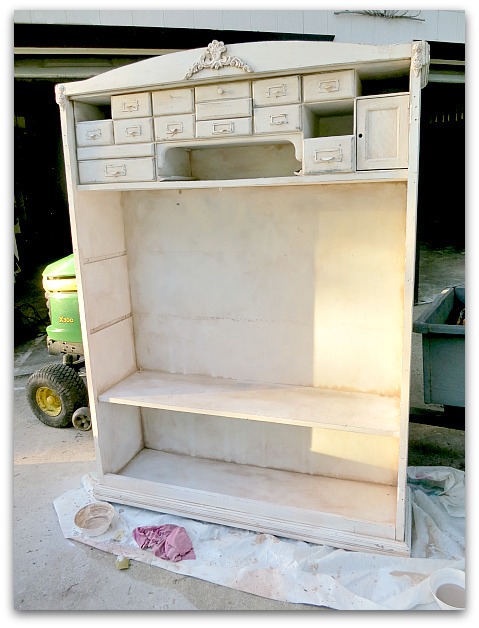
 I turned to antique shopping (which I prefer anyway!) and found the same situation.  No doors that were wide enough, unless they had a bar down the middle, which wouldn't work. I found this old bookshelf and my son pulled the nails out of two of the shelves to make space for the television.

It needed a deep cleaning too.  It could have been in a barn for a while from the looks of it.

This is 11" deep and 46-1/2" wide inside. I measured 50" TVs and found the one I wanted before shopping with a tape measure in my purse to find a cabinet to fit the TV I'd picked out. 

And yes, this doesn't have a door, but I thought some lace curtains would be nice.


Birdsong 3 weekend 045

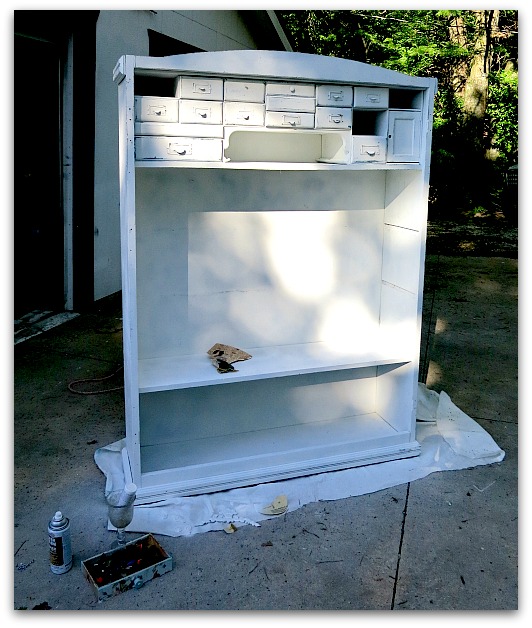
I used 5 cans of Zinser Bullseye spray primer meant for glossy surfaces, with no sanding.  I figured with so many cubbies, a spray would be the way to go. 


Birdsong 3 weekend 046

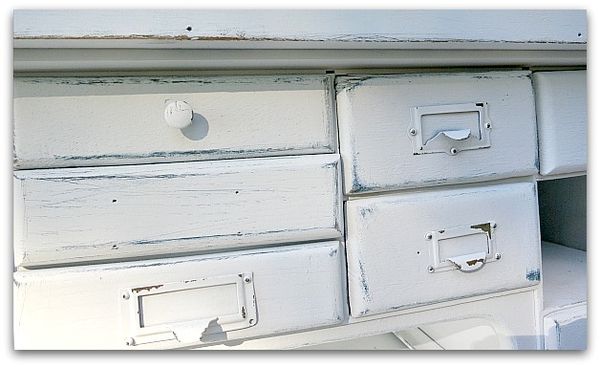
After priming, I did some distressing with sandpaper.


Birdsong 3 weekend 049

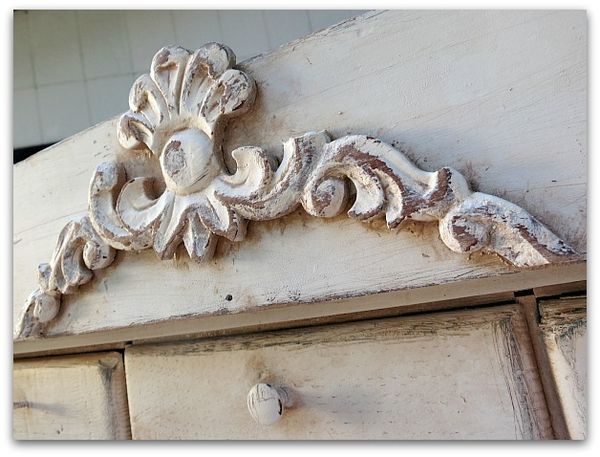
And added some fancy work details and some tinted glaze.


Birdsong 3 weekend 048

For one pint of clear glaze, I mixed in one 2 oz bottle of coffee and cream colored acrylic craft paint.  I brushed it on heavy and then wiped it off with a damp, well wrung out towel.  A torn up old tee shirt works great.

 If you do this, rinse often.


Birdsong 3 weekend 047

If you are wondering why there is a John Deere in the picture, it was doubling as a step ladder to paint the top and something for the piece to lean against as I wiped the glaze on.  I was afraid it was going to fall over backwards.

And if you are wondering when I painted it, I didn't!  I went straight from primer to glaze.

Primer CANNOT be left as is!!

It isn't paint and is meant to be covered. 

But who says you have to use conventional paint?  I skipped straight to the tinted glaze.  It covers every bit of the primer and is basically about the same as clear paint with tint in it, so dries with a paint like finish. 

I didn't top coat it, because it won't be a heavy use item. If I do this technique on a table top, or dresser, I always use a water based, non yellowing top coat, like Polycrylic from Minwax.


Birdsong 3 weekend 050

   We drilled holes in the top compartment for wires to the DirectTV box and DVD player, and also in the big opening for the television.


Girls room redo 026
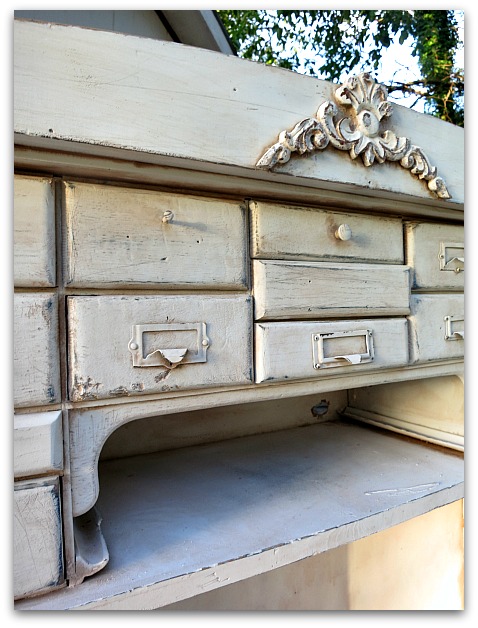
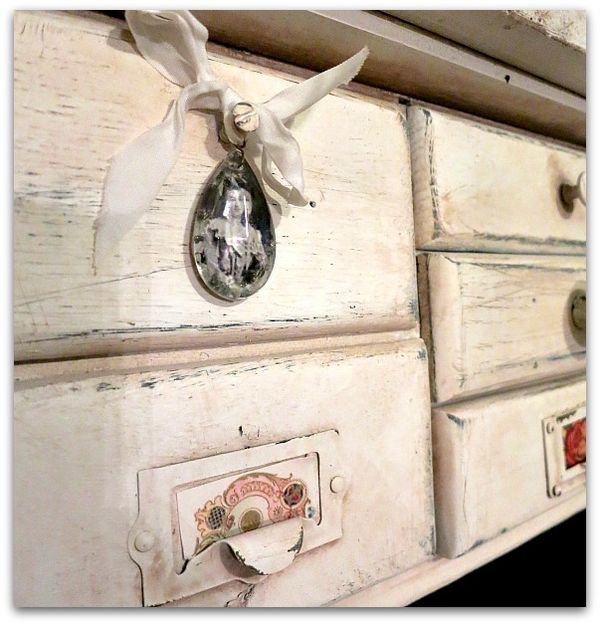
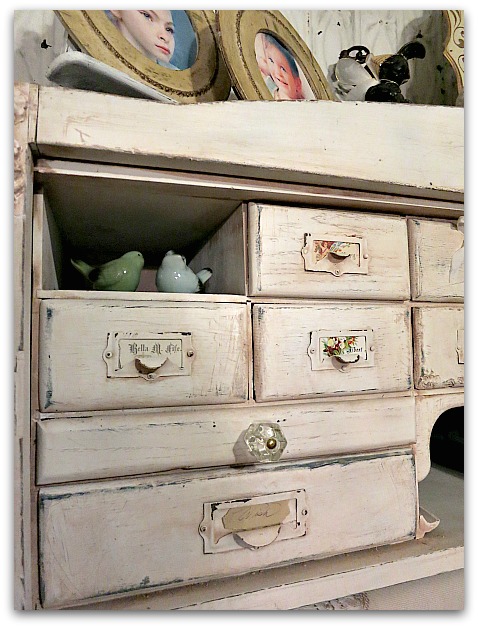
I didn't try to match up the existing hardware in the places where some pulls were missing. Instead, I went with odds and ends that I had around.  One drawer had just a screw as a knob, and I left that, but tied a chandelier crystal with an image added on the back to the screw.

Girls room redo 027
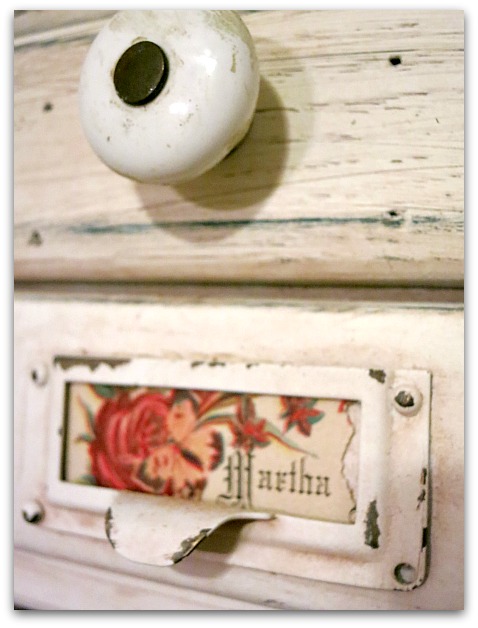
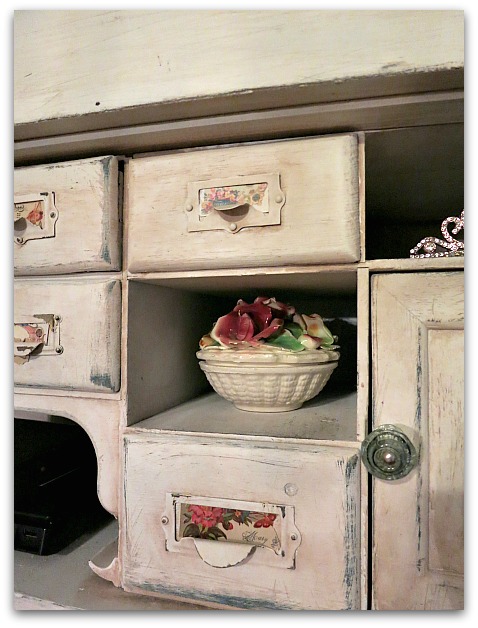
Old calling cards were a good fit for the slots in the pulls.  Especially favorites that I'd been saving for some special use, like one that says "Bella" and a couple Marys (my grandma's name)


Girls room redo 032
And Martha, my mom's name.


Girls room redo 024
I used some vintage floral paper and a couple of notes in my sister's pretty handwriting in others.
I guess, if I was organized, I'd have gone with actual labels of what was in the drawers, huh?

Once it was set up, I wasn't thrilled with where the curtains would have to hang, past the sides so as not to cover any of the screen.  So, a blind was suggested by my sis, Terry.


Photo

I'd seen some great lace blinds at the Victorian Trading Co. and since Birdsong was coming up and I had guests to show around KC, we'd planned to go there the next day any way. Kansas City is the headquarters for the online store and catalog and they have an outlet store here.  Lucky us! And lucky me, the blinds are only $20 at the outlet store compared to $69 online.

Since I knew most of the ladies coming to Birdsong were from out of town, I made sure to tell them about this store.  When we pulled up, we saw an Iowa plate in the parking lot, and I rightly guessed that some of our friends were inside shopping.  When we went in, the manager gave me a huge hug because I'd sent so many people her way. 


Gitf 053

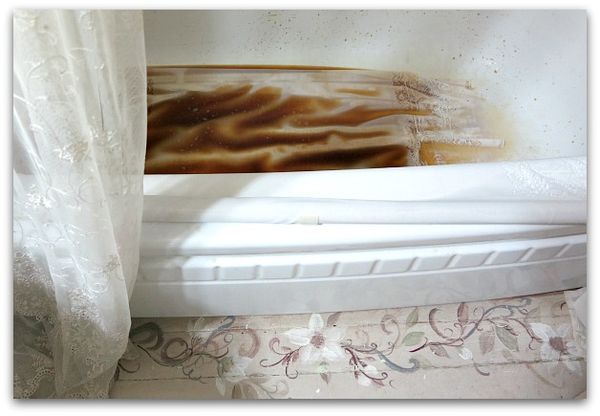
There just happened to be a set of blinds exactly the size I needed in the clearance room! But they were very, very white.  I placed them in the tub and poured coffee over them, then laid them out to dry in the sun and got just the color I wanted.


Girls room redo 029
I'm looking for more old, wallpaper covered boxes to set on the bottom shelf to hold the kids' DVDs, I think it looks too busy right now with all the doodads on the shelf. A few boxes would be better.

Later on, I might print an image on linen and add to the blind…. that would be pretty wouldn't it?  .

PS- Don't forget that Google Reader is closing soon! If you are
reading this from that site, you need to make a change real quick or
your list of blogs will be gone.

I've tried Feedly myself and basically all you do is sign up and it
will import all your Google Reader sites in the click of a mouse.  Very,
very, very simple.Bloglovin is another good one.

You can also follow my blog through Networked Blogs and read it on
FaceBook that way.  There is a list of different reader site buttons on
my sidebar that you can click on to follow me in. 

Hope I'll still be seeing you around!


Hiding instead of repairing damaged dry wall and a rosey outlook for springtime

antiques/junking, cottage, dogs, Dorkies (Yorkshire Terrriers), family, puppies!, redos, yorkies

Cages wall 037
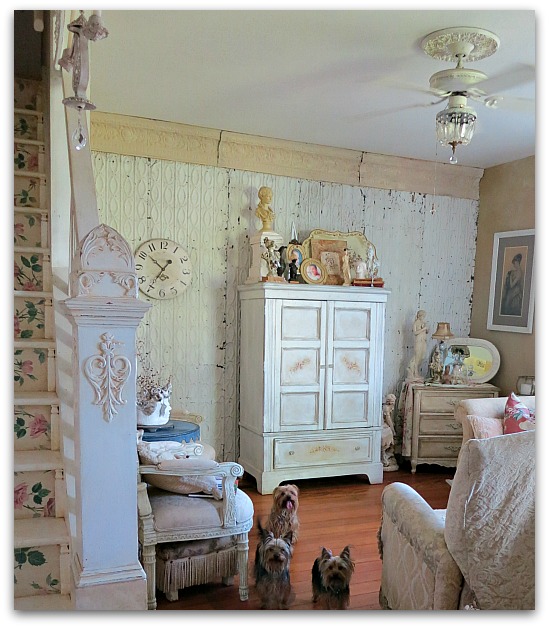
A bit ago, we redid a wall in the living room with ceiling tin. These were 8' strips, and were ideal for where I needed them, they seem to look nicer on a wall than the squares would have.

And after purchasing them, I happened to find the border at another shop and it is exactly what I needed! I'd planned on using wood trim and this is so much better. How lucky to find just the right amount of border.

The wall panels are from Nook and Cranny.  When I drove around to the back of the shop to load the pieces, I happened to see the tin crown molding on the sidewalk in front of another store in the West Bottoms.  I bought all the border, but there is a truckload of the wall panels left. ($40 each, but ask for a volume discount if you buy more than a couple)


Cages wall 009

The room didn't look bad before, I liked the faux finish.  Until you got up close.


Cages wall 011

My old house settles, and the shape of a doorway kept popping through the drywall. Years ago, during a remodel, we'd covered up a hallway and this door shape would NOT go away no matter how many times I'd patched it.


Cages wall 010

I don't mind cracks, old houses have lots of them. But not door shaped!

(and yes, you are seeing nasty cobwebs in this photo, not just faux paint treatments and cracks in the wall)


April 031

SInce I have tins on the kitchen ceiling, I thought it would look good to also have the wall at the far end of the living room covered in them too. (this is before)


Cages wall 014

Luckily, I have a very handy son, who installed them for me.  He ripped off the baseboard, and I squirted a ton of caulking back under the wall to help with drafts before he put up the tin.

We decided not to put up more baseboard over it, I like the look as it ended up without it.


Cages wall 016

The panels plus the crown were just the right size for the wall!  My son wanted to cut the tins and line them up perfectly, but I told him not to. It went against his nature as a carpenter to not have the lines on the tin exact, but I like it as it is. 

(the purple marks show the door outline we were covering up)

I promised him I would tell everyone that, because the lines bother him.  Not me, I'm soooo happy with the whole project!! He had them up in a couple hours.


Tin wall 002

The lines that might bother me are the ones between each panel.  They need to be caulked and sealed so they aren't as prominent. 


Tin wall 011

But I haven't made up my mind about painting yet.  I did paint over the rust on the crown, but only because it was too regular and stripey looking.  Random rust makes me happy, but this was not that kind.


Tin wall 003

For now, I  figure I'll leave the chippiness as is, I can always paint later.  But I do think I need to caulk the seams….

The dogs always think each photo is about them.


Tin wall 006

So, I indulged the little hams and let them pose.


Tin wall 008

They love to be in pictures.


Tin wall 007

For springtime, I hung some rose pattern bark cloth drapes and wrapped the sofa cushion in another bark cloth piece.  It has come untucked on the edges a  bit. I guess that is the sort of thing you should straighten before a photo, huh?

My living room stays cream and white most of the year, and I love that combo, it makes seasonal changes so simple.  A few pillows, a couple curtain panels and a switcheroo of some knick knacks and I've got a new look for a new season.


Tin wall 010

And the dogs love the BARK cloth.
 

Hunting for signs of the Big Giant Cat

cottage, Sugarwings

Valentine journal workshop cougar hunt 005
My son, Ryan, mentioned, oh- by the way, I saw that giant cat a couple weeks ago.  A couple of weeks ago?? And he doesn't tell me right away? Dogs, cats, chickens, and KIDS have wandered around in danger?

He said at first he thought it was Twinkle's boyfriend, the neighbor's tall, tan, standard poodle. Then realized it walked different than a dog and took another look realizing it was a huge cat.  The trappers had told us it might come back and that we should call them back if we saw signs.

I wanted to be sure, since it was NOT cheap to have them out to set traps last fall. We spent a few hundred dollars on catching oppossums, but no cat.


Valentine journal workshop cougar hunt 001

So, on a snowy day, Sugarwings and I bundled up to go hunting.  We thought we might see footprints in the snow.

Our first step was to climb up high and look out over the valley and down the trail to make sure it wasn't waiting for us. We wanted to see footprints, not the cat itself! Since there were no leaves, and the trail was quite wide, we could see all the way to the highway. We didn't cross the creek to go deeper into the woods, we stayed on the big, open trail.

She carried a big stick and we made lots of noise. The cat seems to only be seen around dusk, so we figured mid day was a good time to look.


Valentine journal workshop cougar hunt 011

She decided that she would be a Knight in Shining Armour and the Big Giant Cat, or Bobbed Cat, as she calls it, was really a dragon.  Her stick was a sword, and we were ready to search out the dragon's liar.


Valentine journal workshop cougar hunt 007

The snow was too spotty to show footprints. We didn't even see any prints from deer, and I know we have dozens of those out there.  We did find poo, and I took some photos of it, so we could compare it to pictures of cat scat online.  I'm sure you can imagine that part without me showing you the actual pictures.


Valentine journal workshop cougar hunt 017

We also found this tree, used as a scratching post.   The marks are about chest high!!

After doing some research, we found this, which fit perfectly with what we saw:

Identify bobcat scat by noting its size, composition and
location. Bobcat scat ranges in size from about 2 to 6 inches in length
and is usually less than an inch in height. It is often but not always
segmented, and looks very similar to the feces of domesticated cats,
except that it is slightly larger. Bobcats tend to leave scat in the
middle of a road or trail or at an intersection or a turn in the trail.

It is believed they do this as a method of marking territory and
communicating with other animals.

  • Look for other possible signs made by bobcats. Bobcats will
    sharpen their claws on trees, and claw marks can often be see in tree
    bark
    . Bobcats will scrape dirt or snow over both their urine and feces.
    Claw marks may be seen from this covering, as well as from when they
    make scratches in the snow when rubbing their glands over an area to
    mark territory.


  • Valentine journal workshop cougar hunt 012

    It was quite an adventure for us, we had a lot of fun pretending to hunt dragons, but it was also educational as well as some imaginary game time. We learned to watch carefully for movement in the woods, and also to search the trail for signs of animals. We did see some raccoon prints, and talked about different animals and how to tell what they are by the tracks they leave behind.  I also made her aware that the woods are full of creatures, even though it is our own Fairy Berry Trail, and we think of it as a play ground, it really belongs to the creatures that live there, not to us. 

    Looking up pictures online to compare to our photos was a good project for her too.  I want her to respect the woods and the wildlife, and think about them as a place for animals to live, and not to run out there without an adult at her side.

    Until we can get the trapper back out here, the woods are officially closed for play time. The chickens are on lock-down and the dogs don't leave the fence.  No children can play outside without supervision.

     I sure hope that Trapper Tom can help us out.  Please wish us luck with this.

    Oopsy daisy

    cottage, dogs

    Fs
    Even when my house is cleaned up, it still looks "homey".  Toys, books, a soft blanky left out, that never bothers me.  I smile when I see reminders of the grand fairie's last visits.


    Fss

    But this is just a bit much, isn't it?  As I was about ready to leave for my trip, I discovered that my dog is in heat. And messy as can be. Ugh. I had to cover up everything in house just in case she jumped on something while I'm away. Towels and old blankets drape all the furniture.  I hate leaving Sandy to deal with this and I hate leaving my house looking like a wreck, but man, am I ever ready to get away.

    Aunt Sandy will be watching Twinkle and will keep her locked in the studio (where there is a moppable cement floor) while I am gone.  But, yuck. Double Yuck.

    Sorry,  I do tend to talk about unpretty things, don't I?


    Ffd

    There is plenty of floor cleaner made up for Aunt Sandy to use.  I make my own, using white vinegar, orange peels, and a few drops of lavender oil, and of glycerin.

    You are supposed to strain it, but I never do. I just leave the peels in the jar. 

    And letting it age is good, but I use it up before its ready and it still works fine.


    Ddd

    This January has been mild so far, a bit cold, but not too bad. Still, I've craved green, so I  made up some planters, but that is not the same as spring air and being outdoors in the gardens.  Carol brought me the flowers last week and they were just right for this display.

    My trip to Hawaii should cure my yearning for growing things, a week in paradise is just what I need right now.  Although I almost didn't get to go! At 24 hours pre-flight, I went to print my boarding pass and discovered that my ticket was for the WRONG DATE.

    We bought tickets months in advance, using my husband's travel points for a free flight, and booked it for the wrong day. 

    I had to scurry to get a new ticket, and I can tell you that it was NOT free. Not close.  At all.  My trip is beginning with a huge expenditure that we sure didn't expect.

    But- I'm lucky we could pay it.  I'm lucky that there was a seat available. I'm lucky to be going to freakin Hawaii!!  So what if I will have to watch my spending there since we blew our budget on our date screw up?  I'm still lucky to be going.


    Giveawyamy 003

    I'm away from
    my computer on a dream trip to Hawaii right now, but please check back
    for fresh posts left for you before I flew off.  If you want to order
    from the Boutique, all orders will be shipped on the 30th. If you'd like
    to enter the drawing for one of Amy's books, please leave a comment on
    any post.


    If you'd like to sign up for my Valentine workshop, please email me for an invoice at:  karlanathan@sbcglobal.net


    Scroll to Top