dogs

A clutter solution

dogs, Dorkies (Yorkshire Terrriers), Kitchen remodel, magazine pictures or articles, paper cowgirl

Paper cowgirls and easter eggs 063
It has been wonderful having the two grand fairies staying here with us at the cottage part time.  The best part is the morning, when they both come down the stairs with big smiles on their faces and hair sticking up every which way, with that sweet scent of sleepy babies.  They both wake up happy and laughing and ready to face the delights of a new day.

The bad part? Clutter. 

With extra people in the house and no space to put away all the kicked off shoes and scattered toys, the entry way was always a mess.

Paper cowgirls and easter eggs 059
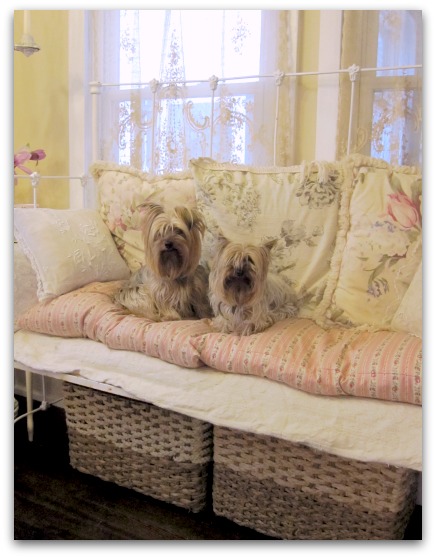
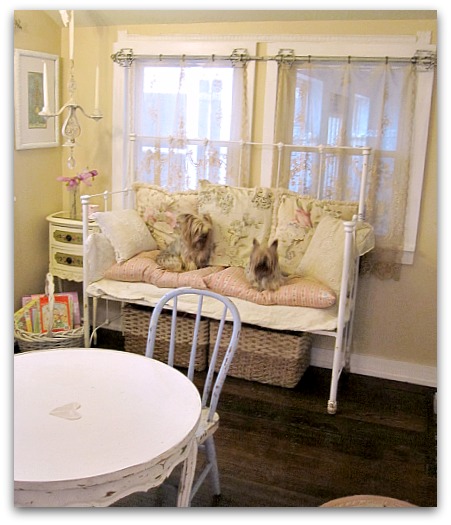
My solution was to drag this bench in from the garden (I found it at a garage sale about 10 years ago, and have had it outside since) and put baskets under it to toss shoes and toys in. I have space to add another basket for mittens, and probably should pick one up while Michaels has them on sale for 40% off, but was too cheap to buy all three at once.

The bench had a painted plywood seat, that was nicely chippy and I thought that would be fine, till I drug it all the way up to the house, and realized I was covered in ants. The wood had gotten all spongey and wet, and was nothing more than a nest for the critters, so I carried it out to the burn pile and cut another piece of plywood, wrapped it in fabric, and lined it with pillows I had in the closet.

Paper cowgirls and easter eggs 061

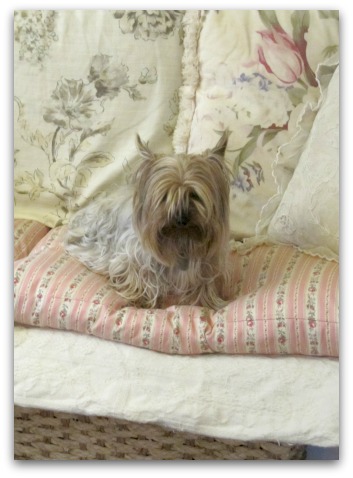
Agnes Rosebud is pretty happy about the whole thing and I'm glad to have the shoes tucked away.

Now, we'll have to see if anyone actually USES the baskets!

Romantic homes 002

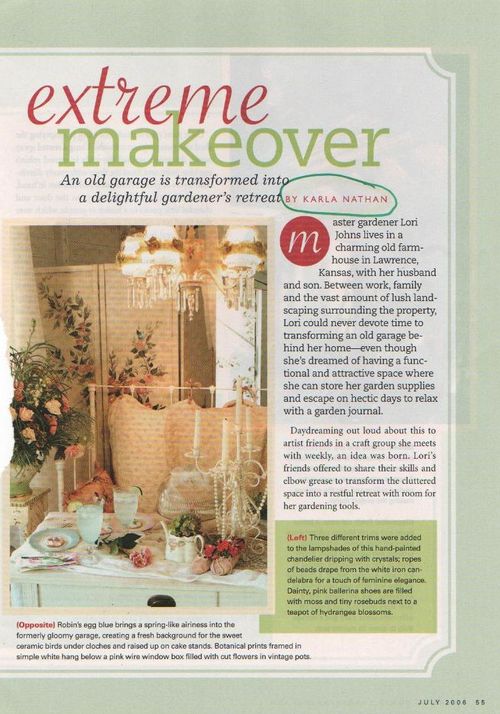
Here is a picture of an earlier incarnation of the bench, I'd used it for an article in Romantic Homes a while back. 

6a00d8345159d669e20168e90694f8970c-800wi
This pretty photo of Beth's class is from
Kristi Knox Day

Speaking of clutter, our hotel rooms at Paper Cowgirls were really knee deep in it all.  Between finishing up class projects we took, and working on our own teaching projects, plus helping Lisa with her kits, our rooms were like obstacle courses. Which is why Beth's little slide show is soooo funny. She is one witty gal.  Here it is if you want to see it (its very short, only 5 pictures will silly comments)

Karla at the Crafting Obstacle Course

Mothers and Daughters

dogs, Dorkies (Yorkshire Terrriers), family

IMG_7194
Today is my Mom's birthday and like always, she has been on my mind a lot.  I learned a lot from her, and wish that I'd learned more.  We were very much alike, yet oh, soooo different in many ways.

She was a sewer and for a while owned an upholstery shop. I can't stitch a straight line, but at least I absorbed a lot of knowelgdge about how it was done by sitting under her sewing table for hours as she worked when I was a kid.   I know the basics on how to do any of it, but its the actual needle and thread work that stumps me. 

She took pride in perfect stitches and even knew exactly how many per inch she hand sewed into her quilting or upholstering. 

But me? If I pick up a piece of thread, it automatically starts twirling itself into a million knots. So, I transferred her love of creating to paint and other craftiness. Sewing has always eluded me.

IMG_7193
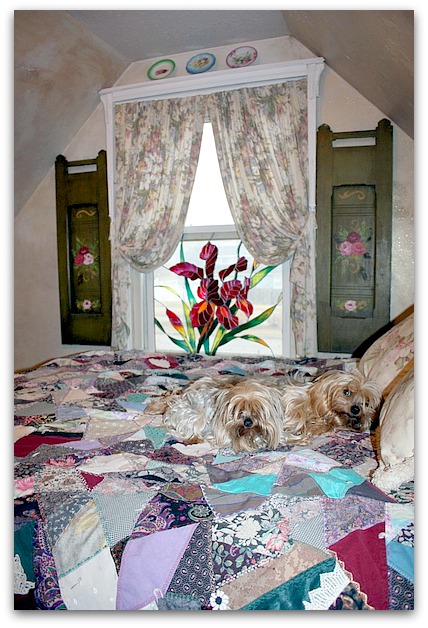
Even this crazy quilt that she made is not as random as it seems. I remember her showing me the individual blocks that she was putting together with mathematical precision.

She taught me to take joy in hard work. That a job worth doing is worth doing right.  That a clean house feels, and smells good and is worth the effort it takes. Now, I certainly don't take it to the levels she used to, this is a lady who used to vacuum under the bird feeder out in the yard.   I've never gone so far as to vacuum the grass, but I do like my home tidy and comfortable. 

Mom taught me never to be afraid to tackle anything.  Any big job can be broken down into smaller parts, tackled one at a time, just like her quilts were patched together square by square.

IMG_7183
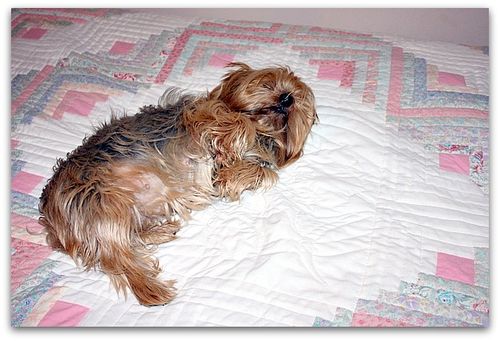
Twinkle thinks this picture is about her, like every photo I take.  Even if I'm taking a close up of something on a table, she is posing under the table thinking that the camera must be about her.

Mom made this quilt for me too.  Its one of my favorite patterns, Log Cabin. You can't see the detail in the center, but its a hand stitched drawing of iris.  In person, it shows up nicely, but the camera doesn't do it justice.

IMG_7181
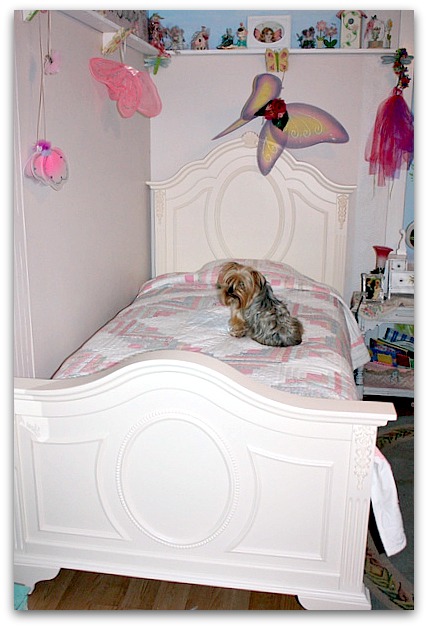
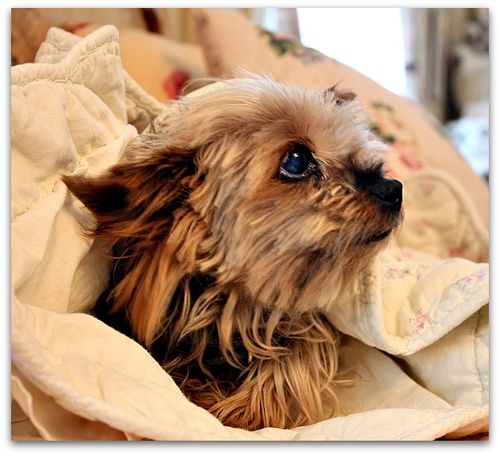
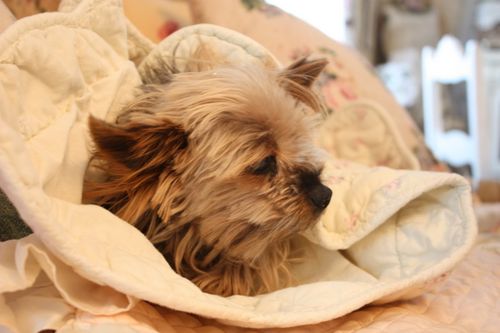
In honor of my mom's birthday, I put this quilt on Sugarwing's new Big Girl Bed.  Maybe she'll feel my mom's love wrapped around her the next time she crawls in.

I chose this bed because of the ovals. Don't they look like frames, just waiting for a painting? I have plans to add some pictures soon.  Lately, there has been too much going on and I think I might have mentioned, and maybe whined a bit about the fact that I am NOT caught up.

Hopefully, Sugarwings and Dewdrop will learn from me, just as I learned from Mom, to love having a pretty home around them, and taking joy in making it that way.  Whatever talents they have as they grow up, I want them to know that you can tackle any job if you do it one block at a time and that nothing is too big to face if you are willing to do the hard work to achieve it.

  And that hard work is much easier to face if you find something to laugh about while you are at it!

My mom was FUN.  I hope all of my kids and grands think I am too.

New skills

Dew Drop, dogs, Dorkies (Yorkshire Terrriers), family, paper cowgirl, Sugarwings

IMG_6899
Congratulations to Agnes Rosebud for catching her first mouse!  She might end up being as talented as her mom, who has a voracious appetite for chasing varmits.

IMG_6964
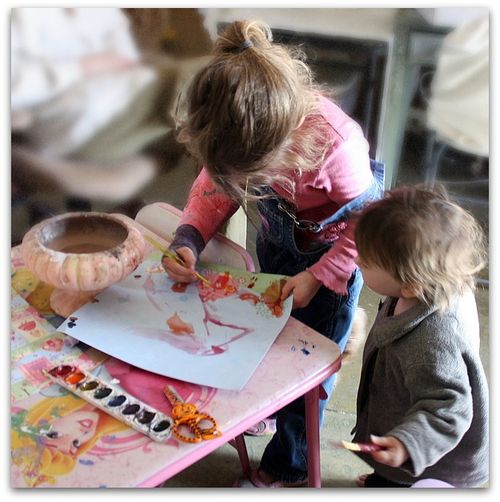
Agnes Rosebud isn't the only one learning new skills.  Dewdrop got a painting lesson from her big sis this week.

IMG_6972

Sugarwings is a bit of an unconventional artist. She is always ready to set the paper aside and try something new.  She likes to paint all of her small toys, and anything else that she can get a hold of.  I figure, as long as its just watercolors and she is painting her own belongings, that is fine. I'll wash them down and she can paint them again later.  She;d rather paint her toys than play with them.

She knows to ask before she starts painting any of  my stuff that is within her reach.

  Well, most of the time.  Every once in a while she needs a reminder.  I've not had anything too important turned pink yet, just a few tidbits and supplies. 

IMG_6975
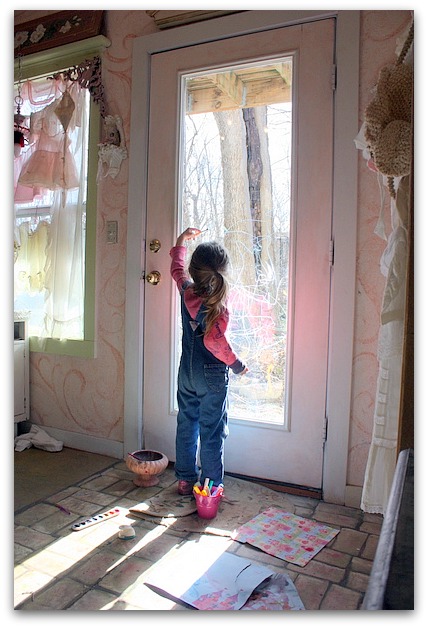
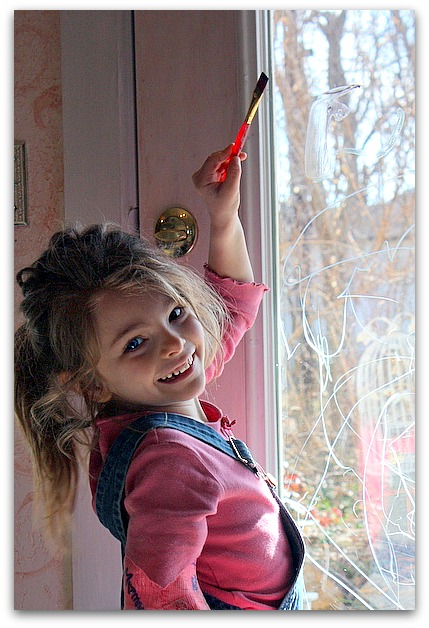
We bought some markers for window panes, and she has this big window by my garden door that she likes to work on. I can see why she enjoys this canvas, I like to draw on the window with her.

IMG_6983
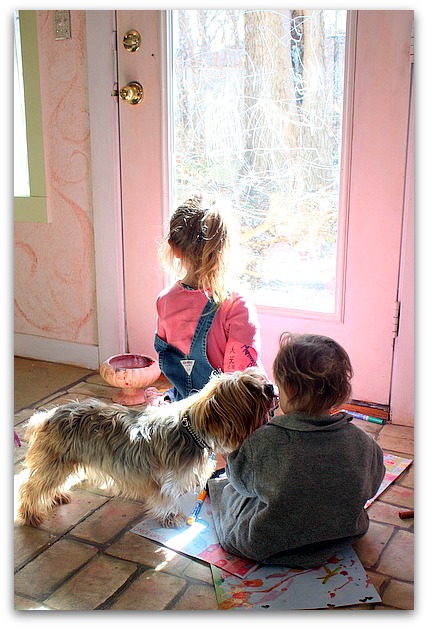
Their father is a bit worried that Dewdrop will take this idea and redecorate the world with it.  My thoughts are to teach them when they are little where they can paint and where they can't, but give them some interesting options.  He's afraid that she is way too little to know the difference and might just color all of the walls she sees now.

But as a person who used to paint murals for a living, and who painted that faux brick floor that the girls are pictured on, its hard for me to limit them to just paper.  Its good to see them coloring outside of the lines and being individuals.

IMG_6947
When I teach a class, its hard for me to limit the kits to just exactly what is needed. I like to have a pile of extras for the students to pick through, so they can create a one of a kind piece, and do their own version of "coloring outside of the lines".

So, I'm gathering up a nice selection of goodies for the Paper Cowgirl class I'll be teaching in March, down in Texas.  The class isn't full yet, if you'd like to dig through the pile of pretties and make a wreath with me.


Good bye Sparkle

dogs, family, Sugarwings

IMG_6748
Well, little Sparkle was just too sick to hang on.  Its heartbreaking to say goodbye, but we knew it was coming, just not this soon.  Thanks for your kind words and encouragement for our family right now. 

IMG_6760
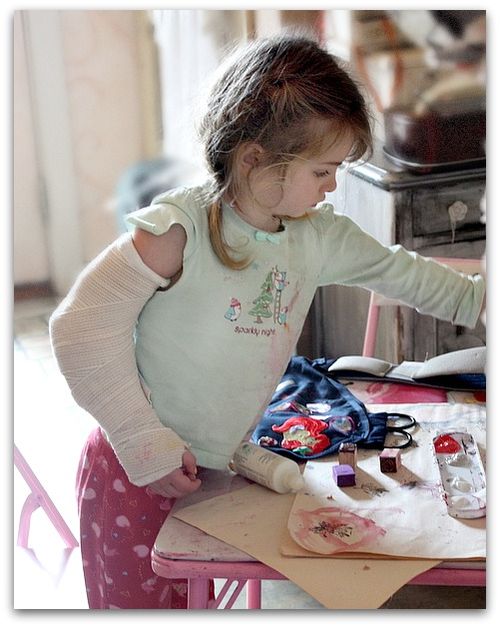
In happier news, Sugarwings is doing well with one arm and its not slowing her down one bit. Even though the Dr. says she needs to be slowed down…. that kid is hard to stop.  Her teeth and toes are always ready to help out that left hand when needed and so far, she doesn't seem to mind not using her right hand.

Today, she came out to the studio with me to decorate her ugly, navy blue sling. We played around with gutting a stuffed animal and making that into the sling, but I was worried that I wouldn't get the angle right, and that we should stick with using the one that was provided by the hospital.  Now we have an empty plush dog that Dewdrop thinks makes a fine puppet.

IMG_6764
She might seem to have a lot of energy right now, and is tough to keep at rest, but she cries out in pain while sleeping, so I know that it must really hurt.

My husband's leg is doing well, and he says it hurts enough to remind him just how dumb he was to be careless with the chain saw.

IMG_6747
Okay, enough sadness and fear for a long, long while. 

Sparkie Jo (my mom called me Karkie Jo, and I called Sparkle, Sparkie Jo) was a sweet girl, and the most gentle dog you could meet.  She had lots of puppies in her life and of all the mama dogs I've ever owned, she was the most loving toward her pups.  She treasured and cuddled and spent much more time just playing with them than most mother dogs.  She was like that with everyone, always ready to show caring and sweetness.

I choose to remember how lucky we were to have her with us for the ten short years she was part of our family.  And also to count myself lucky that Sugarwings and my Handsome Husband were not hurt worse than they were and that we will have them around for many more decades and decades.

Next post, I hope to have some more fun things to talk about.  In the mean time, the sale is still on in the Boutique (40%) and the Etsy shop (50%). I haven't had a chance to take it down. You can get some good deals on millinery, doodads, pretties, and other stuff.  Tutorials are also on sale!


The ugly side of the cottage

dogs, Dorkies (Yorkshire Terrriers), housework, Kitchen remodel

IMG_4707
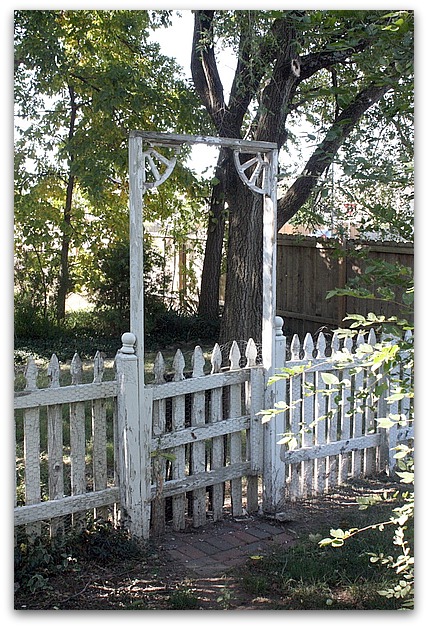
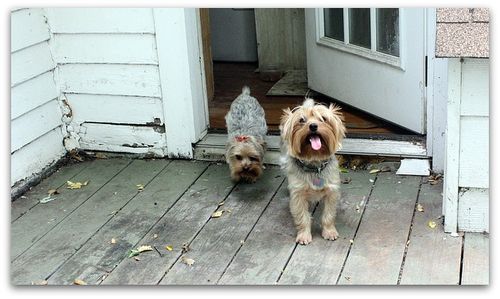
We rarely use our front yard.  No one even uses the front door to get to the house, I think it has now officially become the back door.   The ex-front yard is just for the Dorkies to play in now.  And it tends to get neglected, see how back the picket fence needs painting? I try to call it "charming" but its really just ignored and peeling.

But since Agnes Rosebud is so tiny, we've had to line the fence with chicken wire to keep her in, which makes it extra hard to paint. All that would have to come down before I could scrape the peeling paint off. So, I think I'll stick with fooling myself that it is charming and rustic.

IMG_4706
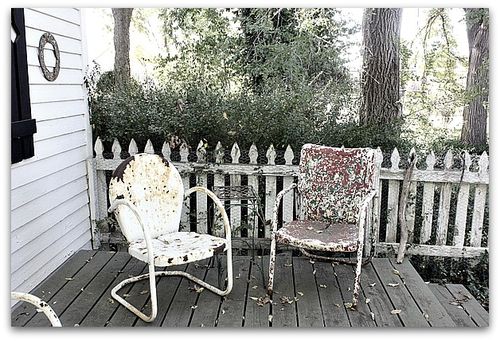
Same thing with the deck out there too.  I don't even attempt to keep flowers planted there, I know they'd just be dried up and forgotton.  This could be a cute area, but if no one ever sees it, does it matter?

I've learned over the years that sometimes, you have to pick your battles.   There is only so much time in the day.

IMG_4572
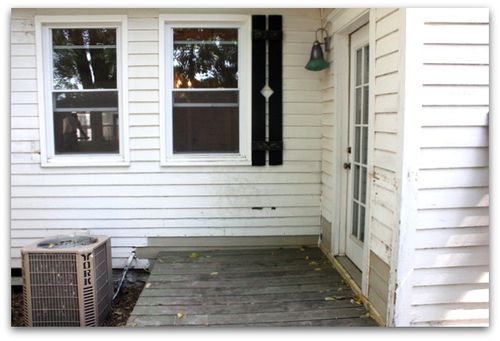
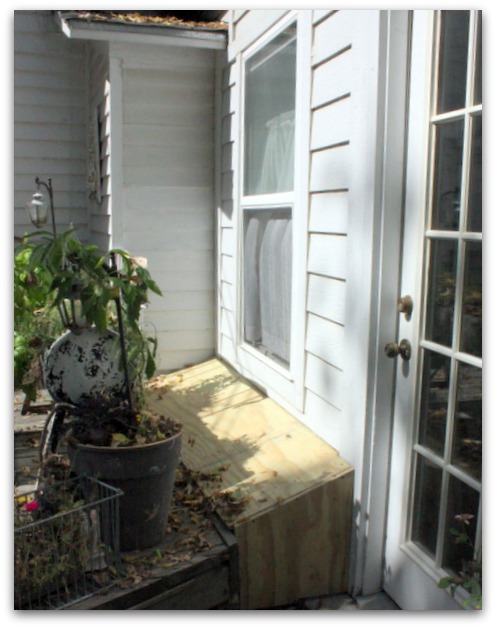
But this was way beyond ignoring.  This was some major repair work that needed to be done, not just cosmetic stuff.  Our ex-front door way was rotting away.   While we were having other stuff done, we decided to have the guys repair this too.  We are getting better guttering, and had this siding ripped off, flashing installed under it, and then replaced.

  IMG_4718

See, better already! Now, I need to repaint this corner of the house, and my son is rebuilding the dog door area.  We have ordered an energy efficient one that should help our problem with drafts (and snow blowing in on blizzardy days!)

IMG_4714

This is another problem area that the guys handled for us. A weird gap between the new addition and the deck, that leaked water into the breezeway.  More for me to paint….

Sorry, these aren't all that interesting are they?  I shouldn't show the ugly side of the cottage.   But its there.  Every house has issues of some sort and the older the house, the more there are. It felt good to have a crew here working on stuff and fixing problems.  Repairs are  not as glamorous as remodelling, but probably are even more important!


Scenes from the renfest part 1

celebrations, dogs, fairies, family

IMG_2466
As it is every season, the Kansas City Renaissance Festival was just magical last weekend.   We had family in town visiting, so the whole group went along with us.   We didn't all stay together, but got to meet up here and there throughout the day.  The park is so big and diverse, everyone wants to see something different.

IMG_2494
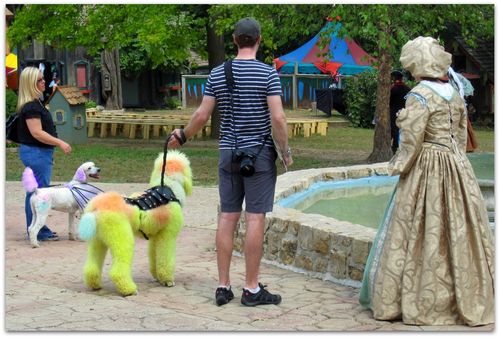
Its as much fun to people watch as it is to see the shows and events that are offered.

IMG_2517
Or should I say, 'dog watch'?

IMG_2452
But my eyes, and my camera are always drawn back to my girls.

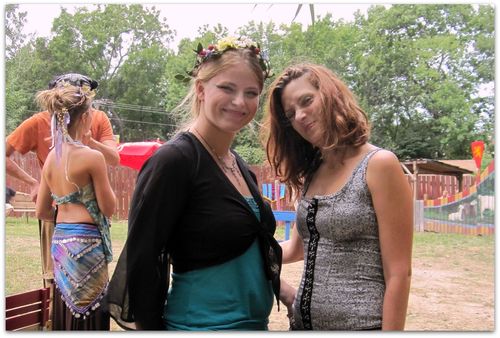
IMG_2575 And what pretty girls they are.  This is Calliope.

IMG_2573-1
And Clover. They both came as gypsies like their mom, this year.

Ara
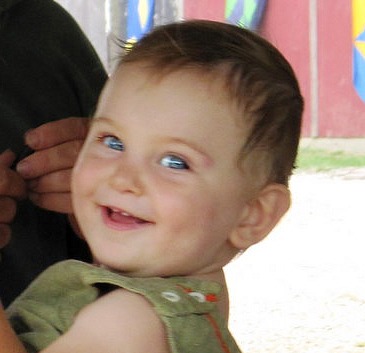
Mayara didn't dress up.  She came as herself, a smiling little cuddle bug.

IMG_2621 My daughters were gypsies too. I'd made everyone a fairy ringlet to wear in their hair the night before, but some of them were tossed out of the wagon (along with bottles, papers, and a few assorted other tidbits) by the littlest sprite.  She is at that "oh-oh" stage.  You know, the one where babies loved to throw things down just to watch them fall?

IMG_2556
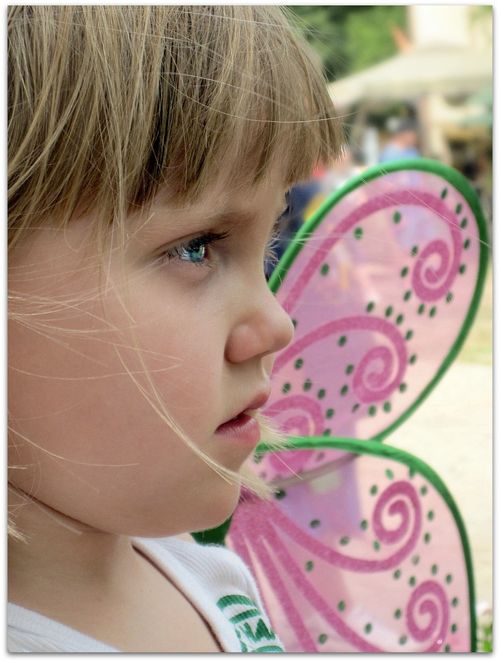
Pixie Pie was there too.

IMG_2549
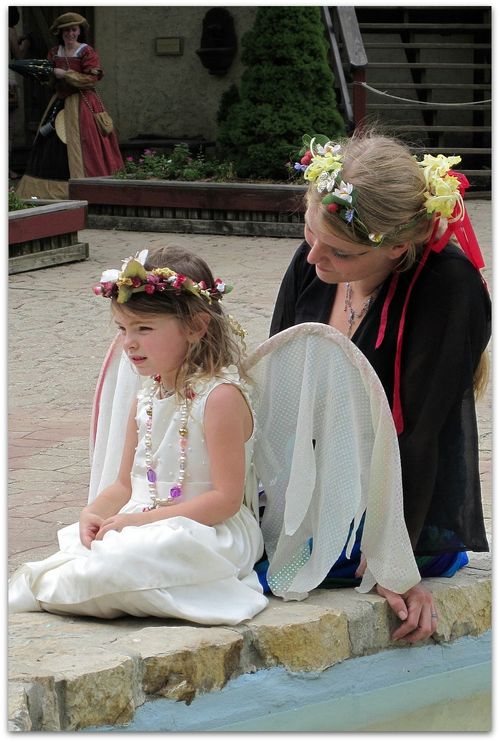
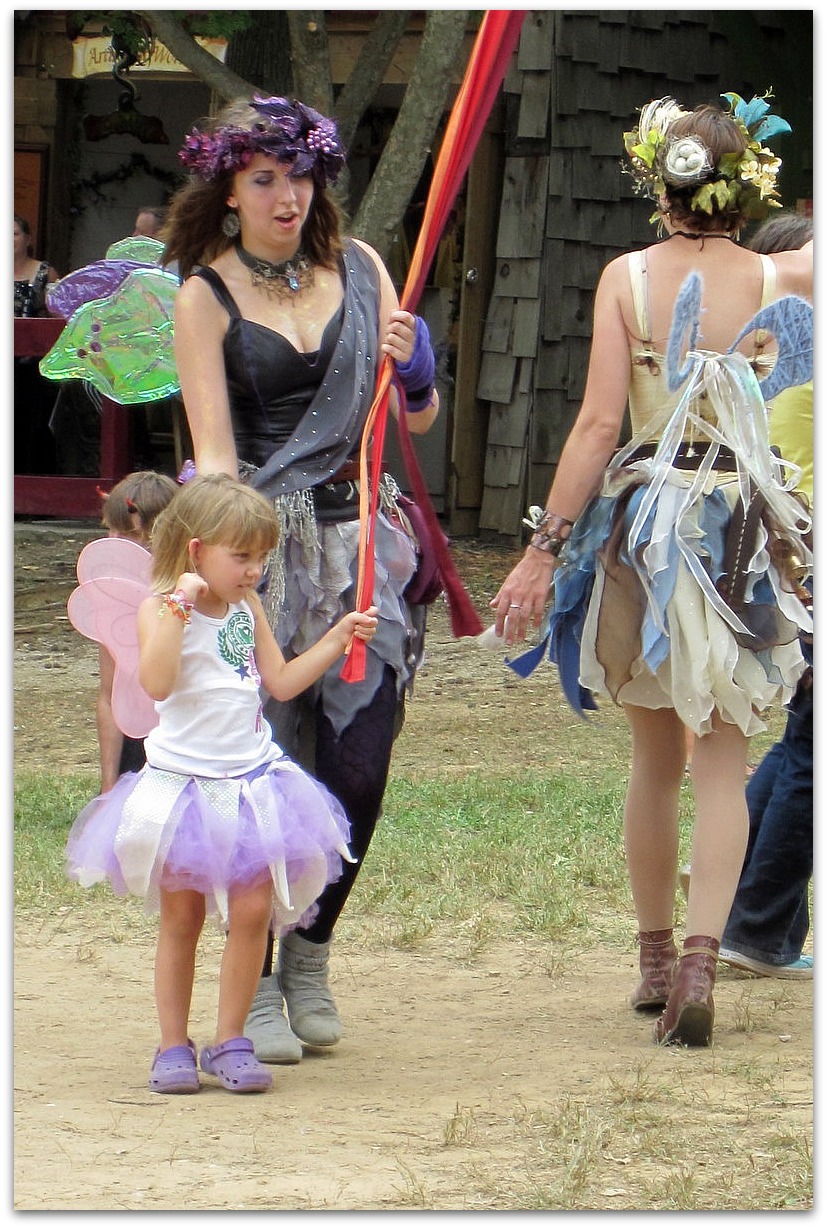
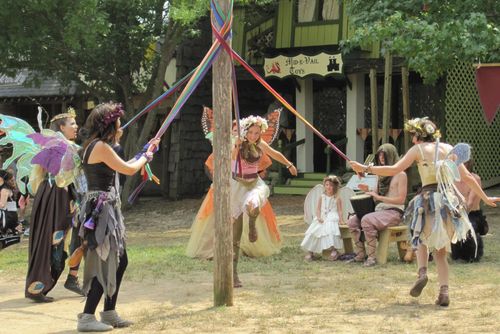
She even got brave and danced with the fairies around the maypole.

IMG_2476

Sugarwings, on the other hand, needs no courage, she thinks she is one of the fairies and runs right to them.  She deserts us and joins their group as soon as she sees the fay.

IMG_2499
And takes flight!  See her feet? She is up in the air, flying off to be with her fairy family.

IMG_2630

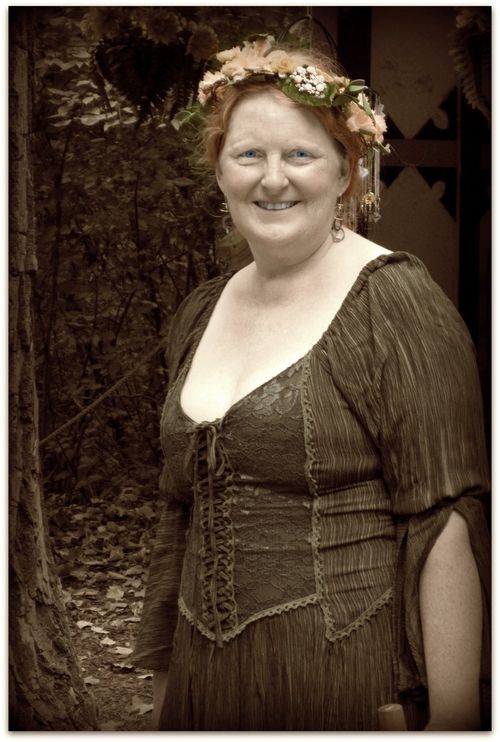
My sis-in-law treated herself to a gown at the festival. I think the clothes are lovely, but personally, I don't get much shopping done there.  Besides the giant grilled turkey legs and cold drinks, I don't buy much.  But seeing Terri looking so pretty in this gown made me wish I did.

(her fairy laurel is made of old millinery in peach and gold to match her lovely auburn hair)

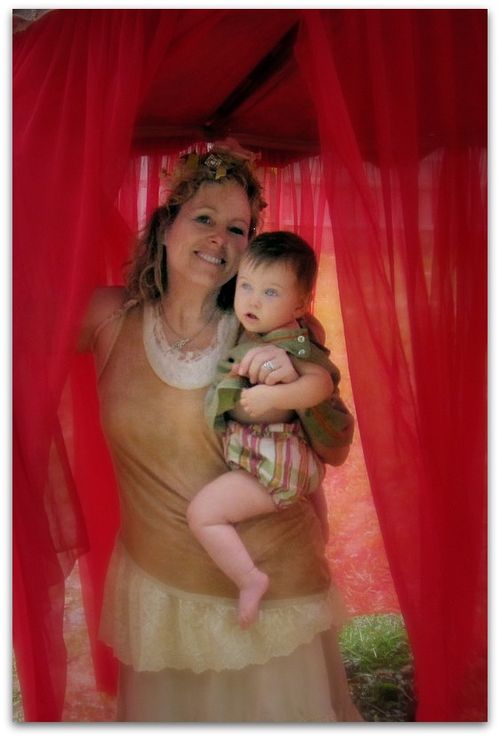
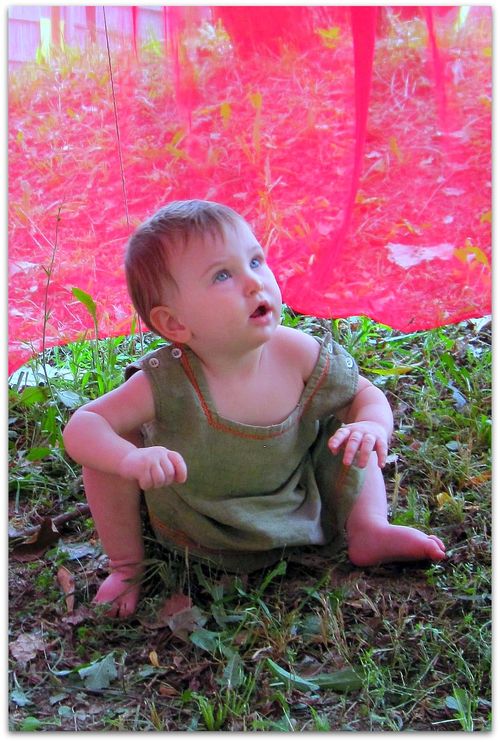
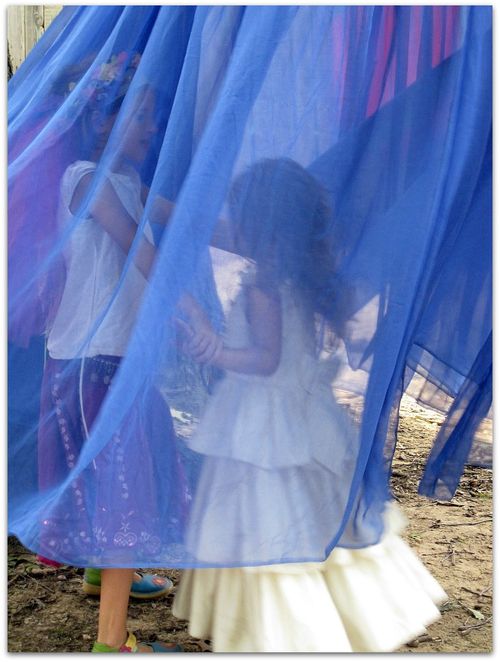
IMG_2615 Mayara loved this floaty tent. 

IMG_2616
They have a couple of them hanging from trees, and we always stop to play in them.

IMG_2585

  While we are in them, I always daydream about making one of my own. I can see how it could be done…  Wouldn't a pink one make a sweet play house in my yard? They hang from a hook on a tree branch and sway in the wind, with all the chiffon billowing in the breezes.

IMG_2641
There are more festival shots to show you, I'll have part two later this week.  Remember, if you want to be in a drawing for the Craft Day Giveaway package of ephemera and pretties, please leave a comment HERE.


Sweet babies

antiques/junking, dogs, Dorkies (Yorkshire Terrriers), family, Mayara, Sugarwings

  IMG_4184

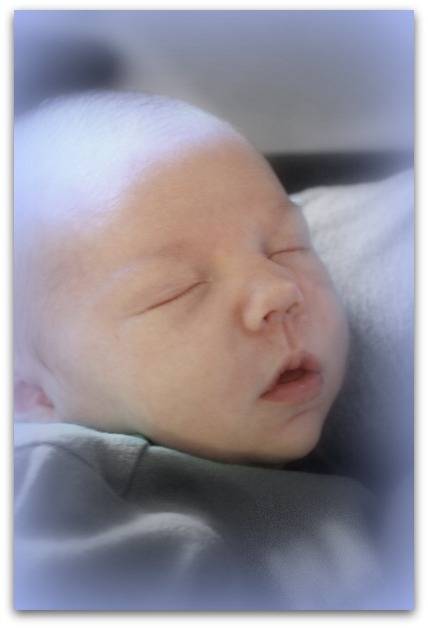
Miss Pixie Pie, is now a big sis!  She has a cuddly little brother at her house now.  We got over to see him a few days ago and I was able to get some snuggles. There is nothing on earth like holding a new born baby, is there?

IMG_4201
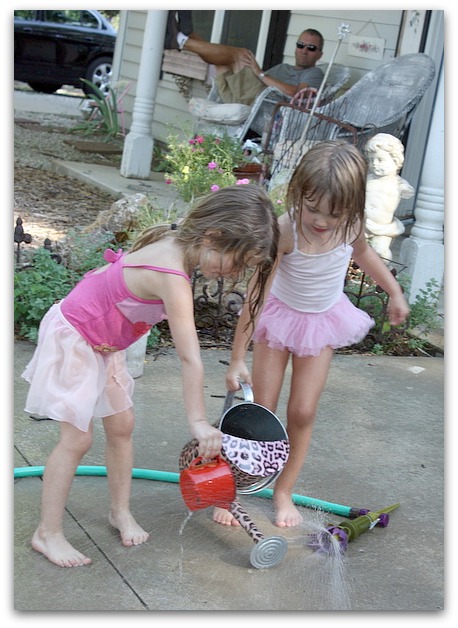
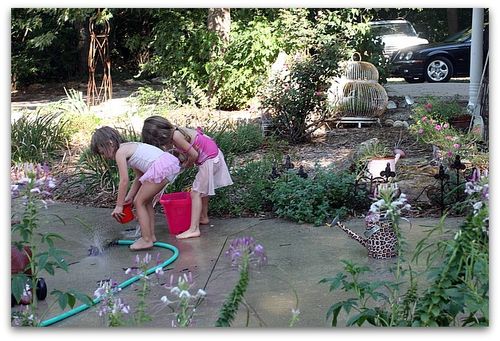
We took the big sister home with us for a while to play with her cousin and give her parents a little break. The girls spent a lot of the evening just filling water cans.  Its good to have well water, and not worry about water bills,  water is such easy entertainment for kids this age.

Afterwards, they were a little shivery, so I fixed them hot cocoa.  Not something we have very often in the summertime, so they were both pretty excited to get some.  It was fun to have hot chocolate in the summer in the same way it is to have pancakes for supper sometimes. 

IMG_4190
After getting dry and warm, they helped me make dinner.  I like to give the kids a hunk of bread dough and some bowls of cheese and broccoli for them to create their own bread sticks.  Our fairy grand kid can play with dough for so long, we almost don't get it into the oven in time to have it done for supper. Pixie Pie was a bit more efficient than her cousin, she got hers done and ready to pop into the oven right away, so I just gave her more and kept her going on it.  That kid doesn't mess around, she got them all whipped up in no time, while Sugarwings was still reconstructing the shape of her dough ball for the dozenth time. 

Speaking of cooking, my gift for the new mom and dad might seem a bit odd, but instead of buying baby clothes or toys, I like to pack up a big bag full of convenience items.  Paper plates, cups, plastic forks, etc. to hopefully save them some time while they are caring for the new baby.  Its a hectic time, and its not always easy to get dishes done while caring for a newborn.

IMG_4105
Cause watching a little one can sure wear you out!

IMG_4098

 
Earlier in the week, we were lucky enough to have BOTH grands over for the night.  Mayara is just getting big enough to come over and spend some time, now that her  mommy is not nursing as much.    She was so sweet. If I held up her dolly, and ask her to give it some love, she'd plant a big ole slobbery kiss on its head. 

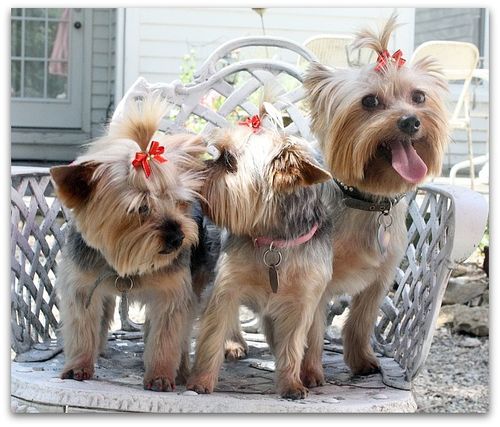
IMG_4155 These girls are all pretty sweet too, I splurged big time and took them to the groomers for a make over, complete with matching bows.

IMG_4165 Our neighbor, Holden thought they looked lovely.

IMG_4219

Even with all the cute babies around here, I've been managing to get things done. I went to a flea mkt with Mary, and met up with Beth who was selling there.  As sweet as all the kids are, it was pretty durn nice to have a grown up day with junking!

By the way, Mary is hosting her first swap and its a doozy.  Its for glue book pages, and she'll provide the book covers, ring binders, plus an ephemera pack to get you started on making your book grow with more art when you get it back.

IMG_4227
Our remodelling project has been finalized too.

IMG_4230
Its good to finally get all of that settled and mark a date on the calender to start it.

IMG_4225 Although, that means, that I have to start packing up my kitchen.  Ugh.

IMG_4234
On the other hand, it means that I get to pick out flooring and shop for something to build into a kitchen island.  I know what I want, now I just need to find it.

IMG_4249
I've been adding some things to the Boutique over the weekend, and a few to the long neglected Etsy shop too.

IMG_4222
I  hope to add more, but then I always say that, don't I?

This weekend we have family in town to visit, and will be going to one of our faves, the Renfest.  After that, I have 3 days to get everything in my kitchen and dining room packed up and out of the room so the work can begin.  So, who knows if I'll get more added to the shop. Maybe after the packing up is done.

IMG_4239
I'll have more additions to the shop to show you in the next post, this one has run on long enough.

Almost Zero Dollar Decorating!

dogs, Dorkies (Yorkshire Terrriers), housework, redos, sewing?

IMG_4092
During my frenzy of de-mousing the house, I gave my bedroom a deep cleaning.  Sugarwings was spending the day with me, so it was her job to squirt the wax while I mopped the floor.  There is a short period of time when kiddos think that helping clean is more fun than just about anything.  Too bad it doesn't last longer. (and you should see how happy she was to hold the black light the time we went on a dog pee search- it was like treasure hunting to her.  I wasn't quite as thrilled to find the glowing purple marks as she was.  By the way, those black lights are the best tool around when you are housebreaking a puppy!!)

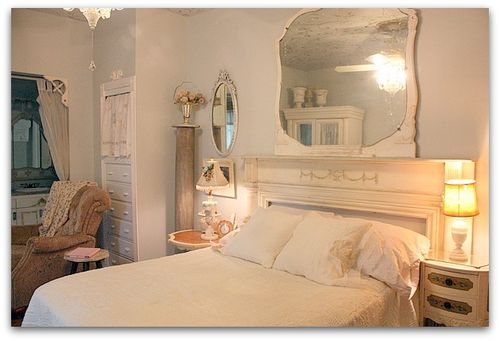
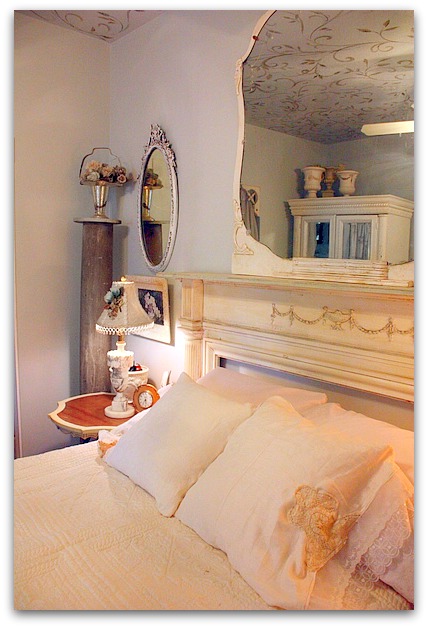
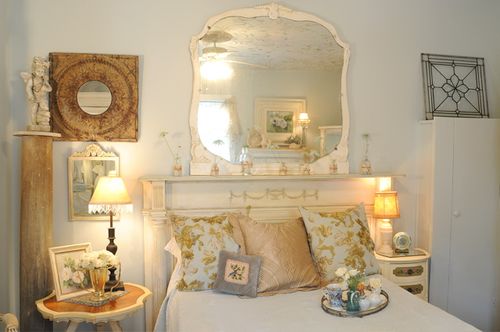
After moving all the furniture and cleaning under and behind it, I wanted to freshen the room up with a new look, but the way this room is laid out, if we want to lay around in bed and watch tv, there aren't many choices for rearranging. So, I did the best I could and moved around some of the mirrors and things on the wall. 
  IMG_4094

The mirror had been in the bathroom before, I switched around a few mirrors and traded them out.  Its not as fun as shopping, but it did make me feel less bored with the whole room. I kept the pillar where it is, but took the concrete angel out doors, and set an old vase with silks up on it instead.

The lamp came from the living room, and I pinned a blue millinery rose to it so it would match this room. I have a smaller alabaster lamp on the other side of the bed, so I kind of like having a near-matching set together. (both are from garage sales, years ago for about 5 bucks each)

Zero Dollar Decorating always gives me a lift, sometimes switches and trades are all I need to jump start a room and make me like it again. But, I can't quite call this mini redo that, because I did buy a few things for it.

While I was on my trip to Indiana, I found the alarm clock at an antique store ($11) and the new spread at either TJ Max or Steinmart for $40. 

I also bought two indoor/outdoor throw rugs at TJMax for $12 each, but I pointed the camera the other way, so you can't see them here.  They are a neutral tan with brown vines.
IMG_4085
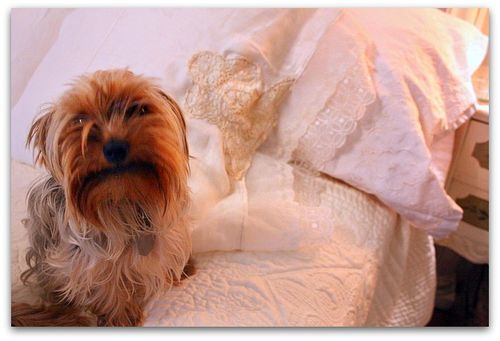
The most expensive part of the redo was a new sewing machine. I was too cheap to pay $25 for two shams to go with the new spread, plus I preferred using some vintage tablecloths and lace that I had to make some instead. 

Half way through the project, I seriously jacked up my 6 year old, low end Singer and couldn't get it to sew anymore.  I hate to admit that I am part of America's throw away society, but it would have cost more to repair than replace, so I zipped over to Walmart and got another $89 machine. Hopefully, I'll get another 5 or 6 years out of this one. 
IMG_4093
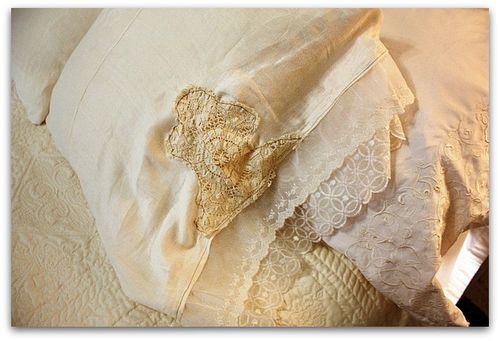
The table cloth I used on the top pillows was a little holey, so I patched it with lace, then added rows of sheer trim (a Bird Song Tag Book Swap hostess gift!!). The shams for the other set of pillows were made from curtains that I took down in the bathroom.

Yep, my redos had spilled over to the adjoining bath. Well, when I started moving mirrors around, it hit me that I'd never liked that curtain in there….  When we remodelled, I found it at the Goodwill for $5, it wasn't vintage, just second hand.  And it was always too long, I kept thinking that I would hem it and never did, so I just took it down, turned it into pillow shams, and made something else to hang there, while I was on a roll.
  IMG_4114

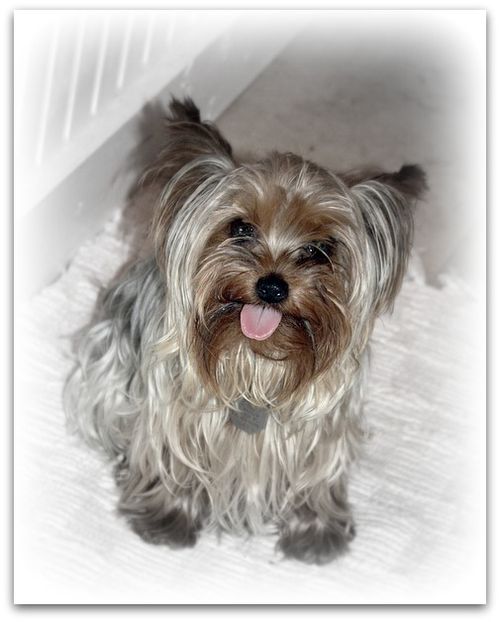
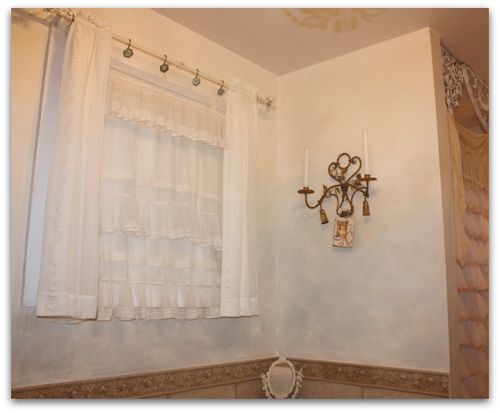
My buddy, Lisa, had given me a gorgeous netting and lace bed set that was too nice to use on the bed in a house full of dogs. So, part of it is hung as curtains in the living room, the rest I cut up to make a curtain in here.
IMG_4113

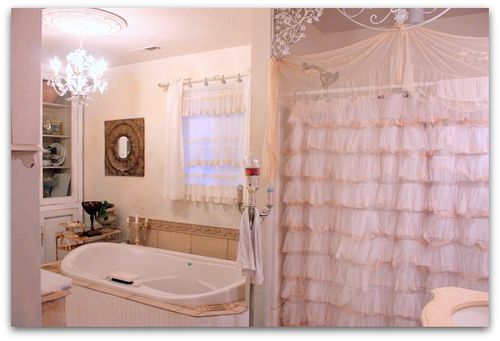
Since netting isn't private enough for a bathroom window, I sewed the fabric over some of the table cloth I'd cut up for pillows.

It isn't quite wide enough, so I hung a curtain panel on each side to cover that up.  Everything is smoke and mirrors at my house, all made to look better than it really is…
IMG_4110
But overall, I'm much happier with the "new" curtains I made.  They go well with the Victorian Trading Co. outlet store shower curtains ($20, then dyed with tea, coffee, and Rit)

My husband is of course, just thrilled with more frills.  (not really) But he rarely notices what I do to the house anyway, so its fine. He doesn't actually care. 

I know I've told this story before, but it was years ago, so maybe its okay to tell it again? My Mother-in-Law was visiting, and my darling was showing her photos of our home in a magazine that had been lying on the table.  He was very proud and telling her details about each room as he went through the pictures.

I was a little surprised to hear him so interested, but thrilled to hear him be proud of something I've done- like I said, I don't think he notices things around the house. So, I looked over their shoulders to see which magazine they were looking at.

It was NOT our house. He just thought it was since there were pink roses and chippy paint in the photos.
  IMG_9947
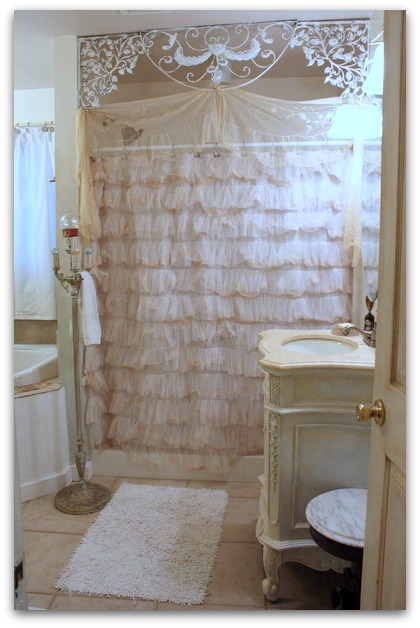
In this photo from earlier this year, you can kind of see the old curtains on the window.  Just enough to see what I mean, about them being a bit too long.  They hung down all the way to the rose trim around the tub, the new ones (next picture) are a better length.

Roses

(that rose tile is one of my favorite things about the room.  While tile shopping, I saw it at a store in Topeka, but it was discontinued. They happened to have a few pieces left in the back room and sold it to me for 75% off.  I had enough to put around the tub, plus one extra that I keep thinking I'll make a shelf out of.)
RB4

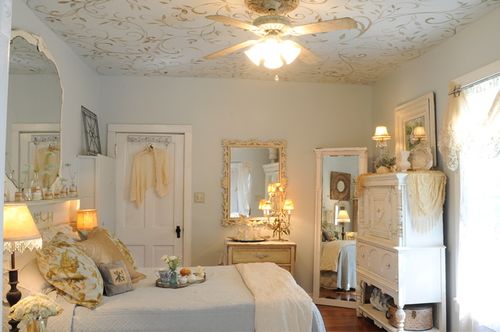
Here is the bedroom from a couple years ago. No, I didn't change much, but just enough to keep me from being sick of it. I'm easily pleased.
  RB2

Here is another older photo. 

IMG_4089

Maybe it is more "edited" now.  I was going for serene.  To cut down on clutter, I also draped a small table topper over an extension rod in the built in cubby above the drawers.  It was just a dust catcher, I had stuff sitting in there, not anything functional or really all that cool. Just a couple urns and a photo.  I like it better covered up.

I like the whole room better now.  I just hope that the bedding stays ivory. The first time it rains and the dogs jump up on it, might be the end of it.  White might be smarter, it can at least be bleached to stay white… wish me luck.
 

Painting furniture with no sanding, some short cut tips

dogs, Dorkies (Yorkshire Terrriers), how to's, how-to projects, paintings, Tutorials

IMG_3997
I've done a few other furniture painting tutorials (you can find them on my side bar, along with a lot of other how-tos), but those were mostly whites, creams, grays.  Not everyone lives with "low color" like I do, a lot of people like some flash. I know my family does, they all think my neutrals are boring. So when I paint something for them, its usually bright and cheerful.
So, I thought I'd give you some tips for using deeper colors.

IMG_3860
Our Hippy Chick was given this two piece set by her dad, it used to be his mom's.  It looks okay as is, but dull for a  fairy's bedroom, and this was meant to go in Sugarwing's room at her mommy's house.

Its been painted a number of times, looks to me, like the latest was a 1960s antiquing technique.

When I don't know who painted a piece or what they used on it, I always coat it with a BONDING primer, so my own paint will have good adhesion. If I painted it myself and know that it was latex with no poly top coat, I skip the primer and just paint it as is. But since so many things I paint are garage sale or flea market pieces, I have no idea who used what on it and I use primer in case.

IMG_3987
Over the years, I've tried many of the brands of primers.  Currently this is my favorite water clean up one. 

There are gobs of primers out there, be sure that you are using a Bonding primer, that says it will stick to glossy surfaces, do NOT use dry wall primer, that is a completely different thing. Kilz will not work unless you also sand.

I NEVER ever sand or strip the piece before I paint it.  Life is too short!

Now, if you are painting something really tough, like laminate or a high gloss laquer, maybe a quick sanding wouldn't hurt, just to give it some tooth.  But for most furniture, a bonding primer will be just fine with no sanding at all, as long as the piece is clean.

For darker or deeper colors, use a gray undercoat to prime with.  The white one is too glaring and will take more coats to cover it.

IMG_3988
Speaking of coats, use good paint.  Wall-mart paint is cheaper, but you use more because you are going to use more coats. More time, more work, more paint.

A quality paint saves you quite a bit. This Behr is my fave, it comes in many colors and usually only takes one coat. 

For this, I let Sugarwings pick out the color herself.  Its a Disney shade that is carried by Home Depot.

I chose Satin finish, that should hold up to little fingers and heavy use with no top coat.  This is a good paint that will last.

IMG_4001-1
After cleaning the furniture, decide if you want to change the hardware, if so, you might need to fill in the holes with putty, let dry, sand and then repeat.  After the piece is painted, you drill new holes to match the new hardware.

If keeping the knobs, do you want contrast or do you want to paint over them?  If this was going to be a cream colored piece, I'd have liked the contrast of the aged brass. But for a kid's room, I wanted the pulls to blend in.  So I left them in place and just primed and painted right over them. (when I was all done, I dry brushed another shade over them so they would have a little more interest)

IMG_3989

Pull out any drawers, and set them up on their backs to paint. It will save dripping.

IMG_3990
Don't ever paint the sides, or the bottom of the drawers, or they will stick like crazy!  I like to wax the sides of each drawer, for an easy opening and closing.

Also, I paint the interior of each drawer, just to make them feel clean and fresh.

IMG_3998
If you are doing decorative work after the paint dries, acrylic craft paint works fine.   I made simple stripes in multiple sizes with different sized brushes, and polka dots with a round sponge.  Then painted some flowers on the bottom drawer, added vines to the doors, and accented the trim with various shades.

IMG_3999 I am not a perfectionist.  I like old furniture to look like old furniture. If its been painted a few times in its life, I like that to show. I don't sand it down before painting, or between coats. If you like the perfectly smooth look, you'll need to sand.

When painting around glass doors, make sure you scrape the glass off with a razor blade within a couple days of doing the job, or the primer will be hard to get off.

If you are painting a two piece set like this, let the paint "cure" for a few days before stacking them.

Any questions? Feel free to contact me.

Tools you'll need:

  • bonding primer
  • quality paint
  • opener
  • drop cloth – unless like me, you don't worry about your workspace floor! You can see mine has seen some painting over the years
  • a wet rag is nice to keep handy
  • paint brush
  • small sponge roller (for big, flat areas, this sure speeds things up)


Scroll to Top