Making Memories Last
Books, fairies, family, how to's, show and tell, Sugarwings, vintage paper/collage artThe last few days, I've gotten caught up on a year's worth of photos! January seems to be a good time for me to get organized. But it would be smarter to glue pictures into the albums throughout the year instead of dealing with a couple hundred at once…
Since I had so many to arrange, I kept the pages very simple, quick and easy.
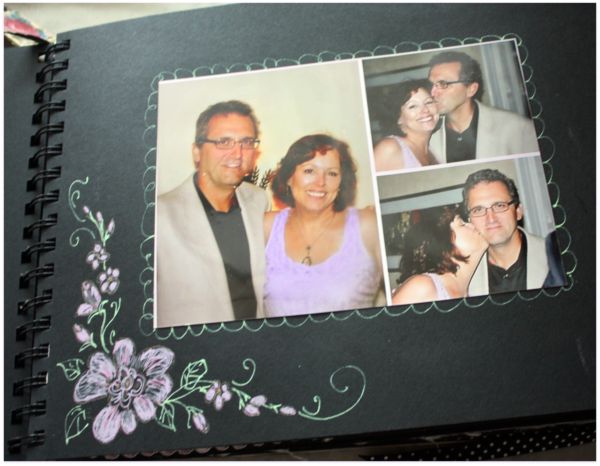
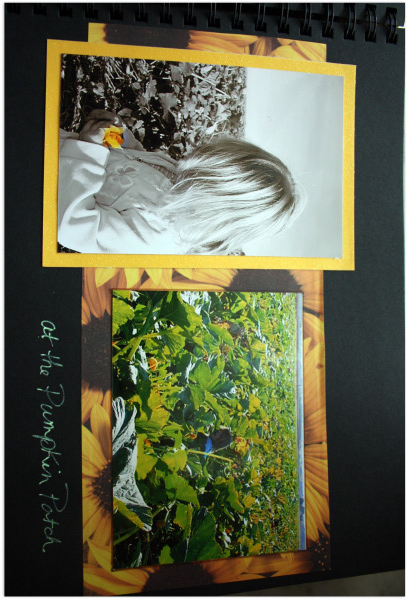
Printing a page of collaged photos saved a lot of time! So did using the black pages as a background, and not trying to cover them up completely. On this page, I doodled some flowers in Gelly Roll ink in the corner and slapped some glue on the picture and stuck it down.
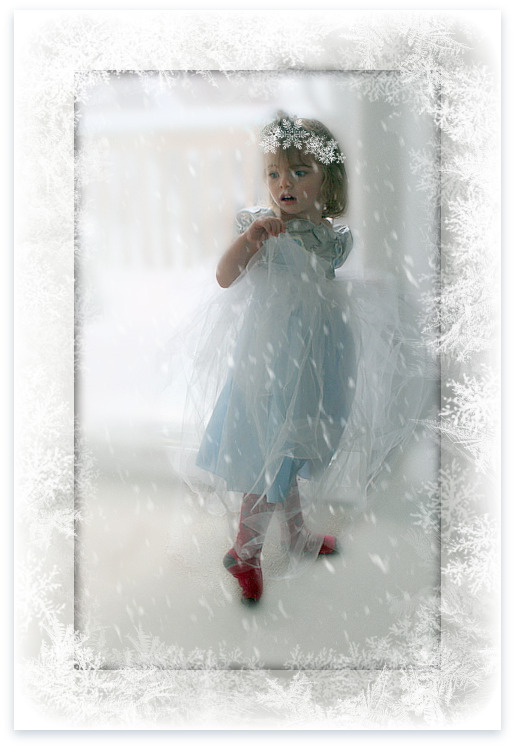
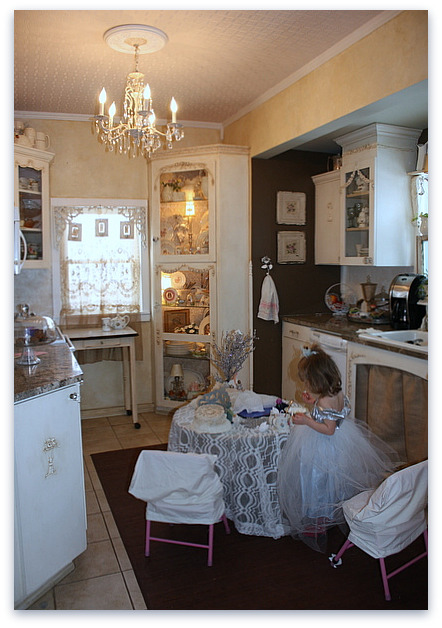
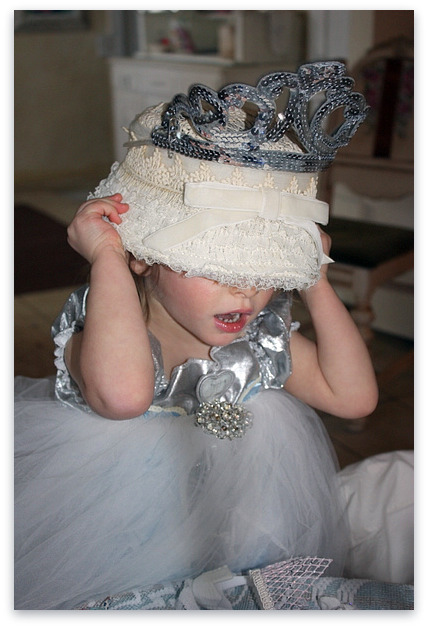
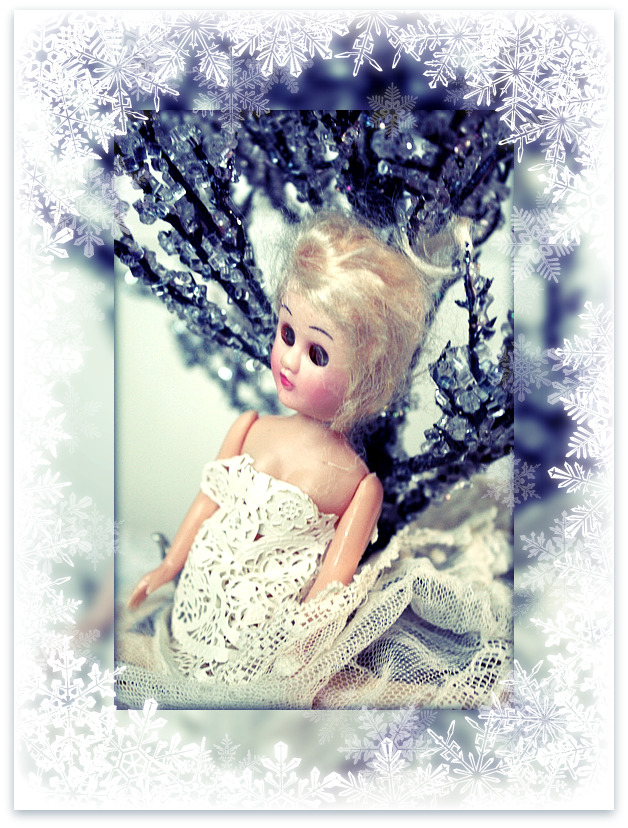
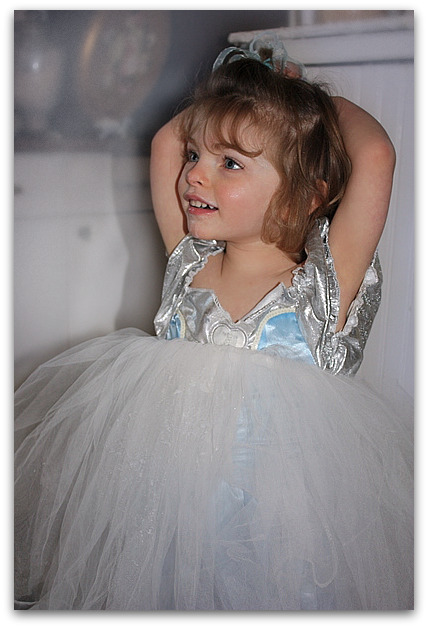
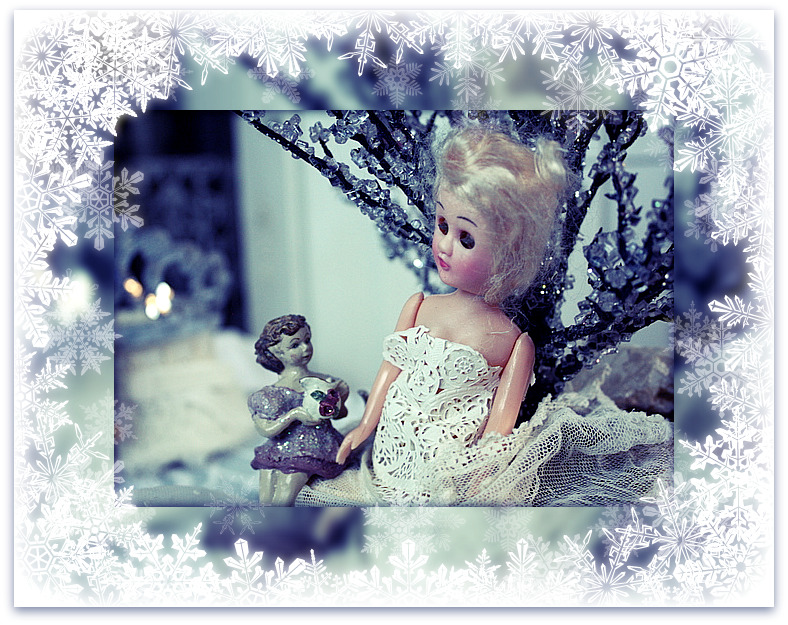
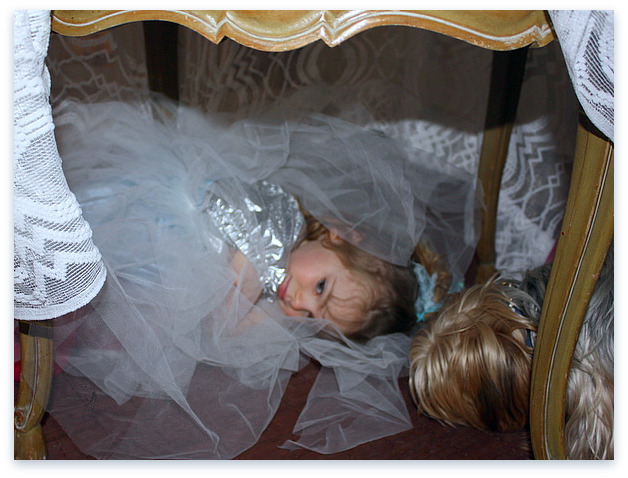
For Sugarwing's Snow Princess picture, I used a two sided card stock to make a card. One photo went on the top, and then I trimmed it in some of my Great Aunt Caroline's old lace.
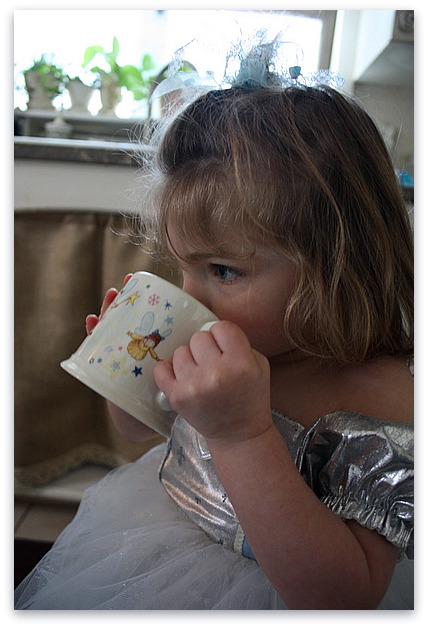
I glued the back of the card into the album, and added another photo to the inside. Next, I glued down an envelope that holds a copy of the story I wrote for her when we had our Snow Princess Tea Party.
The pastel Gelly Roll pens really worked well on the black paper, so I made use of them a lot.
I don't really consider myself a scrapbooker. But, I do have tons of books that I've made (mostly about Sugarwings, but there are some other pics in them too) so I guess I am.
My goal when assembling an album is to get a lot done, fast, simple, quick, and cute.
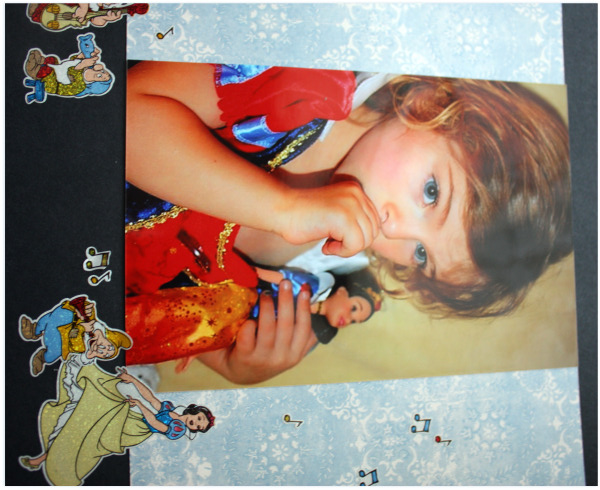
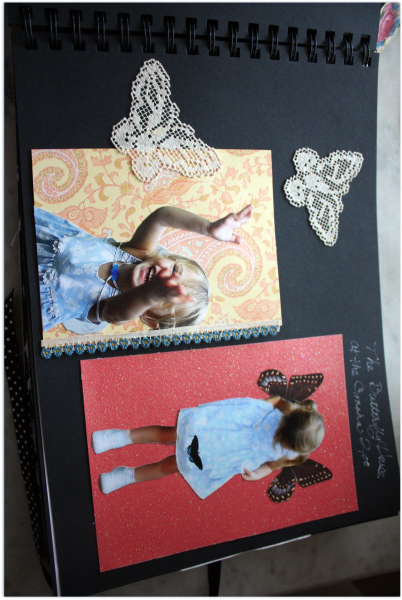
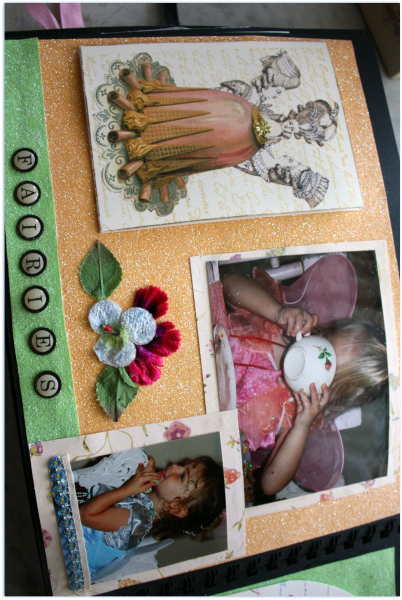
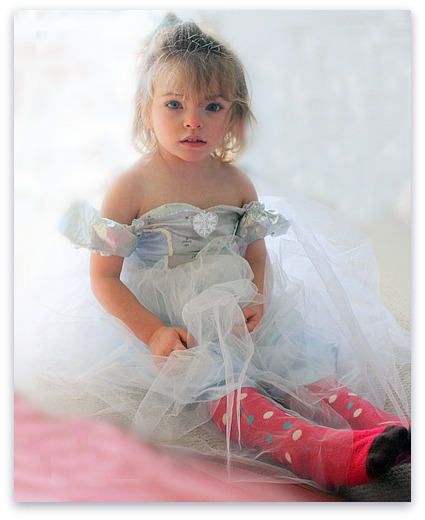
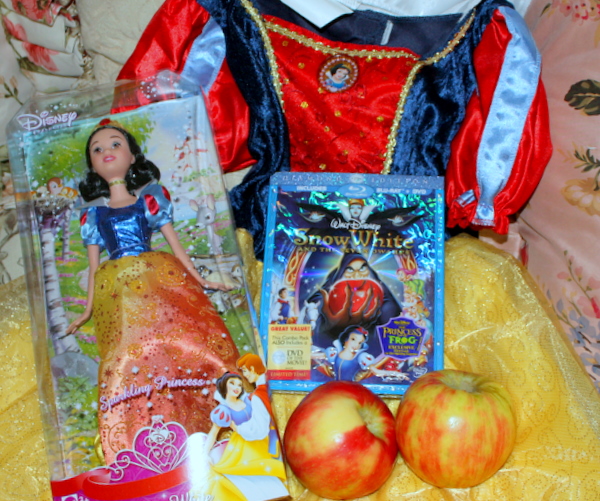
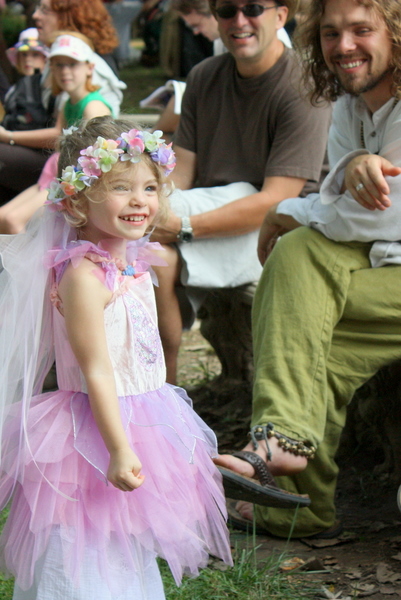
First step is to sort the pictures. I arrange them in piles according to event or person. I work my way through, one pile at a time, and have a stack of papers nearby to coordinate. Normally, I don't use stickers, but these were just so right for this picture of Sugarwings in her Snow White dress, that I couldn't resist sneaking them from her supply stash. Sometimes, I think that kid has more art supplies than I do.
Instead of glue sticks, I use a bottle of Incredibly Tacky, and run a bead of it along the edges of each bit of paper, then zig zag it around the middle before putting it into the book. It seems so much more durable to me than a glue stick.
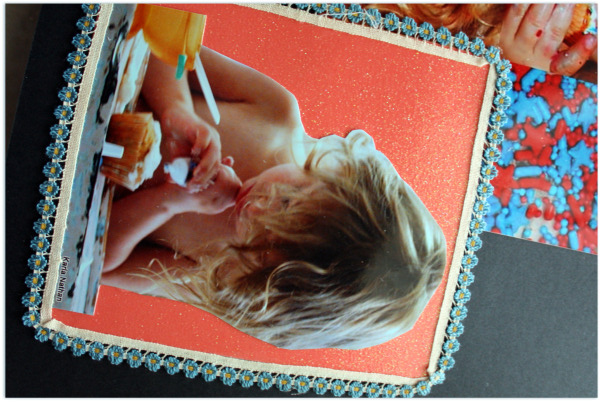
Hobby Lobby has booklets of sparkle paper cut in just the perfect, time saving, size to add a photo to. I made use of about a whole book full of those.
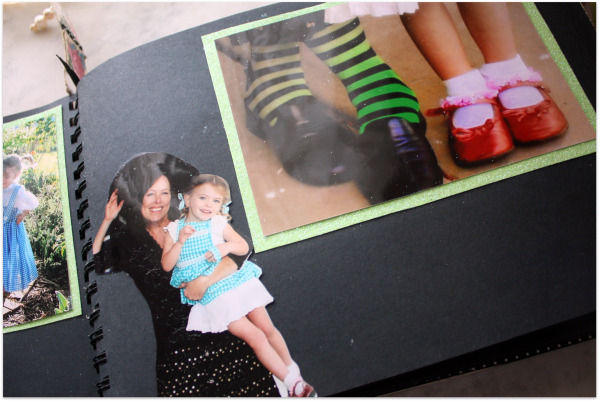
Cutting people out of some of the photos adds some variety too. I don't cut too many out, though, because part of the fun of looking at an album 20 years later is seeing all the backgrounds, and remembering a chair, or table or wall color from years ago.
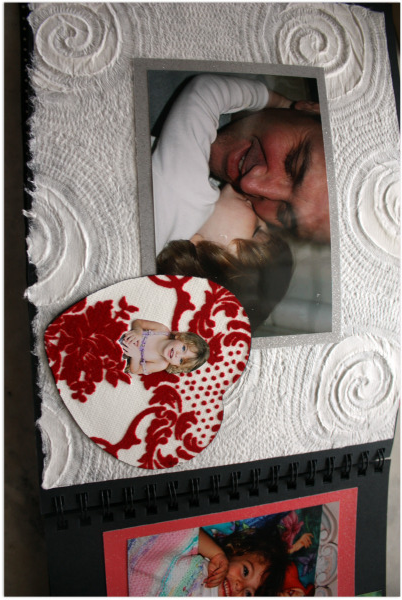
Textured papers add some interest too.
The best part of doing this was enjoying all of my favorite photos from the past year.
You can probably tell that I don't spend a lot of time cutting or measuring…. I eyeball the paper and snip away, and just don't worry about it being perfect. Like I said, cute and quick. (this is more sparkly paper, in a larger size)
Notice the beautiful card? It was one of the 100 hand made cards sent in to my Great Aunt for her 100th birthday. When she passed away this summer, I got a few of the cards to take home and thought the album would be a good way to save them and remember the occasion. This one was done by Nancy. I glued it down, and then added two more pictures of Sugarwings and Pixie Pie to the inside of it.
Cards are a good way to fit more photos onto one page. For the Christmas pages, I saved holiday cards that we got in the mail and used those to hold pictures.
Not all of the pages got much attention. Some were pretty simple.
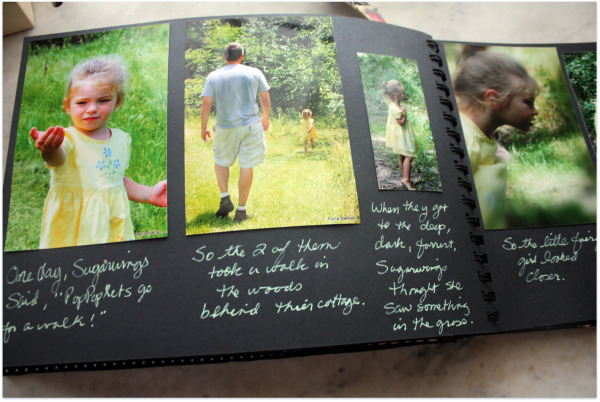
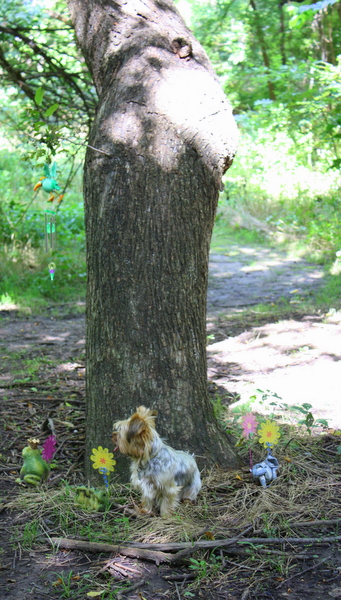
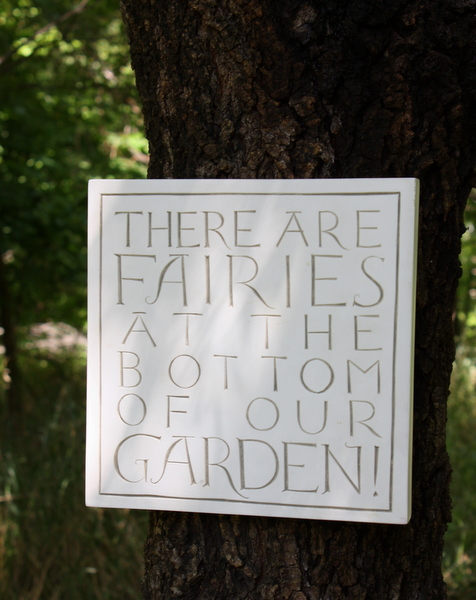
Others had more going on. There are 4 pages about the Fairy Berry Trail and I wrote a little story to go along with it. It might have looked better if I'd printed it out, or at least wrote more legibly, but like I said, there were hundreds of photos and I was going for quick and cute.
After making 4 photo albums in 3 days, I think I've had enough for a while. I have a feeling that I will not be keeping up throughout the year after all. I'm a bit burnt out. I'll probably have another big stack to deal with next January!
