free images

Friends, fun, and a farmhouse

free images, Travel, wallpaper, We're having a party

Macon 017

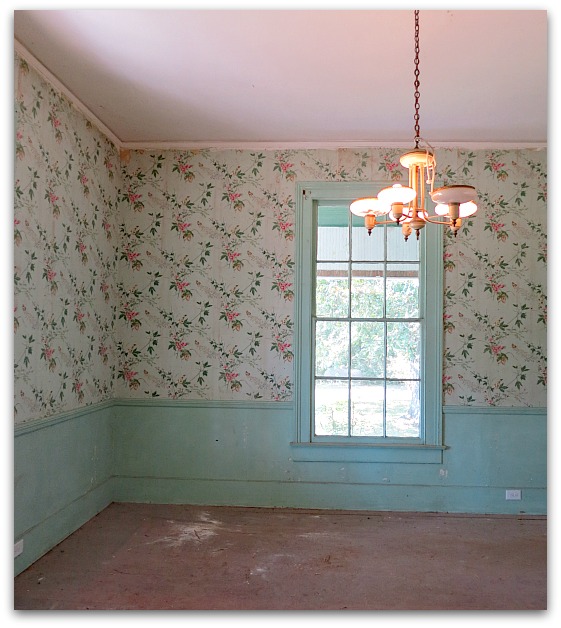
Gorgeous old paper, isn't it? 

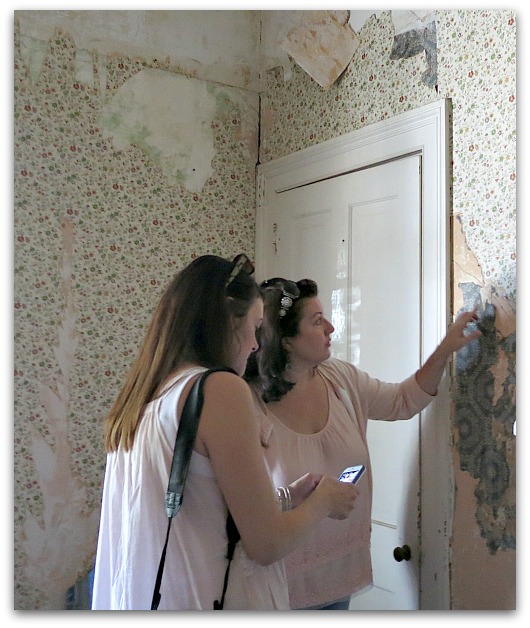
Suzanne gave us a tour of the 1875 farm house she is redoing and I was wildly enamoured with this wallpaper in the front parlor.

Macon 020

We are a bunch who appreciates old paper, and there was a chorus of oohing and ahhing during the sneak peek into the home.

Macon 013

Each room had layer upon layer, and Suzanne is patiently peeling it away in her labor of love to redo this stately, old charmer.
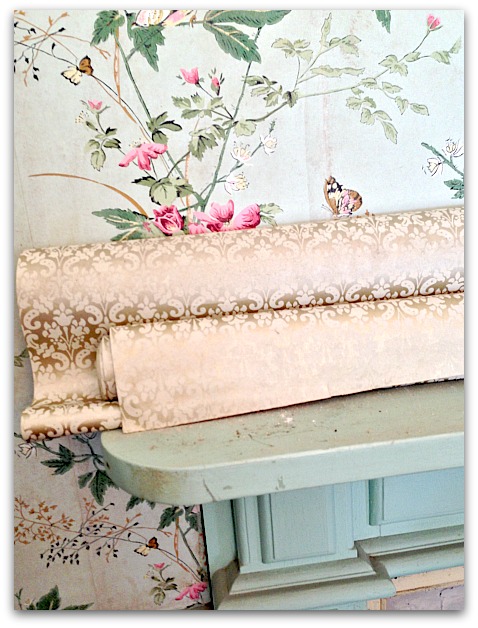

Wp

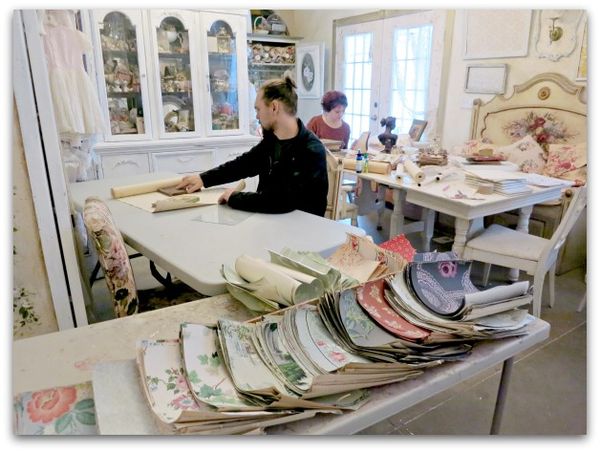
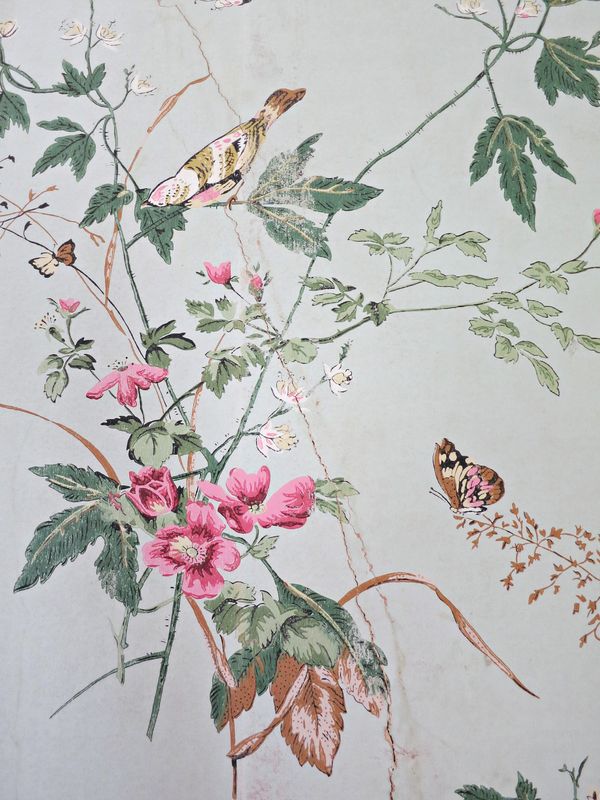
She was able to pull some of it away in big sheets. And she shared them with us!  I was surprised to see how nicely this gold paper came away from the birds and vines below it. 
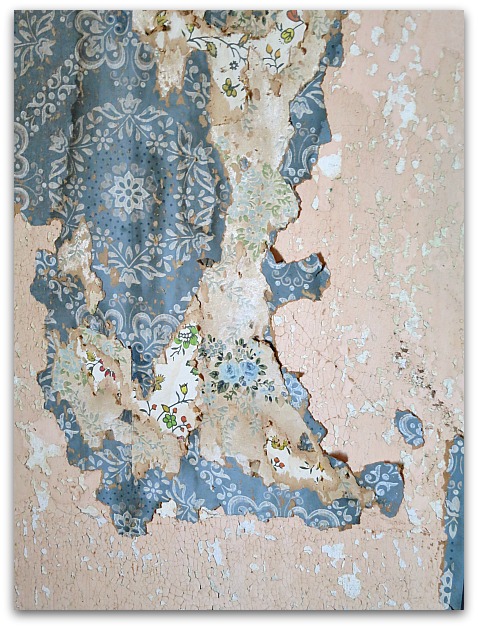

Macon 015

This is probably a more typical outcome.  Harder for her, of course, but lovely to see in all of it's crackly, peely, wonderfulness.

Macon 016

As much as I hate to see the aged papers being taken off and disposed of, once she showed us a finished room, I was able to let go of my feelings of loss. 

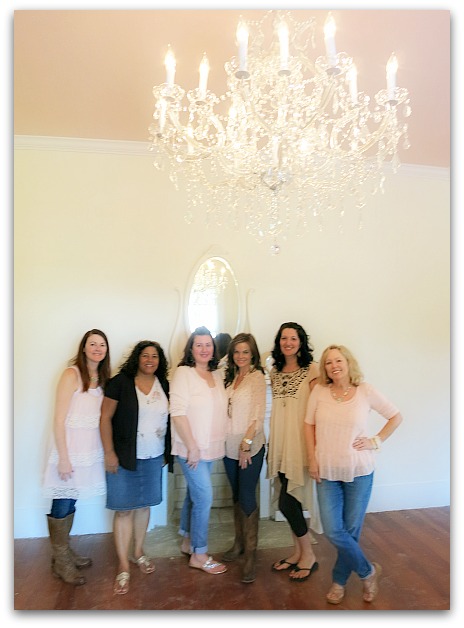
Suzanne had the workers indulge her and finish this room while still doing demo on the rest of the home, so that she would have a place to go and have faith in the project's completion. 

Macon 018

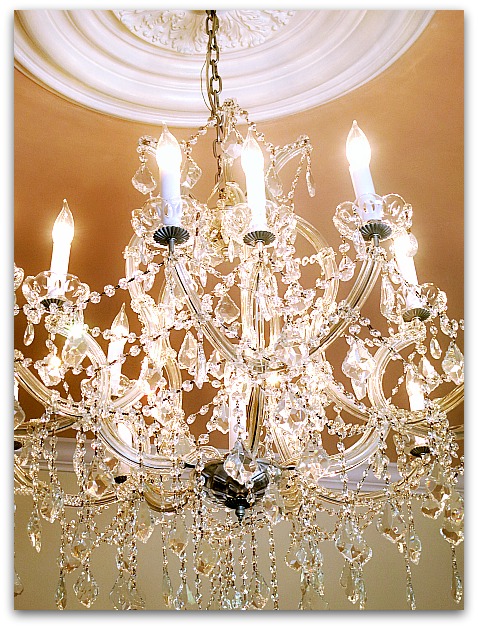
Smart plan, huh? It is an elegant and beautiful spot, an oasis in all the demo mess.  Although, I hope that chandy doesn't give her too much trouble in keeping the crystals clean.

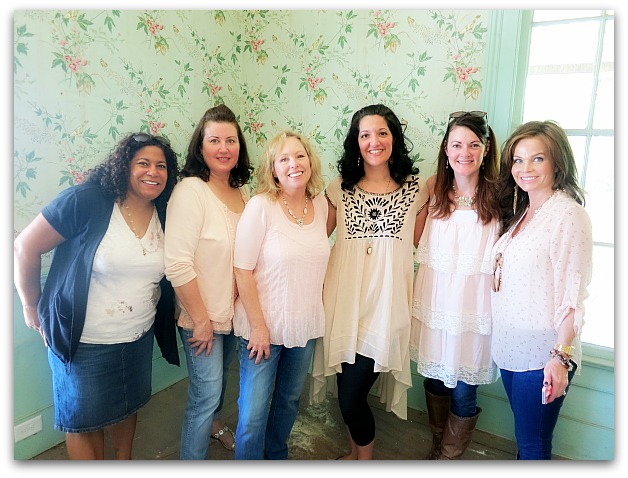
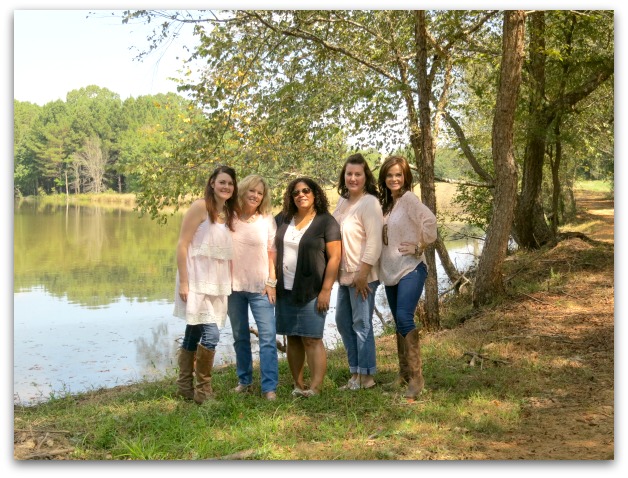
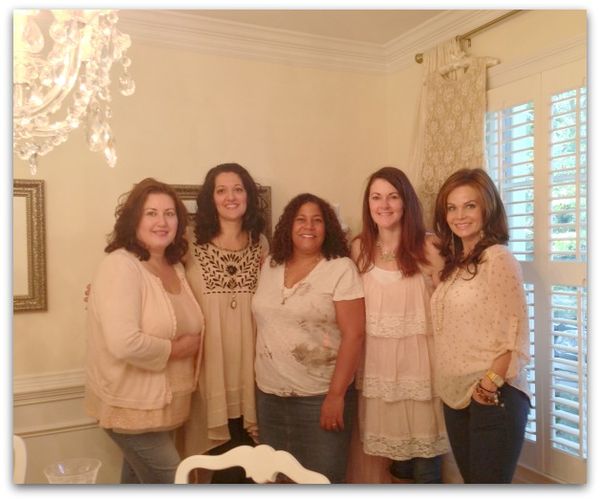
pictured: Lori Oles, Hope Wallace Kearny, Suzanne Duda, Jennifer Hayslip, Andrea Singerella, and me

Macon 025

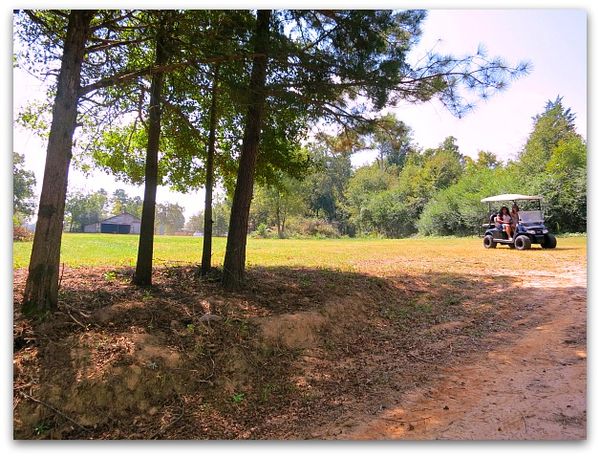
The home sits on 22 acres, and Suzanne has a golf cart for buzzing around in.

Macon 026

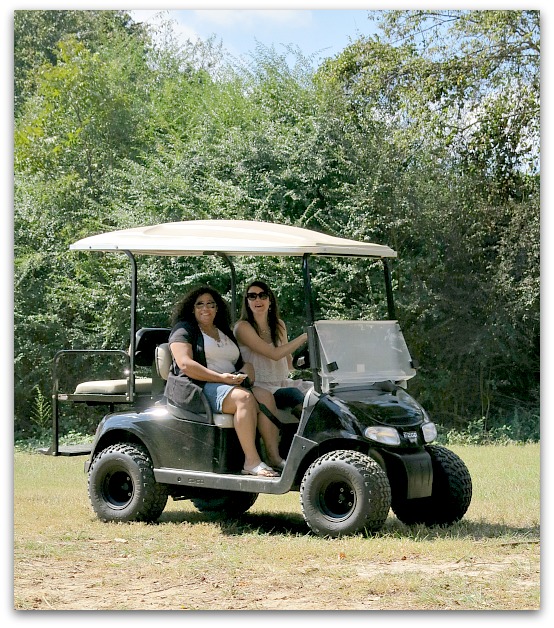
We took a ride down to the lake, and out into the woods on a curving trail cut through the trees.

Macon 027

There were lots of photo ops.  I don't think we missed a single one.

Macon 028

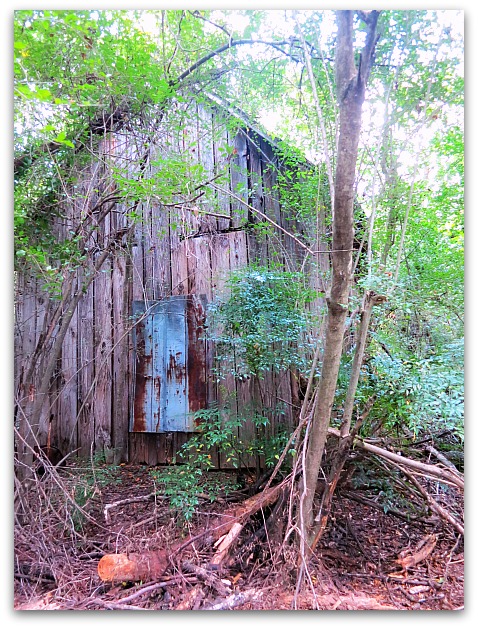
Lots of out buildings are on the property too. 
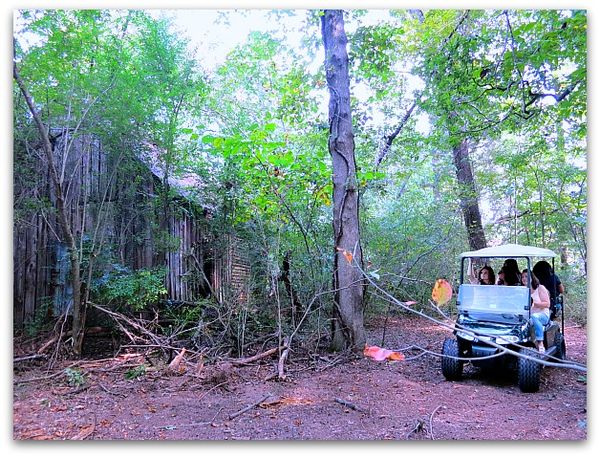

Macon 029

So much work has been done already, and Suzanne has big plans for the home and grounds.  She has a lot of people who love her and believe in what she is doing, while backing her up and helping her with the project too.

Macon 021

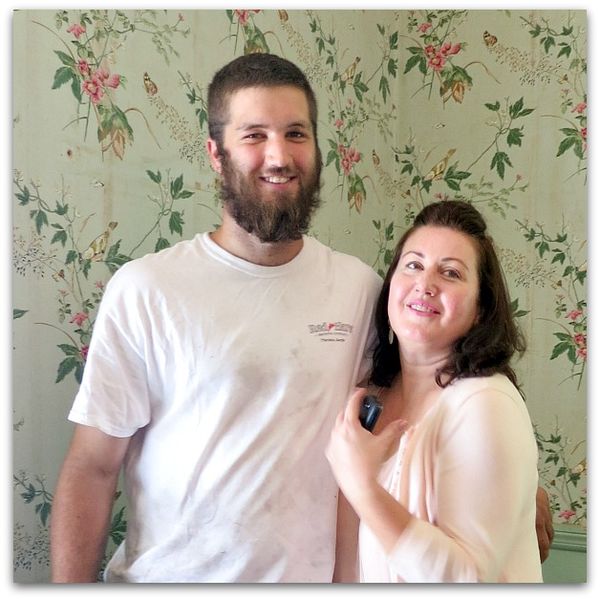
Including her adorable son who took a break from tearing out walls to snap photos of the group of us. With all of our phones and cameras.  He's a cutie, isn't he?

Cake

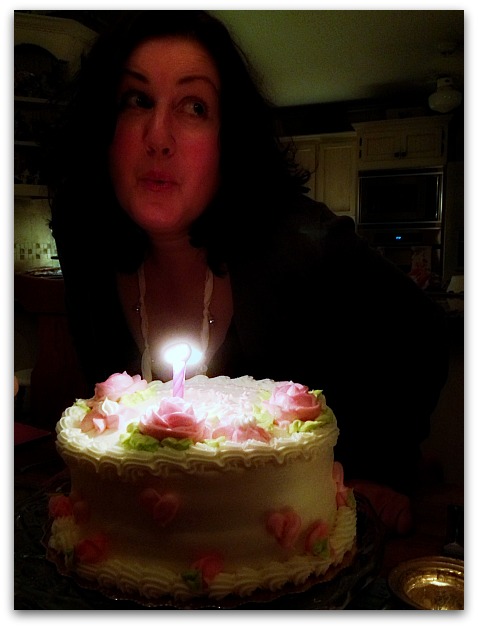
We happened to be in town for her birthday and Jenn picked up a cake, topped with pink roses, Suzanne's favorite.  And when you make the roses out of icing, they are my fave too.  YUM

Party

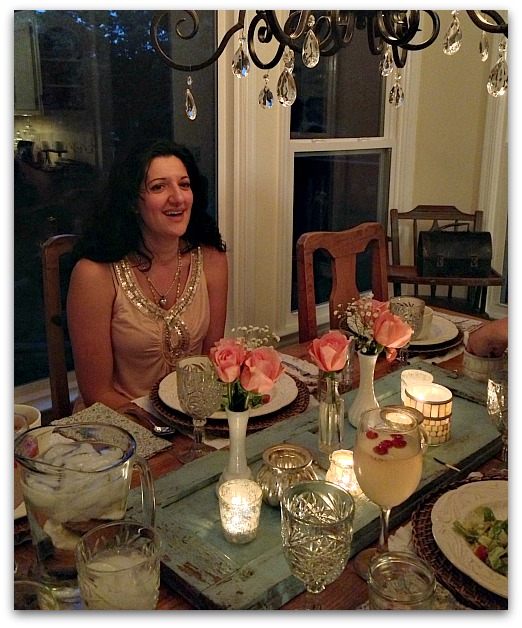
Even though it was her birthday, Suzanne fixed us a feast, at a lavishly set table.  We stayed at her home the first night, and it was the coziest, lushest B&B you could ever visit.  Big, ole. soft sofas, a warm and happy kitchen, everything was infused with Suzanne's over the top, generous soul.  She is a dream hostess.
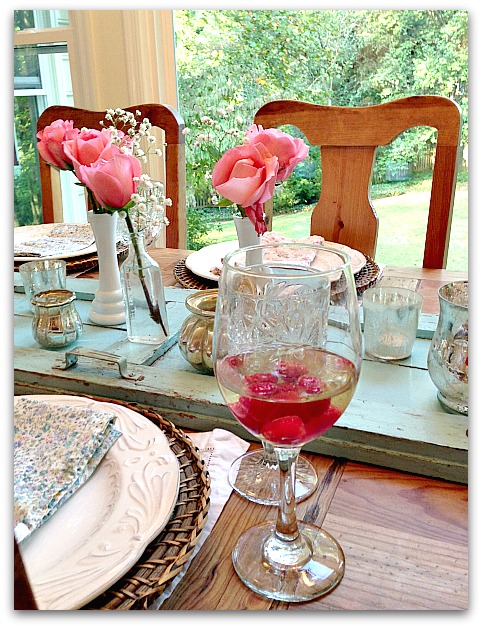

Tabl

And I plan on stealing her idea for a shutter centerpiece.

Macon 005

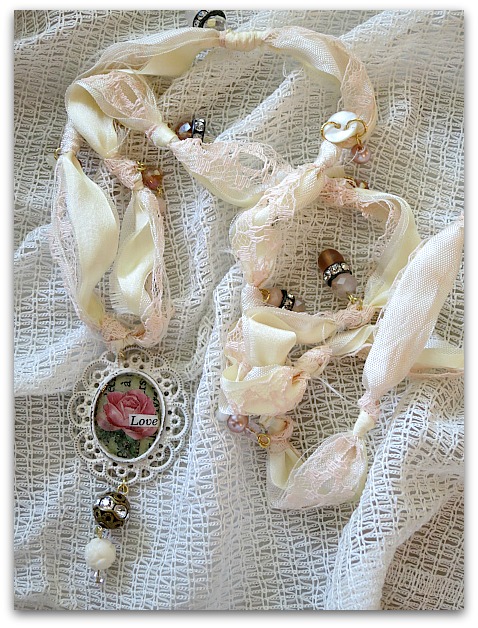
Our night was relaxing and full of laughter.  Maybe a little wine too… There could have been a couple glasses sipped while she opened her gifts.

Sss

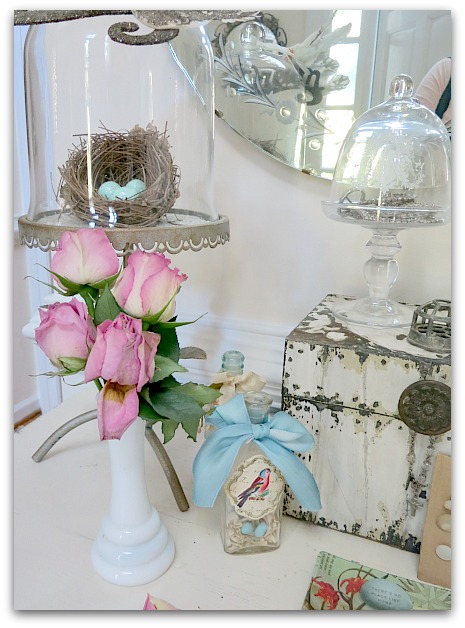
Which explains why I didn't get more photos of her beautiful, shabby chic home. 

Macon 010
That first night, we were so busy catching up and giggling, that I didn't get my camera out much.

Macon 012

I made up for it the rest of the trip, and was glad to get some "before" pics of the fab farm. I have all my fingers and toes crossed that I'll be invited back someday to see the "afters" too. 

Not just because I can't wait to see her vision of her farmhouse fulfilled, (I know it is going to be beyond beautious), but because she is a person that I wished I could spend more time with.   What fun weekend, I can only hope to repeat it again someday when all the refurbishments are done on the home.

(you can click on the first image to open in a larger window, save to your computer and print it for use in your art)  I'll have photos of the rest of the trip coming soon.
How to make a tincture of lavender oil

flowers, free images, how-to projects

Tags 014
The girls and I made some lavender extract/oil recently. We experimented, after I read through lots of online how-tos and picked out the easiest parts from what I saw. 

Hopefully, my jimmy-rigged attempt will work out.


Tags 012

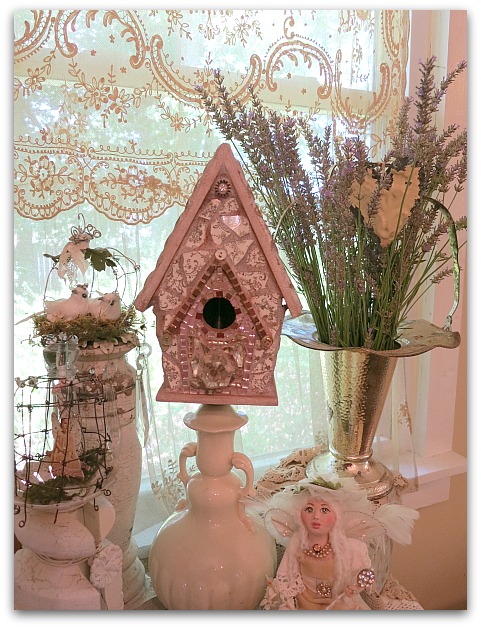
This is the first year that my lavender has really taken off, so I had a beautiful bush of it. Well, I don't know if they are condsidered bushes.  But this was so large, it practically was a shrub.

I filled a vase with some, then, we set up an assembly line of cutters and crushers to make the oil.


Tags 015

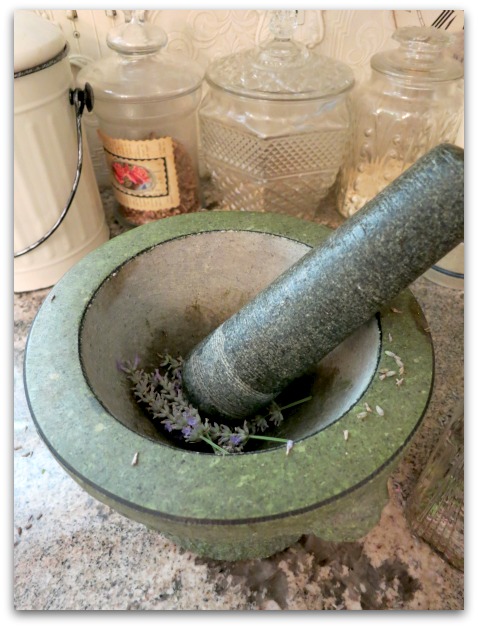
Sugarwings was in charge of the scissors, Dewdrop had the job of throwing the blooms into the bowl.  We all took turns using the pestle. 


Tags 016

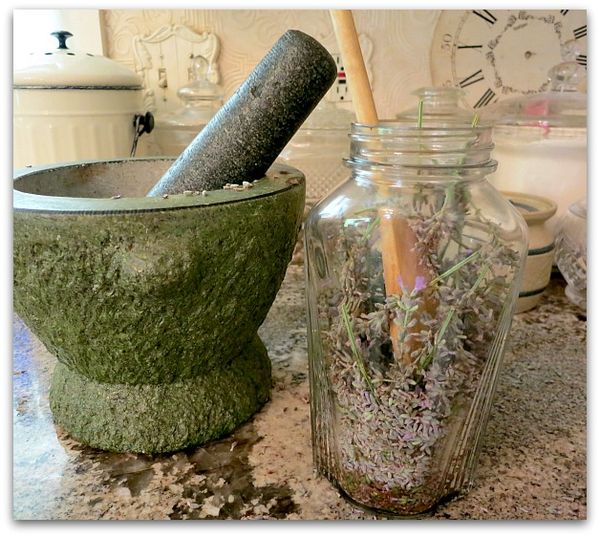
It was then shoved down into a clean, glass jar. (vintage of course!)

We covered it with vodka to soak. (to me, this seemed less likely to cause bacterial problems than soaking it in oil might, although I'm sure if done right, oil is fine) At that part, my husband walked in the door as I nabbed his bottle of Gray Goose, and he was wondering if trying to make this concoction with the help of the two little fairies had driven me to mid-morning drinking.

Once I explained what we were doing, he thought I might be wasting the good stuff (I don't drink vodka, but once the price was explained to me, I quickly looked in the cabinet for something cheaper)

Here is how we are making it, I'll let you know how it all turns out:

1- Trim most of the stems off, but you don't have to take the blooms off completely, just cut the stem off at the base of the buds.  (I placed a few cut off long stems in each trash can around the house, as air freshners)

2- Lightly crush the blooms, just to release the oils.  Don't smoosh them to goo.

3- Fill a clean, glass jar with the lavender, cover with vodka cheaper than Gray Goose.

4- Tighten the lid, and shake. 

5- Shake a few times a day for a week or so, and store in bright light. My bottle looks pretty on the windowsill.

6- Pour the liquid through a sieve into another clean, glass container.


Kitty hawk 043
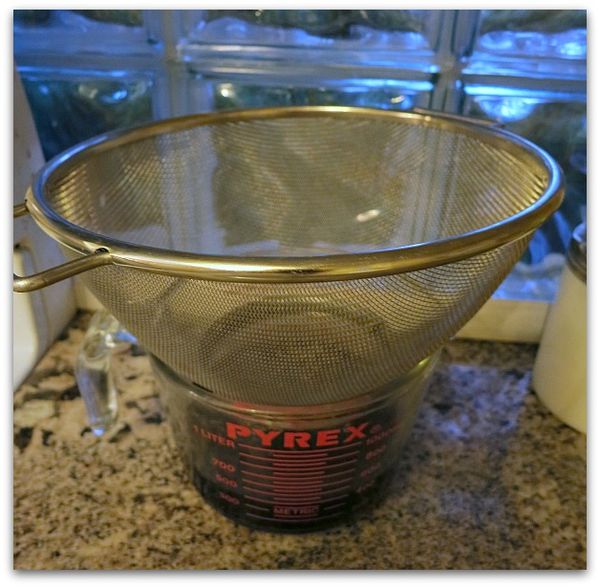
7- I used the sieve as a lid over a big, glass measuring cup and let it sit for a few days so the alcohol could evaporate. Cheesecloth is what you are supposed to use, but this seemed fine.

8- When it is done, I hope to have a concentrated tincture of fresh, organic lavender oil to use in my cleaning supplies and to scent bath products I like to make.

9- Store in dark bottles.  Make sure you make a pretty label for your bottle!

Tags 014
You are welcome to use this one if you'd like.

One site I looked at for making herb tinctures seemed good, But I only used parts of it and parts of a few others, so please google tinctures and oils before you make your own too, you might find other ways that suit you better.

Addiction is still addiction no matter what your vice is

antiques/junking, free images

Easter 13 003
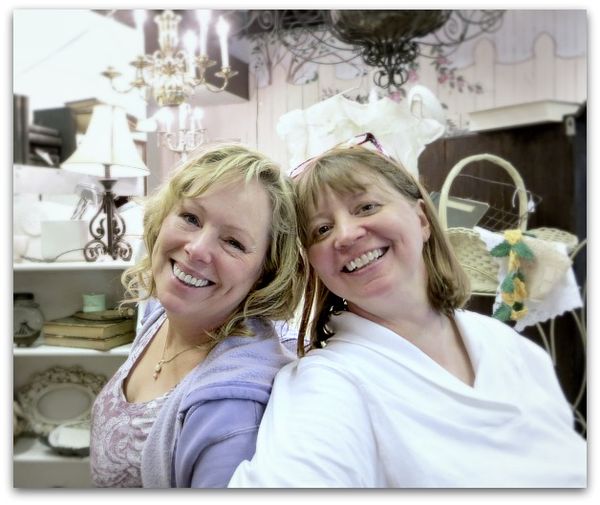
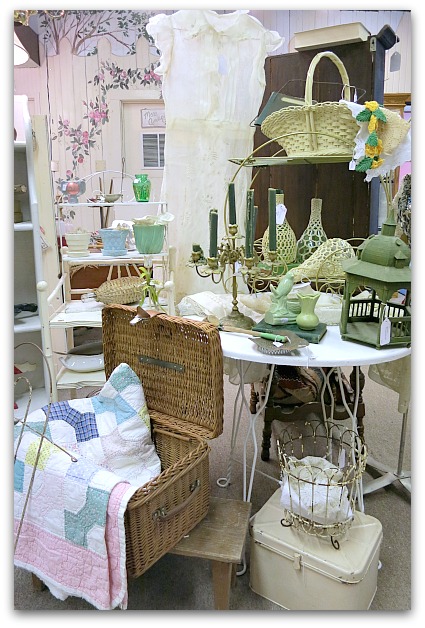
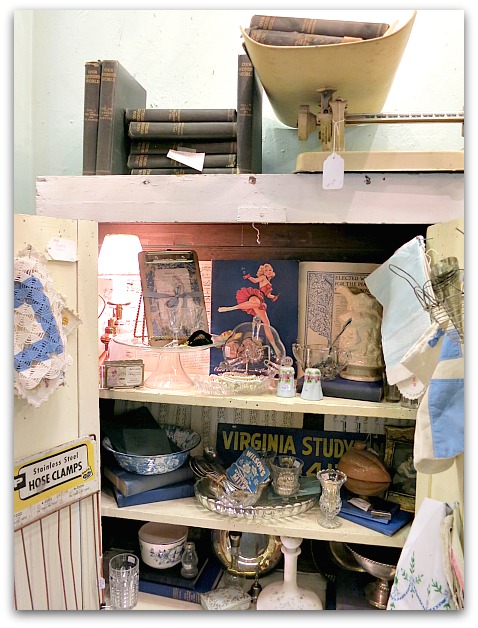
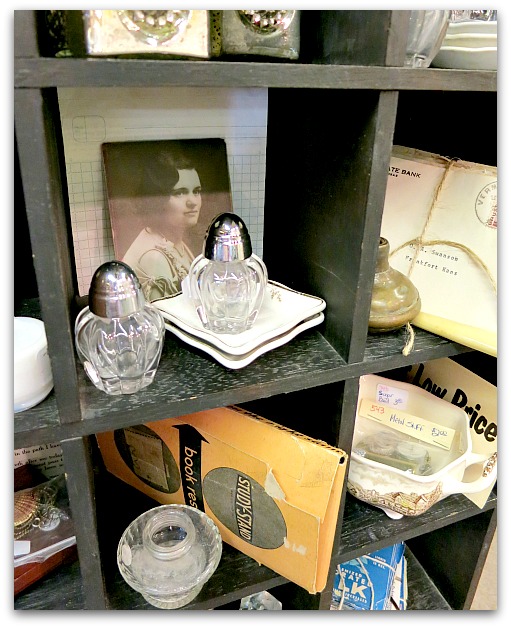
Beth and I had a day out to the antique mall and gave her booth a new look for spring.  (here is her post about the day)


Easter 13 005

Years ago, we shared this spot, and my hand painted roses are still there on the wall behind the space.  I no longer do this for a living and am glad.  But when I get invited to help Beth, it brings back lots of memories and I have a great day playing with old things and arranging them.

When I had a booth, I just adored working on it. Decorating was so much fun, I almost got ticked off when someone bought something and messed it up. Almost, not really. I was smart enough to know that when you sell something, that means you get to go buy more and redecorate the booth again!!


Easter 13 006

My husband HATED me doing the booth when I had it.  I spent way too much time hunting, hauling, and redoing furniture. And driving it to Kansas City to get set up at the mall.  I guess what I'm saying, is that I was obsessed.  It was an over whelming addiction to me, all I wanted to do was work on fixing up furniture and redo the booth.  I got to the point where I was resentful when the sun started to go down and shadows made it too hard to paint on things outside. Which meant that I was working pretty late on summer evenings.

It was hard on my body, too.  Some of those pieces could get pretty heavy, and I was too independent (or impatient?) to want to wait for help unloading the van and dragging it all out to the driveway to work on in all sorts of weather. I ached.  My joints hurt.  I was exhausted all the time.

All I ever wore were terrible old clothes covered in paint, and there were painty messes everywhere I went.  I had a big spray gun for priming and base coats, and would over haul 5-6 large pieces in a day, then do hand work and finishing after. I was always covered in over spray, plus I used the clothes I was wearing as paint rags to clean my brush.

I was crusty.

My garage still has the outlines of furniture on the wall, from over spray.  And the floor is covered in spilled paint colors.


Easter 13 009

It was a very hard job, and I worked hard at it.

But I thought I loved doing it. That is, til I gave it up.  There was an adjustment period, where I couldn't help being sad because I wasn't shopping for broken or ugly things to make beautiful.

But once I got away from it all, I realized just how tired I had been.  And how it had taken over my life.  White paint and roses were my drugs of choice, and I had been hooked deep.

Giving up the antique business was kind of like giving up Diet Coke.  Horribly hard at first. But as time went by, I adjusted and lost the yearnings.  Now, I can pop a top of pop and have a cold one sometimes and enjoy the taste, but don't need to drink the whole 12 pack.  I feel better because of it.

I can also set up a room full of stuff to sell at arty events here and there and get a taste for antique dealing again, without having to furnish a booth or spend 80 hours a week sanding and brushing and hand painting.  I've learned it's much nicer to shop for or make smaller things that fit in an envelope to sell online. 

No more 300 lb cabinets for me.  No more endless hours of grueling work.


Easter 13 154

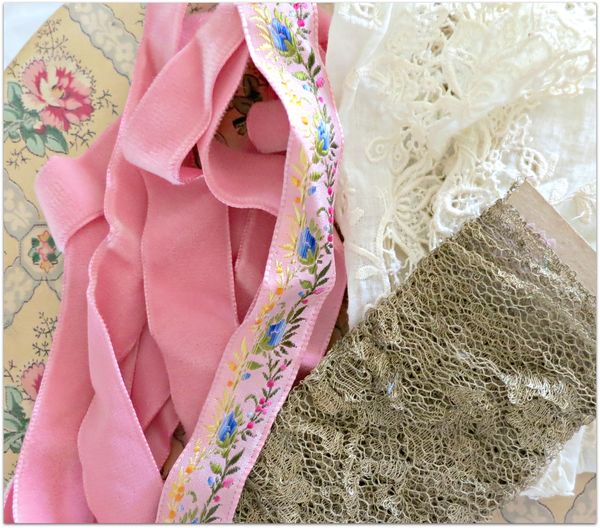
(Beth gave me these pretties from her stash- she wasn't supposed to, she helped with my taxes and I helped with her booth, it was a trade)

My life is better now that I'm not a Diet Coke junky or hooked on dirty, ugly furniture in need of redoing.

But man, it was fun to be back at the mall, foofing and verving with Beth.  It's nice to know that I can recover from my addiction and stay on the straight and narrow.

Well kind of. I have been known to buy a 12 pack of Vanilla Diet Coke when I'm stressed. Or buy the occasional dirty, broken piece of furniture that is just too good to pass up.  I don't think I'll test my will power by trying meth and seeing if I can kick it.

 
Jewelry 013

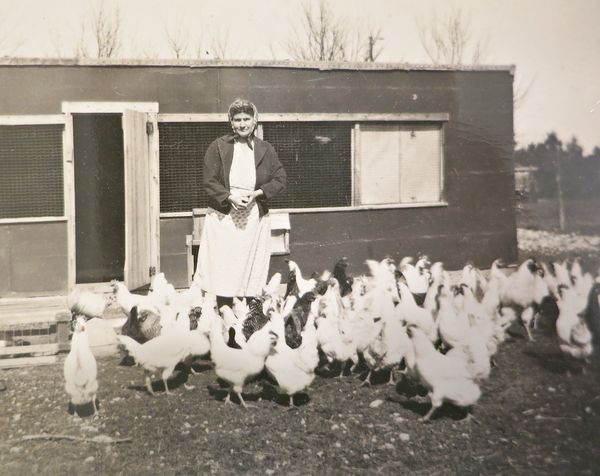
Beth also gave me this photo. It must have reminded her of me. Although, I'm more of a hoodie type than a bandana wearer. And I need a few more chickens to measure up to this lady's glorious flock.

Anyway, click on it to open to a larger window and save it to your computer from there if you'd like to use it in your own work.

Free vintage images

fairies, free images

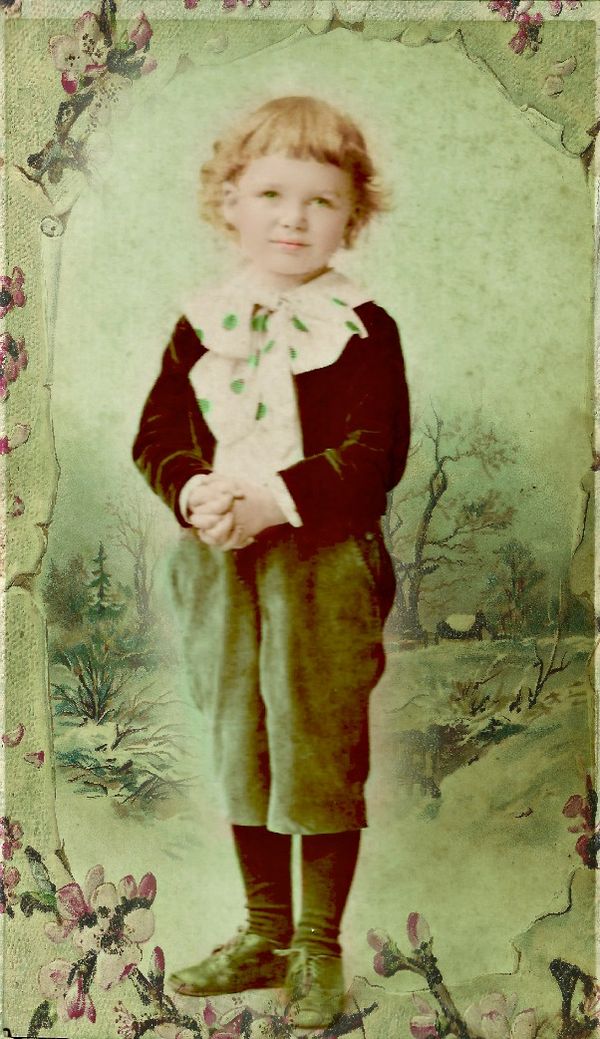
Leprechan
I thought maybe you could use a little leprechaun.


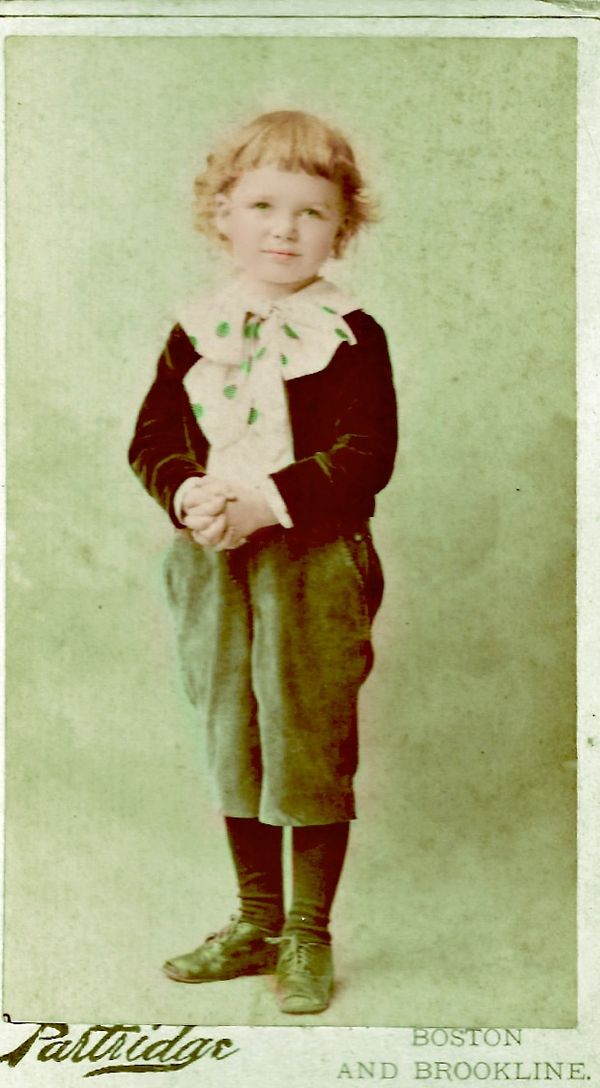
Green

Here is another version. 
Just click on any of the images to open in a larger screen, then save to your computer before printing.


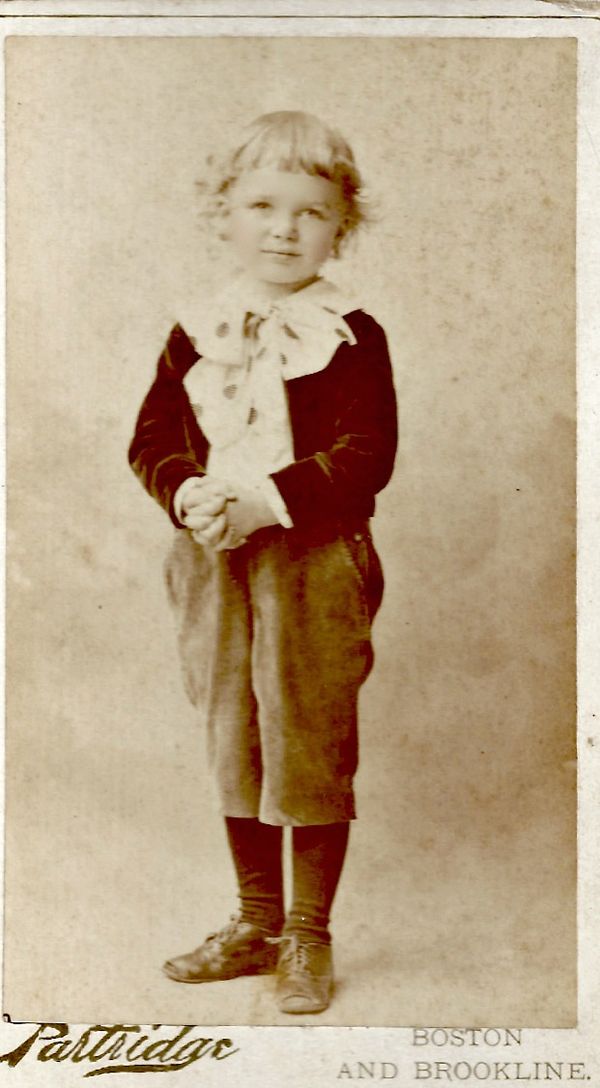
Boy

Here is a sepia look for him, if you aren't in a St. Patty's mood.


Sugarplums

Or maybe you are feeling girly? 

Here is an image from an old French chocolate card, that was blue. I tinted it sepia and added some soft colors.  I'm going to use her as a fairy in one of the cages from the previous post.


Img150

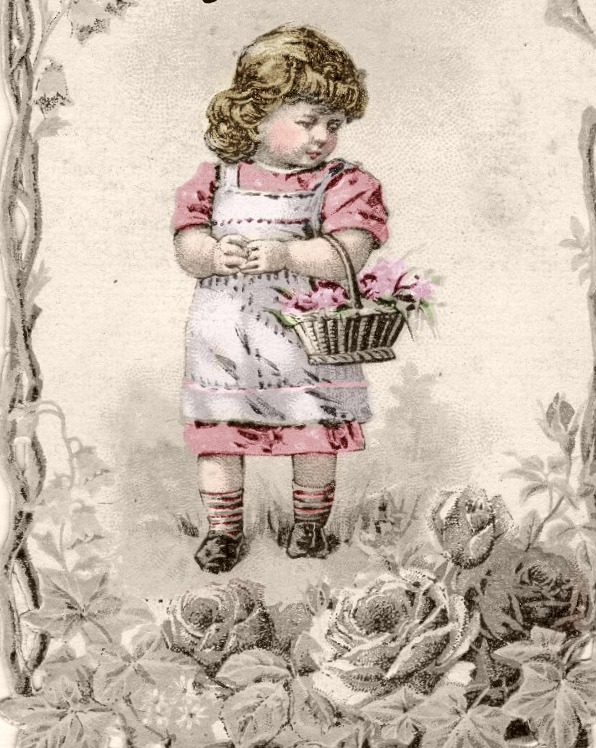
And here is a little girl leprechaun made from a sepia photo, just for fun.
  Now, why do I let myself get side tracked on these kind of projects?? I only needed a couple of fairy pics and next thing you know, I've edited 20 instead. 
Back to work!

Those fairies are not going to just fly into the cages on their own. I need to glue them down and trap them!

Free Fairy Tale images and some workshop prep

Dew Drop, fairies, free images, Workshops

Flea 006
If you are wondering why there is nothing new in my shops, it's because my studio has become Kit Central.

I'm gathering up all the elements needed for my Book of Enchantments for Snow White, plus brain storming projects for Birdsong 3, as well as a super secret surprise gathering that I am doing with a dear friend.  (more about that later, but I can't give it away till after the surprise in March)


Flea 021

For my Book of Enchantments, the supply list is out of control!

  • a book cover to embellish, and the goodies to do it, including ribbons, lace, a mirror, millinery and flocked wallpaper
  • 9 pieces of card stock
  • a stack of fairy tale book text
  • 2 pictures from old story books
  • 2 pages from vintage Snow White stories.   (some are Snow White and Rose Red, and older ones are called "Little Snowdrop", I have books ranging from 1890 to 1959, in the oldest, she is usually Snowdrop)
  • a collage sheet of pretty, vintage pictures I scanned
  • 1 journalling page to color or use for inspiration
  • 4 spells of enchantment that I have written (for: Sweet Dreams, Joy, Hope, and finding a True Hearted Prince)
  • 12 pre-cut pieces of vintage lace
  • 10 pieces of old wallpaper
  • 1 moonstone heart charm
  • 1 apple charm
  • red rhinestones
  • a rhinestone cluster
  • ribbons

Oh my! That is a lot of cutting, organizing, packing, and counting.

I found an easy way to count the card stock. I bought packages of 50 that contain 10 pages of 5 neutral colors.  Since I need 9 for each kit, I simply take away one from each color and boom, I have 9 ready to slip into the envelope. They get covered in other papers, so it doesn't matter what shades go in the kits.  That beats counting out 9 for each envelope!

Since my ingredients are so vintagey and unique, I can promise that it's impossible for any two students to make the same book. It will be exciting to see all the creations the class comes up with using the combinations that they get!


Flea 019

I've enlisted a studio full of helpers.


Flea 015

And a cutie to keep us company while we work.


Flea 014

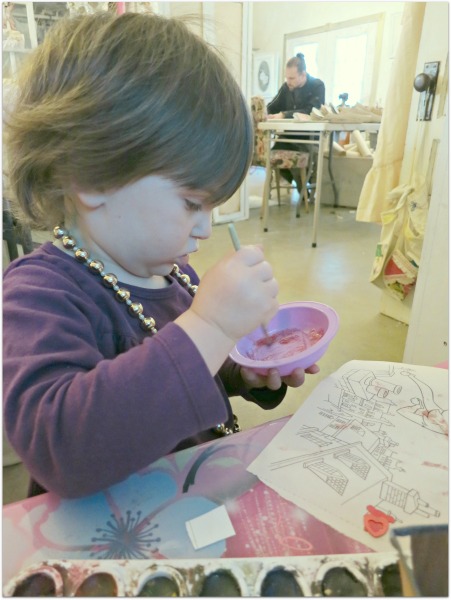
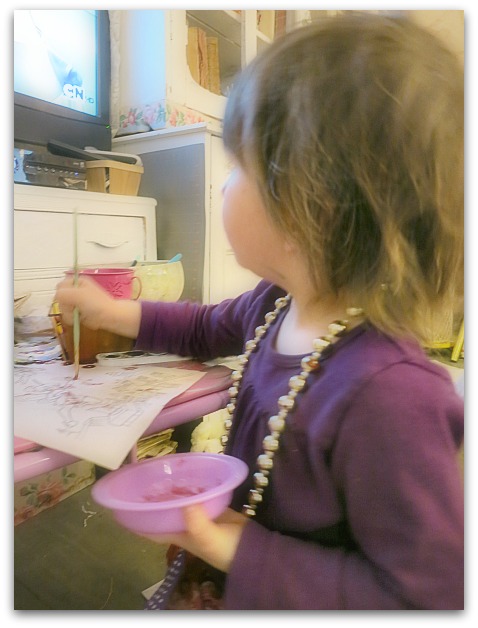
I've put the tiny craft table in front of the TV, which was probably a bad idea, I might never be able to convince my girls that they don't need to watch shows while they work.   But with so much going on, it seemed to extend craft time a bit for the littlest fairy. 


Flea 011

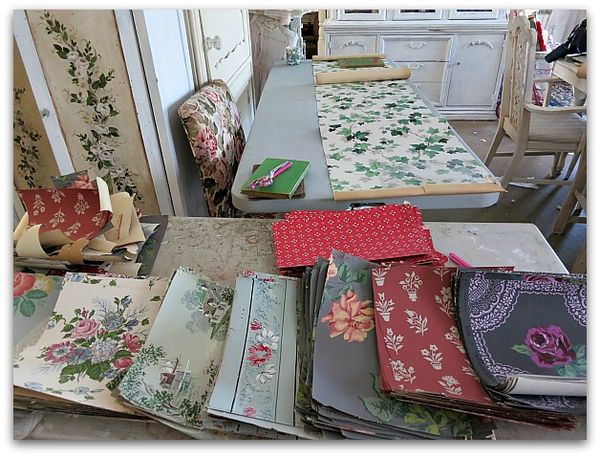
Since I had to cut so much wallpaper, I decided to chop away till I had enough to sell too.  So, once I get my kits bundled up, I'll have paper left over and will actually have new stuff in the Boutique. 

While measuring, cutting, and ironing hundreds upon hundreds of pieces of paper, my mind has wandered around and wondered about Birdsong 3 projects.  I'm working out the kinks on a wire birdcage, and the other one might be a variation of this book, but a Journal of Blessings.   Not sure… But I have been loving the heck out of making books for the last few months and would love to continue making more.


Flea 013

I'm sure you guys will see all the prototypes as I fidget around with them. Thanks for being my sounding board!


Patterns0004

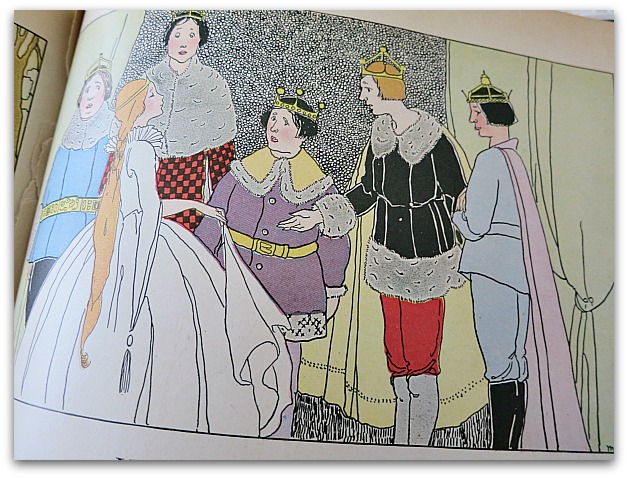
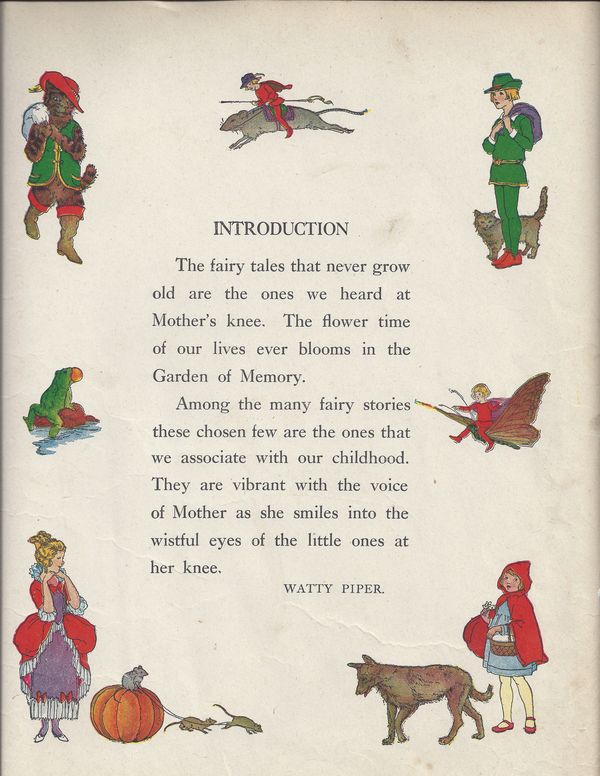
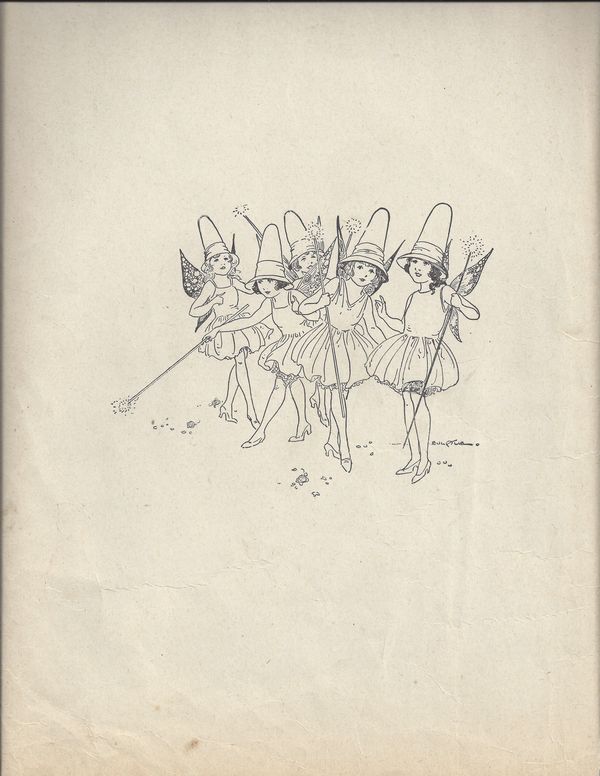
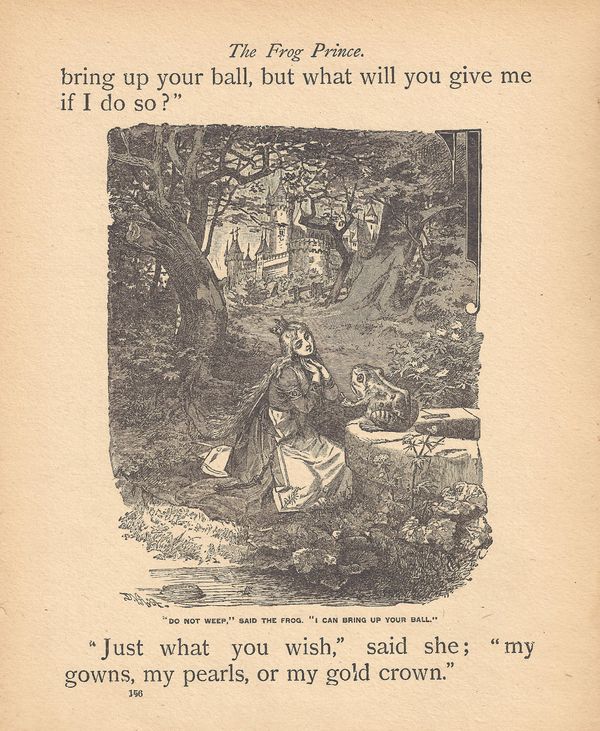
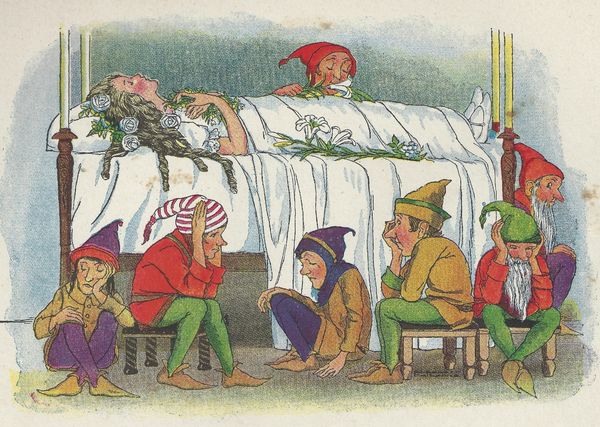
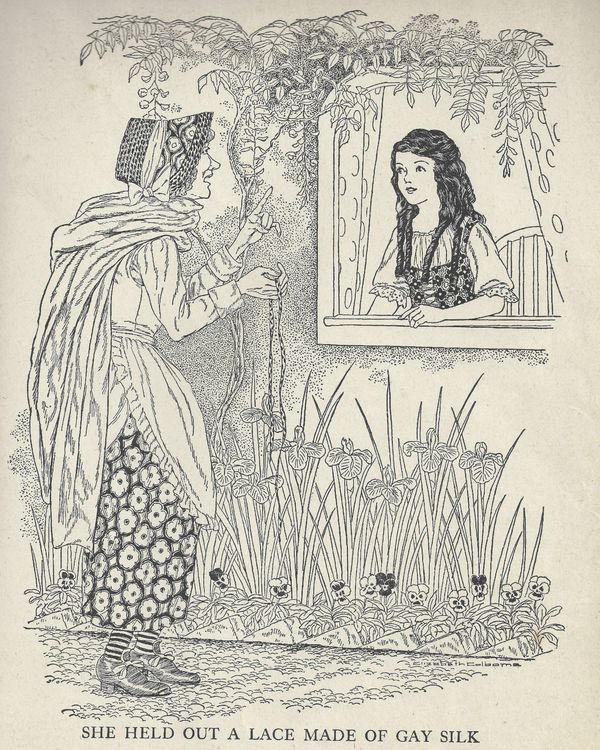
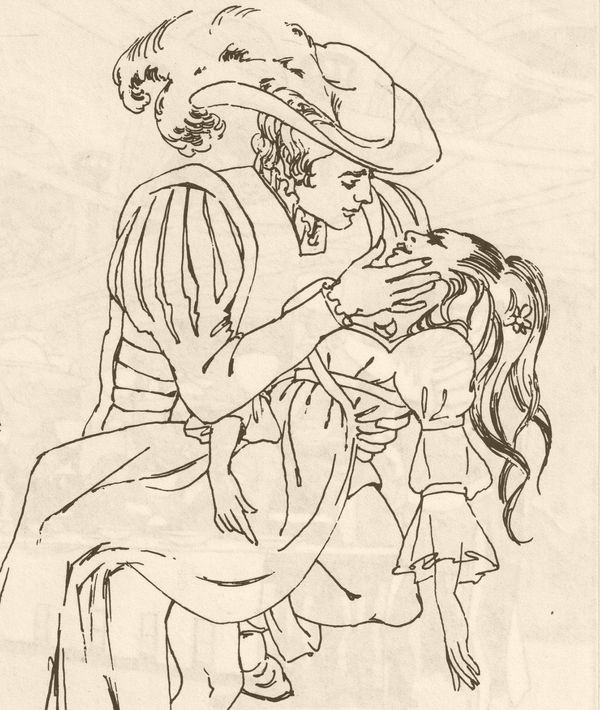
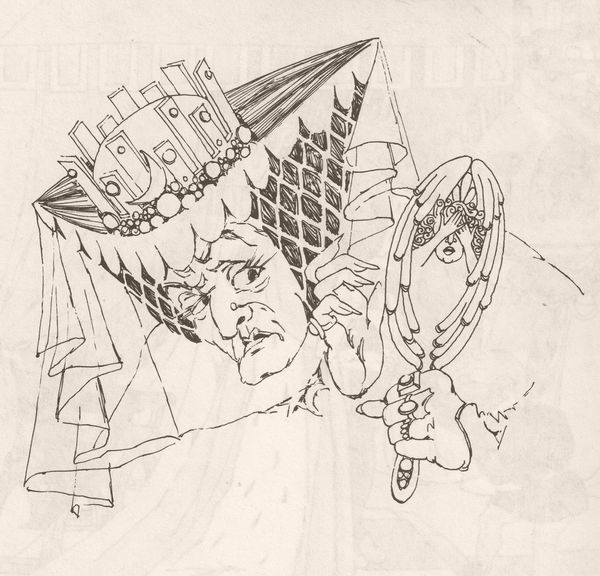
If you love these old fairy tale illustrations as much as I do, just click on the images to open them to a larger window and save them to your computer to print.

Patterns0003

Patterns0002 (4)

Step by Step Snow White painting and some free Snow White images

free images, paintings, Snow White, Workshops

New button
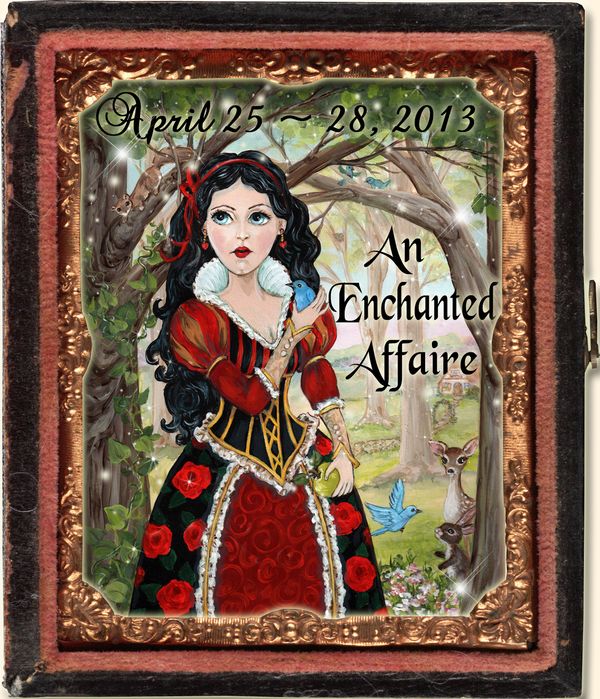
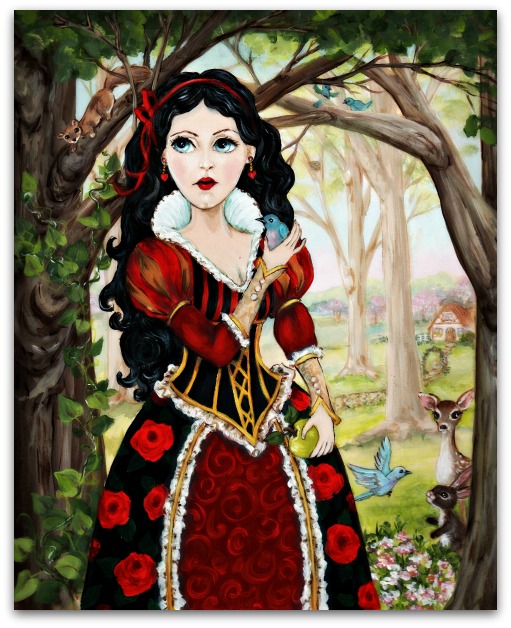
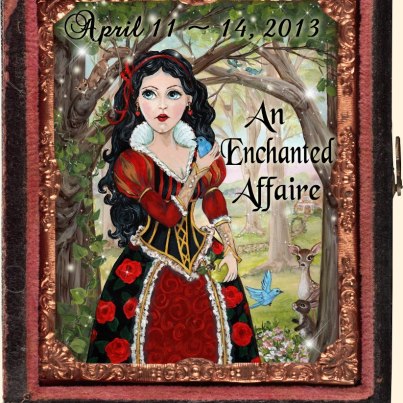
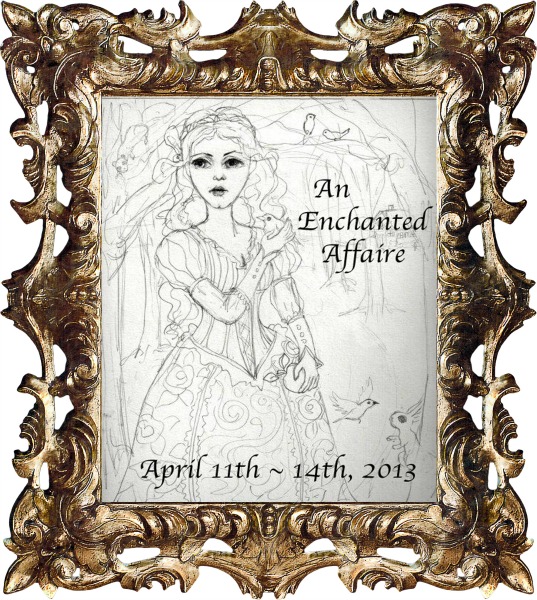
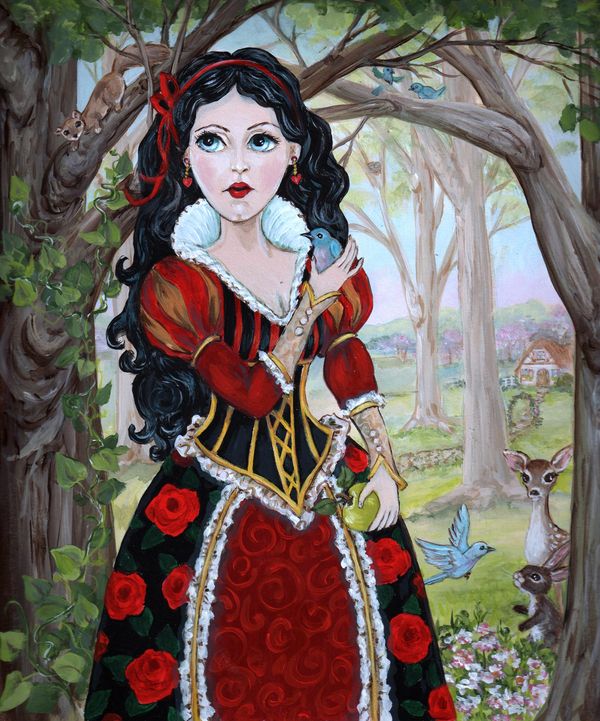
For years, I've admired Kim's sense of style and her graciousness in hosting an art event.  Her gatherings are always pure perfection.  Last year, I was honored to be asked to paint a photography backdrop for her Tiffany event and now, I'm just tickled pink to have my original artwork as the button for An Enchanted Affair.


Sw books 002

It's a thrill to be teaching there too! Right now, I'm totally swamped getting ready for this class, and making kits. 

But counting out ribbon, cutting lace and paper, gets boring. So, I'm taking a break to write about how I did the painting for the event button.


!cid_tie_8CF146389E9F51E_710_B0CC
100205160428488215_Qzmukn6Q_f 
140737557074827368_NyEstzQR_f278660295663373548_1rwqxbvC_f

The first step was to look at "moody" Snow White inspiration pictures.  Kim didn't want the cheery, Disney version of the princess.


S

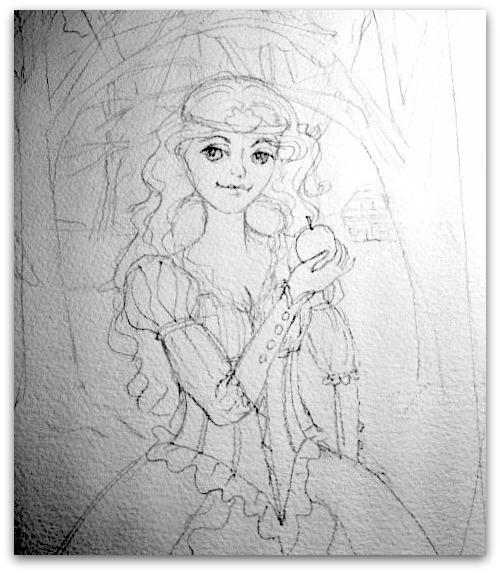
My first sketch was too sweet. 

Kim and I were collaborating by email, as I'd sketch, I'd snap an IPhone picture and send it off, she'd get right back with me and I'd adjust as we conversed.  Technology sure makes long distance partnerships go smoothly!


Img072

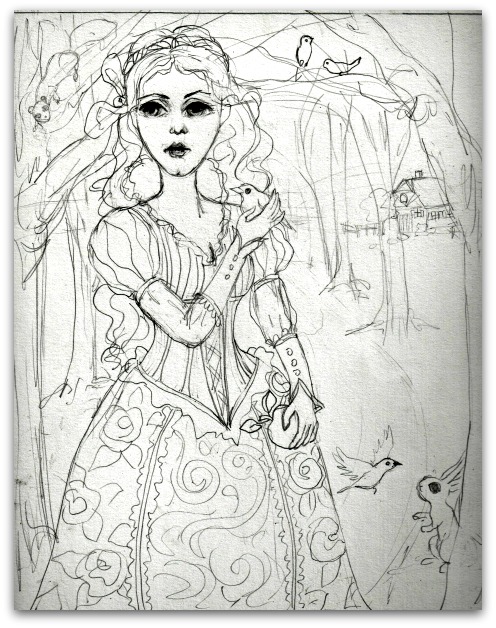
Snow's face was made less cutey pie, and she lost the crown.


!cid_tie_8CF1C56AC0F187E_12A8_5F3F

Then, Kim played around with digital framing and decided this sketch would work. (please ignore the date, this was early planning and it changed to later in the month)


Progress 010

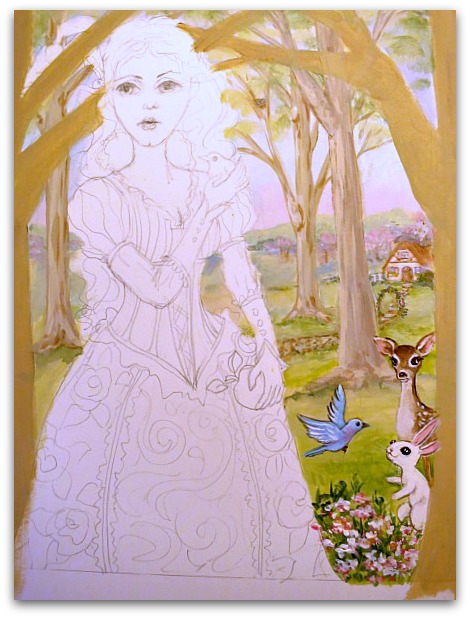
I began adding color with acrylic craft paints.  The back ground is first, with soft tones, to make it seem further away.  As I worked toward the foreground, colors got brighter and sharper. 

Snow White and the trees she is standing under were last to be done, since they were in the very front.


Normal

 Here is my finished painting.

But is it really finished?

I did some digital editing to it and made some minor tweaks that enhanced it. 


With orton effect

I used Orton effect, and darkened edges, cleaned up some lines, and a couple of other small touch ups.


530066_4394987034414_763400574_n

Kim used photoshop to add some sparkle, and a vintage frame to give it a story book feel.

Like I said before, technology is great!


Img097

I've mentioned in an earlier post that I was knee deep in vintage fairy tale books, and can't stop buying them. But before I amassed enough to share original pages with the students in the class, I scanned a few books to print images to give them instead. Now, I don't need to do that, since I have so many vintage pages to tear out and share.

So, I'll share these scanned pictures with you.

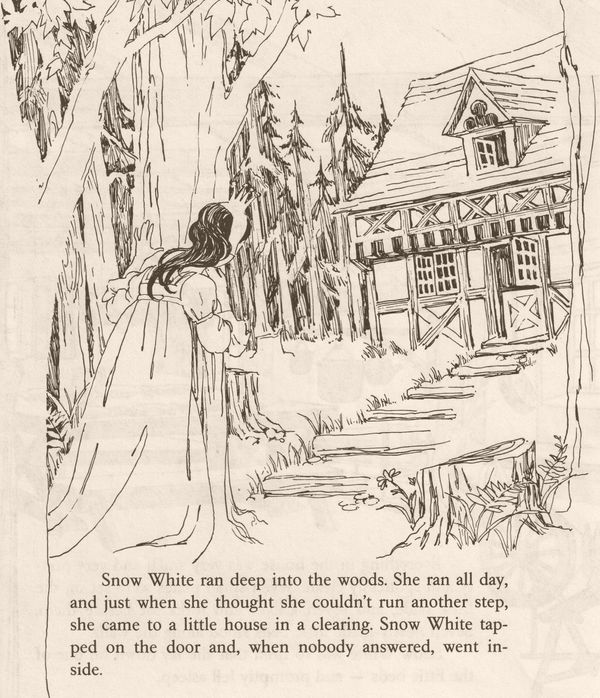
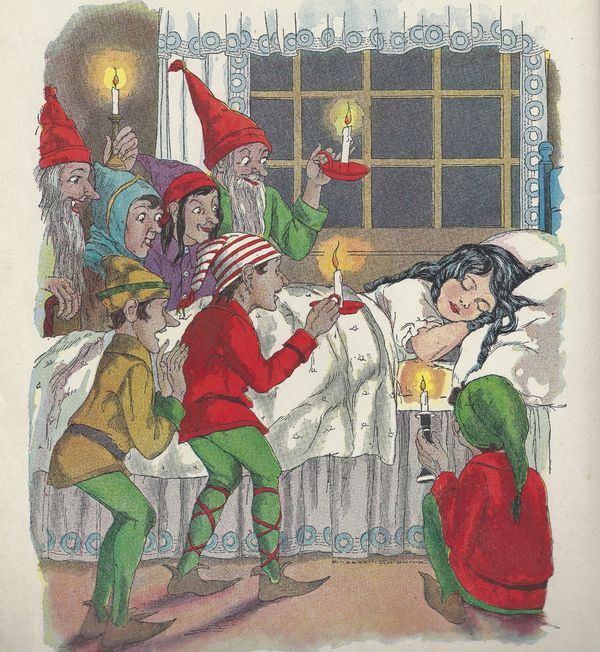
Simply click on the image, open in a larger window, and save it to your computer to print.  These are all from the first book that I bought and I like  that they are not the cutesy Disney version either.   None of the books I found were from Walt, all are a bit different, or even older than his princess story.

If you'd rather have the originals, well there are plenty of the them! Maybe I'll see you in the California class? Contact Kim for details.

My
Or if you'd like to visit me, here at the Cottage to take a class?  Registration for Birdsong 3 is open to the public on Monday.  Til then, returning guests and past sponsors get first shot at signing up.


Sleeping snowwhite
Deadsnowhite
Patterns0004

Img096

Img094

Img095

At the Valentine Journal Workshop AND some free images

bird song art event, Books, celebrations, dogs, Dorkies (Yorkshire Terrriers), free images, holiday decor, puppies!, Workshops

Valentine journal workshop cougar hunt 028
I had such a nice time at the Valentine Journal workshop. There is something wonderful about a Valentine theme, that always makes me happy. Roses? Hearts? PINKS? All of it!


Valentine journal workshop cougar hunt 018

We had a small group, so only needed to use half of the studio. I used this half to set out extra supplies.  So, not only did we have kits stuffed with Vintagey goodies, I had enough extras to make dozens more books.  One table was just used to display previously made books as examples. I showed my travel journal, my samples for An Enchanted Affair, the Valentine book, as well as a couple of books from swaps I'd been in. 

By the way, Kim was able to squeeze in one more table at her arty event this spring, and has sold all but one space at it! If you are interested, better jump in fast! Hope to see you there.


Valentine journal workshop cougar hunt 019

Another table held lots of extra pretty papers, while a third was all tidbits, ribbons, lace, and embellishments.


Valentine journal workshop cougar hunt 023

I should do fresh flowers in my studio more often, its a nice treat.


Valentine journal workshop cougar hunt 021

Our local grocery store usually marks a dozen roses down to $1.99 every Monday, but for some reason, they were on sale this Friday too. So, I was able to set out flowers all around the house.


Valentine journal workshop cougar hunt 022

When prepping for the class, I spent about 14 hours making kits, and thought I might just end up running away from home to get away from them.  What was I thinking, waiting till the last day to make them???? That isn't like me.  I sure learned a lesson, and will be getting a jump start on spring time class kits so this won't happen again. 

Kits can be fun to make, and I enjoy playing with my piles of papers and deciding what to include, but not at the last minute.  I had to write instructions, edit photos, sort papers, plus dozens of other things that make the kits successful and well thought out. It shouldn't be done the day before the workshop!! 

I made up what I thought were lots of extras, but not quite enough. They sold out in one day, thank you to all who bought them!  It is never any more trouble to make an extra 10 or so while putting together enough for a class, so I always make some to sell. Plus one for myself, so that I can pull things out during class to demonstrate and know that the kits are functional and have what they need in them.


Valentine journal workshop cougar hunt 038

The best part of making a kit, is seeing how it is used.


Valentine journal workshop cougar hunt 037

Of course, since they are vintage, no two are exactly alike, but still I love the way everyone changes things around so much and puts their own stamp of uniqueness on their work.


Valentine journal workshop cougar hunt 041

And its very pretty to see how far some go to change it up.


Valentine journal workshop cougar hunt 045

We do mini workshops for holidays throughout the year, just for my friends and their kids to come over and play, and of course, I have Birdsong too. (Which I have not done a single thing for yet this year! I need to gather my thoughts and get the website done for sign ups!!)


Valentine journal workshop cougar hunt 043

We did a Halloween gathering and then this little Valentine party, and I really enjoyed both. I would like to do more small, one afternoon workshops if possible. Its so much more intimate than a big to do. Of course, even Birdsong is not big at all, compared to most arty weekends, its 25 people and all cozy in my studio


Valentine journal workshop cougar hunt 042

Still, it would be nice to do a smaller class like this and have them quarterly or so.  Just a thought.  10 people or less, hanging out, chatting  all together instead of broken off in groups around the room.


Valentine journal workshop cougar hunt 044

Either way, no matter how many come, I love having company in my studio.  Its not that I don't enjoy a good day alone with my creations, but since I have soooo many of those days, working all alone, its nice to have some company.


Valentine journal workshop cougar hunt 047

I can't imagine any other job than the one I do (although the thought of one that pays better, is pretty tempting), but it does get lonely. Which is why having a blog and all of my blog friends is so nice.


Valentine journal workshop cougar hunt 050

Of course, these guys too! They are great company when they aren't stealing things from me to shred.  Dorothy can't jump or climb because of the injury she had when she was tiny, but Albie is good at getting on the table and grabbing something fun for them to rip up.

Auntie Beth brought them some Valentine tees, and even girlie-ed up Dorothy's with some lace.
Valentine journal workshop cougar hunt 053

She also brought this. Beautiful, isn't it?

Patterns0003

One of my guests brought this lovely, old image, and I was asked to copy it to share. I thought maybe you would like to have it too.  Just click on the image to open it to a larger window, then save it to your computer to print.


Patterns0001 (3)

And this one was in one of the kits and I was asked to copy it also. 


Blush

When scanning it, I took a few moments to edit it in a romantic way.  Please save these the same way as the cabin picture.

Mixed media with watercolor tips and tricks

dogs, Dorkies (Yorkshire Terrriers), drawing, free images, holiday decor, how to's

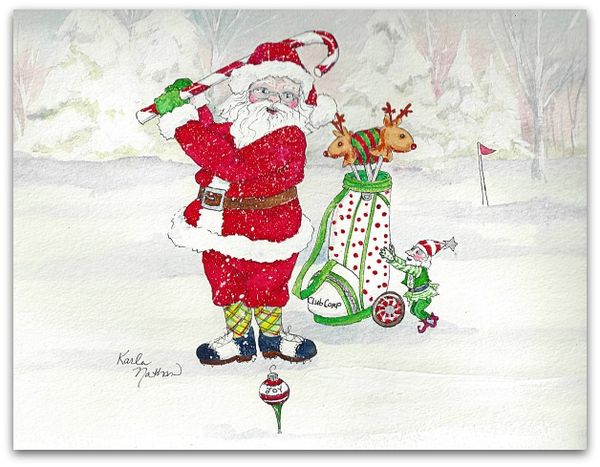
Santa
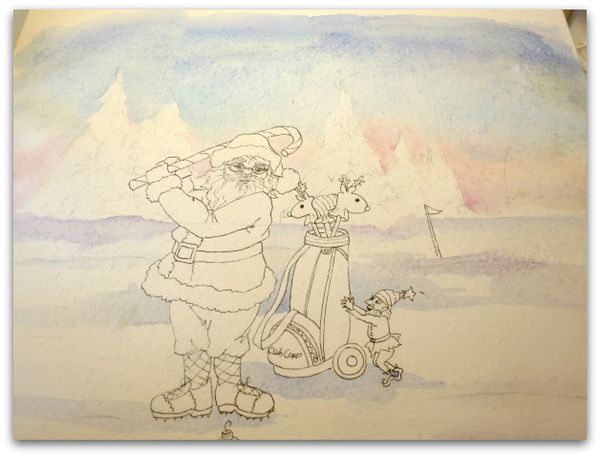
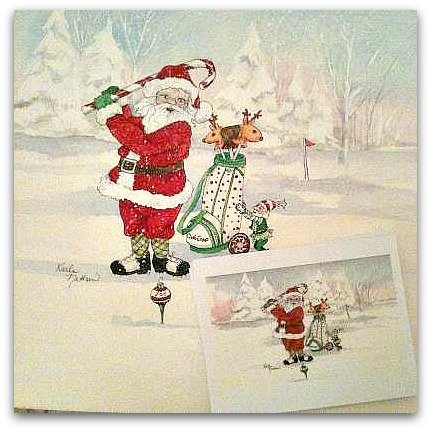
Well, the holiday season is winding down, time for getting on with the New Year.  If you aren't all Santa-ed out, I've got some how tos for the painting I used as our Christmas card this year. 


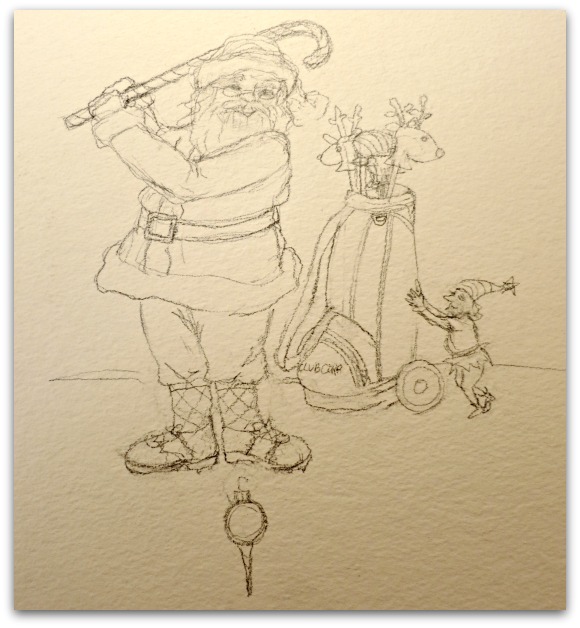
Xmas 2012 001

First step is the drawing, in pencil on watercolor paper.


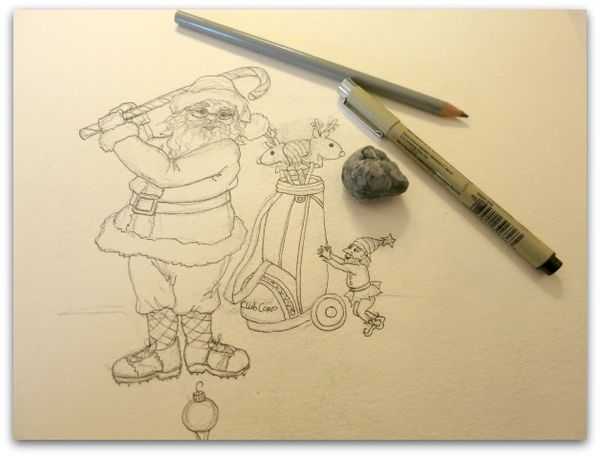
Xmas 2012 003

Second, I draw with ink over my sketch, then erase the pencil marks.


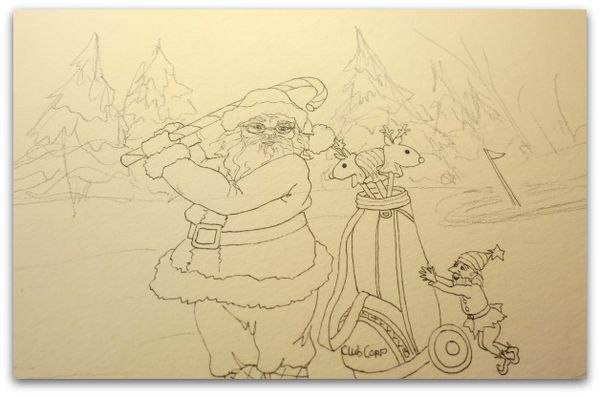
Xmas 2012 004

Since I want the background to have a soft, faraway look, I don't draw it in ink, only pencil.


Xmas 2012 005

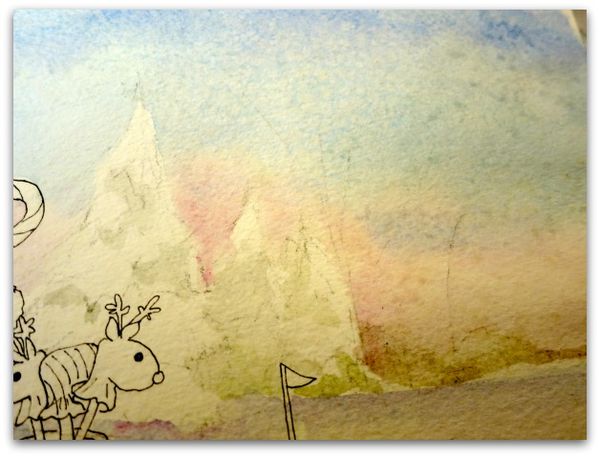
Next, I wash in the sky and shadows of the snow, carefully keeping the drawing in the foreground clean and dry.  Keep in mind that the color is deeper at the top, and gets lighter toward the horizon line, along with a touch of blush tone above the ground and trees.


Xmas 2012 006

Before the sky dries, I add color to the tree line and a bit to the shadows of the pines. 

When the sky is starting to dry, and the paper shows a slight sheen of dampness, I sprinkle salt lightly over it. 

As the paint finishes drying, the salt absorbs moisture, along with that, color. It makes a pretty snow speckled look.

I let dry completely and brush off salt before proceeding any further.


Xmas 2012 007

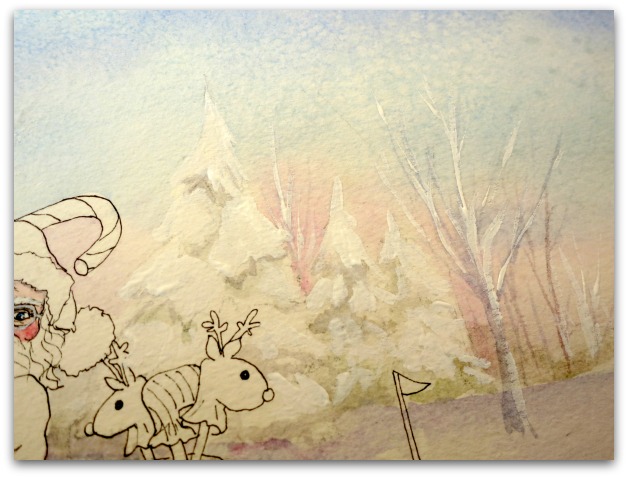
Here is where the watercolor cheating comes in, by adding white paint. (so I just call the painting, "mixed media")  First, I paint in the bare branch trees, with faded browns and purples. Never deep or harsh or bright colors for a background, they have to look faded and distant.

I do save the white of the bare paper, as you should in watercolor, but I really like a touch of pure white over it for even more depth. I use white acrylic paint for snow and highlights.


Xmas 2012 009

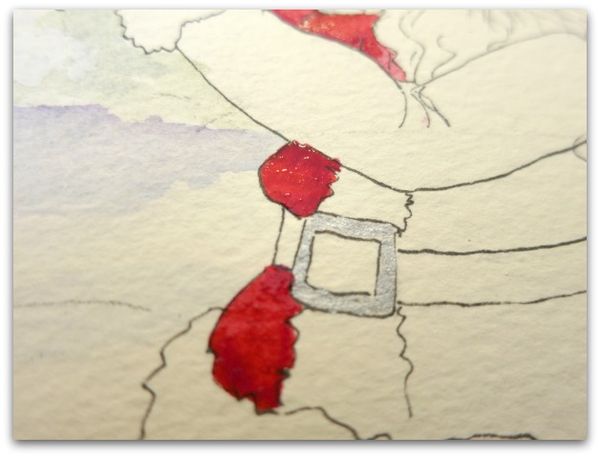
Next, the foreground gets painted.  When working with watercolors, the trick is in knowing that the color flows wherever the paper is wet. You have to be careful to paint small areas at a time, with drawings like this, and not do adjacent areas until the first section dries.  So, I wet a segment, such as this part of the jacket, and drop in bright red.  While still wet, I add darker red along the shadowed areas.

I would do the other side of the jacket, waiting for that to dry before painting the sleeve or belt, since they are right next to what I just painted. If I were to paint the belt right away, the red paint would run right into it, as well as some of the black flowing into the red, where that was still wet.  Water pulls the color.

Black is always more interesting if you mix it yourself, using a dark brown and dark blue, never use black watercolor paint.


200100_10151276028889477_468205560_n

When the painting is done, I dip a wet brush into white acrylic paint and flick it over the picture for more snow.

I take my finished paintings to a copy shop and have them shrunk down and printed four per page to make into Christmas cards.

The trick then is to get them signed and mailed…. I am afraid I didn't send a single Christmas card this year!! After all this work.


Xmas 2012 031

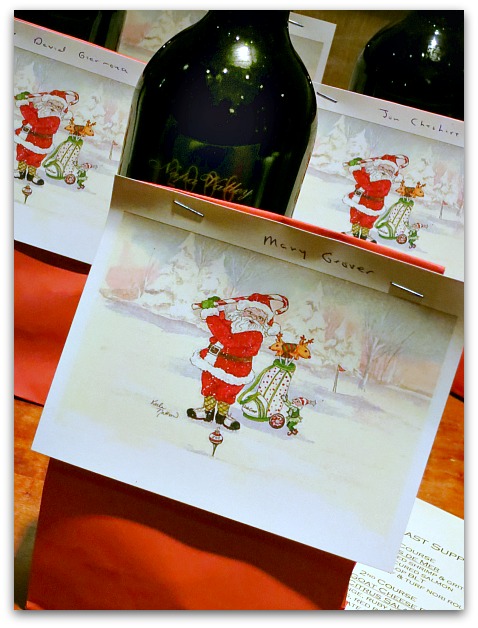
My husband did send some out to his co-workers and we used a few on bags of home made candy that we gave away along with a bottle of wine to some friends.


167467_10151280131709477_1304308695_n

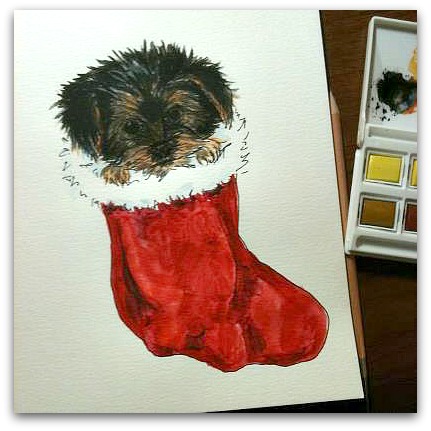
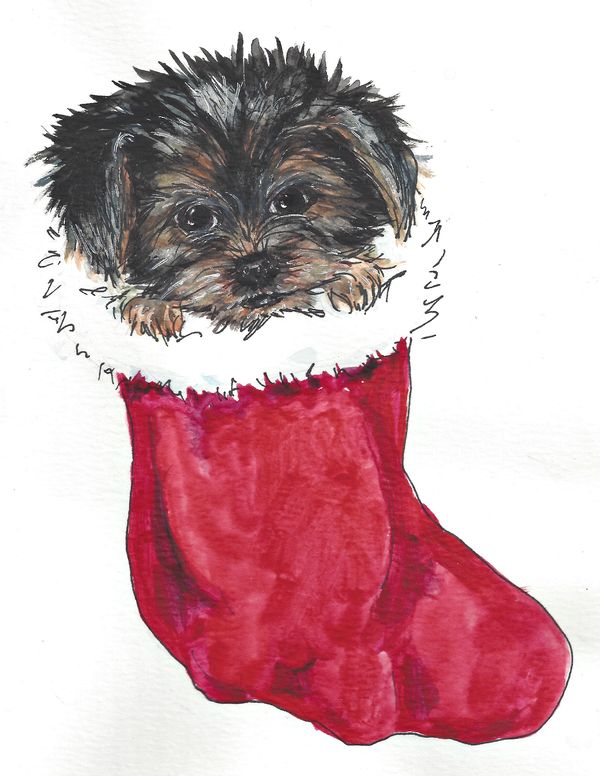
My husband works in the golf industry, so likes the club swinging Santa. I was more into puppies for this season.  After Twinkle's nine babies in August, I thought a pup was a good theme for family cards.  But once again, I didn't get these mailed either.

At least the cards got made.  Maybe I can add hearts and call it a Valentine? No, I think I just missed the boat this season and am out of the time window to mail anything this Christmassy.

Patterns0002
Let's call this a belated Christmas card from me to you. You can click on the image to open in a larger window, save to your computer and print it.

Some free Thanksgiving Images

free images, holiday decor

Yurkey
While on our trip to NC, the guncles and I had some flea market fun together. We always try to fit in a junkin day when we get to hang out, and the Raleigh Flea Market was a great choice!


Patterns0001

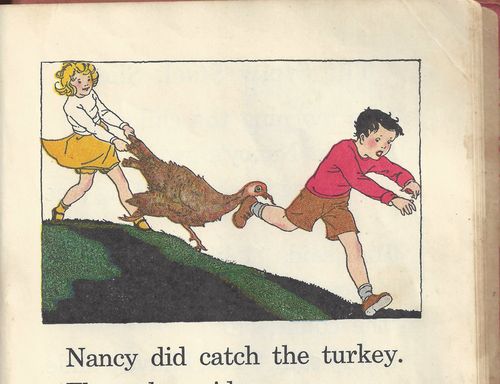
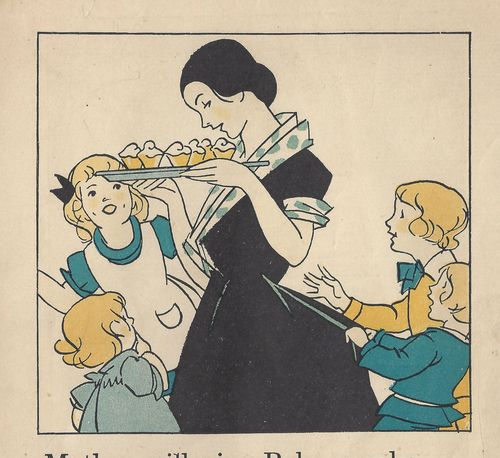
One booth had a stack of old books, for $1 each.  I've scanned some of the pages for your projects. Just click on the image to open it in a larger window before you save it to your computer to print.


Tday

We are having our turkey a day early, the best time we could scramble the most of us together at once.  So, I'd better go and get busy, there is a ton to do. We want to keep it simple this year and not make it an all day food fest with nothing but hard work. I'm taking everyone to see Wreck it Ralph, then having a later dinner.  So the key, is prepping ahead of time!

Which means, I'd better get preppin.


Book

I hope your holiday is a blessed one!

Bye Bye Fairies, Hello Ghosts!

dogs, Dorkies (Yorkshire Terrriers), fairies, family, free images, holiday decor, Romantic Gothic Ghosts, swaps, Tutorials, vintage paper/collage art, Workshops, yorkies

Gghost studio clean up 023
Isn't this fairy from Linda sweet as can be?

Ghost decor 009
 It's sad that the Faery Book Swap is over! I made a couple more pages, as thank yous to some sweet people.  And I have extra covers that I hope to list on Etsy or in the Boutique. If I ever get a spare minute to do it!

In the fairy frenzy, I'd made up about 16 pages for the swap, and didn't need them all of course, so I'll have a few of those to list too.  But I didn't want to use any of those as thank yous. I thought "thanks" deserved something made special just for it.


Ghost decor 010

  I still have my family's books, they weren't mailed because we are going to open them all together when everyone gets here to visit for Romantic Gothic Ghosts.

I'm so glad that Guncle Randy, Sissy, Bobbie Sue and Terry can come out to play with us for the classes! We hope to go to see the annual Lawrence Zombie walk if everyone arrives in time, it will be on Thurs. the 4th and family is flying/driving in from Utah, Florida and Indiana.

Then, Friday is shopping at the West Bottoms district, with all the once a month junk and antique stores, as well as Bottoms Up.

Saturday the 6th will be our ghost filled craft day, with Gypsy spells and ravens. Sunday we plan on hitting the Renfest, all decked out in our fairy attire.  A perfect little reunion!!  Plus I get to have my blog friends meet my family, that will be nice.  I'm glad that we are having a workshop while the relatives are in town.


Ghost decor 011

Along with the thank you pages, I mailed out hand made envelopes stuffed with tidbits.  To make these, I looked at a regular envelope to get an idea for the pattern, cut it out from an old book page, folded it up and glued the edges.  Simple, and kinda cute.  I might need to do more of these!


Ghost decor 003

I've gone straight from sweet fairies to gothic ghosts.

These images (provided in the online Romantic Gothic Ghost class) are printed on transparencies and hung around the room.


Ghost decor 048

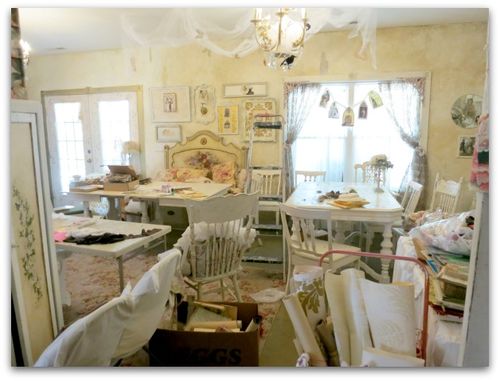
And the room is a WRECK!  I've started cleaning and decorating, but need to get all the chaos and clutter out too. 

I started decorating at the ceiling first, then the cabinet tops around the room.  I'm sure most people would have cleaned the whole room, put away the mess and then started fixing up.  But I got too excited about making the ghosts and had to do the fun parts first!

See how they are hung from tattered tulle on the ceiling?  (I'll have more photos later)

**********

Speaking of photos, I've noticed that no matter how good my camera is, and how well I edit pictures, they NEVER look as good on my blog as they do on my computer files. 

I wish I could fix this…. I also noticed that if you click on one to open it in a bigger window, its sharper.

**************

Ghost decor 034

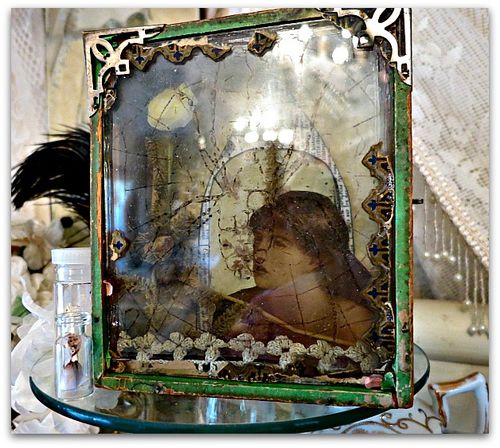
Another instance of backward preparedness- instead of cleaning and making kits, I wanted to make some ghostly images to set around the room. This collage is an old trinket box with a glass lid that Beth gave me. I took out the image that came it in, turned it on its side and made it a shadow box.

A transparency spider image is across the glass, and a ghostly girl is layered over a gothic arch  (from the albums full of pictures and images and backgrounds and patterns that were scanned and added to the online class) and glued to the back of the box. I then added some tatted trim and some very old, beat up flowers.

Its very small, and I seriously doubt that it adds a lot to the over all decor of the room. But it was something I really wanted to do.


Ghost decor 027

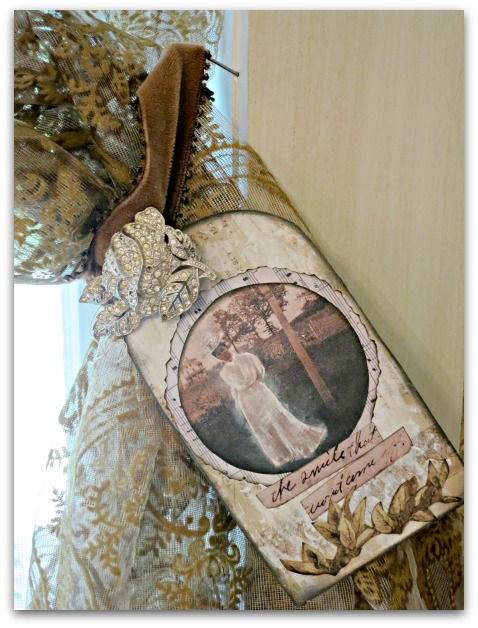
We had lots of projects made up for the online class that I pulled out to use around the room too.  This tag is pinned to my new curtains, hung just for the occasion. The tag is one of the "ready to go" bonus images from the class. All you do is print it and cut it out.

The curtains are from the Sparks Flea, and were $1.  When I bought them, they were a hideous, fleshy peach. But I liked the over all pattern and the flocking was cool, so I gambled that dollar and bought them any way, hoping a bowl of dye would take.

It did and now I just love them.!  Thing is, though, I bought them thinking I'd cut them apart to use in projects, and to test the dye, I cut a hunk off the bottom of one to dip.  I loved it so much, that I dyed the rest of the panels and hung them up, even with a hunk missing at the bottom of one.  


Ghost decor 026

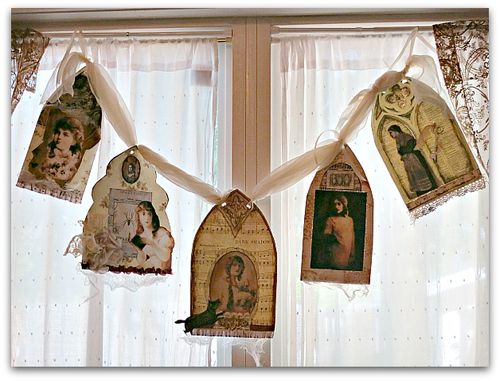
In the window, is a banner also made from the Romantic Gothic Ghost online classes.  There are tons of projects, decorating ideas, and printable images in the class. I'd forgotten how much there was in it, and had a lot of fun looking through it with fresh eyes.

Everyone coming to the class at the studio gets the online class free too. We still have a couple spots open for our one day party in the studio if you'd like to join us.


Ghost decor 054

You could hold a puppy on your lap while you work…..

Ghost decor 075

Scroll to Top