A mini makeover in my jewelry corner
Good JuJu, Hand painted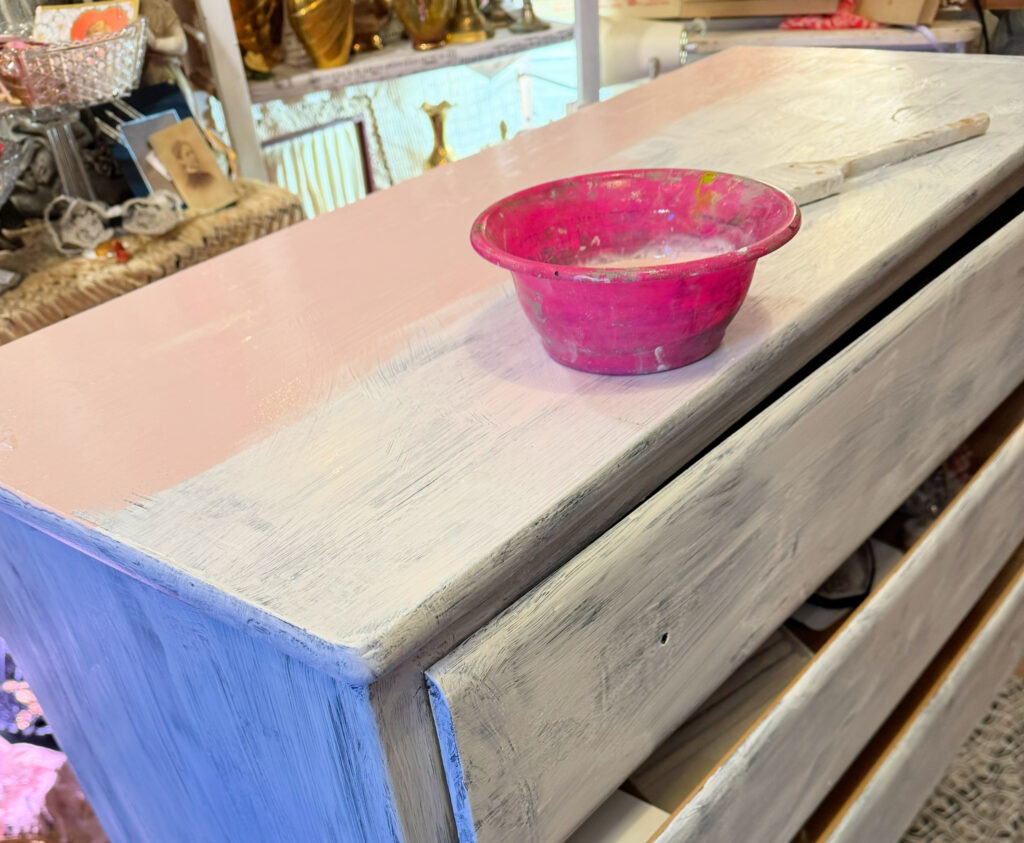
In February, I will be having rotator cuff surgery. Knowing that I’ll be one handed and away from my booth for a while is inspiring me to get all of my duckies in a row while I’m still able to work. One thing I wanted to do is lighten up my jewelry corner for spring.
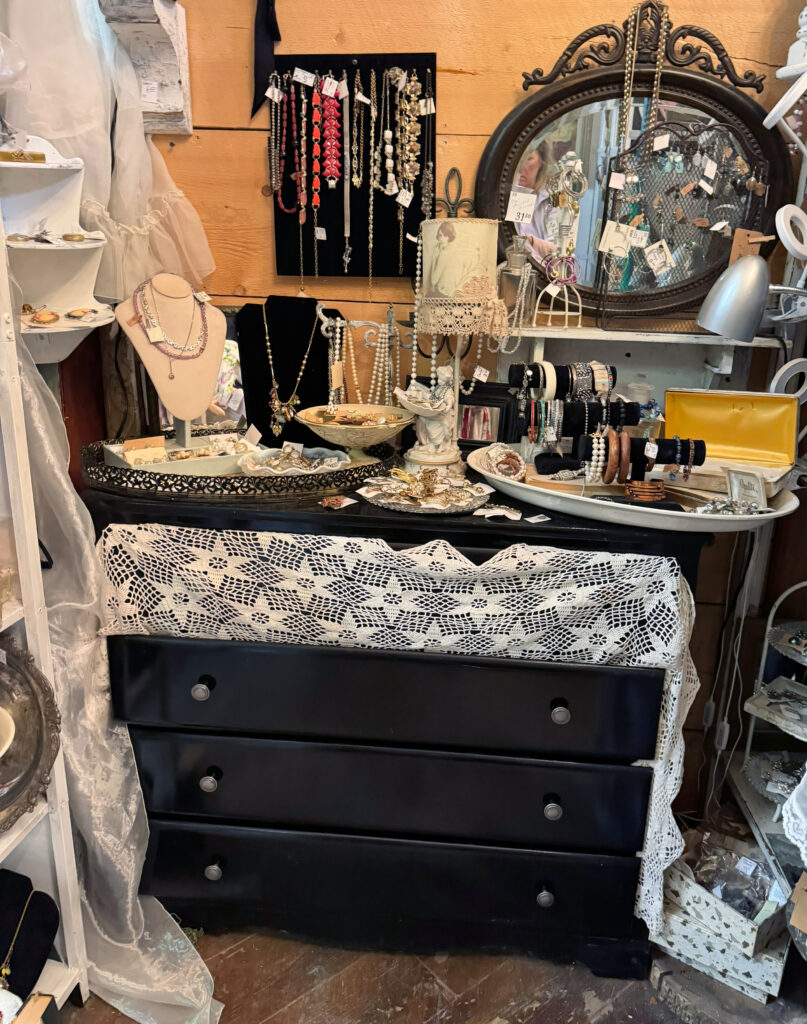
This is the before, which I like. The dresser is the ideal size to display my vintage baubles on, and great storage for backups. But the dark color felt over powering. Plus I hadn’t bothered to rehang anything above it since selling a few mirrors. It was looking slightly uncared for.
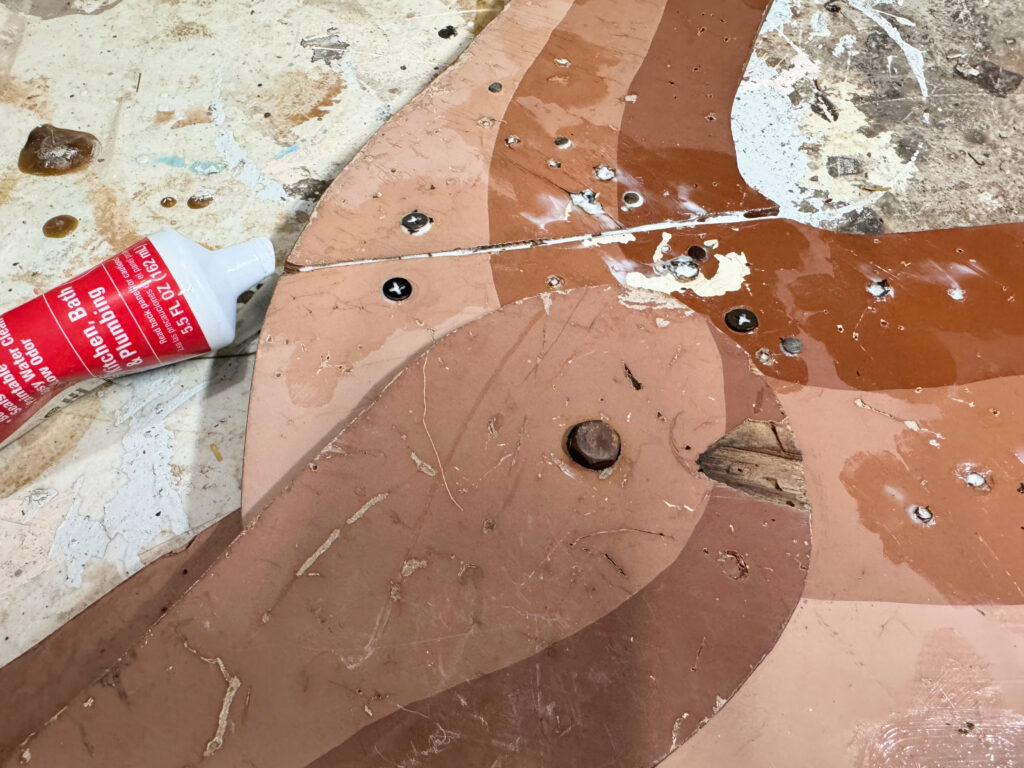
For a revamp, I mixed up a faded blush pink paint (consisting of deep rose, white, cream, and grey) then primed my dresser. Between coats of paint and primer, I repainted some darker toned mirrors too. And a couple of other tidbits around my booth, because the furniture was taking forever to dry.
I was slapping paint on stuff all Willy Nilly because there wasn’t anything else to do while waiting.
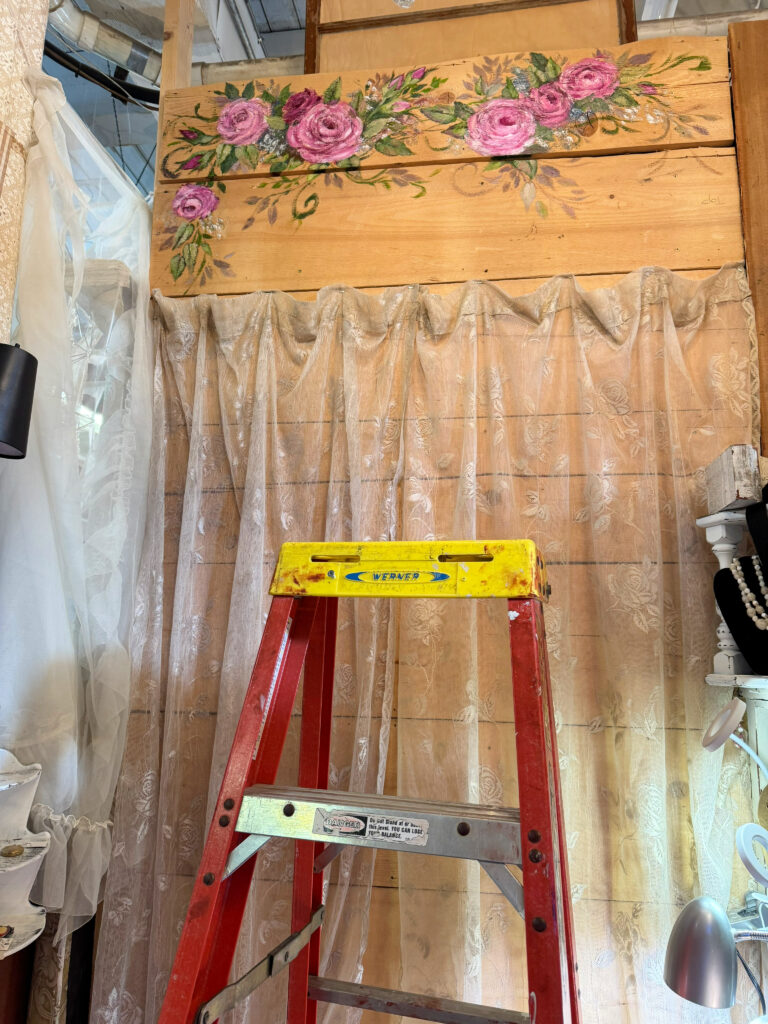
The cedar wall needed to be a tad more foofy, but I didn’t want to repaint it all, so hung some rose patterned curtains over it. I’m not sure if they did the trick, but it is a softer look.

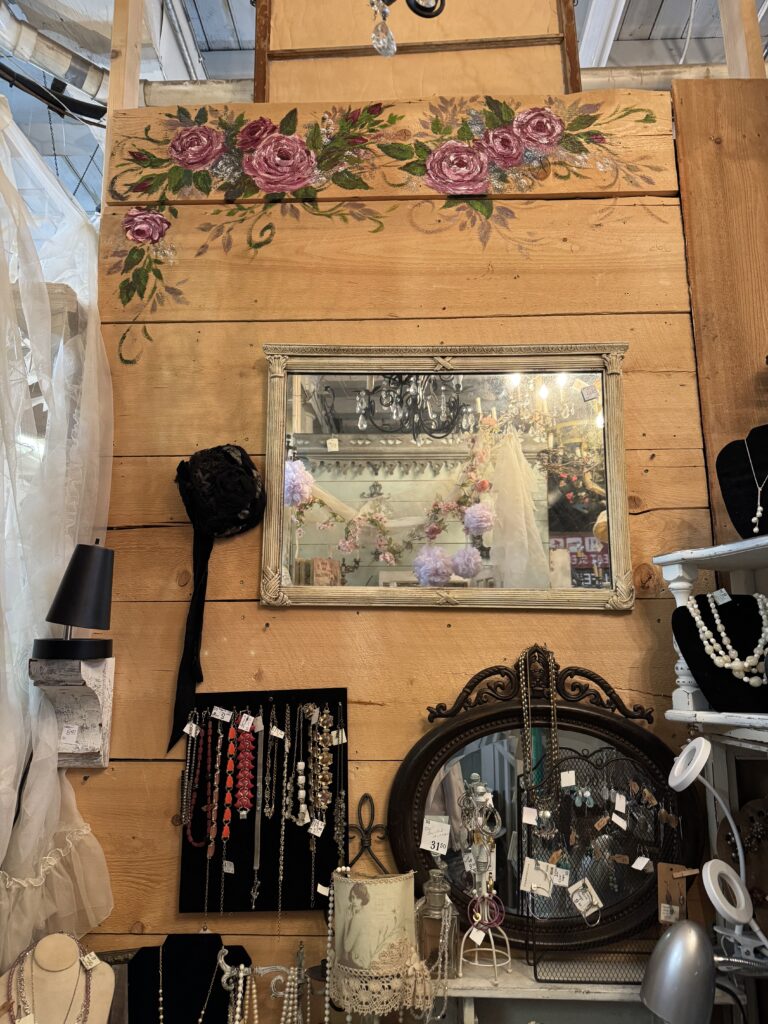
This is the black mirror from the before pic, now a creamy tone. And while I had my paints out, I pinked up the roses above it.
A year ago, when I first moved into this spot, the week of set up was during a bone chilling freeze. And while the drafty, old warehouse juju is part of is kept warm enough to keep the pipes from bursting, it isn’t exactly toasty inside.
I’d quickly added roses onto the wall, bundled up and left because I was freezing and could barely feel my fingers. But yesterday, the weather was downright balmy for January and the antique mall was a pleasant place to be. While killing time waiting for the dresser’s fresh paint to dry, I worked on the roses that I’d felt were too rushed looking.
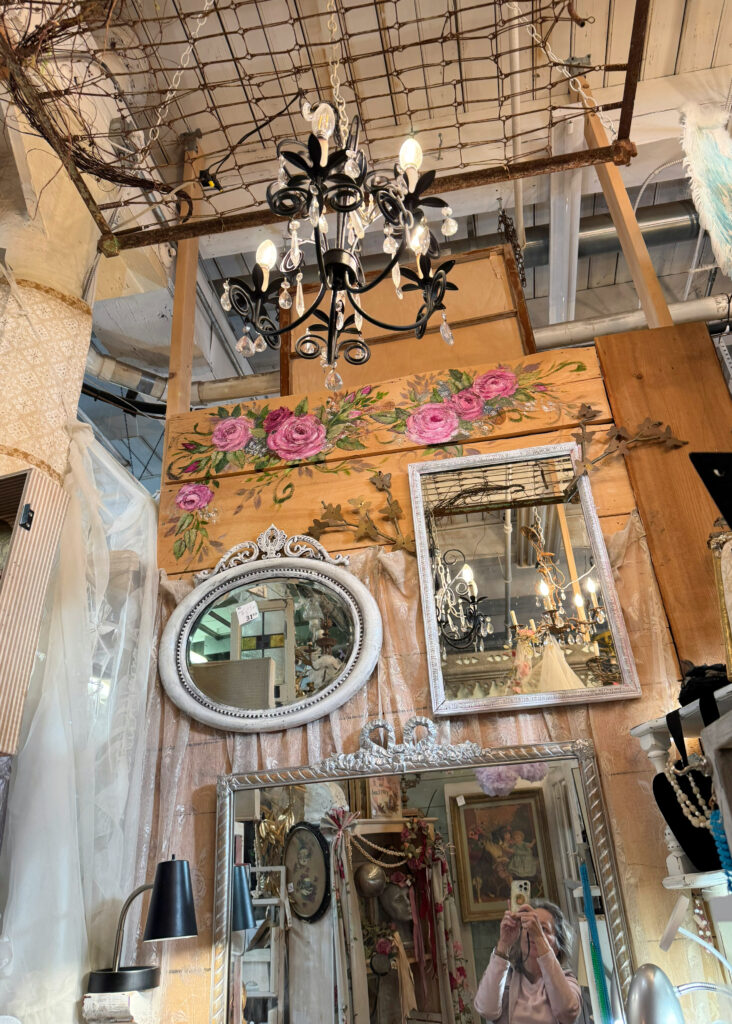
It is possible that no one but me will notice the difference, but the little changes made me happier.
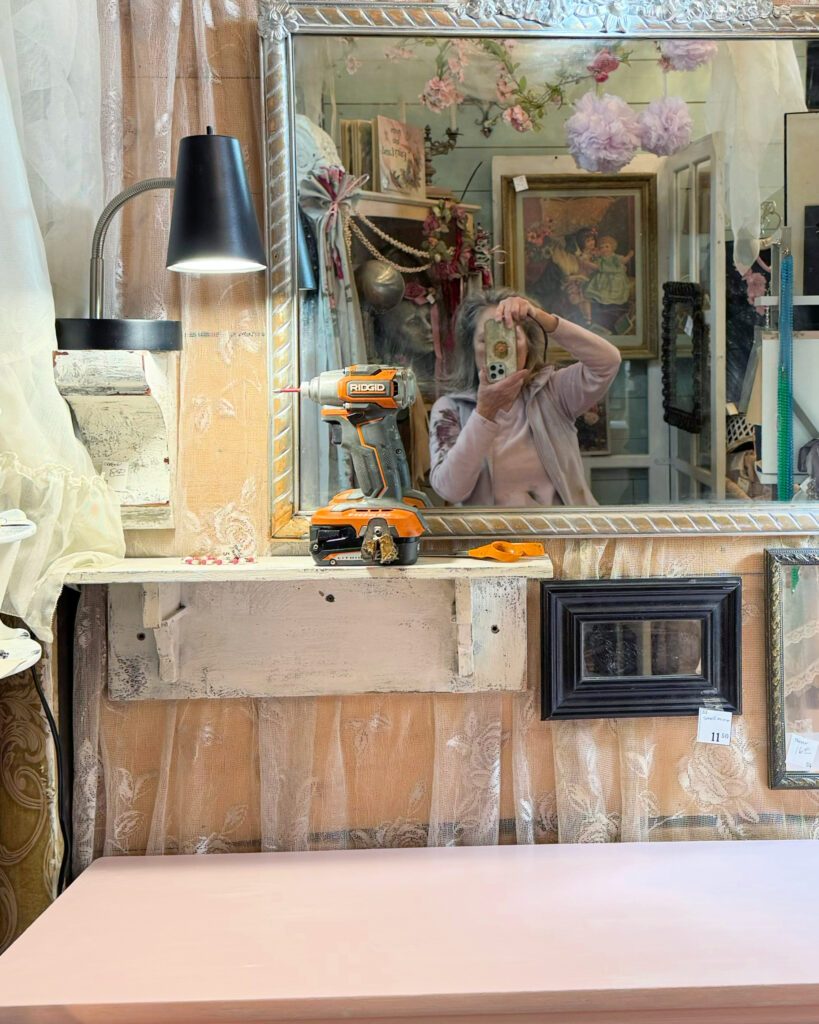
For now, I’m letting the dresser sit a few days to get good and dry. It’s a good thing I don’t live closer, because I’m itching to get in there and set up my displays. Since it’s a 40 minute drive, I can make myself wait and give the pink time to cure. Isn’t she a pretty color?
Like I said, it isn’t details most shoppers will notice much. But I think it lightens and brightens the area, which the customers will hopefully feel.
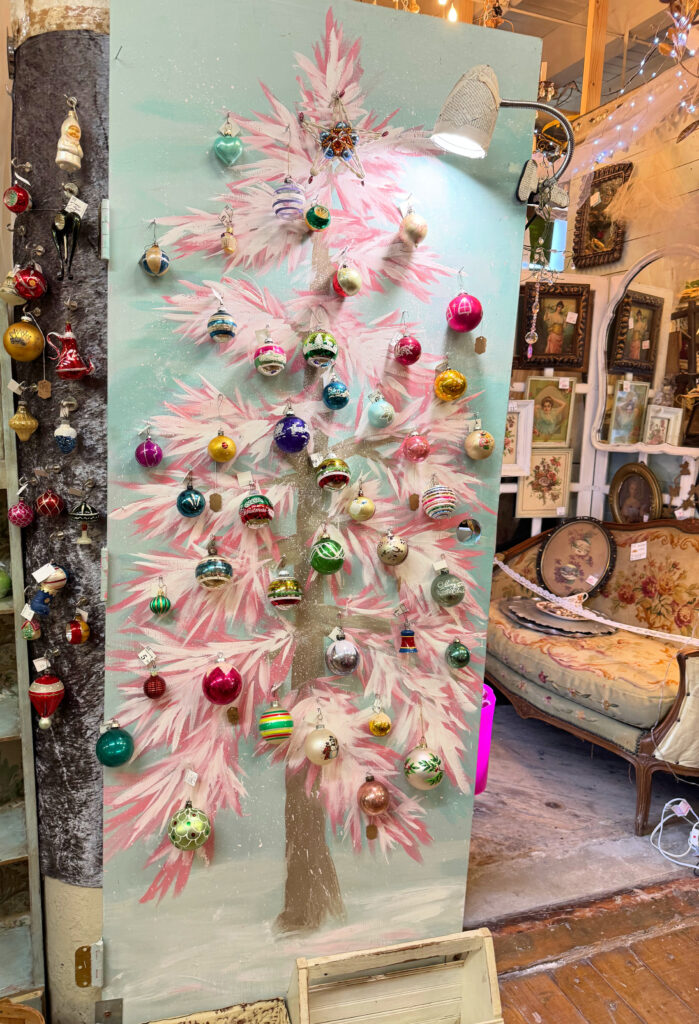 While I’ve been away from my blog, I’ve still been in the habit of snapping pics of what I’m working on. And as usual, my main focus has been my booth at Good Juju, in the Old West Bottoms of KC.
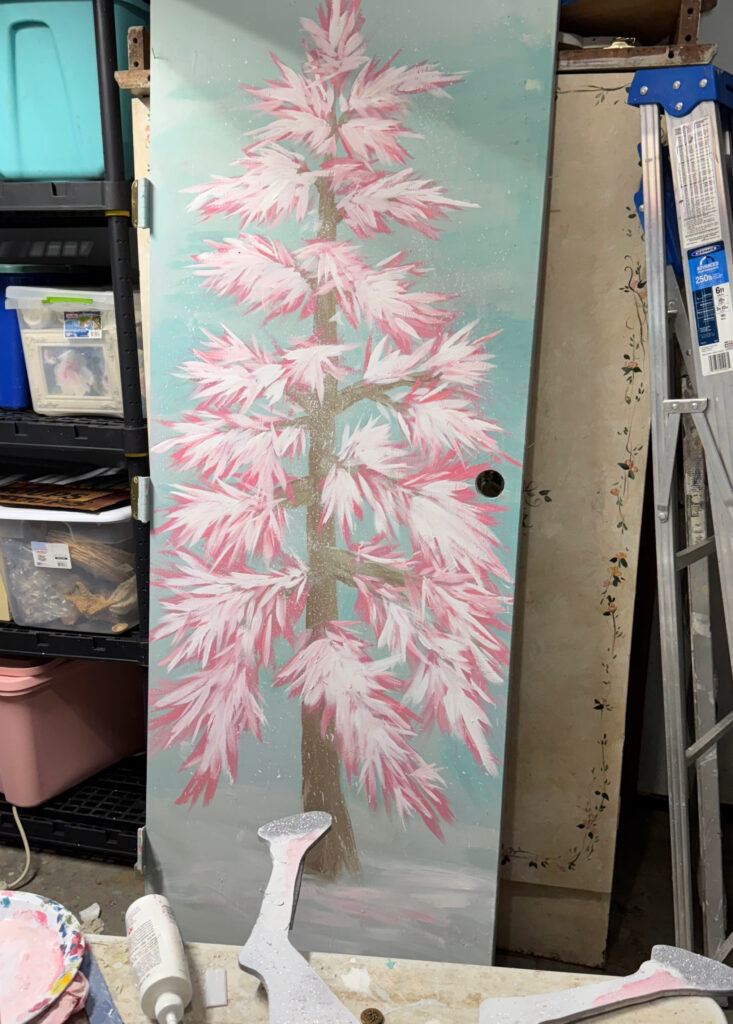
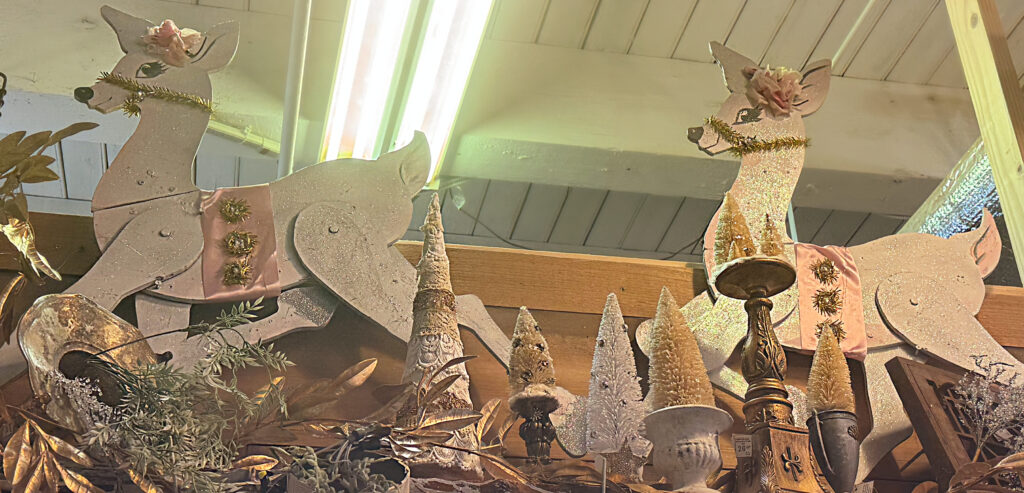
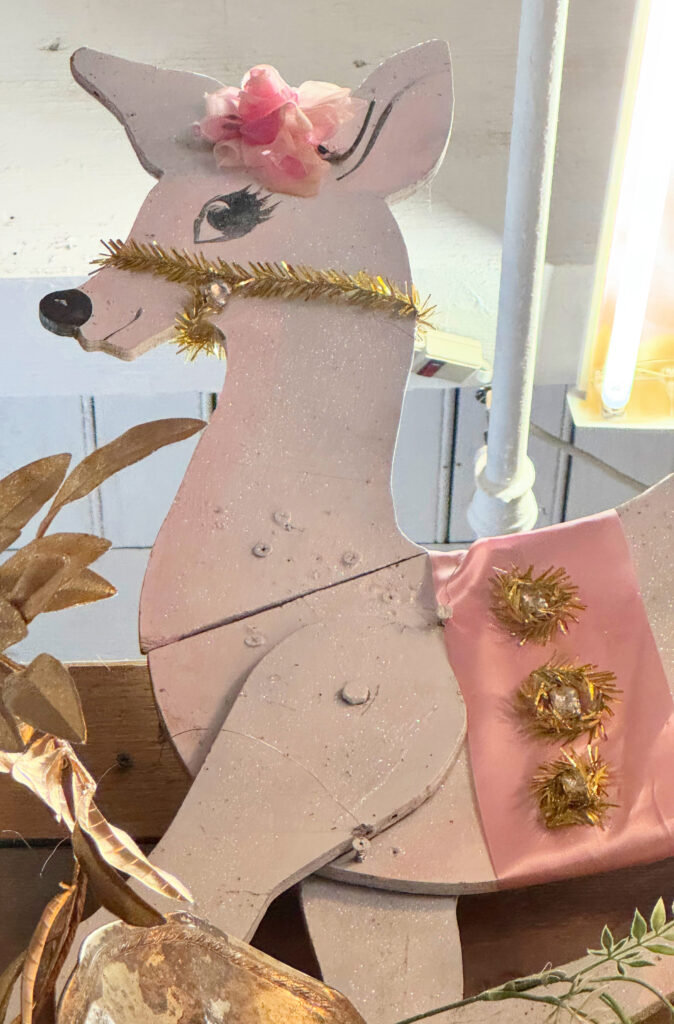 Another painted holiday touch is a couple of reindeer I prettied up with pink, white, and glitter.