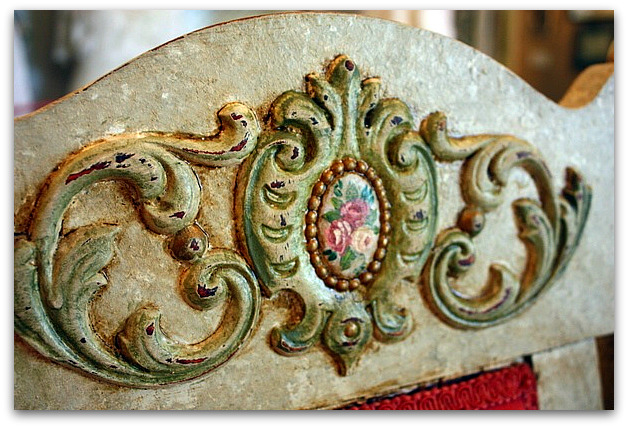
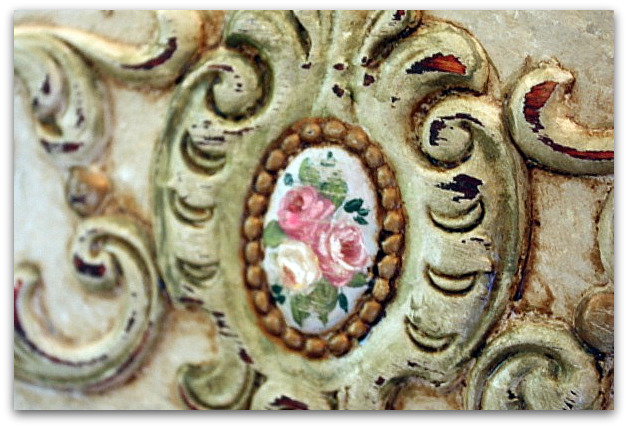
Hand Painted Furniture

2012 Studio Tour (Where Bloggers Create) A cottagey art studio

collections, Hand Painted Furniture, studio tour
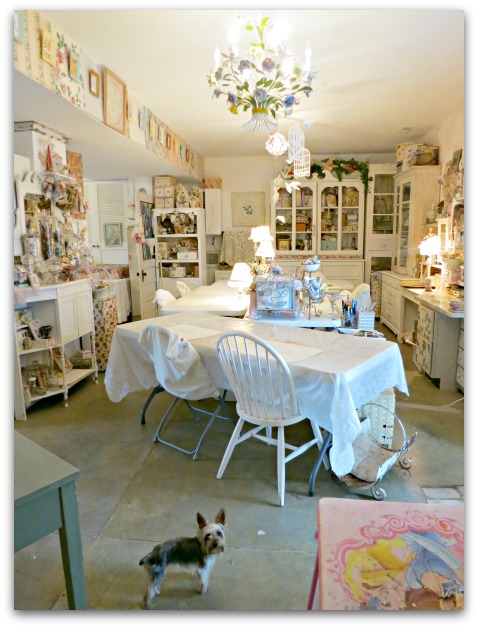
Studio tour 12 050
Karen is hosting the Where Bloggers Create studio tour again, and of course, I had to participate! I adore my studio and can't believe how lucky I am to have it.

The blog hop was a good excuse to get the room cleaned up for one thing, and for another, its a bunch of fun to surf through all the links and see all the creative spaces.

WhereBloggersCreate2012-180
The nice thing about a blog party, is that you can take your time, look at a couple here and there, then the list will be waiting for you to come back and check out a few more later.

Beware, this post is a LONG one. 

I took over 200 photos of the studio. Don't worry, I'm not posting them all. And I promise, I shut up about half way through and just start posting pictures.
Studio tour 12 054
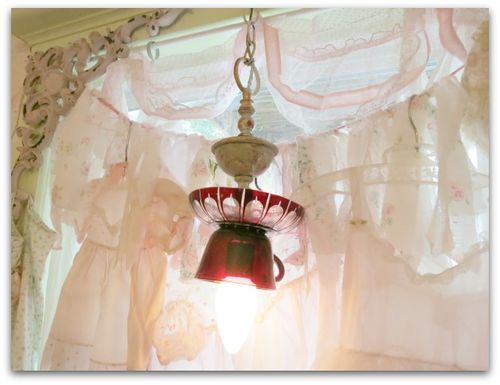
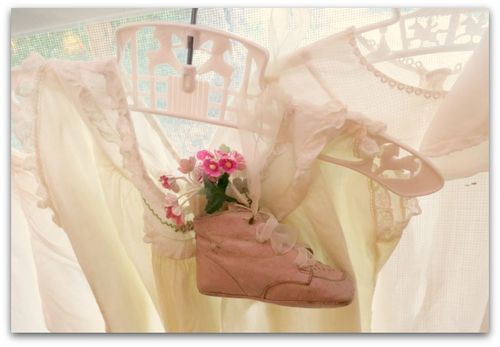
My own studio is all about the things I love. I like to have them out where I can enjoy them, not packed away waiting for some future use.  Someday, I might make something with these vintage dresses, but for now, they are curtains.
Studio tour 12 051
I'm also all about re-purposing, and salvage.  And finding cheap stuff!

This table was a dollar at a garage sale because the veneer was a wreck. I covered the top in textured wallpaper and painted the piece. (you can find custom painting tips and how-tos on my side bar under Tutorials)

The drawer was saved from an old wallpaper chest that had too much water damage to keep.  But I love the drawers for holding special tidbits. 
Studio tour 12 162
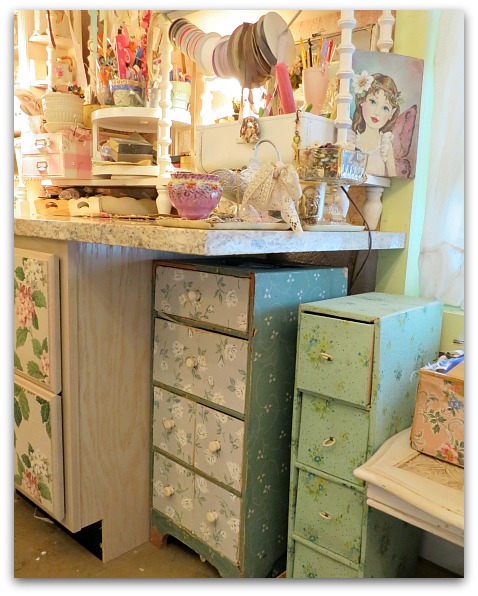
Wallpaper chests are one of my favorite storage items.  I never pass one up.  Even when I come across one that isn't all that pretty, I get it anyway and add different paper to the front of the drawers, like the dark green one with silver paper.

And when my husband got a new desk for his office, I moved his filing cabinet to my studio and covered the drawer fronts with some pretty wallpaper to girly it up a bit.   The top is granite, but was actually free! When our kitchen was being remodelled, the guys cut the counter tops wrong and had to replace a piece. They gave me the incorrect one, so I use it as a table top over the file cabinet.
Studio tour 12 056
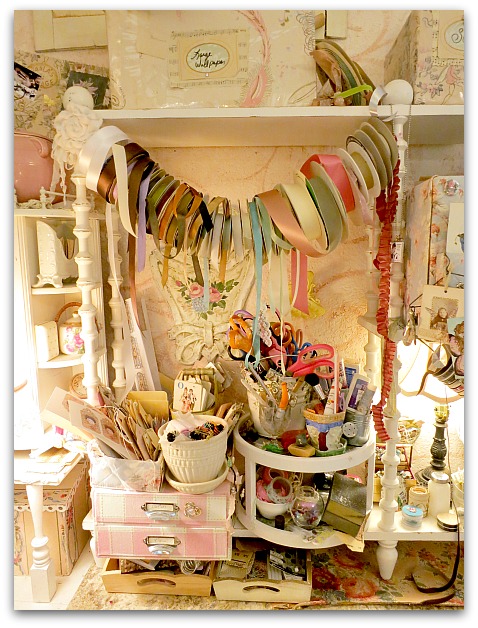
This spool shelf was from a garage sale too, and was cheap as can be.  I painted it white, set it on the granite table top and then stuffed it with supplies. This sits right behind my work station so I can wheel my chair around and have everything within easy reach.

The spools of ribbon hang from a ribbon tied to the shelf.  It works great till there are a bunch of empty ones, then I have to untie it, to slide them off and put it all back up again. Seems like the empties are always dead center, never on the ends. Still, its worth the effort, I like having the ribbons on display and handy.
Studio tour 12 058
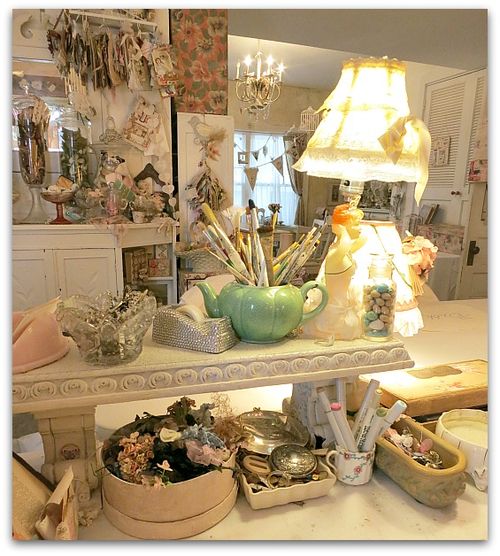
This is my desk top.  The shelf on it lets me have even more supplies right where I need them, so I don't have to get up and hunt.It doubles my table top storage space, but is low enough that I can chat with friends across the table on craft day.
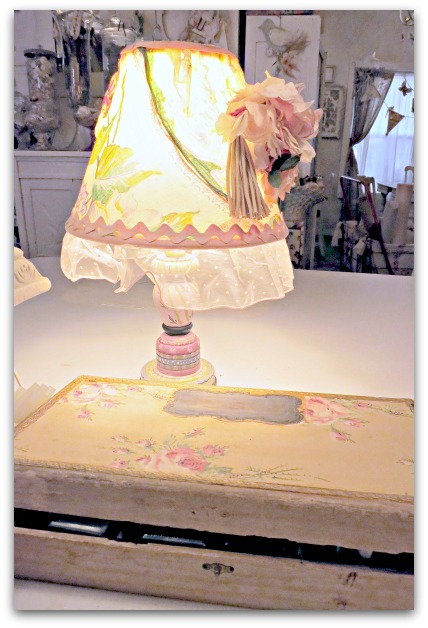
Studio tour 12 067
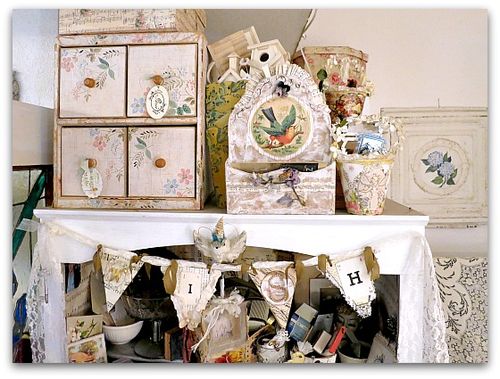
I'm a big believer in pretty storage!  Teapots, floral mugs, old boxes, and other garage sale goodies are put to work all around the room.
Studio tour 12 068
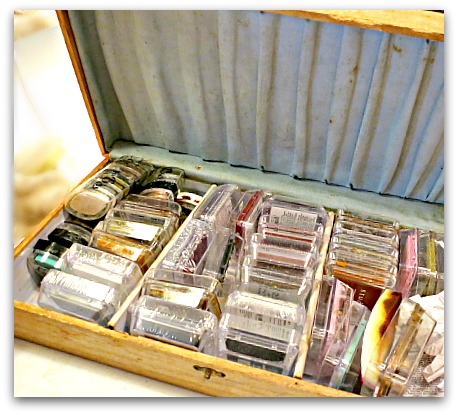
This old hanky box is full of ink pads. I like the 99 cent ones from the bin at Michaels.  I buy handfuls when I have one of those 25% off  your total purchase coupons.
Studio tour 12 069
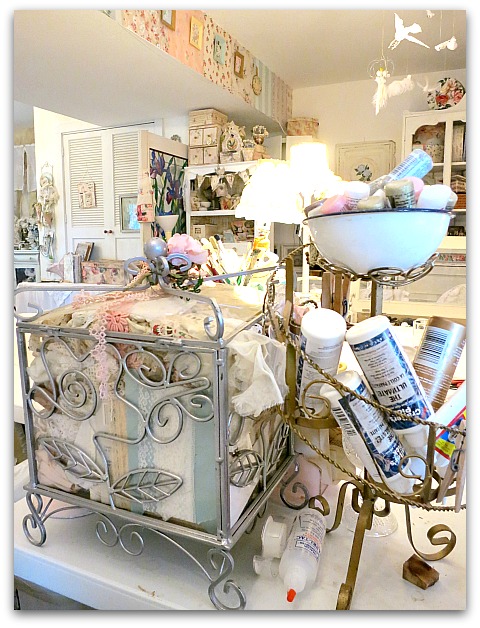
And this little wire plant stand is perfect for keeping a selection of glues and glitters upside down.  I store all glue, Stickles, and paints that way, it keeps them fresher and easier to squirt out.
Studio tour 12 180
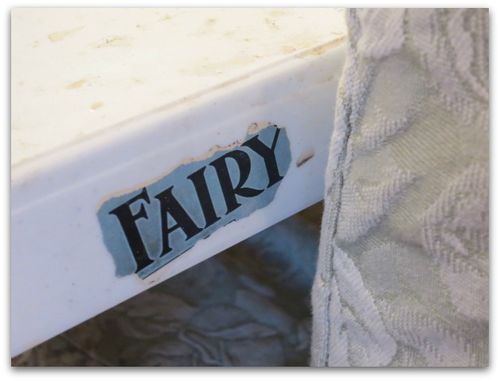
The table itself is not very pretty, but sometimes I'll glue things I like to the edges of it.  
Studio tour 12 074
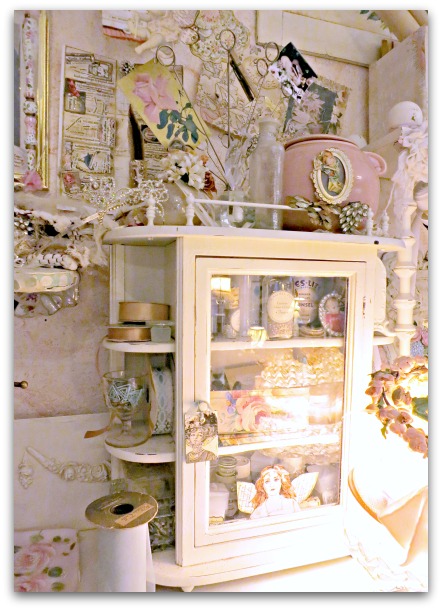
This is my glitter storage cabinet.

Studio tour 12 185

Studio tour 12 076

Because having plenty of Sparklies in life is important!
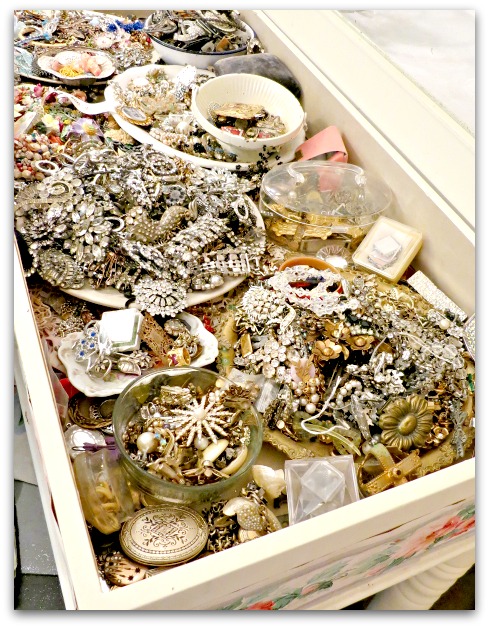
Studio tour 12 062Besides the large folding tables from the hardware store that I cluster around to use as work spaces, this glass top table is the only new piece of furniture in the room. The rest of the things are from yard sales, auctions, and fleas. I've painted most of them white, like I did this table, so that they have some flow in the room and all the different styles aren't as distracting.  Some have rosy wallpaper borders like I added to this one too.
Studio tour 12 063
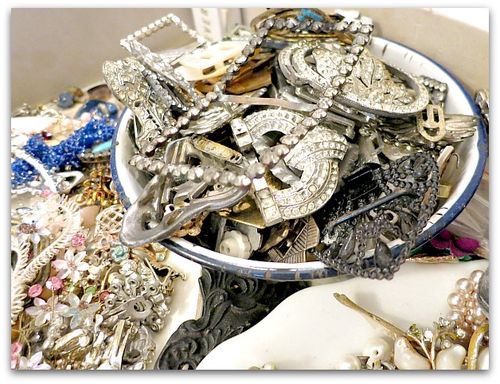
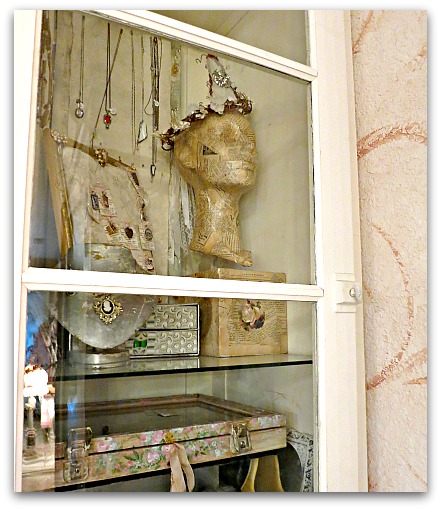
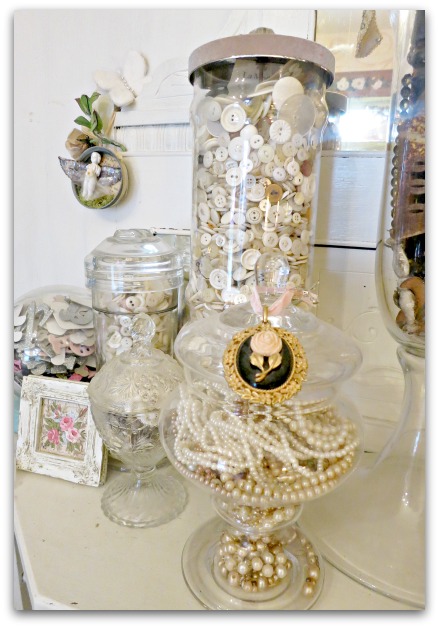
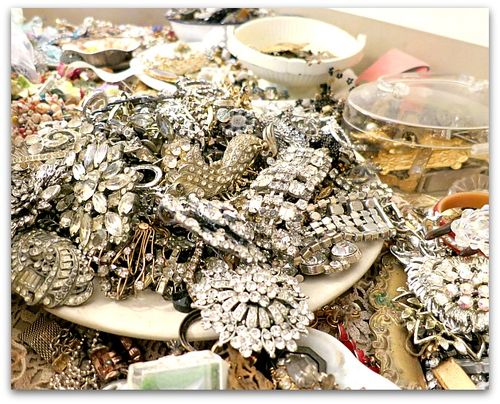
Here is a close up inside.  I have plates and bowls filled with different types of jewelry:

  • clear rhinestones
  • colored stones
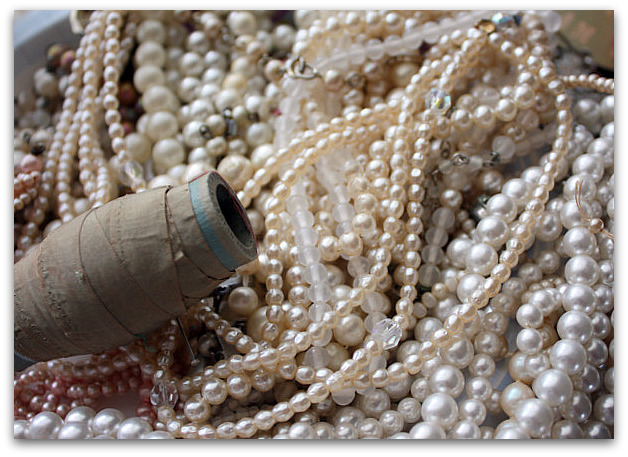
  • pearly things
  • porcelain or enamel flowers
  • buckles
  • cameos
  • lockets
  • figural pieces
  • hearts
  • brass charms
  • and probably some other crap

Studio tour 12 066
My friends get tired of seeing me perched over the Dollar Jewelry tables at flea markets, but I find my best stuff while sifting through the piles there.

Studio tour 12 052

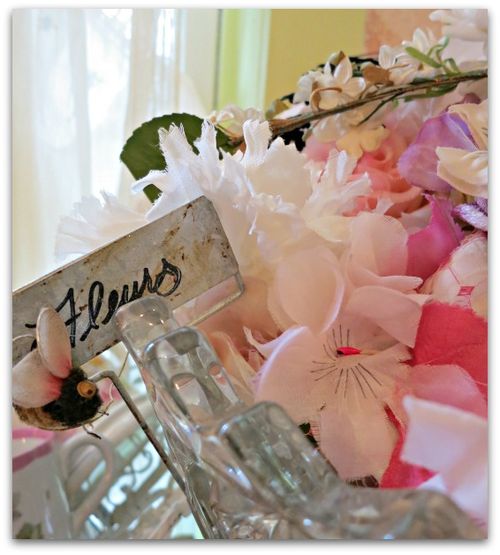
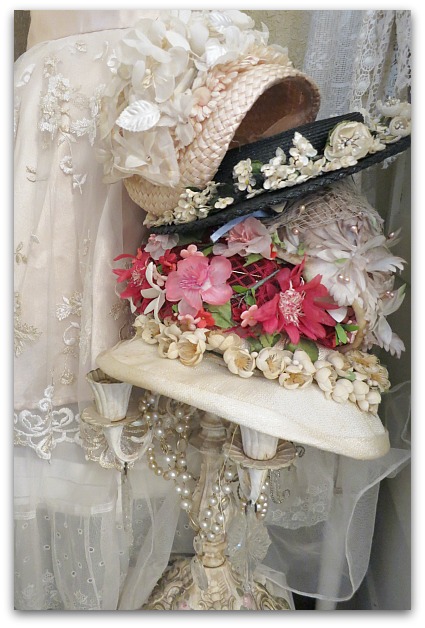
Its good to have big bowls of flowers nearby too.  I tend to buy a lot of hats…. and while most are stored away as is around the room, I do try to pluck a few so that this big punch bowl stays full. 
Studio tour 12 131
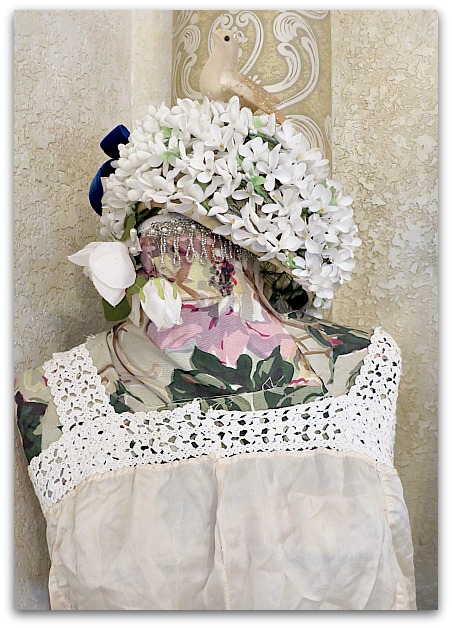
There is a glass front buffet (I got for $40 and fixed up) that I store hats in, but it overflowed, and there are hats everywhere waiting to be plucked.
Studio tour 12 132
And birds. I have little birdies everywhere. I set them out for Birdsong and haven't had the heart to put them away.
Studio tour 12 072
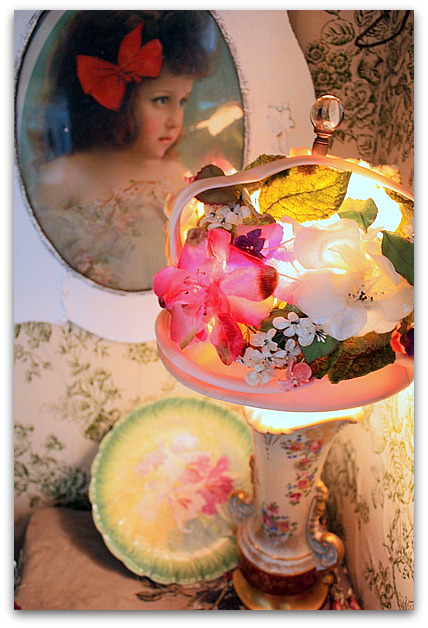
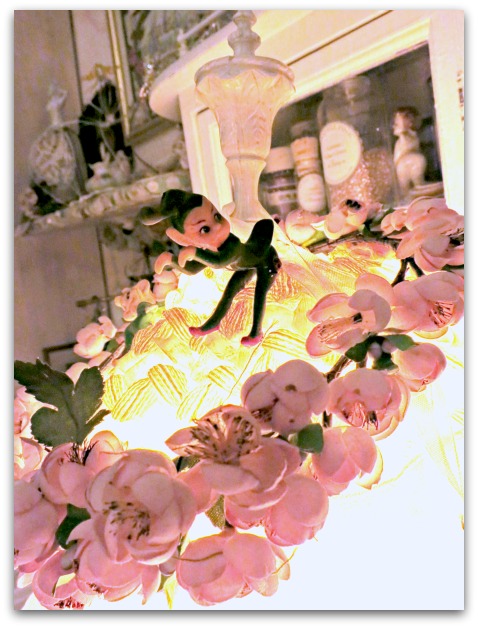
Seems like flowers have found their way to most of my lamp shades. This lamp shade is an old hat itself. I've just punched a hole in the top to attach it to the finial.

Studio tour 12 156

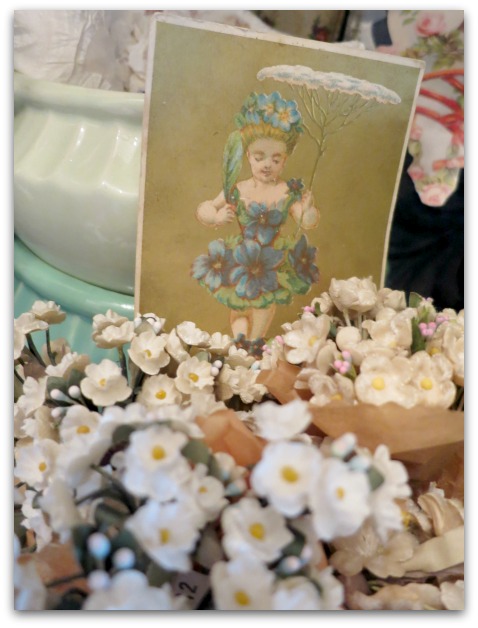
And there are bowls of flowers in the cabinets too. They might be needed someday for a project, but in the meantime, I want to be able to see them and love them, and wipe drool off of them every once in a while.  I can never get enough old millinery blooms.
Studio tour 12 114
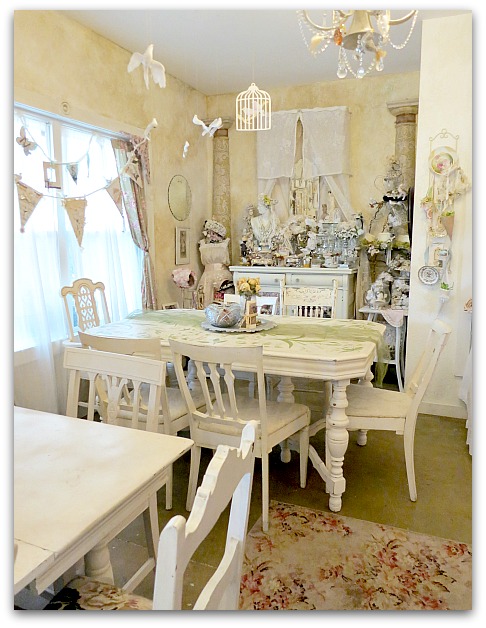
The buffet on the back wall is the one full of flowered hats.  I didn't get a close up of the hats themselves.

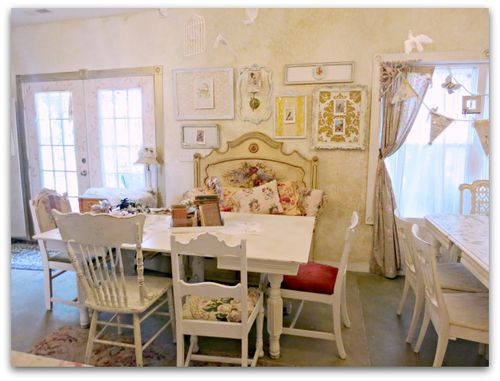
My studio is one big room, almost 1,000 sq ft. (yippee!) One side, is set up for every day work.  The other has two dining tables in it that I use for company, they can be pushed together for parties.  But normally, when the studio is not cleaned up (which is most of the time) one table is full of things to photograph and add to my Boutique, and the other is covered with sewing things.
Studio tour 12 141
See all the hanging birds?  I really need to get a ladder out and get those down, or they will be nothing but dust balls soon.
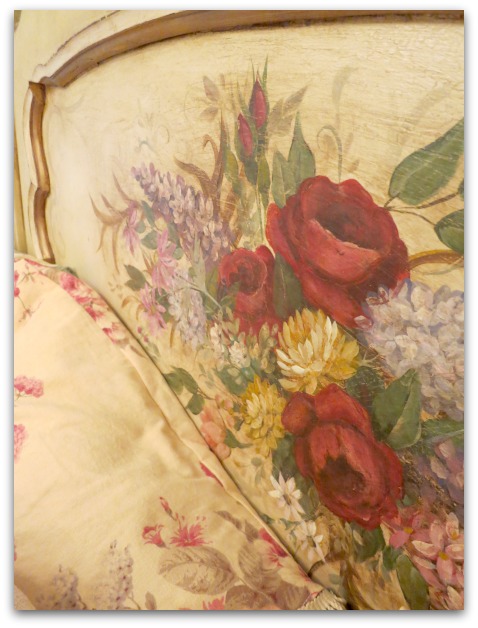
Studio tour 12 203
This bench was made by my son from an old head board, and I painted it.
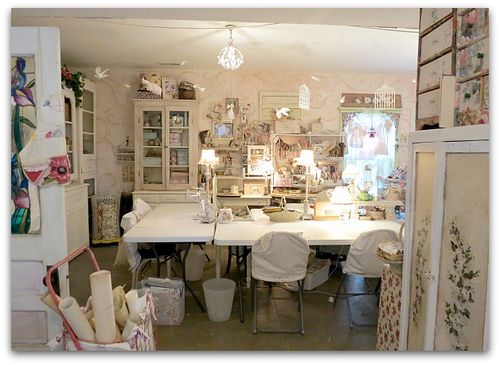
Studio tour 12 139
Here is the view from the dining table side of the room into the working side.  The tables there aren't very nice, but they are versatile and can be moved to different configurations. Plus, I can spill paint and glue all over them, slice with exacto blades and not care. 
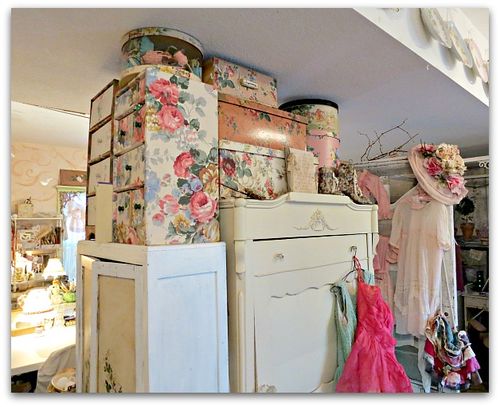
Studio tour 12 144
There is a central support beam that we turned into a column, and I've grouped storage pieces and old doors around it to create a divider.
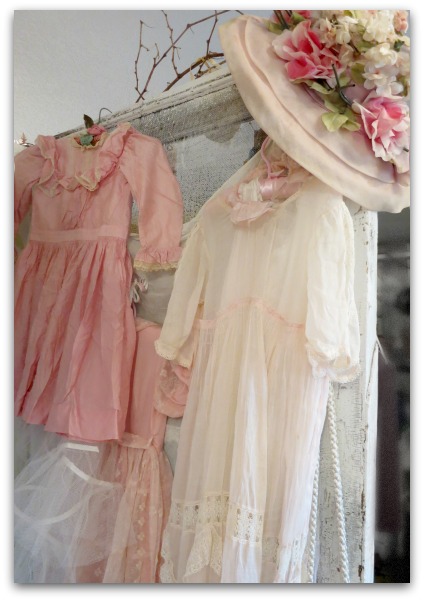
Studio tour 12 145
The old doors are hinged together and make great fake walls. Especially the screen and glass doors, they divide the space up while still letting the light come through.
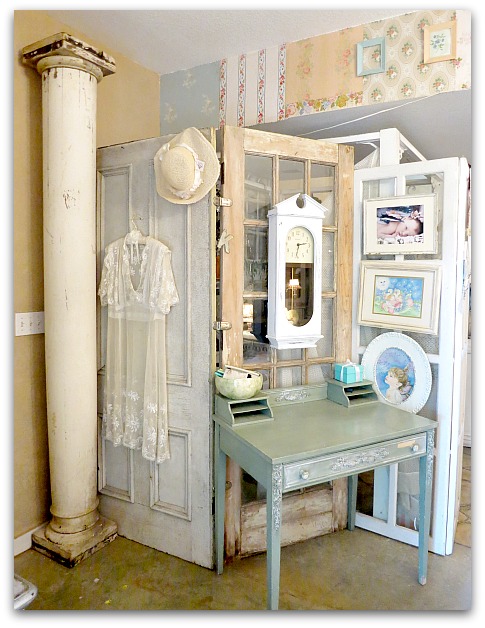
Studio tour 12 106
I've used old doors to section off my computer/office area.
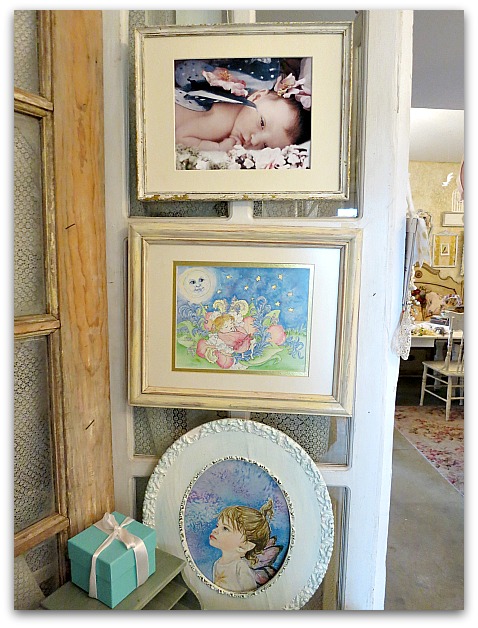
Studio tour 12 112
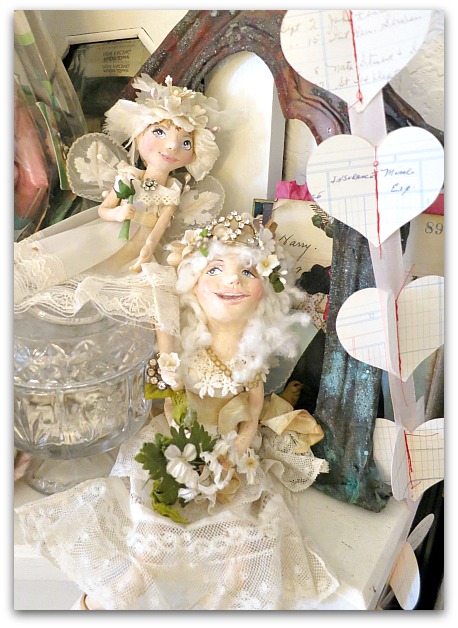
The doors also provide spaces to hang more stuff!  LIke my great Aunt Caroline's clock and portraits of my grand fairies.
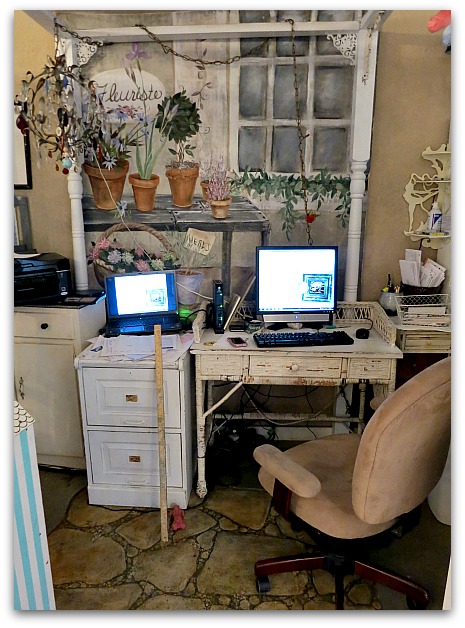
Studio tour 12 113
The office space sits inside this room built of doors. (the rug is hand painted vinyl flooring)
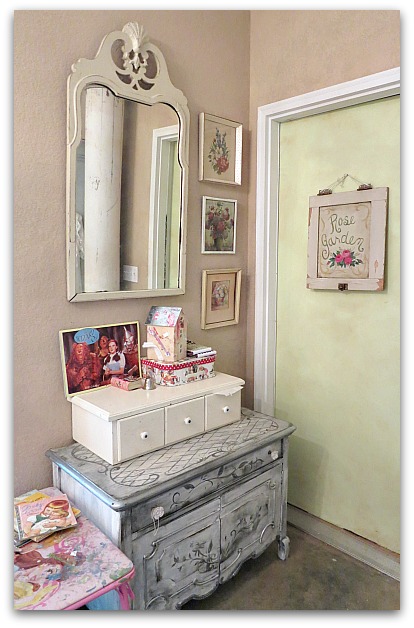
Studio tour 12 107
Sugarwings has her own area, and these hold all of her art supplies. (but she prefers mine)
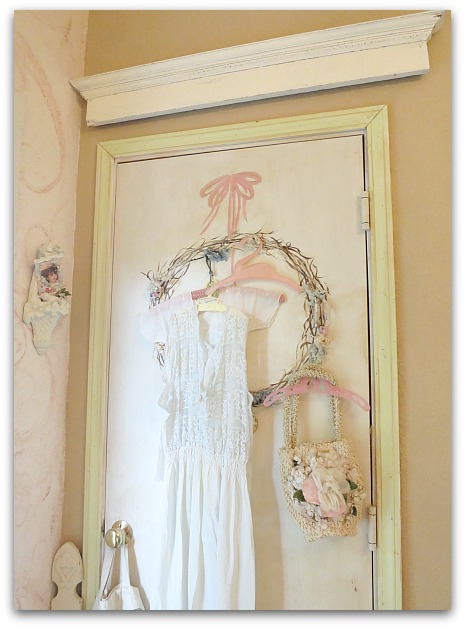
Studio tour 12 111
Behind Sugarwing's supply chests and work table is this closet. Its overfilled with shipping supplies for my store.  If I ever disappear from this blog and you don't hear from me, it will be because I opened that door and was buried in an avalanche of packing peanuts.
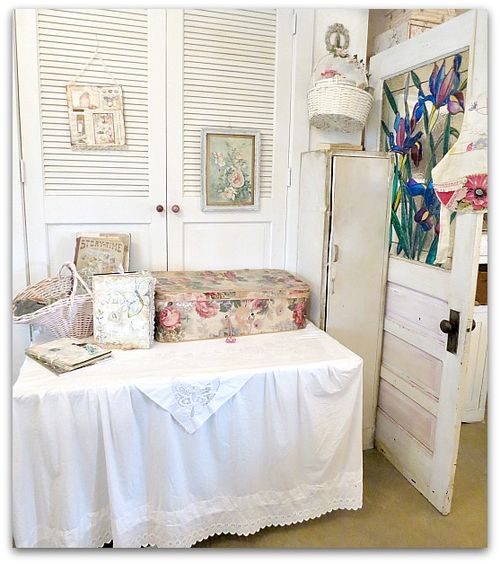
Studio tour 12 115
This table is actually a pretty antique, but I have so much junk on the shelves below it, I made a table cloth to fit it and hide them.

The door is an original door from our farm house that I painted an iris on. 
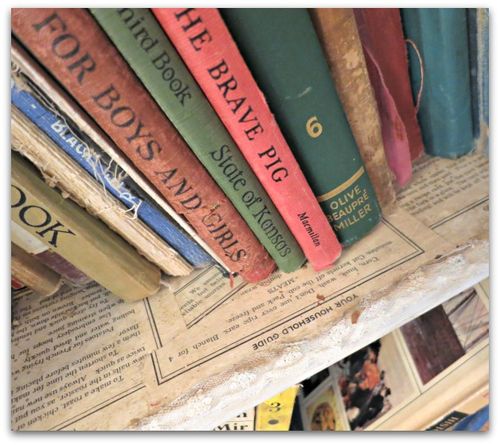
Studio tour 12 116
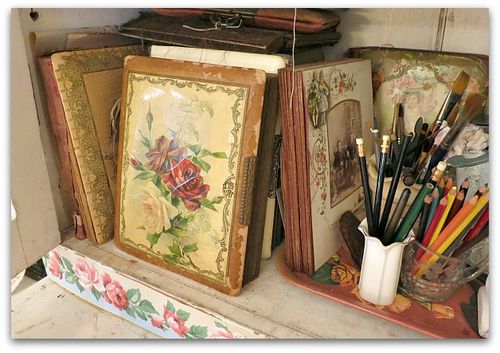
The metal chimney cabinet is filled with old books.
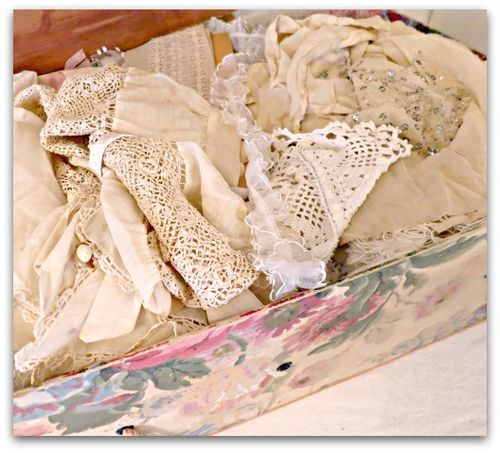
Studio tour 12 118
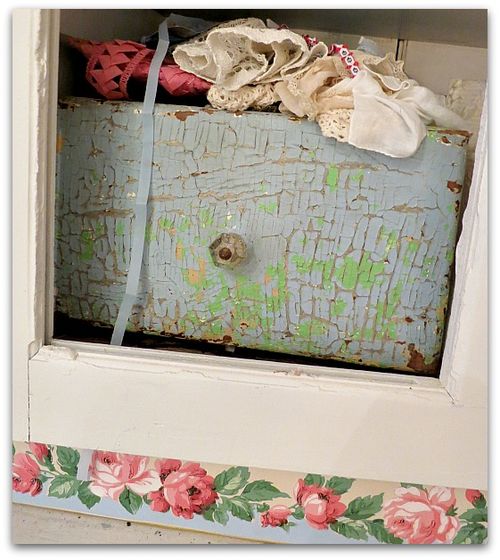
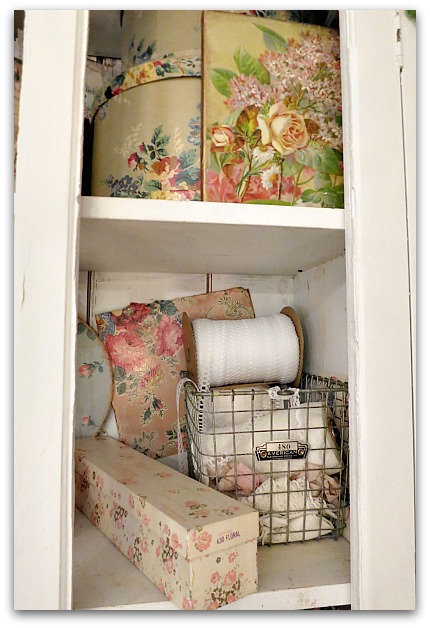
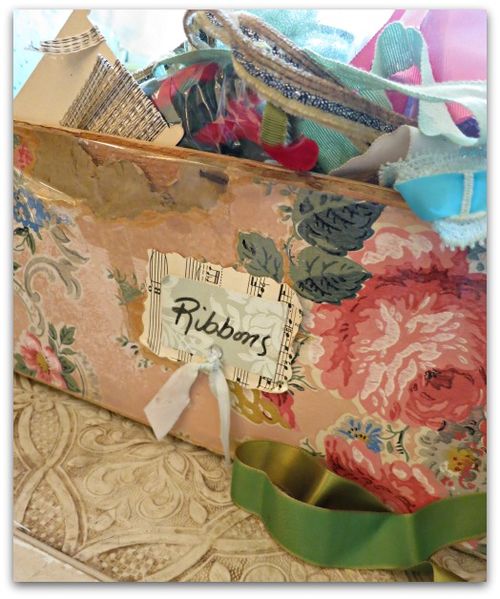
And the wallpaper box is filled with lace.
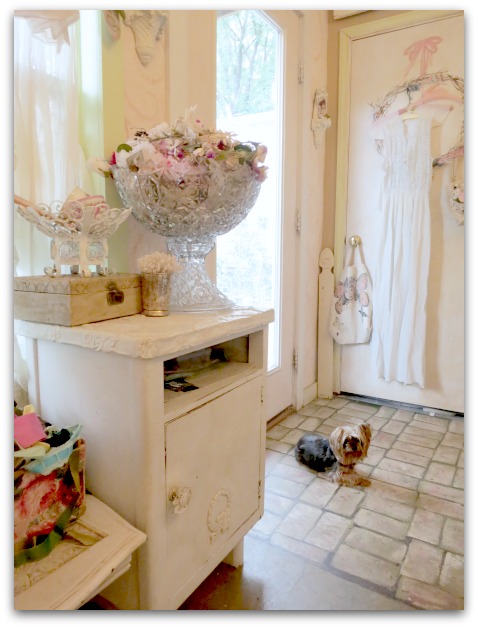
Studio tour 12 164
This room was built as simply as possible, a cement floor, and dry wall.  I've stained and painted the floor, and tried to foof up the place with my pretties to make it feel like home, not a big square space.
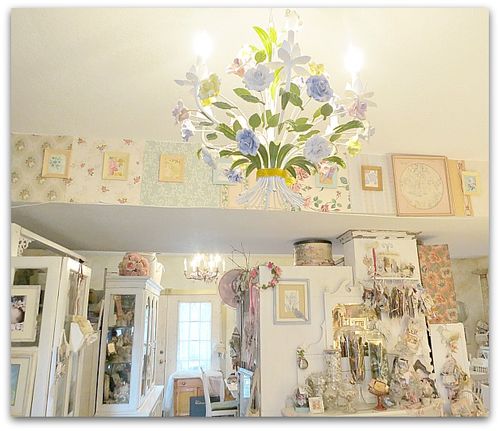
Studio tour 12 171
Adding vintage chandeliers has helped the room not feel as new as it is.  Our cottage is around 100 years old, and I didn't want this room to look blindingly brand new when we added it.
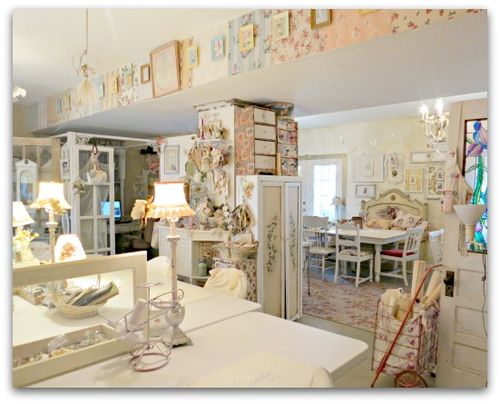
Studio tour 12 138
I've also tried to keep everything functional while still being things I liked to see around me.  Each cabinet has a purpose.  Its pretty well organized, and I can find what I want when I need it.  Unless I've set it down somewhere as I walk through the room.  Then, its hopeless.  I usually have piles of projects all around the room, its easy to lose stuff in them.

Studio tour 12 055

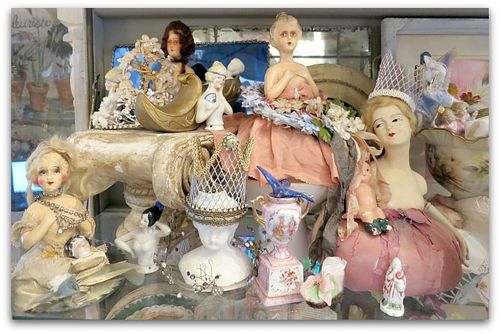
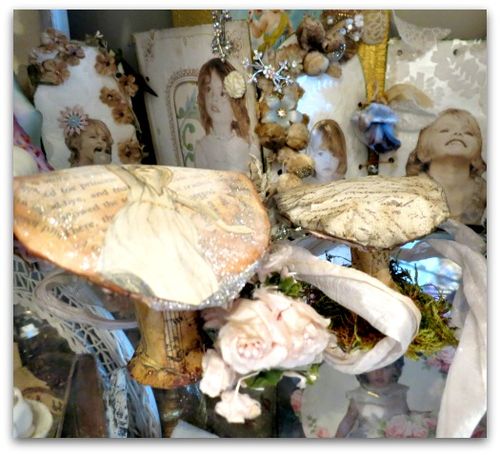
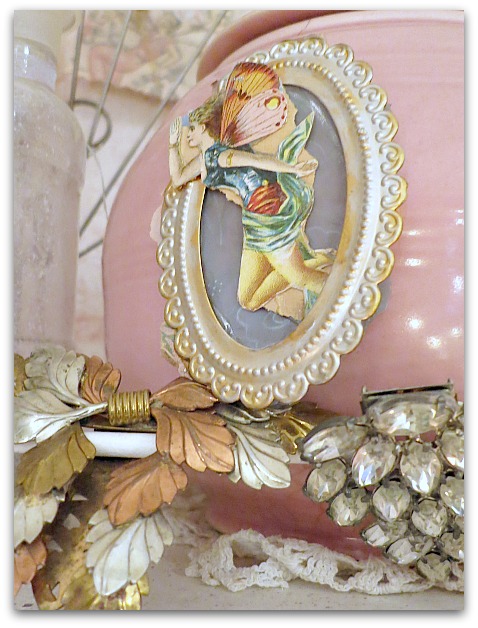
Well, I've probably done enough blathering. I'll finish with some closeups around the space, and inside some of the cabinets.
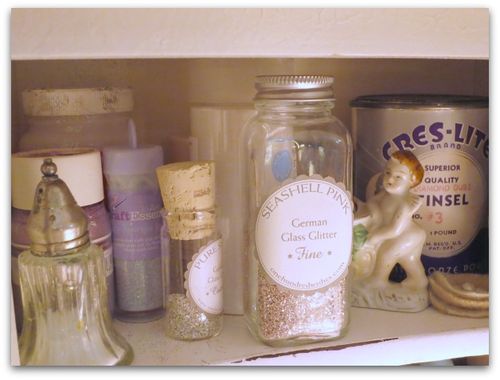
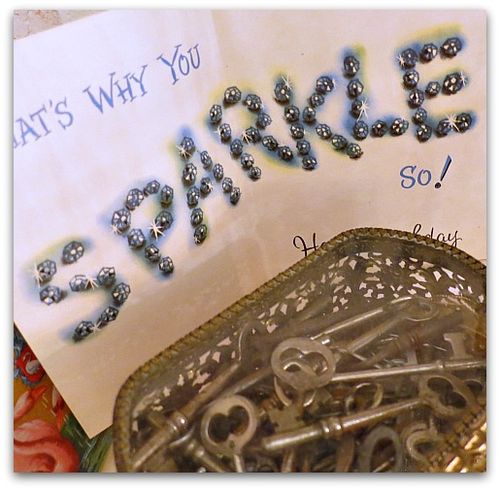
Studio tour 12 177
And maybe of a friend here and there around the room.

Studio tour 12 053

Studio tour 12 078

Studio tour 12 079
Studio tour 12 082
Studio tour 12 084
Studio tour 12 086
Studio tour 12 088
Studio tour 12 090
Studio tour 12 091
Studio tour 12 092
Studio tour 12 094
Studio tour 12 096
Studio tour 12 099
Studio tour 12 102
Studio tour 12 103
Studio tour 12 104
Studio tour 12 105
Studio tour 12 120 Studio tour 12 121

Studio tour 12 122 Studio tour 12 125

Studio tour 12 129
Studio tour 12 133
Studio tour 12 134
Studio tour 12 135
Studio tour 12 136
Studio tour 12 137 Studio tour 12 146

Studio tour 12 147
Studio tour 12 148
Studio tour 12 151
Studio tour 12 152
Studio tour 12 157
Studio tour 12 160
Studio tour 12 182
Studio tour 12 181
Studio tour 12 202
Studio tour 12 173
Thanks for stopping by!

No sanding, no stripping, no paint, custom painted furniture, plus a sale and another upcoming class

Hand Painted Furniture, Workshops

The sale in the Boutique and on Etsy is still on! 

Use this link

and type in the code:

2012

then hit recalculate, and save 40% in the boutique!

for Etsy, type in the code:

happy2012

to receive 50% off!

Thanks for all the clearance shopping you have done with me! I've been boxing, packaging and shipping all week. Now, I'll be cleaning up and deleting all the "sold" items, rethinking some items, and restocking soon. In the meantime, you still have time to take advantage of these prices!

IMG_3113

My visit to California to stay with my pal, Kim, was such fun. Did I mention what a PERFECT hostess she is??  Her family made me feel very welcome.  Their house is beyond pretty, but is also comfortable and homey too.

I'm the kind of person who likes to be doing stuff, so when I stay with someone, I'm always happy when they let me play with paint and redo something in their house.  Once while visiting  the Guncles, they let me repaint all their kitchen cabinets, and on a trip to Indiana, Sissy let me redo her bathroom.  I enjoy the process and like to see the changes, and when the host or hostess works along side me, its good chatting/bonding time.

IMG_3107
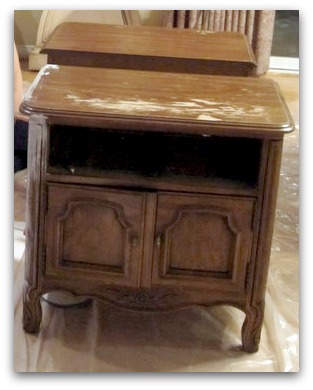
Kim's bedroom was filled with a set that she'd had since she was a little girl and it was sentimental to her, but needed an upgrade.

IMG_3089 IMG_6451

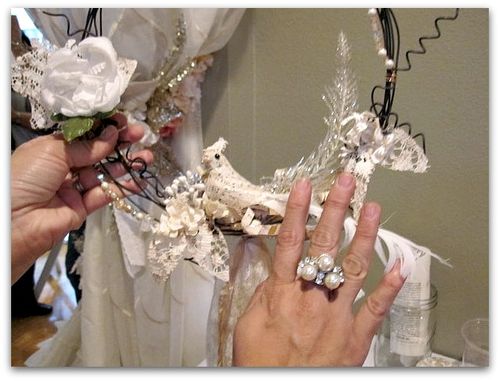
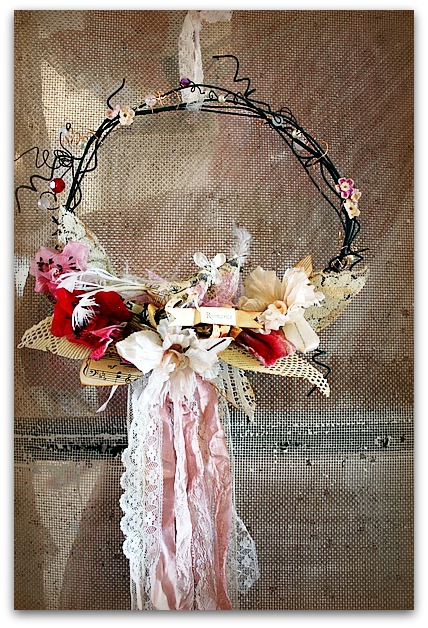
While I was there, we had two classes for all the ladies who attended her day long gathering, one was a wire wrapped wreath with a nesting bird.

IMG_6705
I'll be teaching this one again at Paper Cowgirls in Texas if you are interested- or please email me if you'd like to come to my studio to make a Valentines Day version on Sat. Jan 28th, I'll do a class here in my studio for the afternoon- $65 includes all materials, lunch and dessert.  It will start at 10am, and everything needed to create the wire wreath with two nesting love birds will be included.

After we finish the wreath, we'll make some Valentine cards, I'll have some collage sheets made up for you to cut and paste.

And you know me, it will be the Good Stuff!  All filled with vintage goodness.

IMG_3108

  The other class we did in California was a faux finish and paint technique  lesson that I showed on a small box.

Kim and I used the same ideas from the painted box lesson to redo the nightstands in her bedroom.

No sanding, no stripping, no paint!

Yep, NO PAINTING

We had Glidden Gripper, a water based, bonding primer tinted to a color she liked (Martha Stewart's "glass of milk"), and painted two coats of it onto the pieces. Right over the hardware and knobs.

Then, we scuffed it up with sandpaper to distress  the corners and edges.

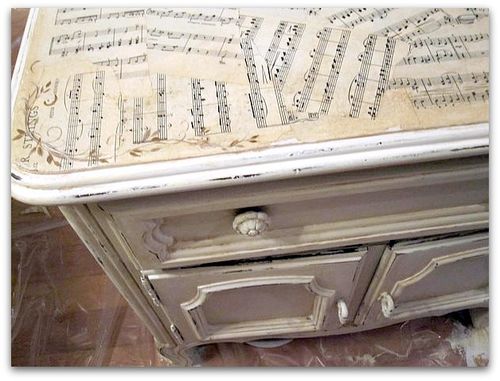
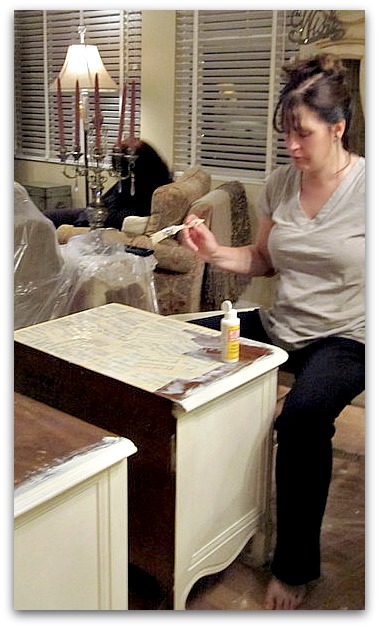
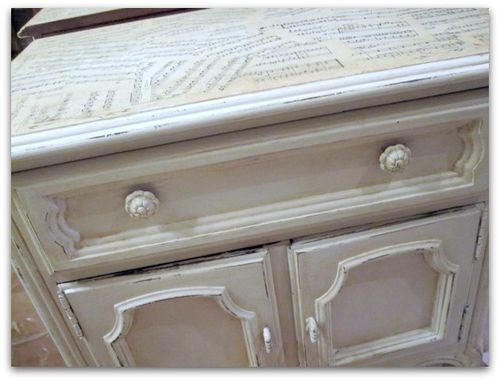
To jazz the nightstands up, she covered the tops in vintage sheet music.  To decoupage ripple free, we painted the glue onto the table top, then dipped the paper into water to soften it, laid it into the glue, and then did a coat of glue over the top.

In the front corners of the table tops, we hand painted some sweet little vines for a special touch.

IMG_3111
So, at this point, its primed, distressed, and decoupaged.

IMG_2914

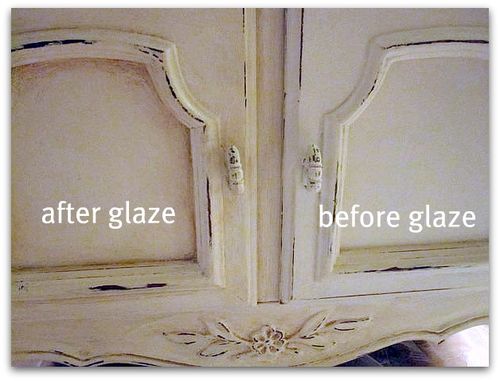
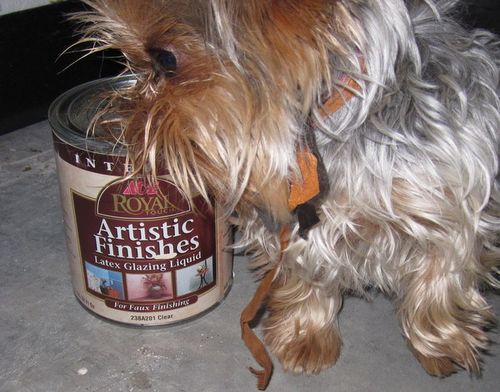
Over that, we brushed on a creamy brown glaze, and wiped it off.   We glazed over the sheet music too.

Apply the tinted glaze heavily in corners and around the edges of the piece, and wipe away toward the centers.  You want to leave the corners, cevices, and edges darker than the flat, smooth parts and centers of the doors, top, and sides.

IMG_3112
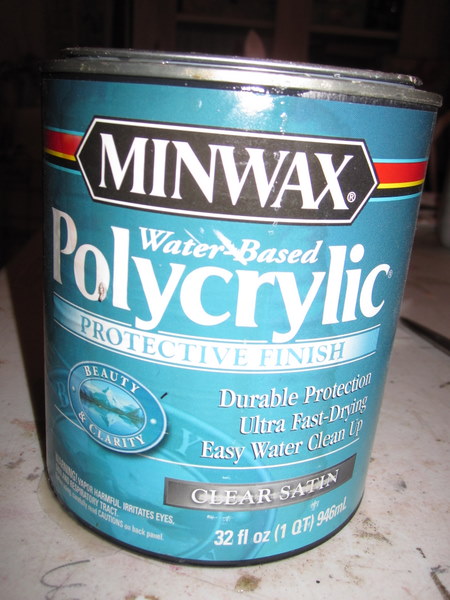
The last step was Minwax Polycryllic, a clear, water based topcoat. 

IMG_2911

For more short cut furniture painting tips, look under "tutorials" on my side bar.

 ***********************************************************************************************************************************

Bird%20of%20june%20(1)

(you can click on this, open it in a larger window, save it to your computer, then print it)

This Sunday, sign ups are open for Birdsong!  We  filled up halfway this week, but still have room for new friends to come and play with us here at my cottage studio. 

If I don't see you then, maybe I'll see you for the Valentine Wreath party?   I do love company!

What have I been up to? Painting the furniture to match the Christmas tree, of course.

Hand Painted Furniture, how to's, how-to projects

IMG_6159

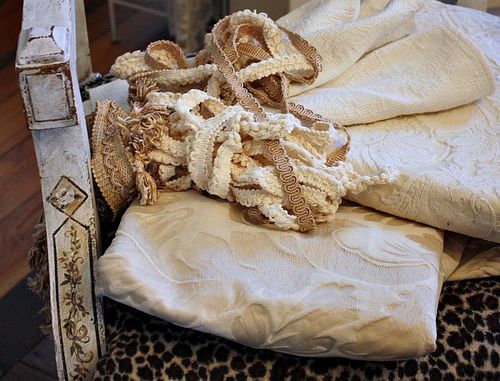
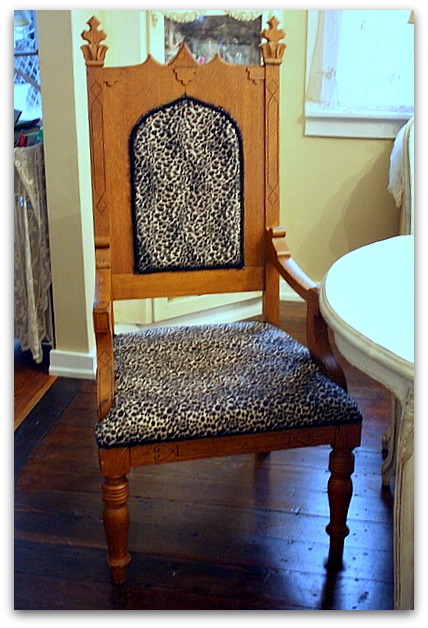
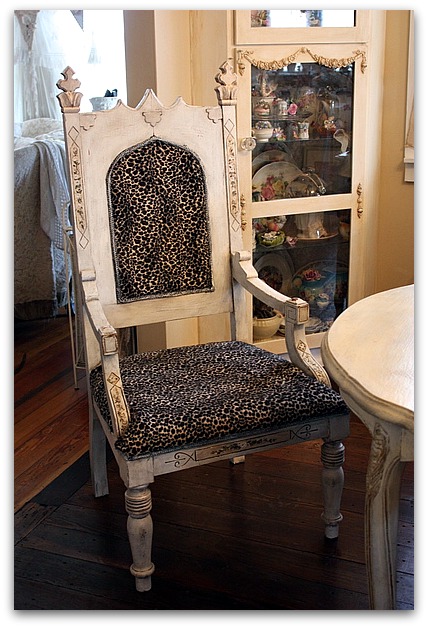
Before I left for CA, I took some time to repaint this oak chair. I have plans to recover it too, but that might wait till after the holidays.  There is only so much time in a day…


IMG_6074
Its a pretty cool chair to start with! We called it "the throne" and I found it at a garage sale for $60.  Someone had recovered it in leopard print.  Its been at my son's for a while, but now that he moved to a Yirt (that is a whole other story) he has no space for it.  And after I had all my Christmas decor up, the dark wood really stood out. 

And who doesn't repaint their furniture to compliment their Christmas tree?

IMG_6147

Since the chair was going to be part of the rest of the dining room table set, I painted it the same way I did the other chairs in there.  Like in this tutorial.

But with no crackle. I didn't want it matchy matchy with the set, I just wanted it to look good together.

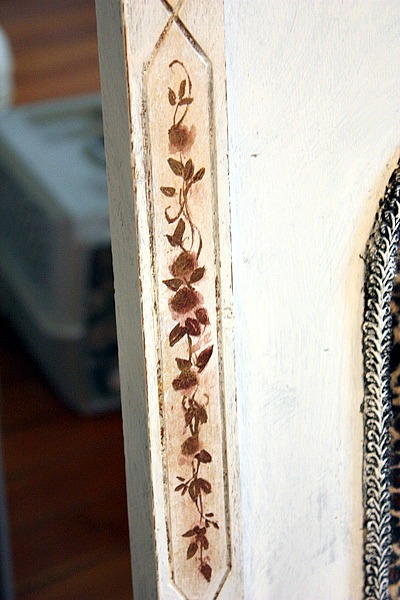
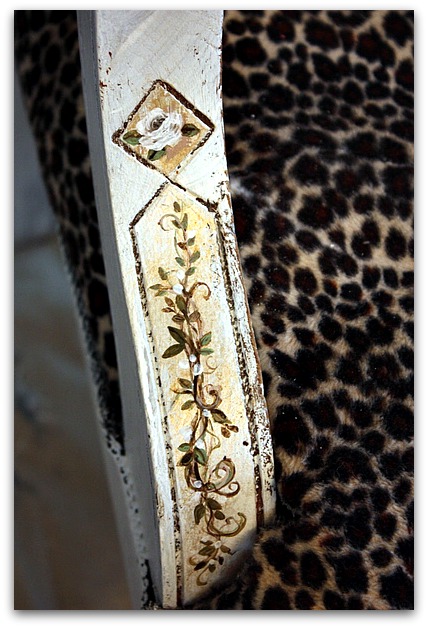
It had some neato designs in the wood that looked to me like they were calling out for hand painted details to be added inside the "frames"

To start, I darkened each of those frames by rubbing a dark brown paint on with a rag, keeping it inside the lines.  Then I dabbed metallic gold over it.

When I paint flowers and vines, I start with dark brown, and kind of draw out the picture, with the flowers just as blobs.  The dark brown is a good base color under the hand painted details and gives some dimension to the flowers.

IMG_6150
The colors I used were sage green, dark brown, light brown, white and cream.

IMG_6156

After the paint dried, I lightly sanded the flowers and vines, then heavily sanded all the edges and corners of the chair.

Over that, I topped it with Minwax dark walnut stain/poly in one.  I don't usually care for oil based products, but they really are pretty and I had a lot left over from doing samples and trying to figure out what color I wanted my floor to be when we remodelled the kitchen.

That stuff goes on kind of tricky.  If you use it, do small areas at a time, and keep plenty of paper towels or soft rags handy.  Brush it on, dabbing the brush deep into details and carvings, and wipe off in the direction of the wood grain.

Remember, just a little bit at a time, it gets tacky fast and doesn't like to be wiped off. 

IMG_6152

I'm much happier with the chair now and I haven't even recovered it yet.  My son is a bit sad, though, he loved it as it was.

PS-

I will be away from home for a few days, but will be checking my email while gone, so please leave a comment if you'd like to win a Cuff Tutorial. I'll be giving a couple more away when I get back.

When I return, I'll get your orders from the Boutque and Etsy out on Monday the 5th.

Making a kitchen island from odds and ends

antiques/junking, Hand Painted Furniture, how to's, how-to projects, Kitchen remodel, Tutorials


IMG_5619

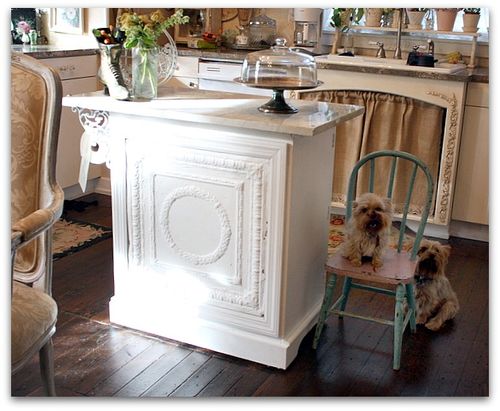
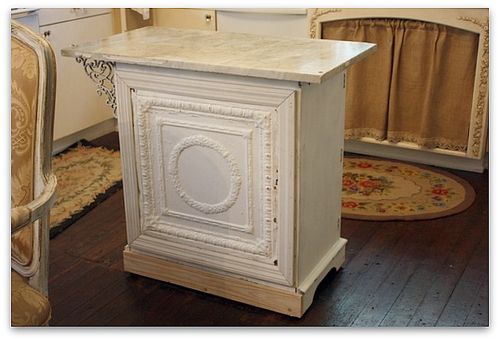
 When I knew we were going to be remodelling our kitchen, I started making plans for a new island. But I didn't want a "new" one, I wanted an old one, of course.  I knew that it couldn't be large, it needed storage space, wheels, and I wanted a granite or marble top.

I couldn't find a piece already like that, so I thought I'd marry an old cabinet with a stone top that I purchased.

Well, after a trip to the local granitorium (I made up that term, but it seems to fit), I realized that a new slab, even for a small piece of furniture was not in my budget after spending a wad of cash on a whole kitchen redo.  At first, I tried to pretend that it was just in the "construction budget" but, I had to force myself to face the truth.  Just because we were spending a few thousand dollars already, it doesn't mean that a few hundred will disappear into it that vast amount like a drop in a bucket.

What it means, is that I had already spent too much and shouldn't spend a few hundred more.

So, I searched for an old piece of stone at antique stores.  I actually found quite a few, for a fraction of the cost of  new (even though all of them are billions ?? of years old, the ones from the granitorium are like "new")

The best piece I found was 28" by 38" and came from the teller's window of an old bank in western KS.  It was only 50 bucks too!

IMG_5272
For a month, I carried those measurements around, hoping to find a piece of furniture to fit them.  I went to flea markets, antique malls, and consignment shops and found some hopefuls, but was being cheap.

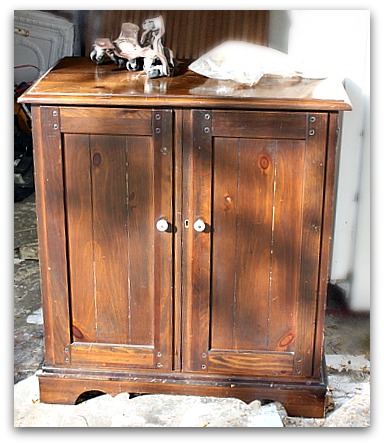
One day, I stopped at our Salvation Army to look for some warm pants for Sugarwings (did I mention that I am cheap?) and found this not so old, but not new Lane TV cabinet.  Its nice, solid wood, and could support the weight of the marble.

Plus, it had a green tag and that was 50% off of green tags day!  I got it for $14.

IMG_2869
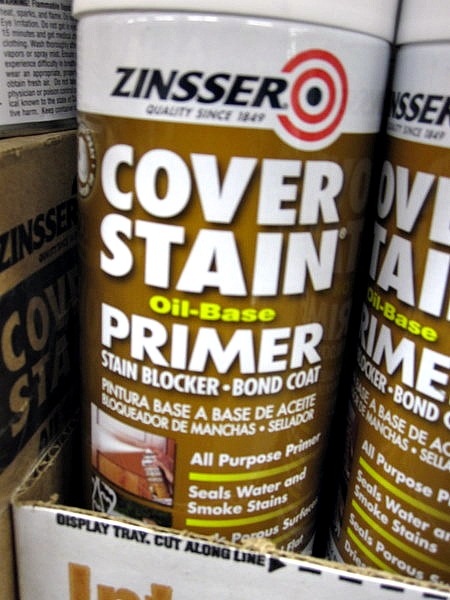
That is about how much I spent on spray primer.  This is the BEST kind to use, and its about $7 a can now at Home Depot. But its worth every penny, no matter how cheap I am, because I hate sanding. With this product you do NOT need to sand! 

There are lots of tutorials on my side bar about how I paint, if you want to redo something and need to know some short cuts.

IMG_5273
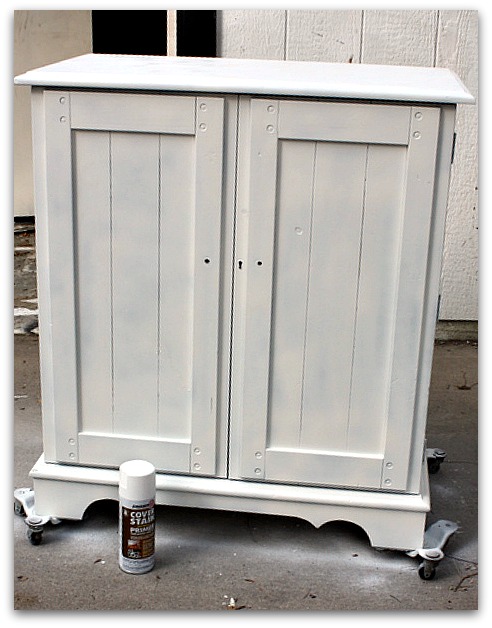
You might notice that I sprayed the top. That was a waste, since I was covering it in marble. 

I also used too heavy of a coat, because I thought I would be using this as the base coat, skipping the paint step, distressing the edges, and just glazing over it. I changed my mind and painted it white, so could have gone with a lighter coat of primer, since I had paint over it after all. 

IMG_5275

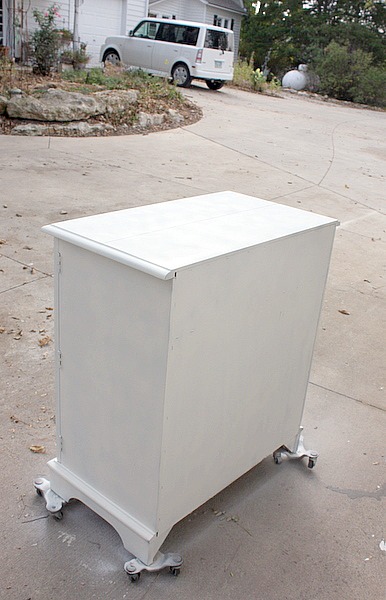
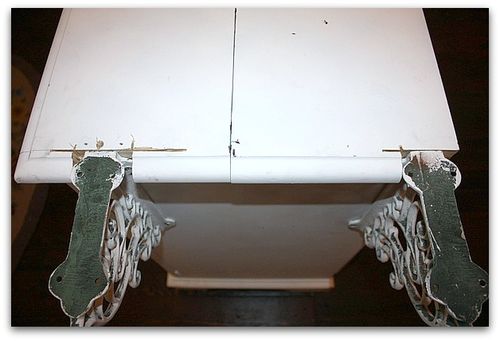
Once I had it primed, there were still some problems. One was that the back was just fiber board, stapled on. The other was that the wheels had no where to attach because of the shape of the bottom of the piece.

Also, the cabinet was a bit smaller than the marble.

While the contractor was here to finish up a few trim details in the new kitchen, I asked him to do a little trim work on this too.I figured that for the small amount I had into it, I could afford to pay him to help me with the hard part of the redo and still be way ahead on this.

IMG_5419

My garage is full of tidbits and doodads. I found a couple of iron brackets and he cut out notches to add them to the side of the cabinet to support the marble that was too long.

IMG_5423
And to cover the fiber board, I added an extra piece of ceiling tile leftover from the ceiling job, then had him trim it out for me so that the rough edges wouldn't snag anyone's pants (or slash anyone's leg, that stuff is sharp!)

We added a block of wood under each corner and screwed the wheels to them.

The marble was attached with liquid nails and set into place.

Then, all I needed was some white paint. I decided it didn't need distressing or a glaze. I kind of liked just the pure white.

IMG_5624
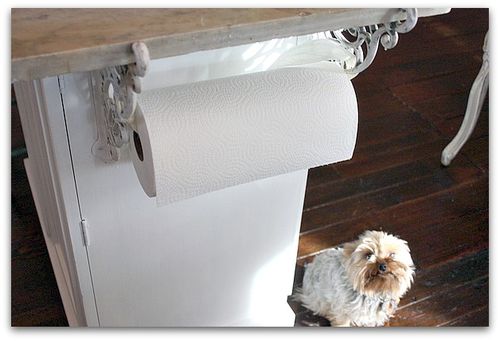
After it was done, I realized that the brackets were perfect to hold a paper towel roll. So far, the roll is just tied up with a ribbon, I'll be looking for a better way to hold it in place.

IMG_5467
Hey, if you are looking for a project for yourself, on a slightly smaller level, my good pal, Mary is doing another glue book class.

A Christmas glue book!

I was with her when she was searching for ephemera to use. We went to a flea mkt together last summer and it was interesting to watch her sift through all the papers, picking and sorting.  She is very knoweldgeable about old paper.

IMG_5470
Mary and Beth were both here for craft day and I got a glimpse of what Mary was making, and I have to say, its a cool class. Button might not look very enthusiastic about it, but he isn't into ephemera like we are.

IMG_5481

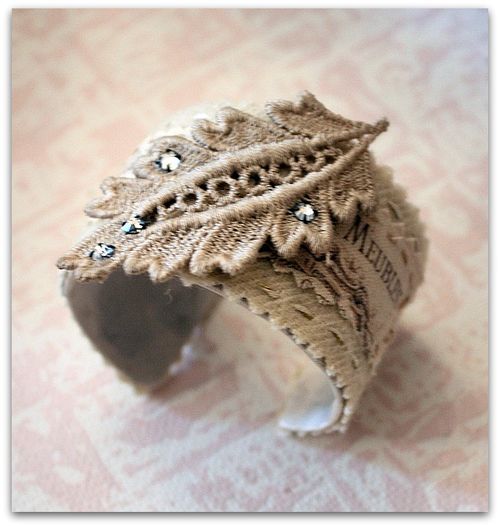
Craft day meant working on my Cuff Bracelet tutorial, and Beth was nice enough to make a cuff for me to show, using my guidlines for the construction. Pretty, huh?  I love craft day!


How to paint furniture with no sanding and lots of personality

Hand Painted Furniture, how to's, how-to projects, Tutorials

IMG_9938
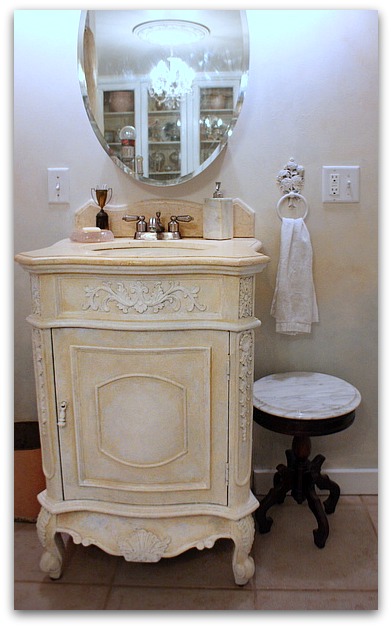
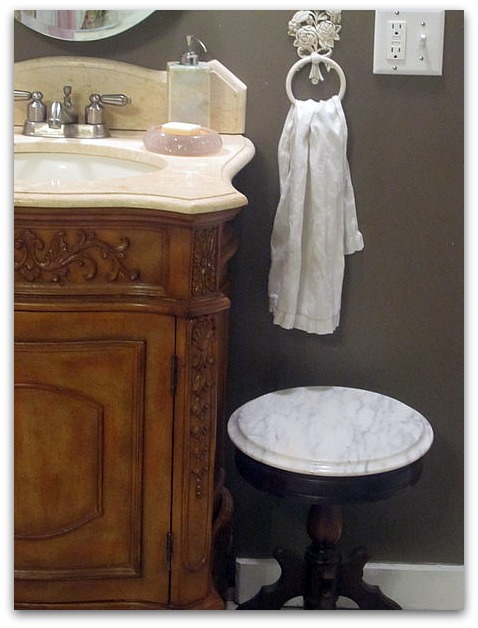
This vanity started out dark, and is a new piece from Lowes. I bought it about 6 years ago for only $368 and it came with the marble top, sink, and the faucet already installed.

IMG_1901
This is how it began.   But the time came to lighten up, and this is how I did it:

IMG_9913
The first step was to prime.

I DO NOT SAND.   I never do, and I've painted my little heart out for years.

The key is the primer.  The label of the can must say "BONDING" or "WILL ADHERE TO GLOSSY SURFACES" Never, ever use dry wall primer. Its not the same thing at all, and your paint will just scratch off.

 The last few years, I've been very happy with Glidden's Gripper.  In this case, I bought the gray tinted Gripper primer.

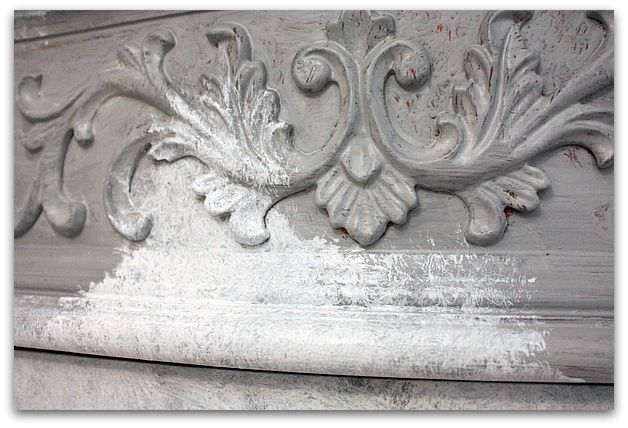
You can see, I don't put it on perfectly.  Notice the little skips here and there in the gray where the dark wood peeks out?  Not big ones, just little misses.

The key to being a good faux finisher is to be a bad painter. Yep, you gotta be a little messy and non-perfectionistic.

IMG_9919
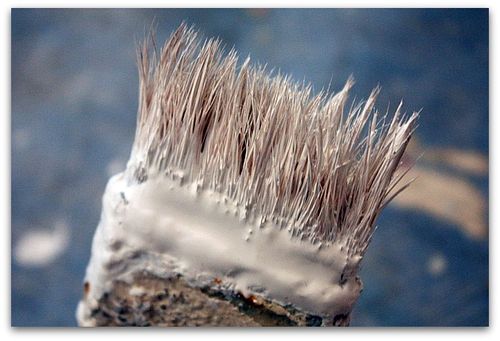
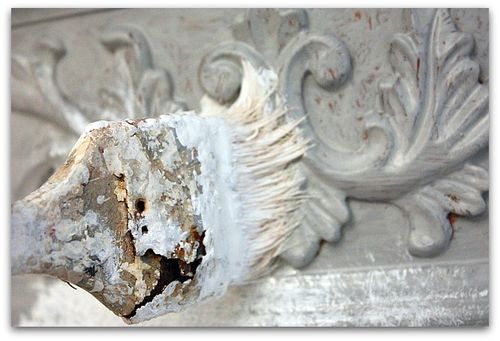
And to use a crappy brush.  You can't get much worse than this.  I love these little cheapo, 99 cent brushes from Walmart. They give the paint job character with their uneven bristles.

IMG_9915
After the primer dries, I pounce the paint (I used Behr glossy white) on with the old brush. 

Its a constant dab, dab, dabbing with the brush.  First you dip the brush in paint, then dab it off onto a rag, then pounce it onto the piece, over and over and over.

I tell ya, its a lot easier to do a small piece of furniture or a lamp this way than to do a whole wall. If you are doing something big, try a larger brush and take some advil.

IMG_9917
This is the look you want.  With some of the gray primer peeking through, as well as a bit of the underlying wood.

The paint goes on heavier in some spots than others, but please make sure you don't have blobs and repetitive patterns of brush marks.

To avoid that, turn your brush as you pounce.  And go over the same areas more than once to blend as you dab.

IMG_9920 After the white dried, I did the same thing, with the same brush, using a coffee with heavy cream colored paint, mixed half and half with glaze to thin it down and make it more translucent as it dries.

With this step, I pounced the creamy color over the white, layering it heavier in corners, and slightly wiping it off on the high points of the embellishments and trim.

IMG_9926
If needed, you can add a bit more of the white over the cream to soften it. 

IMG_9927 Since I used a good primer, and a high gloss paint, the finish is really durable and doesn't need a top coat.

Email me if you have any questions. I'm happy to help.

A Case of the Januarys

family, Hand Painted Furniture, housework

IMG_8836 Each year, after taking down the Christmas tree, I feel like my house needs… something. There is something about going from full on glitz and glamour to just plain back to normal that is a little sad.  Plus, the weather doesn't help. Being cooped up and staring at the rooms day after day doesn't help. Things that bug me just a little start to bug me a LOT when there is no escape from them.

  Last January, I spent a lot of time neutralizing and de-pinking my kitchen, and rearranging all my pretties in their glass fronted cabinets.
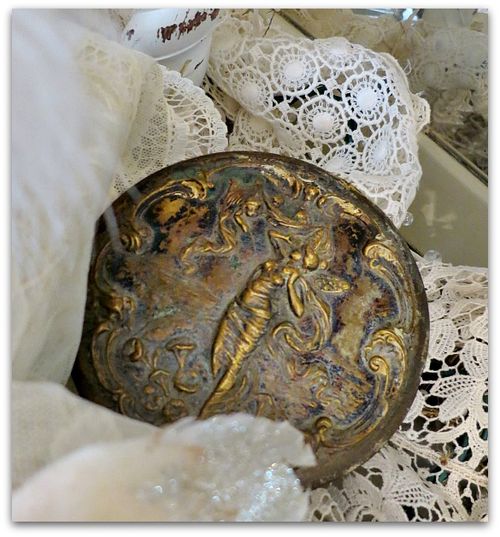
This year, I thought I'd gotten off the hook easy. After taking down the tree, cleaning the rooms and simply shifting a few things from here to there, I thought I was done and past it all.  I was so busy with the funeral and guests that I almost made it to the end of January without taking on a do over anywhere in the house.

IMG_8837

I was content with my simple clean up and and it was nice just to have the tree and most of the Christmas foof hidden away for the year.

But then, I ended up watching Sugarwings for a few days while the flu attacked at her Daddy's house.  And while she was here, a bug got her too. Not the bad, spewing one that was going on at her Daddy's, just a cough and fever.  Enough that she was down, but not out.  Lots of cuddle time and movies.  But, still, I was cooped up in the house, staring at the things that bugged me.

IMG_8816 Since I needed to stay near my sick fairy grand baby, and couldn't really start anything big, I decided to tackle the dreaded closet.

One door leads to the bath, the other to the bedroom where Sugarwings was tucked into my bed watching our new favorite movie, "Percy Jackson and the Olympians."  She and I watched it together twice and when she said she wanted to see it again, I simply had to get up and do something else.

So, Twinkle, Agnes Rosebud and I started tossing stuff out of the closet.

The room was too awful to show a before picture.  It was crowded, and you couldn't even see the floor. I had baskets, furniture, and who knows what cluttering it up.

Where the rolling hamper sits now, was a tall chest filled with too many old clothes.  I threw out 3 garbage bags of clothes not good enough to donate, and packed one boxful to take to the thrift store. 

Now, why did I have all those? And why would I even think they were fit to wear?

IMG_8833
Its easy to cling to things that I might need…. but I realized that I never would need them.  And really, really shouldn't wear them even if I did think that I needed them. I had a wardrobe intervention on myself. Kind of like this summer when I emptied out that old shed.  Man, it felt good to get rid of stuff that was cluttering up my life.

Oh, I kept plenty of comfy tees and hoodies, because I am smart enough to know that I won't ever dress "nice" around the house, or to most places I go.  But I got rid of enough old clothes that I didn't  need and should never be seen in, that I was able to do away with a whole dresser and make the room more open and pleasant.

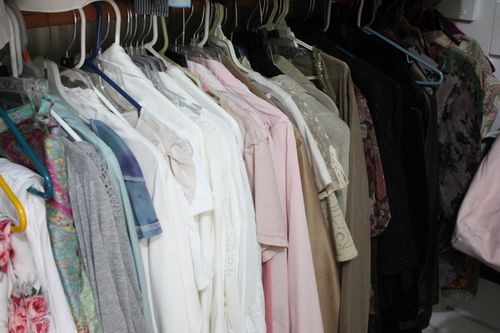
Then, I arranged all my clothes by color, just like they do at my favorite store, Goodwill. And I recycled all the wire hangers.

What I noticed while doing this, is that I dress myself kinda the way I do my house. My keepers were lots of neutrals with soft pinks, a few flowers and lace, and a touch of aqua blue.

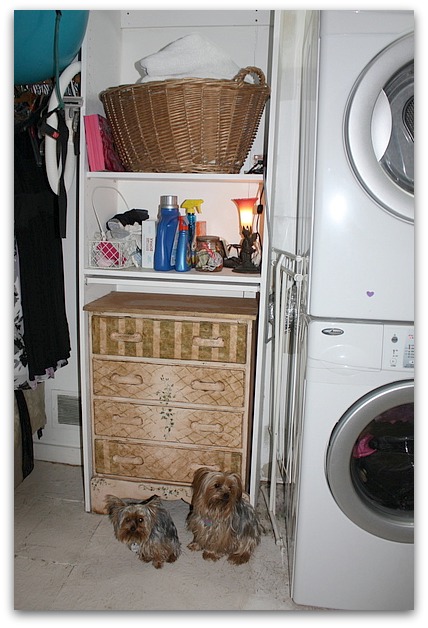
IMG_8824 The space is also our laundry room. When we were newbie empty nesters, we thought it was a brilliant plan to remodel one of the kid's rooms into a larger master bath for us, and turn it into a laundry room at the same time. It is really a nice concept.  As I pull clothes out of the dryer, I hang them up or put them on a shelf, there are no laundry baskets to tote into the other room, and we have more space in our bedroom because we don't need clothes storage in there.  (except  for Sugarwing's clothes- which I am too lazy to carry upstairs in her bedroom, we keep them in our room).

But, that was before we had one son and his family move in and out a couple times, another son move in permanently, and various other relatives come and go.  A laundry room off the master isn't as easy to share as one somewhere else in the house.

  IMG_8829

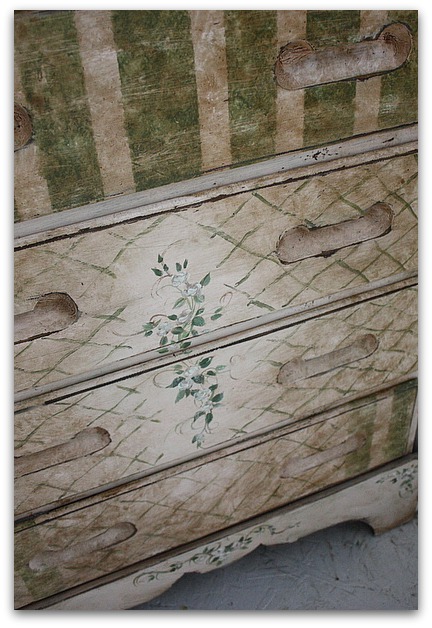
We have two walls of built in shelving, (hand made by Sugarwing's Daddy, who also built my kitchen) and this section of shelving was just the right width to slide in this small chest of drawers that I painted years ago. My boy built the shelf above it to pull out and use as a folding table. Its one of my favorite features.

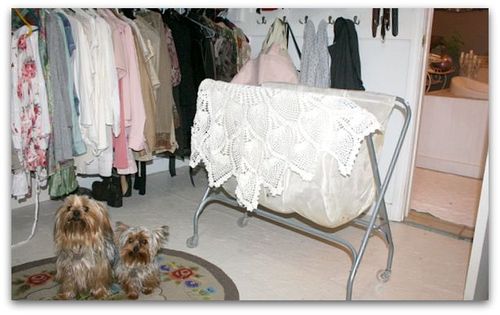
The room is not very pretty.  It was done on a tight budget, we didn't even finish the floors, I simply painted the sub-floor white.  I guess I could fill all the open shelves with matching wicker baskets and hide away the laundry paraphernalia, but I don't think it is worth my time or the expense.  I did wrap an old crocheted table cloth around my ratty, rolling hamper, but that is about the extent of foofing that I did and that only took a minute, and was free to do.

For now, I am thrilled just to have it cleaned up and feeling spacious.  The trick will be to not fill it back up with junk again.

Yes, I know, this was not the prettiest of blog posts… but to me, that cleared out, naked floor in the walk in closets is one of the most lovely sites I've seen in a long while!  I'm glad I was struck with a case of January-itis and got this project done.

IMG_8842

By the way, Sugarwings is better now, and back home with her father.  Her poor, little Sis-star has her first fever though and we are hoping she doesn't get the spewing flu. 

IMG_8841 I'm back to the studio working on more fun projects, but every time I go in the house, I  take an admiring glance at my closet. 


Gypsy Wagon Baby Bed

family, flowers, Hand Painted Furniture, hand painted signs, We're having a party

IMG_5154

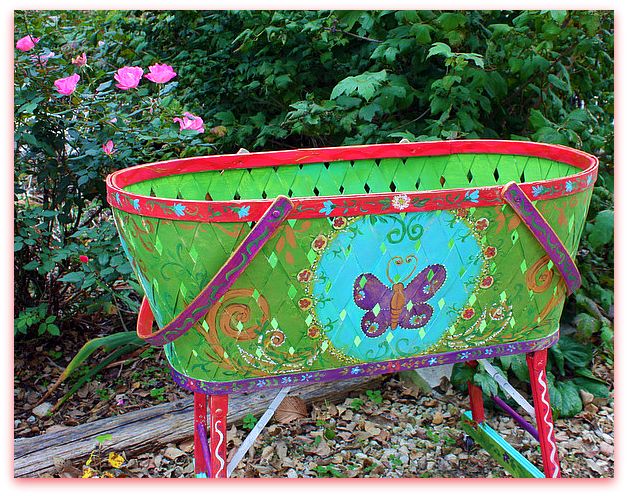
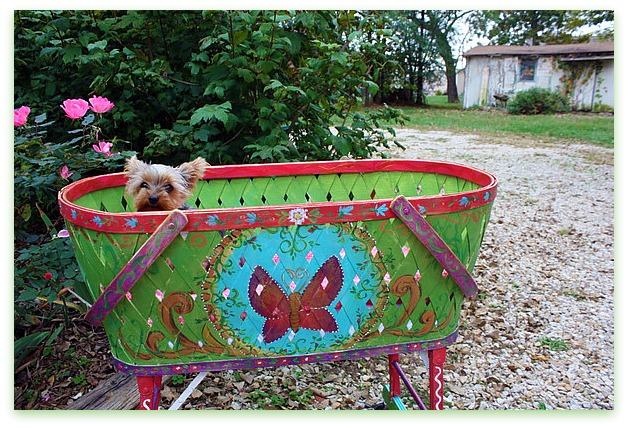
On Sunday, I did my part to get ready for the new baby.   I painted a bassinette for her.

IMG_5155

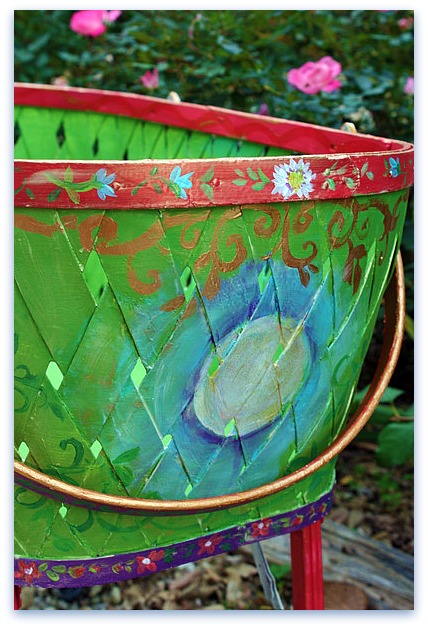
Its a Fairy Gypsy Wagon basket with lots of colors, flowers, butterflies, with a sun on one end and moon on the other.

IMG_5053

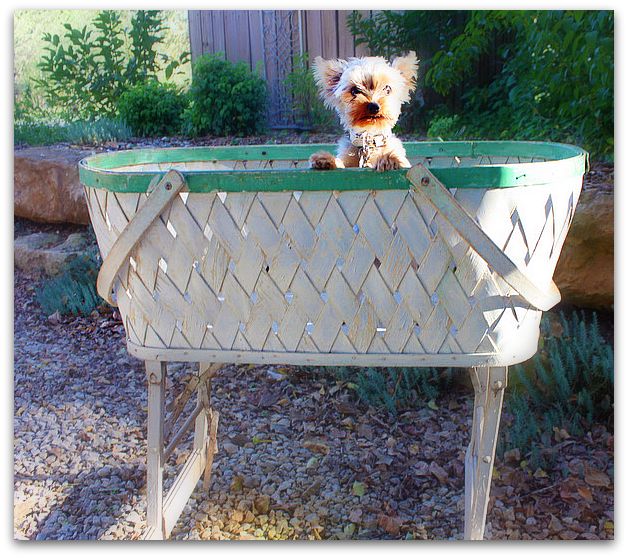
While cleaning out the shed, I came across this old bassinette, that I had used for display at shows. My husband was horrified, not only because it wasn't leaving with the rest of the goodies in the shed, but because I said I was keeping it for the baby. He called it a death trap.  Mostly, he just doesn't care for old stuff, and doesn't see possibilities in them.

The paint was chipped and peeling and it was full of spiders and dirt. Well, I'm not fond of spiders and those had to go, but I love chippy and peeling. Too bad that's not a safe thing for babies. It all had to be sanded to remove any loose paint, and the base of it needed to be repaired.  Some of the brackets were missing and the wood was split out on one leg.

IMG_5054
And I couldn't find  a mattress for it anywhere in town. Wouldn't you think that Sears, Pennys or Walmart would carry a bassinette mattress?  Nope. So, I went to the fabric store ( Hancocks), and got waterproof fabric meant for cribs, and some foam.

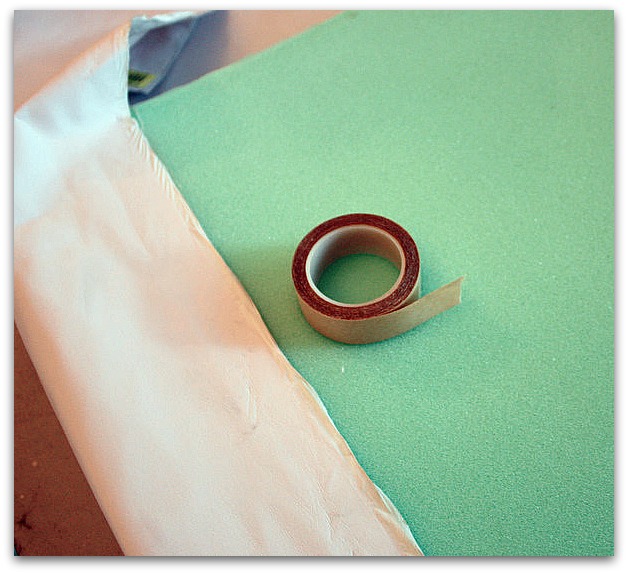
The foam was then wrapped up in the fabric and held in place with double stick tape that I get from Kay Ellen. The stuff is magnificent if you are a non-sewer! It sticks to just about anything and is really secure.  She says its used for embellishing swim suits, so it must hold up well if it can do that.

I cut the foam to fit nice and snug, so it would be safe for a newborn.  I used a firm piece of foam too. You don't want anything loose that a baby can smother in. Or a gap between the mattress and side of the bed where a baby can get trapped.

 
IMG_5149

While these aren't  my typical colors,  I had a great time using them. Its fun to stretch and try something different.  And to do something to make another person happy, and I think I did, the expectant momma is a rainbow gypsy and this was just right for her.

I used metallic and glitter paints here and there as accents, then sprayed it with clear poly and a bit of silver glitter spray too. 

The only problem with it now, is that the sheets I found to fit it are white.  Which just doesn't go with this colorful creation. So, I'll need to dye them, to complete the look.  And I have a special mobile for it too…..

But I can't show that. Its a surprise for the baby shower tomorrow night.

IMG_5144

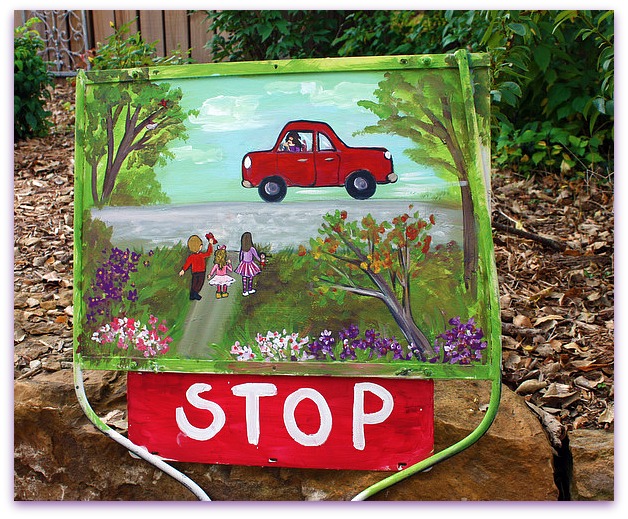
While I had my brushes and paint out, I made a sign for my son's yard.  Last week, we were sitting on their porch, watching the kids play on the side walk, and over and over, had to remind the kids that the alley was a ROAD and not safe to run into!

We thought a two sided sign, with this message facing the road might help.

IMG_5139
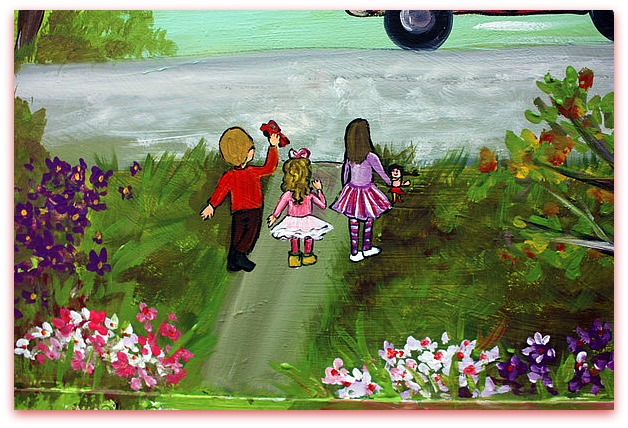
This side faces the sidewalk. Sugarwings and Finn can't read, but Clover can, so I wrote "stop" for her.  For the little ones, I made a cartoon that I hoped would catch their eye and be a reminder that a car could come by at any time.

IMG_5141
Its not exactly a high quality production, but it was quick, and is colorful and I have my fingers crossed that they'll learn something from it.  I spent about an hour on it, but I think its enough to get my point across.

Well, I'd better go and get ready for the baby shower.  I've made a pumpkin cheesecake and brownies. Left on the menu is strawberry shortcake, mac and cheese, baked beans, sweet potatoes (that I dug out of my garden today!) olive salad, tossed salad, and crusty bread.  We also have bean burgers (for the vegatarians) and my husband has a couple of big turkey breasts in the smoker right now, so I'll be slicing those up and covering them with BBQ sauce.

Its not a Kansas party unless you BBQ something!


Oh, you are NOT going to paint THAT are you???????????? Yep, and here is how.

Hand Painted Furniture, holiday decor, how to's, how-to projects, redos, show and tell, Tutorials, vintage paper/collage art
IMG_4422

Thanks for all the compliments about my pretty little fairy baby at the Renfest!  I have to agree, she's a cutey.

We had her most of the holiday weekend, along with my mother-in-law here for a few days from Green River, WY.  Chasing Sugarwings kept me busy most of the time, but after she left, I had a day to spend with my husband's mother. She sat at the dining table and embroidered and at first I was up and down doing little chores here and there, and tidying up the place (after Hurricane Sugarwings has blown through, there is a lot of picking up to do).

 
IMG_1378

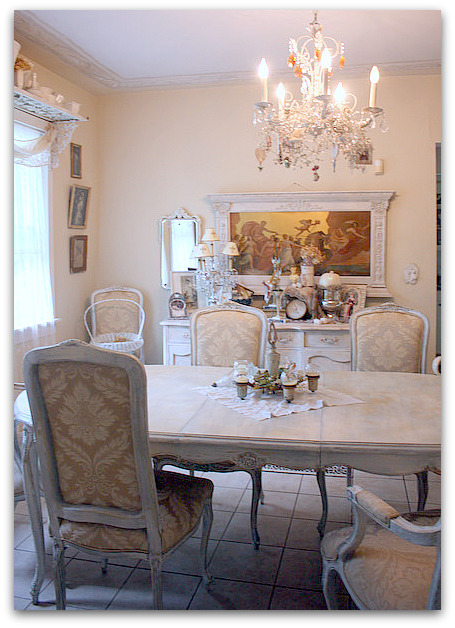
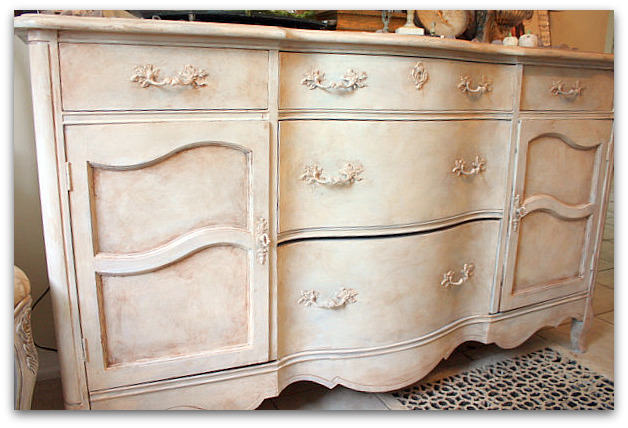
But I did spend a bit of time sitting at the table and the more I sat, the more I stared at the buffet and the painting above it.  The buffet had been maple finish and I painted it gray with a cream glaze over it last spring.  And the picture was one that I have loved for years but always thought about lightening up.

For the last few years, EVERYONE told me not to paint it.  And I rarely leave things as is, but I knew that this frame was worth money the way it was.

But honestly, was I ever going to sell it? No, I've had it for a long time and always plan on keeping it. I figure that I deserve to look at it and enjoy it, without debating whether or not it should be painted.

IMG_4430
I know, there will be gasps of horror. But I'm glad I did it.  And I didn't just slap some white on it, I took my time and made the frame look old. Well, "took my time" is all relative, I guess. I paint fast, I had the buffet, the small mirror frame, and the large, antique frame done in about 3 hours while I chatted with my mother-in-law. 

Here is what I did:

  1. Primer, good bonding primer.  I just tucked some wax paper behind the frame and painted it on the wall right where it hung. The wax paper protected the wall from my brush.
  2. A coat of ivory/bisque eggshell paint
  3. Thick coat of porcelain crackle finish (I worked on the buffet while this dried)
  4. Next, I brushed on and wiped off coffee with cream colored glaze
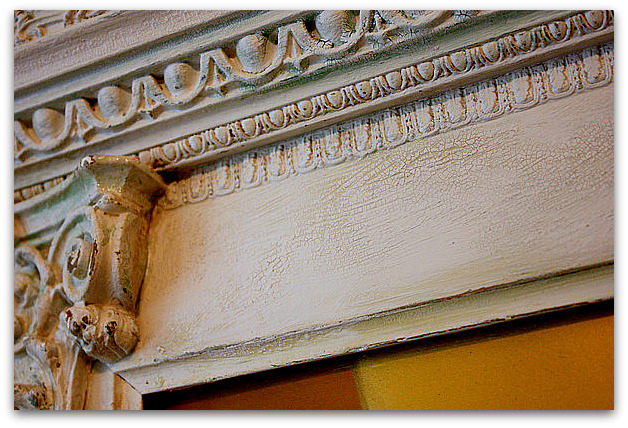
  5. After that dried, I lightly sanded all raised areas.   I was careful to do this lightly with a sanding sponge, because much of the ornamentation was plaster.  I wanted to get down to the gold paint, not the white plaster.
  6. I added another layer of crackle glaze.
  7. As the crackle glaze dried, it had a chemical reaction with the exposed gold paint and turned a greenish tint, like a copper patina. (this is a trick I discovered accidentally a while back and love to use. Its unpredictable but pretty)
  8. Over this, I  brushed on and rubbed off an ivory glaze and a sepia glaze, randomly putting them over the frame, some over lapping, some spots one color, some spots no glaze.
  9. After it all dried, it was a little too green, so I dry brushed the ivory/bisque colored base paint over the areas that were too vivid.
  10. Then a little more sanding to bring out the dark wood and more of the gold paint underneath.

This was a lot of steps, but I think they paid off, the frame looks like it was out in someone's shed being stored away for years.

The main trick is to not be too perfect.  Nature doesn't age things perfectly.  Sometimes the trick to a good faux finish is to be messy.

I did NOT cover this with clear coat. If I had, there might have been another chemical reaction with the newly sanded spots with gold paint showing through. It would have turned more green after the clear coat dried.

IMG_4436
The buffet got a very similar treatment, with a creamy white painted streakily over the existing gray, so the gray showed through.

Then, crackle glaze, and sepia brushed on and wiped off over the crackle, after it dried.

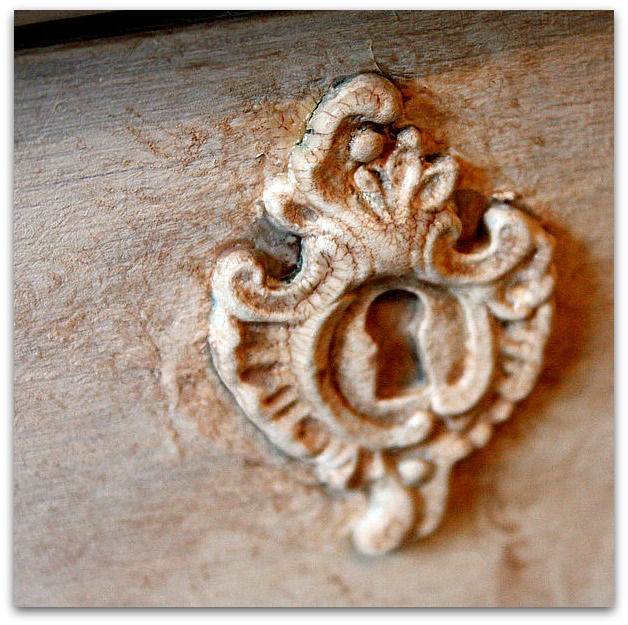
I used the sepia very heavy in corners and edges.

When it was all dry, I used an acrylic clear coat over the entire piece.

IMG_4437

I love crackle.  Its tricky and unpredictable, but wow, when it comes out nice, it is really something.  Don't ever use too much, use it selectively in spots.  Not on every single inch of the piece. And feel free to add another coat or two if needed, and you're not thrilled with the first. (this only applies to porcelain crackle, weathered crackle is a different product.  Read your labels!!)

IMG_4415
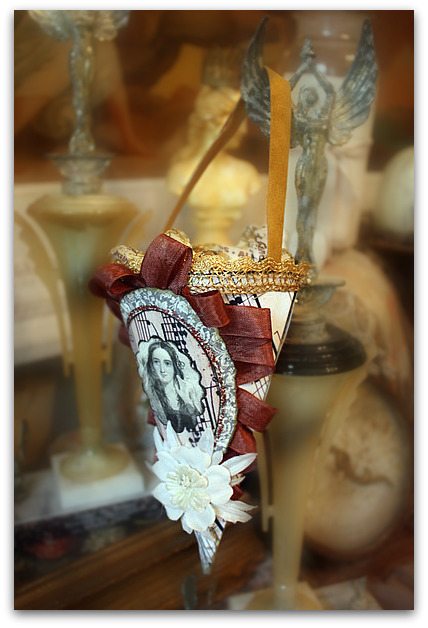
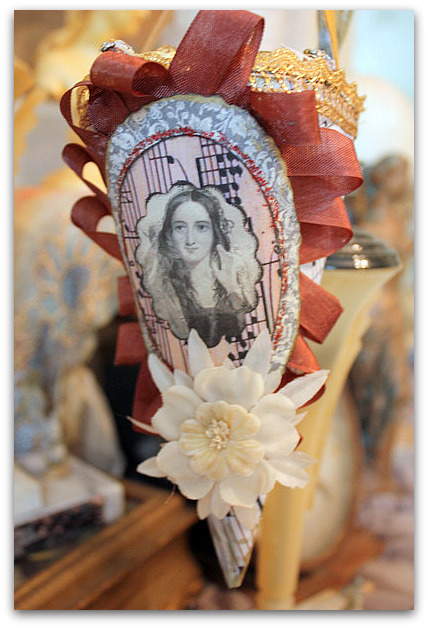
After repainting, I re-foofed the top of the buffet, using some of the projects that I made in the Romantic Gothic Ghosts class. This cone was done from Beth's images and tutorial.  I didn't have a cone handy, so I used an upside down party hat.

I'm so glad that I have the class pretties to display in my "new" dining room for fall! The moody, wistful shades (with NO orange!!) are just what this room needs to look festive and still look like "my" house- not the Halloween party store.

We are adding some little videos, giveaways, and decorating tips to the Gothic Ghost blog.  The posts will be left up as long as I have a Typepad account (and I don't see me leaving any time soon), so you can take the classes at your leisure. But if you want to win any of the prizes, those are time sensitive.  There are still three to give away.  

IMG_4412
Often, I see the beautiful posts up for White Wednesday, but I'm never in time to enter. Well, today seems to be a good fit and timely too. So, I'll be linking with Faded Charm.

White wednesday 2
As much as I love whites, I really should make more of an effort to be a part of it regularly!!

There are so many link parties now a days… Here are more that I joined.  I usually don't get around to it, but they are always fun when I do!

Power of Paint

Transformation Thursday

IMG_4434

Its the Process that Counts

antiques/junking, celebrations, Dorkies (Yorkshire Terrriers), family, Hand Painted Furniture, magazine pictures or articles, Sugarwings, swaps, yorkies

IMG_3513
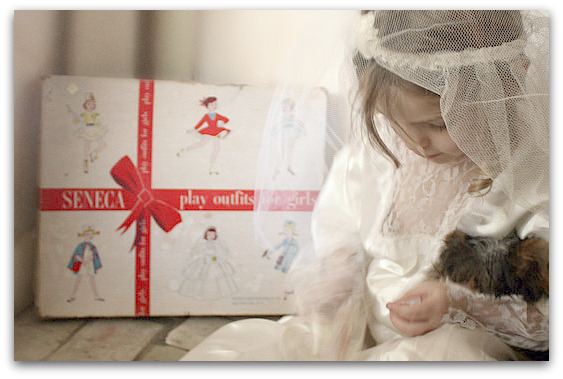
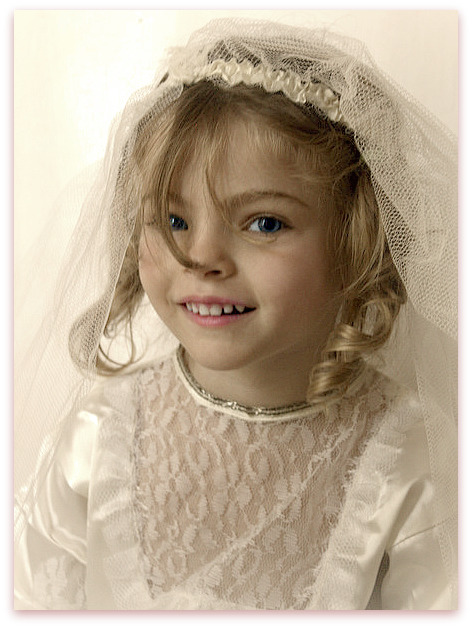
Lately, one of Sugarwing's favorite games is playing bride.  Today I was lucky to find a vintage dress up bridal gown at a flea market, still in its original box!  She spied it in the studio immediately and had to marry her puppy as soon as she could shimmy into the dress.

The dress is about 10 sizes too big for her, and kind of fragile.  I'm not sure if its the right outfit for my little wild child to play in.  Plus, now that she and the dog are already married, she doesn't really need to wear it anymore.  It was a quick ceremony, but lovely and heartfelt, so the dress has had its use.

IMG_3520

And we have the wedding photos from the day. Of course, she might want to save the gown, hoping that her daughter (or puppy?) will someday want to wear it, but it seems to me that most daughters want to pick out their own gown, and rarely wear mom's.

IMG_3508
I might hang on to it for a while, to see if she asks about it again. If she's forgotten about it in a week or so, I have a feeling it will end up in the Boutique.

IMG_3527

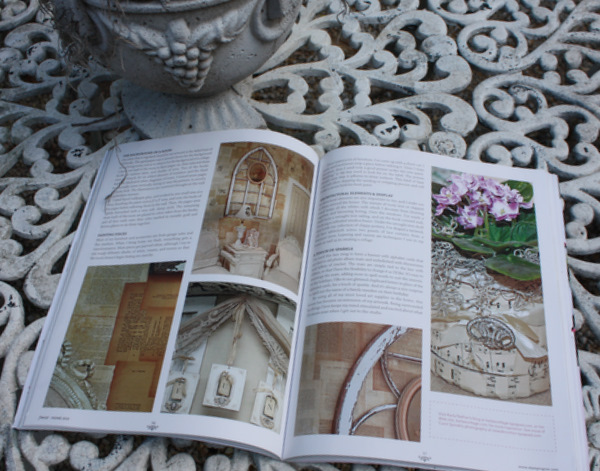
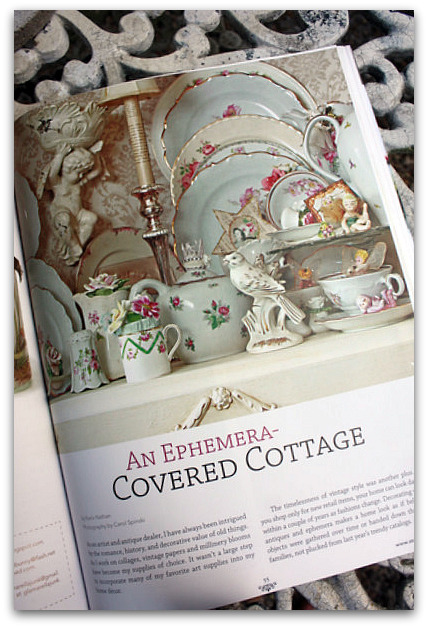
Another game we had fun with today, was "Find the Picture".  My copy of Somerset Home has arrived, and it has the article about my home in it (with photos by Carol Spinski).   Sugarwings  looked at the pictures in the book and then found the spot in the house where they were taken.

IMG_3528 

She is much better at that game than my husband is.  One time, when his mom was visiting from out of state, he was proudly showing her an article that I had written for Country Victorian and talking about the house and how these photos were of the room upstairs, and those were of the kitchen before we remodeled.  I looked over his shoulder and saw that the article wasn't even mine.

The photos weren't even of our own house.

That is why I can do anything at all to my cottage and foof it up any old way I please. My husband doesn't even notice!  He could live in a pink cotton candy explosion of a doll house and not know the difference.  That gives me full license to foof!

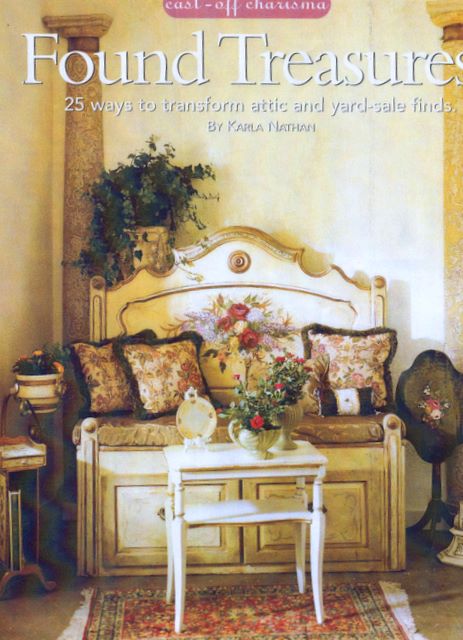
Found Treasures

Of course, over the years, there have been a lot of changes and I can't blame him for not being able to keep up with what our house looks like.  When I was in the furniture painting and antique biz, the look would change weekly sometimes. If I found something wonderful at a garage sale, it would go right into the house and the piece it replaced would go to the mall.

Now that I don't sell furniture, the revolving door has slowed down. But I do like a change now and then, and mostly get it by repainting and rearranging.

This photo is of my studio a few years back.  I've added it and a few more pictures to the Where Bloggers Create Studio Tour (hosted by Karen Valentine) post I did a while back, and added a button to my side bar with a link to that posting, if anyone wants to see some of the past looks I've had in the room.  

As a matter of fact, while out junking and scrounging today, I found a new glass door cabinet to fill with supplies, so my studio is getting another mini redo this week too. I'll have some more pictures to add in the next couple of days.

IMG_3461
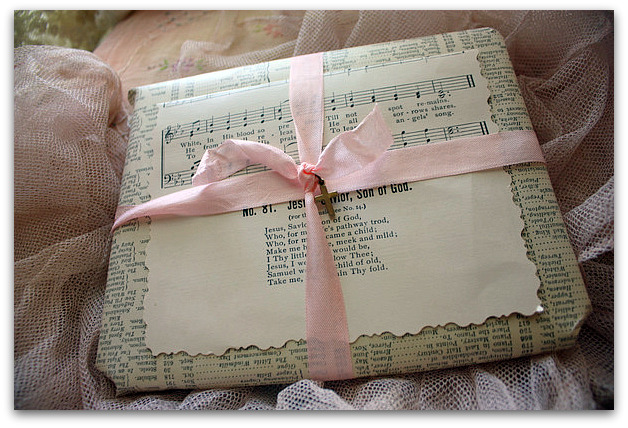
Since I don't have the antique business anymore, I try to keep myself entertained with smaller foofing projects. Gift wrapping has become a big hobby of mine.  This is a package sent out this week, it was a Bible Quotes booklet, so I wrapped it in hymnal sheet music and tied a little cross to the ribbon. 

No matter how big or small the project is, its "the process that counts".  Beth and I quote Jenny Doh to each other with that line a lot since we heard her speak at Kim's event in California.  That phrase struck us both, as good words to live by. As an artist, its not always the end product that counts, its the process and the love of creating.

So, if I can't remake a room on a monthly basis anymore (yes, I was pretty bad, Beth called me a serial painter), I can get my fix in the little things I do and love the process, no matter what I am spending my time on.

Simply being creative brings joy. To paraphrase Horton the Elephant, "A project's a project, no matter how small."

Dorothy tag book swap

If you feel like being creative with me, I hope you'll join us for a small project. 6 tags with a Dorothy theme in a collaborative tag book swap. Email me if you want to join! Just click on the button on my sidebar for more info.

We have 40 some people entered to swap so far, and room for YOU too!

June Giveaway and Inside the Treat Cabinet

collections, Dorkies (Yorkshire Terrriers), give away, Hand Painted Furniture, paintings, show and tell
 

IMG_2260

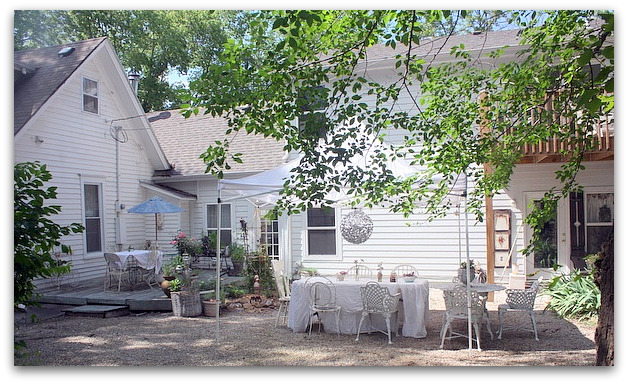
On Tuesday night, I had a little dinner party.  It was an iffy day, sometimes too hot, sometimes too wet, so I set up a tent for shade in case the rain stayed away and we could eat outside.

Luckily, no rain, and the shade from the little pop up tent was ideal for dining outside in the evening after the heat of the day had passed. 

 
IMG_2262

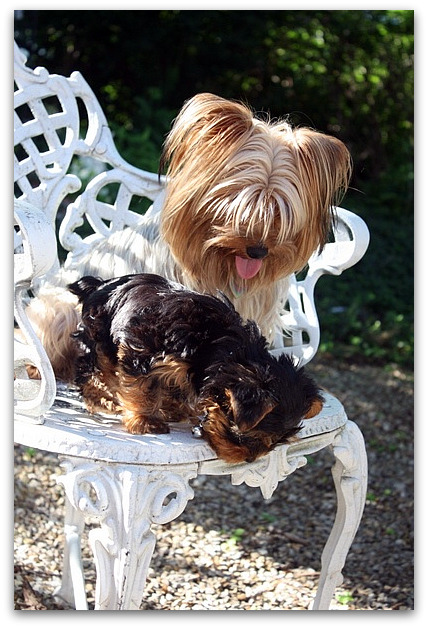
Which made Twinkle and Agnes Rosebud pretty happy, they'd stay outdoors every minute of the day if I'd let them.

IMG_2289 

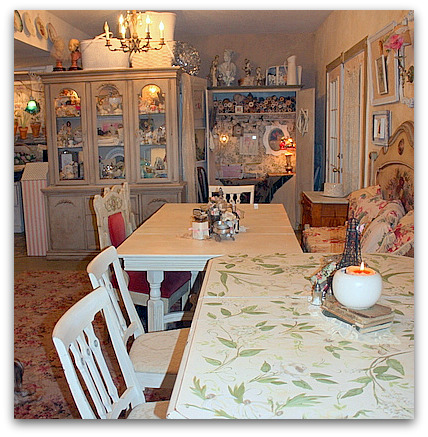
Since the day was unpredictable and I was afraid we wouldn't be able to eat outdoors if a storm came up, I cleaned my studio just in case we had to move indoors with our plates.  I have two dining room tables in the front half of my workshop, that are usually piled up so high with crap, I mean, great stuff that you can't even see the tables. 

The area usually only gets cleaned up for company, which is kind of sad. I wonder why I can't keep it nice for just me?

Anyway, its clean now and since it won't stay that way long, I thought I'd make the most of it and get some studio pictures.

IMG_2322
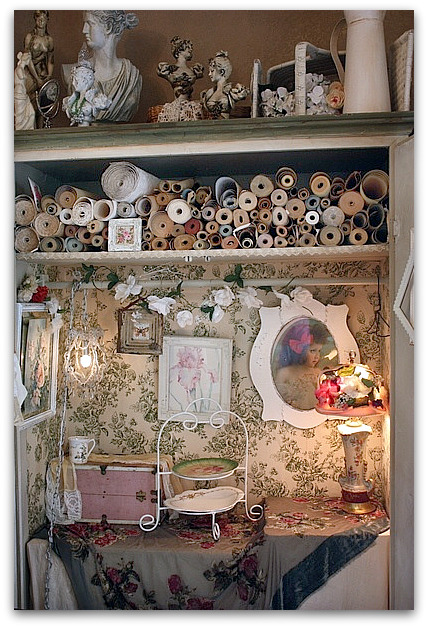
This is the Treat Cabinet.  (Lacking in treats at the moment.)  I fill it up with goodies when company comes for dinner, or on craft days. If I'm out in the studio alone, that just is not a safe thing to do.  If I had a full treat cabinet, I'd never get any work done.


IMG_2346

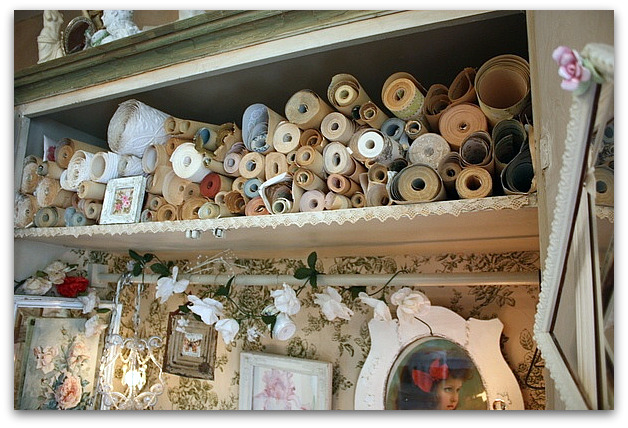
Recently, I've decided to use the top shelf of the wardrobe as wallpaper storage, quite a bit of my collection fit up there.

IMG_2345
This cabinet was meant to be a closet or wardrobe. It has the one shelf at the top and a bar for clothes. I added tables to set the goodies on, and cut a hole in the back to run an extension cord through for lighting.

Picking a vintage wallpaper to cover the back was tough. First of all, I wanted it to be kind of neutral- not a lot of color. Second, I wanted rosy.  I chose this toile rose pattern because I think it would look good with lots of different displays when I change things up a bit.

The space under the table cloths makes great storage for cups/napkins/etc.

IMG_2342
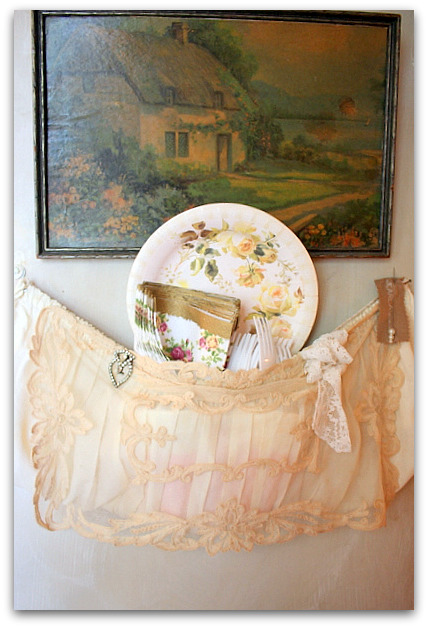
This is a new addition to the Treat Cabinet.  My pal, Suzanne Duda, gave me this foofed up, old suitcase pocket. I thought it was ideal to use for serving pieces.  I slipped a couple large cups inside it, one to hold plastic forks, the other to hold napkins, so they wouldn't all just fall into the bottom of the pockets. 
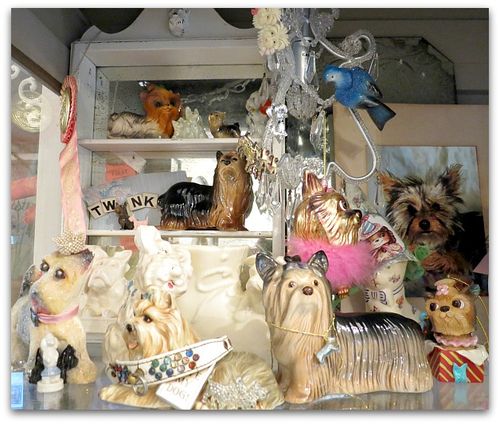
Behind the cups, I slid the paper plates.
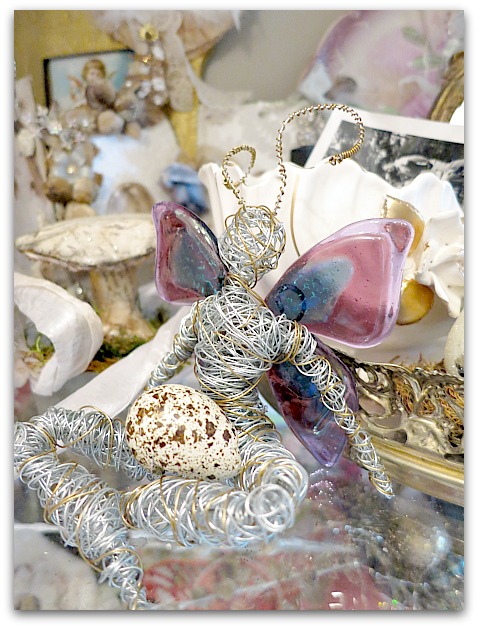
IMG_2316
A few years back, I used to paint furniture and sell it at a Kansas City antique mall.   Some days I miss doing that, but not very often. I didn't realize how hard I was working until I quit doing it.  Its nice to concentrate on small items that fit into an envelope now instead!!
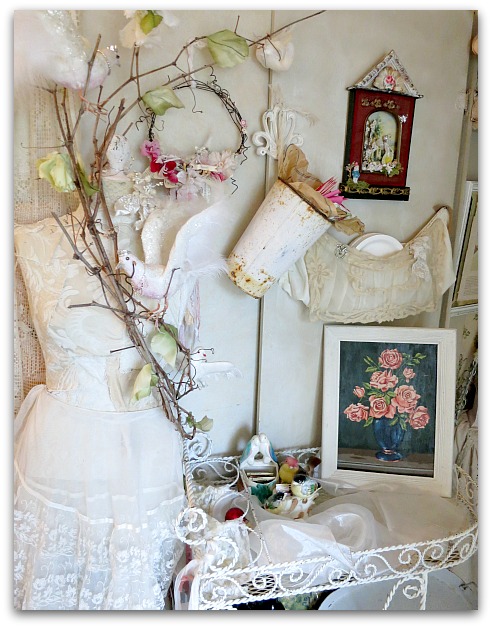
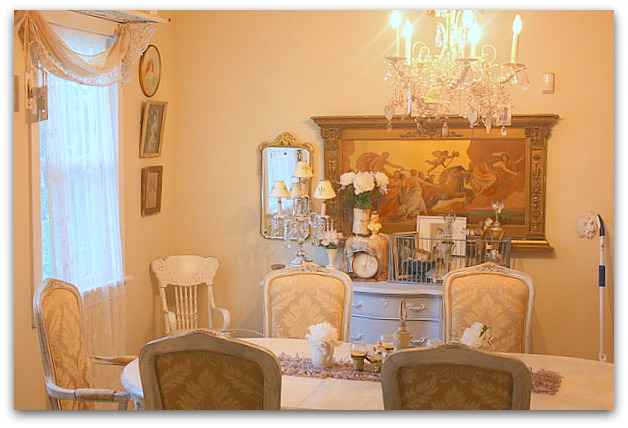
There are a few pieces of painted stuff still around the house, and even more in the studio.  You can probably tell that the room is a bit of a hodge podge of what ever I had. 

IMG_2340
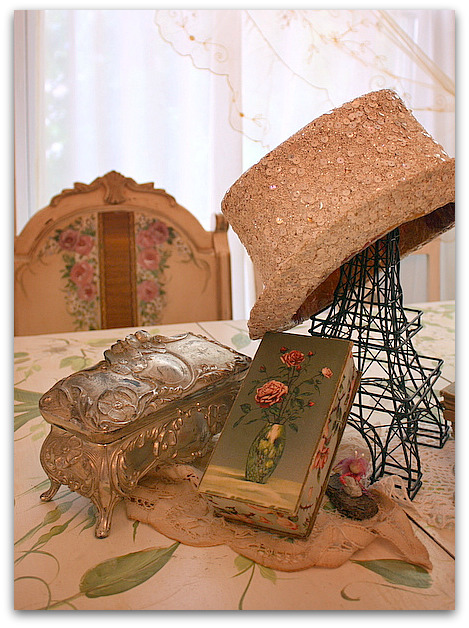
The two dining tables usually have either recently made items, or stuff for sale, or things I just bought set out on them.

IMG_2341
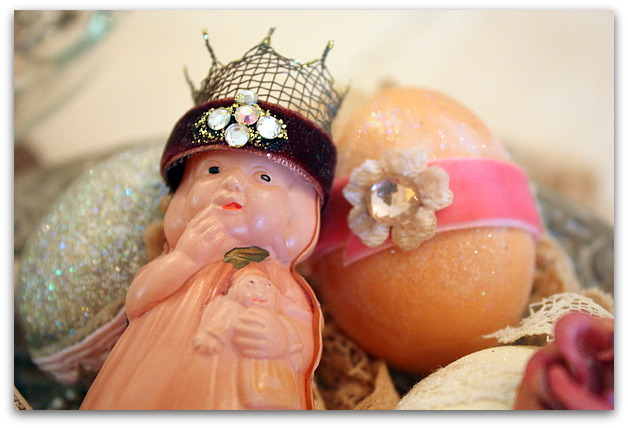
The centers of the tables are filled with things that just kinda make me smile…

By the way, I do have a giveaway chosen for June!  And the month is only half way over, too.  All comments all month still count.

And here it is-

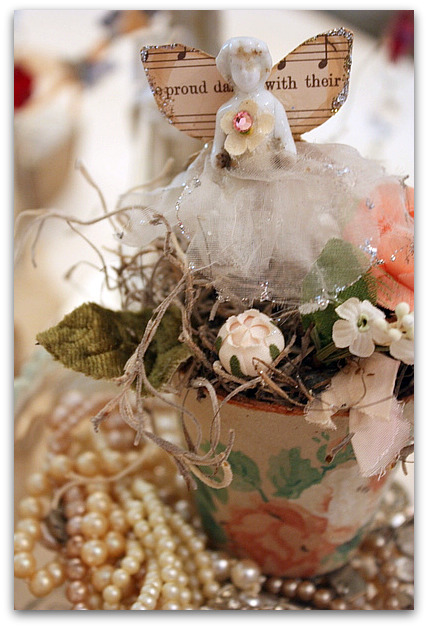
I'll be giving away a Peat Pot Pretty with a frozen Charlotte fairy.  These will be featured in Somerset Life, I'm writing an article about it next week, which is always an honor!! 

Leave a comment if you'd like a chance to win one!

IMG_2319
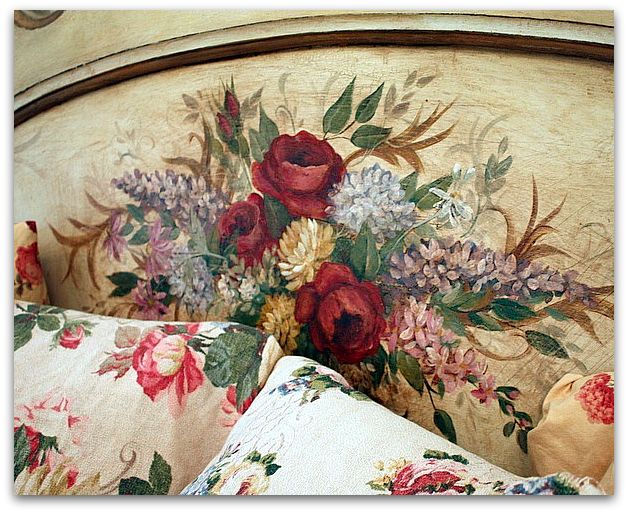
I'll leave you with a couple more pics of some hand painted pieces in the studio.

And for more peeks into the room, please come back on June 19th, I'll be a part of the Where Bloggers Create party hosted by Karen Valentine.

While the room was cleaned up I made a little video of the space.

IMG_2320
IMG_2321

Scroll to Top