Hand Painted Furniture

My fairy grand baby’s room

fairies, family, flowers, Hand Painted Furniture, paintings, Sugarwings
IMG_1362

While I am away from my computer for a few days I thought I'd leave you with some photos of the cottage.  I'll be back on Sunday, and will have trip photos as well as some new listings to add to the shop (well, hopefully, I'll have some successful shopping while away!!)  Any orders while I am gone will be sent out on Monday the 14th.

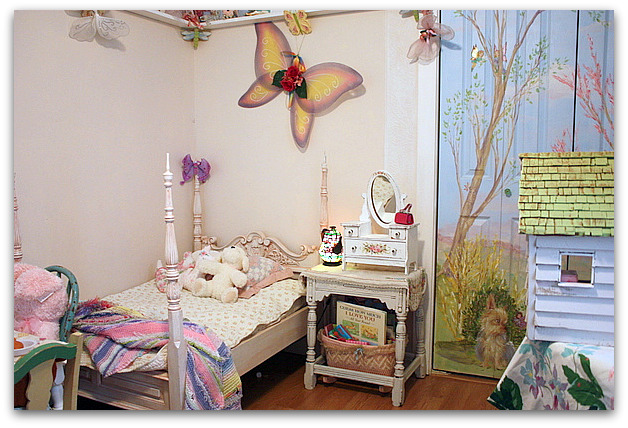
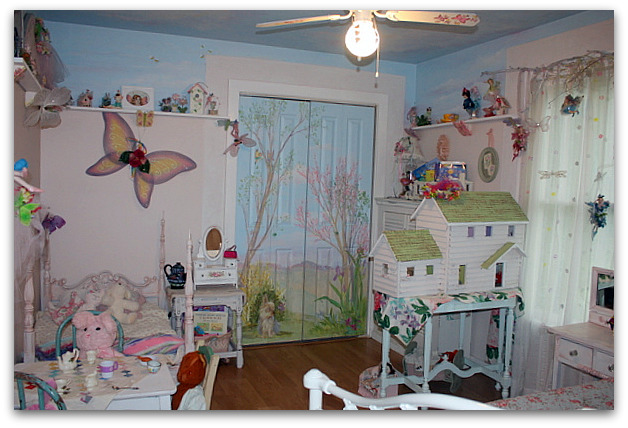
This is Sugarwing's room. She's pretty proud of the fact that she is big enough for her own night light (shaped like a tea pot) next to her bed.   Her closet doors are painted with a mural of fairies in the flowers, and our dog, Sparkle. 

Since she only comes to stay, and doesn't live her full time, the closet didn't need to be filled with her regular clothes, so it holds all of her dress up and play clothes. I'm always on the hunt at garage sales and thrift stores for fairy wings and princess dresses that are cute and cheap.

IMG_1356
The ceiling and the area above the shelf are both painted like the sky.  The shelves hold a collection of fairies and pixies, and little bird houses covered in vintage wallpaper for them to live in.

Her princess bed is vintage, I found it at an auction, and painted it white with pink glaze (instructions on my short cut paint technique are on my side bar under "tutorials")

IMG_1363
Since the room is upstairs in an old house, it tends to get stuffy, so we had to add a window air conditioner.  It doesn't exactly look great there, but it keeps her comfy.

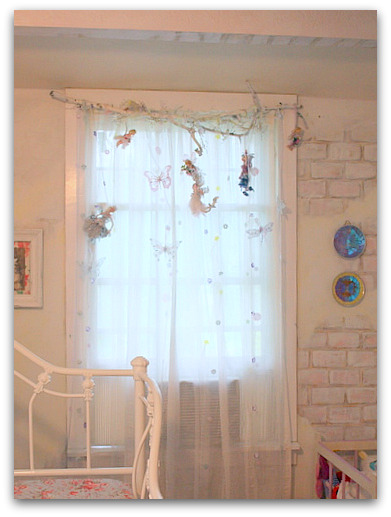
There are white sheers on the windows, then above them, I screwed painted and glittered branches to the wall and tied trailing ribbons to them.  We've clipped little butterflies and dragonflies to the ribbons and dangled fairies from the branches.

IMG_1364

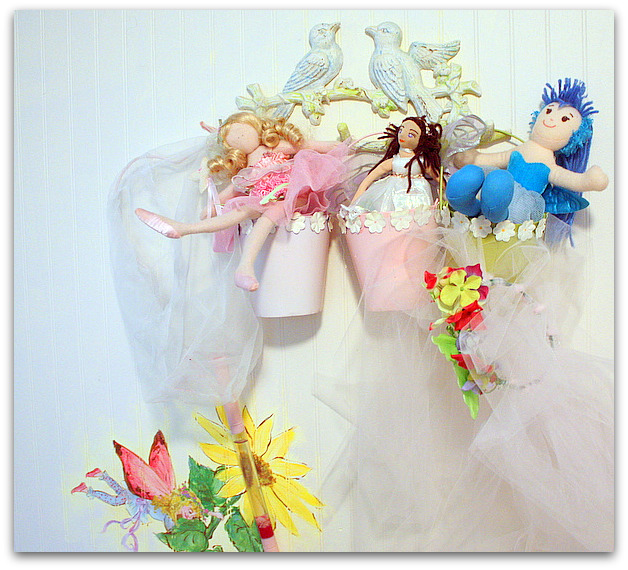
When Sugarwings was tiny, these pastel pails hung over her changing table and held her lotions. Now they hold fairy dolls that readers have sent to her.

  I painted the fairy to look down at her on the changing table and she used to love to coo and talk to her while getting diapers changed.

I've painted LOTS of murals in nurseries over my lifetime and one thing I always make sure of, is that the pictures are interactive for the kids.  In places where the baby spends time, like the changing area or crib, I was careful to add something of special interest for them to see.   And in the rest of the room, all the creatures had friends. No matter what the theme was, fish, dogs, teddys- they all were in conversational groups.

One night when my fairy grand baby was just learning to string sentences together, we were laying on the floor of her room playing and she said "Grammy has pretty stuff".  I told her, no baby, this is all YOUR stuff, this is YOUR room.   She was speechless for a moment, probably for the only time in her chatterboxing life.

  I think she likes her space.

my Rose Room

Dorkies (Yorkshire Terrriers), flowers, Hand Painted Furniture, yorkies

I'll be away for a couple of days to celebrate my husband's birthday. Ryan will be here with the big dogs and the pups will stay with their dad's family, where they can visit their spotted brother who has gone to live there with  them.

So, I won't be able to answer comments, but I will enjoy reading them when I get back. And each is entered into the June Giveaway. 

IMG_1367 

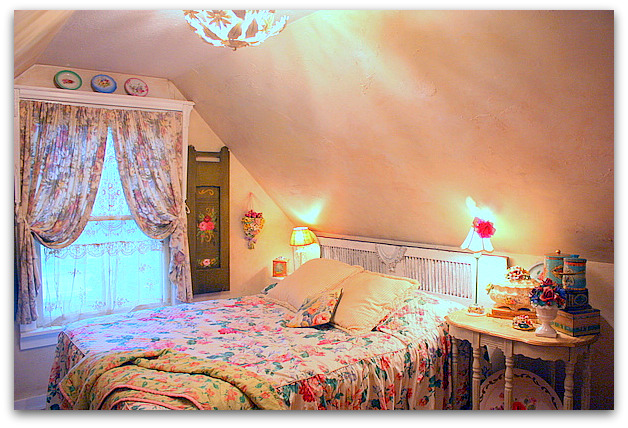
When I was getting ready for friends to come for the Creative Cottage Girls Weekend, I decided that my guest room needed a redo.  It was inspired by this 1940s bedspread that I picked up at a local flea mkt.  I already had the floral curtains, they came from a dumpster a few years back. The shutter that  I hung over the bed was out in my shed, and all of the tins and rose pieces were scattered around the house.

The shutters on each side of the window were some that I painted for a client who never came to get them.  So, I guess they are mine after a couple of years, huh?

This isn't exactly zero dollar decorating, since I bought the bedspread. But everything else that I used was pulled from another room, or out of my storage shed.

IMG_1371
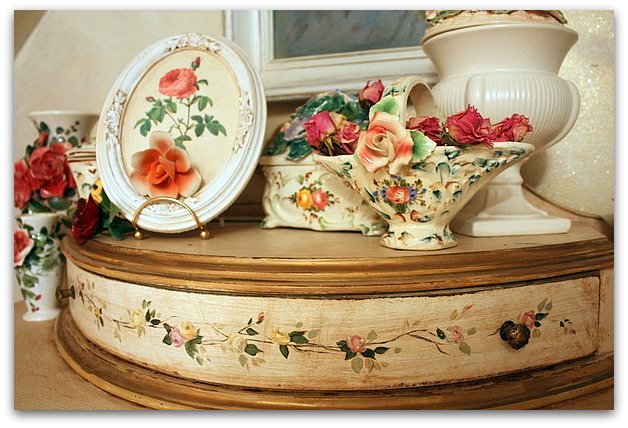
I've been collecting porcelain roses for years, but have been trying to use more neutral colors downstairs, so it was a perfect fit to bring all of the roses upstairs to my new guest room, and call it the Rose Room.

IMG_1373
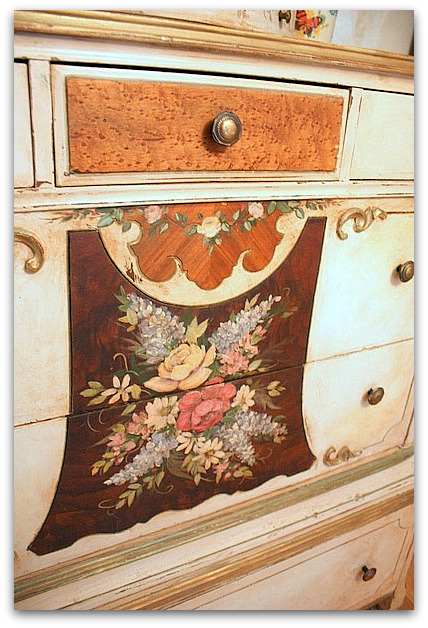
This chest of drawers is another item never claimed by a client. She had it in lay-a-way for years, and never showed for it. Should that  make me feel like a loser, with both of these unwanted, hand painted pieces left behind?

Actually, I'm kind of glad that this was never claimed. I just don't paint furniture any more like I used to, and now am glad to have a piece to keep for myself. It was always one of my favorites, even while it was taking up space in the garage for 3 years waiting for the person to come and get it!!!

IMG_1370
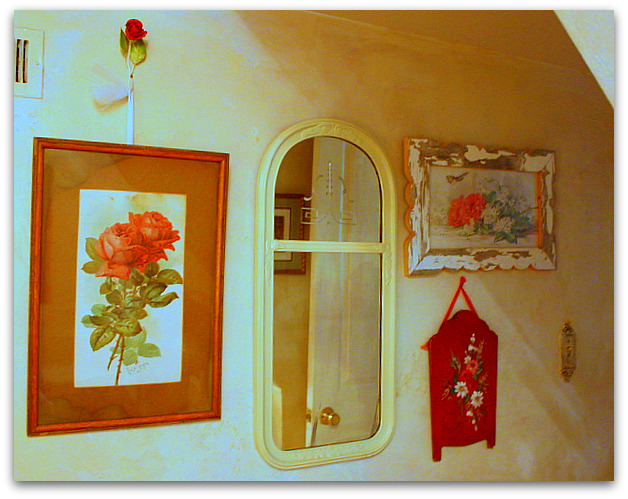
The De Longpre roses are from a garage sale for 50 cents.  I've had all these things in my studio for a few years, and as much as I liked them, they just never matched all the other things out there. So, I was glad to move them into the Rose Room.

IMG_1366
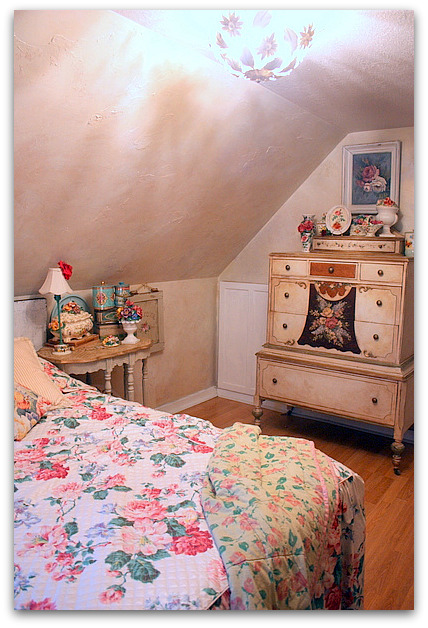
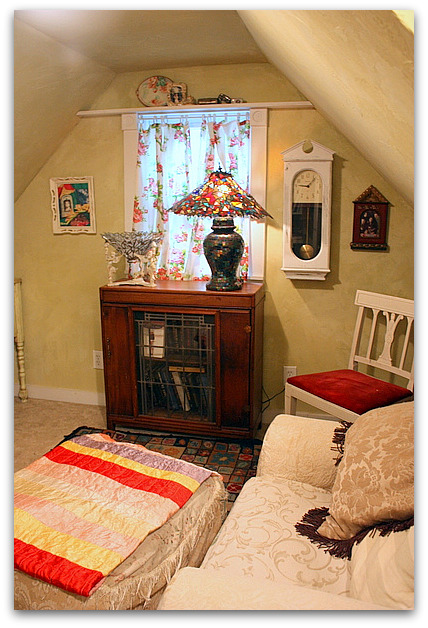
This is a room we added in the attic when we bought the 800 square foot farmhouse 19 years ago.  Its been through many transformations, both boys used it as their bedroom at one time or another, for a while it was my studio, before we built the addition. A brother moved in for a few months, and later on a niece.  Then, Sugarwing's Daddy has used it off and on in the last few years. Each time, it got a make over.

But of all of the redos, I like this one best.  To me, it says  Cottage B&B.  I hope my guests feel that when they come to stay.

IMG_1376
Upstairs in the old part of the house, I have Sugarwing's room, the Rose Room, and the Library.  My fairy grand baby and I love to curl up in that big, soft chair with a good book to share.  This room is a bit of a hodge podge. Doesn't every house have a catch all room with all the left over pieces in it?

While my house was actually cleaned up (that happens so rarely) I got photos of all of it. I'll show a few more next week. 

For now, I'll leave you with another puppy video. You didn't think I'd do a puppy-less post did you???

How to paint and distress furniture

celebrations, Dorkies (Yorkshire Terrriers), family, Hand Painted Furniture, how to's, how-to projects, yorkies
IMG_0730

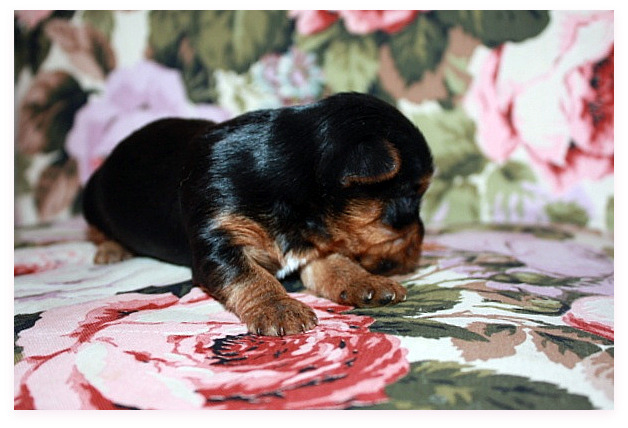
Twinkle's babies are still all curled up in their nest. Even with their eyes opened now, they aren't ready to explore or do much but sleep and eat.

IMG_0728

They are still living in a box in my bathroom at night, and come out to the studio with me during the day.  As soon as they are big enough to need more space, the studio will become their full time home.

IMG_0697
I haven't had a heck of a lot of time in the studio lately, with or without pups.  I've been working on some indoor projects, plus celebrated Earth Day by buying 6 fruit trees to plant in the yard. 

After that, I went with some friends to an Earth Day fashion show, where all the clothes were 2nd hand, redesigned or re-purposed.   To my surprise, Sugarwing's Hippy Chic Mommy was in the show with her hula hoop group of performers.   The whole show was more performance than fashion, really fun to watch, and kind of funky.  

IMG_0720

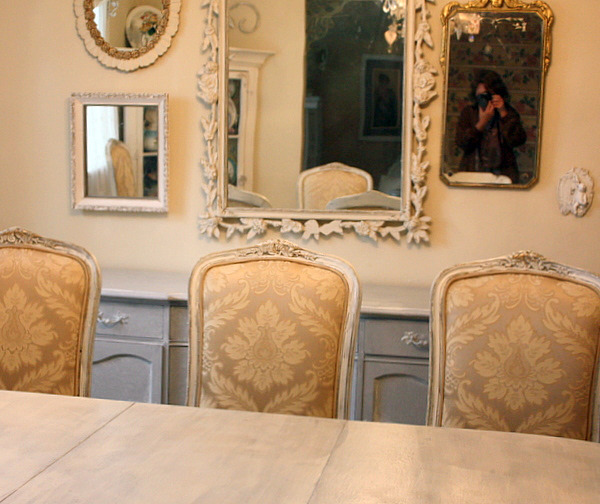
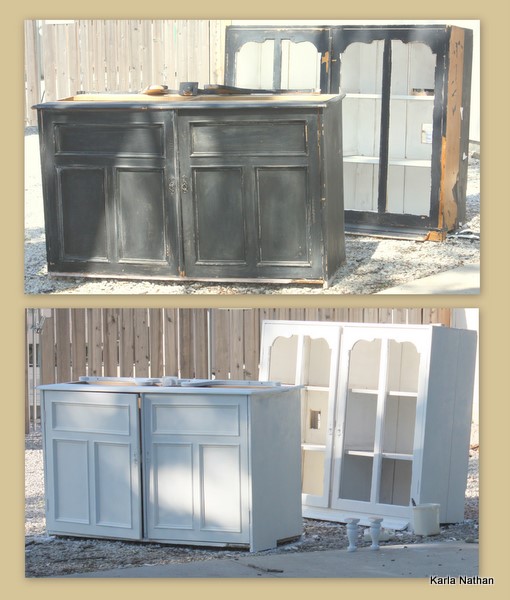
My big indoor project has taken a big chunk of the weekend, but now is done.  I've repainted my dining table and chairs, along with a buffet to match (kind of).  Its been something I've wanted to do for a long time, but hadn't had a chance to get around to it.

Of course, if I could just snap my fingers and have all the projects done at once, what kind of fun would that be?  Its the journey of redoing and tweaking, and finding just the right piece or color that makes me do it, not really the finished product.  

IMG_0719

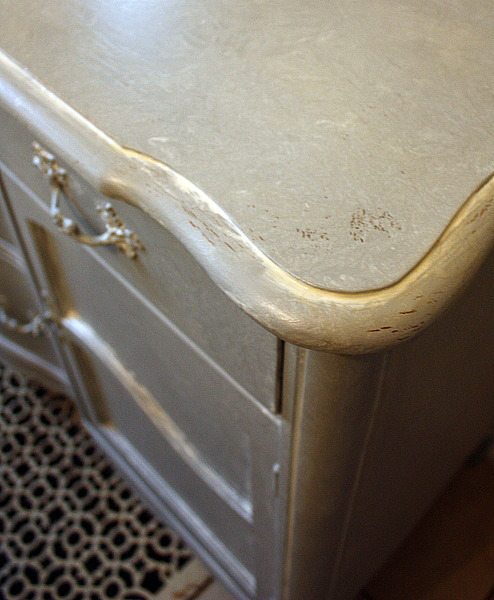
The buffet (hardware and all) got painted with bonding primer tinted gray.  Then white washed with ivory glaze, and that was wiped off with a soft, damp cloth.

Then, I took the cloth with the white glaze on it, wadded it up, and patted the buffet, to make a marbled look.  When dry, I sanded a bit here and there, not much, and clear coated it for protection.

IMG_0672

Here is a little tutorial on how to paint distressed looking furniture:

Please note that the trick to doing this technique is to NOT BE PERFECT.  All the little imperfections are what make the finish interesting.

I started with this factory finish from the 60's.  Not bad, but not exactly to my taste.  I wanted an older look and thought this dining set looked dated.

IMG_0676

The first step was to brush on tinted gray bonding primer. I used Glidden Gripper. It came already tinted gray.

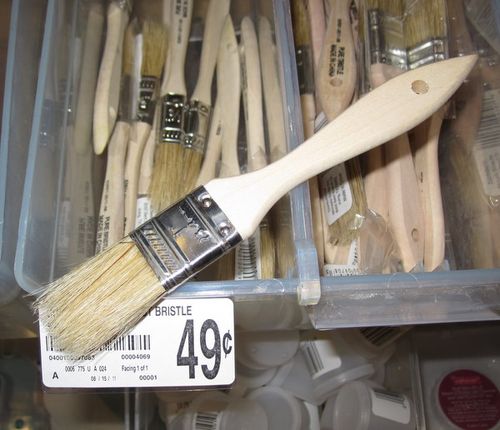
I used a cheapo, flat brush about 2 inches wide.  Kind of bristly and rough. 

The primer was brushed on in a messy way, not covering up the whole surface.

I'd recommend taping off the edges and covering fabric if you don't have a steady hand.  

IMG_0675

Second step same as the first, but with creamy white paint ( I use eggshell finish).  Messy, uneven coverage is the trick!

IMG_0674

Next, rough it up with sandpaper, as soon as it is dry to the touch.  If you wait too long, you have to sand harder and it takes the paint off to the bare wood. I wanted the original colors of ivory and gold as well as my gray layer to show through.  

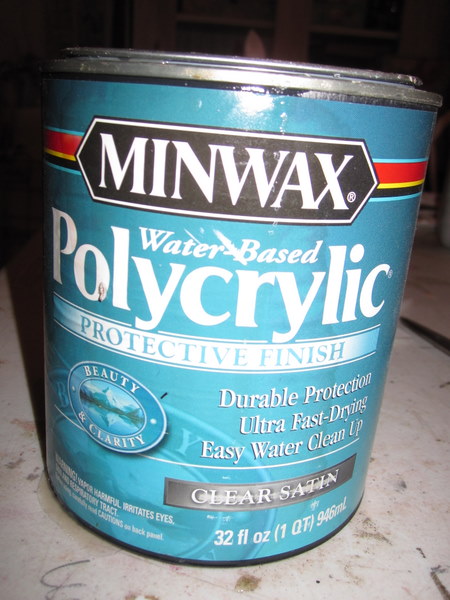
After sanding here and there, cover with a top coat. I like Minwax Polycrylic. Its water based and goes on easy for a durable finish.

IMG_0722

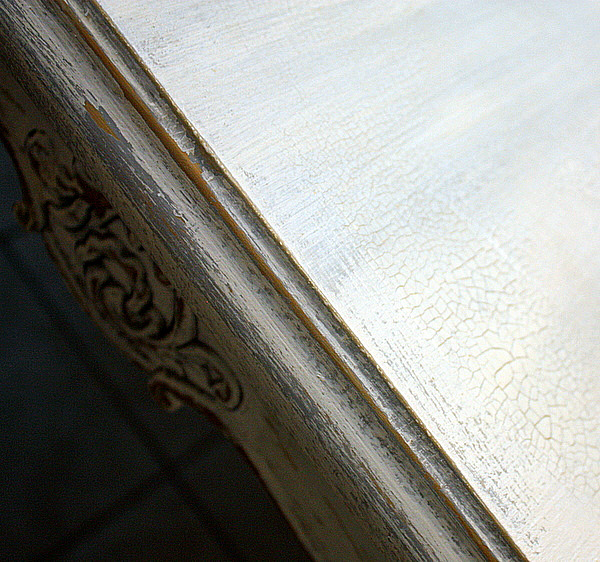
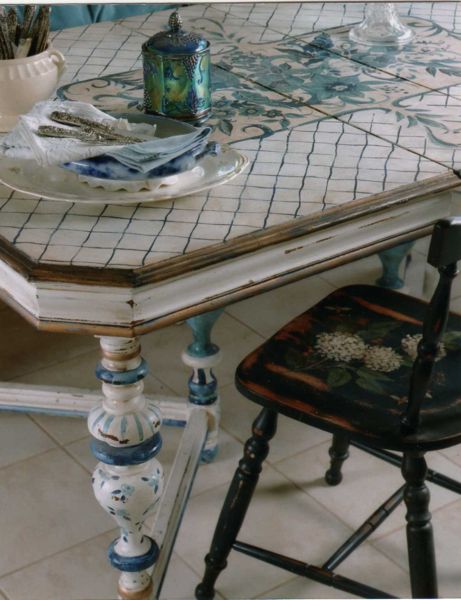
The table was done the exact same way, with one addition. Before putting on the top coat, I brushed it with a heavy coat of porcelain crackle glaze.  Not the entire table top, just random strokes here and there.

I'll be on the look out for new accessories for the room and will have some after pictures to show you once I've finished.  My favorite flea market is this week, so the timing is just right!

IMG_2911 IMG_2910 IMG_2914

Here are some of the supplies that I used. 

A new look for the cost of a quart of paint and a bit of shuffling around

Dorkies (Yorkshire Terrriers), flowers, Hand Painted Furniture, hand painted signs, yorkies
IMG_0302

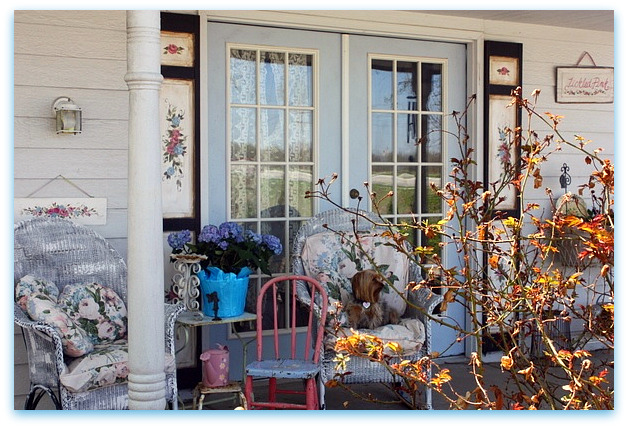
Well, I just had to finish the porch redo, and honestly, it was a quickie. I used stuff that was already here and a bit of paint.  Sugarwing's blue and pink chippy chair was in the garage, and I'd
already bought the hydrangea to plant. So, of course, it won't stay
here,it has to go into the ground. Too bad, its just right for the spot.

IMG_0311

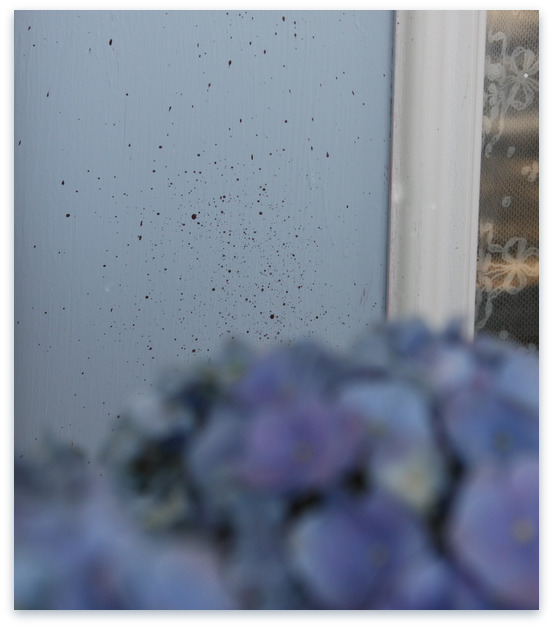
The only purchase I had to make was a quart of "Birds Egg Blue" paint from Ace Hardware.  I fell for the name, as well as the soft shade.  I added speckles of brown paint over the blue for an even more egg-like look.

To do this, I watered down a squirt of dark brown acrylic craft paint, dipped in a stiff brush, and then flicked my thumb across the brush to splash speckles over the blue paint.

Its a little messy, you need to have a wet paper towel handy to dab up the most rambunctious speckles, they tend to fly everywhere.  I don't cover and tape off anything, that seems to take longer than just wiping up the runaway flecks.

 
IMG_0309

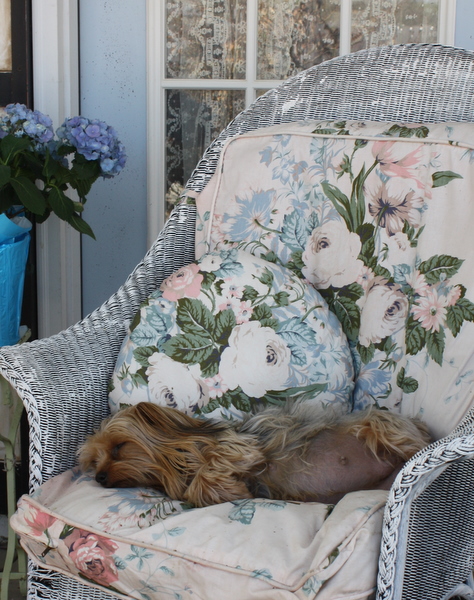
No puppies yet! Twinks is resting up and getting bigger by the moment.  We'll both be glad when they are here.

I'm still not thrilled with the white wash on the rockers. I might repaint them later on, or else scour garage sales for something better. Like a glider.  Or a porch swing.  That's the fun part, always planning for a change, or  being on the hunt for a better idea. 

IMG_0318
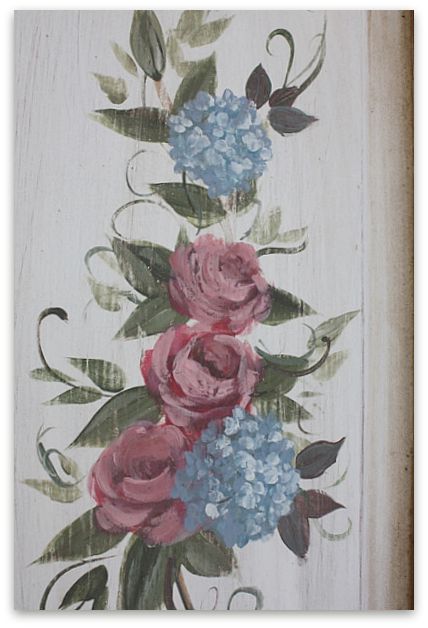
The flowers on the shutters had been a deep, magenta red like the door used to be.  I pinked them up a little and added some blue hydrangeas to tie all the colors in together.

IMG_0317
I was going for a rustic, vintagey feel, so after painting, I used sandpaper for some distressing.

The shutters themselves started out as a pair of black, bi-fold doors from a garage sale for a couple bucks.  The other half of the set of doors is painted to match these, but I have those inside my breezeway on each side of the entry way door. (which opens onto the kitchen- we don't use the front of the house. You walk straight into our kitchen or the studio when you come here, the two most loved rooms of the house!) 

IMG_0314
Its a gorgeous, spring day  here, and our niece's church group is busy working on the community garden that we loaned them space for.   They've decided to put up a fence, which is smart, we have about 3 billion rabbits and almost that many deer watching through the trees eagerly waiting to see what we are planting for their lunch.

IMG_0322
Before I forget, the winner of a Peat  Pot Pretty is:

Sasha Girl

And if you want to win one, I am drawing names from the list of Google Friend Connect followers, for every 50 followers I get. You name stays in the contest as long as I am doing this.

The next drawing will be at 200.


Where all the roses went, and my kitchen through the ages

Hand Painted Furniture, magazine pictures or articles, paintings, redos, show and tell


Repairs 092

My Zero Dollar Decorating has slowed to a crawl, I seem to have caught a bug of some kind.  Or does Cabin Fever also cause joint aches and stomach cramps? Ugh. Its still colder than ever, but all of our cars are freed from ditches and snowbanks. I just am not up to getting out of the house. 

People have asked me to show more whole room pictures of the kitchen, I'll take some when I am feeling a bit better.  This bug is giving a whole new meaning to the phrase "under the weather" for me!  I was feeling bad enough from being cooped up by the cold, I sure didn't need to catch a cold too.

There are a few photos that I had taken of where I moved the deeper, brighter color things from the kitchen to, I'll show those now.

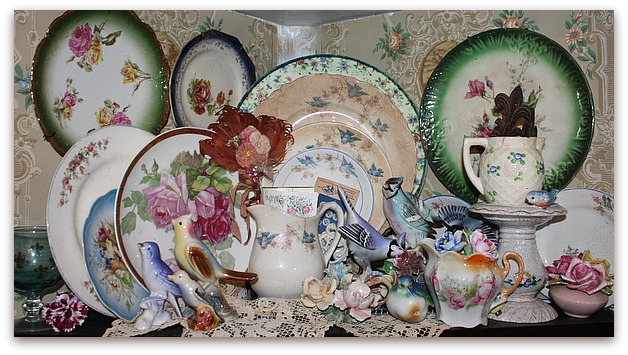
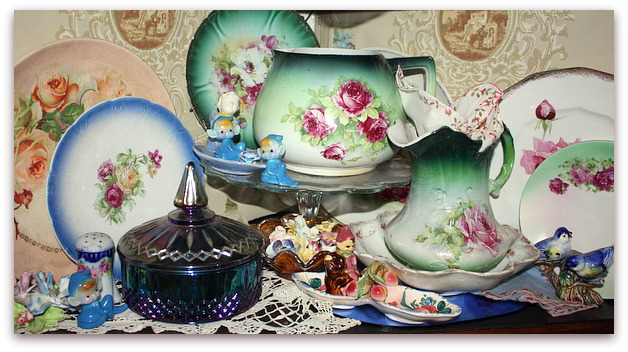
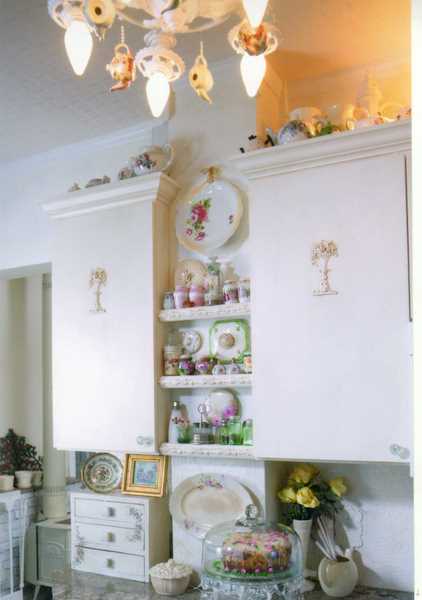
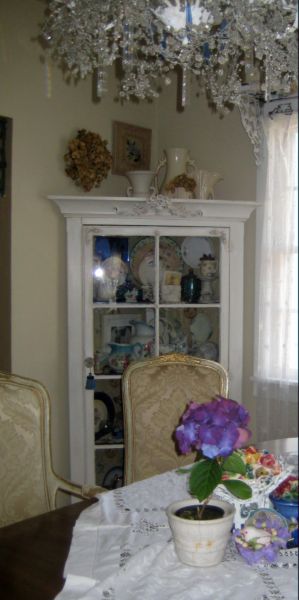
Before, the corner cabinet in the dining room was all done in blue and white.  Now, I've added roses to it from the kitchen, on top of all the blues.

Repairs 095

The blue bird themed plates and figures, I've collected for a while, as well as the china roses.  They are another remnant from my antique mall days, I'd bought them to sell in the booth and they never did. As I was redoing all my shelves, I wasn't surprised to see how many things I own were by default. Stuff I bought to sell and ended up keeping.  Its not a bad thing, because I always told myself that I would not ever buy anything merely to sell it, I had to really like it and say it was something I'd add to my own home (because unless you are magic, not everything sells!).  It was a form of staying true to my own sense of style, I guess.

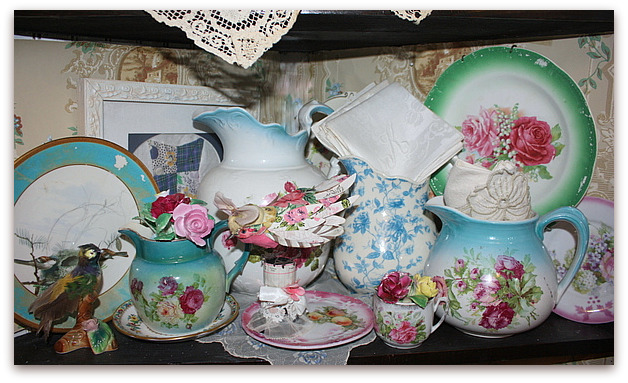
Not all of this is inventory that I kept, the large chintz cake plate was my mom's, and so was the aqua wine glass.    A gift from family, and some from friends are here too.

Repairs 096 This shelf has some sentimental things, a framed quilt square from Grandma Nathan, a hankie from Grandma Downey, two pitchers covered in roses from my favorite flea market (reminders of fun times with my pal, Beth), and the bird I made at Silver Bella in Denise Sharp's class.

Repairs 100

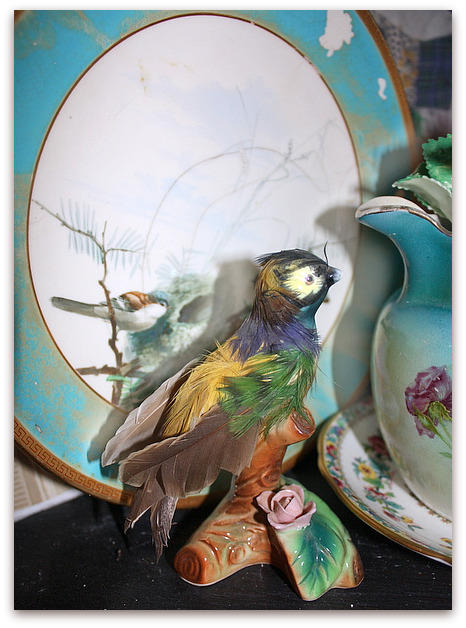
Plus this bird, she is so wrong she is right.  I wonder if some crafty lady in the pre-glue gun days, added the feathers to this poor figurine or if it was meant to be this way?  I see things like this and am oddly attracted to them, wondering if someday, my own embellishments that I am making to things now will be looked kindly upon in the future by someone at a garage sale with a quarter to spare?

Repairs 097
Repairs 098
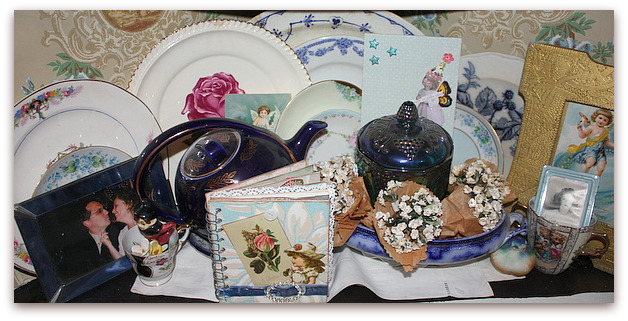
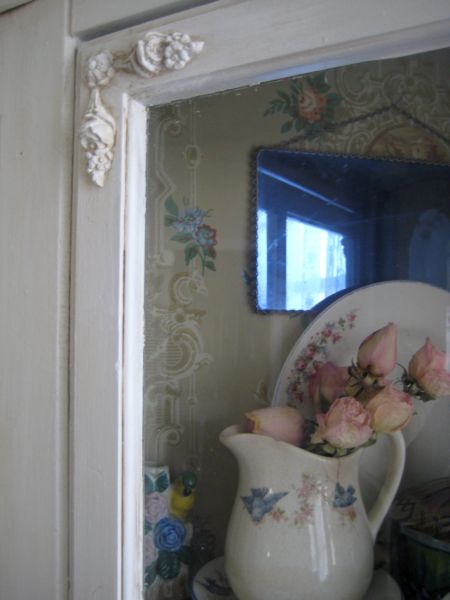
The blue mirrors that are in this cabinet remind me of my sisses, who both collect blue mirrors too.  The carnival glass and the cobalt teapot were both my mom's and those items were the original reason behind even having shelves filled with blue and white.  Funny, how a couple of pieces of sentimental things can influence a whole room.

The photo on the left is of my husband and I about to share a smooch, and the frame on it is an old blue mirrored one.  The photo (with a glare on it) on the right is my Mom's high school picture.  Sugarwings has been made into art by my friend, Lori, and Beth created the vintage wallpaper covered journal.

I'm not exactly the sort of person to have a traditional hutch filled with wedding china.  My stuff is a miss match of things I like, hopefully pulled together in a way that's attractive.  But most of all it makes me smile when I see it.  I am the sort of person who, really, really enjoys her stuff and likes to see it out and about.

Repairs 093

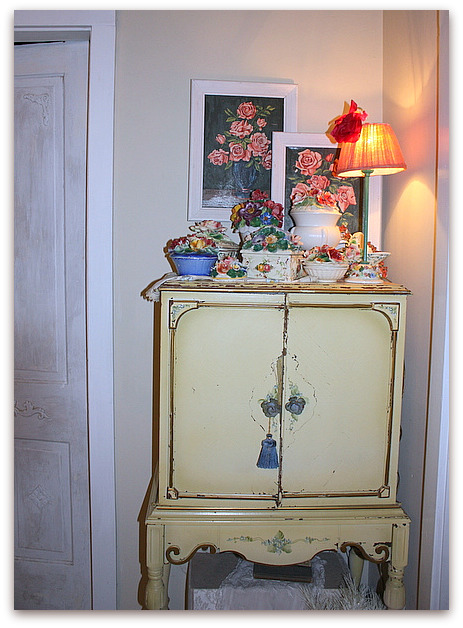
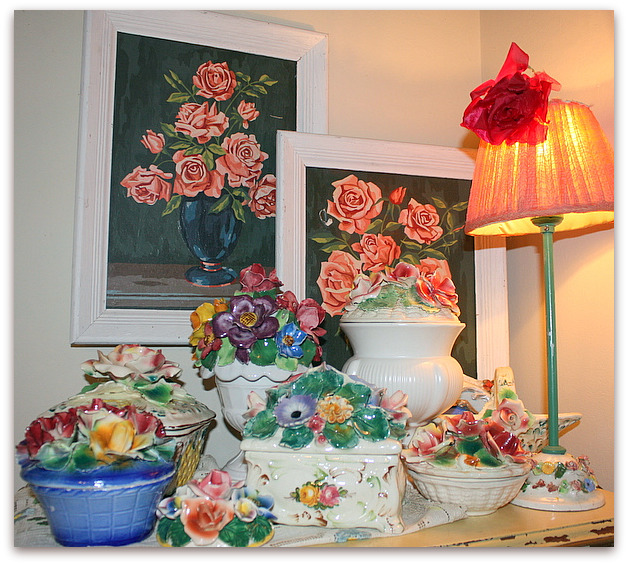
Again, no one wanted these paint by number roses.  I had them for sale here and there and there was never a taker for them.  I even tried to give them away a couple times.  Am I the only person to appreciate fine art?  Actually, these bring back lots of memories of paint by number sets I had as a kid and adored. 

Repairs 094
And I do think they are pretty.  Especially grouped with all of these blooms.

I'll leave you with some previous transformations of my kitchen, these photos are all from magazine articles I've been in.  Some are from before we got the new cabinets, and some are from before I discovered pastels….

Cake plate 

Img049
(I wish I hadn't sold this table!)

Img051
Kitchen

Teacup chandleier

My house from the photo shoot

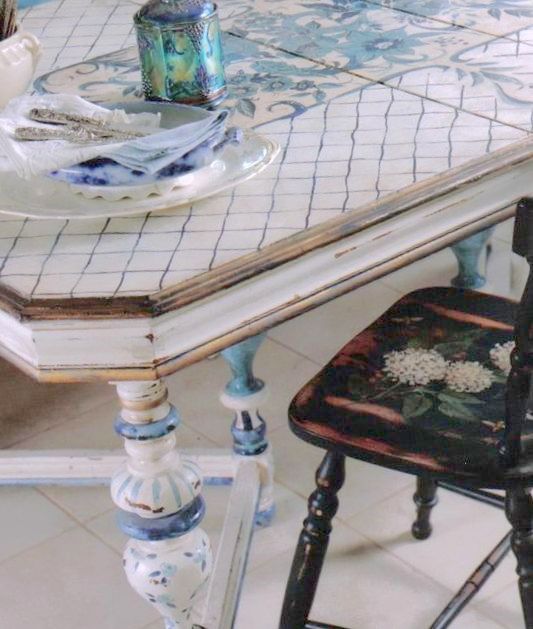
(My mom's carnival glass inspired the painting on this table, its sold too)

How do you paint a table with a leaf in it and still have a pattern on it?

First, paint the whole table without the leaf. Then add one leaf, and paint it so that the edges match up to each side of the table.  If you have another leaf, match it to the first leaf and the edge of the table on the other side.

Copy of mag shots. older

Img050

Okay, better stop now, I'm getting to the really old ones that were more country than cottage and they  make me cringe!

Before and after

Hand Painted Furniture, how-to projects, Sugarwings, We're having a party

Butterflybanner900title 

Jen is having a make-over open house. Check out her blogfor a list of participating do-it-your-selfers, and join in yourself if you have a re-do you'd like to show.

Steve's new house, Lee Lee's first pants 002 

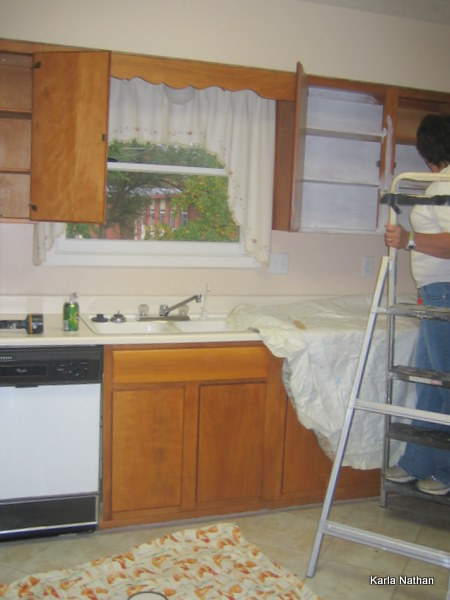
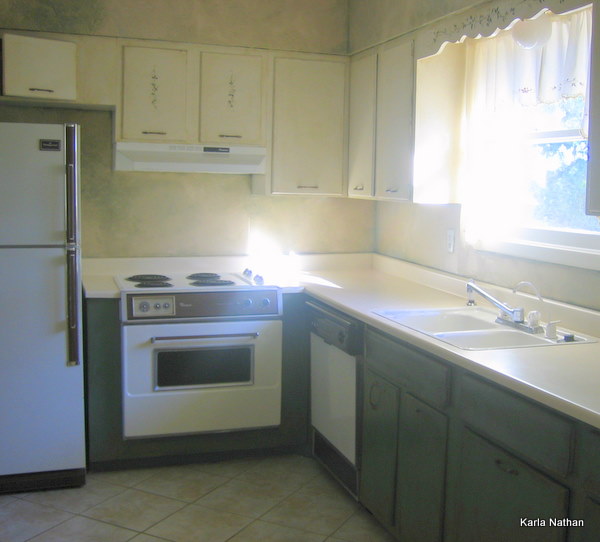
I pulled out some photos of a redo I did a little while back for my sister-in-law, to show the Magic Of Paint.  They bought an older home and didn't have anything left in the budget for remodeling, so we did what we could with paint, most of it from the surplus store where paint is only 5 bucks a gallon.  The primer is the one thing I insisted that they get a specific brand, not just what was available at the surplus store.

I always look for BONDING primer. Make sure the label says, "will adhere to shiny surfaces".  If you do that, and the wood is clean, you don't have to sand.  Water based bonding primer (Gripper from Glidden is my current fave) is all the prep you'll need.

Steve's new house, Lee Lee's first pants 005 

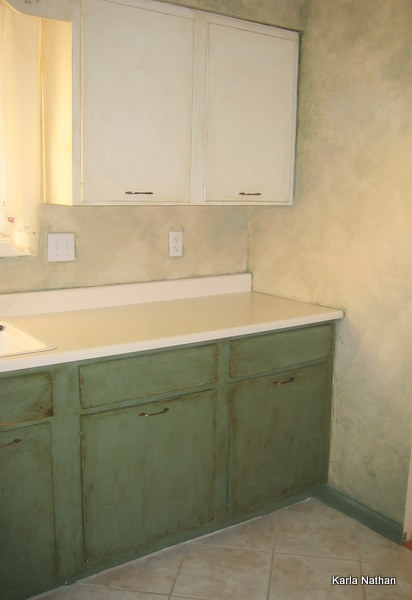
We primed and painted the top cabinets and all the interiors ivory and the bottoms and all the trim in the room a deep sage green.  Then, we beat the cabinet fronts with tools, for dents and dings, to "distress" them. 

After the paint was dry, we mixed Min wax poly/stain combo (in walnut) with a bit of turpentine to thin it, and brushed it on in small areas, then wiped it off (with cut up old tee shirts), for an aging effect.

Steve's new house, Lee Lee's first pants 004 

Oh, and I added some little vines in green on a few of the top doors before the stain-

The walls were already white, so I used the ivory and green to do a faux finish on the walls of the room.  The entire project, walls too, took 3 of us most of one day to do.

Leaving the cabinet doors on and painting right over the hinges makes the job a bit faster and unless you have drop dead gorgeous hardware, why not?  We did remove the handles and reuse those because they weren't bad.

I think the total cost was about $15 for primer, $10 for paint, and $8 for the stain/poly mix to go over the top. 

Yellow brick road 040 

And here is a make over of another kind. This photo of Sugarwings on the Yellow Brick road was edited with Picassa.  I lightened, brightened, and retouched it, then deepened the colors with saturation.

I wanted to make the picture look more like Oz than Kansas.

Yellow brick road 041 

This is how it started out.

(its a picture I took right before the other one, not the same one, but the same conditions). Picassa is easy to use and this only took about 10 minutes to do.   I'm not real good with the retouch button yet, but I'm figuring it out.

Now, I need to go and see some of the other redos that Jen has links to on her blog. I love before and afters!


What can you get for under $100 in Lawrence, KS on a Saturday morning?

antiques/junking, Dorkies (Yorkshire Terrriers), flowers, Hand Painted Furniture

Flowers 002 

Ahh! That's better. I've had a rough day and a pale pink rose sure helps!

Flowers 020 

Its not been a bad day, just an exhausting one.  Well, I guess the part about my computer refusing to recognize any Excel programs is kind of bad…  Mostly it was just a long and tiring day.  Sugarwings woke up with the sunrise this morning, so she and I went garage sailing together.  (and yes, I have goodies to add to the giveaway, and will take photos soon.  You can leave a comment on any post to enter the drawing)

Flowers 016 

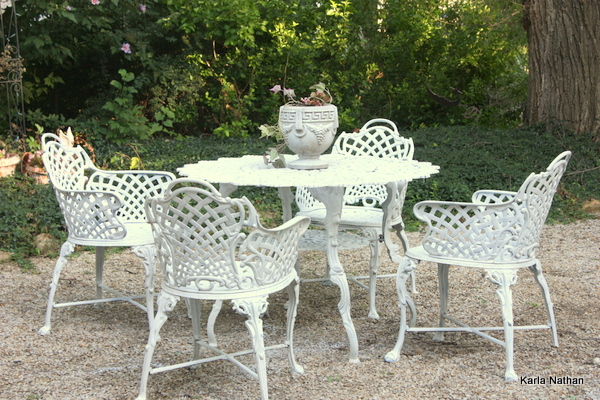
Usually, the baby and I don't try going to garage sales together, she'd rather have a lazy morning telling stories and making pancakes.  But when I saw an ad in the paper for an All Shabby Chic estate sale, I packed that kid up fast as I could and headed out.  This table and chairs wasn't something I actually needed…. but won't I enjoy having it right outside my studio's back door? 

I kind of repainted it, but not totally. I wanted it to still look weathered, just not so shabby it was looking trashy.  So I misted some spray paint on lightly and evenly to clean it up, and then sprayed a bit more heavily in other places.

Flowers 

And of course, I didn't NEED this either. But for $35, I sure wanted it for my studio. I can get rid of some cluttery small pieces of furniture and consolidate the stuff in them into this.

It almost didn't make it home, on one corner, the top of the hutch went sliding and tilted out over the bed of the pickup.  I drove slow and with my flashers on the rest of the way home, and we made it ok.  Ryan helped me to get it out of the truck, and we almost lost it again then, when it came sliding down a little faster than we thought.

When I bought it, I thought it would be a simple slap of paint and I'd be done. Then, I saw to my absolute horror, that the person who painted it before DID NOT PRIME or sand it!!!!!!! Their paint could be peeled off in long strips.  Which I did, for about an hour. 

Then I finished it with the steps on my side bar, primer spray and glaze. The glaze is cream. I might add vintage wallpaper to the inset panels.

Flowers 028 

These were at the same house.  I think they are meant for hanging on a chandelier.  Not a bad sale, huh? And when we got there it was all picked over, I'd love to have seen what was sold before we arrived.

Flowers 030 

It would have to be a heavy chandy to hold these fruits, they have some heft to them.

YELLOW BRICK ROAD. 038 

Sugarwings spent the day with her Hippy Chick Mommy and is back for tonight, so my little "shadow" and I will have some play time tonight.  I hope she is in the mood for something less strenuous than usual. Last night, I was the flying monkey and she was Dorothy and I had to scoop her up and run to lock her in the Wicked Witch's castle.  (over and over and over) After hauling and painting furniture all day, I don't think my flying monkey wings will flap tonight.

A couple more mini redos in progress

Hand Painted Furniture, Sugarwings

Bedpainting 003 

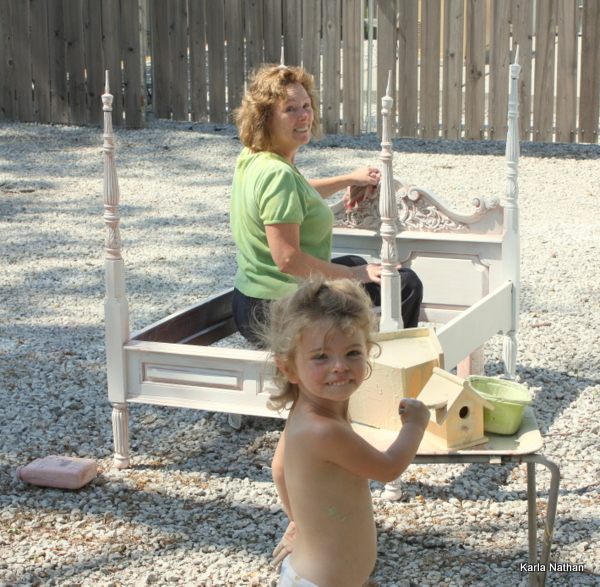
Sugarwings and I are hard at work on making some improvements to the Fairy Berry Trail.  We decided that the fairies needed a home to build nests in.  

Bedpainting 008 

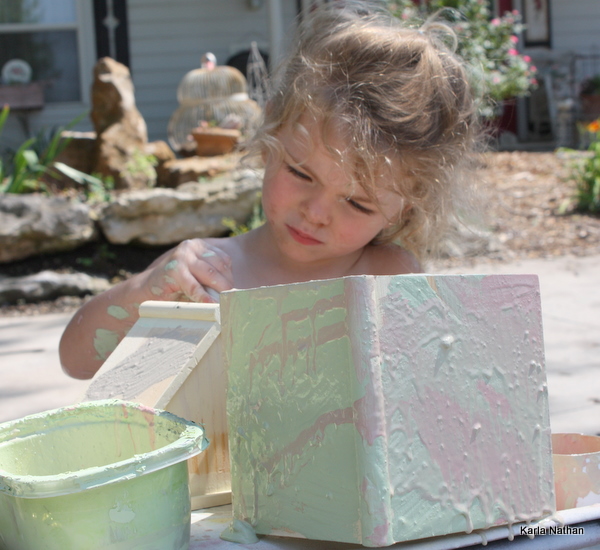
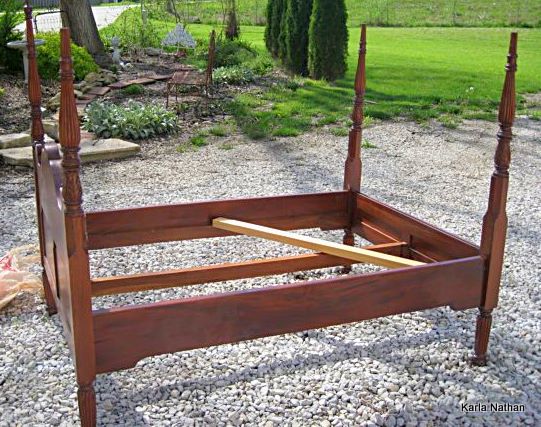
Since I had some painting to do, I turned Sugarwings loose with paint and a brush to work on her project too.  I am making a nest for my own little fairy.  This is an antique bed that I found at an auction and paid WAY too much for (70 bucks) but when it is done, it will will be the perfect place for my fairy grand baby to wrap her little wings around herself like a blanket and curl up at night.

Garden gloves and bed 002 

Sugarwings has been climbing out of her baby bed, and I am worried about her falling, so this bed will be lower to the ground, plus I am hoping it will be something she wants to stay in.  She calls it her princess bed and is pretty excited about it.

I'll have more pictures when her room is done.  And when the fairy houses are complete. They are going to need a lot more sparkle and glitz on them if she wants to attract some fairies to them.  But for now, we are off to the Topeka Zoo for the afternoon.  And tomorrow, I'll be hitting garage sales. I need to find item #2 to add to my July Garage Sale Giveaway Prize Pack.


How to paint furniture (the short cut way)

antiques/junking, Hand Painted Furniture, how to's, how-to projects

Cabinet redo 073 

For years, I had an antique furniture painting business and painted hundreds of pieces of furniture. I spent a lot of time figuring out an easier way to do it.

This tutorial is for painting old furniture and keeping an old feel to it, with NO sanding and NO stripping. Ugh, who wants to work that hard? 

Birthday 09 051 

Of course, having an assistant helps.

Cabinet redo 041 

Since this cabinet had glass doors, I covered the glass with newspaper before starting, and set up the piece in an area where I could spray paint and not worry about the mess. 

Cabinet redo 043 

Old furniture comes with many defects time has added to its finish. Personally, that is what I love about it.  If I wanted something to look new, I'd buy a brand new piece. I want my antiques to keep their flavor!  So, I don't want to sand away any alligatoring of the old varnish, or any other interesting bits on it.

By using a bonding spray, you do not need to sand or strip the furniture and you preserve those crackly spots in the varnish.

Cabinet redo 044 

This BONDING primer (bonding is the key word, here, it will stick to any clean surface without sanding) covers the old varnish, but doesn't change the look of the finish underneath. SHAKE WELL or you'll get a bumpy grainy finish.

Cabinet redo 045 

Spray away. 

We've already skipped sanding, and now here is where another short cut comes in.

  If you plan on painting the piece with a brush after priming, you can leave it the way this cabinet looks right now, kind of shadowy, that is good enough coverage for the paint to adhere. 

But, if you are going to do what I do and skip the step where you brush on paint, then you need to use plenty of spray primer.

It took me 2-1/2 cans for this piece.  After it was at the shadowy point in this photo, I sprayed over any darker areas and made sure there was good coverage.

Cabinet redo 046 

Did I mention how much it helps to have assistants?  I gave this one an empty can to help with.  I'm glad it was empty, because she tried to spray paint the world with it.  If she ever gets hold of a full can, I might be in trouble.

Cabinet redo 049

Primer MUST NOT be left without a top coat. But, who says you have to use just plain paint over it?? I use water based glaze, which is mixed with latex paint.  It covers the primer just like paint would, but is semi-transparent, depending upon how much color you add.

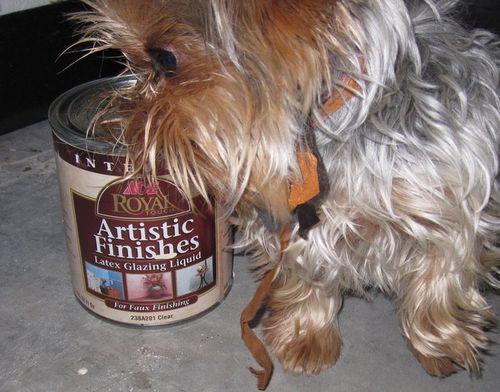
You can buy it pre-mixed like this kind, which is handy for large projects, but can be pricey. 

Cabinet redo 051 

Or you can buy glaze by the can, and mix your own color.  I use those cheapo 2 oz craft bottles of acrylic paint. There are a ton of color choices that way.

Cabinet redo 053 

This is really too much for the cabinet, but I liked this color and wanted to make extra to store for something else.  It never hurts to make up a bit extra, because you'd hate to run out in the middle of glazing your furniture.

I'd say 2 cups of glaze and 1 ounce of craft paint (any color, any brand) is plenty.
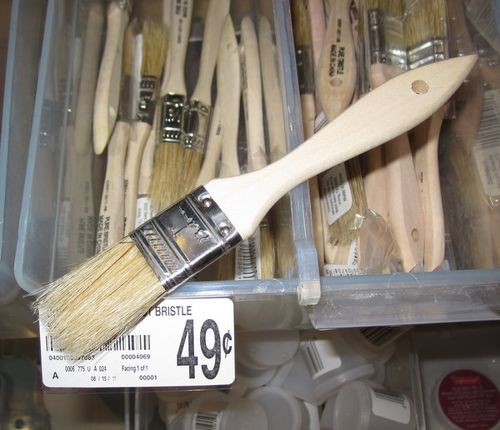
IMG_2910

I love these cheap-o brushes, they a good for getting down into the crevaces.

Cabinet redo 054 

The color I chose was a dark brown.  Notice how it looks more like chocolate milk after it is brushed on?  Well, that is because the glaze is milky.  But you have to remember that the glaze will dry CLEAR.  So the color of the small acrylic craft paint  you chose is what you end up with, not the milky version it is while still wet!!

Cabinet redo 055 

Start at the top and work on one small area at a time.  Paint the colored glaze on thickly, and get it down into all grooves.  After one section is painted, wipe it off with a wet, soft rag.

I use old tee shirts, and keep a bucket of warm water nearby for rinsing. Not that warm water is better than cold, but it just feels better when you wring the rag out.

And rinse often!!  Your rag will fill with glaze fast. If you don't keep rinsing and wringing it out, you'll have a soppy mess and will just be pushing the glaze around, not removing it.

Cabinet redo 057 

Don't worry about perfection.  Some areas will be more heavily glazed than others, that makes for an interesting finish. And if you were lucky enough to have a piece of furniture with lots of crackled finish to start with, then the glaze will really look nice when it settles into those cracks!

Cabinet redo 065 

While the glass is still covered with paper, spray a can of satin finish clear coat over the project to seal it. 
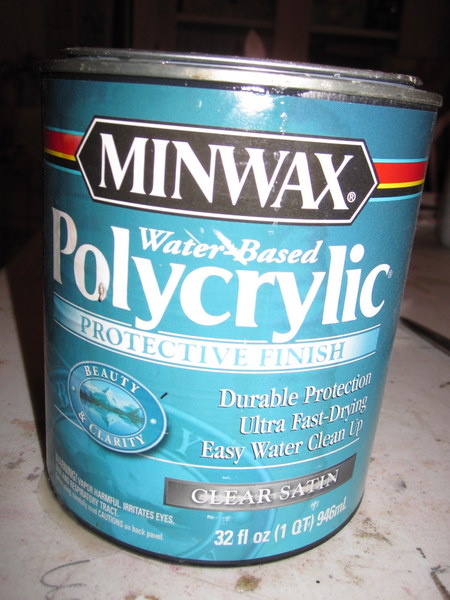
IMG_2911

Or you can brush on a water based top coat.

After you take off the newspaper and tape, you might have to scrape a little paint off the window here and there with a razor blade, if you tape as badly as I do.

I chose not to paint the interior of mine, instead I lined it with vintage wallpaper.

HINTS

  • You can skip the paint step, IF- you are fine with using bright white as your base color under the glaze. Spray primer doesn't come in tinted colors.  You can also use paint on bonding primer, and have it tinted, or use the gray it comes in, and that can be your base coat.
  • You MUST cover every inch of the primed areas with painted on glaze! Primer is not meant to be left uncovered.  But glaze is quicker and easier to brush on than paint, because you are just slopping it on heavy and will be wiping it off.
  • Top coats are important, for durability. You can quickly spray one, or brush it on. If I am brushing it on, I like to use Min-Wax Polycrylic.  It is water based, no smell.
  • Make sure the piece is clean before you paint it.   Wipe it down with a damp cloth, and if it is greasy use Windex.
  • Only use BONDING  primer!!  Be sure the label says something like "will stick to glossy surfaces".  I buy this brand at Home Depot.  If I am brushing on primer instead, I use "The Gripper" by Glidden.
  • Primer can be painted over soon after using it, but sometimes it takes days to "cure".  So, if you have painted something with an extremely high gloss finish, try to leave it set and don't mess with it for 3 or 4 days.  The finish hardens, and won't scrape up after that.
  • Its nice to paint the inside of drawers, for a clean finish, but NEVER, ever paint the sides of the drawers, on the outside, or the bottoms.  They must be kept clear of paint so the drawers won't stick.  For an old, sticky piece, wax the outside of the drawers for a good slide.
  • If you get over spray on the glass, like I did, scrape it off right away, or it just gets harder to do. Bonding primer bonds!
  • If you have plans to "distress" the piece, by roughing the edges up with sand paper, do it before your top coat.  And don't wait too long, like I mentioned before bonding primer bonds!  When the furniture is dry, sand away, but don't wait days and days or you'll have trouble sanding through the primer to the wood underneath.


It was pointed out to me that spray paint is dangerous to inhale and I didn't mention safety precautions.  Please, use proper ventalation!  I use the garage, but am right inside the open double doors.  Also, the baby only was playing with an empty can, she was not actually involved with spraying or breathing in the spray.  I treasure each and every one of her brain cells!
Not just one Winner, but TWO Winners for March

Etsy Goodies, fairies, give away, Hand Painted Furniture, hand painted signs, magazine pictures or articles, vintage paper/collage art

Scraps_187 As I selected a name for my monthly giveaway, I was pleased to see that the winner was

BOBBIE VALENTINE

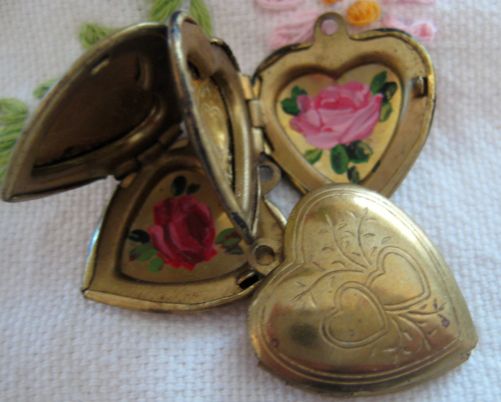
With that last name, I just had to pick out something special to send to her, and thought she might like this heart shaped locket with a hand painted rose.

Well, I should know what she’ll like, Bobbie is my sister!Scraps_181

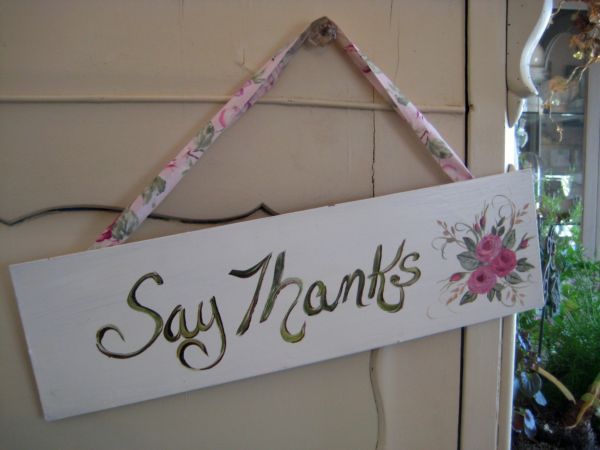
So, then, I decided that maybe that wasn’t fair, and I pulled another name to send this hand painted sign to.

MichelleScraps_152

If you want to win a prize from me, all you have to do is leave a comment, any comment, any post, any time during the month and it is entered into my monthly giveaway.

Remember my dilemma about the cabinet with the black trim? I just had to paint the trim white.  I loved the black, but it took away from the calm, serene look I was going for in my studio redo. Scraps With so many supplies and so much going on, I wanted the background to be more subtle and that black stood out too much.

Scraps_174_2  I also simply couldn’t leave this cabinet alone. When I got the new, and much more formal table, this cottagey corner cabinet just looked too country.Scraps_177

If you remember from this post, I had already repainted the cabinet a  warmer white, added a piece of trim to the top, rearranged the shelves, and then covered the bead board interior with vintage wallpaper,.

Scraps_178

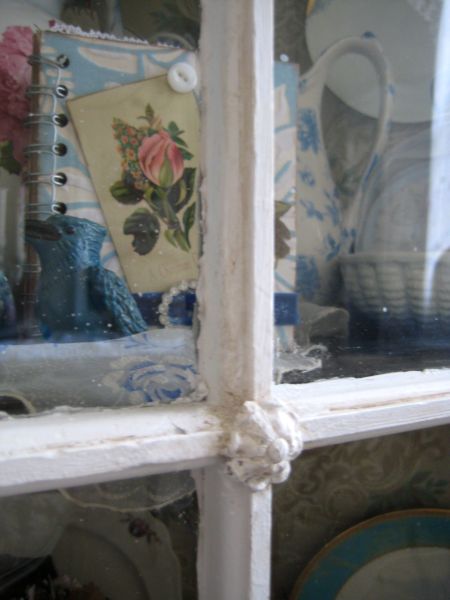
That didn’t quite do it.  It needed more. So, I added these round embellishments to the center of each window panel and rose embellishments to 4 outside corners.

Then I brushed on and wiped off a pale tan glaze.  I’m much happier! for now……..
Dining_room

While looking at the photos of the new cabinet, I got to thinking about some past redos of that room.

These red floral curtains and black accents were an attempt to try something really different for me.  I didn’t like it for long.  But the curtains were clearance fabric, that I didn’t even sew, just cut to fit and clipped up on the curtain rods, and the black chairs just needed a lighter coat of paint, to change the whole look.Dining_002

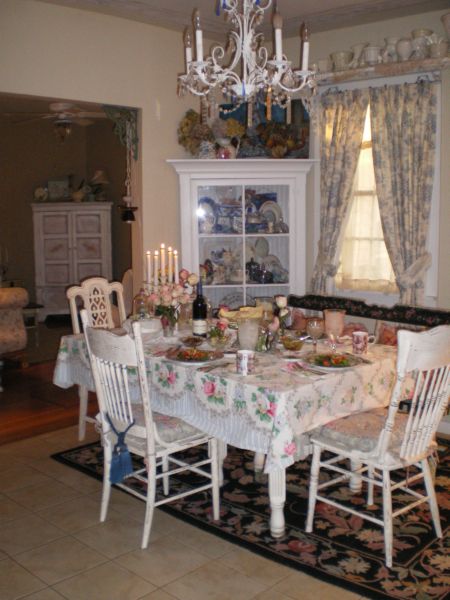
So, it became this, with some vintage blue toile curtains, and still a few touches of black.  (There are more dark items not pictured, on the other side of the room, that makes it work)Buttons_001

Then, when Twinkle refused to be housebroken, I threw out the rug.  And lightened up the room for Christmas.

Oh, did I mention this was all in little more than one year? Img007

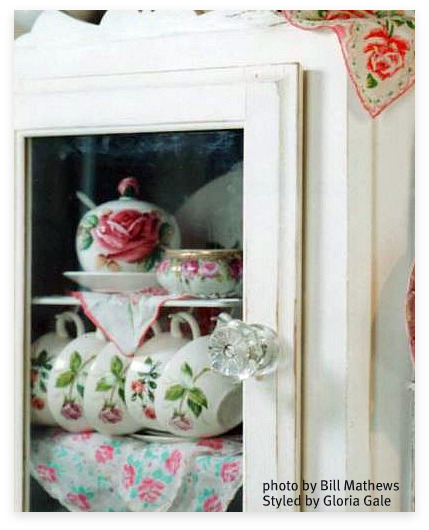
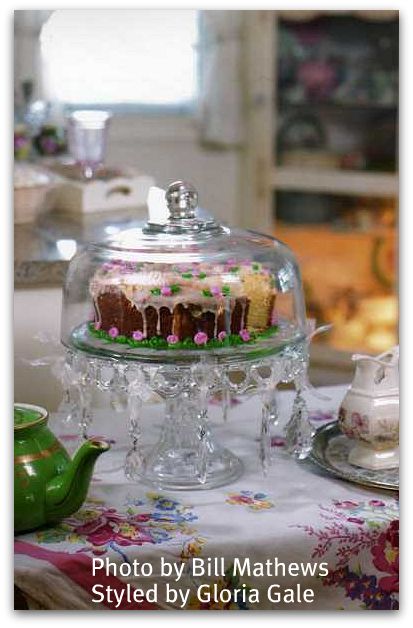
Before that, it looked like this. (this photo is by Bill Mathews, styled by Gloria Gale and was featured in Paint magazine).

I’m not quite finished with my current look.  I might just have to paint the natural wood table top… And if that dog is EVER house broken, I’ll get a rug.Scraps_165

I do enjoy  my redos.  The one from the studio this week has been a deep cleaning and major redo, I delved into cabinets, drawers, boxes of junk and resorted it all.

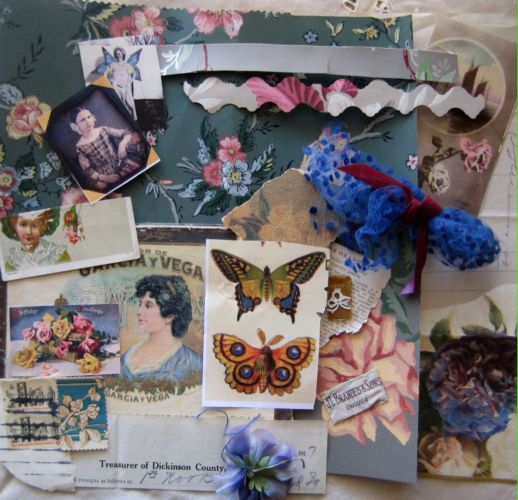
I came across a lot of supplies that I figured I wasn’t going to get around to using and have listed some collage kits on Etsy for $12 each. Some have already sold, but  I am making up more to list if you are interested in one.Scraps_172

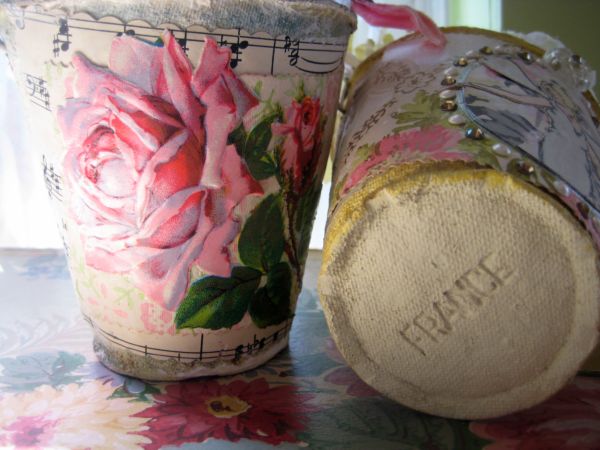
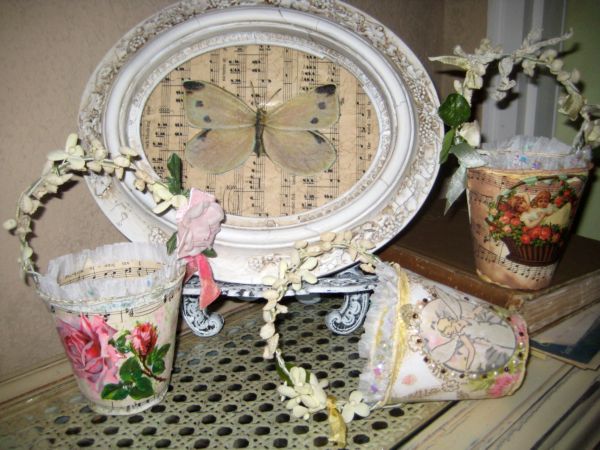
I also stumbled across these buckets that I had tucked away and never done anything with.  So, I foofed them up with some vintage goods and old wallpapers.Scraps_167

A redo can be a creative stimulus, coming across things I’d forgotten about, looking at a room and its function in a new way, re-purposing items, and getting rid of stuff that I knew I wasn’t going to make use of.Scraps_169

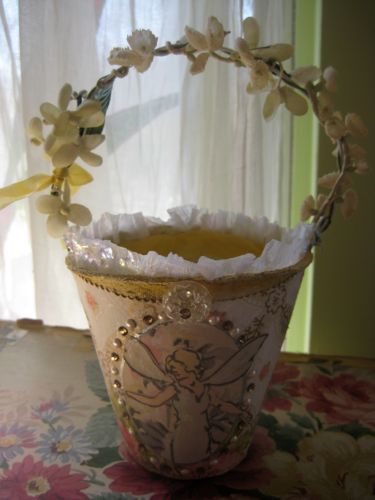
And along with my New Years resolution to not hoard my good stuff, I pulled out my extremely favorite, expensive, beautiful, wonderful, most perfect wallpaper and cut out a piece to decorate this bucket with.  Look at the 1930s fairy on this, isn’t she something?

Well, back to work, this wallpaper doesn’t glue itself to the junk I have lying around!

Scroll to Top