An Enchanted Forest painting and some deep (for me) thoughts on aging and time (but no math)
hand painted signs, Snow White, Workshops
I thought I'd show you some steps to the Enchanted Mural I did for Kim's event. I posted a few beginning photos here and there while I was working on it, but as it progressed and started to look like something, we wanted to save the "reveal" as a surprise for the Fair Maidens attending the party.
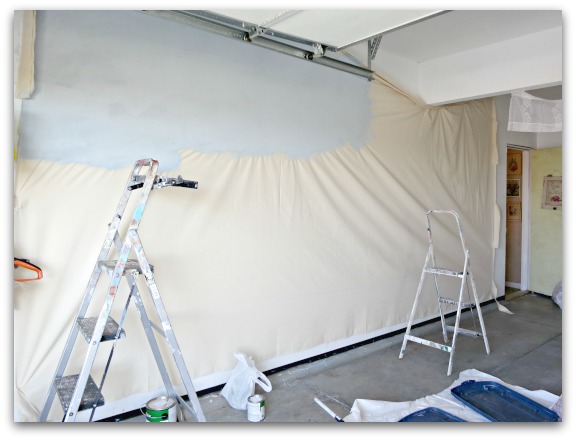
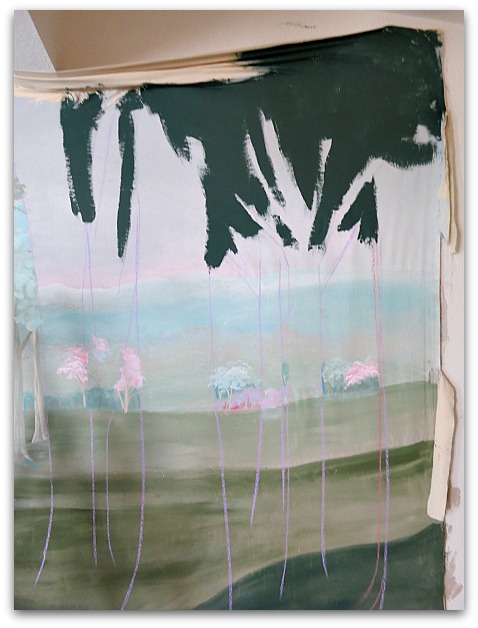
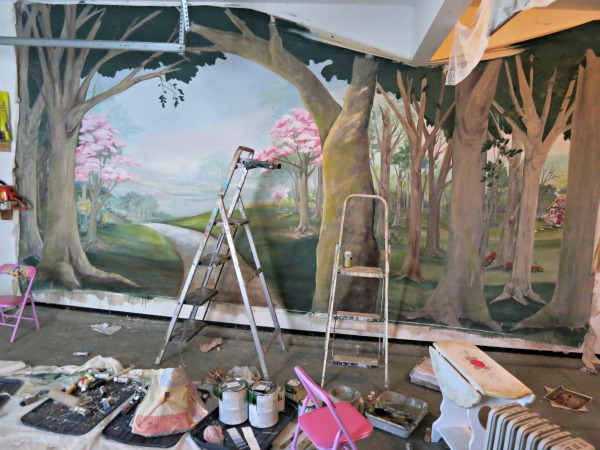
It measures 8-1/2' x 16'. Too big for my garage wall! I had to bunch it up under the soffit, and move it down to paint the top after I was done with the rest of the picture.
The first step was background color, blue sky, brown ground. I didn't bother to prime it this time. I also forgot to cover my wall with plastic.
Oops.
Which would be fine, if the whole mural had seeped through, would be kind of impressionistic and fun. But no, just blobs of blue and brown.
Next, I painted the horizon and hills off in the distance, all in faded tones. After that, the grass. And I sketched the trees in chalk for the trunks, then blocked in the dark leaves at the top.
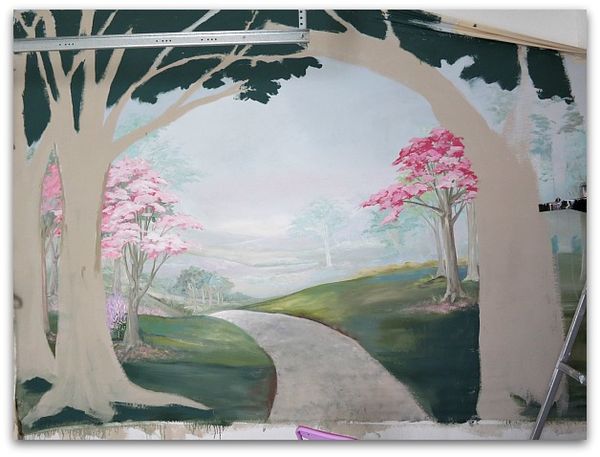
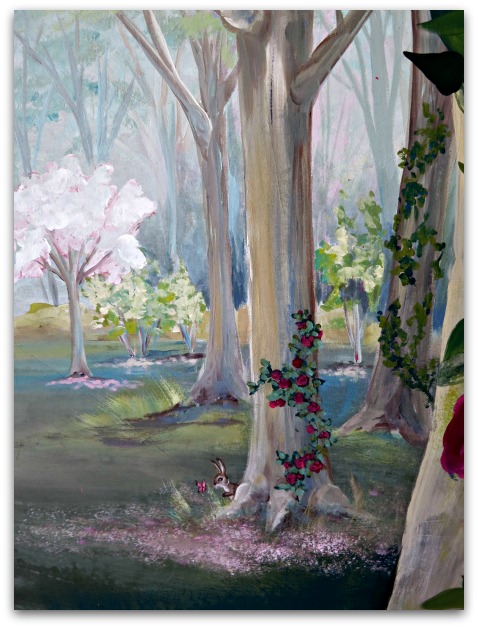
I was going for a look of standing at the edge of a dark forest, looking out into a meadow and off into the distance. I thought a road leading to a castle far away was appropriate for the Snow White story.
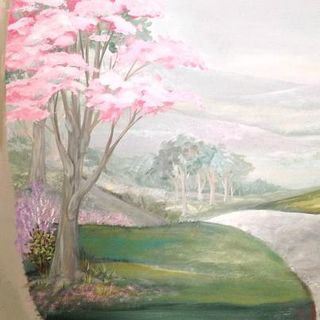
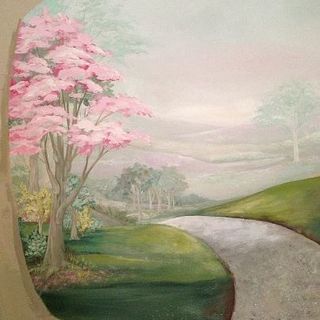
Here are a couple of "during" shots as I tweaked the sunlight. You can see that my background behind the pink tree on the left changes. I did a lot of re-dos on that area. But hey, it's only paint, you can change as much as you'd like. And I was making it up as I went along, so some things didn't work as well as others. There was a lot of painting over.
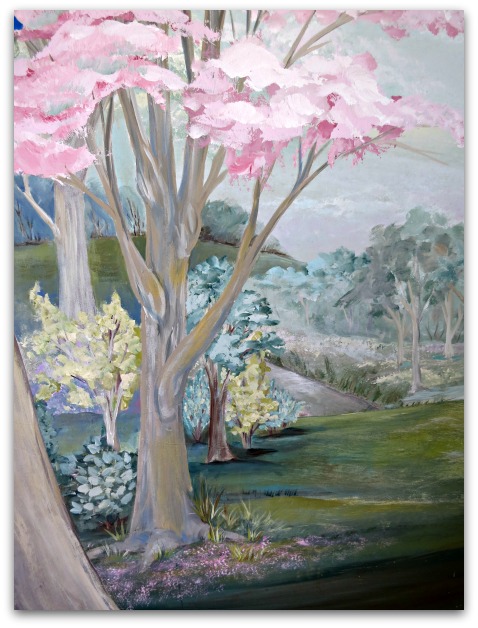
This is the final effort for that same spot under the pink tree. Deeper shadows and some yellow splotches of sunlight.
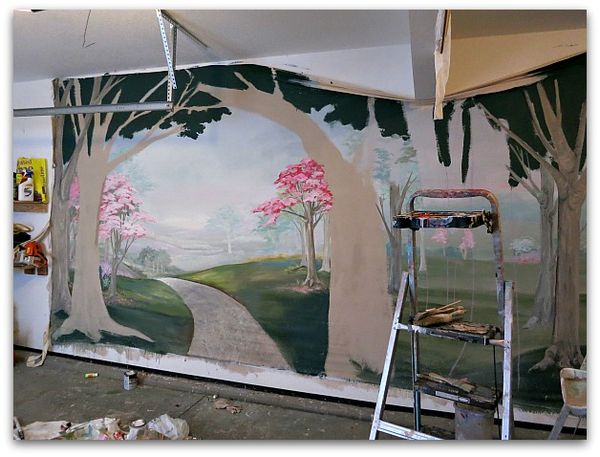
The whole thing is done in layers. I felt like I really got to know that forest.
Like the fact that there are more pink trees far away to the right. They got covered by trees in the foreground. If I had done a drawing first, maybe that little issue wouldn't have come up, huh?
Here is it is, filled in a bit more. Notice the shadow across the road under the trees?
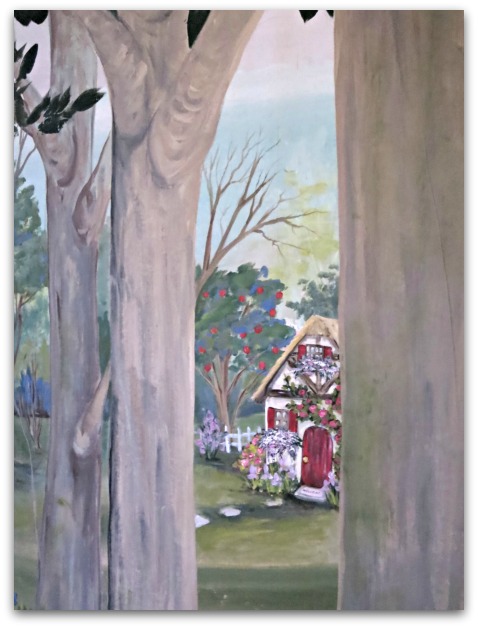
I added little surprises out in the woods too. (early version)
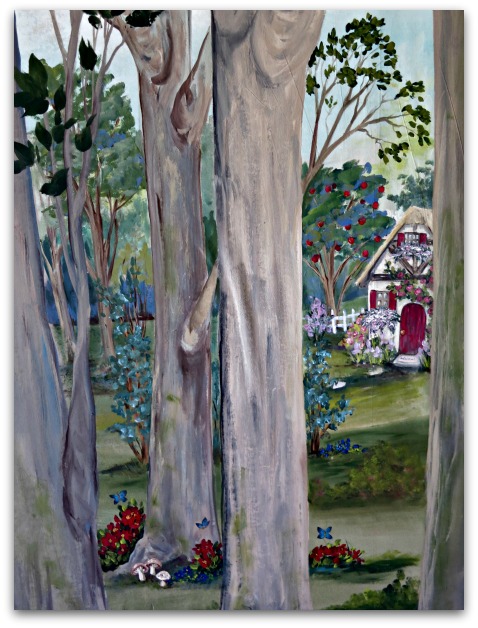
This is where Snow White lived with her stumpy buddies.
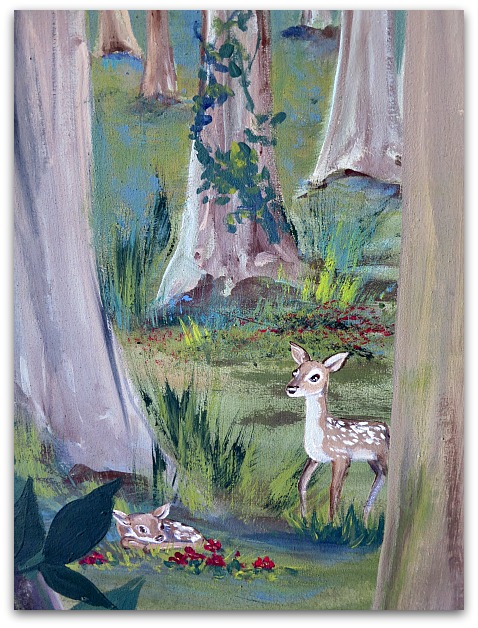
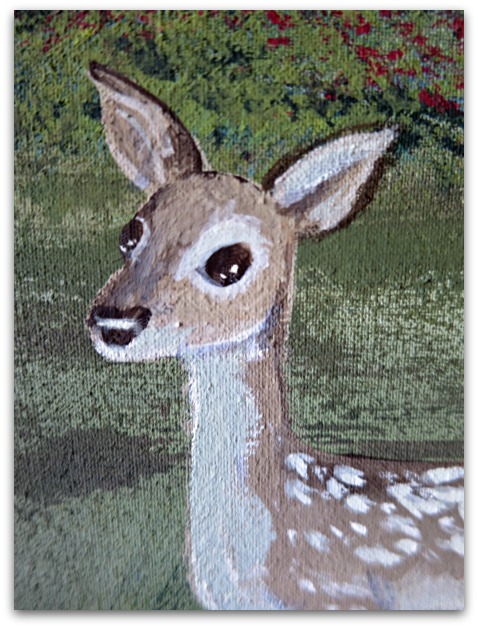
Her friends, the deer are in the woods too.
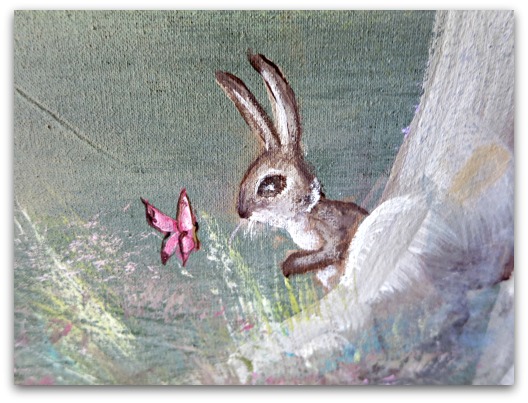
As well as a bunny and some butterflies.
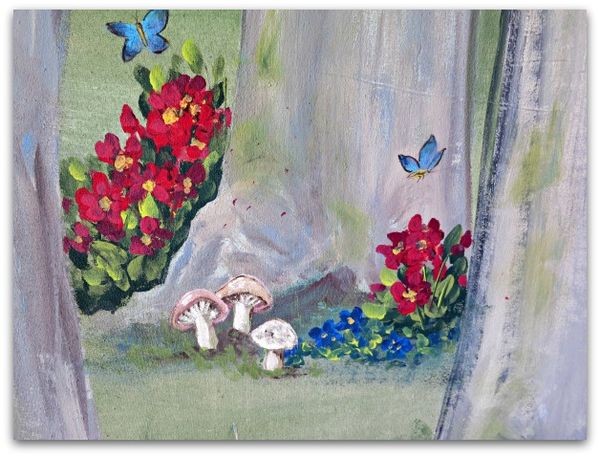
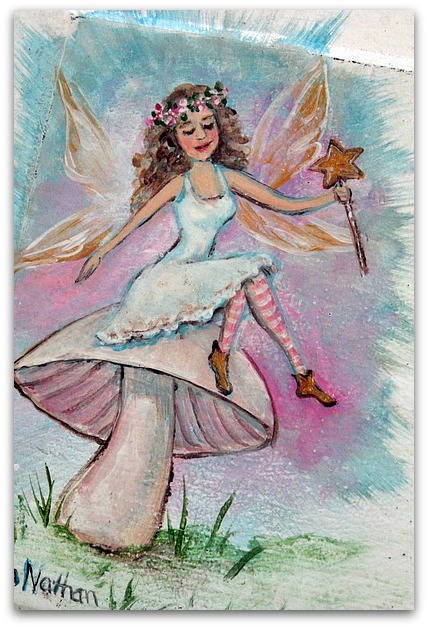
I added a couple mushrooms. I wanted to do a whole fairy ring of them, complete with dancing fairies, but I actually was able to stop myself in time.
This mural is meant as a photo backdrop. No one will see the tiny goings on in the background for the photos. But I was so involved with my own day dreams, I got carried away and spent way too much time on the far away details. They made me happy.
But they really took too much time away from my real life. I spent so much time wandering around the woods in my make believe life that I got nothing else done. I've not added any new things to the shops, I've had no income. That is why they call us starving artists. Sometimes we get so wrapped up in creating that we don't care about selling.
But I am far from starving. I tend to snack as I paint. Not a good thing for the waistline. I figure this mural cost me $1000 in sales online and added 5 lbs to my belly.
Oh, but I sure loved being in this fantasy world!
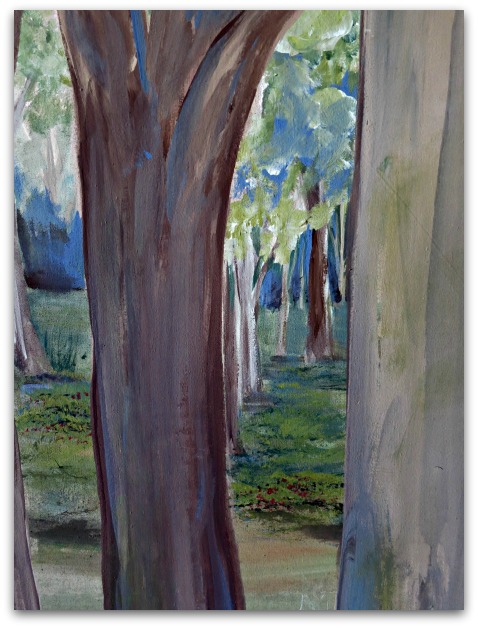
Years ago, I did murals for a real job, but have gotten away from it. I used to be super fast, because I did so many. But with this I really zapped my time.
I was wondering if it has something to do with getting older? (I'll be 55 in a couple weeks) I seem to do everything slower as time swoops by me so fast.
Here is how I figure it:
When you are a kid time drags. Remember waiting for your birthday?? Those months seemed to take forever to go by. But compared to the amount of time you'd been on the earth, it was a pretty large percentage of your years. Lets say you are almost 5, maybe about 58 months old. So those two months till your 5th birthday are………
Wait a minute, I don't do math or percentages, what am I thinking???? My point is that two months of your life as a child is a huge chunk of time. Two months of your life as a 50 something adult is nothing. You've lived through 600 some months. Time goes by faster due to your frame of reference.
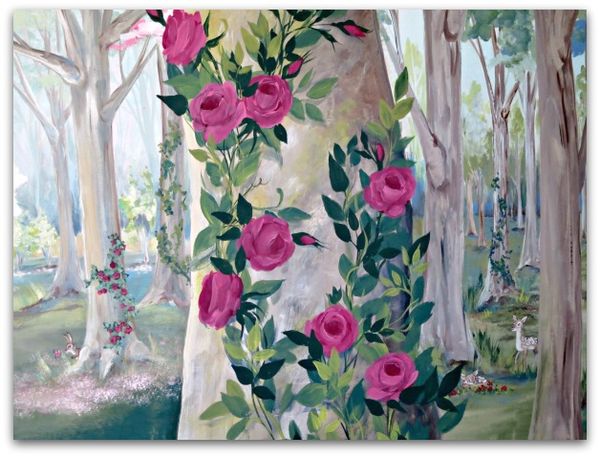
That is what I am blaming on my slow down. I take forever to get anything done and I used to be lightening fast. I think it is because time is slipping by so quickly that I don't register how long I've spent on a task. All afternoon at my desk feels like an hour or so.
Plus, as I said before, I got a little carried away on this project while living in the imaginary forest.
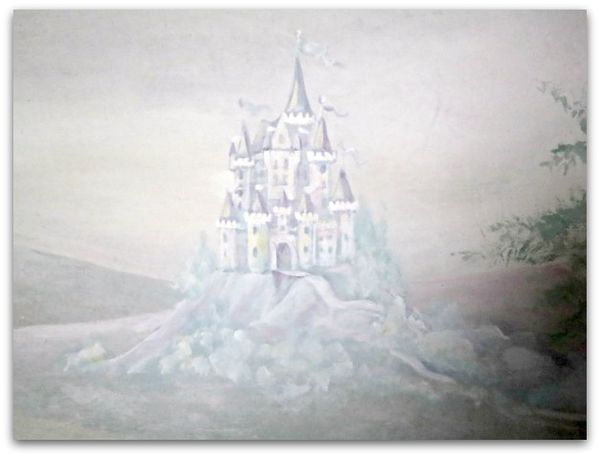
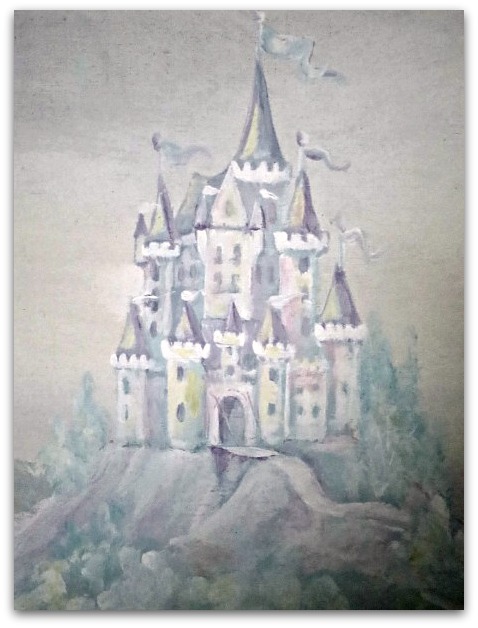
Case in point, this castle? I spent two hours on it.
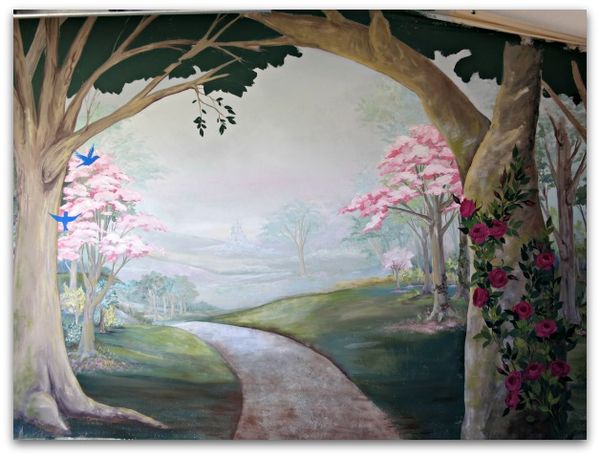
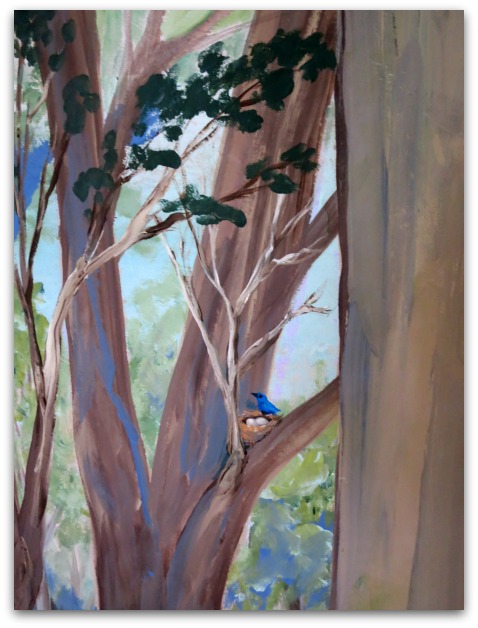
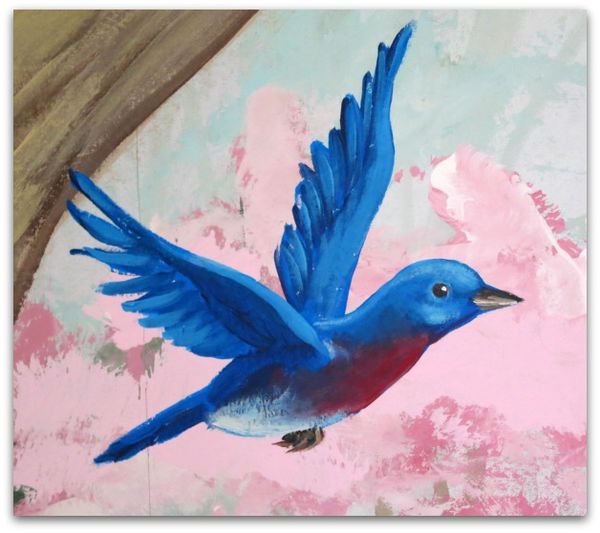
(the blue birds and leaves are just blocked in at this point, no details)
And you can barely see it. I wanted it to look very far away, and it does, but did I need two hours of detail to do that? Oh well, I love the castle, so I'm glad that I did.
Another thought on aging:
As I get older, I care more about details. I wonder how many more big projects I'll be doing? They seem to matter more to me, so I put more into them. Not that I plan on kicking the bucket any time soon, or that I expect to be too creaky at 60 to get anything done. But I'm just more aware of the remaining years and how precious they are.
Okay, back to the painting?
While I wanted the forest to seem dark, to emphasize the light in the break in the trees, I didn't want it to seem scary. The shadows are a pretty blue, and while there are bushes and grasses, it's not over grown and tangled. It's a friendly forest. And since it is a photo back drop, I had to watch out for hot spots. No glaring whites or brights, all are faded or toned down. Which gives it a dreamy look, I think.
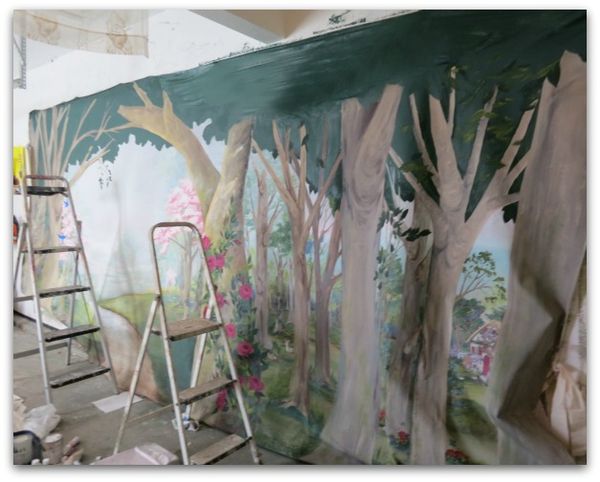
I'm afraid I can't get a photo of the complete thing while it is in my garage, there is no space to hang it up all stretched out. When I lowered it to paint the top, I had to roll up the bottom few inches.
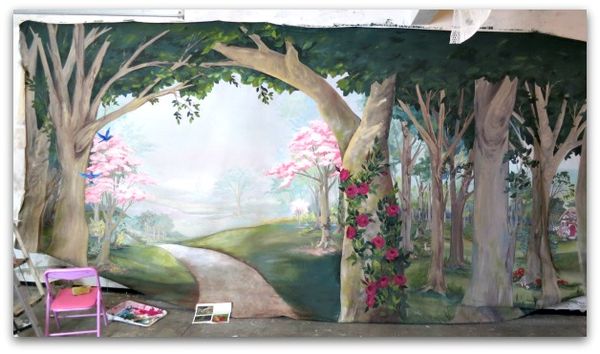
Curtains will cover a foot at the top and 6" at the bottom will have to be rolled under to make it fit. Curtains will also cover 2 feet on each side. I didn't know this till it was 90% done, so I went in and brought the leaves down lower and darkened them to keep the effect of a dark forest. If the leaves were mostly covered at the top, it would change the look of the design.
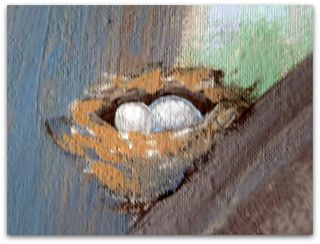
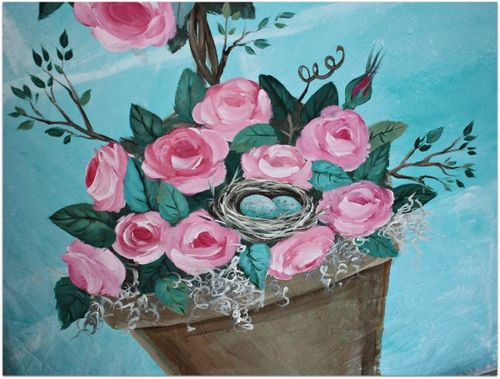
This is a nest I added and wasn't happy with.
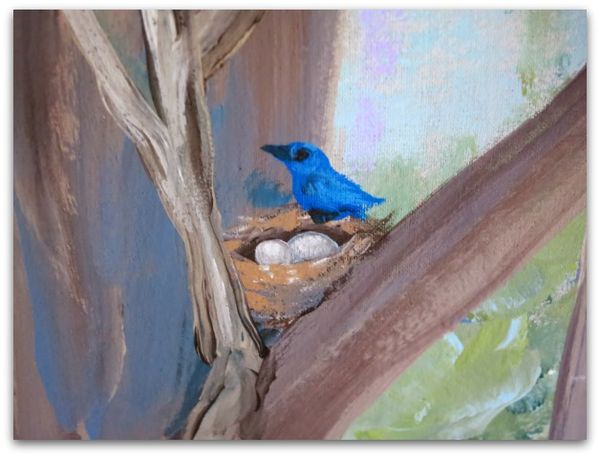
Much better!
If you want directions on painting a nest, I have a free tutorial here.
I'd have added more blue birds, but was afraid that they were so bright that they might stand out too much in photos. And they could look like they were sitting on the head of someone standing in front of them in the photos.
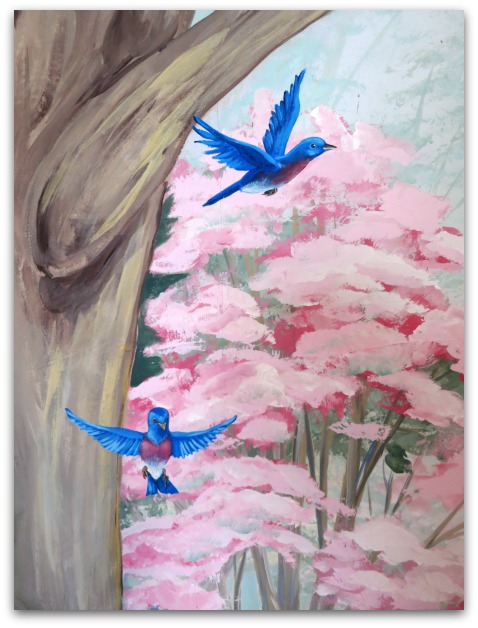
And I think one of them will be cut out by the curtains, but maybe the tie backs will save it.
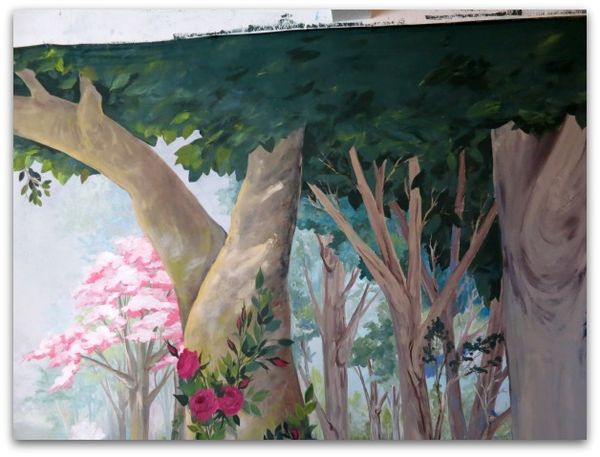
Sadly, it is also too big to hang anywhere at my house. I donated my time (not planning that I'd spend ALL my time on it,) not the mural itself, so I get it back after the party.
I'd thought about selling it, but I have grown attached. I might cut it up in sections and wallpaper the grand fairies' room with it. I'm not sure yet.
***********************************************************************************************
I've been working on this wire birdcage tutorial, and now have it ready to send to you! You can get the details here.
