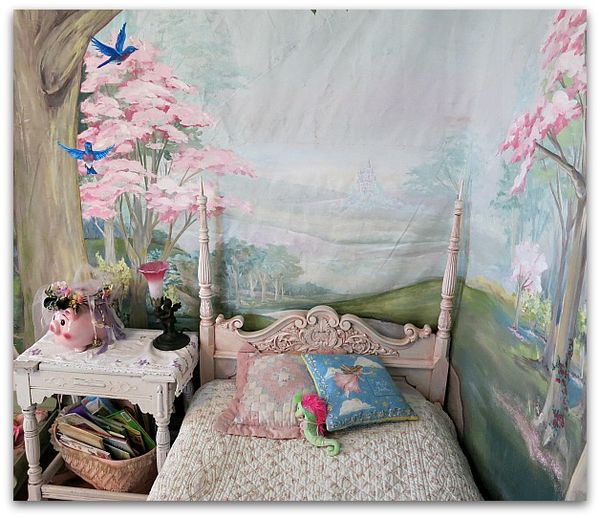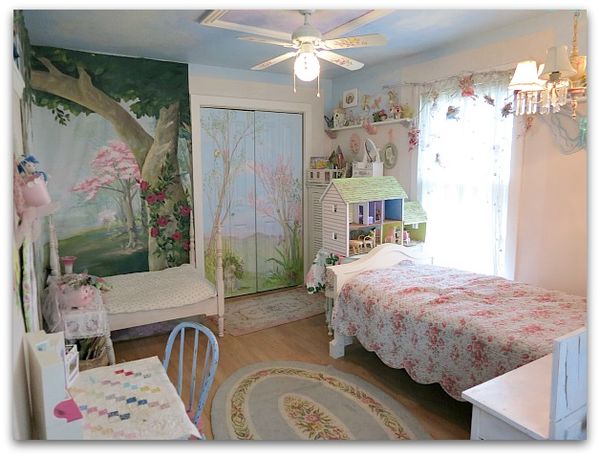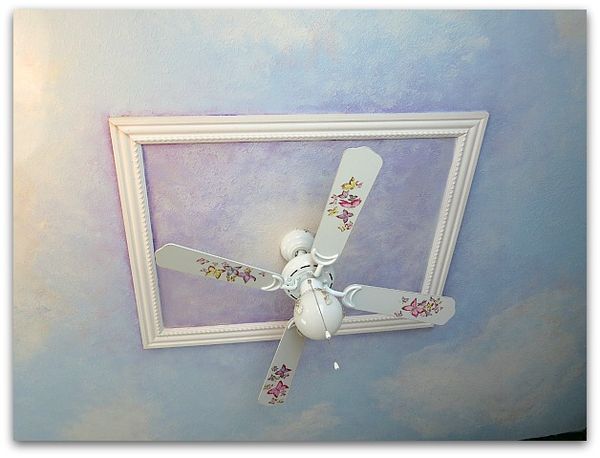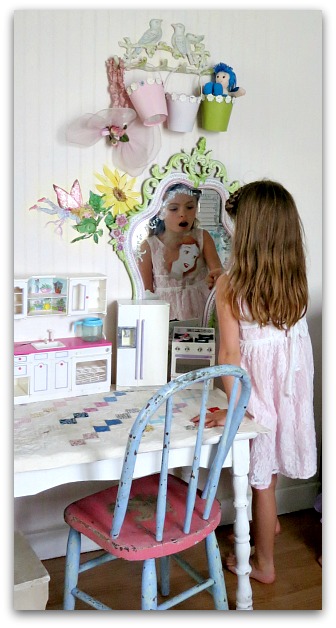
Hand painted

Coloring Pages for adults, fairy tales and birds

drawing, Etsy Goodies, Hand painted, paintings

Sss 002

I've been hearing a lot about coloring pages for adults lately.  And last week, in the Parade magazine was this article about them.

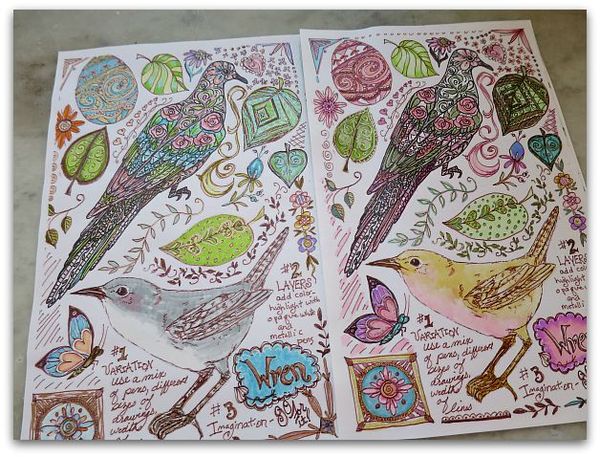
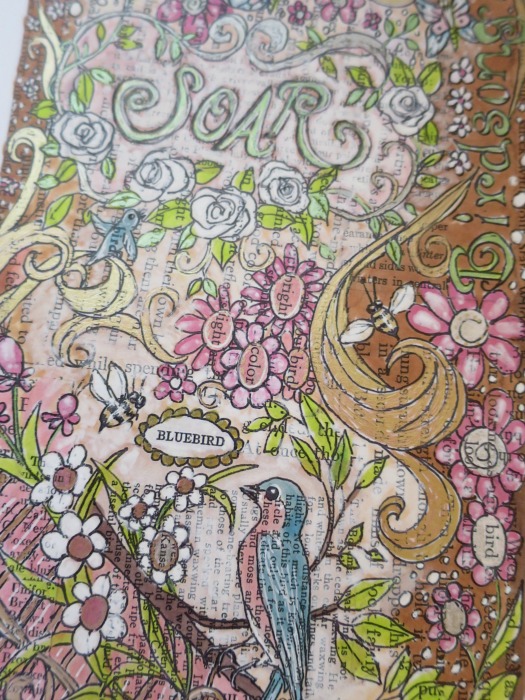
Over the last few years, I've been doing what I call "doodle pages" and including them with journal classes and swaps.   Most of mine are done over collaged, vintage text pages, and some are actual pages of tips and how to's on how to make your own. I still have a couple of those kits left here. I also have that info and the pages to download in my online, "Creating an Art Journal" class.

Cp 001

When I was working on these pages for my Birdsong 5 kits, I was enamoured with coloring and had to stop myself from staying at the kitchen table and coloring one page after another, over and over again. I told myself that I was making "examples" for the class…

Yea, right.

I was hooked on the markers and ink.  I was an avid color-er as a kid and apparently, that is not something that you outgrow.

Cp 004

I figure I can't be the only one, and have heard friends talking about coloring pages, listened to a story on NPR about it, then when I saw it in Parade, I knew it was as addictive and fun for others as it is for me.

So, I've added a pair of the collage background, bird themed pages to Etsy.

Enchanted Affaire

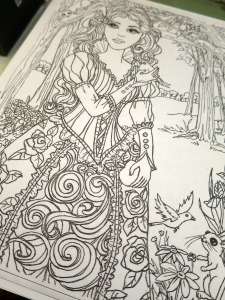
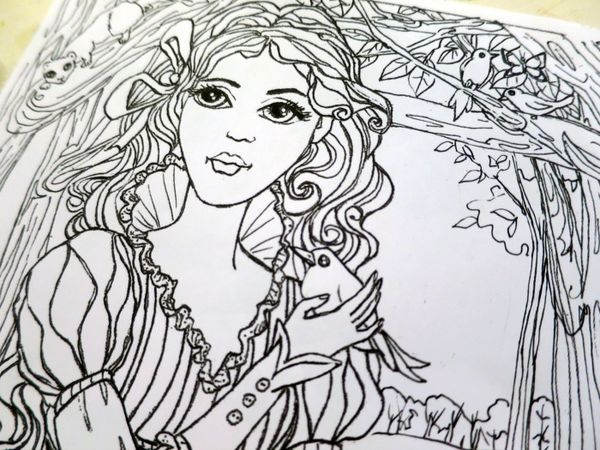
And I reworked the sketch for this painting to make it "coloring friendly".   Which involved printing the sketch, and removing all the shading, redrawing the black outlines sharper, and using white ink to cover up some areas, then scanning it again, printing it over, and doing that same process again, until all of my lines were the way I wanted them to be and were easy to follow for anyone to fill in.  

I probably should have just started over from scratch instead of spending so much time redoing this page, but this picture of Snow White has a special place in my heart.  And honestly, I wanted to color one myself….

Cp 006

So far, I haven't had a chance to do that.  Things have been busy around the cottage.  Just a typical stuff, like a roof caving in at my son's house, and all of his belongings covered in black mold spores, so that he had to move out and move here temporarily.  It has been rough on his family, but I'm glad that we have plenty of space for them here while they are unsettled and have no roof.

And lucky too, that we have an extra garage that we don't need to park in for summertime so they can store their stuff in it, as well as a big yard to spread out a tarp and let all of their belongings bleach in the sunshine.  They spritzed it all with vinegar and let the sun cure the mold spores.  And are now waiting to see if the landlord will release them from their lease.   

Dewdrop is coming back this week, and Sugarwings was very worried that she would be upset when she heard about what happened to her bedroom.  It was sweet of her to think of her sister's reaction.

 On the other hand, it was a bit selfish of me to be thinking, "Oh goody, we get all the little girls here, living with us again!!"

But back to coloring…if you like coloring too, I have two fairy tale themed coloring sheets available as well as the birdie ones-  right here.  Each pair is $3, and a digital download that you  save to your computer and can print out at 5×7" or 8×10" as many times as you'd like. 

If you are anything like me, you'll be printing out multiples and coloring them over and over again, because you never get the same result twice, and it is a relaxing, creative little hobby.

I hope to have more added in the next few weeks. These are fun to make, as well as to color!

Aging a picture with crackle

Hand painted, Hand Painted Furniture, hand painted signs, how to's, how-to projects, paintings

1

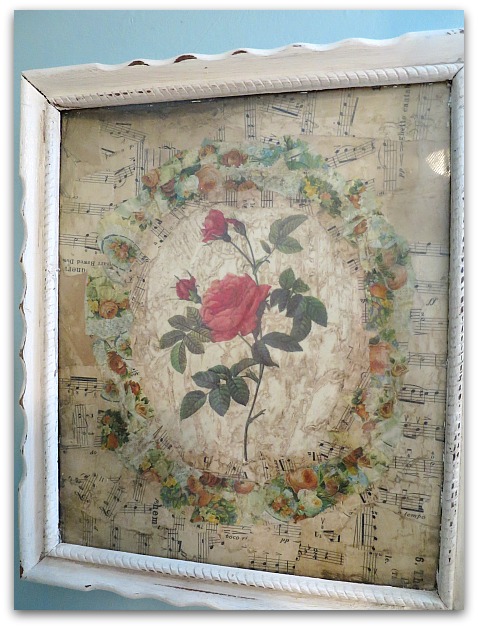
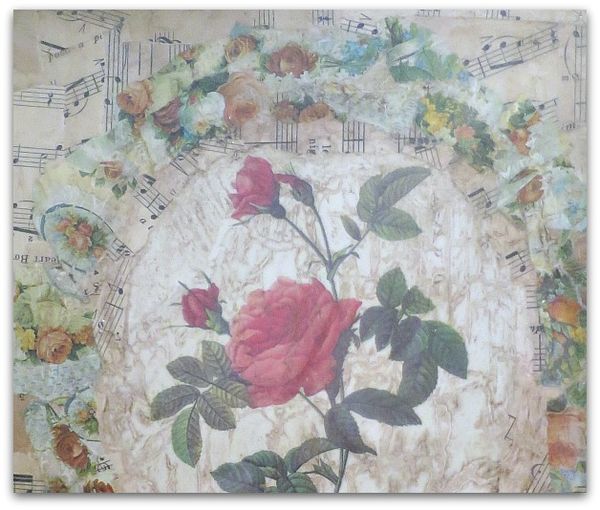
I was asked about this picture in my new guest room, so thought I'd give a quick how-to.

First, find a botanical, or other picture you like. Glue it to a canvas.

Next, tear and collage old papers around it. I chose a background of sheet music with an oval "frame" of roses torn out of old wrapping paper.   All are rough, torn edges, different shapes, and glued down with white school glue.

Pinkbathroom 004

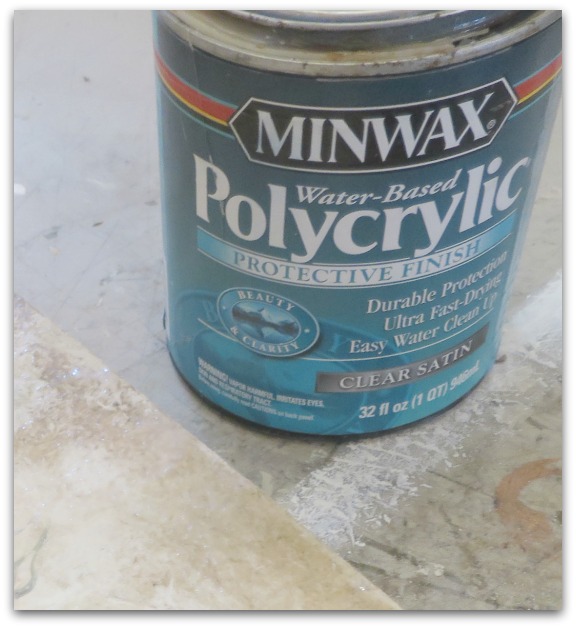
When dry, I clear coated it with water based Polycrylic from Minwax.

Pinkbathroom 003

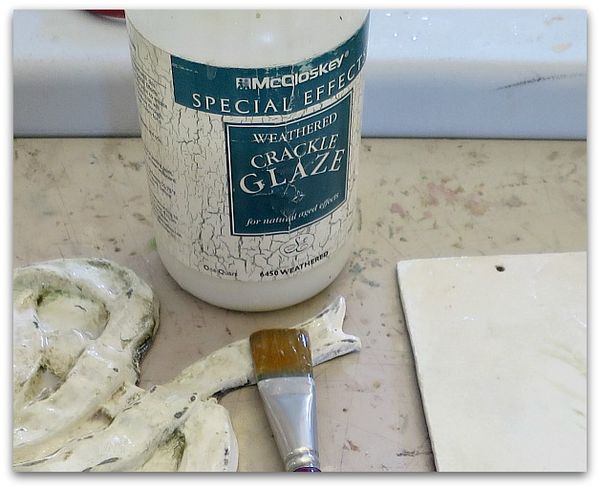
I let that dry, then brushed on a weathered crackle finish by McClosky.  

After that dried, another coat of Polycrylic went on.

The next day, I wiped on a sepia tinted glaze, let it settle into the cracks made by the weather crackle, and wiped it off. 

Cottageguestroom 016

Weathered crackle finish usually is applied over paint, then a second coat of paint is used over it to create a crackled paint finish. 

But, water based clear coat is much like paint without color, and creates the same effect.  But this way it is tone on tone, and clear. So, adding the sepia glaze shows off the crackle and ages any paper or canvas you do this over.

CrackleFinishCanvas2

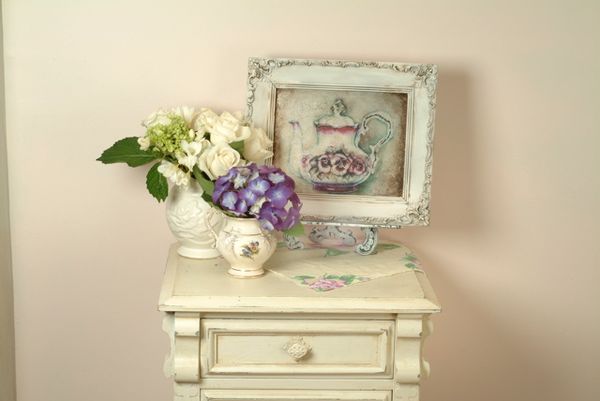
Here is a picture I used this technique on years ago for a Romantic Country article. The teapot is a photo copy of one of my original watercolors. 

For this one, I glazed over it after it was in a white frame, concentrating the sepia tone heavily in the corners, and also using it on the frame too.

Photo (4)

 I sincerely hate the look of crackle applied as it is supposed to be used, it is soooooooo fake. But I love it to use in aging a picture. And in aging other things too. The trick, to me, is to keep it tone on tone, to add texture.

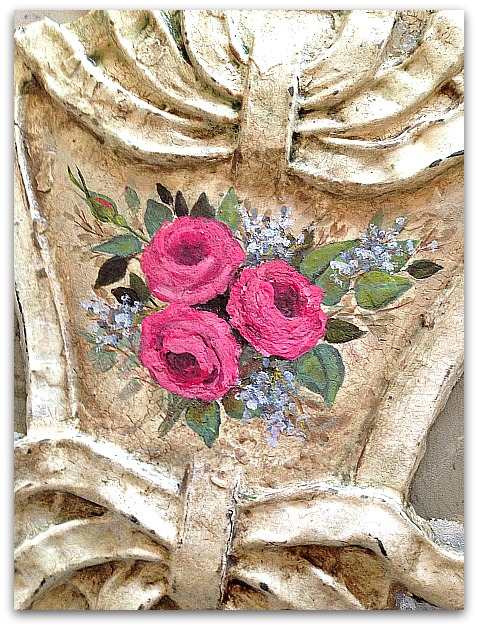
Here, I took an old piece of scrolly metal. It was antique, but it was not painted and I didn't want the paint I added to look too new. 

So, I painted the piece white, did the crackle, then a clear coat, then the glaze. Over that, I did the hand painted roses.

984271_10153011057194477_3476767174569364117_n

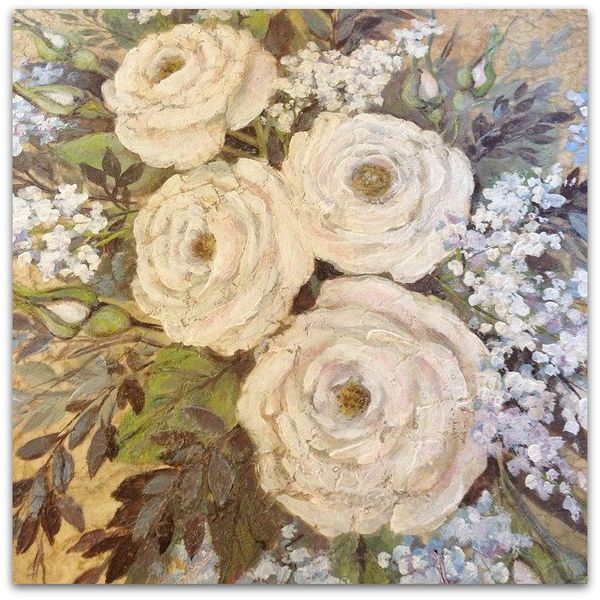
Same technique was used here on this canvas before painting roses.

Instant age for a brand new painting!

A Grand Fairy Indulgence, or the chain reaction of redos keeps on

cottage, Hand painted, Hand Painted Furniture, paintings

Pinkbathroom 032

When I was showing Dewdrop the paint chips for the guest room, she came up with a brilliant plan.

 I should paint their bathroom pink.  

The cute part was  when she tilted her little head, tapped her tiny chin, and acted like she was really making a deep consideration about the color.

 Which is funny, because in her mind, PINK is the only color that should exist.

And since I kinda like some pink myself, and since I'd been redoing and shuffling things around the house, and was still in that mode, I said, "Great idea!"  And went for it.
Pinkbathroom 029

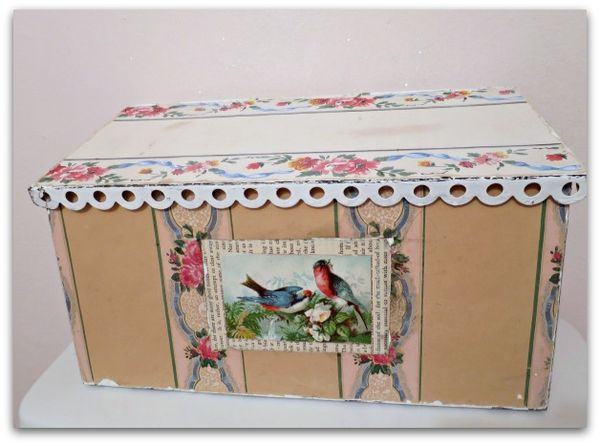
And anyway, when redoing the guest room, I moved a piece of furniture to the studio, and when I redid that area of the studio, I no longer had a place for this sweet little tin box covered in old wallpaper.

So, heck, I needed to redo the bathroom to make a spot for it.

Right????
Pinkbathroom 020

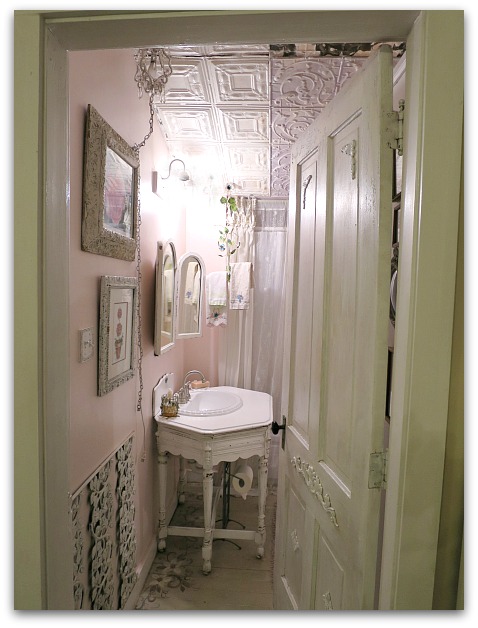
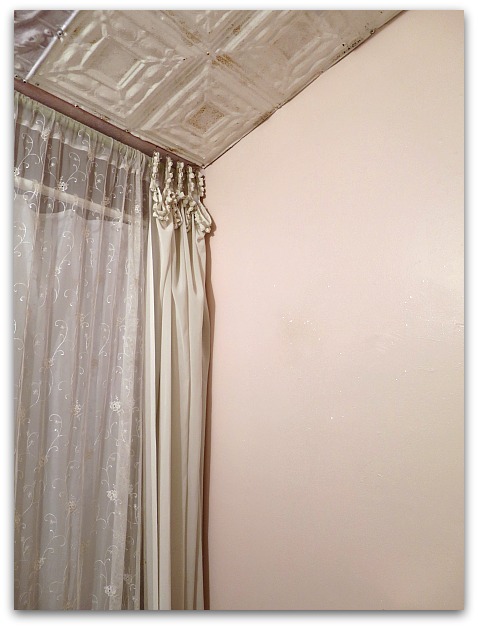
The shower curtains were due for a freshening  and needed to be taken down to be washed. The room used to be grey, and the shower liner was tan, so I bought a new white liner. That alone really brightened up the space.

 There is something about dull, Kansas winters that makes me want to brighten and lighten. I felt so much happier with my pretty, soft pink, sparkling walls and white shower curtain.
Pinkbathroom 021

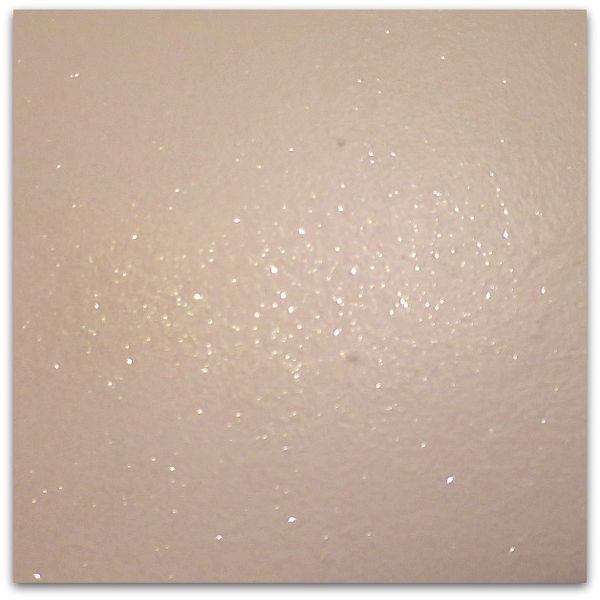
The best part of the pink is that sparkle.  I dumped a few gold and silver glitter bottles into the paint before rolling it on. But to make it really dazzle, when the paint was still wet, I gave it a fairy dusting.

I filled my palm with glitter, and blew it onto the wall to stick to the wet paint.  Perfect results! (Unless you consider what a mess the floor was, and how much of it got tracked through the house. Which doesn't really bother me. I like to leave a trail of glitz and sparkle every where I go, and apparently the dogs do too.)
Pinkbathroom 019

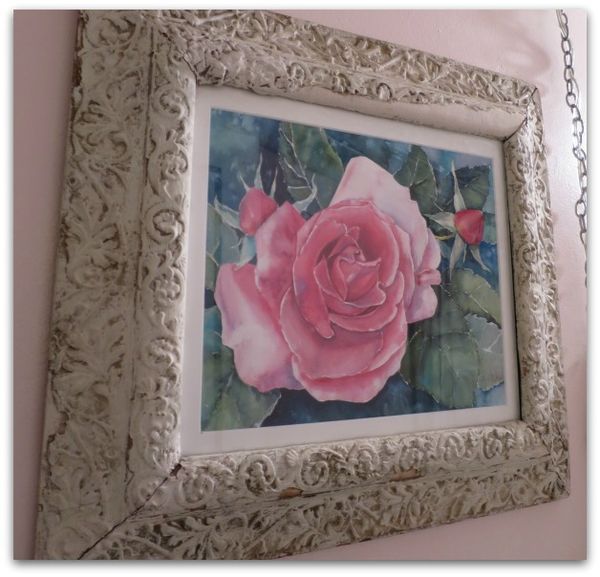
And while I am pinking up the bathroom, I am considering de-pinking the kitchen.  I moved one of my paintings from the kitchen to the newly pink guest bath. 
Pinkbathroom 024

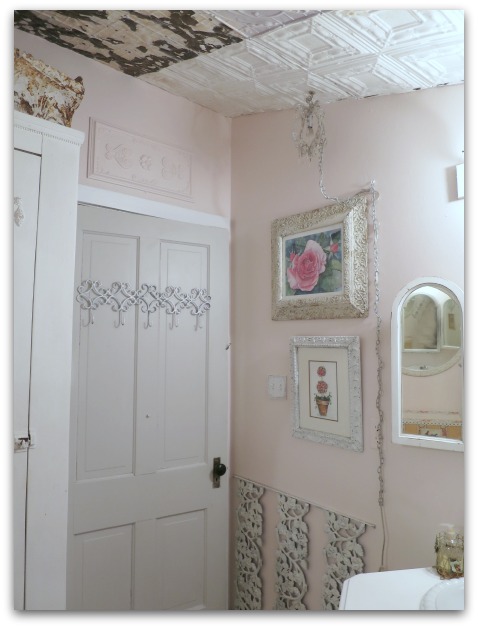
The door stayed gray. I liked that neutral shade with the wall color. I almost painted it white to match the trim, but am glad I changed my mind instead of the door color.

I also left the old tins on the ceiling rustic and natural instead of painting them all white, like some already are.  And not just because I detest painting ceilings, but because the roughness of the rust helps cut through the sweetness of the pink.
Pinkbathroom 023

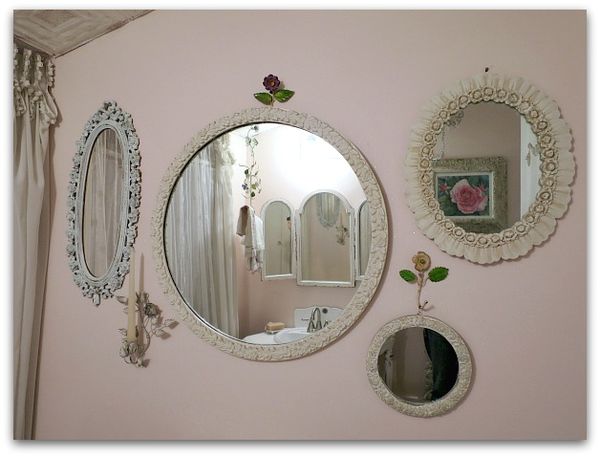
And there is plenty of sweetness going on.  Previously, there was a similar wall of mirrors. The largest and smallest were here with two other ones. But in looking around the house, I realized that I had two more mirrors with a rose patterned frame and I switched them out and added them to the other rose rimmed mirrors.
Pinkbathroom 027

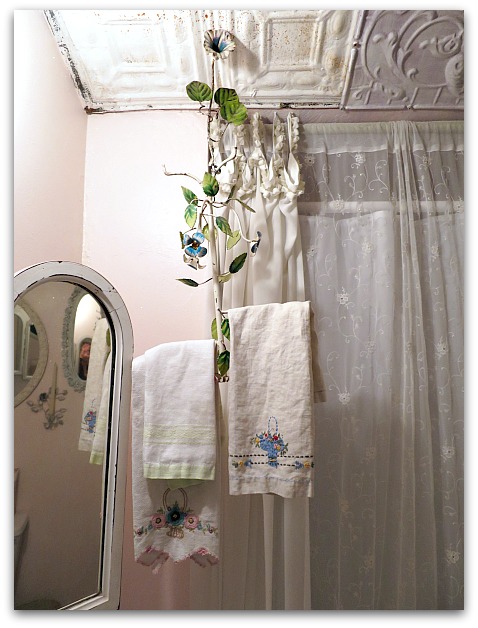
Dewdrop hasn't been by to see it yet (as I am writing this ahead)  but Sugarwings was very pleased. And I am too. It is so dainty and pretty that I no longer can refer to it as a guest bathroom, I think I'll have to call it a "powder room".  That seems to fit it so much better.
Pinkbathroom 034

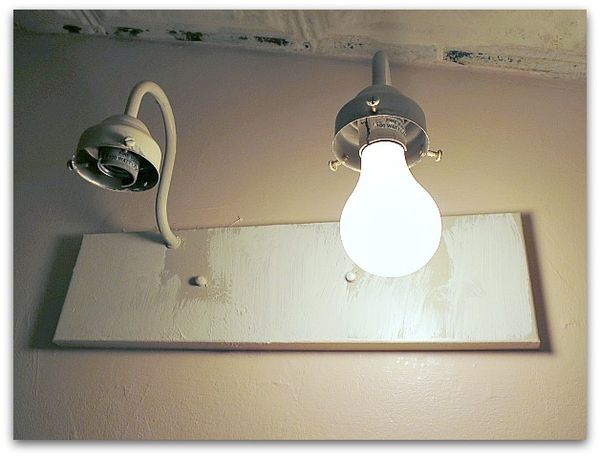
There was a very ugly light fixture in there, previously it was painted to match the wall and disappear.   I thought I'd paint it white, but wasn't happy with that.  I bought a new fixture to hang, but decided I didn't want to spend that much. So far, my only expenditure was for a gallon of paint, a few bottles of glitter, and a $9 shower liner. The $89 light fixture gave me a pause, plus it was just too new looking for this old house.
Pinkbathroom 035

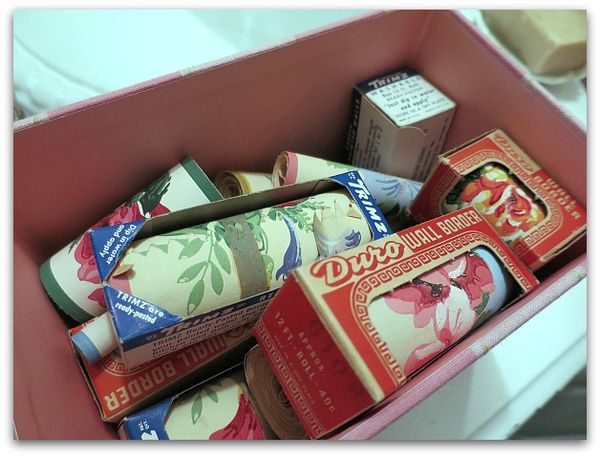
The tin box covered in wallpaper that had been moved from the studio, made me think of these rolls of wallpaper border I had.

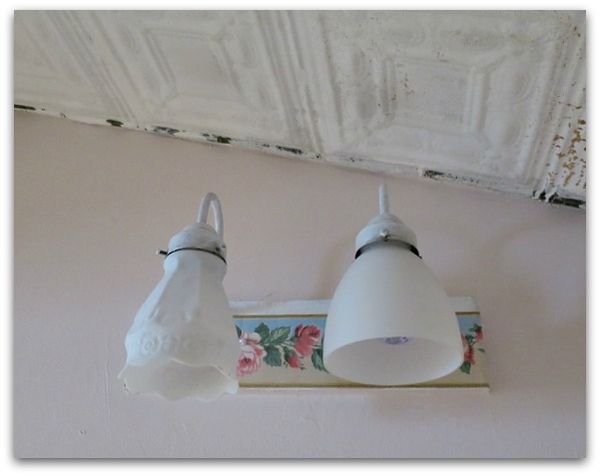
A strip of old paper dressed up the light fixture just fine for me.  
Pinkbathroom 038

And I'm happy with the mismatched, vintage shades on the fixture.  They seem to suit my old cottage.

I think Dewdrop will like the pink flowers on the light.  Of course, she'd probably rather of had pink kitties…. I can't leave all decisions up to her!
Redoing the Fairy Berry Trail tree house

Dew Drop, dogs, Dorkies (Yorkshire Terrriers), fairies, family, Hand painted, Sugarwings

Fairy house 016

We haven't had access to the Fairy Berry Trail for a while. First, a big storm turned some dead branches into widow-makers, dangling from the top of the trees. Then, my husband and son did some dangling from the treetops with the chainsaw, and trimmed it all up, leaving piles of debris blocking the trails.

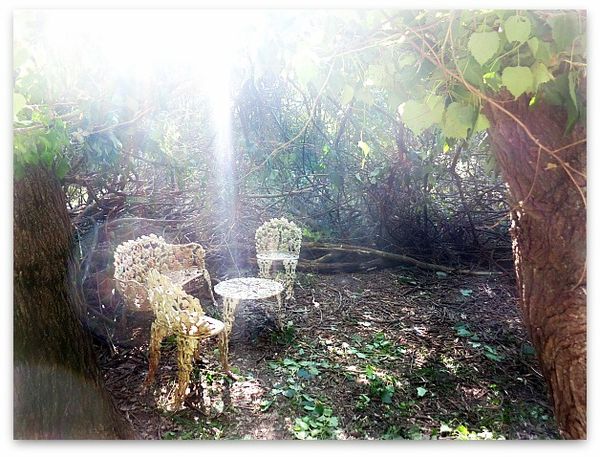
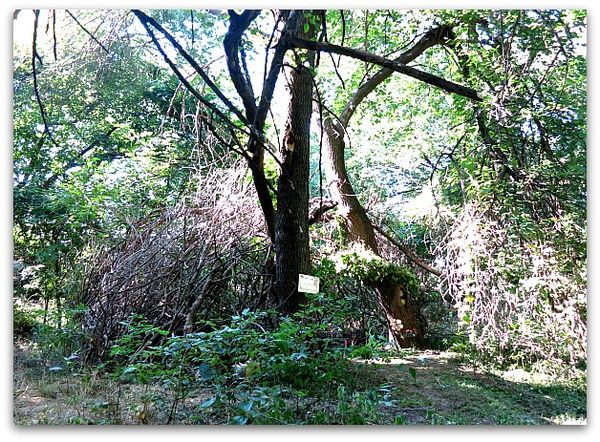
This week, we cleared it up and repaired the Fairy Tree House by rebuilding its walls from the downed limbs and some grapevines.

Fairy house 003

It kind of looks like a big brush pile behind those two large trees.  

One of those trees has grown crookedly down, to form a roof.  We entwined branches into a dome shape over the crooked branch, creating kind of a igloo shaped structure.

Fairy house 018

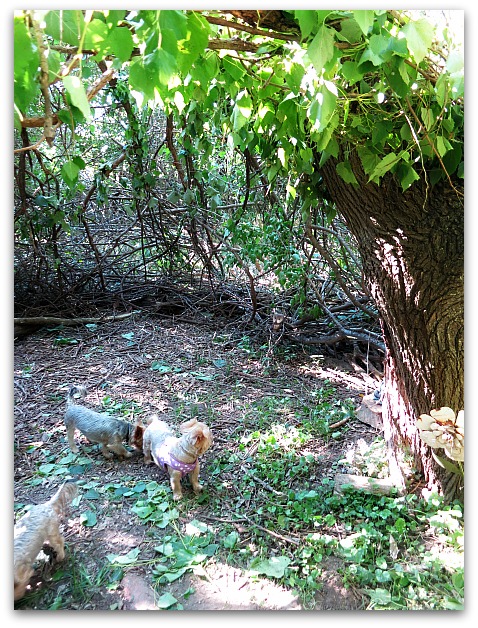
Here is a picture looking through the archway "door" into the room.  And a picture of one of my dogs sniffin the other's butt, apparently. Sorry.

After all the branches were in place, we wove fresh grapevine in and out of them to anchor it all. Hopefully, as the vines dry, they will keep the branches in place. The vines were laden with clusters of grapes, so  I'm crossing my fingers that they will drop seeds and more vines will grow up the walls that we built today.

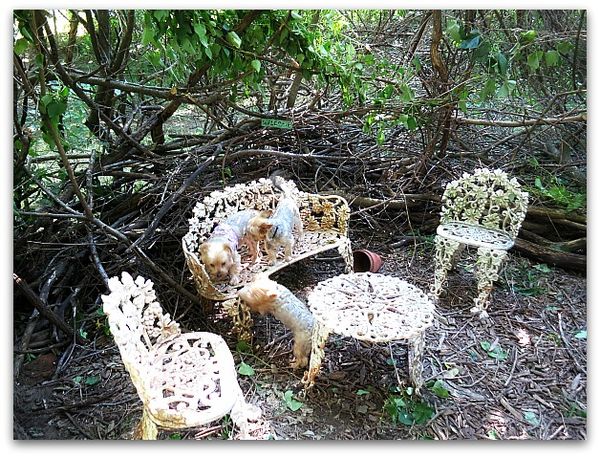
Fairy house 012The grand fairies have always loved their tree house, but it is even more beckoning now. Very cozy, with full walls and a roof, made up of woven branches with sunshine peeking through. And I created an archway entrance out  of grapevines, that is low enough that an adult needs to duck to get in, but just right for the kiddos.

Fairy house 006

After a day of construction, well, most of a day. We trimmed up some other trees and cleared the paths in the woods while we had the chainsaw out, but a big part of Sunday was needed just for building the tree house.

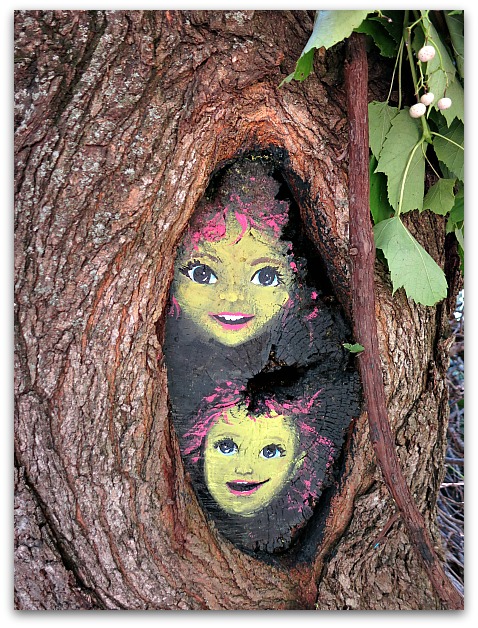
Anyway, once it was done, I decided it needed a little something. So, got my paints and thought I'd turn the big knot hole by the entrance into a face.  

Then, I thought, no, some eyes looking out from the darkness.  

That morphed into two sets of eyes, with the lower ones looking up.

And that made me think of the two fairy girls who will be playing in that tree house.

Fairy house 007

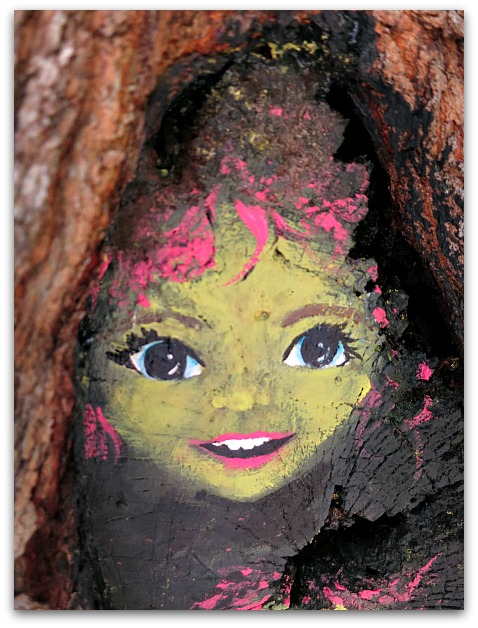
So, I thought I'd make the faces into those girls. This green sprite is supposed to be Sugarwings.

Fairy house 008

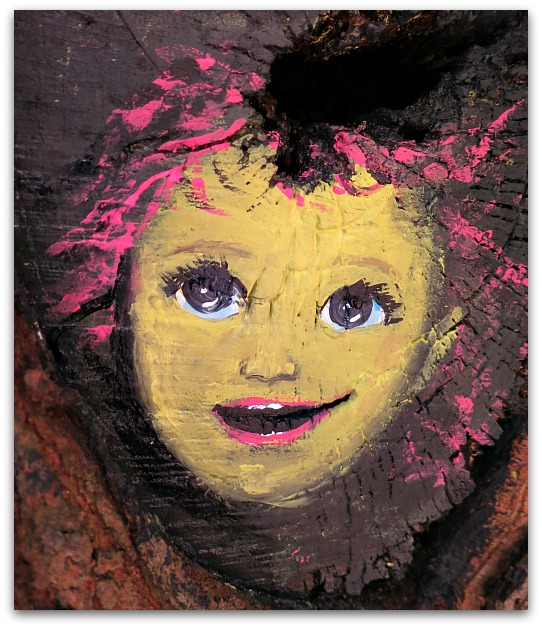
And here is Dewdrop.


A fairy play room part 3, a hand painted mermaid bed, with no sanding

cottage, fairies, Hand painted, Hand Painted Furniture, how to's

Cottage 082
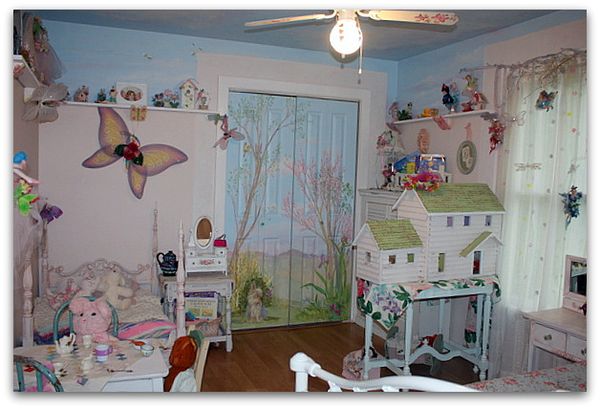
As I was telling you last time, we did a few changes in the fairy grand daughters' room.  And of course, one change leads to another.  A fixed up area makes its surrounding areas look left out and forgotten.

Sugarwings loved that we were redoing her room, but as she looked around, she said, it would be nice to have a pink bed.  And pink curtains.

Well, I think I have some sheer pink curtains packed aways somewhere, I'll need to dig those out. But for now, I've been redoing her bed.


Mermaid bed 001

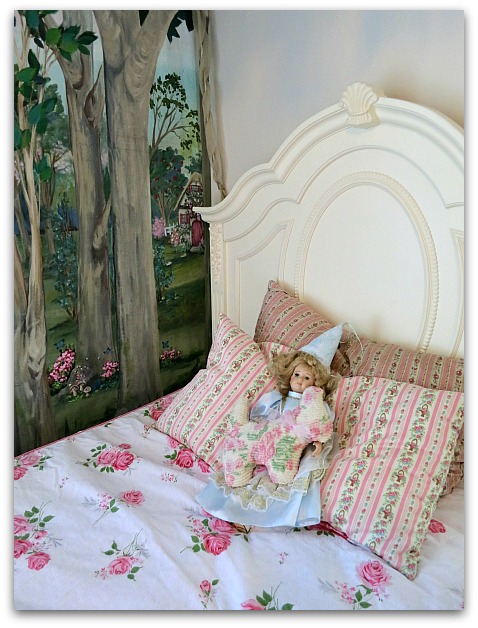
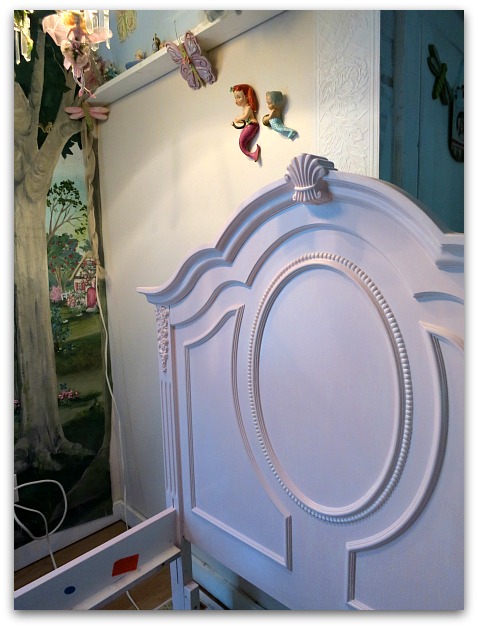
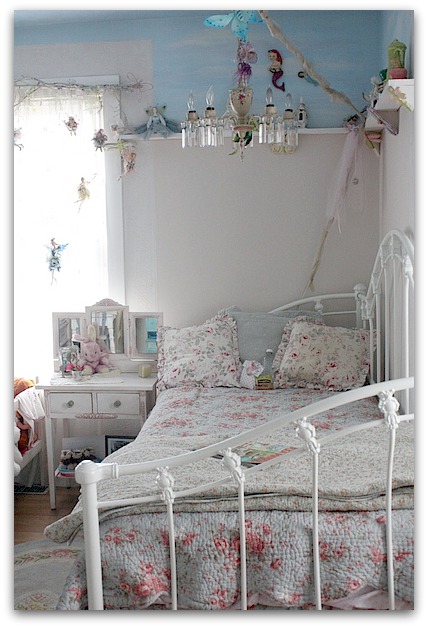
Very few things in my home are brand new.  But sometimes when you need something, you need it now, and don't have a few months to find the perfect vintage piece. So, we bought this bed for our little fairy when she outgrew her tiny bed, and had declared herself too big to sleep there anymore.

Little did I know, she was just making a play to sleep downstairs on the sofa… and didn't sleep in her new bed for a year after I got it. I guess I could have searched for the perfect vintage piece after all.

Anyway, it was creamy white and was fine, but not to the taste of Sugarwings, who thinks the entire world should be pink and has taught Dewdrop to ask for pink in everything too.

First step, NO sanding. I hate to sand.  I use Glidden Gripper bonding primer under my interior wall paint and never have a problem with peeling. 

There are multiple posts about how I paint furniture, you can get step by step instructions here.

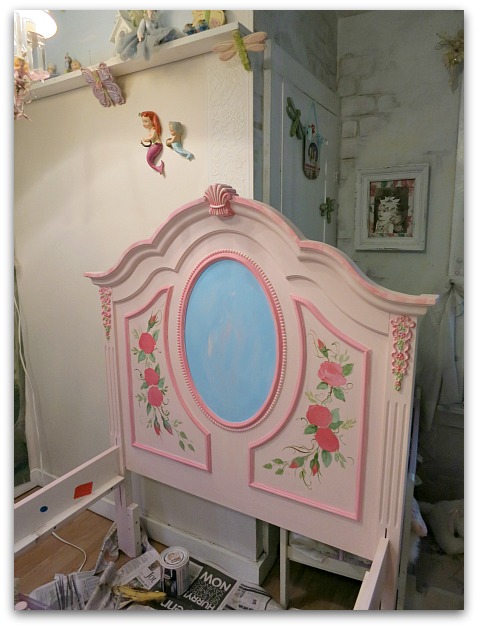
I chose Ballerina Pink from Glidden to paint the whole thing.


Mermaid bed 002

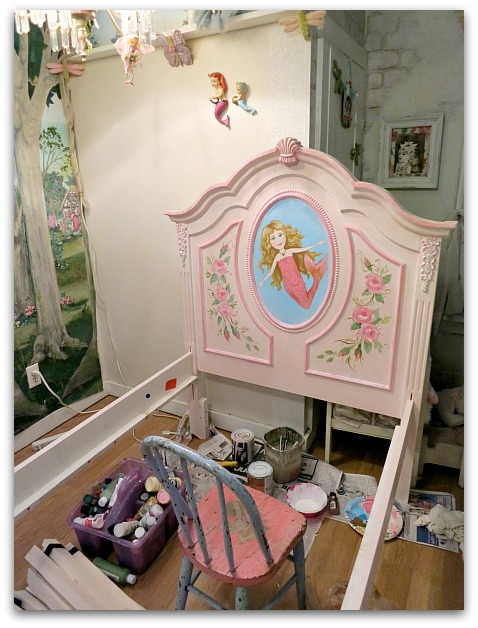
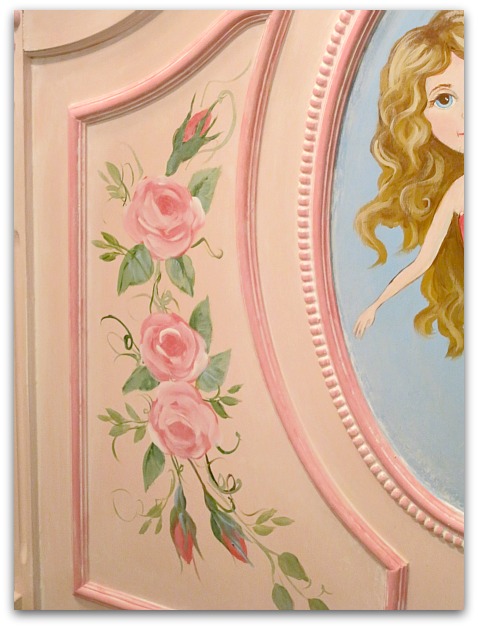
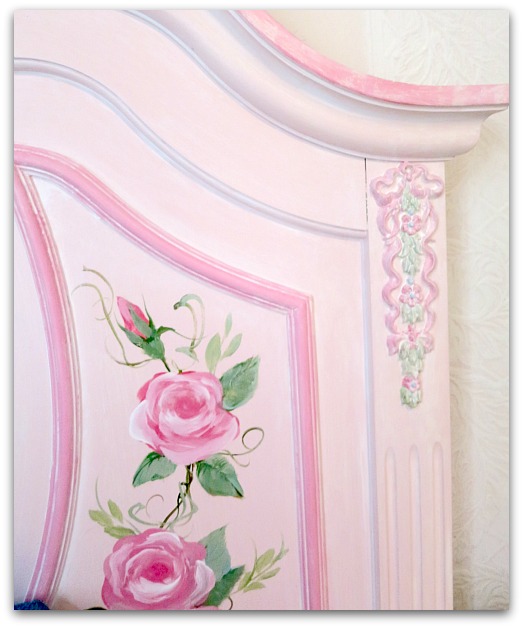
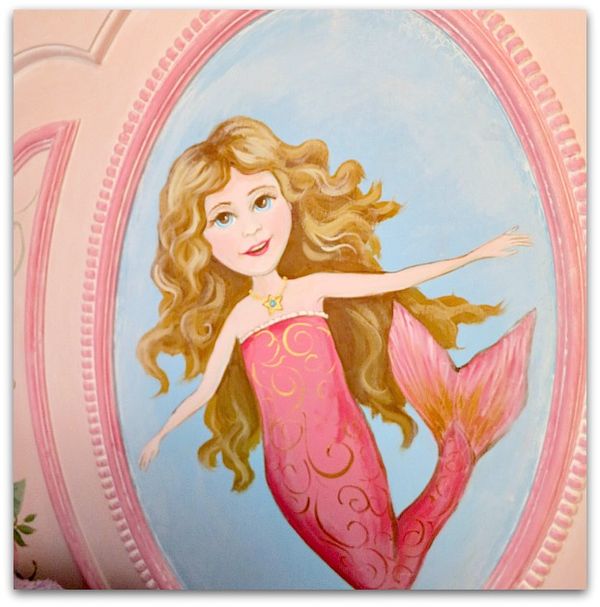
After the base coat, I added a blue background in the oval and color to the trim, plus some roses on the sides.  I was too lazy to paint the foot board, it is just base coat pink, no flowers on it.


Cottage 081

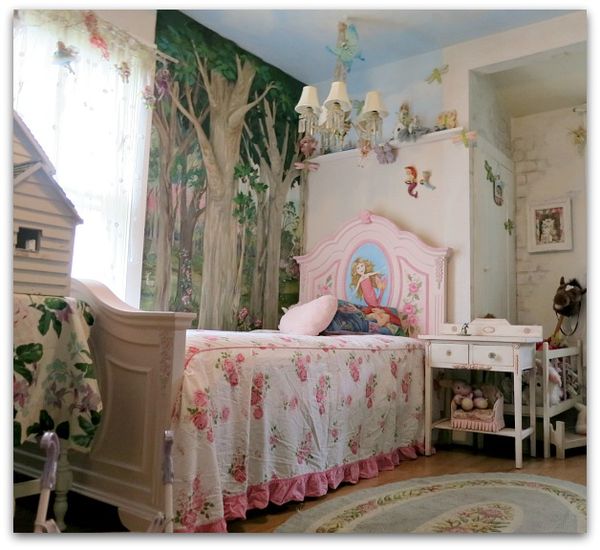
This little girl loves mermaids and has been a huge fan for almost her entire life. If I had it to do over again, her whole room would be an under the sea theme.  But then, Dewdrop would feel left out because she loves fairies and "honies" (My Little Pony, or unicorns).  And I like the fairies that are already there.

Since the room is such a jumble of choppiness and different things going on anyway, I went with mermaids in the woods with the fairies for her.  We'll just call it a fairy tale theme and not worry about the details.


Mermaid bed 003

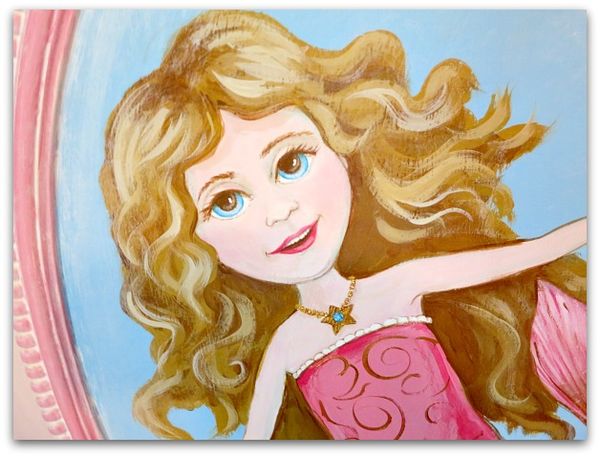
 I painted a mermaid in the center of the oval.  She adores Ariel, but I went anti-disney.  Plus, I wanted a sweet little girl, not a teen.


Mermaid bed 016

And I know, I should have added a crown, but didn't feel like going back to do it later when I thought of it. At that point, my paint plate had dried out over night and I wasn't up to mixing up the colors again. You can't just slap a crown on, you have to blend it in with the right shadows and make it look like it is actually sitting in her hair. 


Mermaid bed 005

When she (sob!) gets too old for mermaids, it will be easy to paint over this oval and change up the bed for a more grown up look.


Mermaid bed 015

Over everything but the portrait and the flowers, I painted on and wiped off white glaze.  I mixed one cup of clear glaze with one 2oz. bottle of white craft paint.  I made sure I got it down in the cracks and crevices really good, and wiped it off the high points.


Mermaid bed 020

Now, where are those pink curtains at? I'd better go look through the closets, I know they are hiding somewhere.

Mermaid bed 013

A fairy play room part 2

cottage, fairies, Hand painted, Hand Painted Furniture, Snow White

Cottage 086
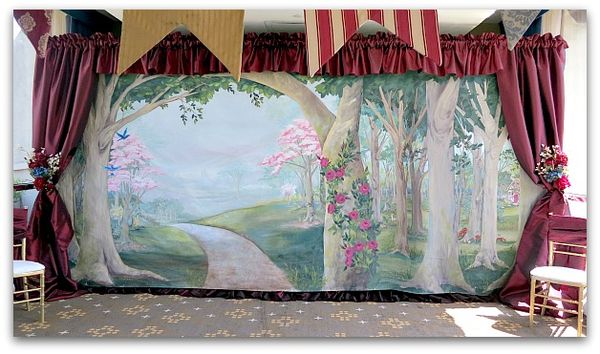
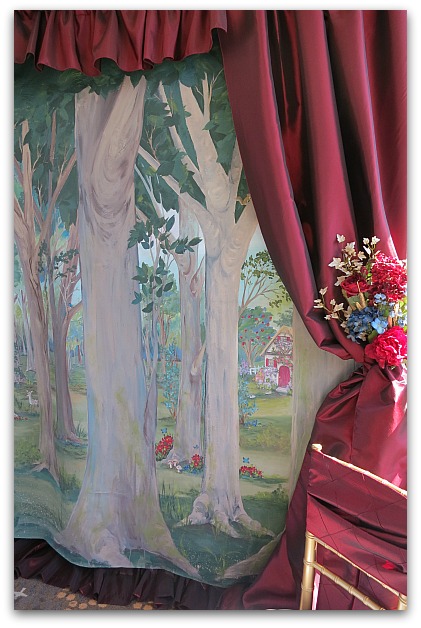
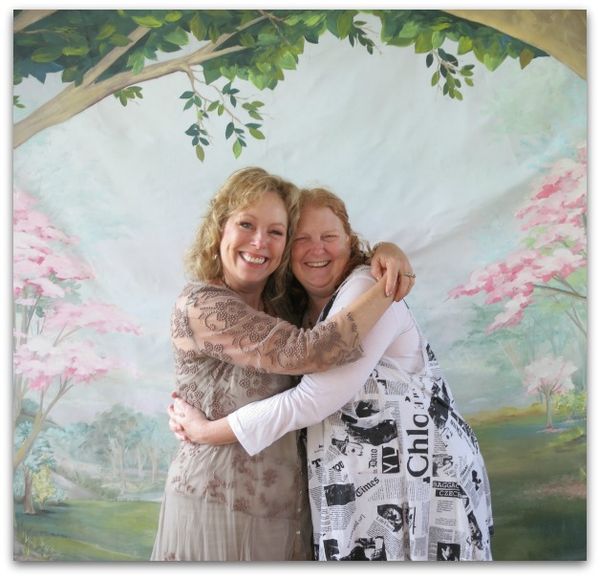
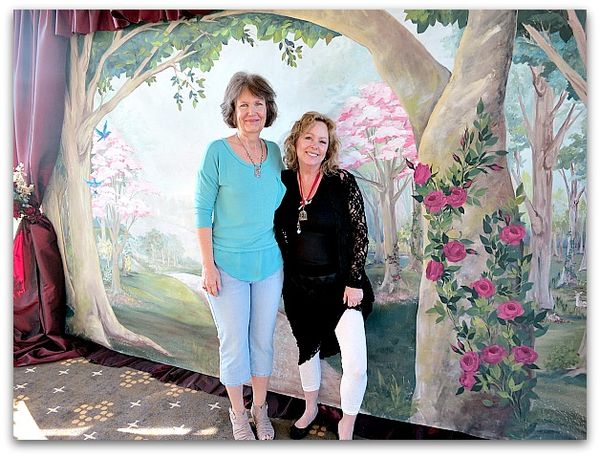
A few weeks ago, I showed you some photos of the little fairies' room after I added part of the canvas mural I'd done for An Enchanted Affaire

After thinking about it, and talking to Sugarwings, we decided that more of the mural needed to go in the room.


Enchanted weekend 031

Here is the whole thing, set up at the event.  I'd designed it so that the right side was a darker side of the forest and the main interest was to the left.


Cottage 092

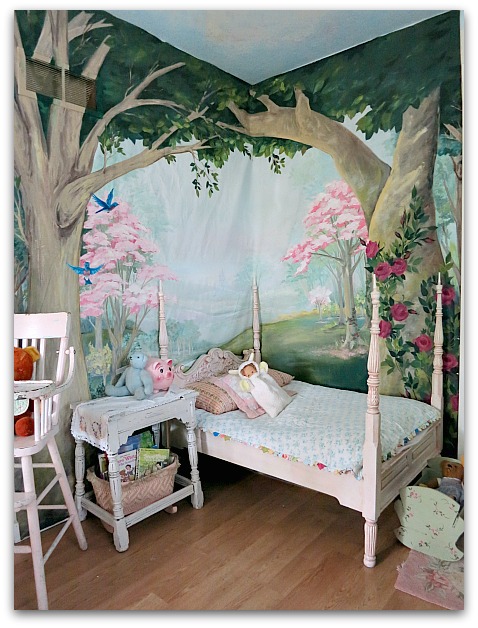
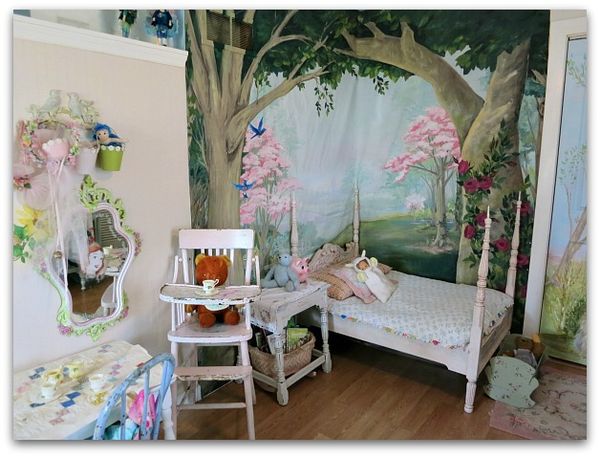
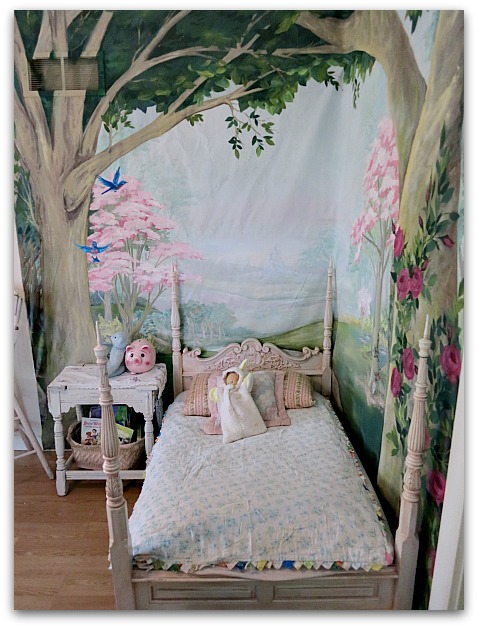
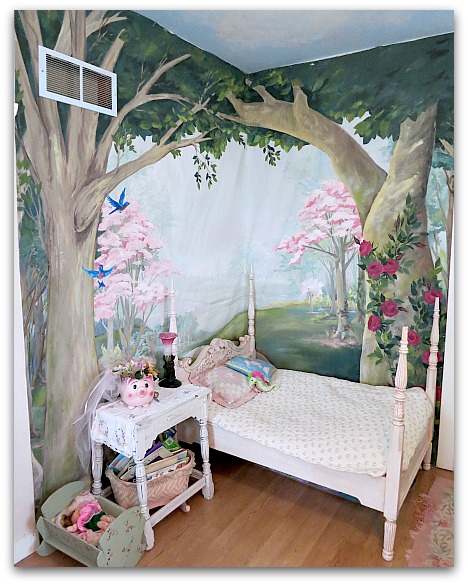
We cut off  the sunlit meadow side and put it behind Dewdrop's tiny little bed.


Cottage 076

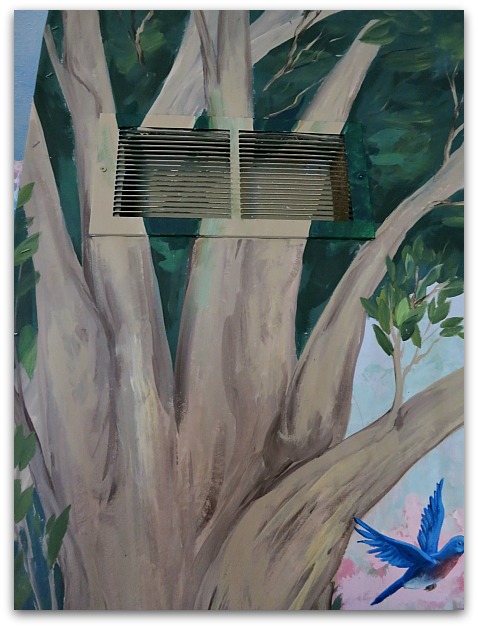
Later, I went back and painted the vent to make it blend in.


Enchanted weekend 034

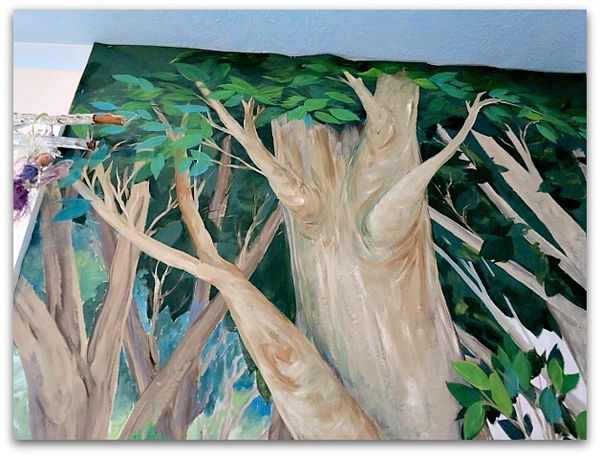
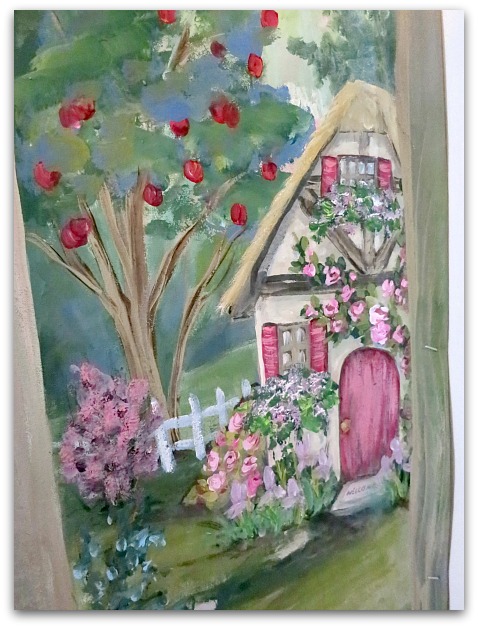
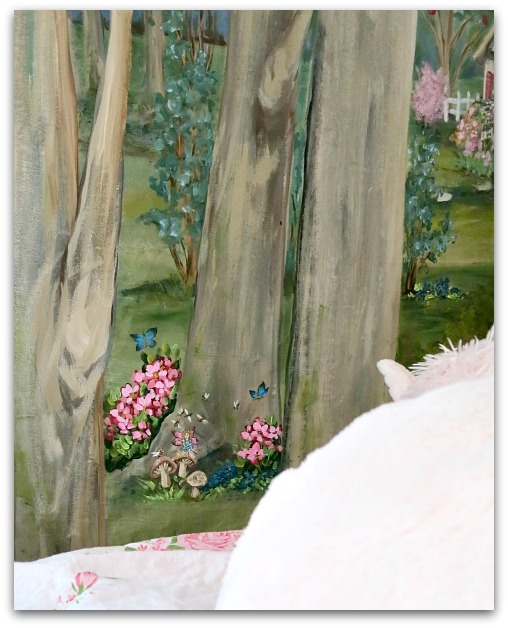
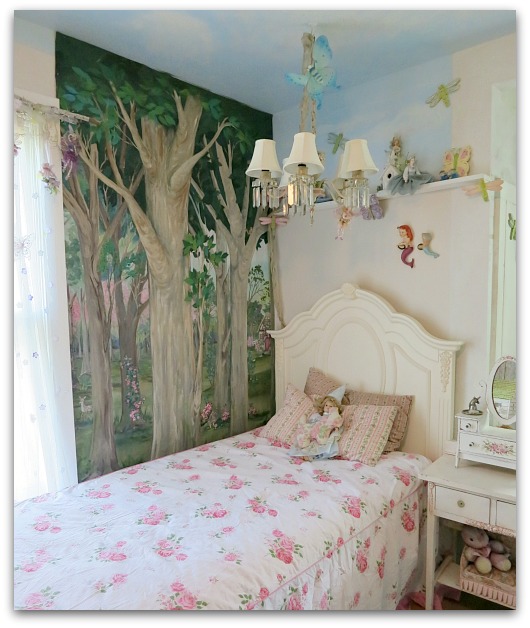
This was the section left over to use by Sugarwings' bed.  For one thing, the center tree is just blah, it wasn't meant to be a focal point. For another, the flowers were too red, and so was the cottage.


Cottage 075

So, I livened up the central tree with more branches and some lighter toned leaves.


Cottage 072

And pinked up the cottage. (sorry, the crooked photo makes it look like the house is melting)


Cottage 074

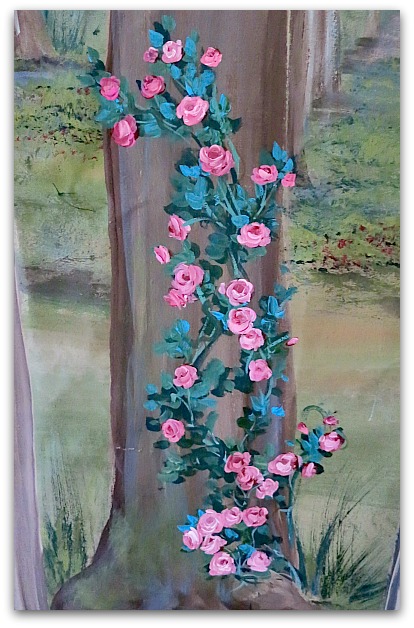
One of the smaller trees in the distance got some vining roses.


Cottage 073

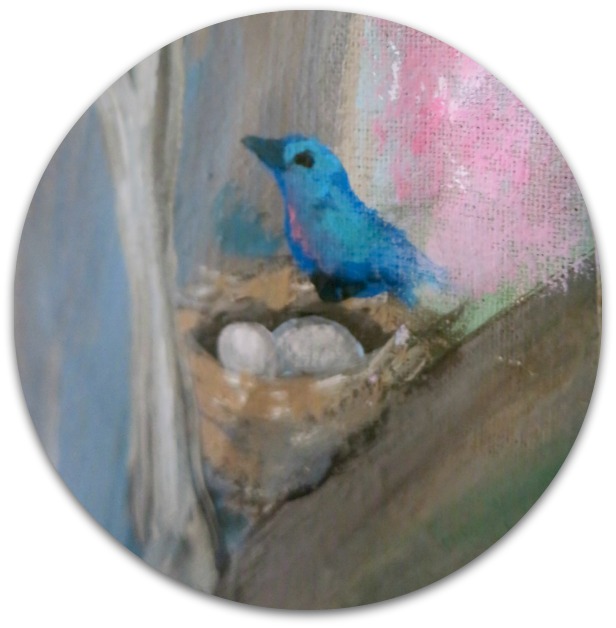
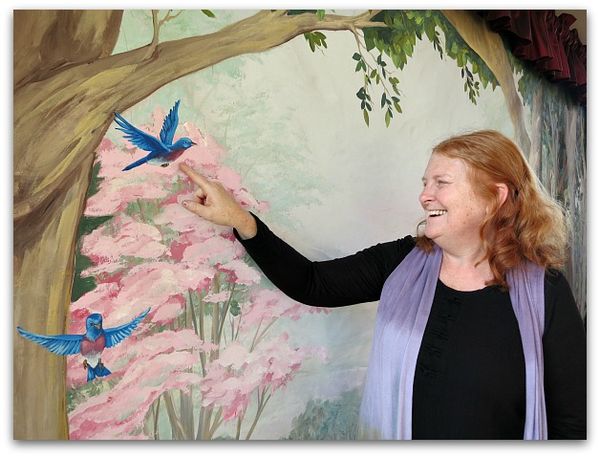
And the blue bird got bluer.  Basically, I wanted the whole thing a bit lighter and brighter since it was going to be part of a little girl's room now.


Mermaid bed 009

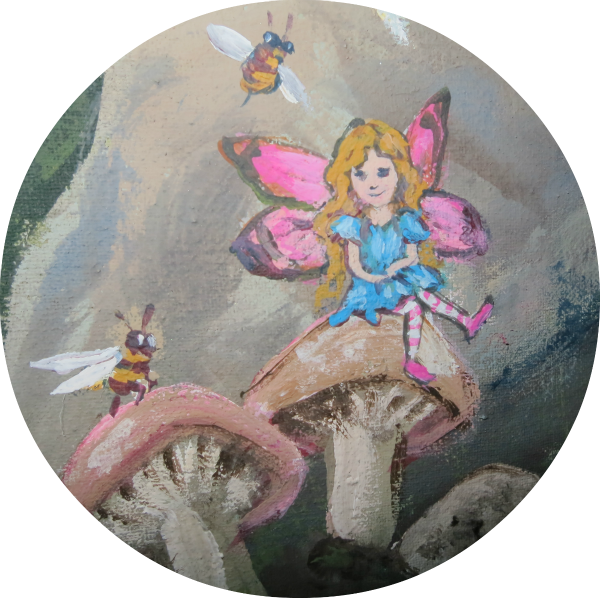
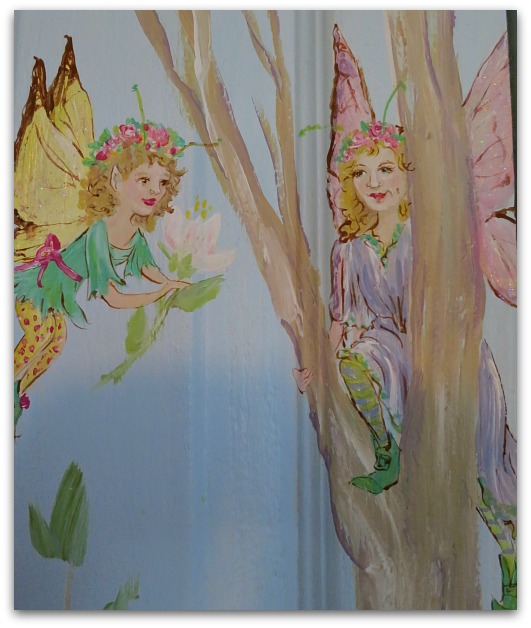
All the red flowers became pink ones, and a fairy with a flock of bumble bee friends was painted in right where Sugarwings could visit with her when she laid down to sleep.


Cottage 068

My poor, old, eyes! This girl was only about an inch or so tall. 


Cottage 084

After repainting the forest, I looked around the room to see what else we could do.

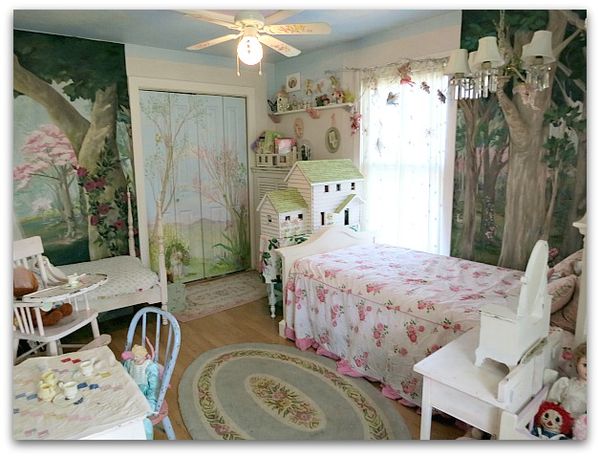
I changed out the bedspreads with some lighter weight ones for summer. The girls also now have a vintage, pink high chair to use when it's feeding time for the teddy bears.  Dewdrop had outgrown the chair and I was wondering what to do with it. Giving it to them to play with has been a hit with them.


Cottage 085

I'm not sure about the droopy wrinkles in this part of the canvas, but the kiddos don't mind.

Cottage 079
Just like they don't care about the choppy look  the room gets from it's various wall treatments.  From a design standpoint, this could have been done much better, and I know that the original mural on the closet walls doesn't go with the canvas ones that we hung in there.


Cottage 077

But it has some sweet fairies on it, so the theme still fits, even if the style doesn't.


Cottage 091

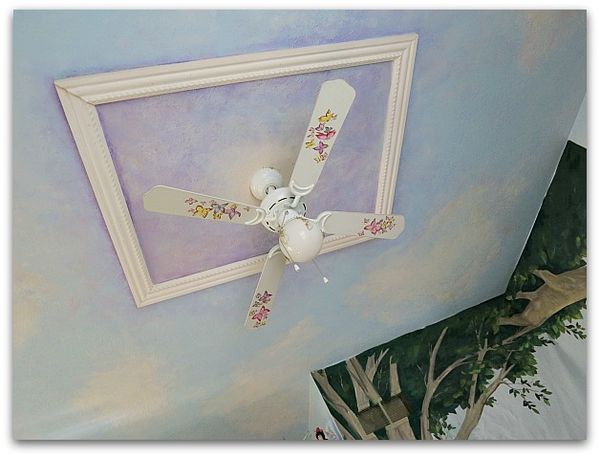
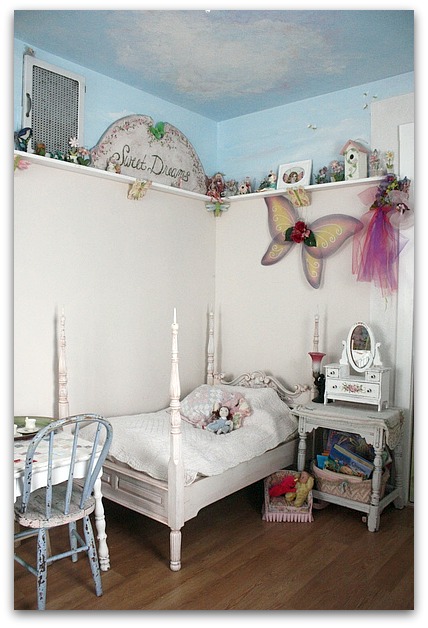
At least the ceiling still matches, I painted it like a sky before Sugarwing's was born.  When she was still just a wish, not quite a person yet.


Speaking of wishes…. my little one loved the redo, but was wishing for a pink bed. So, what do you figure I did about that?

Part three of the saga up next!
 

A fairy play room

cottage, Dew Drop, fairies, family, Hand painted, paintings, Sugarwings

Girls room redo 007

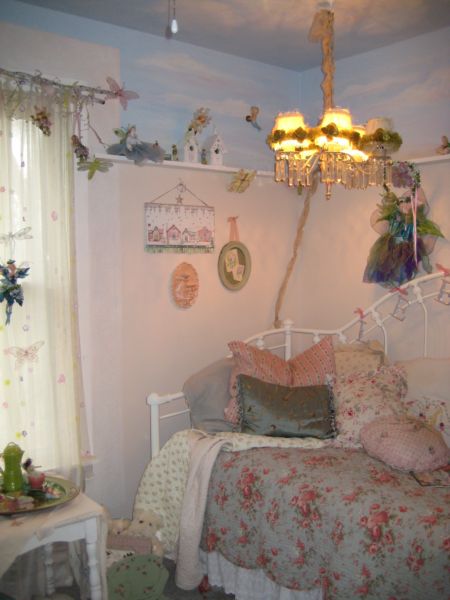
Remember the canvas mural I painted for Kim's Enchanted Affaire?  Instead of trying to sell it, we cut it up and are using it in the fairy grand daughter's room.   I still need to touch up the vent so that it doesn't have that ghostly glow and stand out so much from the painted trees.


Girls room redo 006Sugarwings had not used her bedroom since we bought her this big girl bed.  So, I never bothered to repaint it like I had originally planned.  Now that the enchanted forest is part of her room, she has been happy to stay up there, so I'd better get busy and paint something in the ovals of her head and footboards.

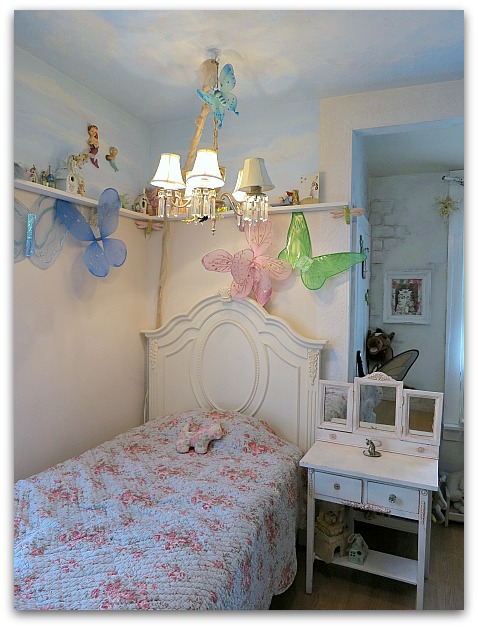
Previously, there was a shelf all the way around the top of the room, and a sky painted above the shelf.  The rest of the bedroom was left that way, my son only took the shelf down in the space where we added the canvas. 


Girls room redo 010

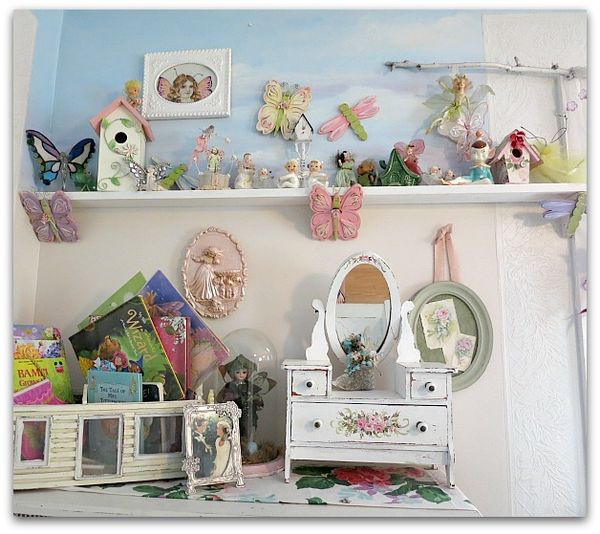
Since we lost a big section of shelf, it was a good excuse to dust and redo the rest of the shelves. 


Girls room redo 013

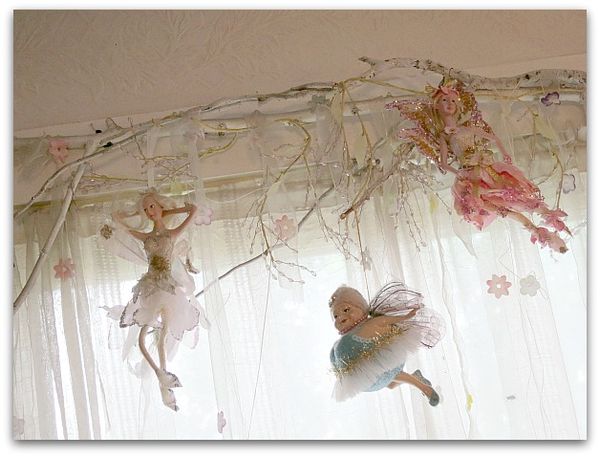
While I was at it, I tidied up the fairies hanging above the windows from sparkly white branches.


Girls room redo 014

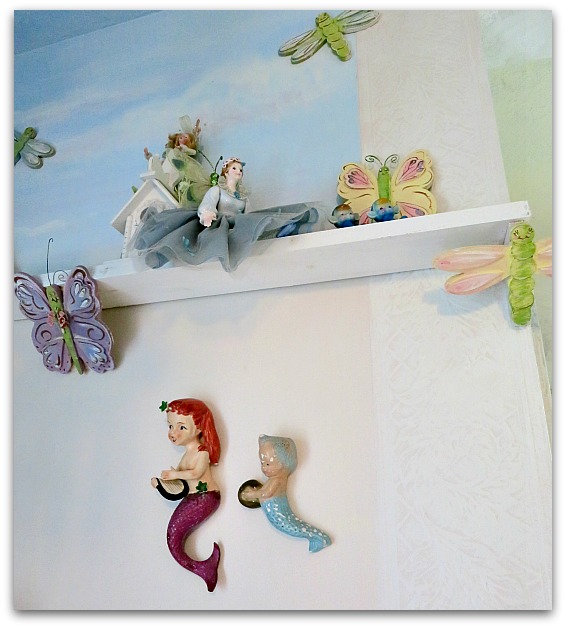
There are fairies peeking out from all sorts of vantage points around the room. 


Girls room redo 018

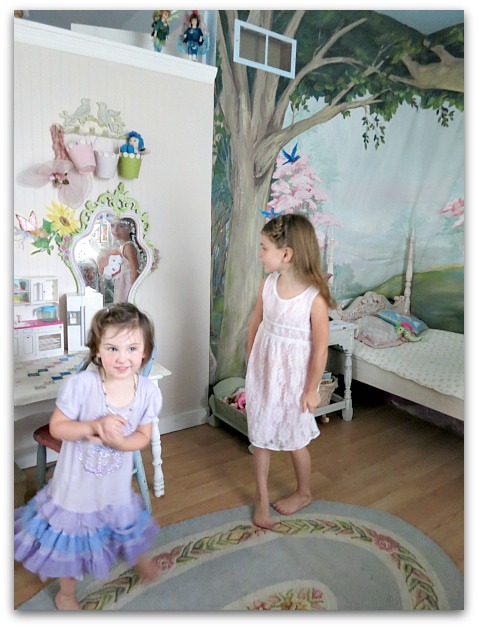
And of course, real live fairies running around the room too.


Girls room redo 021

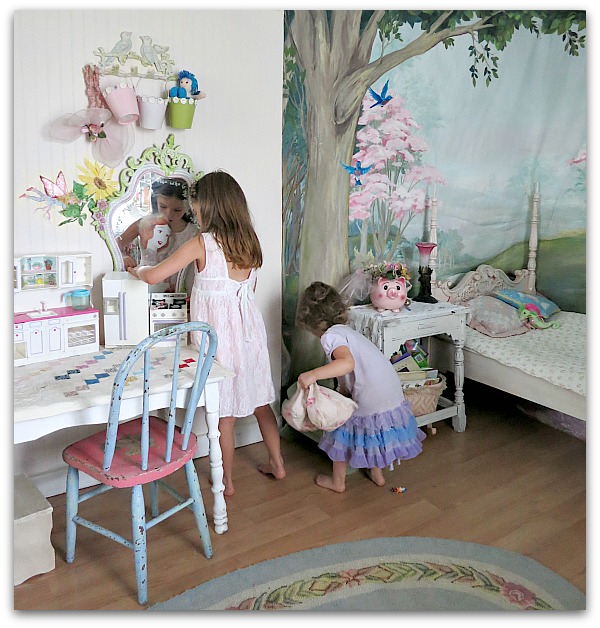
Little girls seem to like a newly redone room as much as big girls do.  As soon as I finished getting it all put back together in it's new configuration, they set to tearing into every corner and exploring toys they'd over looked or forgotten about.


Girls room redo 008

The canvas is stapled all the way  around, but hangs a little loose.  If I ever have more time….(yeah, right) I hope to tighten it up a bit, or at least steam out some wrinkles if they don't straighten out with time.  I'd like to add some fairies too. Maybe portraits of the girls as fairies?


Girls room redo 015

I'm not so sure I still like the closet doors painted as a fairy garden any more since it doesn't match the new scene. I'll have to do something about it. 

On the other hand, the kids like it as is and it is their room. So that probably means more than my sense of continuity.


Girls room redo 017

At least the ceiling was ideal for the new look, it blended in perfectly!


Girls room redo 020

Of course, the room is not this tidy any more.  Instead of two little fairies flitting about, it looks like it had a couple of ogres tramping through it. For dainty little cuties, they sure can trash a place.  It is now knee deep in dress up clothes and who knows what else. 

(the magic mirror on the wall is one that I made for Sugarwings.  Here are the directions if you are interested)

IMG_1356
Here are some pictures of the room in it's various looks over the last few years.


IMG_9809
IMG_9808
OH MY GOD!!!!!!!!

I just discovered that all my older photos are GONE.  I'd thought I'd found most of everything from before my hard drive died, but just now realized that I don't have any photos from before 2009.

Thank goodness my life is on my blog. I can retrieve all my favorites from there.   I only started taking digital photos in '07, when I began my blog, so I'm missing two years of pictures.  All of my previous pictures are in print. And I'm sure that most of my faves from the missing years are printed and in albums. But still, it's disconcerting to look for a file to reuse a pic and not find it.  At least I know that it's only the file that is gone, I have the photos in albums or on my blog.


6a00d83451ead569e200e54f8157b88833-800wi

durn

But look at how fast I found a couple from my blog archives.


6a00d83451ead569e200e54f94b5c88834-800wi

I'll seach out some more later, after I talk to the Best Buy Geek Squad and see if they can find any other old files.  This whole hard drive/wireless debacle has taken it's toll on me.  Stress, stress, stress.

While my computer was down, shoppers waited so kindly and patiently for me to mail their 30% sale packages from the Boutique, that I gave them another 10% off when I finally got things mailed.

I've decided to extend the 40% off sale before I start to restock the shop.  Since I haven't really kept up the poor little store since the holidays, months ago, I thought a Christmas in July Sale was fitting.

Use this link for an automatic 40% off at check out:
http://www.karlascottage.com/?code=sale

And please note that I do refunds of shipping overages after I box up the package and figure the actual cost to mail it.  Sometimes, buying lots of little things make the shipping price go sky high according to the way the website calculates it, so I adjust and refund as needed.

A Book of Enchantments

Books, Hand painted, jewelry, parties, Snow White, vintage paper/collage art, wallpaper, We're having a party, Workshops

Enchanted weekend 115
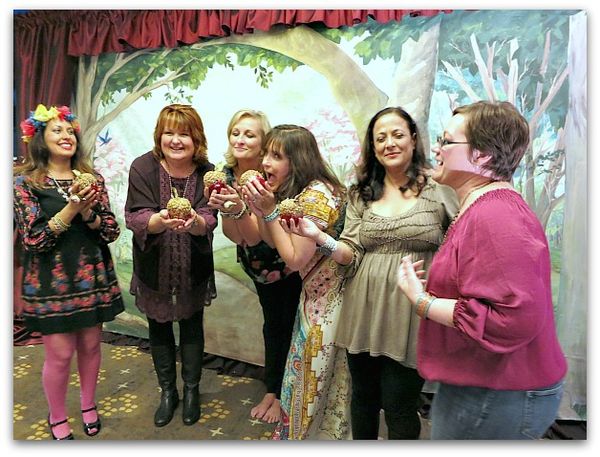
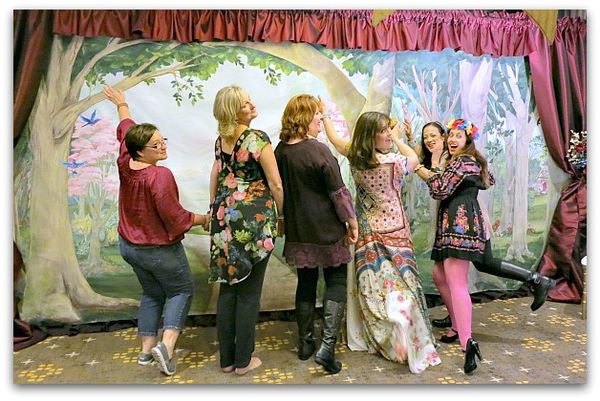
The weekend in CA at An Enchanted Affaire was filled with fun and friendship-from so many nice people


Enchanted weekend 066

People like Charlotte, who I've known a long time through blogs…


Enchanted weekend 064

And my husband's sister, Terry, who came along to her first big art weekend…


Enchanted weekend 044

And goofy gals who I am lucky to meet up with again at various getaways like this…


Enchanted weekend 079

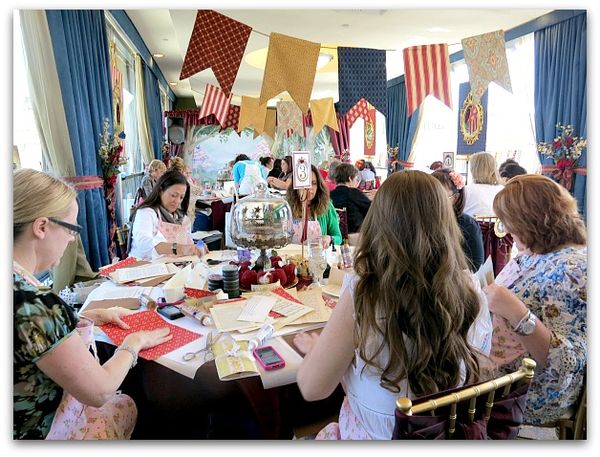
And tables full of new people to get to know. 

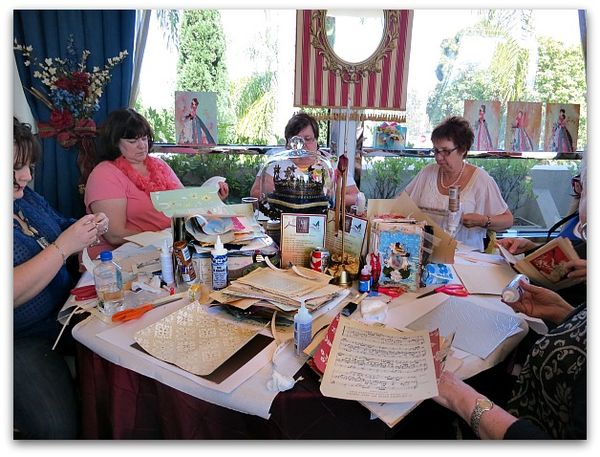
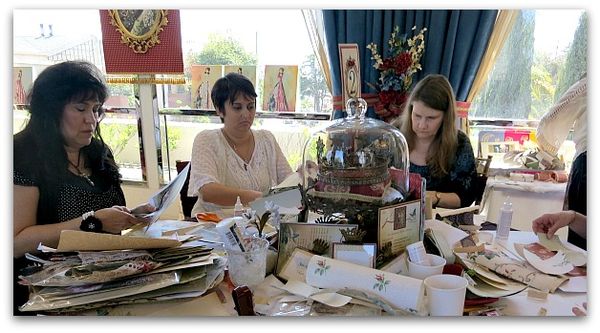
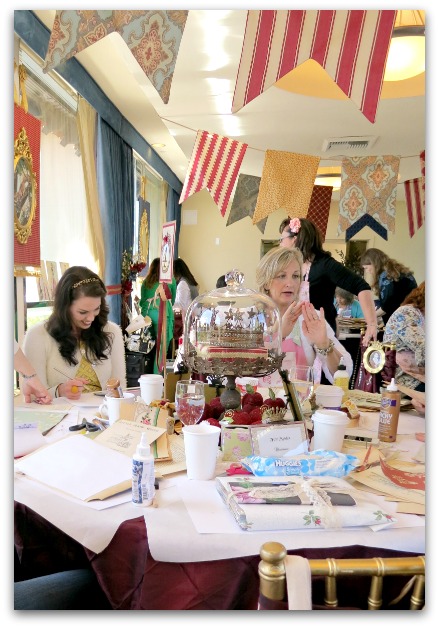
Teaching at one of these is the best way to meet people, I was flitting from one end of the room to the other, pausing to talk to everyone at the tables. 


Enchanted weekend 080

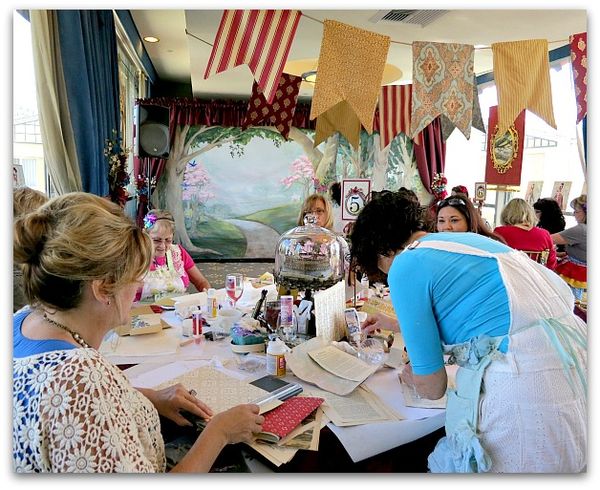
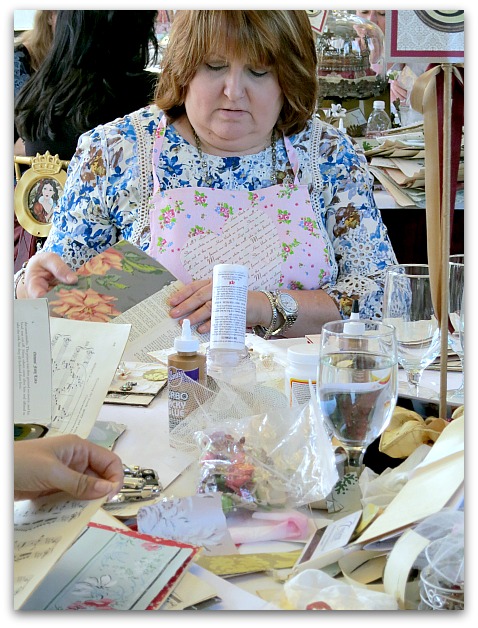
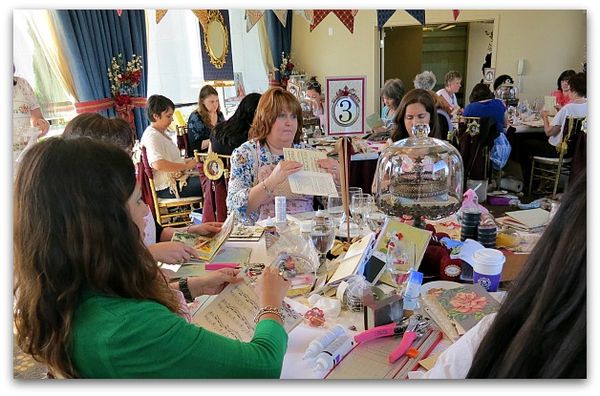
Here is part of my table.  I took classes as well as teaching this time, and asked to have "newbies" sit with me if they wanted. It was fun to get to know some different people. At most events, I sit with my same friends every time (and really LOVE that) but I realized that I'd met them all at these kind of places and I should open myself up to meeting some more new friends. 

Good idea!!


Enchanted weekend 081

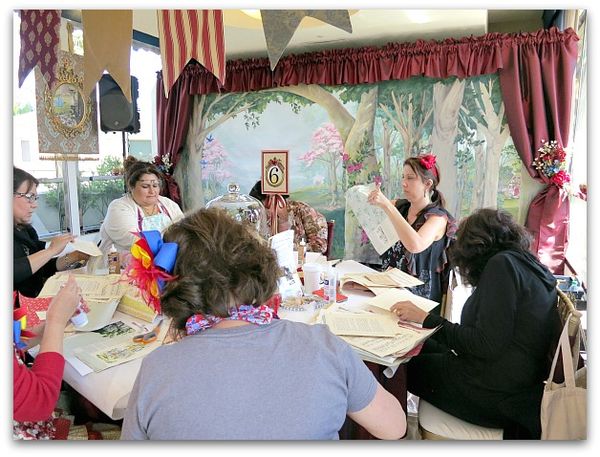
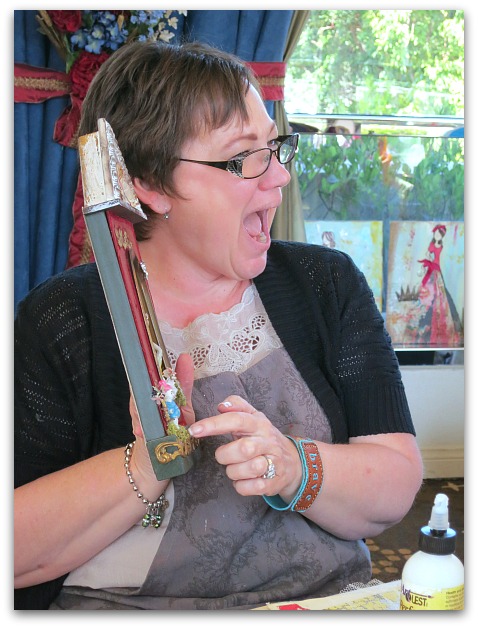
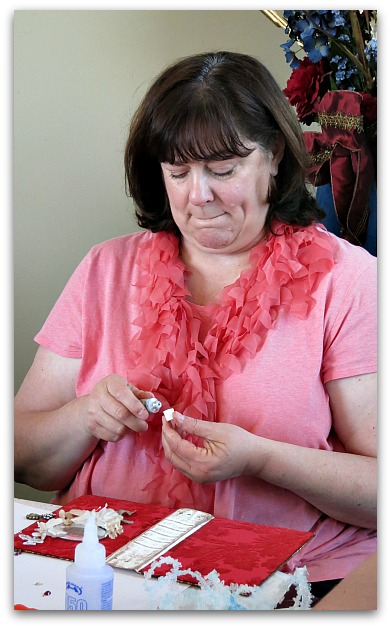
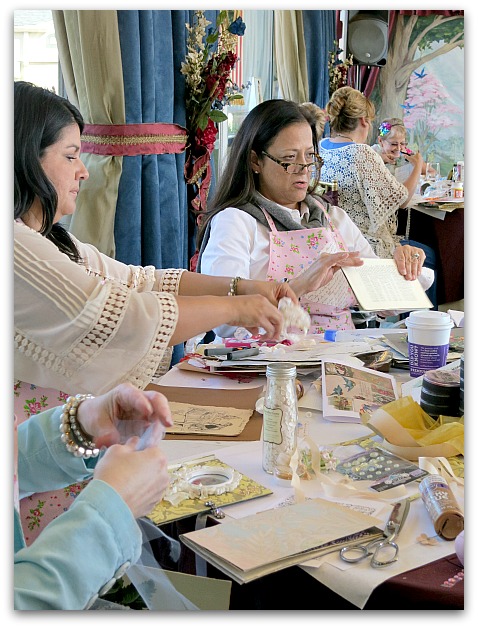
This is another one from the class I taught. Being up and moving around during class made for a good time to get photos of everyone at work. Normally, during class, I'm so involved with the project, I don't get to see what everyone else is doing.


Enchanted weekend 082

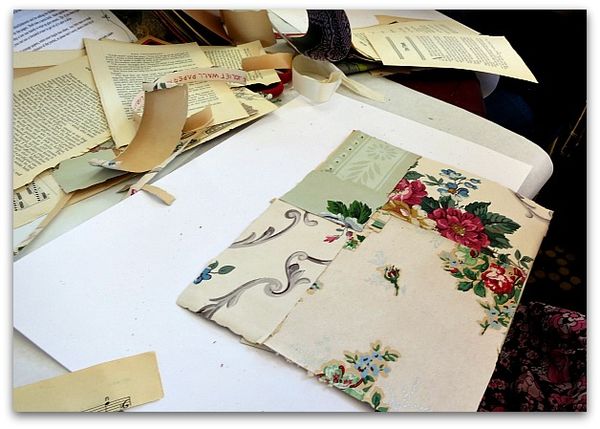
Hopefully, the ladies enjoyed the class.  The first half of it was pretty much busy work, tons of gluing paper to card stock to create the background of the book.


Enchanted weekend 083

After making the pages, we crafted the cover and assembled the book.


Enchanted weekend 084

It looked like most people at least got that much done, not many were able to start decorating, though.


Enchanted weekend 087

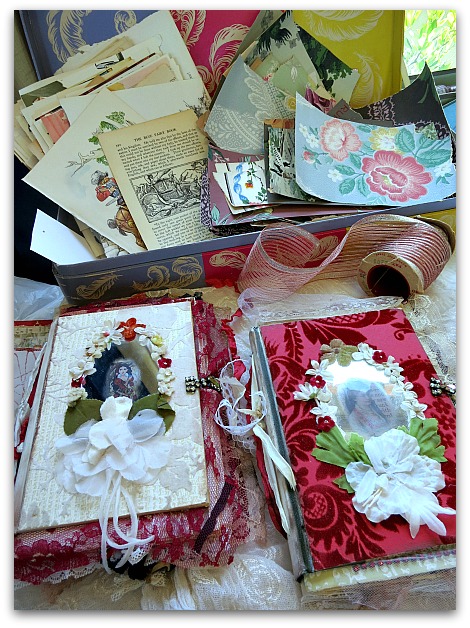
But I provided an overflowing kit full of goodies, so they had plenty to play with later when they were ready to start embellishing.


Enchanted weekend 074

If I teach this again, I think it would be better in an all day class, so we can do the decorating of the interior of the book too.


Enchanted weekend 075

There were lots of examples for interiors, and many ladies took photos inside of my own books for later on when they finish theirs.  


Enchanted weekend 095

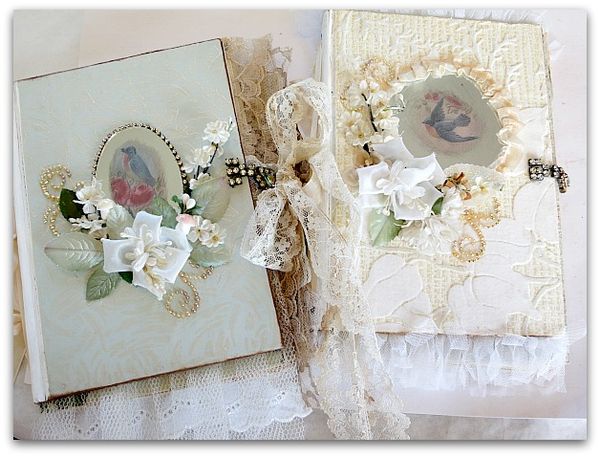
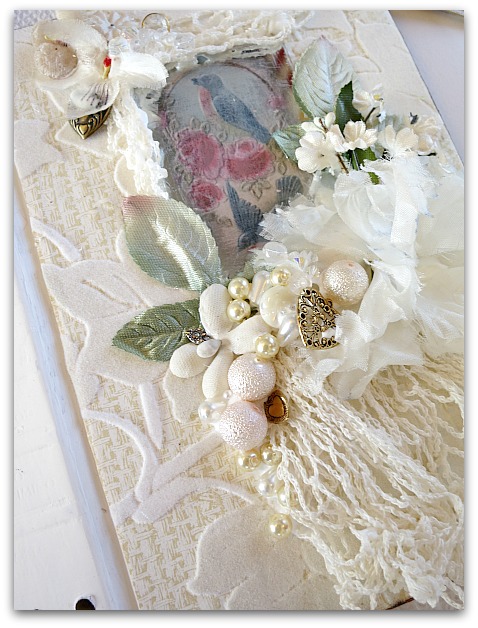
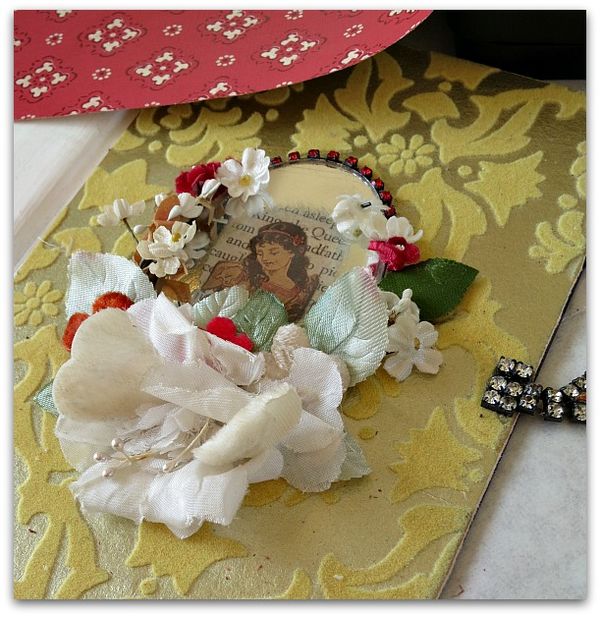
Here are some completed covers by the students.


Enchanted weekend 096

Here is another.


Enchanted weekend 097

When they started working, I'd told them that it was absolutely impossible for any two of them to have the same book when they finished, even if they tried their durndest.

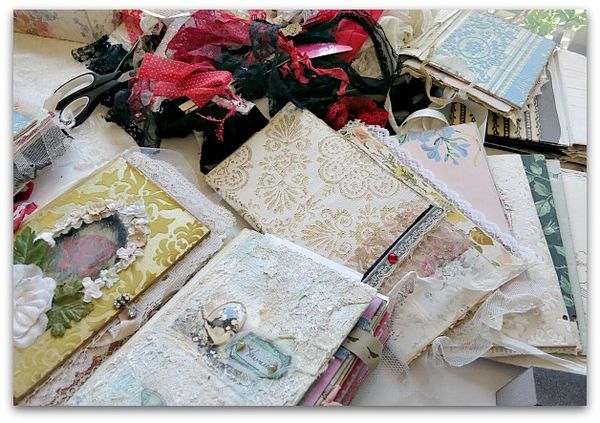
With vintage supplies, and a big page of collage images to chose from, the completed books were bound to be filled with variety!


Dreams

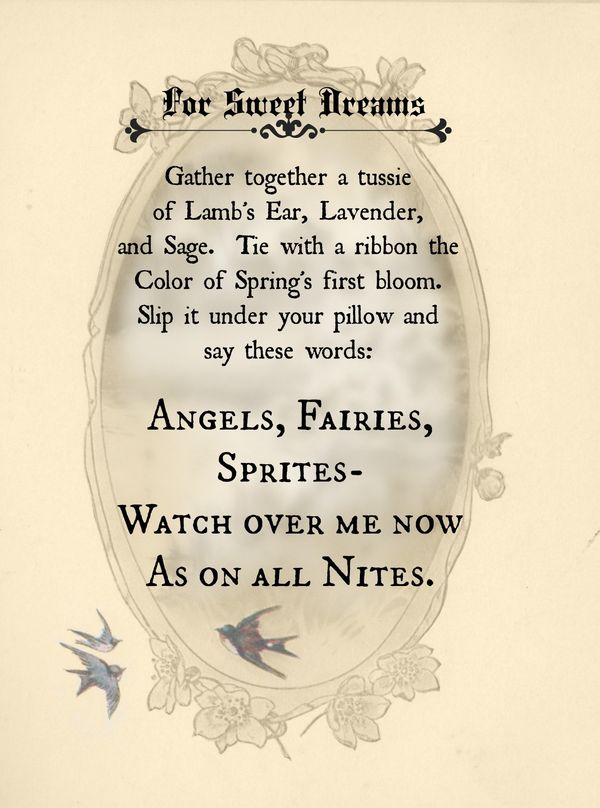
Since my book was titled, " A Book of Enchantments" I decided that I needed a few enchantment spells to add to it.  So, I wrote 4 little poems about finding joy, happy dreams, a true prince, and hope.  They are printed on vellum and are part of the embellishment package.

(by the way, I made extra kits, if you want to buy one for $65, there are a few left. Many ladies bought a second while there, so I think that means they liked them)

EDIT:  my email is down, if you could leave a comment or contact me on FB, I'll check those to see if anyone is ordering kits.  They are selling, but there is still a few left.


Enchanted weekend 071

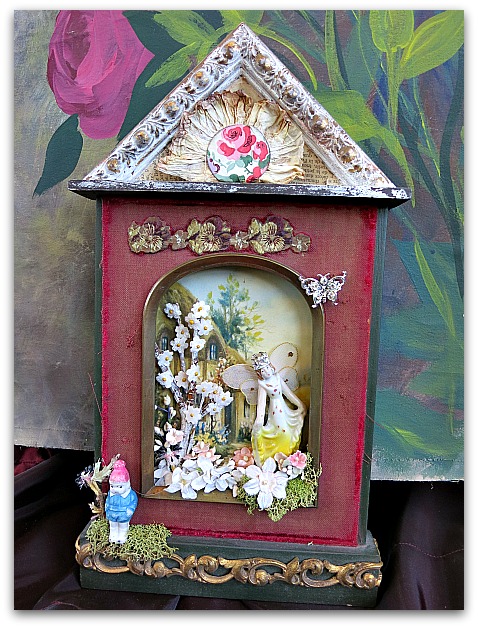
Kim had asked all the teachers to provide a prize for the drawings, so I brought this assemblage.


Enchanted weekend 088

It was won by my pal, Natalie, another teacher.


Enchanted weekend 124

I LOVED HER CLASS!!!!!!!!!!!!!!!!!!!!!!!!

I used a smokey quartz and ruby on my own creation.


Enchanted weekend 090

I'll leave you with a few more photos from my class, and still have some more pictures of the event to show you later.

Enchanted weekend 092
Enchanted weekend 091
Enchanted weekend 094
Enchanted weekend 072
Enchanted weekend 073
Enchanted weekend 049
Enchanted weekend 051

Karla paints a table for Karla

Hand painted, Hand Painted Furniture, redos

Done 013

While I had the paints out and my work clothes on to work on the giant mural/banner, I finally painted this little table for Karla.  Last year, she helped with my Pay Pal sorting for tax time, like Beth did for me this year.  It's a good thing to have accountant friends!


Done 014

So, about 6 months ago, she dropped off this little white table and said I could return the favor and paint a rose on it. 

Here is what I did:

  • First, using a large, flat brush, I dry brushed toast color across the whole table top, over the white paint that was there.
  • Next, I took a kitchen sponge dipped in white and sponged the center of the table, leaving the toasty color heavier around the rim.
  • With a one inch flat brush, I dry brushed a hint of white from the very edge over the toast toward the center of the table, but only about 2" or so away from the edge.
  • With the sponge, I wiped on a green around the routered edge.
  • Where the toasty color was left as is, I painted a swirly design all around the table top.
  • Last, I plopped a rose in the center.


Done 012

I was happy to do it, but it took me forever to get around to it. I just don't paint furniture on a regular basis like I did in the past and it took some gearing up.  When I started painting roses on the banner, it occurred to me that it would be a good time to get out the much delayed project and slap a rose on it too.


539122_10151508764939477_754895452_n
(Twinkle insisted that I take her photo too)

Hope the pink is the right tone. It's been so long since she showed me the pillow sham she wanted to match, i can't remember what it looked like. ooops


561259_10151505814189477_141559949_n
Here is a table I found for myself, to use in the garden. Only $5 at the West Bottoms in KC. I paid that much for the bag of kettle corn on top of it.


535997_10151511969889477_1536081053_n
And here is a mini redo that I did for  myself.  Years ago, I'd given my Great Aunt Caroline's clock a coat of white paint and then distressed it.  But it was still dark inside.  So, I leaned a page from a vintage bird book in it, and added a rim of lace (held by a couple dots of glue) to the frame under the clock face.

  It only took a couple of moments and I think it added a lot.

Scroll to Top