Hearth Room

Chairs for the hearthroom

Dew Drop, Hearth Room

IMG_8690

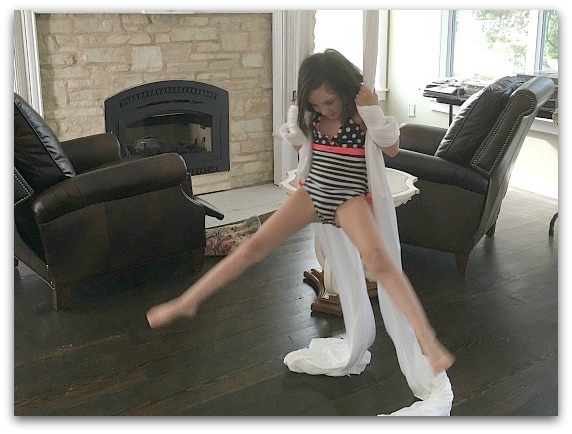
Well, this seems to be more of a photo of the puppeesh than of the new chairs, but I do LOVE these seats!  I'm not a fan of recliners, but my husband is.  I was thrilled to find a couple of them in slightly distressed leather that look more like club chairs than recliners.  And they were on sale. At least I thought they both were, one was on clearance and the salesman was kind enough to give me a second for the same price.  

We haven't had a fire in the new, built in woodstove, yet I'm already enjoying snuggling up in my cozy chair in front of the hearth. It surprises me how much I like them, considering the grumbling I did while shopping around for a recliner I could stand.  Who knew I'd find some I loved? The dark leather seems ideal in this room, even with all the whites and roses.  Actually, I think the contrast makes the whites prettier and the roses rosier.

IMG_8643

Once again, this isn't exactly a picture of the chairs, but you can see them a little better here. The table in the background is full of tiles, I'm planning a mosaic on the floor in front of the fireplace.  So far, I haven't gotten very far on it.  

There is always something waiting to be done, huh?

Drawing in wet cement

cottage, Hearth Room

IMG_8534

One of the things we splurged on for the new addition was having a concrete patio in place of a wooden one.  It wasn't that much more, but a few hundred dollars here and there add up if you aren't watching your invoices while remodeling.  There are some areas that we went cheap on, and others that we didn't. Over all, I think we made some good choices.  (although, the ceiling fan is a different story, more about that later)

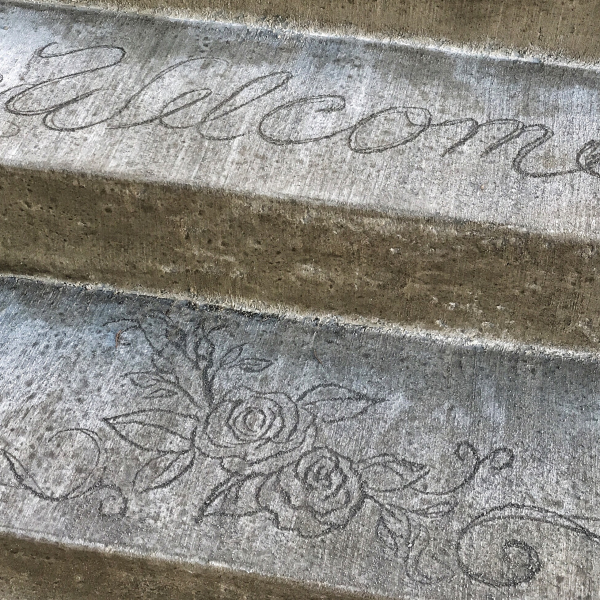
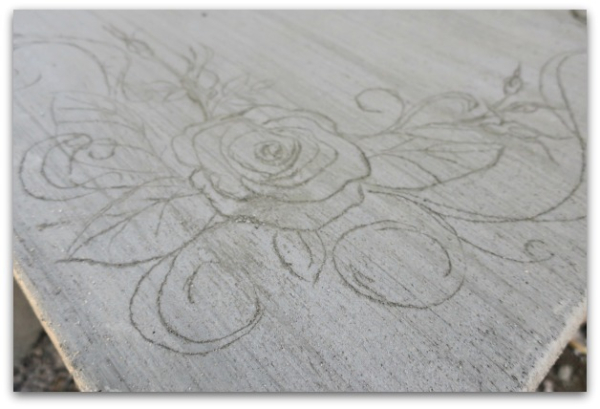
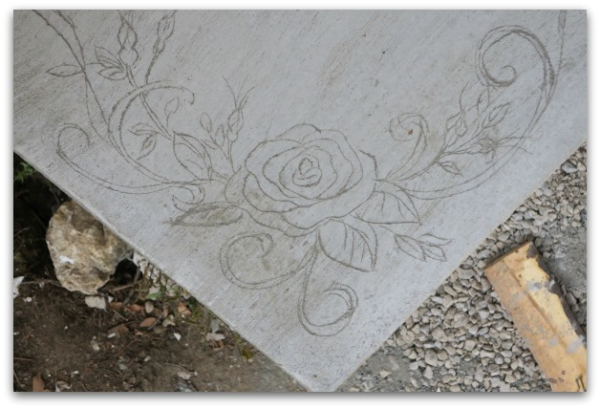
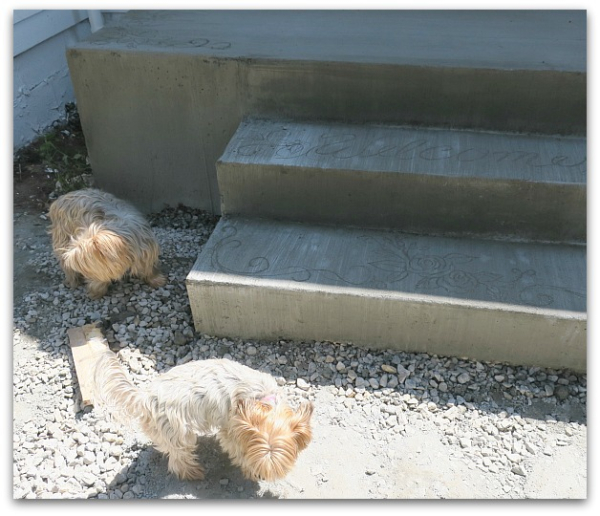
While the 8'x4' porch with two steps was still wet, I picked up a nail and added some flowers, along with "Welcome."

IMG_0032

Earlier, I'd sketched out an idea that I wanted to use, kind of in a chalkboard style, with the words, "Welcome to our Home" on the porch part.  Then, I realized that my ams weren't long to accomplish that, and I could only draw along the steps and corners, the porch itself was out of my reach.

IMG_0037

Wet cement has a very short window of opportunity to draw in.  No time for planning, I just started drawing. It is far from perfect, but it is cute. There were only a few minutes to get it done before the material started to set up and I had to stop.

IMG_0031

I'm happy with the choice of concrete and gravel for the front of the building. The cottage is not fancy and this seems to fit it just fine.

Little Decor Details- adding age to a new room

antiques/junking, cottage, Hearth Room, Kitchen remodel

IMG_8559

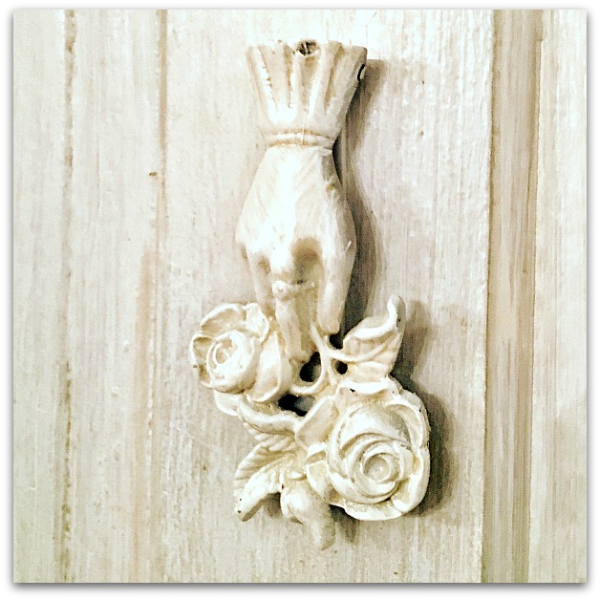
Beth gave a brass door knocker to me for my birthday last May, and I had not used it yet.  When I was finishing up little things for the new room, and painting outlet covers and switch plates to match the walls, I decided to paint this too. It is now on the bathroom door, and gives the little grand fairies a lot of pleasure in BANGING  it when the room is occupied by one of the sisters.

On it, and on the vintage brass outlet covers, I used a spray bonding primer in white, let it dry, and then washed the pieces with the "sandcliff beige" color I'd used on accent walls.  Afterwards, all got a spritz of clear polyurethane.  

IMG_8631

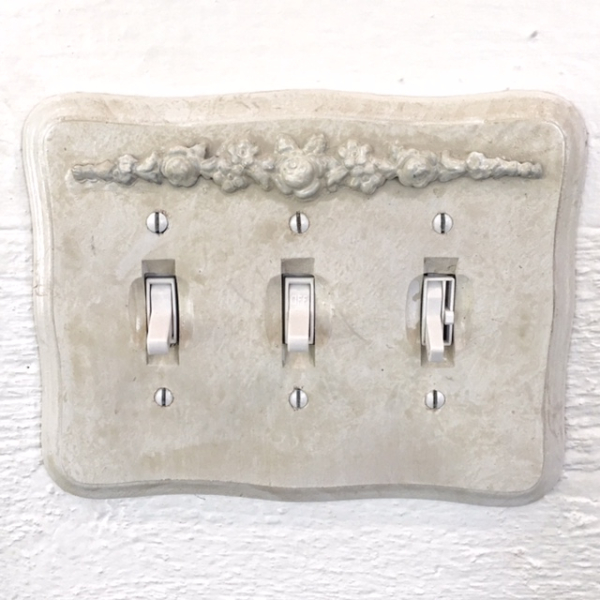
Nowhere I looked had a vintage 3 toggle switch plate.  So, I glued a little bit of old, metal trim onto a wooden plate, and painted it in the same way.  Not many of my electrical covers match, I have a few different styles, so it seems to fit in just fine.  I think it looks much better than the white plastic one that came from the electrician.  That was way, way too shiny and new in our old house. I did what I could to make the new addition look like it belonged with original the house. 

IMG_8684

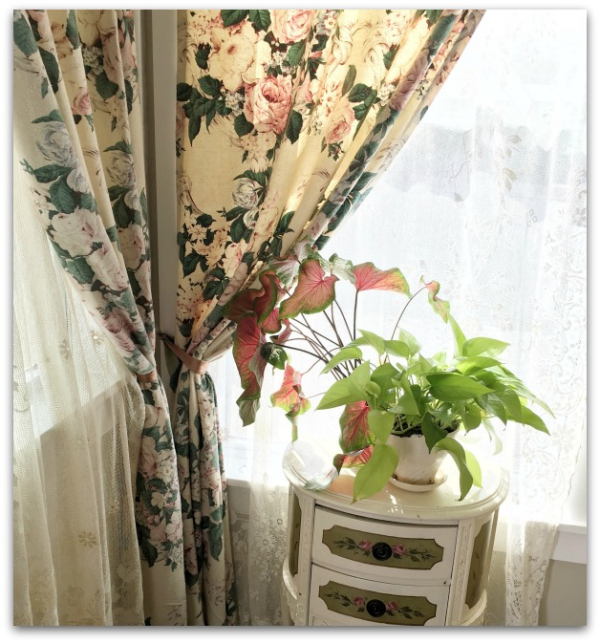
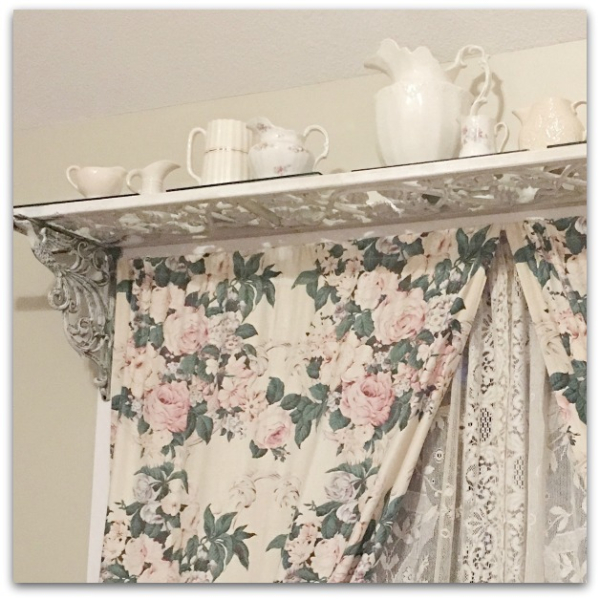
Like using vintage curtain fabric on the windows.

IMG_8693

 And re-using this old, iron shelf that had previously  been in the kitchen. I debated hanging it up again (it is made from a chippy, iron porch rail and two rusty brackets, the rail is probably from the 40s and the brackets are new, but look old- plus they are birdies!!).  It had been over the dining room window for ten years or so, and I thought maybe I was over it.  But I realized that I'd enjoyed it for that long and still did, I was glad to add it back into the new room.

When I was a full time, antique dealer, my home felt like it had a revolving door on it.  Things were constantly changing and I was always finding something better than what I had before.  Stuff had stopped moving around as much as it used to, mostly it gets shuffled, not replaced anymore. 

I figured I might be getting boring.  And I shouldn't just reuse the same stuff over and over. 

Then, it dawned on me that I'd found pieces that I really liked keeping and there was nothing wrong with having some forever pieces.  Why get rid of them for the sake of change? I think I'd settled on these items because I loved them. And they all mix and match with other things I love in my cottage.

Also, as I unpack belongings, I am being picky about setting things out. Just because I own it, doesn't mean it needs to be out, right?  I can have goodies stored away to play switcheroo with when I feel like a change.  There still is a revolving door with stuff moving in and out, but now it is into a storage cabinet, not gone forever.

The Hearthroom is now the Circus Room.

family, Hearth Room, Sacred Circus

IMG_0066

We are enjoying the new room!  

IMG_8675

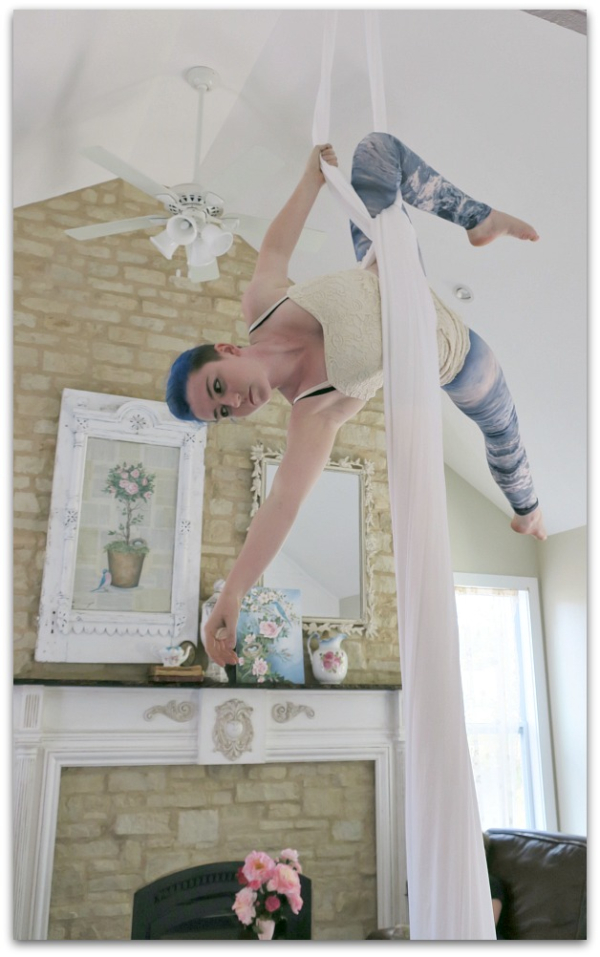
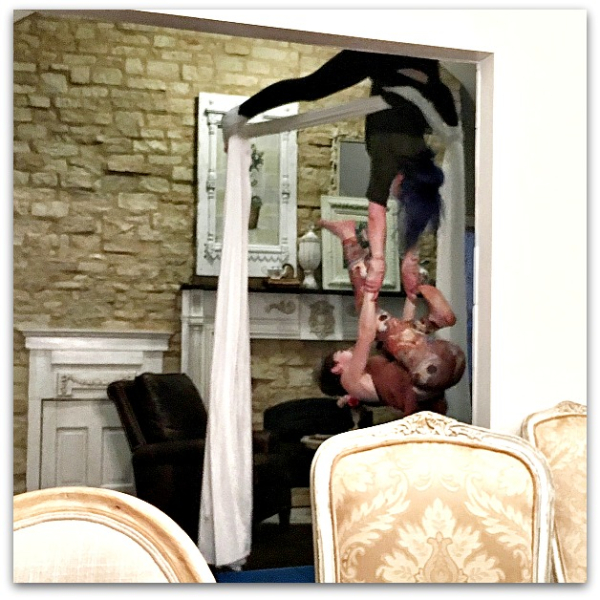
15' high ceilings made the space perfect for hanging silks so the grand fairies could practice (and give us shows).

IMG_8648

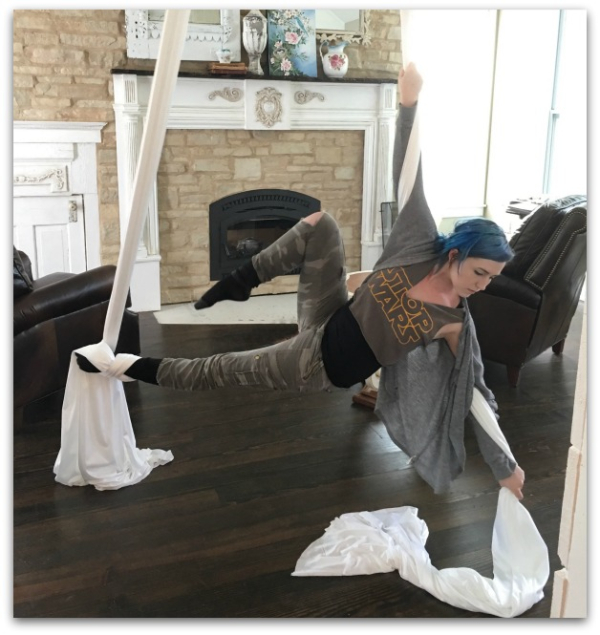
There is still some work to be done on the space yet.  These silks need a pulley in the corner of the room, so Honey doesn't keep confusing the dangling tails with a tug of war toy.  And I need to do the mosaics on the floor. I have a few little knicky knacky things to distribute around the house and frames to hang, but with the cozy new chairs in front of the fireplace to curl up in with a good book, and flying fairies to entertain us, we already love the area, finished or not.


Faking a closet

cottage, Hand Painted Furniture, Hearth Room

IMG_0063

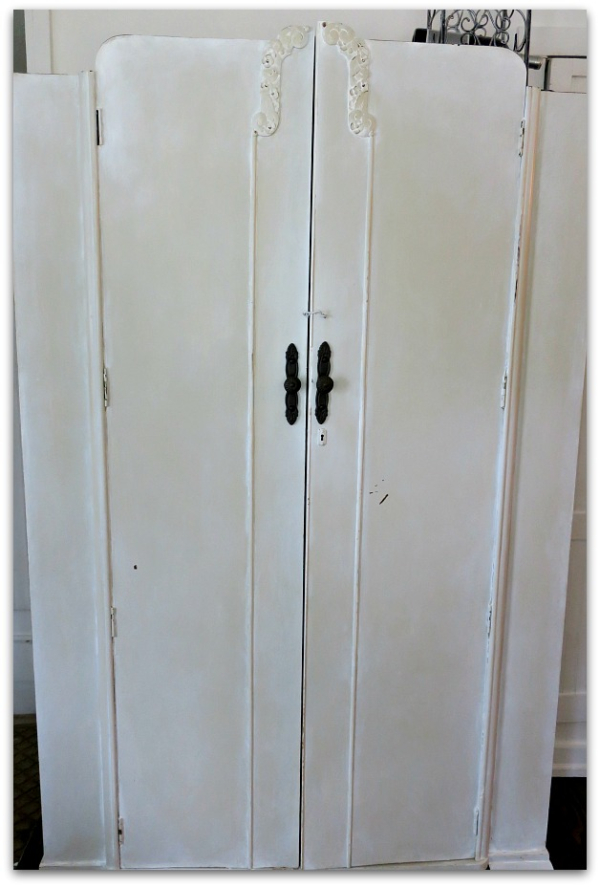
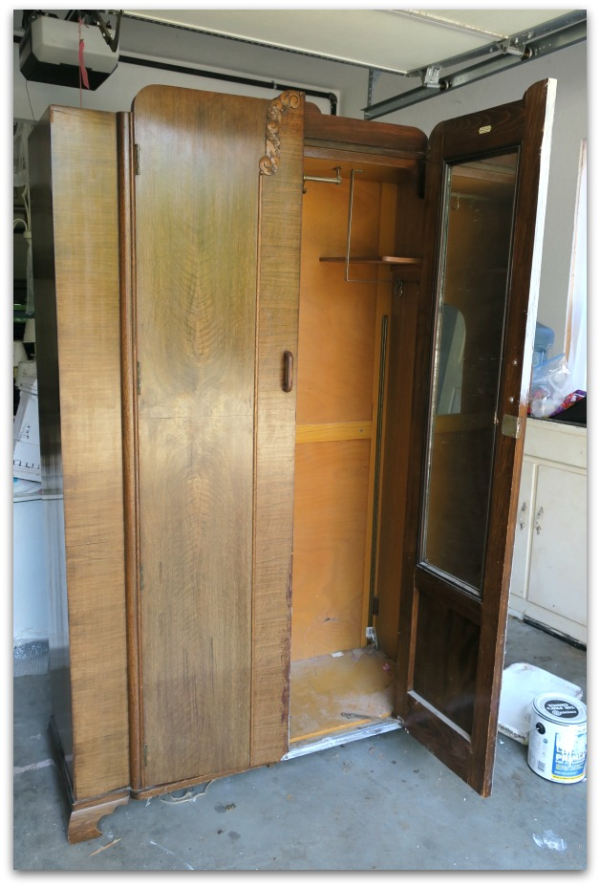
One thing I really wanted when we planned the new room was a coat closet for odds and ends, jackets, and a vacuum cleaner. But, we decided on generously sized windows that left no wall space for a closet.  As a substitute, I  added a wardrobe to use as a closet in the kitchen since we had removed an old wood stove durning the remodel and with some shuffling, had extra wall space there.  

IMG_0056

This one was $119 at the Old West Bottoms last month, and the wood was a little beat up, but it was a solid piece.  

IMG_0057

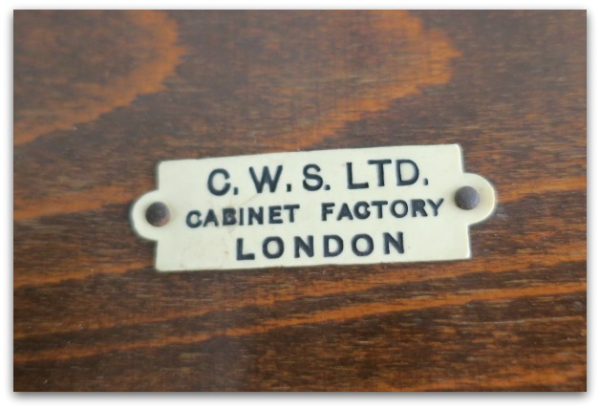
And was made in London.

IMG_0059

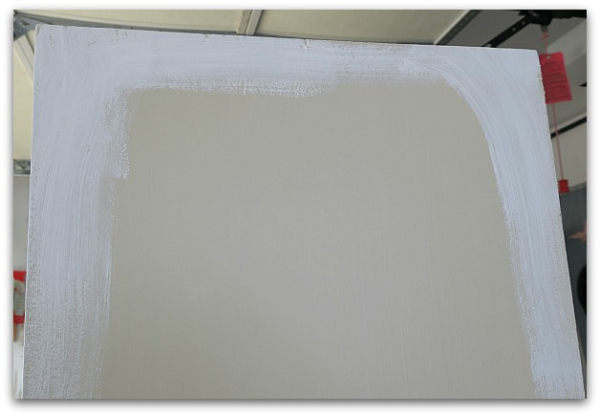
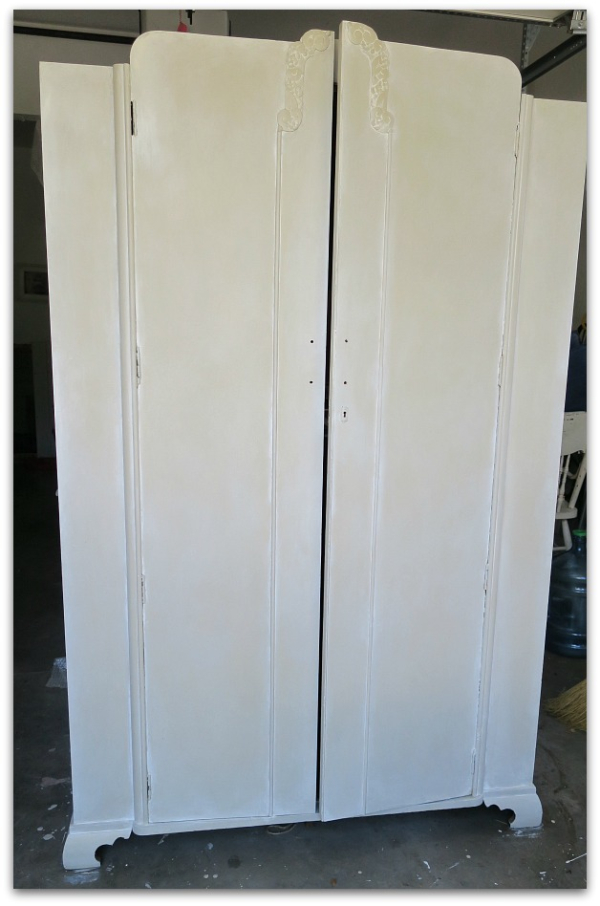
The wood was too dark for me, so I painted it. I almost went with white, then thought I had too many white pieces and decided I'd try tan with white over it. 

I painted it the base color after priming with a bonding primer (no sanding, no stripping)  Then mixed some white paint with clear glaze and brushed it on in small amounts at a time.

IMG_0060

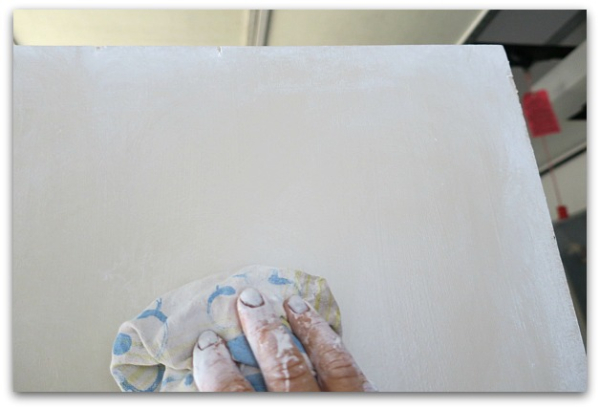
I wiped off the white glaze with a washing motion using a damp rag.

IMG_0061

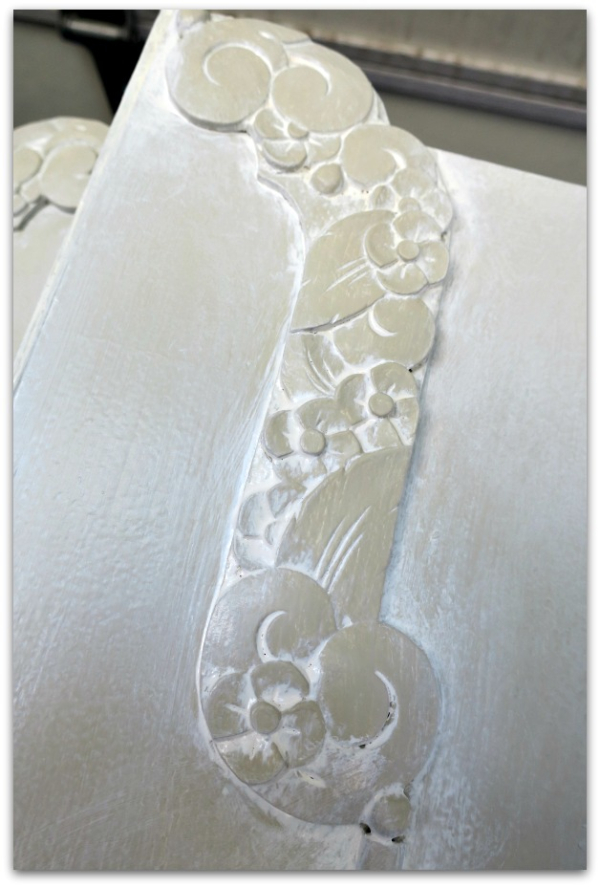
I really liked the way the white glaze accented the ornamentation.

IMG_0062

Pretty, huh? 

I lightly distressed it with sandpaper too.  No top coat was needed, I'd painted it with semi gloss latex paint, that is pretty durable.

IMG_0064

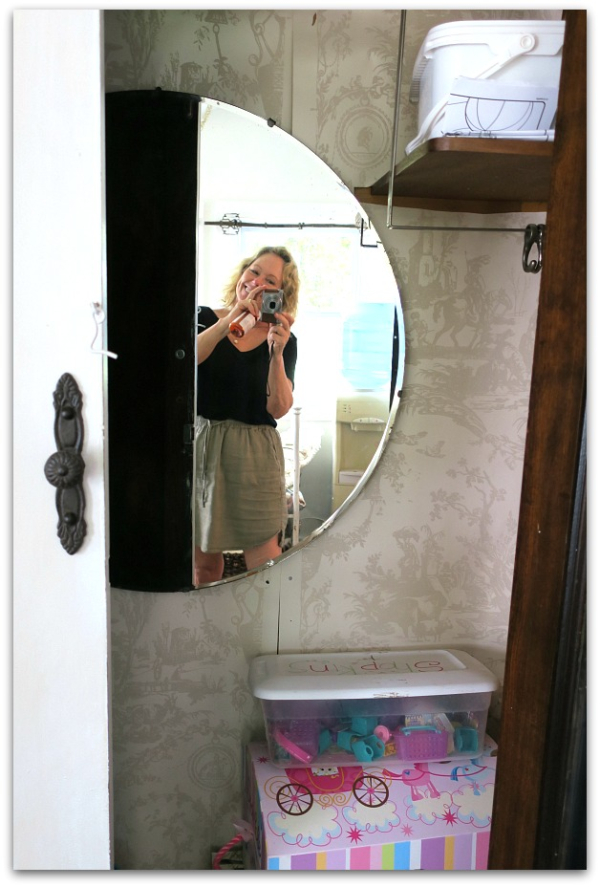
The interior was in good shape, except where a huge hole had been cut to make space for the previous owners to use it as a TV cabinet.  Plus, it was dark inside. I didn't want to paint the whole thing, so I covered the back in vintage wallpaper to match the paint and then covered the hole with a mirror.

The wallpaper is lazily tacked up, not glued down, and I didn't even bother to match the pattern. I just wanted to lighten it up. Don't you hate looking for something in a dark closet? This brightened it up nicely.  And the piece is perfect for hiding boxes of Shopkins, Playdough, and princess dolls.  

I hope I can squeeze in a few jackets and a vacuum cleaner like I'd planned on. Seems like toys take over pretty fast.


Rebuilding an old mantel

cottage, Hearth Room, Kitchen remodel

IMG_8626

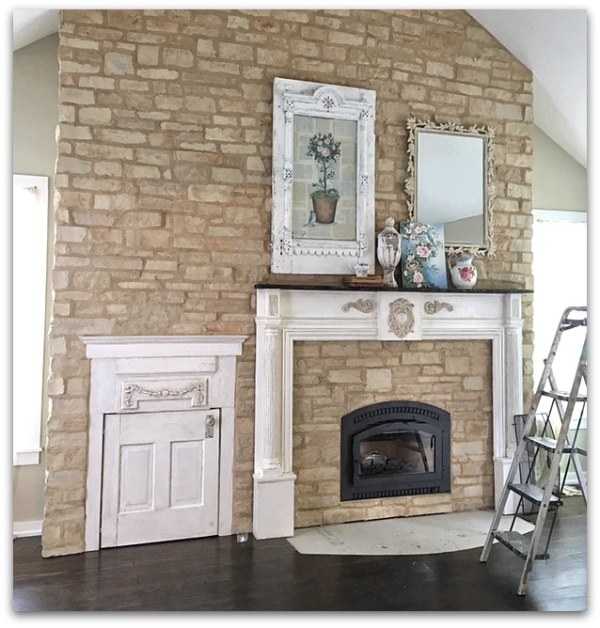
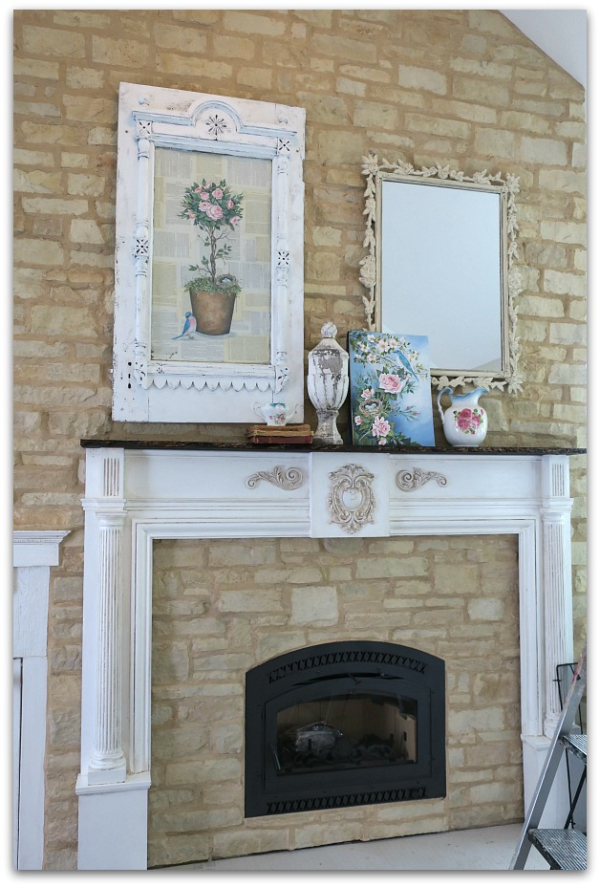
In this photo, the room is close to being done.  I still need a large, ornate, white frame for the smaller painting. Once it is on, I'll be leaning it against the mirror as it is now.  Unframed, the scale is a bit off, it needs to be larger.

I have a mosaic planned for the floor, pics as it gets planned and completed.

IMG_0041

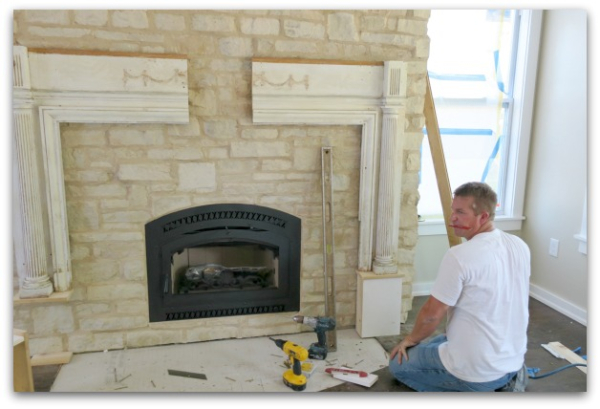
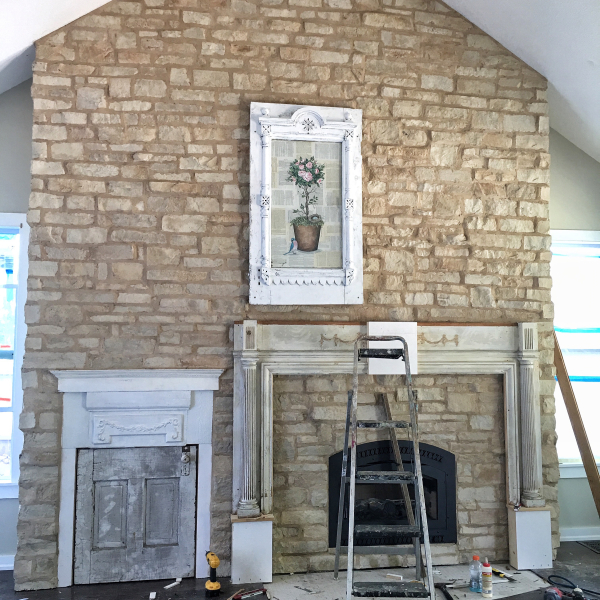
The old mantel that a dear family friend gave to me 20 years ago and had been saved thinking…someday.  Sadly, it didn't fit the space after all.  But we saved it!  The builder cut it in half, added a center block to widen it, then built up two blocks to heighten it.

IMG_8538

 But, in doing that, we lost the old trim on the piece.  And the shelf board thing on the top had to be removed.

IMG_8557

 But I found a rough, piece of oak still with the bark on it that was long enough to use, and I stained it dark like the floor.

IMG_0038

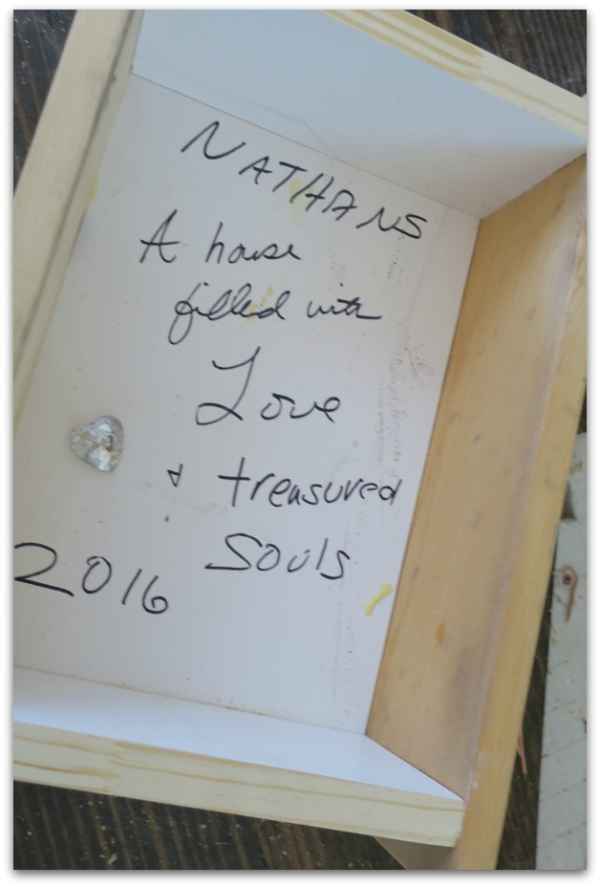
As the contractor was putting the boxes that would support the mantel together, I thought it would be sweet to turn one into a time capsule.  I wrote on the interior with a Sharpie and grabbed a crystal heart button that fell off of Sugarwings' cape.  The cape was one of the four Aunt Terry made for the girls for Christmas, and it represented a meaningful family moment for me. (I can pick up another button to sew back on the cape later.)

IMG_0053 IMG_0052

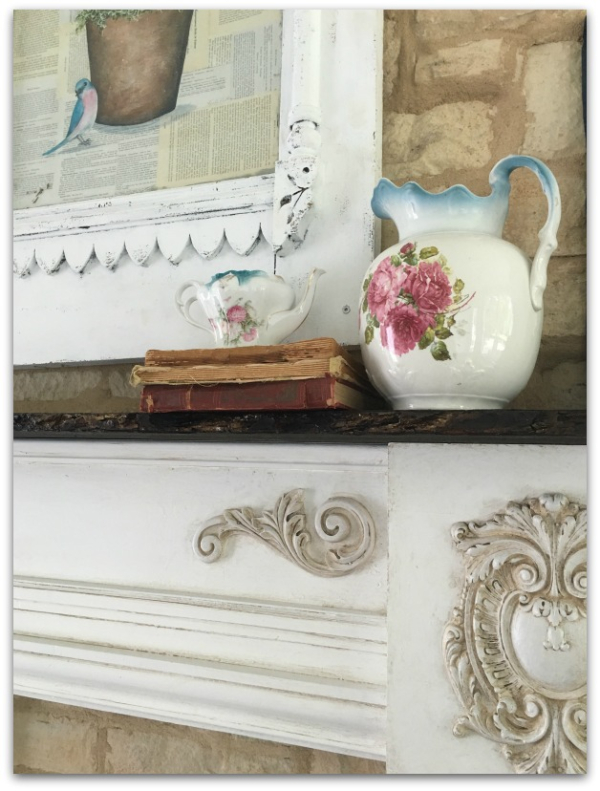
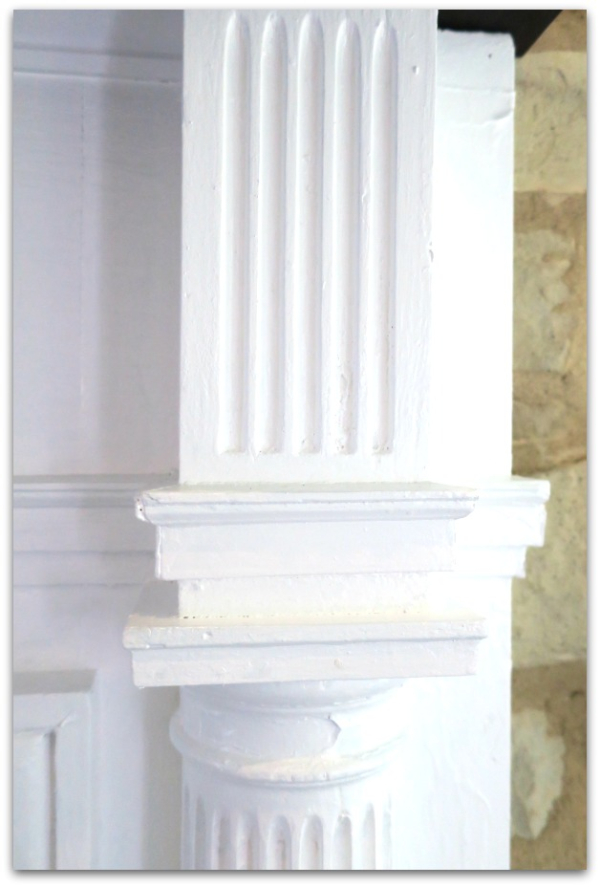
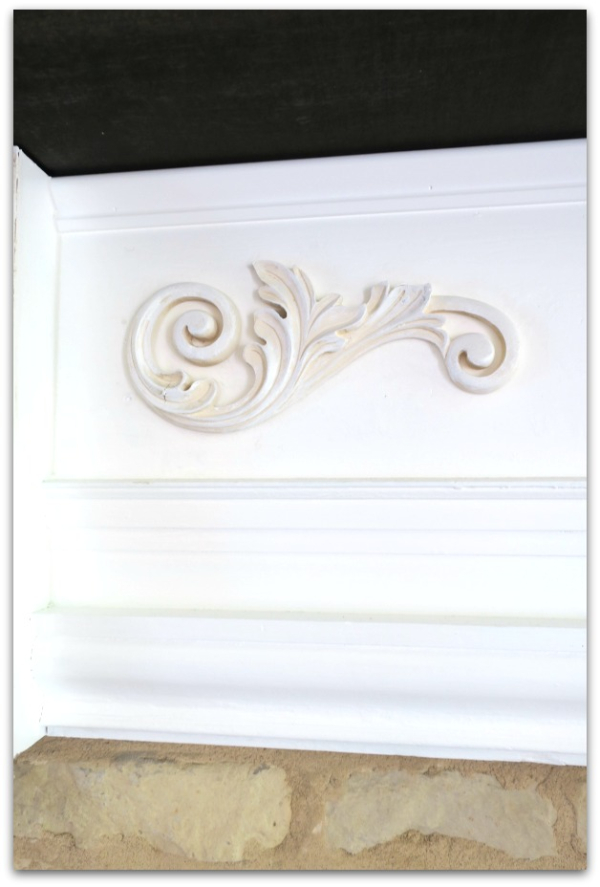
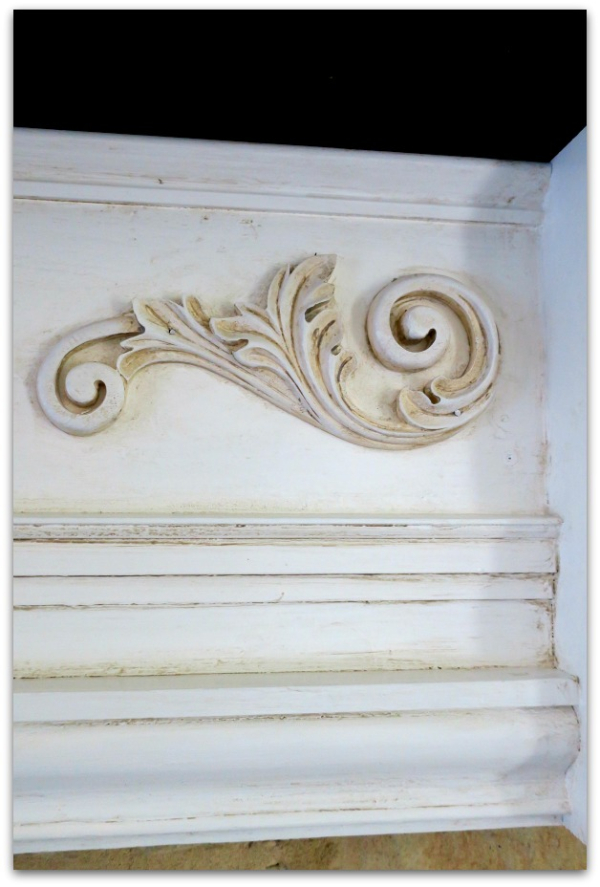
All of the wood was painted pure white, semi gloss after the pieces were assembled and I'd replaced the ornamentation on the mantel with some reproduction pieces.

IMG_0054 IMG_0051


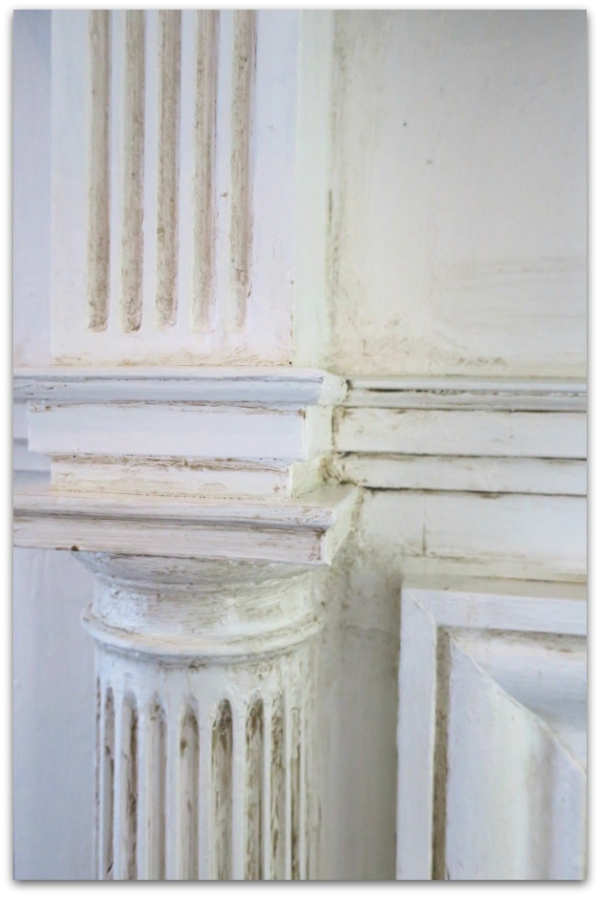
After that, I painted a dark walnut glaze over the paint and wiped it off with a soft cloth to take some of the "new" away.

IMG_0065

Ta da!

Next up, that mosaic floor and searching for a large frame for that leaning painting.


Painting number 2, lost in the roses

Hearth Room, paintings

IMG_0044

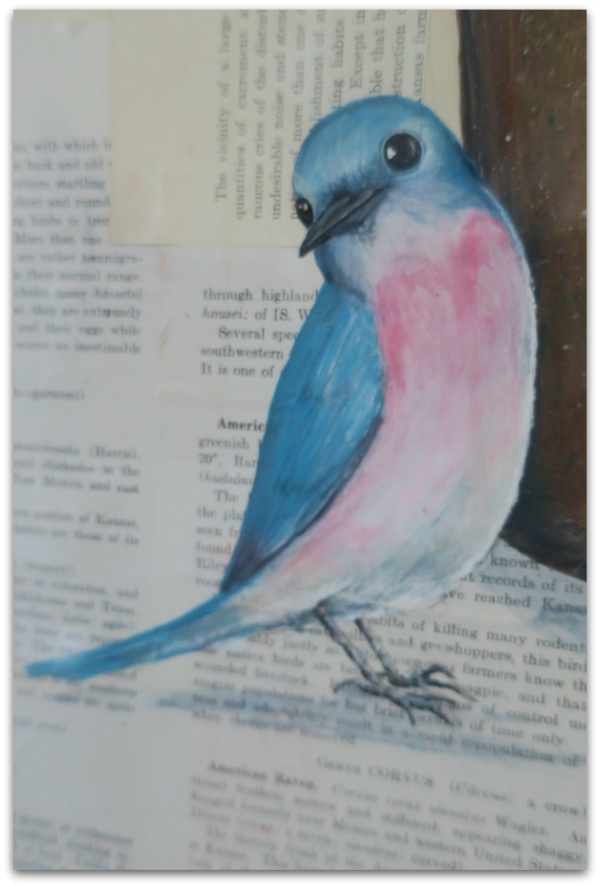
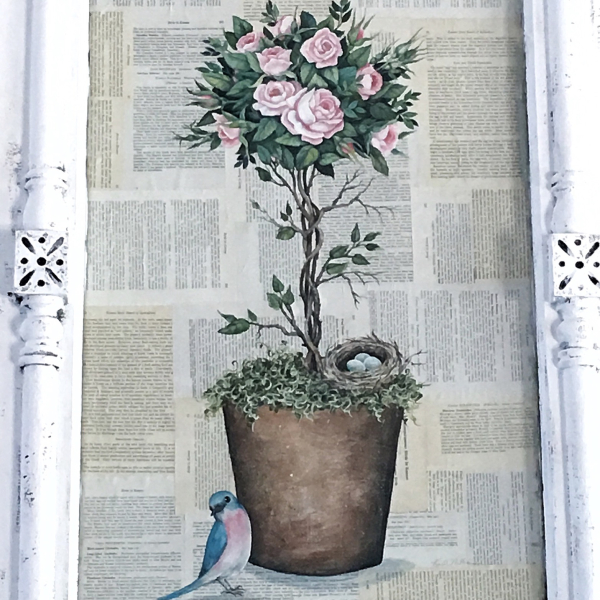
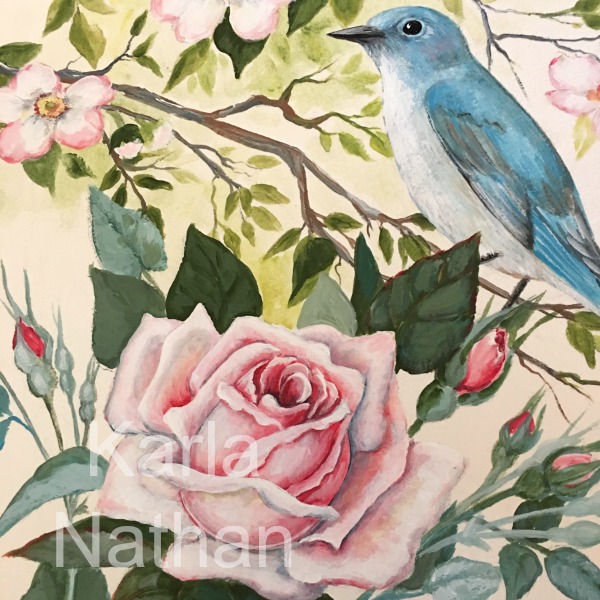
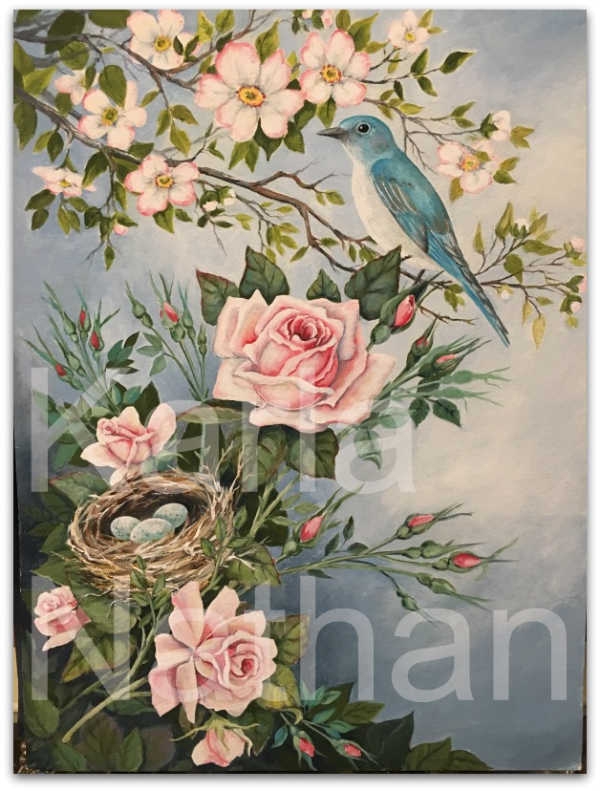
Here is another little birdie friend in the 2nd painting I've done for over the mantel.

IMG_0042


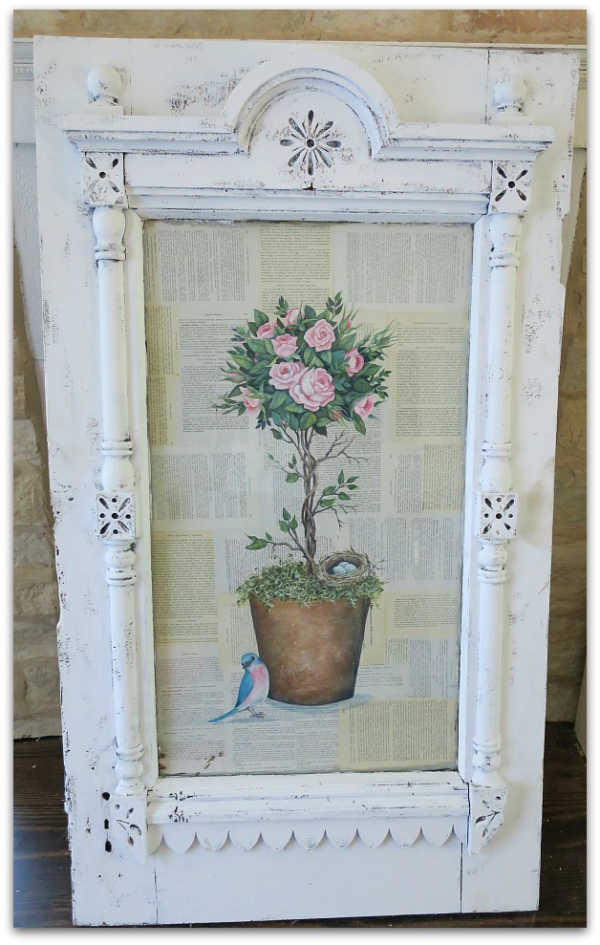
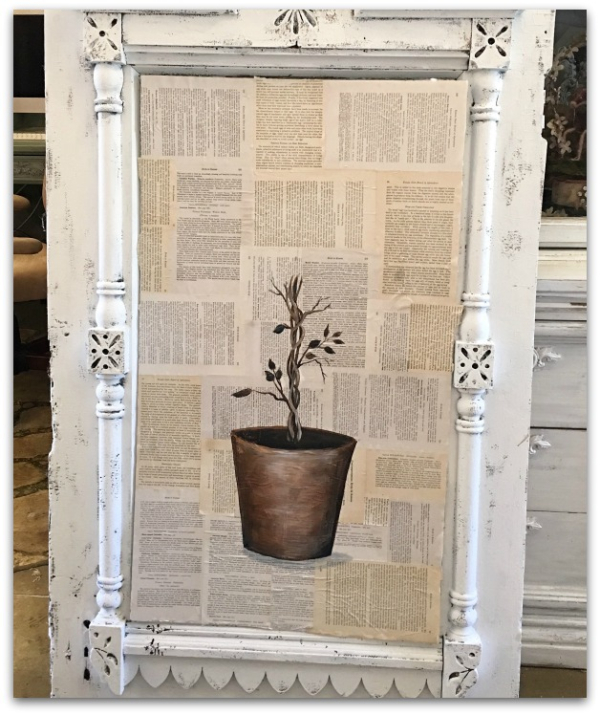
Last spring, I found this top half of an old, ornate door at a flea market.   It still had its wavy glass and I thought it would be the ideal frame for a painting above the fireplace on the rock wall.  The first painting I did had too much going on, I needed something more simple that could hang high and still look good from across the room.

IMG_0024

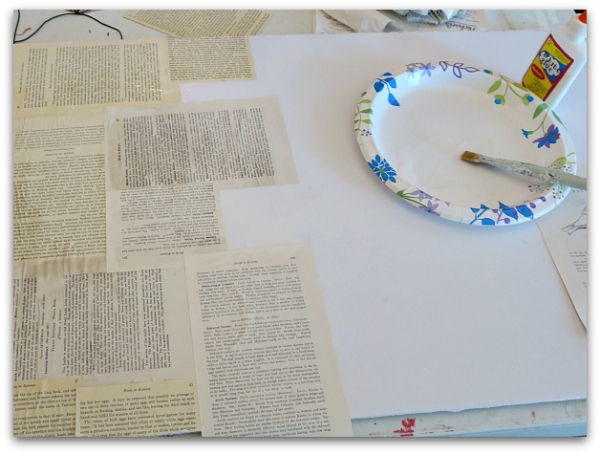
For the background, I tore pages from a vintage book titled, "Birds in Kansas" and glued them to a foam core board.  Some pages were yellowed, so those were scattered around randomly with the whiter pages for a nice piecework pattern.

IMG_8517

After that, I started in on painting the pot for the topiary I'd planned.  At this point, it looks a little like Groot. 

I think my family would have enjoyed the picture if I'd left it like this.  We all adore Starlord and Groot.

IMG_0043

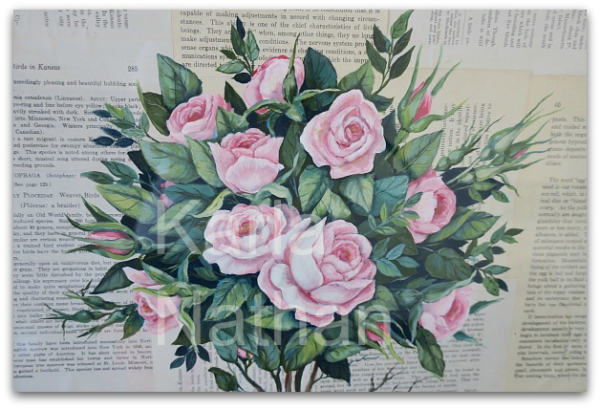
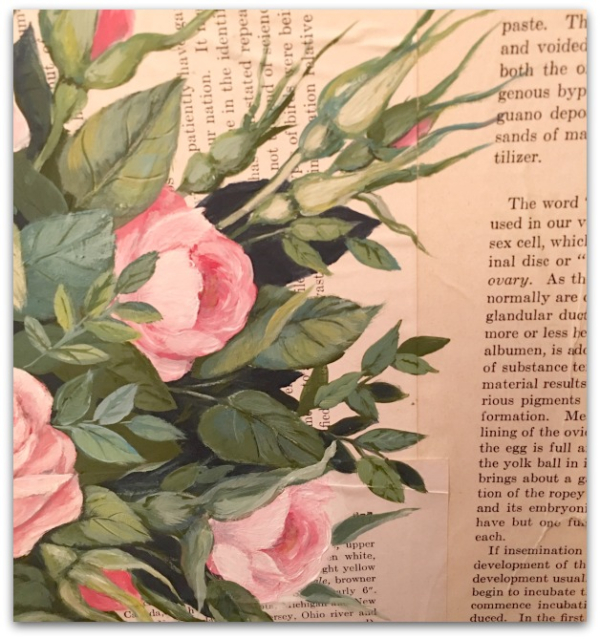
Here is a close up of the roses.

IMG_0045

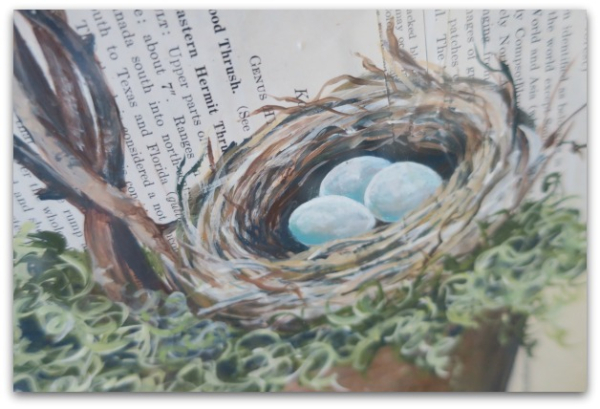
And this is the nest in the mossy pot.

IMG_8528

Doing the two paintings for the mantel was so much fun for me. I used to be a painter, mostly watercolors.  But in the gallery world, I always felt slighted and looked down upon because my subjects were too "pretty".  No edge, no drama, no angst. Just pretty and happy. My style didn't fit into that scene and I kind of drifted away from this over time.

IMG_8540

Maybe now, being older, I just don't care what others think, so I can paint what I want without feeling like I'm lacking. I might be doing more painting in the future. I didn't realize how much I'd missed it, till I got lost in these roses.


Inspiration for a painting

cottage, Hearth Room, Kitchen remodel, paintings

IMG_8484

Last month at Good JuJu I stumbled across the perfect curtains for the new addition. They are not what I was looking for, and I hadn't even planned on curtains. I thought I'd go with shades covered by lace sheers (I'd bought a boxful of vintage ones at an estate sale for $6, that just needed a little repair and hemming to fit).

IMG_8483

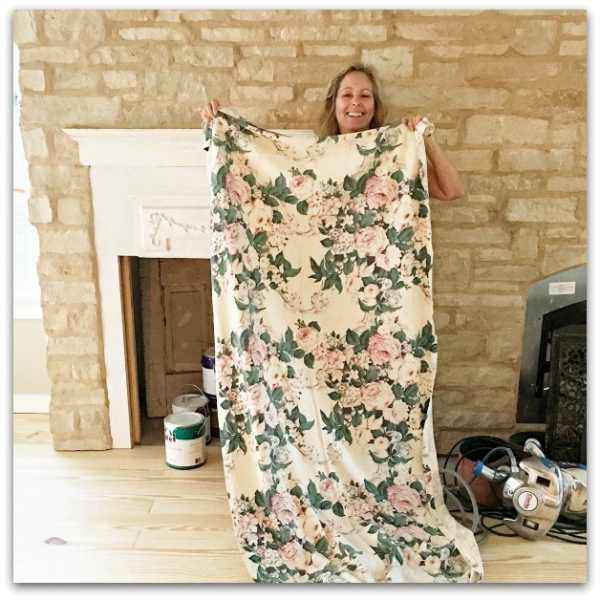
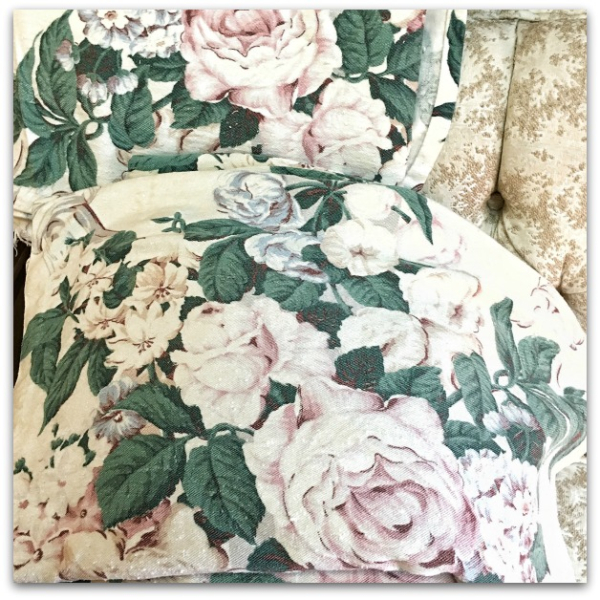
But when I saw a pile of these, perfectly faded, soft colored, old barkcloth panels in great condition, I fell in love.  I've had a thing for barkcloth since I was a kid and spent time in my Grandma's cabana room on the side of her Sarasota trailer.  She had curtains and seat covers, all in mismatched tropical patterns, in that nubby, old material.  Later on, when I discovered that cool, old fabric was made in ROSES too, I was enamoured with it.  

Silly me, I debated the purchase of these for about a half hour of dithering, and almost walked away.  I wasn't quite sure if they would fit the windows, and fabric wasn't on my shopping list that day. 

Then, I came to my senses and realized that 6 long panels and one extra length valance of beautiful, vintage fabric for only $150 was a deal I should never walk away from.  Even if they did not fit the windows, I could make pillows and slipcovers, it was a lot of material.

And I was right, they didn't fit the windows. Though, there is a deep hem, and with some finagling, I can make them work.

IMG_8493

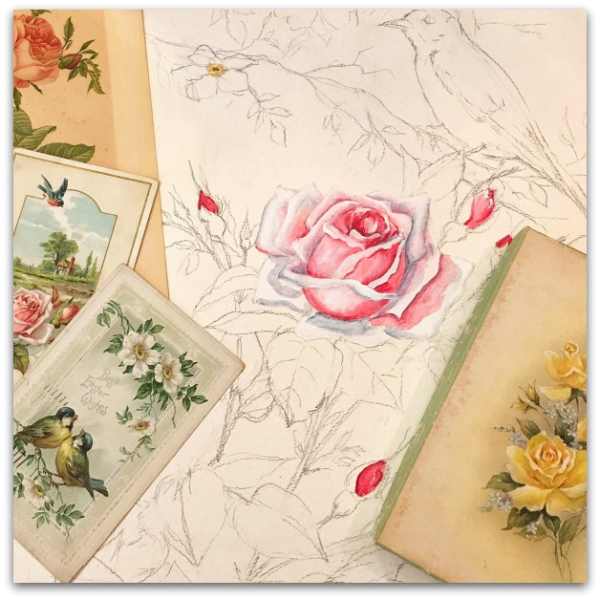
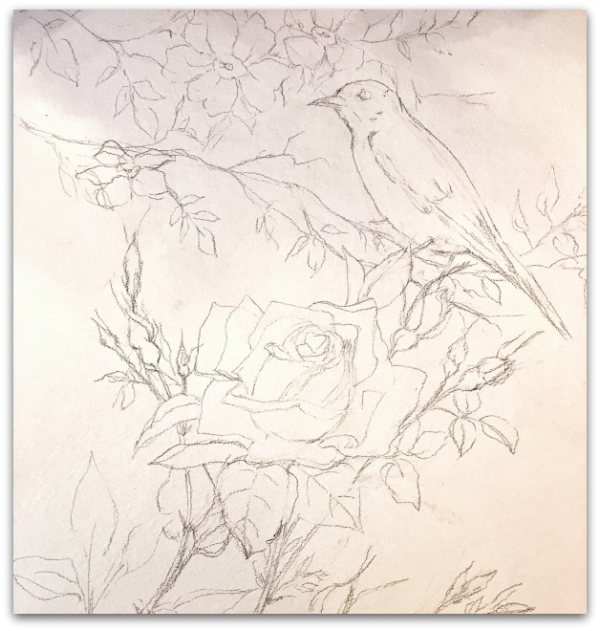
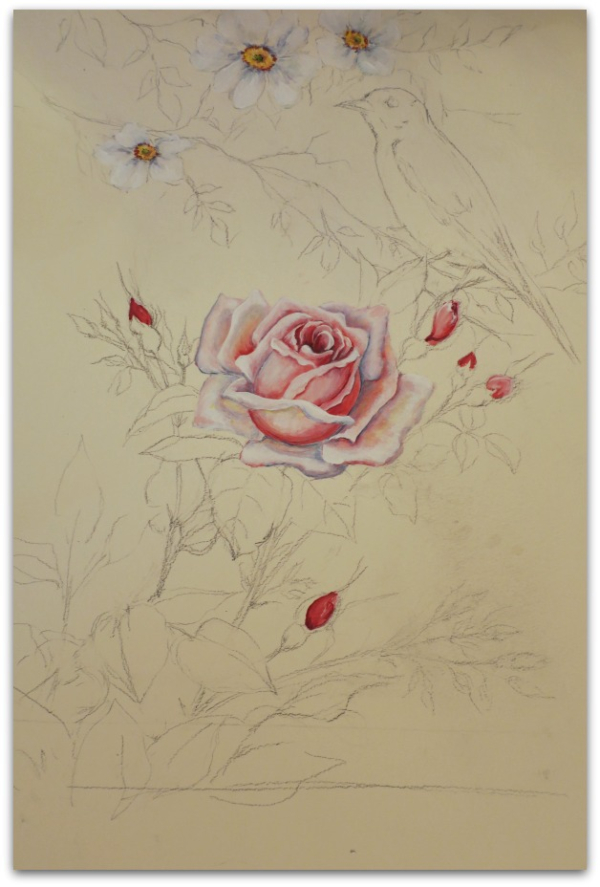
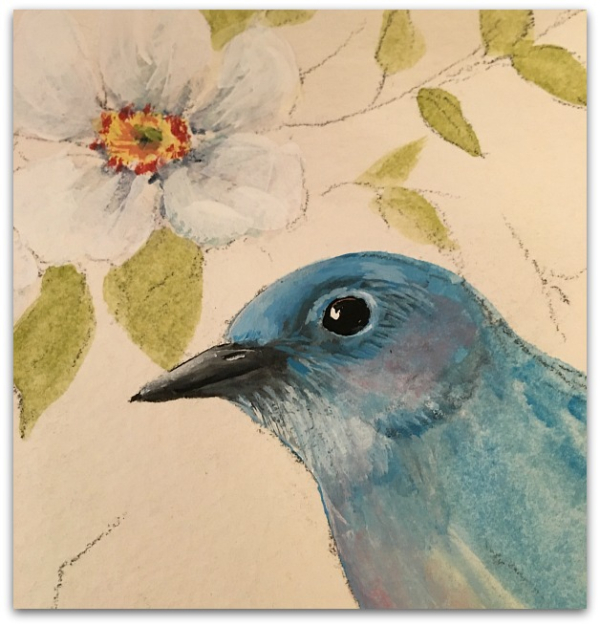
Once I had the curtains, my plans for the room changed up a tad.  I needed a coordinating something or other for over the mantel and I decided to paint some pink roses in the style of old postcards to hang up there.

IMG_8491

And the picture should have a bird in it.

IMG_0005 (1)

Here are some of the steps of the work.

IMG_8496

IMG_0023

IMG_8500 (1)

IMG_8503

IMG_8514

And here is the finished painting.

Trouble is, it was too small and too busy for the giant frame I had in mind.  I needed an enormous anchor piece on that 15' stone wall, and this needed to be closer to eye level to enjoy, not up so high. I'll still use it on the mantel, but will set in directly on the mantel and lean it against the larger painting.  I'll post about that one later.

PS- Before this gets framed, I hope to get some copies made for my shop. I'll let you know.

Have a seat

cottage, Dorkies (Yorkshire Terrriers), Hand Painted Furniture, Hearth Room, Kitchen remodel

IMG_8365

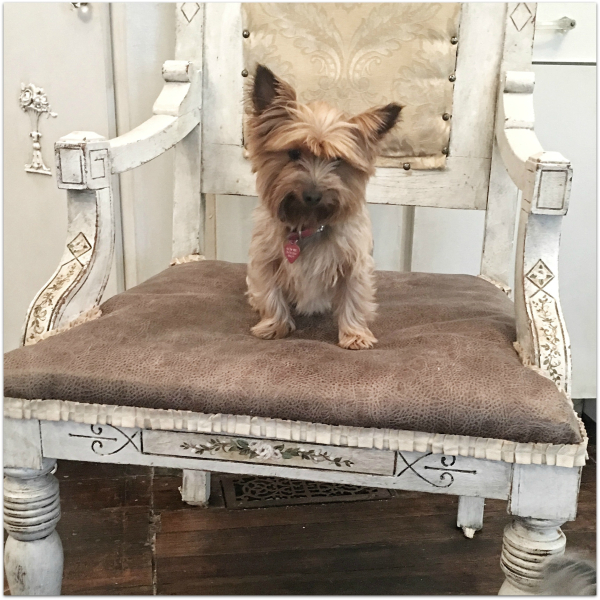
Dorothy is happy to be back and to resume her role as blog model.

This chair has been needing a new seat for, well, way, way too long. It is Sugarwings' seat at the dining table, and she tends to be…a messy boisterous diner.  The original seat was quite ugly, and I hated it from the minute I saw it, but it didn't show the results of her dining mishaps.  I'd made a seat slipcover to use over it when company came, but didn't leave it on all of the time, because it was light colored.

IMG_8360

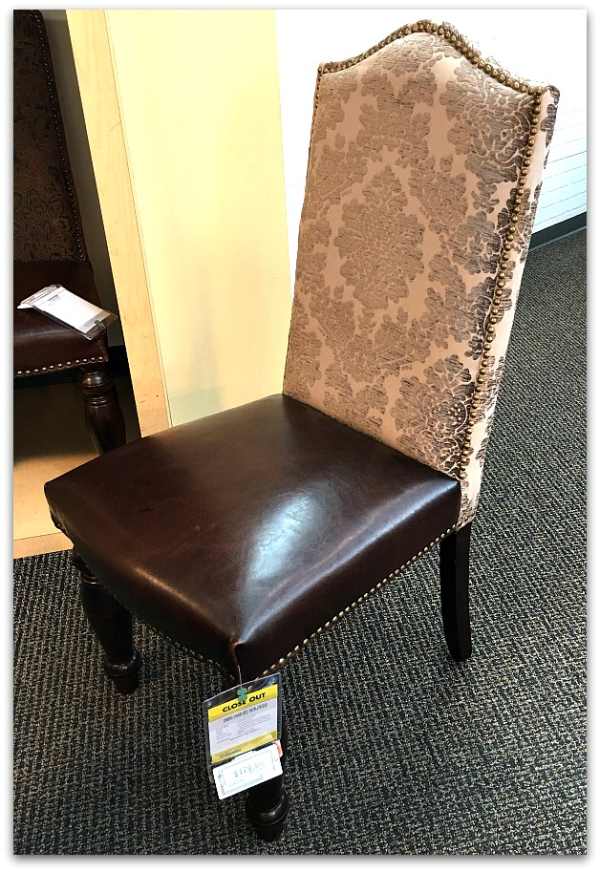
When I saw these chairs on clearance at Nebraska Furniture Mart, I was inspired to recover Sugarwings' seat in a faux leather look, to compliment this chair, which I bought for the other end of the table.

IMG_8364

Hancock Fabric is going out of business, and I got the cloth for 75% off, and a ruffled trim for  an 85% discount.  The two chairs don't exactly match, but I prefer things that blend nicely, not match perfectly.  The other chairs are a mix match too, but I'm considering covering the seats with this 'pleather' stuff.

IMG_8357

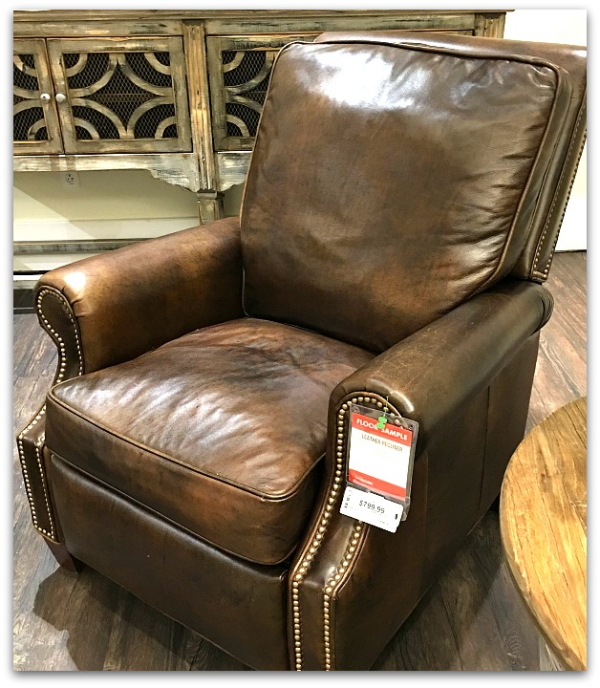
The kitchen/dining/living rooms will all be open to the new hearth room, where two of these genuine leather recliners will sit in front of the fireplace.    The home will still be mostly whites and creams, but I'm looking forward to adding these darker, more rustic elements of leather, especially in the hearth area.

I'm not a fan of recliners, but my husband is.  And the fireplace is his dream.  So I searched high and low to find a couple that we could both live with.  While I'd prefer some cushy, velvet seats with plush footstools instead, I have to remember it is his space too.  And don't you think that this recliner is less recliner-y than most? It reminds me more of a leather club chair than a typical recliner, so I think I'll like it. 

Maybe with a soft throw over each, and a distressed, white table between them?  Oooh, and an alabaster lamp!?

Plus, they were half price. Well, at least the floor model was, and the salesman gave the second one to me at the sale price too!

IMG_8372

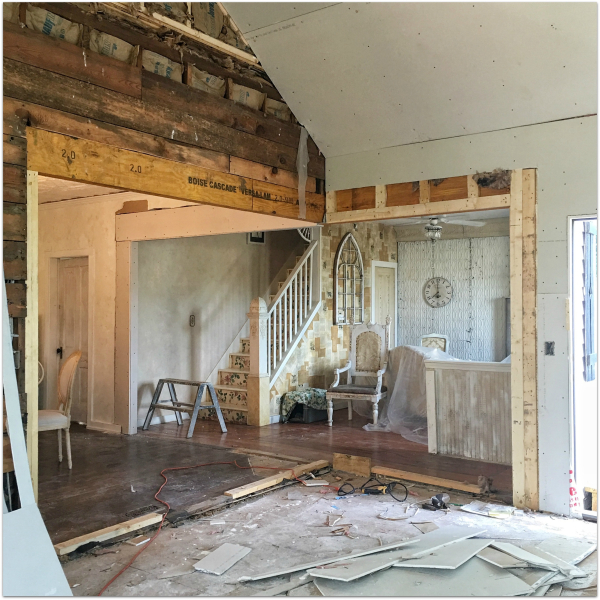
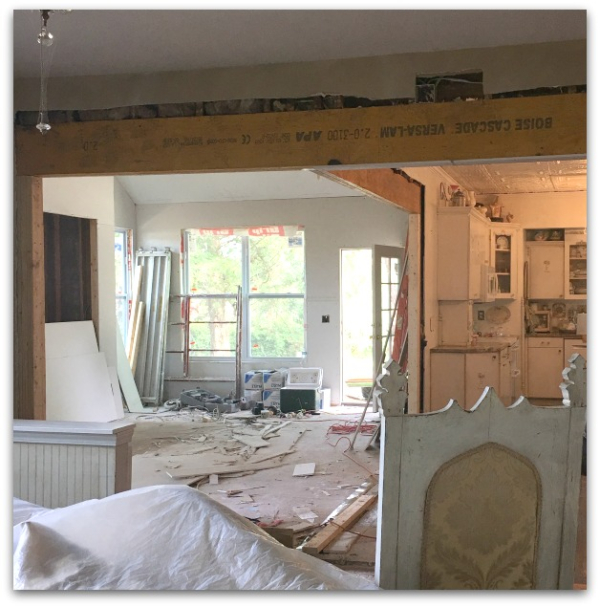
See what I mean about how open it will all be?  When the deconstruction started, it was a gamble, not knowing if we'd be able to have it this opened up or not.  Old houses can be tricky and the builder told us we'd have to see what was in the walls before he could say for sure whether it would require supports or not.  

But we lucked out and the room will be finished as we'd hoped.

Now, to pick out paint colors. And from looking at this photo, I think I need to redo the wallpaper on the stairs. In the past, you couldn't see the roses on the risers and the text on the wall next to them, at the same time. Now, from the new room, they are on full display and look a bit busy together.


IMG_8371 (1)

There is a lot of work ahead, but I can feel it coming together.

Sometimes I like chalk paint, sometimes it isn’t the right tool for the job

cottage, Hearth Room, Kitchen remodel

IMG_9037 (1)

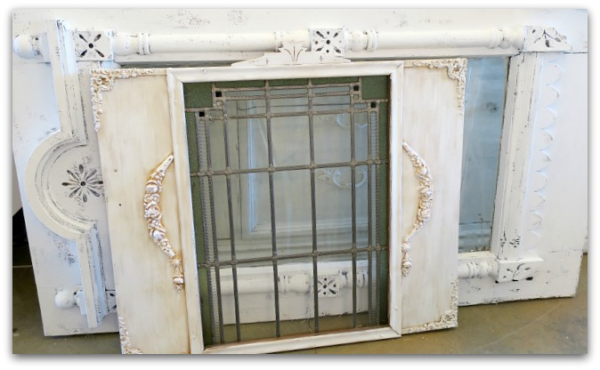
Here are a couple of pieces I am tinkering with to use in the new room we are building. The one in the back is a heavy, Victorian door, or at least a partial door (laying on its side here). About the bottom 3rd has been cut off.  It has a big window in it that I want to put a picture in, then hang the door over the mantel.  My contractor has promised to put a strong anchor in the stone to hold it for me- this is a hefty hunk of wood.
IMG_9003

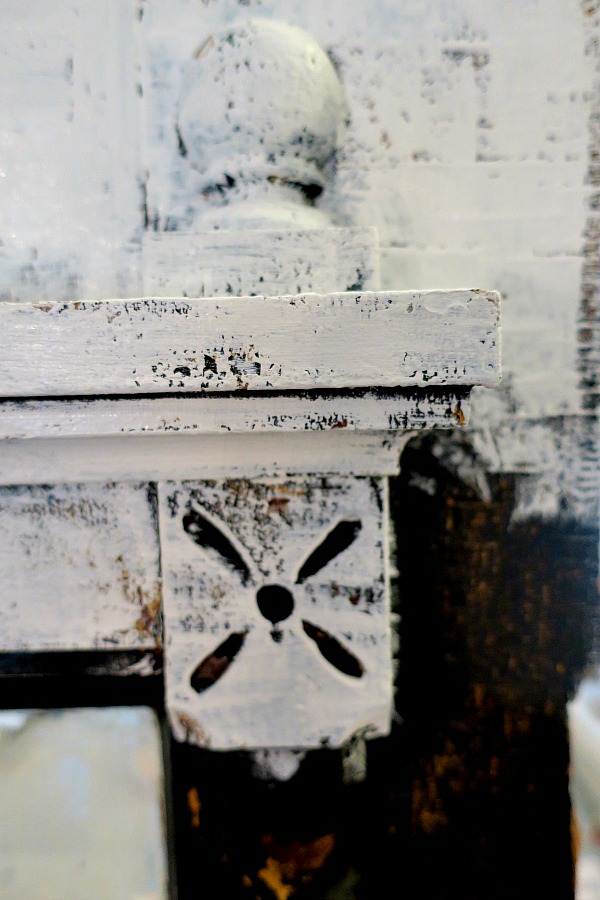
I was so impatient to get the project started that I didn't get "before" pics.  Although, I did grab my camera to snag a "during" photo.

While I have often complained about the explosion of the the chalk paint trend (to me, it is right up there with the gluten free fads that have swept the country) I do believe there is a time and place when chalk paint is a good idea. It just isn't the only paint in the world you should use ALL THE TIME.   
IMG_9004

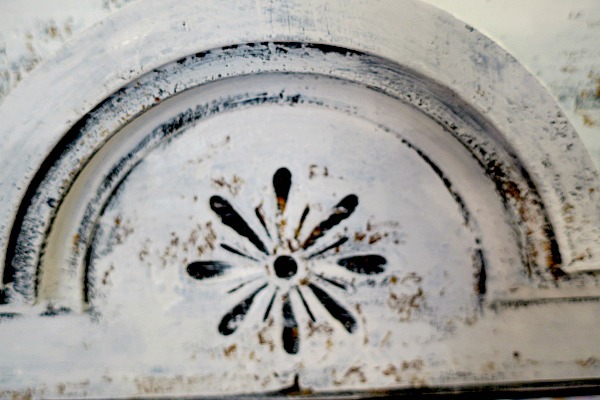
This door is a perfect example of when chalk paint comes in handy.  I wanted to dry brush over the existing finish to allow all of the bumps and alligatoring that developed over time, to show through. If I'd had to sand or prime, I could have lost a lot of that wonderful texture.

Later on, when the picture I decide upon is ready and behind the glass, I'll show the finished door.
IMG_9030

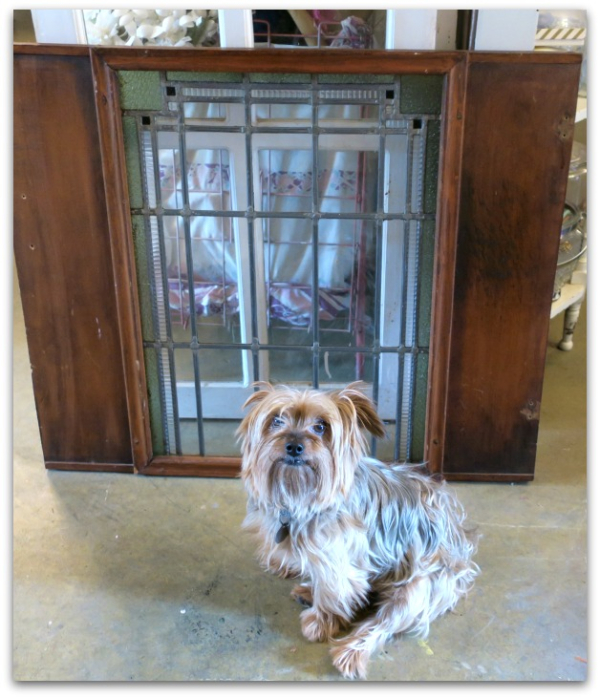
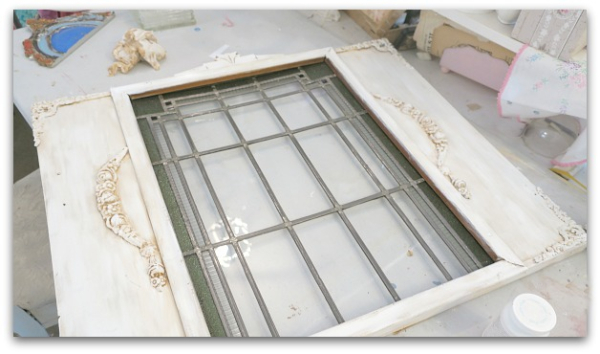
The other piece is also a door, this one is from a shelf/cabinet thing.  The door was a bit awkward to open and close because it is so wide. To get to a book off of the shelf, you'd have to step back to swing this big door wi-i-i-i-i-i-de open.  

It is much better off removed from its cabinet.  I'm giving the doorless shelves to my son's family and I'm going to hang the stained glass door on the wooden wall of the new room.
IMG_9046

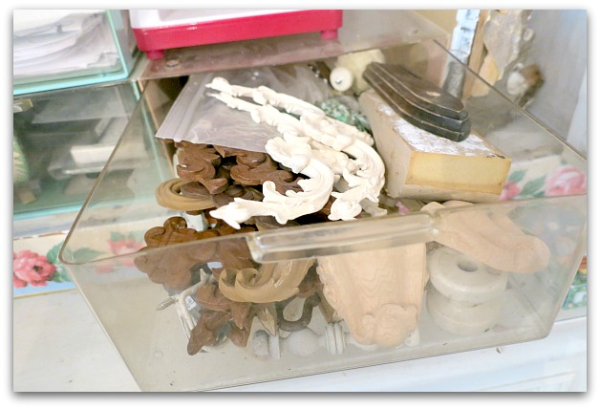
At first, I was going to cut off the two blank, side panels.  Then, it dawned on me to look through my treasure drawer to see if I could find anything to foof those side panels up.
IMG_9047 (1)

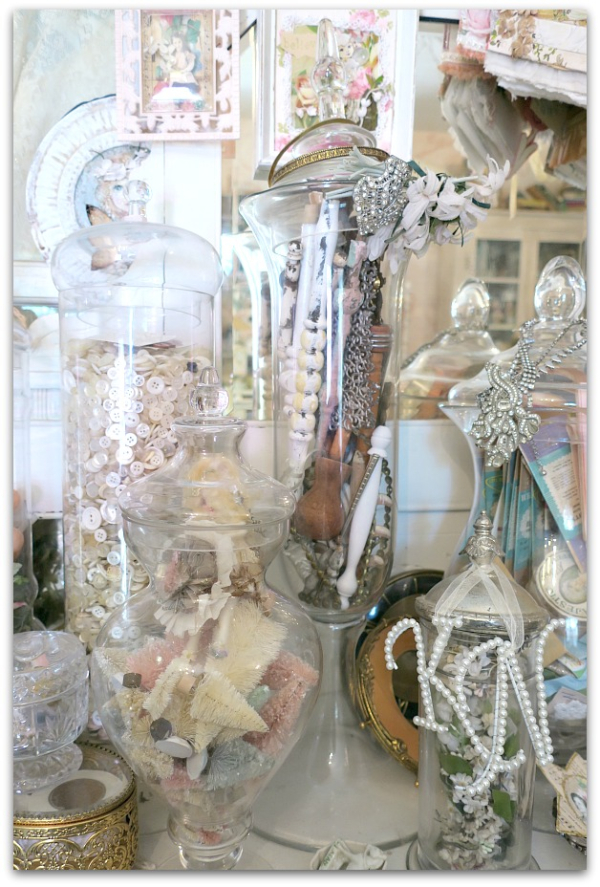
Between the drawer and this apothecary jar of goodies, I had enough trims and doodads to arrange and rearrange til I came up with something I liked.
IMG_9034

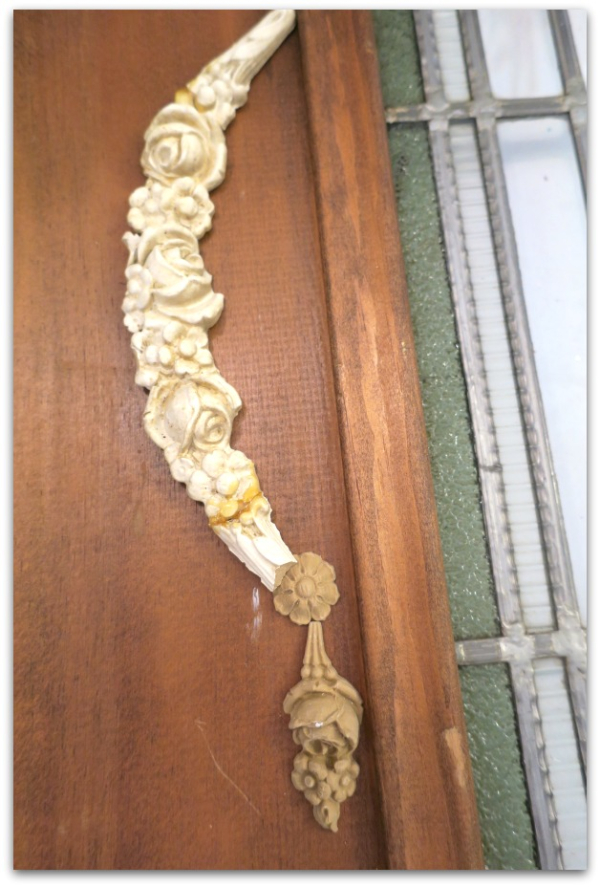
There were a couple of rose garlands leftover from my kitchen cabinets.
IMG_9033

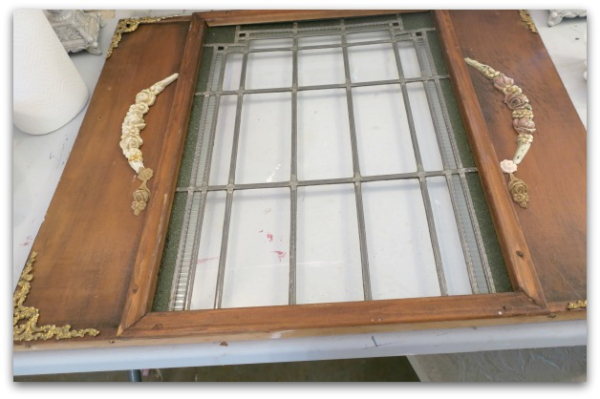
Along with metal corner brackets, and a simple, wooden top piece. It didn't matter that I was using wood, metal, and resin, all were going to be painted after gluing down with paintable silicone.  This is the perfect glue for 3D trim pieces, it fills in the gap where the two pieces meet.  
IMG_9035 (1)

See, once painted, all of the bits and doodads looked great together. And I was glad that I had left the frame large instead of cutting the window out.
IMG_9036

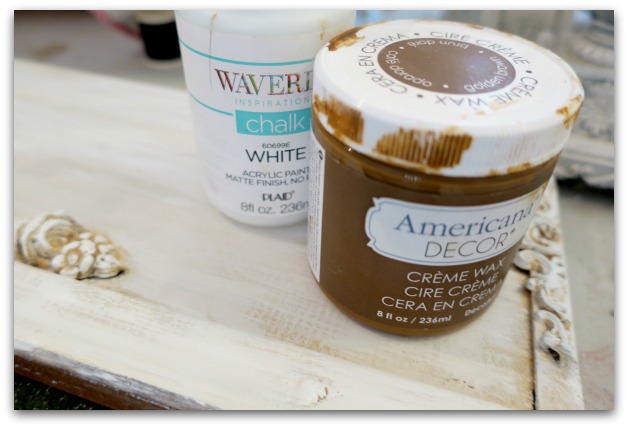
Once again, I used chalk paint.  But not the full price, break the bank kind. I got this from the craft store with a 40% off coupon.  I've never tried the aging wax before, but thought I'd give it a shot.

In my estimation, it is much, much, much harder to control than glaze. Glaze colors can be diluted for a softer look, and have a longer working period to wipe off some of the color.

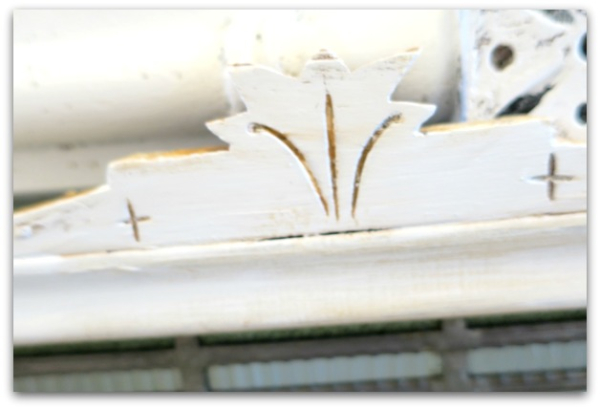
Actually, I disliked using the wax.  It went on too heavy and wouldn't wipe away like my beloved glaze tones do. I ended up dry brushing more white chalk paint over the wax to lighten it back up. Now I guess I need to seal the paint again, huh? 

So, in this case, a bonding primer, a coat of paint, and some glaze would have been quicker and easier than messing with the chalk paint, wax, more paint, then a topcoat.
IMG_9039 (1)

Either way, this was a small project and one more step didn't take that long, so I'm not complaining. I'm pretty happy with how it turned out. 

Now, I need to pick a paint color for the wall it will hang on.  The room is progressing!

Scroll to Top