holiday decor

Springtime entertaining and making things

Dew Drop, holiday decor

IMG_0871

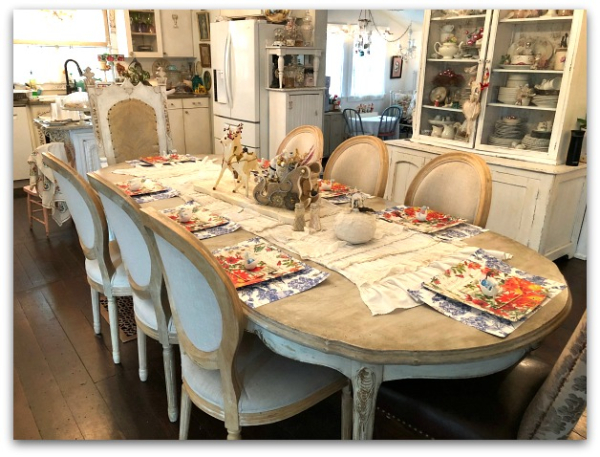
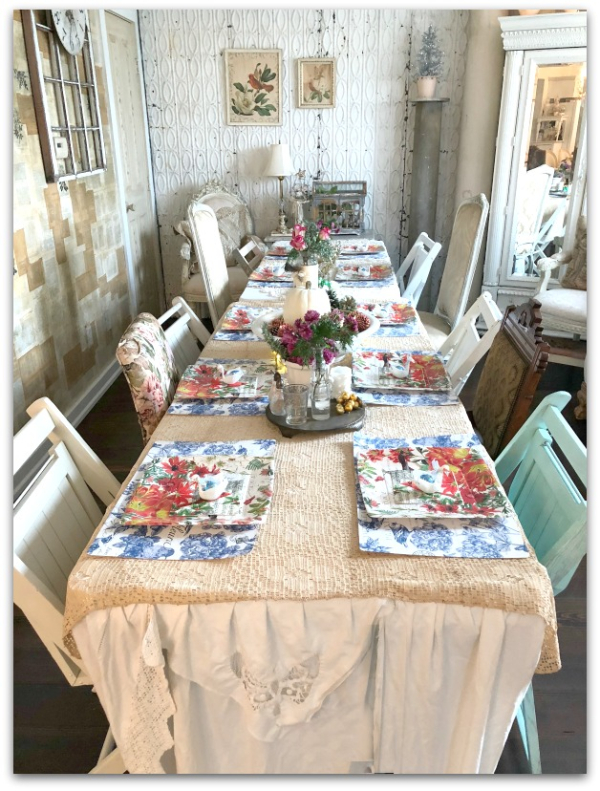
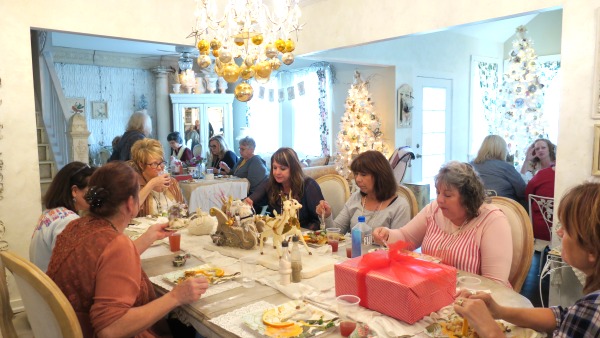
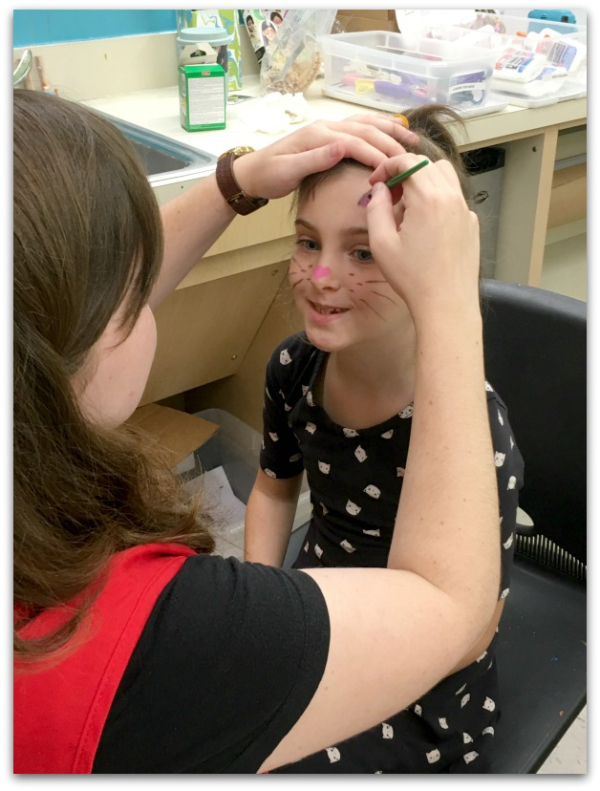
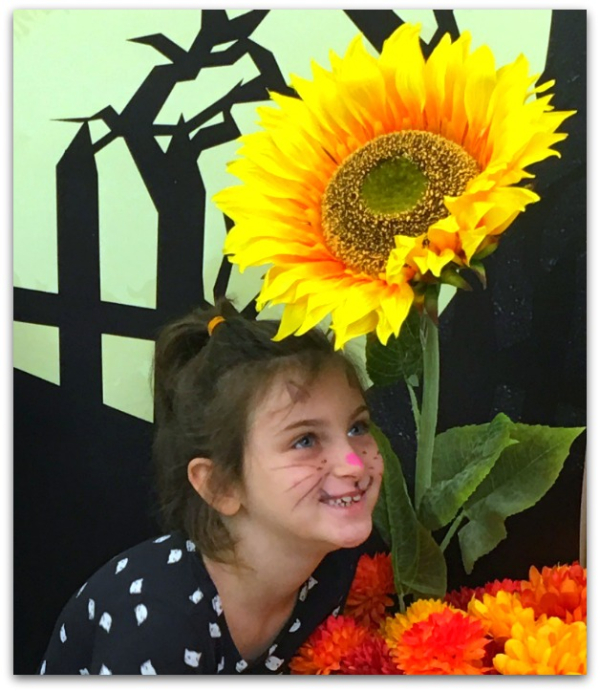
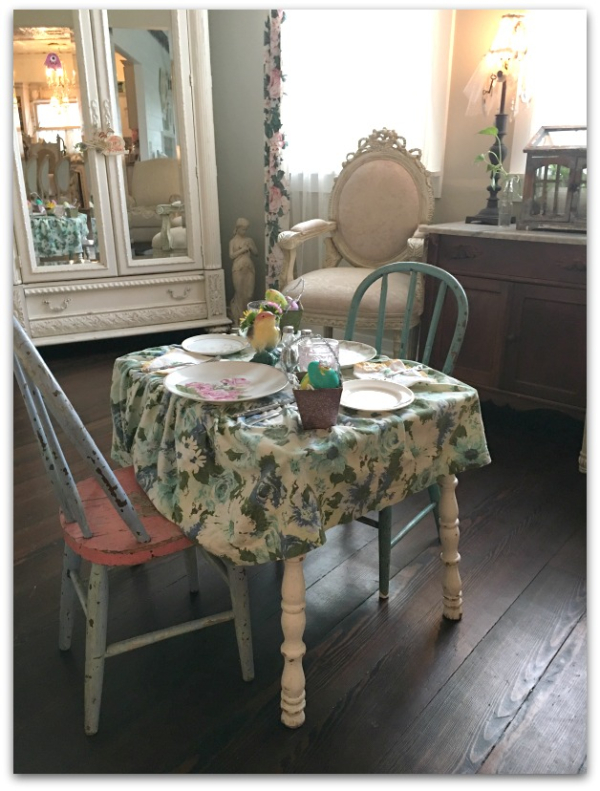
We had some friends over before Easter for a small dinner party. One had a daughter near Dewdrop's age, so I set up a special table for them to dine at.  Afterwards, they had craft projects to do and eggs to dye.

IMG_0872

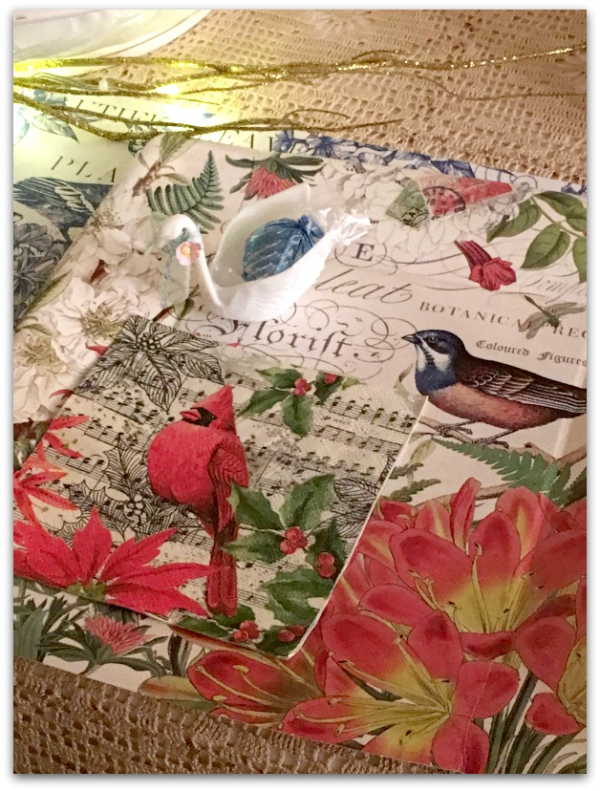
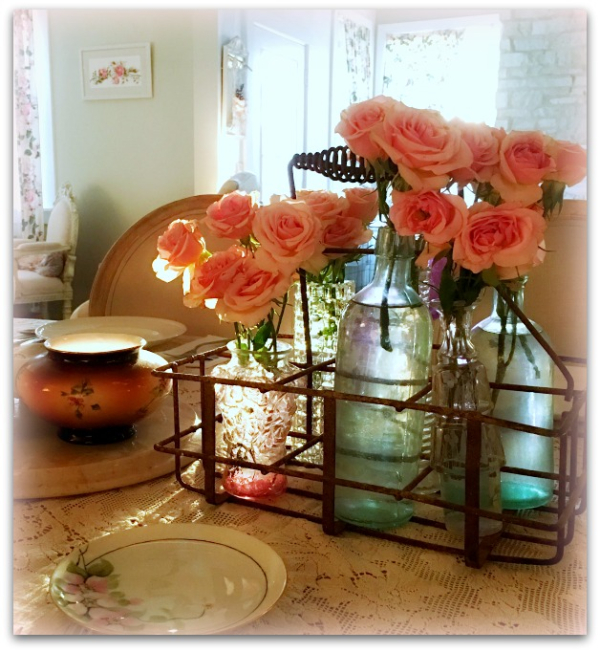
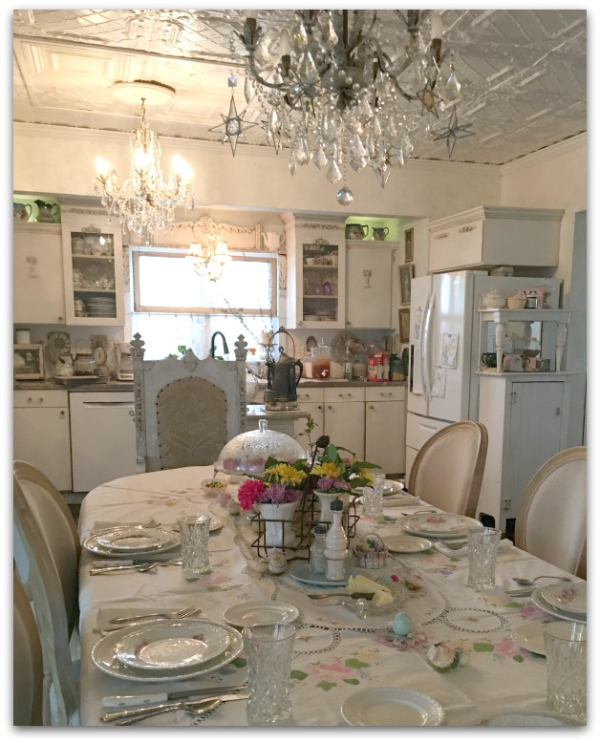
This is my favorite time of year, and I adore the colors of spring! I broke out the new, pastel, floral table cloth that the guncles gave to me, and the white dishes from Beth, for a soft colored look to fit the season.

IMG_0878

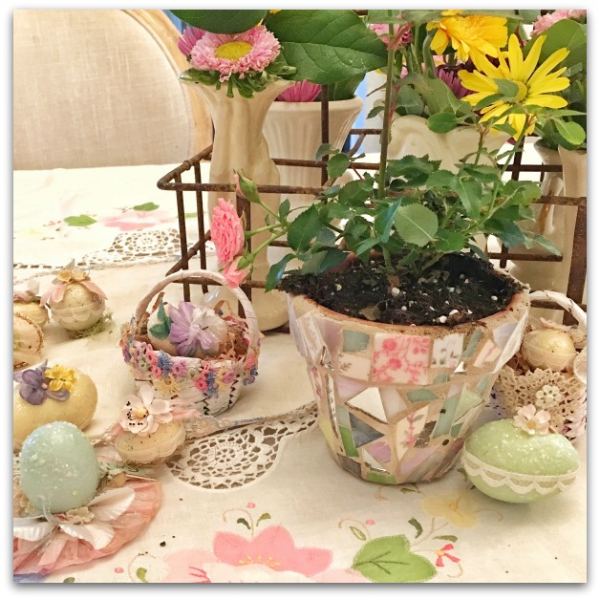
My pal, Shan, brought this mosaic flower pot to me when she came for dinner.  Just perfect with all of my sugared eggs!  Those eggs were the perfect craft for me, I had a ton of fun making them, got to use them in my decor, sold a bunch, and gave away a dozen or so to followers.  

IMG_0867

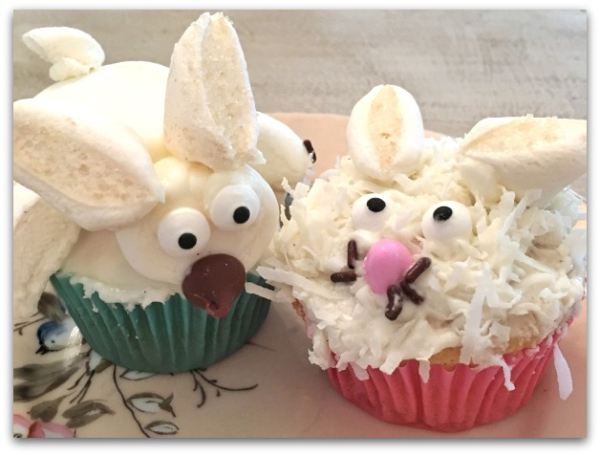
Sugarwings has become a Pinterest fan.  We saw some bunny cupcakes there and the family had a cupcake decorating party one night. They were nice enough to make some extras for the dinner party too.

IMG_0862

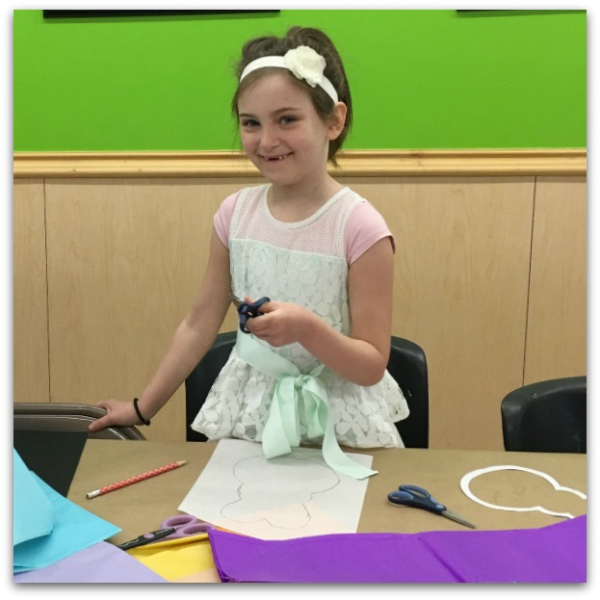
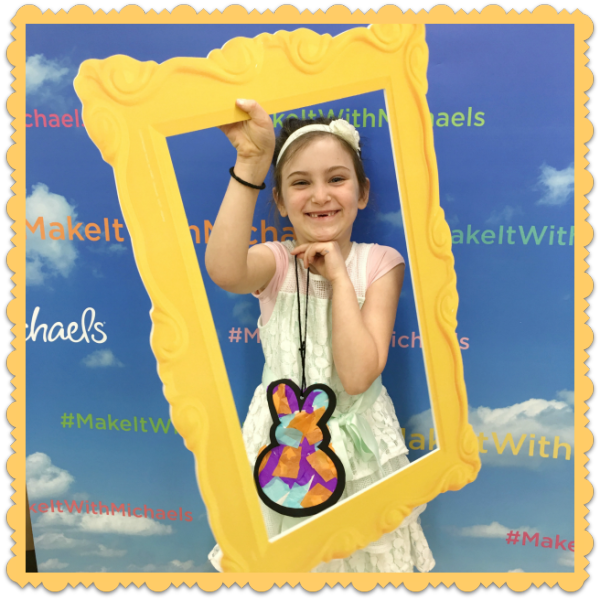
Of course, we are always at our happiest when we are making things. I stopped at Michaels before our gathering to get the craft supplies for the little girls and we took some time to attend one of their kids' workshops. These are often free, or if they cost anything, it is minimal.

IMG_0865

The teacher was sweet as can be, and Dewdrop was the only kid attending. I hope more children turn out for these things, I'd hate to see them get cancelled due to lack of participation.  We sure enjoy them!

PS-  Sign ups for A Snowbird's Song, (Birdsong 6) begin on Friday.  If you have attended any classes at my cottage, or sponsored gifts for an event, you are welcome to sign up between Friday and Tuesday. On Tuesday, it opens up for new friends to join us.  Details on Friday! (Also, if you are signing up this weekend, you are welcome to add a pal who is new to the group, if you do not wish to attend on your own. It's always fun to bring a buddy to room with, right?)

More Sugared Eggs, More Snowbird Talk

bird song art event, holiday decor, the Boutique at Karla's Cottage

IMG_1844

Thank you to everyone who left comments to enter the egg giveaway! I am shipping off winners from my blog, Instagram, and Facebook today.

IMG_1831

Also, a big thanks to those of you who bought some eggs from me!
IMG_1834

I do enjoy making them, and while I know it is sorta late for the holiday, I listed a few more in the Boutique.

IMG_1838

These are a little different, I had some speckled eggs to work with.

IMG_1859

Although there were still a few of the candy colored ones too.  (these are sitting on a quilt square made by my mom, I always use it in my Easter decorating, the colors are so sweet)

IMG_1825

And some come in their own basket.

IMG_1846

While my first eggs were mostly normal, hen sized eggs, all of these are different. I have teensy ones, regular, 2-1/2" and 3"  The larger ones fill a palm. IMG_1852

It was nice to see all of the comments for the giveaway, I appreciate you taking the time to enter. 

IMG_1828

Sometimes, it is good to get a reminder that there is someone on the other side of this blog, who actually reads it.  I just kinda ramble on and talk to myself.

IMG_1827

And thanks for celebrating my "hatching" of Snowbird's Song with me.

IMG_1856

I plan on whipping up some details soon, and having sign ups set to go.  Anyone who has sponsored gifts or attended a previous Birdsong get a first shot at attending.  

IMG_0831

It is a more intimate gathering too, since it will be in the colder weather. I will limit the guests to how many will fit into my dining room and new hearth room area for meals.  Maybe 20 instead of 30?

Please save the date of Friday November 10- Saturday 11, if you are interested. I'll let everyone know when I have the details in line and you can make your reservation. If you haven't joined us before, you can learn more about it here, and read about past events.

IMG_1870

If you are planning on a trip to our holiday Birdsong, or to some other art event, how are you packing your treasures? 

IMG_1862

I came across a few of these vintage, expandable file folders and added them to my boutique after filling them up with some ephemera to get you started.  They are perfect for carrying papers!  
And what a pretty, velvet cover.  Drool-making, huh?  I think it could be even better embellished by its new owner….  A little lace? No, a LOT of lace!! 

Girlfriends’ Craft Day, Birdsong Talk, and an Easter Giveaway

bird song art event, give away, holiday decor

IMG_1804

My friend, Tami, hosted another craft day recently, it was great to catch up with Birdsong Peeps. And it always means the world to me, to see the friendship between these ladies, that started with Birdsong!  That just made me miss all of the "Birdsong Ladies" (as Sugarwings calls them) even more.

Sooooooo…….. I'm most likely planning another one……. how about- "A Snowbird's Song" in November?  Just in time to make an elegant necklace to wear with your little black dress at holiday parties, some table top festive pretties, perhaps a banner and a smattering of ornies for the tree?

I'm thinking November 10-11.  More details when sign ups are set to go…..soon!  

IMG_0846

Crafting at Tami's workroom just drove home to me, what a gathering of arty, happy, creative types can do for the soul.  Making things together with my Peeps brings me a sense of community, gives me soooo many new ideas, learned from others in the group, and just plain old makes me grin.

I miss doing that in my studio!

IMG_0836

Our day was full of joy, laughter, and creativity.  I was on a roll, pumping out one project after another.  Here are just a few, this peat pot is decked out then filled with a bunny Tami gifted me with and is placed into a snow globe that I redo for different holidays.

IMG_0842

More peat pots and baskets were decorated and filled, as well as the large blue egg with bunny inside, pictured at the top of the post, and this egg covered in old ledger paper and foofed with a vellum bunny and lace.  

IMG_0537

I've been making these sugared eggs too.  Some, I've decorated with, some I've given away.

Do you want one? Leave a comment here or on my Facebook post and I'll draw a few names, and drop these little confections into the mail in celebration of hatching my  Snowbird plans!

ps- There are a few sugared eggs for sale in the Boutique too.

Sugared Eggs for Sale and as gifts

give away, holiday decor

IMG_1805

I know Easter is rather close, but there is still time for decorating, right?

IMG_1811

So, I added some of these sugared eggs to the Boutique.

IMG_1812

They come in two and three packs, some have foofed up, vintage baskets.

IMG_1818

And some are gifts!

IMG_1817

Yep, I'll share the eggs with a few giveaways, in honor of the plans I am "hatching" for A Snowbird's Song in November.

IMG_1814

Please leave a comment on this post, or the previous one, or on Facebook.

Yep, more banners! And kits for springtime banners too

holiday decor, the Boutique at Karla's Cottage, vintage paper/collage art, wallpaper

IMG_1571

I do tend to obsess.

IMG_1572

When I start making something, I GO FOR IT!

IMG_1573

Ah, but do you blame me?  Lovely old wallpapers, soft faded ribbons, aged millinery, luscious laces, darling images, THE GOOD STUFF, is all soooooooo wonderful to work with.

IMG_1556

And I'd say many of you agree with me, I appreciate all of the orders for kits!

IMG_1564

So, I made up a couple more.

IMG_1565

All in sweet, spring colors.

IMG_1568

But this is it for now, at least.  I will be shipping till Wednesday, then I am packing up some other delightfully wonderful beauties and flying off to Florida. I'll be taking the two grand fairies to Disneyworld, all by ourselves!

IMG_1570

After that, we get a week at the beach with my husband who will meet us there.

IMG_1569

So, all orders after Tuesday night, the 14th, will be mailed on Tuesday the 28th after I get home and my bags are unpacked, I'll pack up orders that come in while I am away.  Which still gives you time to create your artwork before Easter.  

( I started to delete sold items, but thought maybe the guests who purchased the kits would appreciate seeing the photos again when they start to assemble, so please excuse all of the "sold" items in the store right now)

IMG_1562

Plus some are Spring, not all are Easter, you have plenty of time for those, right?

IMG_1581

I've also added a few trims to the Boutique.

IMG_1582

Lotsa rick racks…

IMG_1579

And some hem facing lace…

IMG_1576

As well as a big ole pile of cotton bias tape. This bag of cotton ribbon stuff is free if you pay the postage. I don't use it, but couldn't bring myself to toss it away, I knew someone would like it. Normally, my Boutique is only filled with things I personally would like to use myself. I have a rule in buying things, that if I don't want to accidentally get stuck with it if no one else wants it, I shouldn't buy it for resale. It is like an endorsement of something to me. To sell something to you is the same thing as saying, hey, I like this and you might too. 

But every once in a while I get supplies that aren't some thing that I would use, sometimes they come in a package of something else, or a box at an auction. Anyway, I ended up with a stock pile of these and I have never used them, but they are old, I treasure old things and hate to throw them away.  If you have a use for them, they are yours for the price of postage (they weigh over a pound so i t will be priority mail.) 

PS- Please note that I do refund excess shipping on all orders after I have packed up boxes and made labels. Someone was freaking out over shipping prices being so high when ordering a bunch of items that were on clearance. Shipping is hard to calculate on my website, so I have just guessed at it, then refund when it goes too high.  

IMG_1586

I'll leave you with some pics of what I've added to my shop.
  IMG_1588 IMG_1592 IMG_1601 IMG_1596 IMG_1610

IMG_1611

IMG_1615

Easter banners and banner kits

holiday decor, vintage paper/collage art

IMG_1433

It has done my heart good to be cutting, gluing, and playing with ephemera again!

IMG_1449

Working with lovely, old things makes me grin.

IMG_1438

These kits were especially fun to make. I glued the wallpaper to the pennant pieces, and coordinated all the bits and pieces to go onto them. So, it felt like I was making one myself, minus the glue.

IMG_1442

I lay out all of the elements as I would build the banner myself to make sure that everything needed is included. 

IMG_1447

Then, take a photo of my own layout, and another of just the piles of supplies. So that the person who purchases the kit can have a guideline and some ideas or mix it all up and create the banner however they like with their own sense of style.  

IMG_1453

There are plenty of coordinating goodies for mixing and matching.

IMG_1454

For this batch, I made little nests for the labels.  If the buyer wants to, they can snip the nest off the paper and glue it right onto their Easter banner.

IMG_1435

Of course, as much as I like making kits, putting them completely together like this one is even better.

IMG_1434

It looks like I've about reached the end of my Victorian Easter ephemera to cut up and use, but I have rolls and rolls and rolls of wallpaper, gardens of millinery flowers, buckets of rhinestones, and miles of trims.

IMG_1452

Easter Banners might be finished, but Spring Time Banners are a possibility! I'll let you know if more kits are coming. 

IMG_0447

Because I am in an ephemera state of mind lately.

IMG_1421

And thank you for all of the tart tin kit shopping!  At this point, there are a couple left, but they are going fast.  If you'd like one, please check here.

edit- all banners and kits are sold, thanks so much!!

More tart tin Easter decor and another step by step tutorial to make your own

holiday decor, how-to projects, the Boutique at Karla's Cottage, vintage paper/collage art

IMG_0449

These are just too much fun to make. And I hope that you guys think so too, my previous kits are sold out! So, I made up a few more, this time making the tins into baskets with vintage chenille stem handles.

IMG_1386

There are a different versions completed and for sale in the Boutique as well.

IMG_1422

Because you know me, I start to make something and become enamoured with the process and  make a BUNCH of them! (by the way, I've got more banners and banner kits coming up too)

IMG_1426

And these guys were all so sweet to do.

IMG_1418

All are meant to hang, but a few are okay for sitting on a table top too.

IMG_1392

In case they are hung up, the bottoms are pretty to see.   (of course!)

IMG_1421

Since I listed so many to sell in the Boutique, I'll have to make more for myself, I miss seeing them around the house where I'd hung them for photos.  

Maybe the grand fairies can create a few with me, I think they'd enjoy it too.

IMG_1415

Here is the one I've made up kits for.  I'll tell you directions here, and will use the kits as my guideline.If you do not have a kit, please feel free to sub your own supplies for the ones I  mention.

  • Such as using a peat pot instead of a tin?  
  • Or pipe cleaners instead of the vintage chenille stems for the handles?
  • Or little eggs from a hobby store if you don't have a vintage cutey to add to your own basket?  
  • I've hung an egg shape taken from a Victorian card at the bottom of my own creation, but you could make your own piece with a pretty hole punch instead.

IMG_1371

These are the little wooden eggs I have in the kits. I've colored them with Coptic markers, then added white dots to them and coated the eggs with glue and dipped them into clear, crystal glitter. 

Each kit comes with two eggs.

The glue I always recommend is Crafter's Pick The Ultimate.  Use what you are comfy with, but I swear by this stuff.  Always store it upside down in a cup, it is thick and will settle to the bottom.  If your bottle lasts for more than a few weeks, be sure to stir it with a dowel, because that stuff will not shake up.  

IMG_1372

The bottom of the tin is covered in glue, then crepe paper. You can see more pictures of this step in the  post I did last week– here.

IMG_1375

I always cover the rough edges in the center of a crepe paper ruffle medallion.  This time, I used a decorative hole punch on flocked wallpaper to make this oval.  Another oval goes onto the back of the egg shape that will hang from it.

Two holes are punched into the first oval, and a ribbon is pulled through it.

IMG_1376

A knot is tied in the ribbon, then the dangling piece is tied onto the bottom of that ribbon.

IMG_1378

In this photo, I am holding up the egg shape piece that is tied to the oval that was glued over the crepe paper ruffled medallion on the bottom of the tin.

IMG_1379

The paper piece that is  meant to dangle is pretty light weight, so I added a rhinestone cluster to make it a bit heavier. That will make it hang nicely.

The tart tins that I provide in kits have the holes pre cut.  If you are doing your own without a kit, use a Crop-O-Dile to cut them, that amazing tool makes it simple, and slices through the metal like it is a piece of cake!

The ends of the pipe cleaner, or chenille stem go into the holes, poke thru and fold up.  Secure with a dab of glue.

Then, generously add glue to the bottom of the tart tin.

IMG_1380

I provide a bit of faded, old Easter grass. But new grass would work too.  Press it down into the glue, then add more glue to that and add your embellishments. You might need to hold them in place a moment or two so that the grass adheres firmly and your pretties stand up right.

IMG_1381

The butterfly in  my kit is a sweet little millinery piece that has a wire on it, that wire simply twists onto the handle.  Put it near the top, slightly to the side. If it is at the very top, the piece won't hang right. If you put it too far to the side you will weight it over that way and the basket could tilt when hung.

IMG_1428

Once you know the basics, you can make up lots of variations to the themes, like I did.


Springtime, vintage wallpaper banners

holiday decor, the Boutique at Karla's Cottage

IMG_1342

It has been waaaaay too long since I played with vintage wallpaper.  So, I got out my prettiest pastel tones and started covering banner pieces in old paper.  I made tons. That is kinda how carried away I get.

IMG_1343

I managed to stop myself and switched from covering the pennant pieces to decorating them with more vintagey goodies.

IMG_1344

Which I also loved doing, of course!

IMG_1345

I created this banner with 5 of the wallpaper covered bits, and added lots of pretties cut from old Easter cards, some millinery, ribbons, laces, rhinestones and more.

IMG_1346

Do you ever forget what you've actually tucked away in your supplies? 

I do it much to often. I find some of the best things in my own stash and am as pleased when I find it the second time as I was when I gathered it up at a flea market!  These Victorian egg poems are a perfect example of cuteness that I didn't remember owning.

IMG_1348

And I had a bagful of these butterflies!!

IMG_1340

While going through the Easter themed stash, I compiled a few items for kits too, and put together these sweet treats with some of the wallpaper pieces I'd covered.

IMG_1341

The completed banner and the kit are both available in the Boutique.

How to make a vintage tart tin Easter decoration- step by step

holiday decor, how-to projects, the Boutique at Karla's Cottage, vintage paper/collage art

IMG_1368

Don't you love tart tins? I never pass them up at estate sales.  I especially enjoy making holiday decorations with them, like this Easter egg to hang.

 I'll list the steps here if you'd like to make one yourself. Since I have some kits available, I'll be talking about building this with the supplies I used, but you can take the ideas and use your own supplies if you don't order a kit.  They are pretty simple to make, and you don't have to do yours exactly like mine, of course.

IMG_1355

The tins in my kits already have holes punched into them.  If you are using your own tin, a Crop-o-dile makes adding holes so easy to do, like slicing through butter!

The top holes are for the ribbons that hang it, the bottom ones are for a bundle of ribbon.

Please put two holes into the fluted metal, as near to the flat bottom of the tin as you can get, at least on the top of the tin.  Putting the holes toward the bottom makes it hang straighter.  Too far the other direction and it will hang oddly.  Use two at the top, two at the bottom, so you can thread the ribbon through them.

After you have the holes in, glue the crepe paper to the back.  I am providing pink crepe, with dyed edging in my kits, so if you are using the kit piece, make sure the deeper color is toward the outside.

IMG_1356

You are making a little floret on the back of the tin with pinch pleats pushed into the glue.  I prefer Crafter's Pick The Ultimate glue.  It holds quickly, and is strong.  

At this point the glue is still mushy enough to slide the crepe paper around and get it positioned, but it will not stay that way long. You can double check that your floret is where you'd like it and the shape is right.  Be careful to not tear the paper.  (My kits contain extra paper, you won't need to use it all)

IMG_1357

Push the center down tightly.

IMG_1358

Glue a paper medallion over the back of the crepe paper. (the kits include flocked wallpaper cut and ready to go)  I used a hole punch, but if you don't have one the right size, trace the bottom of the tin onto your paper before adding the crepe paper to get the right shape.

IMG_1360

I was sloppy!  My glue oozed out from under the medallion.  

So, I gently spread the glued out toward the edges of the paper with my fingertip, and sprinkled crystal glitter over my mess.  It became an "I meant to do that" moment.

IMG_1361

Next, add the ribbon to hang it from, and another at the bottom to tie a bundle of ribbons and flowers to later.  

Then, glue in the second paper medallion.

IMG_1362

Cover about 1/3 of the bottom of the tin in a heavy coating of glue.  

Add Easter grass (my kits are nicely faded, vintage grass).

Drizzle a little more glue over the grass, and add the flowers and egg (mine is a hand painted, wooden one, with polka dots and glitter)  

If you have exposed glue and feel it looks a little messy, sprinkle more glitter over it.

IMG_1369

At the bottom, add a bundle of pastel ribbons, and a sprig of flowers.

IMG_1367

I have also included a teensy, vintage butterfly in the kits.  If you want to add one of these, you can either twist its wire to the ribbon at the top, or cut off the wire and glue it to the piece where ever you'd like it. Maybe inside the tin? I glued mine to the ruffled crepe.

IMG_1365

The kits are here if you want to order one. The include everything but the glue, and the extra glitter you might want to use.  The painted egg is already "sugared" with clear, crystal glitter.

  IMG_0384

ps- I'm working on adding a few more tidbits to the Boutique too


Scroll to Top