holiday decor

ghosts and giggles

celebrations, Dew Drop, family, Food and Drink, holiday decor, Sugarwings

Halloween and garden 063
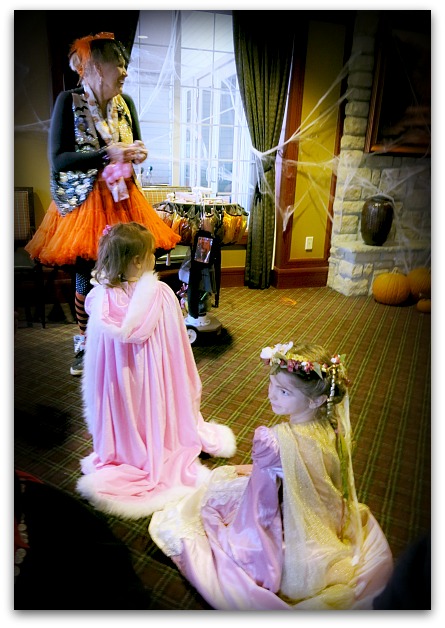
We did some early Halloween celebrating at the county club's Ghost and Giggles event. It's such a cute evening out, they have games set up for the kids, a clown, balloon animals, and great food.


Halloween and garden 080

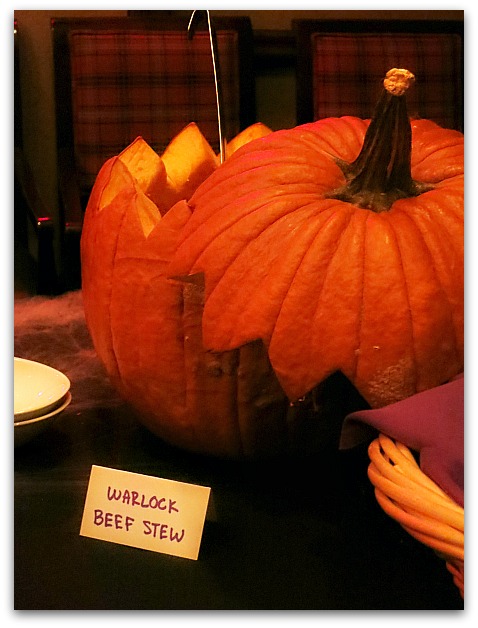
And creepy names for the foods, like Mummy Fingers,  Monster Eyeballs, and Frank's Green Goo.  Dewdrop was excited to get her plate till I started to recite the names  for her. We call her the world's hungriest baby, but she wasn't going near her food when she thought it was really monster stuff.


Halloween and garden 086

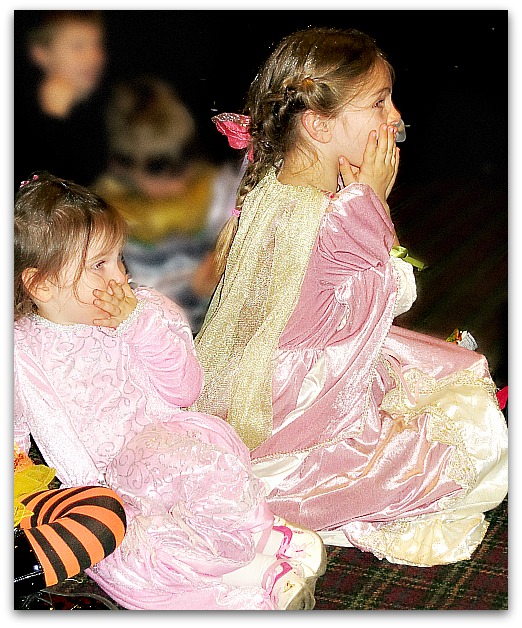
The clown's show made up for the scary decor and spooky food titles. She was mesmerized.


Halloween and garden 049

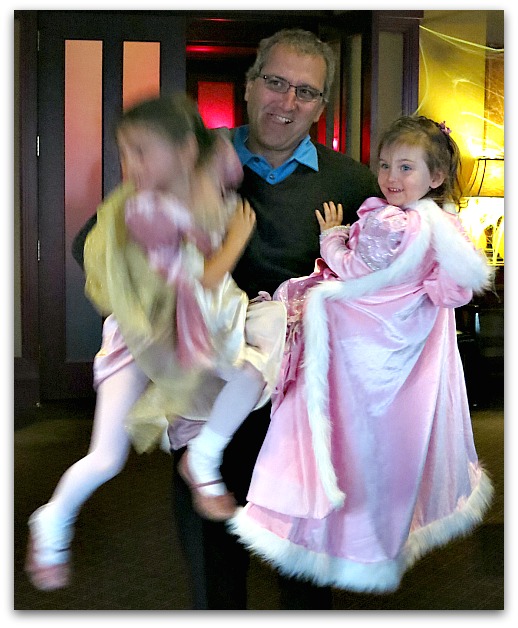
Sguarwings was so excited by it all, she was mostly a blur, darting from one event to the next.


Halloween and garden 039

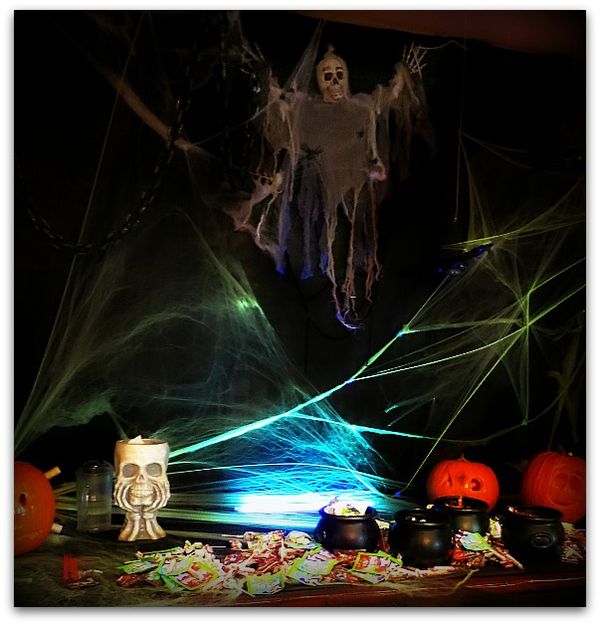
The club had piles of candy out for kids to help themselves, and I was pleased to see that our little fairies didn't try to load up on it.  I filled my pockets with Smarties….  I didn't see the girls even go near the treats table. Maybe the spooky skeleton kept them away.


Halloween and garden 099

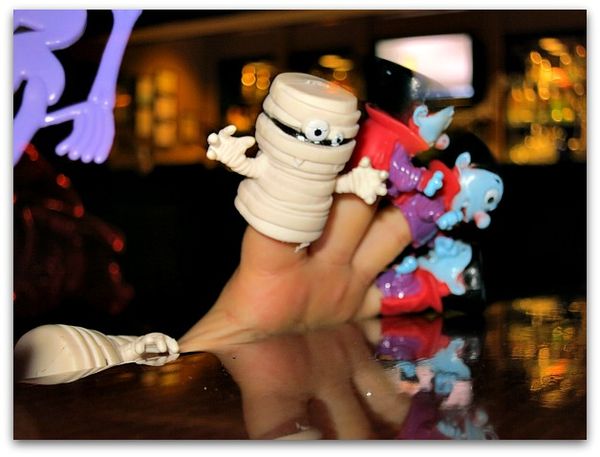
They were much more interested in the bowls of toys that were also self serve.  Sugarwings treated us to a puppet show with her loot.


Halloween and garden 090

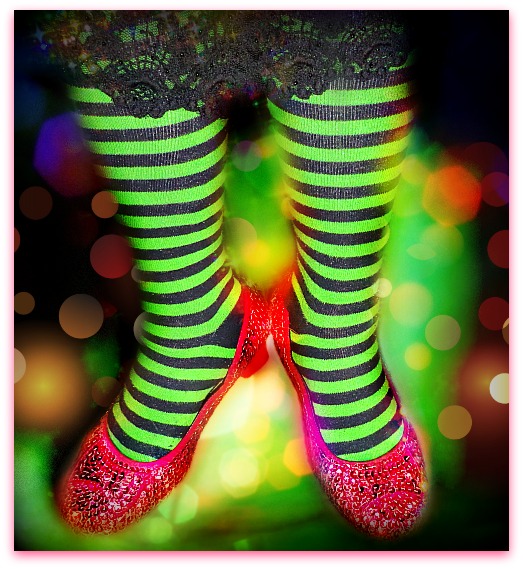
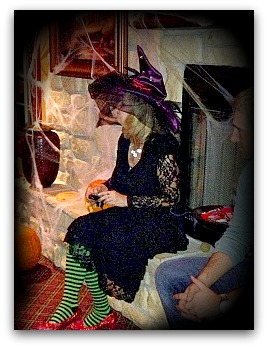
I went as a witch.  My son said I looked so good that someone might just drop a house on me.


Halloween and garden 031

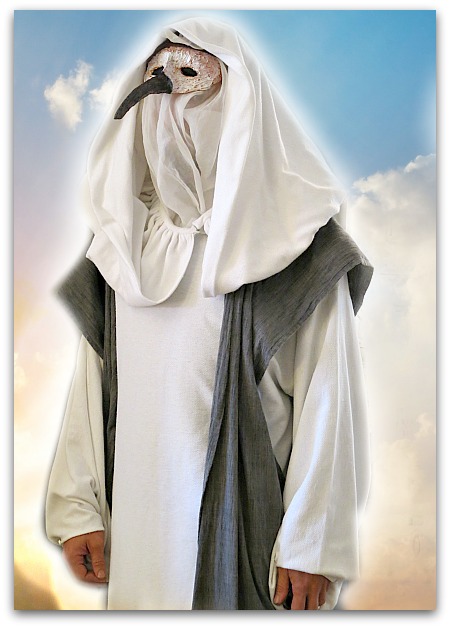
He didn't go with us, he had a DJ job that night, and went as Thoth and fabricated this mask for his costume. 


Halloween and garden 062

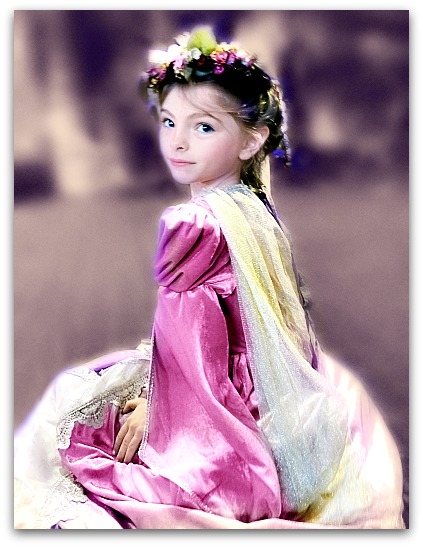
Sugarwings wanted to wear the Halloween costume that her mommy bought for her, but I asked her to save it for her school party and trick or treating, so it would be special then. I didn't tell her that I wanted her to wear the princess gown I'd bought for the Renfest so I could get some of my money's worth out of it. 

Not that it was too pricey, TJ Max and Marshalls have elaborate, well made costumes for a decent price, her gorgeous, velvet dress was $32. It was a very good quality.  So was Dewdrop's and hers came with a cloak too.

But even at only thirty bucks each, I felt like I needed to get two events out of the dresses!


IMG_2656
IMG_2640

This year's party seemed a bit subdued. When I mentioned it to my husband later, he said it was because of the KU game that night, not a lot of people made reservations. 

A game instead of dressing up like a witch, and watching a magic show with a couple of pink princesses?  What was everyone thinking?  That never would have occurred to me.

Halloween and garden 102

A steampunk punkin and more from the patch

holiday decor, vintage paper/collage art

Flower teapot 006
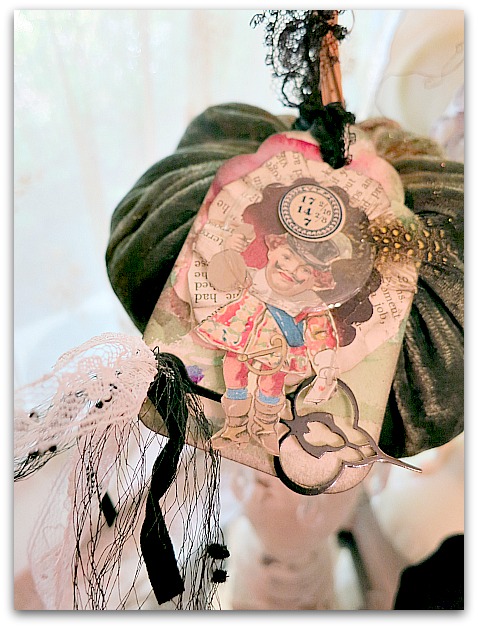
Well, I guess the pumpkin itself is not steam punk, but the tag tied to it is.


Flower teapot 008

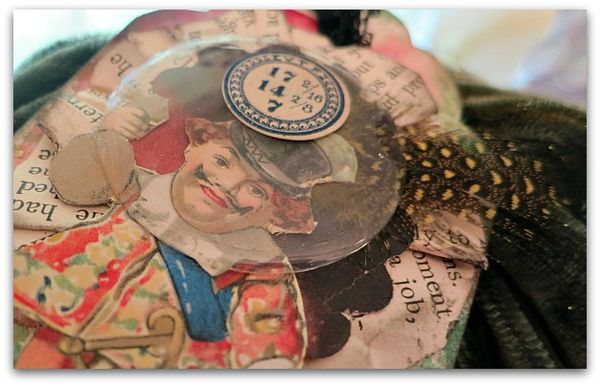
It is made from a watercolor paper that I washed with paint, and I added an image cut from an old deck of cards (he is a cool Joker, isn't he?). He's got a feather glued to his hat and is topped with a salesman sample, old watch crystal.

A clock hand and some lace was added to the bottom of the tag  and there is a ruffle of text under him.

I'm not exactly sure what makes something steampunk or not, but everyonce in a while I make my attempt at it for someone who is into the style. I always think the style looks cool when I see it elsewhere, but I'm not sure if I've grasped the concept for making it myself.

Here is what I found on Wikipedia says, hmmm:

Steampunk design emphasizes a balance between the form and function.[44] Like the Arts and Crafts Movement,
this blurs the line between tool and decoration. Various modern
utilitarian objects have been modified by enthusiasts into a
pseudo-Victorian mechanical "steampunk" style.[9][45] Example objects include computer keyboards and electric guitars.[46]
The goal of such redesigns is to employ appropriate materials (such as
polished brass, iron, wood, and leather) with design elements and
craftsmanship consistent with the Victorian era,[13][47] rejecting the aesthetic of industrial design.[44]


Flower teapot 003

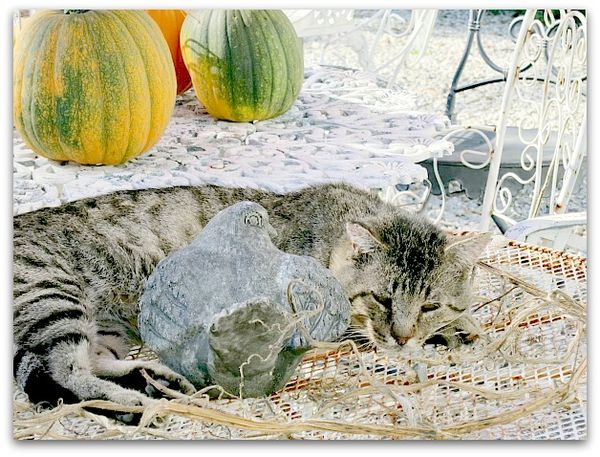
My pumpkin adventures have been going on much longer than I ever would have guessed. Those little guys are addictive.  I harvested some vines from the garden and left them in the sun to dry. Kitty Boy seems to think they make a nice bed on this table top.


Bronze pumpkin 002

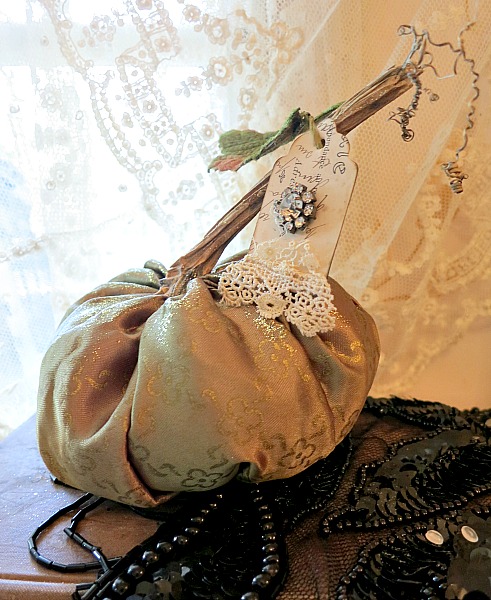
This might be my new fave. It's made from a doll dress.


Wallpaper cabinet redo 064

Like this one was. 

The blue one is in the Boutique, but the bronze satin one is planned as a gift.


Bronze pumpkin 005

This one is a gift too.


Bronze pumpkin 014

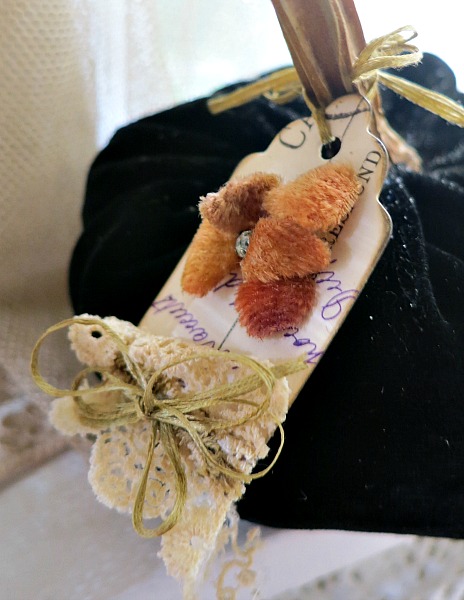
It's tag is from a French postcard with purple writing. I've added an orangish velvet bloom for some traditional autumn colors that still fall into shades that I like to work with.


Bronze pumpkin 006

This one is just itty bitty, and you can find it in the shop.


New, old flowers

holiday decor, the Boutique at Karla's Cottage

Flower teapot 014
Most of the pumpkins from my previous post are spoken for, but I had a few to add to the Boutique.

Flower teapot 009

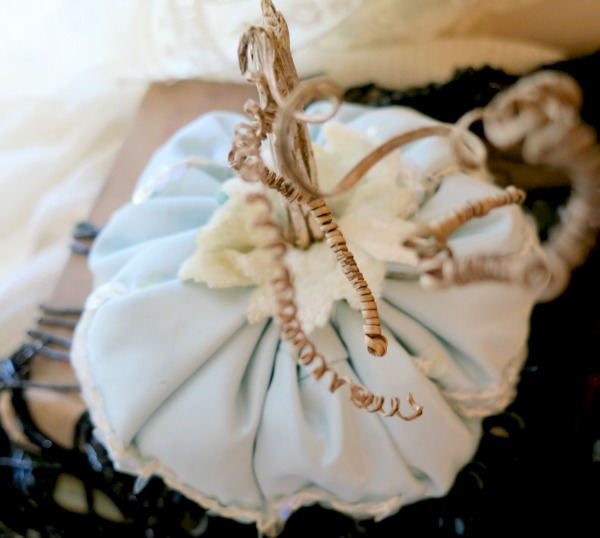
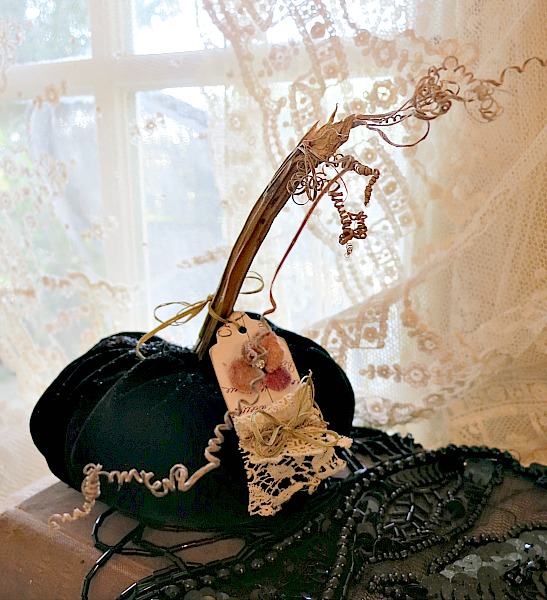
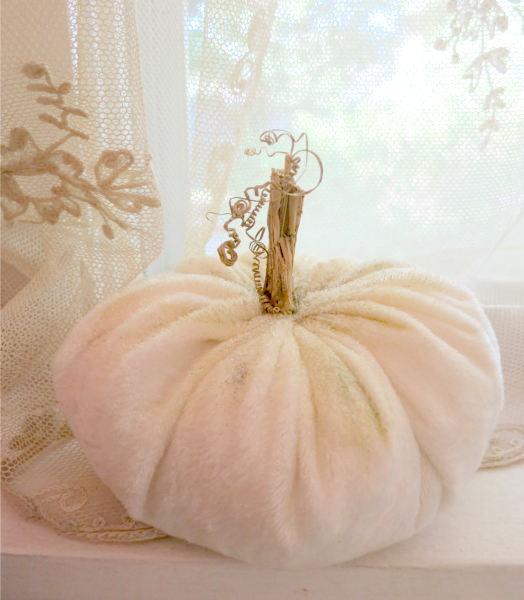
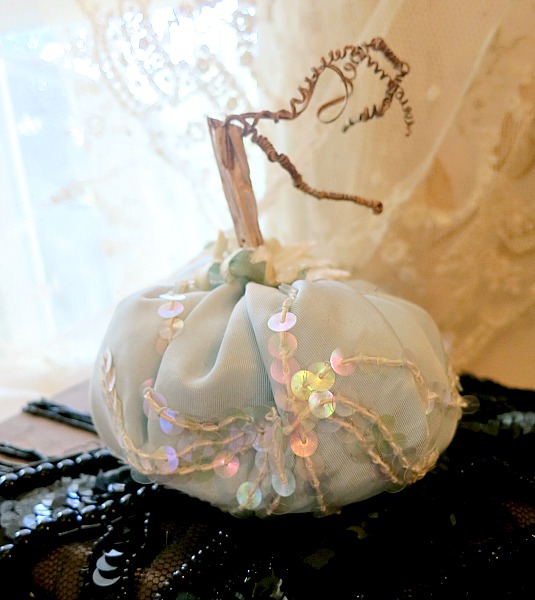
A white velveteen, vintage black velvet, and a blue doll dress fabric one.


Wallpaper cabinet redo 062

It felt good to clean up the Boutique and delete some sold items, mark down some older ones, and add a few new things.


Wallpaper cabinet redo 056

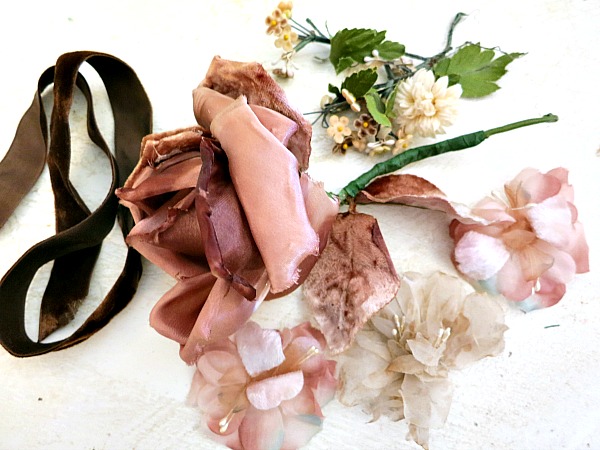
Mostly millinery for now.  In pretty fall tones.


Wallpaper cabinet redo 061

And Halloween colors.


Wallpaper cabinet redo 036

I even added some to the Etsy shop!

Wallpaper cabinet redo 044
Wallpaper cabinet redo 032
Wallpaper cabinet redo 053
Wallpaper cabinet redo 039

How to make velvet pumpkins

holiday decor, how-to projects

Pumpkins 027
Last week, I was working in the garden and found a damaged pumpkin.  To salvage it, I brought it in, cut out the bad spot,  sliced it up and baked it to puree so I could make muffins.

(they must have been tasty, there are only a couple left!)

I can't throw anything away.  So, I saved the stem and decided to try to make a velvet pumpkin. It's not like I didn't have anything else to do. I'm pretty far behind on a lot of things that need doing…. but sometimes, I just can't resist a side track into a new (for me) idea. 

And I've seriously needed a creating binge.  These pumpkins were just the ticket for pulling me up from the doldrums I'd fallen into.

Pumpkins 032

It was so much fun, that I ended up with about 20 of them.

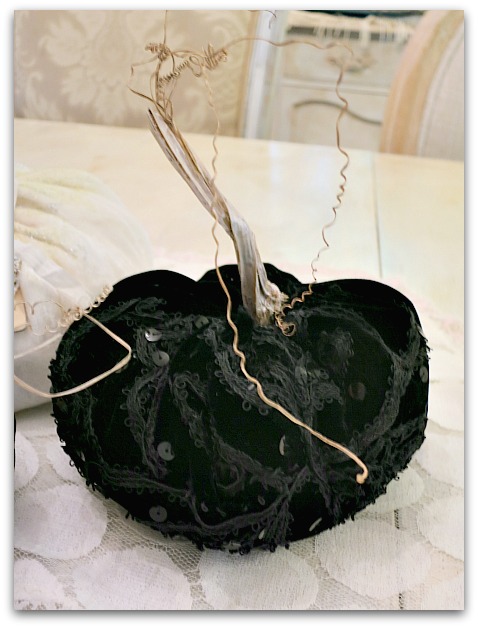
Of course, since I didn't have 20 pumpkins to steal stems from, I had to get creative.  I re-purposed some of the vines the pumpkins grow on, by drying and cutting those at angles to make them look like stems. I found lots of viney, twirly, curlicues growing there too, and cut those out to glue to the end of the stems.  For most of the curlycues, I was able to cut a small slit into the stem, add glue and then stick the end of the curly bit down in.

Pumpkins 001

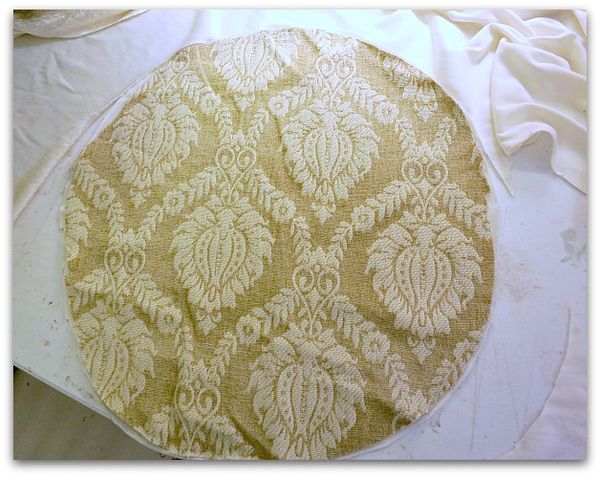
I found out that they are super simple to make.  I free handed a circle shape, a little larger than a dinner plate.  I figured that most pumpkins are a bit crook-edy anyway, so didn't try for perfection in my shape.

Some were made smaller, because I was using fabric remnants.  But the "larger than a dinner plate" size was ideal for me.

Pumpkins 003

To start, I gathered the edge of the fabric along my thread and needle, all the way around the circle, but stopping with about a 4-5" gap, so I'd have room to stuff it.

Here are some tips I learned while working on them:

  • A heavy thread is much better than regular weight thread.
  • Gather up a length of fabric and bunch onto the thread till you get a gathering of a few inches, then put a stitch in it to hold in place before gathering more. This is better than trying to gather the entire circumference of the circle at once, it stays tighter.
  • Softer, thin fabrics with some stretch work best.  I like the stretchy velveteen to work with more than the vintage cotton velvet I made some from too.
  • You can use about any kind of material, but the ones that ravel are tricky.  And heavier fabrics don't pull into as tight of a center as lighter ones do.

Pumpkins 004

For stuffing, I used some  poly pellets I had on hand for making a weighted "sensory pad" for Sugarwings. About a cup or so of these gave the gourd some heft and made it sit up straight, but I think you could also use beans or rice. 

On top of the pellets, I slipped in pieces of polyfil, and worked it into a nice shape.  Small bits at a time worked best for me.

After pulling the circle to its tightest possible closure, there was always a gap that needed stitched up.

Pumpkins 002

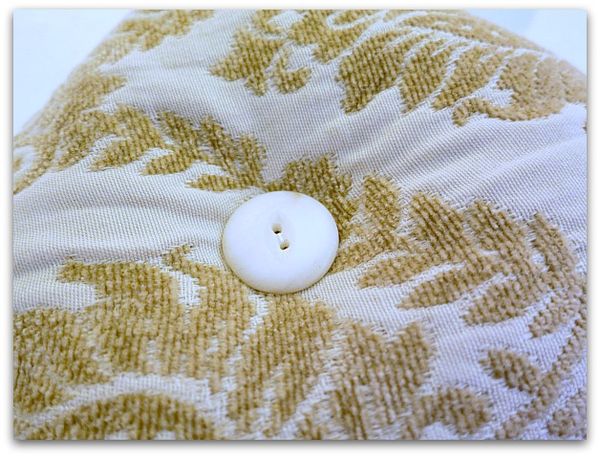
After I had it all gathered and stuffed, I decided the shape was too round.  To fix that, I sewed a button on the bottom by pulling the thread from the top of the pumpkin to the base, adding the button, then pulling it back through, so that it forced the orb into a more gourdy shape. (A long needle works best)

Pumpkins 018

Kind of like tufting.  This is where it is really important that your thread is strong. When I used plain thread, it broke when I pulled hard on it to make a gentle dent in the bottom of the pumpkin with the button.

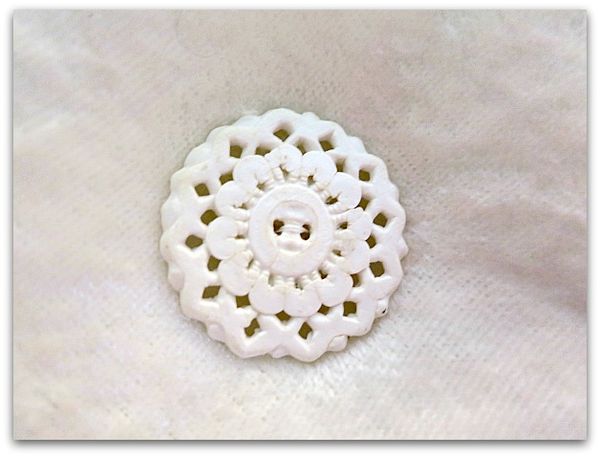
(I made sure to use pretty, vintage buttons. Because, something worth your time is worth using the Good Stuff, right?)

Pumpkins 003

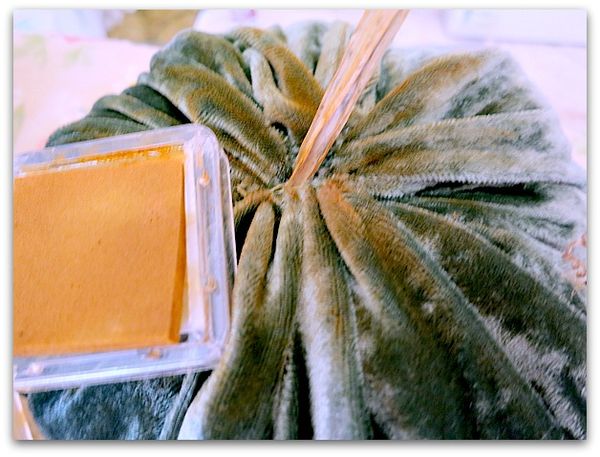
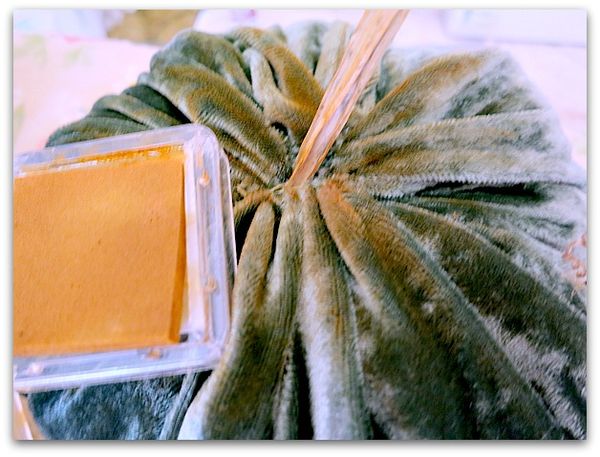
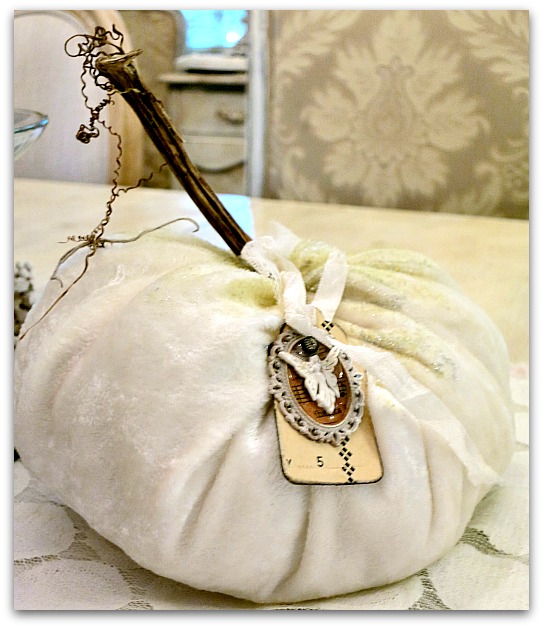
After gluing on stems, I inked the fabric at the top of the pumpkin.  Different colors for different fabrics.  This is a carmel tone on the green velvet. This is fabric that I'd saved from the back of a throw that fell apart years ago.

Pumpkins 006

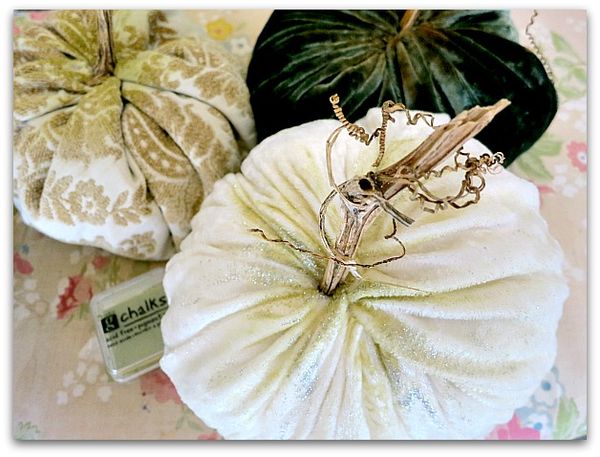
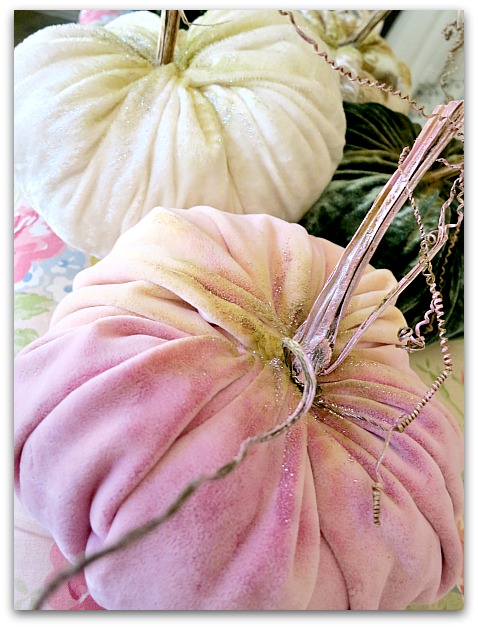
The pink is a white velvet that I'd dyed to reupholster a rocker for Sugarwings when she was born.  And the white is remnants from repairing that some throw that the green had come off of. (brand new velveteen from Hancock fabrics)  I try to save as many leftovers from other projects as I can, I just never know what I'll need someday.

(what I really need is a good studio clean out!)

On the pink and the white, I used an olive green ink.

Pumpkins 007

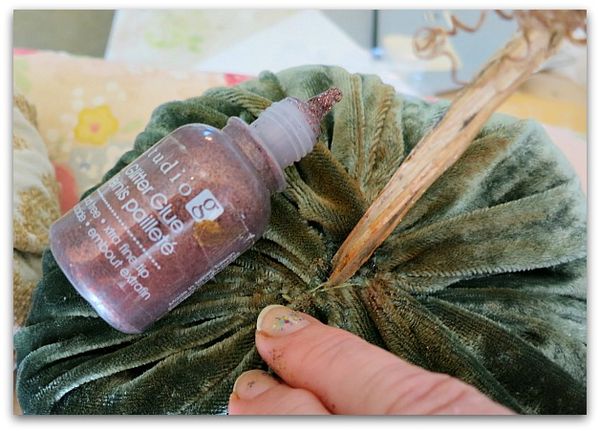
And over the ink, I rubbed some Stickles or store brand glitter glue. The finer the glitter, the better, which is why Stickles is so pretty.  But Michaels carries this brand for a dollar a bottle, and that is hard to beat.  I used bronze on the green, pink on the pink, silver on the white, and red on some rose patterned Waverly fabric that I tried.

Pumpkins 009

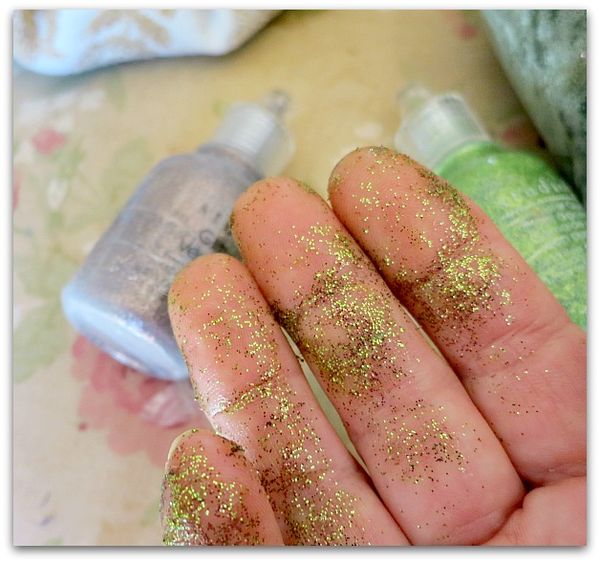
I found it easiest to use my fingers.   A brush didn't leave a natural enough look for me.

But then again, is glitter natural on a pumpkin? It is at my house.

Pumpkins 015

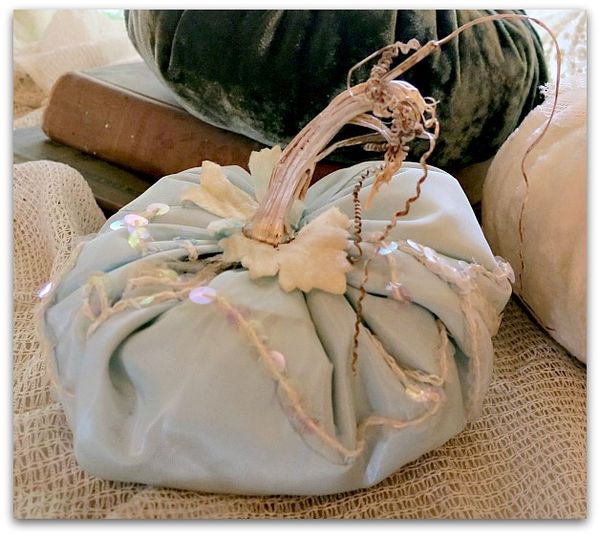
This material is from an embellished rayon/satin doll dress that was ripped.  At a flea market recently, someone was giving away a box of vintage doll clothes, most in bad shape. But there were some very pretty bits in there that I picked through to reuse.

This was the hardest fabric I worked with.  It was stiff and heavy, and left a big, thick blob at the stem when I sewed it together.  So, I hid that with velvet leaves cut up to look like the stem base. Well, at least that is my story. If you look at a real pumpkin, there are no leaves around the stem.  Still, this little arty tid bit is prettier with the leaves, so I didn't care too much for accuracy. 

The shiny, elegant satin, looked too fancy for the rustic stem, so I painted the stick with white pearl paint. That looked so nice, that I added some pearl paint to a few of the other stems too.

Pumpkins 010

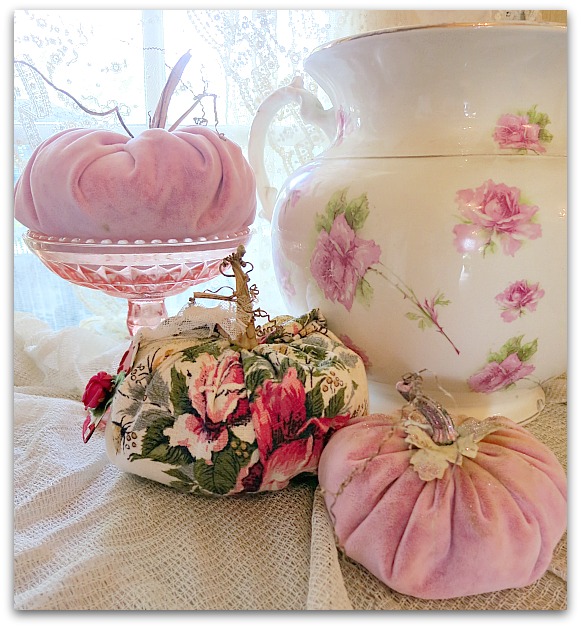
Bark cloth was also not easy to work with.    But worth the effort, I love the floral punkin from it. (I've tied a tag with a matching millinery rose on it to that flowered gourd). 

And on one of the pink guys, I used some more velvet millinery leaves, just because it is sweet, even if it isn't accurate.

Pumpkins 024

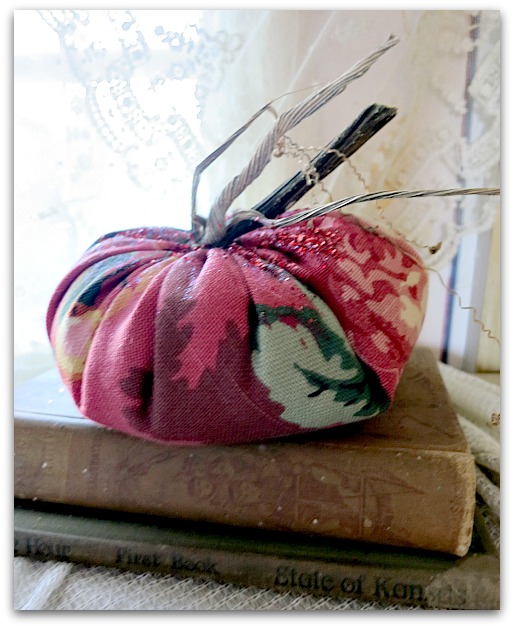
Around here, there wasn't a lot of bright colored fabric to chose from.  Our Hippy Chick admired the ones I'd already done, so I wanted to make one in her colors.    She likes rainbow shades, and this is as close as I could come in my stack of saved bits and pieces.  I think I had it from covering a set of dining chairs for the antique mall ten years ago.

It's a pretty rose and fruit pattern from Waverly, and turned out cute. But the edges were a bit ravel-ly, so I sealed them really good with a blop of glue around the stem, and sprinkled extra glitter over that to hide it, instead of using the Stickles glitter.

Pumpkins 020

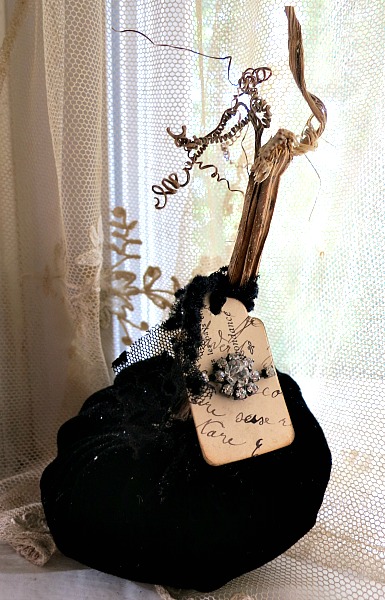
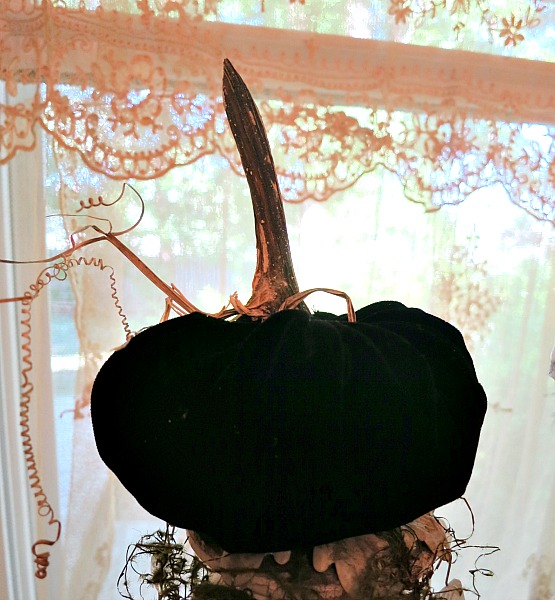
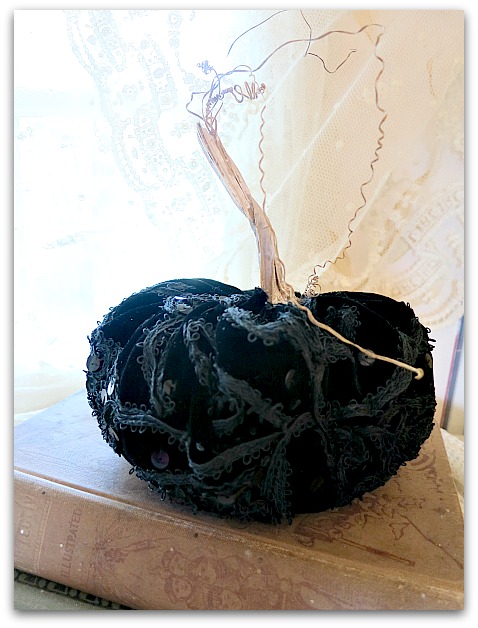
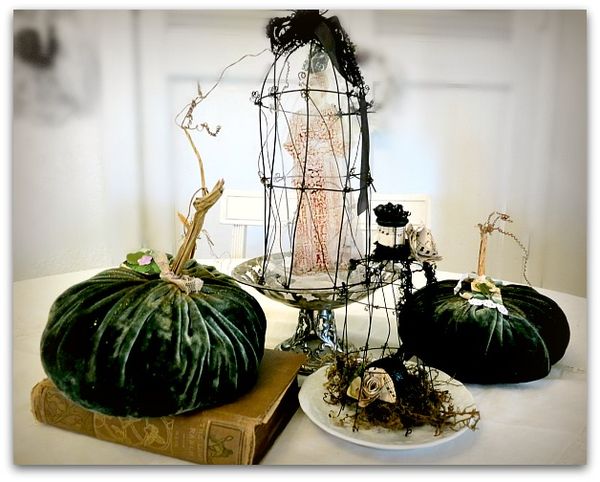
But of all of the ones I made, I think I like this one the best.  I'd bought a black velvet dress, with lots of embellishments on the bodice, at an antique store last year.  It was too small for me, but the fabric was so gorgeous, I had to have it.  The dress was a bit of a splurge, about $35. But after making a couple of pumpkins from it, I still have a ton of velvet left, so I think I'll get my money's worth from it.  

This looks more lush in person, the photo doesn't do it justice.  Even though black isn't usually one of my colors, I think I'll keep this little guy for my Halloween decor.

Pumpkins 017

But then again, the dark green ones look good with my haunted birdcages, don't they?

Pumpkins 026

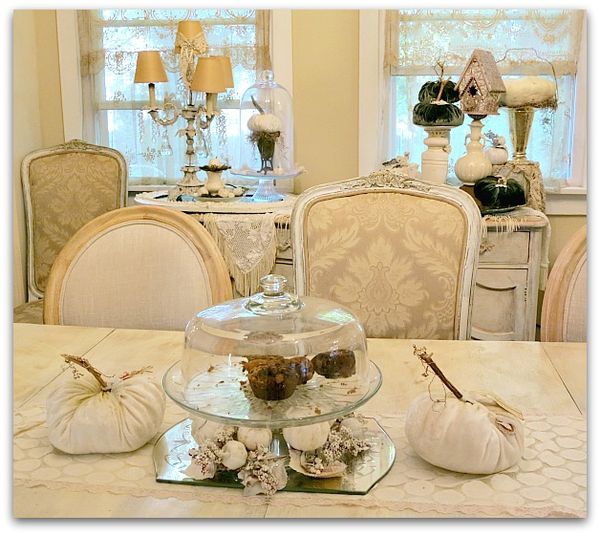
And on the other hand, the white really suits my home…

Pumpkins 013

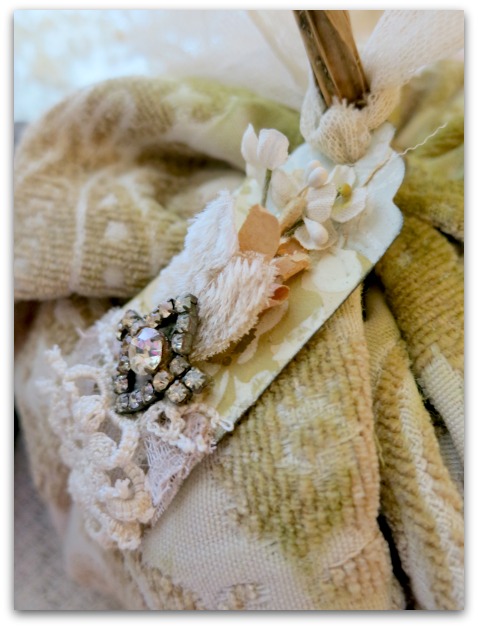
And how can I not want to keep the velvet brocade one made from leftovers when I sewed a slipcover for my recliner?

Pumpkins 011

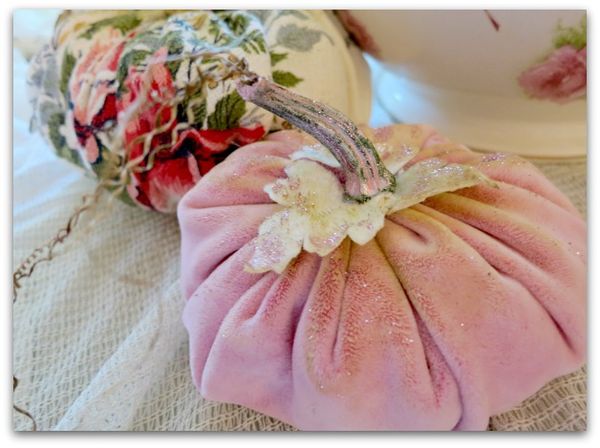
Nope, I can't keep them all!  I've made some as gifts for friends at a get away I'm attending, and some for guests coming to visit here.  Actually, a lot of the fabric selections were with certain people in mind, so that makes selecting  my own pretty from the pumpkin patch a little easier. 

Pumpkins 029

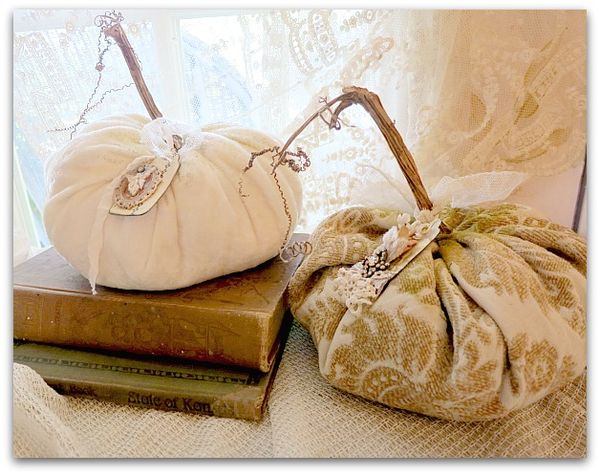
In the meantime, till I pack them up for their new homes, I'll enjoy having them around. 

Some are embellished with tags, some have 3D collaged charms (How to in this post).

Pumpkins 012

Halloween birdcages

flowers, holiday decor, Tutorials

Wreath halloween 037
As a thanks to all of you who have purchased my online tutorials, I've added a few more ideas to the classes, all in a Halloween theme.

Wreath halloween 033

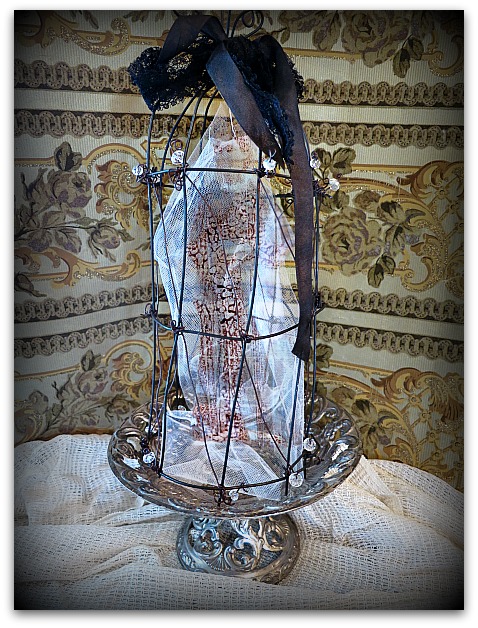
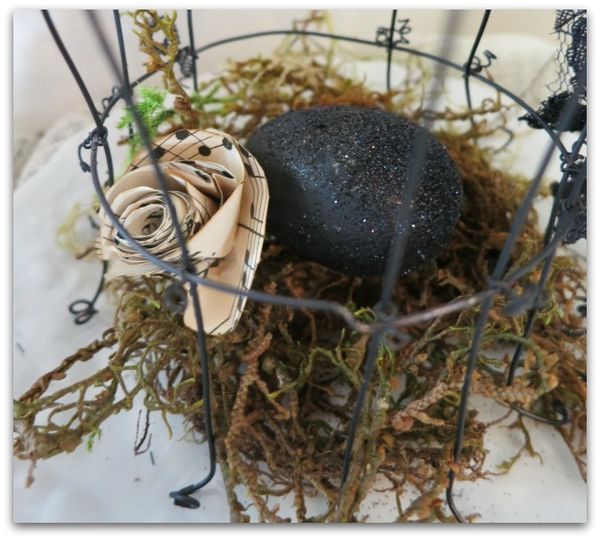
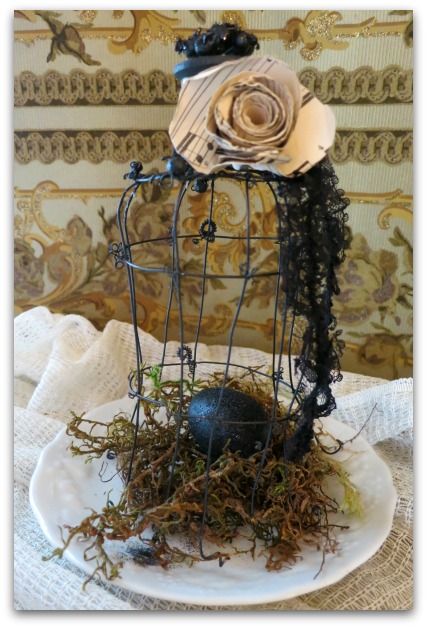
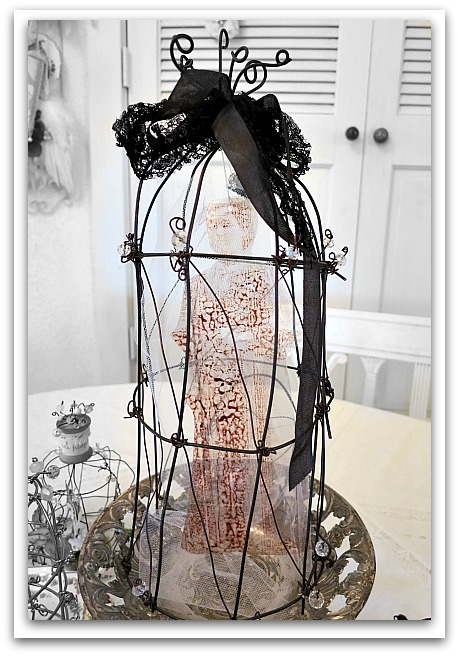
Including instructions on how to make captured ghosts to fill the wire birdcages from this class.

Wreath halloween 048

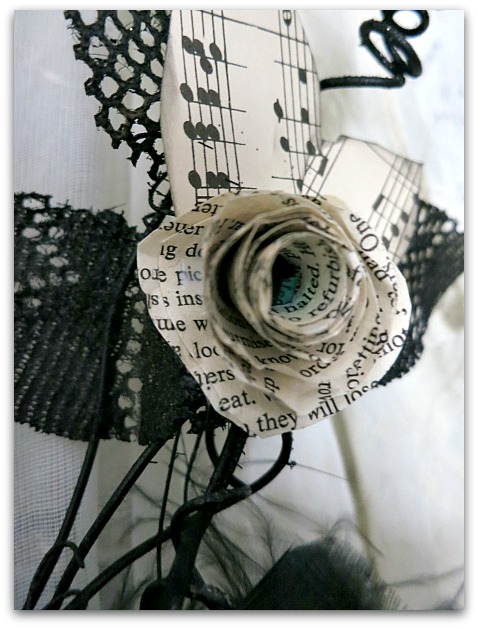
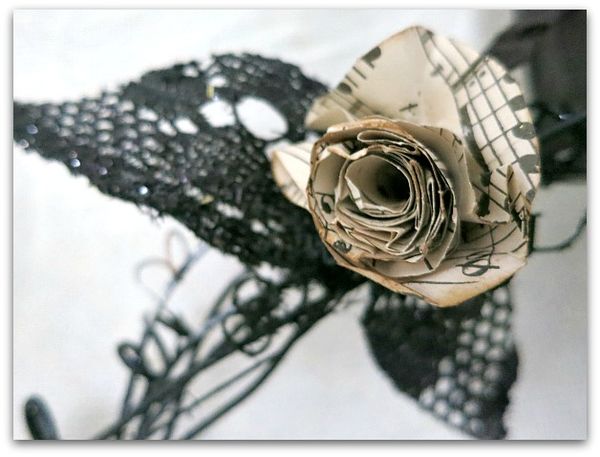
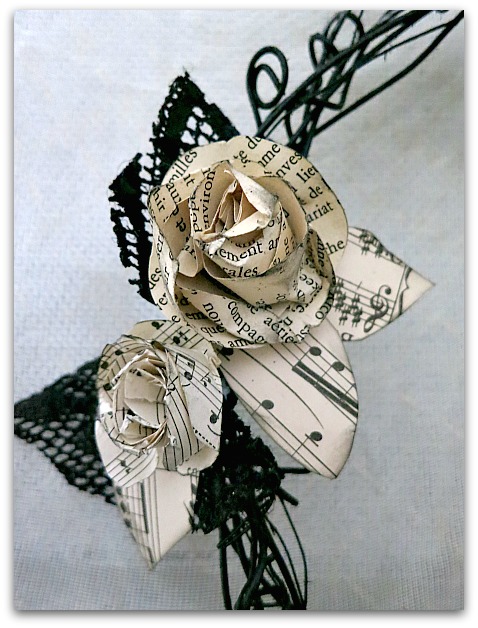
And paper roses that are pretty on all the wire projects.


Wreath halloween 046

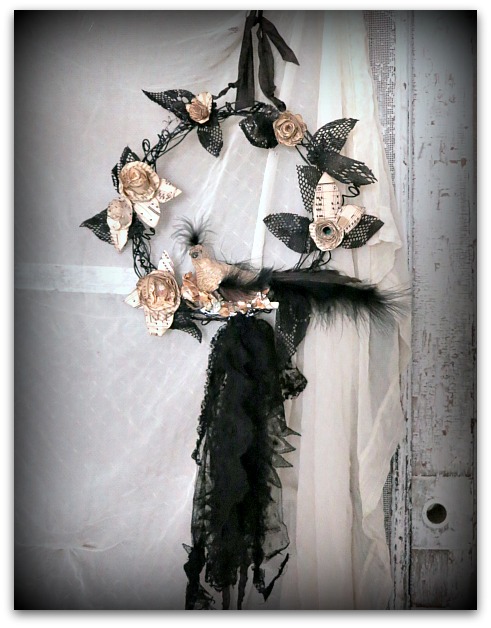
I've also redone one of the wire wrapped wreaths in black and white.


Wreath halloween 031

It's not too early to be ghoul crafting and getting ready for the upcoming spooky season..  But there is no reason to be all orangey about doing it.  I like holiday decorations that will fit into any color scheme of a home. Like Beth and I created for our Romantic Gothic Ghosts class.

I've got a slew of tutes, most are listed here. Some free, some for sale.  I am adding a fairy and an angel dress form to this class too.   When I come up with a new idea for an existing class, I enjoy slipping it into the workshop for you. If you can't remember the passwords, feel free to contact me. People do it all the time.  These classes are going to be up and available as long as I have a Typepad blog, and you can pick and chose projects from them at your leisure, no hurrying to keep up or waiting for the next instructions.

Wreath halloween 042
Wreath halloween 052
Wreath halloween 050
Wreath halloween 036
Fairiesand stuff 030
PS-Leave a comment on this post, if you would like to enter my two giveaways.  I'm away at the moment, but will draw names after Labor Day weekend

Hoppy Easter

Dew Drop, family, holiday decor, Sugarwings

Easter 13 133
Did you have a good Easter? Ours was unexpectedly really nice.From no plans at all to a small family dinner and egg hunt in a matter of an afternoon.


Easter 13 109

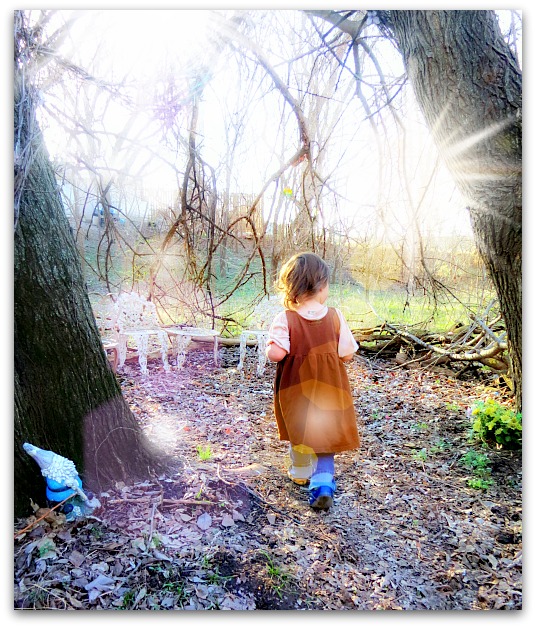
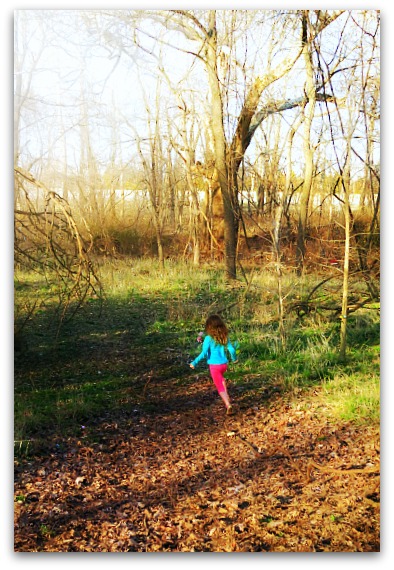
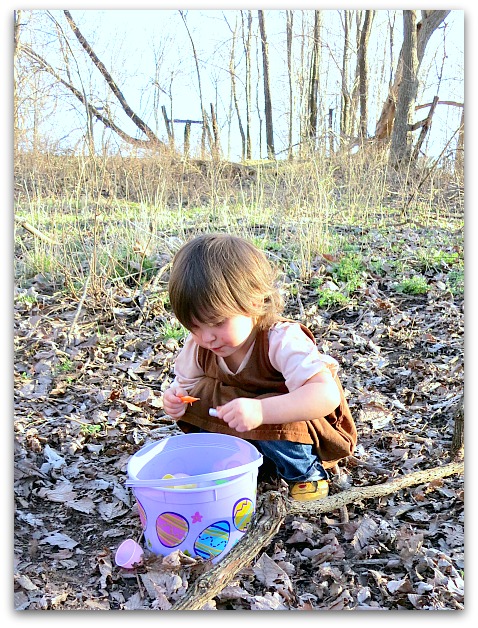
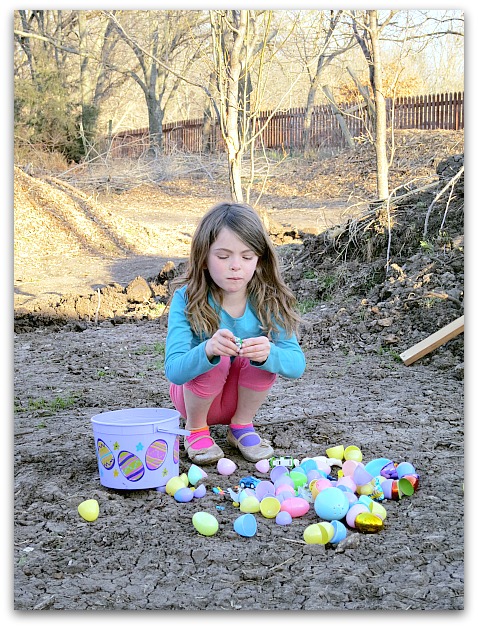
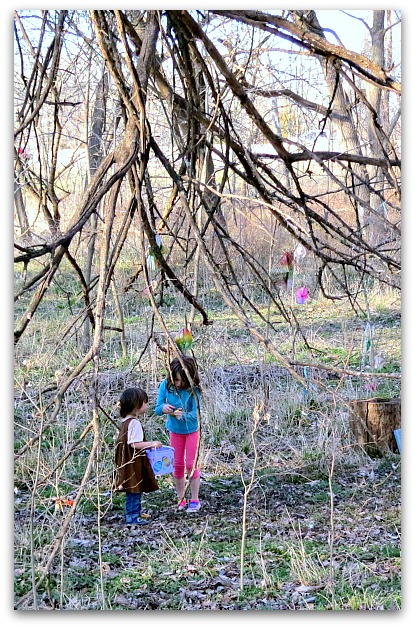
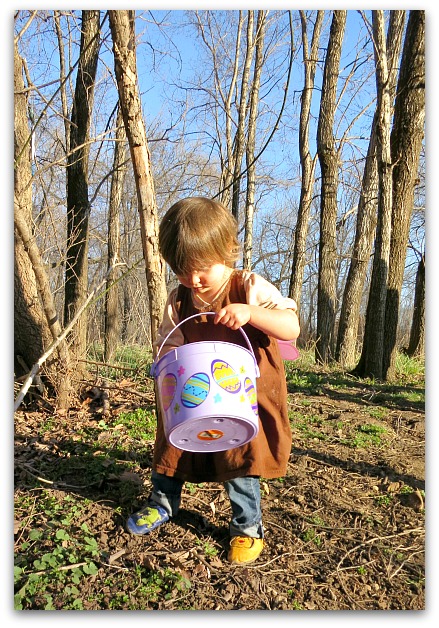
Sugarwing's mom ended up switching  her plans, so we had our fairy grand child over night and all day.  Dewdrop came over with her mom at dinner time, and we were able to find buckets full of eggs on the Fairy Berry Trail as the sun was setting.


Easter 13 096

And what beautiful weather we had!  I'd thought I'd finish the banner I am working on for the Snow White blast coming up way too soon, but instead, I ran and played with Sugarwings all day and enjoyed the sunshine. 


Easter 13 088

I was able to do some yard clean up too, and foofed the Fairy Berry Trail up for the season.  Easter seems to be the time that we whip it into shape, just in time for hunting eggs the bunny left there.


Easter 13 113

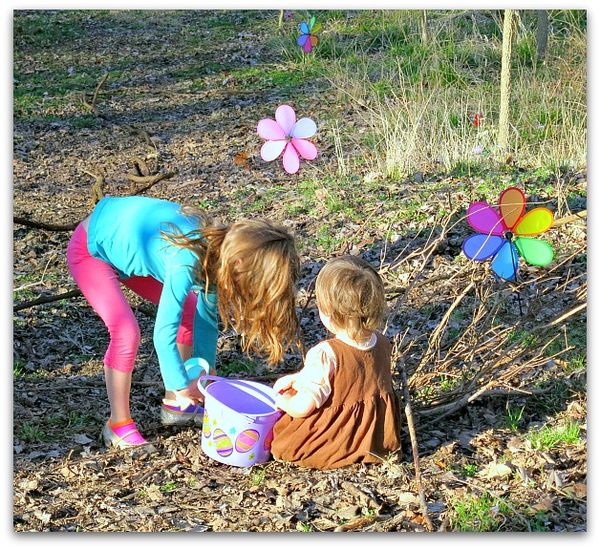
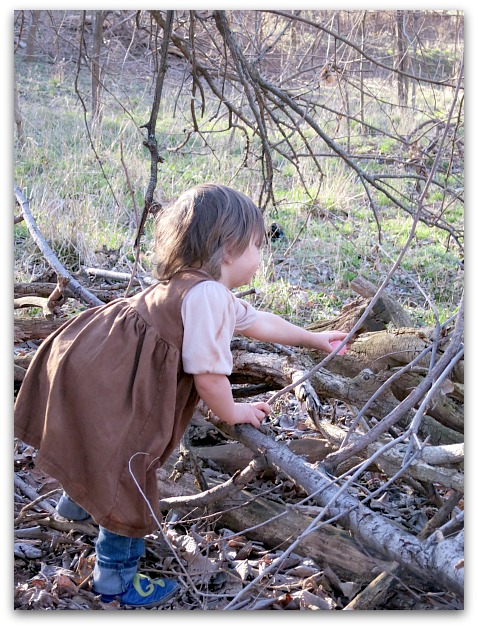
Funny, how fast two little girls can find over 50 eggs.  This was a quick run through the forest, with lots of squealing along the way.  Dewdrop let out a yelp every time she spied an egg. And everything is a squealfest around Sugarwings anyway.


Easter 13 107

Luckily, I  had plenty of plastic eggs up in the closet and could find packets of tiny toys and junky fun crap to stuff in them for our impromtu hunt.


Easter 13 144

Although, the few pieces of chocolate I had on hand were the biggest hits when the eggs were open, of course. But, I do think that if there was nothing in them at all, it wouldn't have dampened the fun. 


Easter 13 097

The thrill of the hunt was the best part.


Easter 13 078

Dewdrop loved every minute of it. She is a cute age to be out in the woods gathering eggs.


Easter 13 072

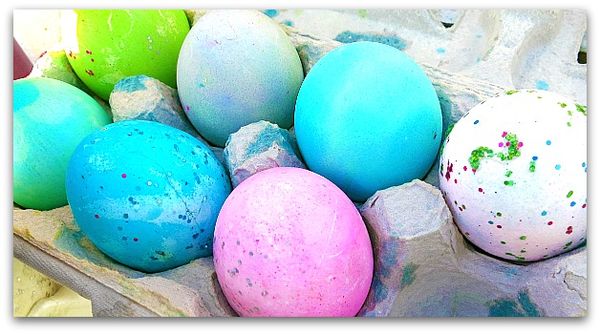
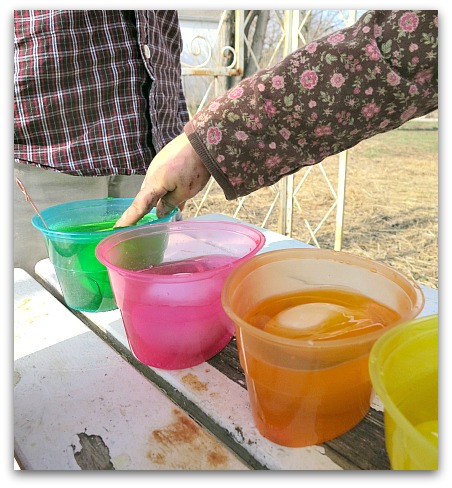
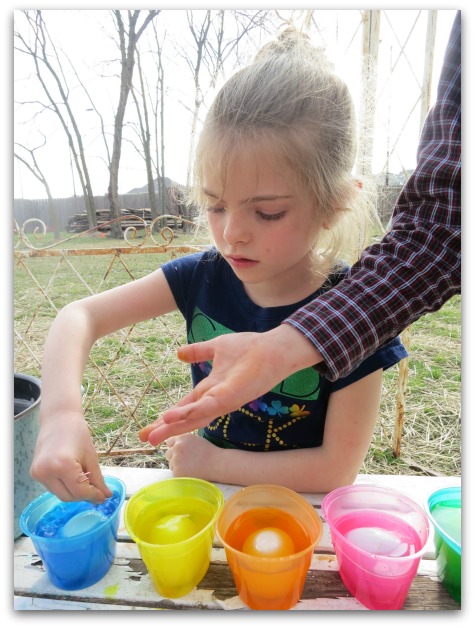
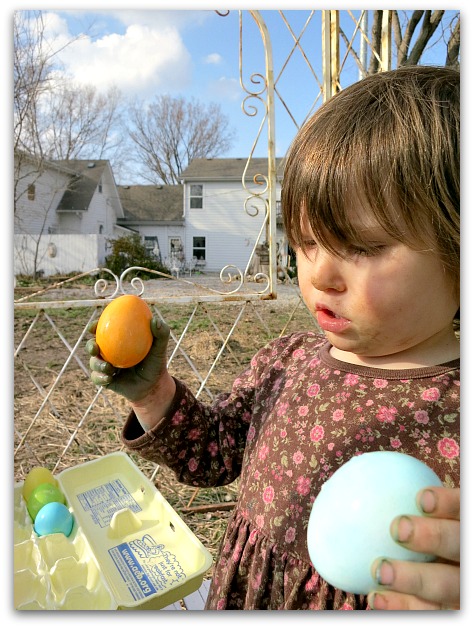
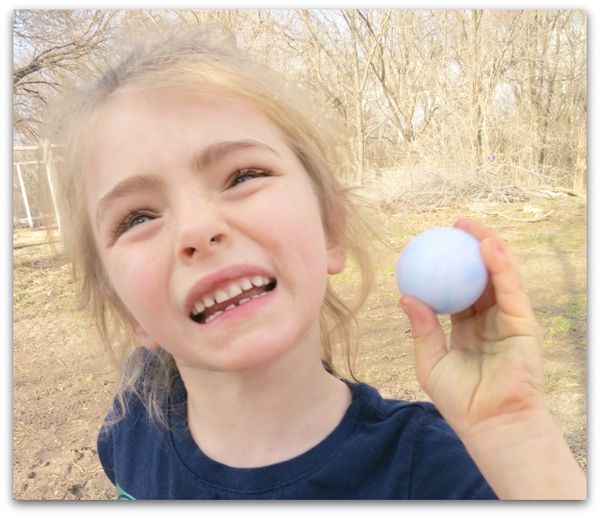
She enjoyed the dying too, although it didn't last long because she thought it was just as much fun to pour the dye out on the ground as it was to dip the eggs in.  But they had plenty of glitter paints to add to the eggs once the dirt under the table was dyed.


Easter 13 046

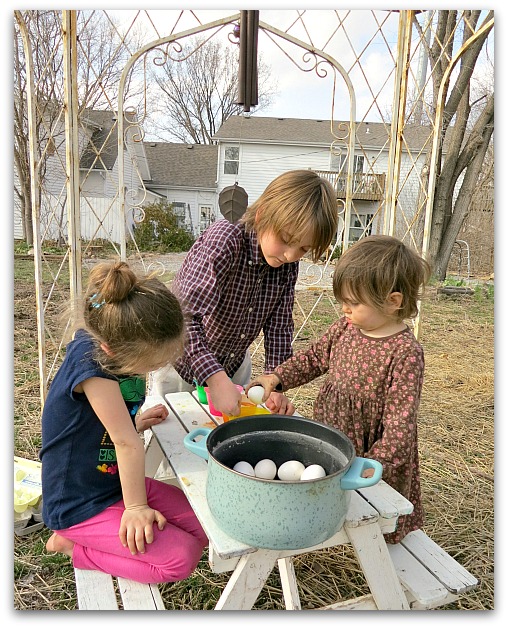
We sat up the mini picnic table in the gazebo and I turned the kids loose with dyes and glitters.


Easter 13 053

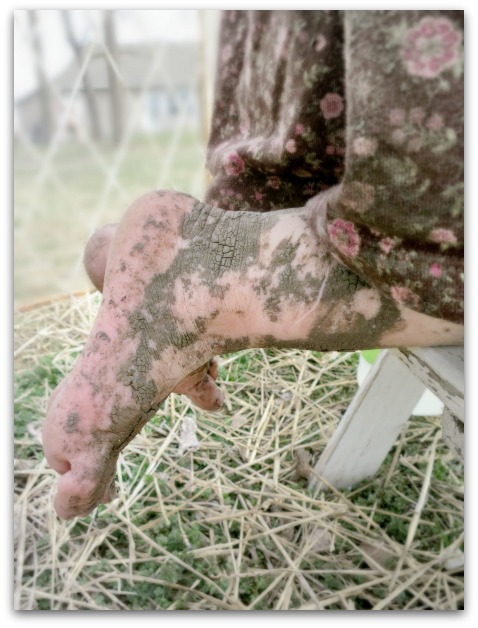
Which was a great plan, considering that everyone had been playing outside and there was a bit of mud from the gardening project clinging to them.  Plus, Dewdrop's fascination with pouring out the dye worked better out doors than it would have inside.


Easter 13 044

I'll have more photos from the Mt. Dora trip after this little break for some Happy Easter wishes.

Easter 13 042
Easter 13 055
Easter 13 066
Easter 13 075

Altered candy boxes for Valentines Day

holiday decor, how to's, vintage paper/collage art

Hearts 012
Last week, I played hooky from stuff that needed done and did some fun things.  Actually, I did that more than once… Sugarwings and I had a couple of afternoons together and another day, I snuck out to see the matinee of Les Mis. 

Nose to the grindstone this week, for sure!


Hearts 009

I enjoyed having a day to make something just because it was pretty and i wanted to do it.   Some of these are in the Boutique now, but I've waited so long to get them there, that Valentine's Day is fast approaching!


Hearts 015

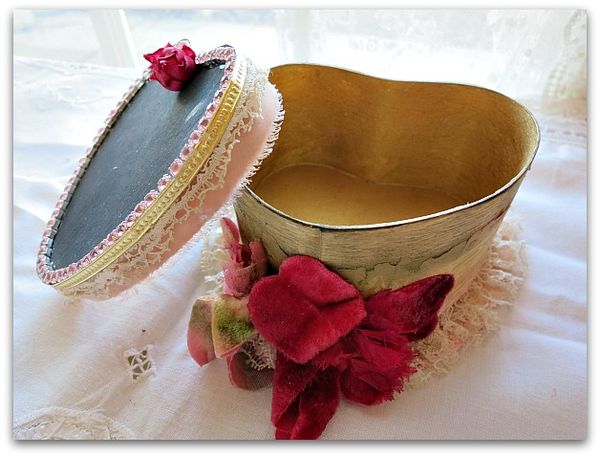
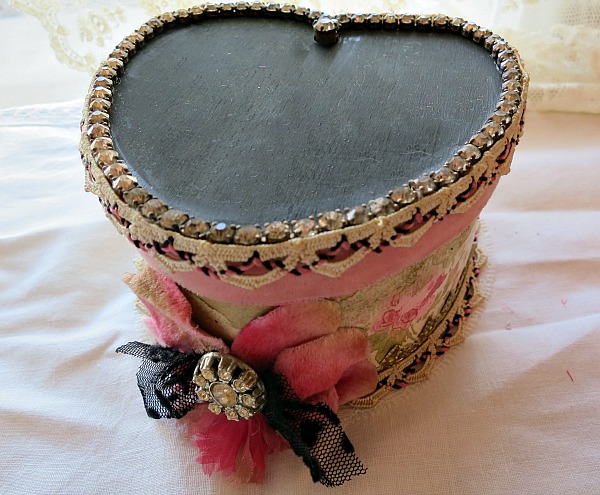
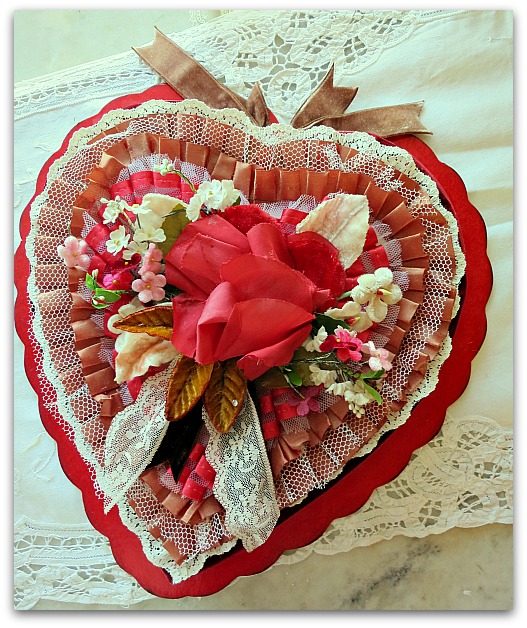
These two are both topped with chalk board paint and decked out in my best Vintage Pretties. Each is a new wooden box, made to look old.


PicMonkey Collage

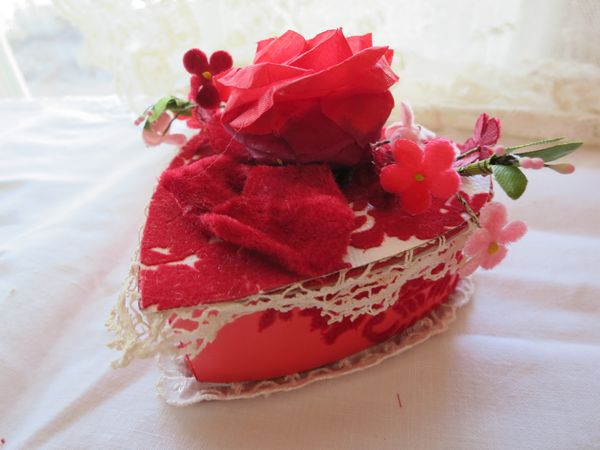
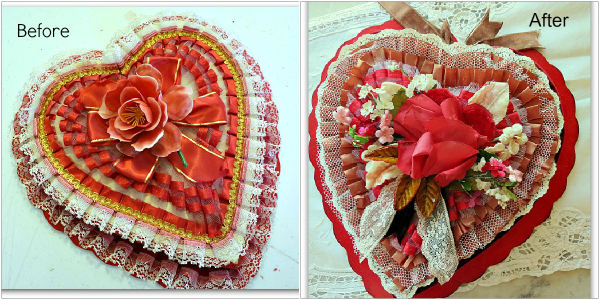
But this one is an old box, foofed up to look better.

 You can see, it started with a lot of what I call "fussy" decor on it.  And a plastic rose??? No thank you.


Hearts 002

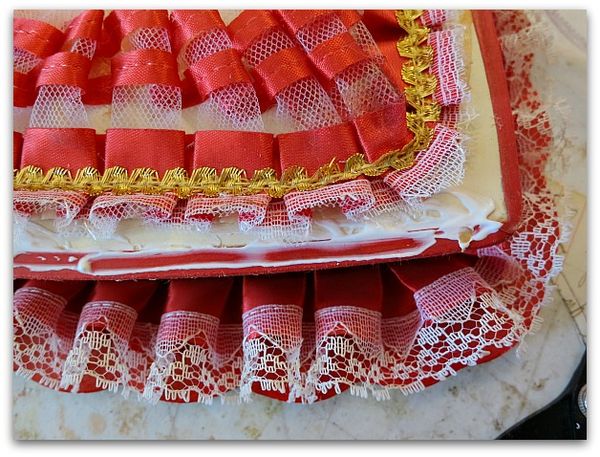
My first step in the redo was to pull off the plastic rose, then some of the lace and ribbon that I didn't care for.

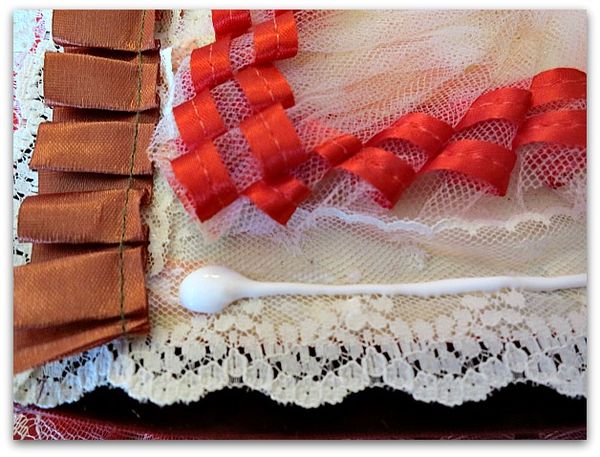
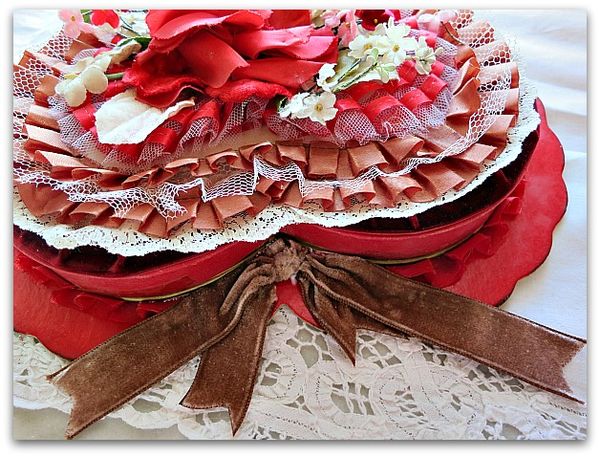
I added a bead of glue all around the newly naked edge to replace the cheapo lace with something much better.  The Good Stuff.


Hearts 003

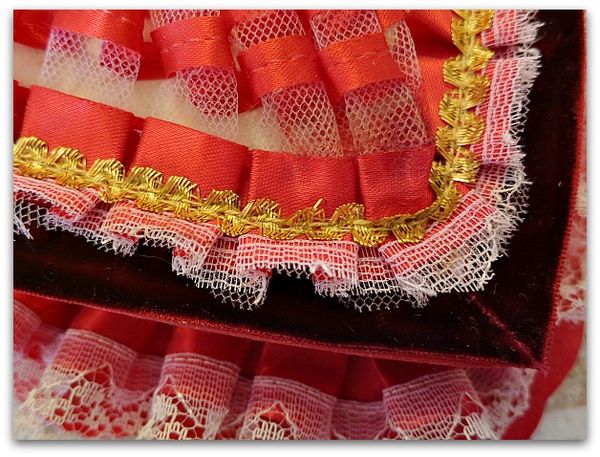
Ahhhh, feeling better already, with some deep, dark, old velvet.


Hearts 004

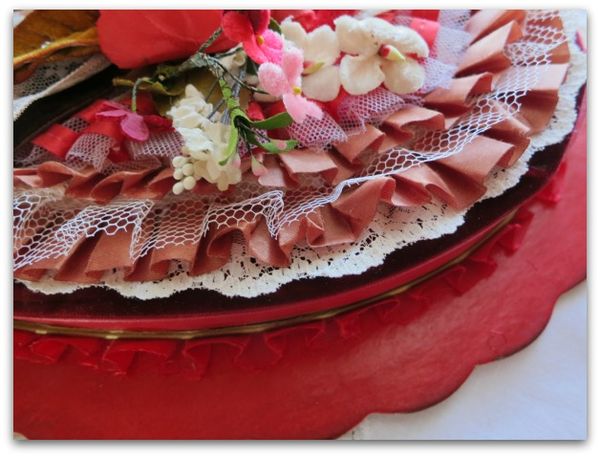
Next, a layer of good lace, and a row of ruffled chocolate ribbon over that.


Hearts 005

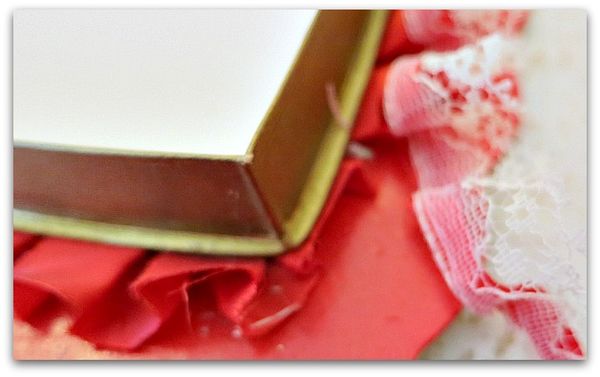
Instead of taking the whole box apart in pieces, to get the lace rimmed existing red ruffle out, I simply trimmed off the cheap looking lace and left the rough edges of the red ribbon to show. Next, I took a dark brown ink pad and rubbed it along the outside lip of the bottom edge.


Hearts 006

Some netting from an old crinoline, and more chocolate ruffles were added to the top.  Then a whole bouquet of tiny velvet sprigs and leaves, topped with a wonderful old rose.  To that, I tied some espresso velvet ribbon and more of the soft lace.


Hearts 008

At the top, some milk chocolate velvet ribbon.


Hearts 007

Layers and layers of loveliness. All my favorite things piled on top of each other!


At the Valentine Journal Workshop AND some free images

bird song art event, Books, celebrations, dogs, Dorkies (Yorkshire Terrriers), free images, holiday decor, puppies!, Workshops

Valentine journal workshop cougar hunt 028
I had such a nice time at the Valentine Journal workshop. There is something wonderful about a Valentine theme, that always makes me happy. Roses? Hearts? PINKS? All of it!


Valentine journal workshop cougar hunt 018

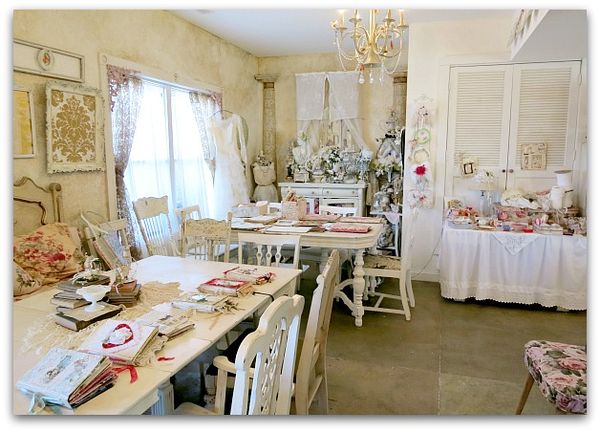
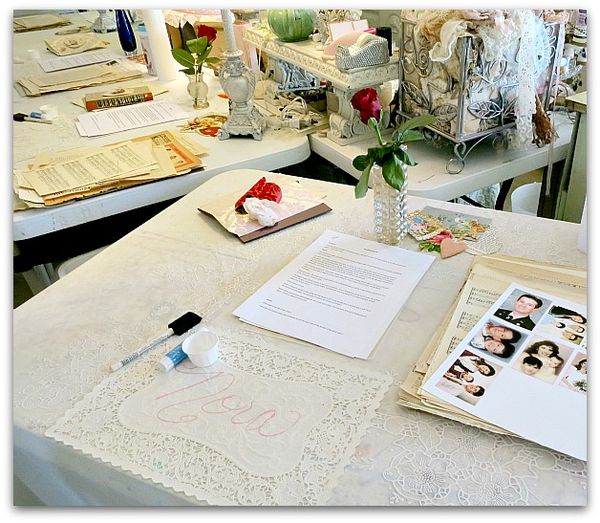
We had a small group, so only needed to use half of the studio. I used this half to set out extra supplies.  So, not only did we have kits stuffed with Vintagey goodies, I had enough extras to make dozens more books.  One table was just used to display previously made books as examples. I showed my travel journal, my samples for An Enchanted Affair, the Valentine book, as well as a couple of books from swaps I'd been in. 

By the way, Kim was able to squeeze in one more table at her arty event this spring, and has sold all but one space at it! If you are interested, better jump in fast! Hope to see you there.


Valentine journal workshop cougar hunt 019

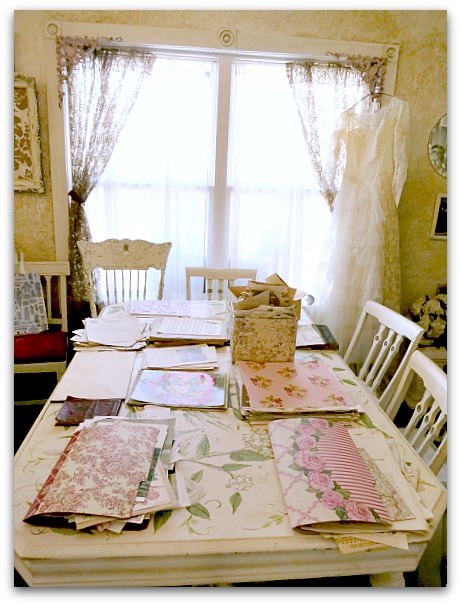
Another table held lots of extra pretty papers, while a third was all tidbits, ribbons, lace, and embellishments.


Valentine journal workshop cougar hunt 023

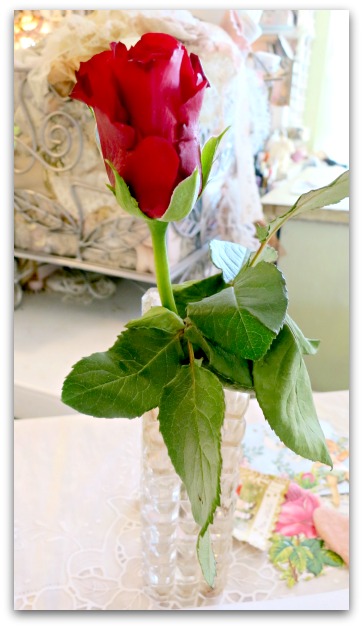
I should do fresh flowers in my studio more often, its a nice treat.


Valentine journal workshop cougar hunt 021

Our local grocery store usually marks a dozen roses down to $1.99 every Monday, but for some reason, they were on sale this Friday too. So, I was able to set out flowers all around the house.


Valentine journal workshop cougar hunt 022

When prepping for the class, I spent about 14 hours making kits, and thought I might just end up running away from home to get away from them.  What was I thinking, waiting till the last day to make them???? That isn't like me.  I sure learned a lesson, and will be getting a jump start on spring time class kits so this won't happen again. 

Kits can be fun to make, and I enjoy playing with my piles of papers and deciding what to include, but not at the last minute.  I had to write instructions, edit photos, sort papers, plus dozens of other things that make the kits successful and well thought out. It shouldn't be done the day before the workshop!! 

I made up what I thought were lots of extras, but not quite enough. They sold out in one day, thank you to all who bought them!  It is never any more trouble to make an extra 10 or so while putting together enough for a class, so I always make some to sell. Plus one for myself, so that I can pull things out during class to demonstrate and know that the kits are functional and have what they need in them.


Valentine journal workshop cougar hunt 038

The best part of making a kit, is seeing how it is used.


Valentine journal workshop cougar hunt 037

Of course, since they are vintage, no two are exactly alike, but still I love the way everyone changes things around so much and puts their own stamp of uniqueness on their work.


Valentine journal workshop cougar hunt 041

And its very pretty to see how far some go to change it up.


Valentine journal workshop cougar hunt 045

We do mini workshops for holidays throughout the year, just for my friends and their kids to come over and play, and of course, I have Birdsong too. (Which I have not done a single thing for yet this year! I need to gather my thoughts and get the website done for sign ups!!)


Valentine journal workshop cougar hunt 043

We did a Halloween gathering and then this little Valentine party, and I really enjoyed both. I would like to do more small, one afternoon workshops if possible. Its so much more intimate than a big to do. Of course, even Birdsong is not big at all, compared to most arty weekends, its 25 people and all cozy in my studio. 


Valentine journal workshop cougar hunt 042

Still, it would be nice to do a smaller class like this and have them quarterly or so.  Just a thought.  10 people or less, hanging out, chatting  all together instead of broken off in groups around the room.


Valentine journal workshop cougar hunt 044

Either way, no matter how many come, I love having company in my studio.  Its not that I don't enjoy a good day alone with my creations, but since I have soooo many of those days, working all alone, its nice to have some company.


Valentine journal workshop cougar hunt 047

I can't imagine any other job than the one I do (although the thought of one that pays better, is pretty tempting), but it does get lonely. Which is why having a blog and all of my blog friends is so nice.


Valentine journal workshop cougar hunt 050

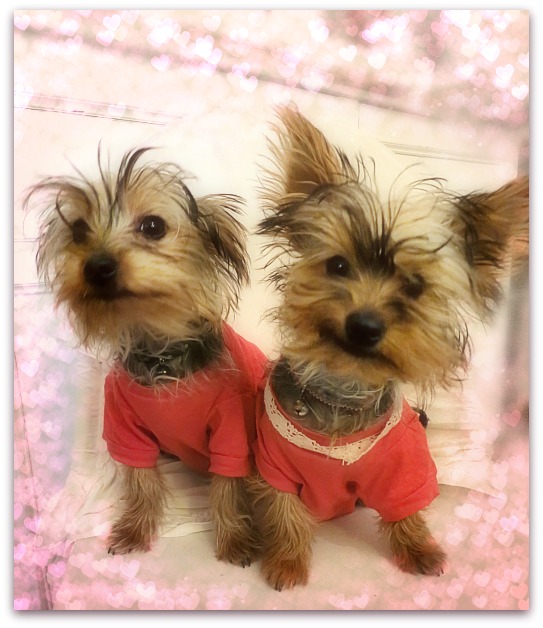
Of course, these guys too! They are great company when they aren't stealing things from me to shred.  Dorothy can't jump or climb because of the injury she had when she was tiny, but Albie is good at getting on the table and grabbing something fun for them to rip up.

Auntie Beth brought them some Valentine tees, and even girlie-ed up Dorothy's with some lace.
Valentine journal workshop cougar hunt 053

She also brought this. Beautiful, isn't it?

Patterns0003

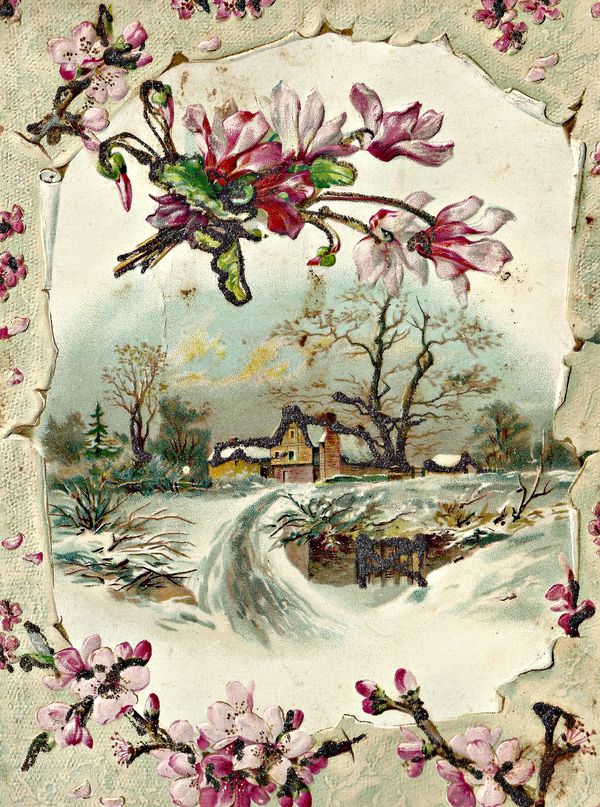
One of my guests brought this lovely, old image, and I was asked to copy it to share. I thought maybe you would like to have it too.  Just click on the image to open it to a larger window, then save it to your computer to print.


Patterns0001 (3)

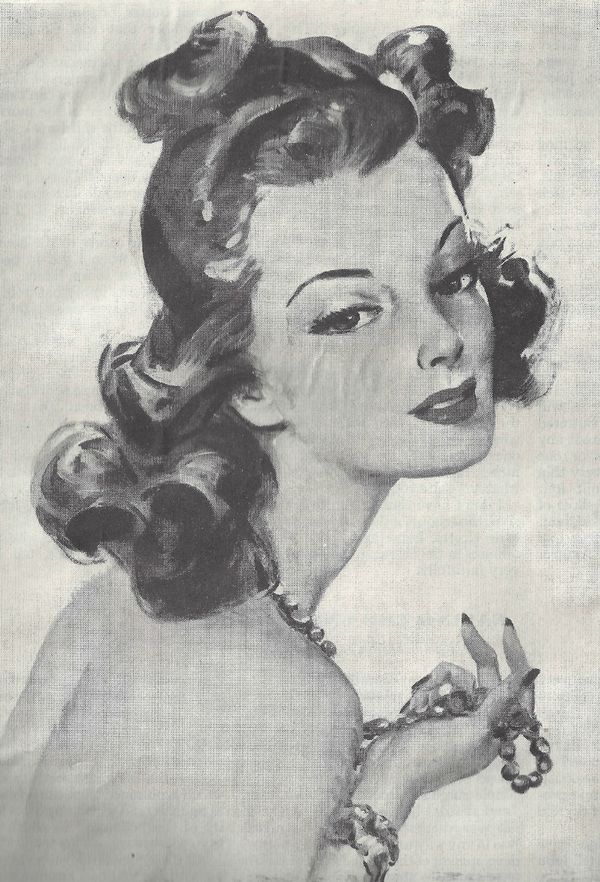
And this one was in one of the kits and I was asked to copy it also. 


Blush

When scanning it, I took a few moments to edit it in a romantic way.  Please save these the same way as the cabin picture.

Felted pink hearts

holiday decor

Odds 013
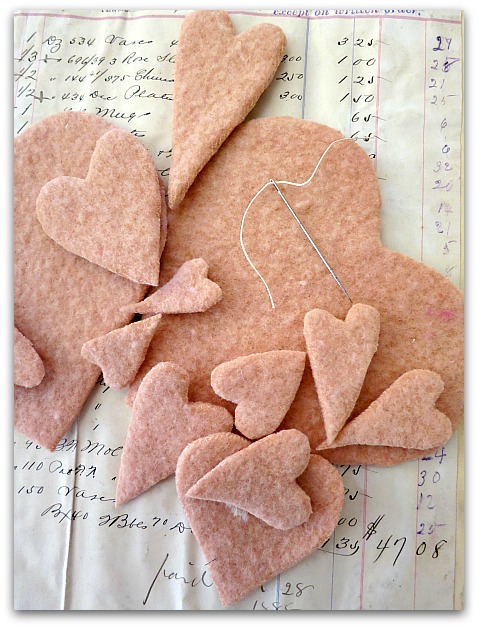
Some of these hearts were cut from felted wool (in a perfect pink!) for the Valentine Art Journal workshop that I am doing on Feb 2nd.


Odds 001

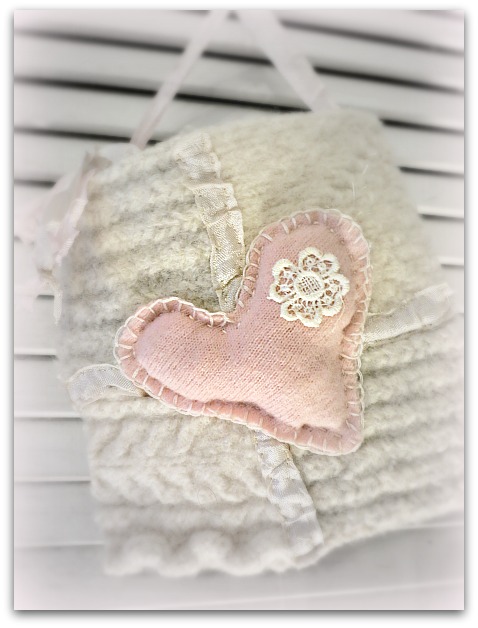
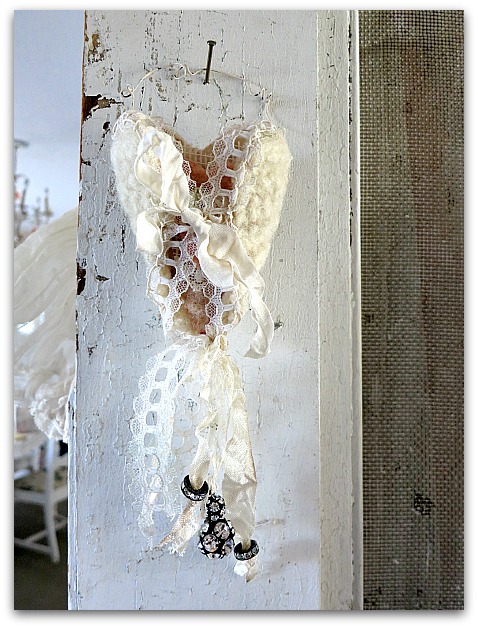
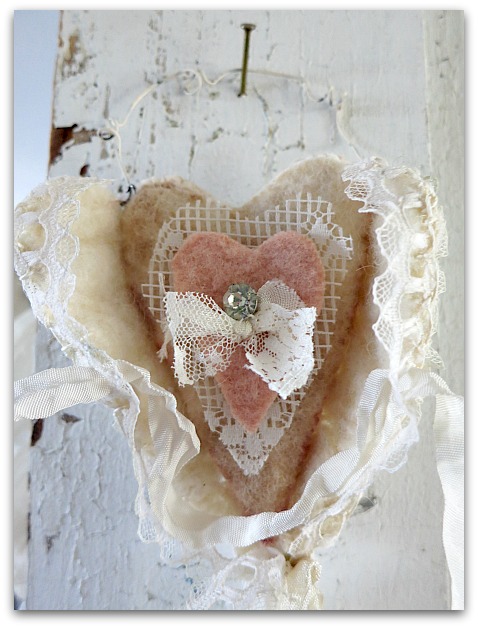
And some, I just wanted to play with.  On this, I used cream felt to make the big heart, and added lace, ribbon, and jewels.


Odds 002

Inside is one of the tiny pink hearts. 

Peek-a-boo!

Giveawyamy 004

I'm away from
my computer on a dream trip to Hawaii right now, but please check back
for fresh posts left for you before I flew off.  If you want to order
from the Boutique, all orders will be shipped on the 30th. If you'd like
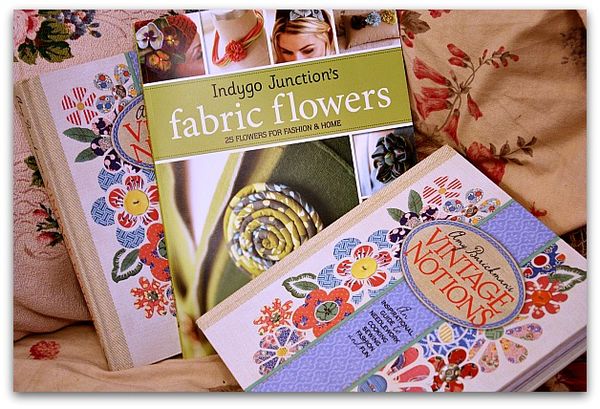
to enter the drawing for one of Amy's books, please leave a comment on
any post.


If you'd like to sign up for my Valentine workshop, please email me for an invoice at:  karlanathan@sbcglobal.net


Hopping down the Valentine trail- hand made felted wool bunnies and chicks a bit early for Easter

holiday decor

Odds 007
My mom was a seamstress, but I am NOT.  Yet, every once in a while, I'm attracted to a project that involves needle and thread. Even though stitchery is not my strong suit, I give it a little try here and there. I've discovered that as long as I don't have to use patterns, I do ok.  Or measure. I don't measure well either.

Odds 010
If I can make something up as I go along, sewing isn't bad.  Well, till the threads tangle. That part keeps happening to me a lot. But, I power through and keep stitching. 

Odds 012
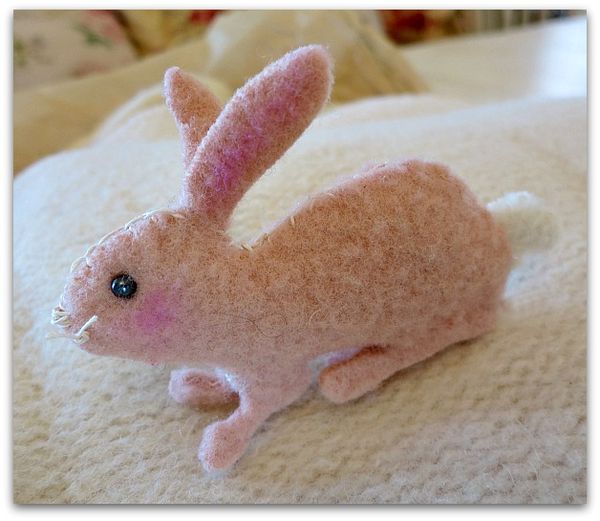
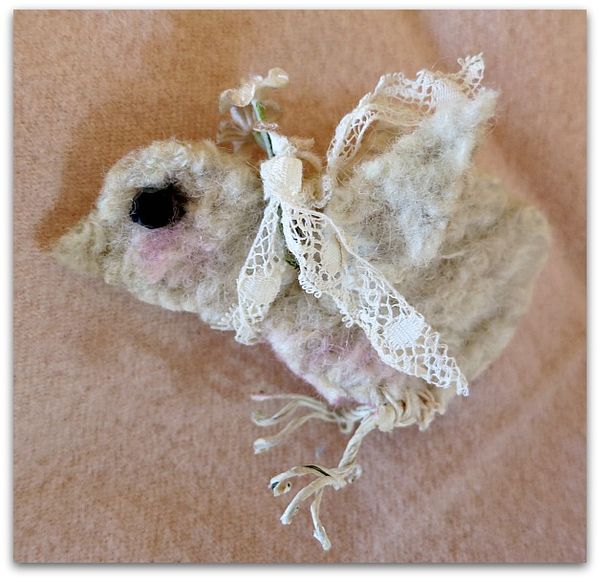
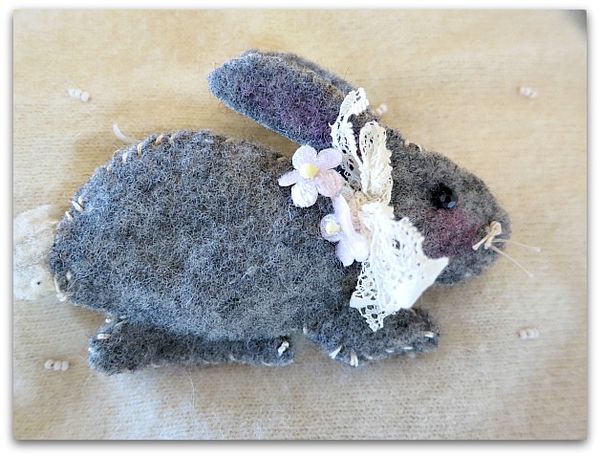
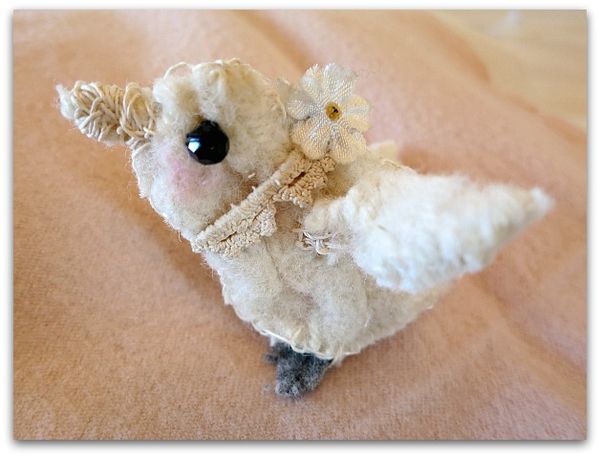
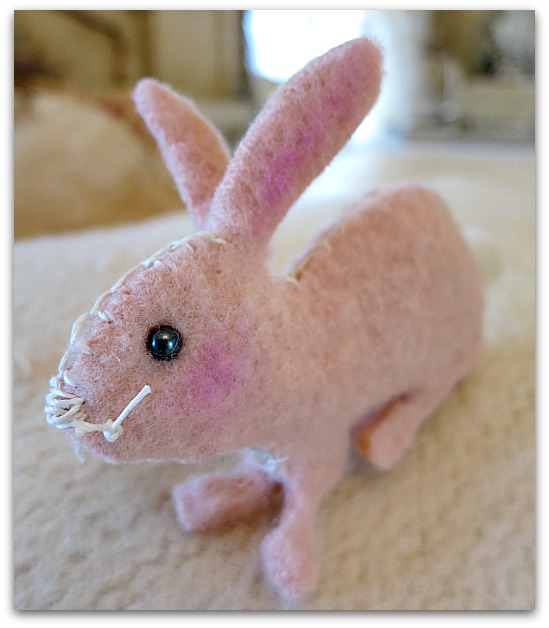
These guys are pretty simple, not a lot of sewing involved and I just love doing them.  They are cut from felted wool. Beth gave me some scraps that she had from Lisa.

Odds 011
Yes, it's not even Valentine's Day yet, but when I saw that soft fluff, I just knew it had to be bunnies and chicks! 

Odds 008
Especially the pink.  It was calling out to me to be bunnied up.  I had no choice, even though there were dozens of other things that I should have been doing, I took an afternoon off to snip and stitch Easter critters.

I used up all of my little scraps, and thought I was over the impulse, but guess what?

Odds 005
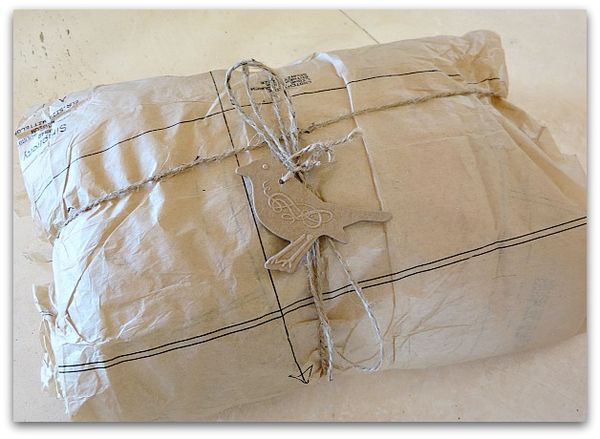
This package arrived from Lisa!

Odds 006
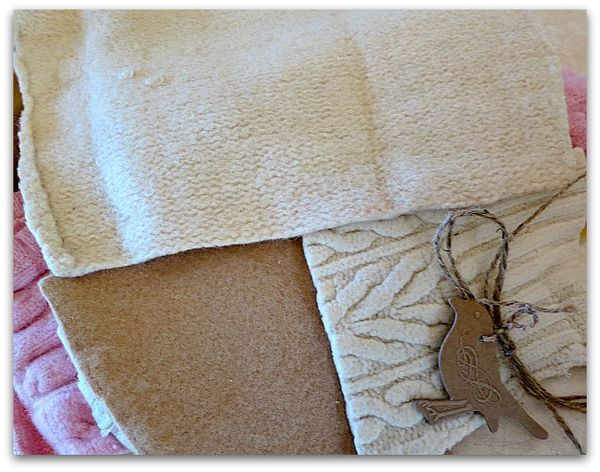
She sent a big bundle of soft toned felties for me to play with!   I was just thinking that I needed a little craft that I could do in front of the tv at night, and this might just be the thing that keeps my paws out of the popcorn while I watch my favorite shows.

Doesn't that larger cabled white look like it is asking me to be a sheep?  I can hear it.

Thanks, Lisa. I can't wait to start sewing!

And I can't believe I just said that I want to sew.  My mom would be so shocked if she could hear that. 


Odds 028
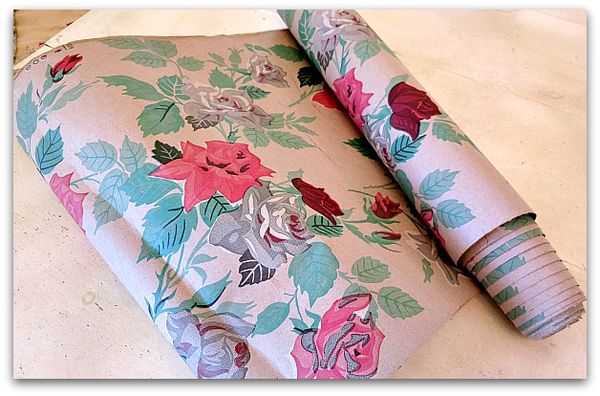
This is another future sewing project.  Lori Oles sent me this roll of rosy paper, and I plan on using it (and some other wallpapers) to make pouches for my journal kits at Kim's big Snow White affair in April.

Giveawyamy 001
I'm away from
my computer on a dream trip to Hawaii right now, but please check back
for fresh posts left for you before I flew off.  If you want to order
from the Boutique, all orders will be shipped on the 30th. If you'd like
to enter the drawing for one of Amy's books, please leave a comment on
any post.

If you'd like to come to my Valentine workshop, please email me for an invoice.


Scroll to Top