how-to projects

Romantic Country, Toasty Trees, and enough tiny trees to fill a country

Dorkies (Yorkshire Terrriers), family, give away, holiday decor, how-to projects, I do tend to run on, don't I?, magazine pictures or articles, Sugarwings

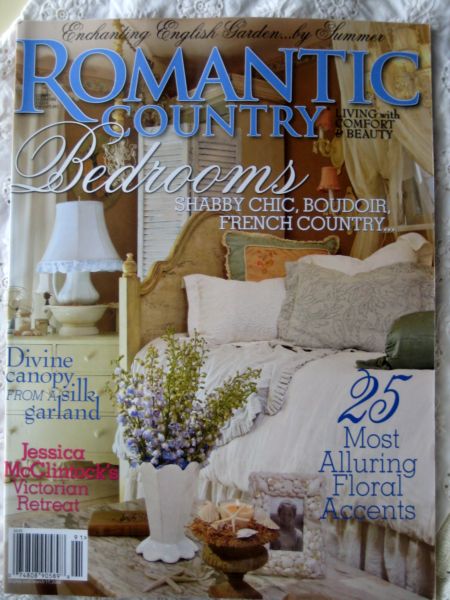
Bleached_trees_036 I have news- my latest story is out!! Romantic Country is on the stands now, I picked up this issue at Borders.

I had dealt directly with the managing editor, Phyllis, for the whole article and didn’t even know that our fantastic blogging friend, Fifi was the guest editor!!!

If you don’t read her blog, you should get right over there, it is full of great how to’s for beautiful projects and sneak peeks into her lovely life.
Bleached_trees_037 I wish I had gotten to work with Fifi, she seems like a fun person and everyone who knows her says such wonderful things about her.

The issue is 100% gorgeous, and I am thrilled with the whole magazine.Bleached_trees_038

The titles to my story, that Fifi added, are cute as a button and add so much to the article, I wish I could take credit for them.Bleached_trees_039

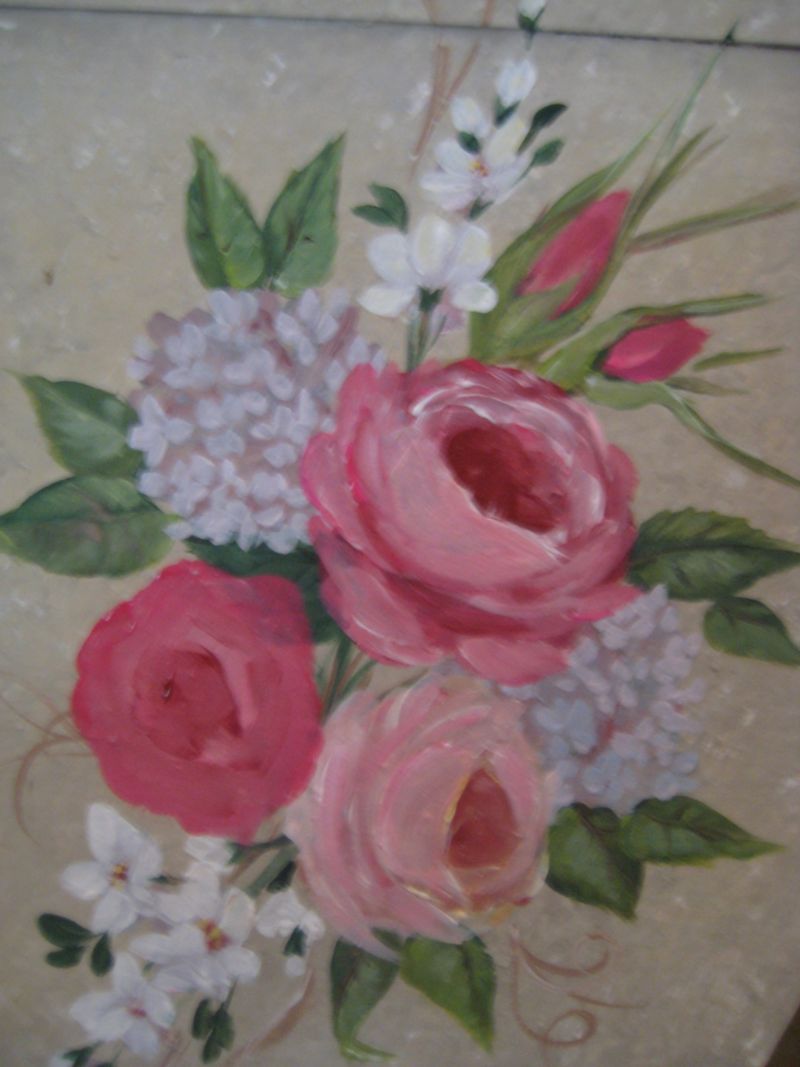
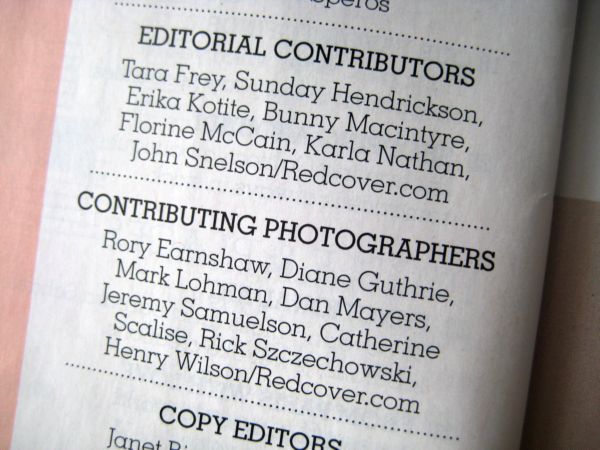
Here is a tiny snippet from one of the photos by my good friend, the talented, Diane Guthrie.  Diane and I had worked together on an article for Romantic Homes a couple of years ago, and it was such a great time. She is a buddy and we get together regularly for coffee and hanging out.

Diane is the one on the ladder in the photo on this posting, and there are also photos from our collaboration for Romantic Homes on that post too. Ice_and_fudge_055

And now for more news- the winners of my drawing are:Holiday_home_184
Lori OlesVintage Flair (blogger winner)

Gail Sell (non blogger winner)

Gail has entered the Sweet Treats and Roses Recipe Swap that Beth and I are doing.  I know that Gail LOVES roses as much as I do, and can’t wait to see what she comes up with.  We still have a few spots left if you are interested in joining in too.

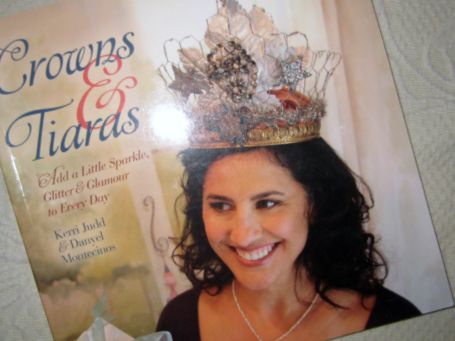
The two winners get to chose either a pair of earrings I made from vintage pieces, or a copy of The Crown and Tiara book (great ideas in it, and so pretty!!) First come, first serve, email me with your choices, I only have one book to send.

Remember, there is still the monthly drawing that you can win too.  I’ll draw that the beginning of Jan.Bleached_trees_021
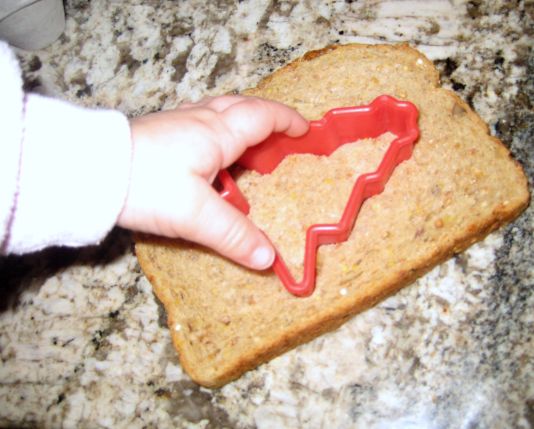
We’ve had a fun morning here, yesterday was a Sugarwings sleepover night.

She helped cook breakfast.Bleached_trees_024
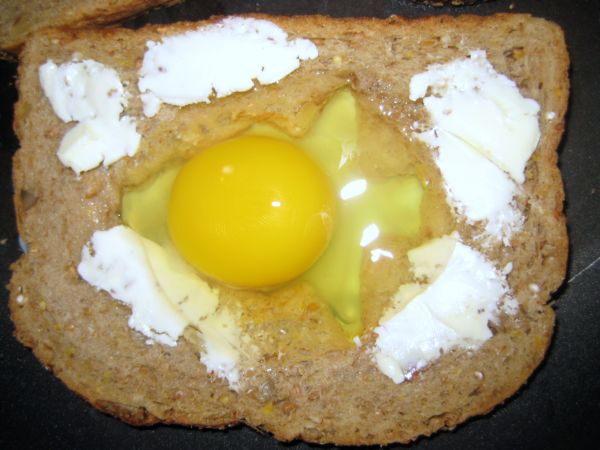
A favorite around here is "Egg in the Hole"

You cut a hole in bread with a glass, biscuit cutter- or even better, holiday cookie cutter, then drop an egg into the hole and fry it up together.Bleached_trees_029
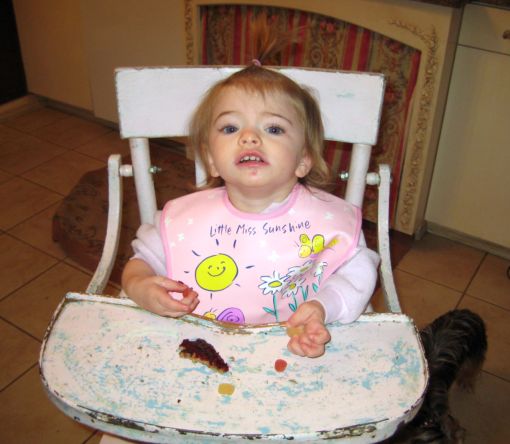
Of course, the best part of egg in the hole is the little piece that you cut out, that you cook in butter too, then add jelly to. 

Sugarwings liked the jelly covered Christmas tree shape, but notice that under her high chair, Twinkle is having the rest of the meal.  I think Twinks gets more food than the baby does at mealtimes.

Well, I never have to mop after I feed the baby.Bleached_trees_001
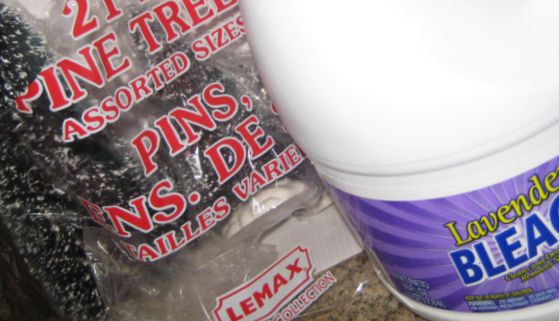
Sugarwings  was fascinated by the Christmas tree project I did too, but I had to keep her back from the bleach and the dye. She isn’t quite ready yet to be a hands on helper with these kind of things.Bleached_trees_002
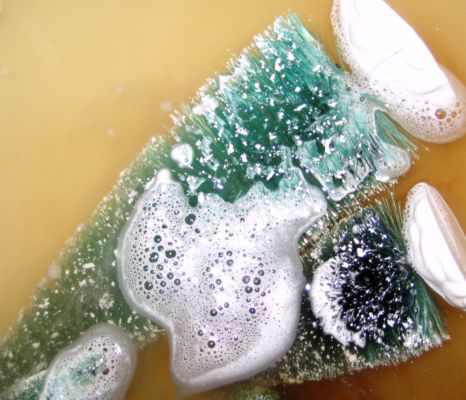
I found the directions to this on Clarice‘s site.

I am crazy about the results!! Vintage  looking, beautiful bottle brush trees from brand new ugly ones!

First you soak them a few minutes in bleach and hot water, and rinse well.Bleached_trees_003
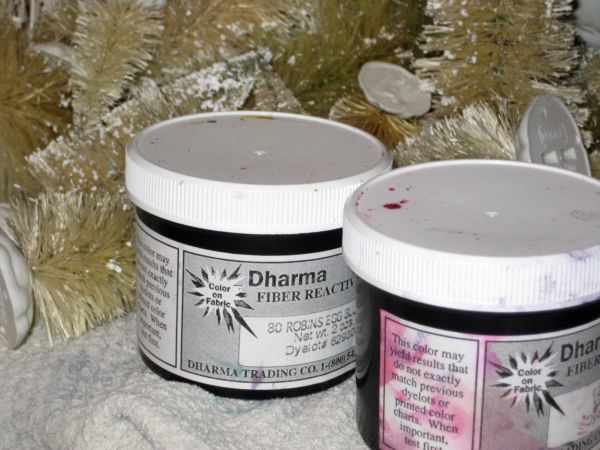
They already look great once they are bleached, but if you want you can dye them any color.

I used professional quality fiber reactive dyes, just because I had them, but am sure that Rit would be fine too.Bleached_trees_004
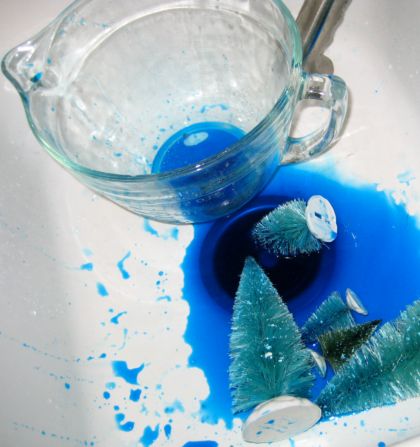
Of course, I should have changed clothes. I should have done this in my studio. But no, I was too excited and wanted to play with the colors, so did it in my kitchen sink.  There is a perfect, made for projects, sink in the studio.  But, heck, it is only dye, I bleached it out of the sink when I was done.  I think the sink might return to white again………Bleached_trees_006
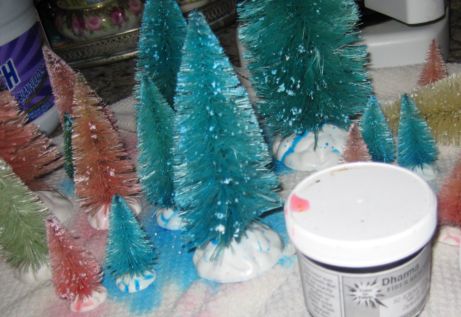
I left the dye in the trees for about 10 minutes.Bleached_trees_008
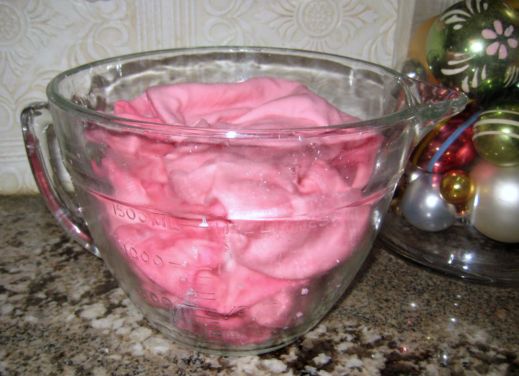
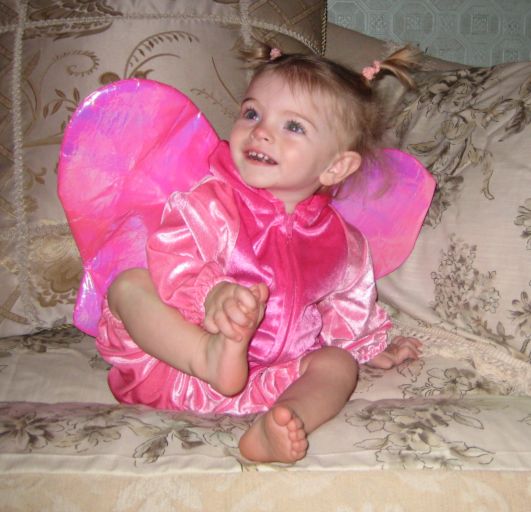
And since I hate to let anything go to waste, I used the left over pink dye that was in the bowl to dye some shirts for my fairy grand baby. Bleached_trees_010
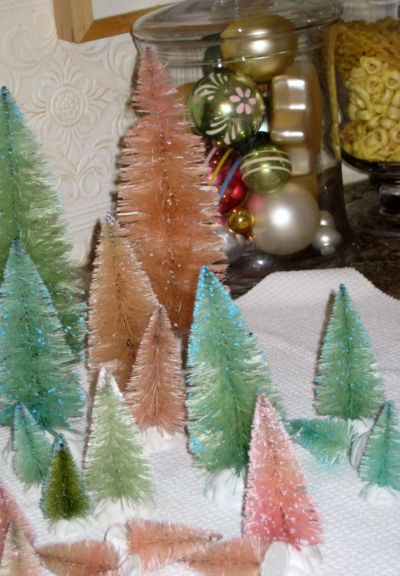
Once the dye is washed out, the trees are perfectly vintage looking!!

These trees are on sale at Michaels right now for 25% off, plus they are pretty cheap to start with, a big bag full of all sizes for $14.
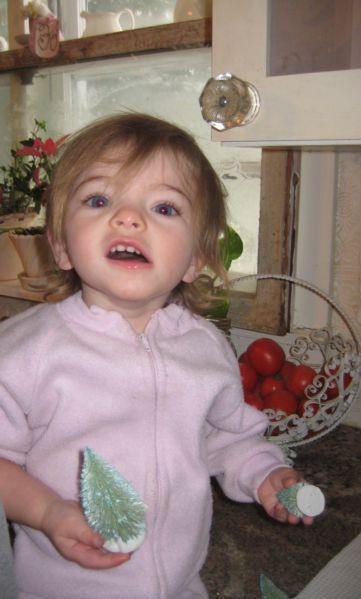
Bleached_trees_016 My little helper was pretty impressed with the results too.

Thanks for the tip, Clarice!!

And thanks to Fifi and Phyllis for making my article look so good in Romantic Country!

And thanks to Sugarwings for making my morning such fun with her giggles and all her help.

And thanks to Beth for being such a fine administrator for our swap and for being such a buddy.

And thanks to Diane for being such a pal and for her great photos.

And thanks to everyone who participated in our "What do you LOVE about your Holiday Home?" party

I must be feeling very thankful today.  Just extra happy and exuberant, I guess.  I need someone to start playing the music that tells me it is time to shut up, like they have at acceptance speeches at the Oscars.

Edited note: These trees really are not my own idea, I saw it on other blogs!! here is another one with them, http://mamanjackjack.blogspot.com/

and here is a flickr site to see everyone’s!!  http://www.flickr.com/groups/563828@N24/

They are so fun to make, and so easy. Nothing like a simple project at this hectic time of year!

And speaking of passing along project ideas, Dona has used my lamp/coat rack idea and tweaked it into her own. Mine is featured in the Romantic Country magazine article that I wrote.
Giving away some Foof and some practcial painting tips

antiques/junking, Dorkies (Yorkshire Terrriers), Etsy Goodies, give away, Hand Painted Furniture, how-to projects

Sewing_box_006 Even though my slipcovers turned out cute, (as long as you didn’t look closely at the seams and corners!!) I still hate to sew.

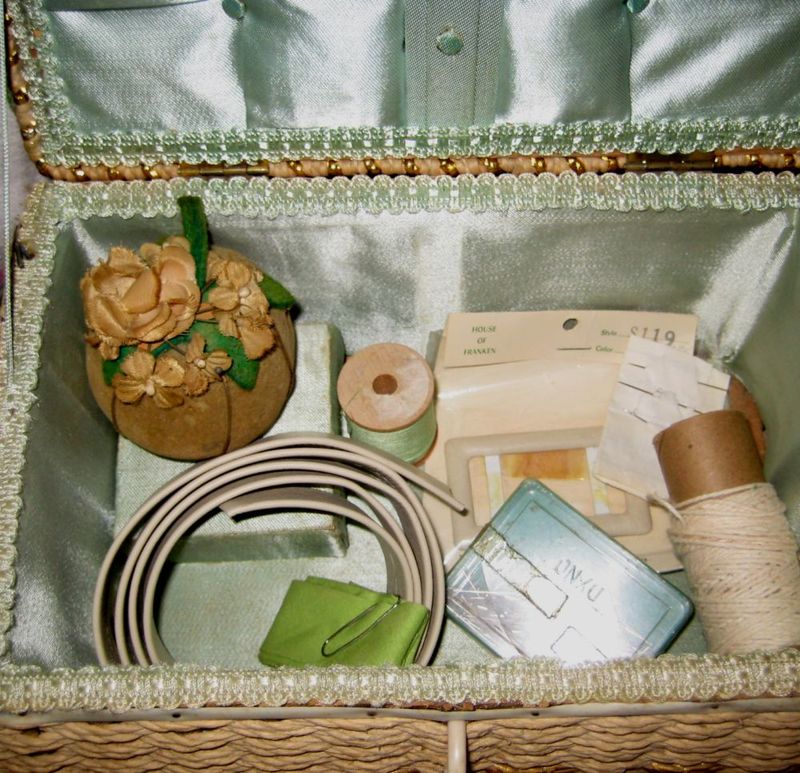
But vintage sewing stuff is so cool.  I love the color of the satin on this sewing box, and it is also a music box!

I listed it on Ebay yesterday after filling it with pretties. I know I will NEVER use it if I keep it around. 

I try to tell myself that I can’t keep everything.  That also goes along with the rule "you can’t buy everything" when you are at a flea market.Sewing_box_026

Luckily there is Etsy too.  I have sincerely loved this venue.  I don’t sell a ton of stuff, but enough to justify making more!
I would say that for me, Etsy is about the equivalent of a small art and craft show once a month. Without leaving my cottage!Sewing_box_024

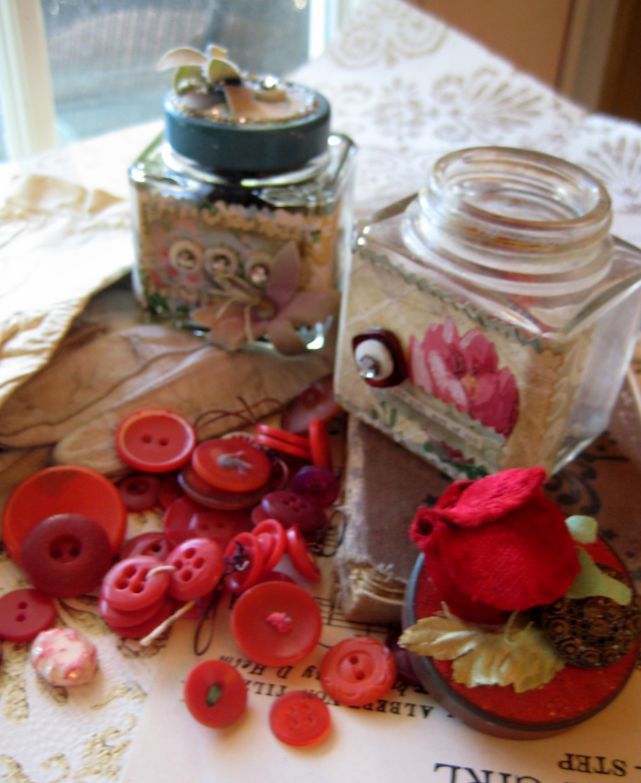
I made two more button jars to list on Etsy yesterday, one full of blue buttons, with a blue lid, the other red.

But I didn’t make much yesterday, I felt like the day was a mishmash and nothing really got accomplished.  I did clean house, babysit and go to the gym and that was a chunk of daylight right there.

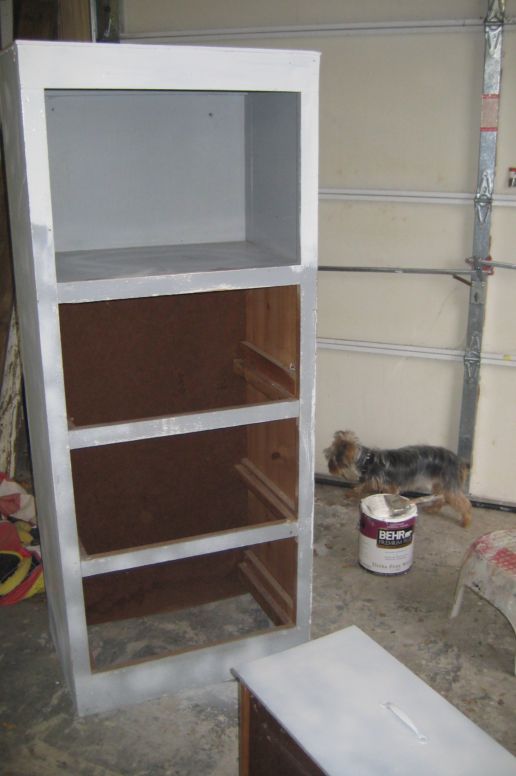
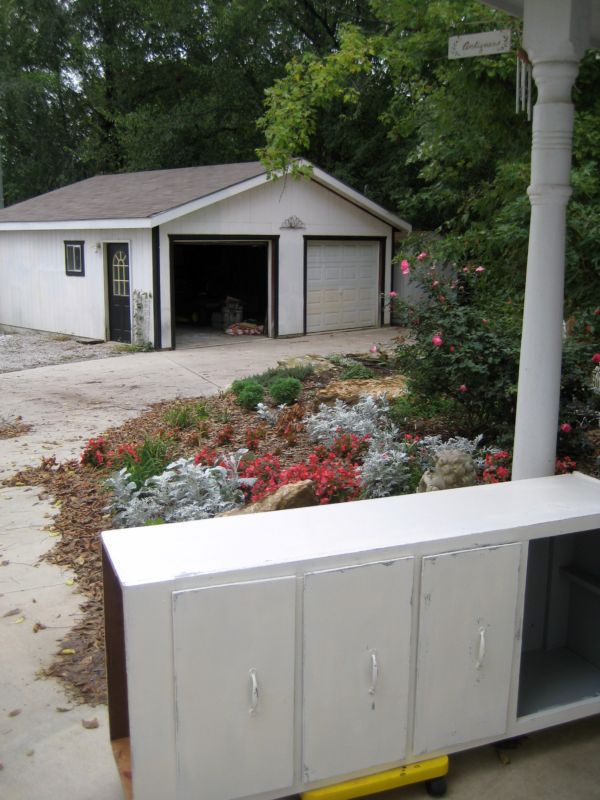
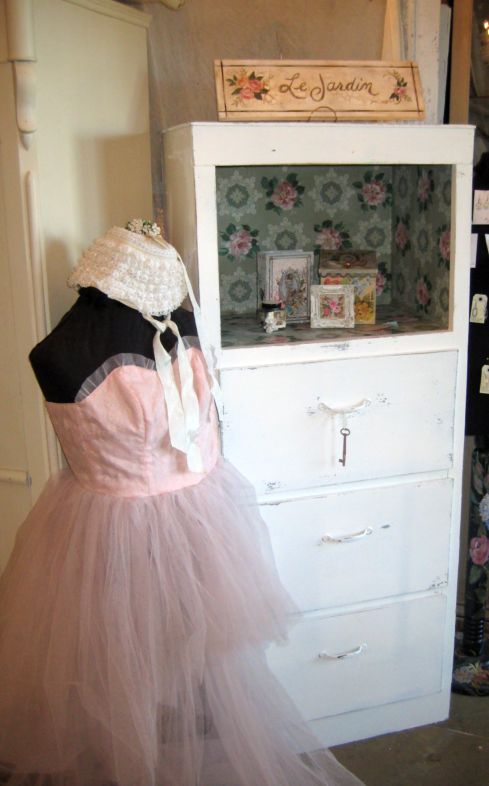
Sewing_box_001 I also re-did this cabinet, chest of drawers thing from a garage sale ($25).

It was grey to start with, I lightly sanded and primed it.

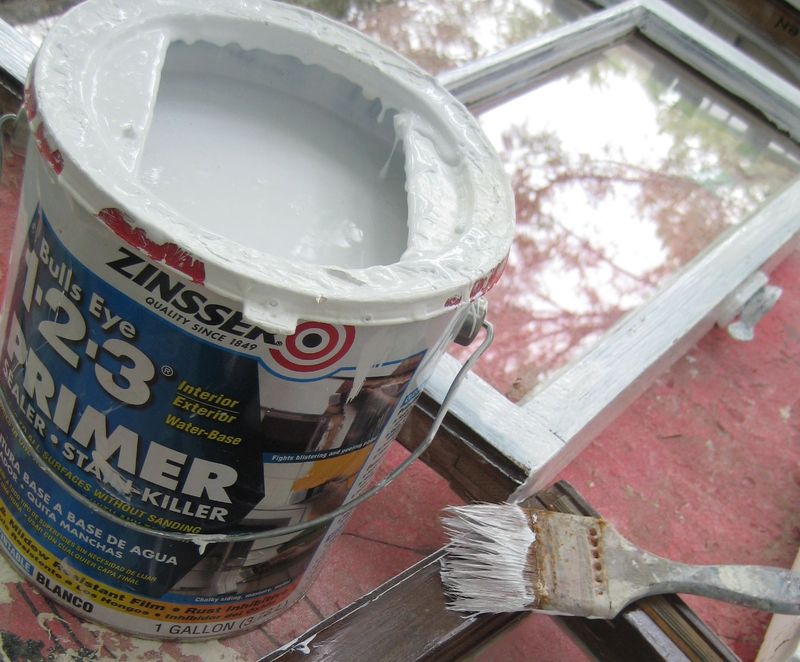
I used Zinzer Bullseye spray bonding primer.  The only place I can ever find that product (best primer on the planet!!!) is Home Depot.Sewing_box_003

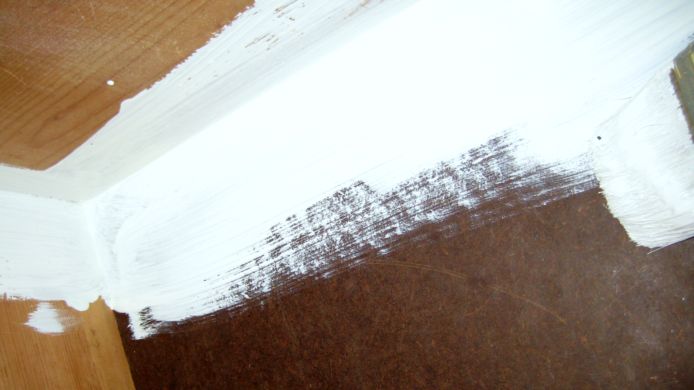
I always take the drawers out to paint them. And I do paint INSIDE the drawers of old pieces, so they are nice and clean and fresh. I rarely prime the interior, it doesn’t seem to need priming.

Never paint the outside of a drawer, though, that will make it hard to pull in and out. Sewing_box_002

And of course, it is good to have company while you are  working. Sewing_box_004

I use a small, flat, wheeled square thing that I got at a garage sale for 50 cents to move my furniture.  It is easier than maneuvering a dolly. I have built bigger ones like this with a piece of wood covered in carpet remnants and wheels from the hardware store to handle larger pieces of furniture.

I like being able to move almost any piece by myself without asking for help. So all the little tricks and tools I can get, I’m happy to use.

Sewing_box_020

I debated how much time to put into this piece. I know it would have looked great with trim added to the top and the handles removed,their holes filled in with putty, and then glass knobs added.

But, I don’t sell furniture full time now like I used to, and I have few markets for the piece. I am having a sale in December, but if it doesn’t sell then, I’ll be keeping it.

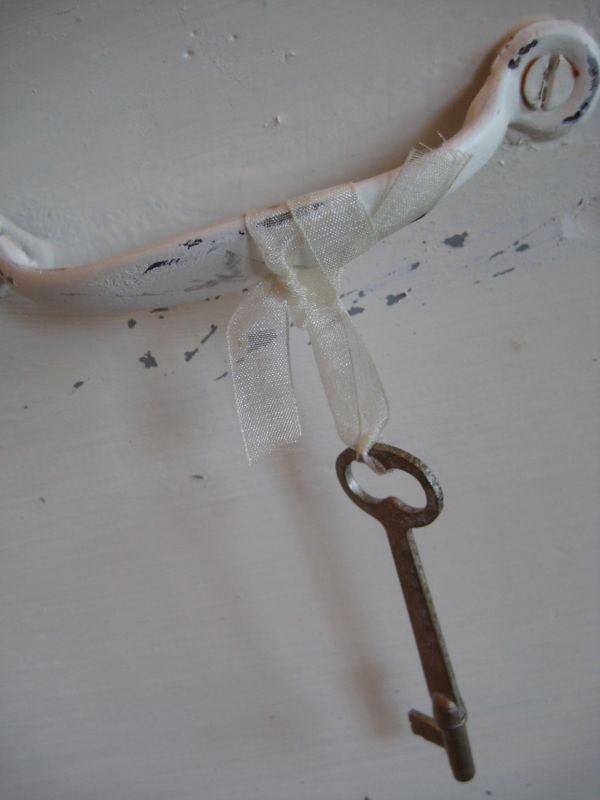
So, I kept the project simple, and primed and painted over the existing handles. I think they have kind of a rustic charm about them.Sewing_box_012

I lined the inside of the opening with some of my favorite vintage wallpaper. It hurt me a little bit to cut so much off the roll! I usually am making smaller projects with it.

I know it would look great to line the drawers with wallpaper too, but I was being practical with this one. Fresh paint was good enough. Sometimes good enough is OK.

Sewing_box_027 Hmm, if this piece doesn’t sell, I think it will make a pretty backdrop for photographing items I have to sell.

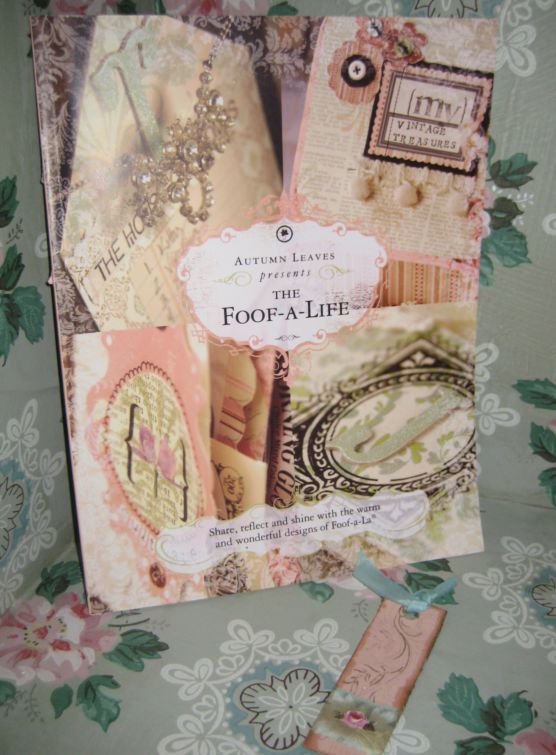
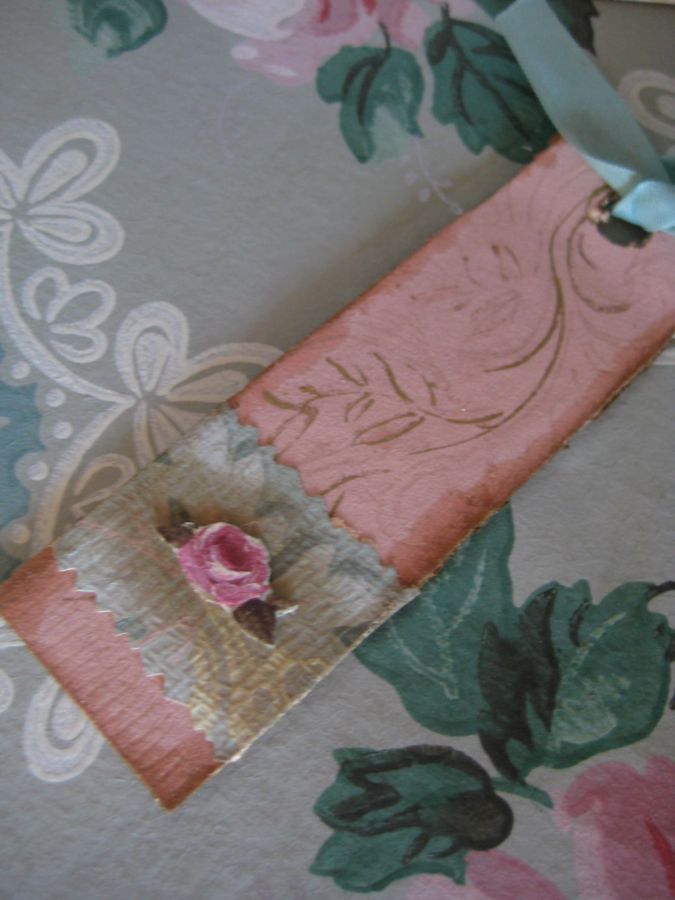
But these are not for sale- the book "Foof of Life" and a handmade bookmark with a tiny painted rose on it will be your prize for my 200th posting!

Sewing_box_030

Today is #197, so check back and enter by leaving a comment on the day of my 200th. 

Every comment you leave on any post enters you into my October giveaway, which will be your choice of a Cottage Collage Kit, or else something I have made from one, if you are not a crafter.

Last night, I went to a talk given by a good friend of mine, Louis Copt. He is an amazing artist and does paintings of Kansas landscapes that are so beautiful, you almost think Kansas would be a cool place to live.

Here is his website, take a look at his Prairie Fire series!!!

http://www.louiscopt.com/

Step by Steps and a peek into the crazy mind of a serial redecorator

Etsy Goodies, fairies, how to's, how-to projects, I do tend to run on, don't I?, magazine pictures or articles, Sugarwings, vintage paper/collage art

Butterfly_baby_006 The slipcovers are done!  And in use, you can see them here under my little fairy grand baby.  Her dad has dislocated his elbow -ouch- and it looks like I will be seeing a lot of her this week.  He is in bad shape, and can’t use his arm, so he can’t pick up his baby.  I’ll be helping out till he is better.

We are hoping rest will do the trick, the poor guy has no health insurance and can’t afford time off work, or doctor bills.

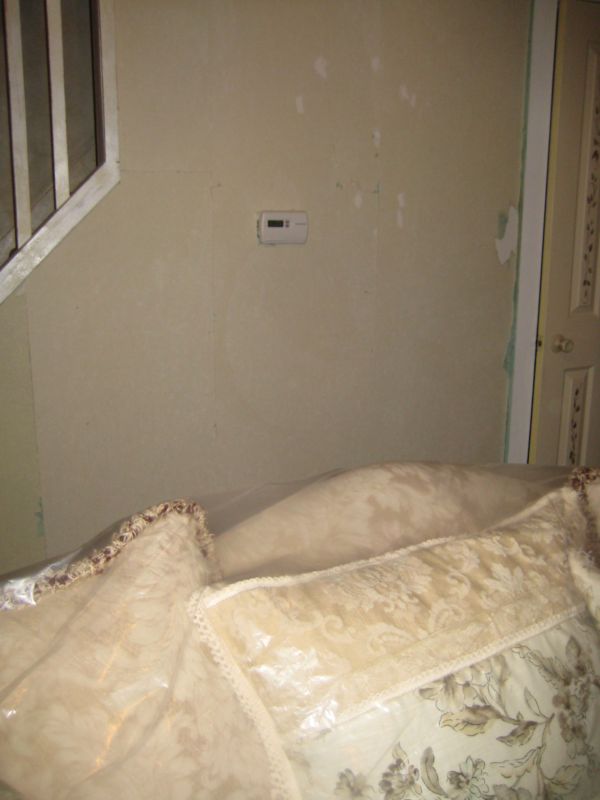
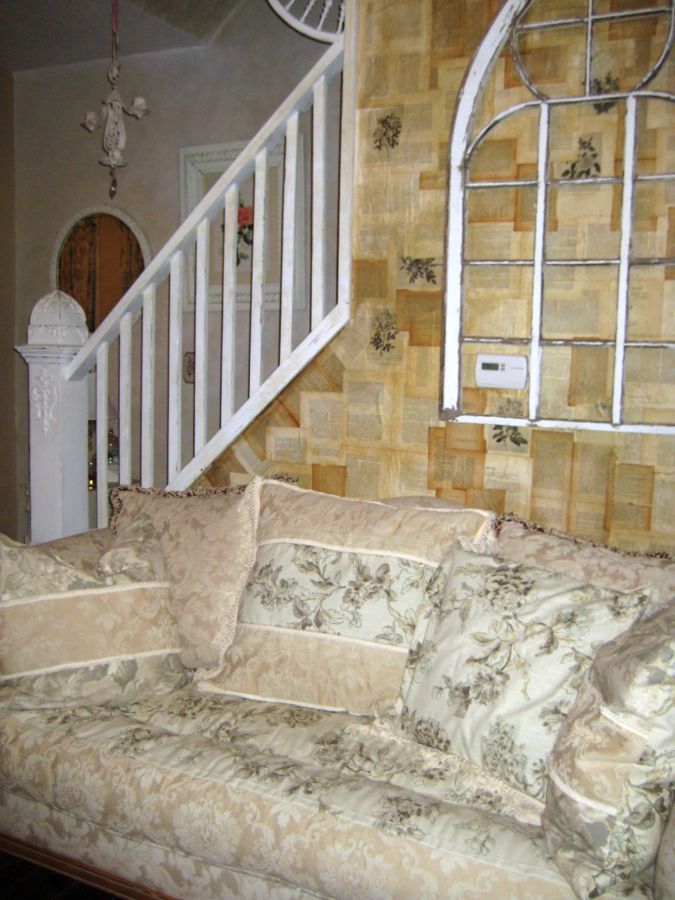
Since I know I will be busy with the baby this week, I kicked it into over drive to finish the slipcovers and the wall behind the couch. Book_wall_002

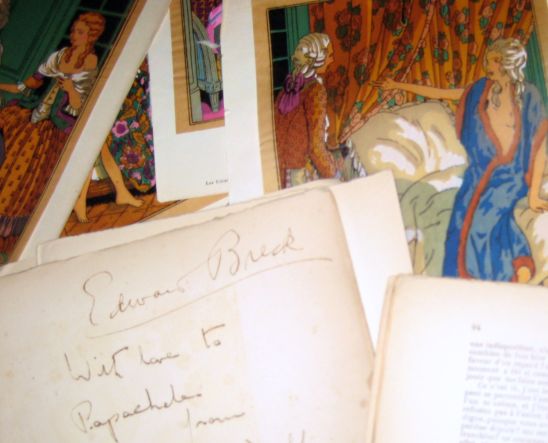
I decided to use a mix of books for a varied look on the wall. First I removed all these cool illustrations to use for projects or to sell on Etsy for someone else to use.  Aren’t they beautiful???Book_wall_003

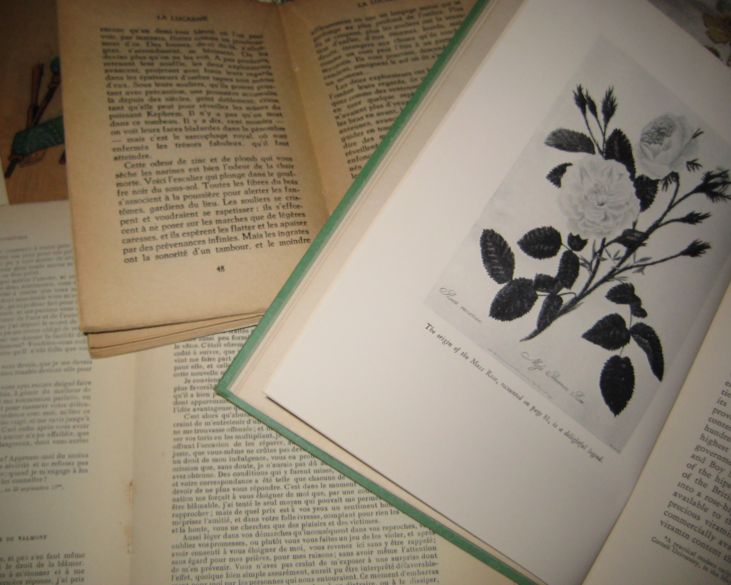
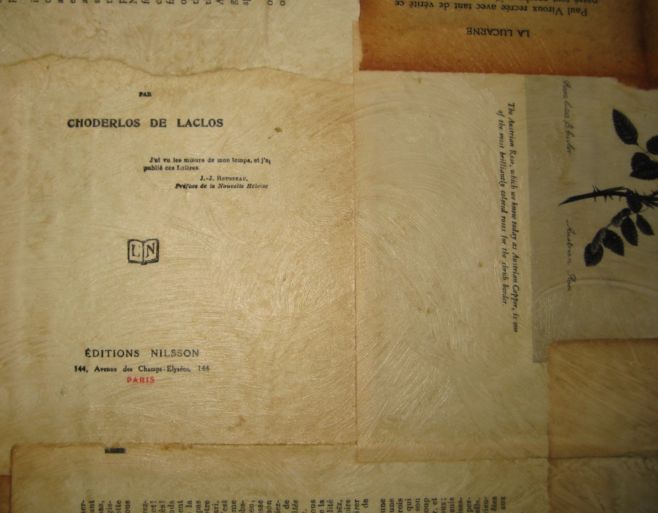
I have 2 French books in different sizes, and one slightly more aged looking plus a book about roses with black and white illustrations.

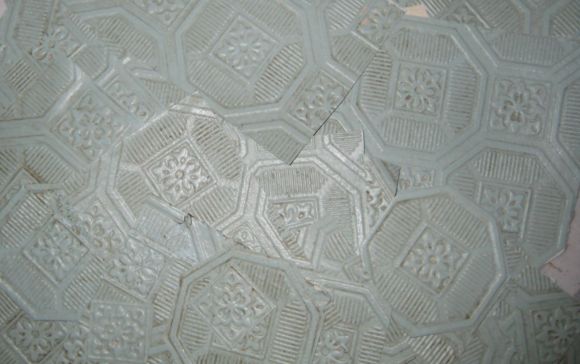
Book_wall_001 I was so pleased to see how easily the textured wallpaper came down.  Just a bit of peeling and patience and it was done.Book_wall_019

If you know me at all, you know that I don’t waste anything. The wallpaper I pulled down was cut up into craftable sizes and saved for future projects. Some of it was used already to wrap up some Etsy purchases tonight. It made really cute wrapping paper.Book_wall_004_2 Book_wall_013

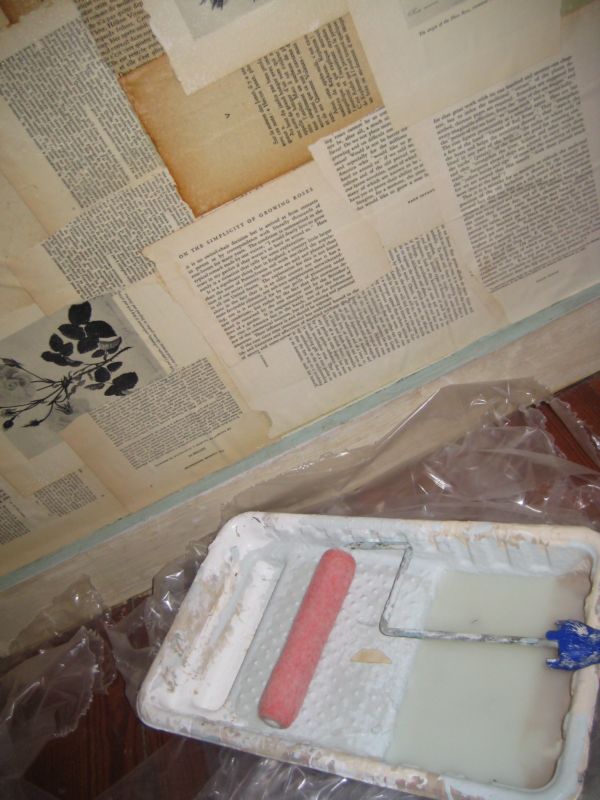
I used all three books, with the pages turned upside down, sideways, all topsy turvey, with no real pattern or plan.

Wallpaper paste was rolled onto the wall and I added the pages to the glued wall, then rolled over the top again with glue.

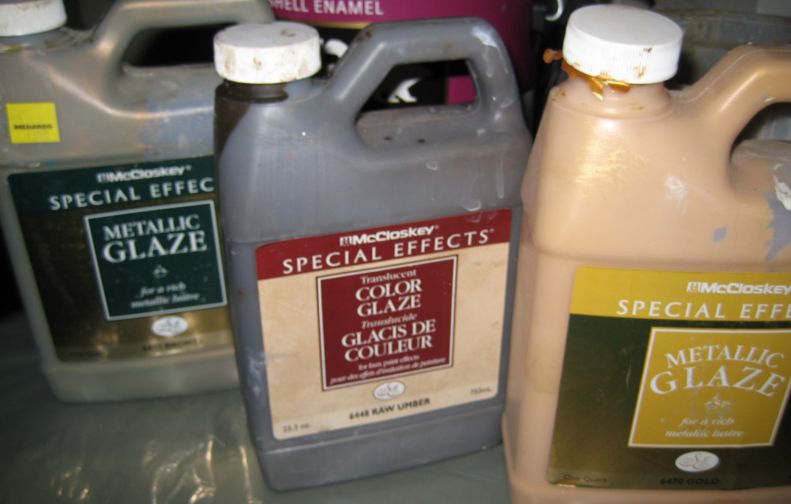
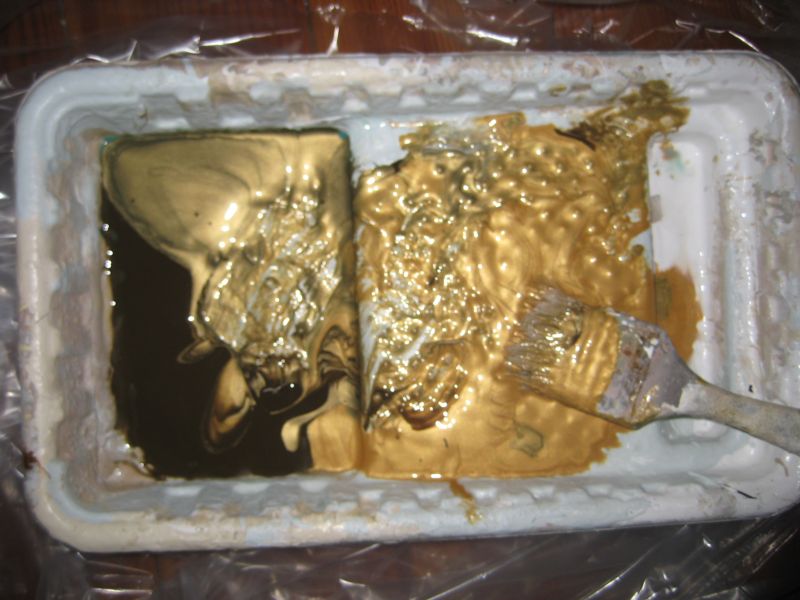
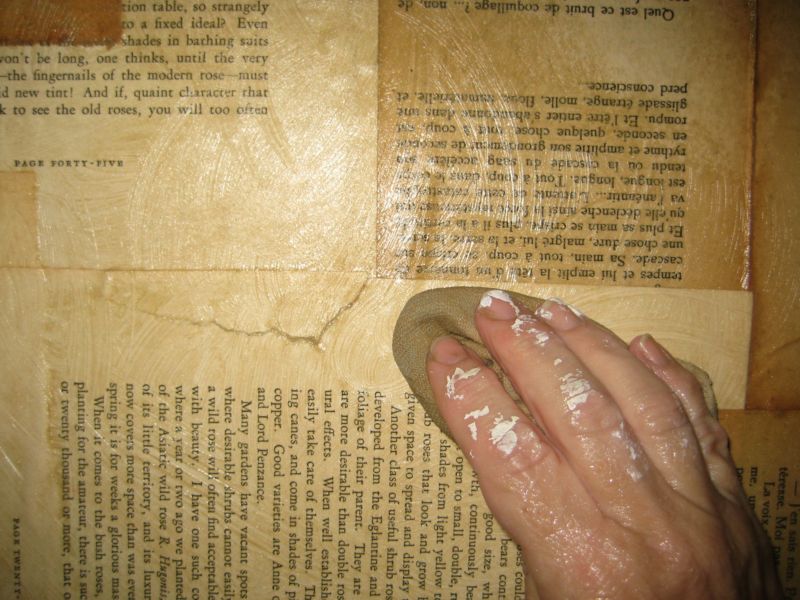
The first part of the wall was dry by the time I finished the last part, so I started right away on the metallic glazes.Book_wall_014 Gold, bronze and umber glazes all went into the pan together.Book_wall_006

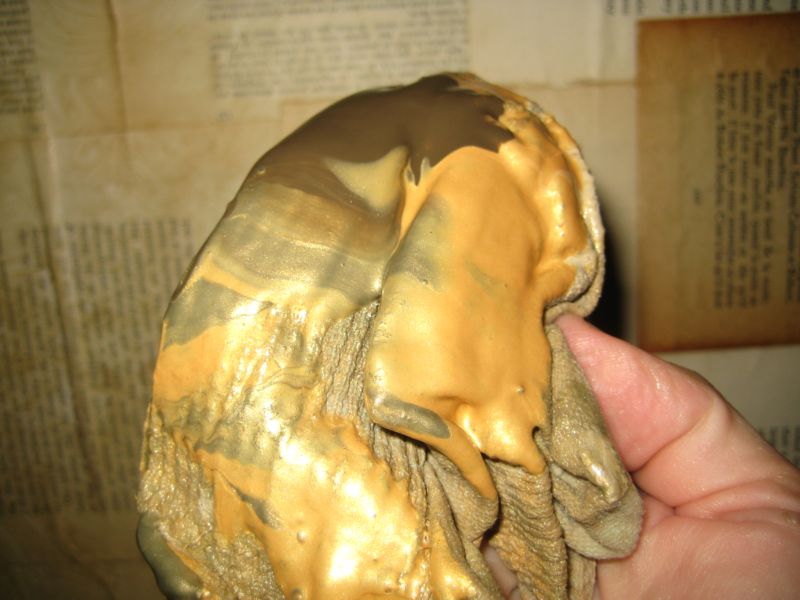
To apply, all three were used on the rag at the same time.Book_wall_007

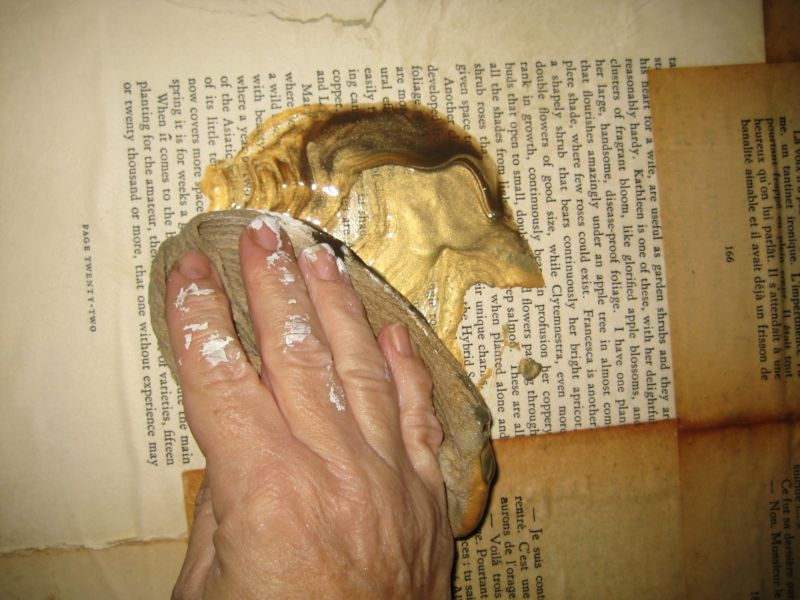
It gets glopped on with the rag.Book_wall_008

When you first start to smear it around, you think, "oh no, what have I done???"Book_wall_009

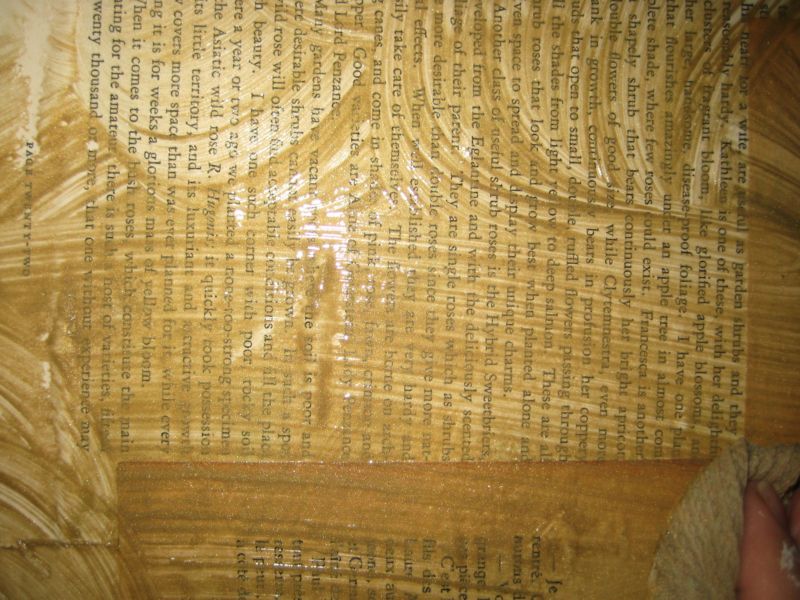
But just a little blending and it starts to look good.Book_wall_012

I wish you could see the metallic sheen this has, it is a nice effect, but doesn’t show up well in the photos.

I like the aged colors of the paper and the golden sheen over the top kind of blends the papers all together.  The only color on the wall is this one page with the tiny word "Paris" in red.Book_wall_017

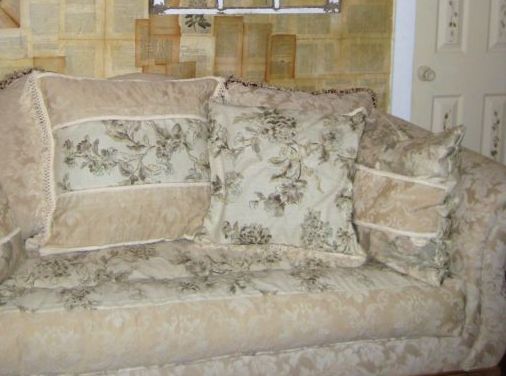
Ta da!  New slipcovers in one afternoon (it helps to not measure or be too picky, just go for it!) and a wall stripped of its old wallpaper and re-papered in vintage book pages in about 3-4 hours the next day. 

Book_wall_016

One thing I really like about the slipcovers, besides the fact that they are washable and I have a houseful of dogs and a baby- is that I made the backs of the pillows all out of velvet.  When you lay on the couch, it will feel good to flip the pillows over to the soft side to get comfy.

Living_room_002

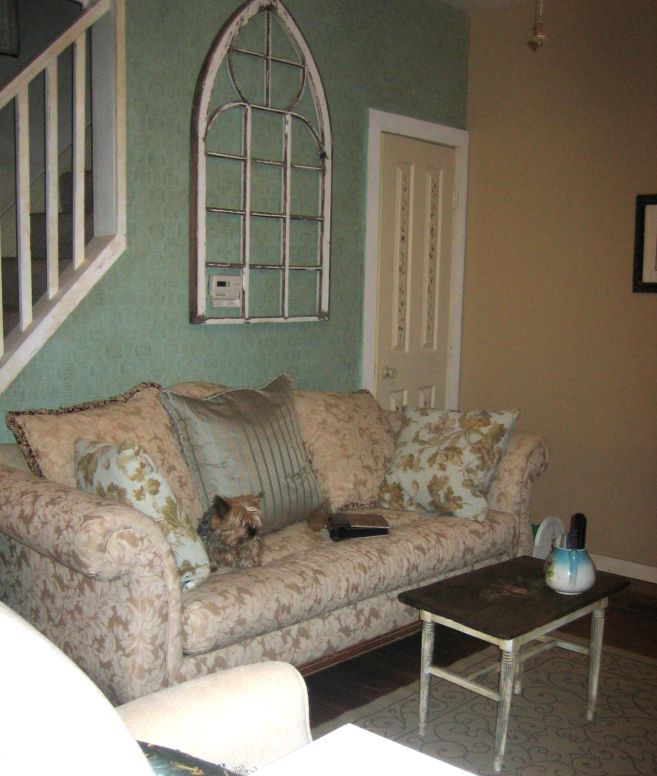
This is what I started with, and was ready for something more neutral. 

(I found this brand new couch at a sale for $285!)New_couch_002_2

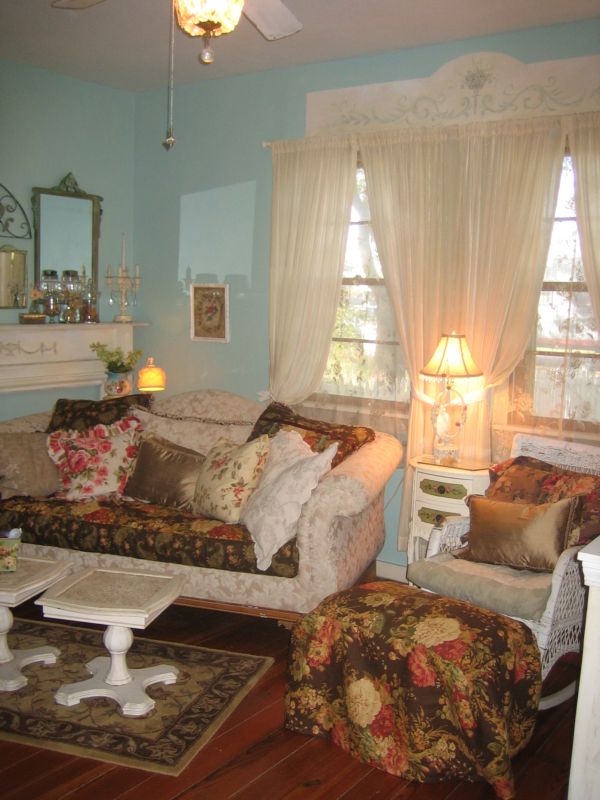
I’d used dark slipcovers for last winter,but it was way too much color for me and I got tired of it fast.Img061

And before that, we had this couch that I gave to my son when he got his own place. He stripped off all the pillows and the cover that I made for it and likes it plain tan velvet.

Img060

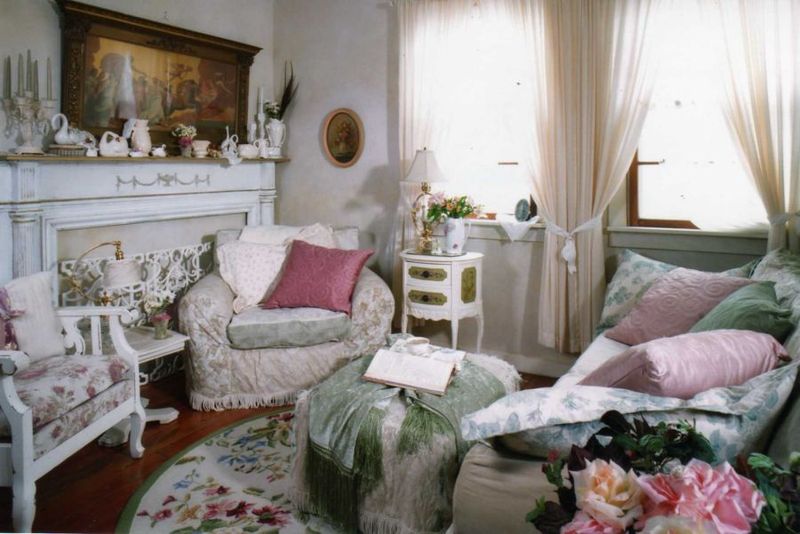
Here is another version of that sofa. 

Both of these photos were used in magazine shoots and were taken by Bill Mathews and styled by Gloria Gale.Img062

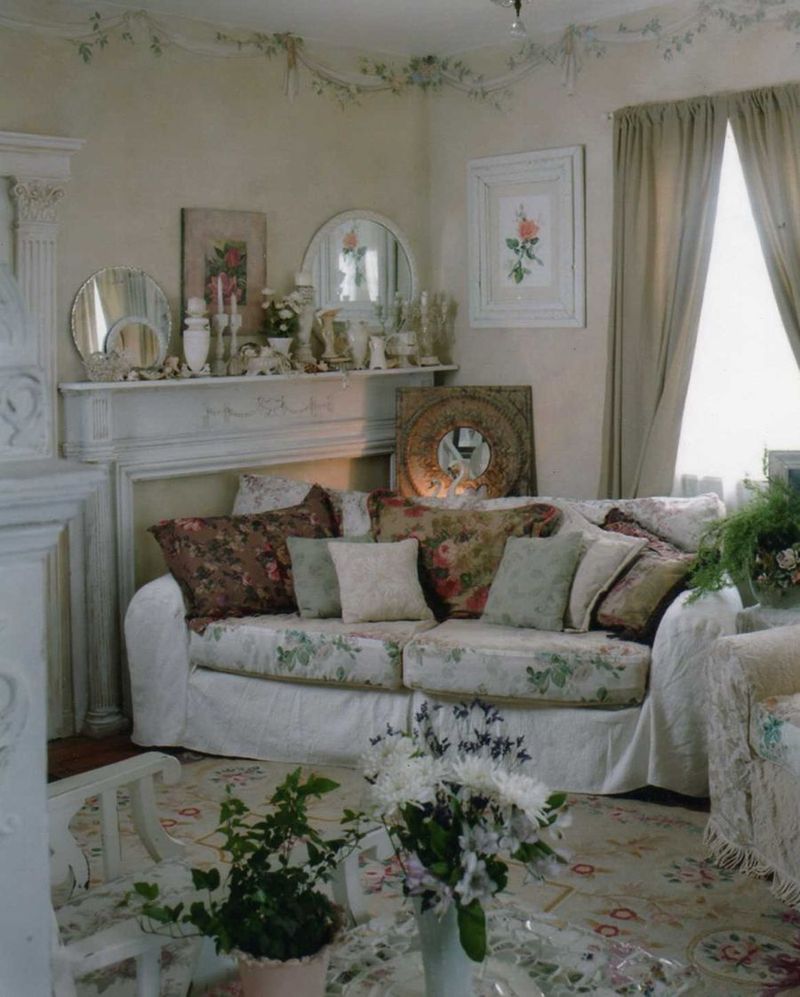
And way way before that, we had this look. This was in Country Almanac, and was done by Bill and Gloria too.
And don’t ask me how long I will keep the new look I did tonight. Chances aren’t good that it will last!!!

Don’t forget about the giveaway, leave a comment to enter, I have two drawings this month!!

Artful Bloggers Party- How to Paint Furniture

antiques/junking, Etsy Goodies, give away, Hand Painted Furniture, how to's, how-to projects, magazine pictures or articles, vintage paper/collage art

Tags_your_it_017_2 Yes, I am back for a second time today, but wanted to get an early start on the Artful Blogger’s Party hosted by Kari.  I am leaving for a family reunion tomorrow (and hope to post from my sis’s house while gone) but needed to get my part of the party started before I go!

I just looked and Kari already has 3 party guests with their "how to’s" up and running, it promises to be a big bash!How_to_paint_furniture_009

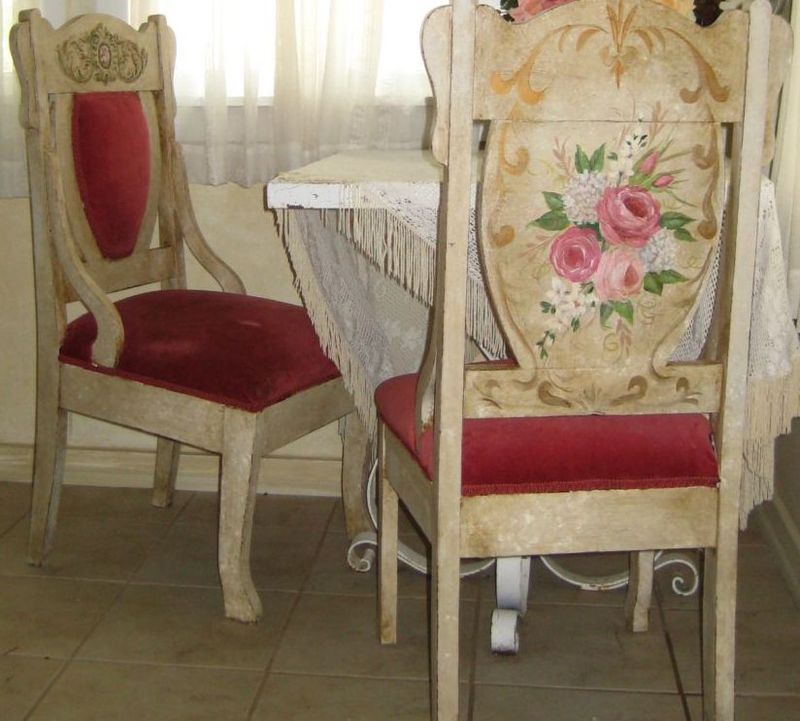
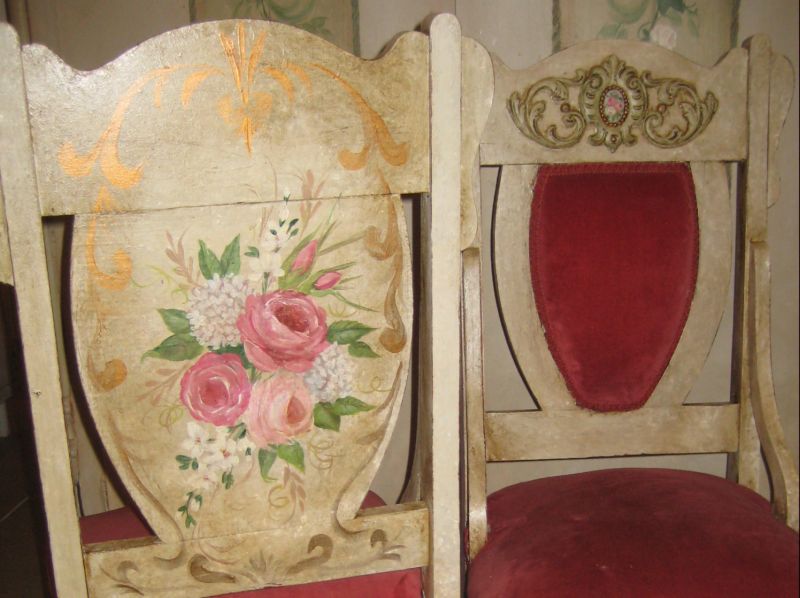
I bought two of these chairs (hand carved and signed on the leg!) at a garage sale for a great deal. Some think it is a shame to paint old pieces, but if they are unwanted, and unused as is, then what is their true value?

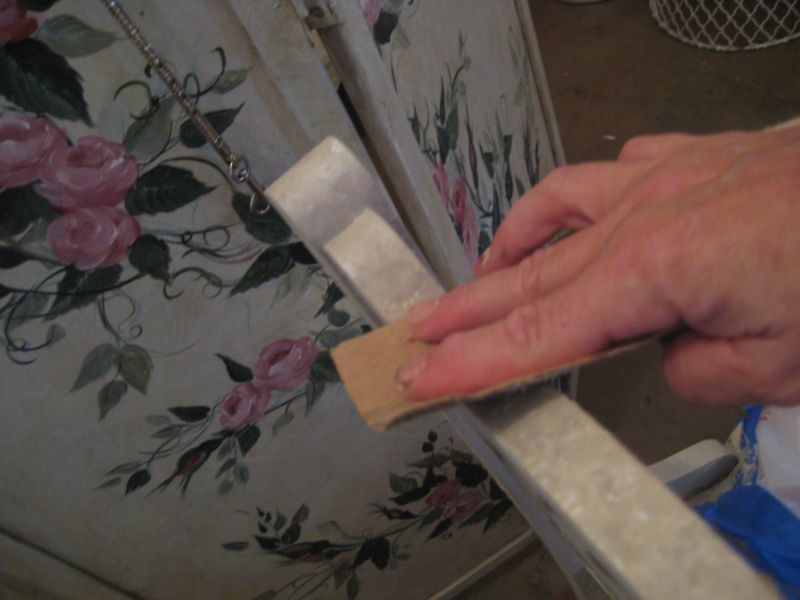
How_to_paint_furniture_001  I start with light sanding. You don’t have to sand it to the bare wood, a light touch is all that is needed.

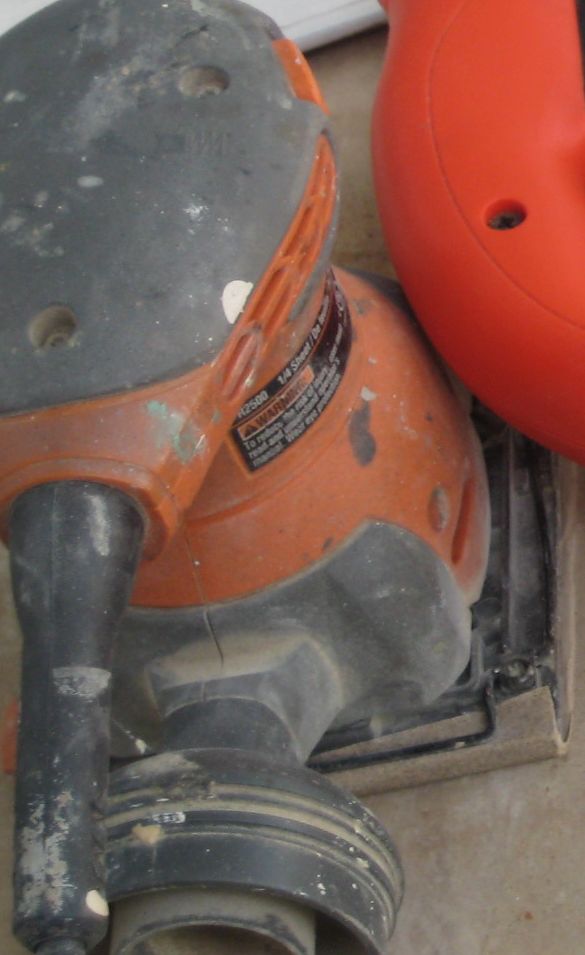
  I like my power sander, but a piece of medium sandpaper by hand works too.How_to_paint_furniture_002

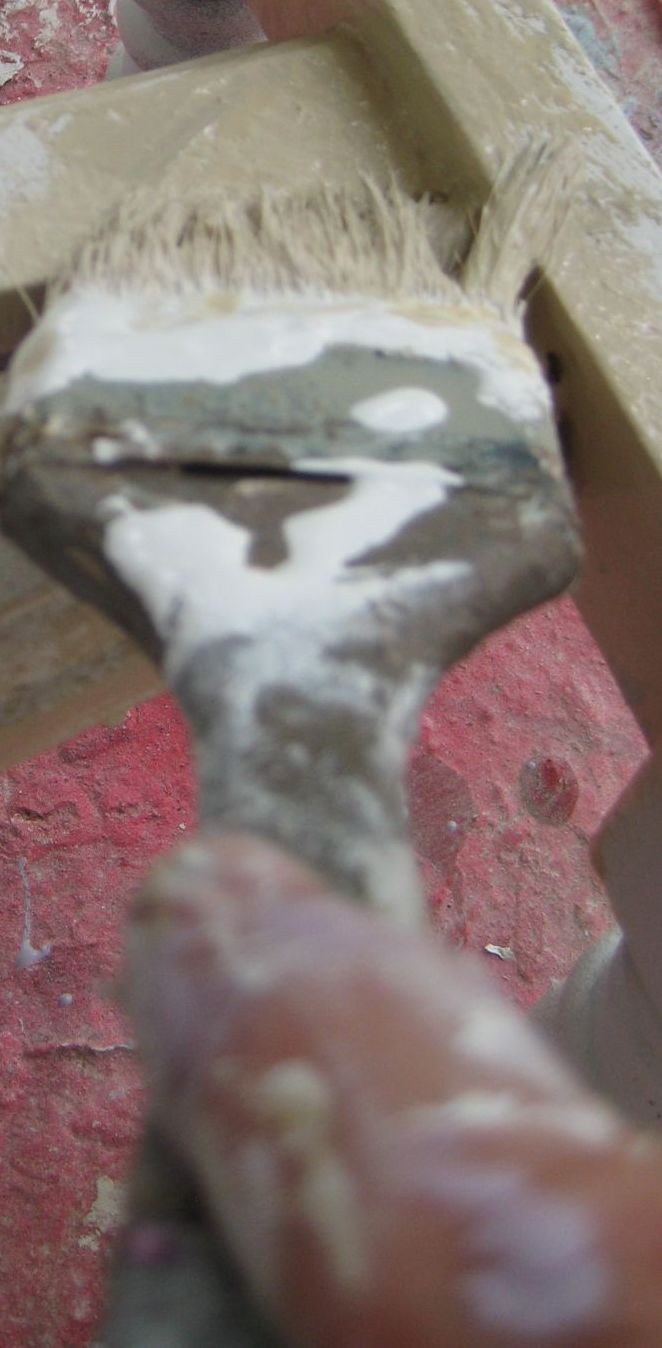
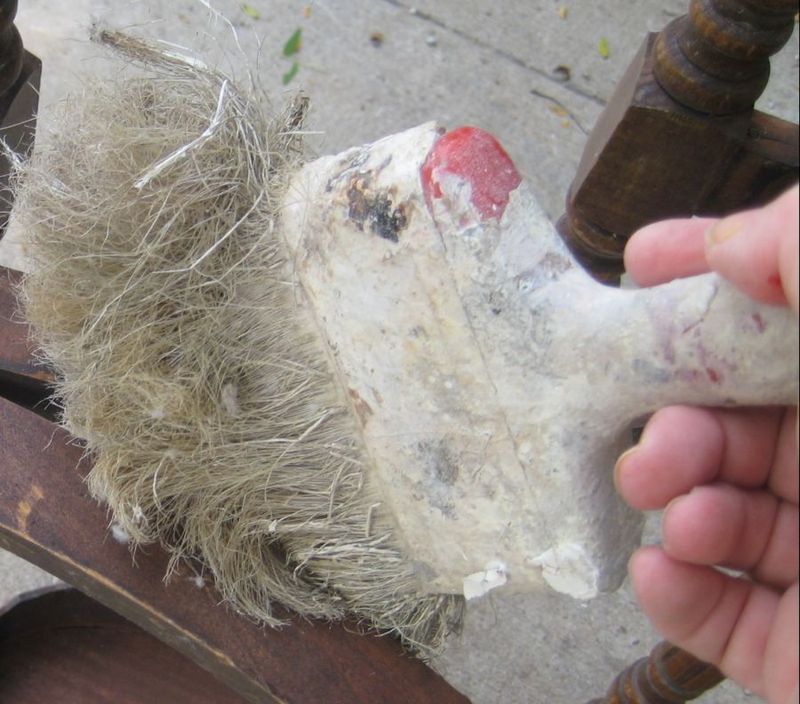
I keep a beat up, old, fluffy brush to dust off sanding residue and spider webs.How_to_paint_furniture_003

ALWAYS PRIME!How_to_paint_furniture_004

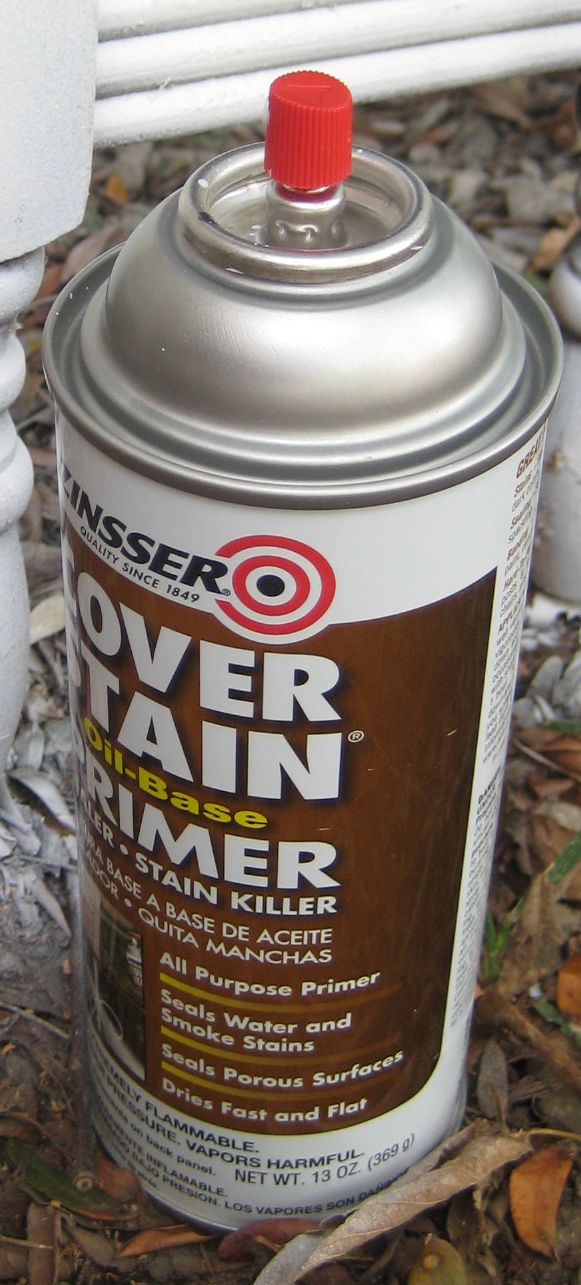
Make sure your primer says "bonding" or "will stick to glossy surfaces".  Zinzer and Gripper are good ones.  But read the label and make sure it will BOND. There are many kinds of primer out there and the wrong one will ruin your project.How_to_paint_furniture_010

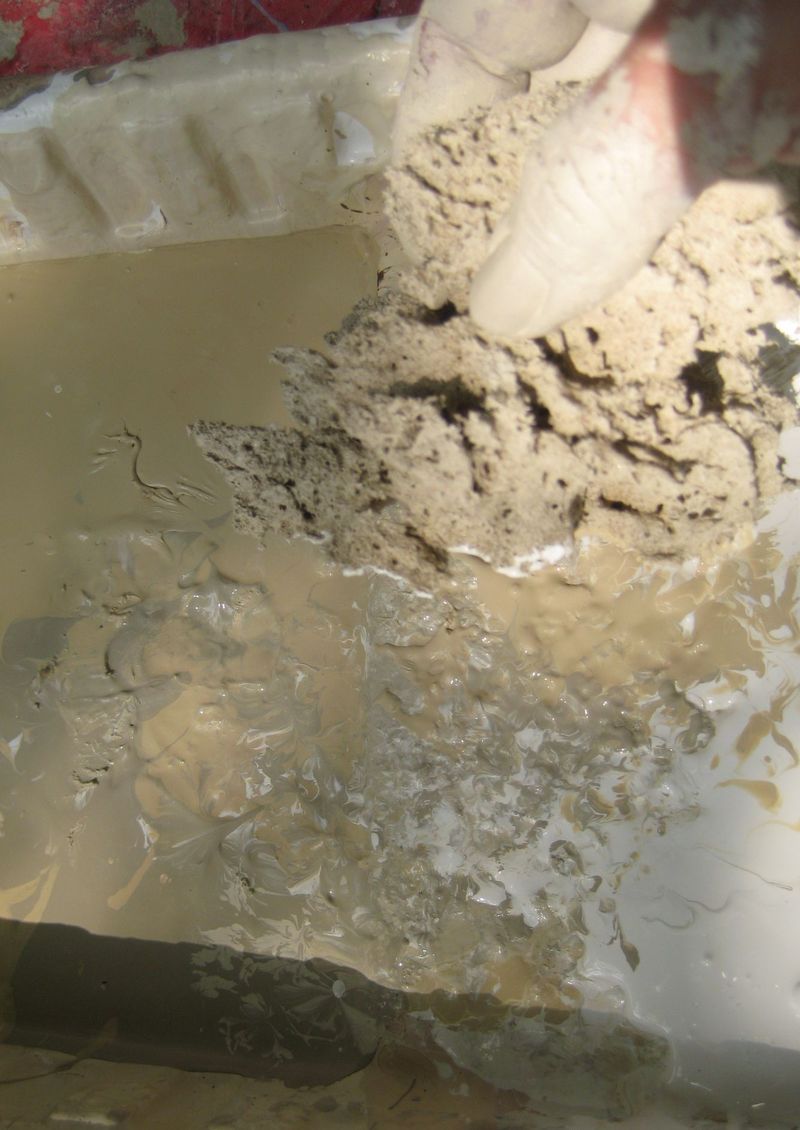
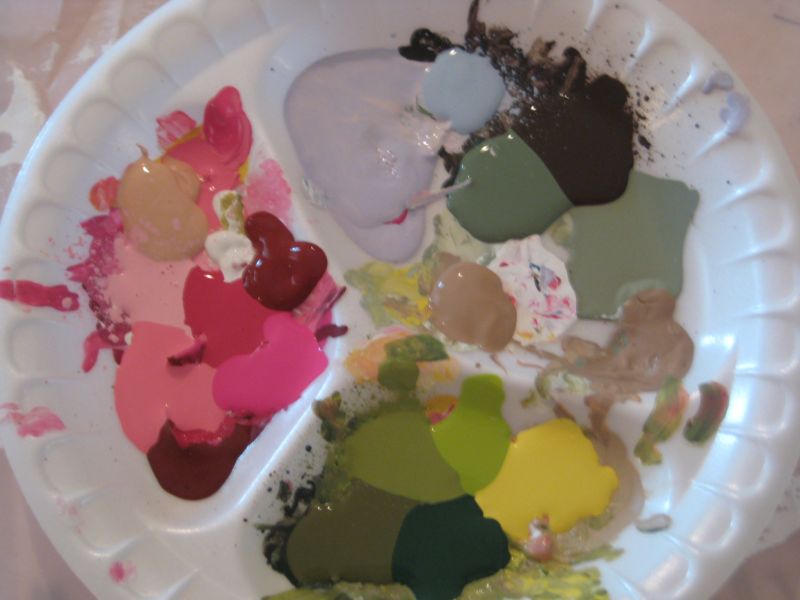
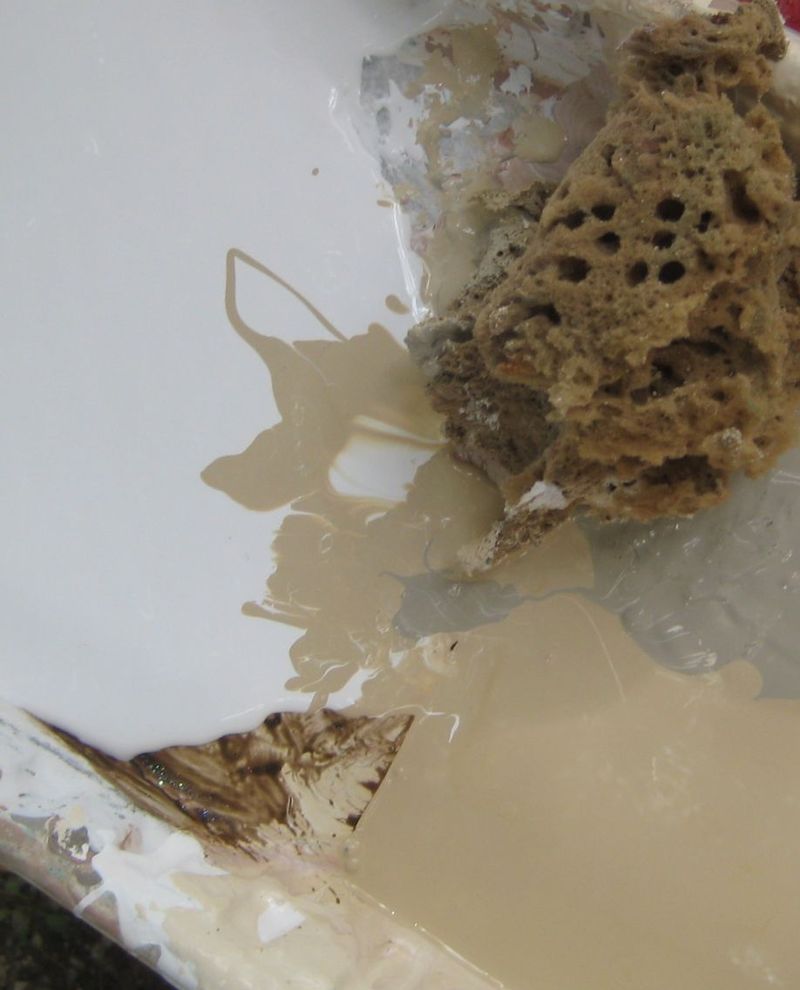
For these chairs, I used 3 colors, white, tan, and taupe.  I poured a bit of each into the paint tray, with the colors butting up next to each other, and mixing as I used them.How_to_paint_furniture_015 How_to_paint_furniture_011

I dipped my sea sponge into all 3 colors at once, smooshing and mixing it together as I dabbed it on.

I keep a cheap-o 50 cent brush around for pushing paint into crevices.How_to_paint_furniture_016

Notice how the paint starts to blend together in the pan? I add in fresh paint a little at a time if it starts to get too mixed together.  Also, I dampen and rinse out my sponge regularly in a bucket of water I keep nearby.How_to_paint_furniture_028

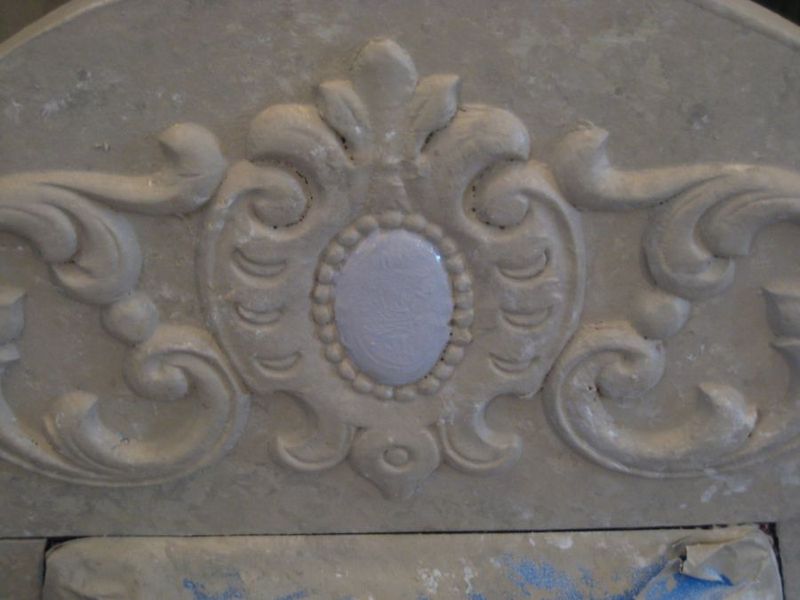
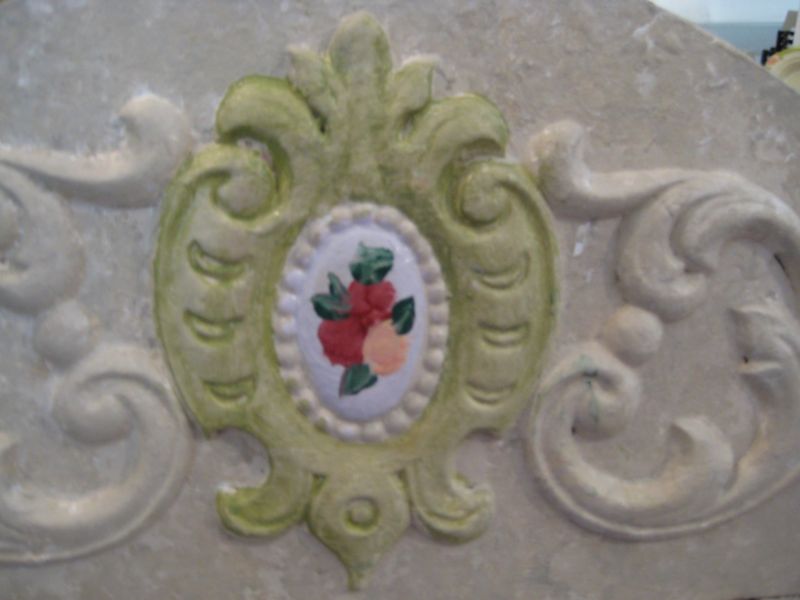
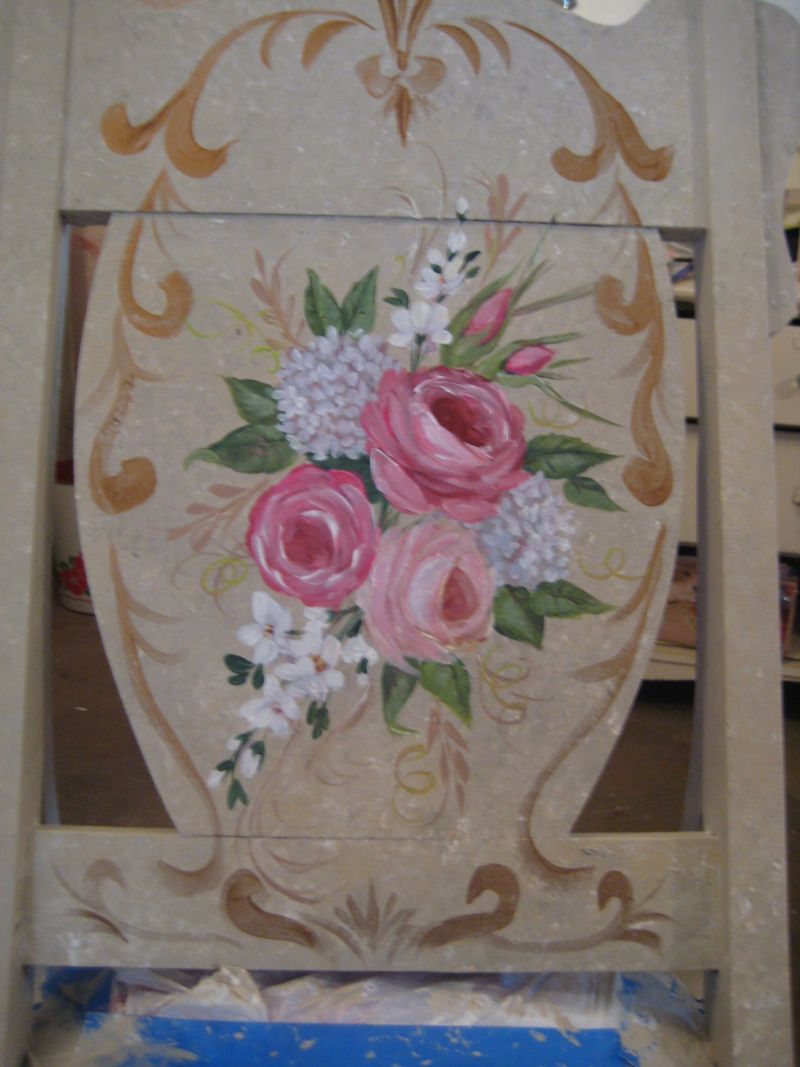
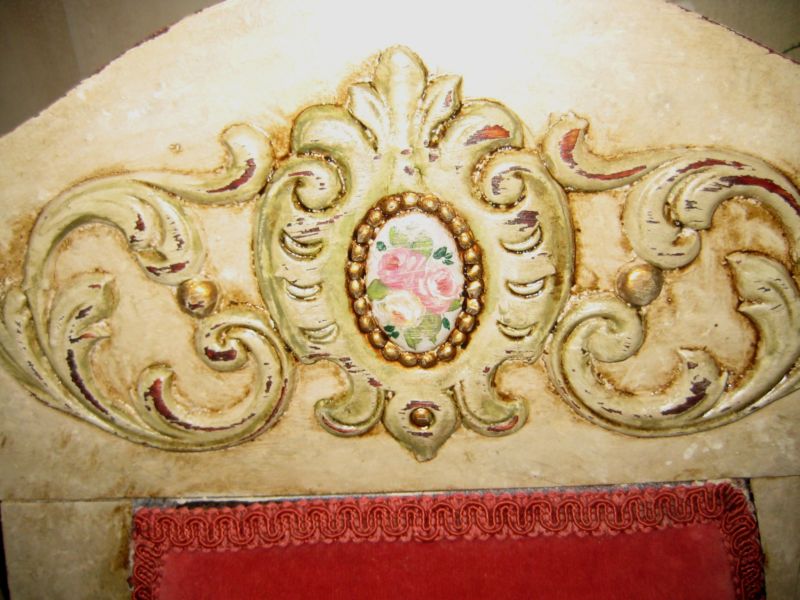
Once the chair is painted, I start on the details, I painted the oval emblem white.How_to_paint_furniture_029

I got out acrylic craft paints in the colors I’d need for my flowers.How_to_paint_furniture_034

At first, my roses are blobby.  But that is only background color. I let it dry, and I painted the scroll work around it, green.How_to_paint_furniture_037

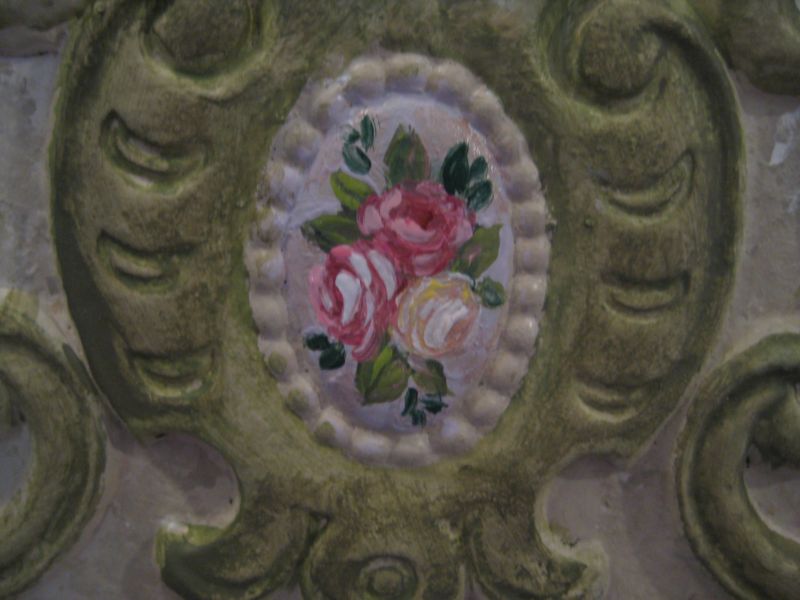
Over the background colors, I swirled highlights over the roses and leaves.How_to_paint_furniture_038

Because the backs of the chairs were such a cool shield shape and show every bit as much as the front, when pulled up to the table, I added flowers to the backs also.
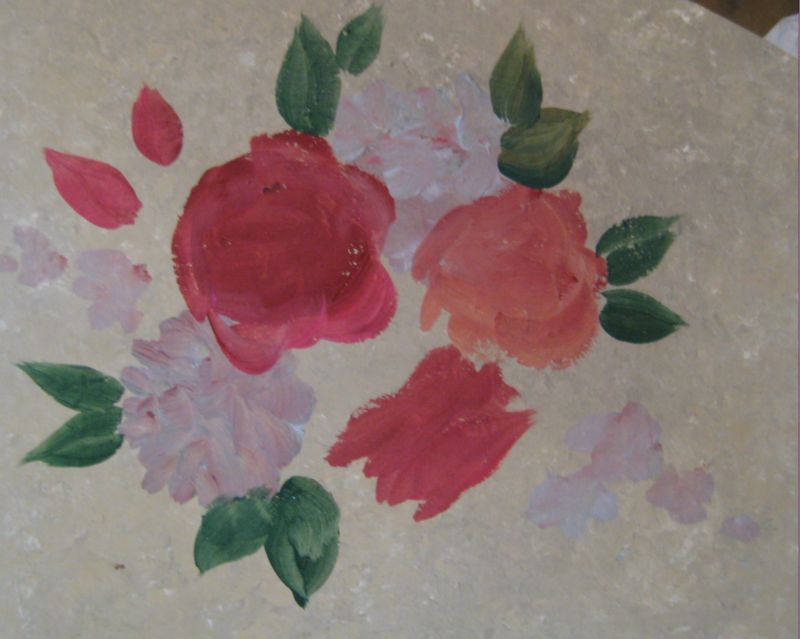
Again, I did a background color for each flower, and kind of sketched it out with paint.How_to_paint_furniture_039

I dipped my brush into more than one color at once as I applied the paint, so that the flowers had more dimension.  I started with the base color sketch, in the darkest shades.How_to_paint_furniture_040
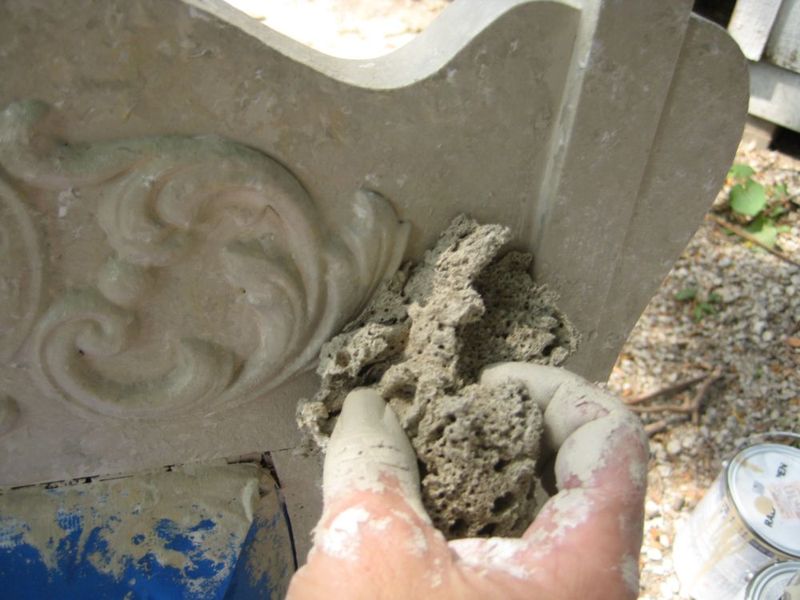
To the darkest shades, I started adding highlights and details.

How_to_paint_furniture_042

Its important to let each application dry before adding more. If you try to add the highlights to wet paint, you just get smears.

Letting the coats dry in between will give you layers and depth.

How_to_paint_furniture_045

Sometimes, you need to go back in with a little bit more dark paint, like I did in the center of the rose.  But mostly, the last layers are all lighter and lighter colors as you add them.How_to_paint_furniture_043

Once the flowers were done, I added metallic gold paint, with a 1" wide brush, twisting it to a point  as I pulled it down into a swirl.How_to_paint_furniture_046

To give the chair some age, I used a medium grit sand paper on the edges, for distressing.How_to_paint_furniture_047

I "distressed" right across the hand painted flowers too.How_to_paint_furniture_052

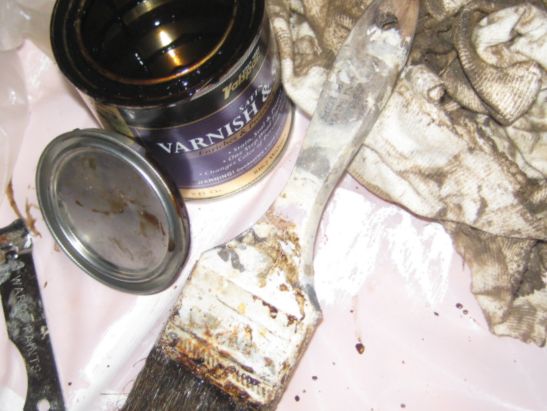
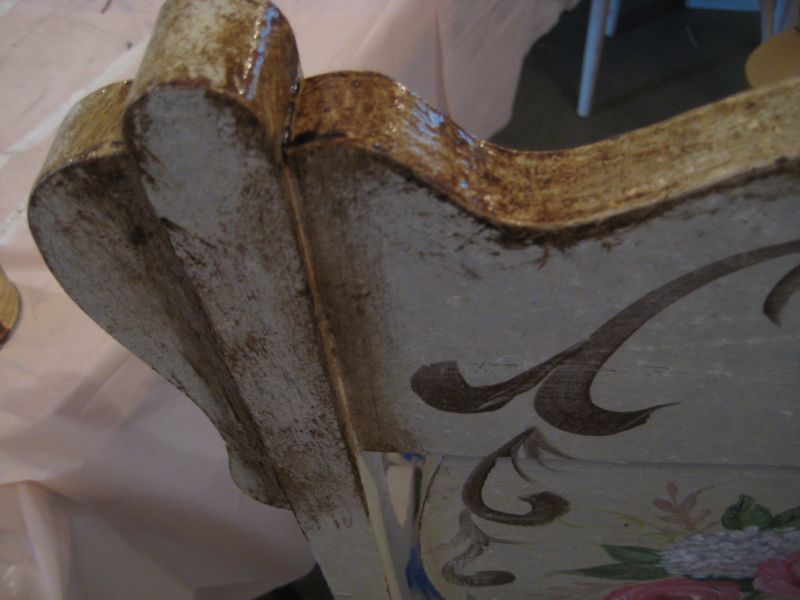
To complete the "aging", I used a stain and poly mix.

I buy throw away brushes at estate sales so I don’t have to wash them out with turpentine when I am done, since I hate the smell of that stuff!How_to_paint_furniture_048

I brushed on the poly/stain in small areas at a time and wiped it off with a soft cloth.  An old tee shirt cut up works well.How_to_paint_furniture_055

I used "rub-n-buff" on the bead trim around the oval.  It is a metallic wax that comes in a tube, and goes on with a fingertip.

How_to_paint_furniture_054 Ta dah!

Thanks, Kari for hosting the Artful Blogger Party and congratulations on your publication!

I am on my way to a family reunion, but might be posting and checking emails from Sissy’s house.  If you have any furniture questions, I’ll try to answer from there, but it might have to wait till I get back.Etsy_papers_007

Kari’s work is published in Somerset’s new magazine about blogging. I can’t wait to get a copy.
This Cottage Collage Kit is going to be in a Somerset magazine also. 

If you would like to win one, just leave a comment (as many times as you’d like) to enter my August drawing. 
If you aren’t an artist and would rather have a finished item instead of a kit, just let me know (when you win) and I’ll make something for you instead!

Enjoy all the rest of the Artful Blogger’s Party by checking out Kari’s site!

Another Art Doll Hat and Gloppy Purse Fairy

antiques/junking, fairies, how to's, how-to projects, swaps, vintage paper/collage art

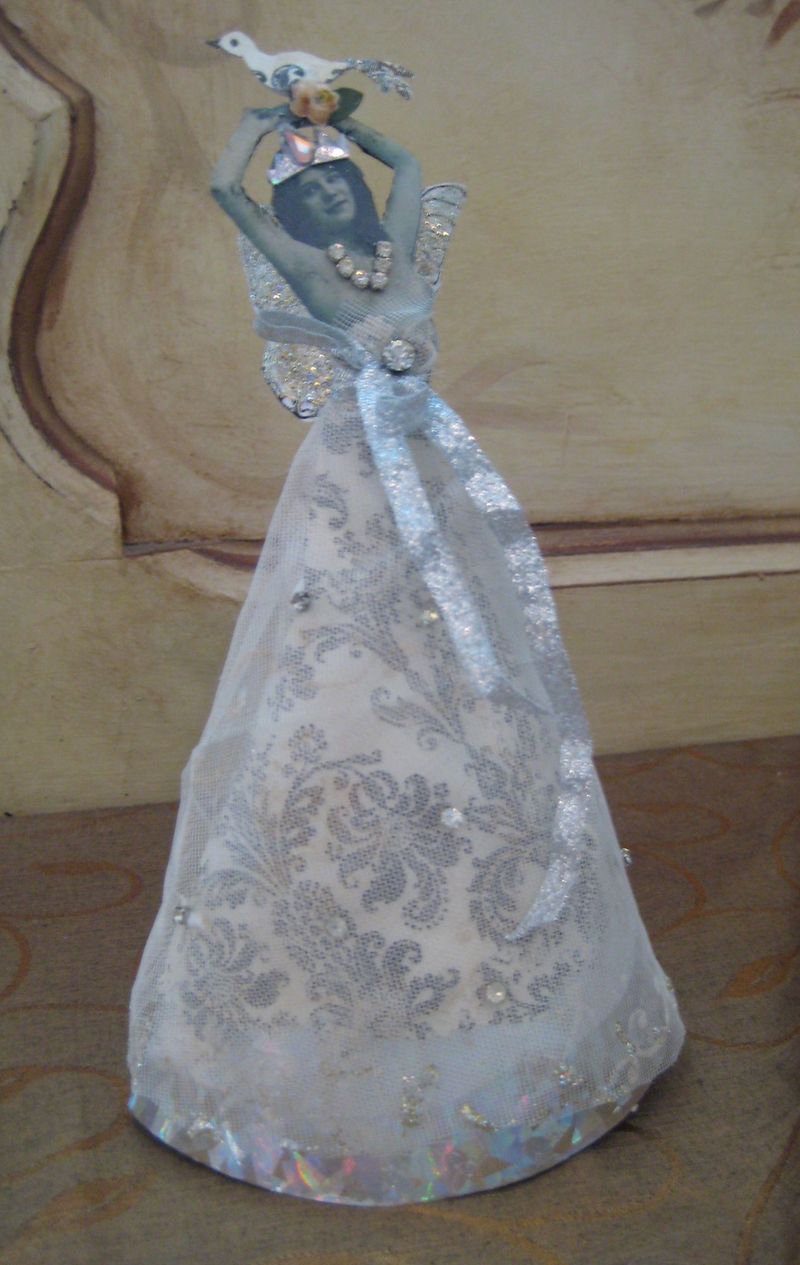
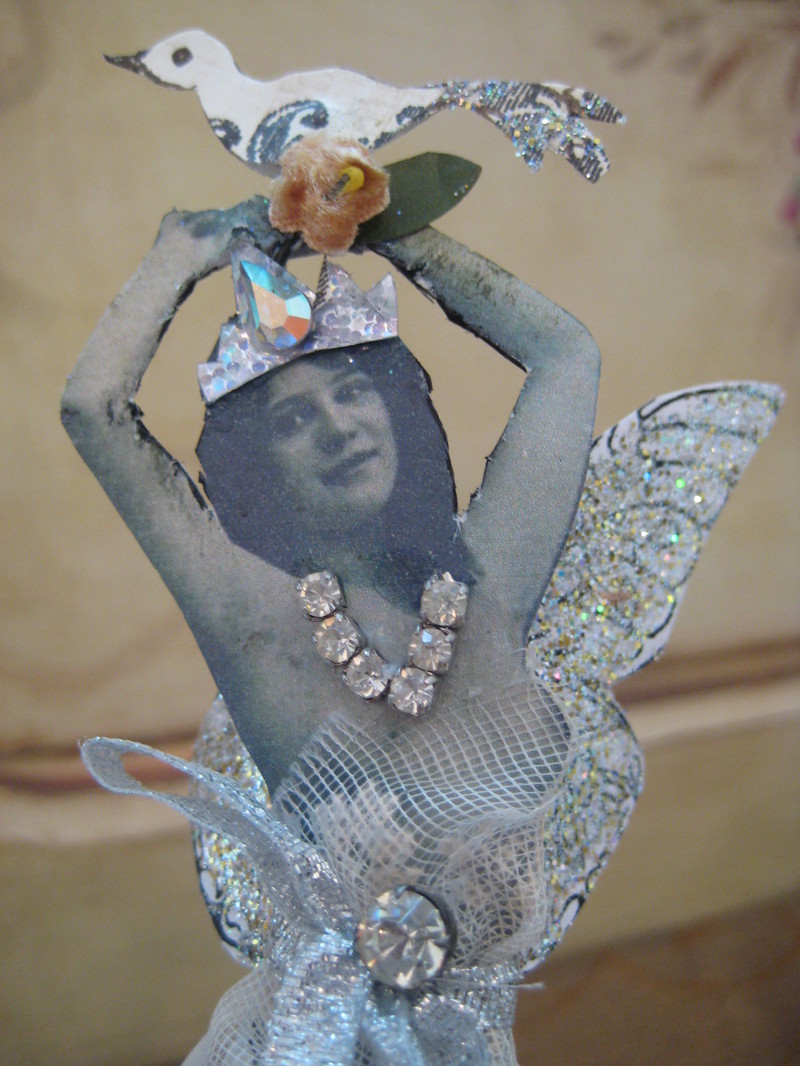
Art_doll_hat_022The Art Doll Hat for the swap hosted by http://craftingbycandlelight.blogspot.com/ was fun to work on today.  It is very different than the one I made for Sis in our private swap.Art_doll_hat_015

But both have the same base- a party hat in holographic paper, gold for Sissy and silver for my swap partner http://jenniferconway.blogspot.com/.Art_doll_hat_026

Jennifer has a wonderful site and makes the coolest crows. I don’t do crows, but I added a bird to her doll, hoping she’d like it.Art_doll_hat_025

I can’t send it to her until I get an exacto knife and clean up those messy arms.  My scissors were too bulky.

I have a lot of these party hats left, I might make some angels to use for Christmas tree toppers.Art_doll_hat_030

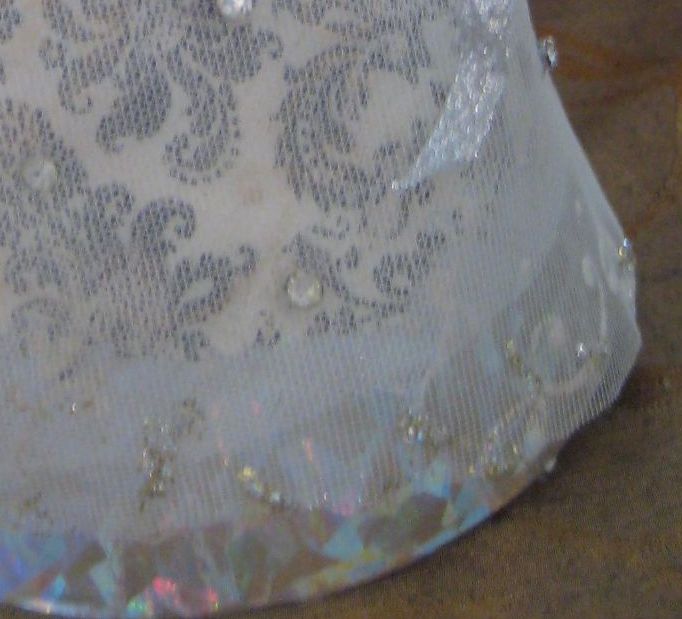
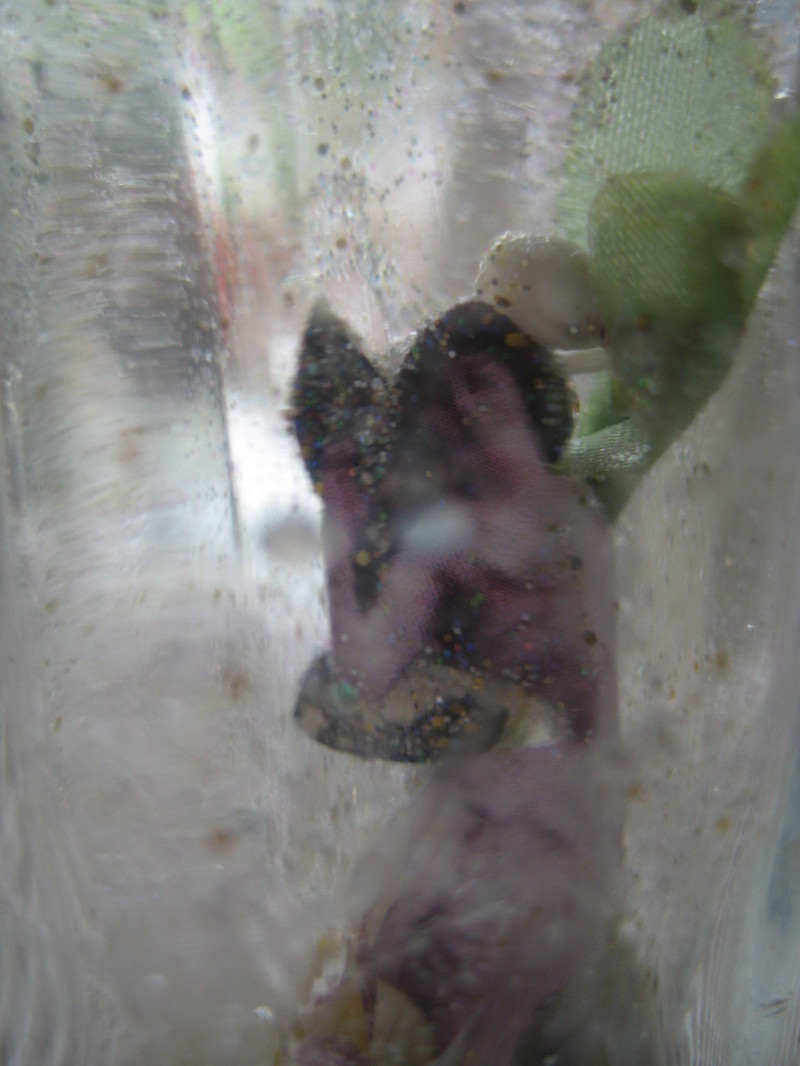
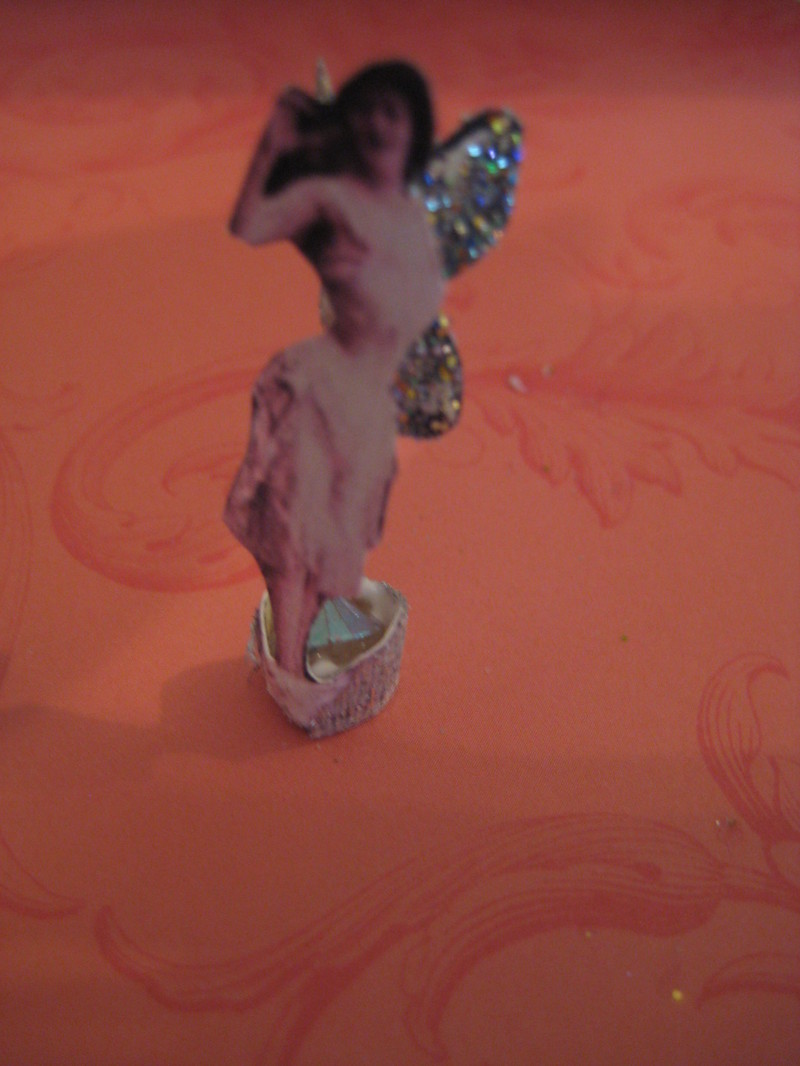
I also made a purse fairy from one of the tiny perfume bottles Beth http://bethleintz.typepad.com/ gave to me in our supplies swap. Art_doll_hat_018

My first step was to pour glue into the bottom of the bottle, then shake glitter inside it.

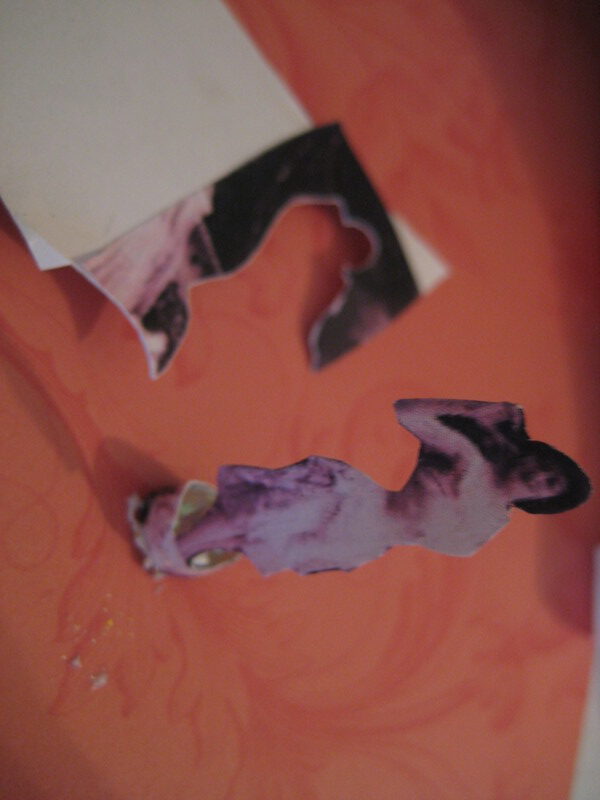
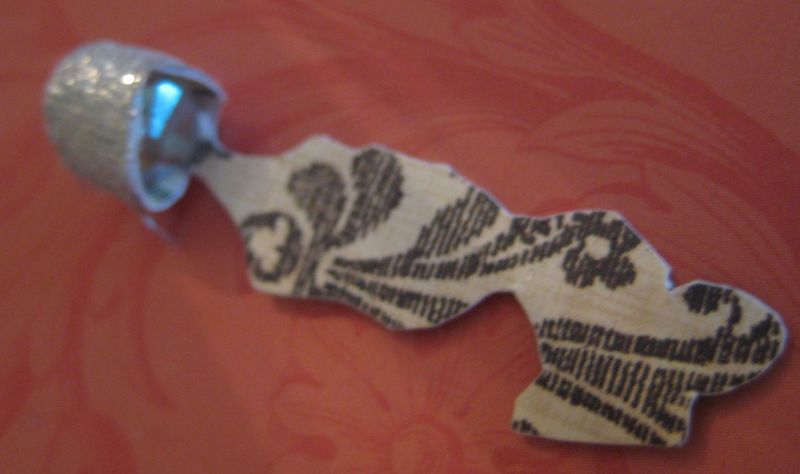
Next, I glued a 1" high picture down onto some background paper, and cut her out. That way, her back is attractive too, and she is more sturdy, with the 2 layers of paper.Art_doll_hat_019_2 I left a strip of paper at her feet as a base. Art_doll_hat_021

I found a crystal bead that was small enough to fit through the opening of the bottle, and wrapped the paper base around the bead, glued it to the bead, then wrapped the base in silver ribbon and glued that down.

Now she can stand up and has a weighted bottom.

I cut butterfly shaped wings out of the same paper I had used on the back of the lady, and glittered them, bent them into a V shape and glued them to her back.

I carefully, without creasing her, folded her over and poked her through the opening  to the bottle after adding glue to the bottom of the bead so it would stick to the inside of the bottle.  I used a paint brush handle to adjust the fairy once she was inside, and used the brush to poke in some teeny little vintage flowers that had a drop of glue on each.  Art_doll_hat_035

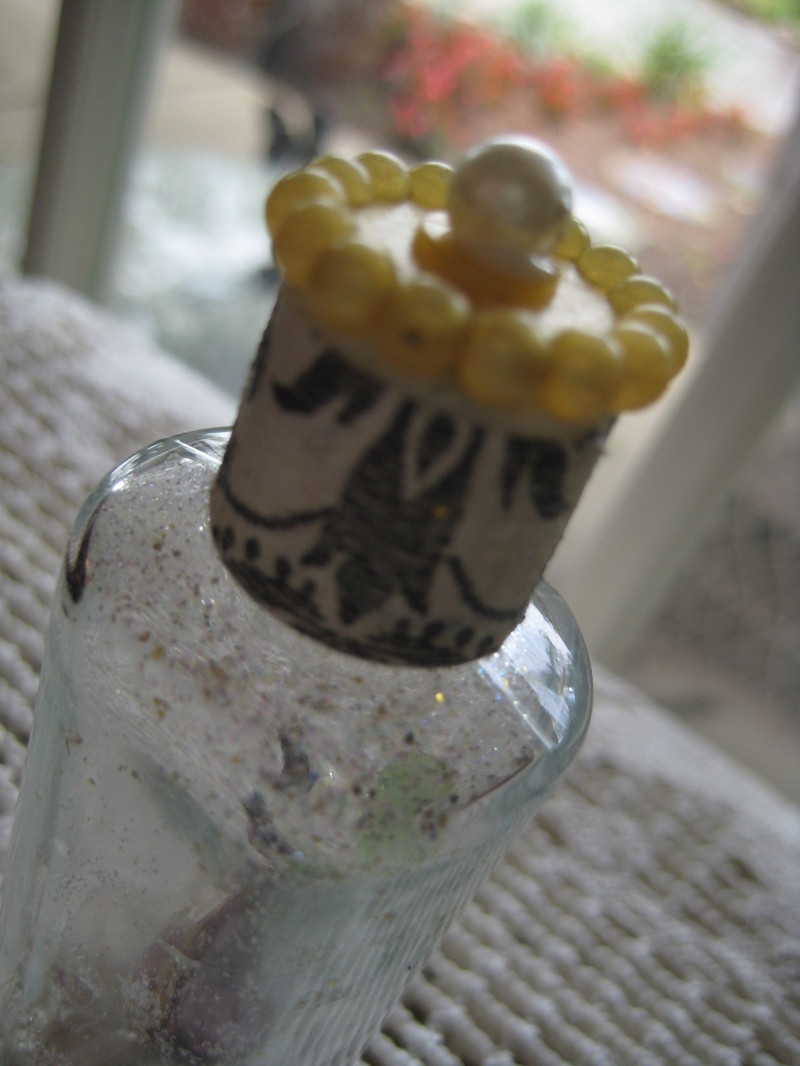
To foof up the plastic lid, I wrapped and glued a strip of the same paper I used on the fairy’s back onto the side of the lid.

A vintage button topped with a pearl bead was glued to the top.

And now I have a fairy that will always be with me wherever I go.  I think I glopped enough glue into that bottle, that it will be secure, that is, if it ever dries!  I’ll leave the lid off a while, maybe a week or two??

ps- you can still enter the giveaway for July by leaving a comment

Rose Moss, Red Birds, Cleomes and Rosebud

family, flowers, how-to projects

Gardenjuly_011 Most of our houseguests are here and the visit is in full swing. My brother-in-law and his family, including a 5 year old who has decided to be Twinkle’s trainer (they have met their match in each other, both are constantly in motion) and a 5 week old baby.  Life is exciting around here right now!

I did get all the cleaning done in my studio and transformed it into a dining room before they arrived. But barely! I was up til 4:30am, and they showed up at 7:30, after having decided to drive all night instead of stopping at a hotel. At least we were all equally tired!Gardenjuly_008

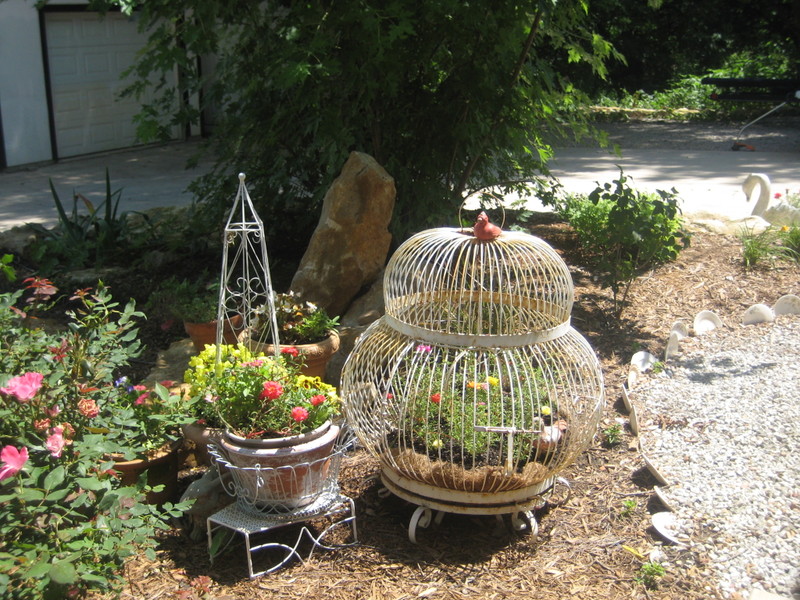
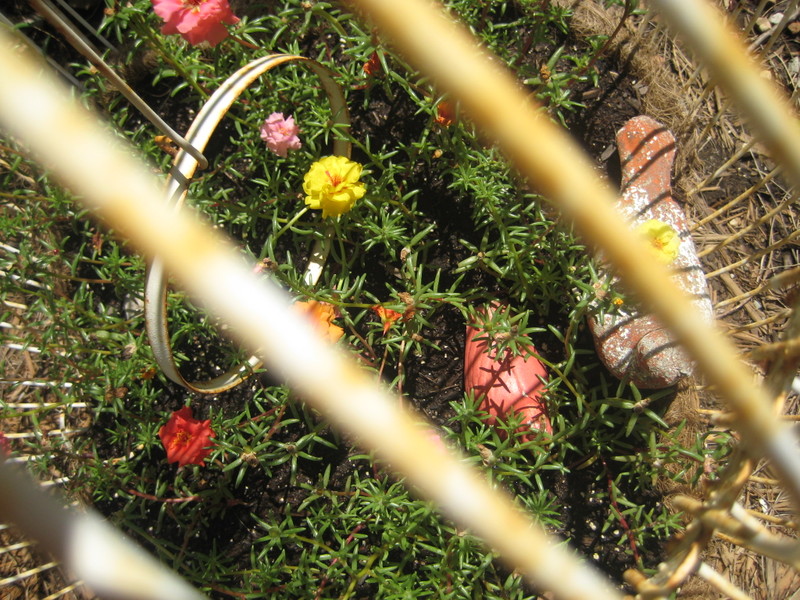
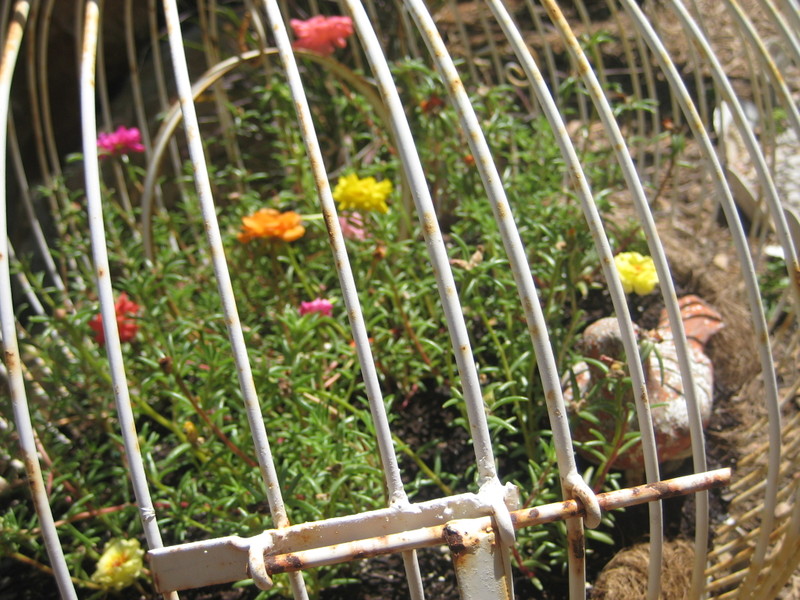
While our cottage guests are out doing a bit of visiting, I took a calming, quiet breather in the garden and watered some plants.  I was happy to see how big the rose moss in the bird cage was getting.Gardenjuly_007

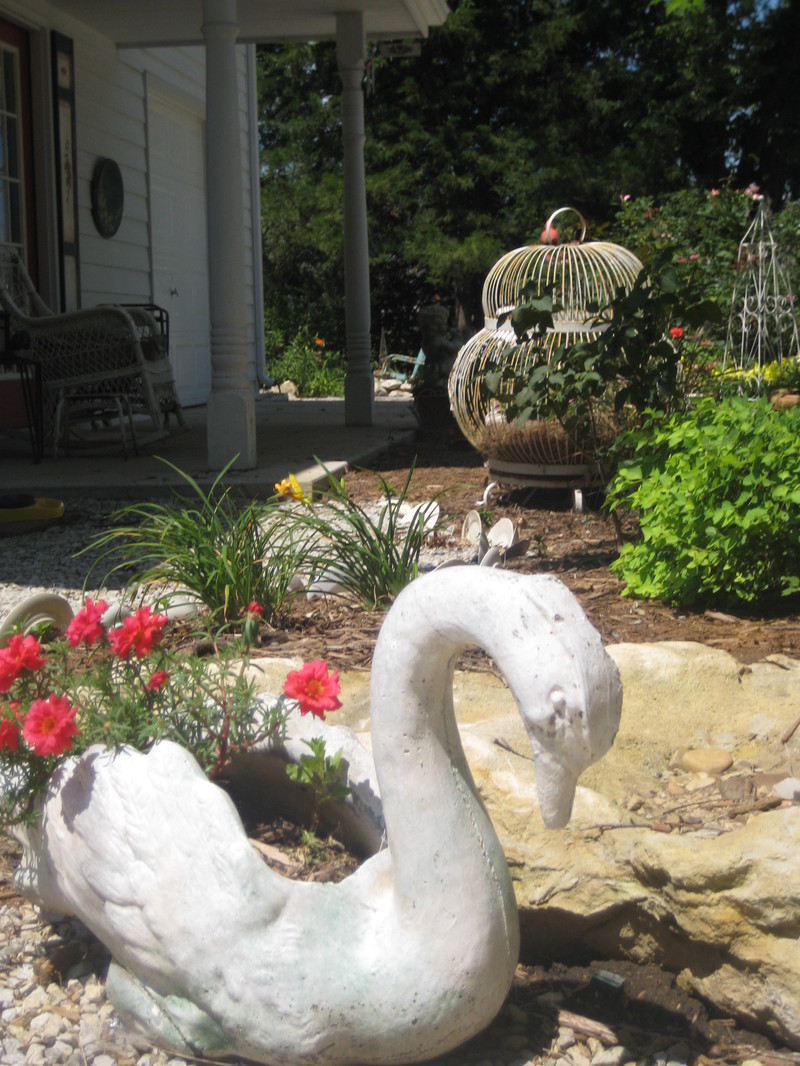
The rose moss has some filling in to do yet, but is getting a good start. I chose that to plant because I knew it could tolerate heat and didn’t need a lot of moisture, since this was a shallow planter.Gardenjuly_009 I always plant rose moss in my vintage cement swans for the same reason.

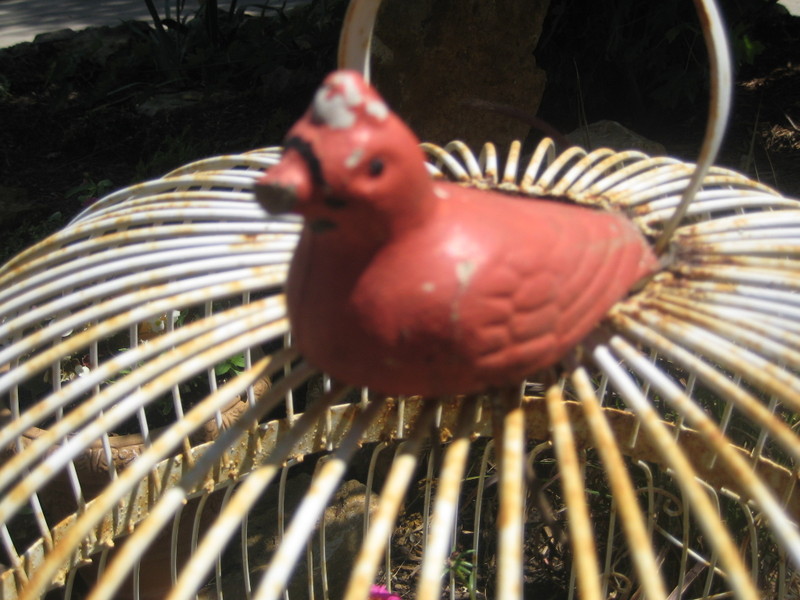
To make a bird cage into a planter, all I did was line the bottom with coconut fiber  and fill it in with dirt. I dug up some good compost from the garden, added quite a few plants, maybe 10? and then put in a couple of old cement red birds, one is missing a beak, but I still love him. Gardenjuly_010_2  I could easily become the crazy old lady with too much yard art and  more junk in the flower beds than flowers if I am not careful!Gardenjuly_003

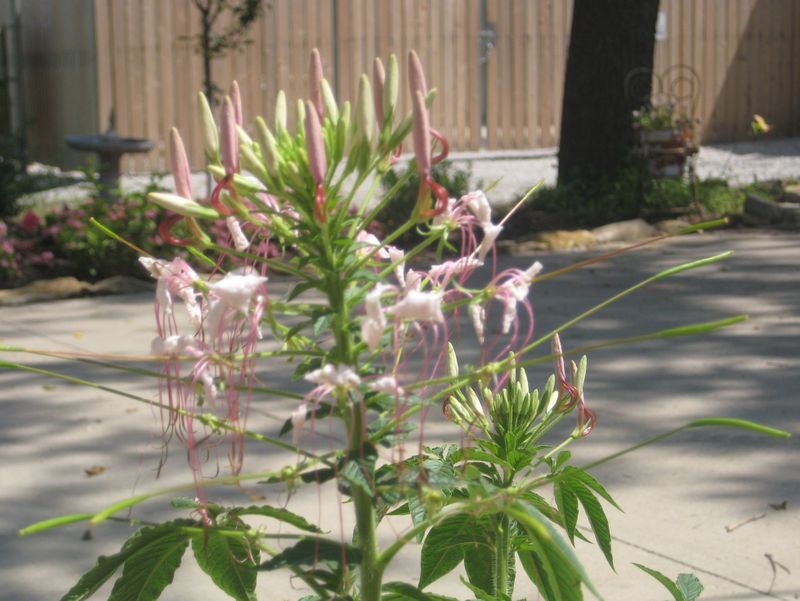
And look, my cleomes have started to bloom! Definitely one of my favorite garden flowers.  They are so sturdy and easy to grow, and always reseed themselves.  Yet, they have such a dainty look about them.Cleome_garden 

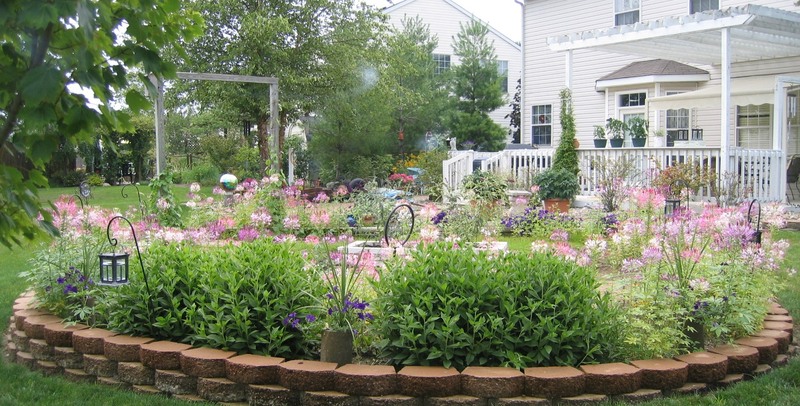
Here is a photo that Sissy sent to me of her cleome garden.  Doesn’t it look like a fairy land??

Well, I hear the sound of 4 small children and a baby getting out of the car, the guests must be back. I get to go and hold the little 5 week old girl now. Her name is Sydney, but she has such a sweet little rosebud mouth, that of course, I have to call her Rosebud.  She still has that little old man look about her, but with that mouth, I can tell she’ll grow up to be  beauty. And she is a cuddly girl.  With 4 older sibs, she gets passed around a lot!

Dumpster redos

antiques/junking, flowers, Hand Painted Furniture, how-to projects, paintings, Sugarwings, vintage paper/collage art

Dumpster_002 Today was mostly a day of primers and base coats. I spread drop cloths everywhere, set up card tables and got out a bunch of junk that needed to be painted white.

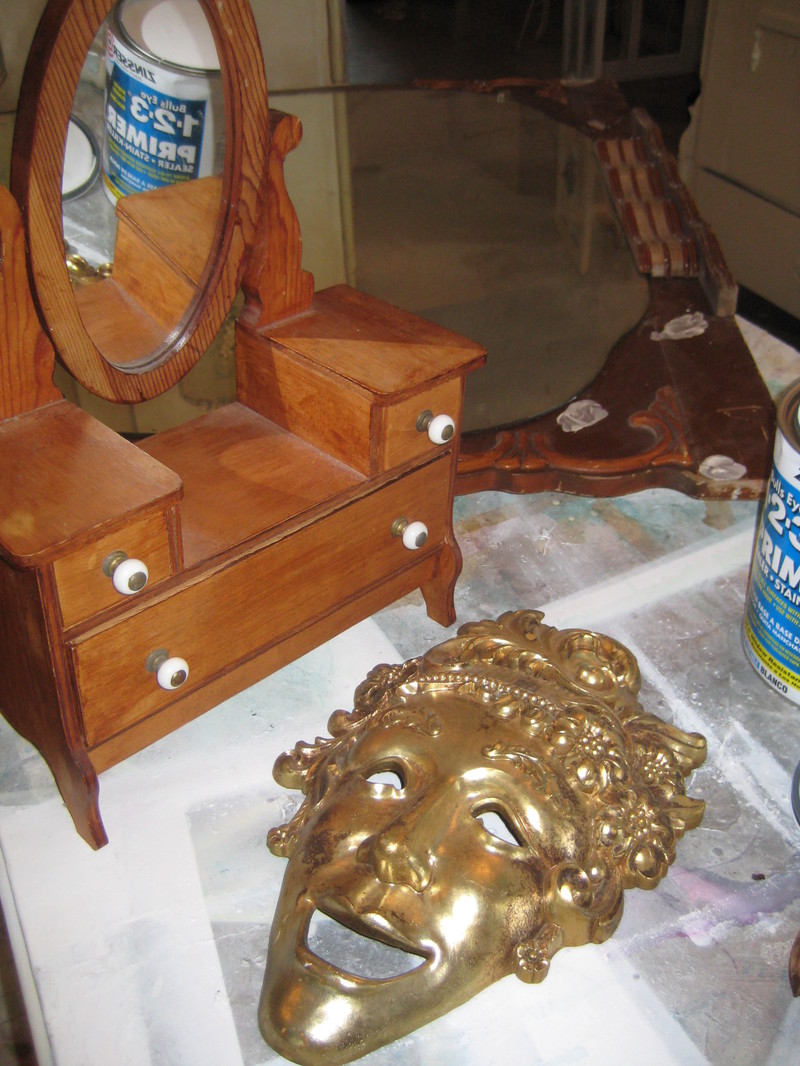
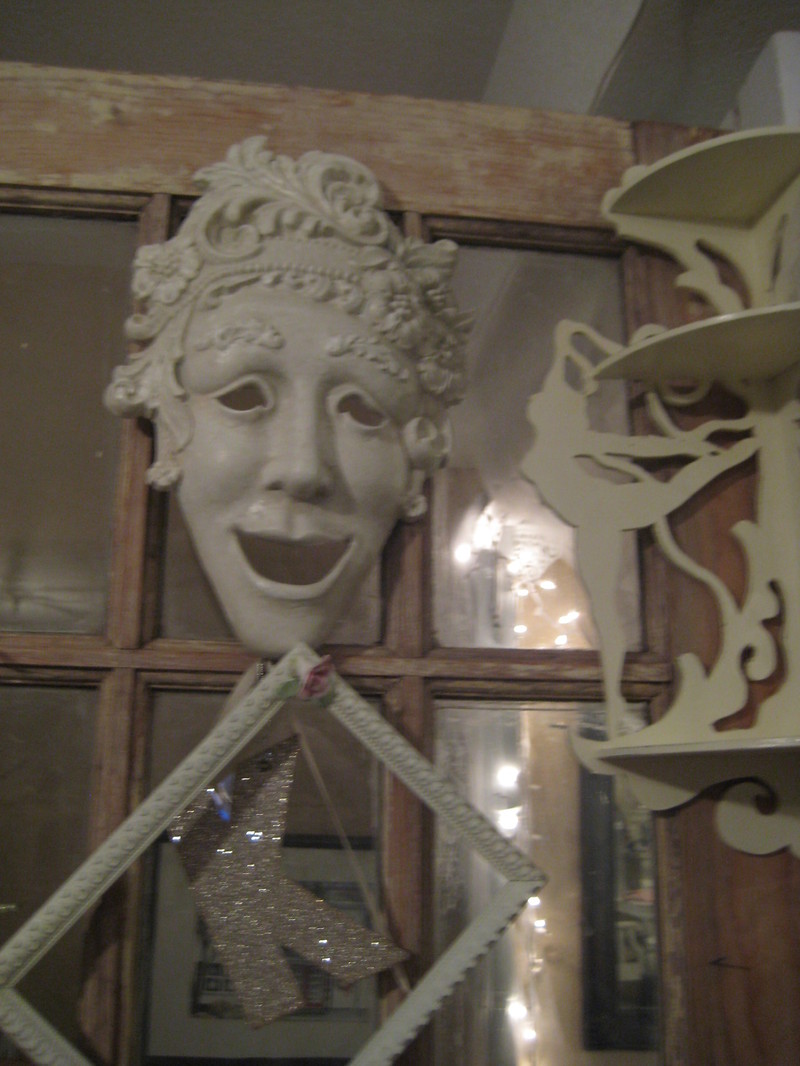
I found this little toy vanity/jewelry box at a garage sale last week for $2, and the weird mask thing was in the dumpster that I climbed into.Dumpster_011

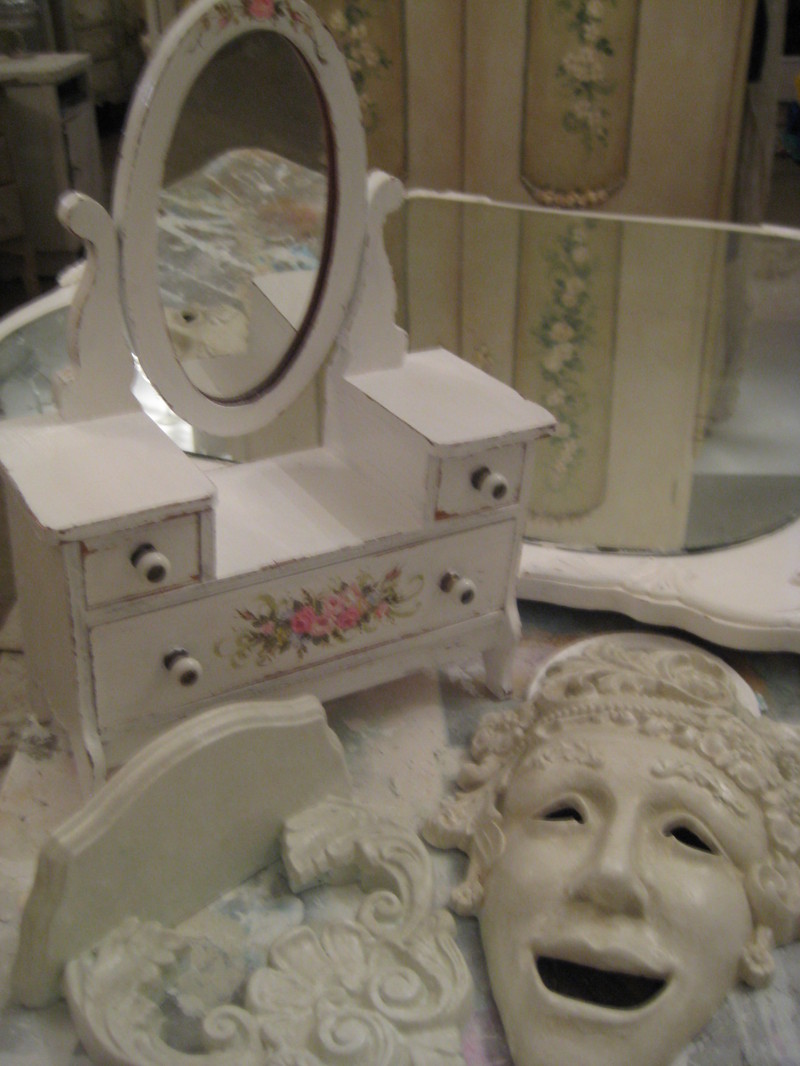
Presto chango- and abra cadabra- magically these pieces are now transformed.

A light sanding, 2 coats of bonding primer, and some white paint were added to all these items.  Then, for the mask and the shelf that I also found in the dumpster, I added 3 more shades of white with a sponge.Dumpster_014 

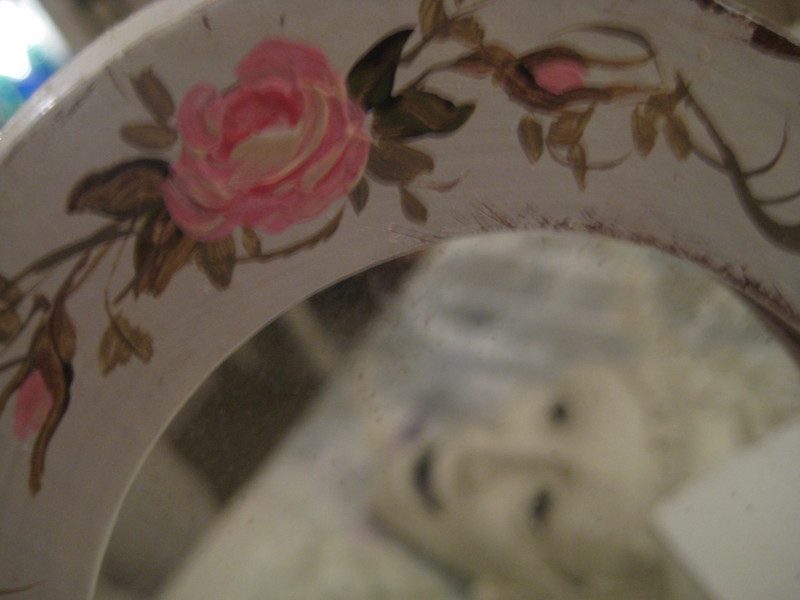
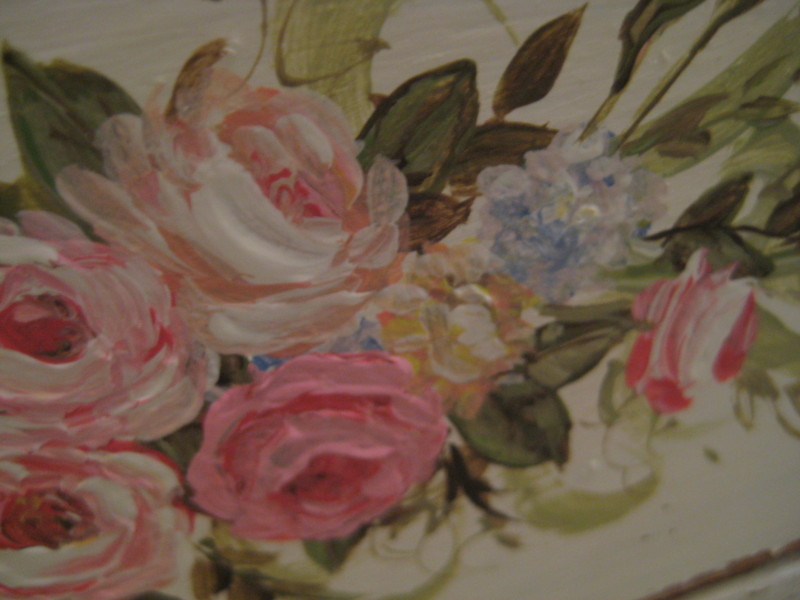
Medium grade sand paper, lightly rubbed over the edges of the  toy vanity gave the piece an aged feel. I added a vine of roses to the top of its oval mirror, then a garland of flowers to the bottom drawer.Dumpster_020

  • I was glad I got to get some flowers done, because I had so many things to get a coat of white onto, plus visited with Sugarwings for a few hours today, did yard work and went to the grocery store TWICE.
  • Here is my list of what got base coated today:
  • the 4′ x 4′ mirror from last week’s garage sale (flowers to be added later)
  • toy vanity
  • weird mask thing (finished)
  • a piece of ceiling tin to add flowers to
  • part of a desk, cut in half and made into a nightstand -(pictures later, when I add the finishing touches)
  • the shelf from the dumpster (finished)
  • 4 pieces of a magazine rack I found in the dumpster and took apart to make into wall hangings (pictures later)
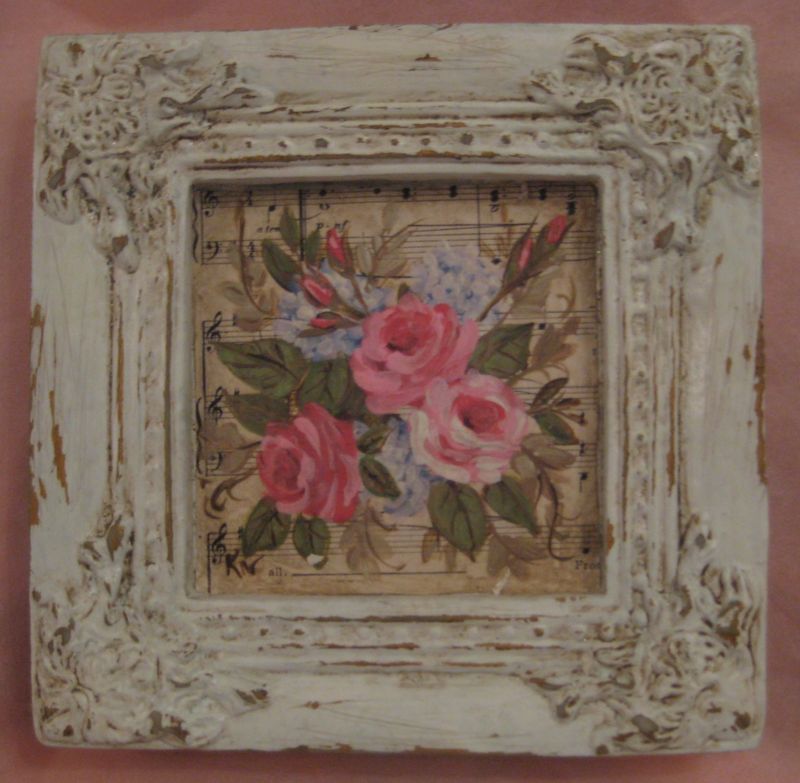
  • a small gold frame that I added music paper and flowers to (finished)
  • a metal box with a lid to add flowers to later
  • a watering can to paint flowers ontoDumpster_015

I am not sure about the odd mask. It is interesting, but Not My Style. Although, I do like a bit of funky stuff around.  Maybe in the garden? Or maybe I’ll sell it, let me know if it is YOUR style..Dumpster_006 $15?

Playing with Sugarwings was a good break in the afternoon. After she left, I finished up with the white and then had time to add some flowers.Dumpster_023   

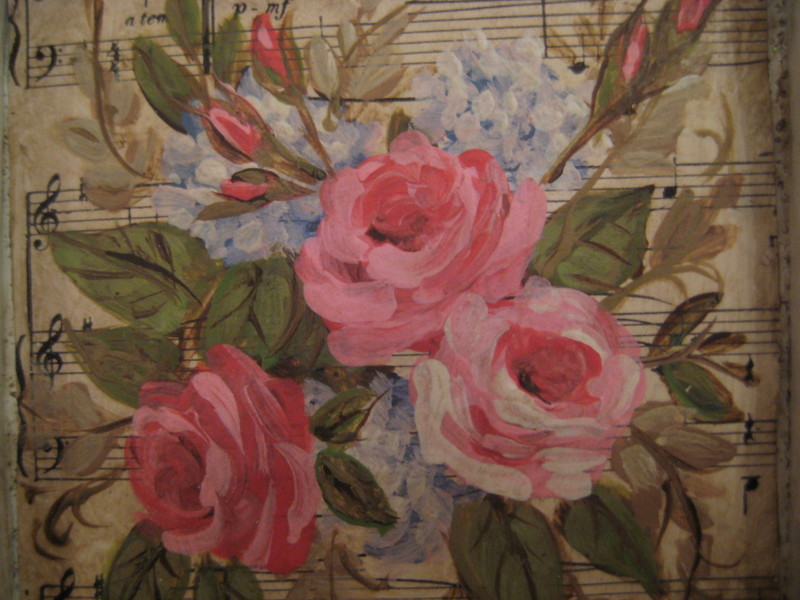
I had bought this tiny frame (with an ugly picture in it) when I went on vacation last month and shopped at goodwill in Indianapolis.  Today, I primed, and painted the frame, then glued down old sheet music.  Over that I painted some flowers.

I distressed the frame slightly with sand paper, and coated the whole thing, picture, frame and all, with umber glaze and wiped it off.Dumpster_004 $35 if anyone wants to buy it. I will add it to my Etsy shop next week, or email me here before then.

My handsome son, Ryan, came down to the studio to talk while I painted.  He’s good company and loves to chat.  But, he is so shy with other people. I wish he’d meet a girl.  He simply will not get out and meet people, and certainly will never find the love of his life playing his guitar or video games up in his apartment, or hanging out watching horror movies with his mom or staying up all night working out with the punching bag or watching wrestling on TV. That is all he does besides go to work.   

He is my biggest worry in what I think is a pretty happy life. I just want him to meet someone he can be comfortable with, but he is so reclusive and shy.  It certainly isn’t his looks holding him back, is it??  What a cutie. 

  Typical mom, I worry. I want this son to be as happy as Sugarwing’s dad is with his little family.Hippies_001

Sorry, I shouldn’t be running on like this is a diary and I am pouring out my problems.  Back to some eye candy—Dumpster_017 

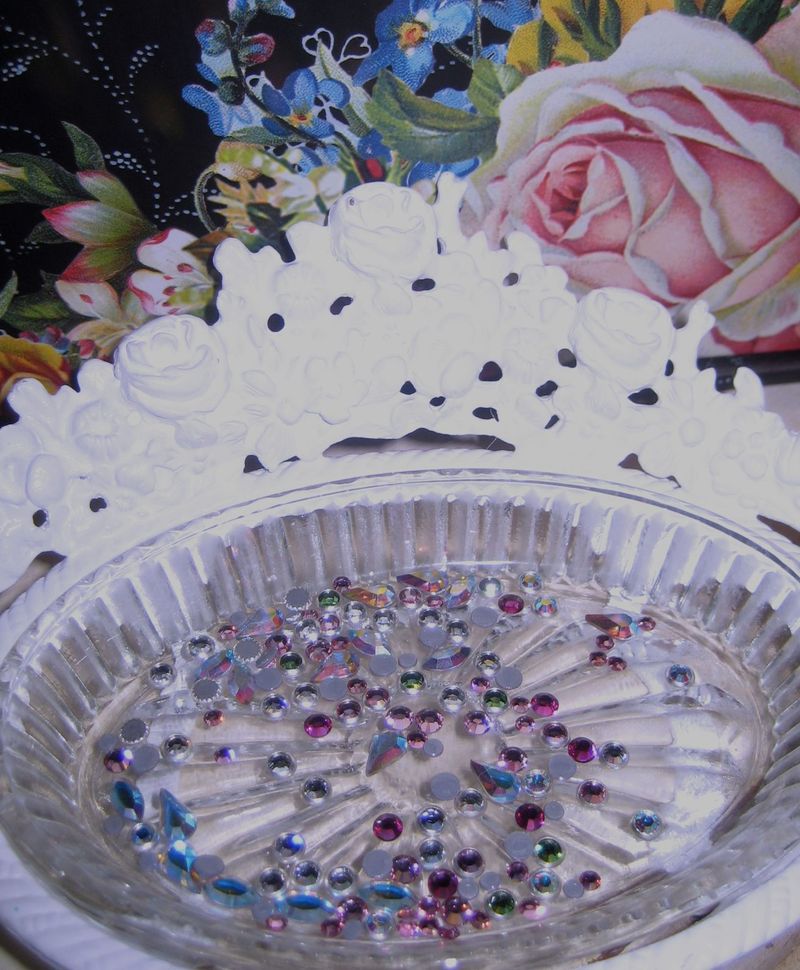
Michaels had swavorsky crystals on sale for $2 a bag.Dumpster_021

I bought a few bags in different colors and shapes. Love the teardrops.

Oh, I forgot to add this soap dish to my list of what I base coated white today. It was brass before. I might add a glaze to give it some age and depth.June_20_011

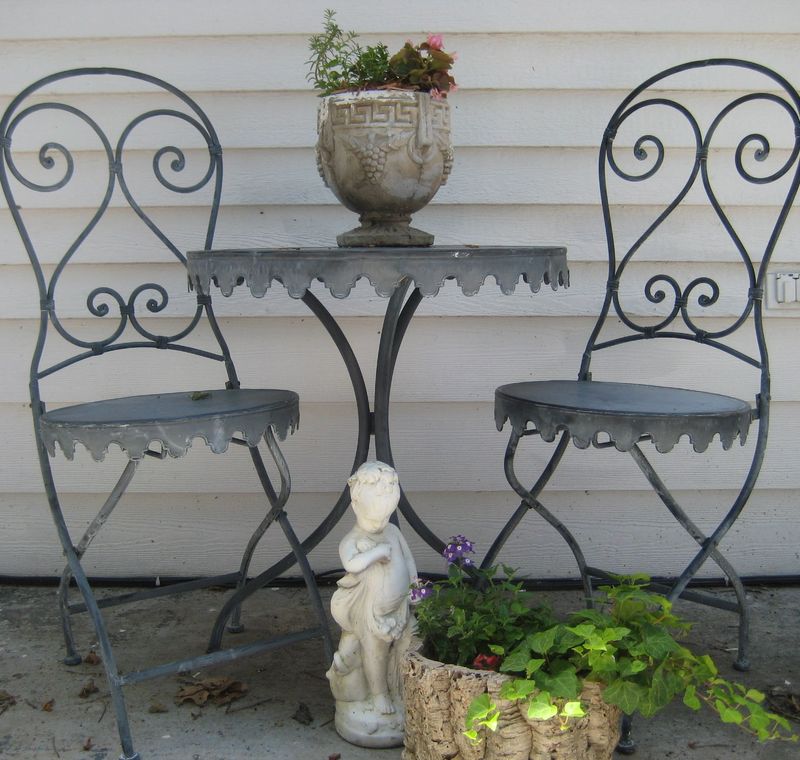
And here is another photo of my new cafe set, just because I like it and it is fun to get new things that don’t need anything done to them! No painting, no fixing, just unload it from the car and enjoy it!

But I did paint the cement cherub statue. She was spray painted gold, uck.

I have a Banner!!

how-to projects

Thanks, thanks, thanks to Beth http://bethleintz.typepad.com/ for putting up my banner (and for giving me the typepad upgrade as a birthday gift). And thanks to all the nice blogger friends who gave me advice and offers of help.  Also, enough people emailed me to say that, yes, a lesson would be nice, so here are the steps I went through to create the banner.  Just not the technical installation steps, you don’t want to hear about the hours of trouble I had with that.  I think that the computer gremlins are after me.

How this banner was created:

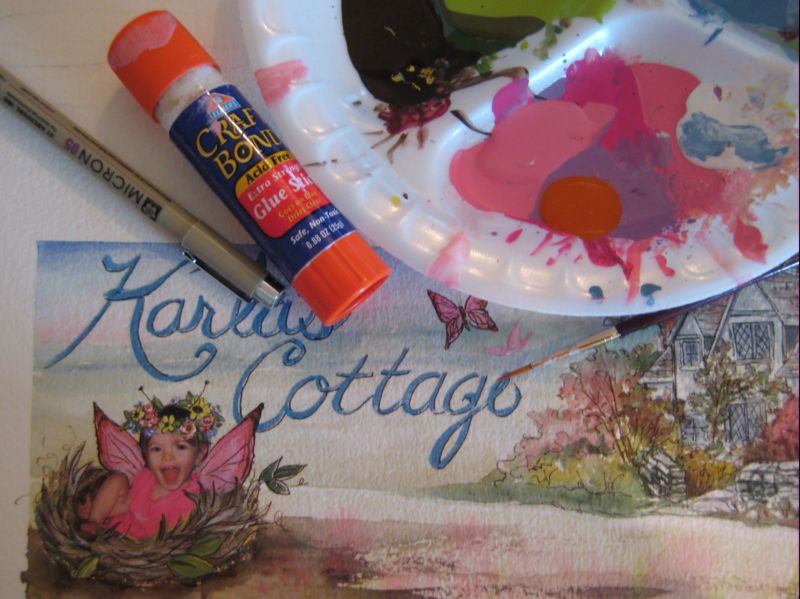
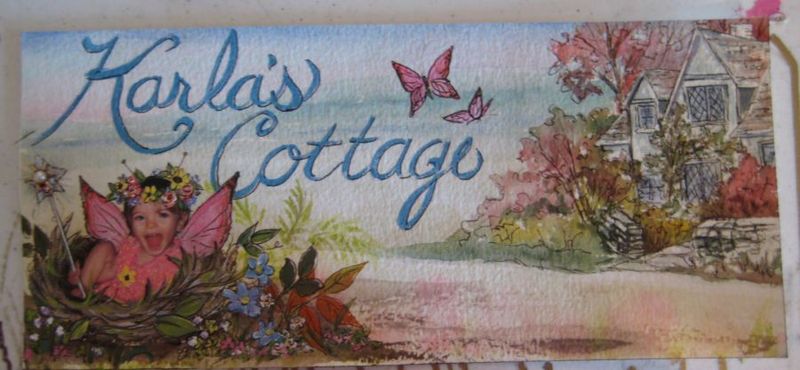
1-Cottage on Arches cold press water color, I drew a scalloped oval shape by tracing a pretty plate. I then drew the words where I wanted them and the little cottage to the side. 

2- The center of the scalloped area was washed with water, carefully avoiding the cottage.  While wet, I dropped in watercolor paints for the soft faded background. 

3-When dry, I painted the cottage with watercolors too, keeping the color light.

4-the lettering was done in dark gold paint, highlighted with a shiny gold and shadowed with sepia, all acrylic craft paint, with liner brushes.Banner_003

5- birds, nest, fairies, etc. also done with an acrylic craft paint on a 1/2 inch flat brush, details with a liner brush.Banner_005

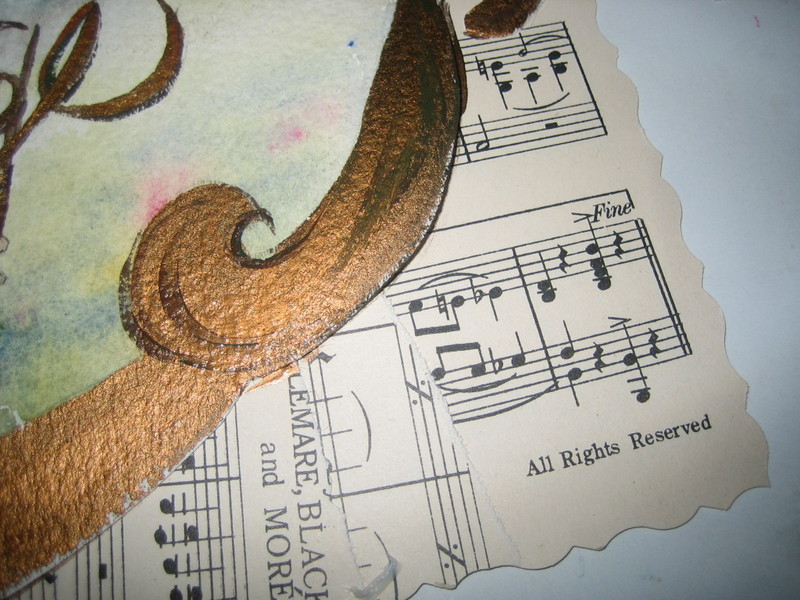
6- this painted scalloped piece was cut out and glued onto a letter sized sheet of card stock that I had collaged sheet music to.  By the way, the music is "Moonlight and Roses"

Banner_007 7- after gluing down the scalloped piece, I painted the scallops with the 2 colors of gold and outlined it in sepiaBanner_010

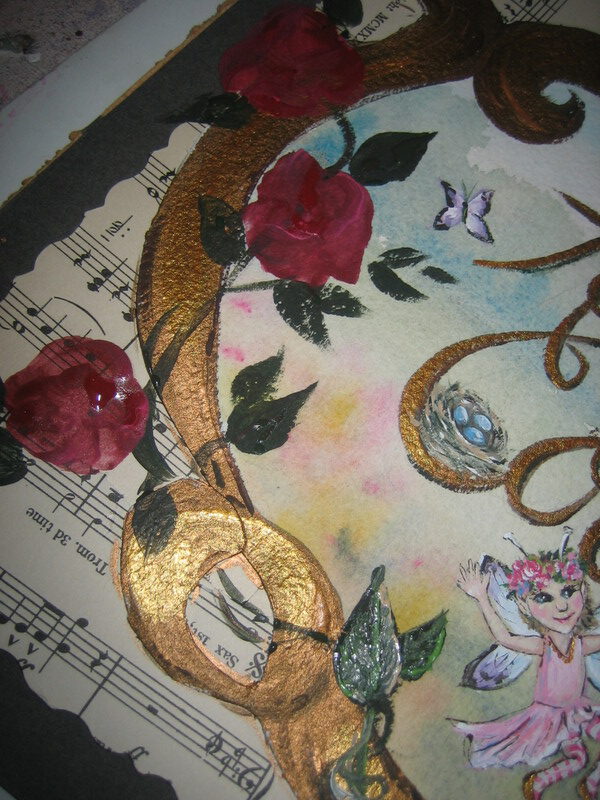
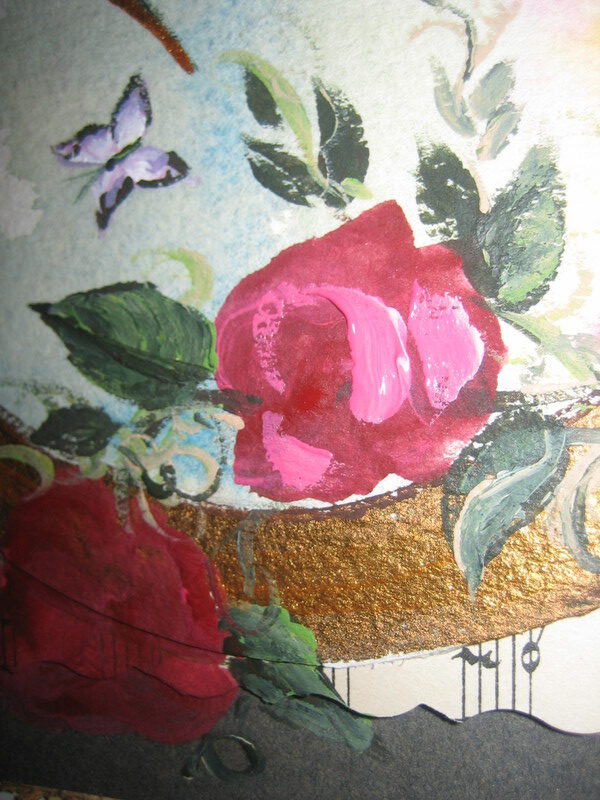
8- Rose shaped blobs in dark red are laid out on winding vines in dark green, dark brown, and the leaves are painted a base color of dark greenBanner_011

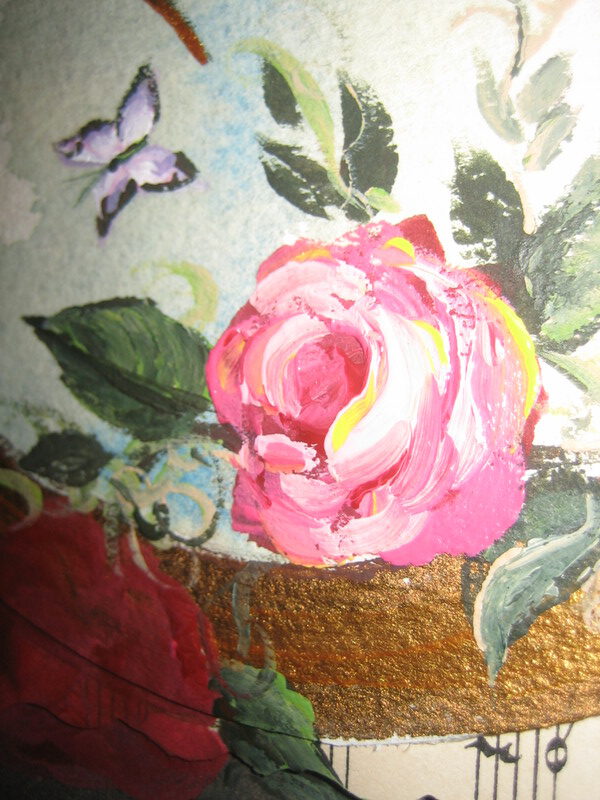
9- highlights of lighter greens are used on the leaves and an azalea colored pink is swirled over the red blob rosesBanner_012 with a 1/2 inch flat brush

10- I added a pale pink, and bright yellow to my brush and swirled them on over the dark red and bright pink to finish the roses.

11- the vines were finished by using a small liner brush and lighter greens, taupe and white over the dark green vines I put down as a base.  Lots of curliques and squiggles give them a flow.

Scroll to Top