how to’s

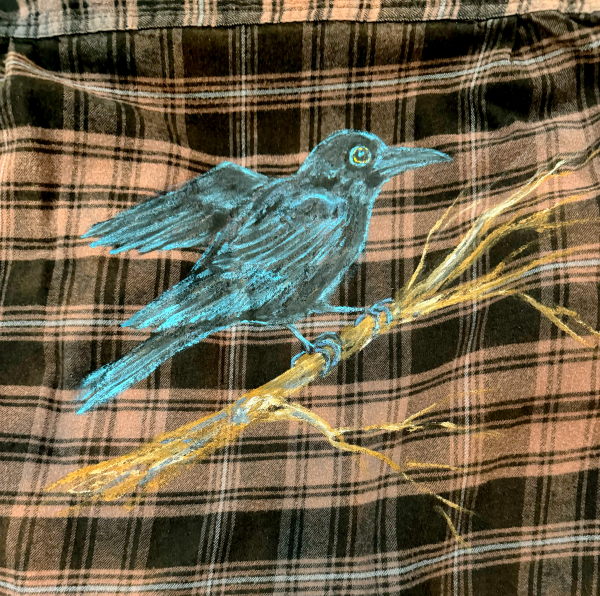
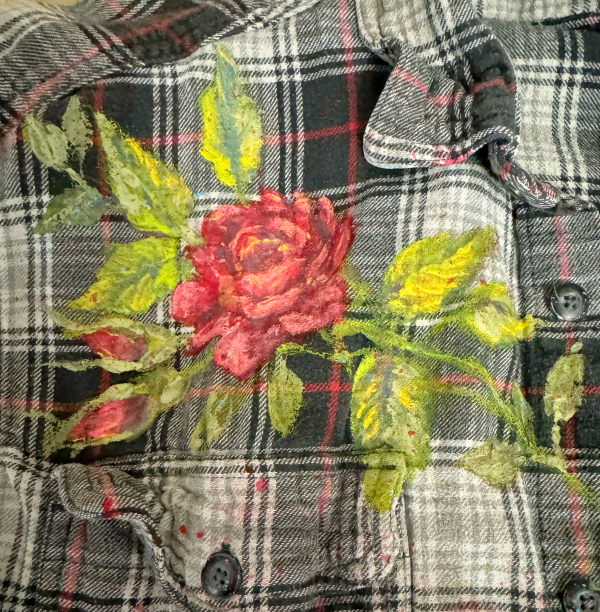
Hand painted flannel shirts

Hand painted, how to's

Enlight1820
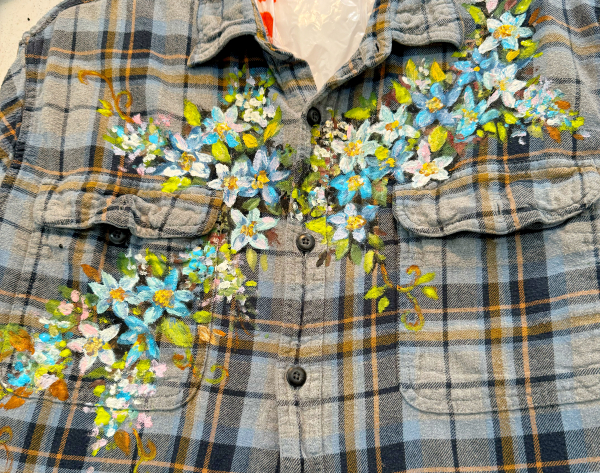
Back in the late 80’s and early 90’s, I painted tee shirts and sold them in stores all over, including at Silver Dollar City in Branson, at crafts shows, and local shops.Enlight1821

I painted so many that I said I was done forever. (One year I painted 1,000).  Since then, I’ve whipped up a few as gifts for new babies, but that’s about it.  I did a couple for Sugarwings, but my heart just wasn’t in it.Enlight1823

Recently, the idea of painted shirts was again lurking in my head.  I’d accumulated a pile of flannels that I wanted to sell this fall at Good Juju, and considered embroidering them, but knew it would take hours and I could not sell them for enough to pay for my time.

So, I thought I’d try a few painted ones.  I’m much faster with a brush than a needle.

Enlight1822

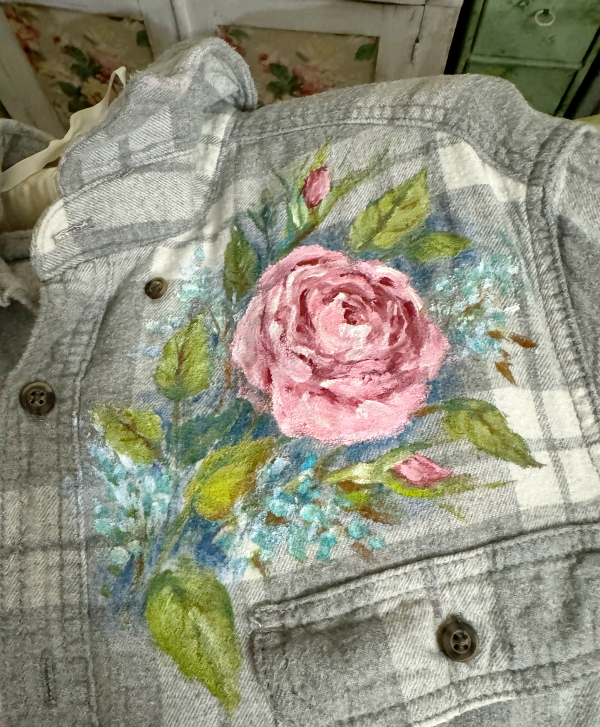
First, they needed to be slightly bleached out to soften the plaid design. Which was simple, since Sugarwings and I had been experimenting with bleach painting last week.  I dunked these flannels while we had our bleach mess set up in the driveway, and left them in the sun to dry and was happy with the less vinbrant look of the plaid after they were done.

After a quick job with a brush and acrylic paint mixed with fabric medium, they dry for 24 hours, get heat set with an iron, and then washed and dried.

That might sound like a lot of work, but it all goes pretty quickly.  Please wish me luck with them, I hope they sell!


Preserving dandelion wishes

Garden, how to's

Enlight1764

Dandelions are not considered weeds in my world.  They announce spring with their burst of sunny yellow, then fill up the yard with wishes just waiting to happen.  In summer, their deep taproots help the soil, and I never pull them up from my garden.  The leaves are a tasty snack for our baby chicks, we gather up a few to toss to the girls, and all the chickens come running to get a bite.

Enlight1763

If you saw our yard, you’d be very surprised to learn that my husband spent his career running country clubs.  It would make sense to use the knowledge learned in supervising the upkeep of the greens to make our grass just as nice as the professionals do.

But at the cottage, I encourage dandelions, clover, and whatever else wants to pop up.  I like the textures (and the lack of chemicals).

Enlight1762

When I heard you could easily preserve the puffs of fluff, I was pretty excited.  I tried all the instructions I could find on line, just to realize that it isn’t as easy as it sounded.  At least I had a never ending supply to work with.

Enlight1765

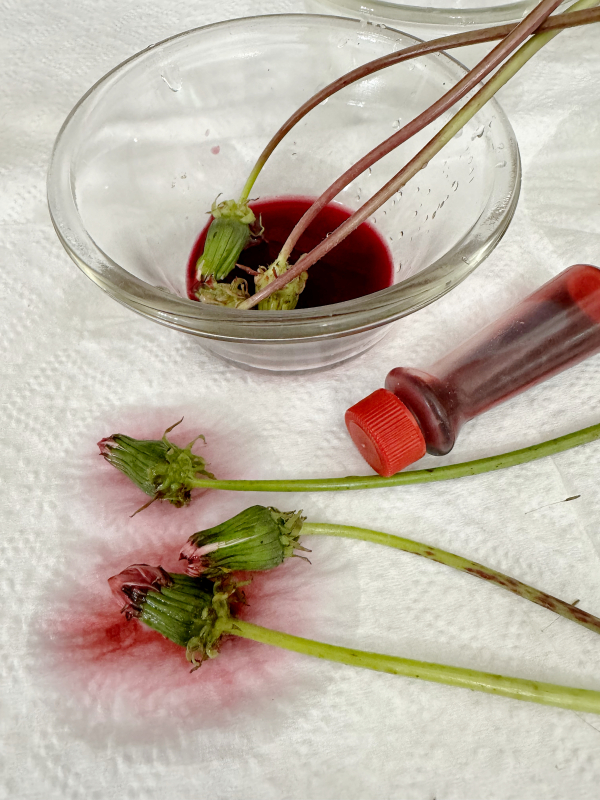
I tried dying the buds before they opened, but the color barely showed  it did sorta work, but not enough to go through this step.

I tried floral wire inserted into the stem and then the head of the puff.  Well, it seemed fine, but a few days later, as it dried out, it didn’t want to stay in place.  So I squirted a lot of glue up inside the ball to reattach it to the wire stem.

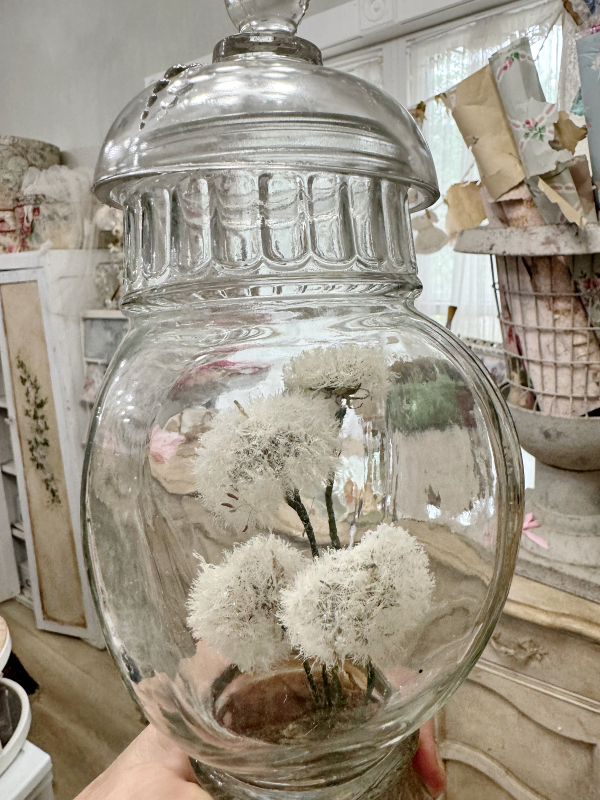
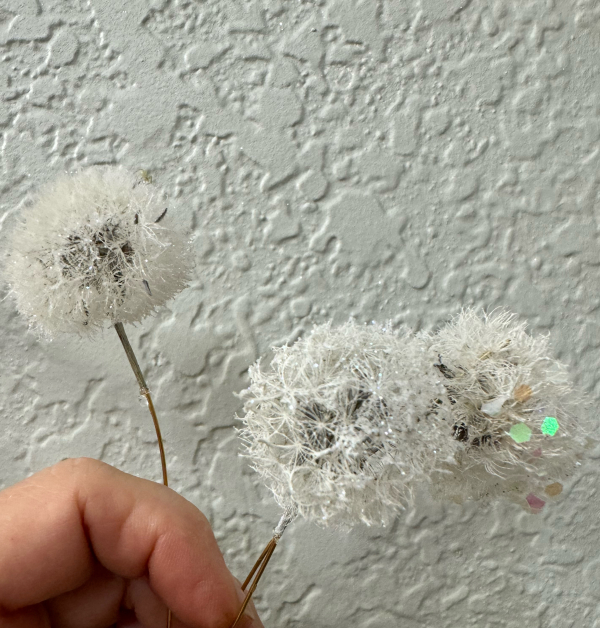
Hairspray was a suggested preservative but didn’t seem strong enough to me.  My spray of choice was white spray paint topped with clear glitter while still wet.

They look pretty and hold their shape well. 

Enlight1781

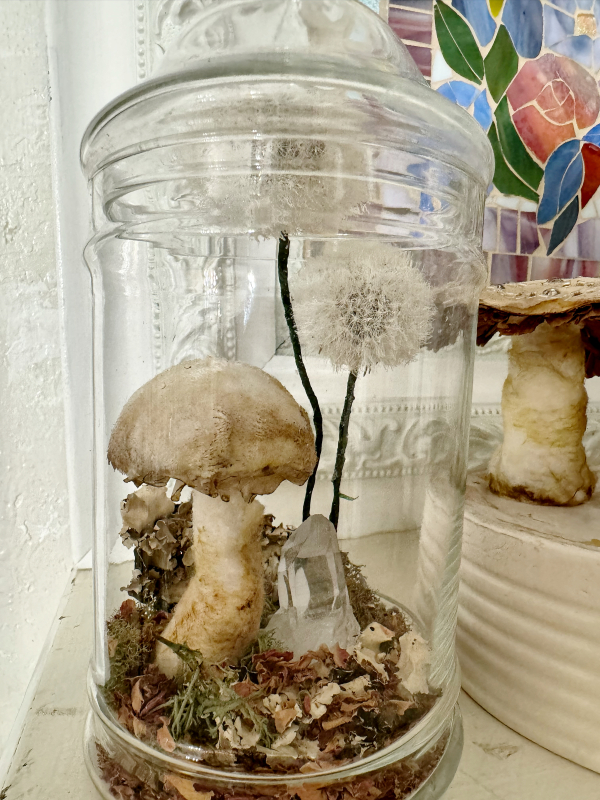
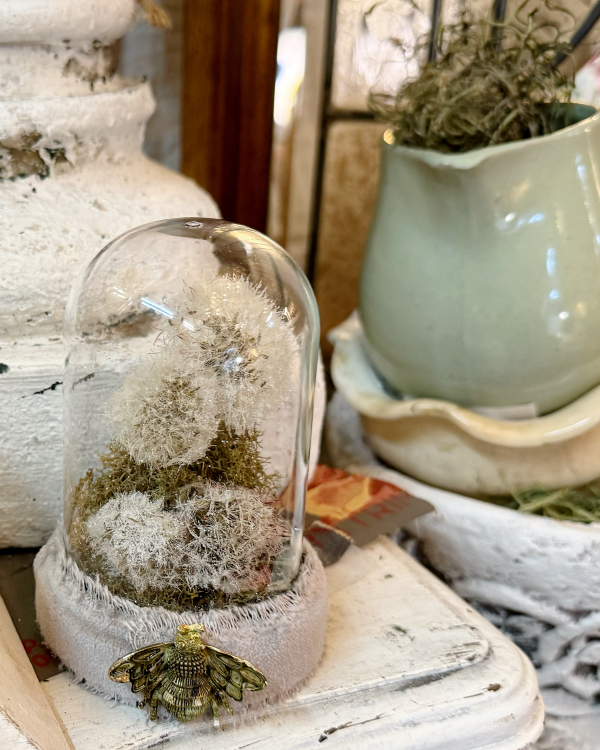
Keeping them airtight should help too.  I filled some cloches and jars with my new collection of wishes, then decorated them.  Fingers crossed that they last.


Another Santa Redo and a possible mink hunt

holiday decor, how to's

Enlight1433
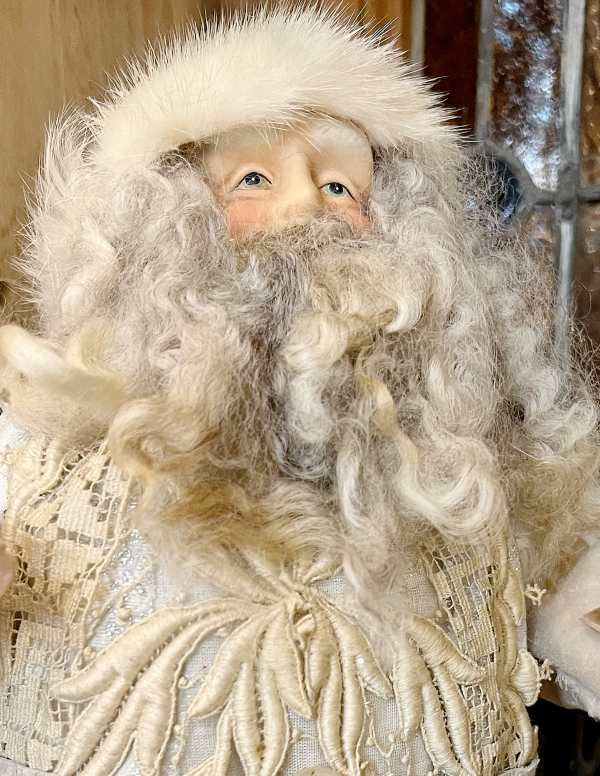
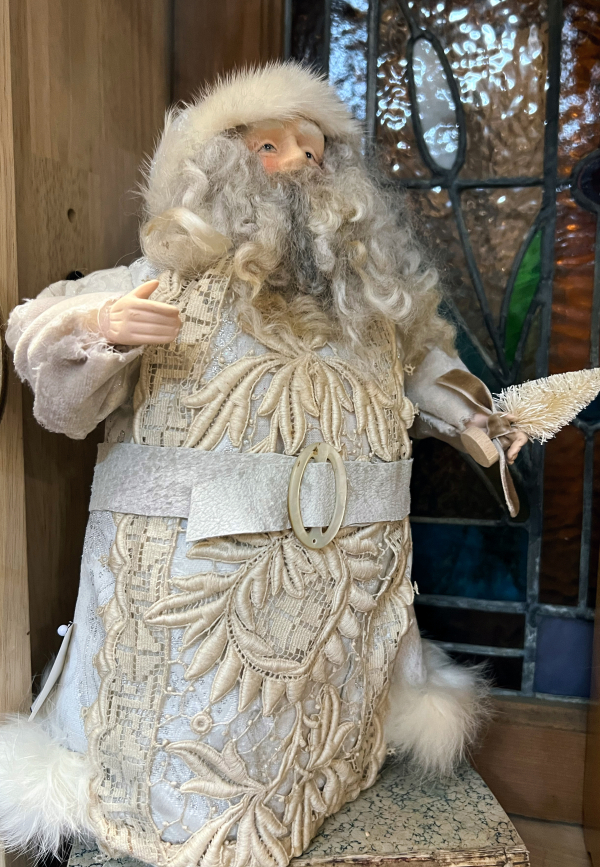
I rescued another Santa Claus, this one only one foot, instead of four feet high.  So he was a bit easier to redo.  I’d love to restyle more little St Nicks, but I’m nearing the end of my white mink stash.  I’ve been using it for tiny collars on the dolls I remake into angels too.  A little bit goes a long way, and I’ve been tearing up that same tattered stole for years, but now, it’s time to either start hunting minks or find another craft.

For the Santas, I always start with ripping off the ugly patch of white fuzz that passes as a beard and replacing it with curly goat’s hair.  I cut away the hat, reshape it more to my liking (or make a new one) the replace it’s fake fur trim with mink.
 Now, I’m not against fake fur at all.  The problem is that on these dolls, it’s usually the cheapest, ugliest fake fur that the manufacturer could get away with.  There are some types that would be perfectly nice, but this stuff usually is so bad that it couldn’t even be good enough for carnival prize stuffed animals.

Enlight1432

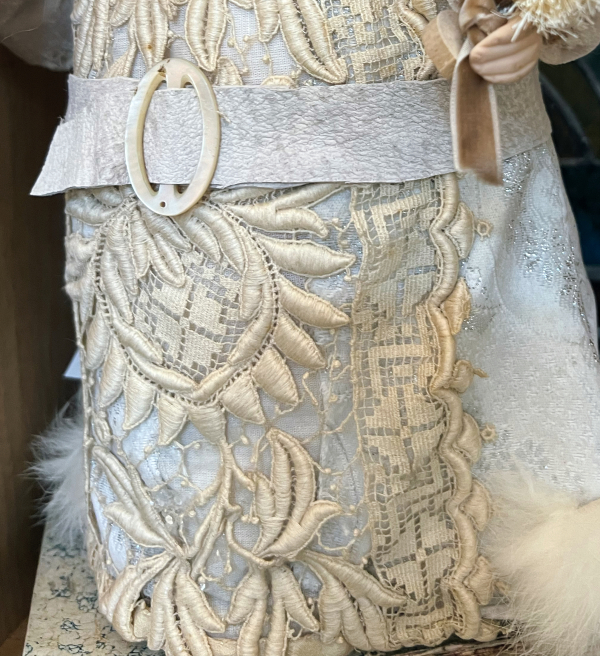
The jacket trim needs to go next, as well as the plastic belt.  For this guy, I added a panel of very old lace down his front and cut a strip of creamy suede to wrap around his bowl full of jelly, I mean, belly.  It fastens with a mother of pearl buckle glued into place.

Sometimes I use fur around the cuffs too, but since my supply is low, and also because it was pretty, I made cuffs of tattered velvet.  I was lucky with the jacket he wore, it was white brocade with silver thread and I kinda liked it, so left it as is.  Some stains and bad spots got covered up with the lace then velvet and the coat looked good as new.

Enlight1434

He got a bleached tree to hold.  Its base is tied with a velvet ribbon so there was something stable to hold the glue when I put it in his hand.  Plus it’s a nice touch.

Since I am not a sewer, the Santas, like all of my fairies and angels, are glued into place.  I would be kicked off of Project Runway for sure, but it seems to be okay for these dolls, they have no complaints.  And I hate sewing, but love designing clothes for dolls from bits of vintage scraps.  So this is what works for me.


Don’t try this at home-

cottage, how to's

SavingPNG
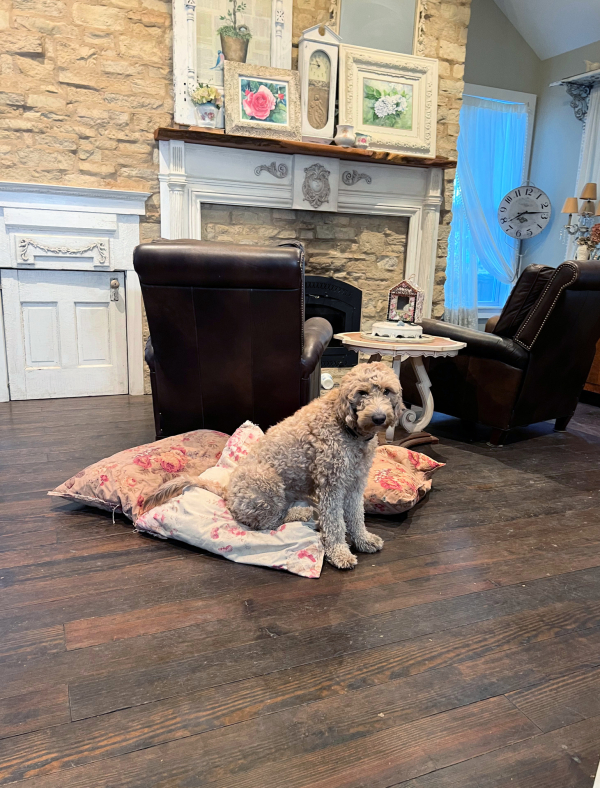
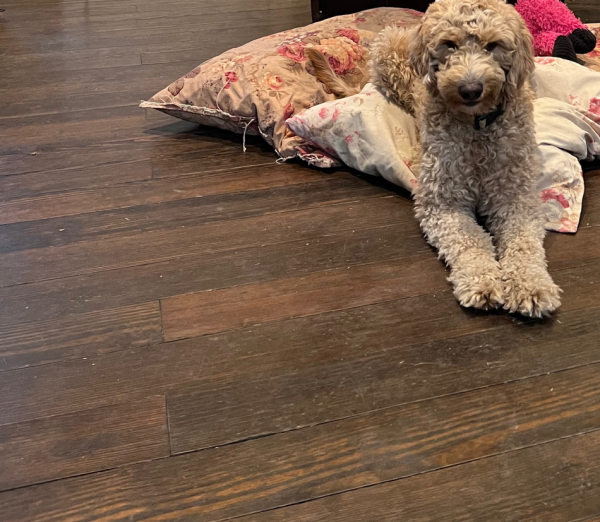
Well, the floor is a bit dirty now, as it seems to typically be.  Four dogs with a big yard to run (and dig) in, constantly in and out in all types of weather tends to add a layer of dust and dullness to the wood.

But it looks soooooooooooooooo much better than it did before I did some touch ups to it.
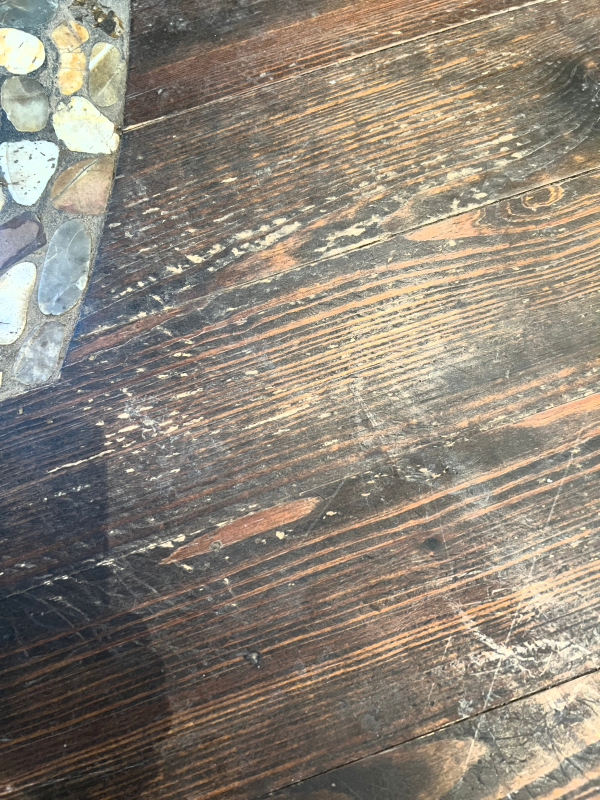
SavingPNG

This is what it had become, in many places.  Especially in all areas where the dog wrestling matches took place and of course, those were in the most prominent, big, open areas.  There were also marks from moving a piece of furniture with a rough spot on its leg that left multiple scratches, wear and tear under the dining table from the chairs, and just plain old tired looking spots.
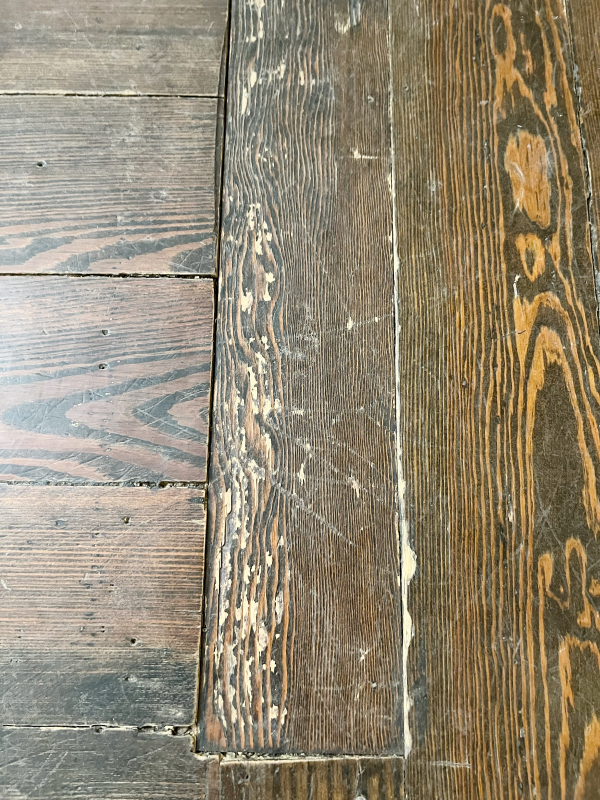
SavingPNG

It hadn’t been all that long since the floor was completely refinished either.  The hearth room we’d added is only a few years old, but like I said-

Dogs.  

And lots of them.

The kitchen is a mix of many woods, the living room, yellow pine.  Both are over 100 years old.  The hearth room is pine that my husband and sons put in, then we had all three rooms sanded, stained and sealed to match.  Which was a big undertaking and we couldn’t use the house for most of the week.  We had been living through construction anyway, and this was the tail end of it, so it didn’t seem too bad at the time.

But the thought of the mess, expense, smell, and time it would take to do it over again was not tempting.

Or in my budget.
SavingPNG

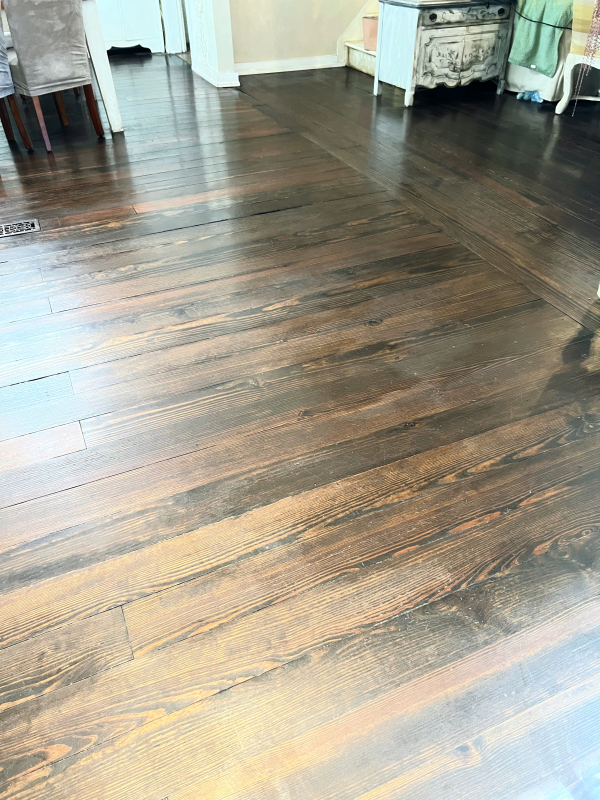
Here is the after, while still shiny and new.  I love it!  But I was so lucky it worked.

As a do-it-yourselfer, I figured I’d handle it. And luckily it all came out okay.  It could have very easily gone very, very wrong, because I broke a lot of rules.

After cleaning the floor, and shoving some things out of the way (the floor was fine under most of the furniture, except the dining table, so why redo those places?) I opened all the windows, turned on the fans, expelled the dogs outside to the fence to enjoy a beautiful autumn day, then got to work.  Husband was out of town, grandkid was at their mom’s most of the week, nothing to stop me.

I mixed a little bit of Jacobean stain (leftover from the professional’s redo) with a satin poly/stain in espresso, because I wanted the raw scratch marks to be covered well and dark.

Then started right in, dead center, highest visibility spot in the room.

Why? Stupidity.

Seriously, I should’ve tried an inconspicuous corner and waited a couple of days to see if it dried well.  Nope, just started brushing on the concoction, and wiping it off with a rag.  I feathered and buffed the edges to blend with the existing stain, and redid giant swaths of flooring, not just patches.

About halfway in, I started to wonder how well I’d stirred the poly blend.  By then it was too late.  But visions of a gummy, never drying floor stayed with me as I worked.

Did I stop working? Nope.  In for a penny, in for a pound.  I figured I might as well keep it going till the end, because if I’d ruined it, the entire room would have to be redone by a pro, not just my messed up areas.
SavingPNG
My home is an old, far from perfect, farmhouse.  So I don’t mind if if the wood floors don’t look perfect.  Things wear over time and I appreciate that.  I just hated the obvious scratches and dog destruction.   This was a good solution for that problem and cost me under $10 to do.  

Some areas dried faster than others, and I was feeling a little worried about a couple spots, but kept a fan on them and they started to slowly lose their stickiness.

 It really could’ve gone either way, this is not how you are supposed to stain a floor.  Dumping leftover stain a few years old into a different brand and color of poly/stain, and then trying to remember if I’d stirred the poly up first before mixing? No sanding or tsp, or much prep at all?  Rubbing the mixture right over the existing floor as is? Going around furniture still in the room?

Nope, none of it was done correctly.  But I am so glad I did it, and love the results!

 

A Barbie Dollhouse turned into a Haunted Mansion

cottage, how to's, Sugarwings

AF643F56-8408-4423-B012-DC89618027EF

In the previous post, I left out pictures of Sugarwings’ Barbie House redo.  At first, I was going to vintage it up with old wallpaper and sell it at Good Juju.  But as I was starting to wrestle it down the stairs, it dawned on me that the kiddo had requested “Haunted Mansion” as the room theme.

Well, dur.

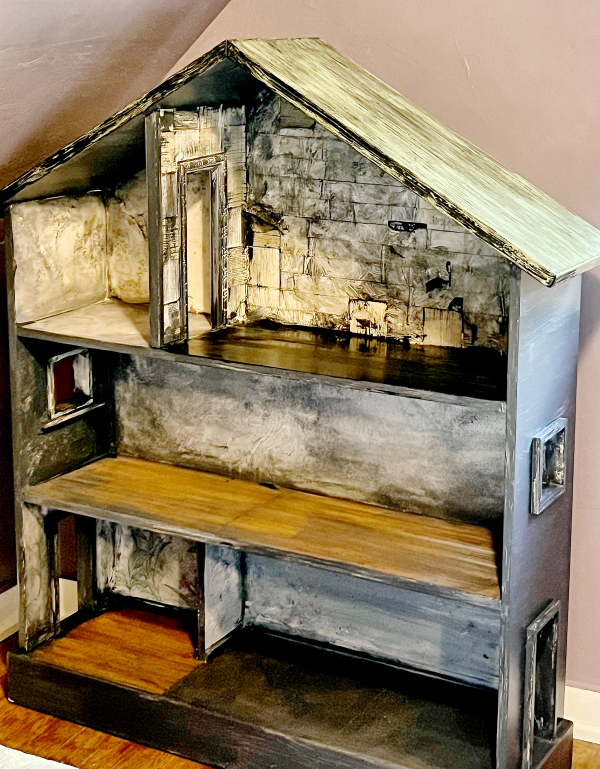
This thing could make a fantastic haunted house plus it was large enough to use as shelving for books and stuff.

BDABD76F-1CC8-4E02-9589-5A9267BA2C89

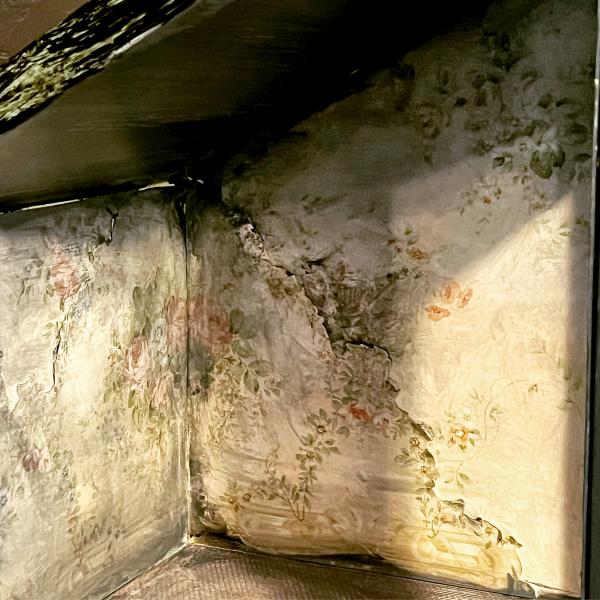
On high gloss surfaces, I brushed on a primer then painted it black.  Elsewhere, I used black acrylic paint directly onto the existing dollhouse wallpaper, trim, and flooring.

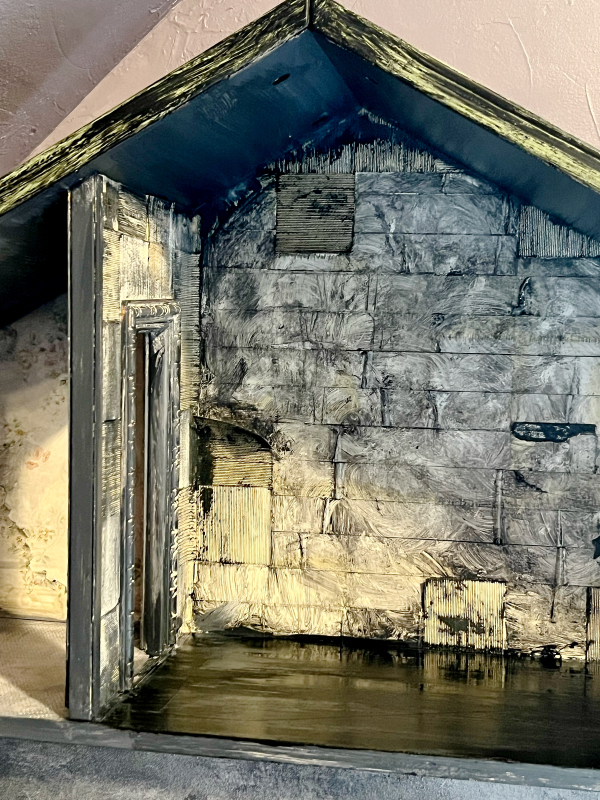
The paint was watered down and wiped off in some spots, and I tore the paper on the walls before washing it with the black.

09B08FF5-0B17-4038-AB87-DC086C55949B

I especially like the effect in this room.

309D314B-A2DB-467E-B156-CB021929E607

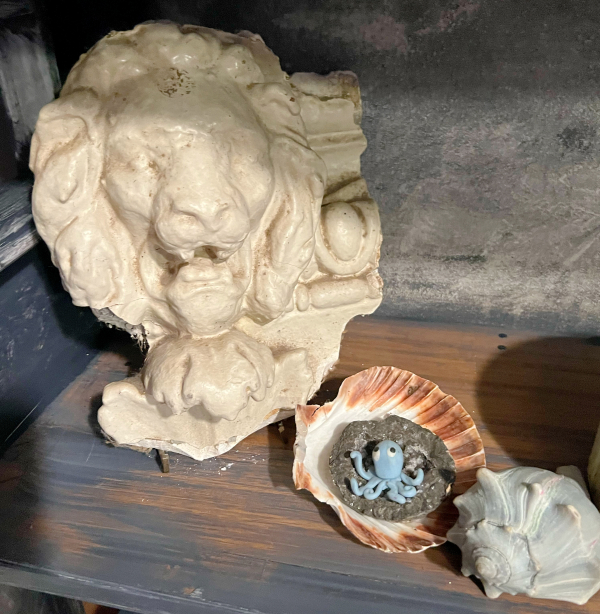
I could’ve easily gotten carried away and dolled it up with furnishings, but held back because I knew it was meant to be a bookcase/shelf.  I filled it with some of Sugarwings’ belongings and added this antique, plaster lion for the teen’s 17th birthday in August (Leo time).

EA62C95F-05CA-41DE-822A-4F3CF5872B3F

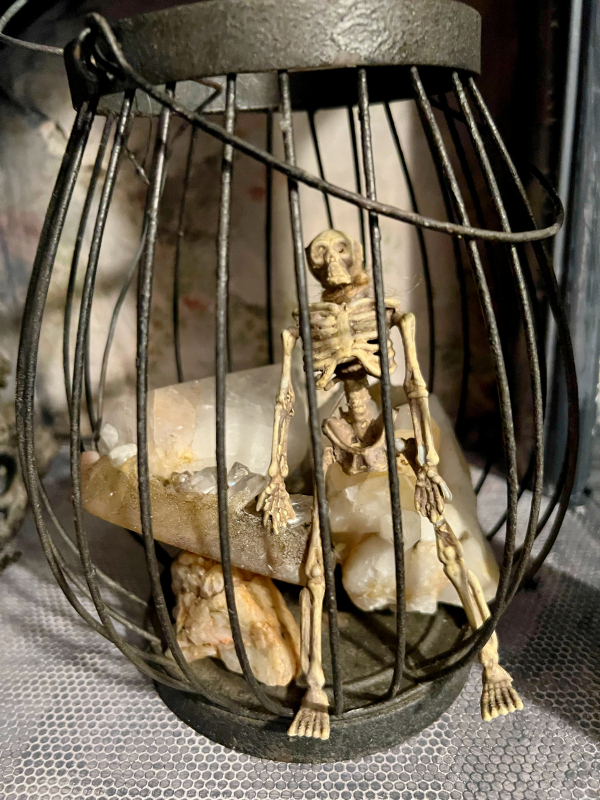
It still needed a nod to its dollhouse beginnings, so I let this person move in.

April Showers Bring May Flowers but DO NOT try to spray paint your umbrellas

flowers, Good JuJu, how to's

1357FB02-72B5-4086-AC81-3B454029D9D9
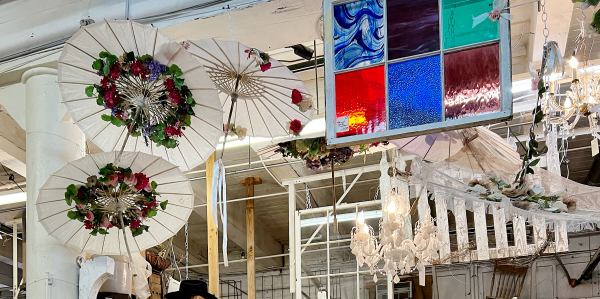
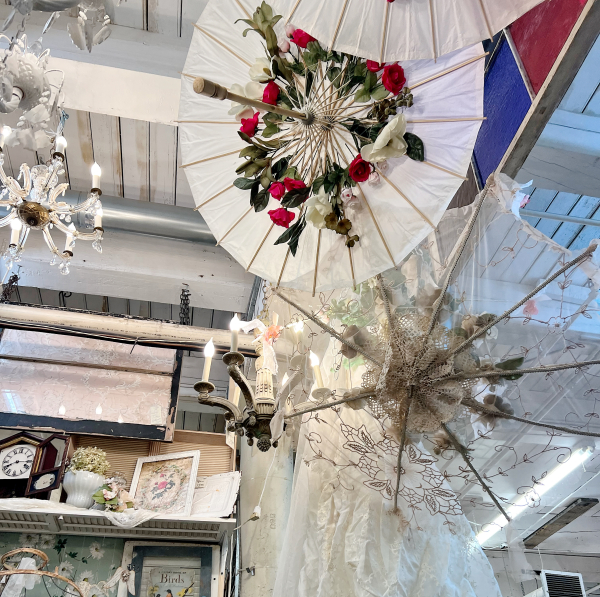
At Good Juju, I want to make use of ALL my space, floor to ceiling.  My plan is to hang various items  up high to make seasonal displays.  For Spring, I decided to go with umbrellas.
52CE96BE-CD9F-411D-8940-674A7CB36773
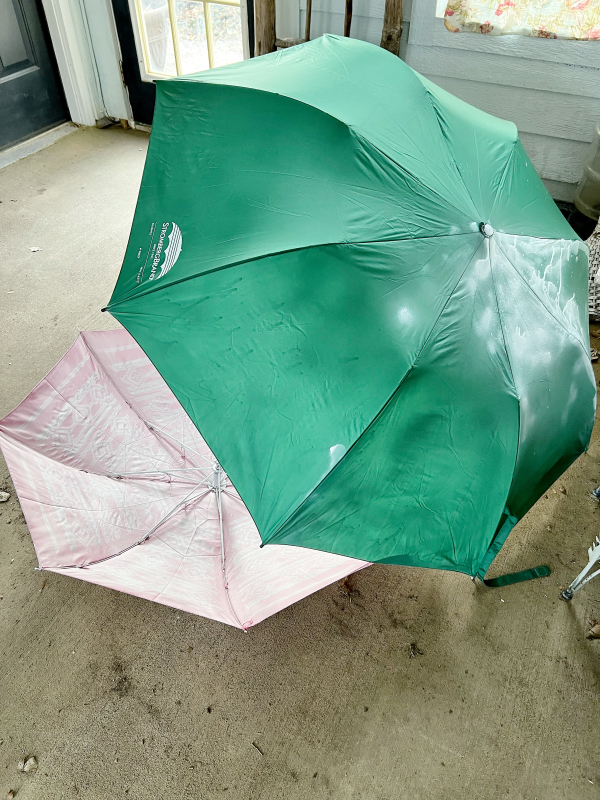
My first thought was to spray paint used umbrellas and add greenery.

Well…

95ABCCD3-55C6-4816-A7D7-ED0D8D6766AF

After going through two cans of spray paint that ended up runny, not covering up the underlying color, and just looking like a drippy, blotchy, poorly done mess- I soon discovered how bad that idea was.  

Umbrellas seem to be made of a material that repels liquids.

Who’d have thought of that?

Well, I was trying to be thrifty about it and was happy to get free umbrellas from a friend, but do you know how much spray paint costs?  That was not going to be a cheap way to do it.

204778CC-A6AD-4F30-87FA-4CBFEAB2209C

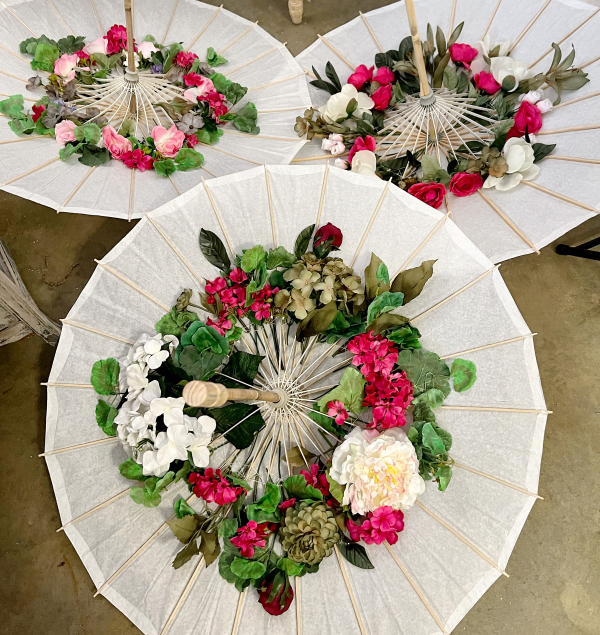
After looking on Amazon and other places and seeing that affordability was not going to be applicable to this project, I almost gave up the idea.  Then, I found five, white paper umbrellas at a thrift store for a couple bucks each!  

So, I started looking for fake white roses and greenery, and was attacked again by sticker shock.  I once again was about to give up on my plan.  Then friends brought me grocery bags of flowers they’d gotten at estate sales and didn’t need.

Plan April Showers was back on track!

C0786397-13AE-495A-AF7C-799E14642DD4

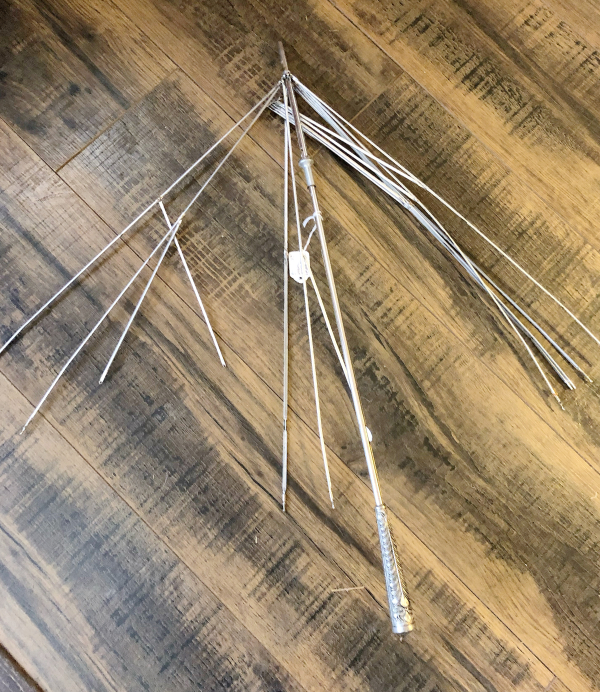
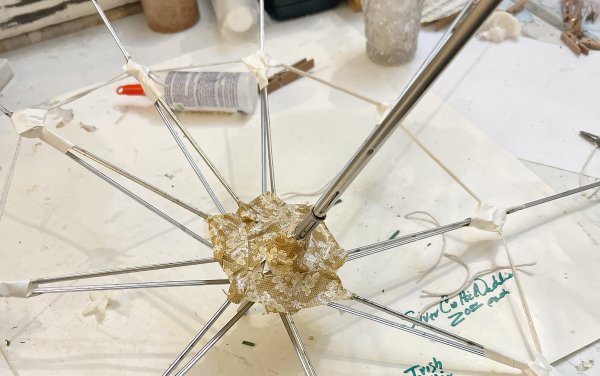
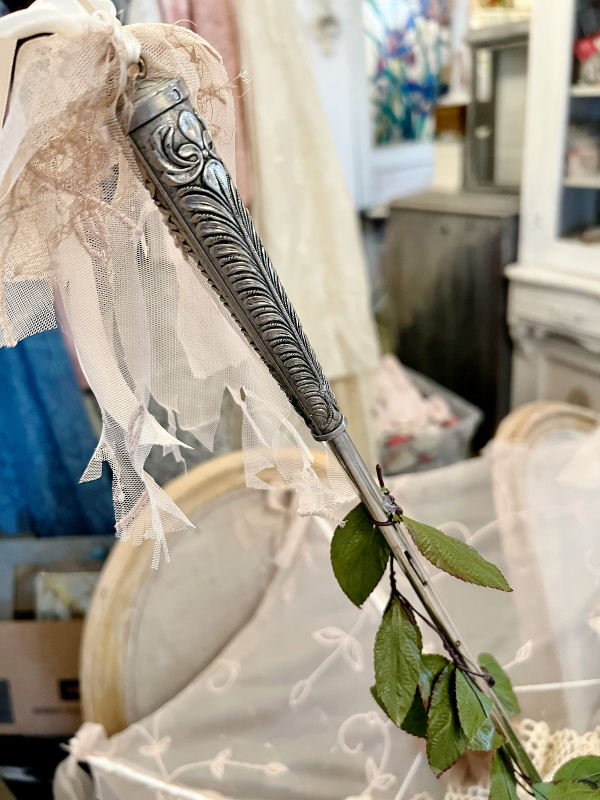
I was also given a naked, vintage umbrella in bits and pieces.  The handle was so pretty, I just had to put the thing back together.

2F2551AF-8369-4306-9519-7D37A3031B25

So the skeleton was rebuilt with duct tape, wire, and string.  It will never open and close, but none of this set does after adding the flowers to them.

F65BFF21-6B20-4459-9FF3-E0C440ACFE7B

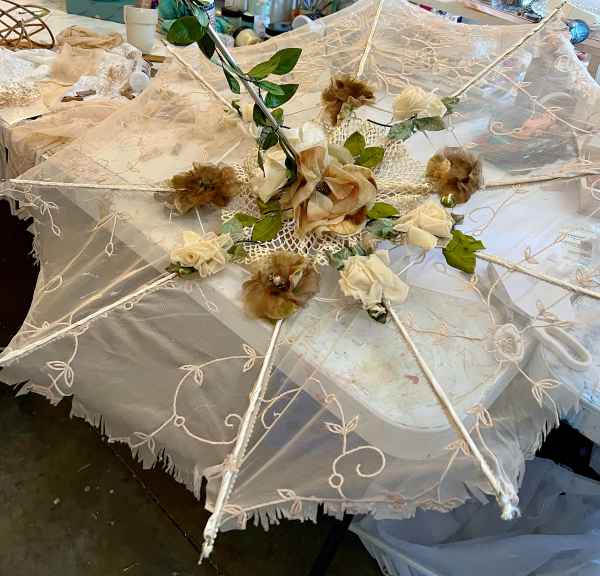
The one with the great handle was so nice, I thought it deserved vintage florals and pretty fabric, so I spent a lot of time on it, as well as plucking an entire rose covered hat to finish it with.

A929A34A-6335-419F-A6A7-5F2DB8DC6BAC

Sadly, I was careless with my glue and when you hold it up to the light, you can see the clear blobs of dried glue on the transparent fabric. 
56068EA3-2547-47EC-98BB-7D406DE2F1C3
None of the results are anything like my plans. I was going to take down the stained glass window, and have just greens in white umbrellas hanging.  But since that didn’t work out and I went with what was available, I think I like the colorful display even more!  

Turning an ugly duckling into an uglier toad

Good JuJu, Hand Painted Furniture, how to's

B2720316-19EF-47EB-B326-1FF5EE908482
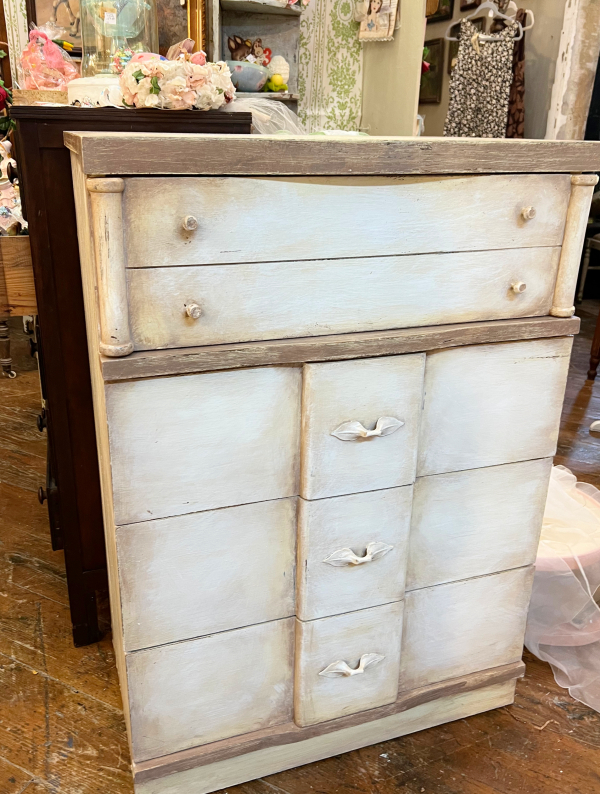
This was previously an unattractive, not to my taste at all, chest of drawers.  I’d brought it into the Good Juju sale last month to sit it in the parking lot area to get rid of cheap.

Then the day turned drizzly.  I wondered if it would matter much if the ugly guy got wet, who cared?  It couldn’t get worse.

0D03774F-C0FD-4C9E-A08C-2E2D8F759B3D

But a nice dealer brought it inside for me. I quickly made space in my booth and then had to stare at it for the rest of the sale.  After a bit of looking, I got past the finish ( which was so bad, I thought it was veneer, but it’s not, this is real wood) and thought, hmm, those are nice lines.  And look at the pretty hardware.

836096C8-CFB7-4AE6-9EAC-AAD7F6D85C4E

So, while setting up for next month’s sale, I thought I’d leave the poor thing and maybe someone else would notice it’s possibilities too.

After arranging the furniture, I always take lots of photos to look at once I get home, to rethink areas and plan the smalls that I’ll be adding.  When looking at this picture, I decided that this center area just looked sad and blah.

67E1EFDA-D647-43CA-8834-7B49559A2624

Instead of fetching the brown, ugly duckling chest and bringing it back home to give it a glow up, I packed up my paints and thought I’d do a quick turn over there.  

Things did not go as planned.  Maybe the warehouse was too cold?  The temperature only stays warm enough to keep the pipes from freezing between shows.  Maybe it was me trying to rush it? Maybe I didn’t bring enough color options or supplies with me to do what I wanted? 

Whatever it was, I just kept getting murk.  The duckling was turning into a toad, not a swan and I was turning into an obsessed, and unhinged painter. Poor Beth was working next to me in her space and had to listen to the whole dilemma as I was verbally assaulting my design decisions. 

Here is what I learned.  Well, I already knew it, but in this case, between the cold and rushing the situation the lesson on chalk paint was amplified.  

Dried chalk paint will return to a liquid state if it gets wet, even more quickly if it is barely dry. Which is why most people use wax, not glaze over it.  I was trying to use an umber glaze over a buttery cream chalk  and what I was getting was a flesh toned blend of the two shades, not layers.

I tried many more layers and fixes, but the ugliness just became stronger.  A quick project turned into an all dang day disaster. 

At the end, I worked it out, slowly but surely by purposely blending the umber, cream and some white, over and over and over, building up incrementally during breaks of working on the rest of my space. While telling myself I should just take it home and start over 

9B906EAB-43BD-44D6-A8D0-C57AF444B389

My stubbornness prevailed and I stayed till I got it right, then clear coated the piece so the chalk would never murk up again.  Looking back, I realize that I could’ve used the water based clear coat over my cream color, then done the glaze over that, and clear coated again.

But that would’ve been too easy, and honestly, I didn’t think of it at the time because I kept trying just one more thing, then one more thing, on and on.

But now, I really like the lovely lines, hardware, and many, many blended coats of paint that nudged this ugly duckling into, well maybe not a swan, but at least an attractive duck.


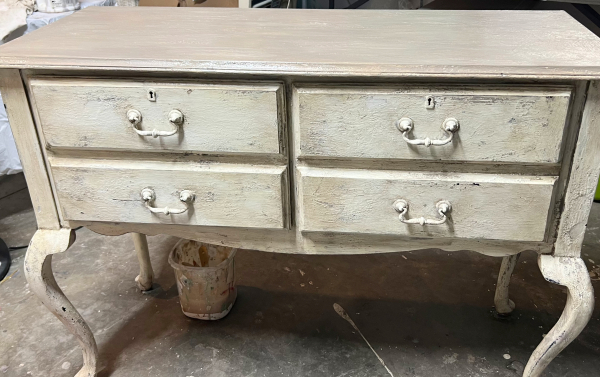
Trying some furniture looks

Hand Painted Furniture, how to's

D67FA45D-DBDF-49AA-9A8F-65FA94C7C15A
I have been painting some furniture.

3BA53CD4-D56A-4DC2-AA68-757677118A2E

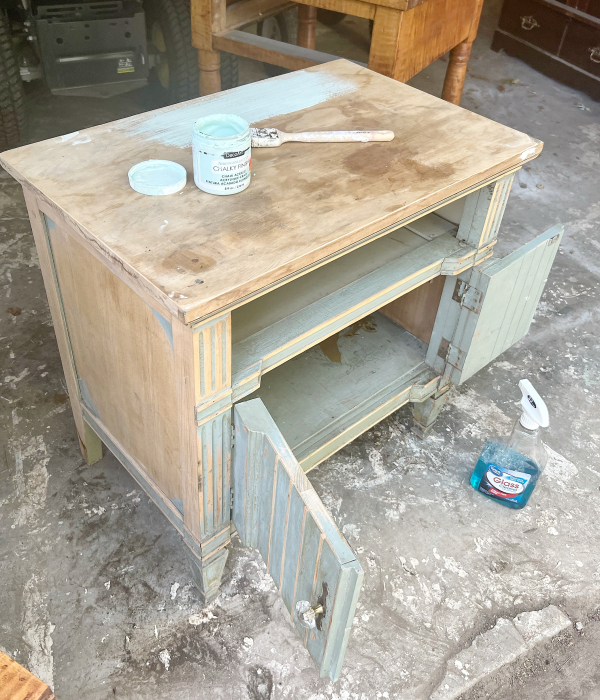
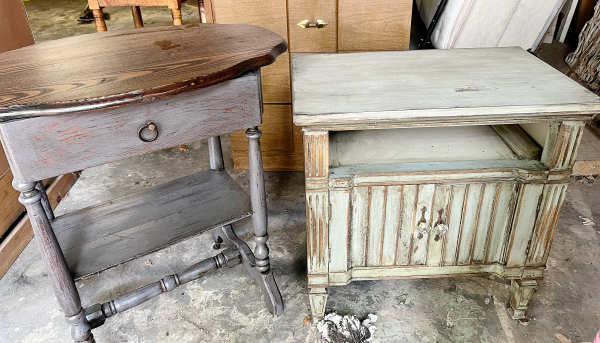
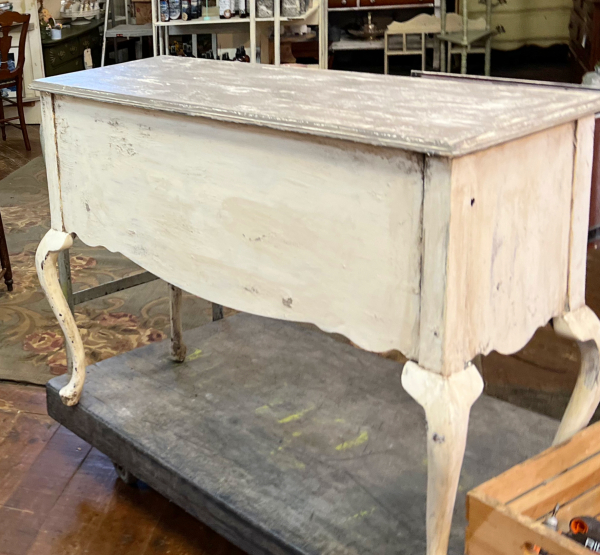
This piece was picked up along the side of the road and looked like someone started to strip it and gave up.  I decided to keep the original blue and just touch up with a matching color, leaving a lot of the bare wood.

5B93B305-8682-49E0-95FB-2216D5311F1E

When it dried, I lightly sanded it, and topped it off with dark oak stain and poly.  I used that combo over the gray table too.  
D18E2F47-98E1-4CAB-A5D7-362559E7AF43
I’m also experimenting with “salt wash”.  

84C679AF-DDE6-4AA5-BE16-C8D4621BEAA1

So far, so good, I think I’ll like it.  
01BA4260-3F7E-463B-89D7-AF133048BC7A
It involves a lot of steps, but is interesting to play with, so I don’t mind the extra work.  

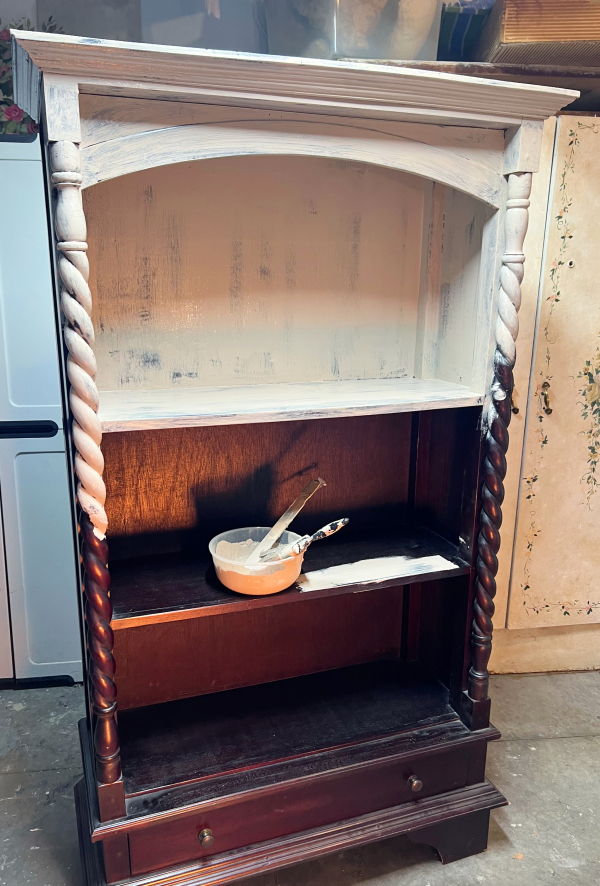
First, a base coat of chalk paint or primer.

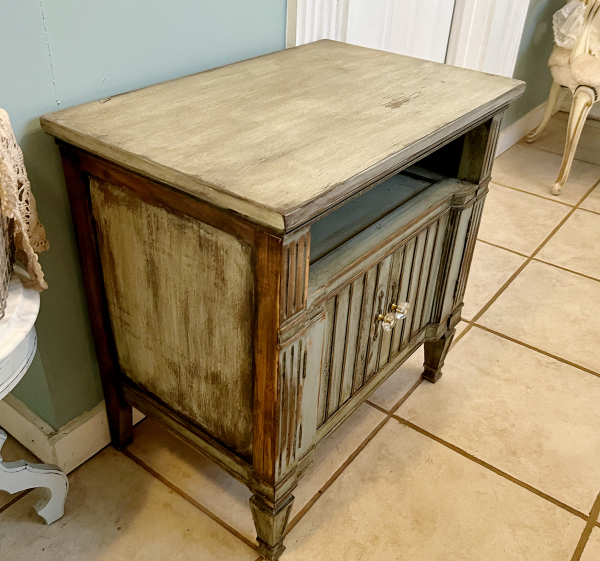
Second, the salt wash.  Instead of salt, I use  unsanded grout mixed in my paint until it’s as thick as brownie batter.  It messily gets dabbed on.

I let it dry over night, then add a coat of another color of either chalk or regular paint.  

After that dries, it gets sanded.  

Sometimes the sanding can look great, other times not, it often needs touched up with some of the top color.

After done, it needs sealed with wax or Polycrylic.  Personally, I am not a fan of using wax, but it does look good.  Polycrylic is easier.

A5242945-B8AC-4BF4-B998-9202EB52CFC0

On this, I did one more step.

Before the clear coat, I mixed some umber acrylic paint with glaze, brushed it on and wiped it off.

67E60EF3-6A68-4AE7-B390-1C9E78E90F73

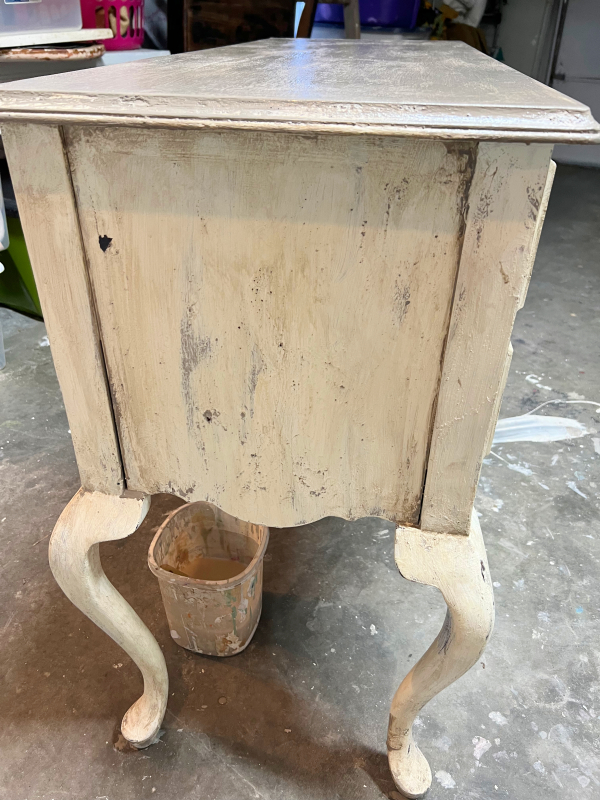
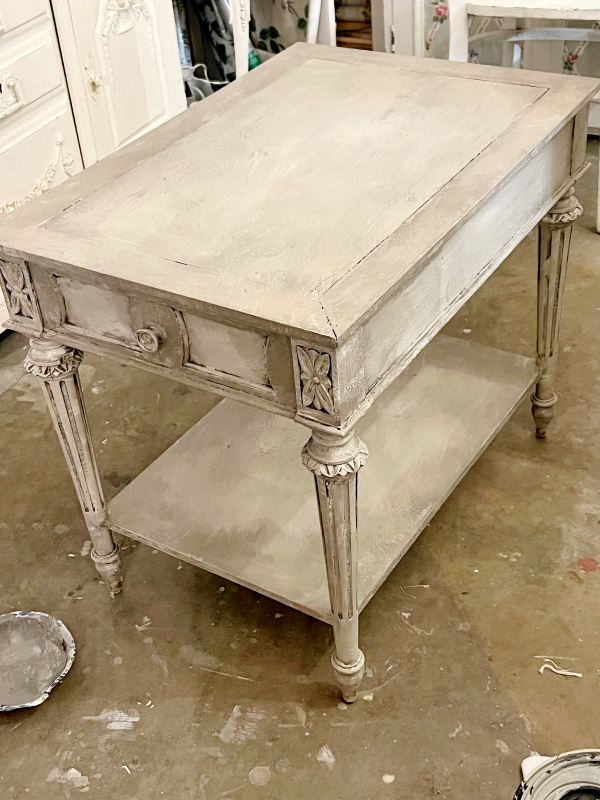
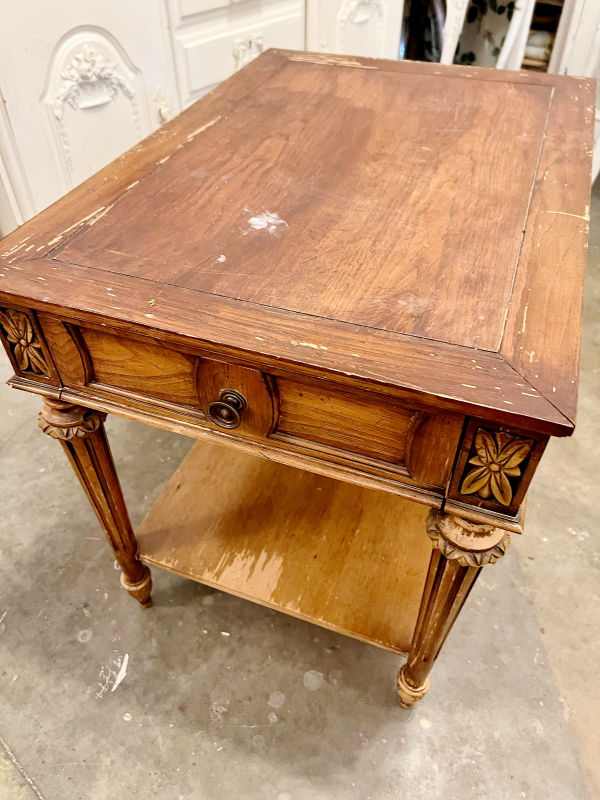
I used the salt wash technique on this table too.  Along with three colors of taupe and cream.

113EF6F3-48D9-4835-8F6A-8DBC36BFE549

Big change, huh?

63D4BAC3-5BA1-44A9-B0AA-C197AF417B4D
I am really enjoying the texture that the grout creates.

F587DBA5-AFE3-415F-B0F8-09B759940C2D

There was a bag of charcoal colored grout in my supply stash already so that is my background so far.  I bought some sand colored and will try that next.

07D471E4-6C4E-486C-9DDB-7F527ACCB020
Although the dark gray seems to do well under different shades of paint.

7BA19DB9-EB32-4D08-A9BD-93EA86526BFF

This new trick has been so fun!  I am on a roll repainting everything.

More mushies

how to's, mushrooms, the Boutique at Karla's Cottage, Tutorials

03F2EDC7-1289-428A-9F00-0E75EAAED2BA
Well, as I mentioned with my last post, and as you might have noticed if you have ever read my blog over the last 16 years- I tend to get obsessions.

C5352FF3-3D3B-40E6-91FE-74E279C1A05D

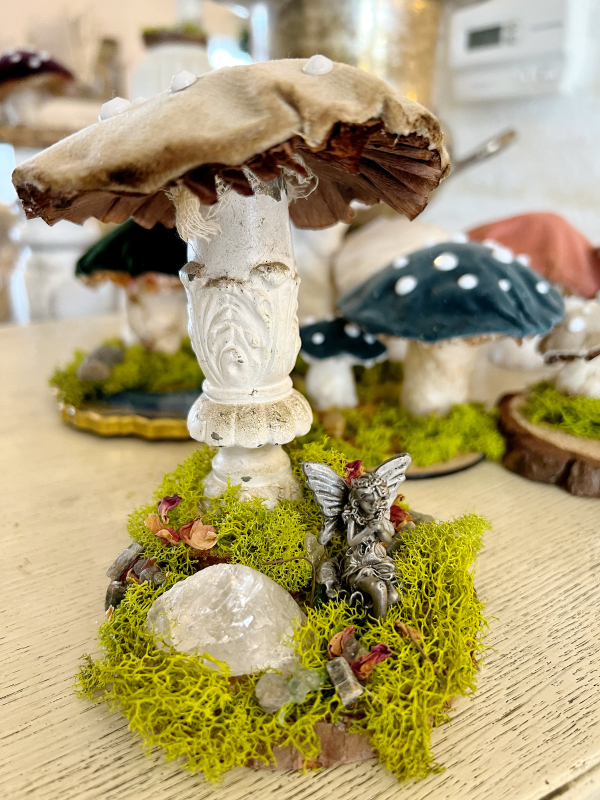
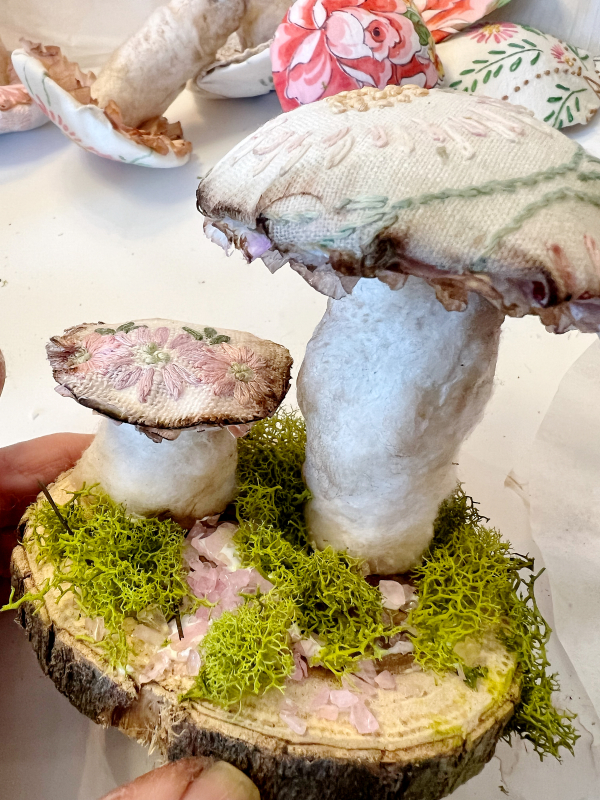
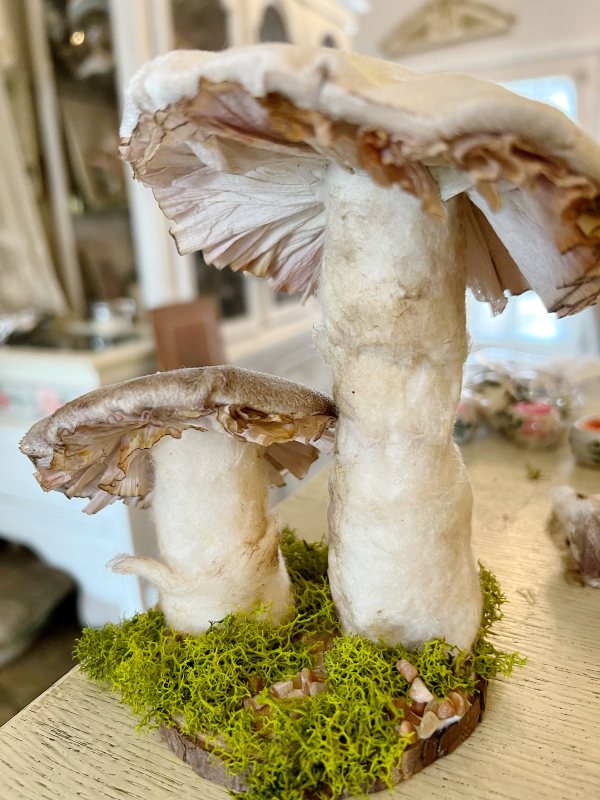
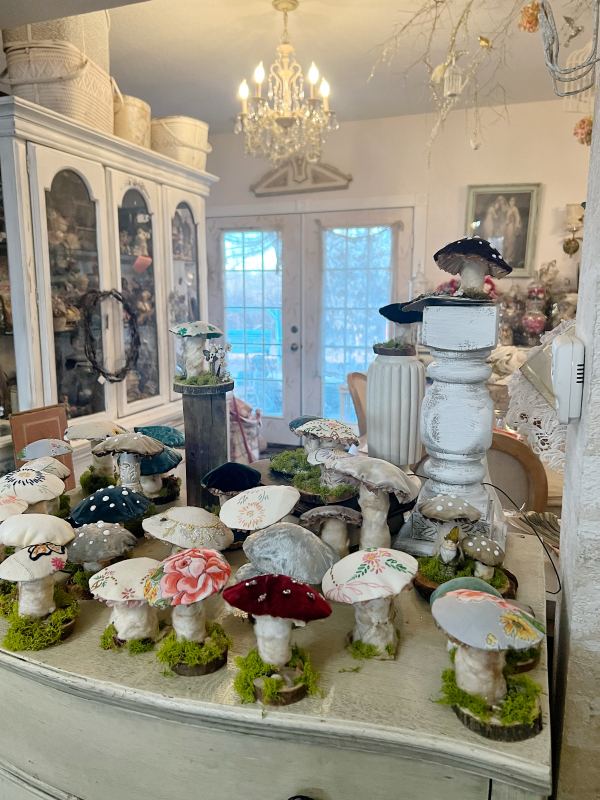
I have been making these fabric, no sew fungi since Guncle Randy and I came up with the simple design last summer.  
A1D6853D-7339-4C75-90A1-C698AF1A39C6
And I love making them so much, I just don’t burn out.

17E26100-9D6E-4105-BF5C-EDCB2A2CB421

See what I mean?  I sat down and whipped up 75 in a couple days.  I just get too excited about trying different fabrics and want to keep making more!

0ABF625F-C9D8-421C-925A-9FDE61BC9879

If you’d like to go schroomie crazy too, the tutorial is only $9 and the materials are cheap to get.  You can find it here:

http://www.karlascottage.com/category_59/Online-Tutorials.htm

ps- new tips have been added to the instructions if you already purchased it, make sure you check back!


How to make zombie dolls

Hand painted, holiday decor, how to's

27C8151B-CD61-4DEC-B862-4E07260ECAAD
Recently, I asked around for dolls to turn into witches, and got a number of vintage ones from a friend, as well as finding some while junking.  Some were ideal to turn into witches, some were just too nice.  The ones in excellent condition with perfect hair will be Christmas angels, and the ones that were a little scruffy became my Halloween witches.  

But the beat up beyond repair gals?

ZOMBIES!

7D3B3781-2F6A-483F-9302-F31B286F450A

Witches can be cute, but zombies need to be creepy.  So anyone missing limbs, or with big cracks was ideal to use.

A4D9E162-6E27-44AA-8DA0-667E3CC5BB60

Adorablely cute dolls made sweet witches.

60A54171-396F-4360-A285-7390D277A3F4

But a crack like this is hard to get past.

629FDE99-46FE-40B6-9C71-E777117FC0B1

I discovered that the cracked face on these old dolls could peel off like the shell of a boiled egg.

E1B6D6D3-92F3-4B94-82D1-E24C74455B7F
Underneath was a rough, porous material that needed just a little sanding to make sure the glue was off before painting.

B14113E1-A763-489F-BC17-44B2AF2B136A

With appendages, I cracked off some of the “shell” and painted those like wounds.

E2591C7B-7948-4C58-9741-C8932F7C9500

Same with the torso.  I left most of the hard layer on and painted the edges to look like cuts.

6FC2039A-C6D1-4909-8DD9-56E72BF64C2F

After painting the doll, I use old, tattered doll clothes along with some vintage elements to dress her.  The clothing gets some tears and cuts plus dirty and bloody paint splotches.

64C35F7D-442B-4B96-B141-2A9FE2FE9AA1

I glued her legs on at odd angles so she would look stiff, like a zombie shuffling around.  
954C2563-0D7E-471B-98F6-2DA2850CCEA4
All of the dolls were fun to recreate into new looks, but I have to admit, I really got into the zombies!
EE91C218-934B-402D-81AA-70F20F3904F6

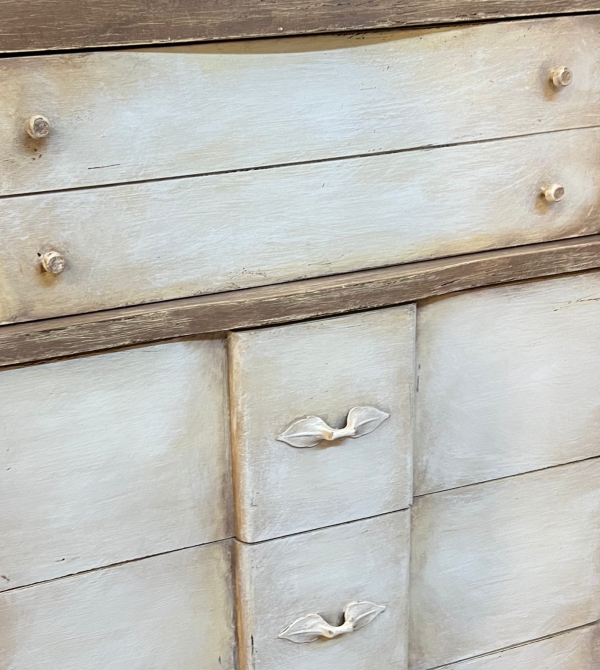
The Witchie girls were a similar process, but I made sure to use smooth skinned dolls without cracks.  If the skin tone was discolored or stained, I painted them green.

64312B07-0564-4E8A-8D9F-82866DDEAEE3
They were hard to stop working on, I could’ve made dozens.  I can’t wait til it’s time to make the angels too.  But for now, I’ll just make a pile of witch hats to sell, the ones I took to the mall were gone quickly. I sold a couple dolls, but mostly, they just got photographed a lot.  I think that means people were going to try to create their own? Well, if so, here are the steps to follow.

Scroll to Top