how to’s

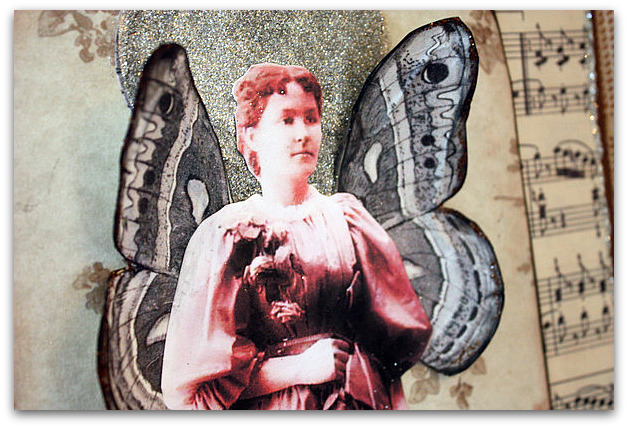
A Family of Fairies to watch over the new gypsy fairy baby

celebrations, fairies, family, holiday decor, how to's, parties

IMG_5280
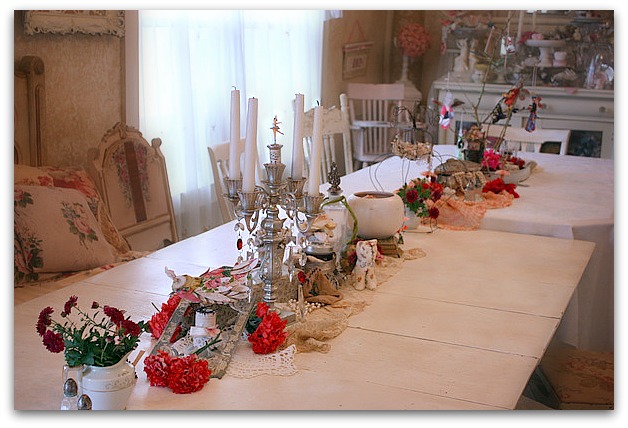
The baby shower was such fun!  It was more of a dinner party with presents.  I'd thought we'd eat outdoors, but the evenings are getting cooler, so I had to quickly scoop all the mess out of the way in the studio and pull some tables together so we could eat indoors.

 
IMG_5275

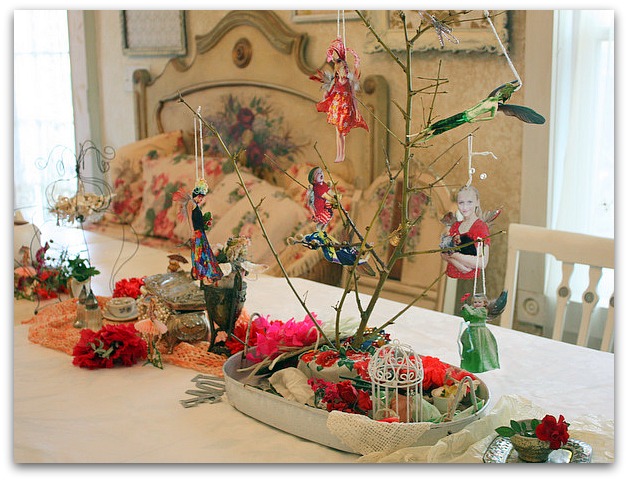
My studio is ideal for parties, even though its always a bit of a hodge podge.  I just grab things from around the room that are destined for sale, or stuff I made, or supplies waiting to be made into something else and create a tablescape with whatever is handy.

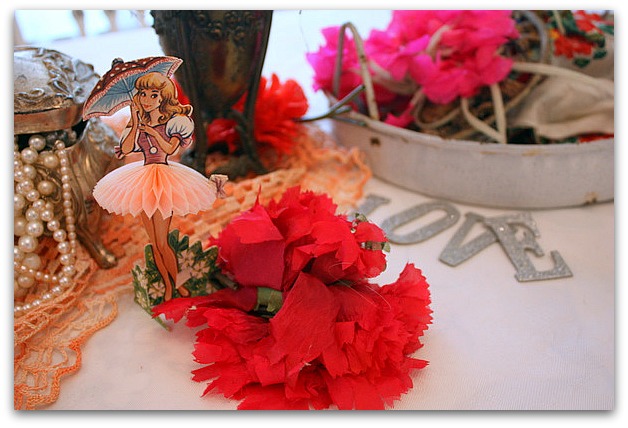
(the cute little girl with the umbrella is going into the Boutique today, there are 6 total, never used before until I opened the vintage package for the baby shower.  Yea, I know they were probably worth more in an unopened package, but thats not how I roll. I believe everything should be used and enjoyed!!)

IMG_5278
We couldn't use the dining room in the house for the party, because I had the table in there all set up with cakes and decorations for the shower. (Pink and white fairy baby decor pictures of the dining room to come later)

It was a couples and kids party, not a typical baby shower.  No games, just a glass of wine and a buffet dinner with lots of laughter and chatter.

The weather really was nice, and all the older kids ran around and played outside. They sat in the garden to eat, but the adults were happier indoors, some of the dads ate up in my husband's office so they could play pool.  I didn't try to get the table set for everyone, I knew people would roam and sit where they were comfortable.  I put a few chairs around the 3 tables in the studio and figured I could pull up more chairs as needed.  

My parties are casual, not perfect.  The food is usually a buffet in the kitchen where everyone serves themselves then finds a seat wherever they'd like.

IMG_5271
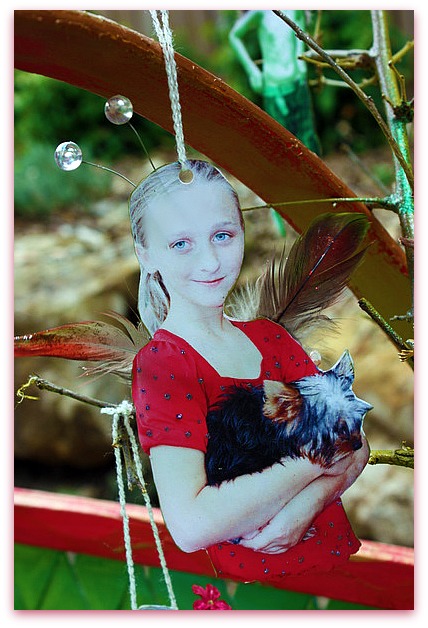
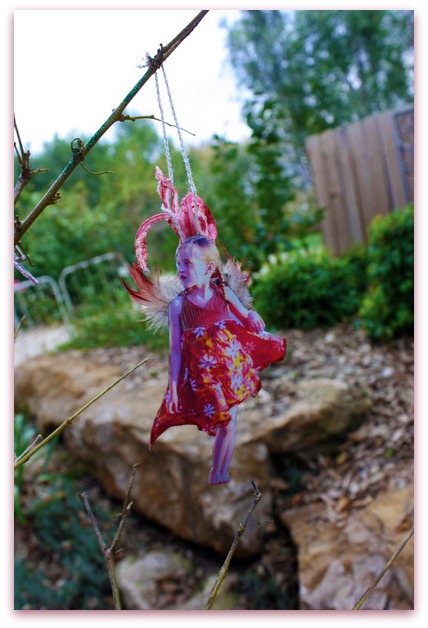
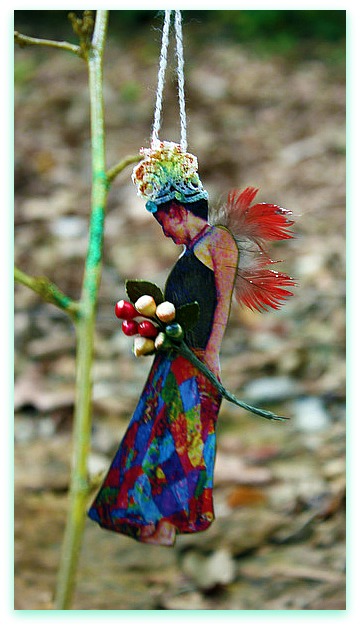
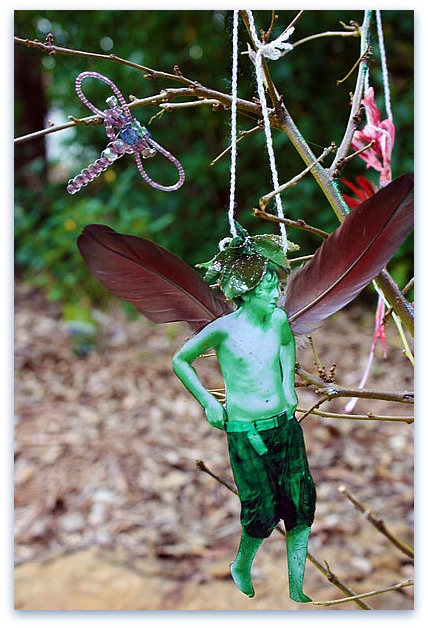
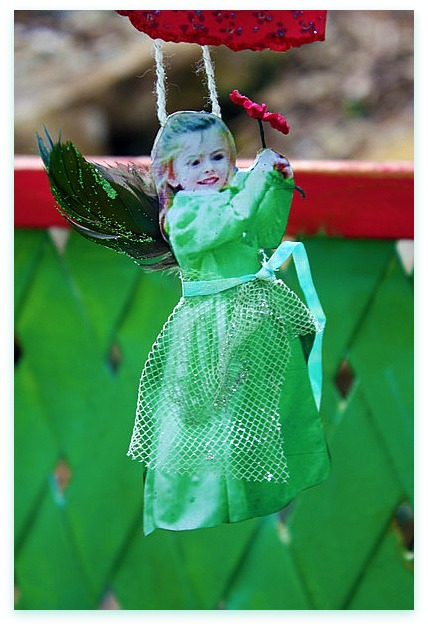
Since this new grandbaby's momma loves all things gypsy and fairy, I went with very bright colors for the dinner table.  I also made  up a mobile for the baby with her family as colorful fairies on it.
IMG_5274
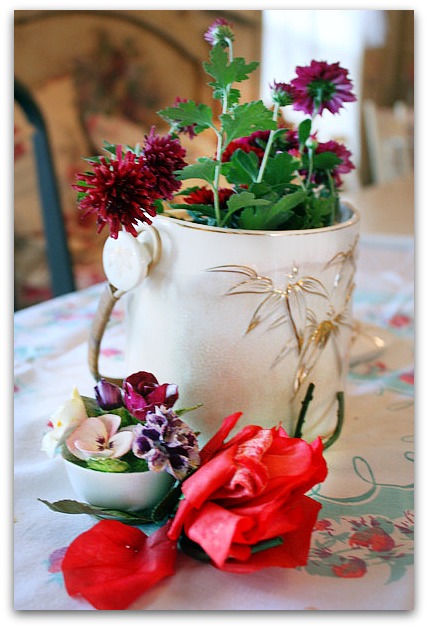
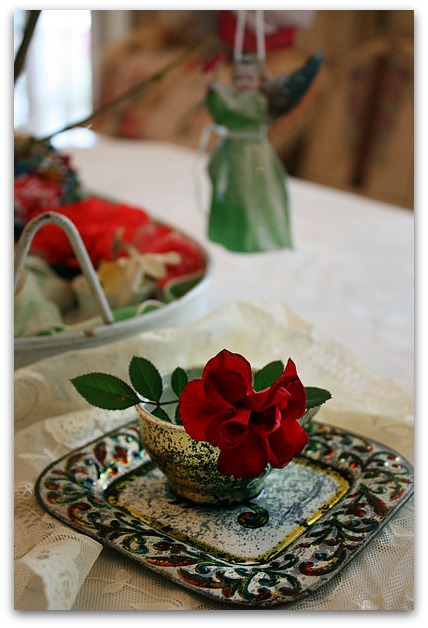
We are having what feels like a long, lovely extended September around here.  My flower beds are looking better than ever, so I was albe to pick some blooms to bring in,  then I scattered millinery flowers around the centerpieces too.

IMG_5302

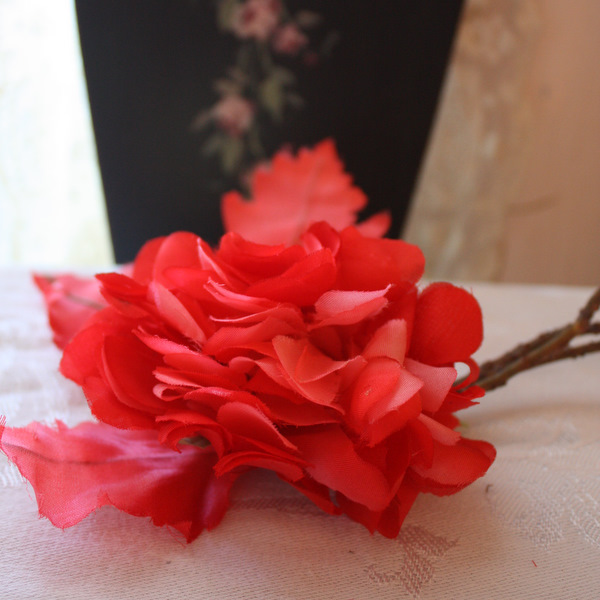
(there are now LOTS of red carnations and roses for sale in my Etsy and my Boutique, ready for Christmas crafting or decorating)

IMG_5169
To make the Fairy Family members for the mobile, first I cut a branch down and spray painted it green and added some glitter to the wet paint.
IMG_5160
Then, I went through all my files to find pictures of everyone and printed two of each, one regular, one mirror image.
IMG_5171
With the mirror image done, both were cut out and glued back to back, so that when they hang, they can spin around and look good from both sides.

(Her crown is a bit of lace trim, colored with markers)

IMG_5164
Some of the pictures got a little extra editing, like tinting Dimitri green like an elf.

IMG_5162
I loved this picture of Sugarwings, but her dress was pink, so I edited it to fit in better with the other images too.

IMG_5156

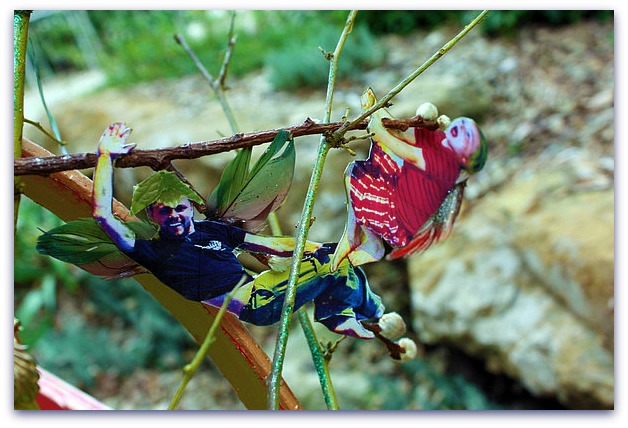
These two guys were such fun poses! Perfect for this project!

IMG_5152

Now, how this mobile will hang over the bassinette is another issue altogether. I think it needs to be in a vase on a table near the bassinette, not attached. Or hung from the ceiling.  But, I'm leaving that up to her parents on how to display it.  Won't they look pretty together?
IMG_5294

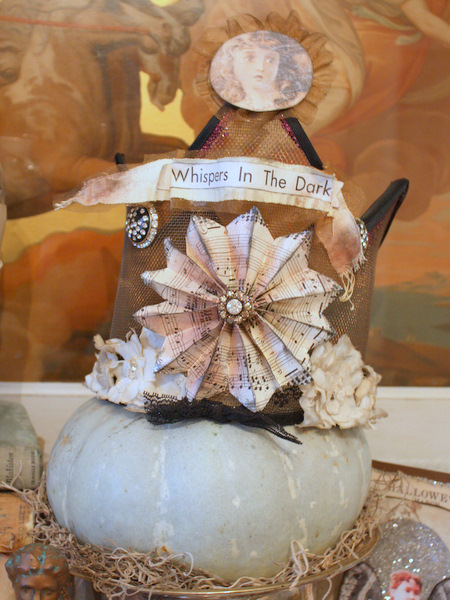
One more bit of marketing before I go- also new in the Boutique is this "Whispers in the Dark" crown made from vintage copper screening, old trims, millinery, and vintage jewels. The image is from our Romantic Gothic Ghost class, which you still have time to join. We've had new students joining reguarly.  There are some pretty quick projects, plus most can be slightly altered to be used year round, not just at Halloween.  The emphasis is more on Romantic and Gothic than ghostly. 

We've provided lots of images, backgrounds, and extras to print out and use in other projects too.

Rgg%20giveaway

Plus, we have two giveaways going now for the class. Anyone signed up by October 31st is entered to win one of two packages of vintage goodies to use as embellishments in your work.

IMG_3837
And as  my October Giveaway for my blog, one completed project will be gifted to the person whose name I draw from all of October's comments.

Gee, I need to just stop talking, don't I? Sometimes my posts can just go on forever.


Oh, you are NOT going to paint THAT are you???????????? Yep, and here is how.

Hand Painted Furniture, holiday decor, how to's, how-to projects, redos, show and tell, Tutorials, vintage paper/collage art
IMG_4422

Thanks for all the compliments about my pretty little fairy baby at the Renfest!  I have to agree, she's a cutey.

We had her most of the holiday weekend, along with my mother-in-law here for a few days from Green River, WY.  Chasing Sugarwings kept me busy most of the time, but after she left, I had a day to spend with my husband's mother. She sat at the dining table and embroidered and at first I was up and down doing little chores here and there, and tidying up the place (after Hurricane Sugarwings has blown through, there is a lot of picking up to do).

 
IMG_1378

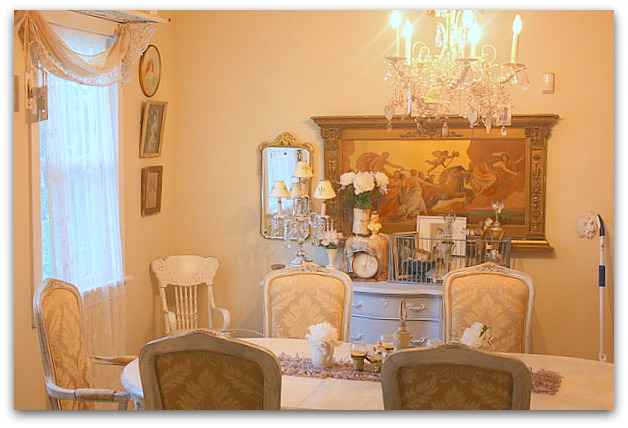
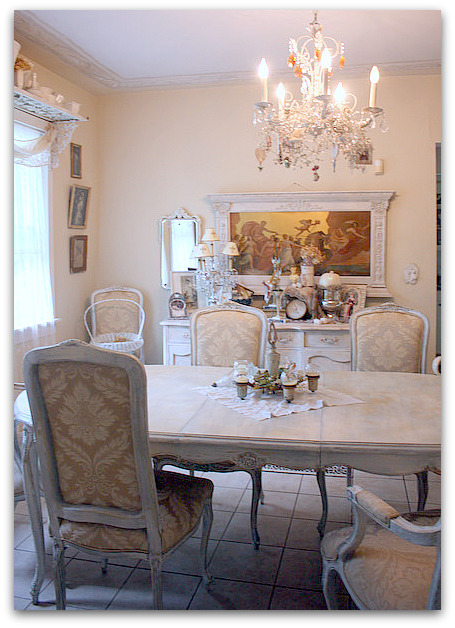
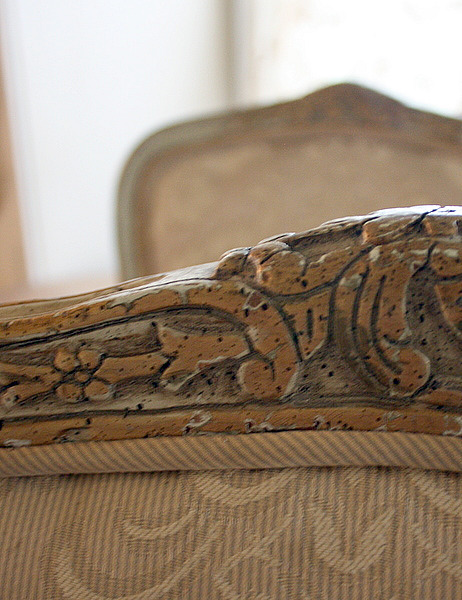
But I did spend a bit of time sitting at the table and the more I sat, the more I stared at the buffet and the painting above it.  The buffet had been maple finish and I painted it gray with a cream glaze over it last spring.  And the picture was one that I have loved for years but always thought about lightening up.
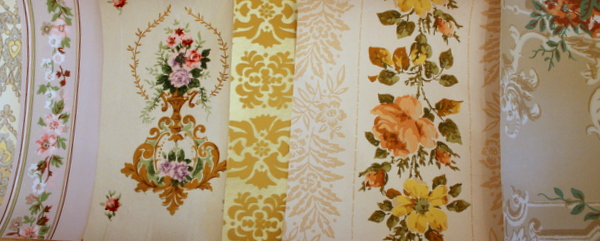
For the last few years, EVERYONE told me not to paint it.  And I rarely leave things as is, but I knew that this frame was worth money the way it was.

But honestly, was I ever going to sell it? No, I've had it for a long time and always plan on keeping it. I figure that I deserve to look at it and enjoy it, without debating whether or not it should be painted.

IMG_4430
I know, there will be gasps of horror. But I'm glad I did it.  And I didn't just slap some white on it, I took my time and made the frame look old. Well, "took my time" is all relative, I guess. I paint fast, I had the buffet, the small mirror frame, and the large, antique frame done in about 3 hours while I chatted with my mother-in-law. 

Here is what I did:

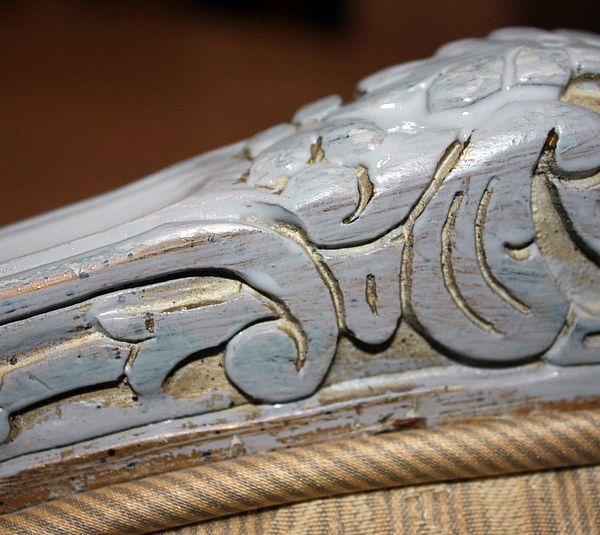
  1. Primer, good bonding primer.  I just tucked some wax paper behind the frame and painted it on the wall right where it hung. The wax paper protected the wall from my brush.
  2. A coat of ivory/bisque eggshell paint
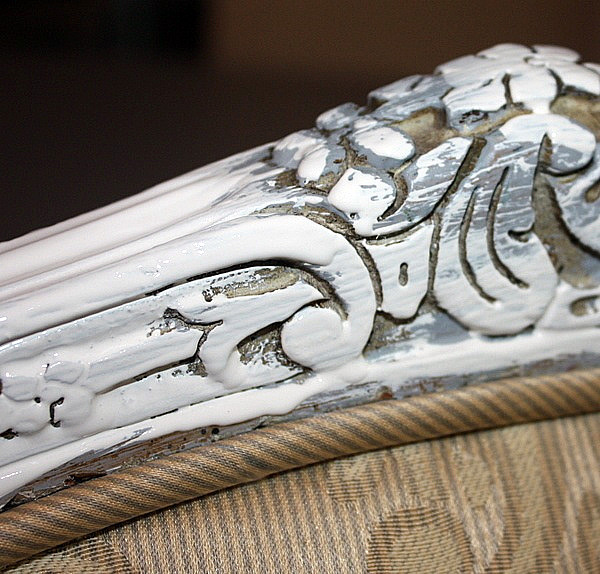
  3. Thick coat of porcelain crackle finish (I worked on the buffet while this dried)
  4. Next, I brushed on and wiped off coffee with cream colored glaze
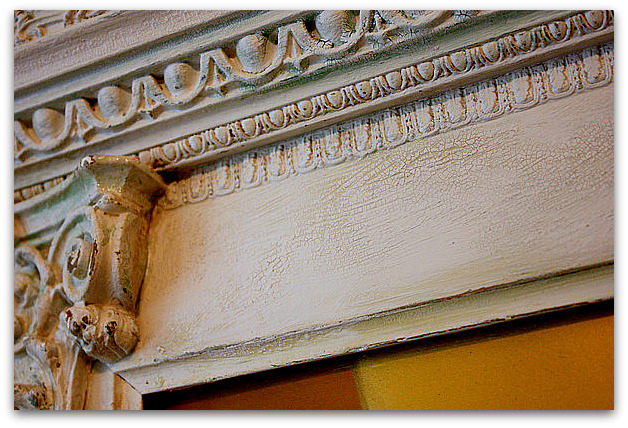
  5. After that dried, I lightly sanded all raised areas.   I was careful to do this lightly with a sanding sponge, because much of the ornamentation was plaster.  I wanted to get down to the gold paint, not the white plaster.
  6. I added another layer of crackle glaze.
  7. As the crackle glaze dried, it had a chemical reaction with the exposed gold paint and turned a greenish tint, like a copper patina. (this is a trick I discovered accidentally a while back and love to use. Its unpredictable but pretty)
  8. Over this, I  brushed on and rubbed off an ivory glaze and a sepia glaze, randomly putting them over the frame, some over lapping, some spots one color, some spots no glaze.
  9. After it all dried, it was a little too green, so I dry brushed the ivory/bisque colored base paint over the areas that were too vivid.
  10. Then a little more sanding to bring out the dark wood and more of the gold paint underneath.

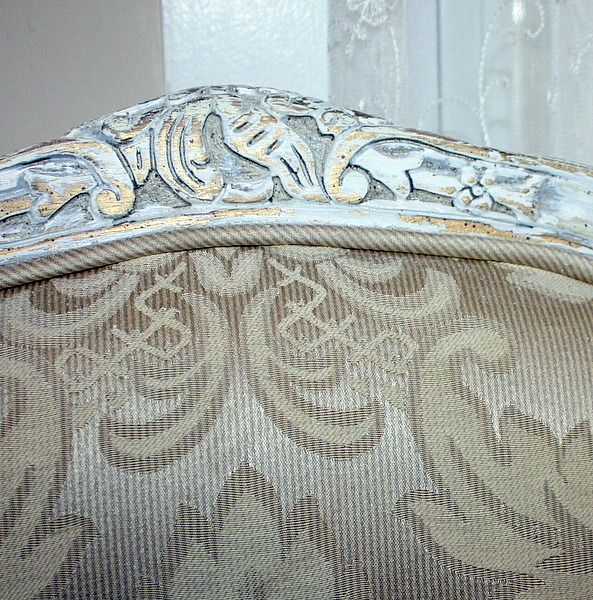
This was a lot of steps, but I think they paid off, the frame looks like it was out in someone's shed being stored away for years.

The main trick is to not be too perfect.  Nature doesn't age things perfectly.  Sometimes the trick to a good faux finish is to be messy.

I did NOT cover this with clear coat. If I had, there might have been another chemical reaction with the newly sanded spots with gold paint showing through. It would have turned more green after the clear coat dried.

IMG_4436
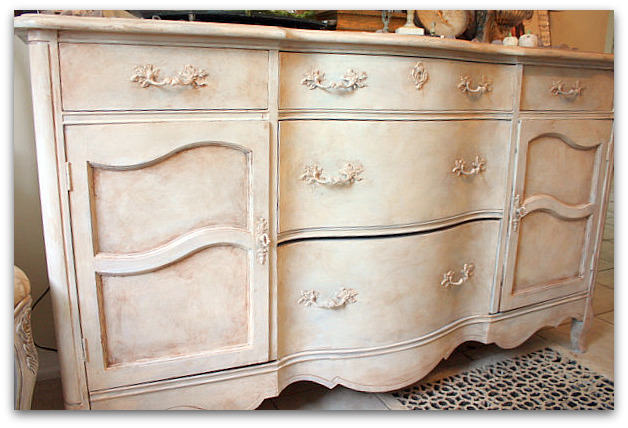
The buffet got a very similar treatment, with a creamy white painted streakily over the existing gray, so the gray showed through.

Then, crackle glaze, and sepia brushed on and wiped off over the crackle, after it dried.

I used the sepia very heavy in corners and edges.

When it was all dry, I used an acrylic clear coat over the entire piece.

IMG_4437

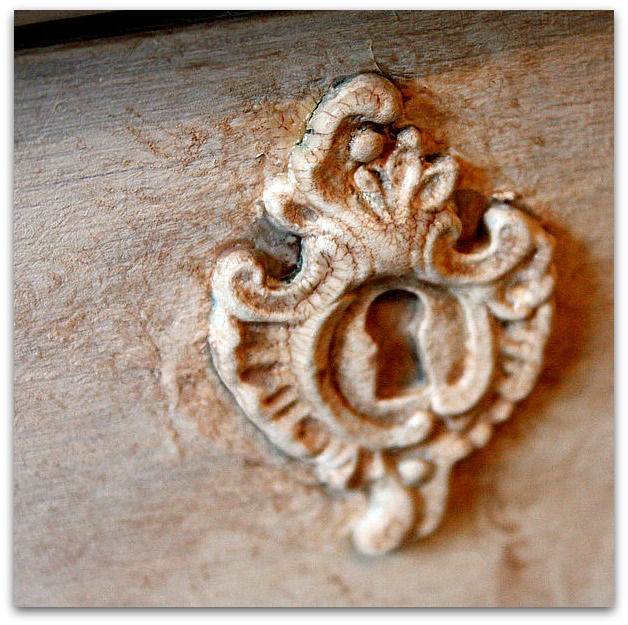
I love crackle.  Its tricky and unpredictable, but wow, when it comes out nice, it is really something.  Don't ever use too much, use it selectively in spots.  Not on every single inch of the piece. And feel free to add another coat or two if needed, and you're not thrilled with the first. (this only applies to porcelain crackle, weathered crackle is a different product.  Read your labels!!)

IMG_4415
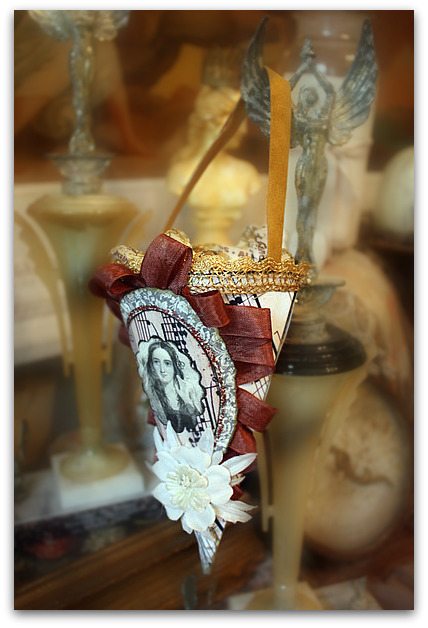
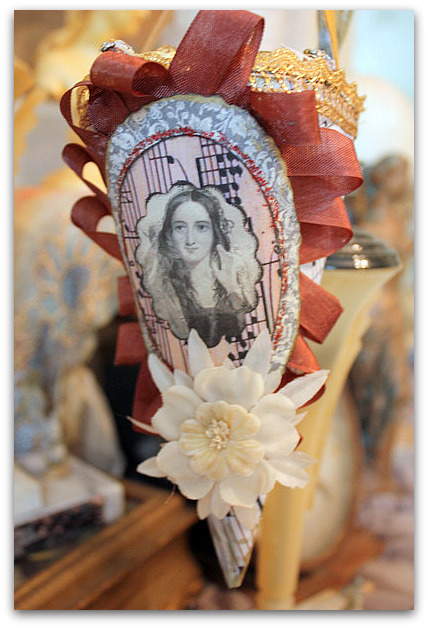
After repainting, I re-foofed the top of the buffet, using some of the projects that I made in the Romantic Gothic Ghosts class. This cone was done from Beth's images and tutorial.  I didn't have a cone handy, so I used an upside down party hat.

I'm so glad that I have the class pretties to display in my "new" dining room for fall! The moody, wistful shades (with NO orange!!) are just what this room needs to look festive and still look like "my" house- not the Halloween party store.

We are adding some little videos, giveaways, and decorating tips to the Gothic Ghost blog.  The posts will be left up as long as I have a Typepad account (and I don't see me leaving any time soon), so you can take the classes at your leisure. But if you want to win any of the prizes, those are time sensitive.  There are still three to give away.  

IMG_4412
Often, I see the beautiful posts up for White Wednesday, but I'm never in time to enter. Well, today seems to be a good fit and timely too. So, I'll be linking with Faded Charm.

White wednesday 2
As much as I love whites, I really should make more of an effort to be a part of it regularly!!

There are so many link parties now a days… Here are more that I joined.  I usually don't get around to it, but they are always fun when I do!

Power of Paint

Transformation Thursday

IMG_4434

Picnic baskets, puppies, pigtails, and poppies

Books, how to's, paintings, vintage paper/collage art
IMG_3589

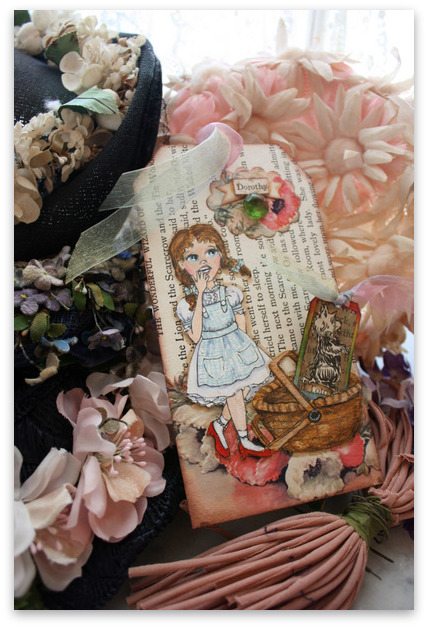
The covers for our Dorothy tag book swap are in process!

I used a page from the old, old book that I had as a background, and added poppies from a vintage greeting card to the bottom, and also used it for the oval shape at the top too.  To the oval, I added "Dorothy", cut from the book too.   And an emerald.  Or a stone that looks like an emerald, at least.

The little girl herself was painted onto water color paper, cut out and glued to the tag, then I did the same with the picnic basket.

(Oh, the hats are from my lastest score, all under $10 each, at my last junking trip!)


IMG_3590

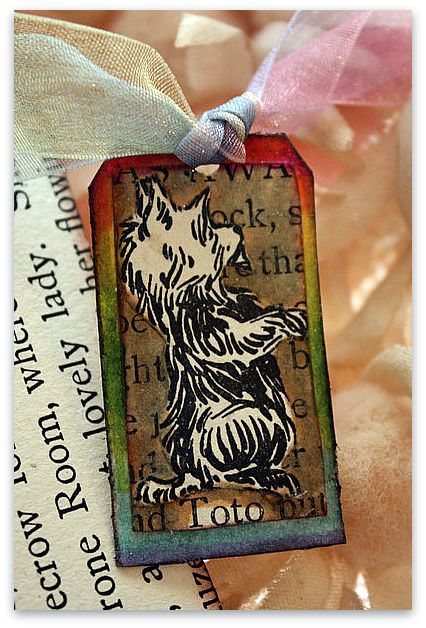
After that, I cut Toto from a page in the book, glued him to some words from the story, and used marker on the text to make the dog stand out more, and glued him to a tag.  I used a handful of markers to make the background look like a rainbow, and then cut a slit into the basket with an exacto knife to slide the tag into.


IMG_3581
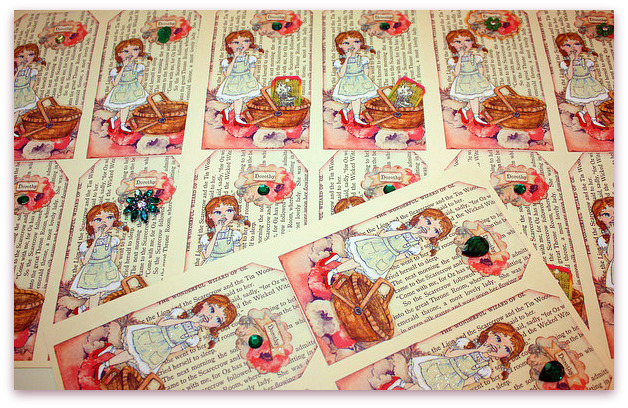
Next, the tags went to the copy store, where I had them put onto ivory card stock.

I guess I got ahead of myself when I said that I was all done with my tags and was sad to be finished. I've still got a bit to do….

Since these are on ivory, I had to brighten the whites with white ink.

Then, I used a clear, glimmer ink on all the blue checked gowns.

I outlined the "Dorothy" banner in brown so it would stand out a bit.

The basket had to have a slit cut into each one to fit the Toto tag into.

After that, I glued an "emerald" under each banner, and sparkled Dorothy's slippers with ruby glitter.

They need to be cut out, and I still haven't found the perfect paper to use for the back of the tags, and the backs do need to be covered, to create a pocket for the Toto tag to be slipped into.  I also need to find the perfect ribbon to tie the books together and to add to the dog tag.

Whew! But the project does go fast. And I enjoy doing them all. 

IMG_3580
Since I couldn't find enough ruby slipper charms for everyone in the swap, I decided to try to make lollipop charms. 

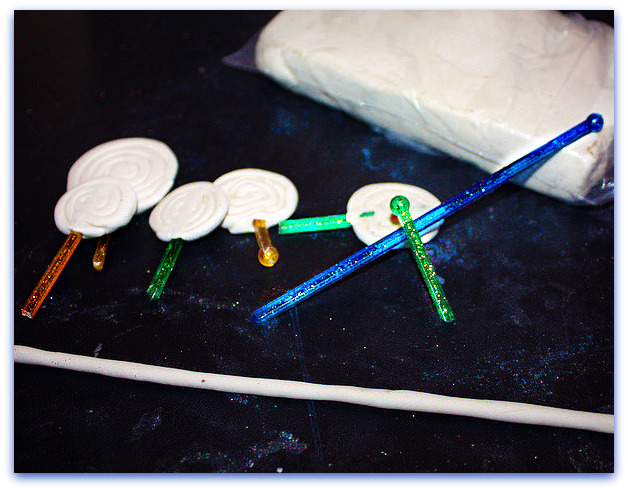
So far, so good.  I'll have to see how they dry and how they look painted. I'm making them from paper clay, rolled out into a snake, then twirled into a sucker shape and poked onto a vintage swizzle stick, cut into pieces.

After the clay dries, the sticks will be pulled out, dotted with glue and stuck back in.   I'll paint them and tie them to the front of the books with ribbon. Well, I hope it goes well, they might be fragile. That's why I've only made these few to see how it goes before I make dozens.

You have no idea how hard it is for me to be practical and stop, to wait and see if it works!  I tend to go over board and keep going and going and going.  I'm kind of proud of myself for letting this batch dry before filling the world with lollipop charms!

Okay, back to the land of Oz, I have tags to trim and glitz!

Details about the swap are on the side of my blog, click on the button if you are interested in more details and want to join!

A box full of Mermaids

fairies, how to's, magazine pictures or articles, parties, Travel, vintage paper/collage art, We're having a party

Lisa's-Challenge-Banner
Do you love  Lisa as much as I do? I'm kicking myself for not going to Paper Cowgirls. It would have been great to have a chance to hang out with her in person. If she is half as much fun as she is on her blog, she'd be a blast.

So, of course, I was happy to participate in her soap box challenge.  The box is kind of like egg carton texture, and to me looked like a perfect little shadow box frame.

IMG_2561 

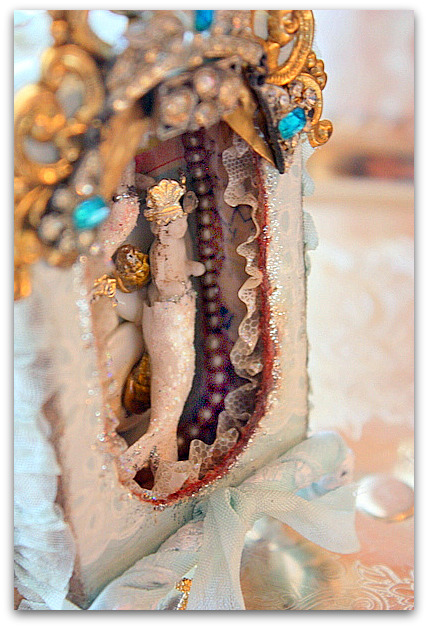
Since I'll soon be heading out to Kim's event in California, I thought I'd get myself into a mermaid mood and turn my mini shadow box into an under sea treasure chest.

!cid_8E819C8A74494FF7B11C7A7273D88457@husker

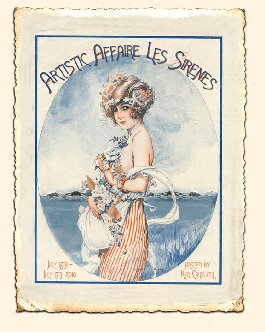
I've heard wonderful things about Kim and her art affairs. I'm so glad to finally be going to one.  My husband will be flying out with me and going on a brothers golfing trip for the weekend while I am with the arty crowd. Then, he and I are meeting up for a spa get away.  The company he works for owns some  luxury resorts, and we were able to score some rooms for fantastic employee rates.   

I'm going to feel like a princess.  Or at my age I should say Dowager Queen?  And an itchy, poison ivy crusted one at that. If I don't get this crud cured, I won't be doing much spa time.

IMG_2565
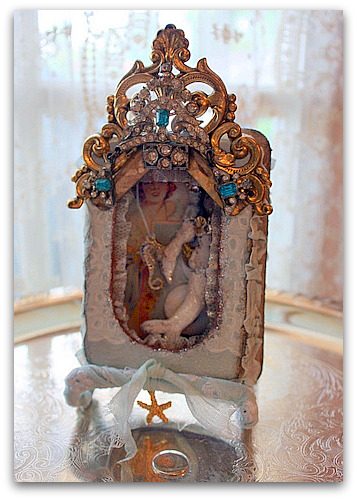
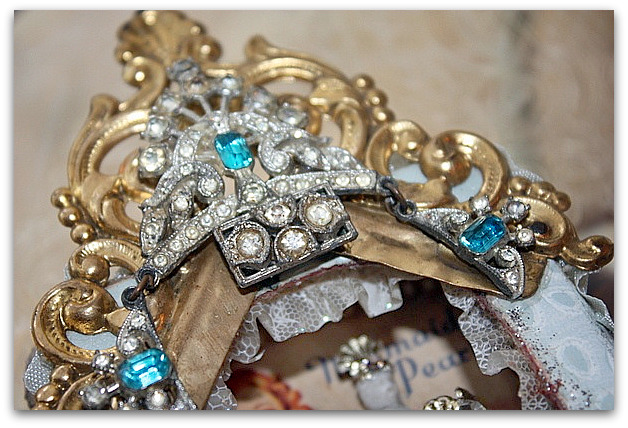
  Since I am soon to be treated like royalty at  a couple top of the line resorts in California and spend an entire weekend filled with creative fun with friends, I'm already feeling a bit royal with the anticipation of it all.  That influenced me to add a "crown" to my shadow box.

The sparkly topper is made of a corner bracket from an old photo album with a rhinestone necklace glued over it, and a rhinestone clasp underneath.

IMG_2562 

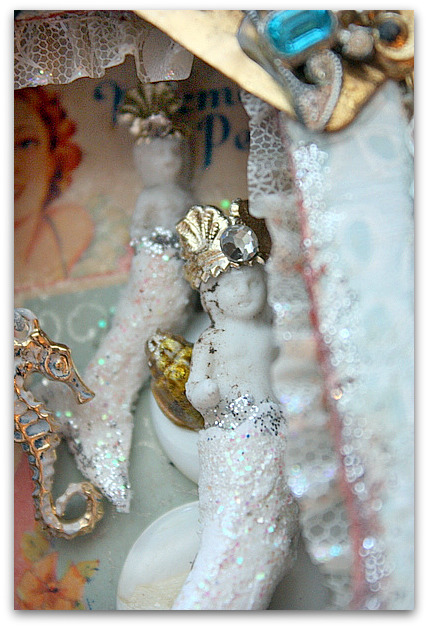
My sea creatures are made with two sizes of frozen Charlottes, with the smaller one in back and glued directly to background, and a larger one in front, raised up by gluing her to a button and shell.  I thought this might give it some depth.

The Charlottes have mermaid tails made up of paper clay, that has been painted and glittered. I added crowns of German foil and crystals to their heads. 

Each is glued down pretty solid, but their sea horse friend is suspended from a wire, so that she sways a  bit.  The seahorse charm was gold toned, and I drew on it with a black sharpie, and wiped that off a little, then wiped some white paint over that. I also swiped a swatch of white paint over her wire so it didn't stand out so much. If I were to do this over again, I'd use fishing line instead of wire, because the wire is still prominent even with the paint.

IMG_2570 

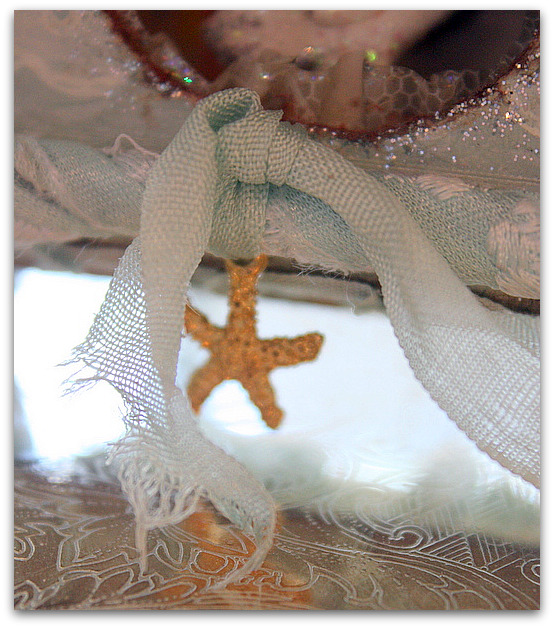
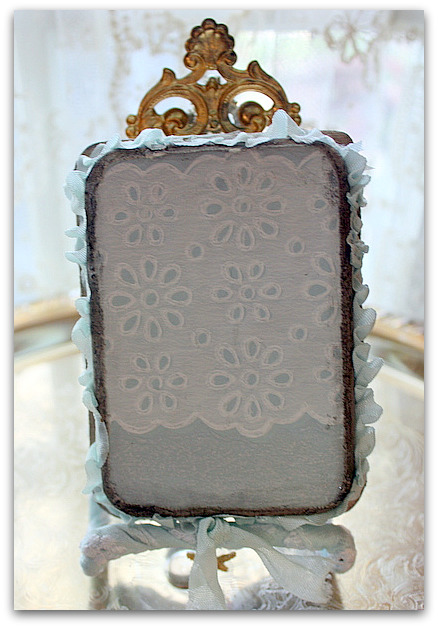
The box sits in a plate stand that I wrapped in vintage ribbon. For a touch of extra gaudiness, I tied an aqua ribbon to the front of the stand and dangled a star fish charm from it. Because by the time I'd got to that stage of creation, the gaudiness was already pretty thick and I thought I should just go for it and gaudy it up even more.  Once you've crossed the line of over doing something, there's no turning back and you might as well just revel in it.

IMG_2576

See what I mean? There is a LOT of foof happening here. The inside of the box perfectly fit an old button card with the words "Mermaid Pearls" on it, along with two buttons.

Along the inside walls, I glued ruffles sewn from pattern paper, then I edged it with a strand of pearls.

Then, the cut out on the lid  was lined ink, glitter and a lace ruffle.

 IMG_2569 

The large parts of the box were covered in aqua wallpaper that has a nice sheen to it. The sides of the box have a raised edge where the lid meets the bottom, and it looked just too hard to cover in paper. So, I ran a bead of glue around it, and wrapped a ribbon around it, gathering as I stuck it into the glue.

Yep, this project was just what I needed to start feeling like a Mermaid Princess and get me in the mood for my trip. Its been a rough week, and I look forward to a get away.

Thank you to everyone who shared scary pregnancy stories with happy outcomes, that encouragement helped. And thanks for all of your well wishes and prayers.  I'm doing my best to stay distracted until we get news from the Dr. about the newest member of our family.

IMG_2588

And a big thanks to Lisa for hosting this party! It was a fun challenge and a well needed distraction for me.

I'm sending Lisa a had that I thought was suitable for her palette of colors.  She always seems to appreciate my hat whispering skills, so I thought I'd share.

Puppy Not Included

IMG_0658
Today I was also able to finish up my articles for Somerset Life. One is about this altered book.

IMG_2341
The other was about my Peat Pot Pretties with frozen Charlotte fairies.  And remember, that this one is the giveaway for June. All comments all month are entered. 

I'm also giving away another present from my followers.   So, please join in on my list if you'd like to be in the running for that gift, a pair of vintage rhinestone earrings.

Taking better pet photos

Books, Dorkies (Yorkshire Terrriers), how to's, vintage paper/collage art, yorkies

Here is another little video of Sugarwings and a puppy.  When I ask her which puppy she has, you can't hear the answer very well, but she says "This one".  Well, dur, Grams.

IMG_1934
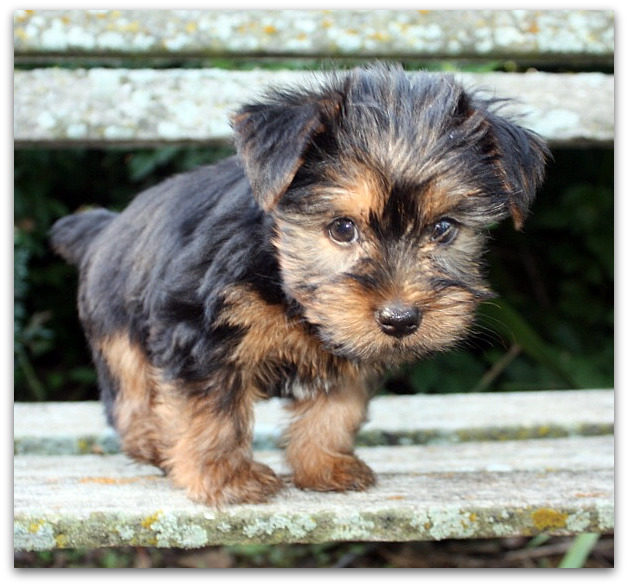
There is an ad in the paper to sell two of the remaining 3 pups. (the last one will go to Beth, she says any of them are fine with her)  Here is Dorothy, who will be bigger than the others, and is chocked full of personality. Her tail is in constant motion, she can't contain her happiness.

IMG_1910
This little guy, has an explorer's view of the world, he is the one who is always off deep in the bushes looking for something exciting.

IMG_1925
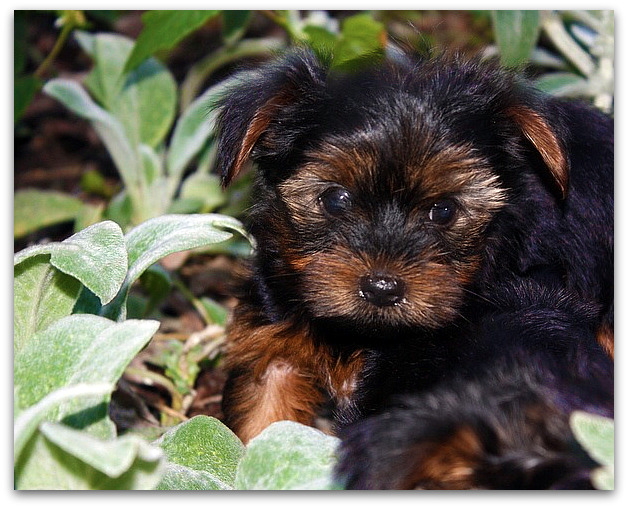
And this fella has a darker face, his coloring is a bit different than the rest of the group. He is a snuggler.

IMG_1978
Of course, this little beauty isn't for sale, I'm keeping Miss Aggie Rose. She is modeling one of the items I just listed in the Boutique, a vintage rhinestone bracelet.  I have a feeling that Agnes will be every bit the camera hog that her mom is.


Thanks for all the compliments on the puppy pics. I do love my camera, a Cannon Rebel XSi, even though I've never learned how to use all the bells, whistles, tricks and doodads on it.  I'm afraid I'll always be a point and shoot kind of photographer.

I use my pocket sized Cannon for some of the pictures too, and I think it does very well also.

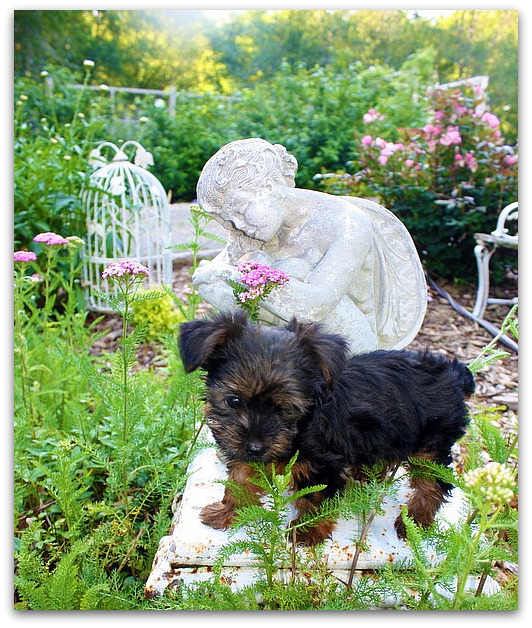
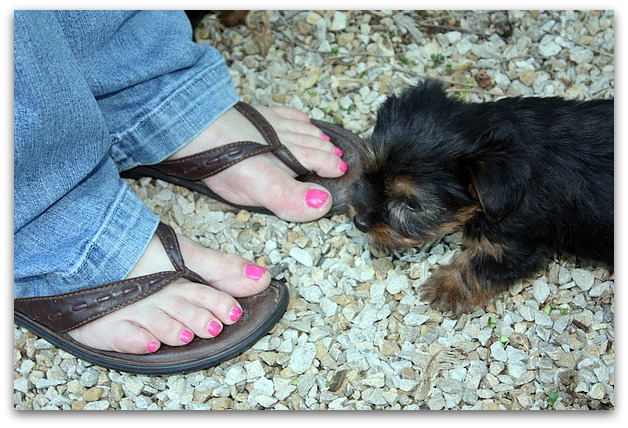
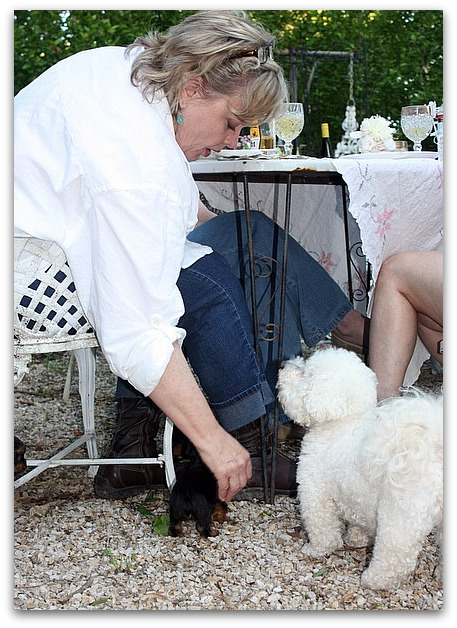
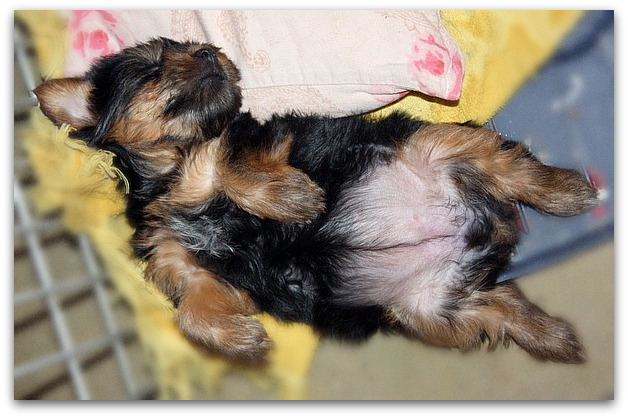
For me, the trick to good animal (or child) photos, is to get down on their level. With the 1 pound baby dogs who have 3" long legs, that can be a hard to do. Sometimes, I am laying on my belly in the gravel trying to get the right angle.  Then, the other pups tackle me and try to play tug of war with the camera strap.

Also, have a good background.  Don't just snap a picture of Fido (does anyone really name their dog Fido anymore?) in front of Dad's Lazyboy, or the kitchen trash can, or a garish dog blanket.  The photo might be of your PET, but the background is a big part of it!

 I don't always clean up the yard before pictures, so you'll see a garden hose, or some of Sugarwing's toys sometimes. But, I do try to angle the camera away from clutter, or kick some of it out of the way.

Pose your pet. It takes practice for the animal, and LOTS of snaps of the camera to get one good picture.  I set them where I want them to be, pet and love on them a bit so they are comfortable, then take about 20 or so pictures to get one good one.  And remember to still bend down to their level with the camera! A straight on shot is so much better than one looking down at the animal.

EDITING! I use Picassa and Picknik and adore them both.  Both are simple and easy and make a huge difference in your pictures.  Crop, crop, crop, cut out all the extras and bring the focus to the pet.

I crop and tune on Picassa, then upload to Picknik.  On that site, I do the auto-fix, and sharpen. Then hit the creative area and play with all the buttons.  It sounds complicated and time consuming, but I promise it is not. I never spend more than a couple minutes per picture. 

IMG_1985
I'll leave you with some photos of what's new in the Boutique

IMG_2002 

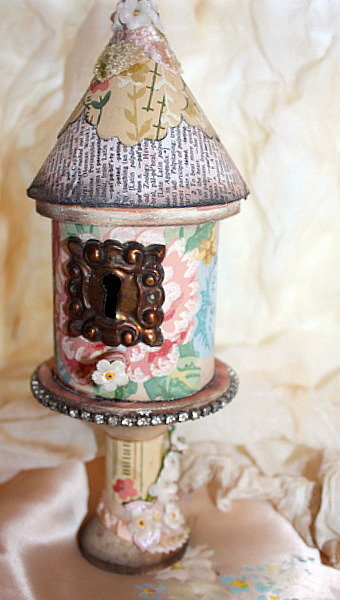
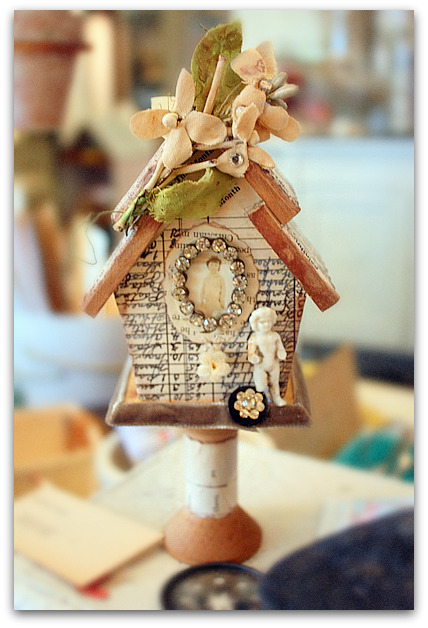
A vintage paper covered mini birdhouse/fairy house.


IMG_1987 

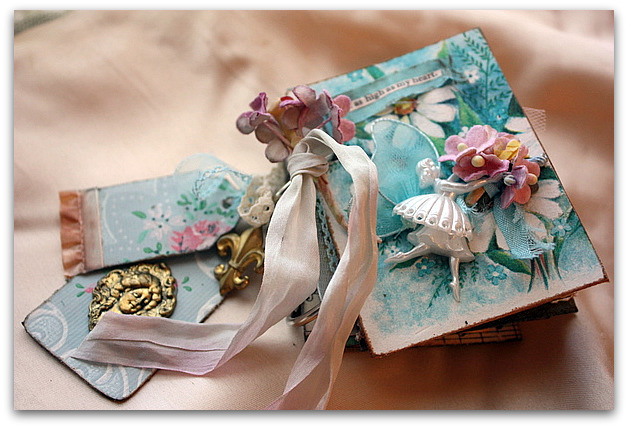
A mini collage sampler book.

Rhinestone bracelt
 

It was Beth's idea to call it a "sampler" because it didn't really have a theme, beyond coordinating colors.

IMG_2004
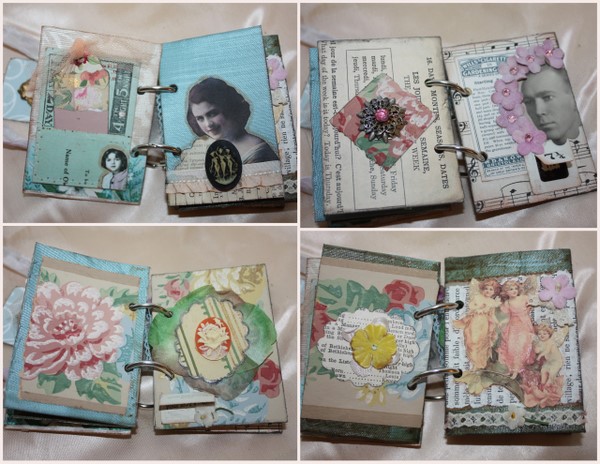
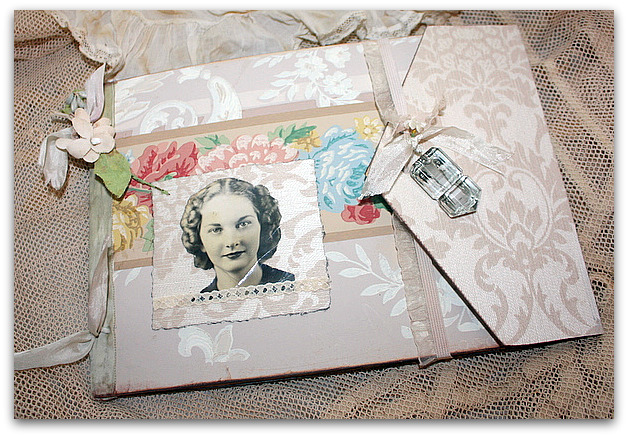
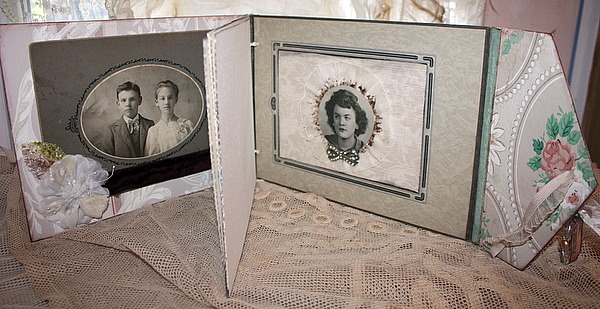
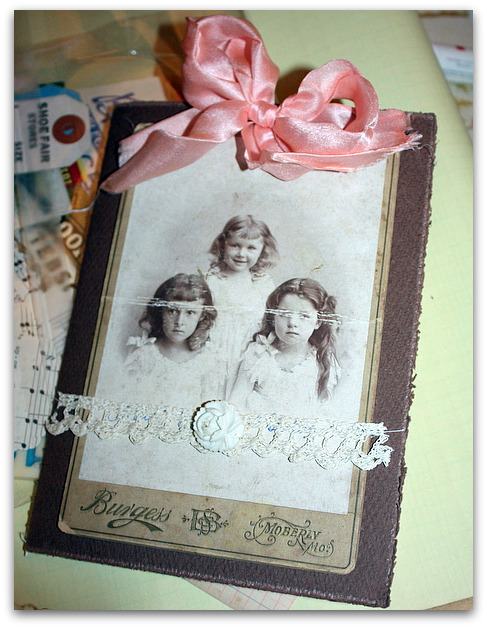
It was also Beth's idea to make these. She brought cabinet cards to share with everyone at my Creative Cottage Girls Weekend, and showed us how to turn an old photo holder into a book.

IMG_2005

I kept the photo theme going with mine by using old pictures on the inside and outside of the covers. The rest is watercolor paper, blank and ready for its new owner to use it as a scrapbook, photo album, or art journal.

Lisa's-Challenge-Banner

Oh! Before I forget, here is something fun! Lisa is having a challenge. I'll be playing along and hope you will too.

Craft-a-thon

celebrations, Dorkies (Yorkshire Terrriers), how to's, how-to projects, parties, vintage paper/collage art, yorkies
IMG_1545

Thank you for all the puppy names you suggested! There were some GREAT ones, and it was hard to chose. But one theme stood out and I went with it. I know I said I'd announce winners today, but  I don't have photos ready yet, so it will have to wait. 

But this photo is a hint.

Also, thanks for all your well wishes for Twinkle's health. She is not happy about being taken from her pups, but the Dr. says no more nursing.  The babies are old enough to eat puppy food, but I do have to get up during the night to give them fresh food, they need to be fed every few hours.

IMG_1420
The only good thing that came of the terrifying 45 minute trip to the vet's office, while Twinkle was near death, was that we decided to keep a puppy.  It was just too frightening to think about breeding her again someday, so we thought we should have one of her babies live with us forever.  

Each of us have our favorite.  So, I'm not sure which one yet.  Sugarwings' vote is for Dorothy, but I have a feeling that she can be swayed.  There are two that I don't think I could live without…. But we already have three dogs, we don't need 5. And that really would just be heading towards the sheriff knocking on the door wearing a gas mask to deal with the stench, and telling me that the county is confiscating my 50 animals that have taken over the home and made it smell so bad that neighbors have complained. (Or so my husband thinks.)

IMG_1550
This tiny girl is one of my choices. The other is the spotted guy. He is just too perfect to let go.  We all have a soft spot for him. 

When I came across this dress in the studio, Suzanne and I were giggling like kids and having such fun playing dress up with the pup and taking her photos.  Both of us were  just howling with laughter.  Which describes quite a bit of our Creative Cottage Girls Weekend.  It was a joy to have Suzanne stay here with me, she is an excellent house guest, we never ran out of conversation.


IMG_1419

I'd made up scrap packets for everyone, then sat out lots of other supplies on one of the dining room tables in the front of my studio.  Beth generously brought boxes of fun stuff from her stash too.

IMG_1433
First, we all covered bird houses in vintage papers.  This one is mine, but I think its not quite done yet. Don't you think that Charlotte needs fairy wings?

In February '08, I did a tutorial on blinging out a birdhouse. If you'd like to read it, and try one, I've added it to the list of free tutorials on my side bar. Just click on the "tutorial" flower button to the right and it will take you there.

IMG_1436
Before everyone came, I warned them that I don't craft in a sassy sundress, and that the weekend was just casual and relaxing, we were all there to chat while we made things and just hang out. No classes or group things, everyone was on their own to rifle through supplies and come up with their own creations. 

It seems like every time I see an arty gathering on other blogs, everyone looks like they are going to a wedding instead of a craft-a-thon.  And the tables look too pretty to work at.  Not here, these tables looked like work stations. And I think it was successful because we were all still cutting and gluing and talking long after dinner was over.


IMG_1448-1

There is so much crap good stuff in my studio, that I told everyone not to bring anything, I'd supply it all.

IMG_1435

But my pal Angie brought jewels and Beth brought lots of old pictures and papers.  I was glad, because its so much more inspiring to play with other people's supplies and I had a good time going through what they brought.

IMG_1484
We ended up making not only birdhouses, but tags, and cabinet card note books. Beth had a big box full of the old cabinet cards and showed us how she takes out the photo, adds watercolor paper, then sews it up into a book and embellishes it.

This one is Debbie's.

IMG_1482
And this one is Suzanne's.

IMG_1473
Of course, a big part of the day was playing with the little guys.

IMG_1475
The weather was beautiful, we worked with the doors open all day, and were able to have dinner outside. Debbie brought Pearl, who seemed to enjoy wandering in and out, but she wasn't so sure about the pups.

IMG_1479
Pearl liked to keep her distance as much as possible.  But she warmed up to me and I think we might be friends now.

IMG_1480
After all the running around, the babies were plain old worn out!

I have more pictures of our lunch at Carol's amazing farmhouse, (I felt like I was stepping into the pages of a magazine at her 1860s dreamhouse!!) and shopping at the Curious Sofa.   But for now, I need to go and watch the last episode of Lost before I accidentally hear any details from someone.  I didn't have a chance to see it last night, but its taped and waiting for me. I hear it calling out to me and can't resist another minute.

ps- Hi, Wanda!! It was nice to meet you!!

How to paint and distress furniture

celebrations, Dorkies (Yorkshire Terrriers), family, Hand Painted Furniture, how to's, how-to projects, yorkies
IMG_0730

Twinkle's babies are still all curled up in their nest. Even with their eyes opened now, they aren't ready to explore or do much but sleep and eat.

IMG_0728

They are still living in a box in my bathroom at night, and come out to the studio with me during the day.  As soon as they are big enough to need more space, the studio will become their full time home.

IMG_0697
I haven't had a heck of a lot of time in the studio lately, with or without pups.  I've been working on some indoor projects, plus celebrated Earth Day by buying 6 fruit trees to plant in the yard. 

After that, I went with some friends to an Earth Day fashion show, where all the clothes were 2nd hand, redesigned or re-purposed.   To my surprise, Sugarwing's Hippy Chic Mommy was in the show with her hula hoop group of performers.   The whole show was more performance than fashion, really fun to watch, and kind of funky.  

IMG_0720

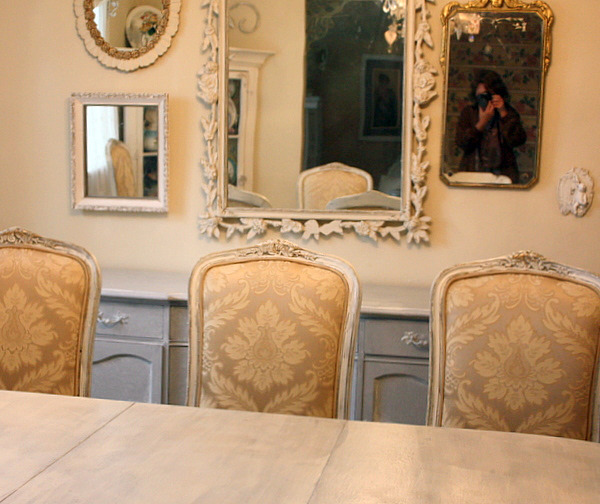
My big indoor project has taken a big chunk of the weekend, but now is done.  I've repainted my dining table and chairs, along with a buffet to match (kind of).  Its been something I've wanted to do for a long time, but hadn't had a chance to get around to it.

Of course, if I could just snap my fingers and have all the projects done at once, what kind of fun would that be?  Its the journey of redoing and tweaking, and finding just the right piece or color that makes me do it, not really the finished product.  

IMG_0719

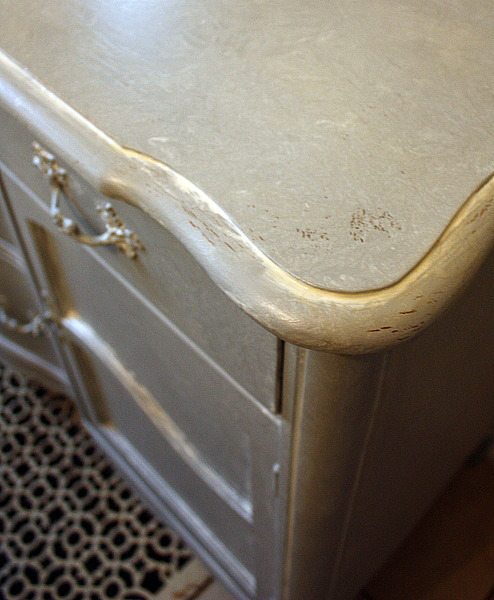
The buffet (hardware and all) got painted with bonding primer tinted gray.  Then white washed with ivory glaze, and that was wiped off with a soft, damp cloth.

Then, I took the cloth with the white glaze on it, wadded it up, and patted the buffet, to make a marbled look.  When dry, I sanded a bit here and there, not much, and clear coated it for protection.

IMG_0672

Here is a little tutorial on how to paint distressed looking furniture:

Please note that the trick to doing this technique is to NOT BE PERFECT.  All the little imperfections are what make the finish interesting.

I started with this factory finish from the 60's.  Not bad, but not exactly to my taste.  I wanted an older look and thought this dining set looked dated.

IMG_0676

The first step was to brush on tinted gray bonding primer. I used Glidden Gripper. It came already tinted gray.

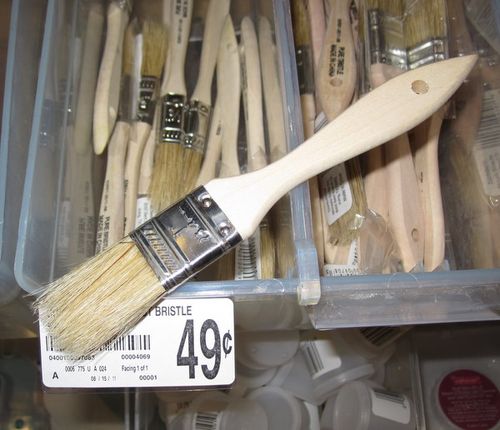
I used a cheapo, flat brush about 2 inches wide.  Kind of bristly and rough. 

The primer was brushed on in a messy way, not covering up the whole surface.

I'd recommend taping off the edges and covering fabric if you don't have a steady hand.  

IMG_0675

Second step same as the first, but with creamy white paint ( I use eggshell finish).  Messy, uneven coverage is the trick!

IMG_0674

Next, rough it up with sandpaper, as soon as it is dry to the touch.  If you wait too long, you have to sand harder and it takes the paint off to the bare wood. I wanted the original colors of ivory and gold as well as my gray layer to show through.  

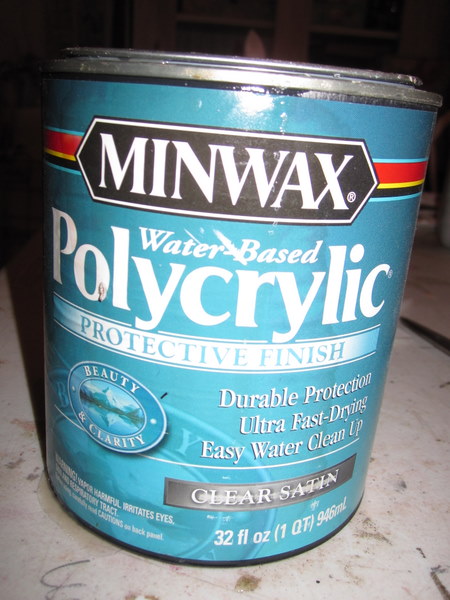
After sanding here and there, cover with a top coat. I like Minwax Polycrylic. Its water based and goes on easy for a durable finish.

IMG_0722

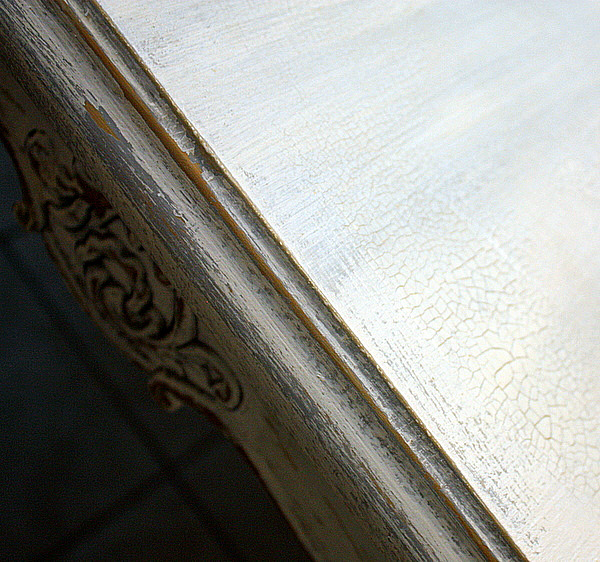
The table was done the exact same way, with one addition. Before putting on the top coat, I brushed it with a heavy coat of porcelain crackle glaze.  Not the entire table top, just random strokes here and there.

I'll be on the look out for new accessories for the room and will have some after pictures to show you once I've finished.  My favorite flea market is this week, so the timing is just right!

IMG_2911 IMG_2910 IMG_2914

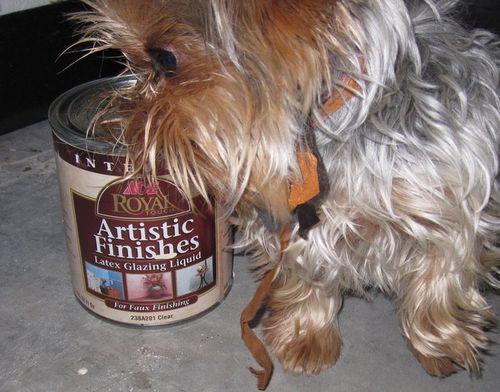
Here are some of the supplies that I used. 

“Be My Fairy Valentine” Bird

antiques/junking, fairies, holiday decor, how to's, show and tell, vintage paper/collage art
IMG_8485

What a good day!  I attended a class that my Bella pal, Sheila was teaching today at a barn. Yep, a barn. But not any old barn. Yes, there were stalls, and horses and hay, but there was also a full kitchen, two bathrooms, a bedroom, living room, dining nook, and full work space!

Plattecity

No, not a typical barn at all.  And the farm dogs were foofy, standard poodles.

IMG_8458 

The cute as a bug owner, Kelly, has set up the place for her design business and will be using it also for these class events. Along with the class, was shopping. Good shopping. Two of my favorite dealers from Rusty Chandelier had spaces here along with all of Kelly's gorgeousness. Clothes, jewels, and vintage tidbits filled the space, and I spent an hour before the luncheon was served exploring it all and picking out some treasures (photos later).

IMG_8461
Sheila taught 3 classes, but Beth and I just signed up for one. And it was a doozy. What a cool idea she had to share! This is Sheila's class example, and she provided everything we needed to complete it just like this.

IMG_8475
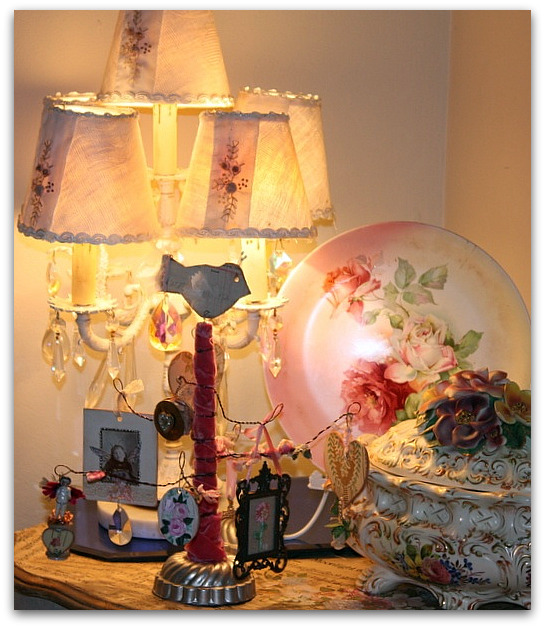
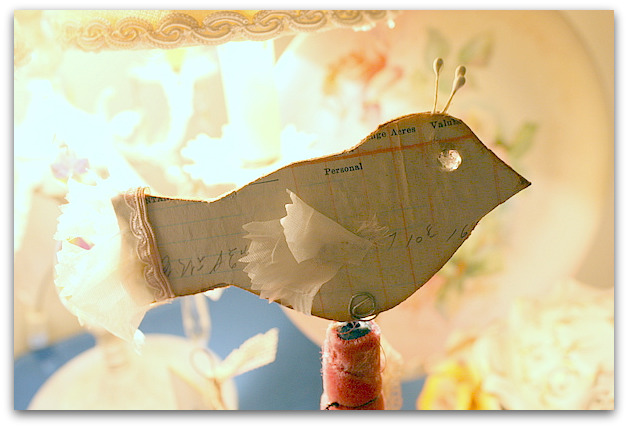
  But I had some changes in mind…. For the bird, I brought ledger paper with pink lines, and made the wings and tail feathers from millinery petals.  The eye is a crystal bead that Sheila provided. (I dropped mine, but Beth gave me hers to use) I used the Cropadile to punch an eye hole, then glued the bead inside, so that it was 3-d from both sides.  And you can see through it in the light for a little glow.

IMG_8481
Before making the wired branches as Sheila instructed, I wrapped the "trunk" in pink velvet ribbon.  My theme became "Be My Fairy Valentine", so I used lots of fairy girls, pink flowers, and hearts. 

One cool thing about these trees, is that you can take all the goodies off and change them with the seasons.  So, next this can be a springtime tree.

IMG_8471
There are pink velvet flowers wired onto my branches, so I am all ready for spring!

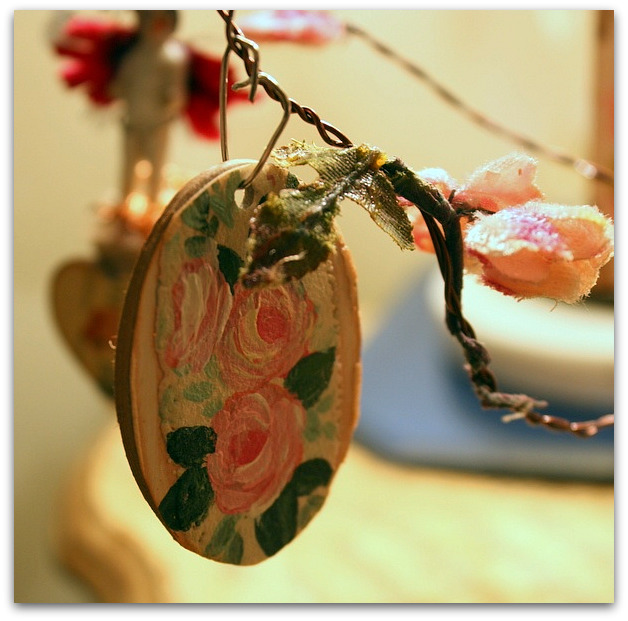
Sheila provided the oval chipboard, but instead of the photo she offered, I glued on some hand painted roses that I'd brought along.

IMG_8472

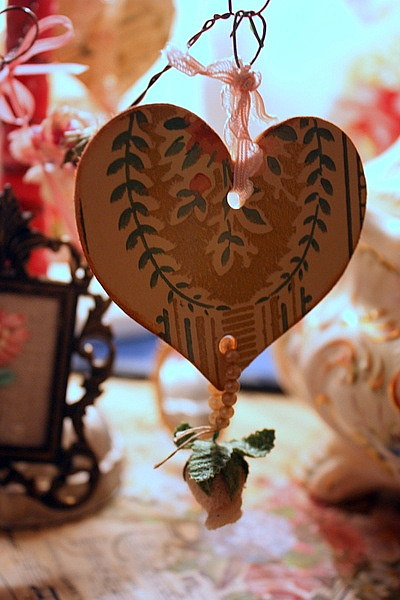
Two little wooden hearts got covered in wallpaper on one side and that pink lined ledger paper on the other.  I snipped a length of a broken pearl necklace off to tie into a loop at the bottom to hold a little rose bud. ( I should have cut the length longer, it was a bit hard to tie with the string that short)

To hang the heart, I twisted a bit of wire into a kind of, heart shaped hook.

IMG_8480
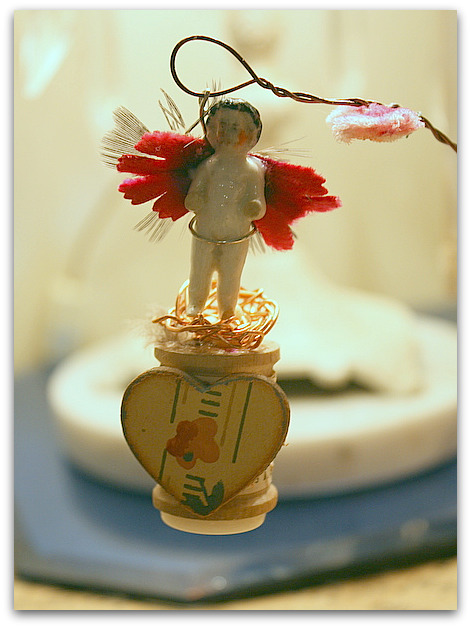
The spool and wire were things Sheila gave us, along with instructions on how to make a little nest with three eggs in it.  She is a wonderful, patient teacher and took time with each of us individually to explain the wire weaving to make the nests. I'd never tried one before, and really enjoyed learning that part. I can see lots of nests in my future…

The nest I made wasn't for birdies, though, its a fairy nest.  I wired this frozen Charlotte onto the top of the spool and made wings for her from little feathers that were in our kit ( I used one under the nest too) and some velvet millinery petals.  (Do you think she looks like she is hoola hooping? Maybe I should make her a tutu to cover the wire?)

To the front of the small spool, I added another wallpaper covered heart.

IMG_8473
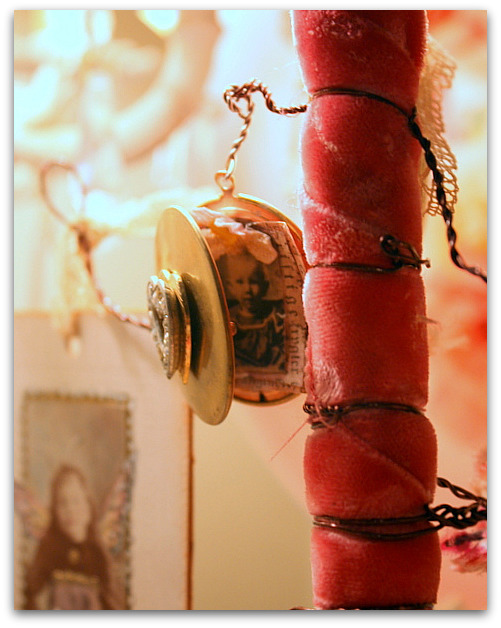
Before the class this morning, I glued a rhinestone heart to the front of this locket and made a tiny collage to put into it.

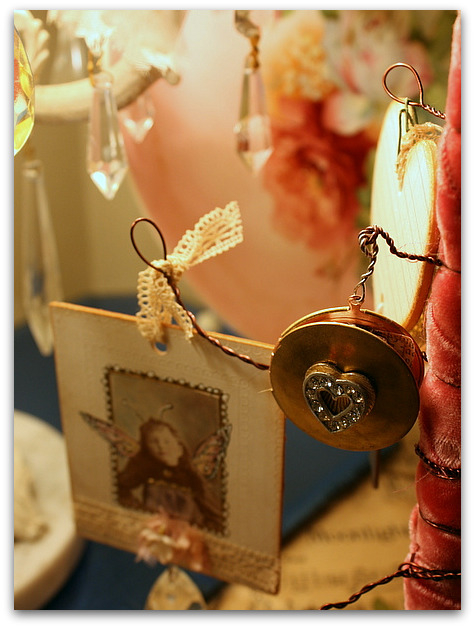
The fairy hanging behind it, is an old photo that I painted on. Then I covered the back in rose wallpaper, added ribbon and flowers to the bottom, and punched a hole to hang a crystal from (that Sheila had in our kits, she really provided some fun baubles for us). 

IMG_8478
This is also a locket, with a mirror on the other side.  This is something that I hung as is.  I added a framed ribbon rose by my friend, Natasha, too.  

The tree was so much fun to make, that I almost can't wait to make more stuff for it and change the theme already!  I will be first in line to head out to the countryside for the next Farmstead Style experience, let me know if you want to come too!

First ballet class 047


Again, I need to thank you all for making the wallpaper FLY out of my boutique!  I've added a few more here and there and have tried to keep it stocked up, but some packets that are sold out won't be replaced.  I did replace some scrap packs and added this selection. Hopefully, later in the week, I'll have a chance to add some more.

But I have to work on a little segment for our local cable news channel for Thursday. Which means cleaning my house for the cameras, and showing 5 projects about Romantic Decorating for Valentines Day.  So, maybe the wallpaper will have to wait. My house is a wreck again.  Didn't I just spend a solid week cleaning and redoing??????

Beths gifts 016-1
Speaking of time flying, where did January go???  But, you still have a little time to enter the January Giveaway drawing for a little painted and glittered cardinal!

Making Memories Last

Books, fairies, family, how to's, show and tell, Sugarwings, vintage paper/collage art
Album jan10 001_picnik

The last few days, I've gotten caught up on a year's worth of photos!   January seems to be a good time for me to get organized.  But it would be smarter to glue pictures into the albums throughout the year instead of dealing with a couple hundred at once…

Since I had so many to arrange, I kept the pages very simple, quick and easy.

Album jan10 002_picnik

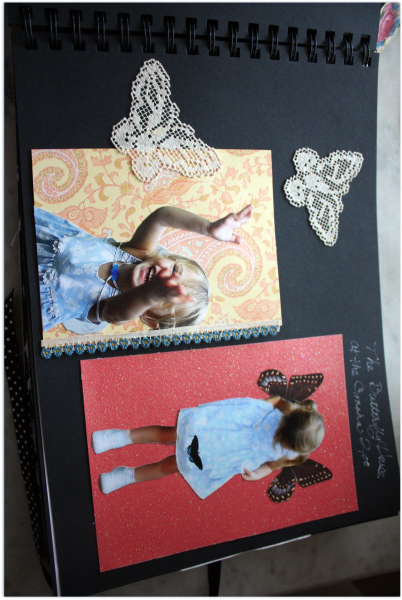
Printing a page of collaged photos saved a lot of time!  So did using the black pages as a background, and not trying to cover them up completely.  On this page, I doodled some flowers in Gelly Roll ink in the corner and slapped some glue on the picture and stuck it down.

Album jan10 003_picnik

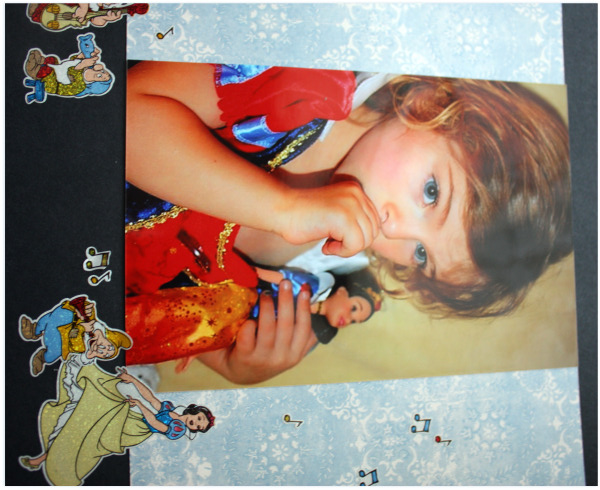
For Sugarwing's Snow Princess picture, I used a two sided card stock to make a card.   One photo went on the top, and then I trimmed it in some of my Great Aunt Caroline's old lace.

Album jan10 004

I glued the back of the card into the album, and added another photo to the inside.  Next, I glued down an envelope that holds a copy of the story I wrote for her when we had our Snow Princess Tea Party.

Album jan10 005_picnik

The pastel Gelly Roll pens really worked well on the black paper, so I made use of them a lot.

Album jan10 006_picnik

I don't really consider myself a scrapbooker.  But, I do have tons of books that I've made (mostly about Sugarwings, but there are some other pics in them too) so I guess I am.

My goal when assembling an album is to get a lot done, fast, simple, quick, and cute.

First step is to sort the pictures.  I arrange them in piles according to event or person.  I work my way through, one pile at a time, and have a stack of papers nearby to coordinate.  Normally, I don't use stickers, but these were just so right for this picture of Sugarwings in her Snow White dress, that I couldn't resist sneaking them from her supply stash.  Sometimes, I think that kid has more art supplies than I do.

Instead of glue sticks, I use a bottle of Incredibly Tacky, and run a bead of it along the edges of each bit of paper, then zig zag it around the middle before putting it into the book.  It seems so much more durable to me than a glue stick.

Album jan10 007_picnik

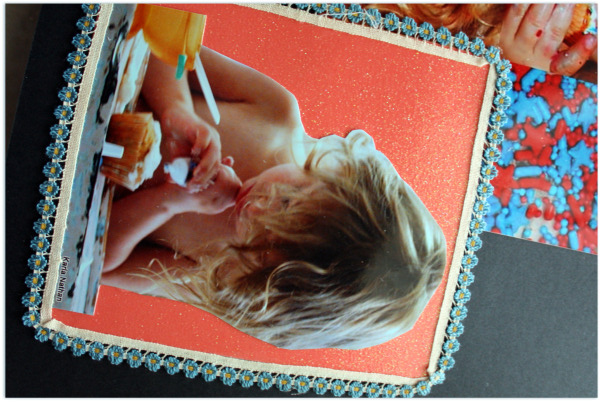
Hobby Lobby has booklets of sparkle paper cut in just the perfect, time saving, size to add a photo to.  I made use of about a whole book full of those.  

Album jan10 010_picnik 

Cutting people out of some of the photos adds some variety too.  I don't cut too many out, though, because part of the fun of looking at an album 20 years later is seeing all the backgrounds, and remembering a chair, or table or wall color from years ago.

Album jan10 009_picnik

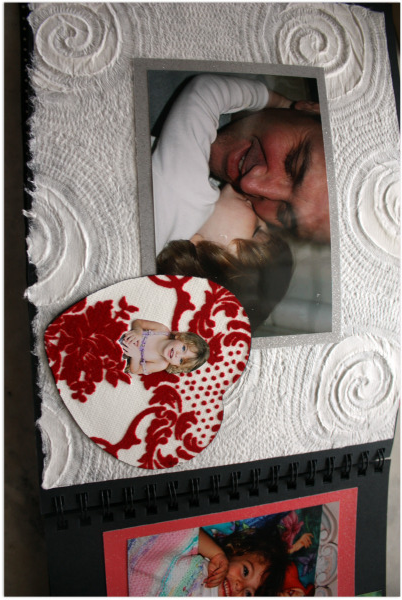
Textured papers add some interest too.

Album jan10 008_picnik

The best part of doing this was enjoying all of my favorite photos from the past year.  

Album jan10 011_picnik
< /p>

You can probably tell that I don't spend a lot of time cutting or measuring…. I eyeball the paper and snip away, and just don't worry about it being perfect.  Like I said, cute and quick.  (this is more sparkly paper, in a larger size)

Notice the beautiful card? It was one of the 100 hand made cards sent in to my Great Aunt for her 100th birthday.  When she passed away this summer, I got a few of the cards to take home and thought the album would be a good way to save them and remember the occasion.  This one was done by Nancy.  I glued it down, and then added two more pictures of Sugarwings and Pixie Pie to the inside of it.

Cards are a good way to fit more photos onto one page.  For the Christmas pages, I saved holiday cards that we got in the mail and used those to hold pictures.

Album jan10 014_picnik

Not all of the pages got much attention. Some were pretty simple.

Album jan10 013_picnik

Others had more going on. There are 4 pages about the Fairy Berry Trail and I wrote a little story to go along with it.  It might have looked better if I'd printed it out, or at least wrote more legibly, but like I said, there were hundreds of photos and I was going for quick and cute.

After making 4 photo albums in 3 days, I think I've had enough for a while. I have a feeling that I will not be keeping up throughout the year after all. I'm a bit burnt out. I'll probably have another big stack to deal with next January!

Forget Zero Dollar Decorating, I’m going shopping!!!!!!!!!!!

antiques/junking, Chandeliers, how to's, redos
Repairs 032

I got out of the house!!! We had quite the heat wave, temps roared up into the low 20s. So, of course, I had to go outside into the world and soak up some of that great weather.

And shop!

Repairs 022
My Zero Dollar Decorating is done, I went out spending!  First stop? Curious Sofa.  Debbie had emailed 20% off coupons with an announcement of big sales.  I had been coveting some bamboo rugs she carries, with vintage style script on them. Sadly, there weren't any in the size I needed, but I HAD to spend my coupon, right?  You can't let 20% off at Curious Sofa just slip by.

So, I bought the clock in the first photo.  It seemed to be just right for the new look in the kitchen.  While I was in the neighborhood, I swung by Beth's booth at Mission Road Antique Mall and picked up the clock face (2nd photo).  Hmm, looks like the beginning of a theme, to me.

Repairs 024
When I saw this Cinderella's carriage, I knew that clocks were the right choice!  It was found at my favorite antique mall, the Rusty Chandelier in St. Joe.  My friend and I were both needing a good girlfriend day out and we made the most of it. Talking non-stop for about 10 hours, shopping, dining, and shopping some more.  There was no one home at either of our houses, and no reason to get back, so we just made a day and an evening out of it.  

After being cooped up for so long, it was exactly what I needed to myself back to normal. Sometimes you just need a day out, to talk to another adult who you are not related to, but just love like a sister and have a lot in common with.  What would we do without our friends??? Including blogfriends- thank you all, for keeping my company while I was snowbound. If I didn't have your email conversations during this last cold snap, I'd have really gone insane. 

Its nice to know that friends are only a keystroke away! 

Repairs 004
Since I had found my clock theme while out shopping, I decided to add a watch face to a piece of art I made today for the kitchen.

I started with a French ad from an old magazine, and glued a butter pat plate to it, added a millinery bloom and the watch face to the center of that.  To the middle, I glued a rhinestone.

Then, I cut a tiny oval of old text and glued it to a charm, and glued a mini cameo to it, and hung it from a crystal.  With a punch, I made two holes under the word "Paris" to put a ribbon through, then tied that to the crystal to dangle it.

At the bottom of the page, I pasted a German die cut rose.

It didn't quite look done, so I drew some scrolls and swirls in metallic inks. If I'd planned better, I'd have drawn it first, instead of trying to work around the things I'd already glued down.

After that, I rubbed dark brown ink along the inside of the mat, and popped it all back together.  Now, I want to go buy some more shadow boxes and make more! I loved doing a 3-D collage, or is it called an assemblage?

Repairs 021
Another purchase yesterday was this crystal ball, bubble night light.  While I had the old French papers and glue out, I covered the wooden base of this, and inked the edges.

Repairs 007
This frame was from our trip yesterday too. I wanted new accent pieces for the kitchen redo, but just couldn't find what I wanted, so decided to make something. 

In this, I used more French text from an old book, that I'd embossed one day when Beth brought over her Cuttlebug.  

To make the  embossing stand out, I rubbed over it with a bronze ink pad.

In the center, I added a circle punched from the cover of the French magazine, which was a nice brown, then glued velvet petals and a white millinery rose to the circle. 

After putting it back together, I fashioned a hanger from ribbons.  I tightly tied two ribbons around the frame, then looped another one through them, and hung that one over a hook on the wall.

Repairs 019
Here is a view from the far side of the kitchen. A great view of just how crooked the old house is…

After dropping my friend off after our day of shopping, I stopped and got a can of creamy taupe paint to change the walls behind the cabinets by the sink. The inset had been chocolate brown (like the rugs) but it seemed way too dark after my other changes.  So, I was painting at midnight last night.  It was a quick job though, because Behr now makes a primer/paint combo and it covers like a dream.

(that is a pot of chicken rice soup on the stove, yum, I'm hungry just thinking about it in the kitchen waiting for me!)

Repairs 003
Here is the kitchen from the other direction. The wooden piece over the window is also from yesterday's expedition.  I got it at Rusty Chandelier's sister store, Jesse James. (Or would Jesse be a brother store? They share a parking lot)

After painting the inset creamy taupe, I had to add some of that color to the faux finish around the other walls.  I think I'm done.  Well, maybe…. I really would love to find some non-princess chairs for Sugarwing's table.

Repairs 031
  And I am still planning on bringing in some metal garden chairs for the breakfast nook

if the snow ever melts.

I've got some old alarm clocks that I might take apart to get the faces from, and add some of those to the china cabinet, too.

And I really, really, really want those rugs from Curious Sofa! Either this one, or this one?

Well, maybe I am not done, after all.

 
Repairs 026
Are we ever done?  That is what makes it fun!


Here are my totals for what I spent, after I escaped from the house and  the Zero Dollar Decorating:

paint- $36

trim over window- $19

frame for flower collage- $2

clock faces- $6

Cinderella's carriage- $29 (big splurge, but SO cool!!)

Clock from Curious Sofa- $48

bubble night light- $15

Fleur de Lis hook for flower collage- $6

Scroll to Top