how to’s

I’m a Winner too!!!!!!!!!!

Dorkies (Yorkshire Terrriers), Etsy Goodies, flowers, give away, how to's, swaps, vintage paper/collage art

Carosel 060 AND THE WINNER IS—ME!!!!!!! Well, it sure feels like I am a big time winner, you should see all the pretties that have come in the mail to me this week!

Wallpaper jan 002 

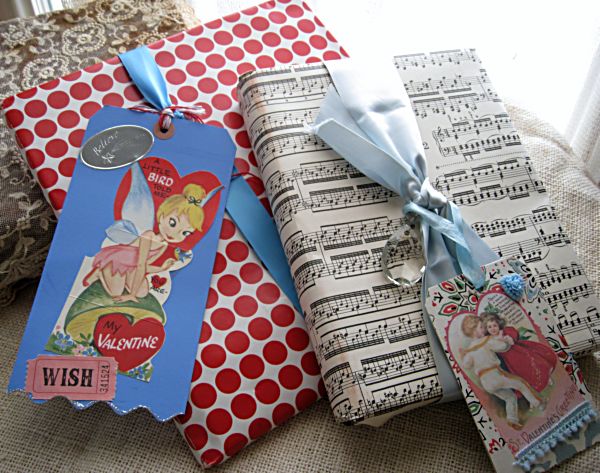
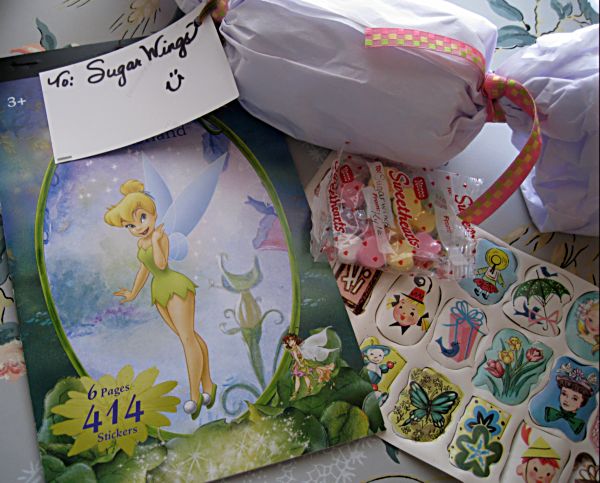
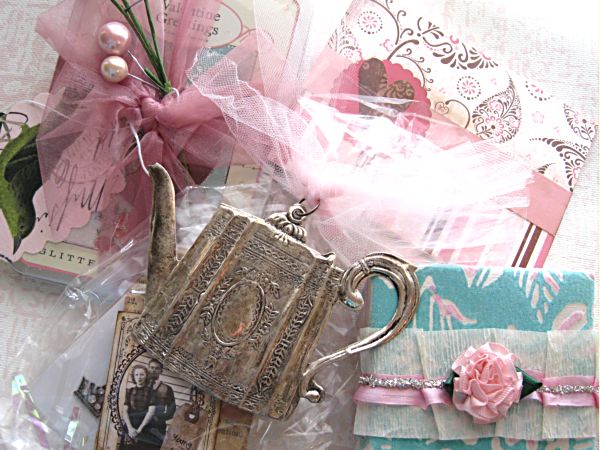
Honestly, these are wrapped too pretty to open.   Sugarwings and I will have a dress up tea party together and wear our floral hats and open the pile of pressies together when she comes over at the end of the week. For, now, I am enjoying the lovely wrappings!

Carosel 039 

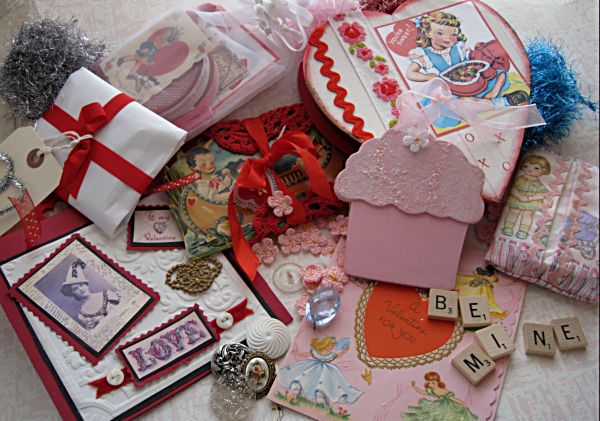
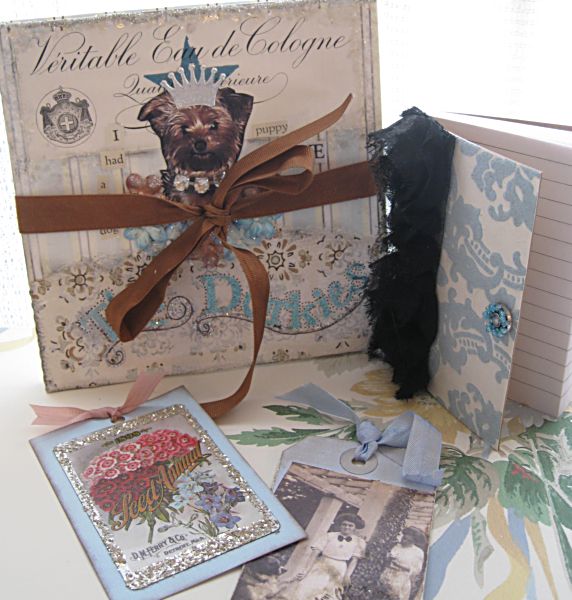
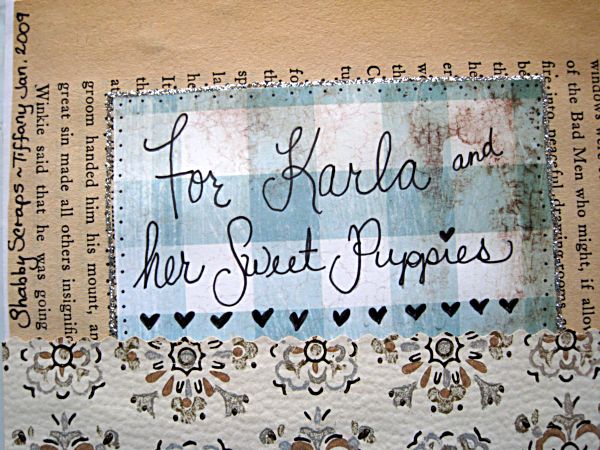
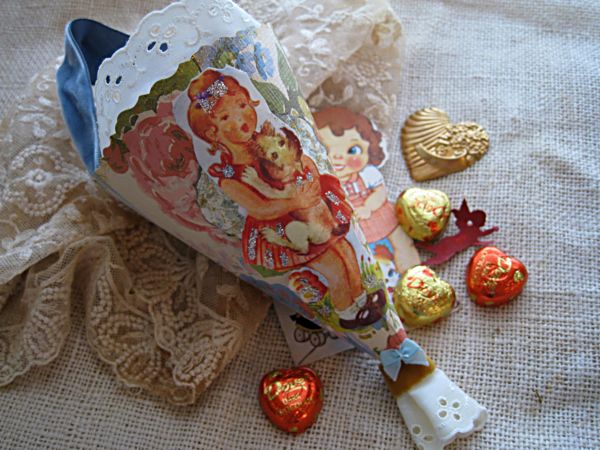
So many of our Puppy Love Tag book swappers have sent in lovely gifts, I just don't know where to start in thanking everyone.  Tons of generosity and thoughtfulness is filling up my mailbox along with all the beautiful tags!

Carosel 040  

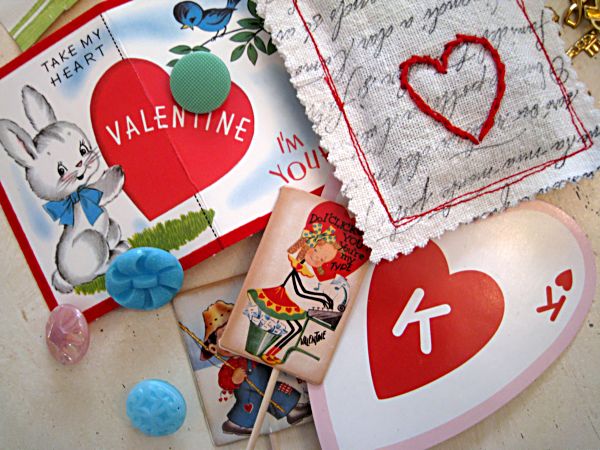
These gifts are a sweet bonus to the fun of doing the swap. I am slightly overwhelmed. Well, more than slightly…  Bowled over is more like it.

Carosel 042 

But I absolutely do not want to give you the wrong idea, that gifts are required or expected when you send in your packages of tags!! Or any other swap I host.

Carosel 056 

So, I want to thank ALL of the swappers who joined in to trade tags, and let you know how much I appreciate the effort that each and every one of you has made to put these cute books together. And yes, they are going to be really cute. I love the ones I have seen so far!

Carosel 058

And I have to say, if you have never hosted a swap before, you should give it a try. Anticipating the mail lady's arrival each day, opening up the boxes and packages to admire the tags, meeting all these talented artists, it has just been a blast.

Carosel 059 

The reason I like this swap so much, is that it is collaborative.  It does mean extra work for me, but it is worth it to see all the creations all togther and in person.  I don't care for one on one swaps, (even though I was paired with GREAT swappers and got cool returns on what I sent in, when I have done some!!)  I've heard horror stories of swaps gone bad, but with this type of swap, if one person doesn't come through with their portion, no one is left in the lurch without a partner. (like I said, it didn't happen to me, but I have talked to people that it did happen to)

Carosel 038 

The deadline for tags to be in is Feb. 5th and I will be showing you some pictures of the books as I put them all together.  I'd say about half are in already, so I should have an avalanche of packages coming in filled with tags in the next few days!

Carosel 057 

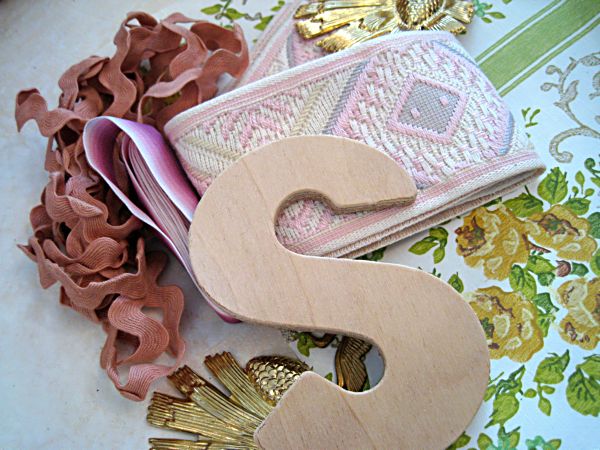
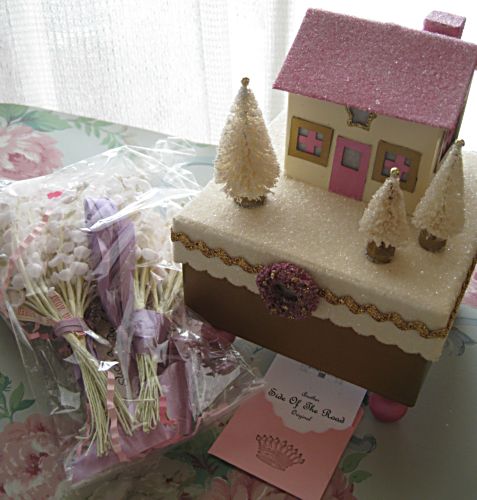
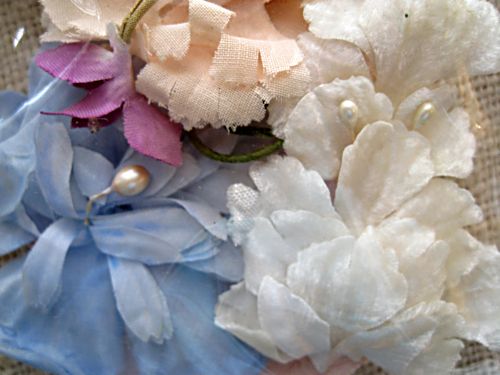
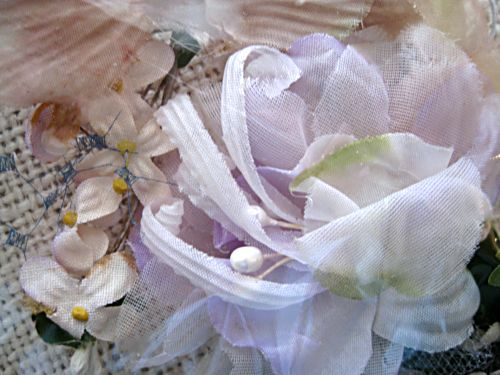
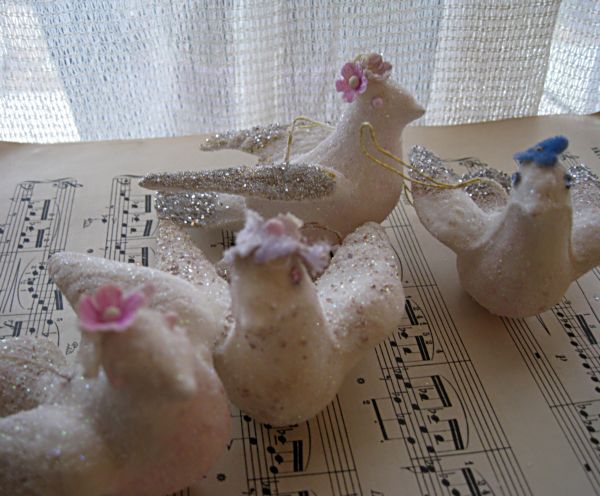
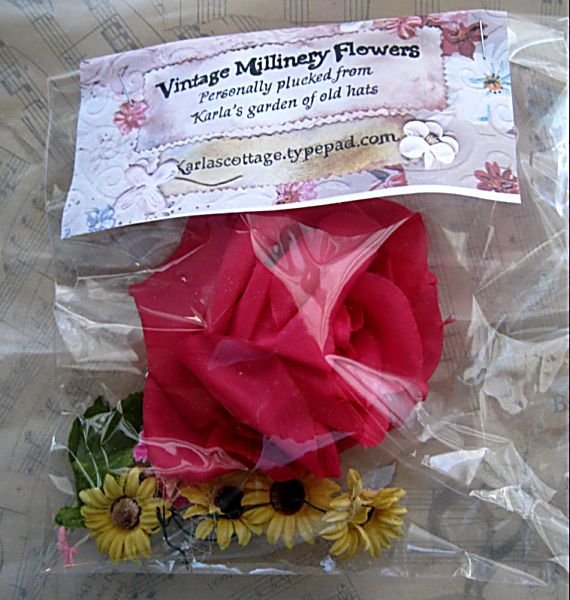
In the middle of receiving the first 30 or so bundles of tags, I got these gifts in the mail from two different blog contests that I won! The millinery flowers (YUM!) are from Andrea and the sugared house is from Side of the Road. Thanks, ladies!

Puppies! 198

Oh, but you are probably interested in who won the January prize from me, huh? I keep running on about me and my gifts, well, here is one for you- and it goes to:

Mahala

And hey, she is a Puppy Love swapper!

Carosel 024 

Don't forget, we are still having the Name That Puppycontest going till Feb. 5th, so leave a comment on the previous post if you want a chance to win a milliefiori heart charm and name one of my furry little buddies.

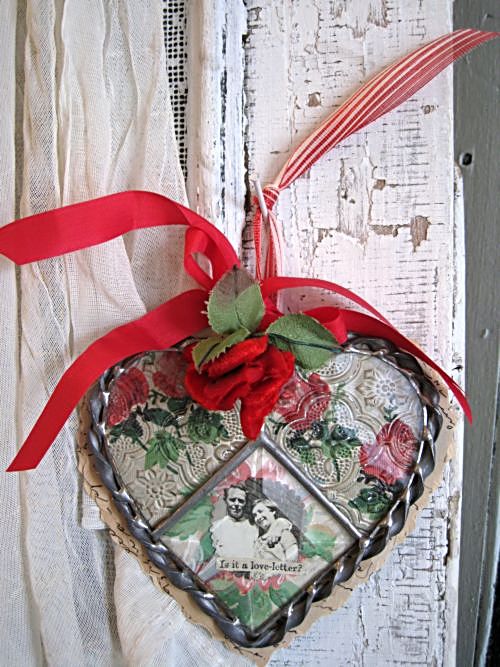
This heart is a leaded and beveled glass one that I foofed and spiffed with vintage wallpaper and a red velvet flower.  I'm going to list it in my Boutique tonight.

Carosel 029 

Today was mostly paper work and boring crap, no time to make anything at all, but I did get a few millinery craft packs listed on the boutique.

Carosel 036 

Puppies! 206 

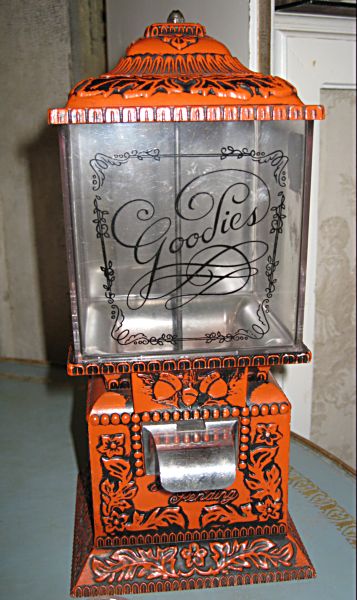
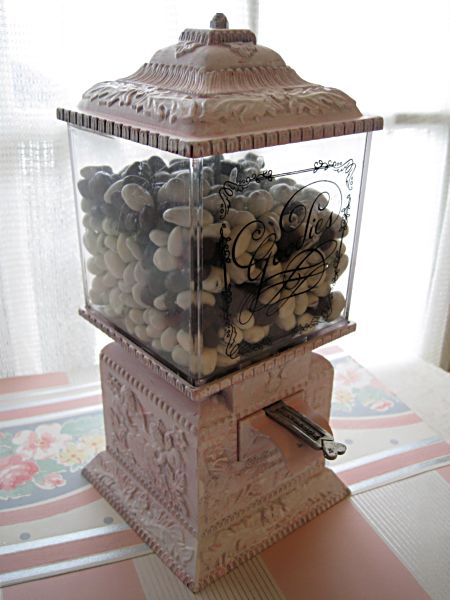
Oh, and I fixed up this gumball machine that I found at the Goodwill a few days ago.  I've never been an orange fan, but that was an easy change.

Carosel 062 

All it took was a can of "Ballerina Slipper" pink spray paint, sandpaper and white acrylic paint. After a coat of sprayed on pink, I roughed it up with the sandpaper, and dry brushed a hint of white over the top. Its now filled with yogurt raisins and sits in the studio so that Sugarwings and I can have a snack when we need a boost of energy during those big play dough projects!

Carosel 060 

(artwork by Tiffany)

The puppies are up and running now, well kind of.  If you'd like to see a video of them on Flickr to help inpire a name for them, please check it out here.  But please keep in mind, that I thought the camera was off when it really wasn't and the second puppy video has me talking baby talk to one of them (and sounding like a doof).


Should a poor sewer who hates to even try, attempt a Magnolia Pearl inspired slip cover on a RECLINER? While taking muscle relaxers for a strained back??

Books, how to's, how-to projects, redos

Chair redo 014 

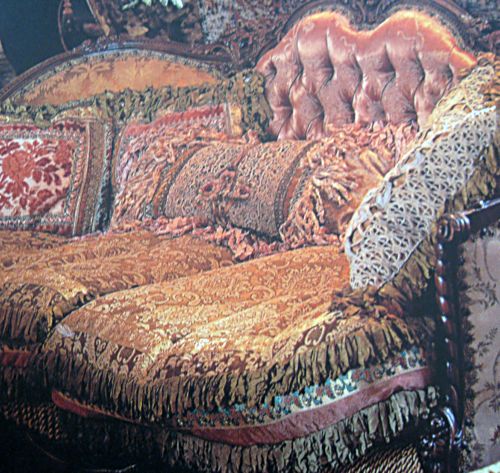
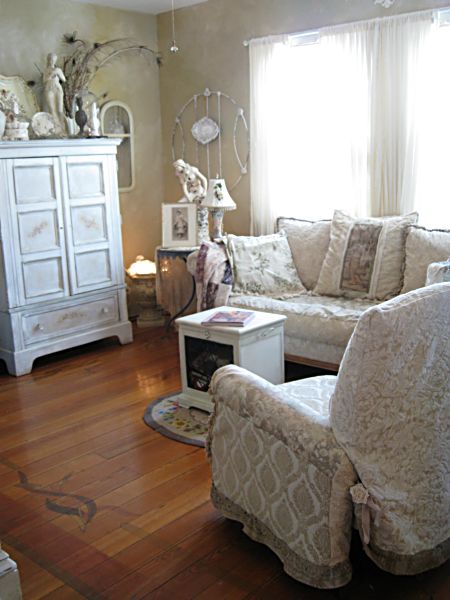
Have you read the Magnolia Pearl book? Beth gave it to me for Christmas and I have been obsessed with the photos.  Now, not all are to my taste exactly (I think old rugs on the walls in the kitchen is just gross and dusty and musty)but I love the idea of it all.  But in MY colors.  Still, just look at this sofa. I was inspired by the opulence of it all, and have always loved the crazy quilt layering of fabrics when I make slipcovers.

Chair redo 016 

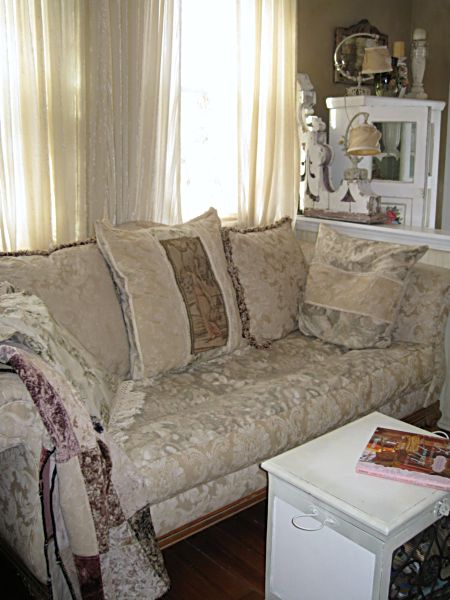
My sofa could use a bit of the embellishments I spied in the book.  I have a good start with the mixed fabrics already.  If I added a few velvets and trims, I'd be close. Well, close enough for my house.   I have to consider that it is climbed on by two year olds and dorkies, plus we use the sofa for real life, not for display!!!  All of my fabrics need to be washable.

Chair redo 032 

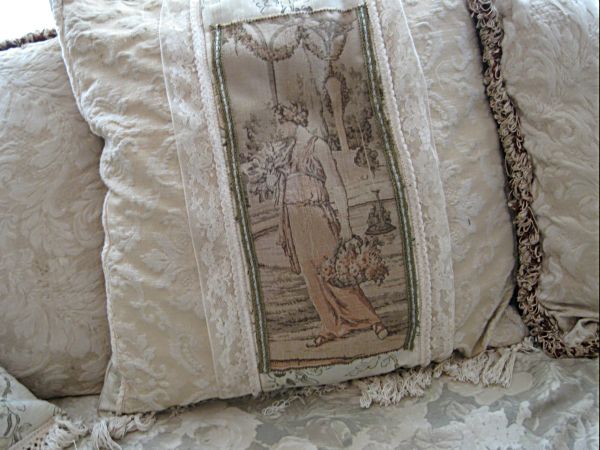
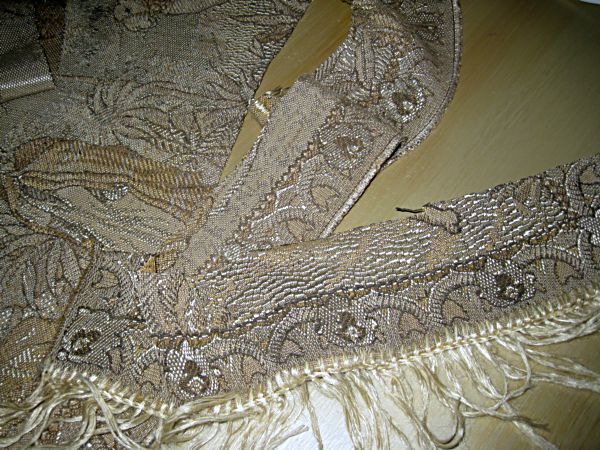
One element I really enjoyed from the book was the use of old textiles.  So, I cut up a tapestry I'd found at an antique mall years ago and added a section to the center pillow of the couch.

Chair redo 010 

Another one, got cut up for ruffles on the chair that I decided to recover in a Magnolia Pearl-ISH way. This tapestry's design wasn't as pretty as the Grecian ladies on the other runner, this one was elephants and guys in turbans.  But I loved the over all look of the fabric itself, it really shows its age.

Chair redo 

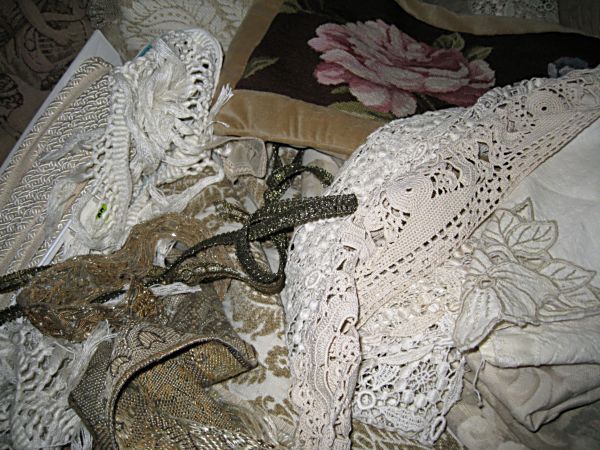
The next step was to gather up piles of remnants and trims and doilies and whatever else I had lurking in the linen cabinet in my studio.  I wasn't exactly sure how and where I'd use it all, and actually didn't end up usingmost of the bits and pieces. But it was good to have a pile to look through, hold up to the chair and pick from.  Nothing was planned out, this chair just came together from the inspiration of what I'd seen in the Magnolia Pearl book and what was left over from other projects or laying around the studio.

Chair redo 001   

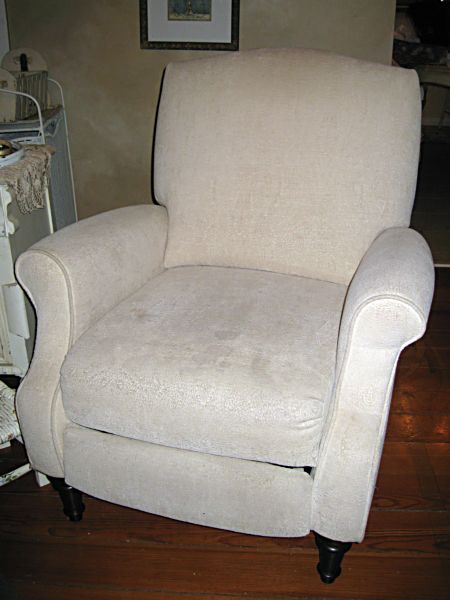
If a furniture store ever sells you an insurance package for light colored fabrics, please read the fine print.  I liked this oyster white velvet, but was worried about dirt showing. So, for an extra $35, I got a guarantee.  Any stain or dirt that got on the chair would be cleaned off by the company or else I'd get the chair recovered free.

Sounded good.  But it wasn't.  The fine print says it covers everything in the world but normal dirt.  So, the chair got a bit funky and no matter how I cleaned it, it always looked smudgy. The oyster white slowly became mucky gray.   I daydreamed about recovering it.

A local seamstress was going to make a slipcover for me, but she decided not to, she said recliners are too hard to do.

So, of course, I figured I could do it myself. Even though, if you sat near me in the sewing segment of Silver Bella, you would know from the constant complaints I spouted, I HATE to sew.  Hate it. And am a novice.

Chair redo 006   

Since  I was house bound, while babysitting new puppies and their poor little, over worked mommy, I thought a project that I could do in the newborn's nursery (my dining room) would keep me busy.  I'd strained my back at the gym and was on muscle relaxers so wasn't quite in my right mind either.

You  know, I kind of thought when I started working on the chair, that it would make a good How-To for the blog.  Until I got going on it, then realized, it was just too hard to explain, since I was making it up as I went along.

Chair redo 003 

But here are some helpful tips if you feel like making yourself bonkers by trying to make slipcovers for a recliner from a hodge podge of fabrics:

  • gather up lots of materials to play with.  What you think you are going to use, might not work, you need plenty of odds and ends to choose from
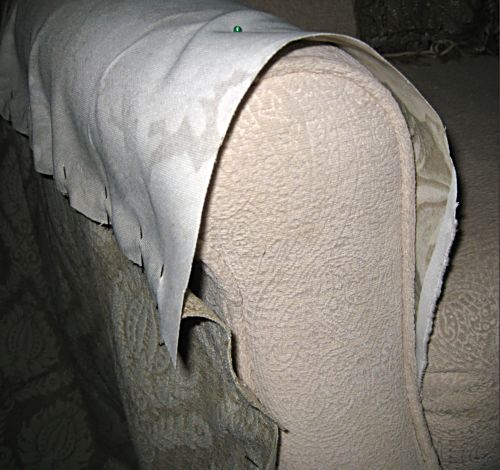
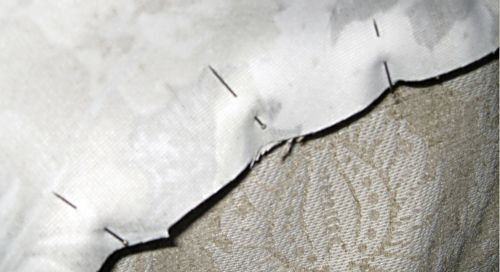
  • lay out your fabrics right side up to judge where you want them, then flip them over inside out to pin.  I pinned mine where I wanted it, then trimmed the fabric around the pins
  • have all your pin heads face the same direction!
  • don't sew over any pins, unless you really enjoy changing needles on the machine
  • keep the sewing machine manual handy in case you need to change needles
  • those pearl pins are easier than regular straight pins.  Especially the bright colored ones, they show up better and you hit less of them with the sewing machine needle
  • eye balling is easier than measuring.  No one will be using  a tape measure on your chair when they come to visit, so if you think it looks pretty good, you should trust yourself enough to go with that.
  • it doesn't have to be perfect.  A slouchy look has a lot of room for errors. 
  • throw in some unexpected textiles for fun
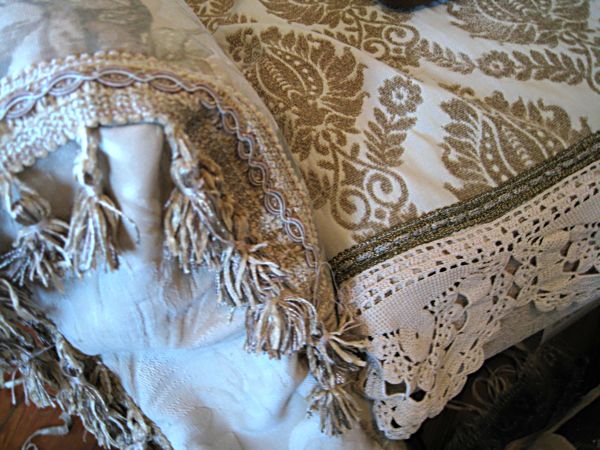
  • fringes and trims can cover up crooked seams pretty good
  • if you don't have any muscle relaxers, try  a glass of wine before starting the project

Chair redo 012 

The "sleeves" of my chair were terribly twisty. But the fringe saved them.

Chair redo 021 

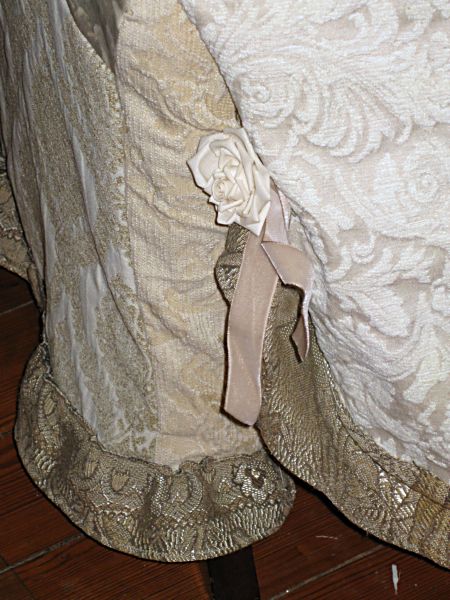
 The back side should be interesting too! This is the side that faces the newborn's nursery (my dining room).  I gathered up the ruffle with some old taupe velvet ribbon and roses that I pulled off an old hat (I have a few of those around).

If you decide to cover a recliner, you need to remember that it MOVES.  The cover has to be done in pieces, not all one throw like a regular chair.  I made the "'sleeves" first, then attached them with upholstery screws, to the inside of the arms.  Then, the seat is simply a hemmed and trimmed piece of fabric that is tucked in around the sides, not attached to anything.  The piece over the back, is made like  a pillow case, that slips over it.  And the foot rest cover is screwed down too.  Buy extra upholstery screws, you will need more than you think!

Chair redo 023 

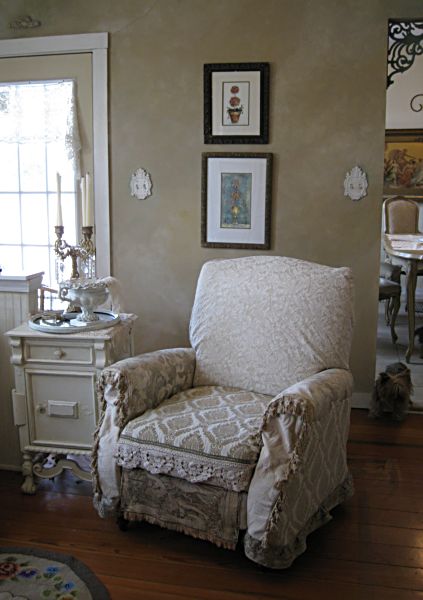
Well, not exactly Magnolia Pearl, but it is at least Pearl-ish.  Of course, the chair itself is the wrong style, not antique and not ornate.  But it is comfy and I like a soft recliner for reading in.  I call this my Grammy Gypsy Chair.

Chair redo 019 

Hopefully, the busy fabrics won't show dirt the way the original one did.  And, I can always take it apart and wash any section that gets dirty, if needed.

Chair redo 034 

While cleaning up the room, I was ready for some more changes, and added this iron piece to the wall. (I'd had it up in the guest room, but now that Sugarwing's Daddy lives up there, he prefers his Hippy Tie Dye to my antique decor, so I took it down).  Notice that I still have Christmas lights in the urn in the corner? I am calling it a winter decoration, instead of a Christmas one and keeping them there for a while. I enjoy the glow.  And the vintage photo of the WhiteWitch that I had up for Halloween is back as a pretty lady dressed for Mardi Gras instead.  That sounds better than "the Clash of the Holidays"!

January always makes me want to redo a bit. I guess it is being cooped up indoors, and staring at the same stuff over and over and getting tired of it.  Also, taking down all the glitz of the Christmas decorations, makes the home seem dull with out them.

Or maybe it is just the muscle relaxers.

A winner for December, 10 resolutions and a good start on #9

collections, fairies, give away, how to's, how-to projects, vintage paper/collage art

Wallpapered soffit 039 

Happy New Year! We had a quiet evening, reading princess stories to our little fairy princess. I cooked up a pot of Cajun styled shrimp and veggies with tomatoes I froze from our garden and we stayed in for the evening. Yes, very tame, but very pleasant. I had time to think about the past year and the new one that starts today, and come up with a few resolutions.

1- just like last year, I want to USE the good stuff in my artwork, not  hoarde it! This is a hard thing to make myself do, and even though I kept the resolution last year, I think I need to make it again this year so I don't backslide.

2- paint more, and incorporate hand painting into my collage work.  I made this one last year too, and kept it on a so-so basis.  I could do better on it this year.

3- complain less, act more.  I guess I mean, that instead of complaining, I should DO something about what bothers me.

4- say NO sometimes.  Ooooh, that is a really tough one for me. 

5- expect more from my sons and not treat them like kids.  I find myself irritated and picking up after my grown sons and nagging at them like a mom, instead of talking to them like a fellow adult who shares the same home.

6- draw more.   Kind of like the Paint More resolution, but not really.  I love to paint, drawing can be hard work.

7- don't watch as much junk on TV.  I should rent DVDs of full seasons of good TV shows, not just watch whatever crap happens to be on.  (You did notice that I didn't say I was going to watch any less TV, that would be impossible for me!)

8- shall I be a bit cliche and say I'll lose that 10 lbs that I found this year?  I'm not much of a dieter, so I guess not. Maybe I should say I will go for walks with Sugarwings and Twinkle more, take the baby to the indoor pool, and plan to add another section of garden to my yard? That should be good for getting rid of a few pounds over the year. 

9- more how- tos on my blog. I like doing them and I think people enjoy reading them.

10- spend less time browsing blogs and keep up my paperwork better.  (like that one has a snowball's chance in hell)

Wallpapered soffit 038  

Did you make any resolutions for the year? Good luck with them if so. 

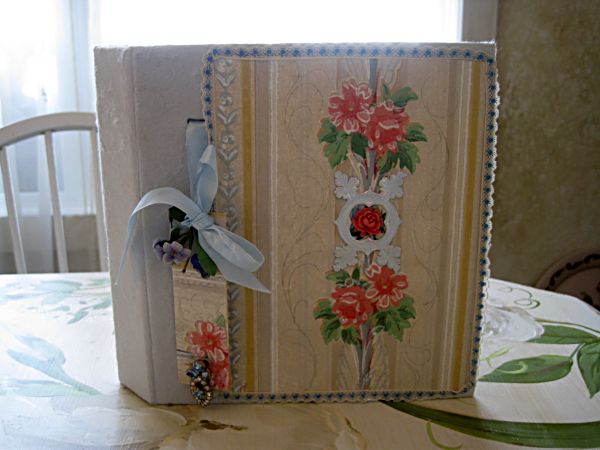
Now, onto the Surprise Giveaway for December- ta da! It is a photo album, or scrap book, or art journal, or whatever you want it to be, Kathryn,because you are the winner for December.

Today starts a new giveaway for January.  I'm not sure yet what it will be, but all comments still count for the drawing.

Wallpapered soffit 037


Remember the project I mentioned yesterday, that I wasn't sure I had time to do? Well, between the couple hours I had while waiting for Sugarwings to come over to play and her afternoon nap time later, I ended up with plenty of time to get it done!

Wallpapered soffit 002 

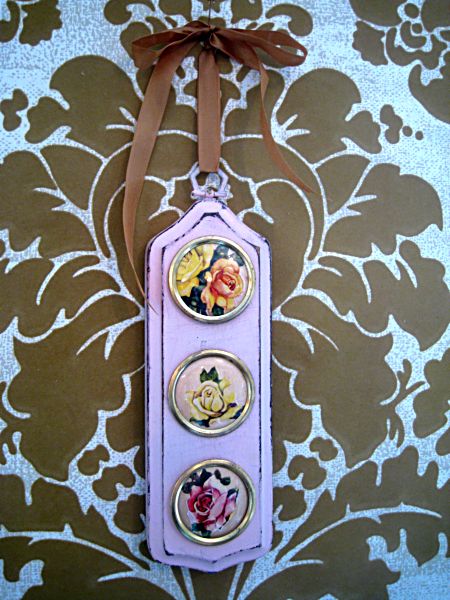
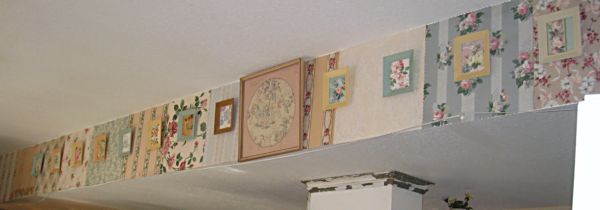
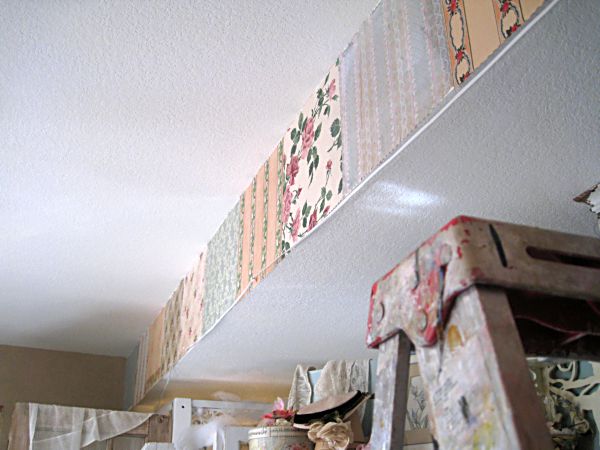
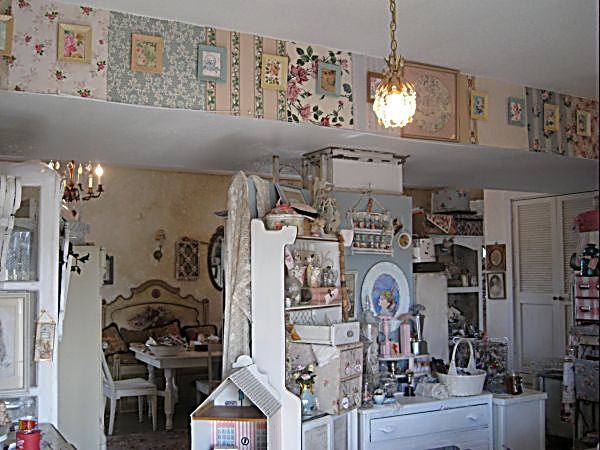
All year long, I have been saying I want to do something special with my best wallpapers so I can always have them out to see and enjoy. So, I decided that I could not let the year end without finally accomplishing the task.  Here is a how-to, if you want to do something similar.

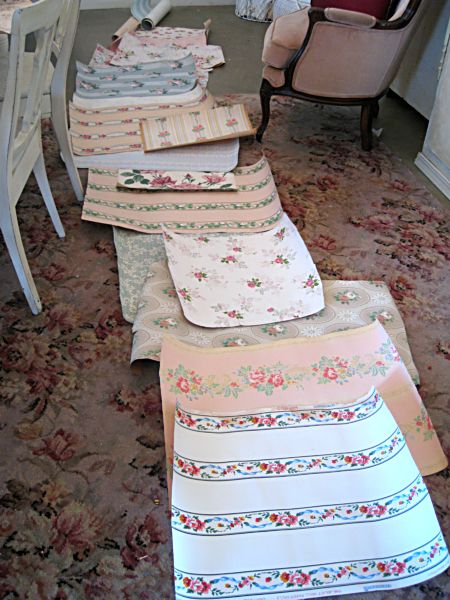
1- I cut (not measured to fit, I just cut off a large bit of each) and ironed a few pieces of the prettiest papers I had on hand, then laid them out on the floor in a pleasing pattern. Trying to balance the colors, and not have all the blue ones together or the rose patterned ones next to each other.

Wallpapered soffit 003 

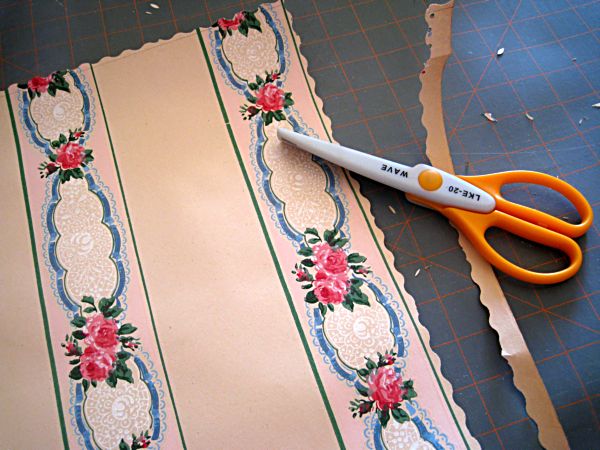
2- My technique was far from perfect. I measured the soffit length (17 1/2") then cut each paper to that, with scalloped edge scissors.  I didn't want to have to act like a professional wallpaper-er, and cut exactly with exacto knives and match patterns. I wanted it free and easy and quick, (remember, I was very short on time, with that baby coming over to play and 2008 coming to an end!).

I figured that if the edges were scalloped, and not perfect, it would be charming (and easy to do!).  And I discovered that my measuring was a bit off here and there, but that didn't bother me at all. I liked it that some were a little longer, some shorter. 

Wallpapered soffit 006 

3- Wallpaper paste was applied to the back of each square with a wide paint brush, then the square was slapped up on the wall and smoothed down with a wet wash rag. Now, sometimes old papers are hand painted, so you have to be careful not to wash off or smear the paint.

4- The first square was lined up in the corner, the second overlapped it and was pasted up next to it. Now, I am sure that the proper way to do this is to use  a plum bob and straight edge, but I was eye balling the patterns of the paper to make sure they all seemed straight. If one was looking a little crooked, I just slid it over a bit while the glue was still wet.

Wallpapered soffit 037 

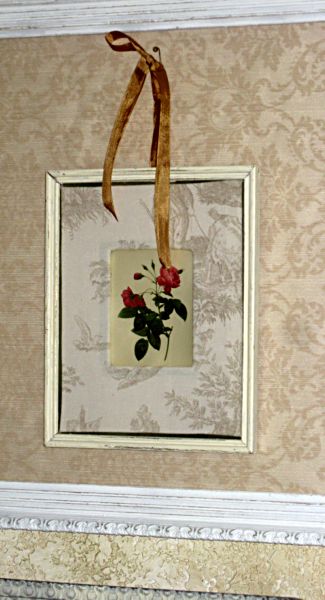
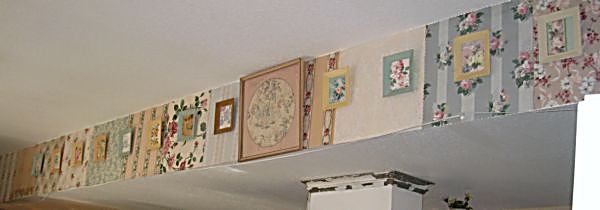
My plan was to use the bigger patterned pieces (in the width they came in, I didn't cut them all the same) on the wall.  Then, with the little vintage frames that Beth gave me, I hung the smaller patterned pieces over it.

Wallpapered soffit 035  

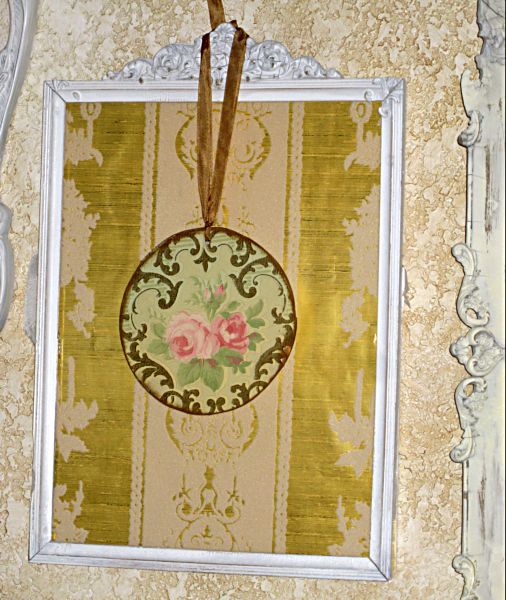
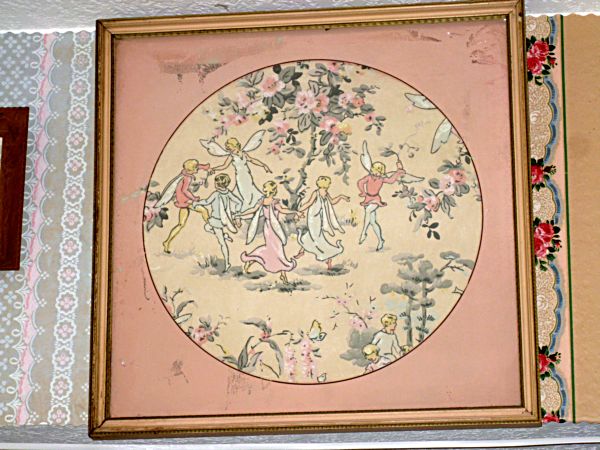
My all time favorite wallpaper went in the center of the wall in a large frame.  

Wallpapered soffit 014 

Of course, I didn't measure the wall to find the center, once again I eyeballed it.  But I wanted the small frames to be even, so instead of doing complicated math, I hung the first small frame to the side of the large, center one, and then marked the spot where the nail went on a piece of paper.

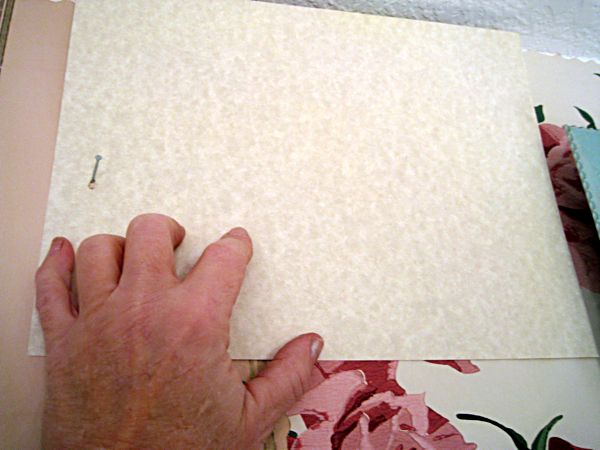
After that, all I had to do was hang a picture, then hold up the piece of paper to mark the distance to the next nail. I nailed right through the paper to save time, no pencils or measuring, just a piece of paper, a hammer and nail.

At this point, Sugarwings was up from her nap, so it was her job to hand me the hammer and the next frame. 

Wallpapered soffit 036 

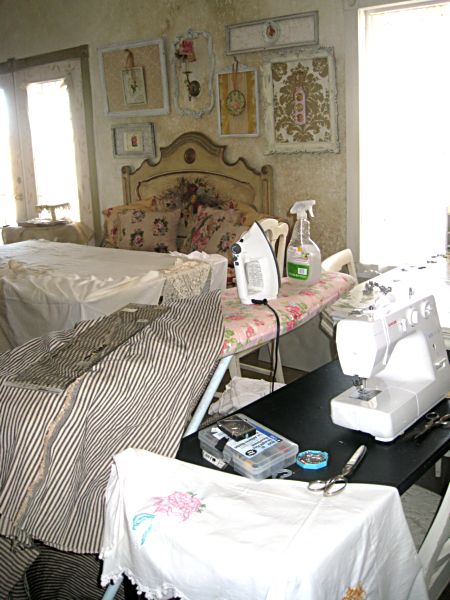
My studio is pretty, uhm, busy, but I like it this way!  And I know that 2009 is starting off right, with a beautiful view of my favorite papers to keep me inspired while I create.
A “Family Tree” How-to

Dorkies (Yorkshire Terrriers), family, Food and Drink, holiday decor, how to's, how-to projects, Sugarwings


Xmas stars 044 

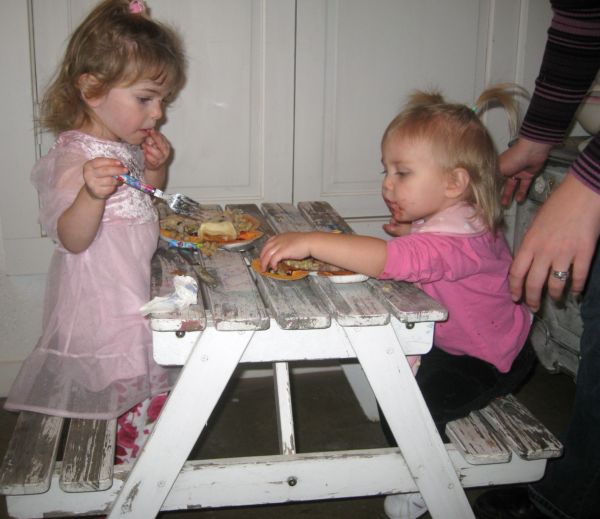
Did you have a wonderful Thanksgiving feast?  Sugarwings and her sweet little Pixie Pie cousin sure did. But in hindsight, this idea of using the baby's craft table for their dining wasn't the best. It was a food free-for-all, with two little toddlers up and down and knocking each other over and dumping plates. I can already see that at Christmas dinner we'll be using a duo of high chairs instead.Xmas stars 066 

At my house, we craft before and after holiday dinners.  I prepped the meal way ahead of time, making mashed potatoes in the crock pot, and had noodles slowly simmering on the stove all day, while the green bean casserole (from scratch, no canned soup) and turkey were ready to pop in the oven when the time came.

  Xmas stars 068 

 Guests brought side dishes made at home, so we had time to play instead of slaving away in the kitchen!  The guys were watching the game and playing pool, so we went to the studio and started cutting and gluing.
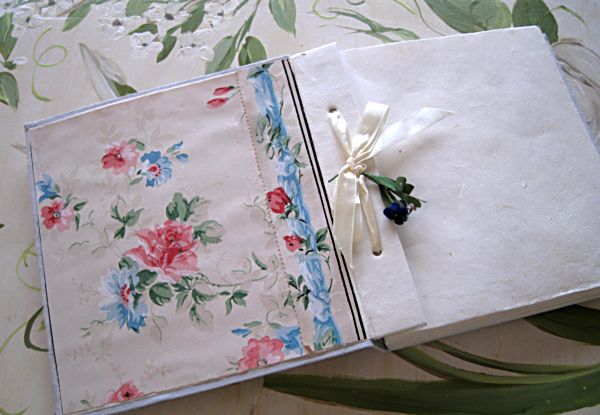
Xmas stars 070 

We were making the Christmas stars in two sizes, large for tree toppers and smaller ones for ornaments. Or wouldn't they be cute clipped to a ribbon and made into a garland?Xmas stars 061 

We decided to use family photos on the ornaments, so we dressed the cousins up in their Christmas gowns and snapped a few quick pics of them to print out onto silver, holographic paper.

Xmas stars 071 

I wish the photos showed how pretty this shiny paper is.

A lot of you asked for how-tos for this Christmas star, so I thought this would be a good day for it. If you have a houseful of family together for the holiday weekend, this is a fun project you can all do together. Take photos of each other for the centers of the stars and you can make a "family tree" for Christmas.Xmas stars 001 

Card stock works best. I wanted a vintage image, so copied this sheet music onto parchment colored card stock. You can use scrapbook paper, or heck, even plain card stock, what ever colors you like for a background.Xmas stars 002

Cut a piece of paper in half lengthwise and then fold both pieces in accordion pleats.

Xmas stars 005 

Then do a second piece to match.

Xmas stars 003 

Staple all four pleated sections together.

Xmas stars 004 

I suppose that for a tidier look, you could use glue, if you had an issue with not wanting staples to show. But if you do, you'll be wishing you were an octopus. I quickly switched to staples, after starting out using glue.

Xmas stars 011 

This is what it should look like.

Xmas stars 014 

You will need to cut 2 pieces of card stock to fit the back and the front of the star to hold it in place.  Any shape, any paper that pleases you for your design.

Xmas stars 016 

For this tree topper, I used plain white on the back.

Xmas stars 017

For the front, I used flocked wallpaper glued onto the card stock, then cut into an oval.  After gluing, weight the paper down for minute or two till it sticks good.

Xmas stars 021 

That is a good time to take a break for a quick cuddle with someone furry and cute.

Xmas stars 025 

After the glue dries, you can trim the edges to get a star shape.  Then with a paint brush (or fingers, like I use) add glue to the clipped edges and sprinkle with glitter.

At this point, it is ready to decorate however you'd like. Streaming ribbons, photos, flowers, sparkly things, whatever suits you.

Xmas stars 028 

If you think you'd rather make the smaller size, instead of the tree toppers, use one piece cut into 4 equal strips lengthwise instead of 2 pages cut in two strips.

Xmas stars 026


Xmas stars 033 

And if you'd like extra sparkly edges, use Stickles as the glue that you add glitter to. (by the way, Stickles is now available at Hobby Lobby!!!)


Etsy sales 307 

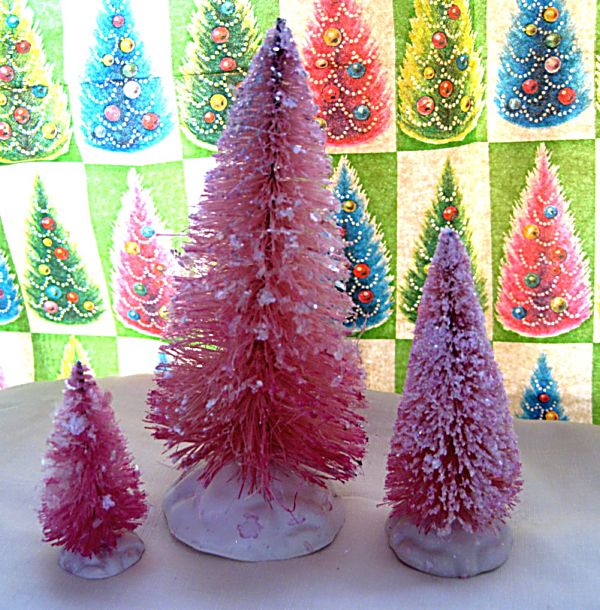
There are actually some new things listed on my Etsy site. Some hand dyed bottle brush trees (more to come) and I am about to list some glittering vintaeg doves that I do-dadded up.Xmas stars 073 

Old flowers 005 

There are also some of my flower packs listed. If you need a specific color that isn't listed yet, just ask.  I might have it!

Old flowers 015  You also have a couple more days to enter the giveaway for November. Good luck!

Still redoing the studio

antiques/junking, Etsy Goodies, holiday decor, how to's, I do tend to run on, don't I?, Sugarwings, swaps, vintage paper/collage art

Brenda is hosting a tour of "Where Blogger’s Create" today and since I have some studio pictures here, I thought I’d join in. For  a list of other bloggers  who are showing their studios today, go HERE.

And please, remember that all comments are entered into my August Giveaway, the 50’s housewife kit- jewels and a frilly vintage apron!

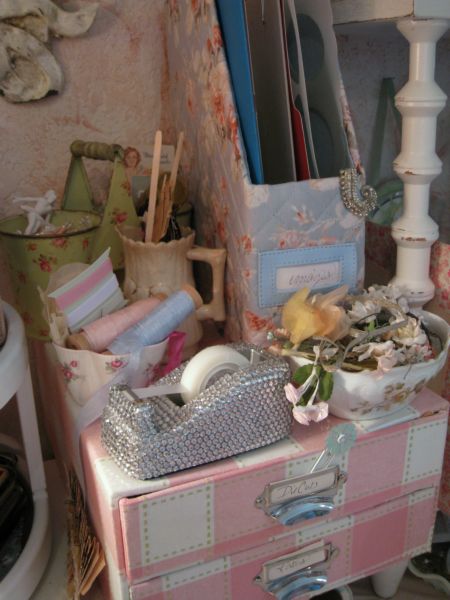
Studio_clean_up_028 I’m still plugging away on the studio redo. It is taking so long because I stop and make things as I go and spend too much time on fixing up the storage areas. Like this little hutch, that I am storing glitter supplies in. (it still needs glass knobs)G_sailing_002
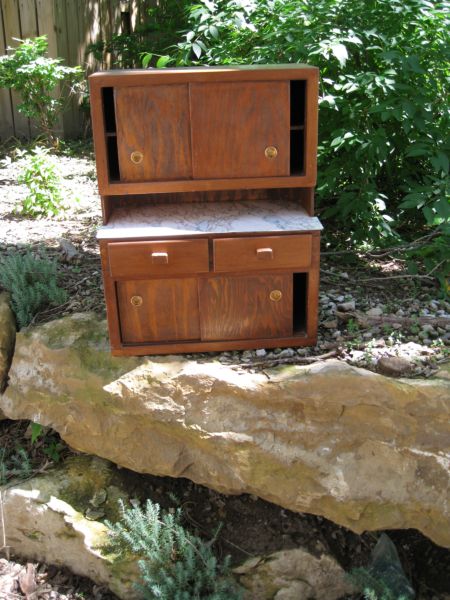
Here is the before, sitting outside my studio’s back door.

1-I primed it with Zinzer Bullseye spray, bonding primer, then a spray coat of aqua.

2- Let it dry, then sanded it quite a bit with a palm sander.

3- Topped it with a black walnut stain/poly mix and wiped it down.

4- As a finishing touch, I dipped the brush back into the stain mix and flicked it over the hutch for speckles, then dabbed the more pronounced ones a bit with a rag.

So, things like that get me side tracked, and instead of just making the room cleaned up and functional, I do projects.Studio_clean_up_022

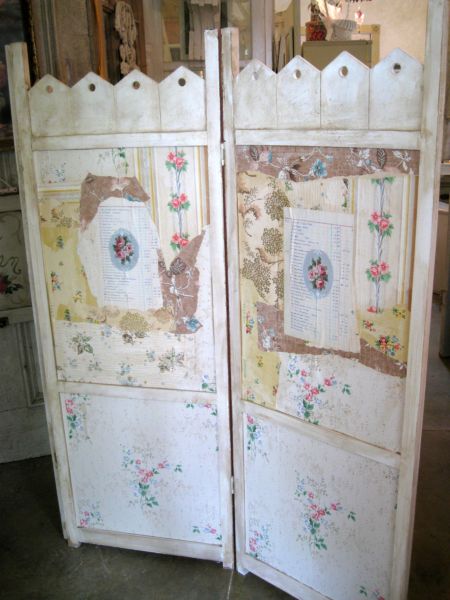
Like this one. I bought an unfinished pine folding screen at a garage sale for $10 last weekend and decided to make a mini studio within my studio for Sugarwings with this as walls.Studio_clean_up_021_2

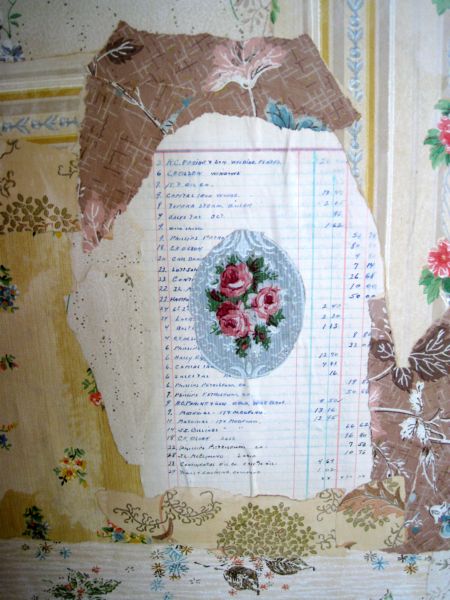
The side facing out is covered with my floral papers and trimmed in white paint top coated the same way I did the little hutch. (which I had bought to use in Sugarwing’s studio, but it ended up in mine!)Studio_clean_up_030

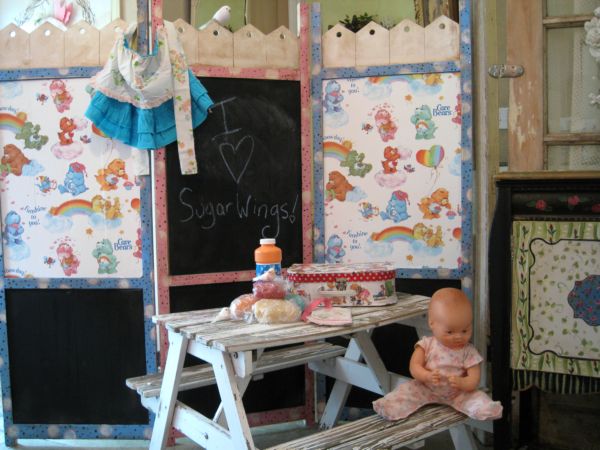
On the fairy grand baby’s side of the screen, I painted the trim in pink and blue and white polka dots with chalk board paint in 4 of the areas, and some Care Bear wallpaper in the others. 

Then, perfect timing- (but is there ever BAD timing for a lovely gift???)

Robin sent a huge, overflowing box of goodness our way!!!!!

I had admired the apron she had posted on her blog, and look- here is one for Sugarwings!Studio_clean_up_031 

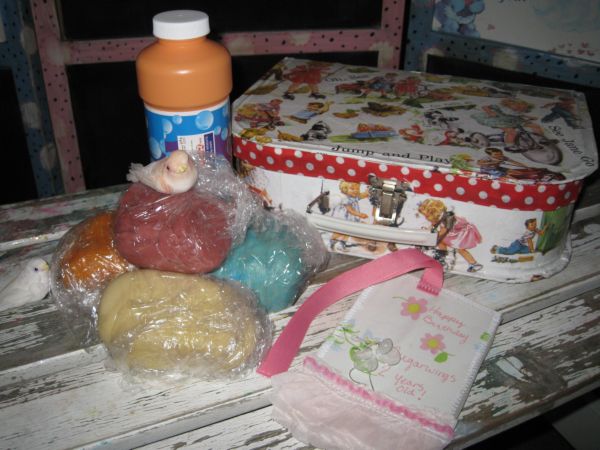
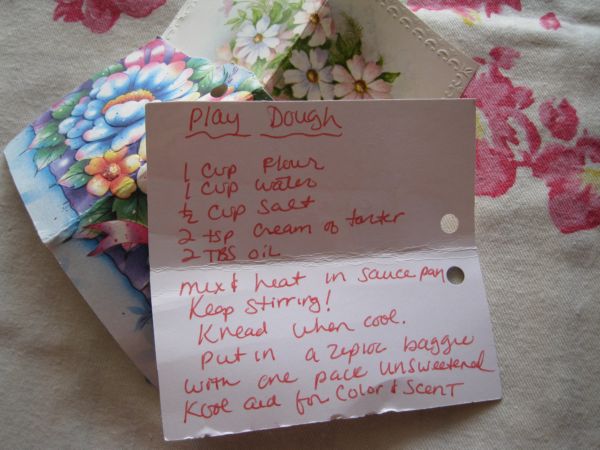
Not only did she send the apron that I admired, she made up scented play dough, this sweet tag, and this cute little collaged box too.

As well as TONS of other surprises.  The birdies are from her too, I added one to the top of the screen, by just looping it’s wire around the hole in the picket.Studio_clean_up_033

All of her packages in the box were wrapped so cutely, and she used old greeting cards to make up tags for each package, then included the play dough recipe on one too.Studio_clean_up_026

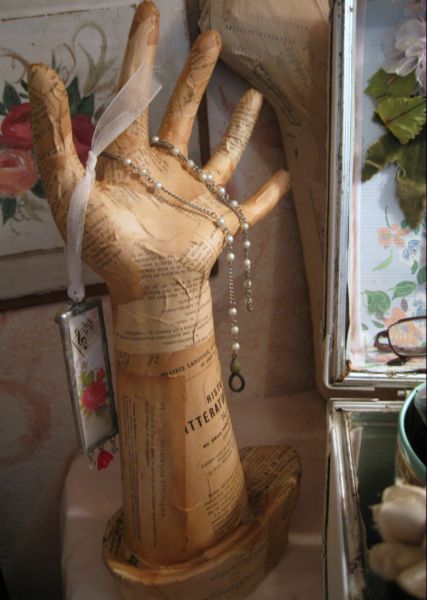
That box of goodness was jammed packed full of fun.  I’d also admired one of these ceramic hands that she showed on her blog, and Robin sent one of those too. I was sad to see it had broken into a million pieces in the bottom of the box.

That hand was definately worth putting some time into fixing, so I glued it all back together, then decoupaged it with pages from an old French book to cover the cracks and gaps that were stuffed with tissue paper.

Robin lives in the same city where my husband and I keep an apartment out East, so I will keep this hand on my desk, as a friendly wave from a neighbor.Studio_clean_up_039

I’m embarrassed to say that Robin’s box was part of a swap we did.  She had bought a hat covered in tiny pink flowers and I offered to trade a handful of her pink ones for a mix of a bunch of my other colors, so she’d have a variety to work with.

And because the pink ones she had were so perfectly pink!

And yes, she sent the pink flowers, I have them tied to the storage box.  And what did I send to her?

Just a handful of flowers.  And I haven’t even shown you all of what she sent to me!!! Like I said, that box was jammed full of goodies!

Thanks so much, Robin!Studio_clean_up_037

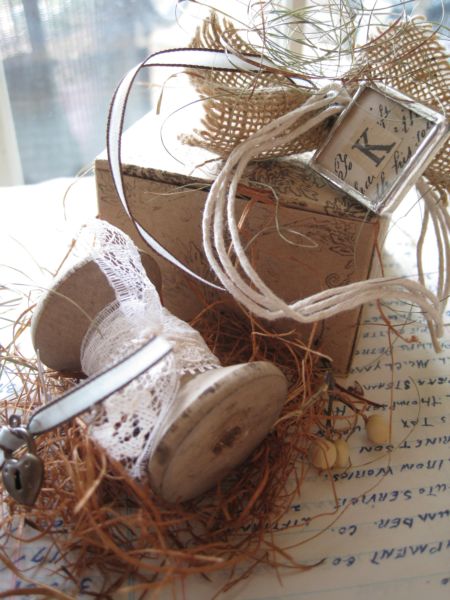
And thanks also to Carol. She sent in her swap boxes for the Pre-Bella Get Acquainted Swap that I am hosting, and included this giftie for me.

That K is going onto my chandelier filled with collected Ks that hangs right over my computer.

I didn’t peek into her swap boxes, they are just too darling to open.  I am afraid my photo of them wasn’t as good as it should be, but the one on her blog is. She owns one of those Canon Rebel cameras I whine about all the time.

You should look at her photo, she is a talented stylist and every picture she takes is a beauty.Studio_clean_up_027

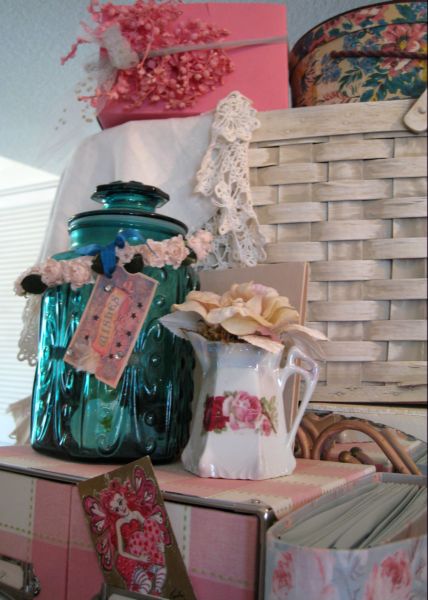
I forgot to mention that the flowered china in this picture is a gift from Beth. She thinks of me when she is at an auction and is always bringing me pretties she gets there.

I tried re-taking this photo (same as the last post) in daylight, but unless I have direct light, my photos are never good. Etsy_sales_004

That is why every photo I take of something for Etsy is in front of the French doors in the light.  I try to use different papers and table clothes as backgrounds, but it is always the same location, since it has the best light in the room.

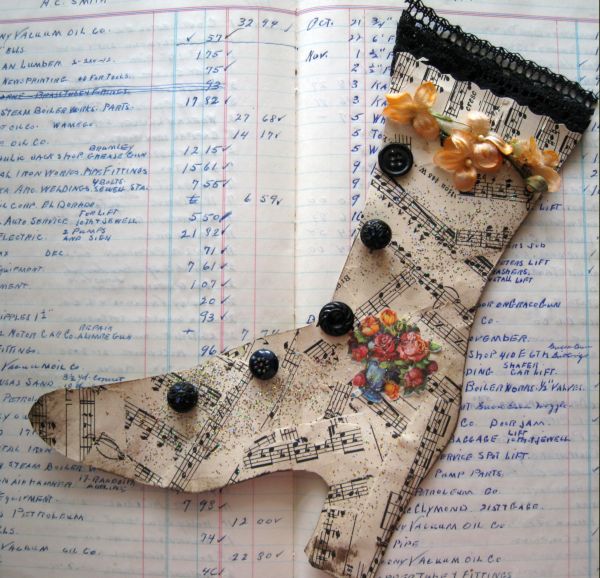
This Witch’s Boot might be my only Halloween offering, besides black and orange millinery.  I won’t have time to do much for Halloween, I am going to skip straight to filling up my 10 x 10 booth at Silver Bella for Christmas and making things for Lollyshops.Btnshare2

12 presents for you for 10,000 comments!

antiques/junking, Etsy Goodies, fairies, family, give away, how to's, Sugarwings, vintage paper/collage art

July_008 Wow! Thanks for the helpful ideas for filling up gift baskets for my childhood friends coming to celebrate our 50th birthdays together.

I’ve taken the picture frame idea, and made a couple of frames (photos later, after the glue dries and I can stand them up), and today, my family and I made bath salts to add to the baskets.

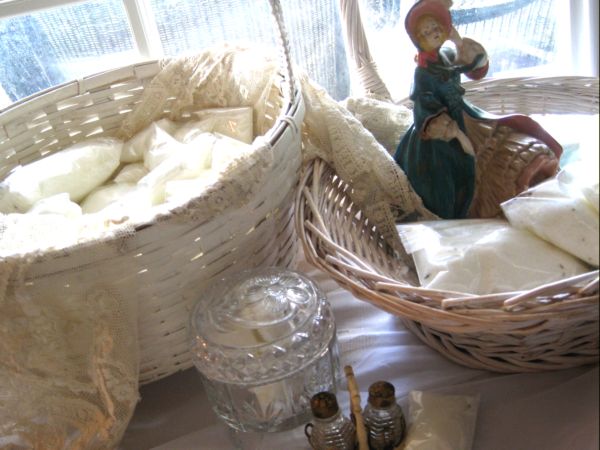
Oh- plus I got these two white baskets FREE at a garage sale this weekend, along with the chalk ware lady ($1)July_009

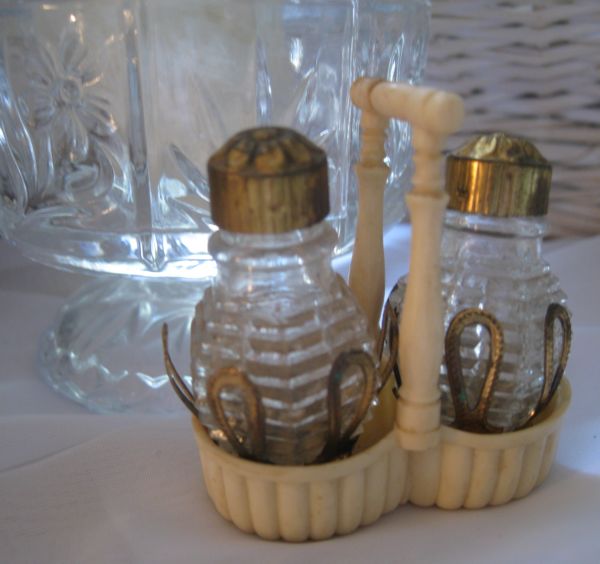
And the mini dresser tray and two perfume bottles. ($1 also).

I wasn’t going to go shopping at all this weekend, after my big buys last week.

But…. I was driving by one… and saw a yard full of OLD things. How could I not stop??July_005

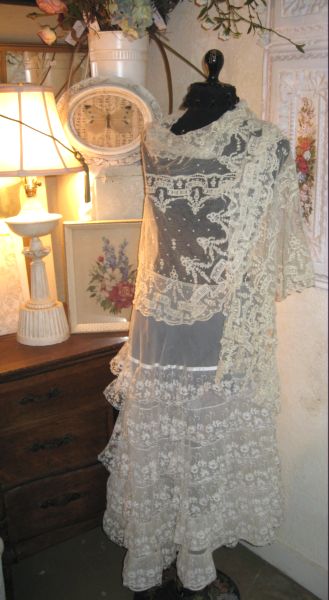
This vintage ruffled slip was hanging on a clothes line in that yard, along with some of these antique lace panels.

I need to dress in a vintage prom style for Silver Bella, and am thinking that this slip could come in handy that night, and it was only $10 for all of the lace and the slip.  But that was all the shopping I did, my total for the weekend was $12.  I was proud of myself for holding back.

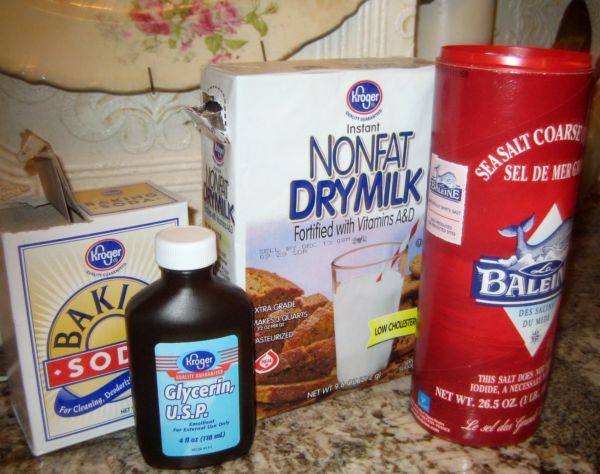
July_024_2 Have you ever made bath salts? I made up a recipe, using:

sea salt (two containers)

half of a box of powdered milk

about a 1/4 cup of baking soda

and approximately a third of a bottle of glycerin

July_023 We mixed in  a handful of ground lavender fresh from my herb bed, and some vanilla/citrus essential oils I had made up a while back.  I’m hoping it will be soothing and refreshing, it smells delightful.
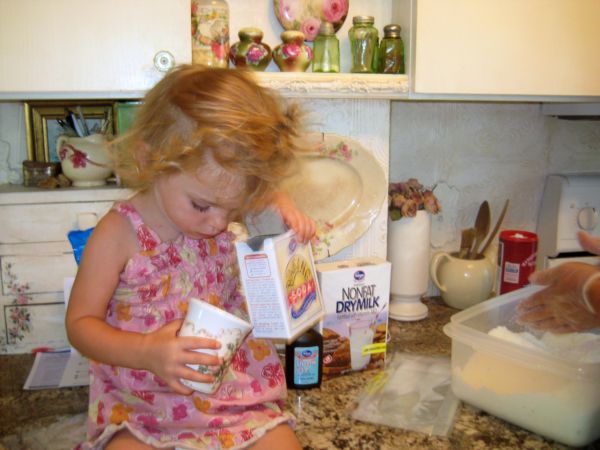
Sugarwing’s Daddy did the mixing, he is much more thorough than I am, I would have just stirred it a bit with a spoon and been done. 

He put on gloves and mixed each and every granule by hand for at least a half hour.July_025

Of course, no project in the kitchen gets done around here without my expert helper.  She likes to be in the center of everything we do.

I’d like to make some pretty labels up for the bags of bath salts we made up, probably will do that tomorrow.

And as a thank you, for the people who were so kind to leave comments with ideas for filling baskets- I want to give away 12  of my one ounce bags of the mixture to the first 12 people who say they’d like some.

So, here is what you need to do- if you sent me some advice about the basket, and you’d like to have a small pack (enough for one good, relaxing soak in the tub), leave a comment and let me know you’d like some.

This is to celebrate going over 10,000 comments on my blog during the last post! Thanks again for taking the time to stop and visit and leave comments, I love to hear from you.July_003 edit-thanks, I have 12 people who would like a sample of bath salts. I wish I could send some to everyone else too!

Here is my 12:

1-Cheryl

2-Karen

3-Robin

4-Heather

5-Donna

6-Connie

7-Joanne

8-Terri

9-Caitlin

10-Jodi

11-Beverly

12-Betty Lou

(still need addresses for the last 3)

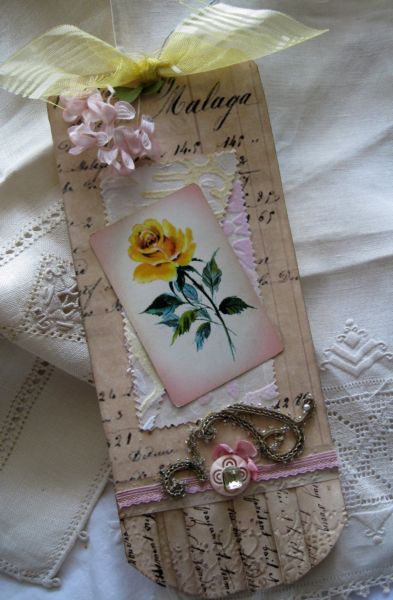
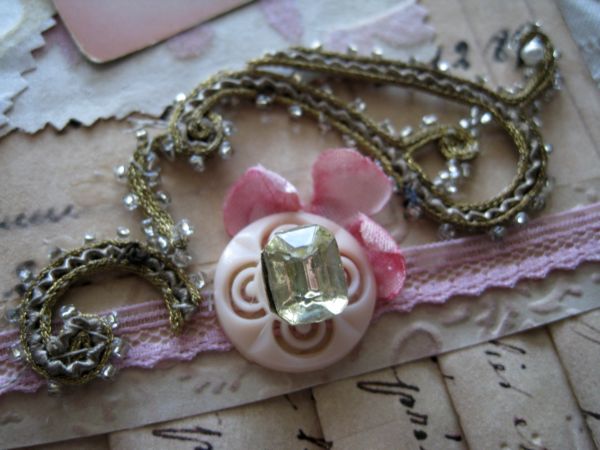
This tag that I just finished is too big to use for the gift baskets, it is 8"x4". If you are interested in buying it for $9, (includes postage-US) just email me.

I loved all of the ideas, and will make use of quite a few, these free baskets will hold a LOT.

Here is what I think I’ll add:

*personalized tags tied to the handles

*the match boxes I already made, with mini candles

* CHOCOLATE!! (that was a popular suggestion)

* a magazine (rolled up and tied with a bow)

* decorated frames so they can display a photo of the trip when they get home

*snacks, like granola bars

* a water bottle with a pretty label

*bath salts (homemade)

*Bath and Bodywork’s lotion

I’ll line the basket with some of the vintage linens I bought last week.

Now, I have to think about the 50th birthday gifts I want to give them!!!!!July_004

I haven’t had more than a few minutes to make stuff this weekend, Sugarwings has been staying with us quite a bit, and today FIVE of her friends came to play.

They were all calling me Grammy Karkie and wanting to paint, or play dolls or in the garden hose at the same time.  It was hectic but fun. So hectic, I didn’t get a camera out!

July_014 The lake was beautiful this weekend.  If you’d like to see a VERY short clip of Sugarwings making up a song while hopping on her PopPop who is laying back and relaxing on a raft, click here.

One of the strangest things happened to us at the lake!

About 6 weeks ago, we caught our anchor on something on the bottom and had to cut it loose, and buy a new anchor.

Yesterday, as we drove across the cove, our motor shut off, due to a rope wrapped around the prop. It must have been floating around, and we just happened to drive across it as it bobbed around the water.

As we untangled it, we thought it looked a lot like our half of a blue rope that was attached to our new anchor, and the we had some trouble getting the mess untangled because it seemed to be stuck to something.  Well, we tugged, and found out it was attached to something- our OLD anchor that we had cut loose earlier this summer!

What do you think the odds are that it just happened to be US who got caught on the rope of our own anchor lost weeks ago??? That rope could have hooked any boat on the lake.  What odd timing that it was us!!!

I wonder if that ladder we lost will be coming back soon???

How to become a fairy, and the Hat Whisperer strikes again!

antiques/junking, celebrations, fairies, family, how to's, Silver Bella, Travel

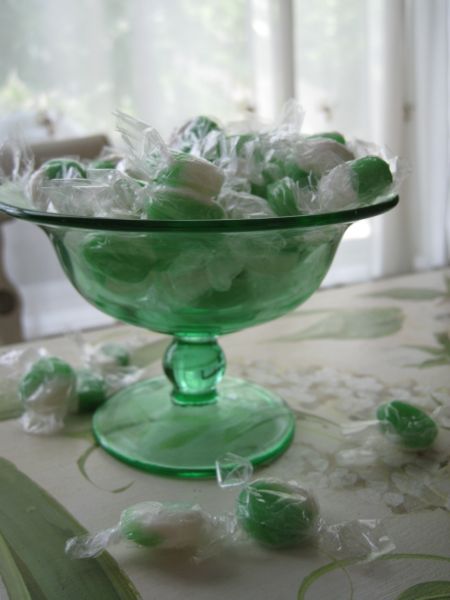
Jens_yard_019 At a sweet shop in St Augustine, I picked up a bag of Key Lime Pie hard candies. I can’t belive I still have this many left, they are so good and they remind me of the beach every time I pop one into my mouth!Jens_yard_017_3

I miss the beach!

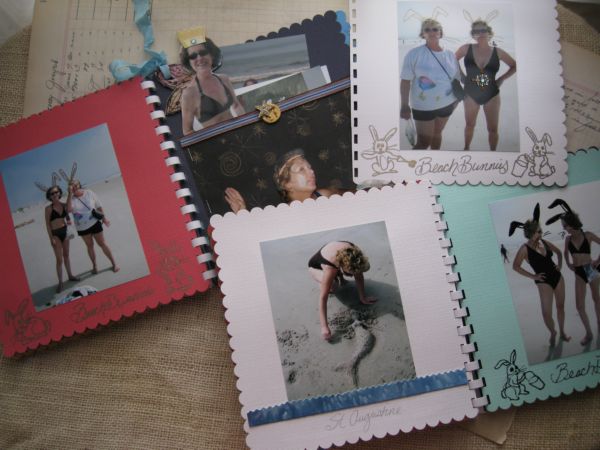
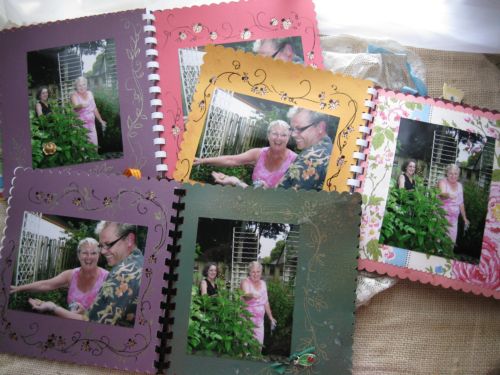
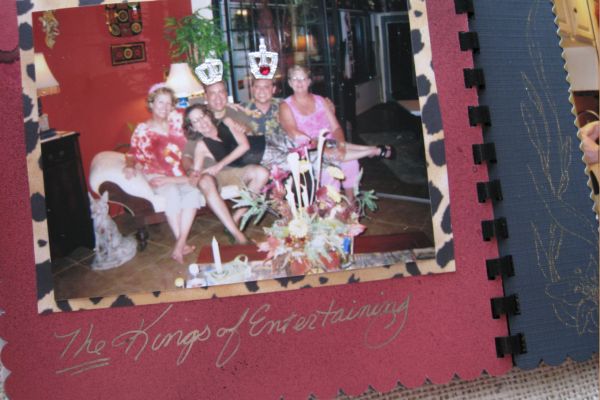
So while my mind is  still lingering in vacation mode, I made some scrapbooks to send to Bobbie, Sissy, Randy and Kevin as a momento of our trip.

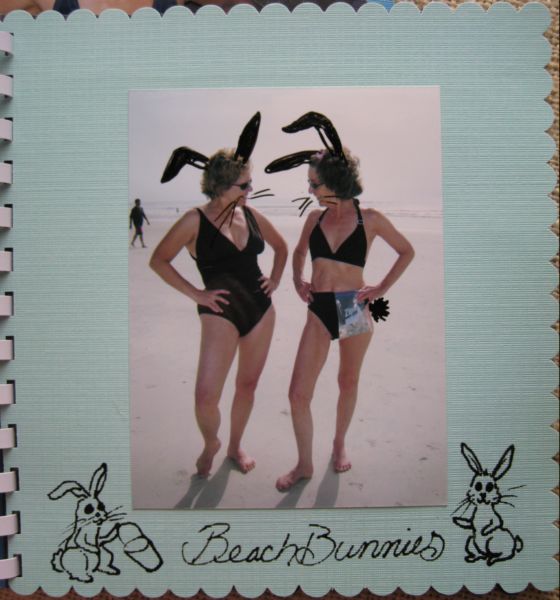
By the way, the bikini babe is my Sissy who is in her SIXTIES.  She’s always been a teeny tiny thing.Jens_yard_016_4

One day while sitting on our balcony and watching a storm roll in across the ocean, we saw a rabbit hop across the sand. 

That is why I turned these pages into "beach bunnies".  I didn’t know there were rabbits on the beach.  I thought that all those long eared hopping rodents lived in my yard and were busy at home eating my plants while I was on vacation.Jens_yard_011

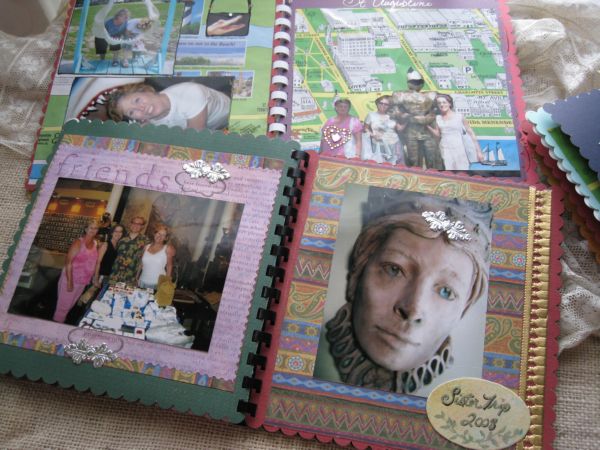
I filled the books with lots of memories of the trip.Jens_yard_006

This cute, scallopey edged card stock comes in a package at Michaels.  One $9.95 package made 4 scrap books, with some left to make at least one more.

  I used my binding machine to put the pages together into a book after they were decorated.Jens_yard_002 

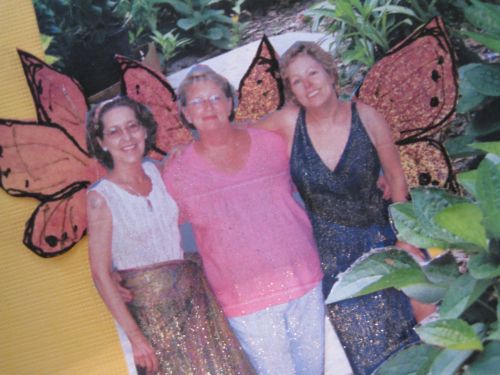
Here is how I turned us into fairies:

I made  5×7 copies of a picture of Randy’s garden and wallet sized copies of a photo of the three of us, then cut us out.Jens_yard_003_2

Hosta leaves in the garden photo were cut away with an exacto knife.  I cut around the plant, so that I could lift the foliage and slide our picture underneath.Jens_yard_001

Before gluing the photo down, I spritzed Glimmer Mist on watercolor paper, glued the cut out picture of us to it, then drew on wings and cut it all out.Jens_yard_005

Once the wings were done, I slid the sister picture under the hosta leaves in the garden picture and glued it all in place, then glittered and dood dadded it up.

On Bobbie Sue’s album, she is holding a magic wand, on Sissy’s she has one to hold. I used vintage stick pins for wands and just poked them through the photo at an angle and added a drop of glue.Jens_yard_008

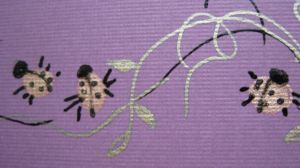
I tried to add a lot of hand drawn elements, like lady bugs and vines on the pages that show us setting a bag of lady bugs free in the garden to control pests. Jens_yard_009

Randy raises butterflies, so can’t use any chemicals out there.Jens_yard_012

I used a lot of Glimmer Mist some pages before adding photos, and did all the writing and drawing with metallic or sparkling pens, so the books have some shimmer to them.Jens_yard_024

While in St. Augustine, I put my Hat Whispering skills to work.

Most vintage hats I saw in this touristy area were EXPENSIVE.  $38-$200!!!  My goodness.  Lots of hats were in these antique shops, but few were in my price range.

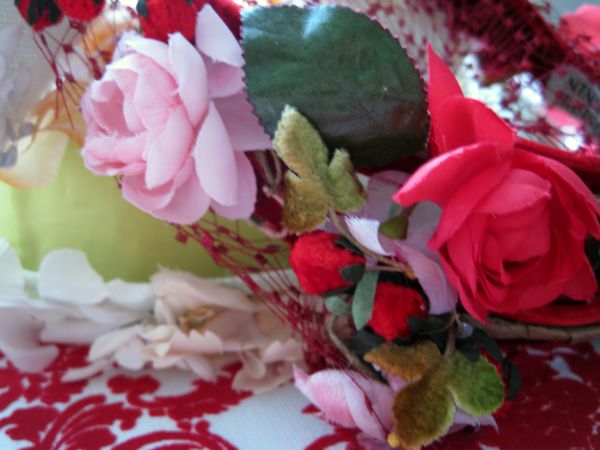
While in one fancy antique mall,  the hat search looked hopeless, but I told my sisses that I felt one upstairs, and walked up the stairs, around the corner and into a back room right to it. Loaded with pink and red velvet roses, it wasn’t cheap, but it was affordable and beautiful and some how it had called out to me. 

I bought only 3 hats all week, for $4, $9, and $15.   But, it does go to show that even in a high dollar shopping area, with the right hat hunting skills, millinery flowers can be affordable!Jens_yard_021

I kept my souvenir shopping to a minimum.  3 hats, lots of candy, these two shells, and a handful of old charms. Oh, and a pink St. Augustine hoody.  I love trashy tee shirts and sweat shirts from tourist trap shops.

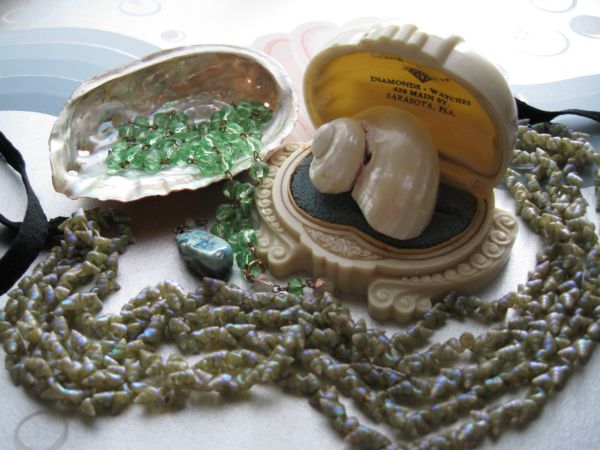
The shell necklace pictured IS NOT from a tacky shell shop!!

It is hand made over 80 years ago by my great aunt, Caroline.  The lovely box was hers too. She gave me those years ago, along with the turquoise pendant that was her mother’s and the wonderful green glass bead necklace that her grandfather made. Yep, lucky, lucky me!!

6a00d8341d319d53ef00e5528e843088331 Speaking of lucky- I got all the classes I signed up for at Sliver Bella! I was at the keyboard the minute sign ups began.  Here is what I signed up for:
Secret Santa Diary/Pam Garrison, Saturday 1:00pm

Home for the Holidays/Pam Garrison, Friday 11:30 am

Christmas Pageant/Teresa McFayden, Saturday 8:30
am

Soldering For Virgins/Sally Jean, Friday 8:00am

Winter Faerie Shrine/Kim Kwan, Saturday 1:00 pm

                                        Total  510.00

Yes, the price went up this year, but it is worth it!! If you haven’t booked your trip yet, do it now before it is full, I can promise you it will be FUN.

Elphie

antiques/junking, how to's, magazine pictures or articles, Sugarwings

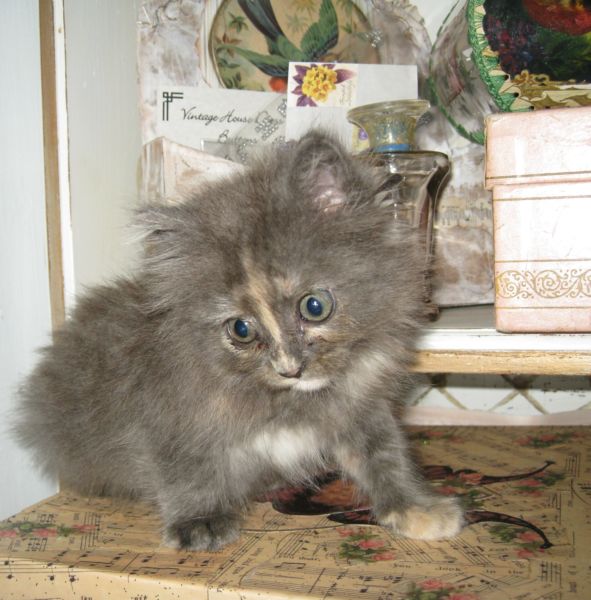
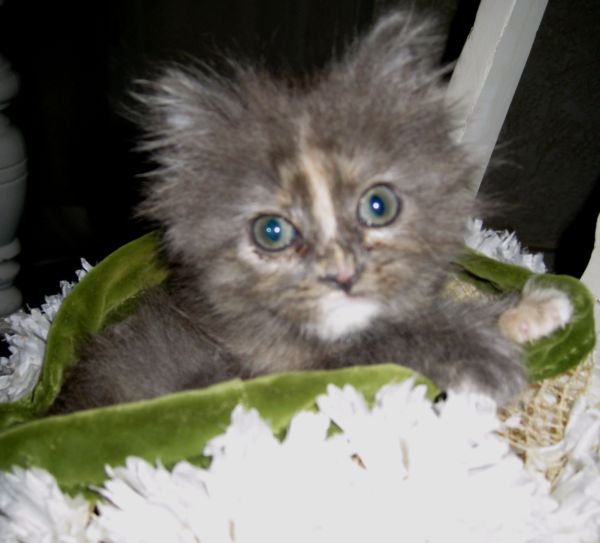
New_ditty_024  Meet Elphie, who seems to like vintage hats as much as I do. Now I know why I buy so many of these, they make great cat toys!New_ditty_017

Little Elphaba (named after the witch from Wicked- she is Kansas kitty, after all!) is only 5 weeks old and is nothing but a teeny little puff of fur. New_ditty_019 

She hides under furniture in my studio and comes out covered in dust bunnies bigger than she is.  She walks across my keyboard and doesn’t have enough weight to push any of the keys.

New_ditty_003 Elphie was meant to be Sugarwing’s kitty, but I discovered that Sugarwings is not a cat person, at least so far. She has no interest at all in this little cutey.  She did tell her some long meandering story that involved lots of mentions of "Yeenkle" (Twinkle), so she might have been telling the new cat that she already had a pet.
Twinkle also doesn’t care much for Elphie. I hope I haven’t done the wrong thing by getting a new pet. Hopefully, they will all come to terms with each other and be friends.New_ditty_011 

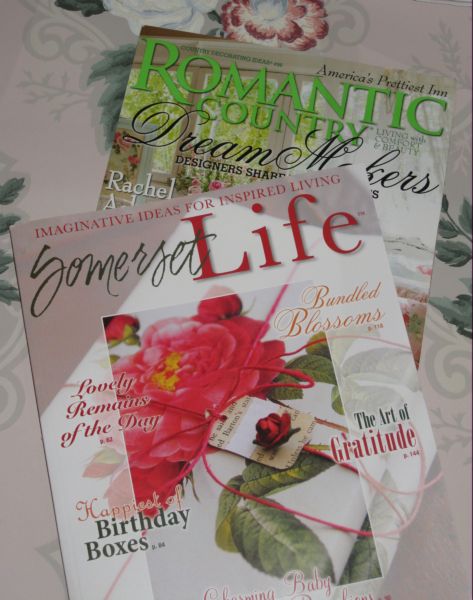
My advance copy of Somerset Life came  in the mail and I was sweetly surprised to see my magic wands in the issue, as well as the magnet board that I knew was going to be included.  In the back, is a photo I took of some (what else??) millinery flowers. 

I had last heard that the wands weren’t chosen to be used, it was nice to see them there.

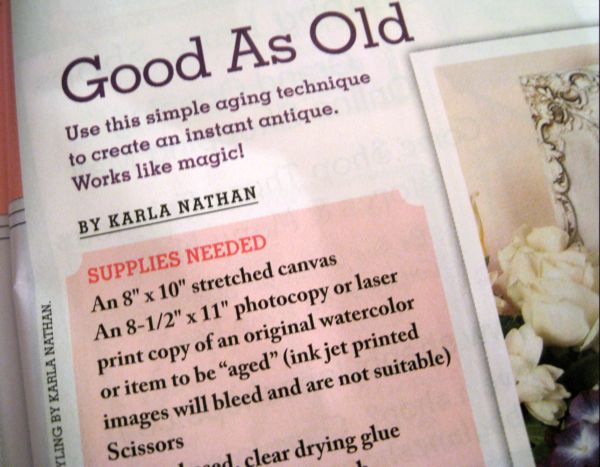
Also, Dawn let me know that the new romantic Country was out and that my article was right next to one about her lovely pincushion. 

New_ditty_032 Both of our projects have how-to instructions if you are interested in making your own.New_ditty_033

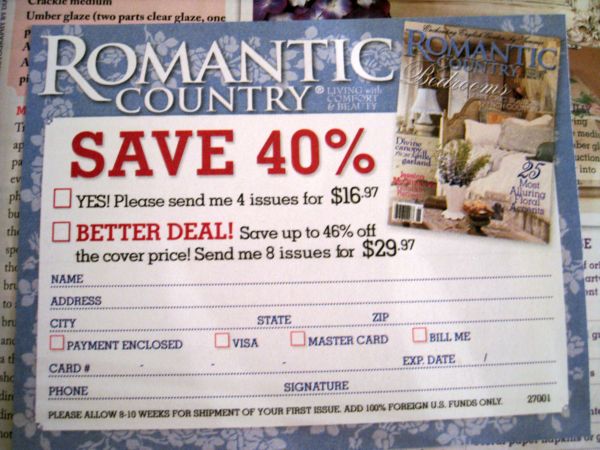
I always hear that this  magazine can be hard to find.  And I had to go to two stores to get a copy yesterday too, so was very glad to see the new subscription cards! I plan on filling one out and getting it into the mail right away.

I’m going for the 8 issues at $29.97, that is a bargain, and I’m all about bargains!Bedroom_redo_049

Speaking of bargains, don’t forget about my June Garage Sale Goodies Giveaway! 

Every comment is entered and I am adding more prizes after going garage sailing this weekend. And who knows, you might open your prize box and have a kitten pop out if I can’t teach her not to walk across my keyboard while I am trying to write an article.

Over the top? Why of course!

fairies, family, how to's, magazine pictures or articles, paintings

Egg_nest_cup_003 So many people were asking me about the mural I did on my baby B-I-L, Randy’s, floor, that I thought I would post more photos.
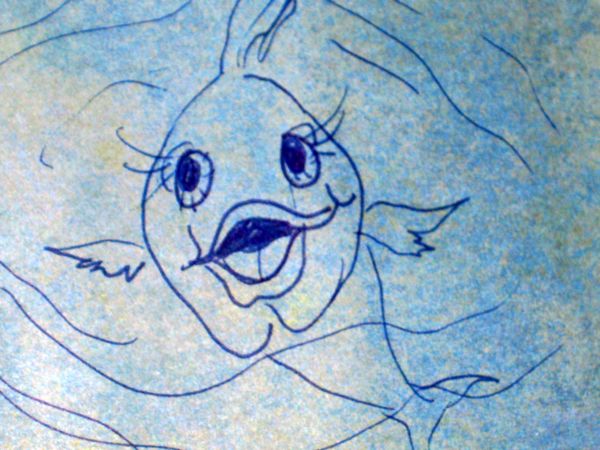
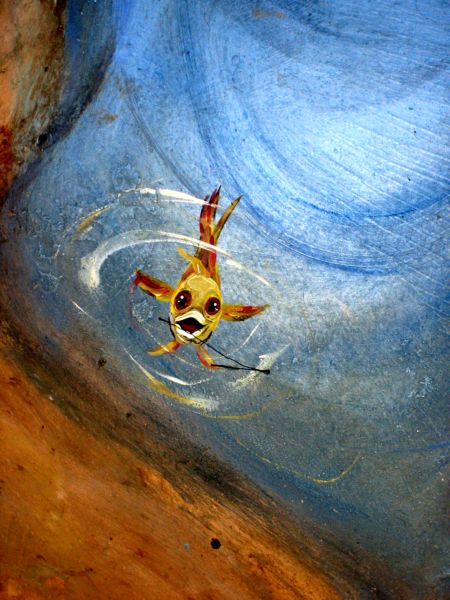
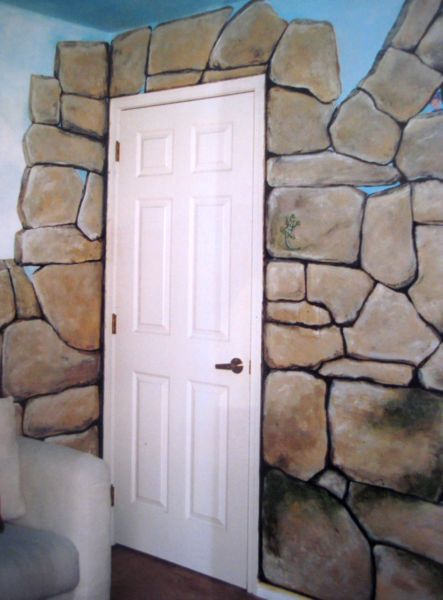
Here are a couple of snaps of it that I have in my scrap book.Egg_nest_cup_002

This little fishy is drawn in the scrapbook too. He is a reminder of the one painted by the threshold in Randy’s craft room, kind of like a Walmart greeter, for everyone who comes in. We named him "Wallerford" after the Walmart greeter and the beautiful crystal Waterford glasses we were sipping our champagne from while we painted. Randy does know how to treat his guests right!Fl_trip_07_037

Here is Wallerford in person.  Please ignore the twig laying on him, and by the way, it is a good idea to sweep the floor before photographing it, if you don’t want sticks in the picture.

Last year, I did a how-to on painting a concrete floor. If you’d like to read it, you can find it here.

Egg_nest_cup_007 Randy’s craft room was painted in stages.  One night, years ago, we started painting family and friends on his wall as fairies.
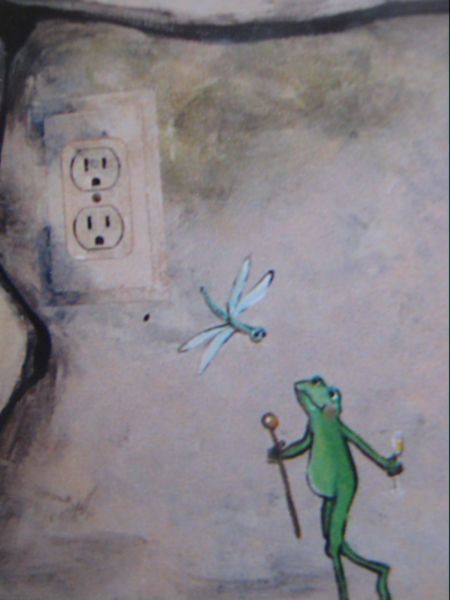

It became a tradition, every time I’d go to Jacksonville to visit him that we would listen to show tunes (we both love Phantom of the Opera, Wicked, and Dreamgirls), drink champagne, and add more paintings to the room.

Now, two walls are a fairy forest, this is what the rest of the room looks like, a garden wall and sky.Egg_nest_cup_006

Little whimsical details are everywhere.Egg_nest_cup_008  Like this frog chatting with a dragonfly while holding a champagne glass.
And one trip to visit was spent making the ceiling a sky.

After that, he HAD to pull up the carpet and turn the floor into a pond. What kind of magical, fairyland garden is carpeted??

Now, every inch of that room is all muralled up.  I still add characters when I go now, there will always be room for a flying puppy, or Randy’s best friend as an elf somewhere in the gardens.Egg_nest_cup_009

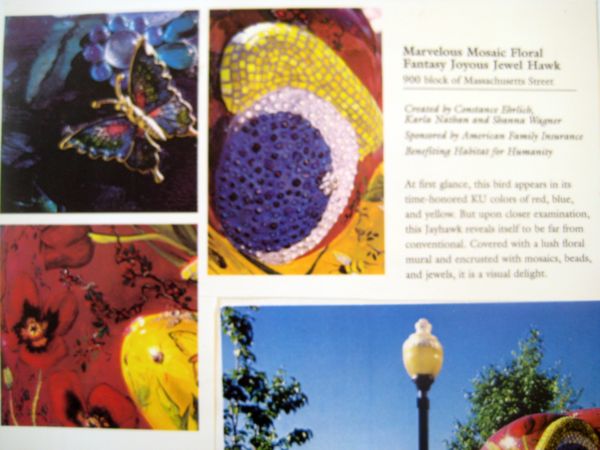
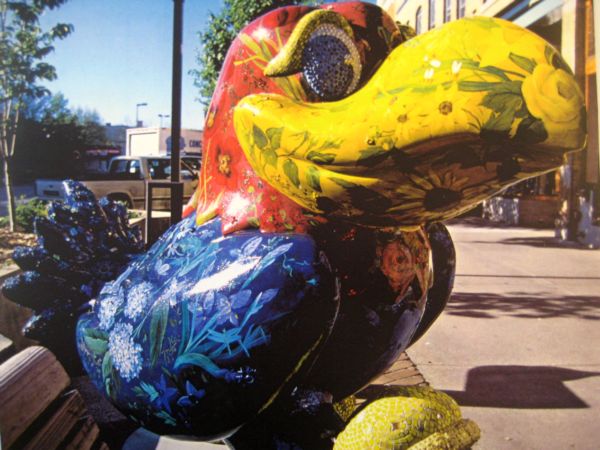
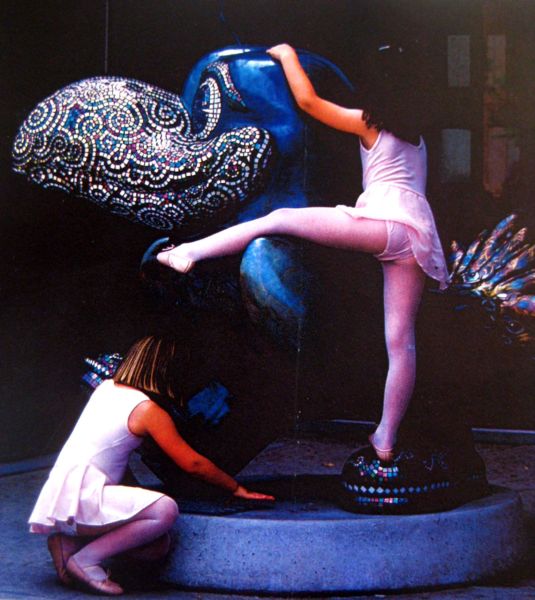
While I had my photo album out to get these pictures of Randy’s craft room, I came across these pics of "Jayhawks on Parade" and with the Kansas Jayhawks doing well in March madness, I thought I’d show you some of the work I did on the giant Jayhawk sculptures that were on display in Lawrence, KS a couple years ago.Egg_nest_cup_010

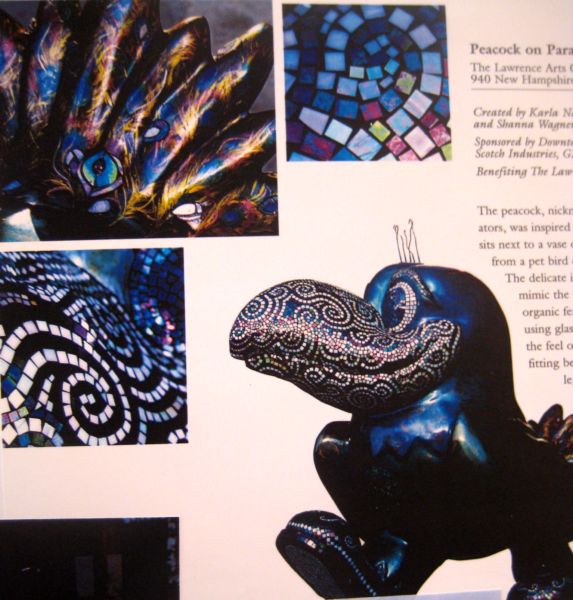
This peacock represented team pride and was commissioned by the Art Center. It is painted in iridescent colors and features stained glass mosaic.Egg_nest_cup_012

The "Marvelous Mosaic Floral Fantasy Joyous Jewelhawk" is  the gaudiest thing ever! And you know I love gaudy.

Hand painted flowers, mosaics, beads, old jewelry, and more- this creature is one blinged up baby.Egg_nest_cup_011

Over the top? Well, yep, just the way I like things.

Speaking of Blinged up, tomorrow (Thursday March 27) is our Bling your birdhouse day.

Birdhouse_233 Hope to see you there!

Remember, I will be giving away one gaudy home for birds to someone who leaves a comment on the party post.

Oh, and GO Jayhawks!!

Frilly Things, Blings, and Butterfly Wings

fairies, family, holiday decor, how to's, parties, Sugarwings, vintage paper/collage art

Bookclub_113_3 I was invited to a fairy tale party with Sugarwings yesterday and of course it was right up our alley. We got to wear our wings and frilly things, plus do some blingsBookclub_132 !

The party was at our local HyVee grocery store promoting the release of "Enchanted"Bookclub_137

All the little girls got craft packs to decorated crowns and wands, that of course came with a ‘poisoned’ apple, since they were all fairy princesses. Sugarwings decorated me with most of her glittery stickers instead of putting them on her tiara.

Afterwords, when I went grocery shopping to get some forgotten items for the dinner for 18 I was cooking that night, I looked very sparkly in the store with my extras the baby added to my fairy grandmother outfit.

They dined on mini pizzas. Dessert was a chocolate fountain with lots of goodies to dip into it.  So, she wasn’t too hungry for my build your own burrito bar that night for the big family dinner.  I don’t blame her, its hard to come back to reality and eat a burrito when you have spent the afternoon as a princess and being served chocolate from a magical fountain.Easter_egg_002

With company here, gallbladders going bad every where I look, and tax season approaching, there certainly has not been much creative time at my cottage lately.

I was able to squeeze in an hour or so yesterday and made 3 eggs.  I’d seen these made at Amy’s and hers are so much better, but I chose to use throw away materials,  not anything wonderful like her velvet ribbons and rhinestones.Easter_egg_003

The trim I used was just snippets of crepe paper and tinsel. I was too cheap to use the ‘good stuff’

Easter_egg_004 Heres a quick how to:

Start with the large sized plastic eggs

pick a paper you want to cover the egg in, tear in small strips and soak the paper for a moment in water

brush glue onto one side of the egg, add paper strips, mushing them down well with your fingers, then brush glue over the top and sprinkle with glitter (I used the kind that looks like sugar)Easter_egg_007

Repeat with the other half of the egg, being careful to get close to the edge but not interfere with the lip.

Glue trim along the edge to cover the rims, so they don’t show when the egg is put back together.

I’d keep these out of candy baskets, because of the glitter, but they make a pretty display and I will put a gift card in them to give to the bigger kids.Easter_egg_012

I also got started covering my Swiss Chalet music box. Not exactly a birdhouse, but it is a house and I will add some birds, so I think that if I get it finished, it can come to our Bird House Bling Party next Thursday. 

Check out the details if you’d like to be a part of it. And remember, you don’t have to be a blogger, you can get a free flickr account and upload photos there too.

This chalet is barely begun, but I think that the pink polka dot ribbon might be jarring.  I usually go for all vintage trims and maybe this one is too new looking??  The velvet is a scrap from a rocking chair I redid for Sugarwings when she was born.  I found some white velvet, and was able to do a soft pink marbley look with fiber reactive dyes.  Her little Hippy Chick mom loves tie dye, so this was done just for her.

Today will be a craftapoolza- Beth is coming to play! We will be making birdhouses all day to be ready for next week (I hope you join us! Feel free to add the button to  your blog too).  We’ll also be plotting our next swap, so I hope you’ll join that also.Easter_egg_003_2

We aren’t the only ones planning a party, there is always something fun going on in blogworld. Sandy is hosting an Easter Parade today and is asking us to show our Easter Bonnets.  Here are some of my latest purchases, in a basket on the fairy grandbaby’s piano. She likes to wear one while she serenades me.Bookclub_105

She is going through a hat phase right now and luckily, I can keep her supplied with plenty of rosey ones to show off in.Easterparade005

Thanks, Sandy!

Easter_egg_004_3 And over at the Part Tea Planner’s there is a tea party welcoming the first day of spring.Firstdayofspringteaparty_header_cop

Enjoy the celebrations!

Scroll to Top