how to’s

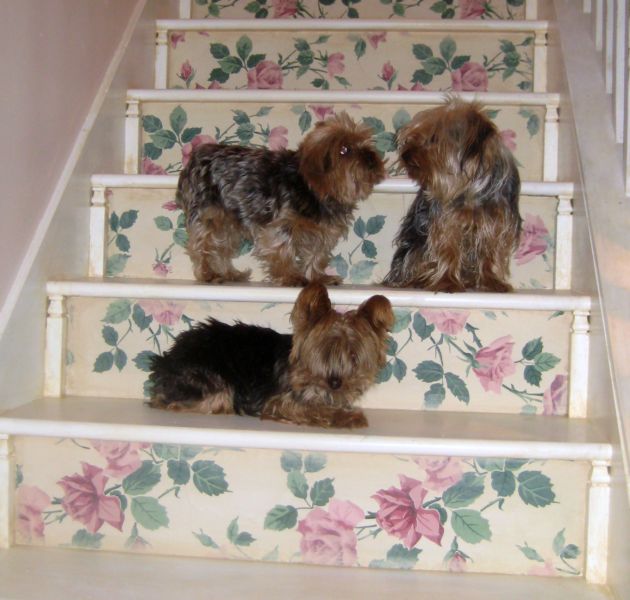
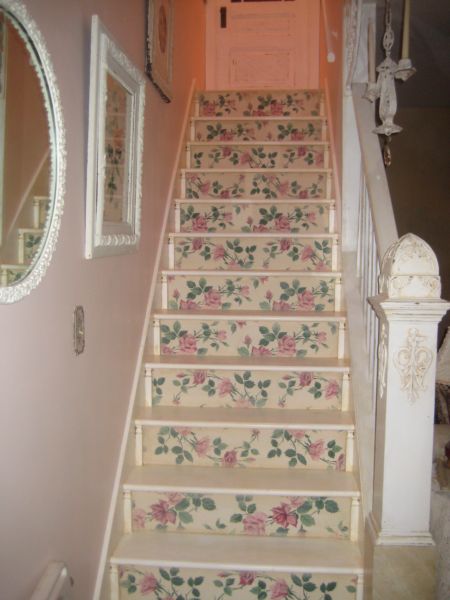
It took a few days, but I am finally done with the stairs!

Dorkies (Yorkshire Terrriers), how to's, paintings, redos

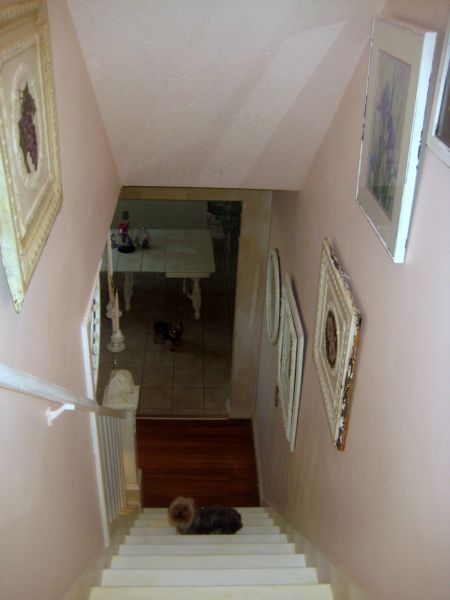
Stairway_redo_074_2  Its done!  whew, am I glad. So are the dogs, they have been penned up way too much to keep them out of the construction mess.  Plus, I knew that Twinkle wouldn’t be too much help with the stair painting. She’s helped me paint before and it usually means tiny little footprints across the room.Stairway_redo_002

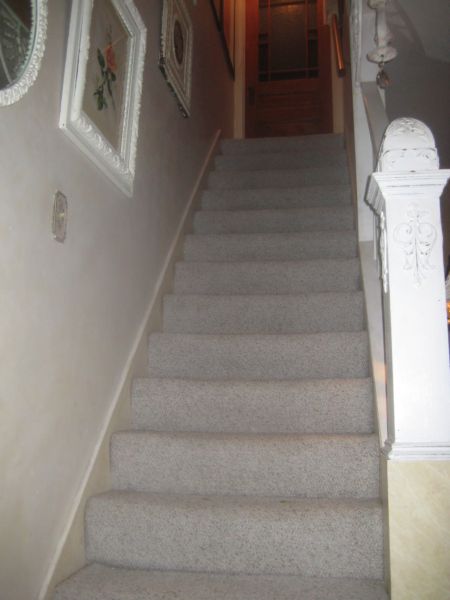
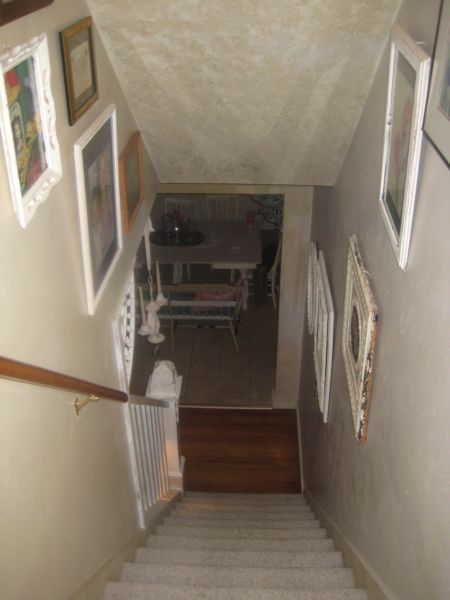
Remember last week, I had this?Stairway_redo_065

Now look!!Stairway_redo_004_2

My stairway had been quite the hodgepodge of wall art, none of it really went together.  It was dark, gloomy,a nd I could never keep that carpet clean.

Plus, we have an old house, but the upstairs addition is only 15 years old. I always thought that  the stairs looked too modern, plus the whole area was just blah.Stairway_redo_092

Because I was too short to reach up into the corners of the ceiling, I had to paint the walls  and ceiling both the same color, I simply couldn’t cut in with a brush. It all had to be done with a roller on a pole.

I am a big believer in painting your ceilings a color instead of white. but might have preferred some contrast here. Oh well, its so much better than before!!Stairway_redo_085 

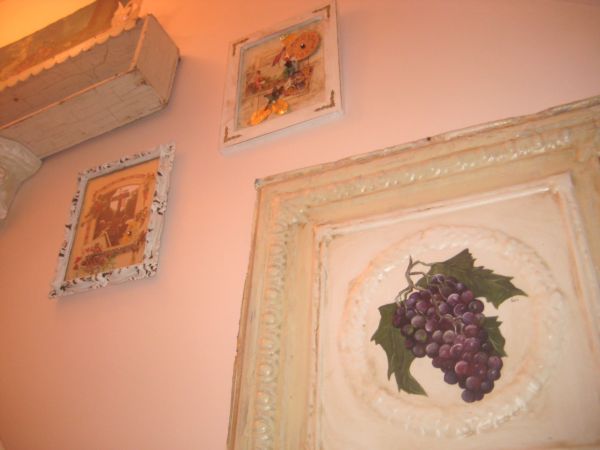
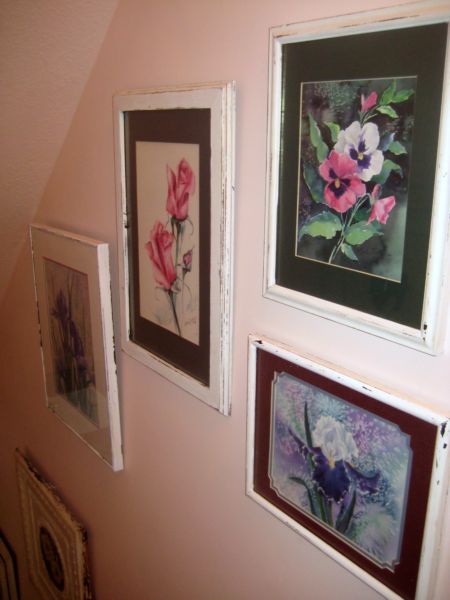
I also edited and rearranged the artwork hanging on the walls.Stairway_redo_082 (of course, that also means that I had to redo a wall in another room to make space for the family pictures I took down from the stairway, but I already said, one redo automatically leads to another!)

While I had them all down, I painted the frames white and distressed them.  It is a much more cohesive look.   Instead of it being the place where my unsold watercolors go to die,  it looks like a gallery! (well, not quite, it is still full of rejected paintings!)

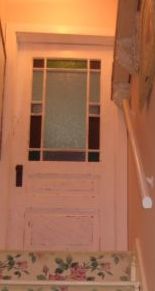
Stairway_redo_081 While I had the white paint out, I redid all the wood work too, including the banister and the old door at the top of the steps.Stairway_redo_076

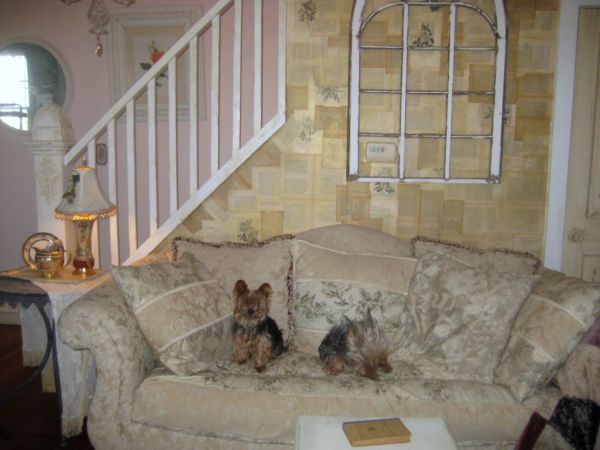
A little splash of Strawberry Whopper Pink in the background livens up my living room a bit too.Stairway_redo_079

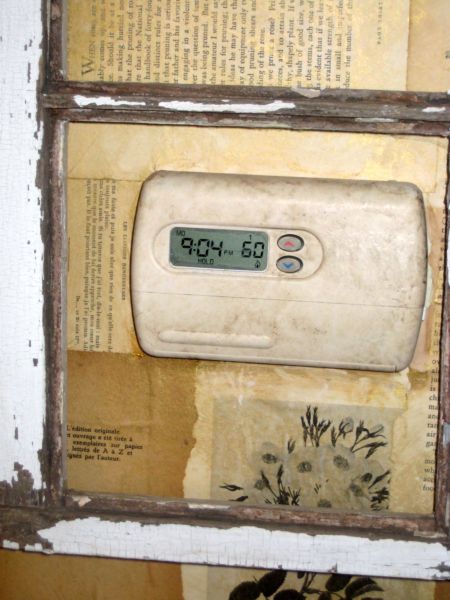
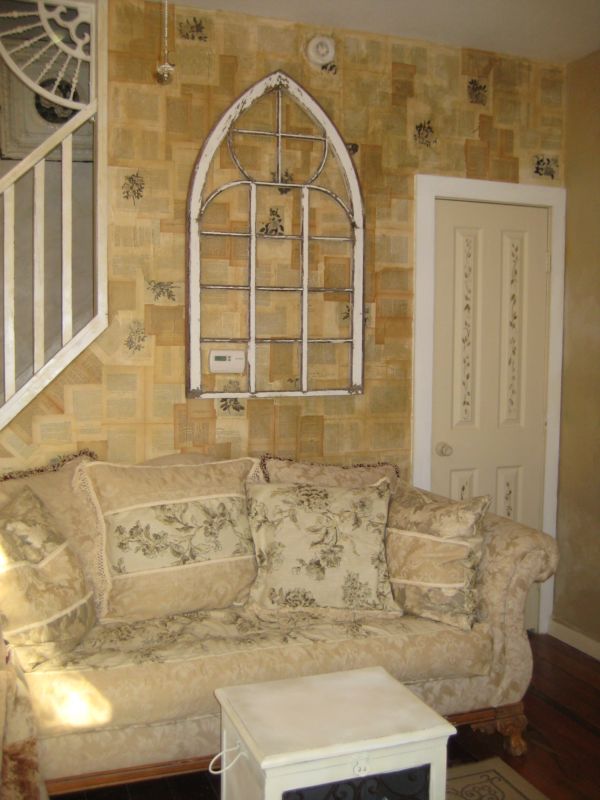
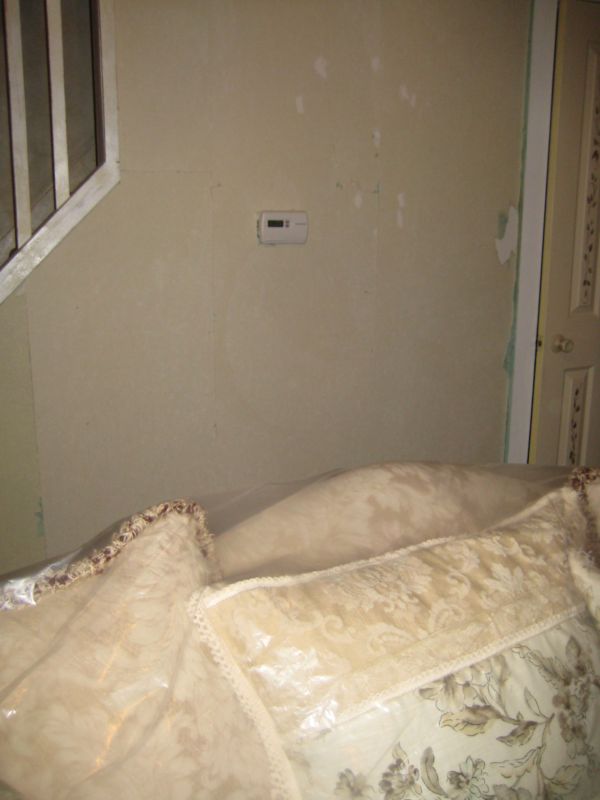
The thermostat had always bothered me, since it was glaring white. I toned down the brightness with some glaze, and also glazed the  closet door next to the sofa.Stairway_redo_059

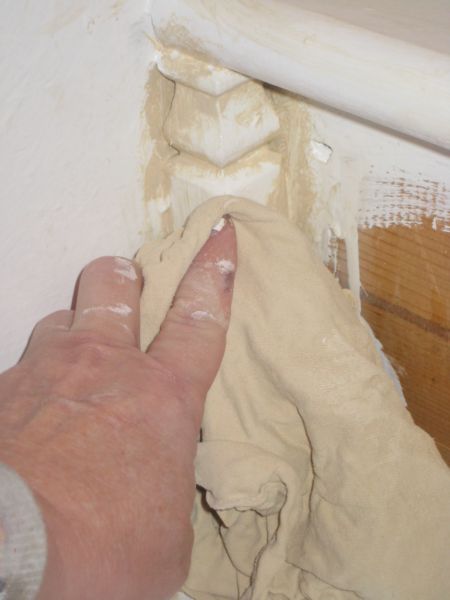
I had to do the same with all of the steps and trim.  After painting them a semi-gloss, bright white, I brushed a pale coffee with cream color glaze into the crevices and cracks, then wiped it all down with a wet rag torn from an old T shirt.Stairway_redo_060

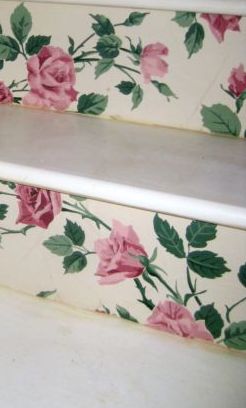
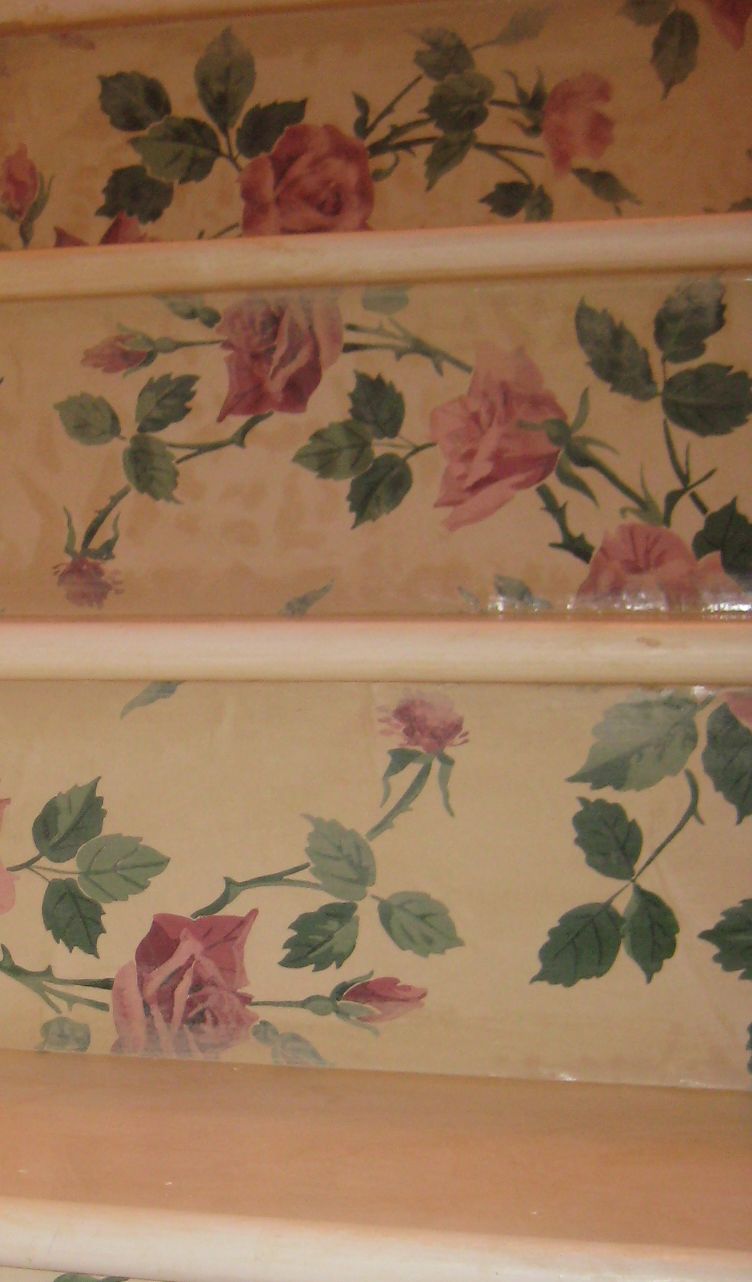
Next, I wallpapered each riser with some gorgeous, old vintage rose wallpaper I’d bought on Ebay.  I used Elmer’s glue instead of wallpaper paste, for a tight hold.

When I stood back and looked at  the finished work, I was worried it was just way, way too much. 

The wallpaper was in such good shape, it didn’t look old!! Too white and too perfect.Stairway_redo_061

So, out came the glazes again, and I toned down the glaring newness and some of the busy-ness of the steps. They are still pretty durn busy, but in a way I can live with now. Stairway_redo_078

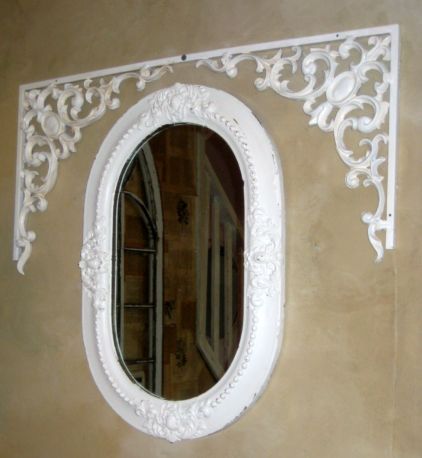
And since I was redoing…. Beth had given me this iron arch, it was originally brown. (yes, she is a great friend to have around, isn’t she??? I bought her lunch, but think this arch is worth more than that.)

I painted it white and glazed over it too. Then painted the mirror white, it had been gold, and I’ve used it as a center piece for my white dining room table since Christmas. But I am getting a new table this week!! The top of it is pecan, not painted, so the gold mirror, just wasn’t going to work there any more. Plus, it is always time for a change!Stairway_redo_089

Since I had already repainted or glazed:

stairway walls

stairway ceiling

door at the top of the stairs

banister

steps

kick board

trim

closet door

thermostat

the picture frames

iron arch

mirror

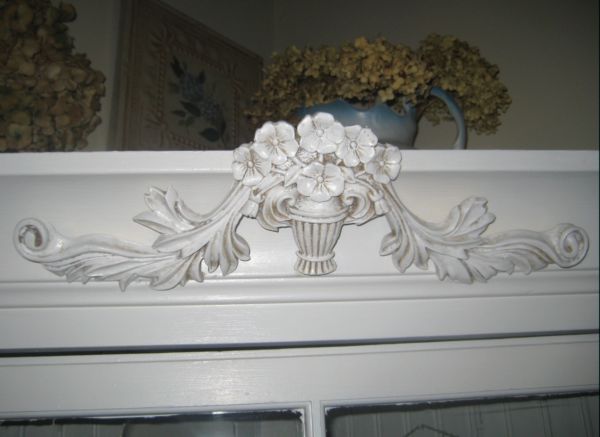
Then, I figured, why not paint the corner cabinet in the dining room, so it will look better with the new table that I am getting this week? It had been a white-white, and I painted it more of a creamy white. Not a big deal to most people, I guess, but it mattered to me.  I added the ornate piece at the top of it.  I had to stand on a step ladder and hold it in place for about 20 minutes, waiting for the liquid nails to dry. But I took a book with me, it needs to be read before book club next week and I keep putting it off.  So, there I was trapped for a bit, with nothing else to do, a perfect time to get some reading done! 

Sugarwings Sugarcookies

how to's

Sugar_cookies_004 I am trying to figure out what recipe to use for the Sweet Treats and Roses Swap, and I am afraid, I just don’t do recipes much.

I decided to try a recipe for hand painting sugar cookies.Sugar_cookies_007

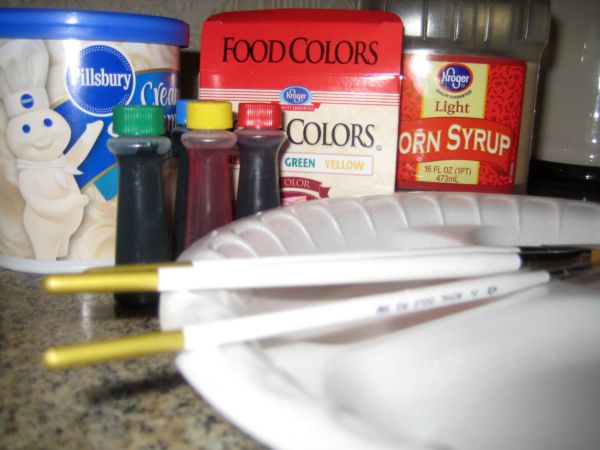
You add food coloring to clear Karo Corn syrup to make your "paint".Sugar_cookies_008

I used coffee stir sticks to mix the colors.Sugar_cookies_017

After baking a batch of sugar cookies from a mix, I spread white canned icing on one at a time as I was ready to paint them.  If you ice them ahead of time, the icing sets up too hard to paint on.

I dipped a brand new paint brush into the food coloring and started to paint.Sugar_cookies_019

For a rose, I used the red food coloring in the clear syrup, and swirled it around, mixing it with the icing itself, which made some areas pink.  I went back with a dot of red on my brush to add a center of the rose.Sugar_cookies_020

Using the green and yellow colors, I added leaves and vines.

On some cookies, I used colored sugar sprinkles on the edges. (that also needs to be done while the icing is still soft, not set up)Sugar_cookies_021

Keep a glass of warm water handy to rinse the brush out often, it will get clogged up with globs of icing.Sugar_cookies_022

After rinsing, make sure you dab off all excess water before dipping into the paint again.Sugar_cookies_025

You can also paint direcly onto the cookie, without icing, for  a different look.Sugar_cookies_026

I start with the lightest colors first, and add darker ones as I go.  Sugar_cookies_027

When you are finished painting, colored sugar lightly sprinkled onto the cookie is a pretty touch, a little like adding the glitter to a collage project!Sugar_cookies_043 

I didn’t have a butterfly cookie cutter, so I free handed the shape with a knife and cut it out of the dough. I suggest using a cookie cutter instead!!!!Sugar_cookies_041

I like to store my painted cookies under a glass cake dome, but before I do, I let them air dry for a couple of hours at least so they don’t stick together.Sugar_cookies_032

On Thursday, Beth and Carol are coming over to have a craft day and play with papers.  I HOPE to still have a few cookies to share with them. But, Sugarwings and her family are coming over tonight, these cookies might be gone fast.Lee_lee_contest_044_2

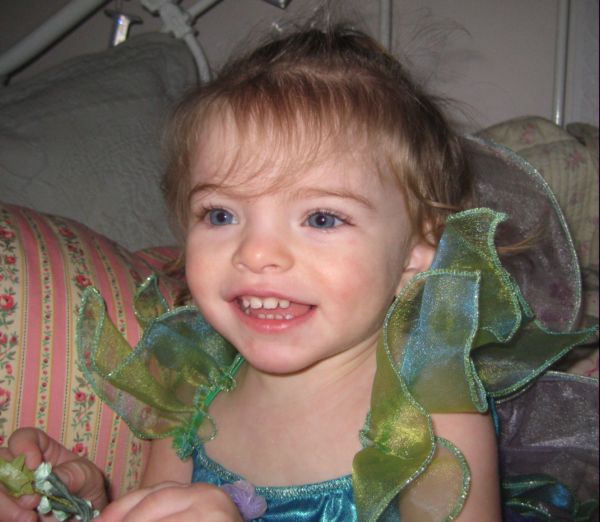
Speaking little Miss Sugarwings, I have a favor. There is a cute baby contest I hope to send her photo into (don’t all grandmas think that their own little cutie will win?? but hey, look at those eyes!!!)

I took a few pictures of her and would appreciate your vote on which I should use.

I like this one, she is looking right at the camera and her dimples show.

#1Lee_lee_contest_010

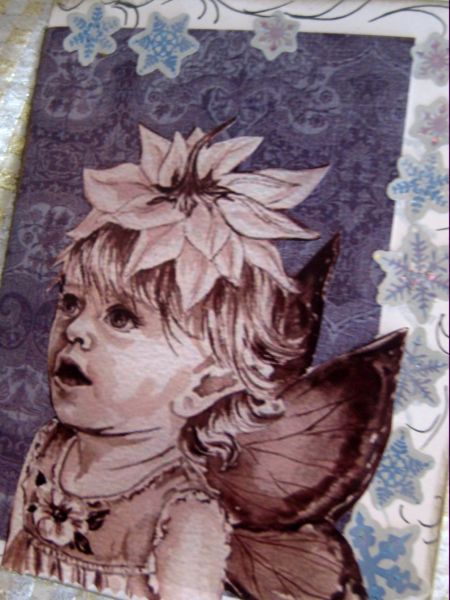
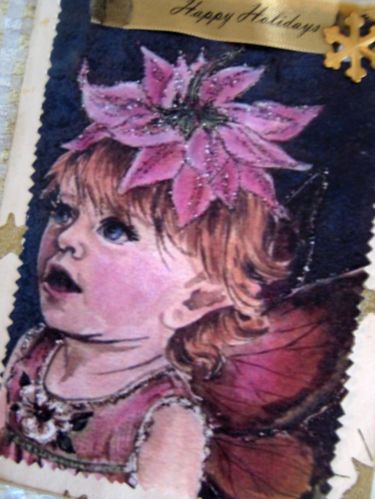
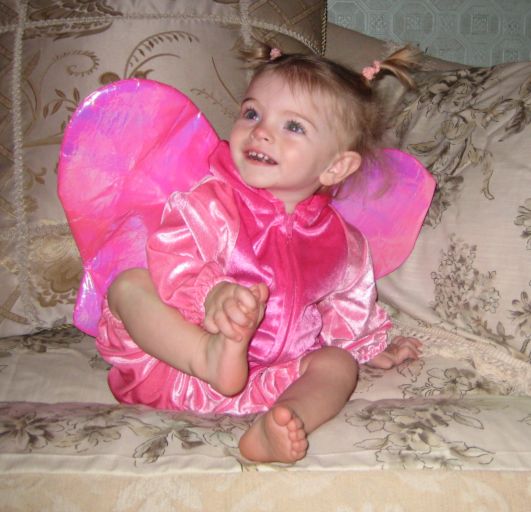
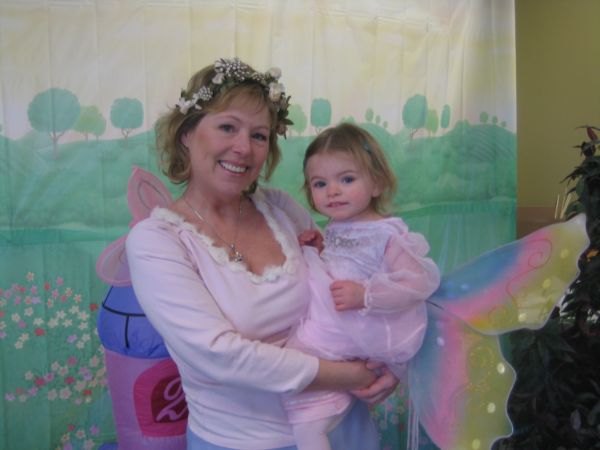
#2- a sweet fairyLee_lee_contest_038

#3- really fun, but I don’t know if her eyes show up enoughLee_lee_contest_047

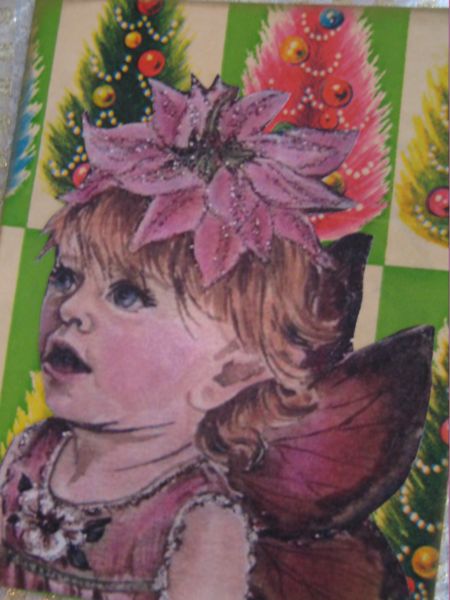
#4- sweet smile and her eyes look good, but she is not looking at the camera, will that matter?

I might take some more tonight after dinner, unless she is too smeared up with cookies after she eats!

Please let me know what you think is the best photo to submit.  I have a couple of days to send it in and would love your input.

Its starting to look like Christmas!

fairies, family, holiday decor, how to's, Sugarwings, vintage paper/collage art, We're having a party
Little_joan_046 The view from my studio window is a blizzardy one today.  Little_joan_014
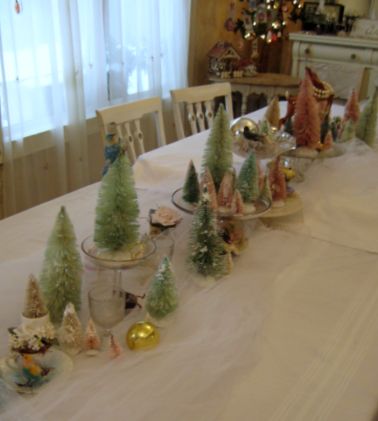
But the view inside is improving!Little_joan_019

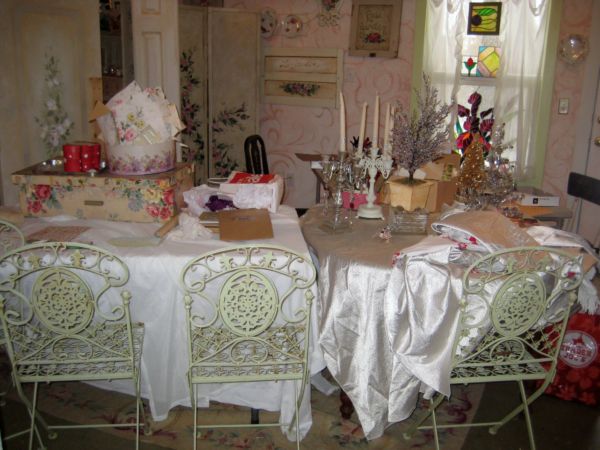
I actually got the studio cleaned and HALF of it is set up for my 3 big Christmas party meals coming up.Little_joan_013

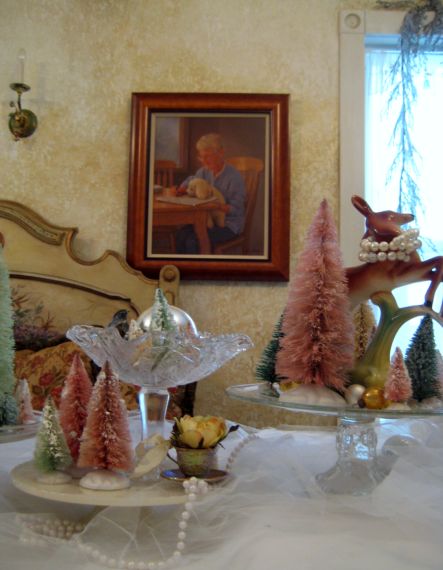
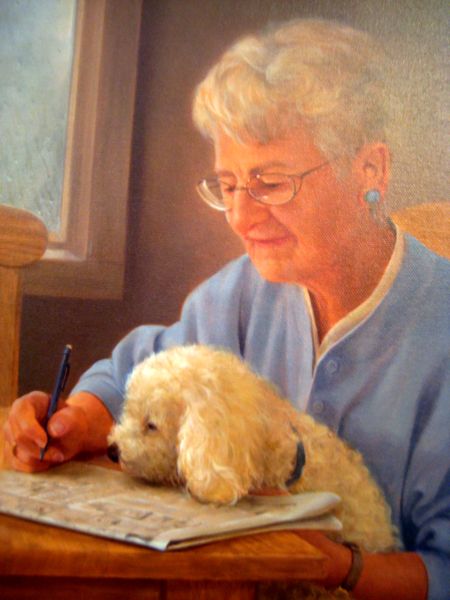
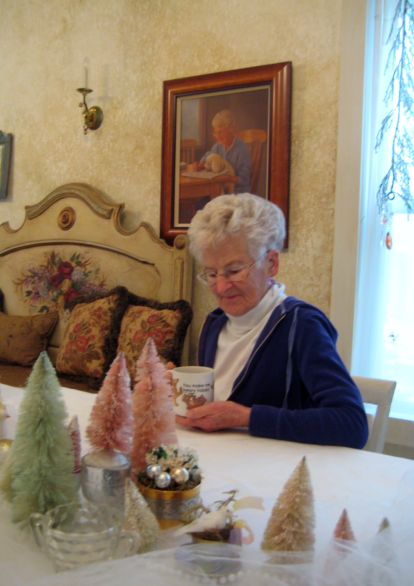
Did you notice the amazing painting on the wall??? A gift from my sister-in-law’s family.Little_joan_009

She commissioned an oil painting of her mom and had copies on canvas framed for everyone in the family.Little_joan_010

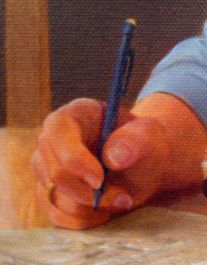
Look at this detail!!!!  Right down to the hearing aide in Little Joan’s ear and the nub of the eraser on her mechanical pencil.  Little_joan_012

The artist is Lynn Lupetti, and I was so impressed with this portrait, I had to look her up online.

Apparently, I am not the only one impressed with her, she has paintings hanging at the Smithsonian, The Vatican, and the White House!  Little_joan_024 

Now, I am stunned by this gift.  Not only does it capture the sweet nature and kind face of our Little Joan, it is from a renowned artist.  I loved it before I had any idea who did it.

I’m sure it was expensive and so is the frame, but do you think anyone would care if I painted the frame white??  You know it is going to happen. Maybe more of an ivory.

Little_joan_033

I placed the painting in my studio for now, so we can all enjoy it during the holiday meals I have planned for out there.Little_joan_030

I have this side of the room set up and ready to go, and the other side is close.  Little_joan_042

I got side tracked and made some Christmas cards while trying to set up the unfinished side of the room.Little_joan_043

I’d already had Sugarwing’s painting copied into four per page, and cut them out, some around the body, but others, just as a rectangle. All of the cards are different.

I buy note cards on clearance to use as background, this one was a teddy bear design thank you card.

I glued a piece of vintage styled scrapbook paper over the teddy, and across the back of the card to cover the writing on it.  Then, I added snowflake stickers, some swirls of black glitter ink (I thought I had a silver pen, oops! but black is OK, at least it is glittery)

Then, I glued a sepia toned copy of Sugarwings onto it- and was done.Little_joan_044

These are being kept extremely simple. I did a couple dozen this morning and now will stop and add addresses those before I do any more. I want to be sure I can get some mailed to relatives and not get carried away with cutting and gluing and having too much fun, then not have time to address or mail them.  (The vintage wrapping paper is from Beth ‘s stash)

Little_joan_045 This one is on old wallpaper that has a star pattern in gold. The paper wraps the back of the card too, so you can appreciate the vintagey goodness of the print, and so it will cover the writing, since I am using premade note cards and don’t want that to show.
I cut a snippet of holiday ribbon to glue down and embellish with a brass snowflake and that is it on this one.

I keep wanting to do MORE to them, but figure that friends and family would rather get one like this, than nothing at all. And if I spend too much time on them, I wouldn’t get any out. Little_joan_036

Plus, I really need to get back to work on the studio/dining room and get it set up completely. Looks like I will have 22-27 on Christmas Day and this side of the room is only set for 12.  Little_joan_035

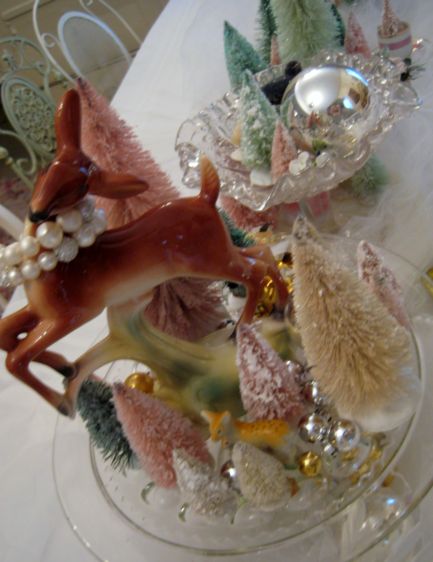
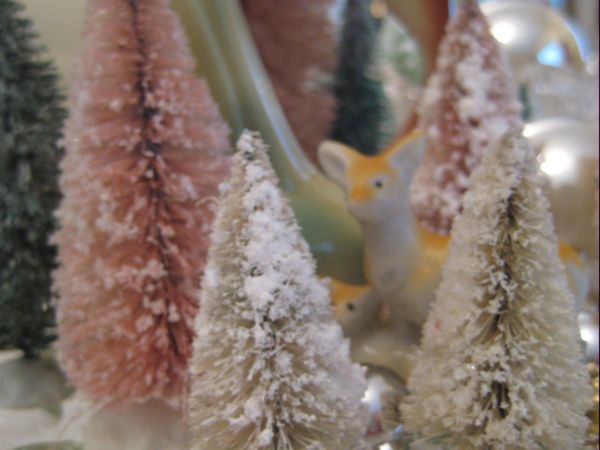
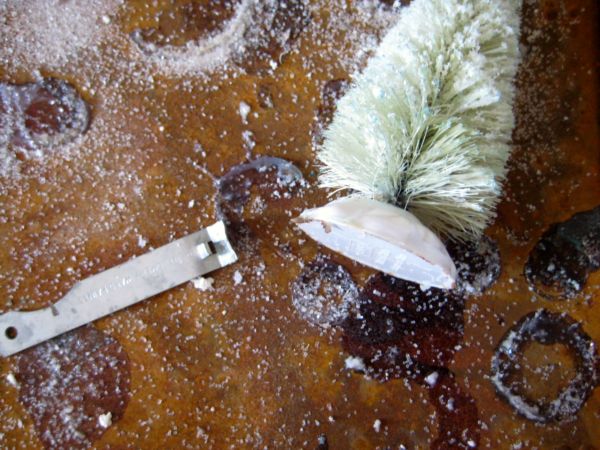
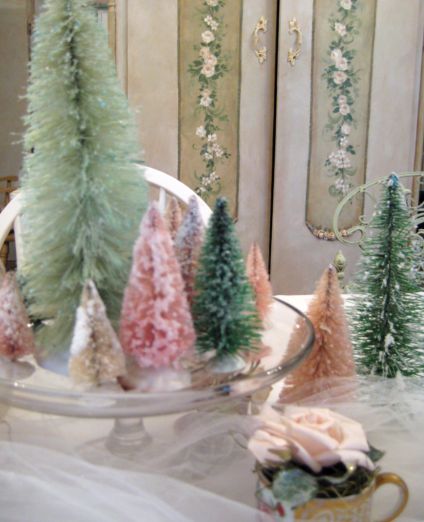
The bleached and dyed bottle brush trees didn’t go as far for a centerpiece as I would have liked.

Little_joan_037

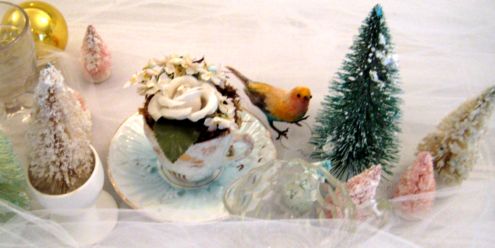
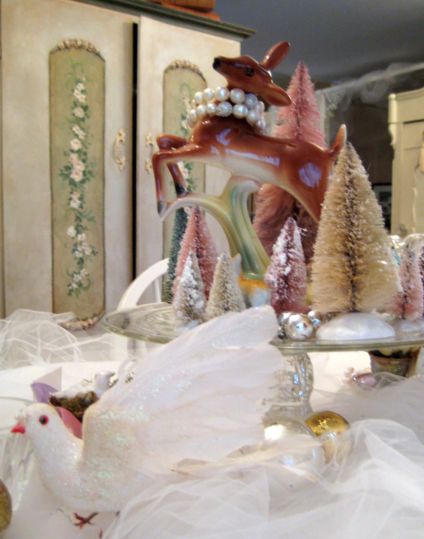
I added sugared birds, reindeer, cake plates and compotes, as well as some candle holders.  Lots of clear glass and tea cups with millinery flowers or tea lights in them.  Little_joan_039

I always serve all my meals as buffets, so I can fill the center of the table with pretties and have the food set up in the kitchen where it is convenient to clean up and put away afterwords.

I don’t know how I will decorate the other side yet.  Funny, that 4 packages of 21 bottle brush trees only fills one table.Little_joan_049 But they are so tiny, they need to be clustered for any impact.

See there is progress on this part too! When I finish my Christmas cards, I will stash all the supplies behind the screens and arrange them to hide the messes, foof up the tables, scrounge around the house for chairs, and as Tim Gunn says, "make it work".  I might need another table squeezed in somewhere……

Hope your holiday preparations are going well too!

*<];{> Santa comes early for me with pretty pink birdies and a fairy land delight!

fairies, family, holiday decor, how to's, Sugarwings, vintage paper/collage art

Mess_043 I got pretties in the mail!!!!!
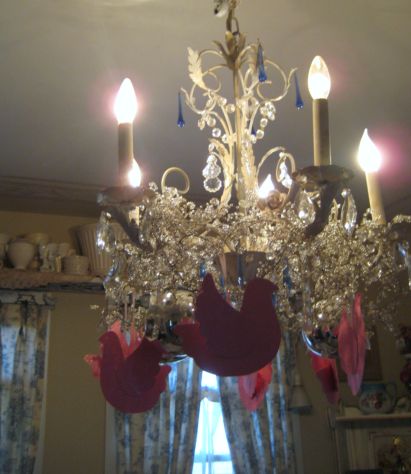
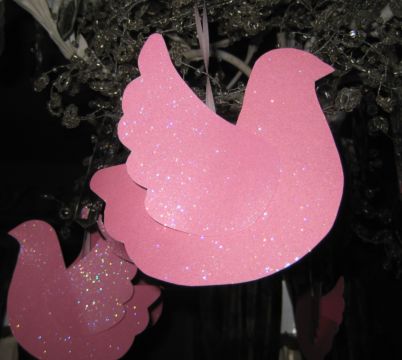
My Sissy made these pink paper birds for me, and I ripped open the package immediately. Hope I wasn’t supposed to wait till Xmas!Mess_044

Aren’t they sweet????Mess_046

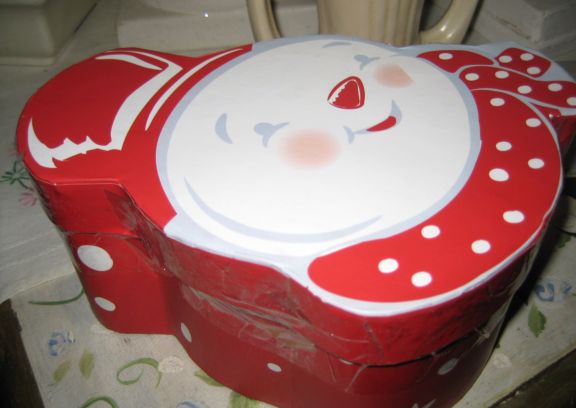
And look at the cute box that Barbara sent to me.  This is a whimsical box as it is, and who would have thought to use something this fun to mail a package in??Mess_047

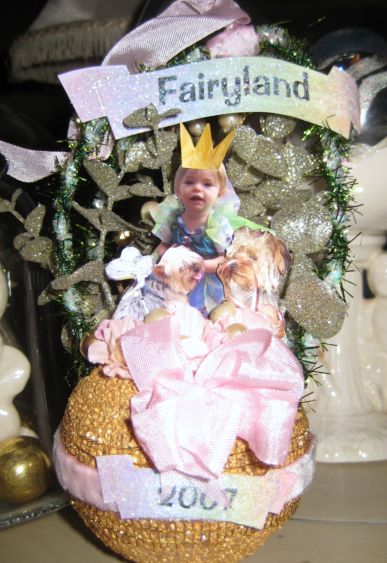
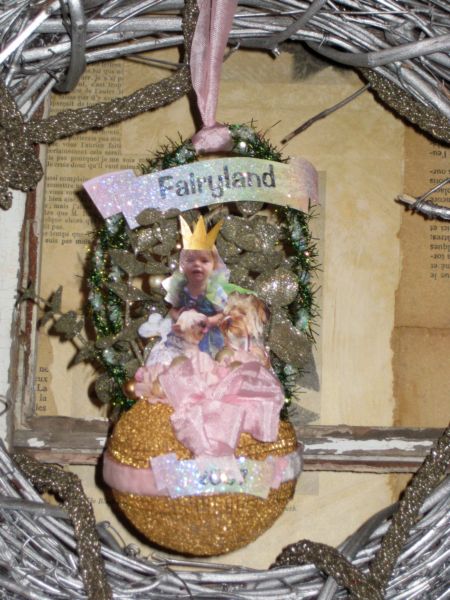
But look at the magical creation inside!Mess_053

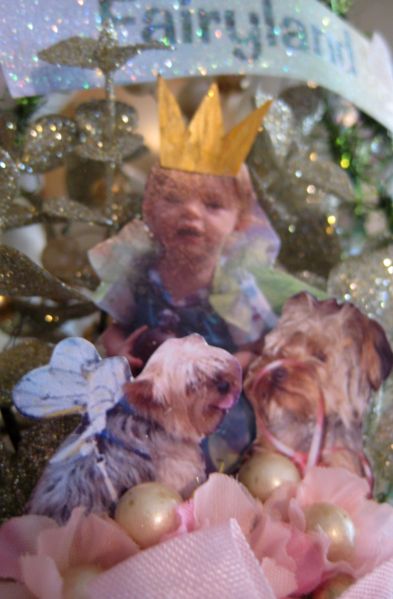
Twinkle and Sparkle Fairies, in a glittered floral wonderland.Mess_054

Next to the princess of all the fairies, Sugarwings!Mess_067

Every detail is perfectly wonderful from the rainbow paper the banner at the top is made of to the vintage pink ribbon bow.Mess_064

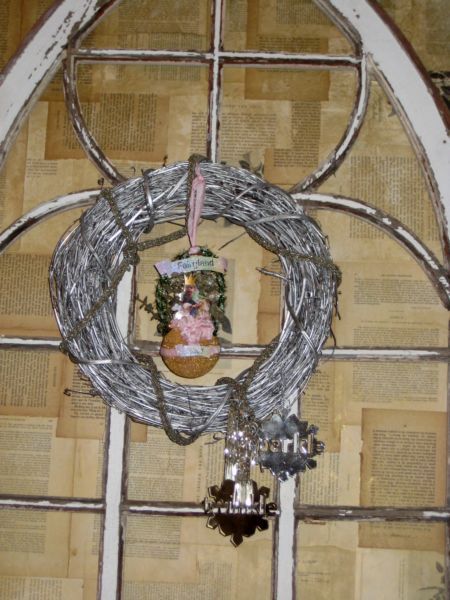
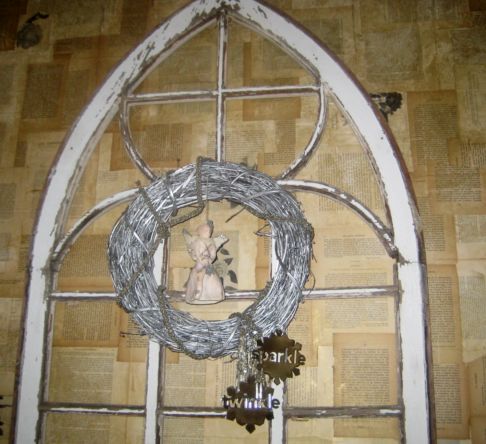
I hung this fairy filled glitter ball of delight on the silver wreath next to the other gifts Barbara sent a while back, silver snow flakes that say Twinkle and Sparkle. Oh, I owe this lady big time!

Christmas is catching up to me and I know I won’t be able to make something for her by then, but Barbara, watch out when Valentine’s Day rolls around! And thanks so much!Mess_063

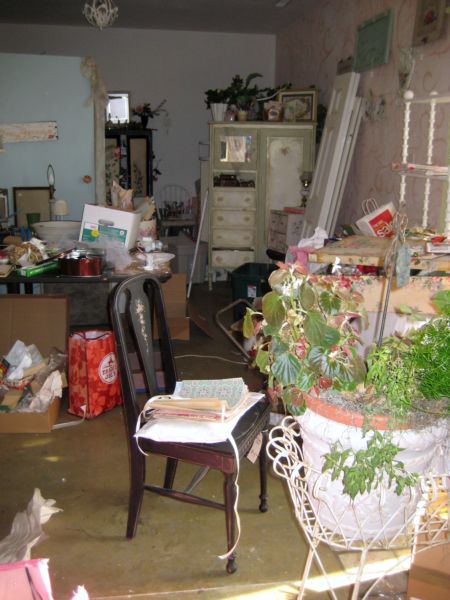
Here is an update on how far behind I am in getting ready for Christmas.  My studio is a jumbled up mess from the sale I had in here the 2nd.  I had over 600 people come through here and haven’t recovered since.

I do have a menu for Christmas day brunch and for dinner that night, but I don’t have any place to seat the people till I get a bulldozer and shove some of this out of the way.

Here is my menu-

  • a professional ham (that is what I call food from Vermont Street BBQ where my son works)
  • 4 pans of Rhodes cinnamon rolls (yum)
  • fruit and cheese by Beth
  • sausage gravy and biscuits (not from a can)
  • egg casserole from Lori
  • tomato salad from our garden tomatoes that I have been babying along to ripen by Xmas and made it just in time! And they really taste good too.
  • fudge and cookies (if I don’t eat them first)
  • maybe more desserts or muffins or something??
juicy juice boxes, bottled water and coffee in to go style cups
all served on paper plates with plastic forks
and most important- a Forest of bleached and hand dyed bottle brush trees as a centerpieceMess_072
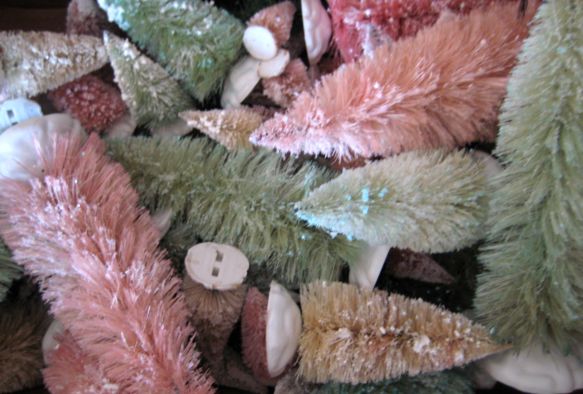
At least I have my priorities right- the trees are done! Sugarwings and I made 4 packages of them the other night.  Mess_074
They were not easy to glitter.
I ended up dunking them into a can of water based poly and then holding them upside down to drain off, then sprinkling them with glitter.
The problem was that after being left to dry overnight, the poly still dripped onto the craft table, and dried the trees solid to its surface! I had to pry many of them up.  ooopsMess_059
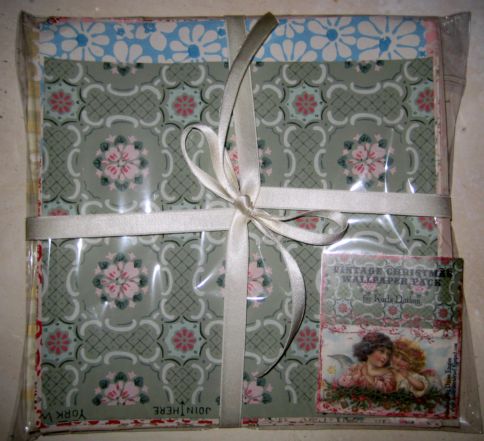
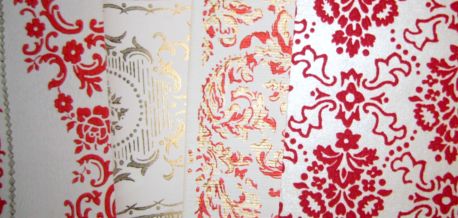
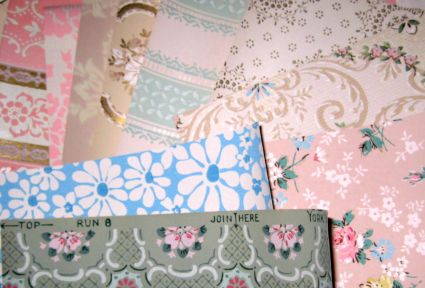
But, back to the mail- I ordered myself a little Christmas gift.  Beautiful wallpapers from Donna Layton on Etsy.Mess_060
Can’t you see me using some of these for the covers of my cook books for the Swap that Beth and I are doing for Valentines Day??
Mess_061 I wish I had time to play with them now, but Christmas is getting closer and closer and closer and I am far from ready. (see above studio photo!)
Mess_062
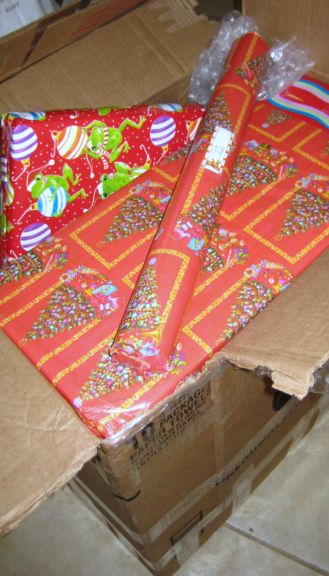
This big box of goodies came from my brother-in-law Randy in Florida. That cylindrical shaped package on top is for ME. I am crossing my fingers that it is more vintage wallpaper, from the heft and shape of it, my chances are good.
Randy’s husband, Kevin, is a master junk shopper and I think he might have found a roll for me. I’ll wait til Christmas and won’t peek, but it will be hard.Mess_035
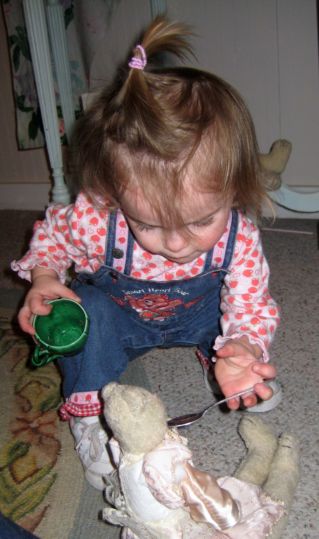
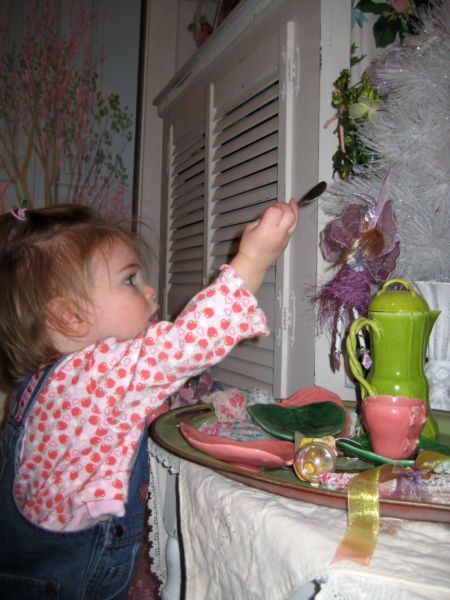
Sugarwings and I have been having some tea parties. She is very good at feeding imaginary treats her teddy bears.Mess_040
And the fairies on her tea table Christmas tree.
Mess_016 I am off to run errands and mail packages.
Oh- I put Sugarwing’s room on HGTV’s Rate My Space.
That site is addictive, so I try to stay away from it, it is too much fun. Here is the site, if you want to give her a rating:

Twinkly, Sparkly Gifts and LOTS to be thankful for

Dorkies (Yorkshire Terrriers), Etsy Goodies, holiday decor, how to's, Sugarwings, vintage paper/collage art

Prom_015 Its not even Thanksgiving yet, and I am getting Christmas presents!

Earlier, a reader, Kathryn,  played secret Santa and sent a box chocked full of goodness.

Now, my "brother from another mother" Barbara (we have the same birthday, plus a lot of other similarities) has sent these sweet silvery snowflakes to me.

With my dorkies’ names on them!!Prom_027

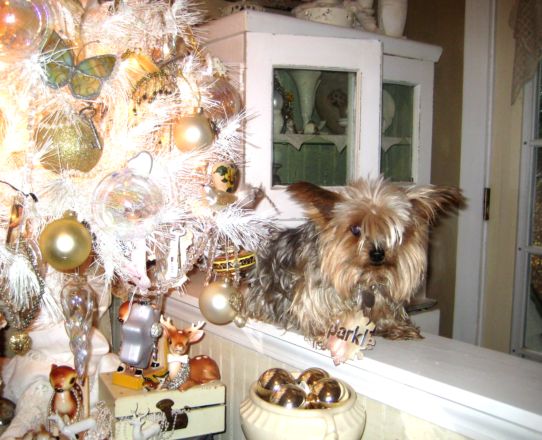
I thought maybe they’d make great dog tags, but Twinkle didn’t agree and wouldn’t pose. Sparkle will do anything if I tell her she looks pretty. (a girl can get into trouble leading her life that way)

Thanks, Barb!!!Prom_019

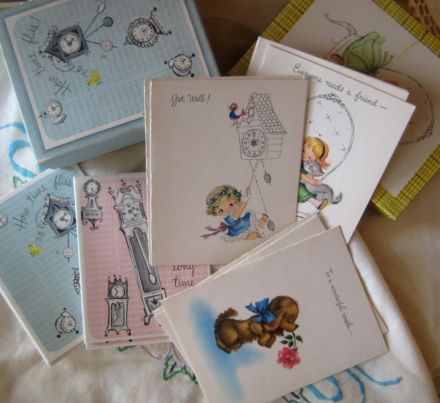
Another ‘kind of’ gift was some cards from Amy who through in a few extras with my order.

I can never get enough vintage cards.Prom_007

The card addiction isn’t as strong as the wallpaper one, though. I’ve been battling the urge to buy more wallpaper, I wonder if there is a 12 step program for that?

But, I can rationalize my purchases of vintage paper, since I really do use it, and lots of it.

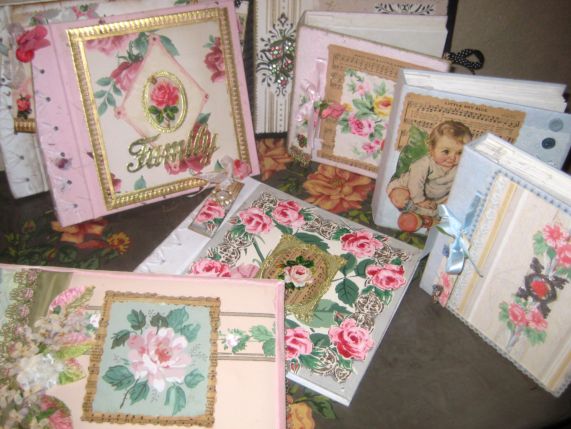
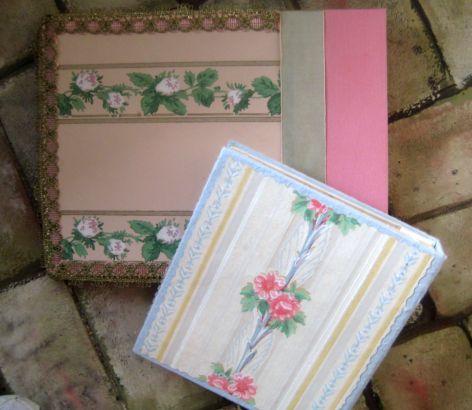
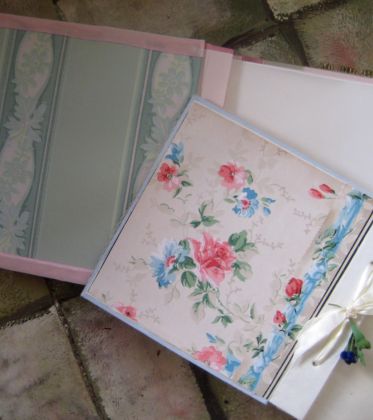
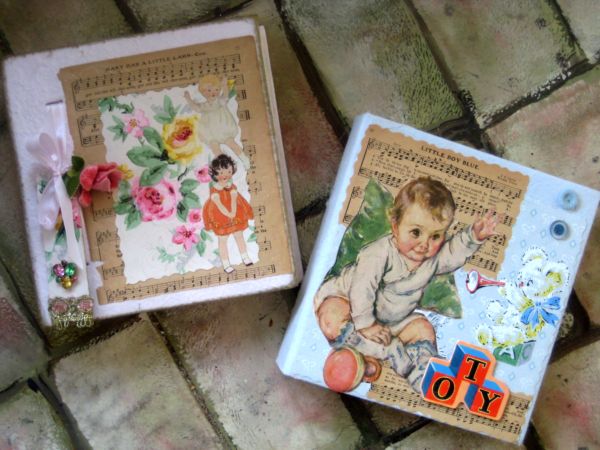
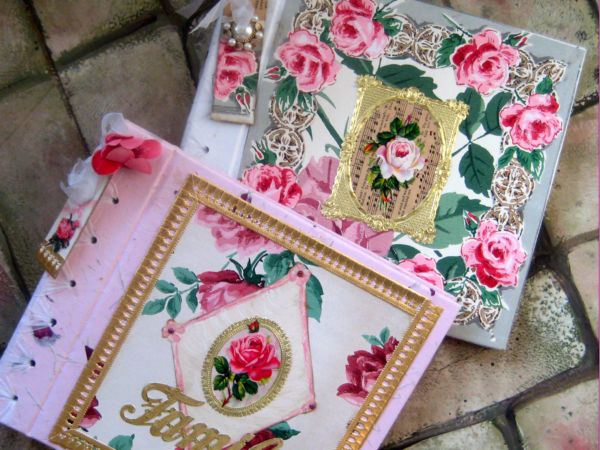
I covered these photo albums with some the other night.Prom_012

I took new albums made with handmade papers, (on clearance from Tuesday Morning) and embellished the fronts of 8  of them.Prom_013

At first, I was covering the backs too.Prom_014

And inside the front covers.Prom_009

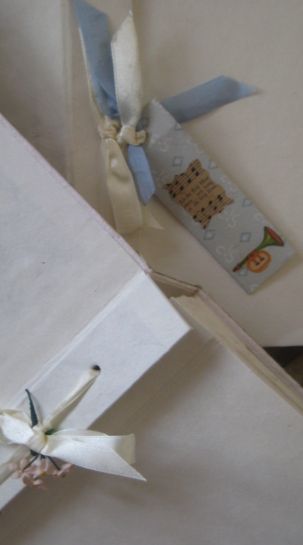
Then, about midnight, when I did these two, I started only adding a tag to the insideProm_010 cover.

And then, only a bow and some vintage posies.Prom_011

But then, by 2am, they were only getting the fronts decorated!

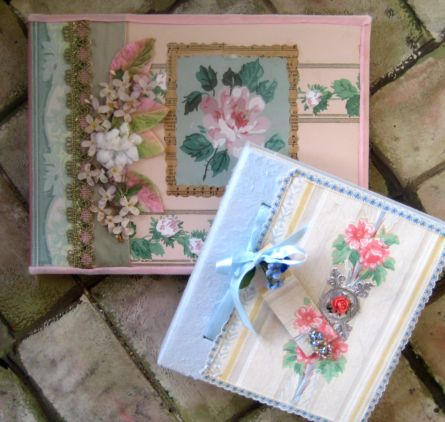
They were made with such lovely papers to start with, that I think this is enough, my additions to these two were pretty ornate anyway. Or am I simply justifying my decision to go to bed instead of doing more to them??

These are laying on my faux brick floor in the studio.  I painted the bricks with a kitchen sponge, torn to a brick shape (always tear sponges you paint with, it makes a more attractive edge).Prom_029

I covered this table top with vintage wallpaper too.

It had bad veneer, cracking and peeling up.  This isn’t a perfect fix, but  makes it usable.  After the glue dried, I put a coat of water based poly over it, so it should be durable.

I also sprayed all of the fronts and backs of the photo albums with poly to protect them.  Of course, I did it AFTER I had added rhinestones and flowers, so had to cover those up. I’d say if you were doing this, spray BEFORE you doodad them up.

I will have these albums available for sale on Friday during Phyllis’ online craft sale.

I plan on working on some projects throughout the day and adding the pictures as I finish pieces. I’ll have special prices that day for people who want to shop at home for handmade pretties instead of fighting the crowds at the mall!Prom_021

Tomorrow is Thanksgiving, and I know what I am thankful for.

I’m lucky enough  to have great blessings in my life, and lots of love. 

Life hasn’t been easy, getting to this point.But the struggles were all worth it.  Prom_020

Have a Happy Thanksgiving! 

The Stairway to Heaven

Etsy Goodies, hand painted signs, how to's, parties

Natasha is throwing a prom! I guess it is Spring in Australia, and the weather here today was downright Springy too, about 74!! A perfect evening for a magical night at the prom.Img133

I thought I’d start with proms through out my life.

Here is my sister, Bobbie Sue, posing before she leaves for her prom.

That’s me, Karkie Jo Downey,  the one missing a shoe.  Next to my sister, is my god-mother, Bootie, the sweetest woman on the planet.

My mother made all of the clothes for us girls. I remember thinking that Bobbie’s dress was the most beautiful thing I had ever seen. 

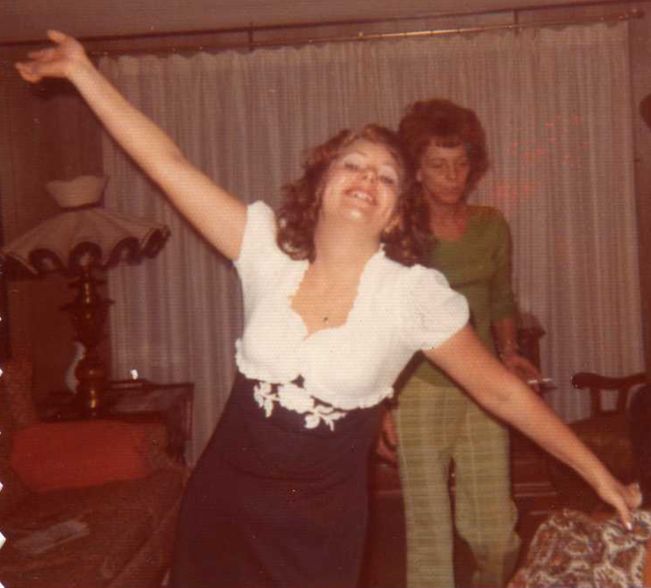
Img134  And it doesn’t look like I have changed much over the years, at least in attitude.

That is my mom behind me, does it look like I wear her out?  Poor woman.Img135

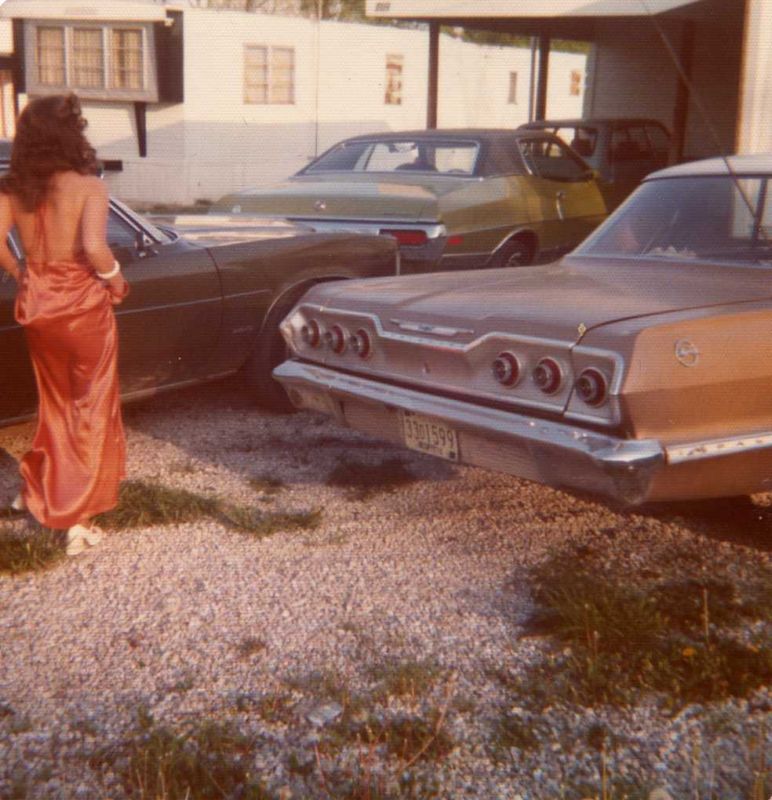
For some reason, we seemed to think it was more scenic outdoors for the pictures.  Oh, yes, the outside of a trailer park is always such a pretty place!

That is my 1st car next to me, a 1963 Chevy Impala.

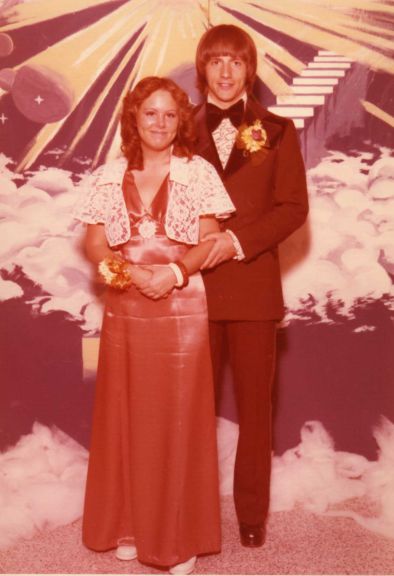
My mother made this dress too.  I wanted something other than the pastels and frothy things everyone else was wearing that year.  I drew what I wanted and she made it from the sketch.

Maybe she should have told me it was a bit naked for my age? Everyone else at the prom that night was ruffly and I was slinky. Img131

She made a little lace jacket for the dress, so that covered me up a bit! But the lace emblem on the front of the halter? That was peek-a-boo, the satin was cut out and the lace was over the hole.

But hey, when you  are trailer trash and are going to Ride the Stairway to Heaven (everyone’s prom theme that year) with the cutest boy in the school, you need to be a little sleazy, huh?

Didn’t work.  He was voted Prom King, and he spent most of the evening dancing with the little blond cheerleader who was voted Queen.  My heart was broken. (Did I mention that he drove a green MG convertable and his eyes were the same color as the car?????)

Img132

While I was looking through old photos to find the prom pics, I noticed one thing about myself.  I have always loved roses!  This dress that I wore for my senior picture is something I would wear today! (well if I still had a waist, that is).  And both prom dresses had a little lace rose on the front. 

Prom_003

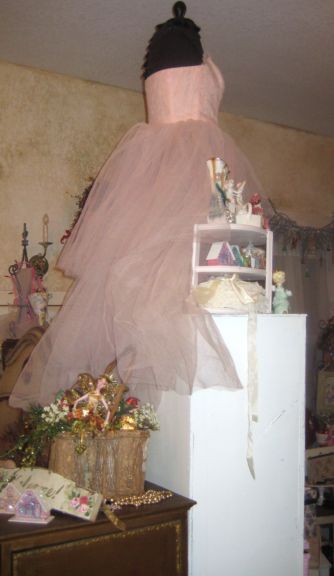
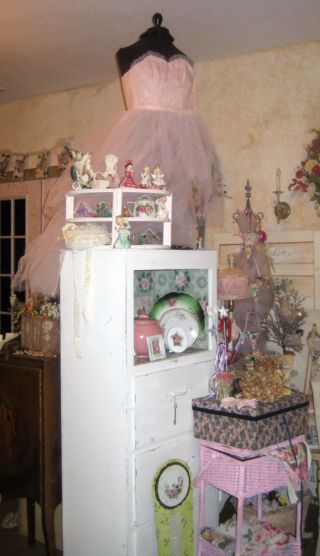
I recently bought this pink dream of a dress, and have it as part of my set up for the upcoming sale in my studio.Prom_001

If I don’t sell it, I think it will go into Sugarwings dress up clothes for tea parties with Grandmama Karkie.  I used to love wearing my sister’s old prom dresses when I was little.  I think my fairy grand baby will have a good time with the dress up clothes I am accumulating for her.

Thanks for the prom party, Natasha! It was fun taking a stroll up the memory lane stairway to heaven.Coal_063

In honor of the prom party, I listed this ball gown on Etsy today. Glitter_hydrangeas_005

I worked outside a while today too.

With the weather in the 70s, I couldn’t stay indoors, even though I have a ton to do before my open house and sale.

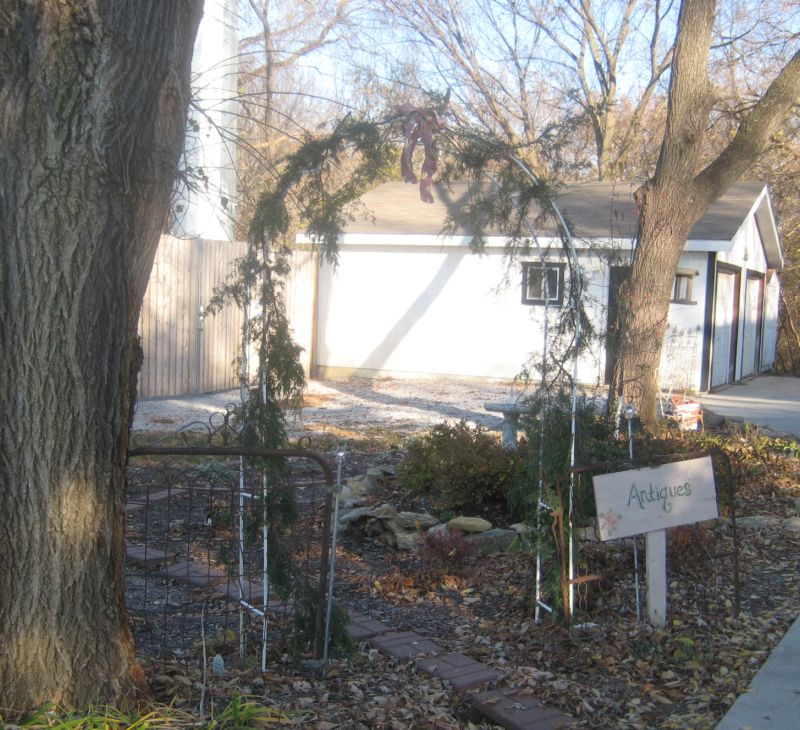
I cut branches from some fir and pine trees in the woods and wired them to this arch and over the front door of the house.Glitter_hydrangeas_007 When I was done, I was a bit like Chevy Chase in one of my all time favorite movies, Christmas Vacation, sap sticking to my fingers, and, then me sticking to everything I touched.

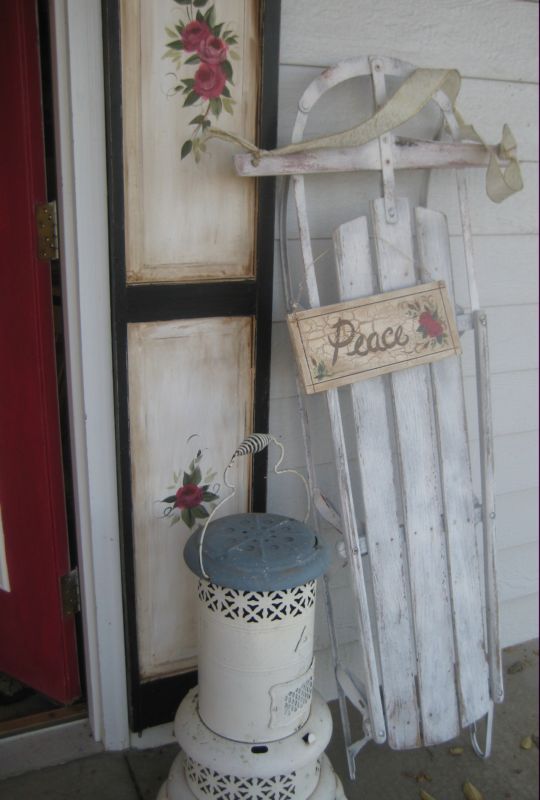
Then, I spray painted this sled white and set it out on the porch to sell at the open house.  I hope to get more signs painted and use this as a display for them. I will also just pound nails into the siding and hang them all over the house.

Did I mention that I used to be trailer trash? I think I might still have that in me, a bit!Glitter_hydrangeas_001

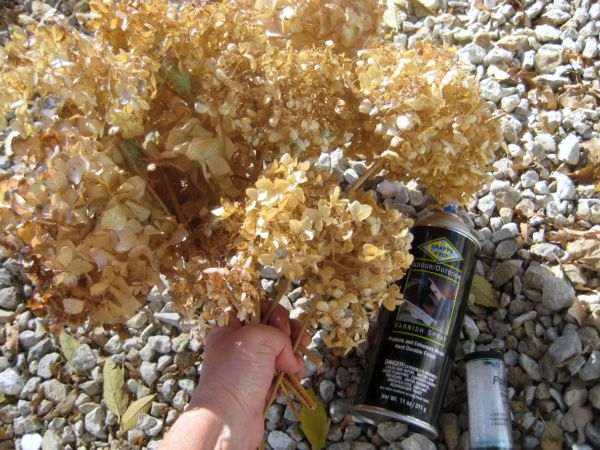
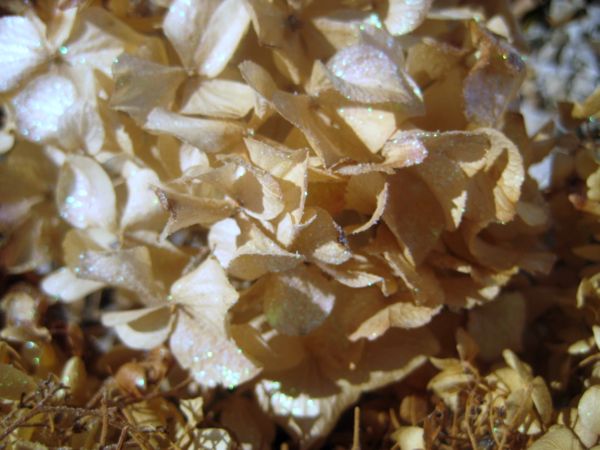
To fill an old basket, I decided to sparkle up some dried hydrangeas.

It was easy to do, (well, except for the wind blowing them.  I had to hold on while spraying, but I was already sticky from the sap anyway)Glitter_hydrangeas_003

First, I sprayed the blooms with clear poly, and sprinkled on glitter, then sprayed again to keep it in place.

Hhbutton2  Speaking of the open house, I need to get back to work on it. And don’t forget the Blog party on the 12th- "What do you LOVE about your Holiday Home?"

And don’t forget Phyllis’s craft fair next week too. I plan on making things all day and showing them on the blog as I finish and offering them for sale. Craftfair2

Have fun checking out the proms!

Feeling the JOY

Etsy Goodies, holiday decor, how to's, vintage paper/collage art

Garlands_002 I had a good studio day yesterday after unpacking from my trip to the Ozarks. Well, I am half unpacked. And the laundry isn’t quite done yet.  And the bags of non-refrigerated foodstuffs are still sitting around in the kitchen.

Maybe I am not quite half way unpacked.  But I had a great day in the studio avoiding it all!Garlands_005

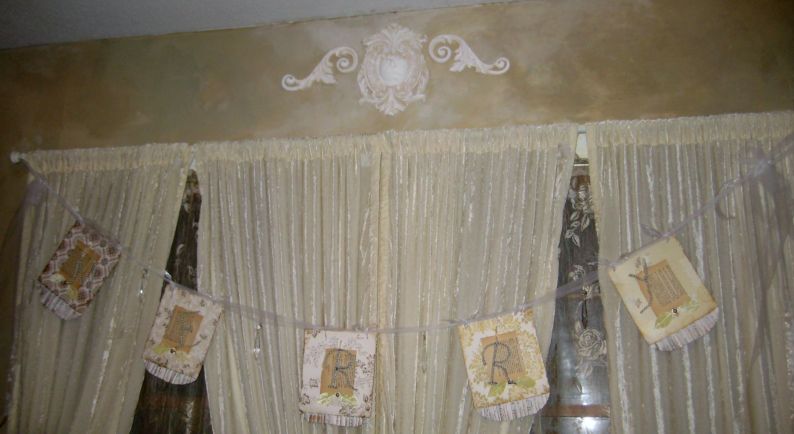
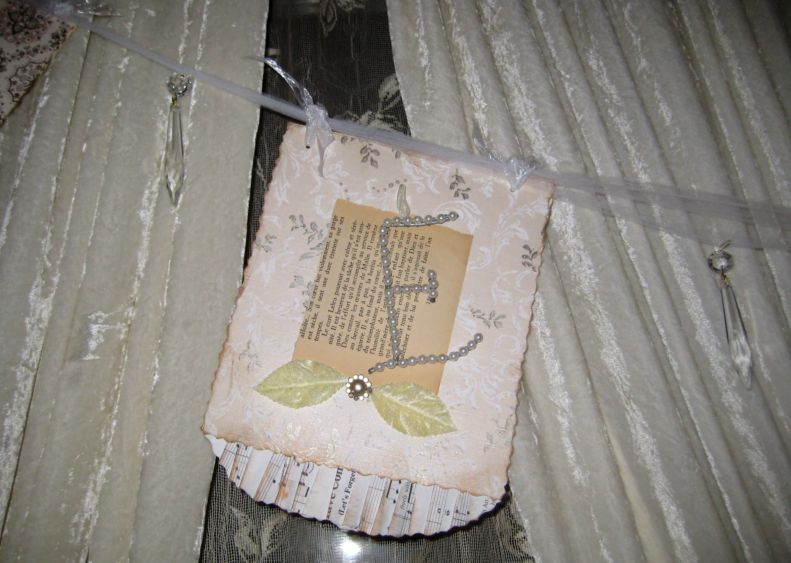
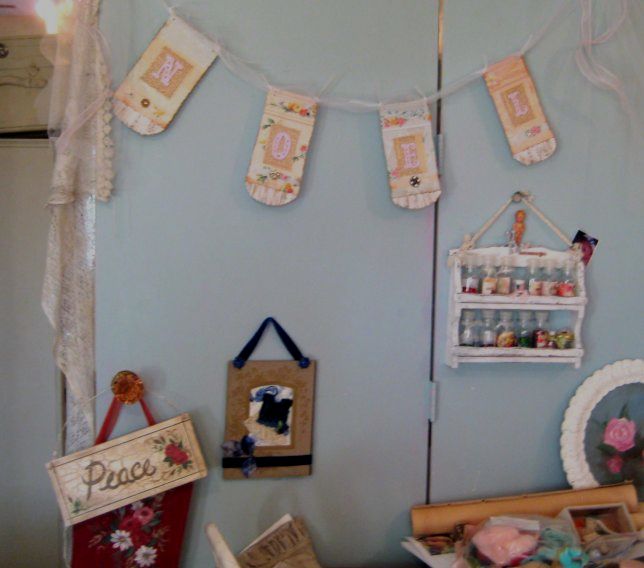
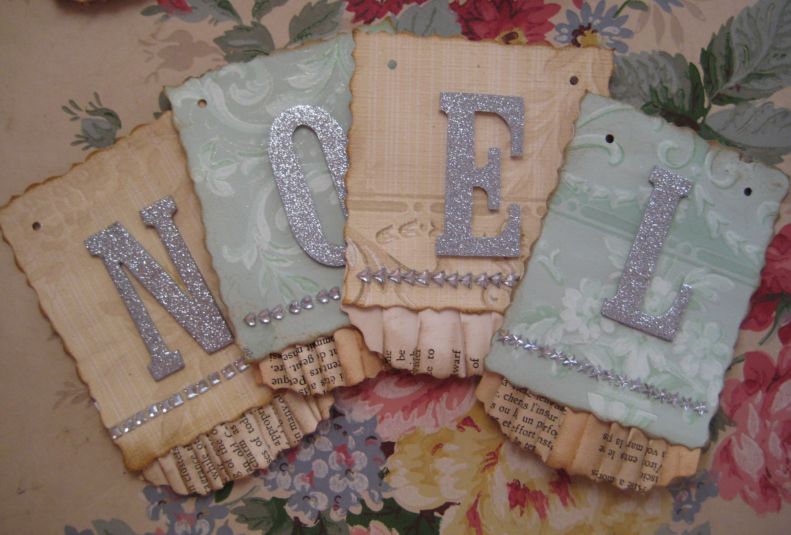
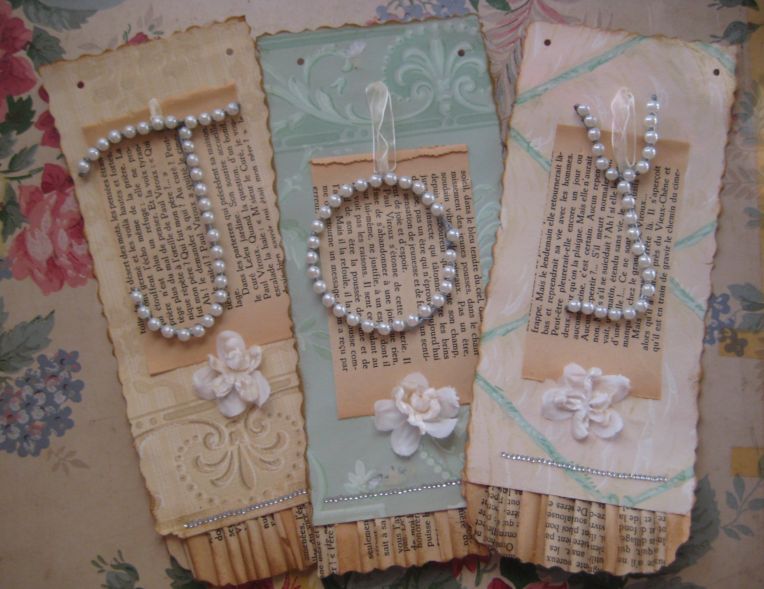
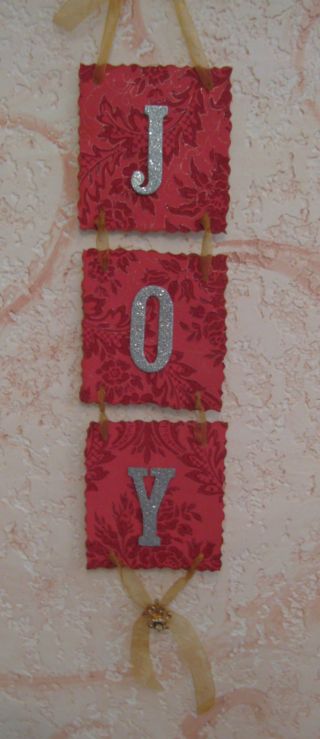
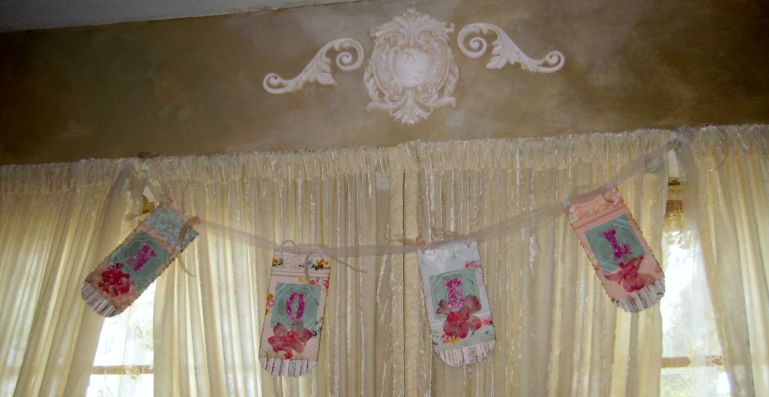
I made a few banners for Christmas from vintage wallpaper, millinery flowers, sheet music, tulle, and purchased letters.

Here is a close up of this colorful one.Garlands_007

But this is the one I will keep in my living room to use this season.Garlands_010 (it says MERRY)

It is made with all gold and white wallpapers and I added some chandelier drops to the tulle the banner is strung on.Garlands_031

This is similar to the first one, same wallpapers, but instead of the bright colors, I accented it with pages from an old book and vintage buttons with pearls and rhinestones.

This is actually a cleaned up corner of the studio. I might be in trouble- I have a local TV show shooting here in 13 days.  4 of those days, I’ll be at SILVER BELLA!! and a few others,(like today) I’ll have Sugarwings. 

Garlands_022 But, yet, I let my unpacked weekend getaway things pile up in the house and trash my studio while I string letters on tulle.

Well, actually, here are some not even strung yet.  Garlands_026

Aren’t these pearl letters cool? They are at Michaels for $1 each. I bought enough to spell out a few words,

‘Merry’

‘Joy’

‘Snow’

‘Noel’

Garlands_028 I fell hard for this wallpaper, wish I had more of it!!  It was one page of a 1930s wallpaper sample book. 
I could have used a whole roll! The sample book comes with an order form where you can get the paper for 39 cents a roll.  But, since the book is more than 70 years old, I doubt if there is much of it available. If wishes were horses, I’d need a really big barn.

  Garlands_018_2

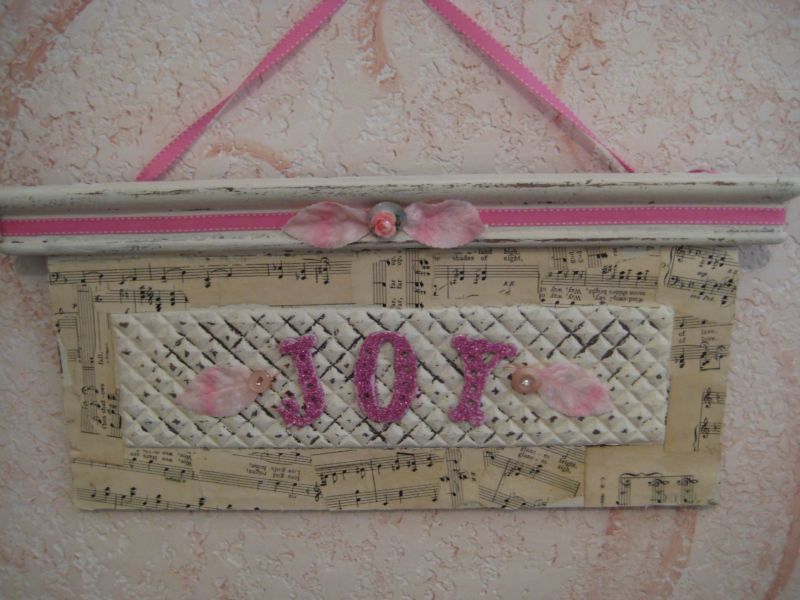
Are you seeing a pattern here? JOY is a favorite word of mine.  It sums up the holiday season so well. It is short, concise and just says it all.

Plus, I’d say this sign would be pretty in a little girl’s room year round.  Or in my kitchen.  I love that word and don’t limit it only to Christmas.Garlands_032

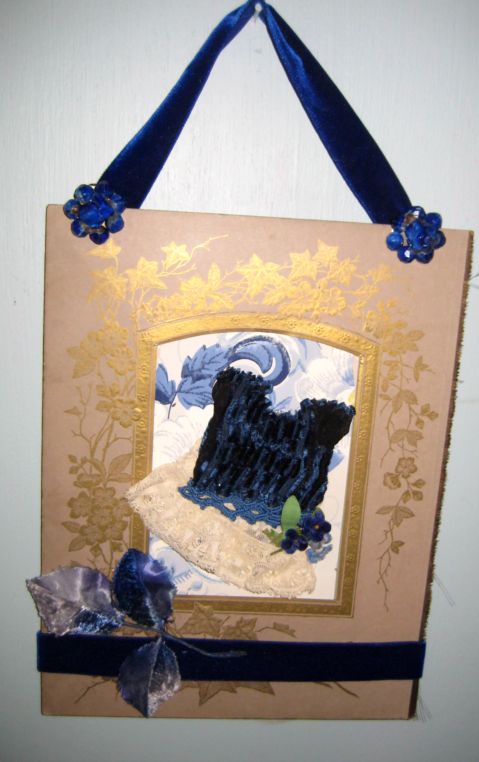
I also framed some vintage doll clothes.  I’d bought a cute wooden box at an antique shop for $8.  Then, I found as a bonus- a bunch of these old clothes.

I sold quite a few of them on Etsy (pictured here), but saved my favorites, knowing I wanted to do something with them eventually.Garlands_037

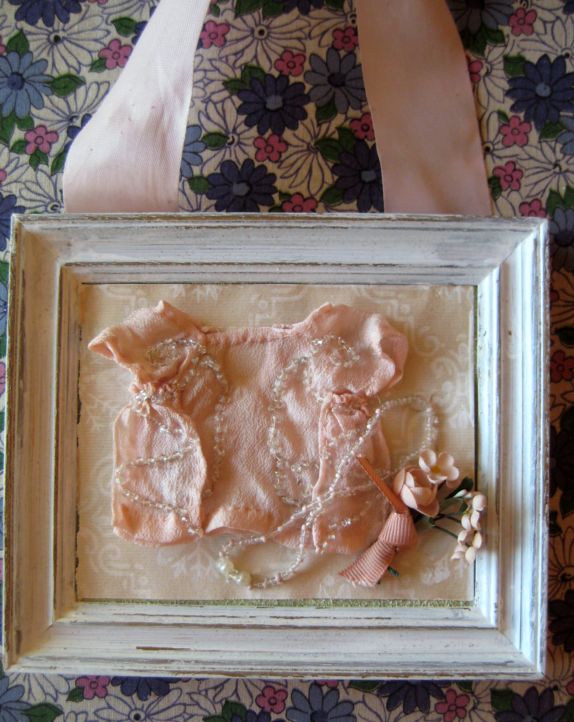
This little pink dress is hand beaded and has a matching necklace to go with it. 

I painted a small frame white, distressed it, then glued down a piece of vintage wallpaper.

The dress is attached with double sided tape.

I glued a bundle of millinery flowers tied up in a faded ribbon to the wallpaper, and then glued the beads to the wallpaper too.

The dress is removable if I ever want to. But then, I wonder, why would I? Maybe I should just glue it down too?

I glued another old, pink ribbon to the back to hang the piece from. It was a very easy project.Garlands_034

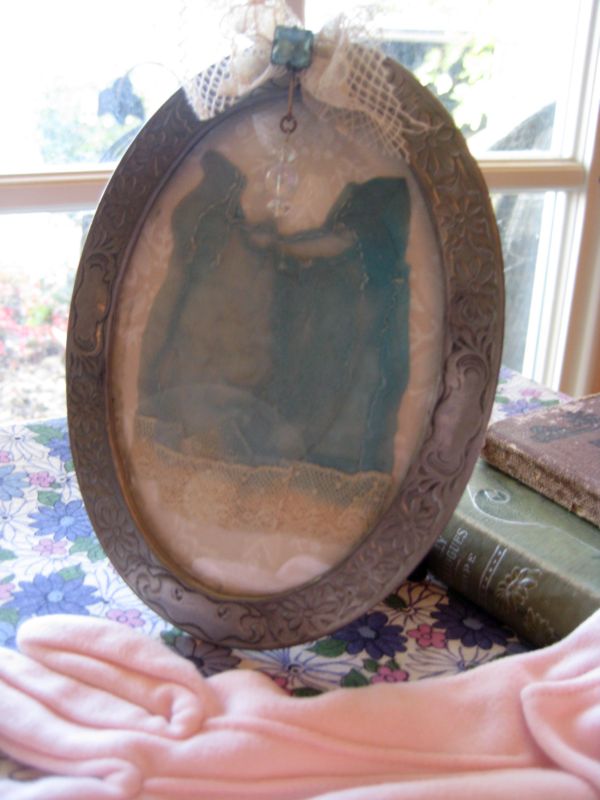
This little dress was even easier.

I cut an oval of the old wallpaper to fit this antique pewter frame (hard to believe I didn’t paint over it, huh?), then used double sided tape to lay out this aqua dress, and put it into the frame.

These old doll clothes are art in themselves, but I still needed me some foof.

So I gathered a scrap of vintage lace into a bow, and glued it to the top of the frame and added some old jewelry to it with another dot of glue.

All of these projects will be for sale on Etsy, or contact me here if you are interested. I might not list them, since I have a sale coming up at my house. But if you want one, I’d be happy to sell it from the blog.  Heck, I am always happy (and JOYful) to sell anything!!

You can still enter my October drawing by leaving a comment on this post. I’ll annouce the winner on the 1st.

The Last Day of the 3 day Living Room do-over

Dorkies (Yorkshire Terrriers), Hand Painted Furniture, how to's, paintings

Book_wall_027 I have a giveaway reminder:

I am at 194! On the day I hit 200, I’ll pick a name from all the comments that day.

Also, every comment is an entry into my Oct. drawing. I should make a button for that, people get confused and ask me a lot. 

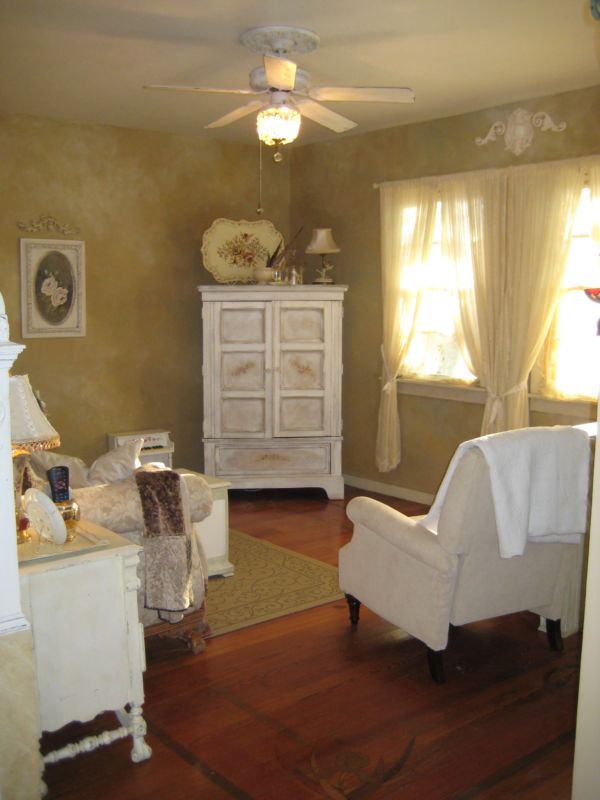
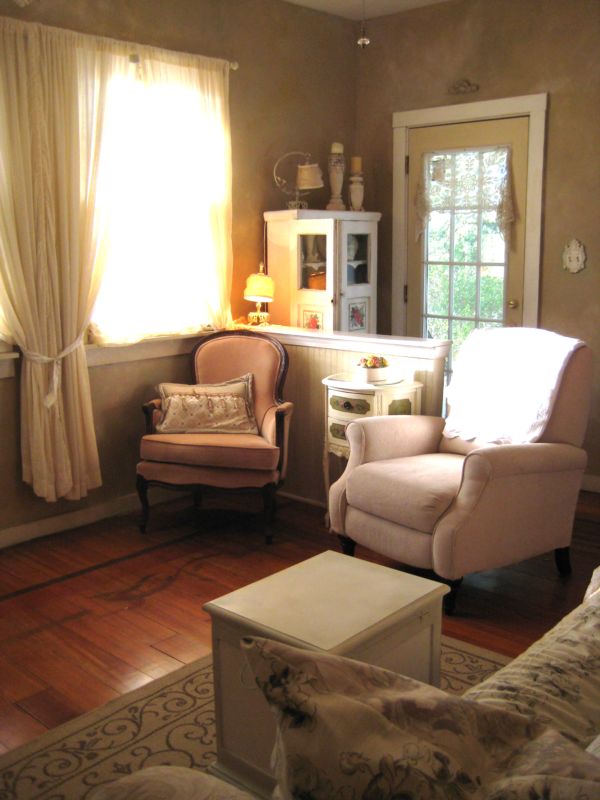
I finished the rest of the living room last night, with a faux finish on the walls done in the same glazes I used over the book "wallpaper".Book_wall_029

I switched out aqua accessories for gold and white, with a hint of roses.Book_wall_028

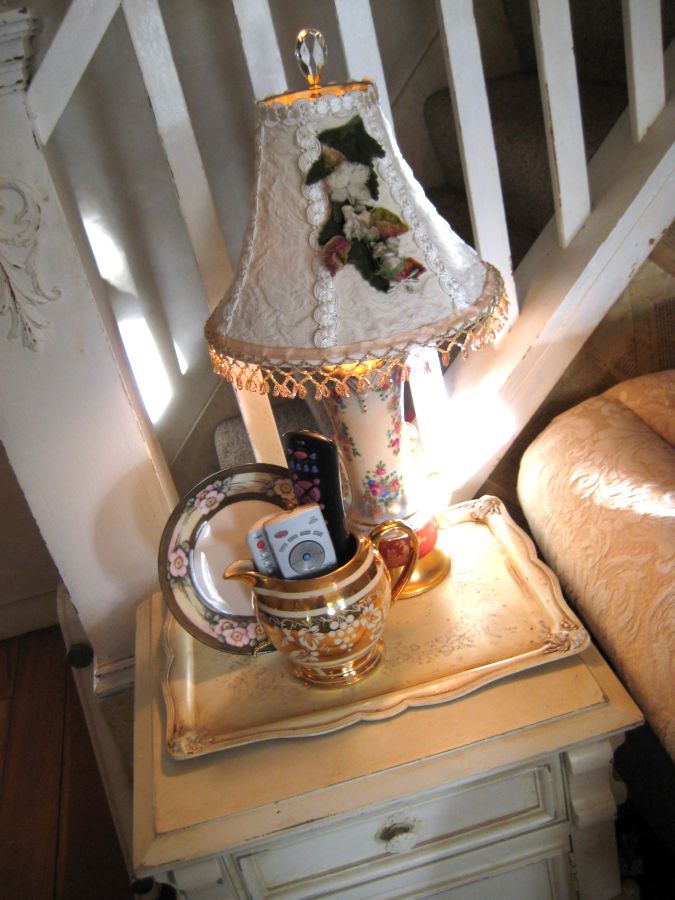
Then glued scraps of the left over slipcover fabric to my lamp shade, added some beads and old millinery flowers.  I used to always redo lamp shades with hot glue and had the blisters to show for it. But this time, I used my favorite glue, "The Ultimate".  It gets tacky fast and holds the pieces in place so that you can stick them down, hold it a second and move on.  Every bit as quick as hot glue, but a better hold, no blisters and no little spidery web-strings everywhere.Book_wall_031

I might paint the wood on the chair white too….. I’m not sure yet. Sometimes, it is nice to have the contrast.Book_wall_033

Here is a close up of the wall, hmmmm, maybe it doesn’t show up too well.

I had the walls already painted a deep tan shade and used a creamy white, bronze, and metallic gold over that. 

After I applied glazes, I went back over the entire room with the base coat, of the deep tan color, over the top of it all to blend. That is my number one best tip I will ever give you for a paint job!

Using the base coat as a top layer (rubbed on, over all of the walls, covering every inch in a light wash) gives a professional, designer finish look to the walls and makes any faux finish look great!Book_wall_032

Here you can see the whole wall, that is covered in text.  Maybe I need to darken the closet door a bit with a bronze glaze?Book_wall_036

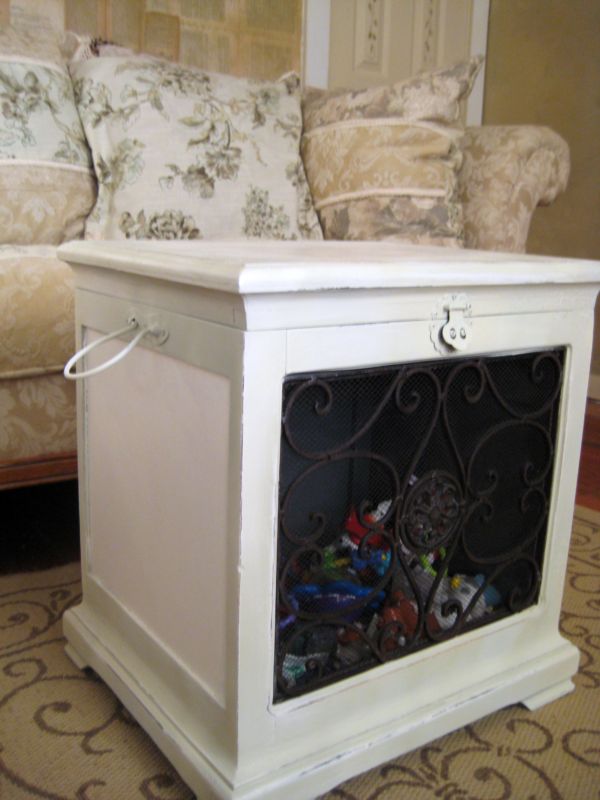
I also repainted the table I bought from Hobby Lobby’s clearance area for $28 to use as a toy box for Sugarwings.  It is a small, compact piece that is a perfect shape to use a coffee table in my petite living room.

When I sawBook_wall_040 the tons of dust on everything that I moved out of the room to paint it, I decided to edit what I brought back in.  I don’t know how long I will be able to hold myself back from glomming the room back up with clutter, but for now, it is nice and streamlined. Well, for me it is.Book_wall_038

I rehung some of my paintings, but am not real happy with this one, I’ve never liked it much, mostly I like the frame!  I might either repaint it, or just paint something else to hang here. Maybe something a lot bigger.Book_wall_039

This water color is one that I did in my mom’s hospital room in the weeks before she died. I packed up my paints and brushes and drove to Indiana to stay with her while she was in the hospital.

The nurses were kind and set up a corner of her room for me to work in, and I got a lot of paintings finished in those few weeks, while I was taking care of her and keeping her company.  Some nights, I would just stay over and sleep in a chair, but most nights, Sissy and I stayed in Mom’s house and sat on the porch drinking pink wine and laughing together all evening after we left the hospital.  Our sister, Bobbie Sue, would join us on Mom’s back porch for a lot of those summer evenings.  As awful as it was to lose Mom, those weeks are some of my fondness memories. I will keep this painting forever,and even used the image on cards as my price tags for the furniture I sell.

Book_wall_026

But- back to the redo—

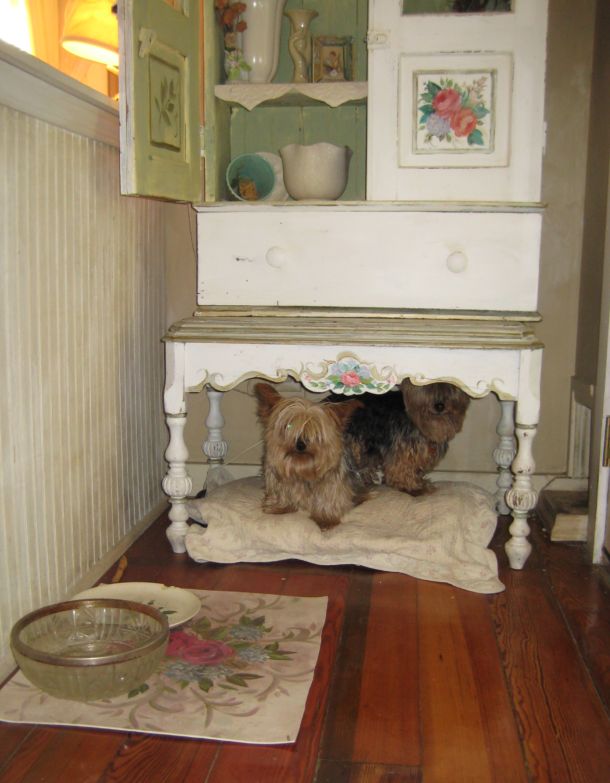
I found a use for the hand painted floor mat that kept curling up so much that it couldn’t be used as a rug-  I cut it down to place mat size for the dog dishes.Book_wall_025

The little dorkies live in this corner, with a bed under the table I set a hutch on. 

They have a doggie door cut into the wall to the right side of the picture next to their bed, so they can go out into the white picket fenced front yard when ever they want to.

So why does Twinkle still pee on my floor???

I won some awards!!! From Carol, I get a Smile Award.  Check out her blog if you need a smile, she has a new header with an adorable fairy princess on it!

And Betty gave me a Creative Blogger Award.  Speaking of, she has some cute Halloween yard art creations pictured on her site.  Thanks, buddies!

Here is something fun- Go to HGTV.com and check out "Rate My Space". http://ratemyspace.hgtv.com/SNC/ViewItem.aspx?pguid=6db6be3f-1720-4ba3-a081-999042c09b6b&itemguid=bc6c28a0-7c97-4bee-98e7-2baba26e4f95

I listed my living room, it is #8704470

Give it a rating!

Great, this is all we need, one more computer addiction!! this site can really suck you in!!

Step by Steps and a peek into the crazy mind of a serial redecorator

Etsy Goodies, fairies, how to's, how-to projects, I do tend to run on, don't I?, magazine pictures or articles, Sugarwings, vintage paper/collage art

Butterfly_baby_006 The slipcovers are done!  And in use, you can see them here under my little fairy grand baby.  Her dad has dislocated his elbow -ouch- and it looks like I will be seeing a lot of her this week.  He is in bad shape, and can’t use his arm, so he can’t pick up his baby.  I’ll be helping out till he is better.

We are hoping rest will do the trick, the poor guy has no health insurance and can’t afford time off work, or doctor bills.

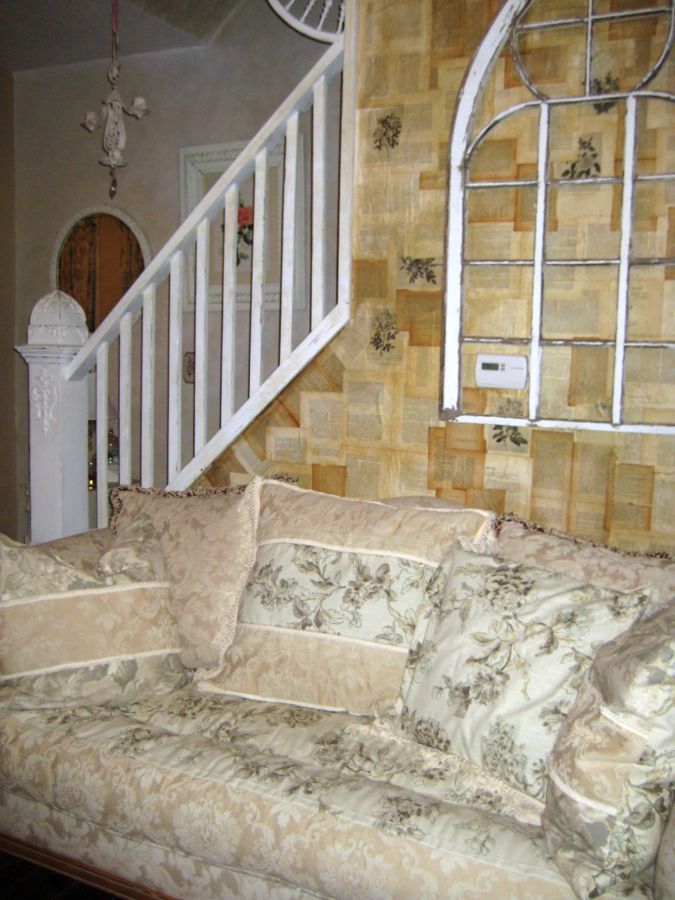
Since I know I will be busy with the baby this week, I kicked it into over drive to finish the slipcovers and the wall behind the couch. Book_wall_002

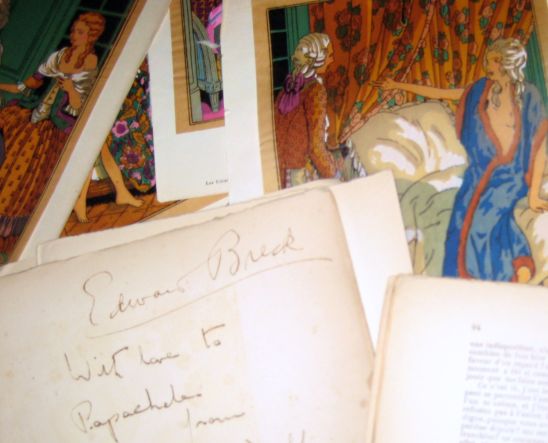
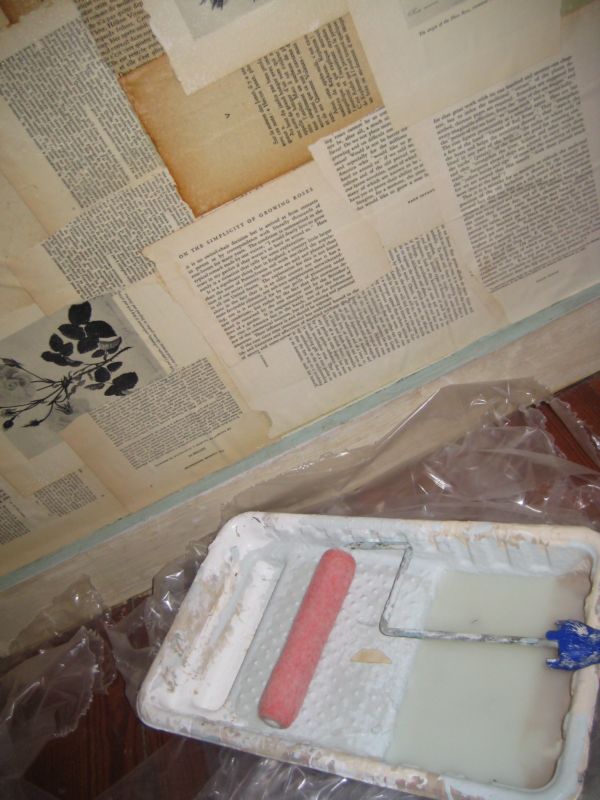
I decided to use a mix of books for a varied look on the wall. First I removed all these cool illustrations to use for projects or to sell on Etsy for someone else to use.  Aren’t they beautiful???Book_wall_003

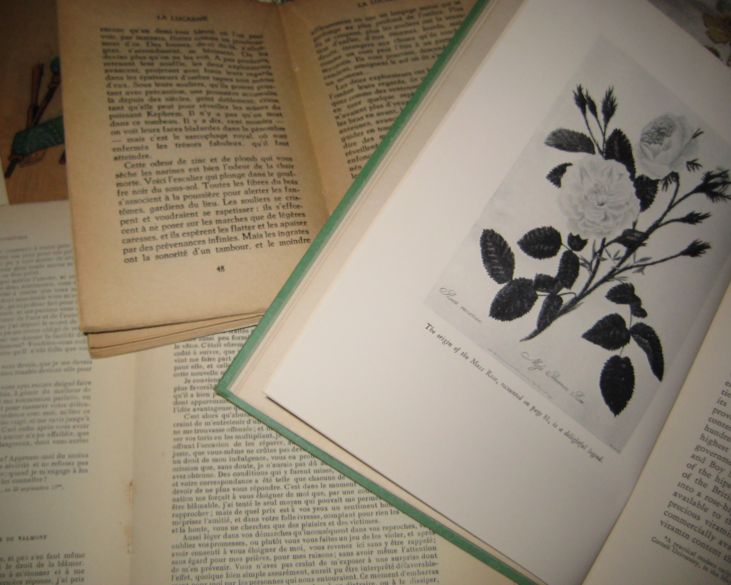
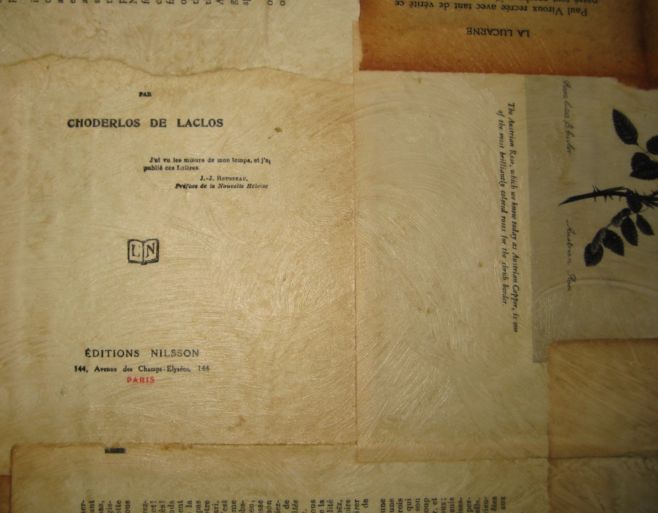
I have 2 French books in different sizes, and one slightly more aged looking plus a book about roses with black and white illustrations.

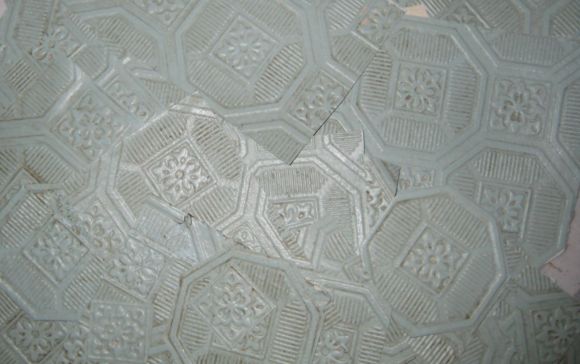
Book_wall_001 I was so pleased to see how easily the textured wallpaper came down.  Just a bit of peeling and patience and it was done.Book_wall_019

If you know me at all, you know that I don’t waste anything. The wallpaper I pulled down was cut up into craftable sizes and saved for future projects. Some of it was used already to wrap up some Etsy purchases tonight. It made really cute wrapping paper.Book_wall_004_2 Book_wall_013

I used all three books, with the pages turned upside down, sideways, all topsy turvey, with no real pattern or plan.

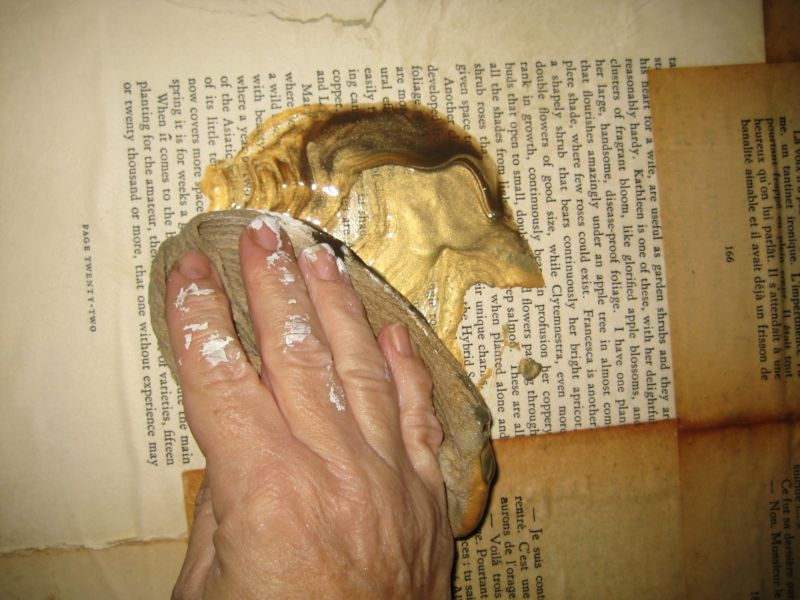
Wallpaper paste was rolled onto the wall and I added the pages to the glued wall, then rolled over the top again with glue.

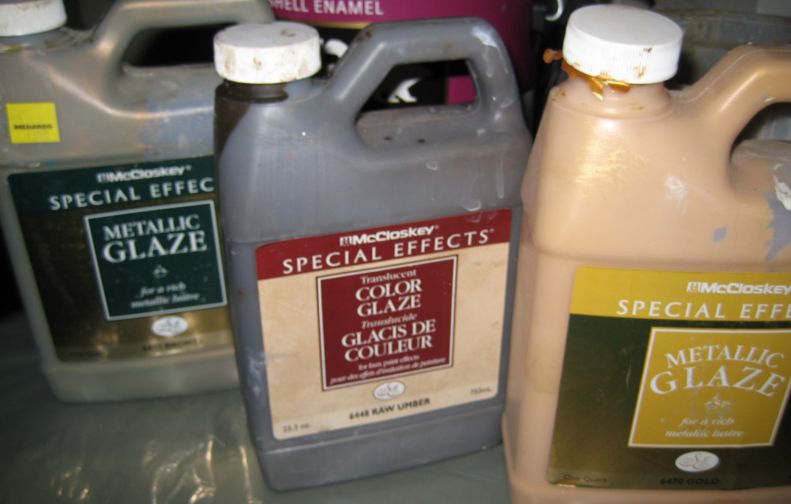
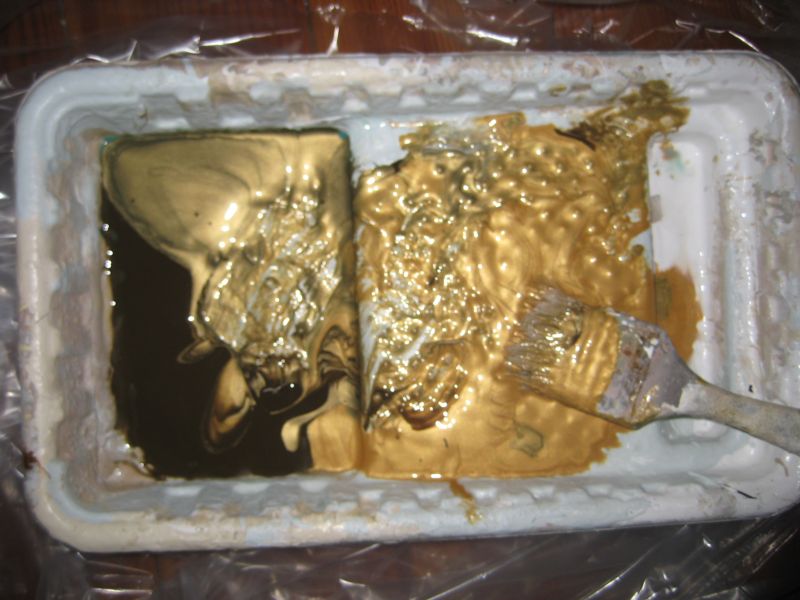
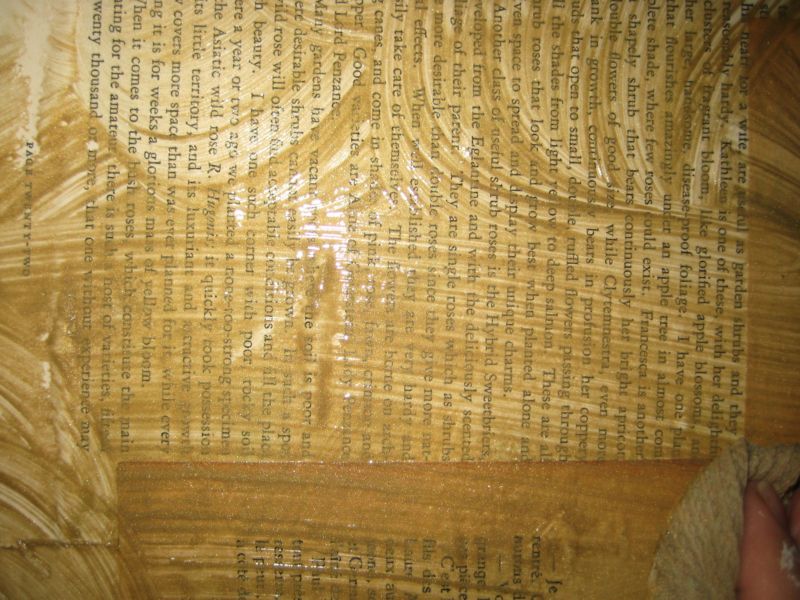
The first part of the wall was dry by the time I finished the last part, so I started right away on the metallic glazes.Book_wall_014 Gold, bronze and umber glazes all went into the pan together.Book_wall_006

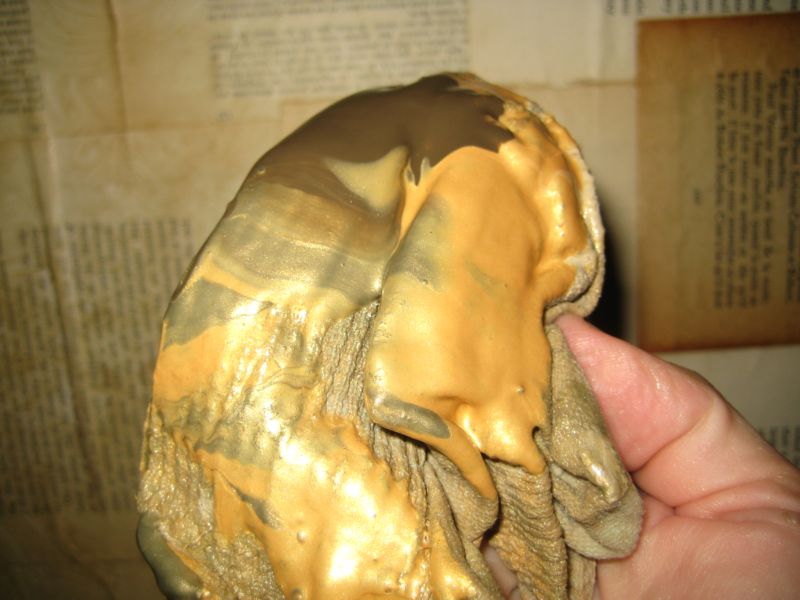
To apply, all three were used on the rag at the same time.Book_wall_007

It gets glopped on with the rag.Book_wall_008

When you first start to smear it around, you think, "oh no, what have I done???"Book_wall_009

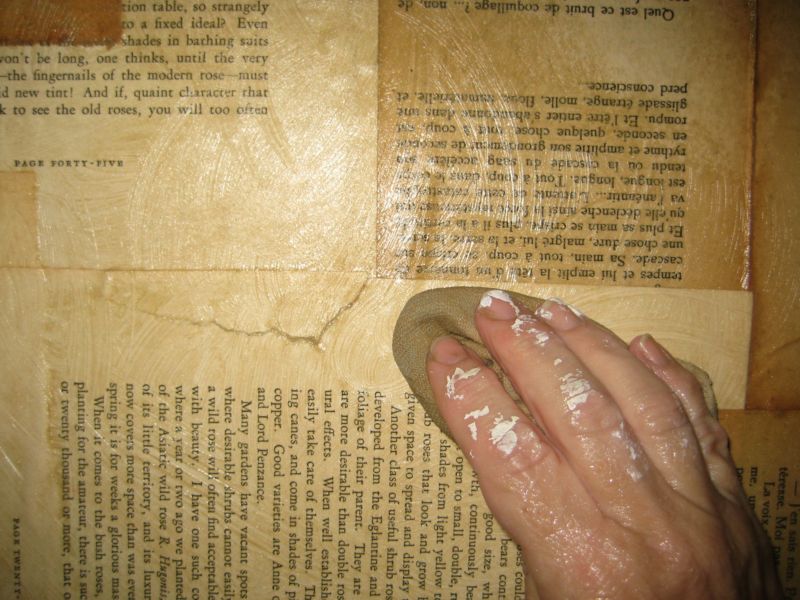
But just a little blending and it starts to look good.Book_wall_012

I wish you could see the metallic sheen this has, it is a nice effect, but doesn’t show up well in the photos.

I like the aged colors of the paper and the golden sheen over the top kind of blends the papers all together.  The only color on the wall is this one page with the tiny word "Paris" in red.Book_wall_017

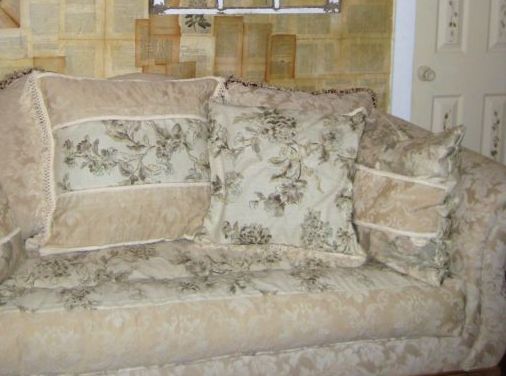
Ta da!  New slipcovers in one afternoon (it helps to not measure or be too picky, just go for it!) and a wall stripped of its old wallpaper and re-papered in vintage book pages in about 3-4 hours the next day. 

Book_wall_016

One thing I really like about the slipcovers, besides the fact that they are washable and I have a houseful of dogs and a baby- is that I made the backs of the pillows all out of velvet.  When you lay on the couch, it will feel good to flip the pillows over to the soft side to get comfy.

Living_room_002

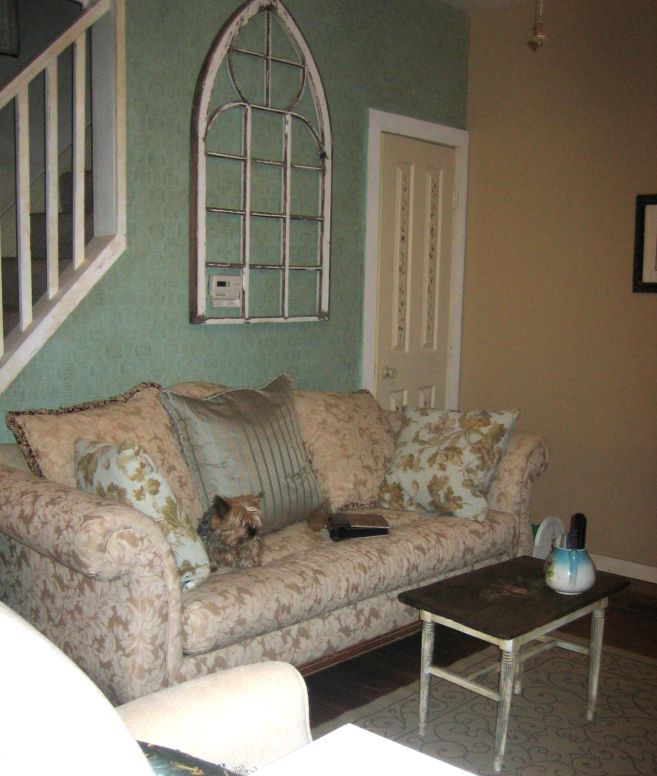
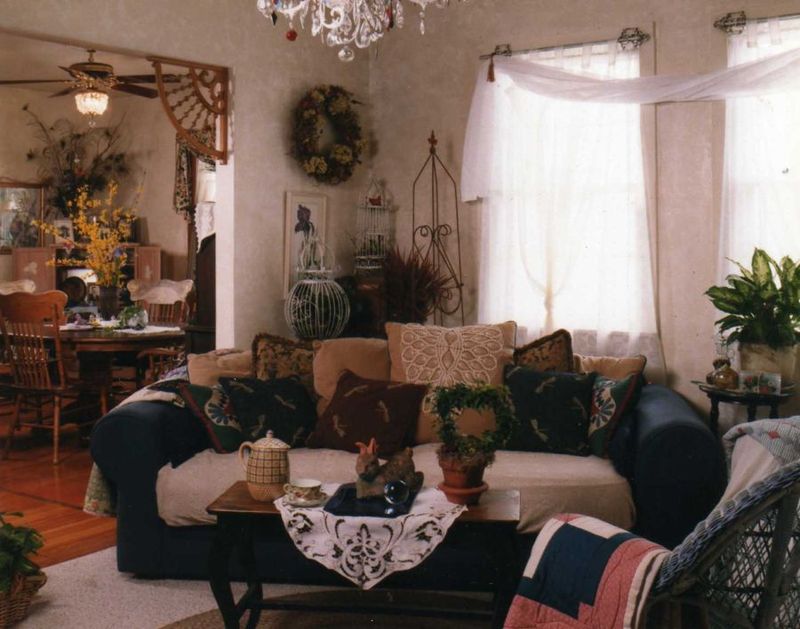
This is what I started with, and was ready for something more neutral. 

(I found this brand new couch at a sale for $285!)New_couch_002_2

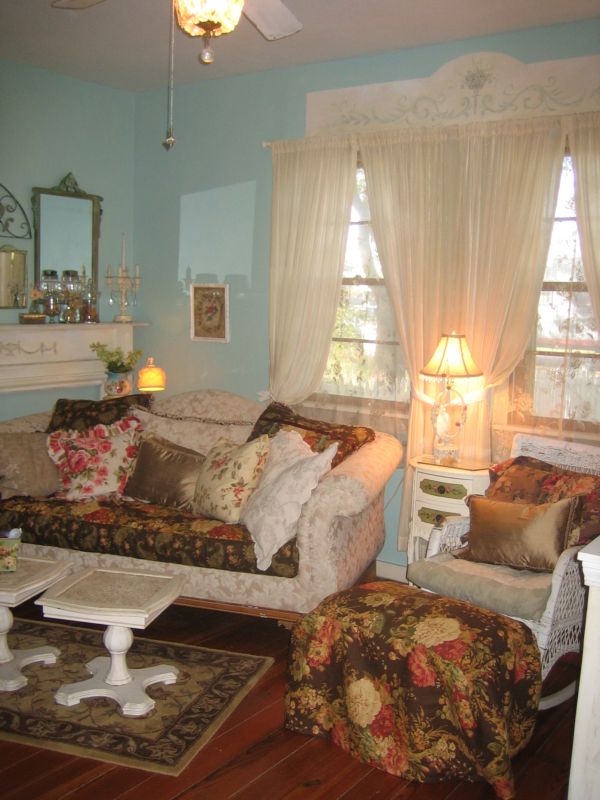
I’d used dark slipcovers for last winter,but it was way too much color for me and I got tired of it fast.Img061

And before that, we had this couch that I gave to my son when he got his own place. He stripped off all the pillows and the cover that I made for it and likes it plain tan velvet.

Img060

Here is another version of that sofa. 

Both of these photos were used in magazine shoots and were taken by Bill Mathews and styled by Gloria Gale.Img062

And way way before that, we had this look. This was in Country Almanac, and was done by Bill and Gloria too.
And don’t ask me how long I will keep the new look I did tonight. Chances aren’t good that it will last!!!

Don’t forget about the giveaway, leave a comment to enter, I have two drawings this month!!

Can there be TOO Many Roses? and a Temporary Hobby comes to an end.

antiques/junking, Books, Dorkies (Yorkshire Terrriers), Etsy Goodies, fairies, holiday decor, how to's, magazine pictures or articles, paintings, vintage paper/collage art

Wreaths_016 Do you ever do a project that you put some time into, but it was still a wasted effort? 

I painted this floral on the back of a linoleum scrap to make a rug. I’ve done this many times, it is a great way to make a cheap rug that is durable. (I have a stone patterned one in my office from a post a few days ago)

For some reason, this linoleum curls up on the edges, and will not lay flat, no matter what I try to do to flatten it.  Guess I should have made sure it was going to be flat before I painted it, huh? Well there goes $10 in supplies and an hour of my time!Wreaths_004

On a happier note, look at my new frying pan!!!Wreaths_005

I got it for $1 at an estate sale last Saturday! It is a good, well made and well loved pan, and has a lot of use left in it- and it is PINK!!!

Wreaths_013

Carole sent little Sugarwings this book for her first birthday, and I promptly fell in love with Tasha Tudor.  How can I have gone almost 50 years without noticing her work before?Wreaths_015

I love her style and thought I would "adopt" it for a series of Christmas ornaments.

Generous Carole, is having back surgery tomorrow, please drop by to wish her well if you can. As a person with a bad back, I know how emotionally and physically draining that can be. I’ve had my share of back surgeries!Wreaths_031

I only got a couple more ornaments painted yesterday,but they are not Tasha Tudor inspired, just my regular roses.

I also used two of my hand painted rose medallions (available on Etsy) to make a folder from one of my favorite vintage wallpapers. I’ll stuff it with Cottage Collage Kit vintage goodness and have it offered on Etsy too.  (This is the same pattern as the ones that will be featured in Somerset Living – yippee- love that magazine!!)Wreaths_017

I purchased these unfinished wood frames at Hobby Lobby after the 4th of July for under 50 cents each. I thought they could be Shabby Chic Christmas style instead of Independence Day with a few changes.Wreaths_019

This one has a simple and sweet border of barely-there glitter and the roses are painted onto green sheet music, then coated with paper glaze, for a sheen.Wreaths_020

the second one got a gloriously gaudy border with a heavier application of glitter, and a small silver star with a vintage rose bit of jewelry added to it at the top.

These roses are painted onto gold and white old wallpaper, but I got carried away and the paper doesn’t even show.

Wreaths_001

Are you all rosed-out at this point? I did have quite the rose painting day, yesterday between running errands (20 minutes to wait for a prescription at Wal-Mart????).

My Sissy gave me this print as part of the Swap we did in August. See the little Dorkie in it at the girl’s feet??Wreaths_008

I decided to make the little girl in the picture into a fairy, by painting on some wings and antennas. (Although,if she wants to put her pretty bonnet back on now, the antenna might get in the way.)

To make the paint look like it belonged to the print, I used a crackle glaze over the whole picture after the paint dried, then when that dried well, I wiped a dark umber glaze into the cracks.Wreaths_023

I used old ribbon and a fairy charm to hang it.Wreaths_025_2

I covered the mat in the same vintage wallpaper I had happened to have laying on the craft table from making the folder (some decisions are best left to chance, I move quicker that way!) I used my stardust Gelly pen to outline the roses in the paper and give it some sparkle.

The inside edge of the mat is covered with seam binding ribbon and the  old pink velvet is glued down then old earring are glued over that. I tore a chunk of flowers and velvet off a lovley old hat and added that at the bottom for extra foof. 

Can you see the bottom of the painted wreath it is hanging from? I painted that on my closet door and hang little pretties from it sometimes. Others, I just leave it as a plain grapevine wreath.  

And speaking of grapevine wreaths- I have finished my "temporary hobby" of making wreaths.Wreaths_002 Wreaths_003_5

This is my 4th and final wreath. The rest of the 25 cent silk flowers will just go into vases.  I did enjoy doing these few wreaths, but decided it just isn’t for me.

I was just making wreaths to get them done and over with, life is too short to make things because you feel like you have to.

By the way, in case you don’t know, if you leave a comment you are entered into October’s Giveaway Drawing. 

Also, I am at 190 posts! I’ll have a special drawing for #200 and giveaway a gift then too!

Scroll to Top