how to’s

Artful Bloggers Party- How to Paint Furniture

antiques/junking, Etsy Goodies, give away, Hand Painted Furniture, how to's, how-to projects, magazine pictures or articles, vintage paper/collage art

Tags_your_it_017_2 Yes, I am back for a second time today, but wanted to get an early start on the Artful Blogger’s Party hosted by Kari.  I am leaving for a family reunion tomorrow (and hope to post from my sis’s house while gone) but needed to get my part of the party started before I go!

I just looked and Kari already has 3 party guests with their "how to’s" up and running, it promises to be a big bash!How_to_paint_furniture_009
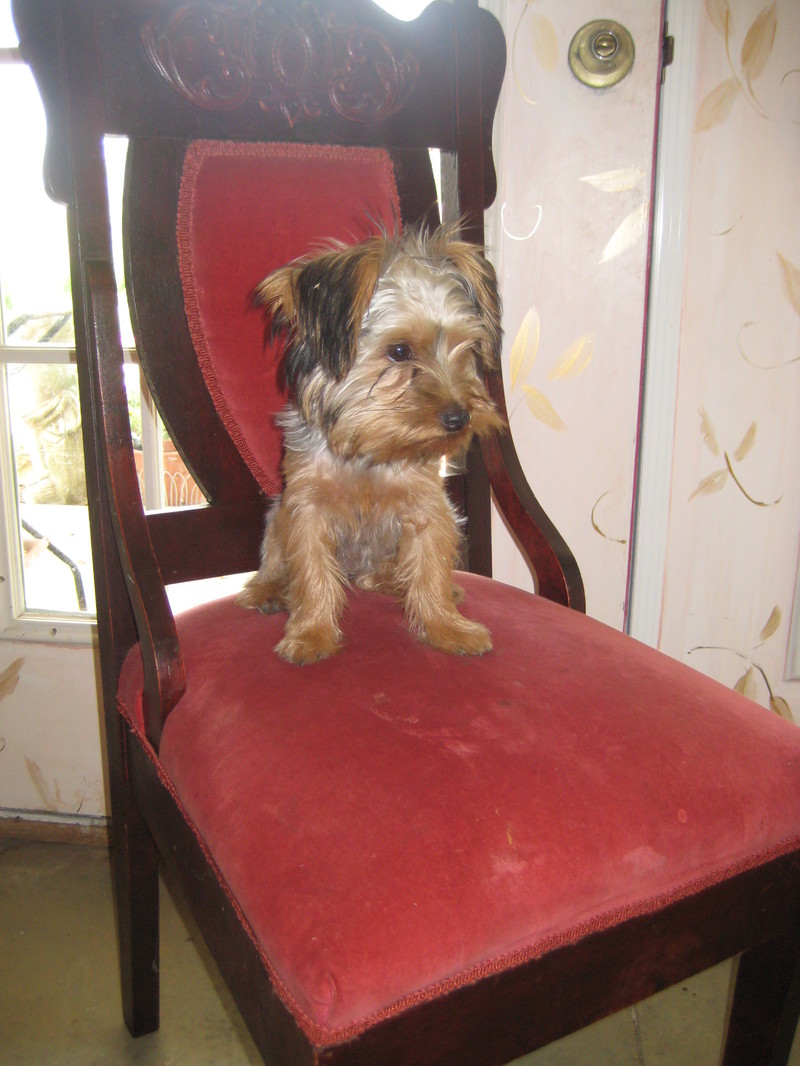
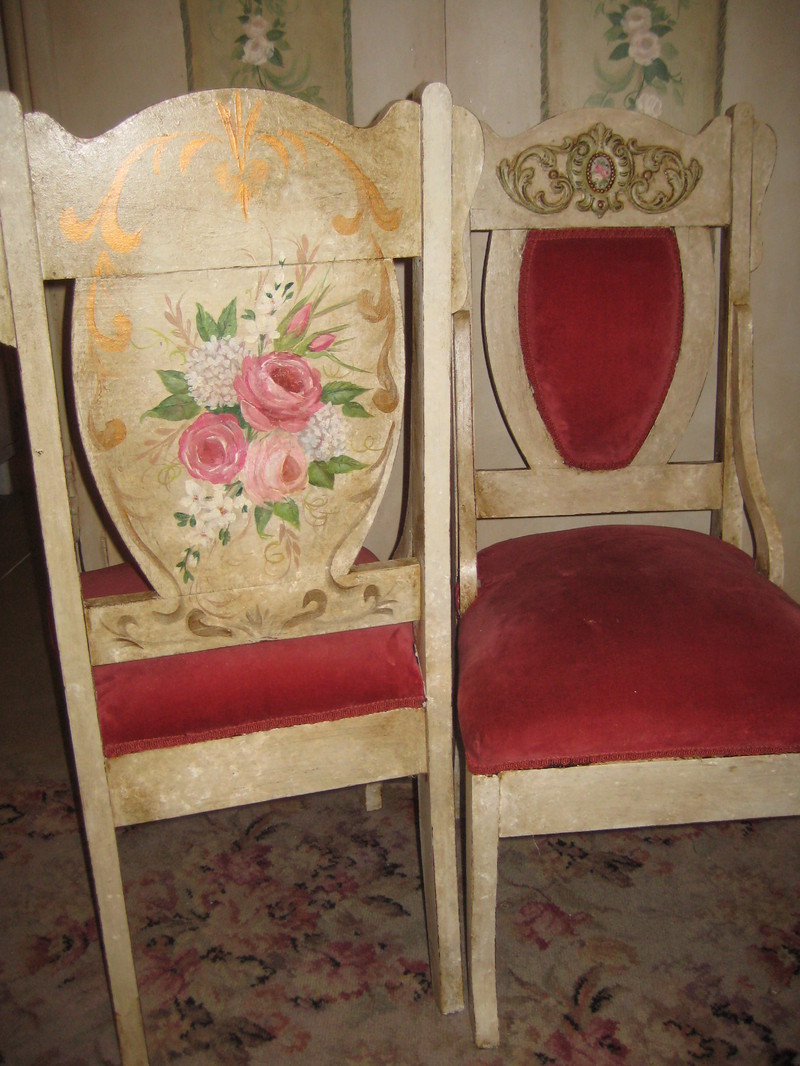
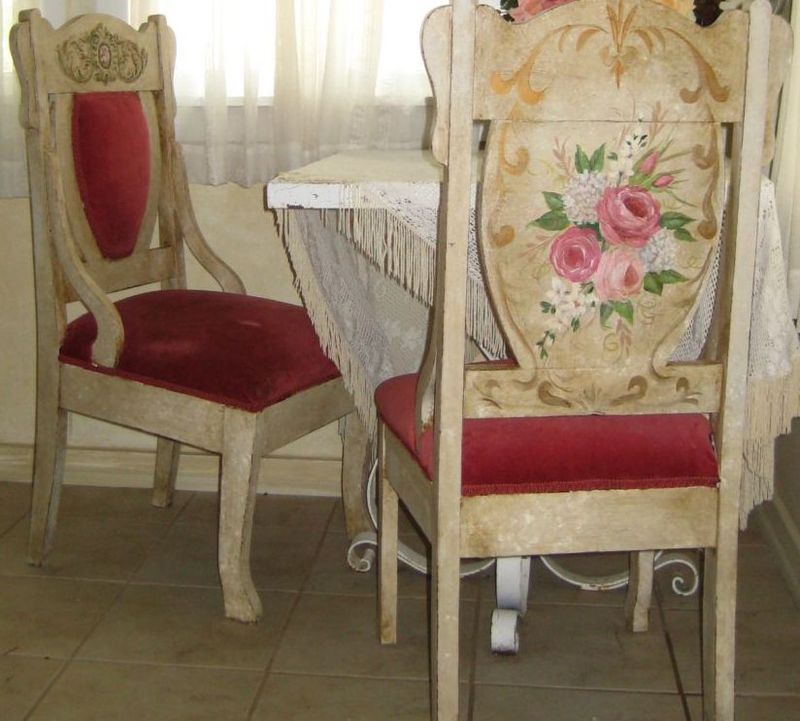
I bought two of these chairs (hand carved and signed on the leg!) at a garage sale for a great deal. Some think it is a shame to paint old pieces, but if they are unwanted, and unused as is, then what is their true value?
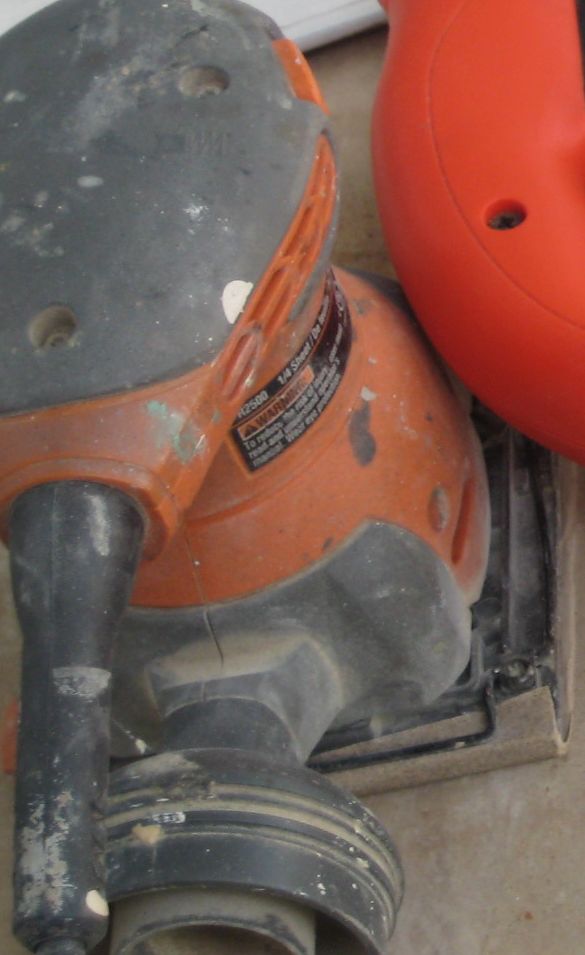
How_to_paint_furniture_001  I start with light sanding. You don’t have to sand it to the bare wood, a light touch is all that is needed.

  I like my power sander, but a piece of medium sandpaper by hand works too.How_to_paint_furniture_002
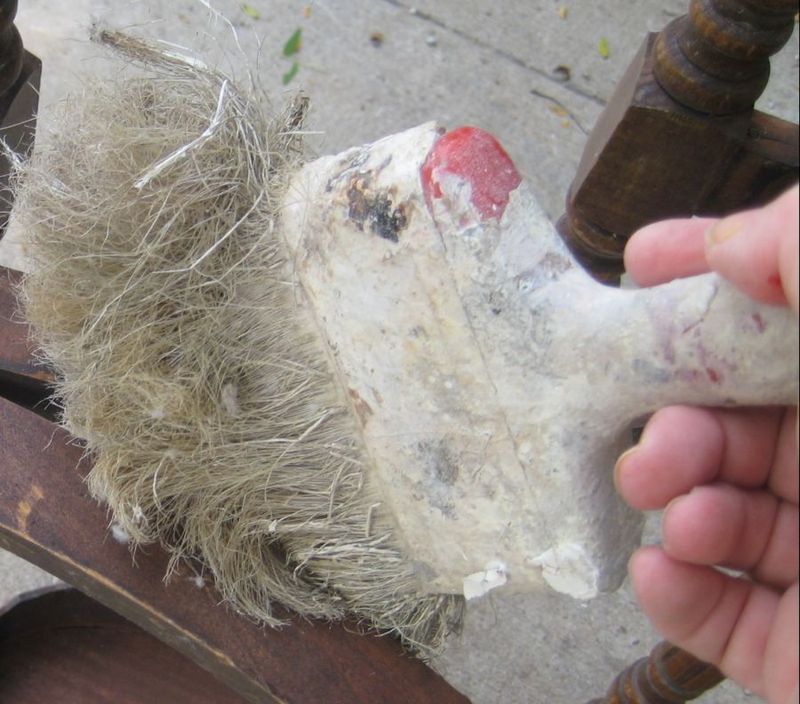
I keep a beat up, old, fluffy brush to dust off sanding residue and spider webs.How_to_paint_furniture_003
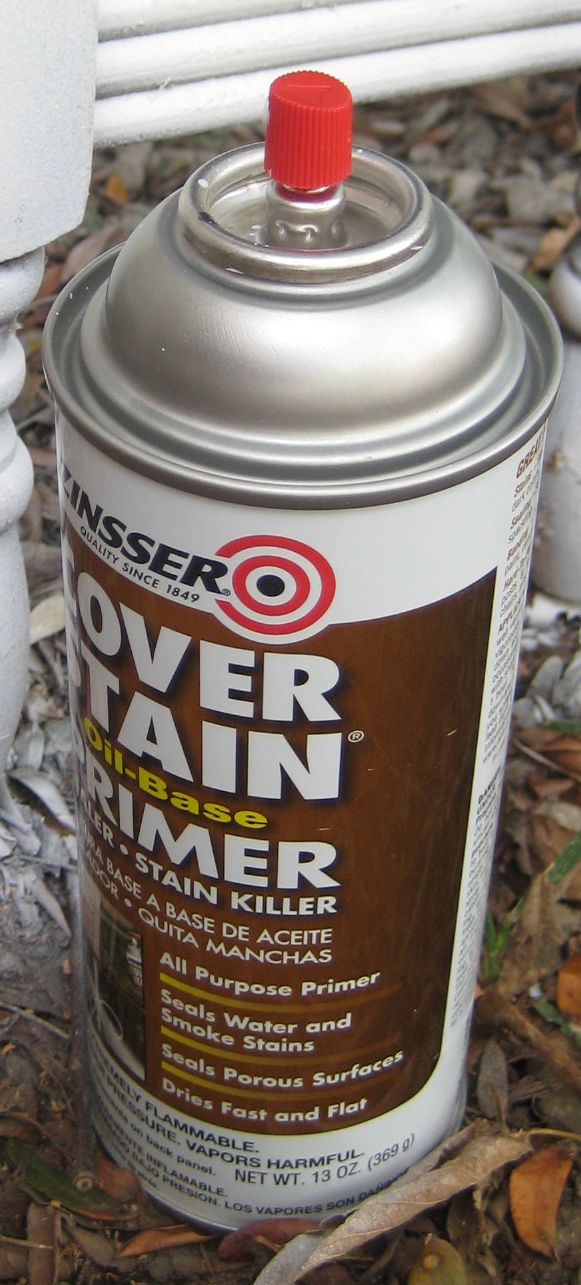
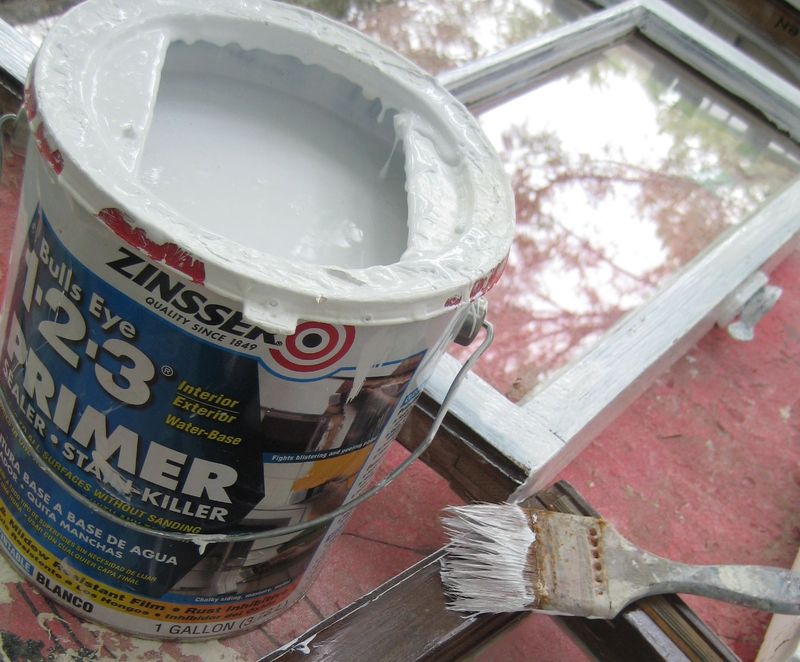
ALWAYS PRIME!How_to_paint_furniture_004

Make sure your primer says "bonding" or "will stick to glossy surfaces".  Zinzer and Gripper are good ones.  But read the label and make sure it will BOND. There are many kinds of primer out there and the wrong one will ruin your project.How_to_paint_furniture_010
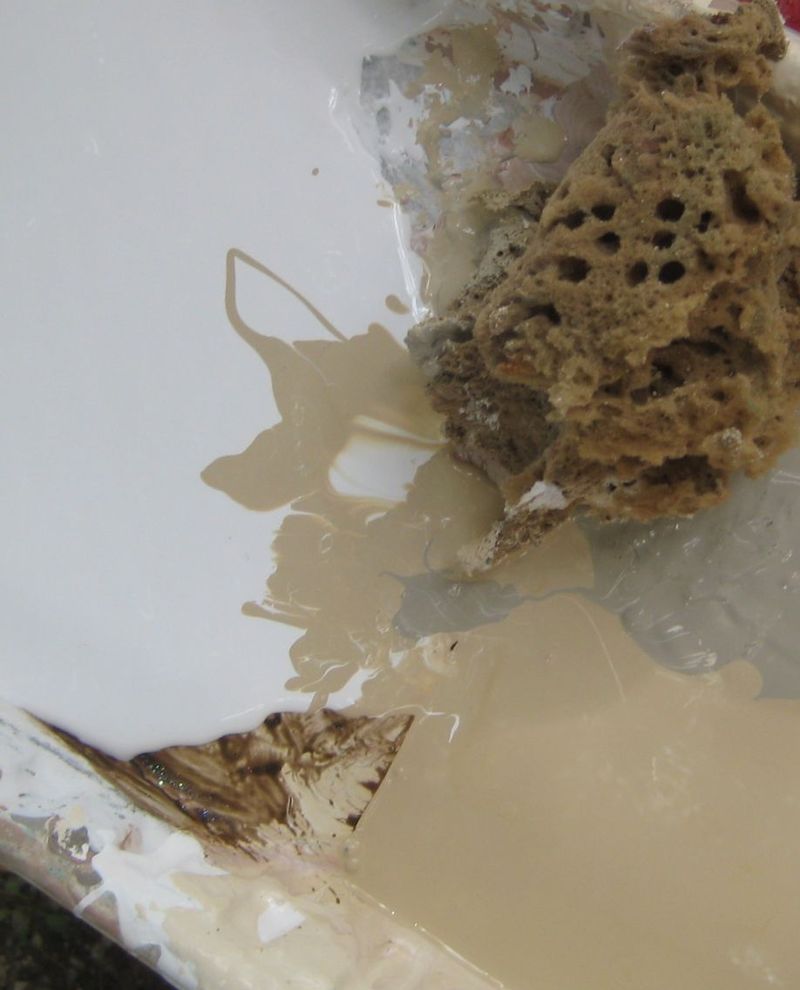
For these chairs, I used 3 colors, white, tan, and taupe.  I poured a bit of each into the paint tray, with the colors butting up next to each other, and mixing as I used them.How_to_paint_furniture_015 How_to_paint_furniture_011
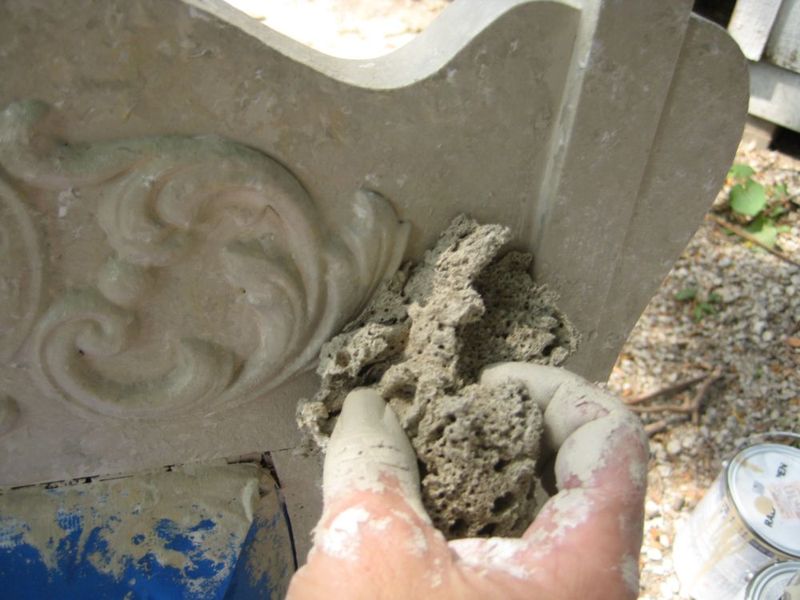
I dipped my sea sponge into all 3 colors at once, smooshing and mixing it together as I dabbed it on.

I keep a cheap-o 50 cent brush around for pushing paint into crevices.How_to_paint_furniture_016
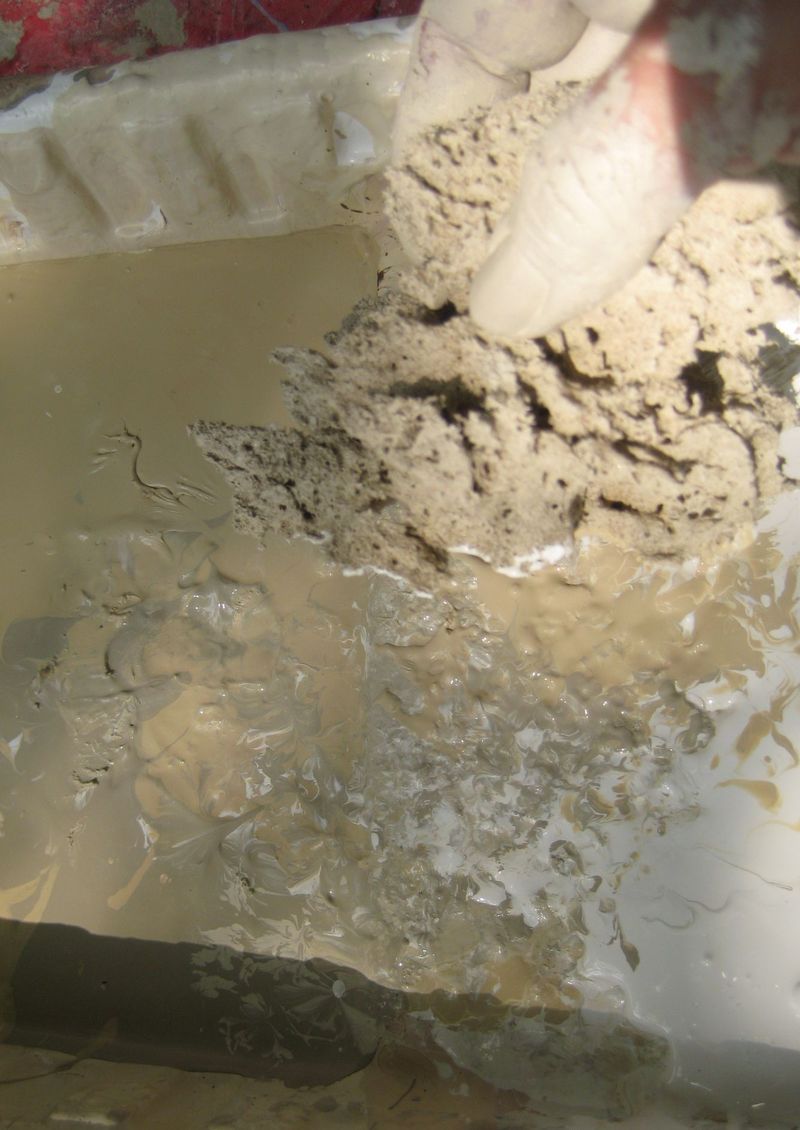
Notice how the paint starts to blend together in the pan? I add in fresh paint a little at a time if it starts to get too mixed together.  Also, I dampen and rinse out my sponge regularly in a bucket of water I keep nearby.How_to_paint_furniture_028
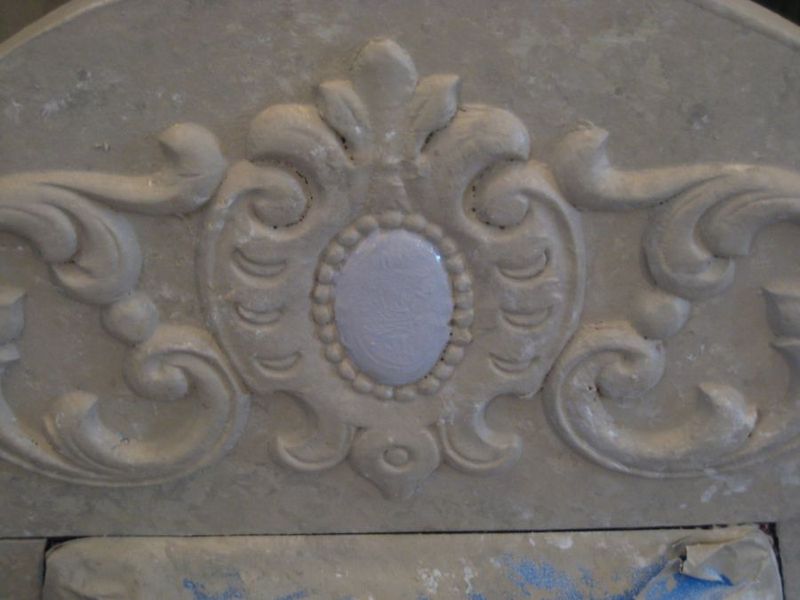
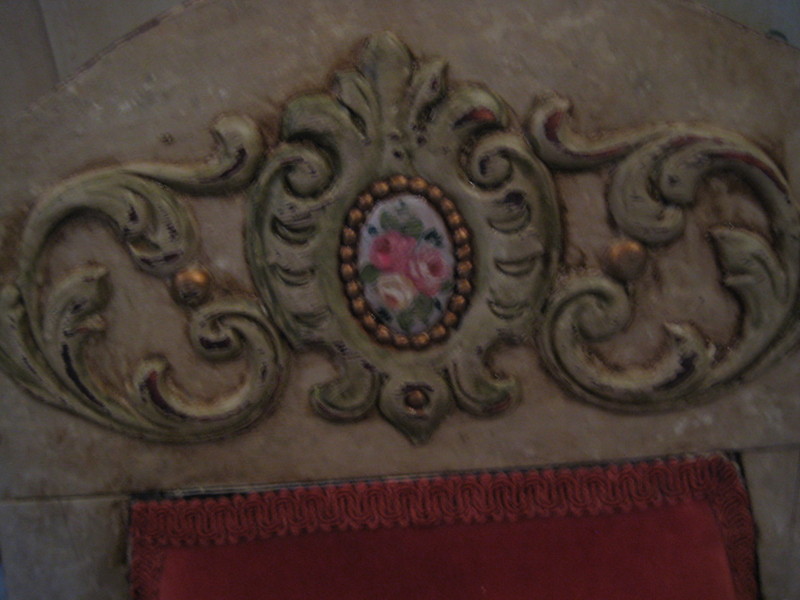
Once the chair is painted, I start on the details, I painted the oval emblem white.How_to_paint_furniture_029
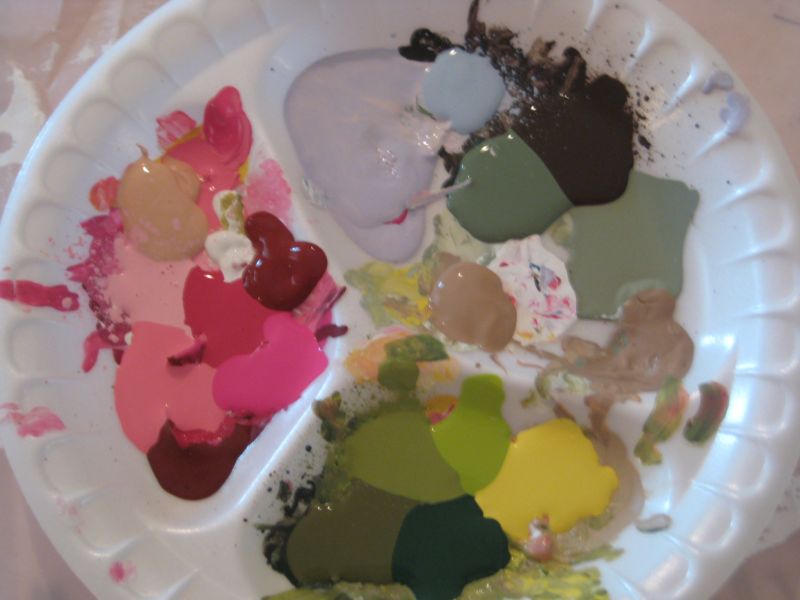
I got out acrylic craft paints in the colors I’d need for my flowers.How_to_paint_furniture_034
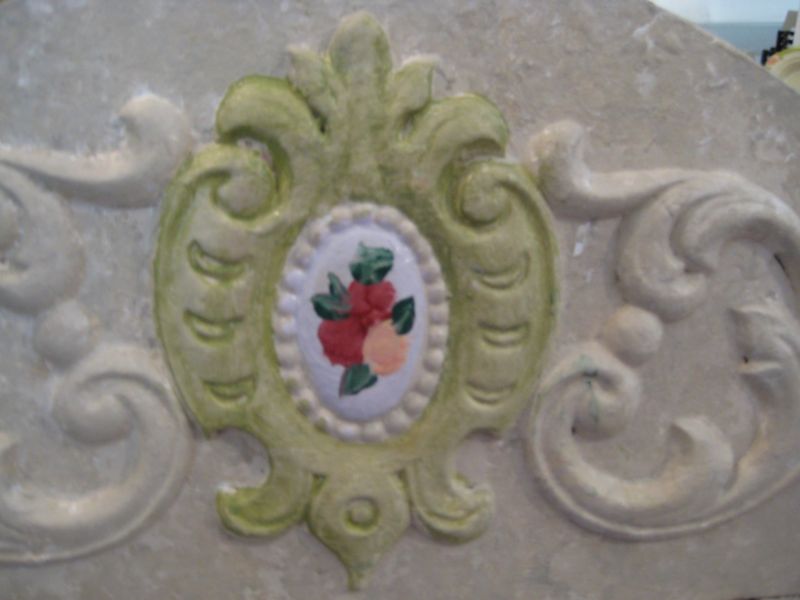
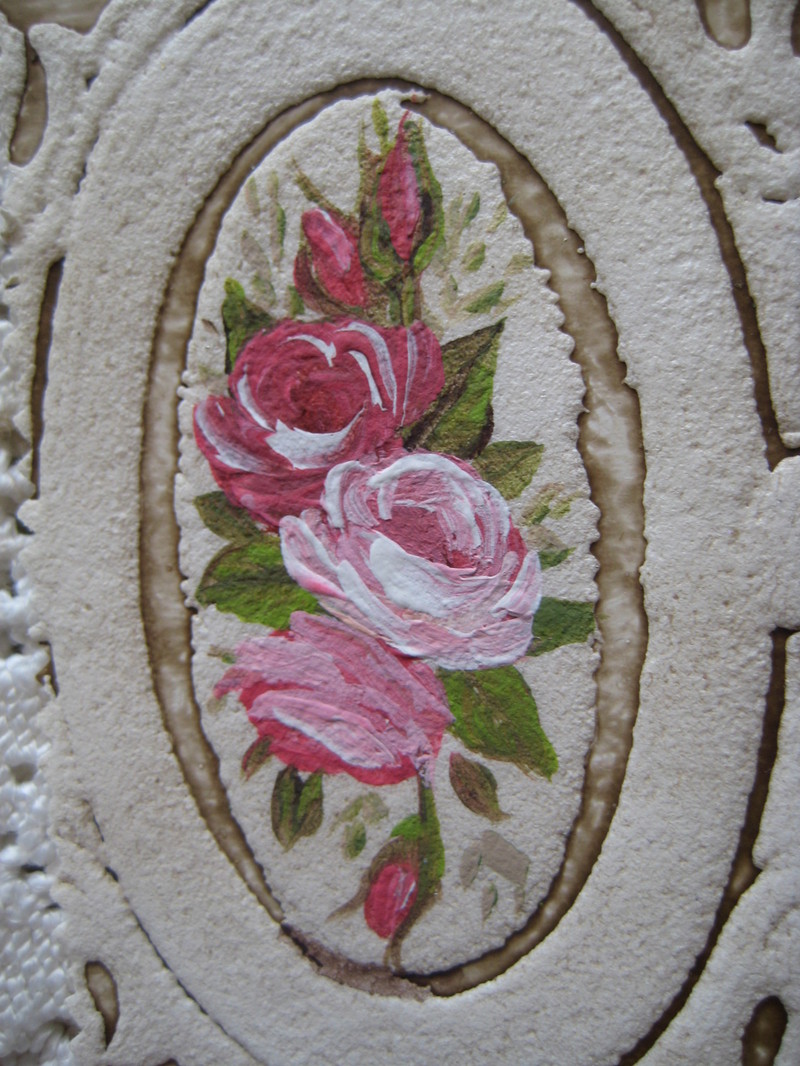
At first, my roses are blobby.  But that is only background color. I let it dry, and I painted the scroll work around it, green.How_to_paint_furniture_037
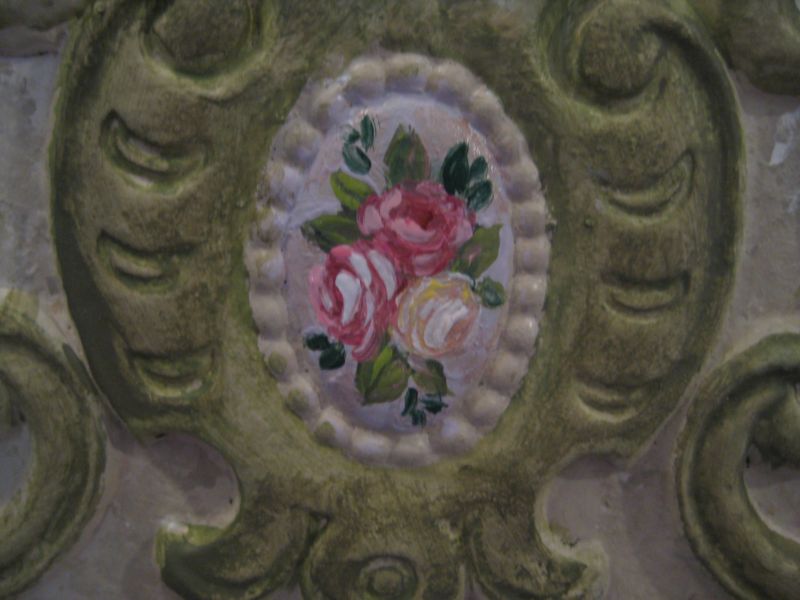
Over the background colors, I swirled highlights over the roses and leaves.How_to_paint_furniture_038
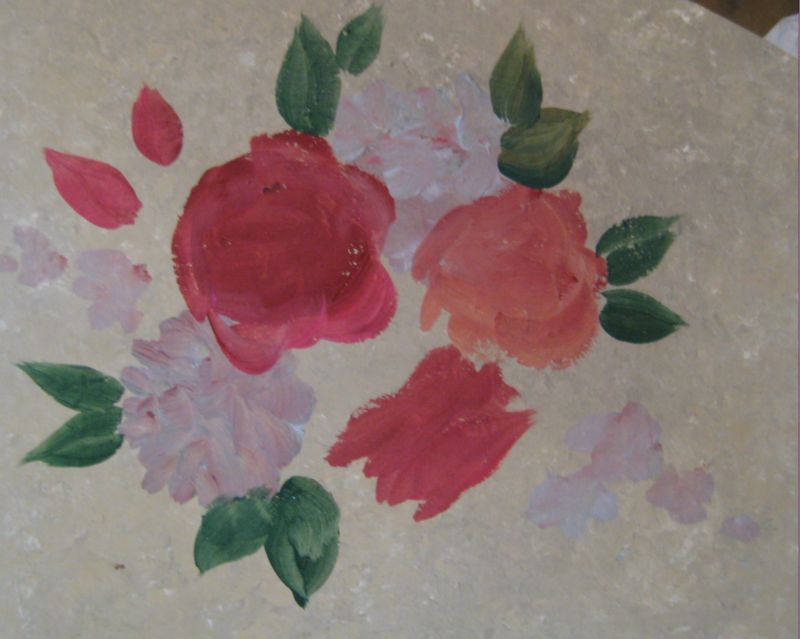
Because the backs of the chairs were such a cool shield shape and show every bit as much as the front, when pulled up to the table, I added flowers to the backs also.

Again, I did a background color for each flower, and kind of sketched it out with paint.How_to_paint_furniture_039
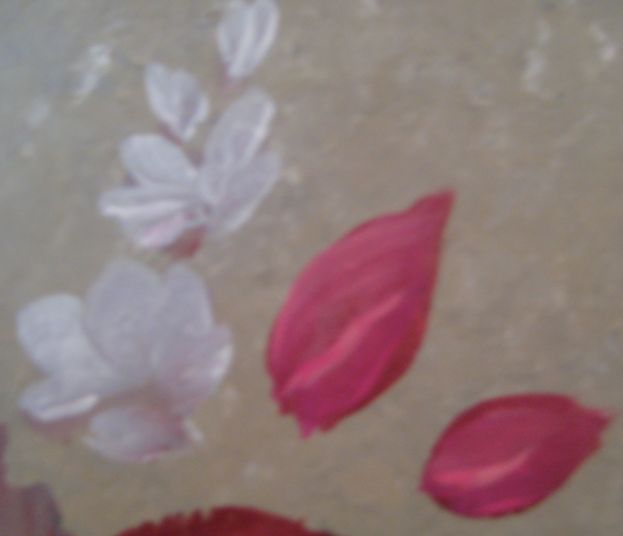
I dipped my brush into more than one color at once as I applied the paint, so that the flowers had more dimension.  I started with the base color sketch, in the darkest shades.How_to_paint_furniture_040
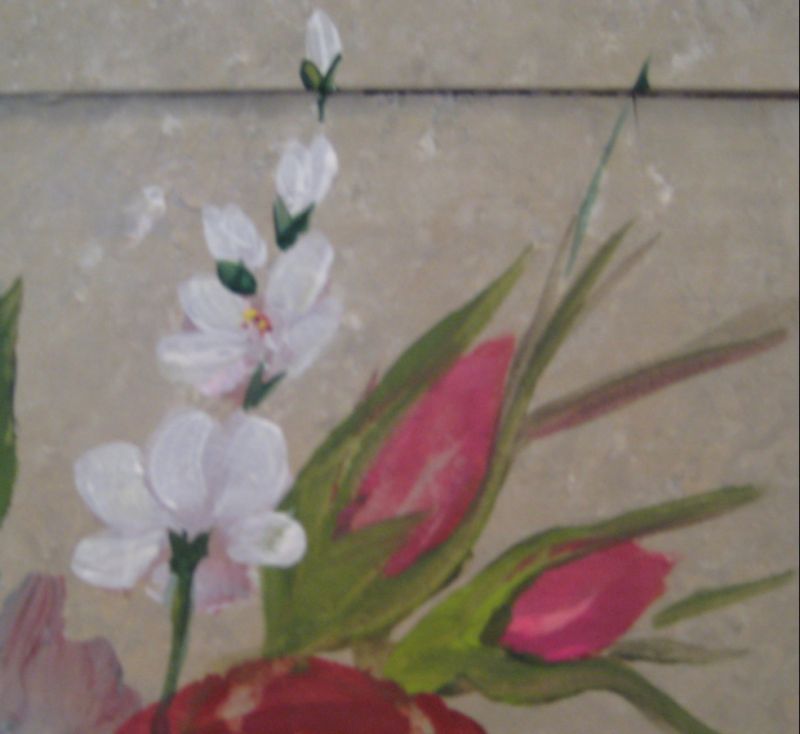
To the darkest shades, I started adding highlights and details.
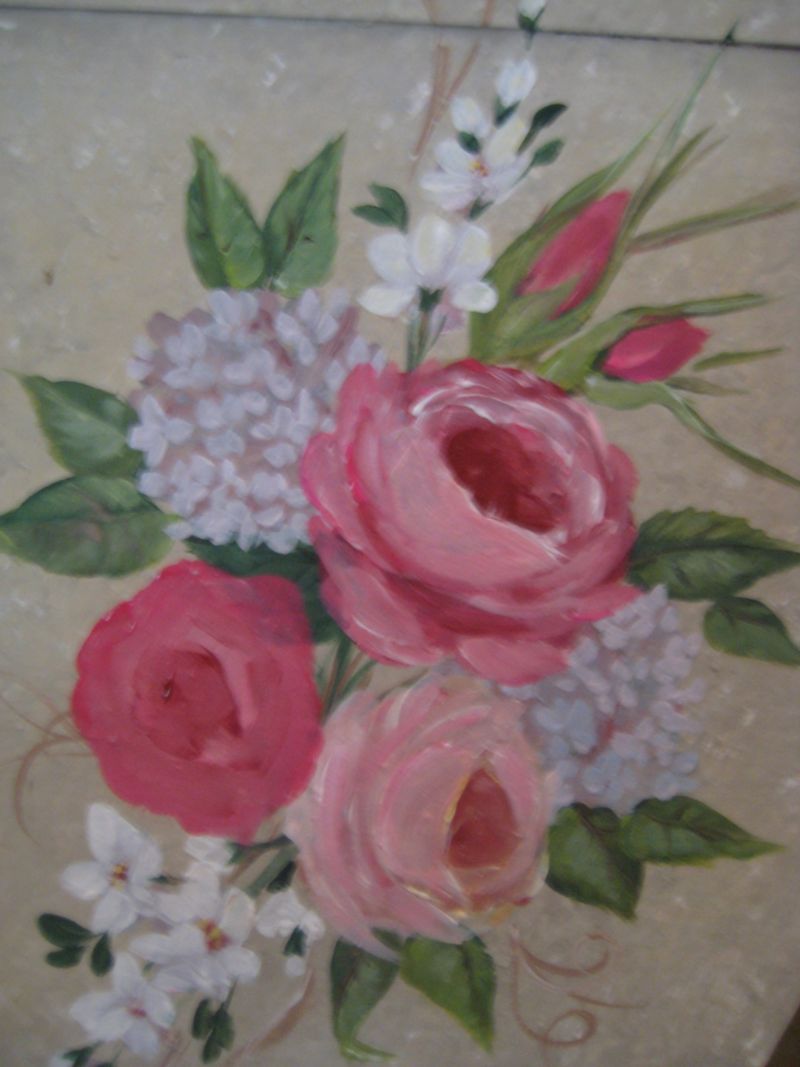
How_to_paint_furniture_042

Its important to let each application dry before adding more. If you try to add the highlights to wet paint, you just get smears.

Letting the coats dry in between will give you layers and depth.
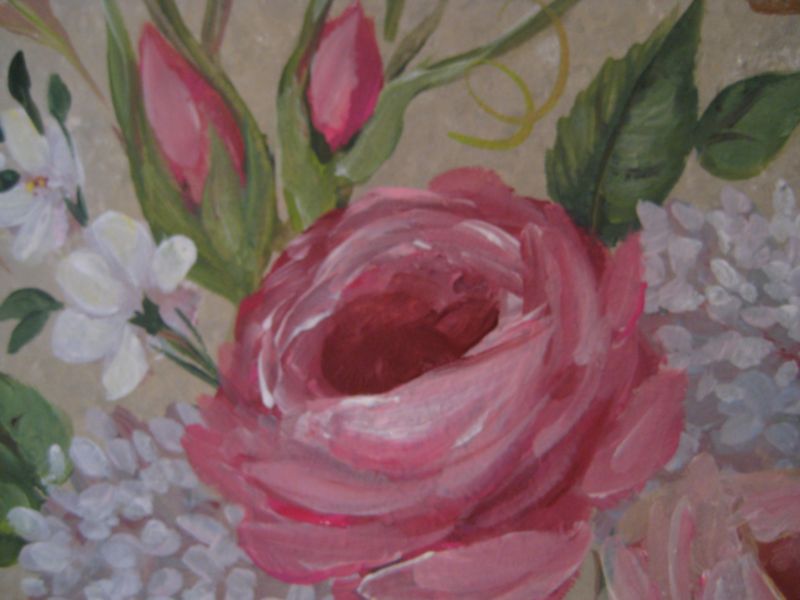
How_to_paint_furniture_045

Sometimes, you need to go back in with a little bit more dark paint, like I did in the center of the rose.  But mostly, the last layers are all lighter and lighter colors as you add them.How_to_paint_furniture_043
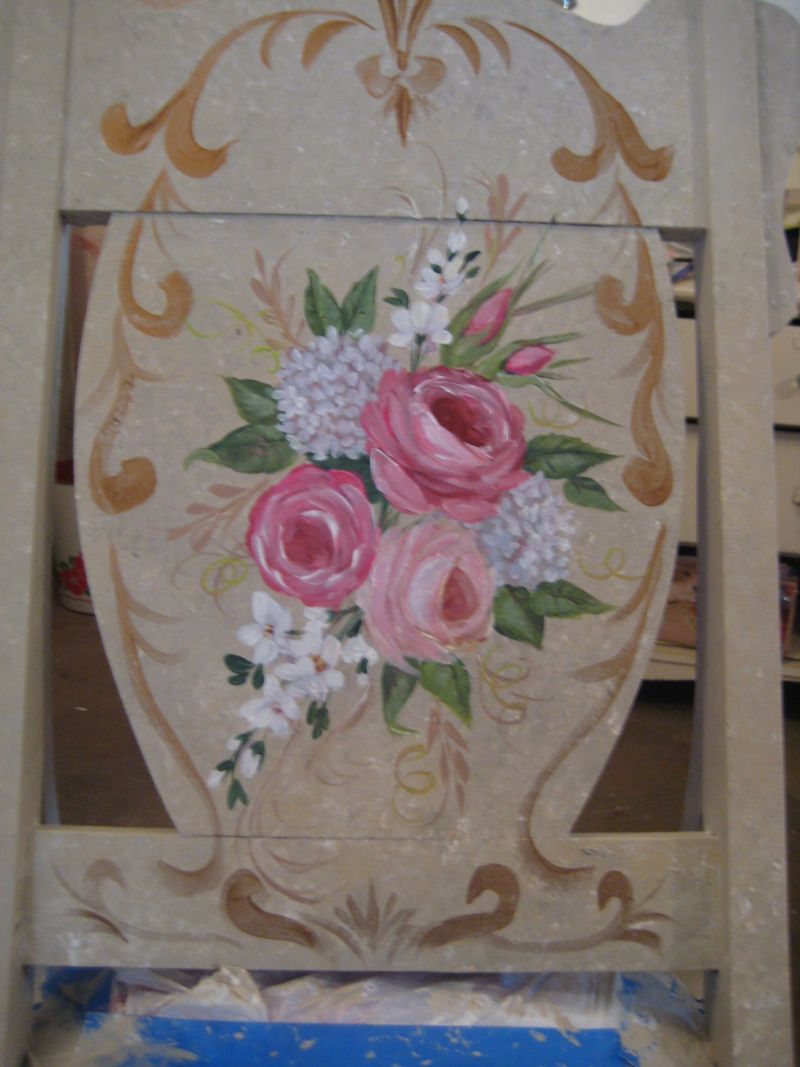
Once the flowers were done, I added metallic gold paint, with a 1" wide brush, twisting it to a point  as I pulled it down into a swirl.How_to_paint_furniture_046
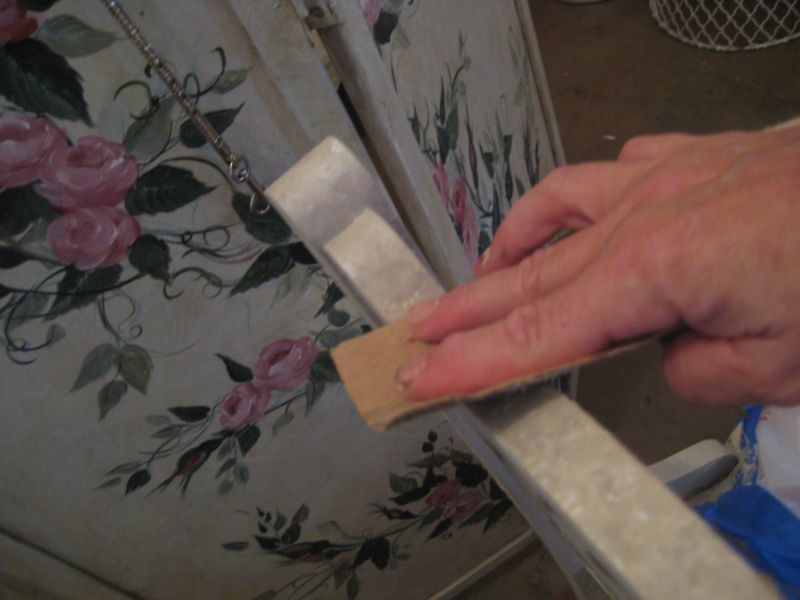
To give the chair some age, I used a medium grit sand paper on the edges, for distressing.How_to_paint_furniture_047
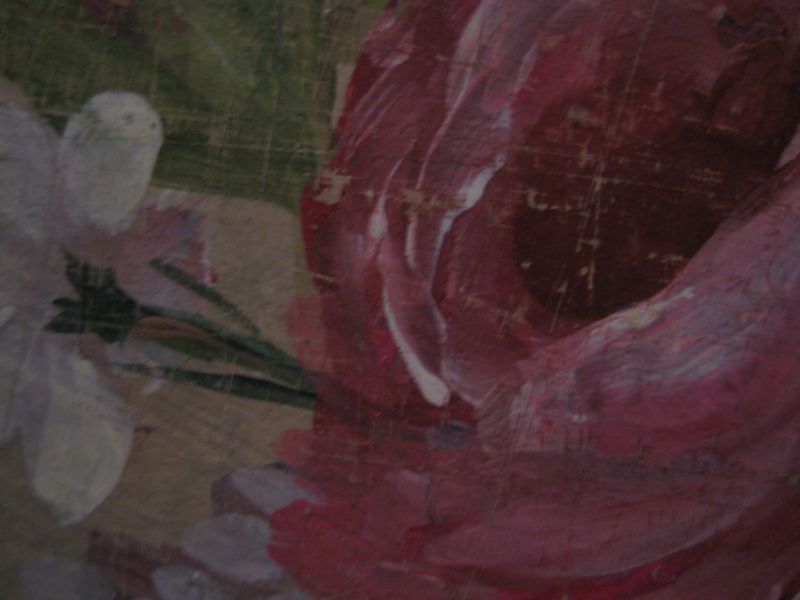
I "distressed" right across the hand painted flowers too.How_to_paint_furniture_052
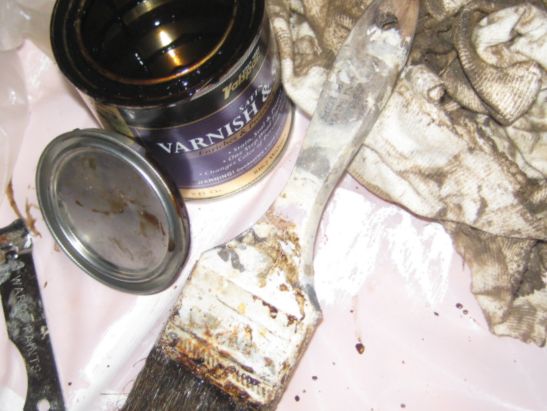
To complete the "aging", I used a stain and poly mix.

I buy throw away brushes at estate sales so I don’t have to wash them out with turpentine when I am done, since I hate the smell of that stuff!How_to_paint_furniture_048
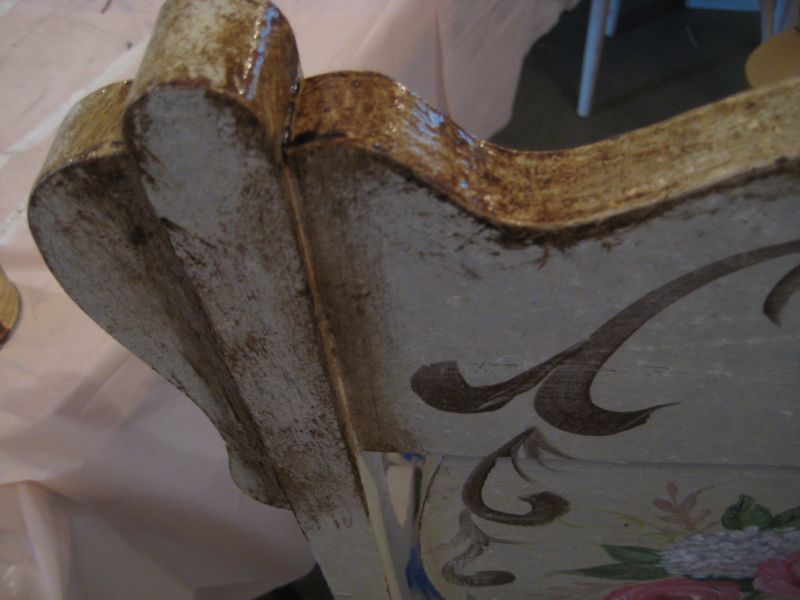
I brushed on the poly/stain in small areas at a time and wiped it off with a soft cloth.  An old tee shirt cut up works well.How_to_paint_furniture_055
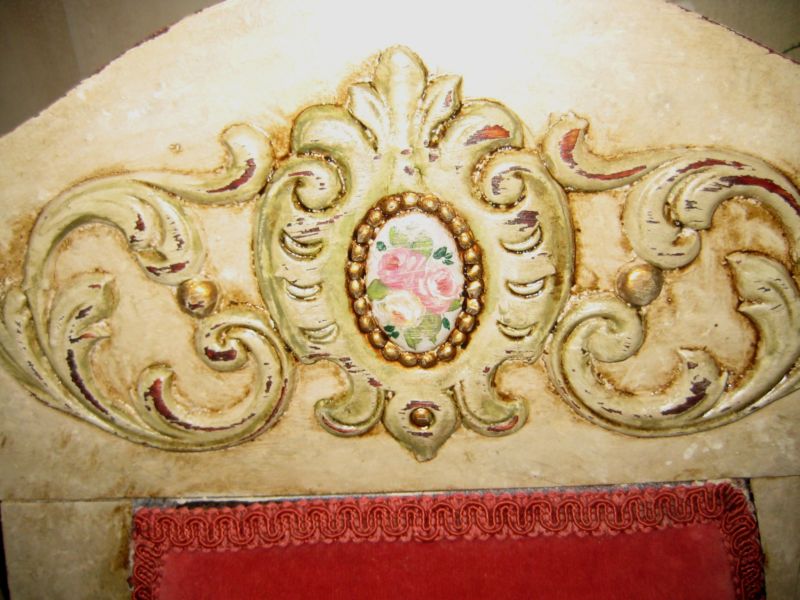
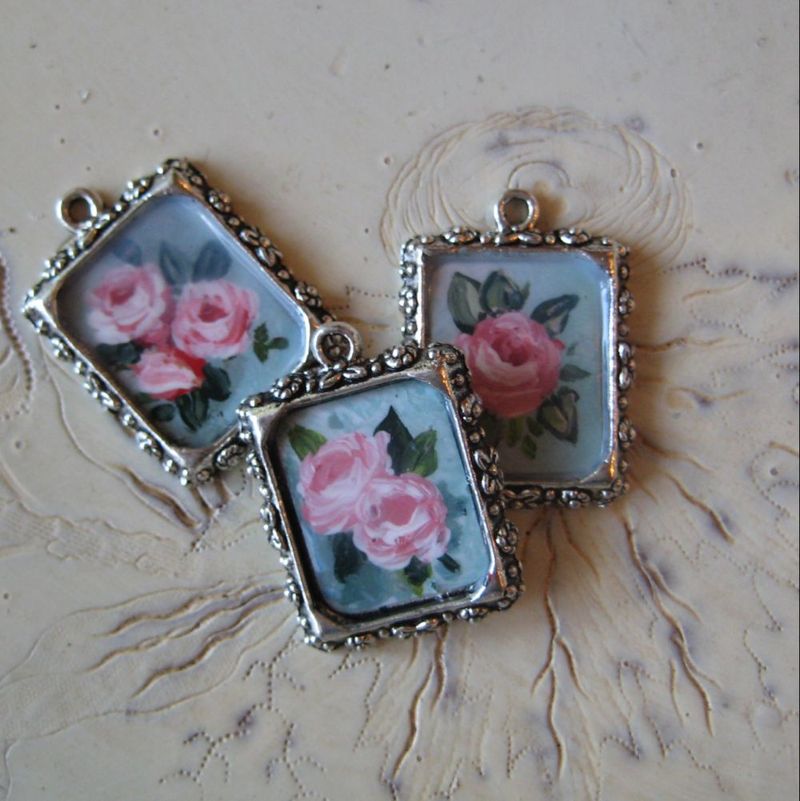
I used "rub-n-buff" on the bead trim around the oval.  It is a metallic wax that comes in a tube, and goes on with a fingertip.
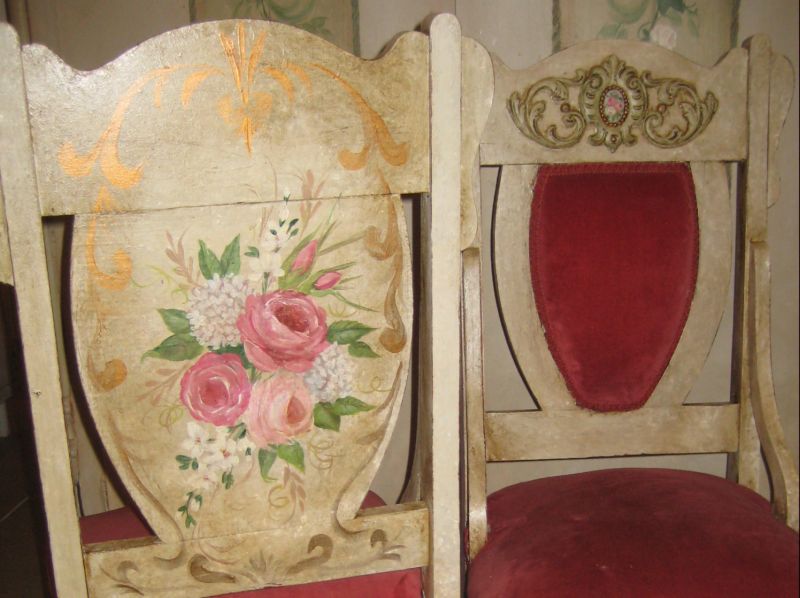
How_to_paint_furniture_054 Ta dah!

Thanks, Kari for hosting the Artful Blogger Party and congratulations on your publication!

I am on my way to a family reunion, but might be posting and checking emails from Sissy’s house.  If you have any furniture questions, I’ll try to answer from there, but it might have to wait till I get back.Etsy_papers_007
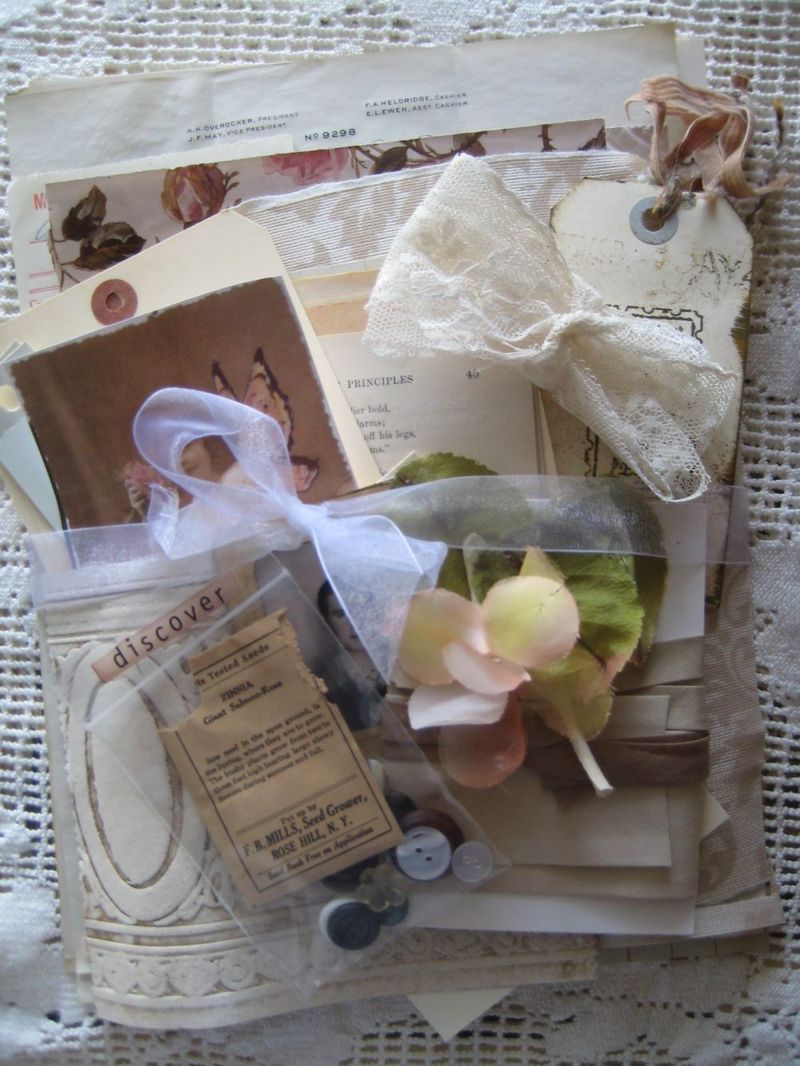
Kari’s work is published in Somerset’s new magazine about blogging. I can’t wait to get a copy.
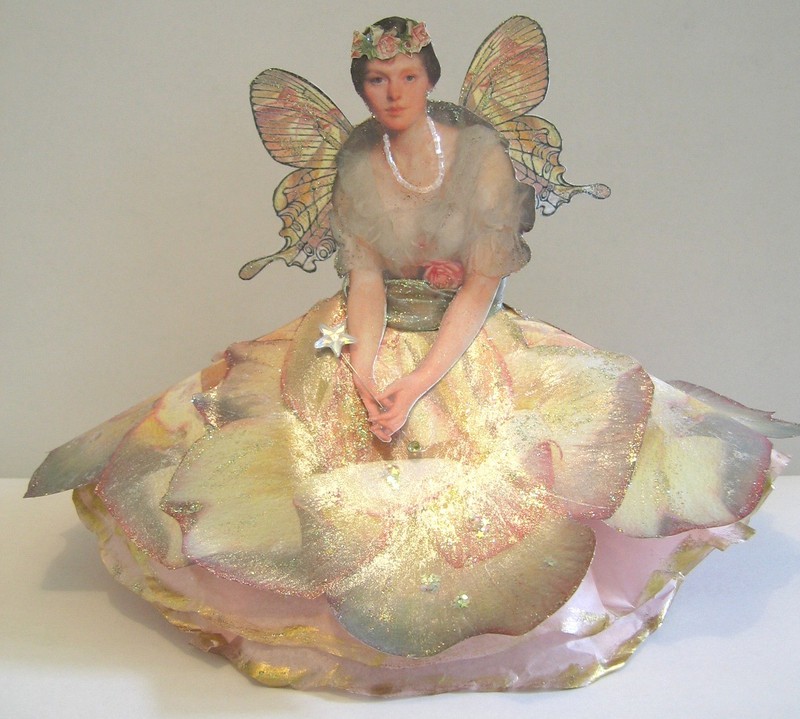
This Cottage Collage Kit is going to be in a Somerset magazine also. 

If you would like to win one, just leave a comment (as many times as you’d like) to enter my August drawing. 
If you aren’t an artist and would rather have a finished item instead of a kit, just let me know (when you win) and I’ll make something for you instead!

Enjoy all the rest of the Artful Blogger’s Party by checking out Kari’s site!
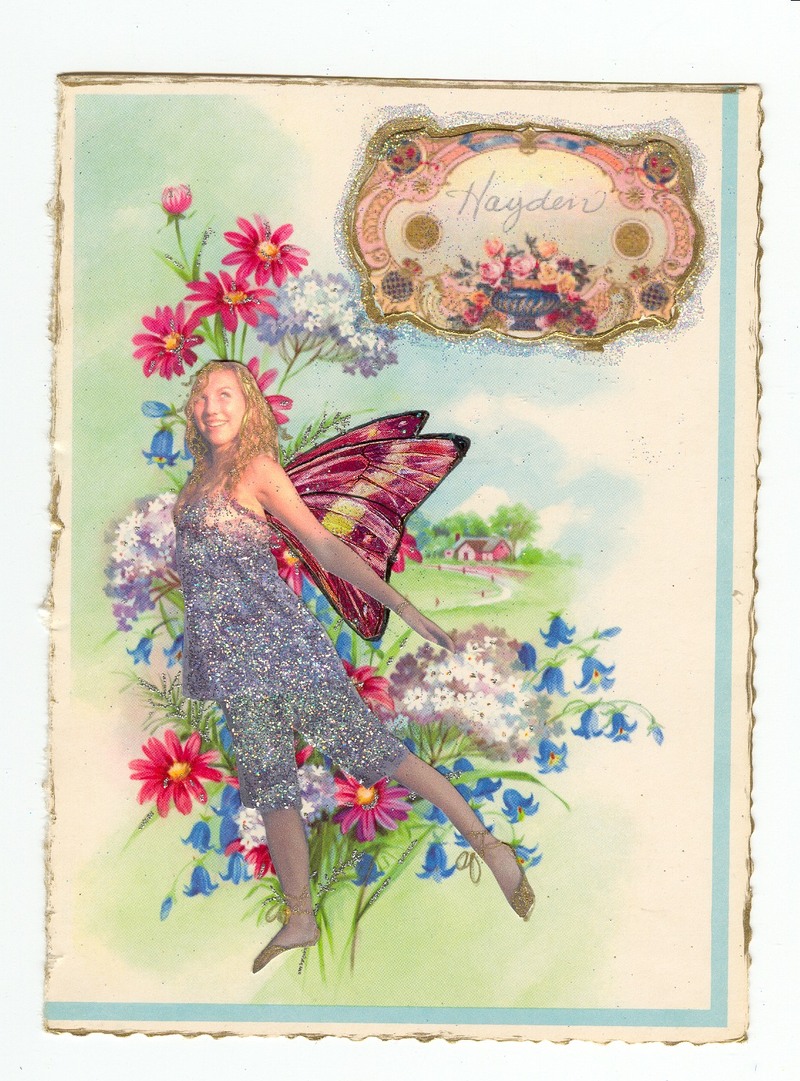
Surprises

Etsy Goodies, fairies, flowers, give away, how to's, paintings, vintage paper/collage art

Lily_022 It was hot here in Kansas this weekend. So hot that no one wanted to go out on the boat.  We did go to the lake in the evenings, but I spent the daytime in the studio working on some paintings.

While I had paints out, I did a background for an ATCard that

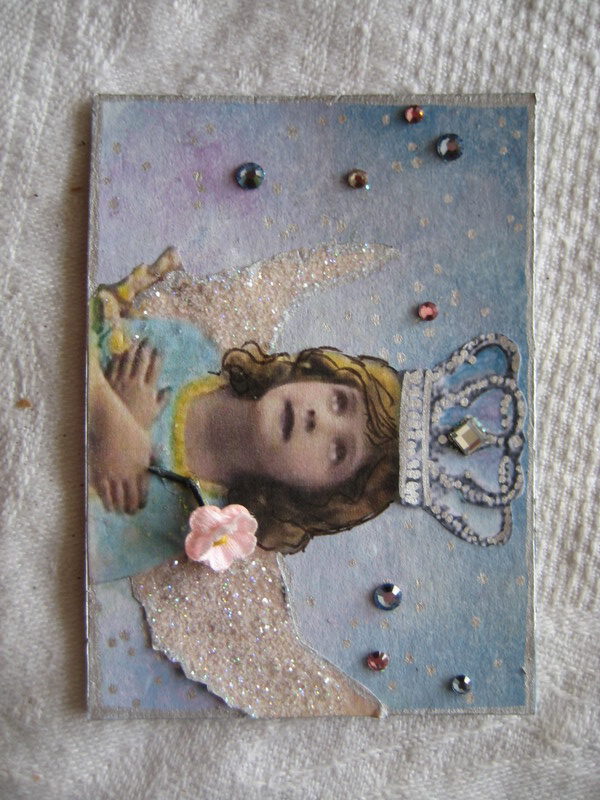
Debra posted a picture to use, as a challenge.  I snipped out the angel she posted, glittered it up, added silver paint pen, drew curls in the hair, then added crystals and a vintage posey to my painted background.  The angel is on her site if you’d like to do your own.Lily_017

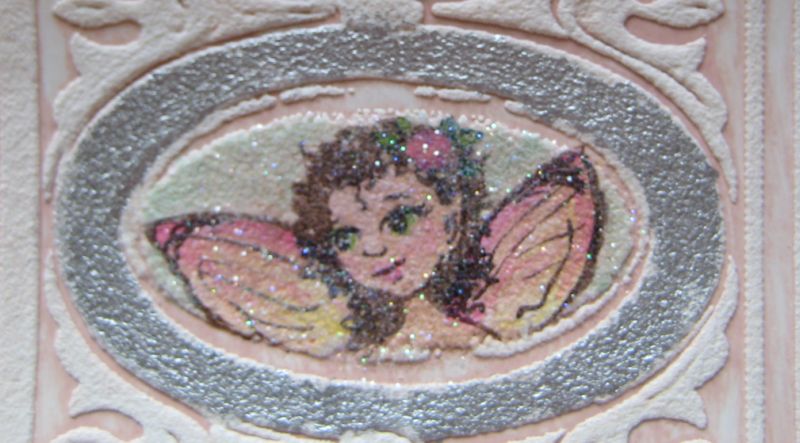
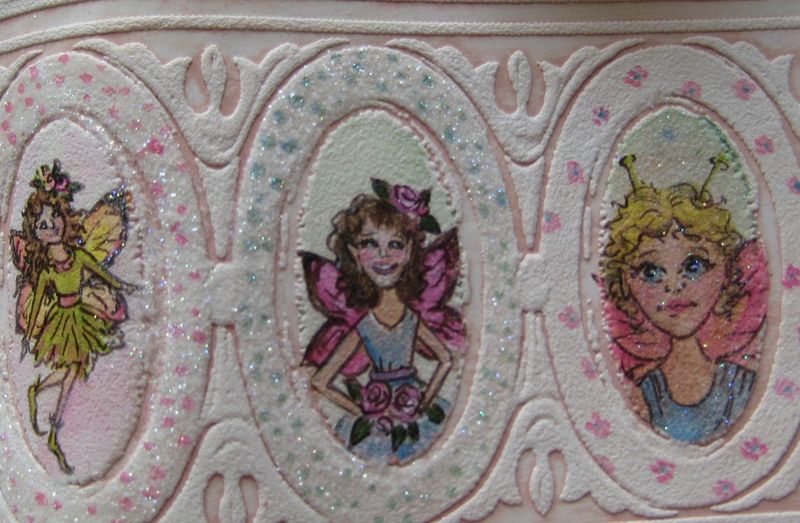
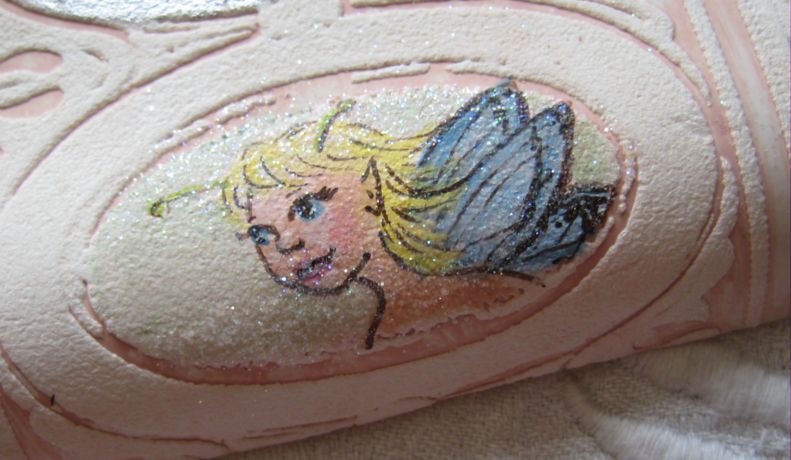
I got a bit carried away on the wallpaper medallions again!  I really enjoy painting those little ovals, and this time I was in fairy mode.Lily_013

I dooded up some of the borders of the medallions too.Lily_018

Others, I left simple, but all of them got glittered. (of course)

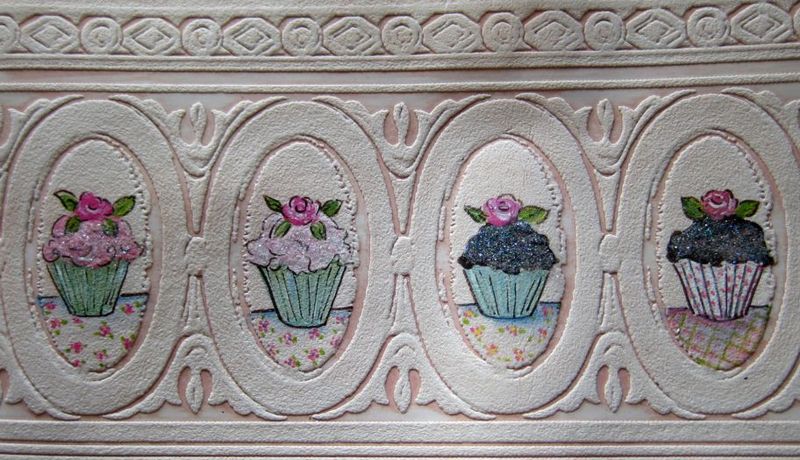
Lily_020 While I was at it, I did a few more cupcakes with more glitter (of course).

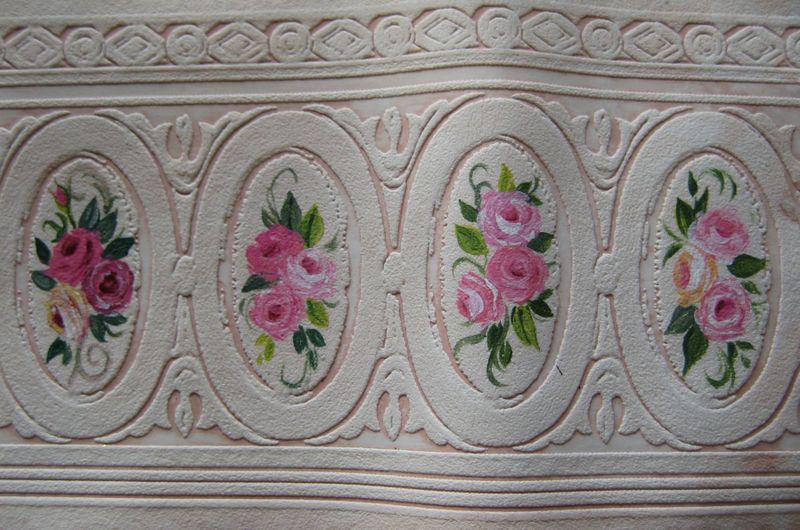
Oh and a few more pink roses. (of course) Lily_015_2

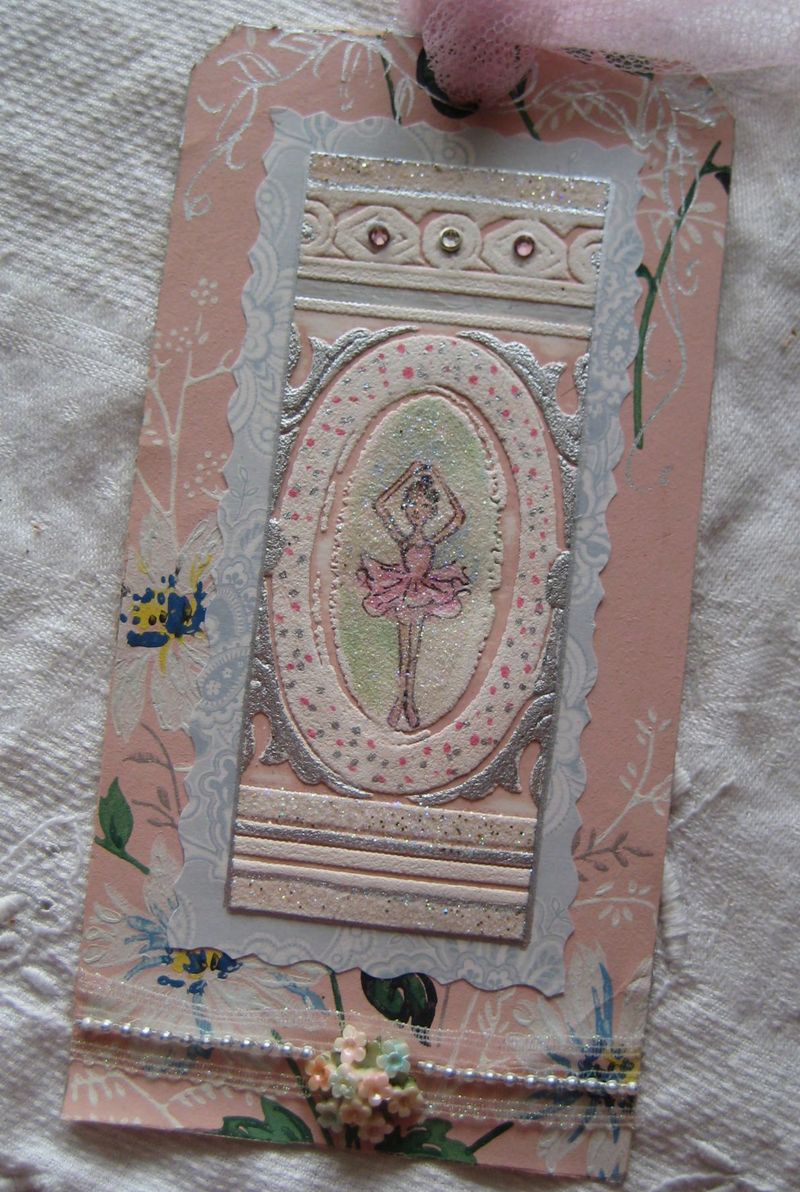
And one little ballerina that I added to a large shipping tag with vintage wallpaper, pink tulle, crystals and some posies from old jewelry.August_birthday_007_3

I will list them on myEtsy Shop if you are interested, but it might not be today, so if you want one, feel free to email me.  The medallions are $5 for each section, and the ballerina tag is $9.

I will give the angel ATC to the first purchase of two items or more!

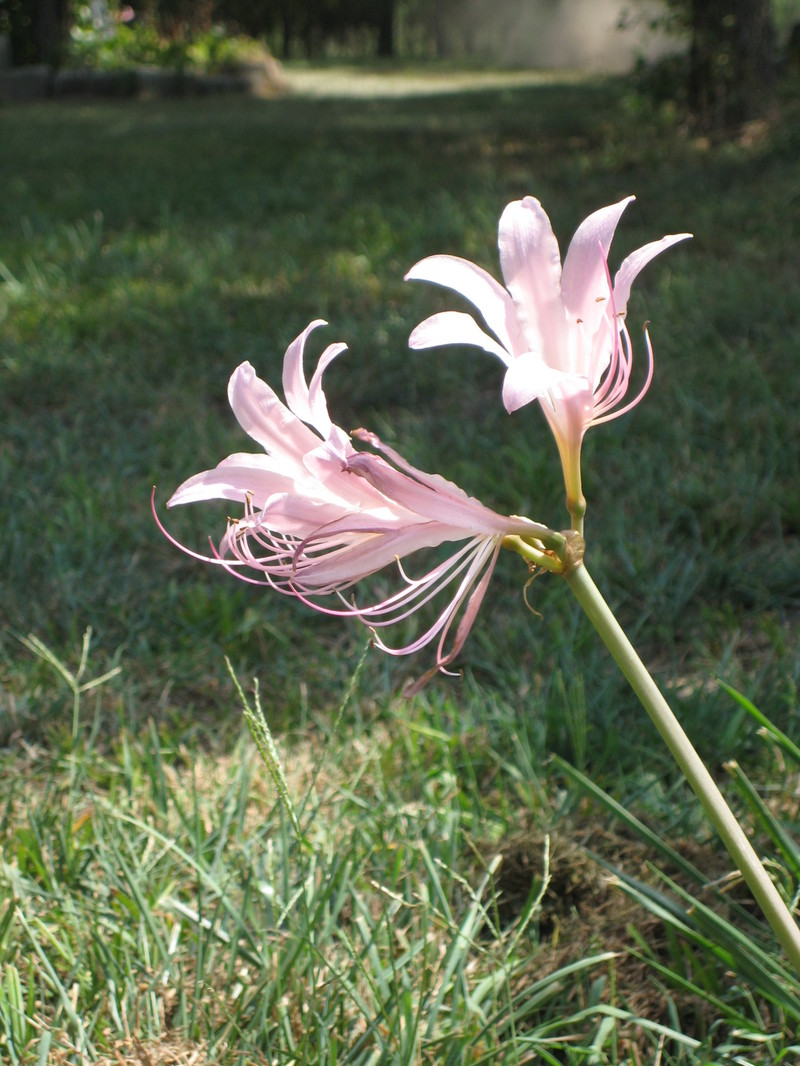
Lily_002 My sweet husband did the sweetest thing.  He was mowing in the 100 degree heat, and came in to tell me that there was a flower along the mower’s path and wondered if it should be saved. (he didn’t know if it was a weed, or whatever, he doesn’t understand flowers, but cared enough to ask)

I didn’t realize the surprise lilies were up yet, I guess that is why they are called surprise lilies, they come out of nowhere over night! Lily_003

I’ve heard them called naked ladies too, because of the bare stem.  I thought about titling my post "my husband and the naked lady" but thought I’d get all the WRONG hits on it today.

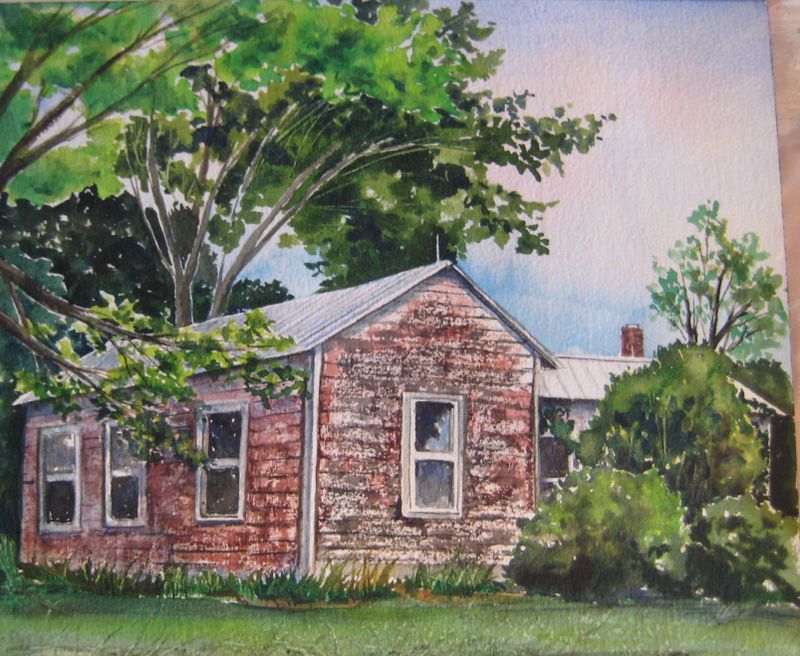
Lily The painting of the house my dad grew up in is finished and I am off to make copies of it for the family reunion.

First I wanted to tell you that I decided what to do for my August give away!!

I will give the winner a choice- if you are an artist and want a Cottage Collage Kit filled with vintage goodness, I’ll send that. If you are not and don’t want the kit, I will make something for you from one of my kits!!!  Hows that?

Leave a message to enter, as often as you’d like.  I do love me some comments!

July’s Winner and News from Somerset!

antiques/junking, Dorkies (Yorkshire Terrriers), Etsy Goodies, give away, Hand Painted Furniture, hand painted signs, how to's, magazine pictures or articles, vintage paper/collage art

Etsy_papers_007 Forgive me for showing a photo that I have shown before, but I have two bits of news about it-

First, the winner of my July giveaway, the COTTAGE COLLAGE KIT- is

http://raisedincotton.typepad.com/raised_in_cotton/

Thanks everyone for your comments, I love to hear from you. I will have a new bribe, (I mean drawing) for August. Something extra special since it will be my 22nd wedding anniversary that month.

Second– Somerset contacted me to send them my Cottage Collage Kit to feature in a story about kits!  How cool. I love that magazine! 

I have also been talking to Romantic Country about an article about my bathroom. Another favorite magazine of mine. I do have an article coming out in that one this fall about my home, already. I really like working with them, Harris is a great company.

How_to_paint_furniture_057

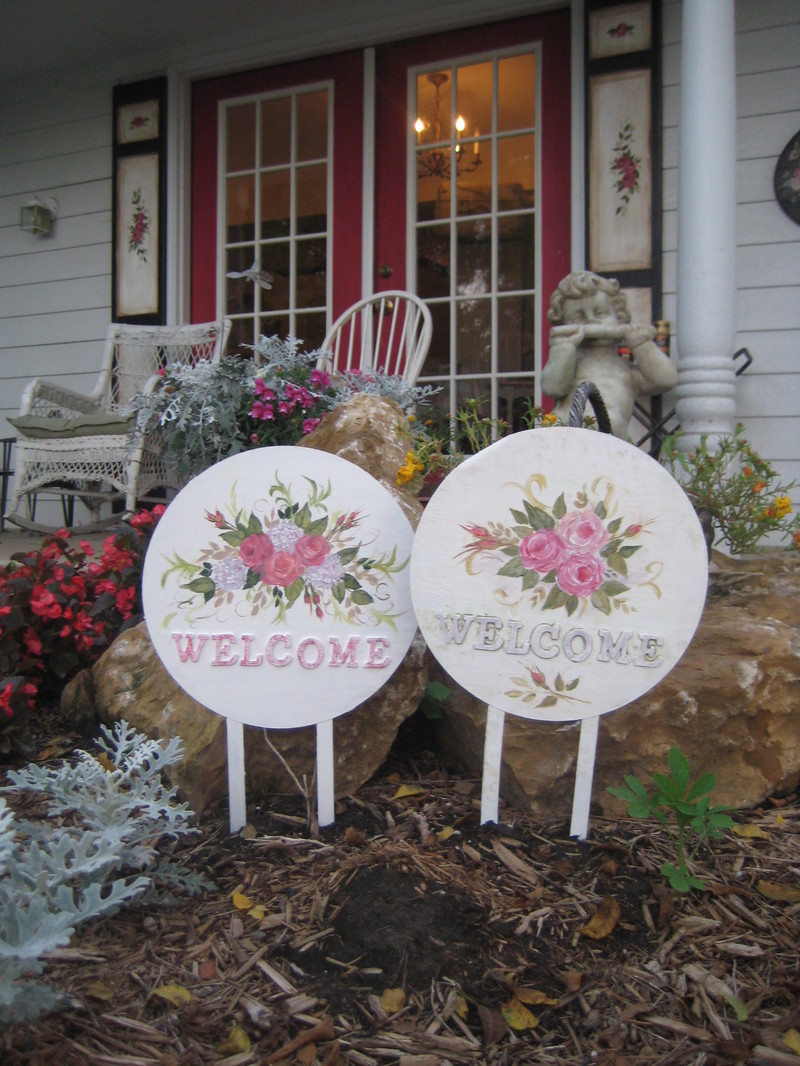
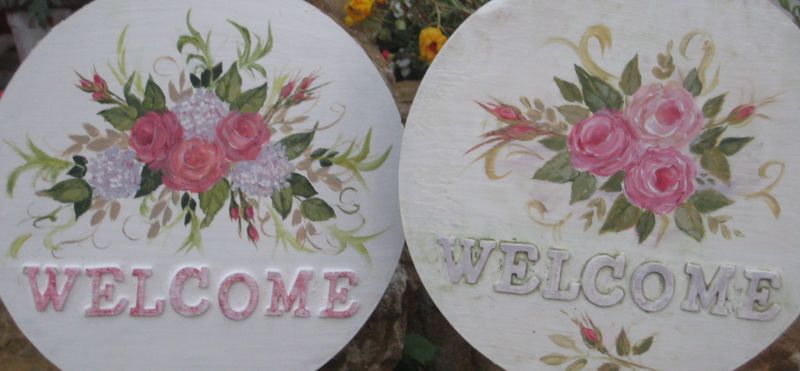
At Hobby Lobby’s 90% off garden clearance, I found a stack of thin, metal signs for under $1.50 each. I bought ALL of them and have been repainting them in my own style (after sanding and priming)

Here are a couple I did today.

How_to_paint_furniture_058

I should be making Christmas decor for my sale in December, but I just simply gravitate toward pink roses, no matter what. How_to_paint_furniture_009

Last week, before accidentally dumping a quart of white paint on my Dorky, I primed and base coated a few pieces of furniture, and today, I finished painting two of these gorgeous chairs I got at a garage sale for $20 each.How_to_paint_furniture_054_2

I painted flowers on the backs too, because often you see more of the back of a chair than the front, when they are pulled up to a table.How_to_paint_furniture_056

I took photos all along the process so I can post a "how to" this week when www.artsymama.blogspot.com hosts a Artful Blogger Party on Aug. 8th. If you want start to finish steps on how to paint furniture, check back then! Also check back to see what I have to offer for my August giveaway, and thanks again for entering in July!

I am slightly crazy about these medallions

antiques/junking, Etsy Goodies, give away, how to's, paintings, swaps, vintage paper/collage art

Another wonderful day- almost 12 hours of uninterrupted studio time!  That rarely happens, even for me and I am supposedly, a full time artist.

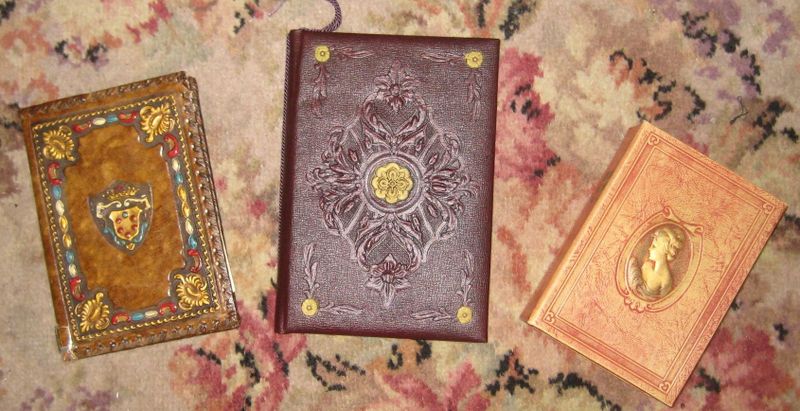
Shopping_016 I got these 3 leather covered books last week when I went estate sale shopping with Beth http://bethleintz.typepad.com/. I knew they could be good projects, and they cost me under $5 for all three.Tags_052

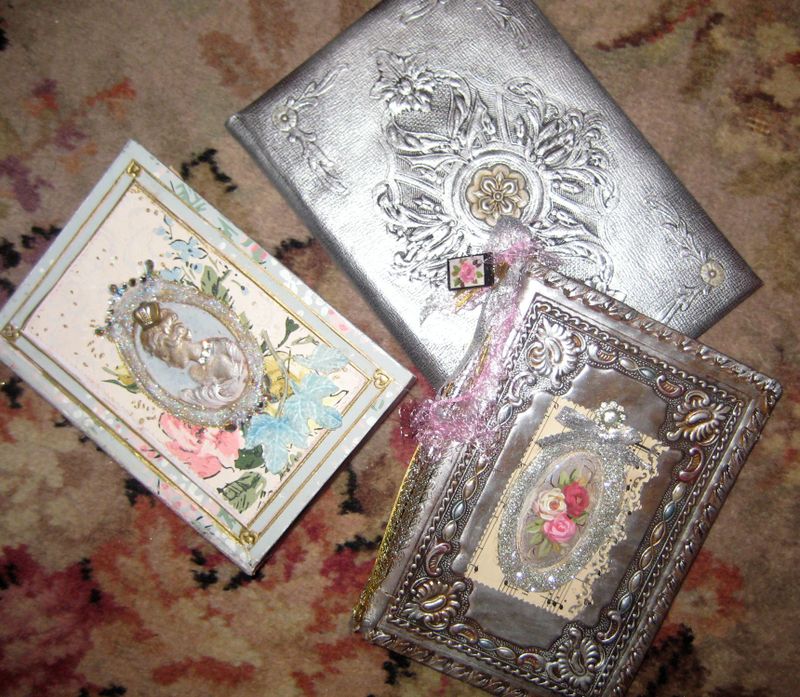
Today I turned them into this-

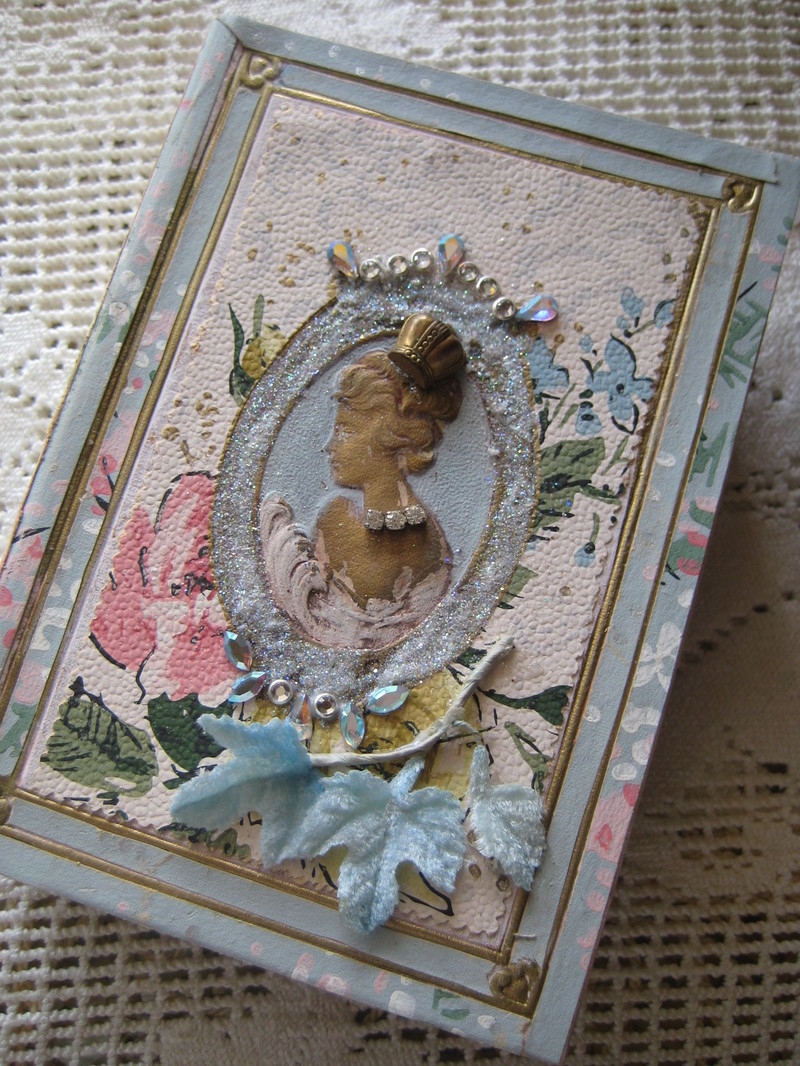
Some vintage wall paper, rub-n-buf, glue, glitter, roses and ribbons and they are all "Silver Bella-ed Up".Tags_046

I was inspired by the Marie Antoinette Swap that is going on this summer (I didn’t sign up for that one, but loved the look of it). That movie was so spectacular. I still day dream about the colors and pictures in it.

Tags_055

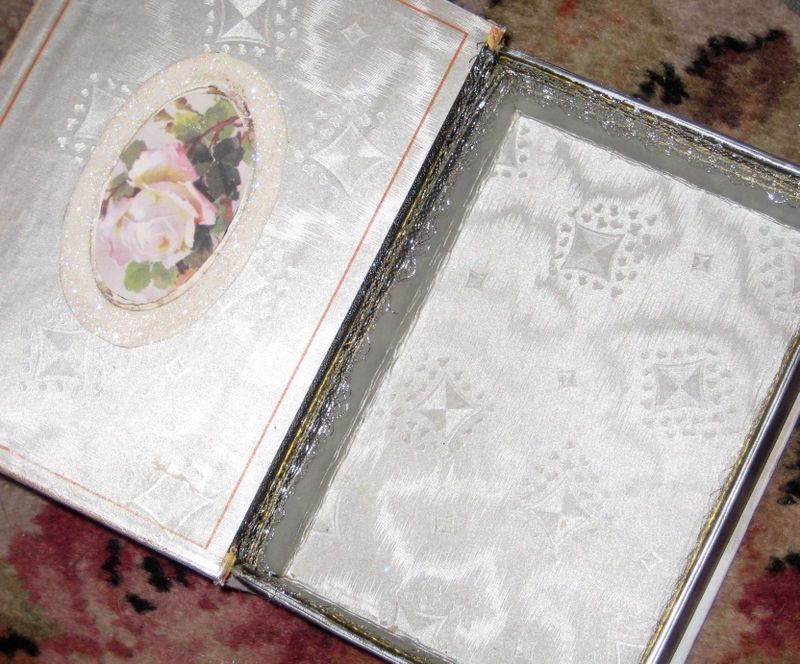
This one is actually a box made to look like a book. The inside was already so pretty, I just added some silver trim over the dark book binding tape and a rose medallion over the hole I punched in the outside of the lid to attach a button shaped crown.Tags_059

I used one of my anaglyptic wallpaper medallions to glue a rose picture to, cut it out and glued it down.Tags_043 (I used one on the front of the other book too)

I bought quite a few rolls of the wallpaper border for 99 cents each at Goodwill. They’ll make such great projects! I love the medallions, there are so many ways to use them!

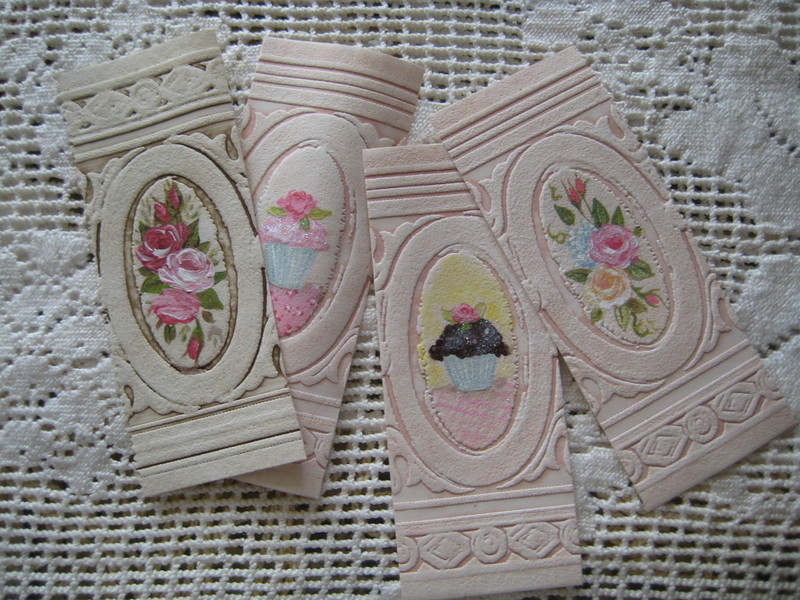
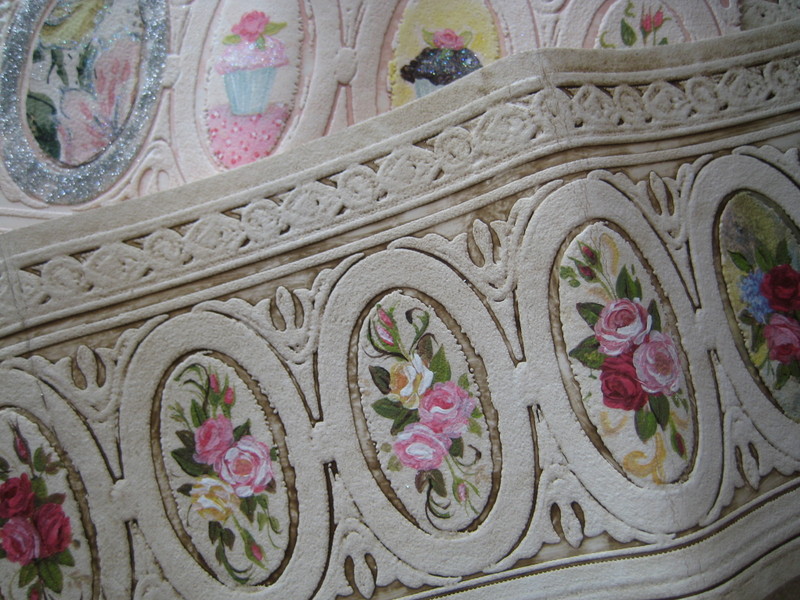
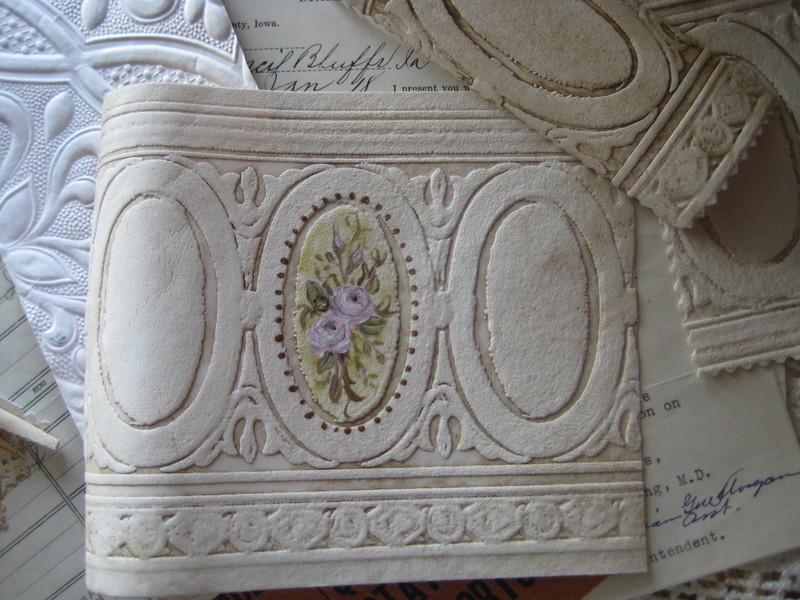
Today I glazed some of the paper pink and some umber, then added hand painted pictures to the center of each oval.Tags_048

I have been seeing the cutest cupcakes every where I look and thought I’d try painting a few.  But mostly I painted roses, they will always be my favorite and I can paint those with my eyes closed by now.

I like the way the glaze shows off the texture of the paper.Tags_024

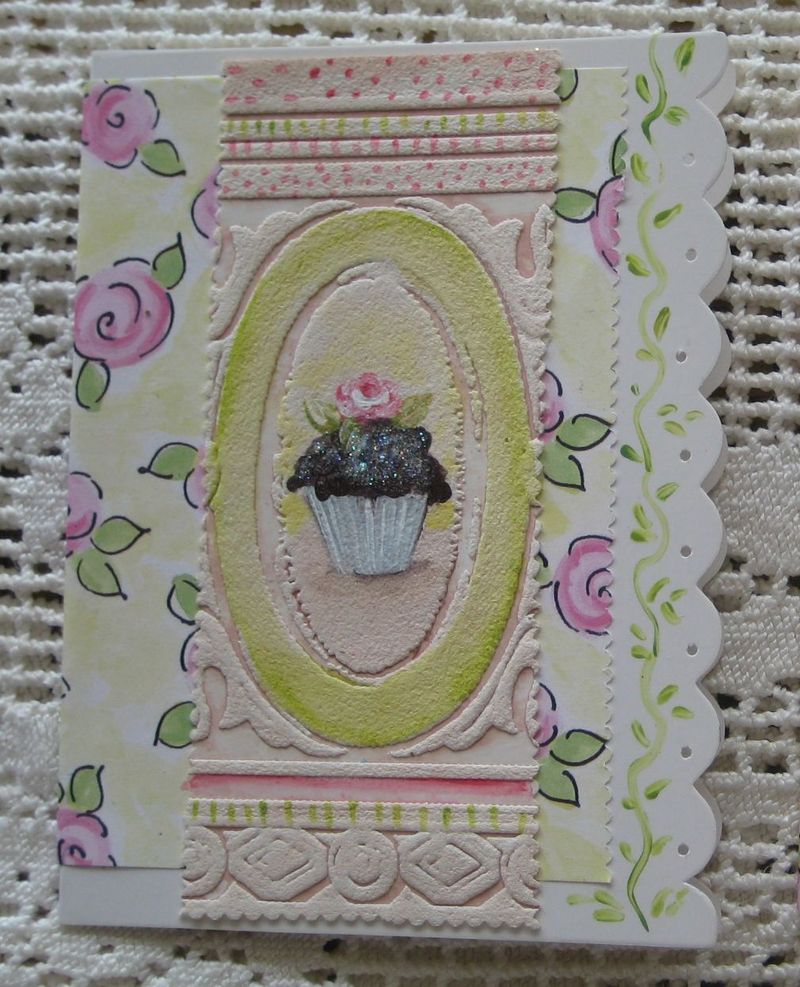
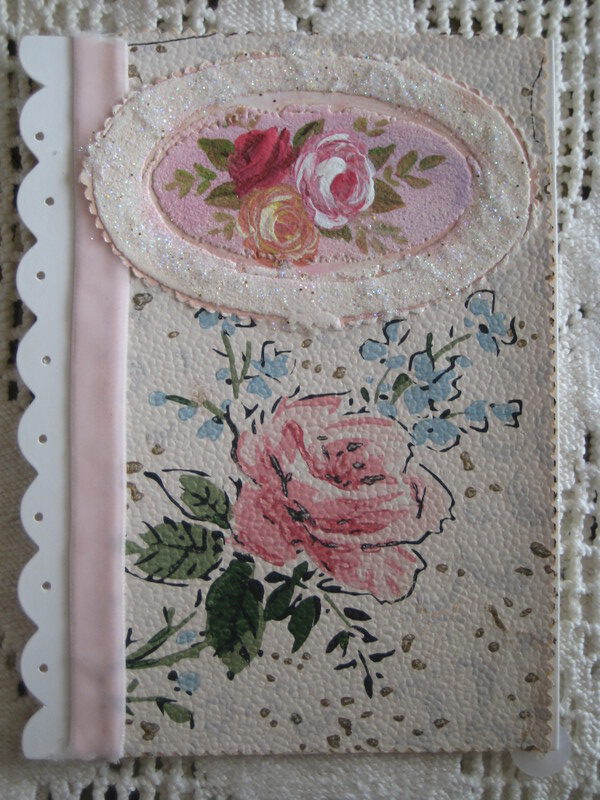
I made some note cards with a few of the center medallions.  There was a box of Christmas cards in a cute shape on clearance at Michaels for $1.  They were ugly as they were, so I am gluing my own stuff over their ugly picture.  I liked the scalloped edge that they have and I added hole punches to accent the scallops.  Then I painted a little green vine down the side.  Tags_029

With this note card, I cut the oval out of the wallpaper, I didn’t use the whole strip. Then I put it down over some vintage wallpaper and added velvet ribbon. Tags_041

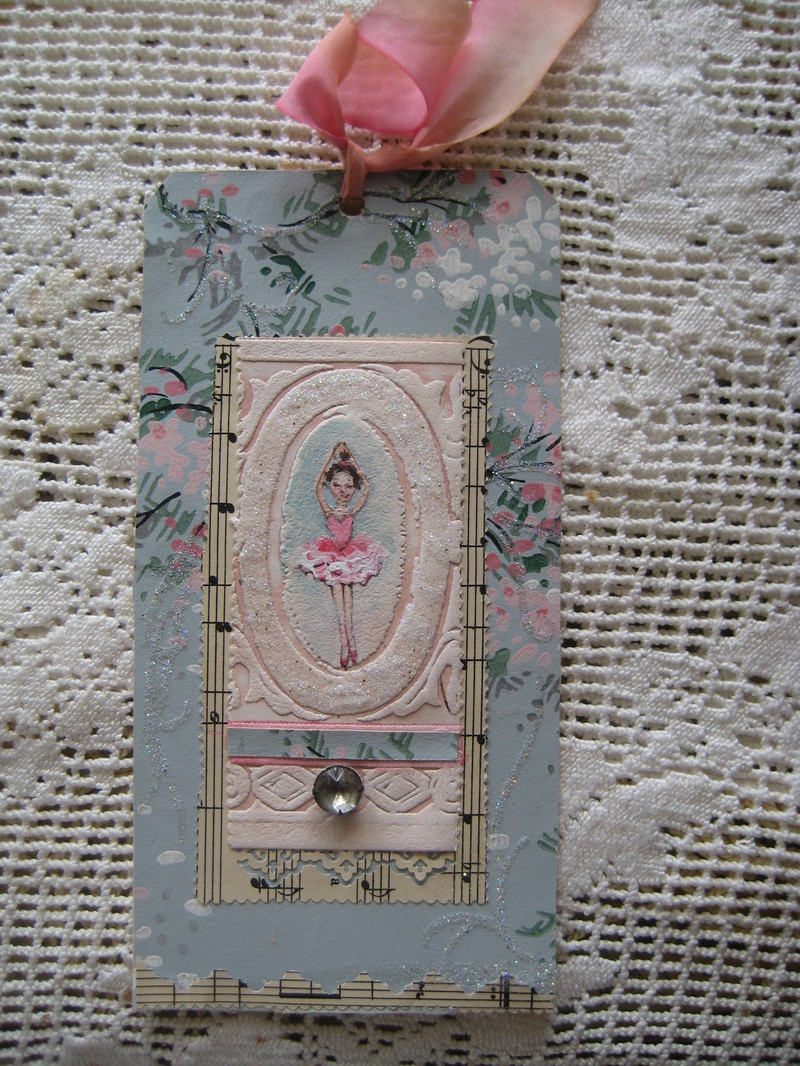
On this oval, I painted a teeny ballerina and made a tag with her.   This is one of the giant 8" x 4′ tags that I got cases of at a garage sale. (I’m putting some in my Cottage Collage Kits)

Tags_036 Did I mention that I am totally enamored with this wallpaper??

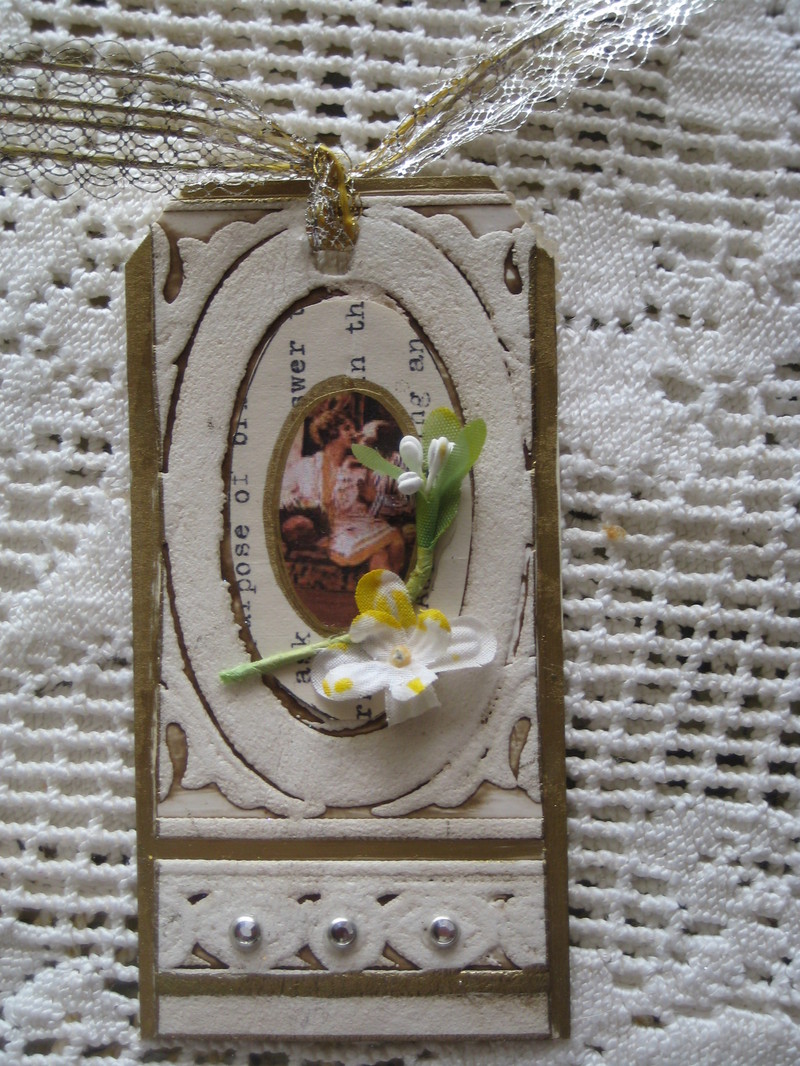
  For this tag, I glued part of an old typed letter in the oval, and added a picture and itty bitty millinery flower over it.

The medallions can be used in so many ways.  I will be sticking them everywhere.

I have some for sale on Etsy too, as well as most of the projects I made today, if you don’t see something you like over there, feel free to ask me about it.

Tags_031 I used another one to make a card for my Christmas in July swap partner http://loveofyellowroses.blogspot.com/ (oops, I forgot it was 4 cards, 2 tags!! My friend, Natasha http://natashaburns.blogspot.com/ reminded me).Tags_064

So I whipped up a couple more cards and some tags for her, and then tweaked the two I made yesterday that were TOO YELLOW. I used some gold and walnut stamp ink to age the edges and that helped. I think they’ll be OK.

Everyone was so nice with their comments and encouragement about the cards, thanks.Tags_039

That can’t be all I did today, I was in my studio for about 12 hours straight.  The day flew by, but it seems like I should have more to show for it!

Tags_045

I guess I painted a heck of a lot of these little ovals.  Did I mention how crazy I am about them? I think I might have, and you might be sick of hearing it by now.

But if you aren’t sick of them, I’ll include a painted oval in my give away as part of the COTTAGE COLLAGE KIT drawing for July.  Leave a comment (as often as you’d like) to enter.

Another Art Doll Hat and Gloppy Purse Fairy

antiques/junking, fairies, how to's, how-to projects, swaps, vintage paper/collage art

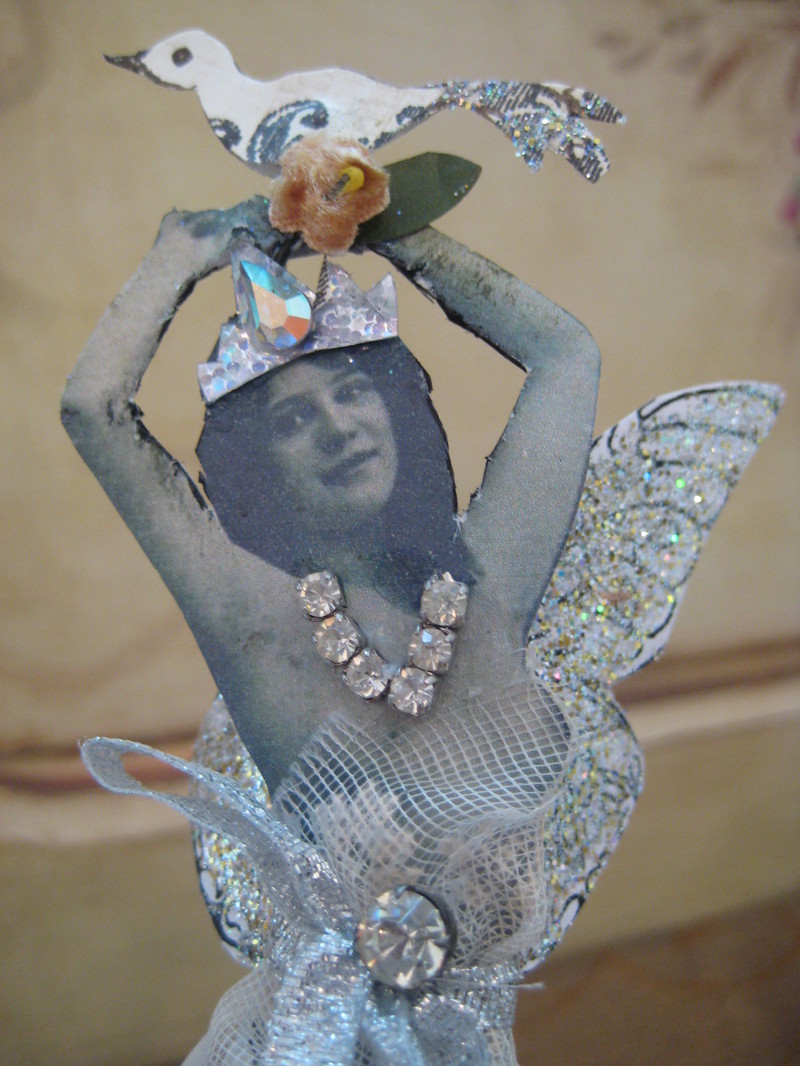
Art_doll_hat_022The Art Doll Hat for the swap hosted by http://craftingbycandlelight.blogspot.com/ was fun to work on today.  It is very different than the one I made for Sis in our private swap.Art_doll_hat_015

But both have the same base- a party hat in holographic paper, gold for Sissy and silver for my swap partner http://jenniferconway.blogspot.com/.Art_doll_hat_026

Jennifer has a wonderful site and makes the coolest crows. I don’t do crows, but I added a bird to her doll, hoping she’d like it.Art_doll_hat_025

I can’t send it to her until I get an exacto knife and clean up those messy arms.  My scissors were too bulky.

I have a lot of these party hats left, I might make some angels to use for Christmas tree toppers.Art_doll_hat_030

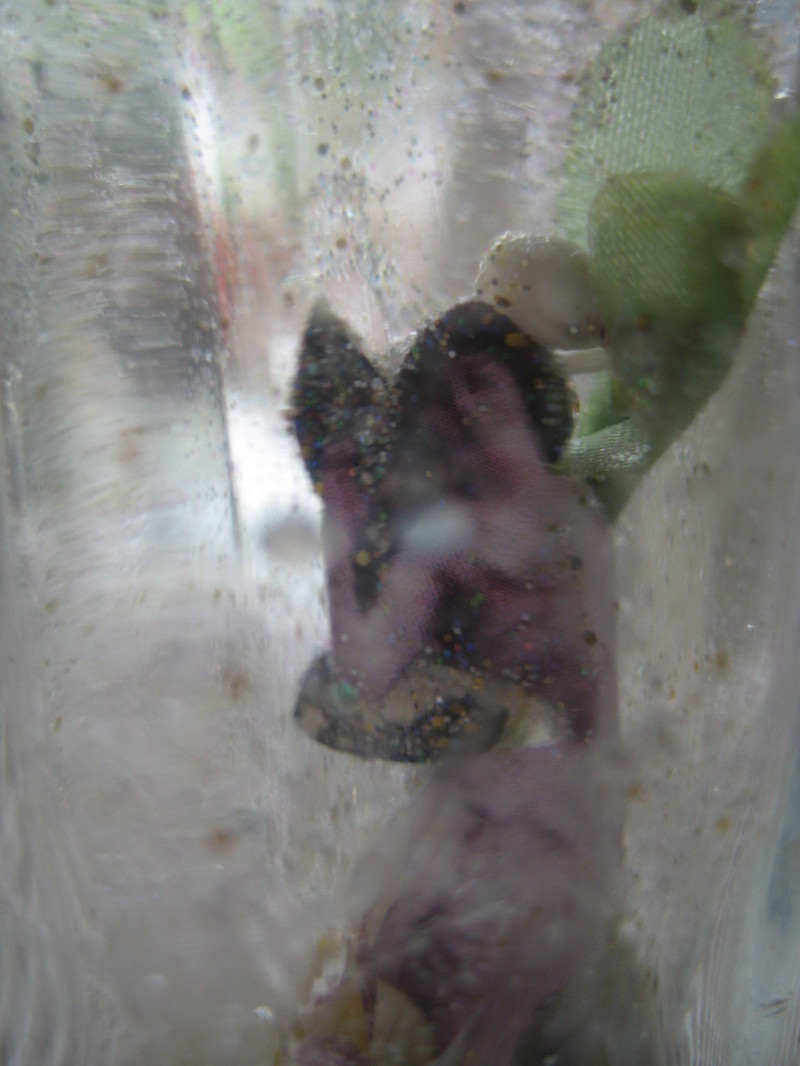
I also made a purse fairy from one of the tiny perfume bottles Beth http://bethleintz.typepad.com/ gave to me in our supplies swap. Art_doll_hat_018

My first step was to pour glue into the bottom of the bottle, then shake glitter inside it.

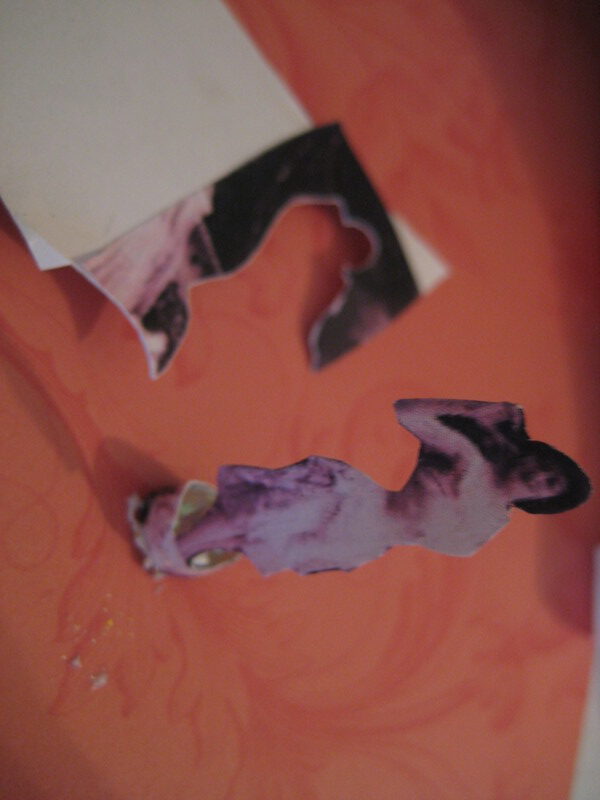
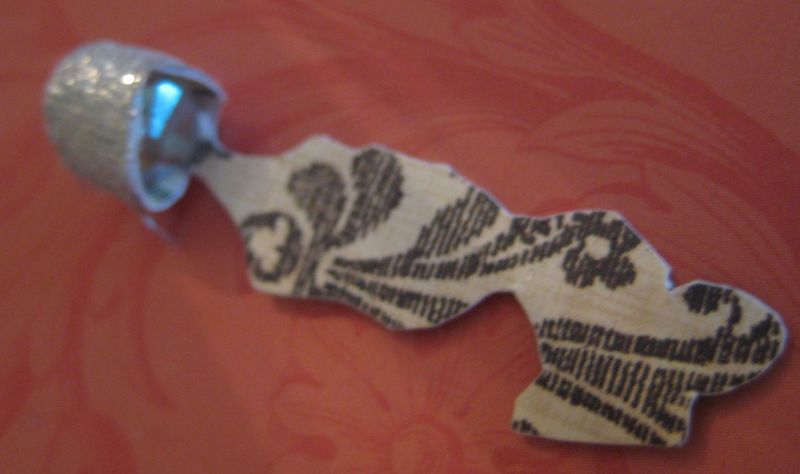
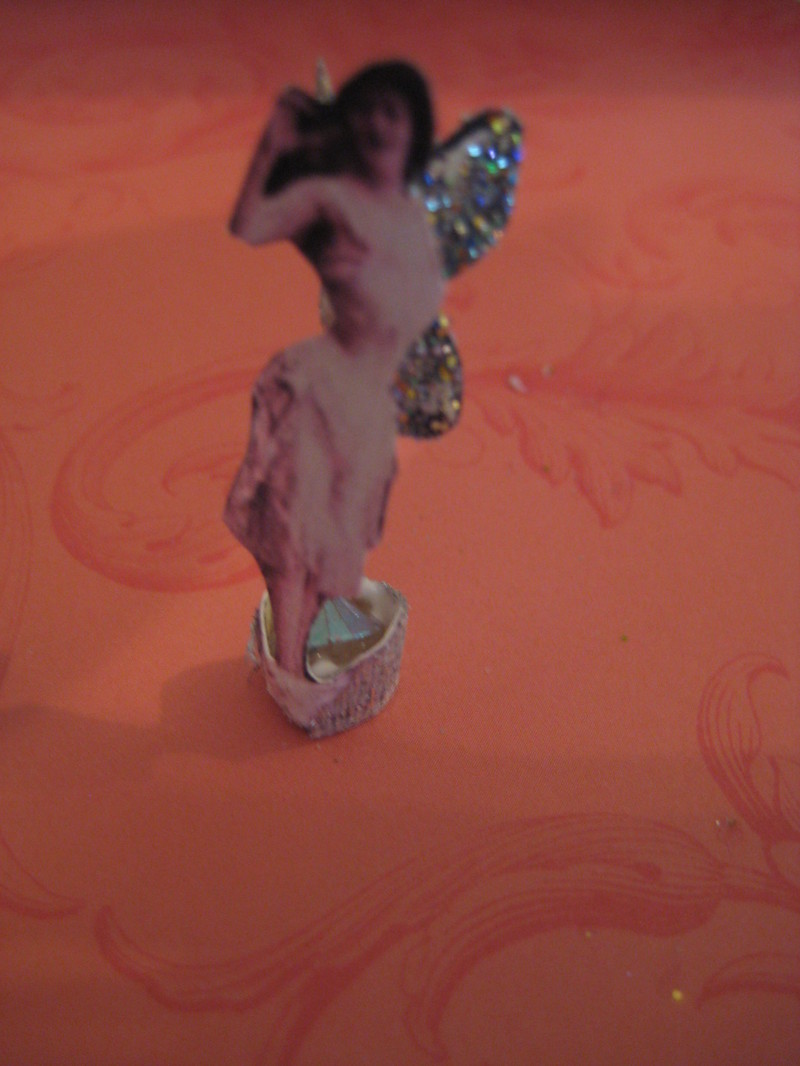
Next, I glued a 1" high picture down onto some background paper, and cut her out. That way, her back is attractive too, and she is more sturdy, with the 2 layers of paper.Art_doll_hat_019_2 I left a strip of paper at her feet as a base. Art_doll_hat_021

I found a crystal bead that was small enough to fit through the opening of the bottle, and wrapped the paper base around the bead, glued it to the bead, then wrapped the base in silver ribbon and glued that down.

Now she can stand up and has a weighted bottom.

I cut butterfly shaped wings out of the same paper I had used on the back of the lady, and glittered them, bent them into a V shape and glued them to her back.

I carefully, without creasing her, folded her over and poked her through the opening  to the bottle after adding glue to the bottom of the bead so it would stick to the inside of the bottle.  I used a paint brush handle to adjust the fairy once she was inside, and used the brush to poke in some teeny little vintage flowers that had a drop of glue on each.  Art_doll_hat_035

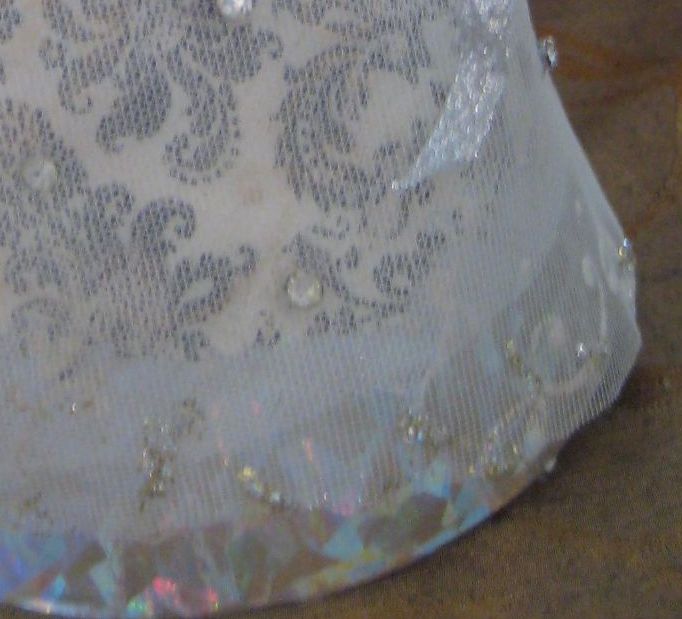
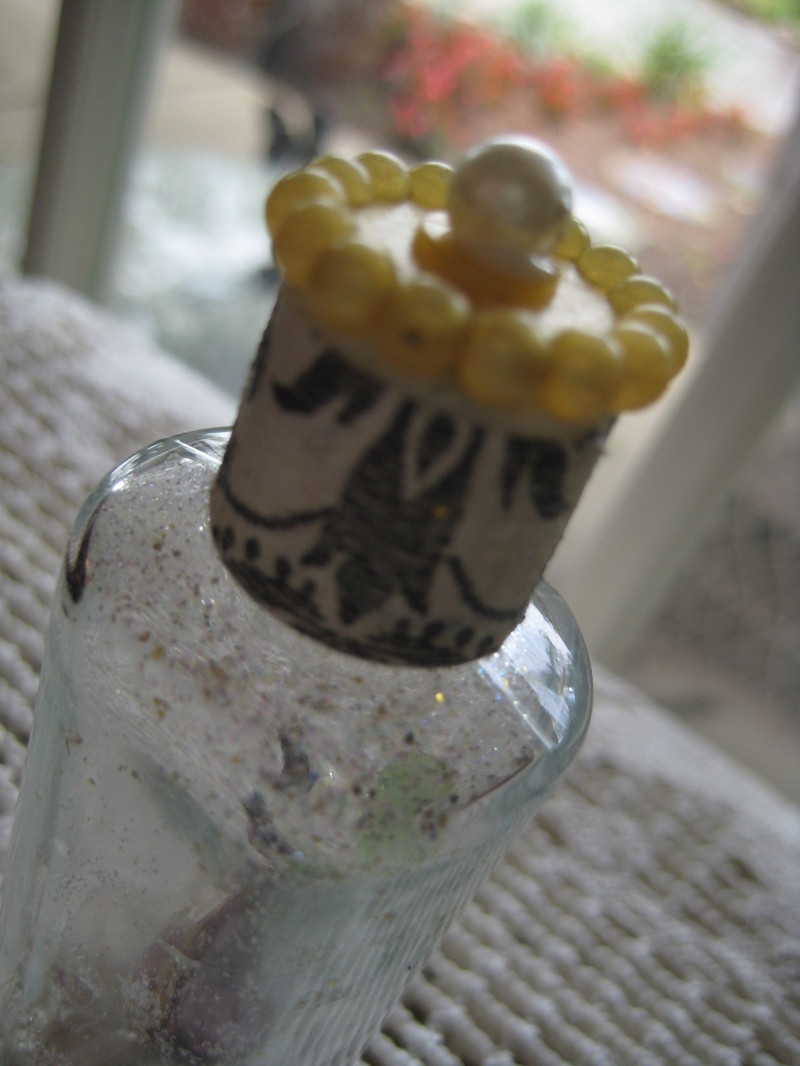
To foof up the plastic lid, I wrapped and glued a strip of the same paper I used on the fairy’s back onto the side of the lid.

A vintage button topped with a pearl bead was glued to the top.

And now I have a fairy that will always be with me wherever I go.  I think I glopped enough glue into that bottle, that it will be secure, that is, if it ever dries!  I’ll leave the lid off a while, maybe a week or two??

ps- you can still enter the giveaway for July by leaving a comment

Sister Swaps, Buddy Swaps, and some Freebies for you

Dorkies (Yorkshire Terrriers), Etsy Goodies, family, flowers, Food and Drink, give away, how to's, paintings, parties, swaps, vintage paper/collage art

Doll_hat_2 I have had the best day!  I missed having time on my own in the studio in the last couple of weeks. Now, I loved the guests and I loved the trip and babysitting the fairy grand baby is a beautiful way to spend time, but man, I missed my studio!!

I worked all day (well, since noon at least, I had errands to run this morning) and my husband is out of town, if I want to, I can power up with a power bar and work all night too.

I am in the Art Doll Hat swap hosted by http://craftingbycandlelight.blogspot.com/ and have been making plans for that, but also, my sis and I decided to swap art doll hats, both using the same picture.  Art_doll_hat_011

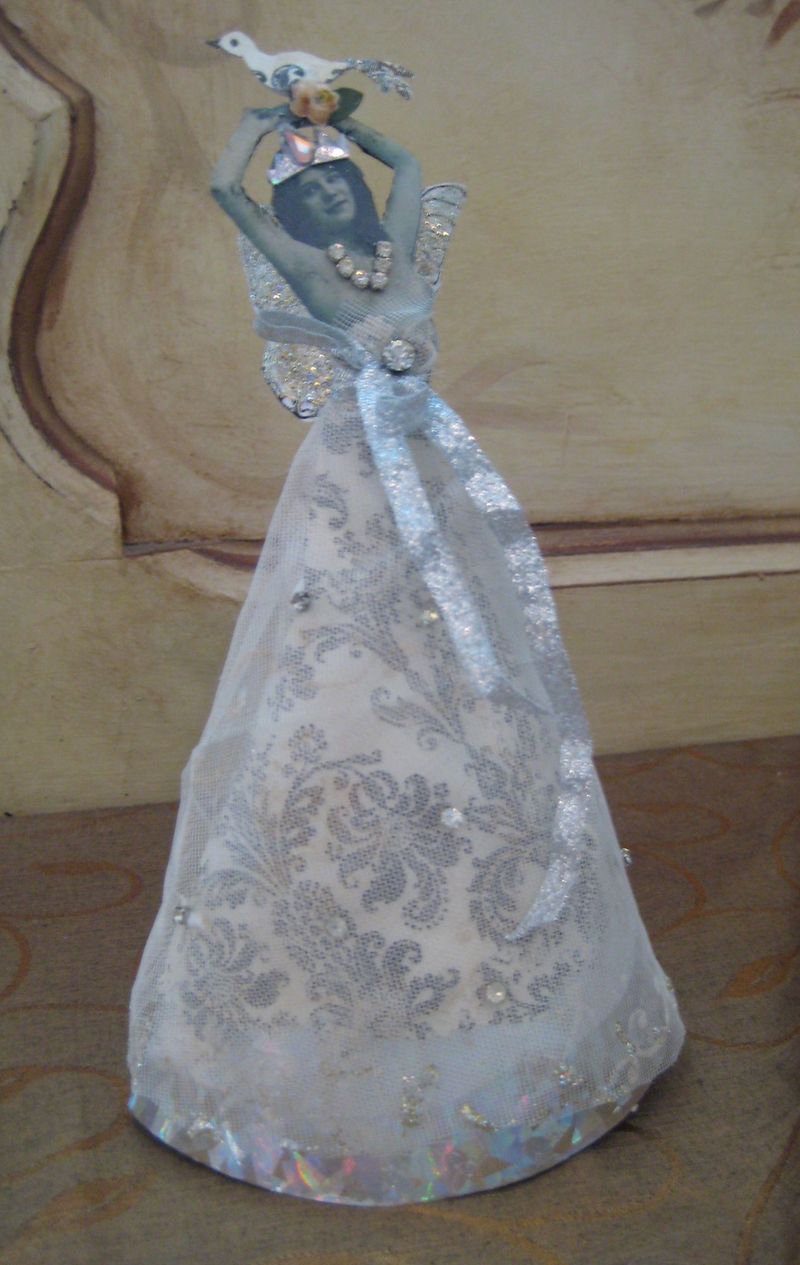
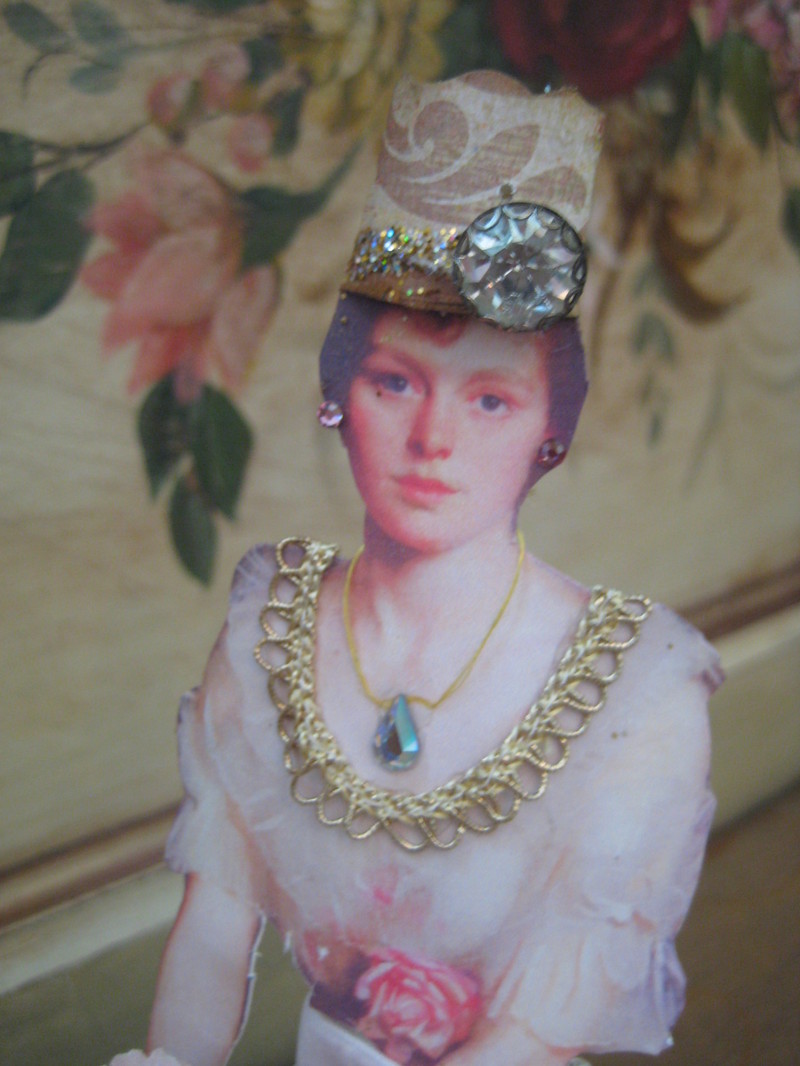
So, here is what I made for her.  Sissy loves to collect, wear, hoarde, and buy tons of jewelry, so I decked out my doll in jewels.

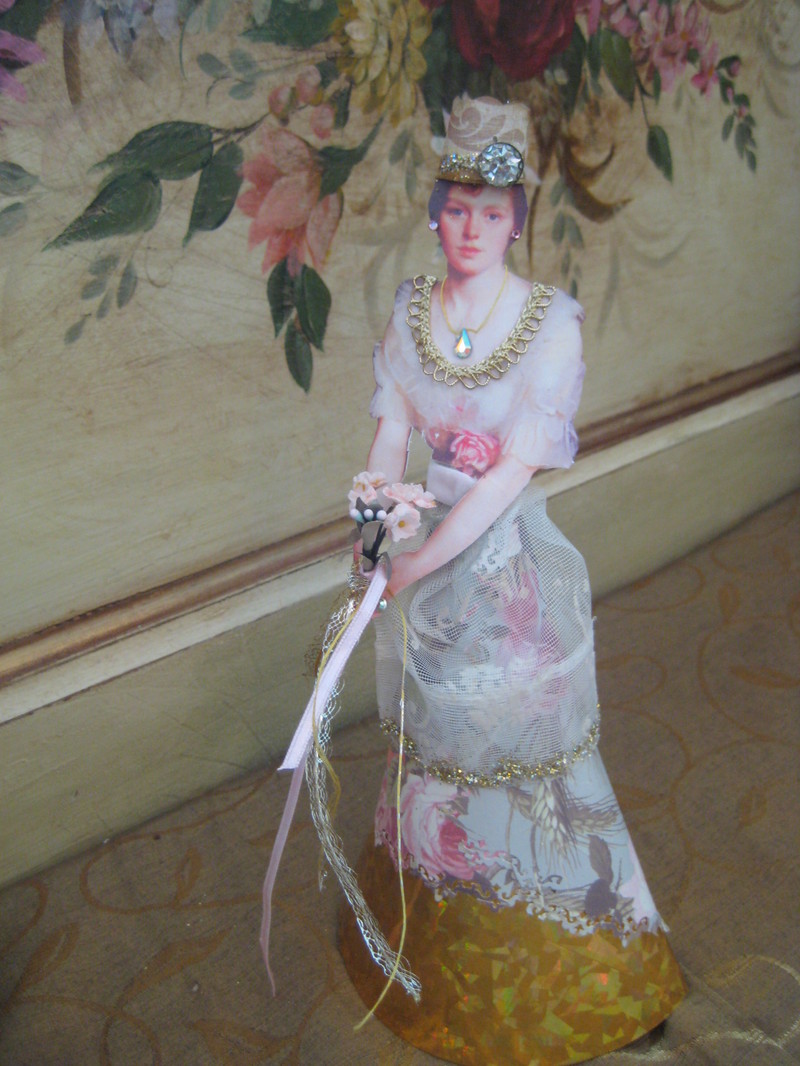
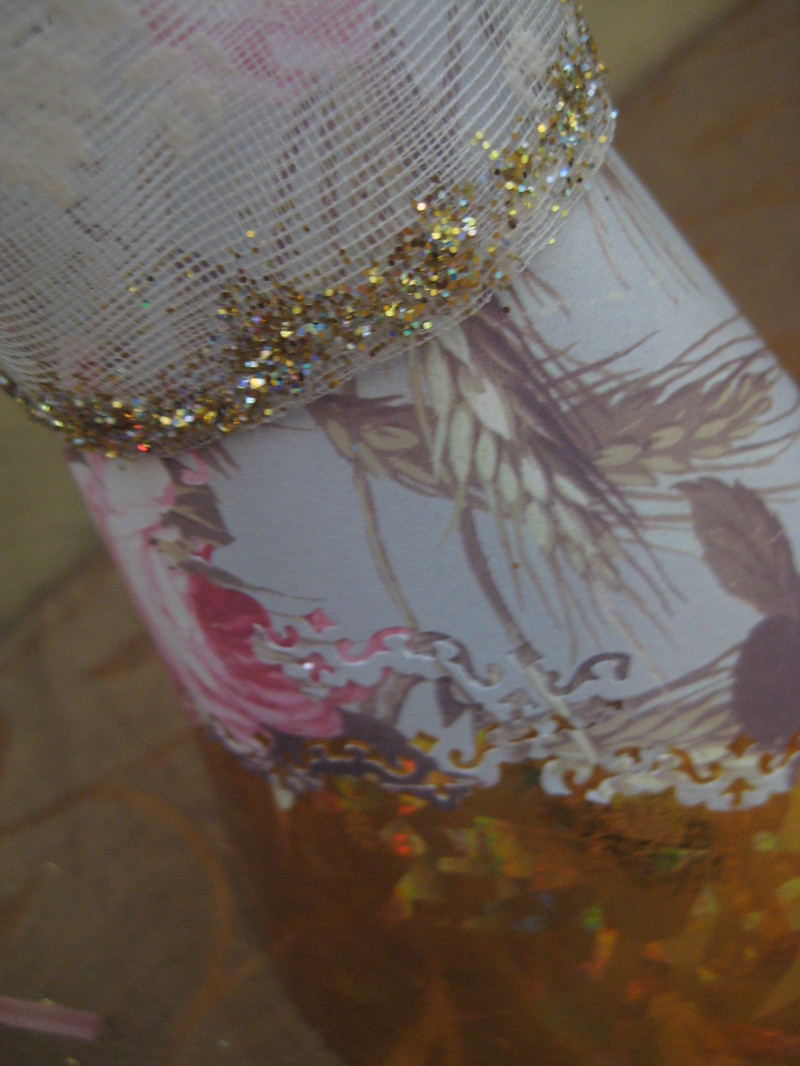
Art_doll_hat_009 She likes holographic papers too, so I used a gold holographic party hat for a base.  The over skirt is my favorite scrap booking paper, a blue with roses. Over that is a bit torn off of an old curtain I found in a dumpster, I thought it tied in with the upper part of the dress in the picture.

I added some gold glitter to compliment the holographic base.Art_doll_hat_007

The crown/hat on the doll’s head is also scrapbook paper that is glittered up with a rhinestone button added. The button was given to me by my great aunt Caroline who just turned 99 this week.Art_doll_hat_006

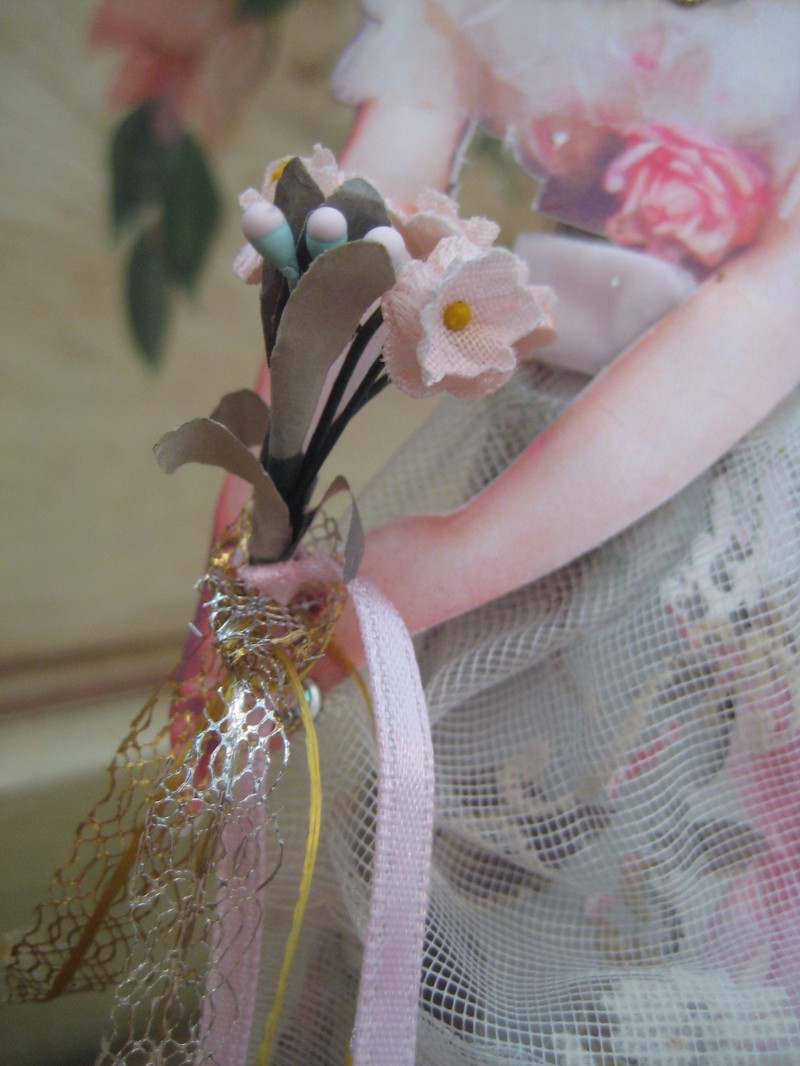
I gave the doll some vintage flowers to hold and wrapped them up in ribbons to match her dress.Art_doll_hat_017 I hope that Sissy likes the hat better than the Dorkies did. Twinks refused to wear it and Sparkle wore it grudgingly.

Milla_2 Here is the doll that Sissy made for me, look at that great skirt! And the magic wand!! I love it!!

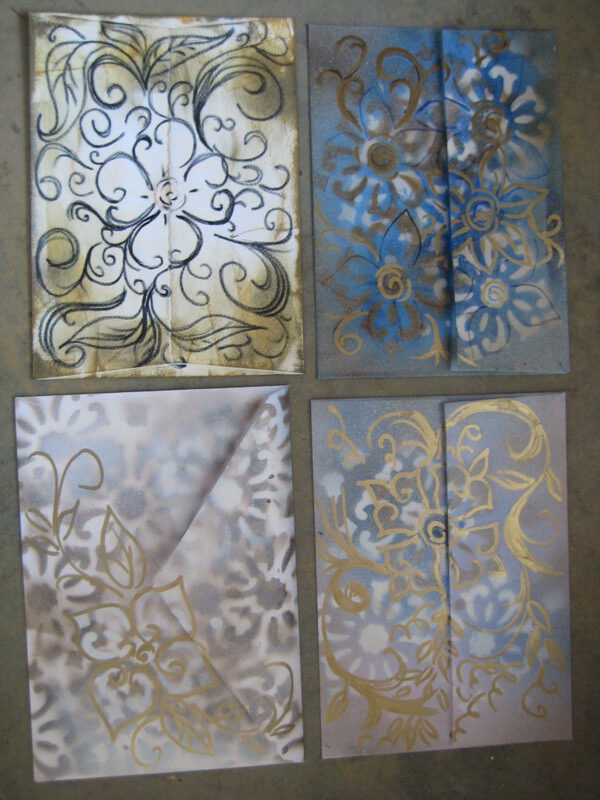
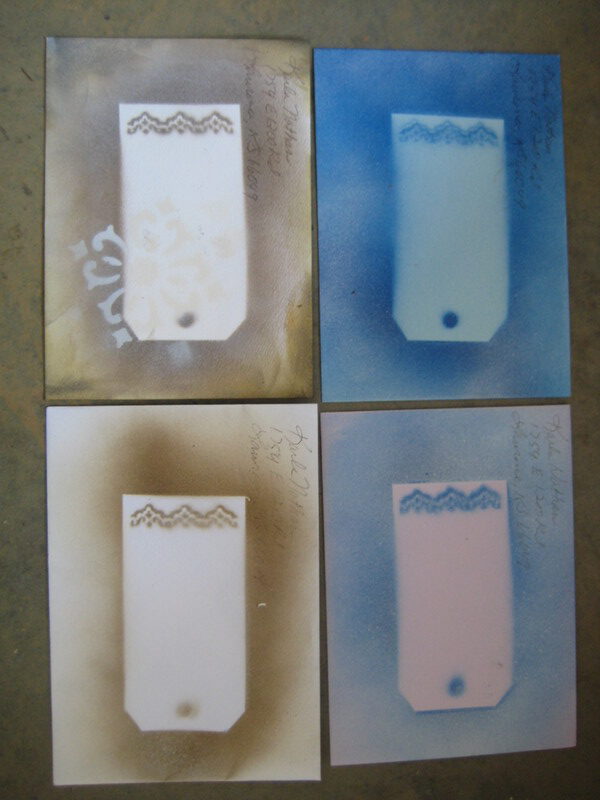
Lets see, what else did I get done today?  I made mailable art for Michelle Wards challenge this month. Etsy_papers_014_2 http://michelleward.typepad.com/how_cool_is_that/  I wasn’t going to participate this month, because it isn’t my style, but I saw envelopes I really liked at http://pennyrabbitart.typepad.com/penny_rabbit_art/2007/07/gpp-crusade-mai.html and thought I’d try the spray paint technique.Etsy_papers_015

Here is the front, (and I bought pretty stamps to use too).  Beth http://bethleintz.typepad.com/gathering_dust/2007/07/beginner-mail-a.html is also doing this challenge, and she is offering to give hers away.  Part of the challenge is to actually use them in the mail.

So, if you want one (ask Beth for hers, she might still have some) or ask me.  I’ll mail them to the first 4 people who ask for one.  Who knows, maybe there will be a little something tucked inside them???Etsy_papers_008  Also, leave a comment if you want to enter July’s drawing for a Cottage Collage Kit.

Speaking of Beth, she and I are doing a crafting day tomorrow in her new studio.  We are also swapping bags of paper goods.

Trouble is, SHE HAS EVERYTHING. What do you trade to someone who has the best selection of craft goods on the planet???

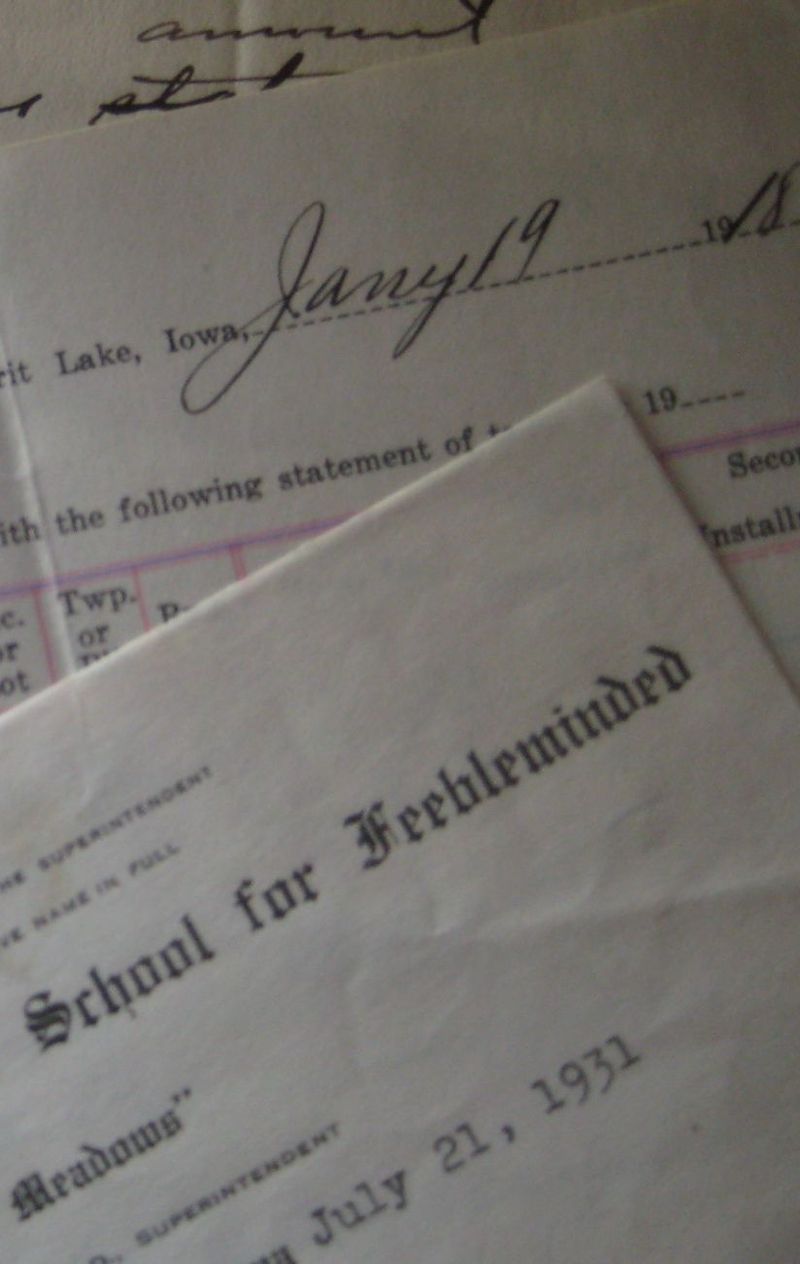
A letter from the School for the Feebleminded written in 1931.Etsy_papers_011  But I wouldn’t be surprised if she already has one.

I also got two rolls of this textured, paint-able wallpaper border at Goodwill today for 99 cents each.  I cut off a length with 3 medallions, glazed it in umber, and added roses to the middle oval.  I included a couple single ovals too, she can add a picture, or who knows what, these are COOL for collage work!Etsy_papers_007

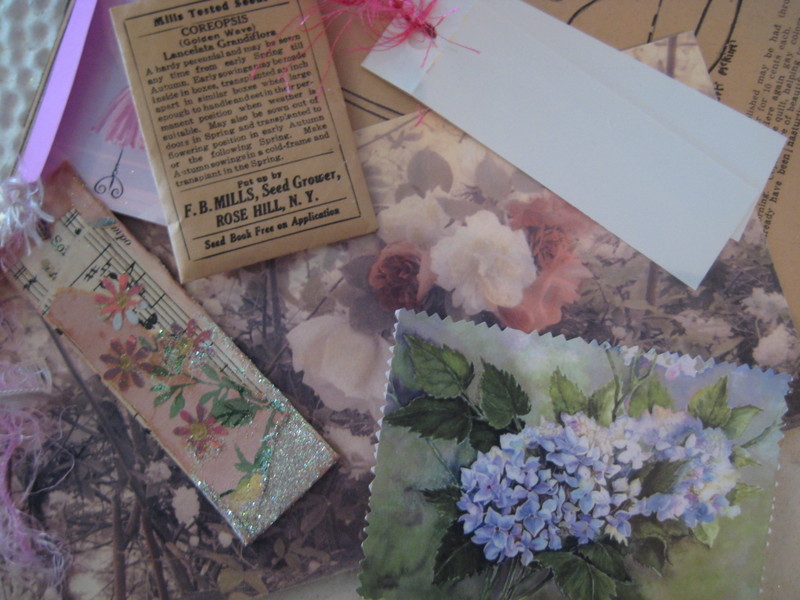
Ipacked up some odds and ends of old papers for Beth and while I was at it, I made up more Cottage Collage Kits for Etsy.  These four are all neutral colors.Etsy_papers_006

I included some of the glazed wallpaper pieces, papers from 1913-1930, a  millinery flower, old buttons, pictures, lace, quite a bit actually. I haven’t listed them yet, if you want one they are $14 plus shipping.  Mini_spa_day_003Oh, I made up 3 aqua themed packs too. It is surprising how long and involved that process is.

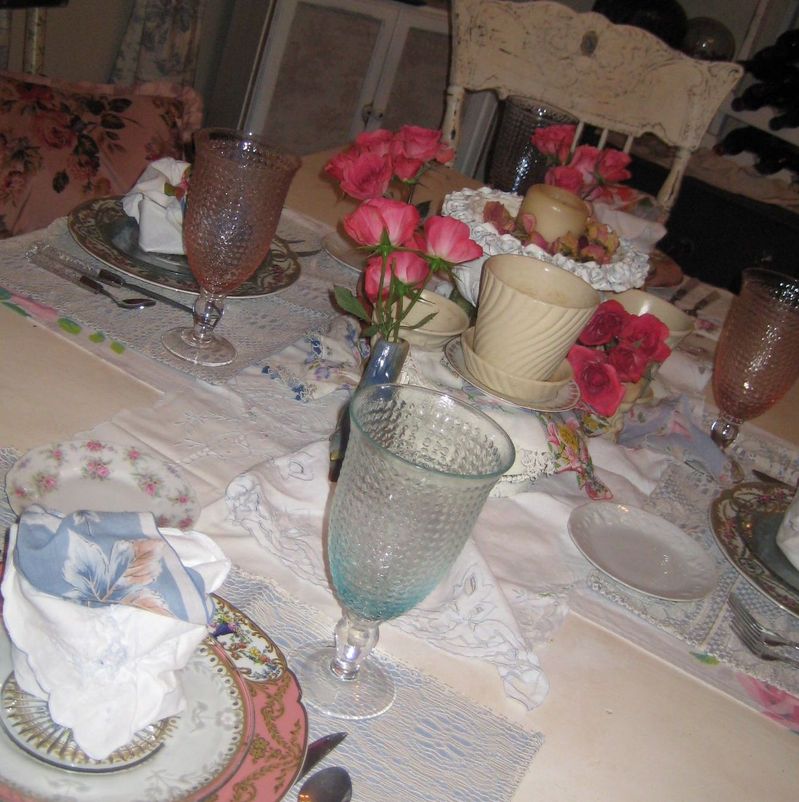
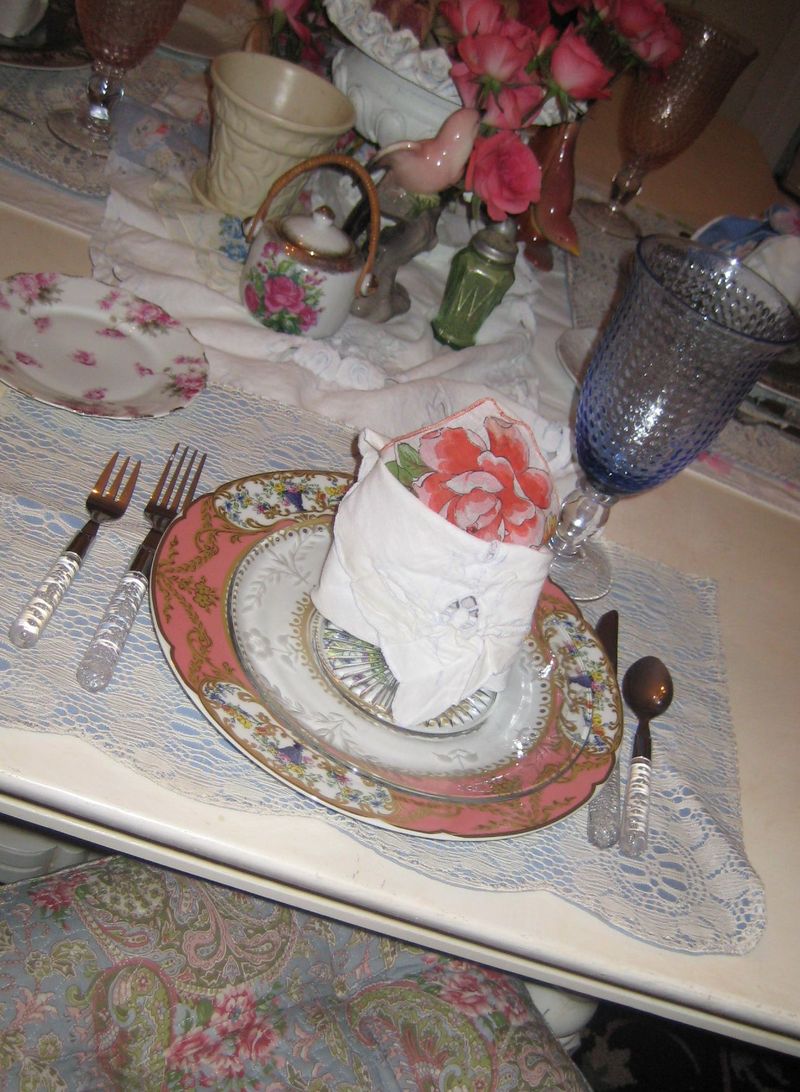
Then, I set the table for Friday’s Mini Spa Day at Home for the new mom. Yes, I know I am early, but I won’t be using the table and setting it up is so fun.

Mini_spa_day_012

People have mentioned to me that maybe the new mother shouldn’t soak in the tub. But, she and her mother are both RNs, so I am not worried about it, they know what is safe to do.  I have an assortment of bath enhancers, she can decide for herself if she wants to use one or not, or just enjoy the jacuzzi as it is.  I like to use the Vaseline Intensive Care Bath beads. I think it is pretty gentle, but I’ll leave it up to my guest. Thanks for caring about her and warning me.

Well, I need to pack up a bag of stuff to take to Beth’s to work on tomorrow. We are doing Silver Bella stuff!!  Yay, Bellas!! Can’t wait.

Where is all the stuff hiding???

antiques/junking, give away, Hand Painted Furniture, how to's

Ajs_visit_013 My fairy grand baby has loved meeting her Wyoming cousins, and we are all looking forward to the rest of the week together up at Lake Okoboji in Iowa. I probably won’t be posting for a few days, I’ll check in if I can, but most likely won’t have access.  You can still enter my drawing if you want to leave a comment, you can enter to win a Cottage Collage Kit, with vintage papers and other pretties.

Ajs_visit_015 People have been asking me what I do with all my stuff in the studio when I set up the room for a family reunion.

I hide it all!

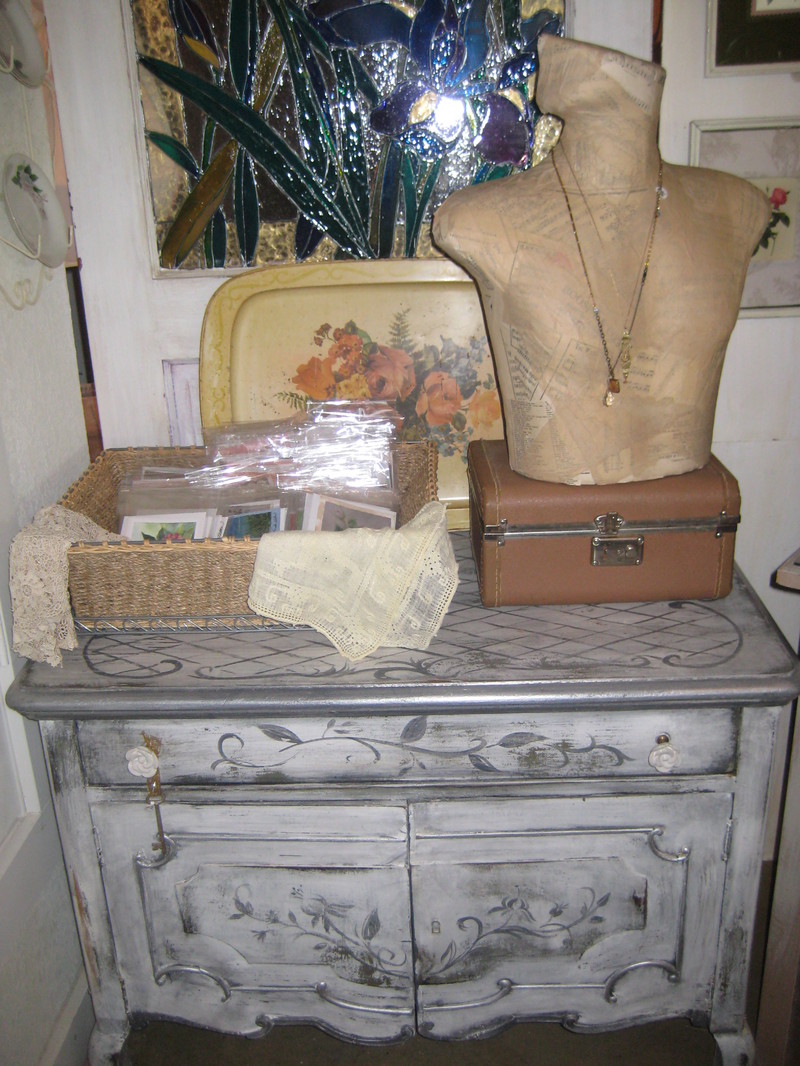
This little silver metallic colored wash stand that I painted is full of doll making supplies and trims, the cosmetic case is more lace and doiles, and the wicker basket holds all my original greeting cards.Ajs_visit_021 (this piece was free, Beth, http://bethleintz.typepad.com/ gave it to me and I fixed it up.)

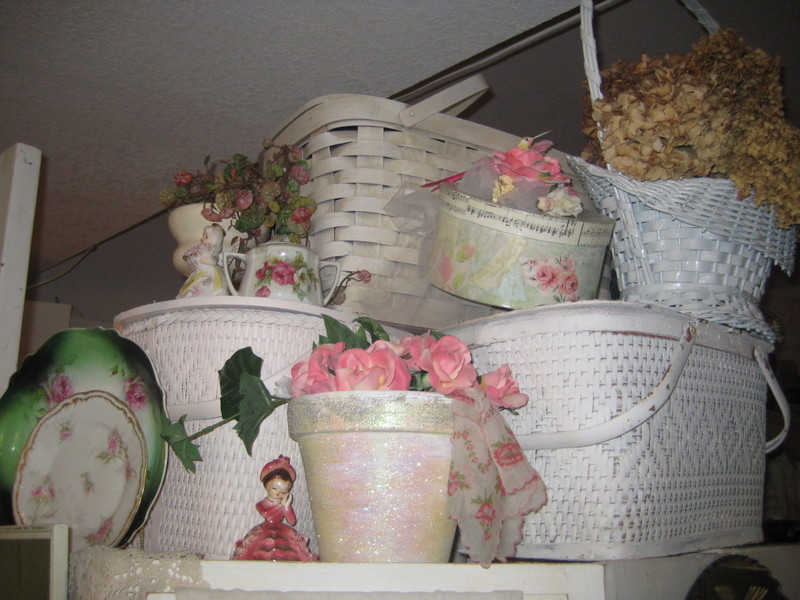
And of course, all these baskets are full of supplies too.

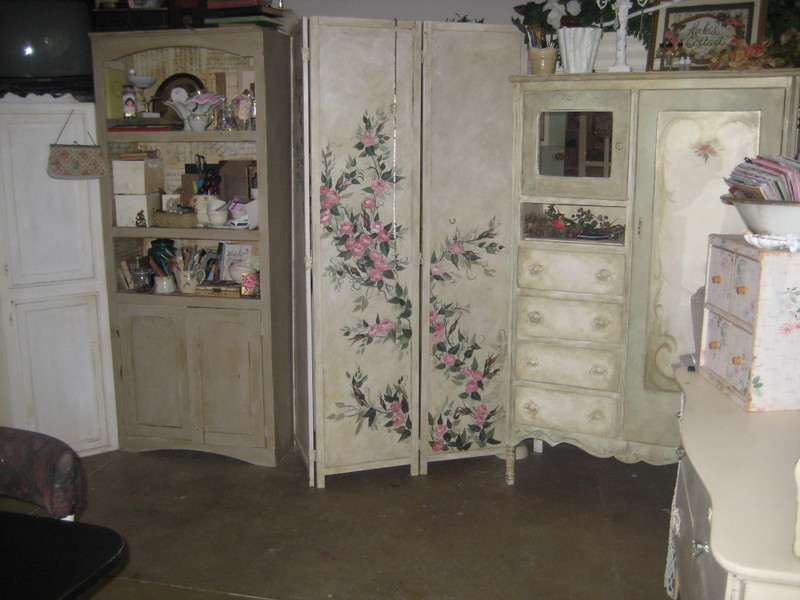
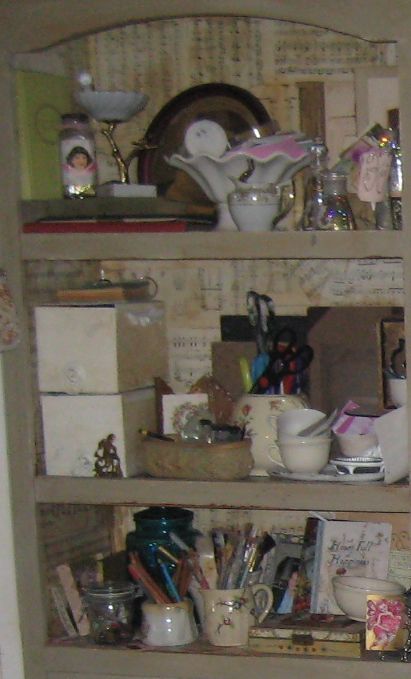
Ajs_visit_019 I have all my jewelry making goods in the (free from my niece) wardrobe drawers, with mosaic materials in the side door of it.Ajs_visit_019_3

Drawing and collage supplies are on the shelves ($15 at a garage sale, then I repainted)- and you really don’t want to see behind that screen! ($3 at at garage sale) That area is where the avalanche of junk is hiding.Ajs_visit_017

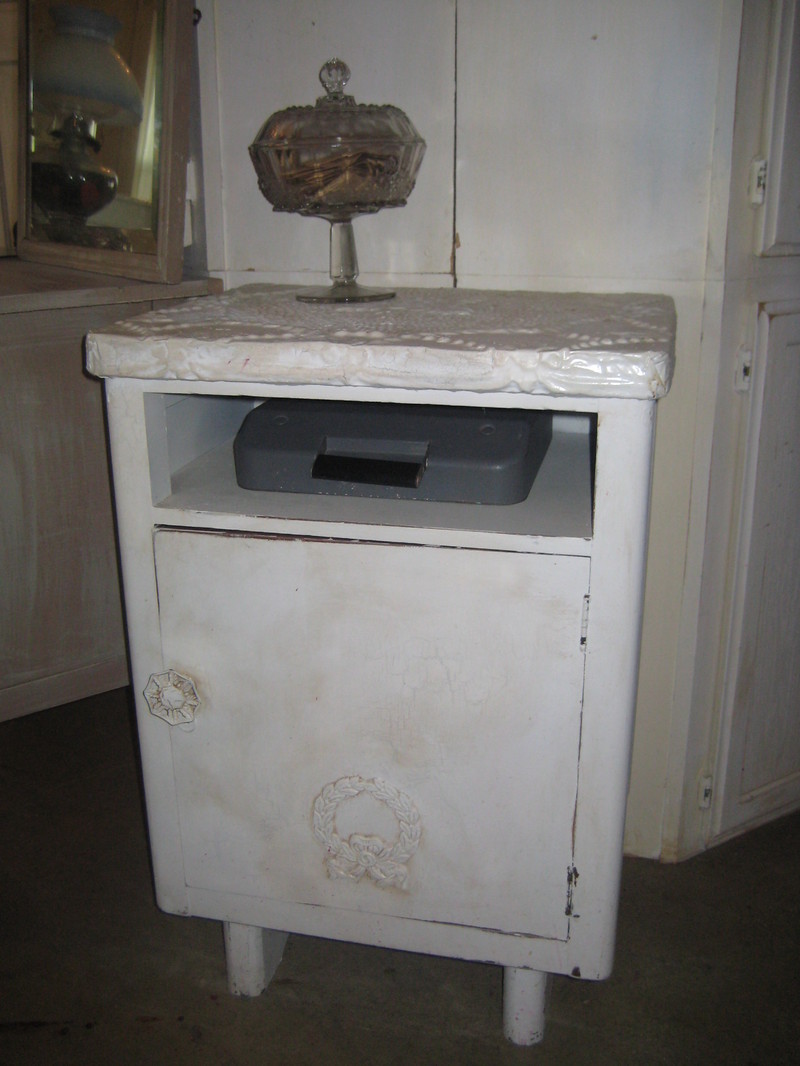
My sewing machine is in this cute little $5 cabinet that I painted and added a ceiling tin top and a wooden wreath to, and the candy dish is full of seed packets. (and that is my typewriter sitting on the shelf, not sure what I am going to do with it yet)

Two sets of Home Depot basic cabinets ($50 each) are stacked up and placed back to back then filled with more and more junk. Ajs_visit_018

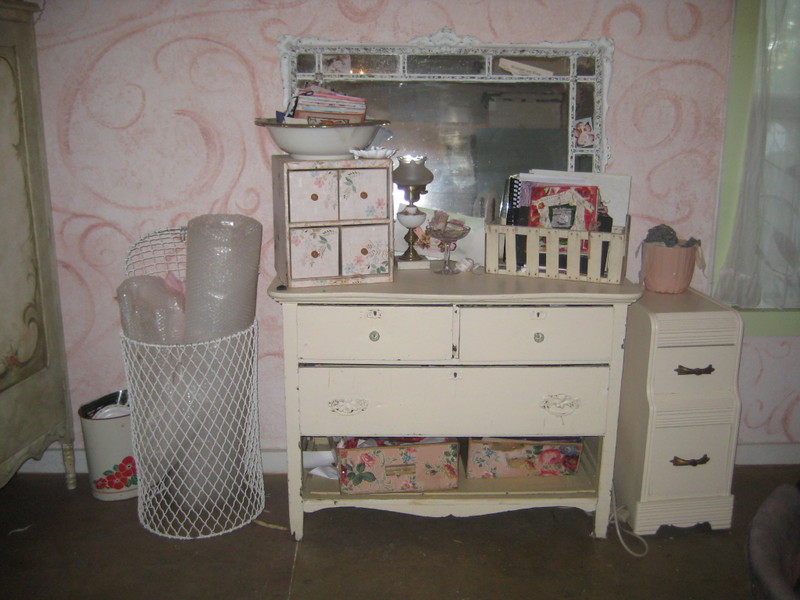
This is all scrap booking goods packed away into these drawers. The dresser was $20 at an auction, it didn’t have a bottom drawer, but I like it this way. I used to keep a tv on top and the video equipment on the open space.

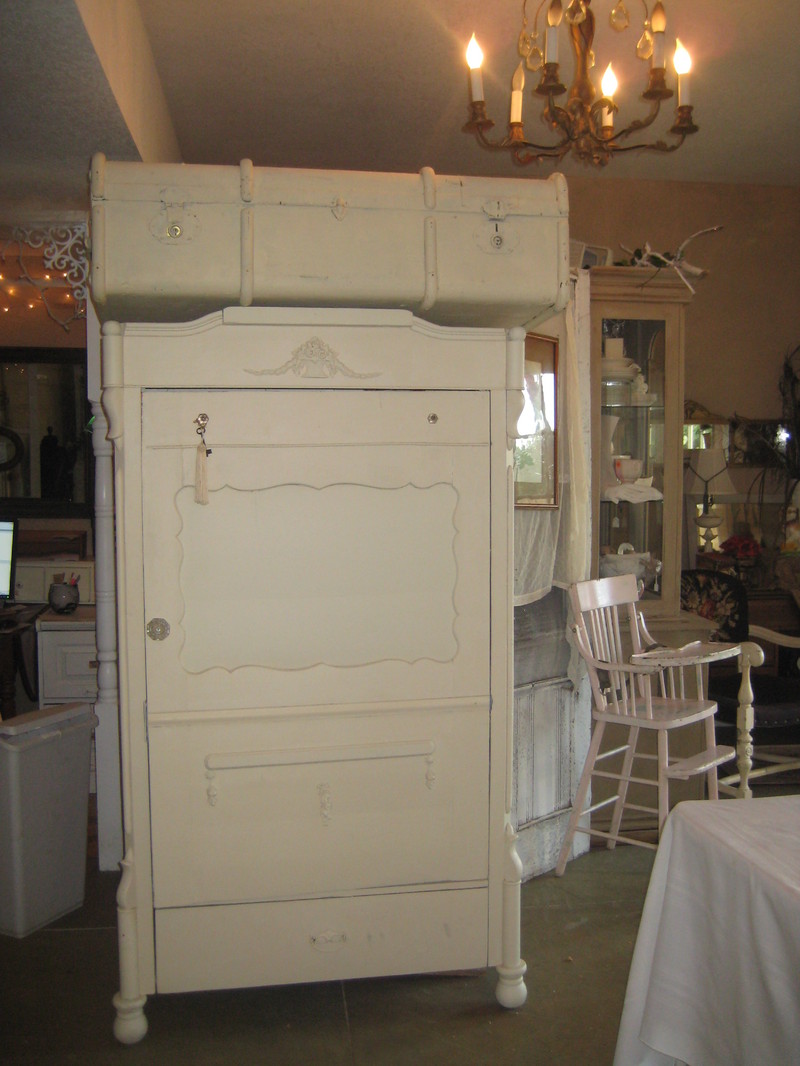
Ajs_visit_014  I have stuffed this french vanilla painted wardrobe (that I paid $15 for and rebuilt) full of vintage fabrics and water color supplies.  There are more fabrics in the German trunk above it.  I don’t really sew, but I sure am a sucker for gorgeous old fabric.  Someday….Ajs_visit_024

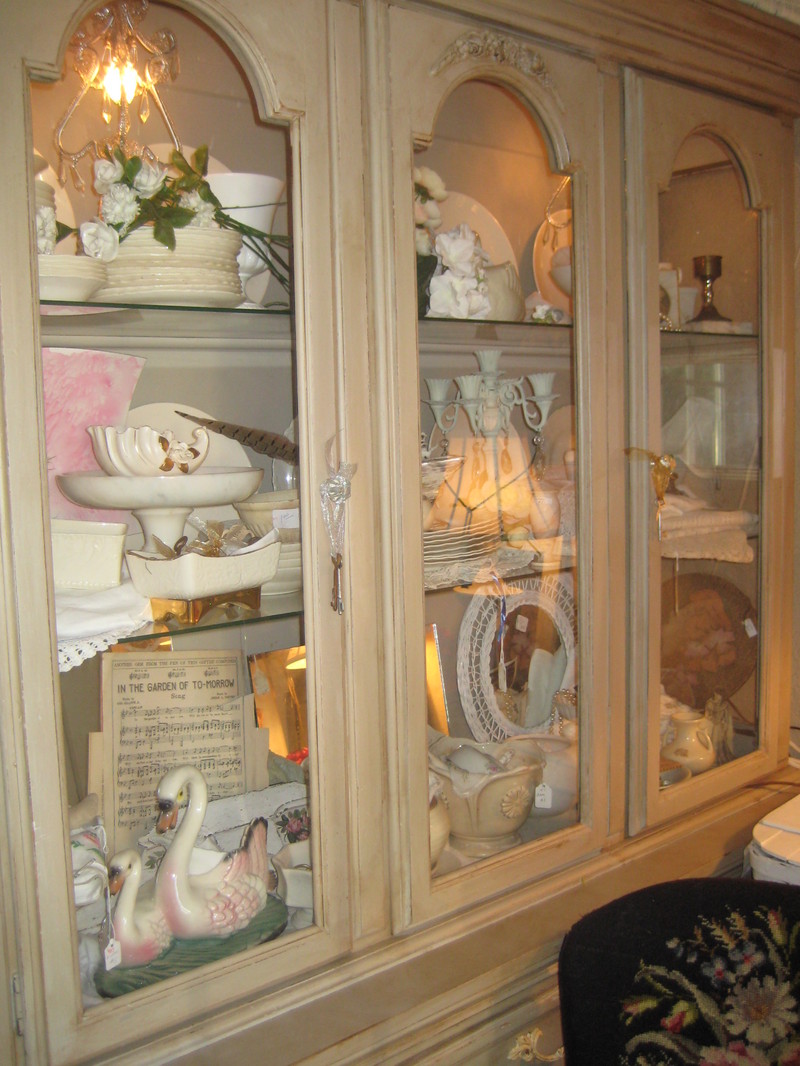
This glass doored hutch holds some inventory that I am eventually going to sell. I thought I’d set it out and enjoy it until I found new homes for it, instead of storing it in boxes.Ajs_visit_020 (This hutch was only $50 at an auction!)

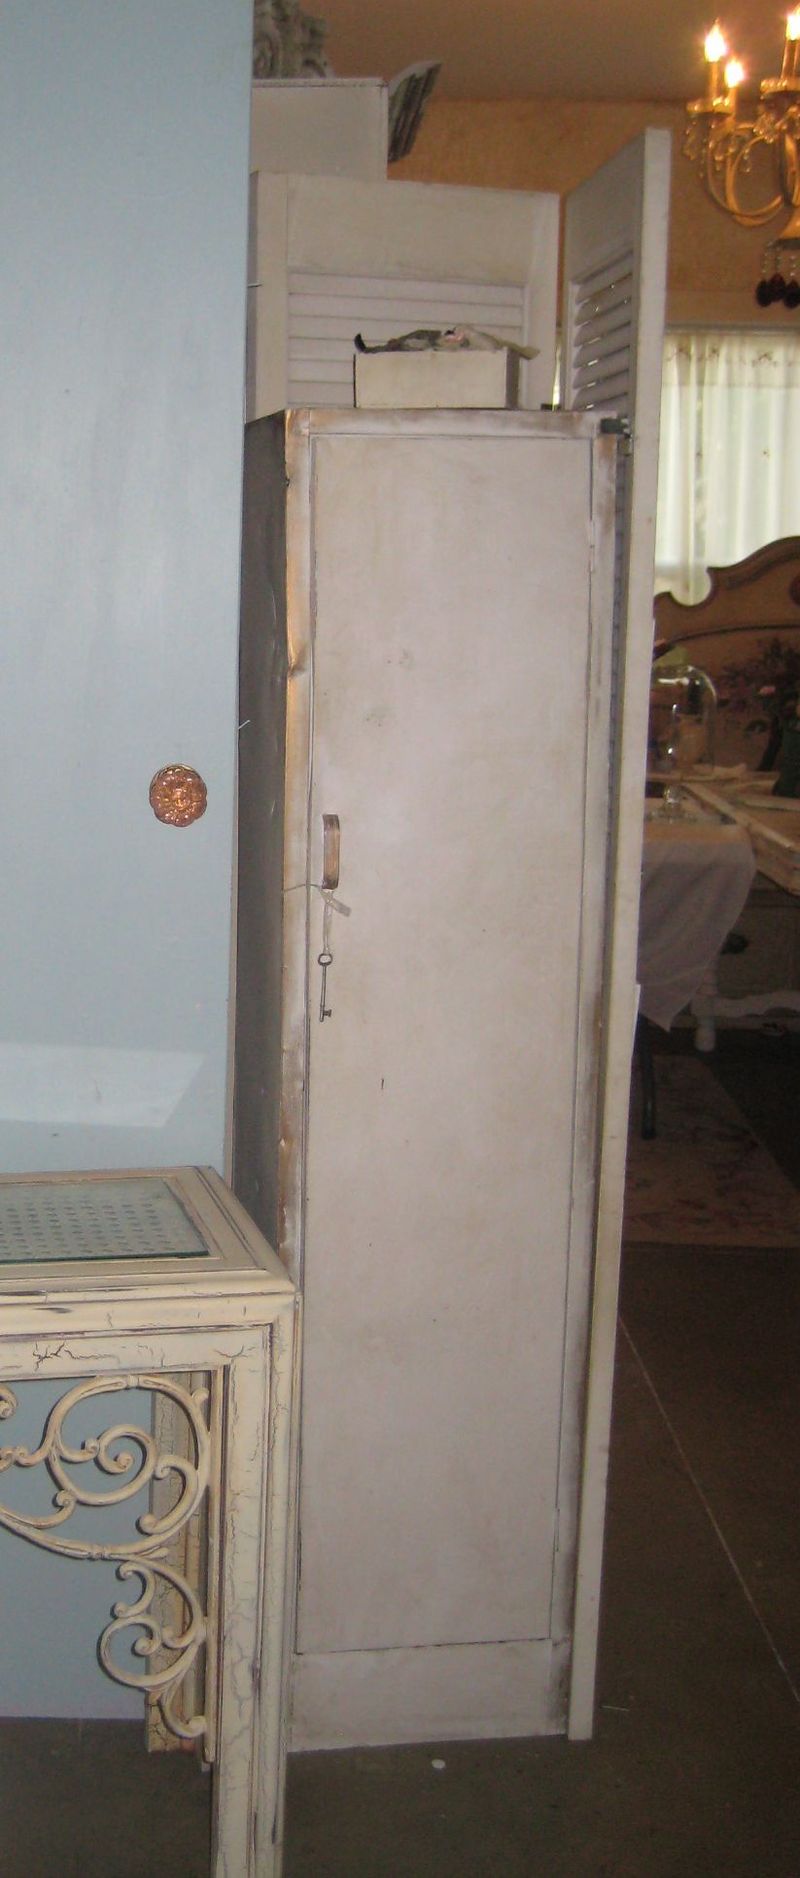
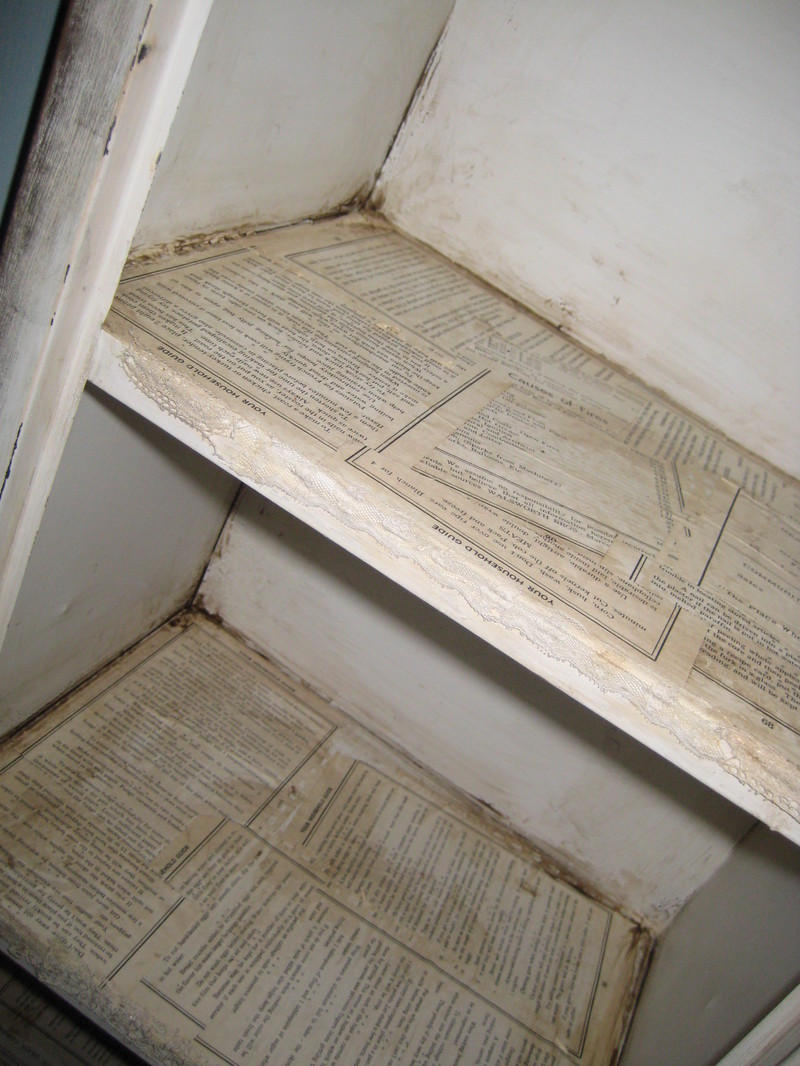
You probably won’t believe this, but this narrow chimney cabinet is empty! Ajs_visit_028  Not a thing in it, but I did cover the shelves in old paper, then glaze them in umber, and edge them in vintage lace.

I paid $5 for it at a garage sale, but don’t really need it. I just have a soft spot for storage pieces and cabinets!

  Ajs_visit_022_2

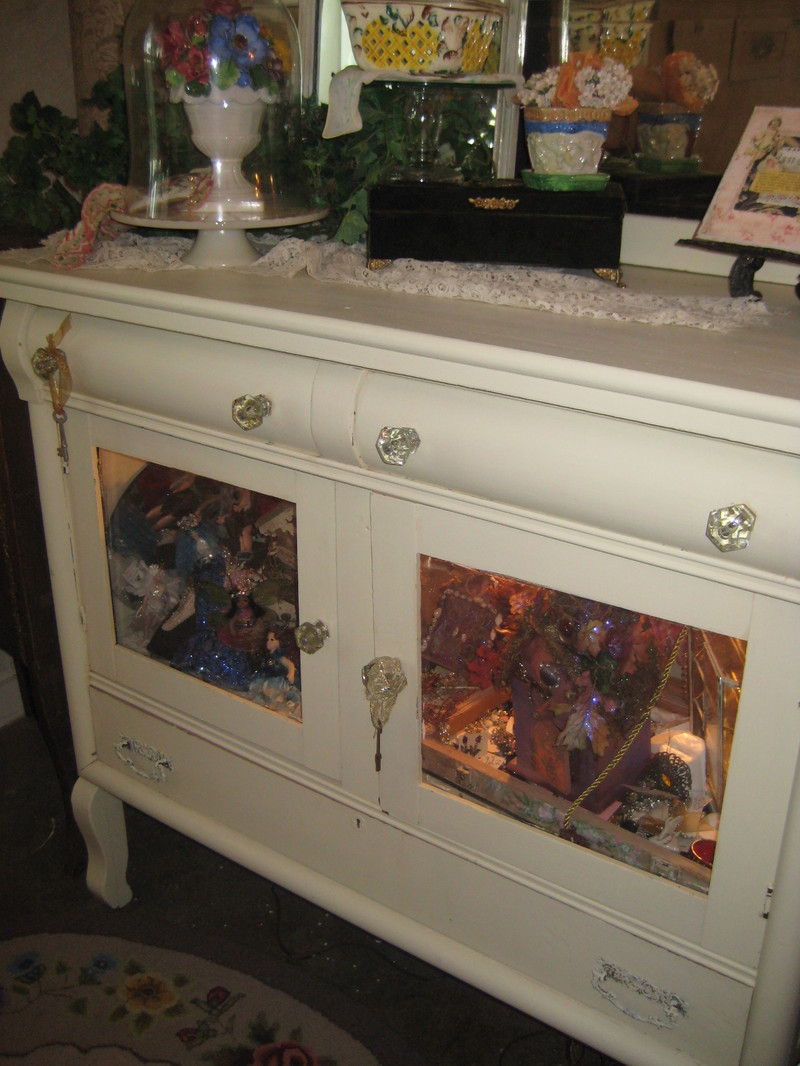
This buffet sits near the head of the table, but has nothing to do with food service.  It is full of fairies and fairy houses that I made, and vintage jewelry. (it was $75, but needed work too)

So, this room isn’t perfectly set up as a dining room, it still has a studio feel to it, but I really can seat a lot of people at tables in the center of the room, and it is nice to be able to all sit together even if we are surrounded by inventory and supplies! 

I’m off to start the dishwasher again.  I didn’t have to cook tonight, my brother-in-law made chicken and noodles, mashed potatoes and black bean salad!  I had 2nds.

I contributed a carrot cake from a mix, that I dumped a can of mandarin oranges, red grape raisins, flax seed, sunflower seeds, extra brown sugar, cream cheese, yogurt and an extra egg into. I kind of cook like I craft, off the top of my head and what ever sounds good at the moment. 

Stolen Moments and Quickie Crafts

Etsy Goodies, fairies, how to's, Sugarwings, swaps, vintage paper/collage art

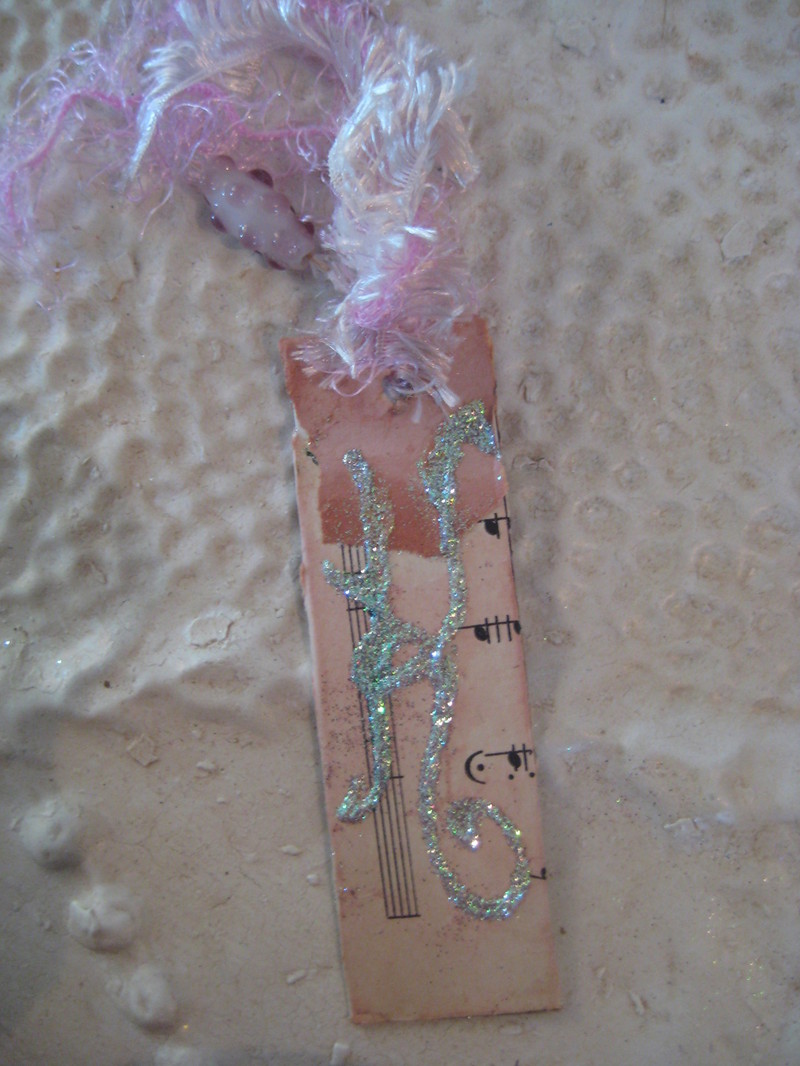
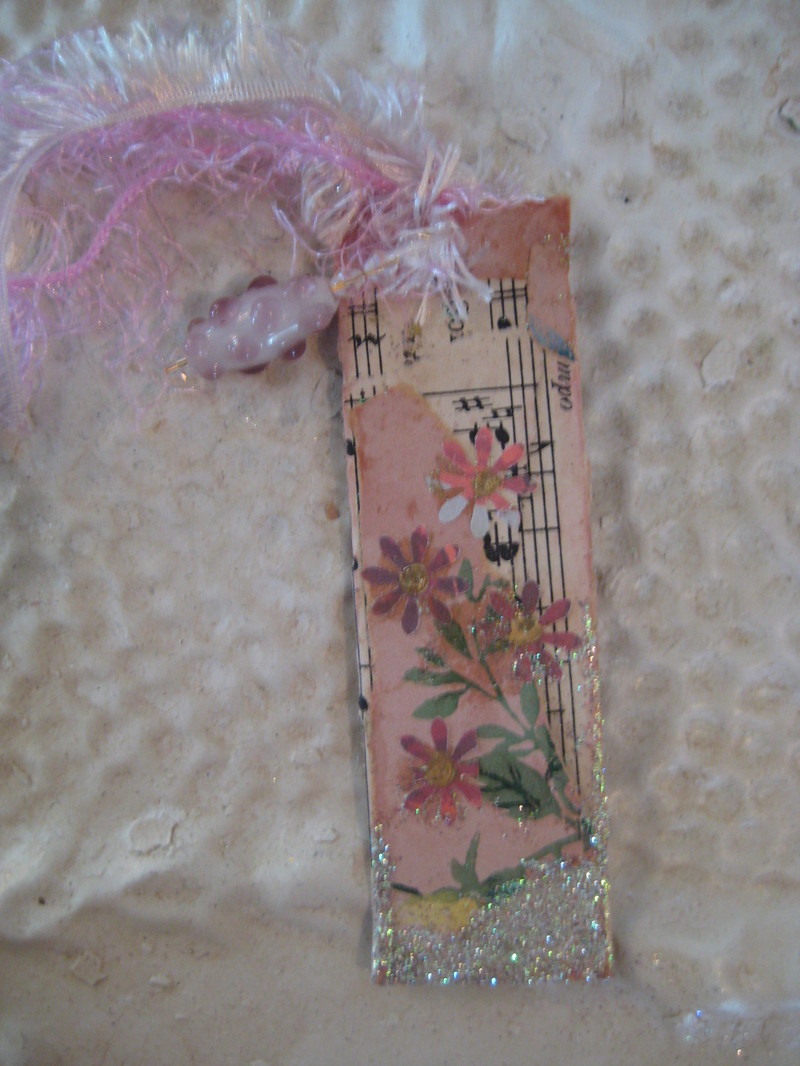
Kids_bookmarks_001 My friend, Karla http://sugarbeardesigns.blogspot.com/ bought one of my cottage collage kits, how sweet of her. So I had to add some extras to it before I mailed the package. Kids_bookmarks_003  I made her a bookmark/tag from the plastic garden tags that I found, and then gathered up a few little things I thought she’d like.

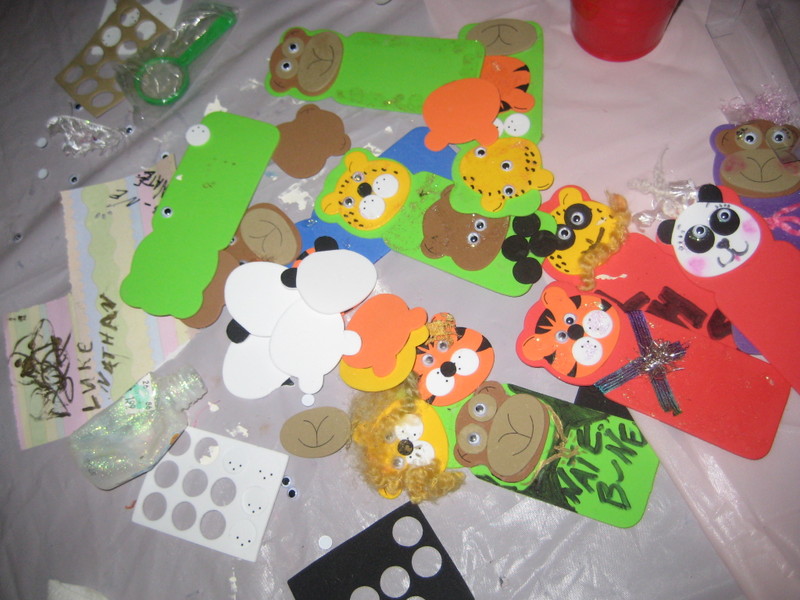
Kids_bookmarks_002 How did I manage to have time for this while we are having a reunion?  Well, the kids and I decided to make some bookmarks from a kit.Kids_bookmarks_004

So between my panda and my monkey, I squeezed in a pink tag for Karla!

Kids_bookmarks_006

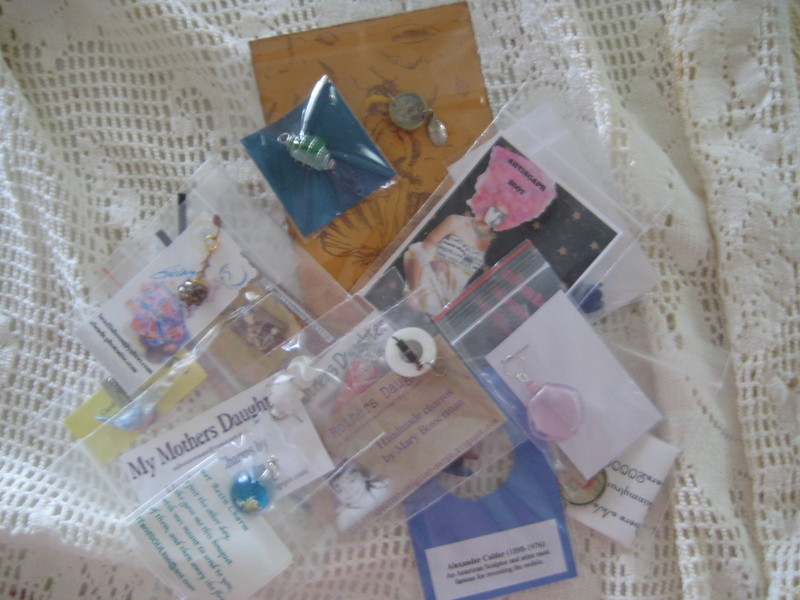
My charms from the swap hosted by http://mymothersdaughter-maryb.blogspot.com/ arrived! The hostess herself made 3 of them, and all are wonderful little treasures.  Of course, I am prejudiced towards the ones from friends:Kids_bookmarks_007

Beth of http://bethleintz.typepad.com/ and http://mizsmoochielips.blogspot.com/index.html.  I haven’t had time to go through and enjoy all of them yet, I didn’t bring in the mail till after midnight, then we all sat up and talked for a while. I am stealing a few blogging minutes while my husband is picking up more guests at the airport and everyone else is asleep. Yes, I know I should go and unload the dishwasher! but I can do that while we all stand around the kitchen and talk! 

Everyone wonders how I have time to blog with all these guests, but I am pretty quick. I write off the top of my head, like I am talking, and I am a bit of chatter box, so it is natural.  Not much thought goes into what comes out of my mouth.Kids_bookmarks_010

One more super quick project I did yesterday- my darling Mother-In-Law, Little Joan, is having her 75th birthday. She is extremely  hard to buy for, since her needs are so few.  But this year, she became a great-grandmother 3 times!

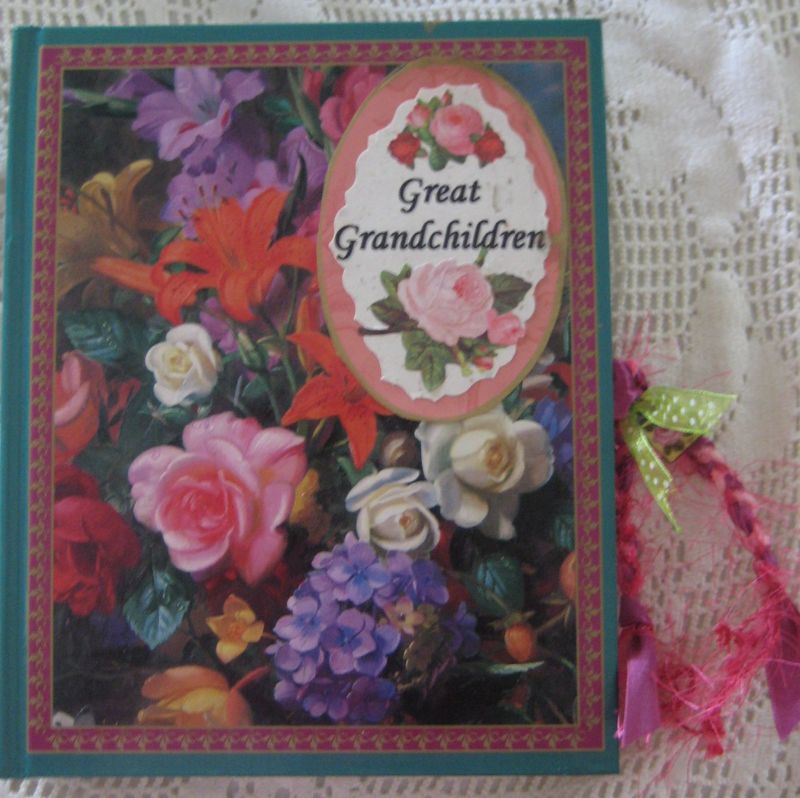
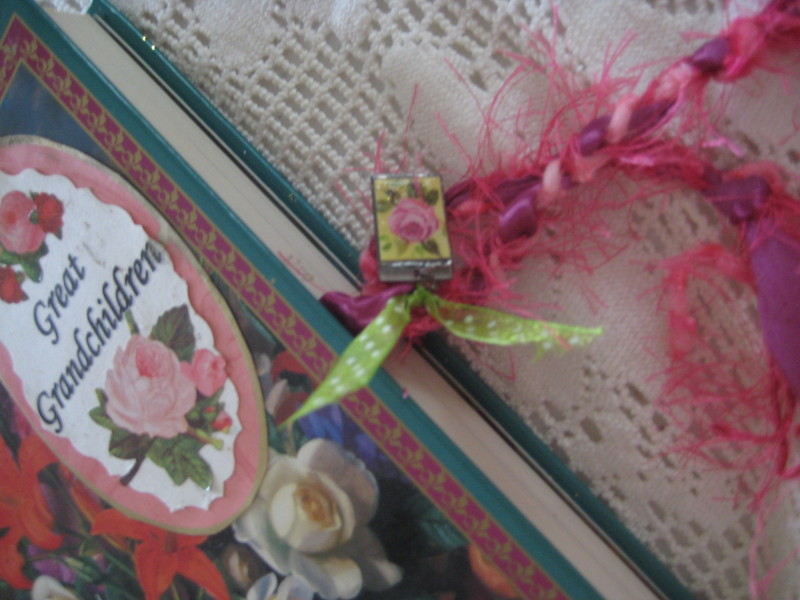
So, I took this album (from a garage sale for $1.50, and still in its wrapper!!) and jazzed it up a bit.Kids_bookmarks_011

I kept the pages as they were and added a few personal touches,such as the "great grandchildren" on the front, as well as braided some eyelash yarn and ribbon, and attached a hand painted charm to them.Kids_bookmarks_012

This went inside the  front cover.

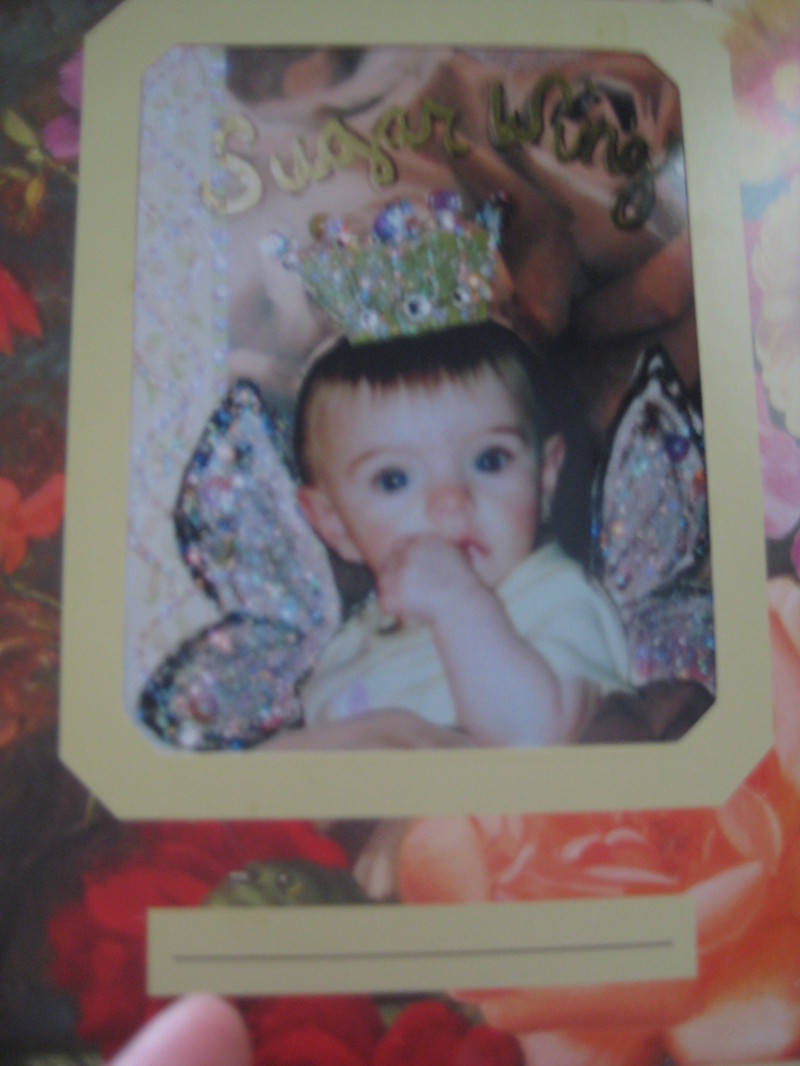
Kids_bookmarks_013 Sugarwings was her very first great grandchild (and what a great one she is!!)

The album is the kind with die cut frames, so she can just slide the photos into the ready made places. I will add a few of Sugarwings and Madison Catherine.  Little Joan isn’t crafty, or scrap booker, but she will easily be able to keep this album up, since it is practically on auto pilot. As her grandkids have babies, there are places ready for their pictures.

These are a bit fuzzy, but since I am on borrowed time, its all I can do!  I hear a car door now, that means there are travelers arriving that need hugs!! Gotta run——

ps- don’t forget to enter July’s Cottage Collage Kit drawing  by leaving a comment

Rose, French Vanilla & Robin’s Egg!

how to's, swaps, vintage paper/collage art

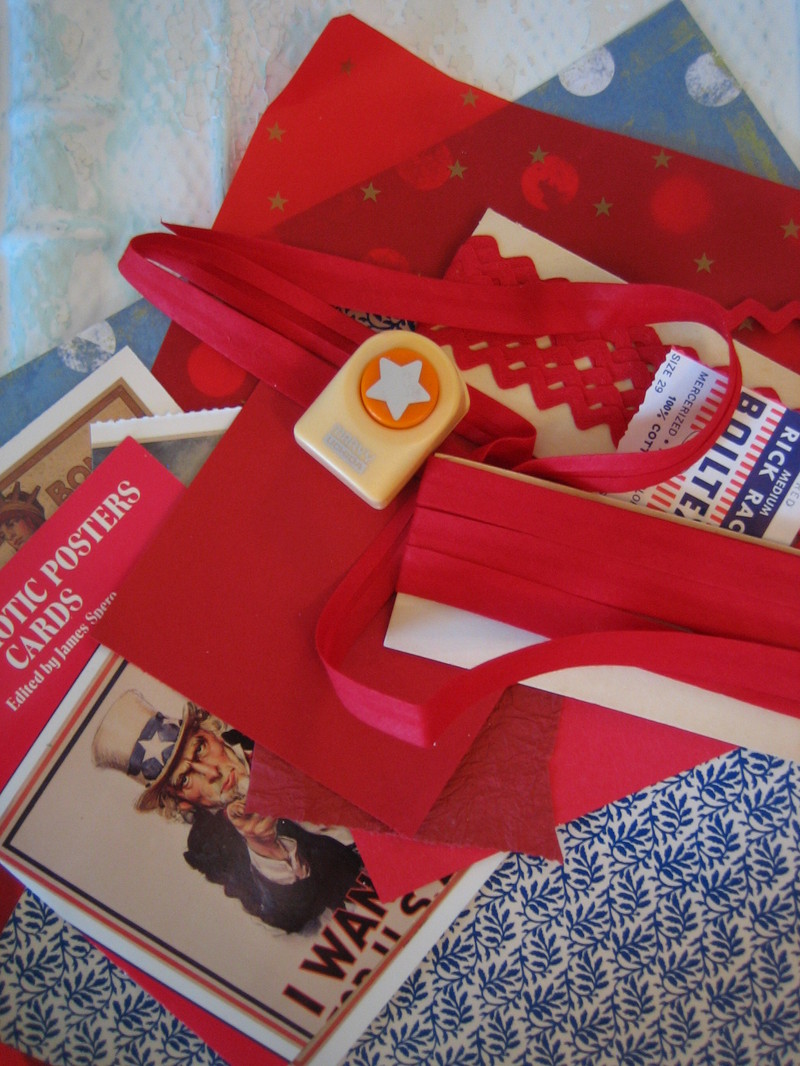
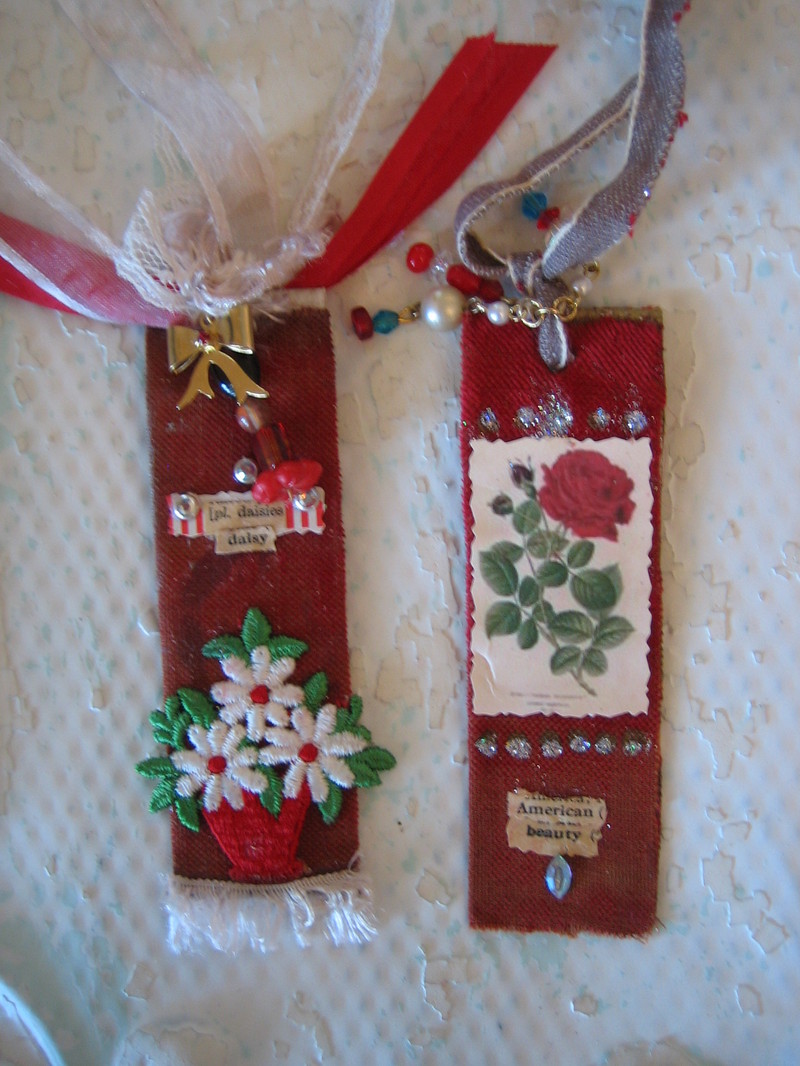
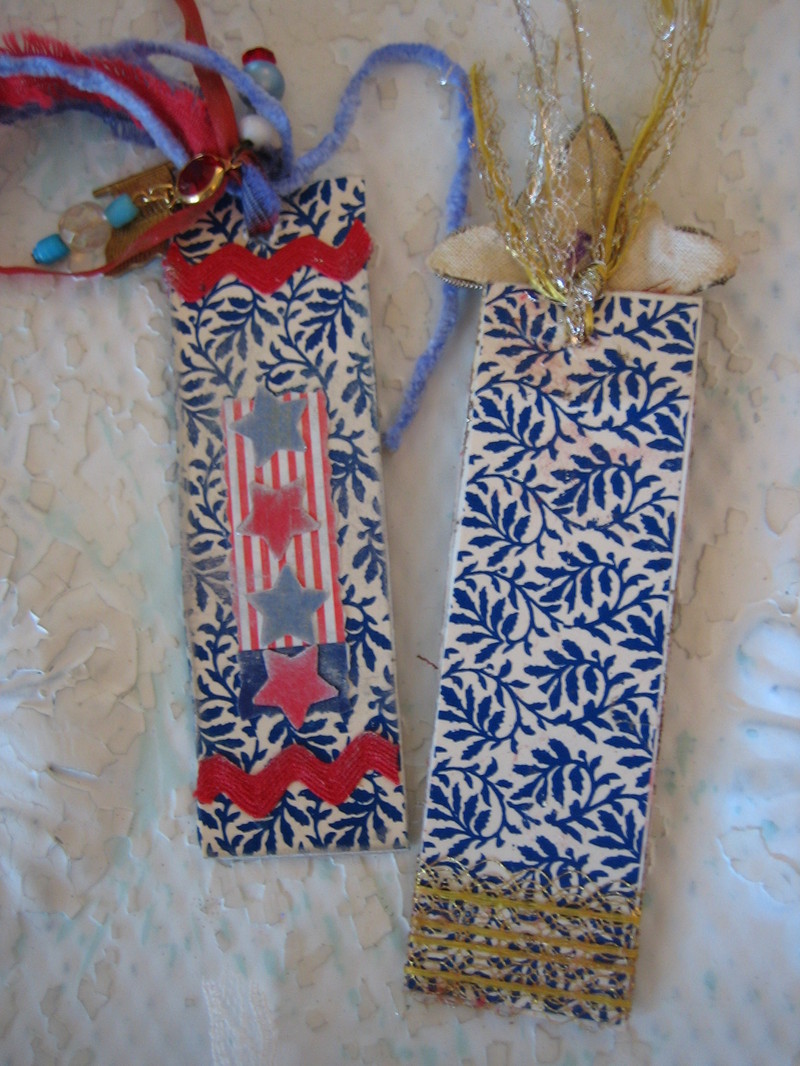
Patriotic_bookmarks_001 I usually enjoy most projects and look forward to getting started on them. But when I realized that the bookmarks for this swap needed to be patriotic, I was worried. I don’t "do" red, white, and blue!  I do rose, french  vanilla, and robin’s egg!

My buddy, Beth, http://bethleintz.typepad.com/  who has the most well stocked and fantastic craft room full of supplies you’ll ever see, gave me all this to work with.  She has an overflow of stuff and is talking about making packs to sell on Etsy.  She has done that in the past, but now is redoing her craft room and really needs to make space. You can contact her on her blog if you need anything, I’m sure she has it!!!

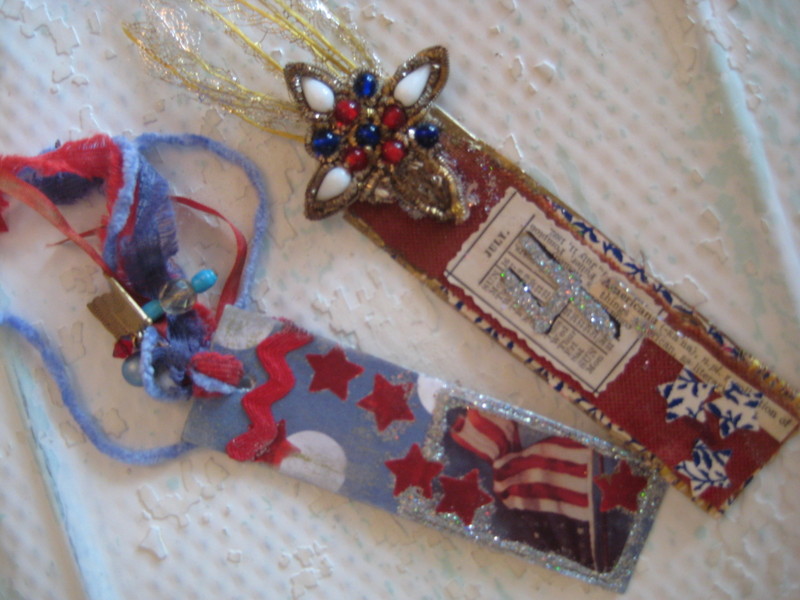
Patriotic_bookmarks_024 I still struggled and felt bad about what I was putting together.  The whole idea that it had to be flat, was hard, I am a big believer in gooberey-glittery-encrusted pieces. 

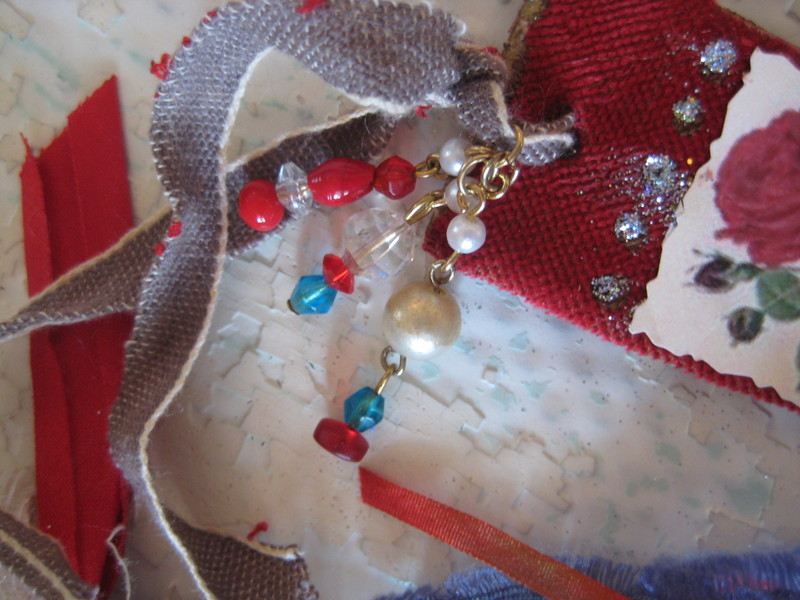
So, I compromised and used 3-d on the tassley parts.Patriotic_bookmarks_017

I got out some old red velvet that was a rotted cover of an album in its past life, and covered a couple book marks with that.Patriotic_bookmarks_004

Then, they started to get too 3-d and maybe not as patriotic?  Although an American Beauty rose might fit into the category.Patriotic_bookmarks_012

So I went back to the first two I started and worked on them some more, made the backs nicer.   They are on their way to my swap partner, http://beachyscapecodcupboard.blogspot.com/ .  It ended up being a good thing for me to do. I get so set in my comfort zone that I don’t try enough new things. Patriotic_bookmarks So even though I got a bit cranky and it wasn’t going well, I learned from the challenge, and want to thank http://shabbyinthecity.blogspot.com/ for hosting it.

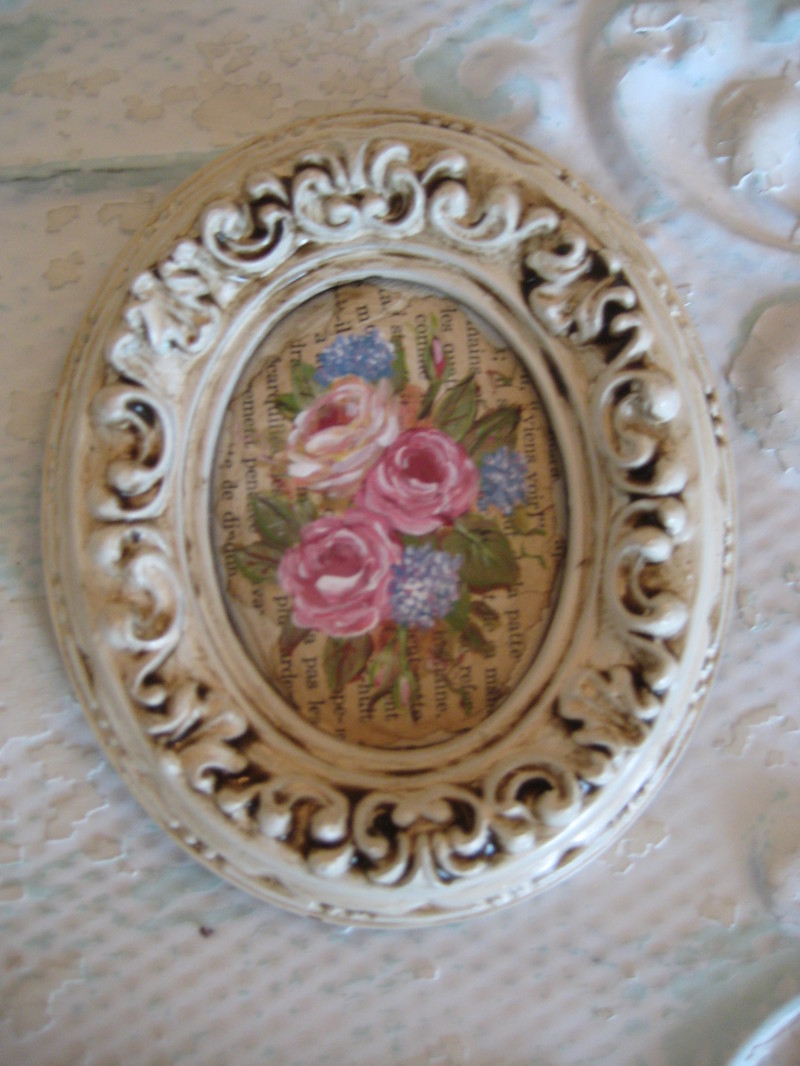
But of course, the minute I was done, I painted some soft pink roses to get me out of my red/white/blue funk!  This is one of the frames I got at a garage sale a couple weeks ago, that started out gold with a print I didn’t like in it.  I primed and painted it ivory, glazed the frame in umber, glued down a page torn from an old book with French words in it, then painted the roses over the text.

Bunnies, Ballerinas, and Bears, oh my

antiques/junking, Hand Painted Furniture, hand painted signs, how to's, swaps, vintage paper/collage art

Matchbox_swap_002That dumpster might have been yucky and smelly, but I am loving the  stuff I pulled from it. Matchbox_swap_003

I dug out an old, broken magazine rack and almost tossed it back in.  But it had a cute shape, so I kept it.  When I got home, I gave it a good whack with a hammer and tore it apart.
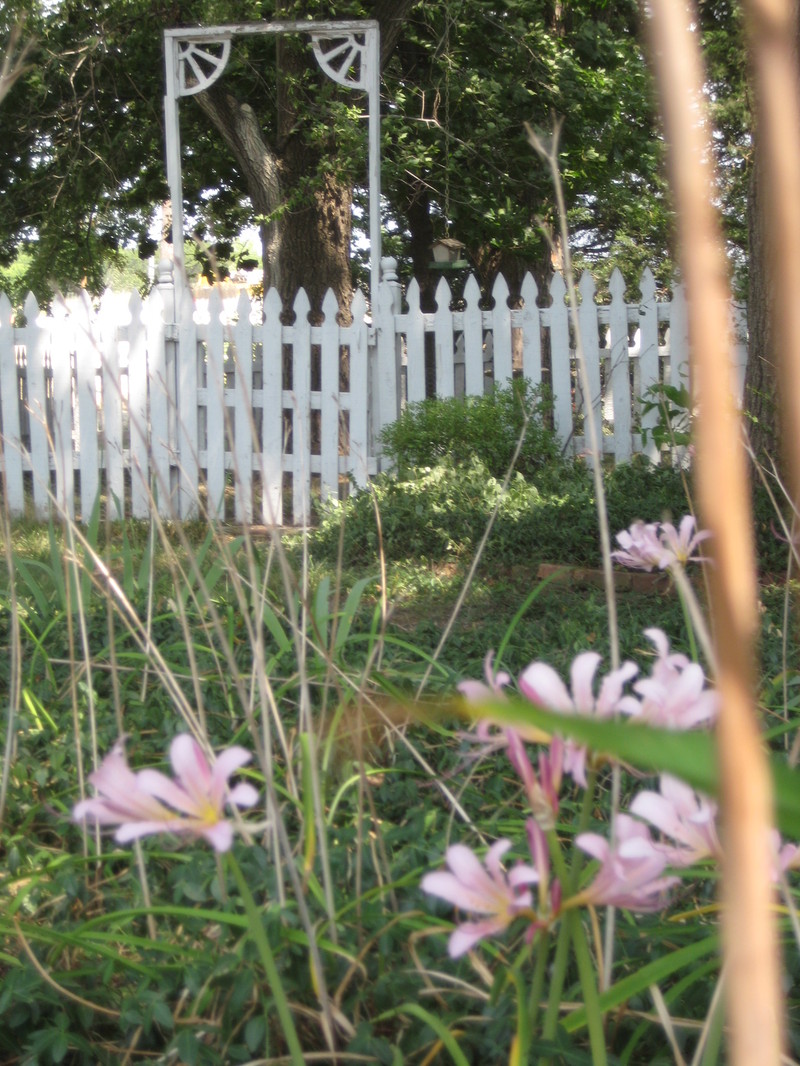
This section with the bear painted on it is the center of the rack, with the handle on the top. 

Wouldn’t this be sweet in a little baby girl’s room?  $20 if you are interested.Matchbox_swap_010

I have a thing for ballerina bears. I have painted a t-shirt for Sugarwings with this on it, and did a mural for a friend’s daughter of a  cute dancing bear in a tutu also.Matchbox_swap_023

My matchbox is ready to be mailed for Natasha’s Swap. http://natashaburns.blogspot.com/

My partner is Debra of http://www.hophopjingleboo.blogspot.com/ who is a talented artist and a collector of bunnies (she is hosting a bunny swap, you should check it out).Matchbox_swap_028

I was fresh out of vintage bunny paper (or maybe I never had any), so I painted some bunnies on my matchbox.

My first step was to paint the entire thing pink, and add some striping.  While the paint was wet, I dumped a bunch of glitter to the inside of the newly pink box.Matchbox_swap_029

I painted a white rose on one end and a brown bunny to the other end.  Then I wrapped the sleeve part of the box in vintage sheet music and wallpaper and painted a bunny on the top.Matchbox_swap_020

I drew some gold swirls on the bottom, and glued chenille ribbon and crystals to the sides, so it is pretty from all angles.

I thought it was missing something, so glued 3 little vintage millinery flowers to the top.  I bought the flowers from Deb Dusenberry of Curious Sofa http://curioussofa.blogspot.com/.

When she was moving from her old location to her new (and magnificent) store, I worked at her moving sale.  How cool to style her shop and get the sale set up!!!!  Ooh, I felt schmancy working there.  She had bundles and bundles of these posiesMatchbox_swap_034

marked from $1.50 to $3.00 each so I bought quite a few. Matchbox_swap_036

I also bought a pair of these columns from her. I have them in a nook of my studio.

I might have spent more than I earned that weekend working at her shop.

Matchbox_swap_025

Back to the matchbox- those things are tiny, but you can jam a lot into them!

I found some old bunny shaped buttons, rhinestones, and some small ephemera goodies. To top it off, I put in another teeny bouquet of those posies from Curious Sofa and tied them up with black velvet ribbon.Matchbox_swap_031

Last week while Garage Sailing, I found an old jewelry box, for almost nothing and it had quite a bit of old jewelry in it (included in the price).

There just happened to be a bunny brooch inside!Just what I needed for my swap partner who loves bunnies. Fate?!

It is way too big for the matchbox, plus I wanted to add some copies of my little fairy girls too, so I wrapped them all up together in old silk wallpaper and tied it with a silk ribbon I hand dyed.

But the trouble is, now I am SWAPLESS!! I am all caught up and have no swaps to do.  Although, I saw an art-doll hat swap that looks really unique……  take a look at it here: http://craftingbycandlelight.blogspot.com/

I was still up and working at 4am last night, so missed Garage Sailing this morning. I thought about just working till 6am, then going out sailing, but realized that I am way way way too old for those old tricks and went to bed for a few hours.  I can’t go with out sleep like I used to when I was in my 20s and could stay out all night, then work the next morning.

We had company all day (family BBQ) and all I could think about was a nap.Dumpster_003_2

This little nightstand used to be the right half of a desk.  I got it cheap-cheap-cheap because it was butchered up a bit in the deconstruction.  Matchbox_swap_012
Some wood putty, sand paper, primer and paint is all it needed to be a decent little hunk of furniture.  Matchbox_swap_013
I was going to do more to it, but thought the hardware was so nice, I didn’t want to distract from it.  Plus, it was about 3am.
Well, it is about midnight now, and if I want to go Garage Sailing tomorrow, I’d better get some rest. I cannot miss it two days in a row!!  Its already near the end of June and my shopping days are slipping by.  The season is just too short around here!!

Ps- the wierd mask is spoken for now.

ppss- don’t forget, only SEVEN DAYS till the drawing for the handpainted charm. leave a comment if you want to enter!

Scroll to Top