how to’s

Bootiful Bootique Books and a lot of how to tips and ideas for art journal pages

Books, holiday decor, how to's, Romantic Gothic Ghosts, vintage paper/collage art

IMG_1048

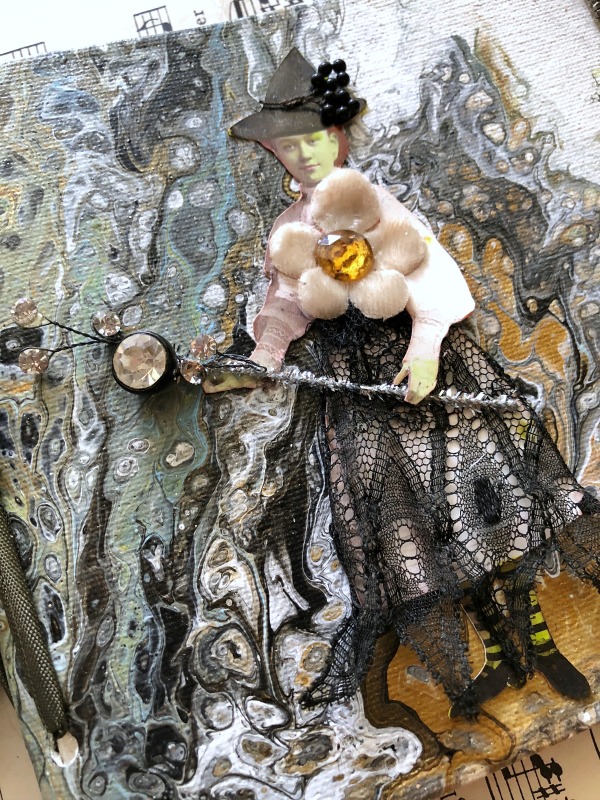
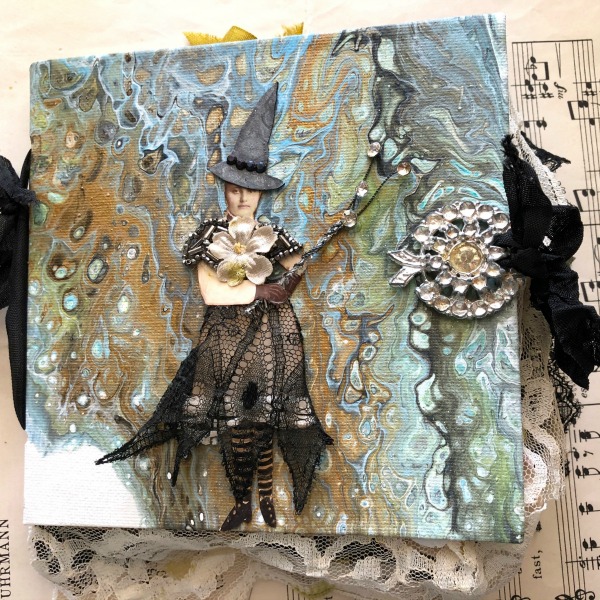
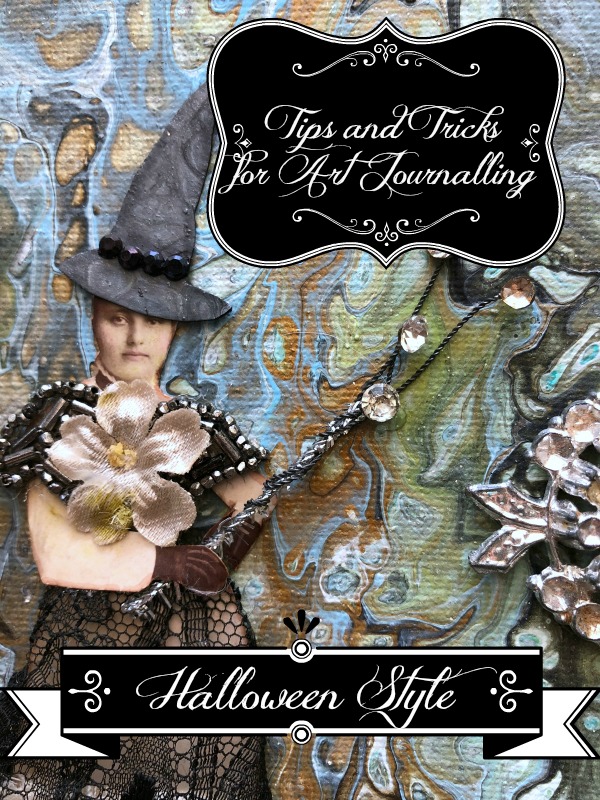
There are a couple more pour paint canvas books with witchy themes in the Bootique now.  This one has the outside covers in flow paint with a witch I've cut from an old photograph and spooky-foofed up. 
IMG_1051 IMG_1052

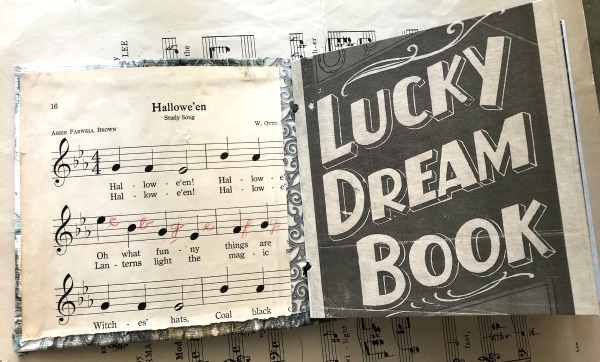
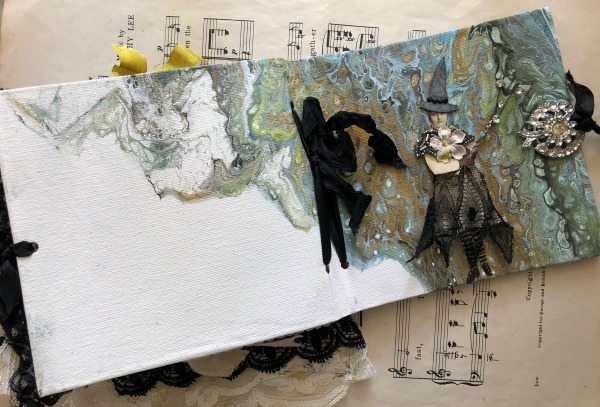
The inside covers are covered in old paper and the interior pages are a grey, parchment style card stock, ready to be embellished.
IMG_1053

This book has the same type of cover.
IMG_1055

Instead of it being a kit for you to finish, I've gone ahead and journaled it throughout, myself.
IMG_1056

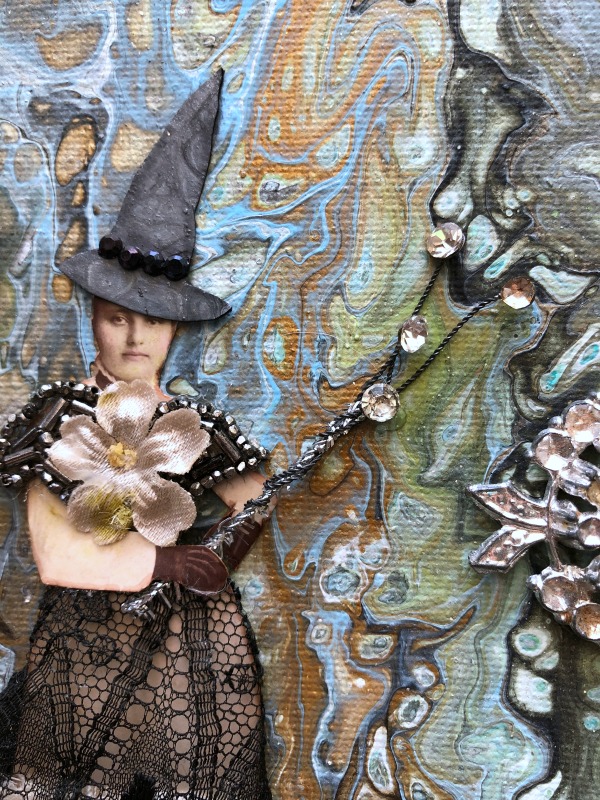
Here is a close up of our sorceress, with her magic wand made of a trimmed pipe cleaner and topped with a vintage rhinestone spray, with its wire wrapped around the pipe cleaner.  She has old lace wrapped around her dress, and a hat made from card stock that I'd painted.  

TIP- When adding a gown to a photo, it is often easiest to cut the person in half after cutting her out of the background.  You will want to stretch the fabric around the figure and secure it with glue to the backside. And arms are often in the way. I either cut around the arms, or in this case, I simply cut the lady into two pieces, added the lace, and glued the two parts down onto the book to reassemble.

And it looks better if you do away with the stark white edges of the cut out person by running a light brown marker or ink pad over them.
IMG_1057

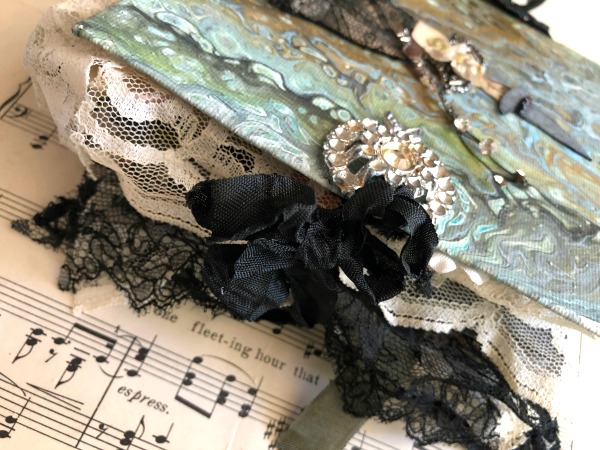
The "fastener" on the book is a vintage brooch.

TIP- Old brooches look great on the side of a book to create the illusion of a closure.  But, they sit unevenly.  Take a pair of pliers and twist off the pin back.  This one still had a sort of stump where the pin had attached in the center, so I punched a hole in the cover and added glue to the rim of the hole, then pushed the raised bit down into the empty space for the brooch to sit evenly  More glue was added to the back of the pin that met with the cover.  
IMG_1058

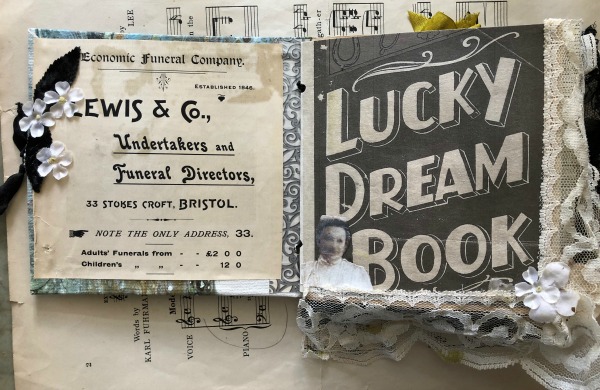
The first page is simple, I've used an ad from an old magazine for a funeral home (Thinking ghostly here). The leaves and flowers are glued over the hole I'd used to attach the brooch onto the front of the book.

TIP- Lots of lace adds a lushness to a journal.  I like to start a book with some trailing from the first couple of pages.  And add it to different sides of the pages throughout the book, on this page it is on the side and bottom.  To hide the pleat, I've added a flower.

The ghost if from an E-zine I did with Beth years ago.  It was called ROMANTIC GOTHIC GHOSTS and included full directions, tips, plus a lot of images to download and print. It is still available here: http://bethleintz.typepad.com/workshops/, scroll down, there are two zines to buy, the first one is a Xmas theme and the ghostly one is at the bottom.  
 

IMG_1059

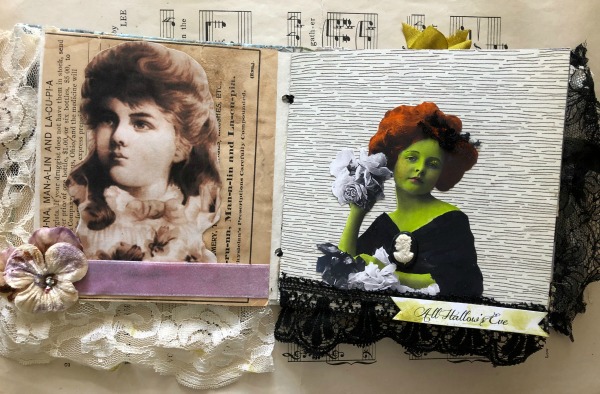
My book features both copies and originals.  It has vintage paper and scrapbook paper.  The sepia girl is a color copy of an old photo, glued to original, vintage text, simply accented with a velvet ribbon and velvet pansy for nice textures.

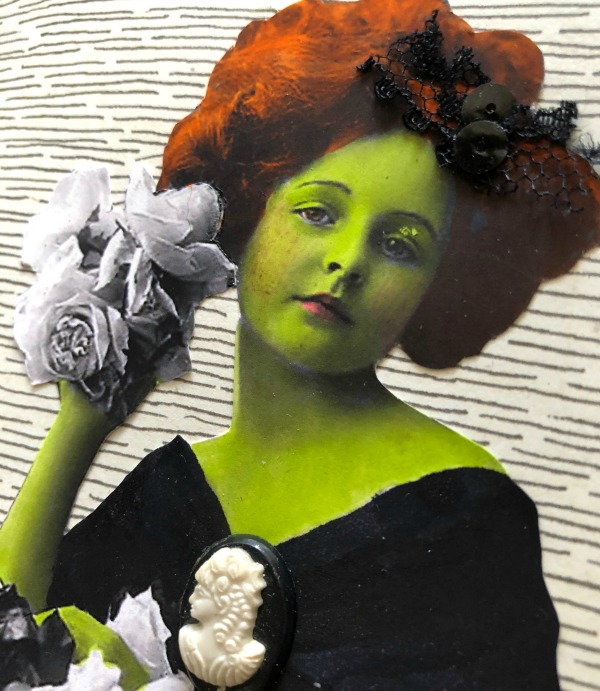
The next page is scrapbook paper, with a girl cut out of a black and white copy of an old photo.  I've used marker on her flesh to make her look "wicked".
IMG_1060

TIP- I find it easier to color the people before cutting them out of the photos.

And I use a blendable marker in lighter green, then a slightly darker green where you'd apply eyeshadow, for depth.  Marker also works for lips, but please use a red colored pencil to get a realistic blush look.

Add 3D elements like the cameo or hair bow for accents.
IMG_1061

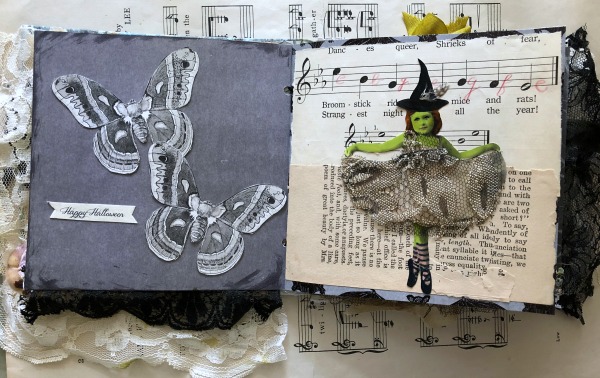
The moths are cut from copies of images found on Romantic Gothic Ghosts, glued onto plain, gray scrapbook paper with black ink around the edges.

TIP- Simply done pages can add a lot to a book. Not every page needs to have a lot going on.

Next, is another girl I'd treated to a wicked tint.  Her dress is lace, and her hat is cut from other paper and added to her head after she is glued to the background of vintage texts, layered on the page.

TIP- Striped socks are an easy way to change a girl into a witch, just color the socks with marker in a basic color and draw the curved lines with pen.
IMG_1062

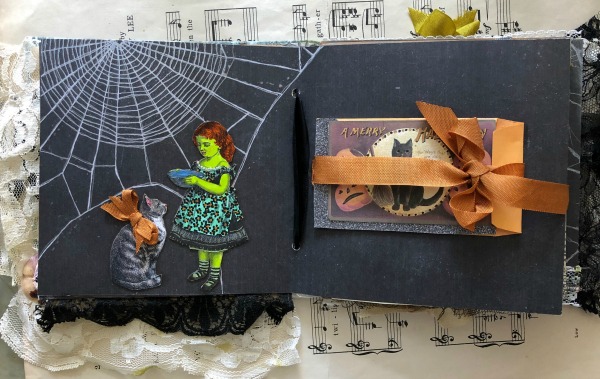
On the left is scrapbook paper from a Halloween book, with a spiderweb. I've drawn over the web with a metallic pen.  The girl and her cat were cut from a black and white copy, and colored with markers and glitter pens, then a bow was added to the cat.

On the right, a small envelope was covered with a vintage image, color copied and accented with glitter pens.  It has a ribbon wrapped around it, and then was glued in place.

TIP- Use envelopes and pockets in your books to tuck away treasures or surprises.
IMG_1064

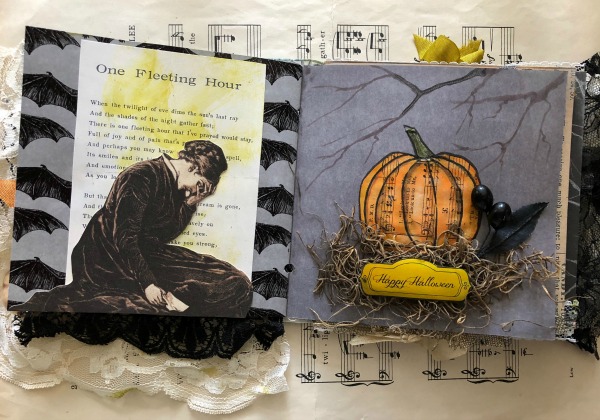
Another simple page with a big impact, bat themed scrapbook paper, topped with a copy of a poem, and a cut out of a grieving woman.  Her dress has been accented with glitter pens.

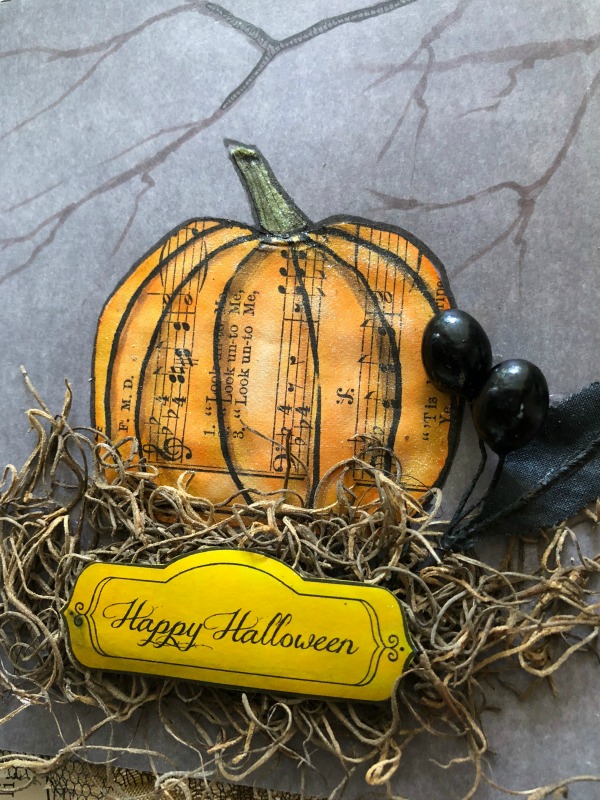
The paper used on the right was also from the Halloween scrapbook pad that I had, but I have added a few hand drawn branches to the background. The pumpkin was drawn onto sheet music, colored with markers and glued down to the page and moss was added over it. The words were printed in black and white and colored with gold marker, then highlighted with glitter pen.
IMG_1065

TIP- Hand drawn or colored elements, whether free hand or done by coloring stamps or stencils, add a lot of interest to your pages.
IMG_1066

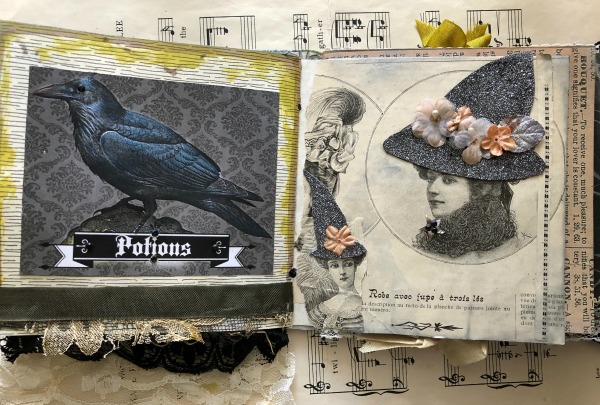
The raven is a printed copy, with the bird itself accented with glitter pens, and the background left with its matte finish.  The bottom of the page is trimmed with tattered lace, topped with velvet ribbon.

TIP- Your lace doesn't need to be pristine.  Old and tattered bits add character to a book.

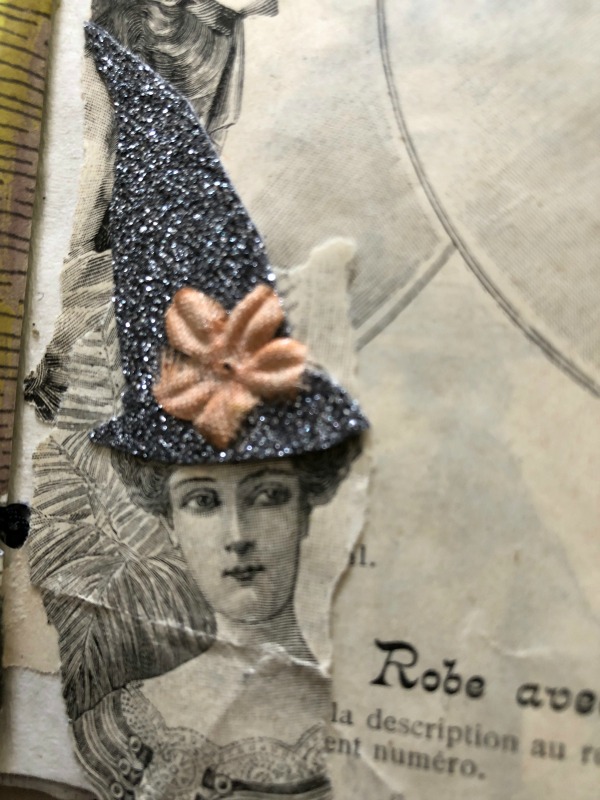
The witches on the other side were ladies from an ad in an old magazine. I've added hats made of glitter card stock and millinery blooms.
IMG_1067

TIP- For a more finished look, I ran a black ink pad along the edges of the glitter card stock hats.
IMG_1068

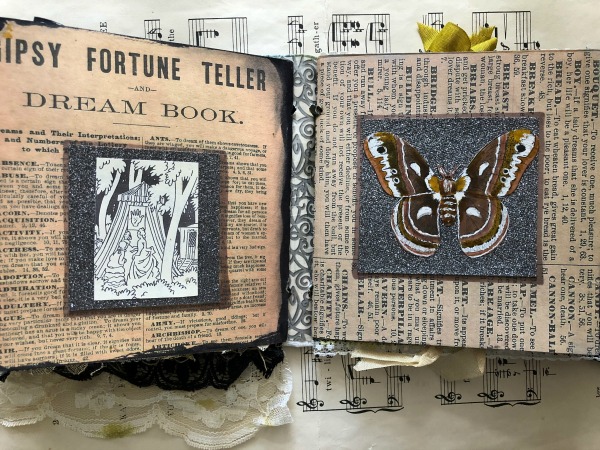
The same moth image from Romantic Gothic Ghosts that I'd used on an earlier page is used over glitter card stock on this page. It is colored with tones of brown markers and a little glitter.

The same style of layering squares over text was done on the left page for a cohesive look.

TIP- Do not be afraid to reuse the same images or ideas in slightly different ways, throughout your book.  Reusing themes can bring unity to your pages.
IMG_1069

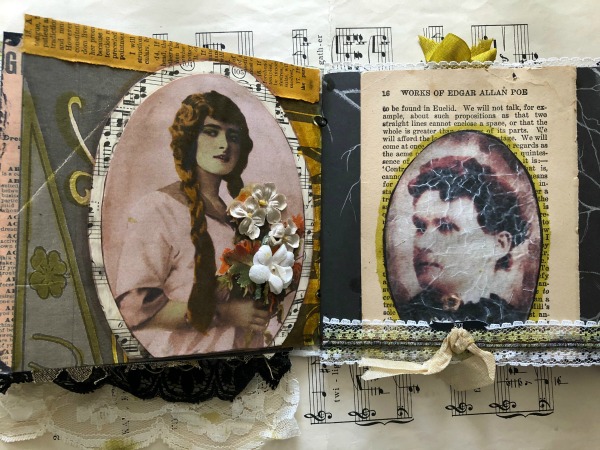
I've done a similar thing on these facing pages.  Instead of squares, I've used ovals, layered with the images.

TIP- Not all dangling trim needs to be lace.  Here, I have a knotted ribbon that hangs down past the bottom of the book.
IMG_1070

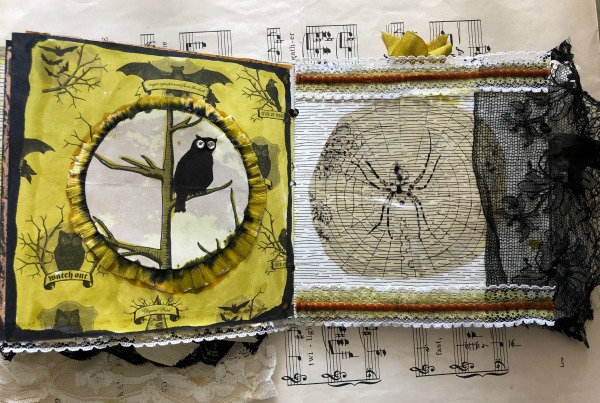
Both of these pages have scrapbook paper as a background.  On the left, I colored the page with a glitter marker in gold, the cut an owl image from another scrapbook page and turned it into a medallion by adding a crepe paper ruffle to the back.

The spider is cut from an image (Romantic Gothic Ghosts) then printed onto a transparency.  

TIP- Photos or images printed onto transparencies or vellum paper can give you a ghostly feel or some nice texture.
IMG_1073

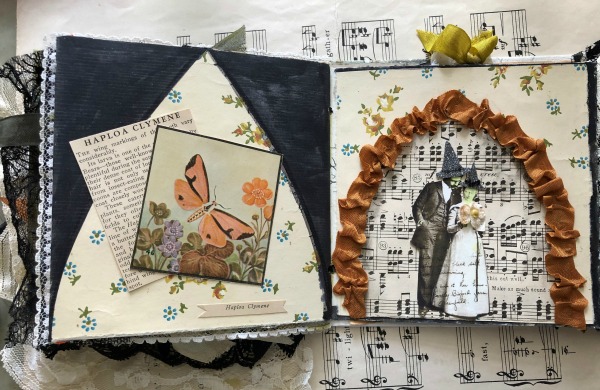
Here is another moth, taken from a biology booklet, centered over a gothic arch.  I've used the same vintage wallpaper in two different ways on these face to face pages, along with two styles of gothic arches.

The couple easily became a witch and warlock by tinting their skin and adding hats.
IMG_1071

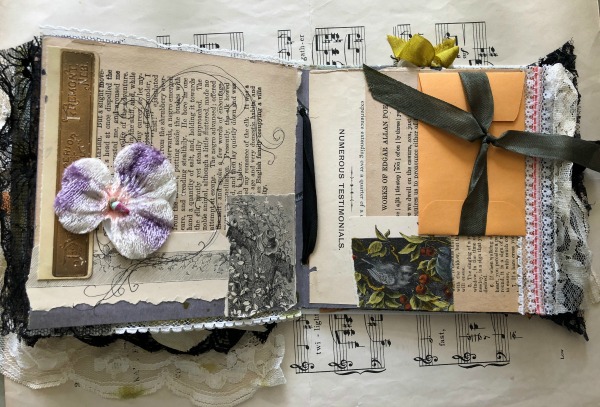
These pages are a patchwork of vintage papers, layered with a flower and an envelope. I've drawn a flourish on the page with the flower and colored the black and white image on the page with the envelope.
 

IMG_1076

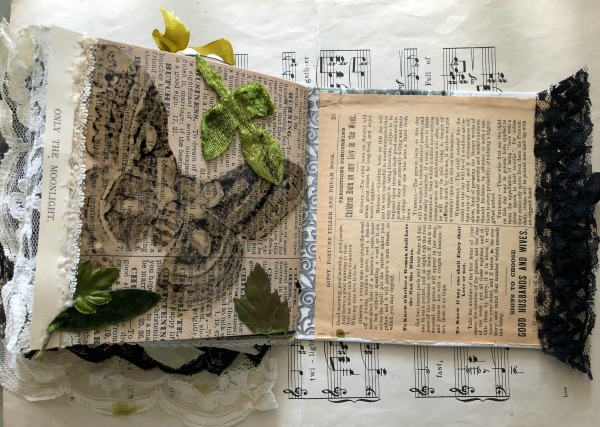
The last page shows the same moth I'd used on two other pages, one as is, one tinted.  This time it is printed on a transparency.
IMG_1077

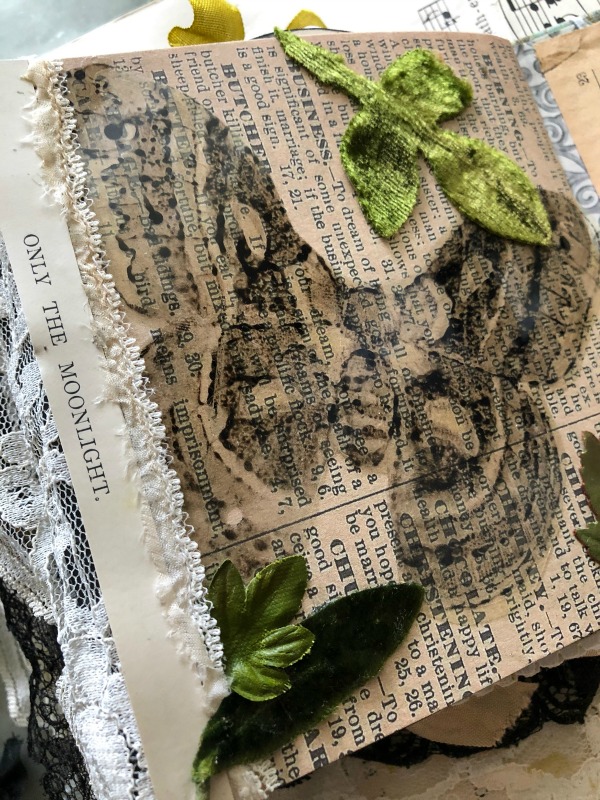
Velvet leaves were scattered onto the page for texture, and words cut from an old book add atmosphere.

TIP- I make a file of interesting phrases or words and snip them out as I come across them, and save them in the file for later.  If you are specifically looking for just the right words in old books, you will spend all of your time searching and none of your time creating! So, when you see something interesting, snag them then and save them for the future.
Tips

I'll be adding this info to my tutorial, "Creating an Art Journal", it is filled with lots of ideas and designs for making your own books.    
Pretty Poured Paint Pendants for a Party

celebrations, Hand painted, how to's, jewelry, paintings, Sugarwings

IMG_0617

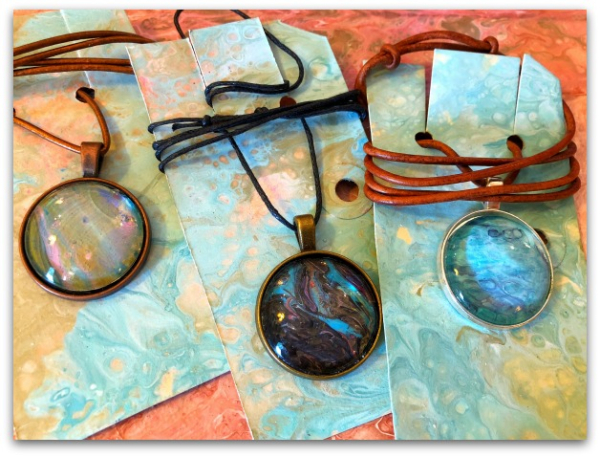
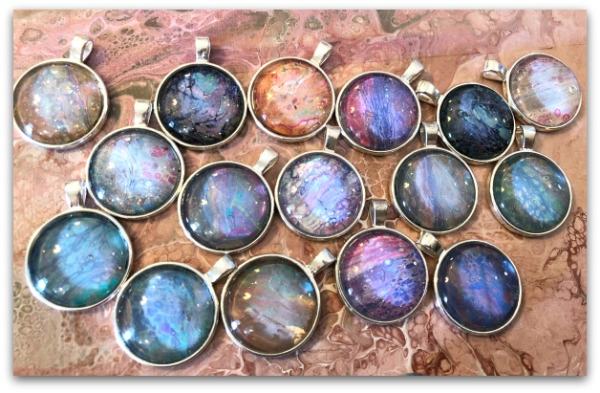
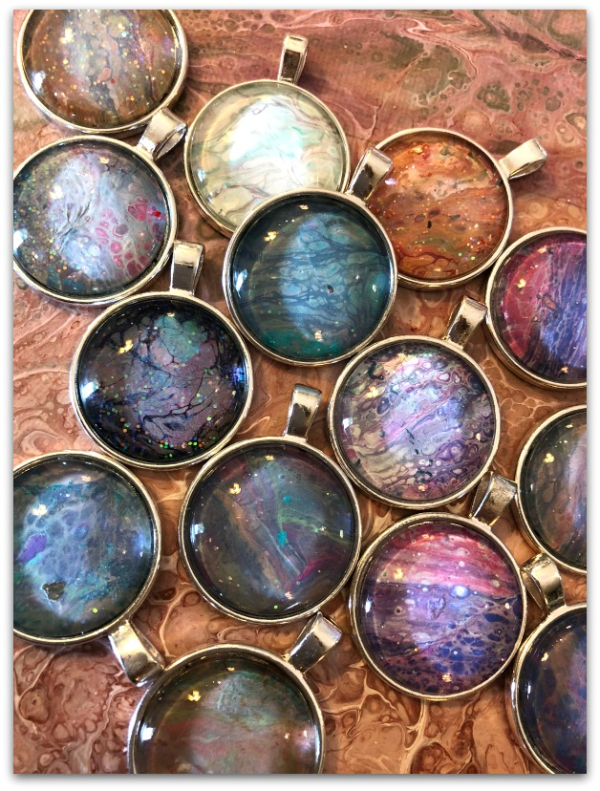
Sugarwings wanted some gifts to give to her birthday party attendees, and I wanted to make something special for a gathering I am attending this week, so we saved the drippings from our last day of painting to make some necklaces.

IMG_0598

This is how it starts.

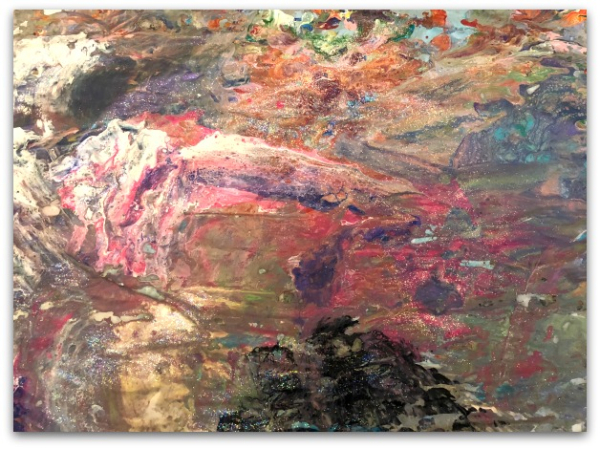
Ugly, huh?

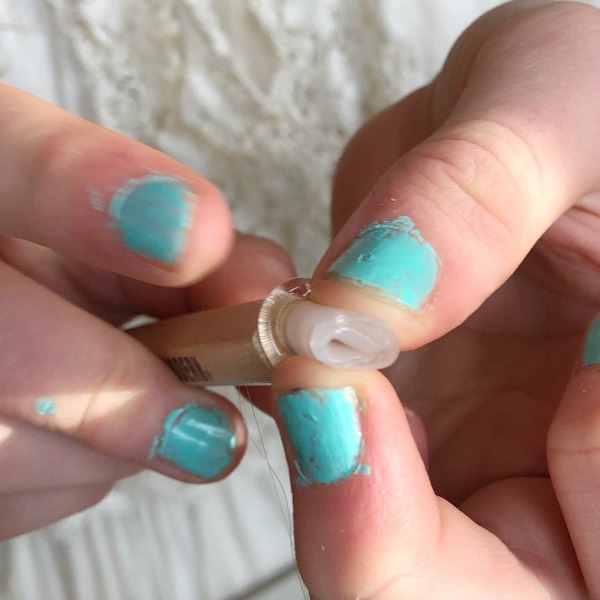
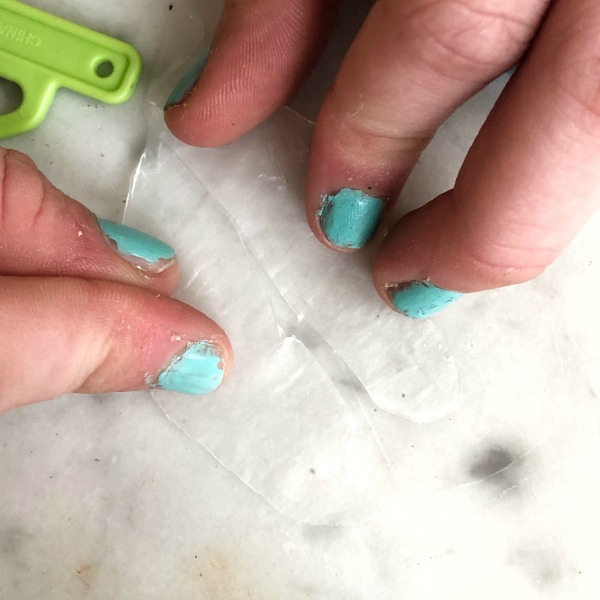
She laid a piece of parchment paper under her work area to catch drips, then spread the paint with a spatula so it would be thin enough to use in a pendant tray.

The name for this is ugly too. These are called "skins".  

Bleck!

But once you start looking up close, you find some lovely, little areas that are ideal for jewels.
IMG_0611

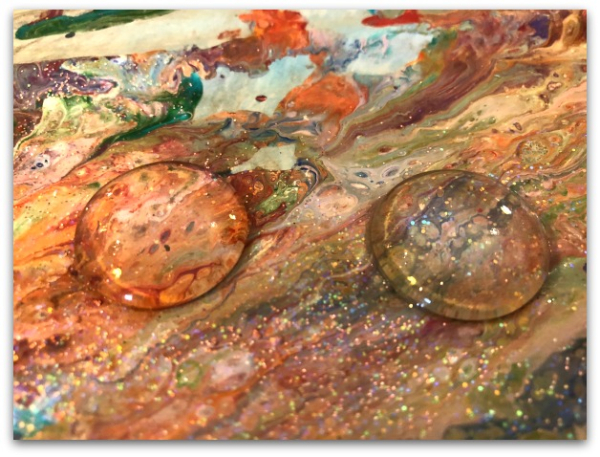
A generous dusting of glitter went over the wet paint, then we let it dry a week.
IMG_0612

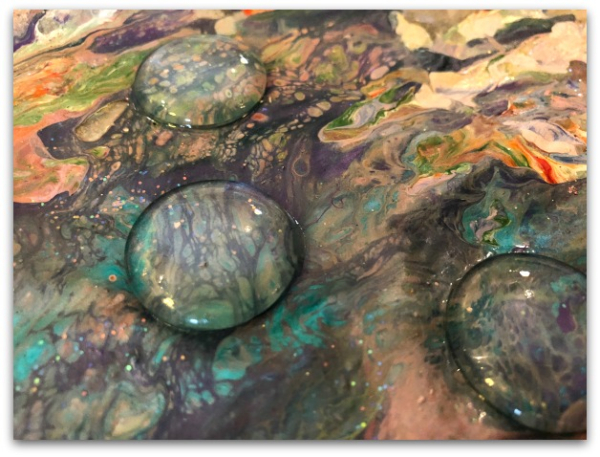
The next step is isolate the pretty areas and place 1" glass nuggets over them.

IMG_0613

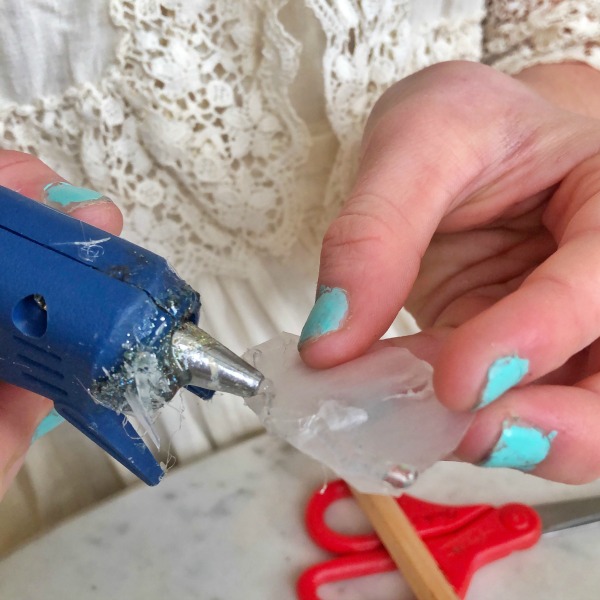
They are glued to the paint covered parchment, cut out after the glue dries, then the parchment paper is peeled off the back and the domes are glued into pendant trays.

IMG_0616

I use a decent sized dollop of glue, press the dome into the tray tightly, then clean off the excess glue that oozes out.

IMG_0614

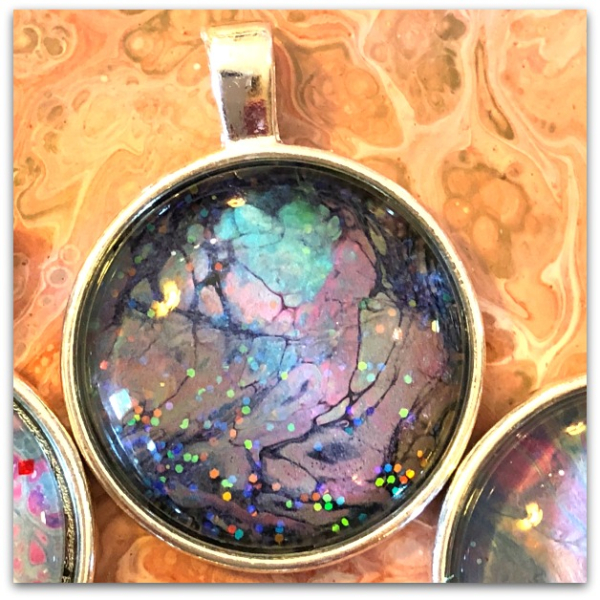
This one had a surprise heart show up.

IMG_0643

After drying, I slide them onto a leather cord and tie slip knots onto it to make the length adjustable.

I've also tried just dipping the bottom of the glass into the paint, but I don't think it is as solid of a hold as gluing the paint skin to the nugget then gluing that to the tray. Plus you get more control over the paint this way, you can pick and chose where you want to glue the glass down.

IMG_0597

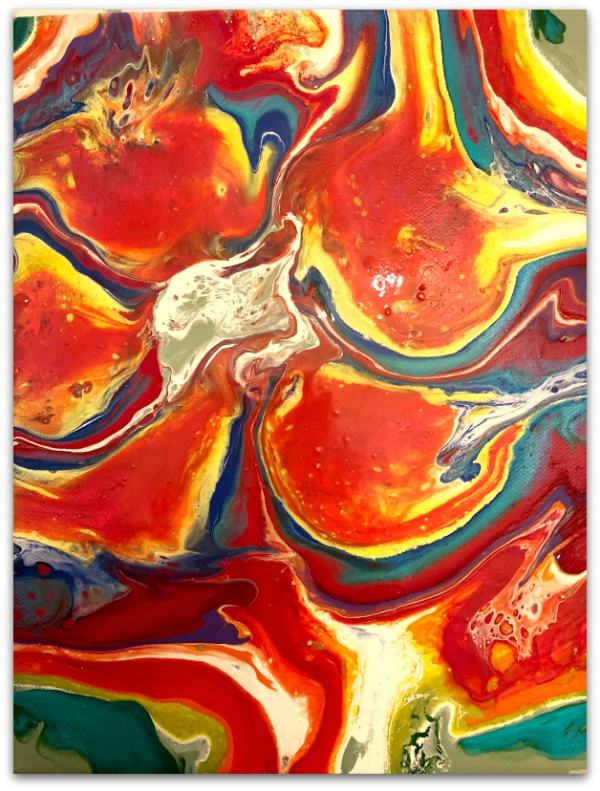
Sugarwings also made this painting  to give as a grand prize to the scavenger hunt winner. I was proud of her work, she knew exactly what she wanted to pour and how to do it.  This is done with the end of a water bottle! We cut off the curved bottom of the bottle and placed it in the center of the canvas. Then, she slowly and carefully poured one color after another onto the bottle piece, and let the paint flow across the canvas to create petals of a flower.

IMG_0607

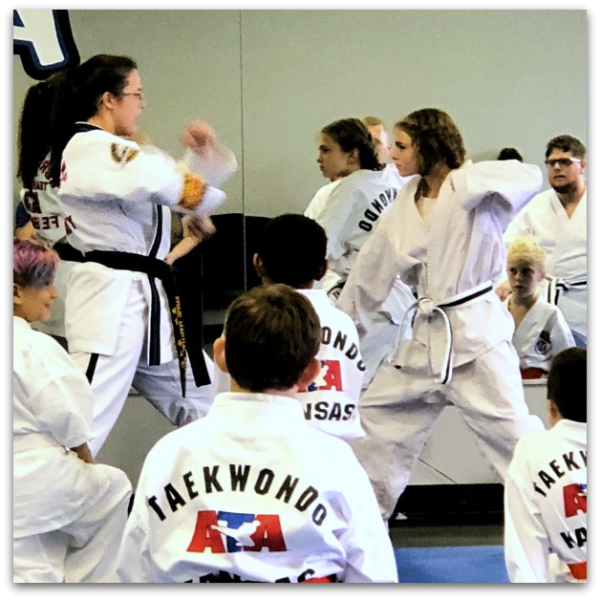
This kiddo is growing up.  She is attending Jr High, taking martial arts, and has a whole new sense of self confidence to go along with her joyful, zest for life.  I'm impressed with her as well as her paintings.


A Cameo Makeover

how to's, how-to projects, jewelry

IMG_3800

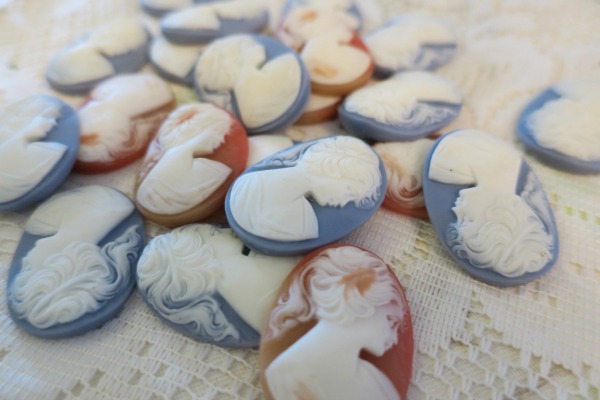
I found a deal on these resin cameos, but thought they were a little too obviously resin.

IMG_3801

So, I thought I'd age them up a bit.

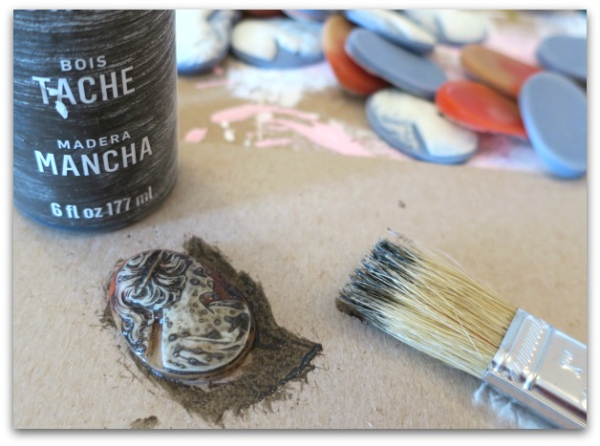
I used this Martha Stewart stain, but a dark glaze would work too. Or if you were quick and careful, watered down brown paint would do.

IMG_3802

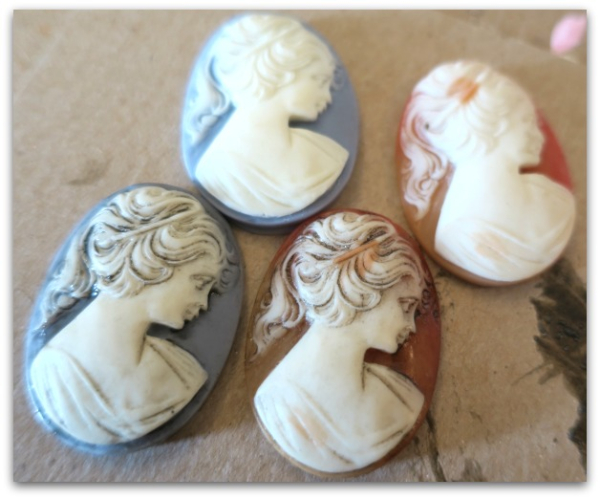
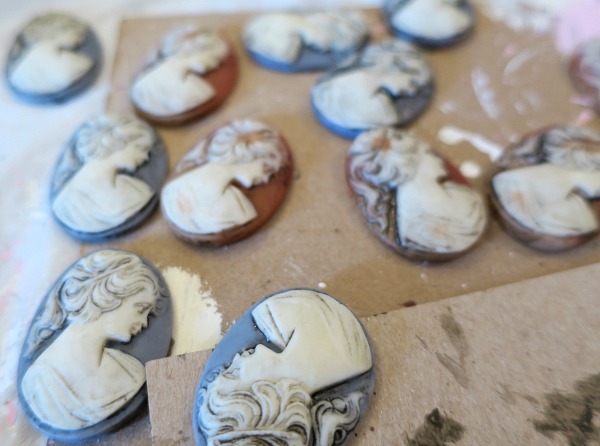
Just brush it on, wipe it off, leaving the darker tone down in the creases and shadows.  Here are some before and afters.

IMG_3803

I was happy with the way they turned out.  


Labels for the honey jars, and steps to an acrylic dog portrait

dogs, Food and Drink, Hand painted, how to's, paintings

IMG_1928

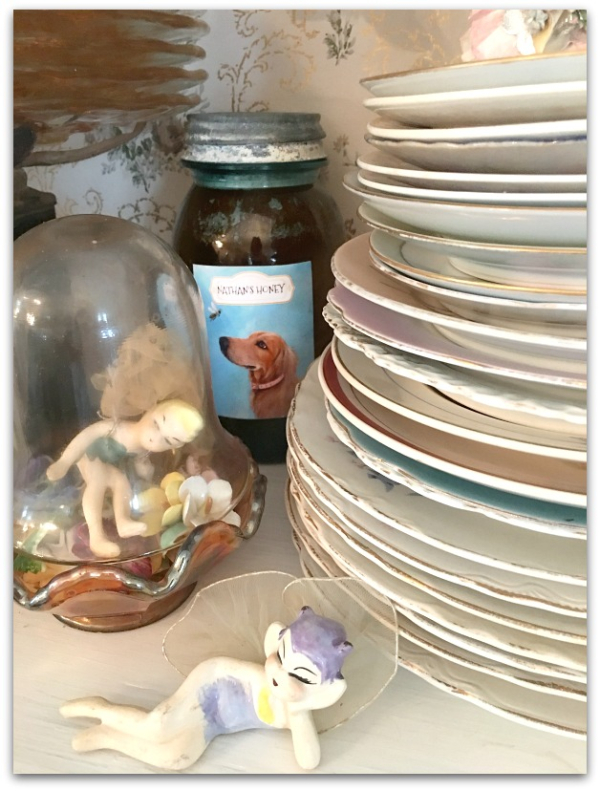
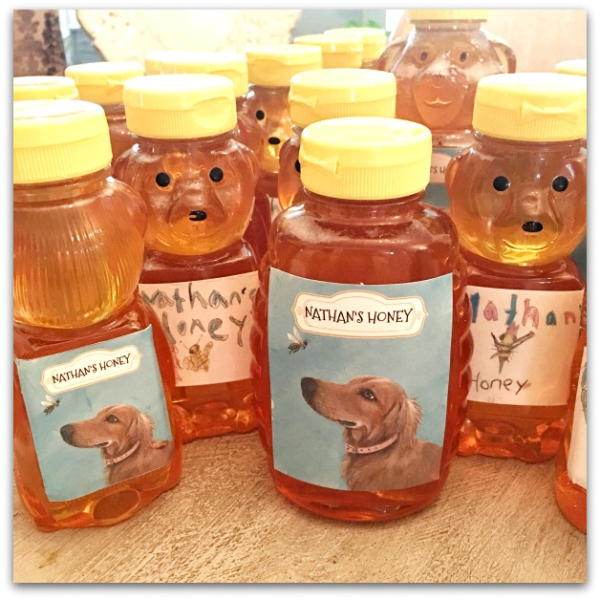
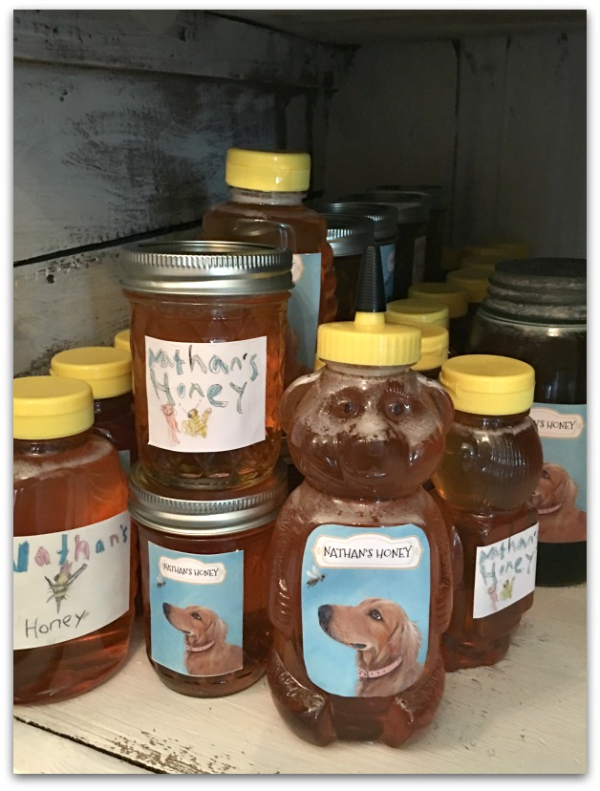
It was important to my husband to have special labels for his honey jars. So he asked the family to make some for him.  

IMG_1926

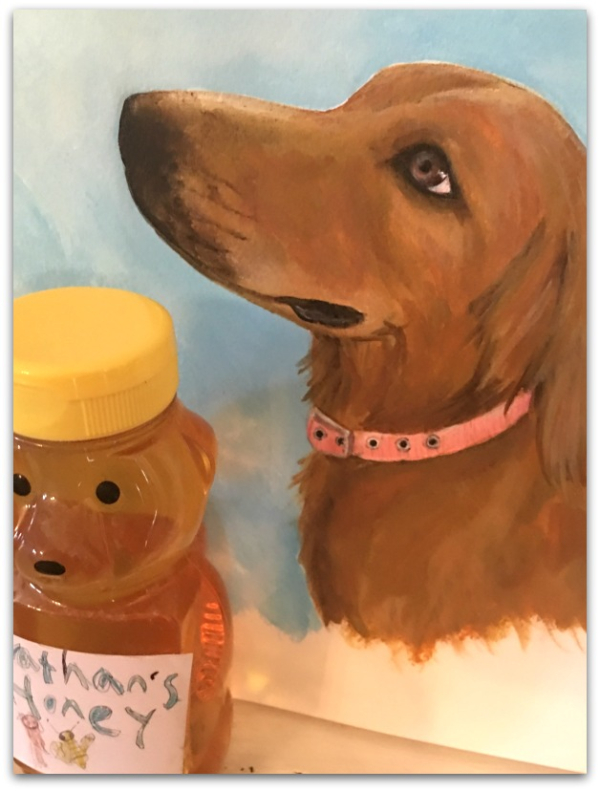
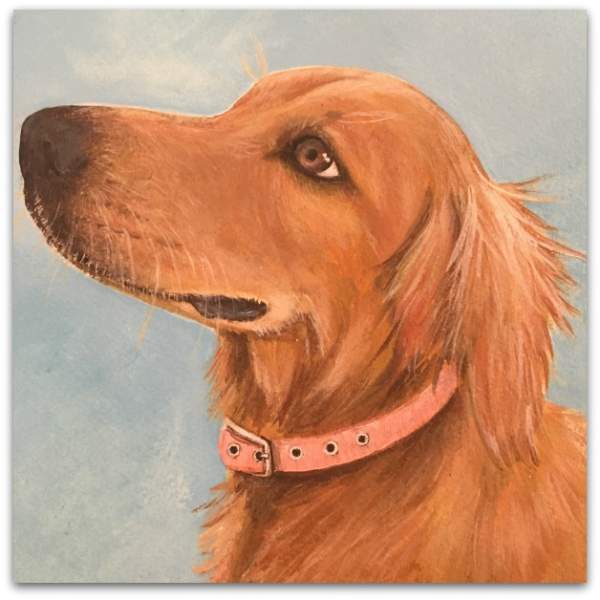
The grand fairies did some drawings, I painted our dog, Honey, and we used a mix of the designs on the bottles, front and back.

IMG_1881

That man LOVES his dog, and our anniversary was this week (32 years!), I figured I could combine label making with creating a gift for him all in one dog portrait.  

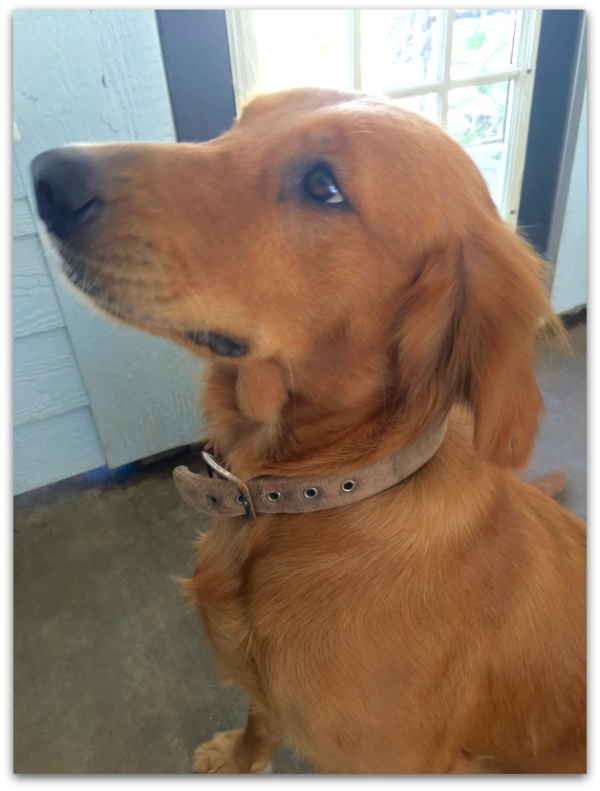
This is the photo Honey posed for. I held up a treat to get her to look up to the point where a bee would fly above her in the painting.  

She seemed disappointed when her modeling session was over, she was enjoying the treats.

IMG_1899

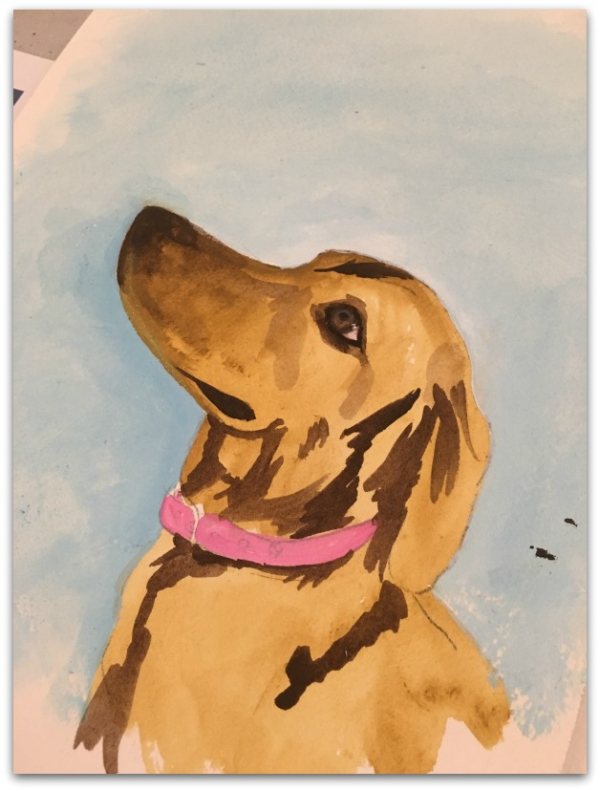
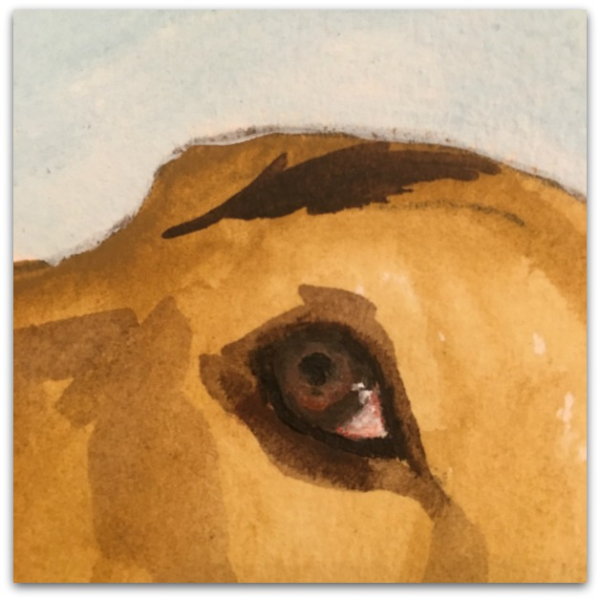
First, I did a value sketch over the pencil drawing.

IMG_1901

Then I started on the eye.

IMG_1902

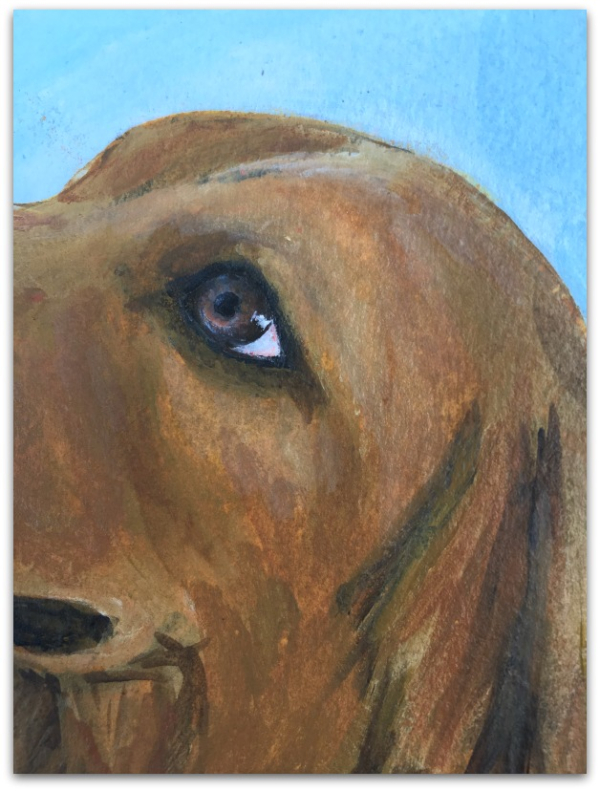
The layers started to build up next and the eye got more detail.

IMG_1903

At this point, it was almost done, all that it needed was fine tuning, the little hairs that gave it depth and texture.  I chose my background color to compliment the blue that the girls used in their own art.

IMG_19132

The final step makes a big difference, doesn't it?

IMG_1927

After scanning the designs, I sized them and printed pages of the pictures onto matt photo paper, cut them out and glued them to the bottles.   

oh no!!!  

How could I have spent about 8 hours staring at the dog photo and painting her from it and not notice that her tags are missing???  As I was editing this post, it popped out at me that she has no tags. Dang, I just bought new ones for her before we went on vacation last month.  Looks like I need to make another one.  She is not going to get a sparkly, rhinestone one this time. She gets the cheapo, plain style if she isn't going to appreciate the nice one and take care of it.

Bee Happy

cottage, how to's

IMG_0920

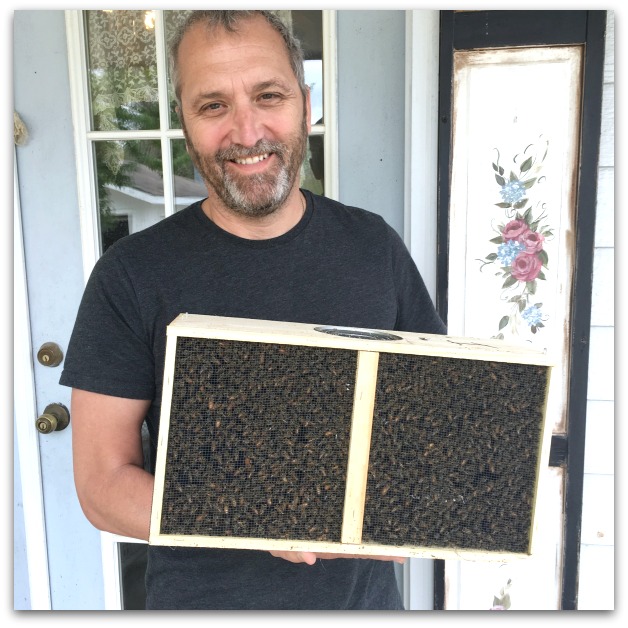
My husband has a new hobby. He has adopted a bee family, and added a hive in the field behind our "Food Forrest".  I know little nada about bees, and was a bit worried when he didn't seem to either, as we were building and painting the hive (it came in a million little pieces!).  And I wasn't all that enthusiastic about the idea of it.

 But he quickly learned and has been talking to beekeeping friends, as well as reading up on the subject, and I am learning more about it from listening to him.  

Not my hobby, so I am NOT going to read up on it.  But I will enjoy the goods from the hive.

Apparently, you don't get honey for a while, you need to let the little buzzers build up enough for themselves before you can have any.  

Seems fair.

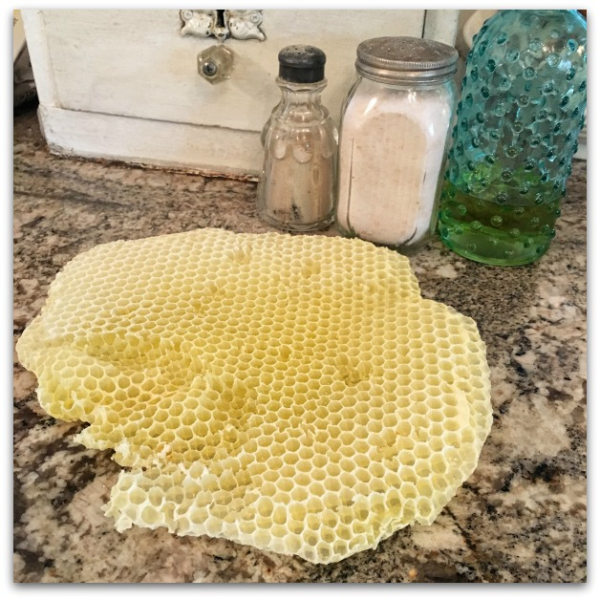
But, they have to be checked up on, and if they are building combs in spots that aren't in the right locations, those need to be cleared away.  Since our new pets got confused and built an extra piece, we got to harvest that bit.

IMG_0921

Somehow or another (like I said, I'm not going to get into the details, NOT my hobby) the honey we get to harvest is separate, and doesn't have bee eggs or parts in it.  This chunk was in an area that did contain those.  Also, it held little honey so far.  It wasn't edible, but the wax was good to use to make beauty products.

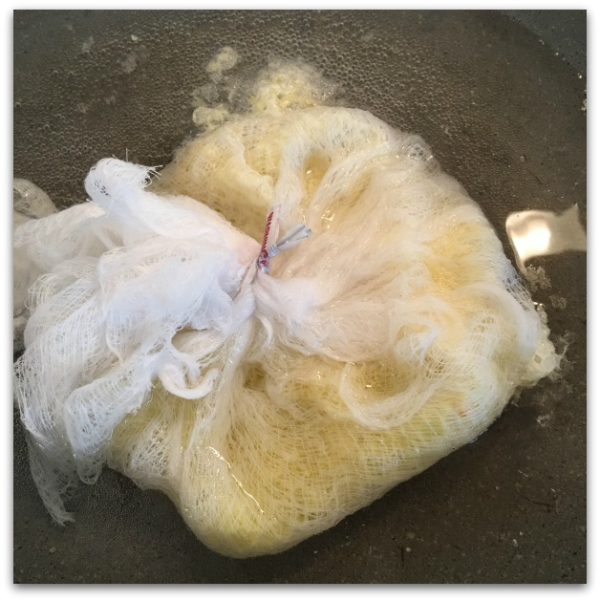
I double wrapped it in cheese cloth, submerged it in water, and let it simmer as the wax melted out. Then, squeezed out the cheesecloth to get as much beeswax as I could, let it cool, and scooped out the wax into a bowl.  To that, I added melted coconut oil and a couple drops of lavender oil, and whisked it all together.

Oh my, it made the best, most creamy, body butter ever!  It was soooo easy to do, too.

Now, I can't say that I did it correctly, or followed a recipe, but I like what I got out of it. I'd looked online for recipes and directions and all were too complicated and even involved scales.  No way.  So I winged it (fitting for dealing with the produce from flying creatures) and was happy with the results.  

IMG_0891

My husband is loving the new family members, and has made himself a little patio with seating to watch them buzz in and out of their home.  I'm loving the beeswax cream that I made.  And I have a feeling that our fruit trees and berry bushes will benefit too.  So, I guess I'm happy that we invited them to come live with us after all.


A FREE Valentine coloring page Giveaway for you and some coloring tips

drawing, free images, how to's

IMG_0308

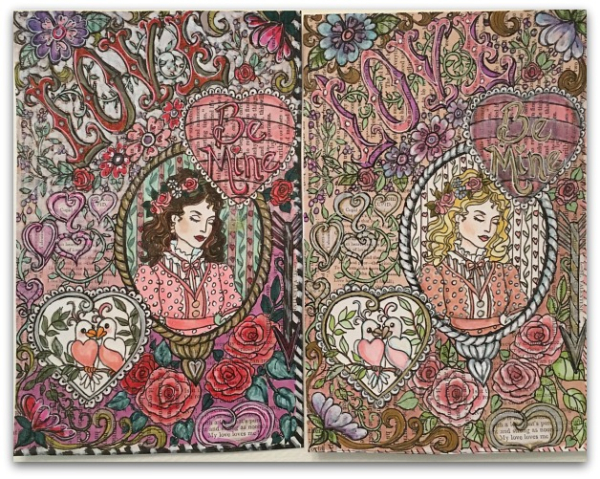
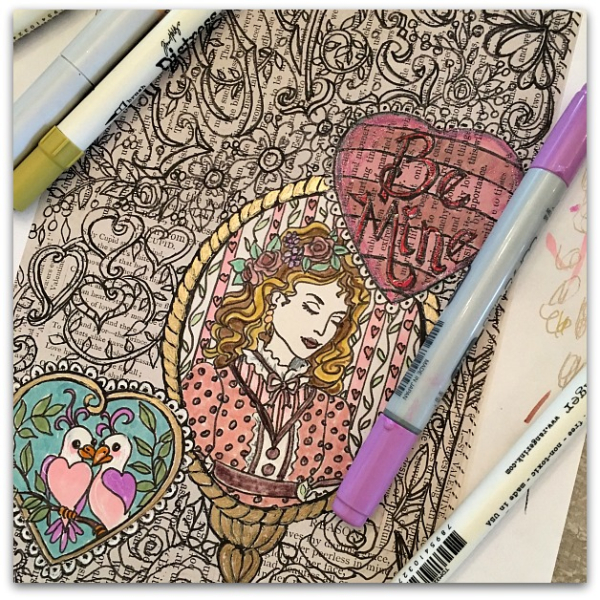
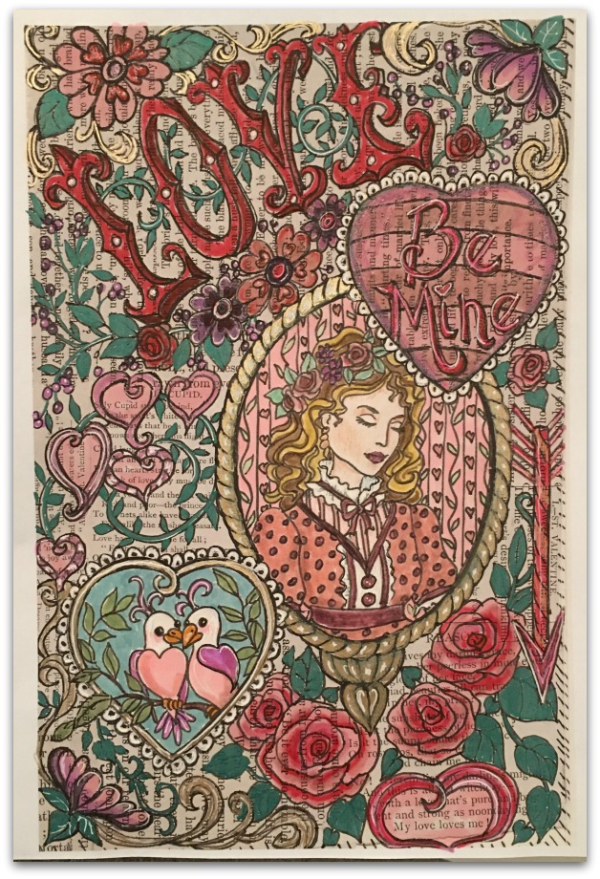
Last week, at craft day with Beth, I decided to draw a Valentine coloring page similar to some I have done for other themes like Birds,  Halloween,  and Snow White.  In the past, I've included them in art journal kits and swaps too, these are ideal to color and add to a book.  

Plus, I simply and sincerely LOVE to color them myself!

IMG_0295

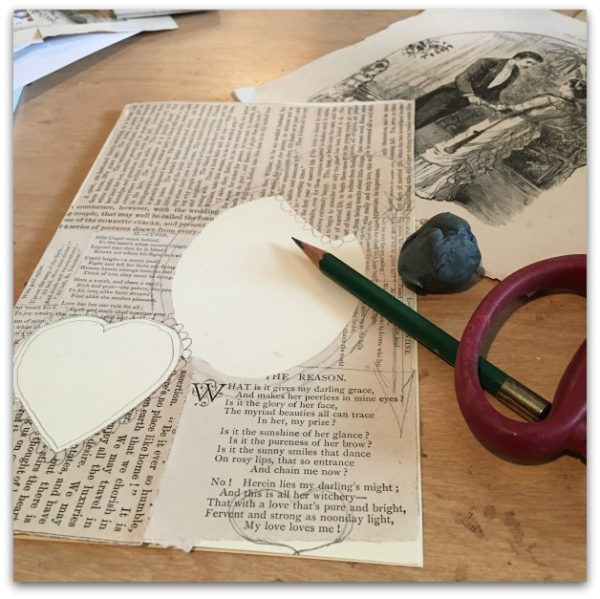
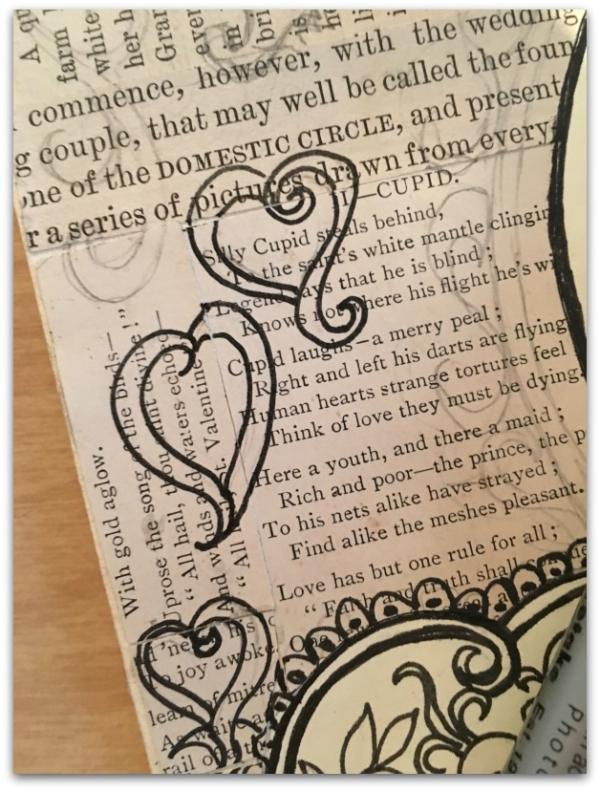
My process usually starts with rifling through vintage books to find text to fit my theme, then creating a collage from it.

IMG_1171

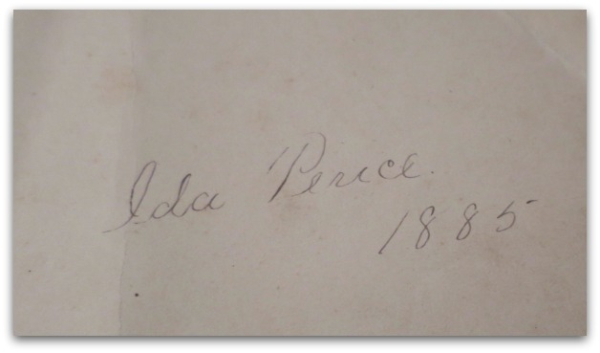
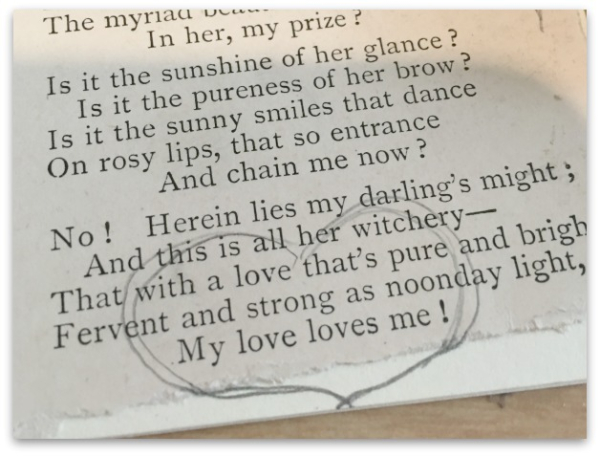
"Sunlight and Shade" a book from 1885, had a lovely font and sweet text that fit right in with Valentines.

IMG_0297

See what I mean?

IMG_0299

Mostly, it is just background that gets colored over, but I try to single out special words. This time, inside of hearts.

IMG_0304

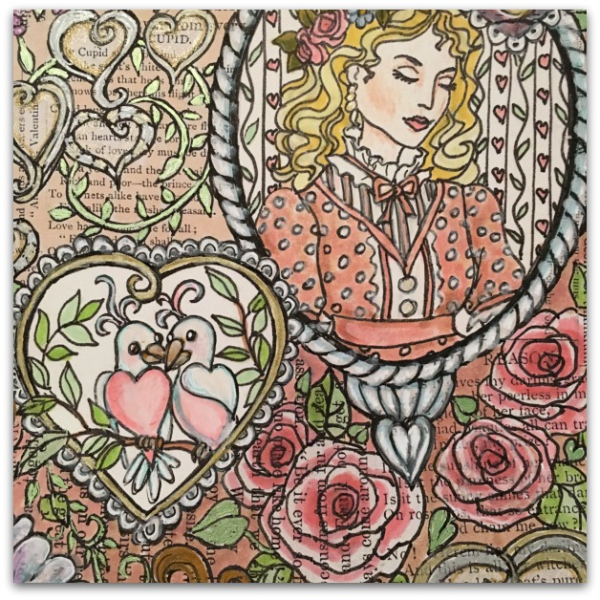
When I color my own copies, I leave those words as is, or accent with a clear, Stardust Gelly Roll pen, so they stand out.

(I ADORE those pens!  They leave a sheer sparkle that is subtle and sweet)

IMG_0301

As I color the pictures, I use multiple tools.  There are some tips HERE for the variety that I use for my pages: markers, glitter pens, colored pencils, and white opaque inks

IMG_0310

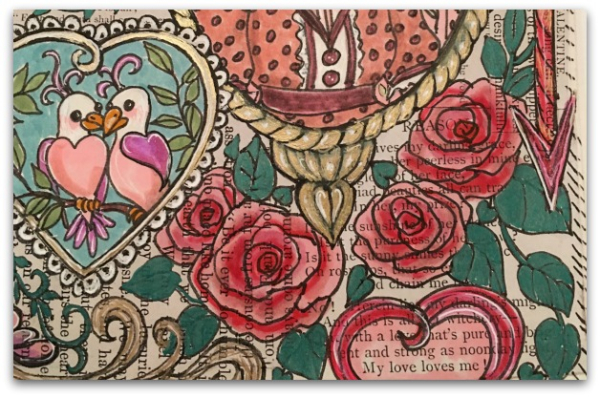
And HERE are some tips for roses.

IMG_0303

For faces, I recommend colored pencils.  Markers can be harsh.  Ink, even more so.  Of course, there are wonderful Coptic markers that you can use for blending and get a good result, so if you are doing lots of coloring pages with faces and skin tone, it is probably worth it to invest in those tints of markers. But they can be pricey, and I feel like using pencils along with the markers and inks gives the finished piece more interest.

And you can call it "Mixed Media".  Which sounds more impressive than coloring. 

IMG_0305

Not that I am bashing coloring!

I love coloring.

Im just saying that the more detail, layering of color, and mix of materials that you use, the more interesting the picture is.

IMG_0307

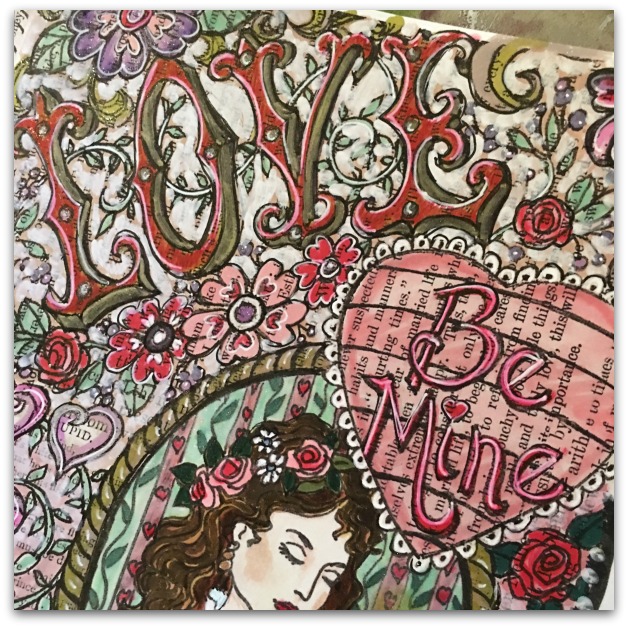
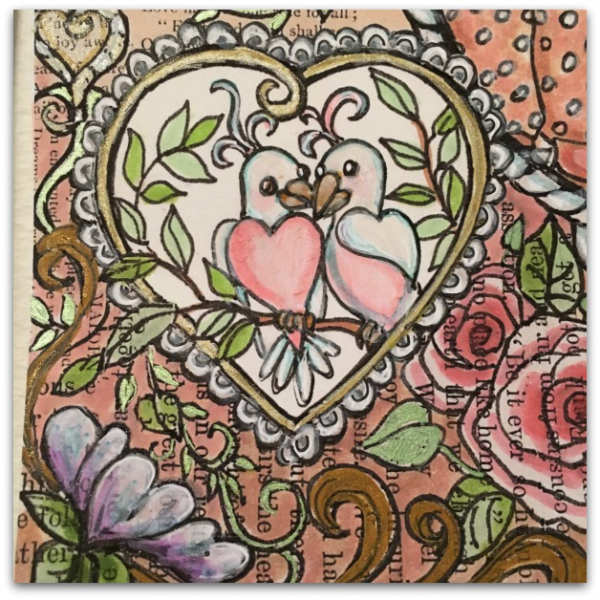
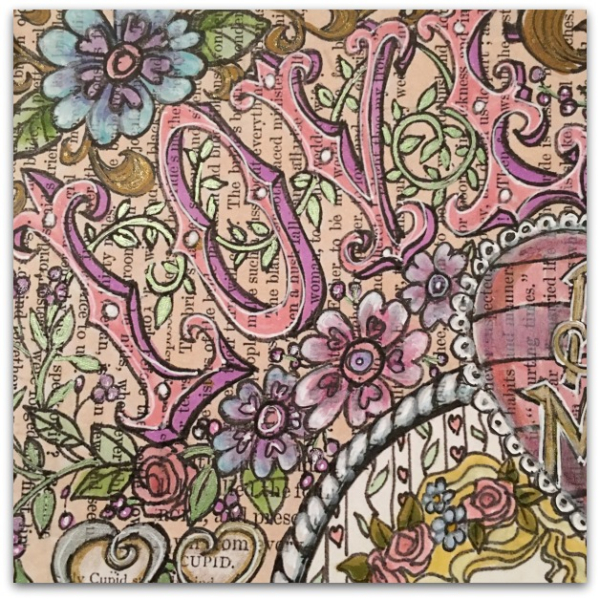
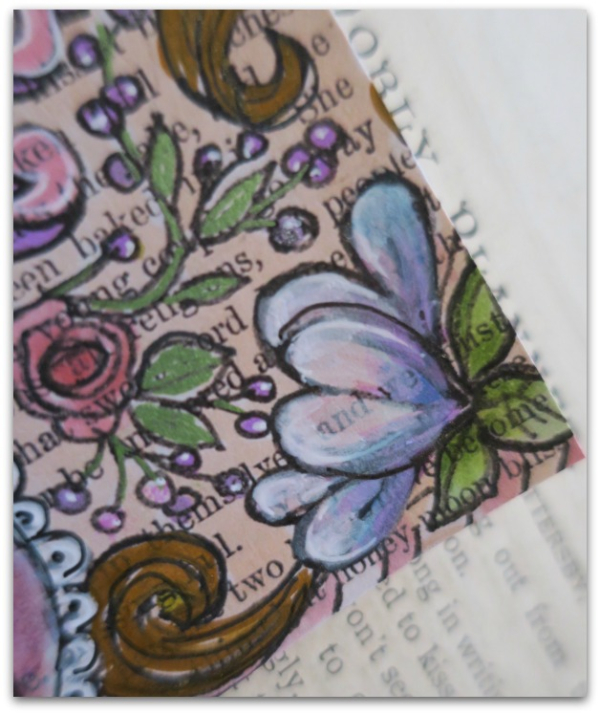
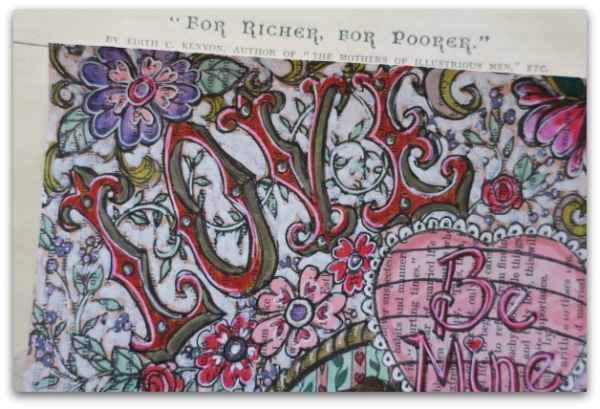
I cannot do without white opaque markers, sometimes for a little dot of highlight (like in the lovebirds' eyes), or over another color (like in the large, pink flower above), or under a color (like in the blue flower above), or on its own (like the rope braid on the frame above), or outlining words (like on the word, LOVE)

IMG_1170

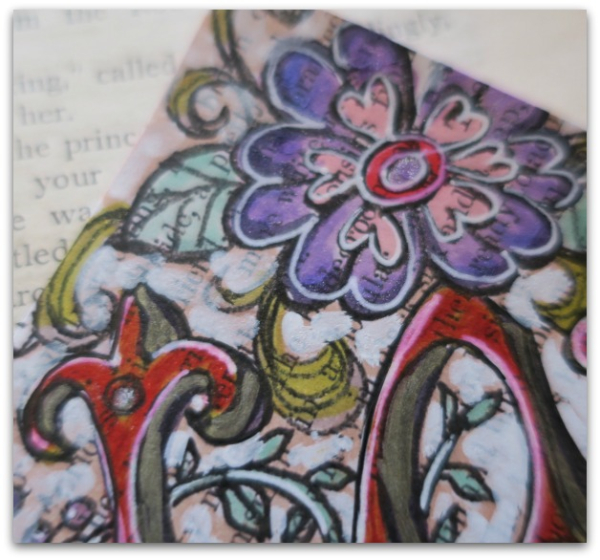
I also used a wide tip, white opaque marker on some of the background behind the word LOVE.

IMG_1169

My biggest and best tip, though, is to finish off with a fine tip, black marker or pen to go over some of (or most of) the lines after you've colored the page.

IMG_1163

For me, going over the outlines with black, sharpens up the drawing and makes it pop.   

IMG_0309

Would you like to give one a try? As a thank you to my readers (and shoppers) I'm offering a free download of the drawing/collage that I've done if you'd like one.  

Email me at:

karlanathan@sbcglobal.net

I'll send you the PDF to print over and over to color as many times as you'd like (I've finished three and am working on a fourth right now, they are addictive!)

When I print them, I use a quality paper, either matt photo, or a matt brochure,  not just plain copy paper.  Copy paper can make the marker bleed, and sometimes it tears.


Wire and lace angel wings

holiday decor, how to's, how-to projects

IMG_0781

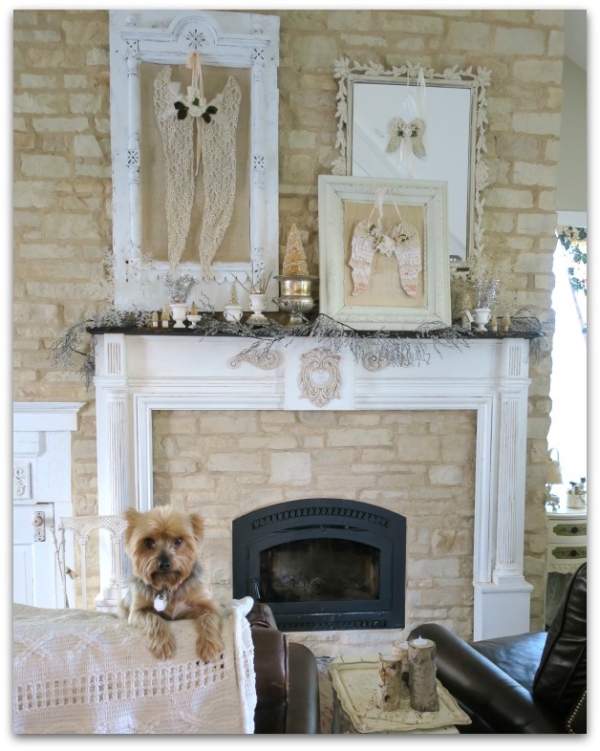
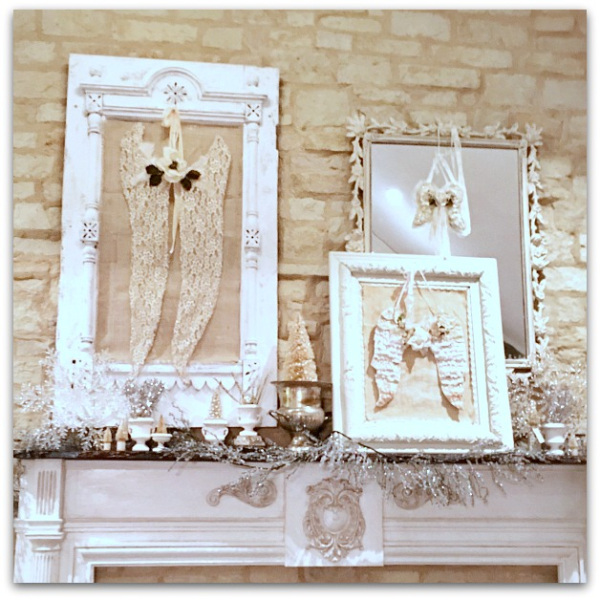
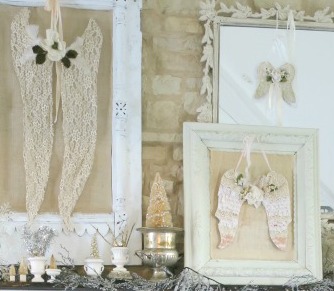
When we built the new mantle, I had hung a couple of my paintings and a mirror above it.  To keep them secure, we anchored the frames to the stone.  Which was  a good idea, but wasn't handy for changing out the pictures for the holidays, and I felt that the pink roses were a little springy for Christmas.

So, I covered the glass of the two paintings with burlap, using two sided foam tape, then hung some hand  made angel wings over that.

IMG_0768

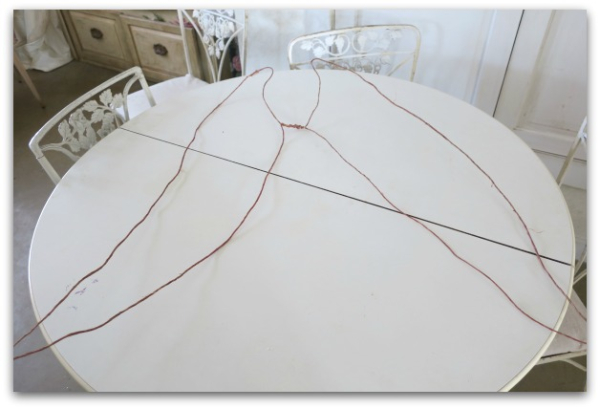
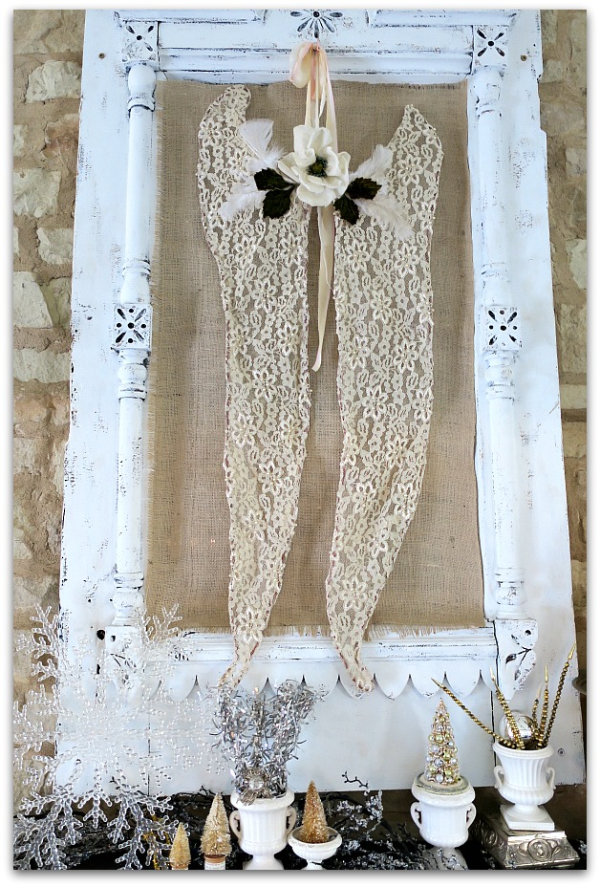
I wanted one large pair of wire and lace wings for the giant frame that used to be the top of a Victorian door.

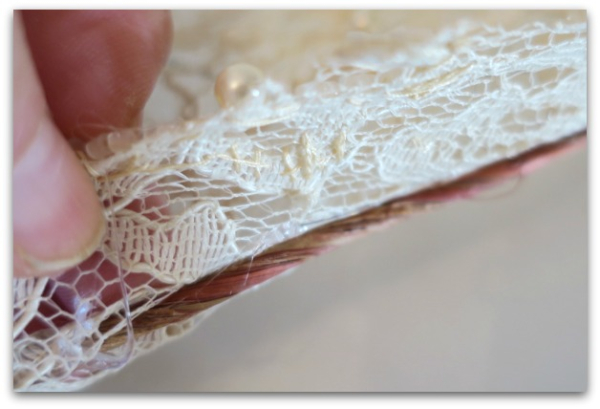
To make them, I used wire wrapped in raffia.  I thought that roughness of the raffia would be a good surface to adhere the lace to, I'd worried that the plain wire might be too slick.  I'm sure I could've made it work by either wrapping the wire in ribbon first, or stitching the lace instead of gluing, but I also liked the rustic look of the brown raffia under the dainty lace I was going to use.

I cut two pieces of wire the same length, and twisted them into wing shapes. leaving a tail on each to twine together in the center to connect the two wings.

IMG_0769

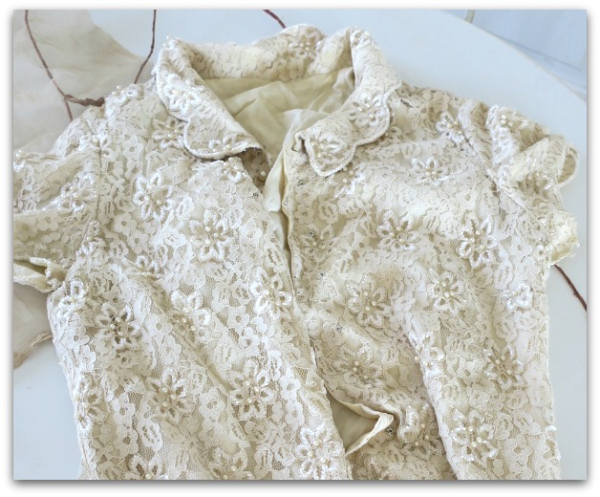
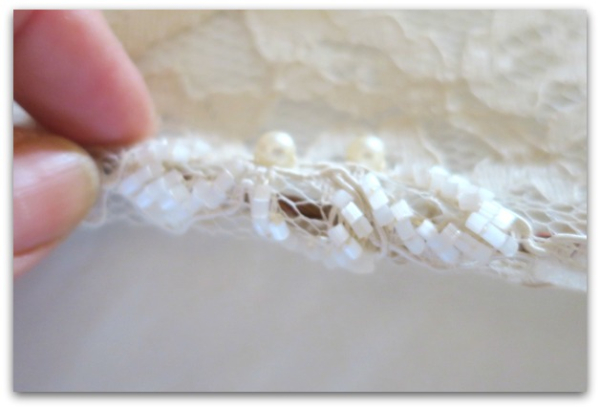
This vintage, beaded, lace dress was from a thrift store for $5.  I cut the lining out and and roughly trimmed two sides of it to fit over the wire wing shapes.

IMG_0771

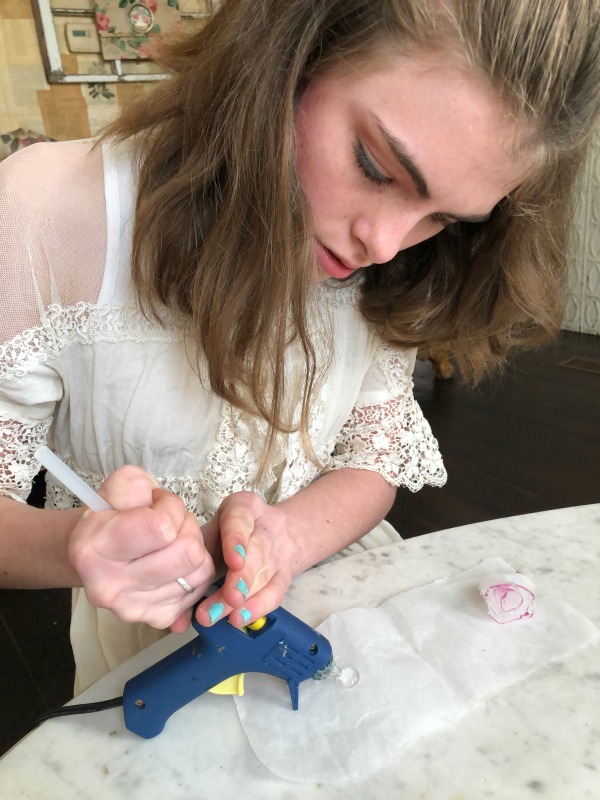
Glue guns are rarely my favorite tool, but in this instance, just what I needed.  I glued the lace to the top of the wire in small sections at a time.

IMG_0772

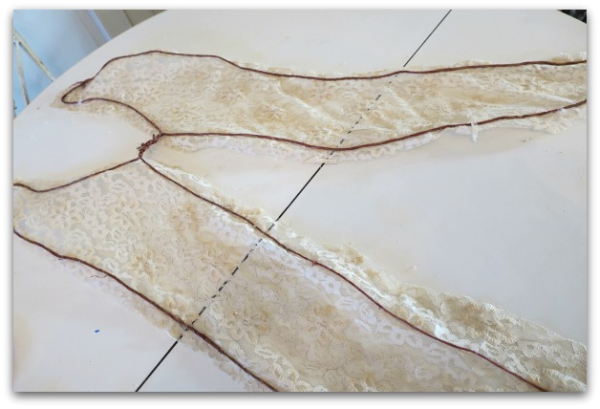
Once the lace was attached, I flipped the wings over and trimmed the fabric down to about an inch of excess.

IMG_0773

Then, I rolled it around the wire and glued it down on the backside too.

IMG_0774

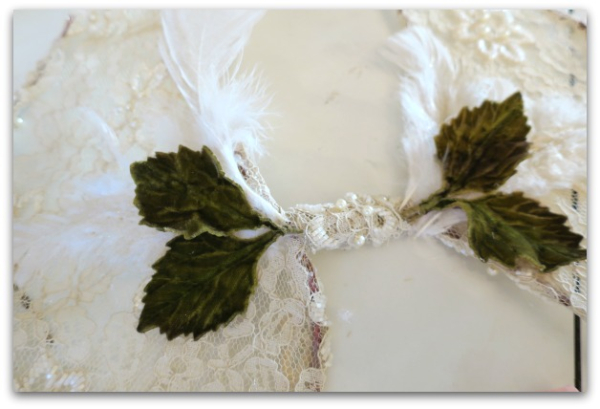
I liked them as they were, but wanted some embellishments.  I added a few white feathers, and velvet leaves, to the center, and tied on silk ribbon to hang them from, then glued a faded millinery bloom over that.

IMG_9354

The silk is tied to a small nail I put into the frame.

IMG_0786

When they were hung, they were a bit wonky. I think a heavier gauge wire would prevent that. To keep the wings from swaying and looking like a pair of droopy stockings, I stretched them out and used straight pins to attach them to the burlap.  They keep their shape ok that way, but if I make another pair, I will definitely use a sturdier wire so there is  no droop.

IMG_0776

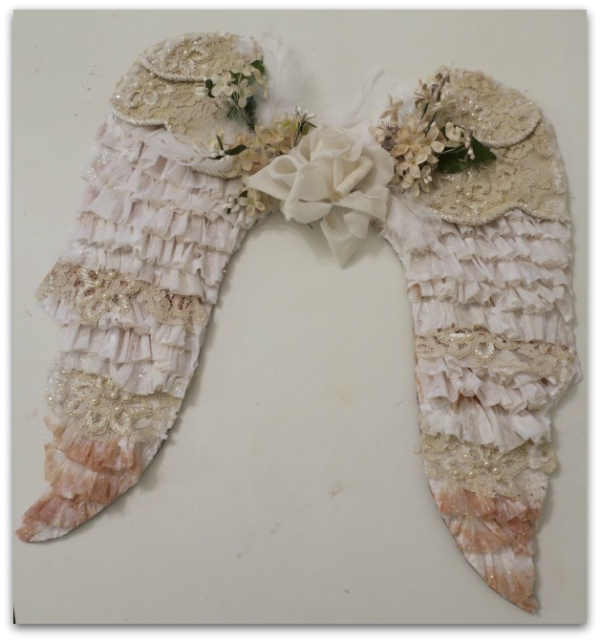
The ruffled pair of wings is similar to the tutorial Dawn has for angel wings.  I did these differently, but it is the same sort of style.  Mine are layered with dyed crepe paper and more of the beaded lace from the vintage dress, then embellished much like the wired set.

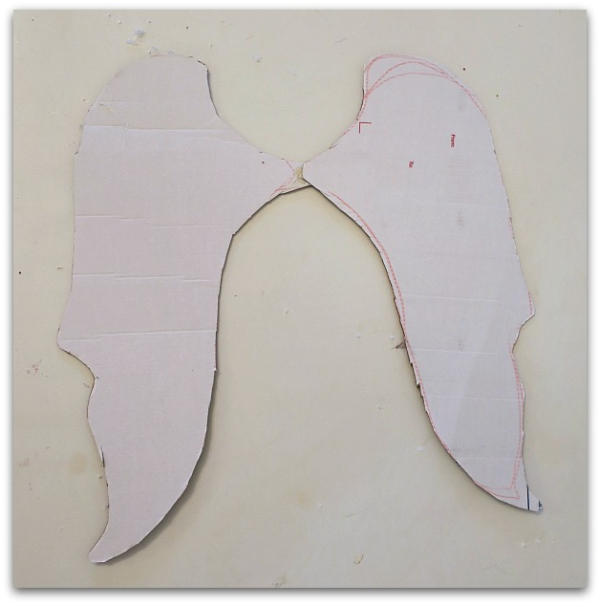
IMG_0775

I'd drawn  my own pattern onto cardboard and covered it.   Dawn offers a pattern and full directions on her site if you'd like to make a pair yourself.  Plus, she is just plain old, nice to visit.

IMG_0781


Quick and Easy Vintage Lavender Sachets

flowers, how to's

IMG_0611

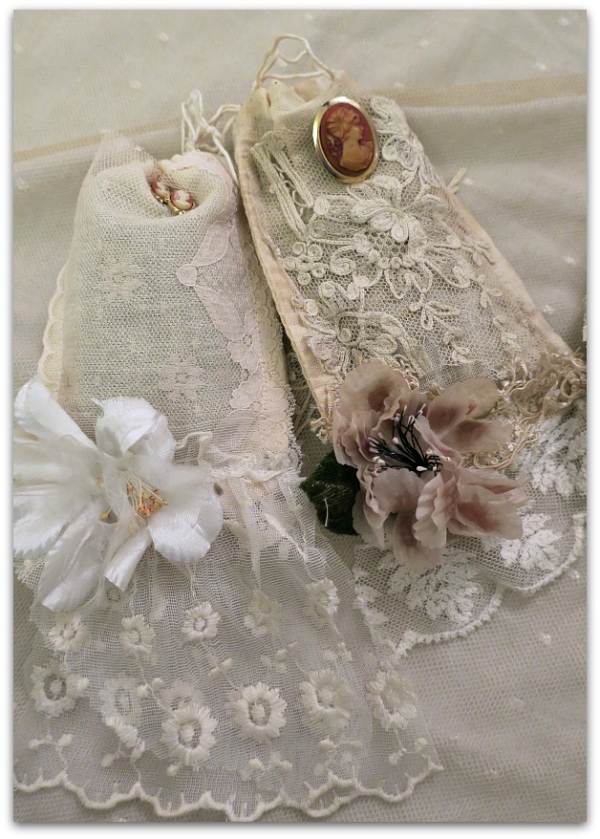
When my buddies were coming to town, I wanted to have a welcome gift for each of them, but was extremely short on time. I was just finishing up the mosaic floors, and also planning a dinner party for 10 of my husband's co-workers the day before my friends were due.

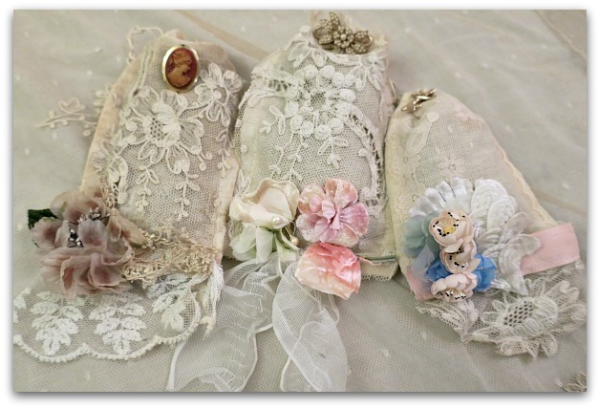
The gifties needed to be something quick to make, so I decided to fill some muslin drawstring bags with lavender and decorate them.  Well, actually, the other way around, I decorated them FIRST, then filled them.

The dreaded sewing machine was already out, for another progject, so I attempted to stitch the lace on, but couldn't go across the top, or I'd sew them shut. I could only use the machine on the sides and bottoms.  That lead me to looking through my sparklies cabinet and finding vintage brooches to pin the lace to the bags at the tops.

IMG_0612

After all the lace was attached, and the trinkets pinned on, I glued some old millinery blooms to the bags.

The best part?  Besides being so quick to do, I mean.  That wonderful lavender scent! I can never get enough of that.

Glittered mat board and frame

family, how to's

Fairygardebn 009

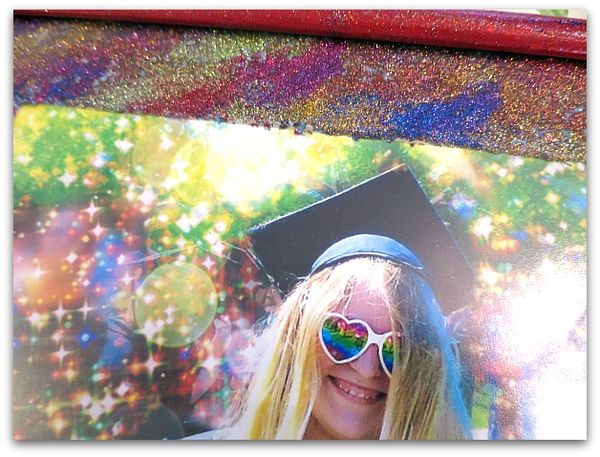
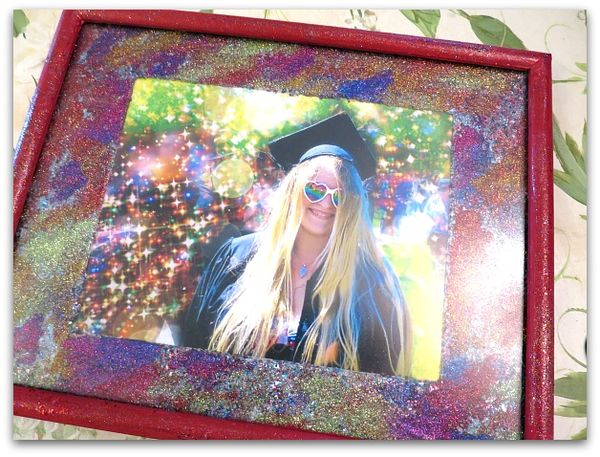
I'd rainbowed-up the Hippy Chick's graduation photo so much with PicMonkey that I couldn't find the ideal frame to match it.

She loves all things sparkly and rainbow, and those were both requirements to match the glowing picture of her.

Fairygardebn 012

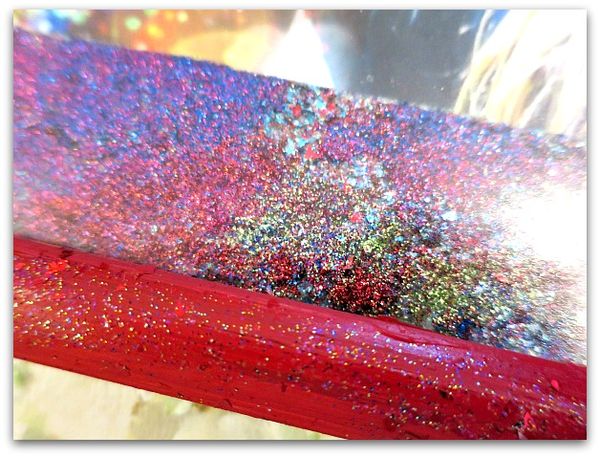
So, I took a white framed, plain mat and glittered them up.  The mat is so glittery, it is crusty, with layer upon layer upon layer of shimmer stuck on with sheer glitter glue, starting with larger flakes and ending with a very fine twinkle.

The frame got a slather of red paint and I sprinkled the sparkles over the wet paint.

Fairygardebn 011

The pattern is random, much like the background of the photo. And it is blindingly bright in person!

Paint is magic

cottage, Hand Painted Furniture, how to's

Cake topper circus 008

Before repainting the dining room table, I wanted to try out the crackle paint on something.  

Cake topper circus 001

This is an itsy chest of drawers I'd found at an estate sale for ten bucks and it desperately needed a make over.

Cake topper circus 003

But I liked the two toned style of it as it was. Just not quite as it actually was…  Seriously, there was a desperate need for a redo.

I decided to paint the cabinet and cover the drawers in paper. 

Cake topper circus 004

Personally, I dislike modpodge. I live in Kansas, which is very humid and I knew that a piece of furniture with that on it would be a sticky mess in July.

Also, I didn't want the over 100 year old handwriting on the paper to smear. So I drizzled The Ultimate glue over the drawer fronts and pressed the pages into it, burnishing it well.

Cake topper circus 005

I don't pre-cut or measure. The paper gets glued down, then trimmed off with a sanding sponge.

Cake topper circus 006

Not only does it give the edge a clean cut, it helps adhere the paper to the wood.  

Because the paper is so old, I couldn't use a top coat over it. I didn't want that ancient ink to run.  This probably isn't a good idea for a piece that will get heavy use, so wherever I decide to put it, should be a low traffic spot.  I might use it in the studio, or a guest room.

Cake topper circus 009

Funny, I didn't have any place in mind for it when I bought it.  I simply wanted to save it. Years ago, I redid furniture for a living, and I miss that sometimes. When I see a small (NOT heavy!) piece for cheap, I can't help myself. I have to snag it and fix it up.

Cake topper circus 018

And I'm glad I got this little guy. 

Cake topper circus 019

I think he fits in just right at my house, wherever I end up using him.

Scroll to Top