Kitchen remodel

A fine, fab, fall day

Kitchen remodel, Sugarwings
IMG_4555
The other day, Sugarwings had to stay home from school because she'd had a fever and sore throat the day before. So, I had planned a day of movies (we never get tired of watching Nanny McPhee part one and two back to back) and all fruit popsicles. But when we woke up, she was feeling fine as can be, and the sun was calling us to go outdoors. What a gorgeous fall day. 
IMG_4557
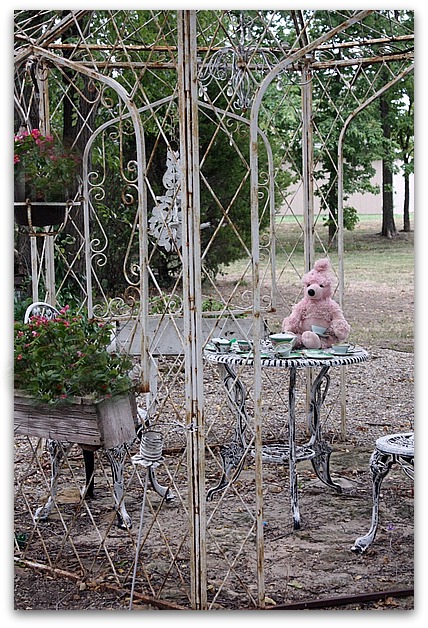
Perfect for a mini tea party in the gazebo.

IMG_4549
With a very special guest who had his ears styled into a top knot just for the occasion, so he would match his hostess.
IMG_4546
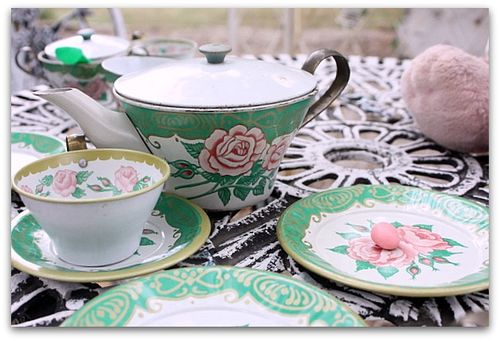
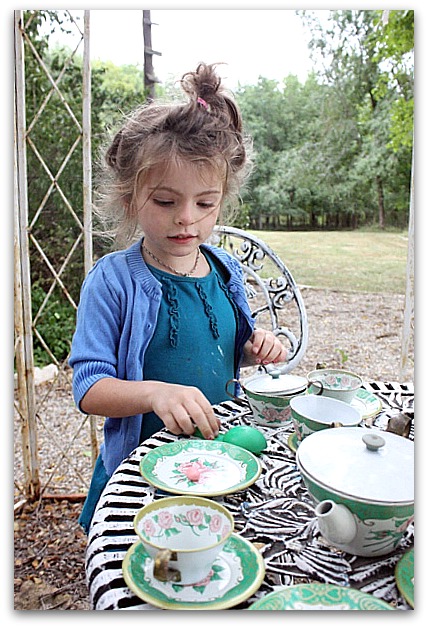
She was feeling so good and having such fun that I thought I'd tackle a few projects outdoors while she played with the new teaparty set that I found at a garage sale over the weekend.  Isn't it cute? I like that the cups are actually cup sized, not tiny.  And its tin, so is sturdy. Plus ROSES! The best part.  Oh, and only $2 for the whole set.  The lady I bought it from was in her 60s and said it was hers as a child.
IMG_4560
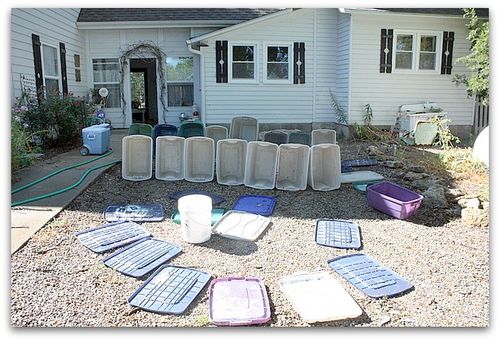
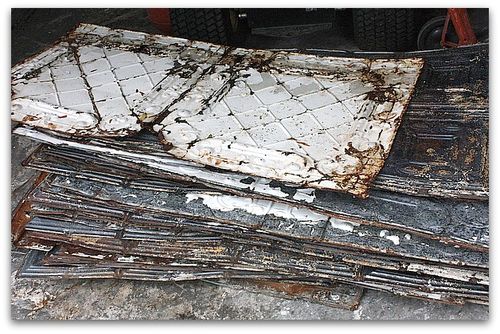
These tins were all power washed and ready to prime and paint, but the weather had been bad and I'd been busy. I was afraid that I would have to wait for them to be installed and they would have been much harder to paint on the ceiling than on the ground.
IMG_4563
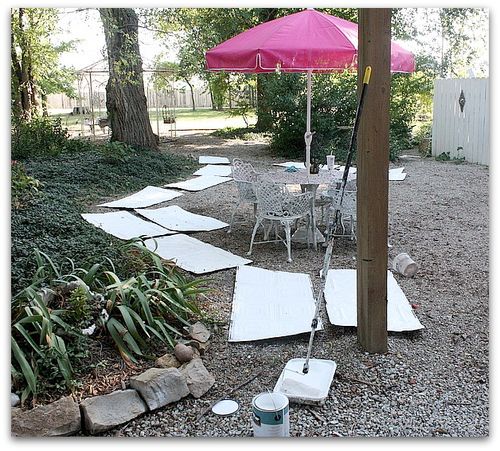
So, I spread them out all around the courtyard, put an extension pole on my roller and coated them with bonding primer (Glidden Gripper) and Behr pure white paint.
IMG_4564
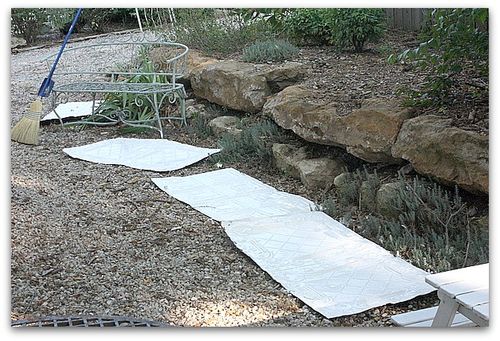
There were a lot of them.  And it was hard to keep rocks and leaves out of my roller.
IMG_4566
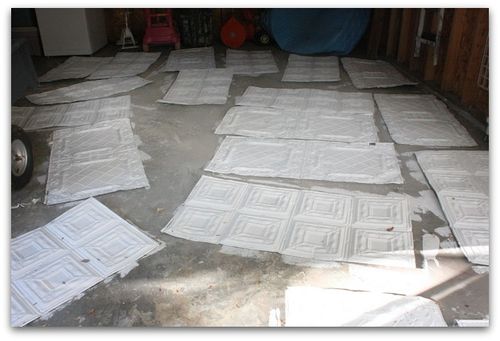
So, I convinced Sugarwings to come over to the front yard and play there while I worked on the rest of them in the garage.  She was happy to do it, we had a companionable day, with chatting and keeping each other company while we hung out and both did our own thing.  She really wanted to help paint, and normally I would have let her, but the edges of the tins were just too sharp for her to be near. 

Surprisingly, she accepted my answer and didn't insist on getting her own brush anyway. She can be quite determined about helping me in anything I can do. On the other hand, I don't think I've ever tried to stop her before. Usually she is my assistant in all projects when she is around.
IMG_4616
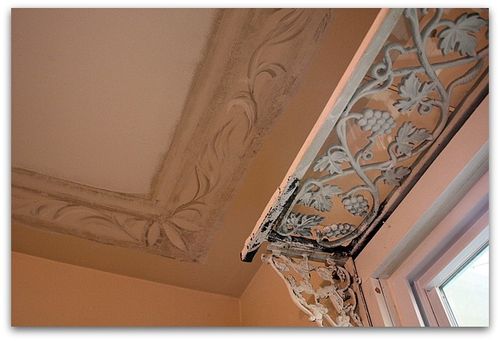
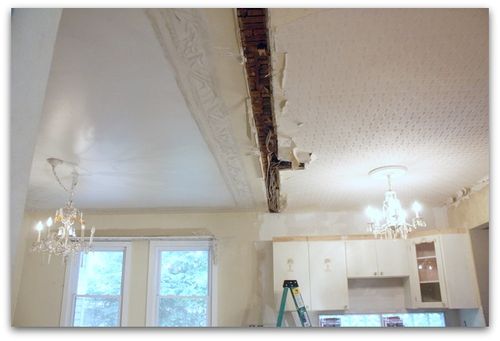
These tins will cover the new kitchen/dining area ceiling.  The rooms were two different heights and by using the tin, we will cammoflage that problem.  It could have been a complicated dry wall job to make the ceilings the same height, and not nearly as pretty as vintage tin.

I've not decided if I will glaze over the white paint of the tins after they are hung or not. I'll see how they look.  I know they will need a lot of touch up work after being installed, but touch ups over head are easier than painting it from scratch up there.
IMG_4558
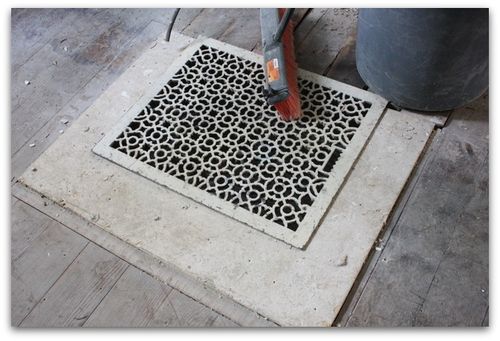
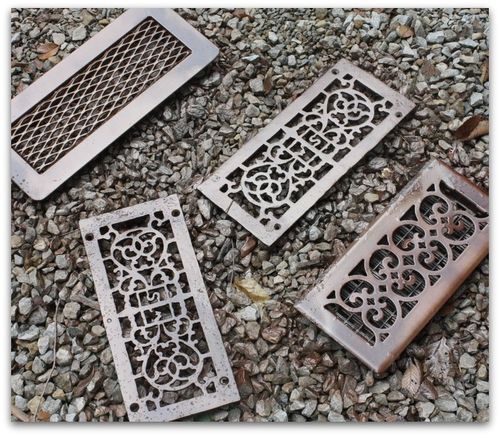
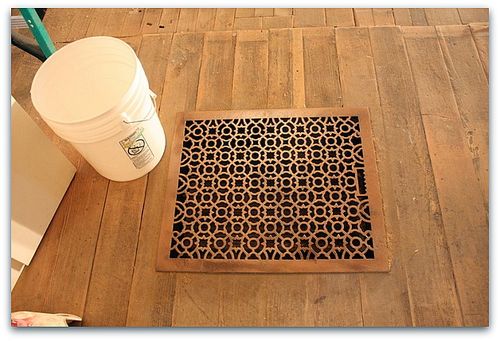
After painting 48 tins, I also took all the floor grates outside and sprayed them with primer/paint in one.  Its a coppery color that will blend in with the wooden floors better.  I had them ivory before, to go with the tile.
IMG_4614
Of course, I still don't know what color the floor will end up, I probably should have waited to see how it looked once it was stained before I painted the grates to match. But, I like this coppery look, and think it will blend in nicely however the floor turns out.
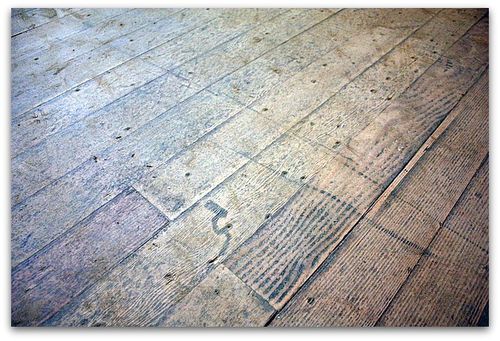
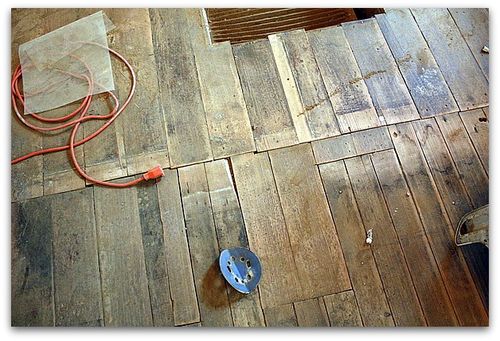
IMG_4568 So far, I'm thrilled with it. It has a rustic, distressed look that is perfect for this house. Like its been here forever.  Because it was here forever, just buried under about 6 layers over the years.
IMG_4567
There are still gaps to fill and more sanding to do, but I like the patch work style of the different sized boards. What I didn't like, were some giant, black stains here and there. I spent hours sanding those out and bleaching the wood.  The contractor and his guys are doing the main part of the job and doing it well, but I think a house needs someone who loves it to make sure the details are just right, don't you? 

To get out the big black blobs, I sanded a while, then used a paint brush to apply bleach only to the dark areas and keep it off the edges as much as possible. Then, I laid a towel over it for a few hours. After that lightened it a bit, I sanded some more, then I sanded some more. After that, I sanded some more.

It worked!
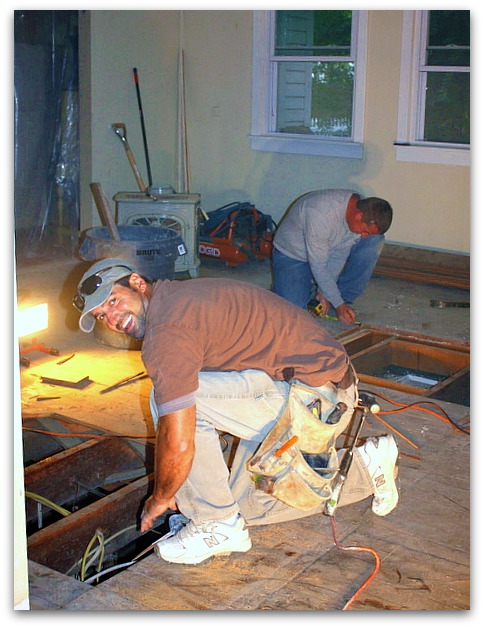
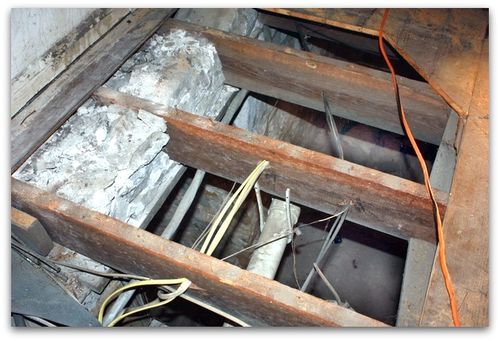
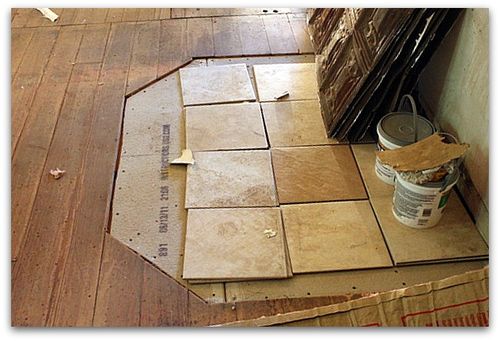
IMG_4518 Have you ever remodeled an old house? If so, you probably know that one thing leads to another… There was a vent in the roof that leaks, a floor that was sinking, and the woodstove area ended up having to be redone. The stove had set on a brick platfrom, but they had to rip out the bricks to get to the flooring underneath.
IMG_4523
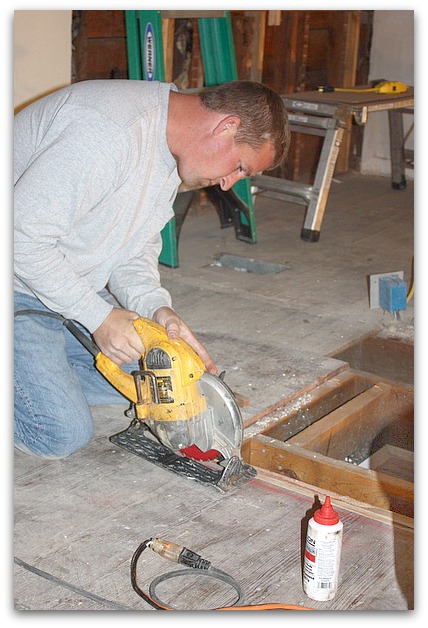
The solution was so much better than what we started with!  The guys cut out the floor, and are going to lay tile so that it is inset into the wood floor. No more tripping over the raised bricks!

IMG_4618

This picture shows the underbelly of the cottage.  Its more of a cellar than a basement. It would take quite a tornado to get me down there.  Ugh. I go there as rarely as possible, any usually it is only to flip a fuse, change a furnace filter, or set a mouse trap.

I think blowing away in a storm might just be preferable to spending time in that dank hole.
IMG_4524
Overall, the room is coming along smoothly. It helps to have the world's best contractor.  What a great guy to work with!  I'm a bit of a serial remodeler and a conniseur of contractors. I've learned that most builder types think my ideas stink and they just want to rip stuff out and replace it with something new, clean and modern. 

Which explains why we had never tried to restore the old floors beneath the layers before. As it had been explained to me by other guys, it was going to be about impossible to do, and would never look right. I let them talk me out of it. 

Well, its been a lot of labor and wasn't easy, but was far from impossible and I like the look it is creating.

IMG_4598

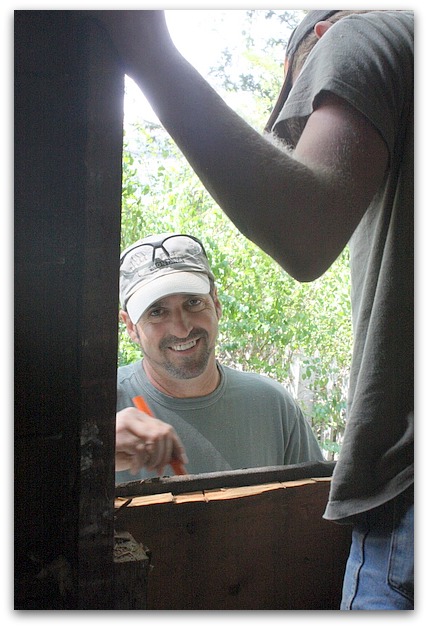
This contractor, Linc Mortenson, has listened to my ideas and expanded on them. He acts like he is honestly interested in what I have to say and tells me about other old houses he has redone.  Having a guy who has worked on and understands old houses makes a big difference. He also is reasonable and doesn't suggest outrageous budget busting plans, either. He has worked with me on reusing existing materials and has been nice about using 150 year old tin instead of insisting on the newer stuff which would be much easier to install. (and he is coming in under budget on the project so far!!)

IMG_4613

Plus, he's a cutey.  That doesn't hurt at all.  His crew is too.  A friend came to visit and see what was going on with the work, and as soon as she got home she texted me that she wanted this crew to come and rip out the wall in her kitchen next, just so she could watch them.

But best of all, the work is going QUICKLY.  Less than 3 weeks from rip out to this point.  
Living through the kitchen remodel

Kitchen remodel

IMG_4470
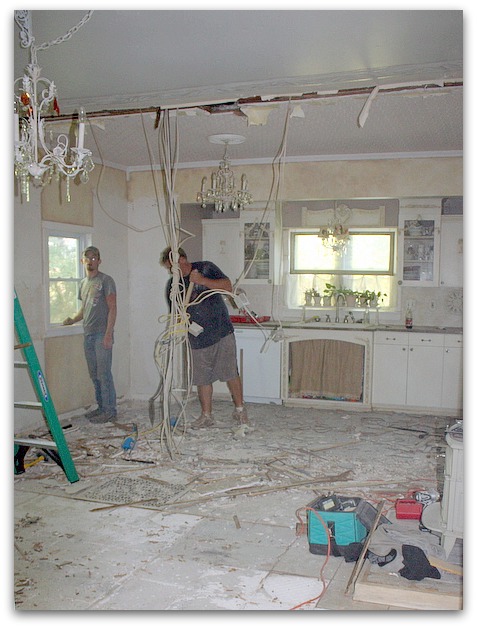
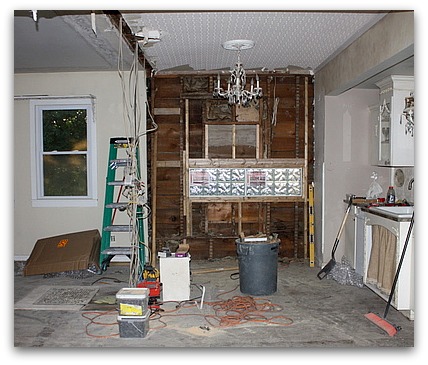
Progress is happening! The guys working on our kitchen are hitting it hard and have been getting a lot done.

IMG_4445 The wall is down, that went quick. 

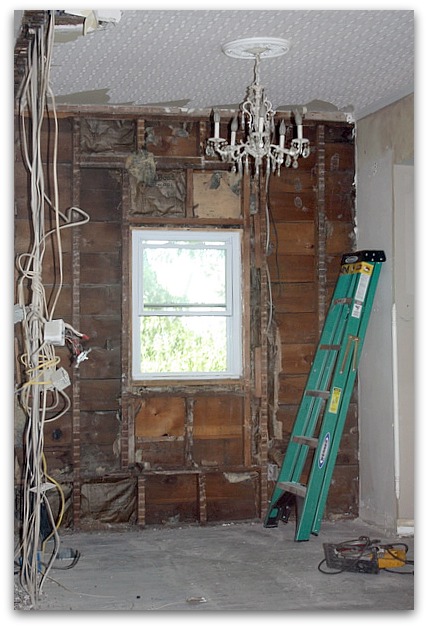
And they are going to be able to brace it up in the attic, so I wont have a beam going across the kitchen. That was an iffy thing, we didn't know till it was opened up if that would work or not. Old houses are a big question mark when you start remodelling.

IMG_4461
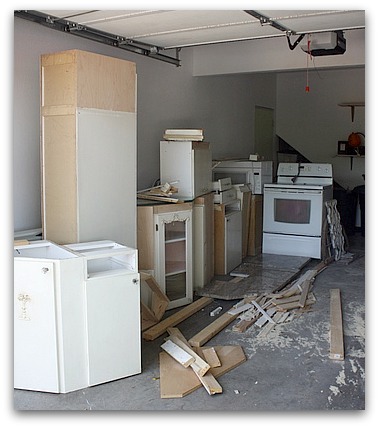
Our cabinets are stored in the garage, waiting to be set back up when the new room is ready for them. My new refrigerator is ordered.

  IMG_4513

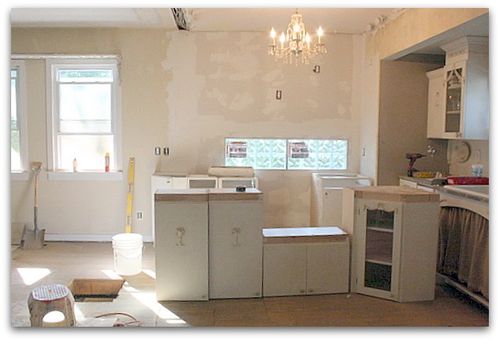
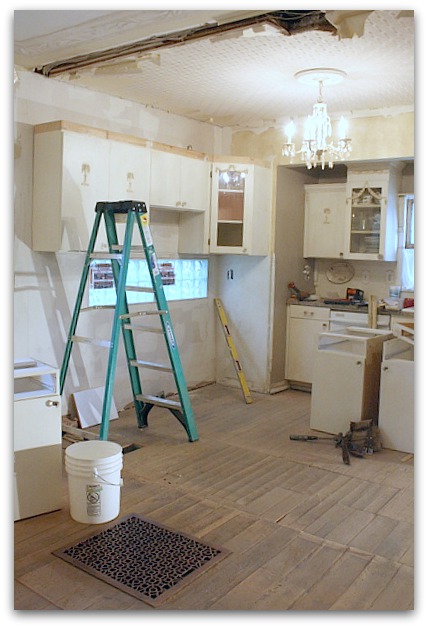
The tiles and four layers of linoleum are up, the nails and staples are pulled from the wood.  There are lots of places that need patched, like around the grate. And quite a few other spots too.  But the wood itself is much better than I dreamed it would be.

There were so many layers ripped up, that my ceiling is a few inches higher now!

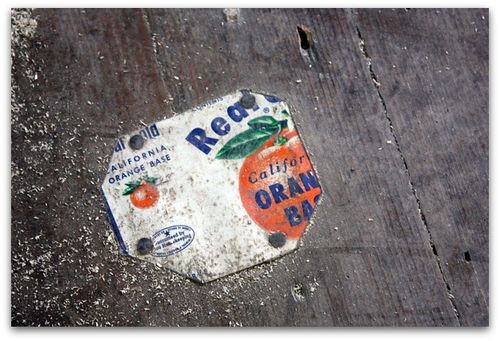
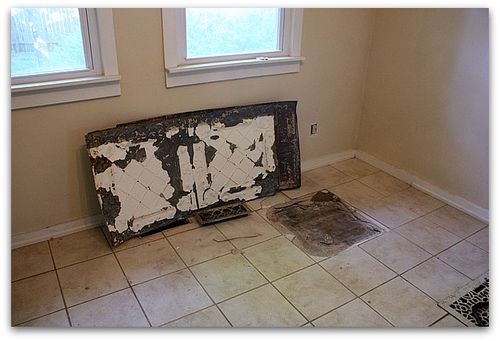
IMG_4514 Someone had already patched some spots, years and years ago. I wish I could leave this as is, for a souvenir, but- it has sharp edges since it is tin.  I think it could be a toe ripper, for sure.

IMG_4511
The guys have removed the window on the wall the cabinets will be moved to.

IMG_4517 There was no choice, the window had to go. I hated the idea of losing the light, so I ordered two glass block windows from Home Depot online (they came in 3 days!) and they are now built into the space where the back splash will be. Won't that be nice light on my counter top?

IMG_4472
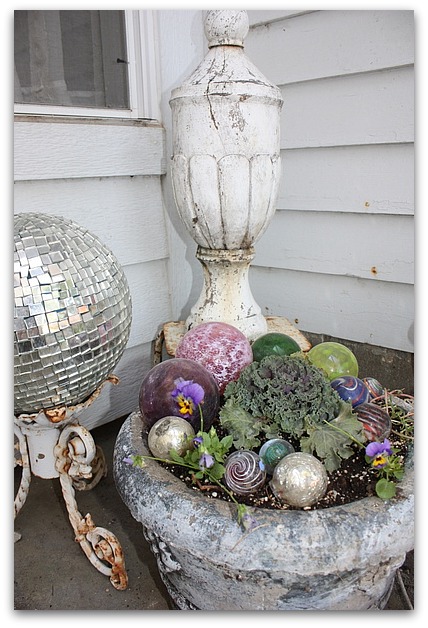
To keep myself sane while having my house torn up, I've tried to keep other areas nice as I can. Like setting out a couple flats of fresh violets and pansies and some ornamental cabbage on the porch. I don't do well with chaos and mess, I like things pretty. Nice surroundings mean a lot to me. So, I needed a few pretty areas to look at and keep my mind off of the messy ones.

IMG_4510
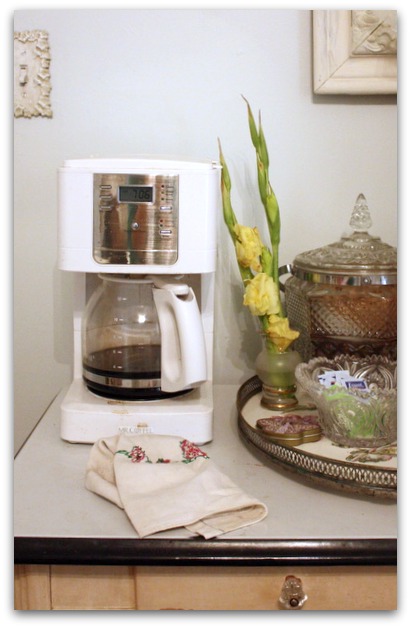
We've set up a coffee station in the bedroom. I like it so much, its tempting to keep it there. Its pretty nice to have coffee so convenient in the morning!

  IMG_4496

We've moved the fridge and some supplies to the studio.  No microwave or toaster oven, and I am craving a hot meal.  

IMG_4451
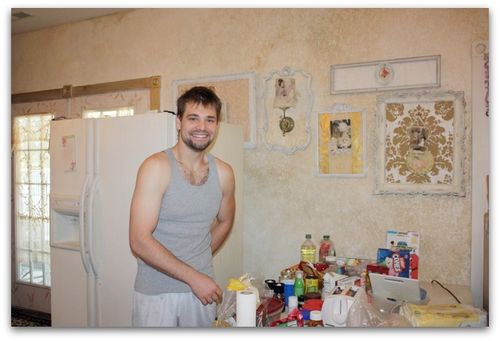
When my husband is home, he grills for us, but I'm not much of a griller myself. Its been yogurt, toast and peanut butter, and fruit for me lately. My son, Ryan, eats turkey sandwiches almost everyday of his life so he doesn't mind.  He watches what he eats, because about 6 years ago, he lost over 100 pounds, and keeps it off. 

He looks good, huh? 

IMG_4455

He is as sweet as he is cute. He kisses me on the top of the head and tells me he loves me every time he leaves the room.  Ryan lives in an apartment on the side of our house, and works two jobs plus spends an hour at the gym every day.  He also does all of our yard work, so keeps busy.

  I just wish he would have a social life.  This is the shyest guy you'll ever meet. 

IMG_4501
The winner of our Craft Day Giveaway was chosen from the entries by Beth when she was here for a craft day again on Tuesday.  Her pick was:

Maggie

If you haven't seen Maggie's work, you need to go look at her recent post about her illustrations for sewing patterns. Oh my. That girl can paint!


Editing in reverse

antiques/junking, collections, Kitchen remodel

IMG_4398
This isn't easy, but I'll say it again. He could be right. My husband says I have too much stuff. And when it was time to put it away before the kitchen got demo-ed, I was agreeing with him whole hearted-ly.  I was ready to pitch it all.

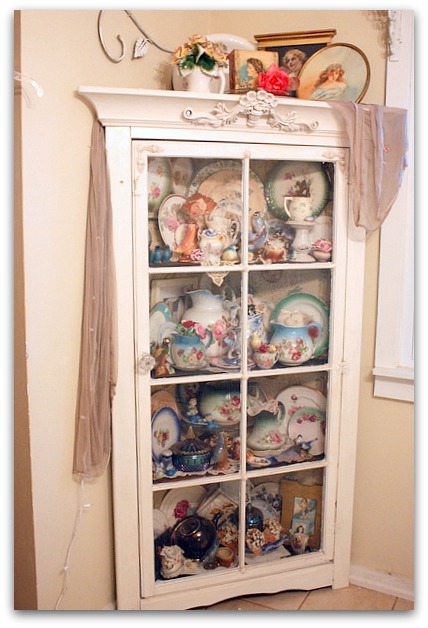
Some of it really will have to go.  This corner cabinet will not fit into the new configuration, so it has already left to go to my sis-n-law's home.

IMG_4399
The crap inside it that I can't live without now has a home in this cabinet.

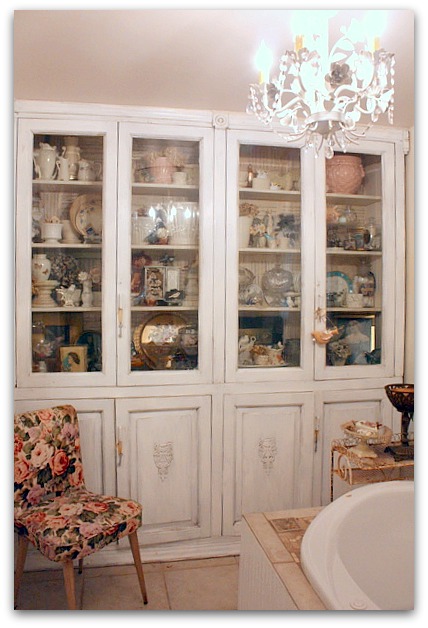
Yep, the china closet stuff went to the bathroom.  Odd.  But it seems to work. 

IMG_4364-2

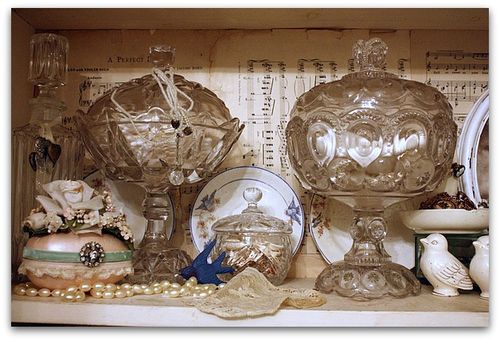
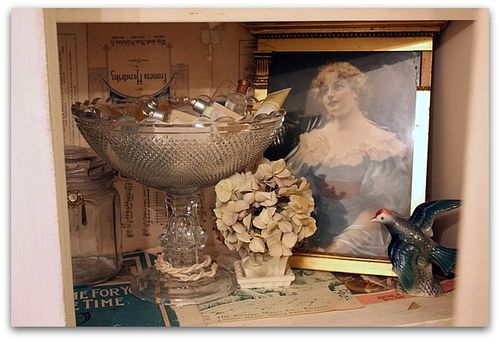
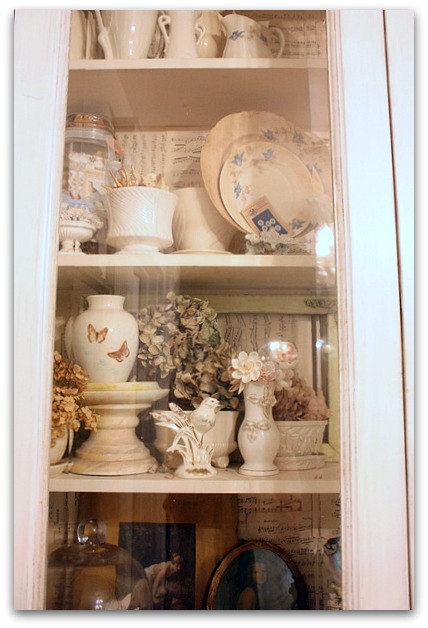
And the white pottery above the windows needs to be changed too. I'm a bit tired of it there. But still love the collection. So, its in the bathroom cabinet too.  I moved all my blue bird dishes, my china birds, and the white flower pots, and squeezed it into the big glass door cabinet in the bathroom.

IMG_4412
The rest of it is all packed away, to figure out later. I'm considering using all of the floral pitchers above the window. The billions of plates will have to go. Somewhere.

  I'm going to miss my hand painted ceiling. But I will LOVE having a vintage pressed tin ceiling!!

The blue carnival glass that was my mom's was too dark to tag along with the other things that got moved, and won't work in the new kitchen either. So they went to live in the guest room, as part of a display of photos of my mom.

IMG_4409
The white pottery seemed to go well with the birdies in their new home too.

IMG_4407
Its not that much different than what was in there before, just fuller. 

IMG_4406
The bathroom type supplies, (tissue packets, Qtips, bars of soap, cotton balls, etc ) are all hidden inside glass containers with lids.  There were already some flower pots in there, and there were lots of shells and pearls tucked in here and there.

IMG_4405
Looks like I need to remember to buy bath salts to fill the jar.

IMG_4400

  Gosh, I'm just not sure. It is probably too much. I tend to over fill everything.  I am going for a more "edited" look in the kitchen/dining room. Why should I double up in another room to make that happen? Maybe I should edit everywhere…

Of course, I could just be high on breathing in dry wall dust and not thinking clearly. Right now, I'm at that point in a redo when I am wondering what on earth I am doing anyway.  Sanity is the first thing to go when the walls start coming down.

IMG_4501
I'll have more updates as the kitchen progresses!  In the meantime, you have till Tuesday the 20th to leave a comment on this post

to enter a drawing to win the craft day giveaway from Beth, Mary and me.


A 5 year old with a crow bar

Kitchen remodel, Sugarwings

IMG_4395 Last week, my time was mostly spent getting ready for the remodelling project.  The first step was to haul all of my Rubbermaid tubs out of the garage and give them a bath. Luckily I have plenty of them, every time Home Depot would have a sale and they'd go below $4, I'd buy a few.

I used them for my antique business and for my faux finish/mural biz.  These things are great for hauling supplies and paint to jobs, and I never worked on walls in someones home without my open can of paint sitting down inside a tub and my roller pan on the lid.   It just gave me a little peace of mind, to know that I wasn't going to spill onto someones floor, since I am ultra clumsy and spilling was a big possibility.

These tubs ended up being the PERFECT amount for my stuff in the kitchen and dining room! Each is full and stacked in the living room now.  I've decided that my husband just might have a point, I probably do have too  much stuff. 

On the other hand, I have the same amount of stuff as a I do tubs.  It could be worse.

IMG_4388 Right before packing it all up, we had some guests, family came in town to visit for the weekend. This is Grandma Joan, her sis, Ethel with my oldest boy, Ryan.

For some reason, I don't show many pictures of him, do I? I should, he's adorable

Since I had guests coming, I gave the house a much needed thorough cleaning.  I probably wouldn't have bothered if they weren't coming, I'd have told myself that it was all just being ripped up anyway, why bother? But, I'm so glad that I started with a clean house, it made the packing just kind of feel better as I was doing it.


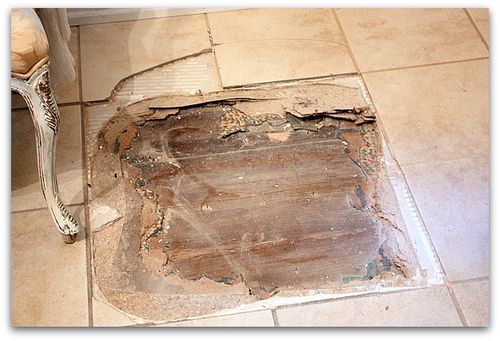
IMG_4374 While the company was still here, the contractor sent his guys out for a little excavation under the tile to see if we were going to be able to save the old floors way down under years of layers.

Looks like good news!  The floors seem to be there, we'll have to see what they find as they rip out the rest of the layers around the 3 rooms. They think that the dining room is 5" boards, the kitchen is 3" boards and the mud room area is 9" and those head a different direction than the other two.

  That didn't bother me, I think it could be very interesting layout. I've got my fingers crossed that all are salvageable.

IMG_4413
The ceilings will be covered in un-matching tins, so why should the floor match?

All the tins will be painted the same, and a consistent pattern will be used around the perimeter of the room, with something different in the middle.  I think I'll prime them white and glaze them with a cafe au laite color.   I like gray, too… they might have a gray wash instead of creamy coffee. 

I haven't decided on the floor finish yet. I have  to see it all together and sanded down. It might need painted if too much patching happens.  I'd prefer just a clear coat with natural wood showing through, but when you have an old house, you have to be prepared for what you want to not be what you get when you start ripping into it.

IMG_4427

Along with the floor, this dividing wall will be removed. 

IMG_4434
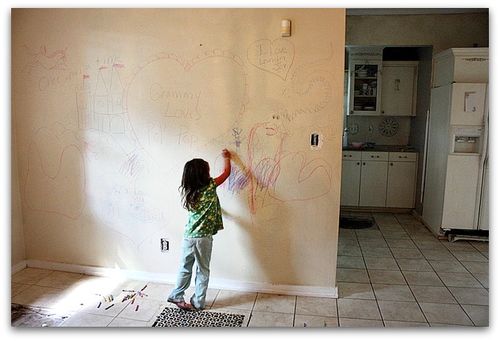
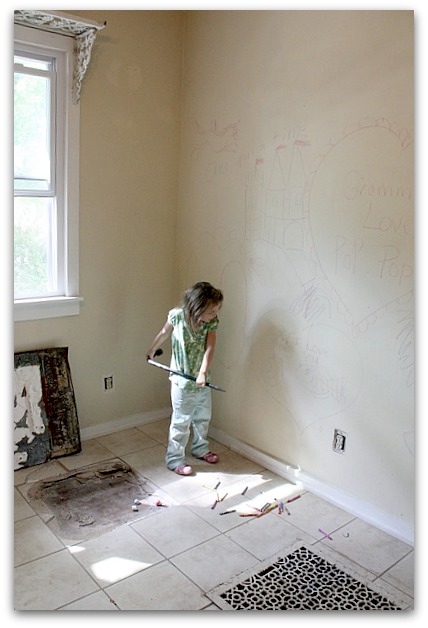
 I had Sugarwings a couple of days this week, and that big, empty, soon to be trashed wall was just way too tempting for us.

We decided to get out the crayons and chalk and give the wall a good send off.

IMG_4443
Soon, we had drawn all over the floor too.

IMG_4444
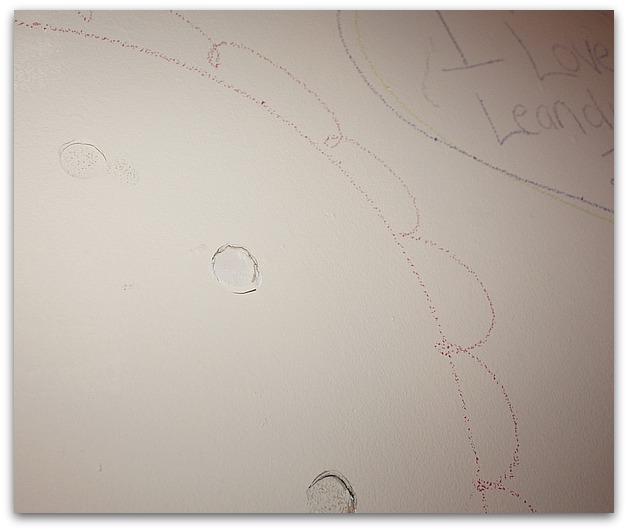
Then, we decided to add texture to our art with a hammer.

IMG_4436
But things really got fun when we pulled out the crowbar.

Anybody need a demolition specialist? This one works for pink marshmallows.

Scroll to Top