paintings

Painting puppeesh

celebrations, dogs, Dorkies (Yorkshire Terrriers), family, paintings, parties, puppies!

Brde

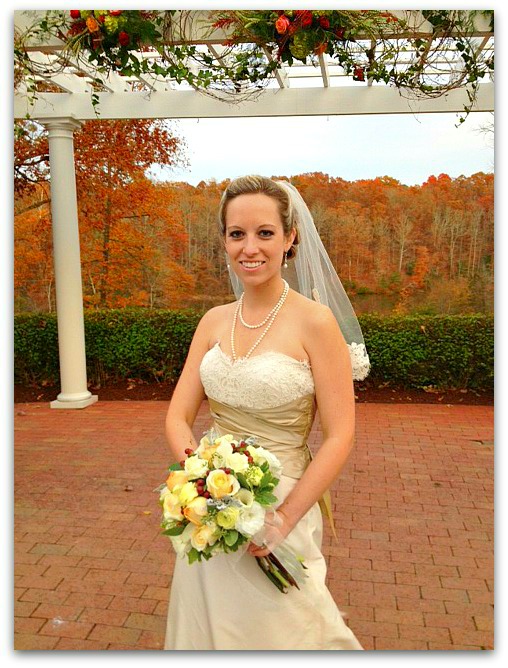
Isn't Ashley a beautiful bride?  The wedding was lovely and our teddy bear of a nephew, Travis looked very happy.


Photo

The wedding was held in a shabby chic lover's dream house.  I could have wandered around drooling over the furniture and decor all night. I wish I could have got more photos, but my camera broke and I forgot my phone.


Photous

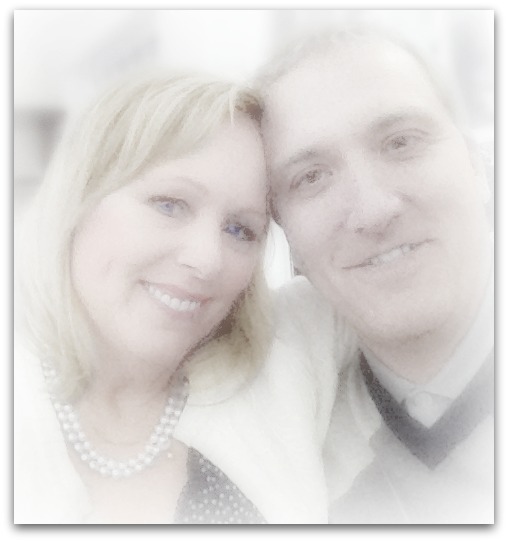
Toward the end of the evening, it dawned on me that my husband had an Iphone  that I could borrow it and email a few pics to myself.  But by then, the light wasn't as good and I'd missed all the best shots.  This close up of my handsome husband and I needed severe editing to make it usable. The rest, weren't salvageable.


Nc 029

Luckily, my camera didn't shoot craps till right as the ceremony started, and I had it for the bridal shower which was such a fun time!


Nc 020

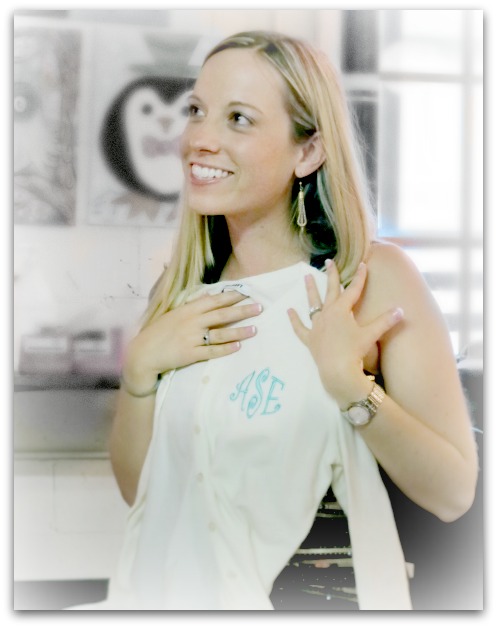
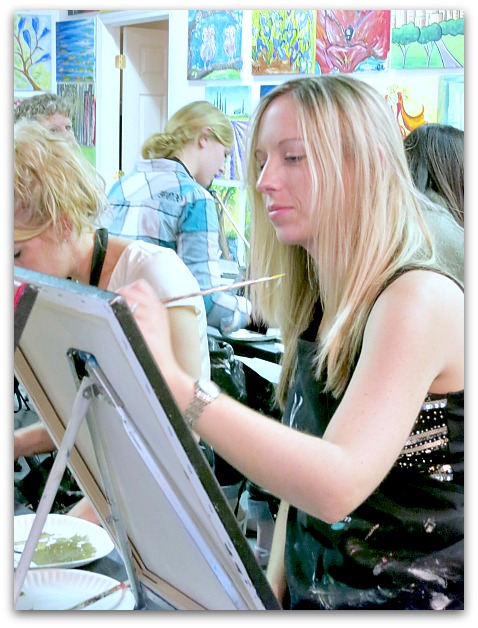
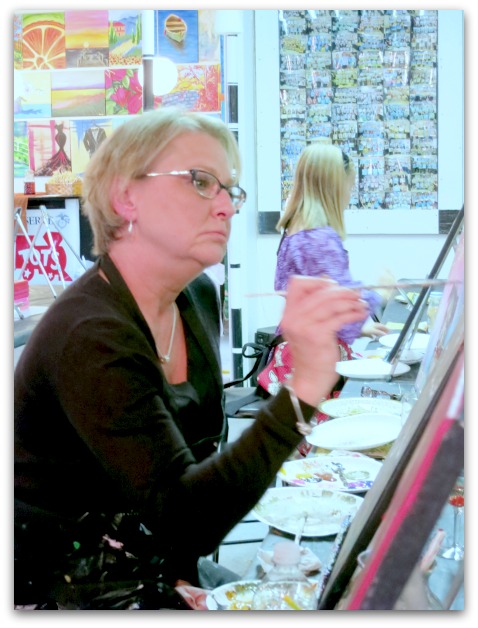
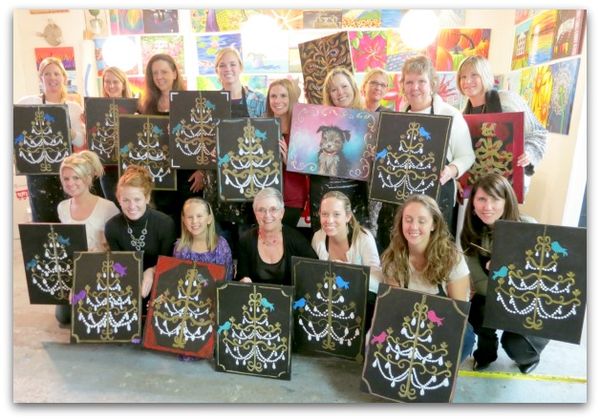
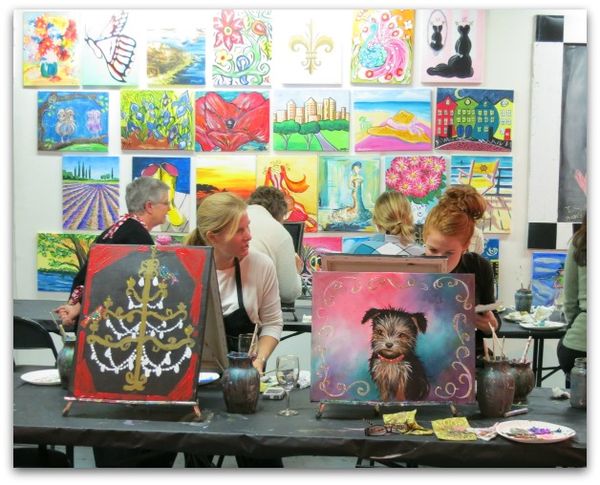
It was held at Wine and Design where we all got to do a complete painting to take away with us, drink wine and eat yummy chocolate cheddar cheese ( from Trader Joe's).


Nc 045

This art studio is a GREAT idea that I would love to snag.  You get a prepared canvas with a sketch on it, and the instructor paints along with everyone and they do a painting step by step.


Nc 021

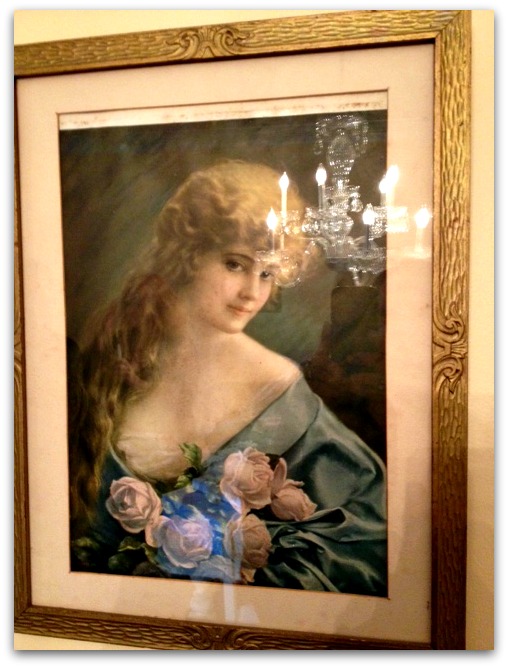
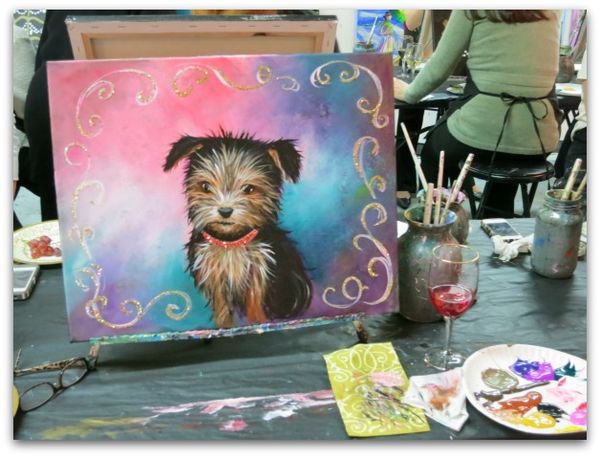
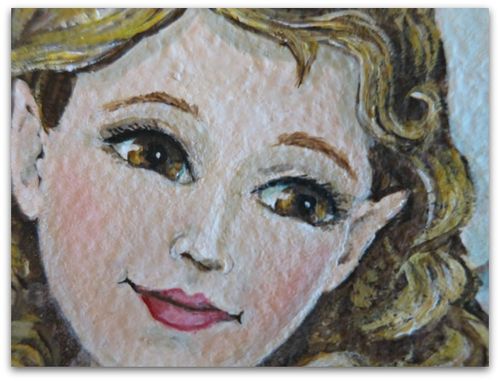
Our class was a chandelier, but I was feeling a little homesick for my dorkie pups and for the kids. It was Dewdrop's second birthday, so I thought about her and painted a puppeesh (as she calls them) as a gift for her.


Nc 023

Its not the best painting I've done, but its aimed for a 2 year old. She likes it, and talks to the picture, telling it stories.


Nc 046

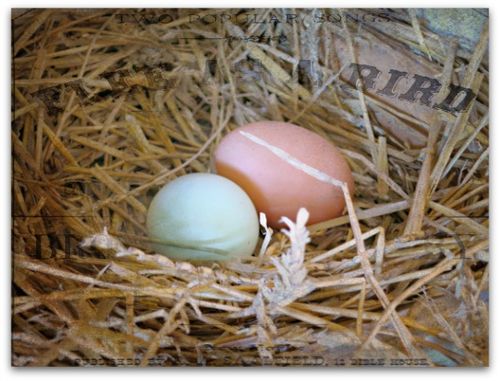
My idea of a fun party, is having a project to do, so this was right up my alley. They rent out to groups, and have a schedule of regular classes too.   I think it could be fun to do in my studio, not as a regular thing like this was, but maybe a little class here and there, or teaching a painting of birds in a nest for Birdsong next spring?


Nc 006

Years ago, I used to be a painter, I rarely pick up a brush any more. I don't miss it until I do one, then I wonder why I don't paint more often.

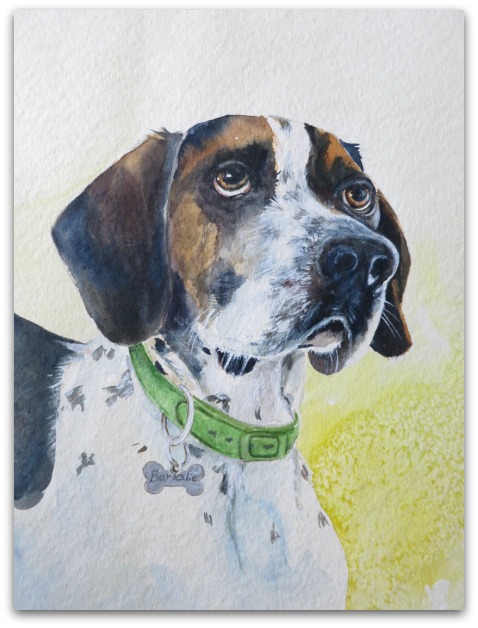
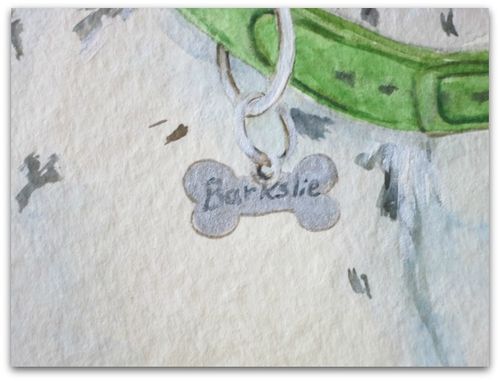
The bride and groom are crazy about their pup, Barkslie, and I offered to do a painting of her for their gift.


Nc 011

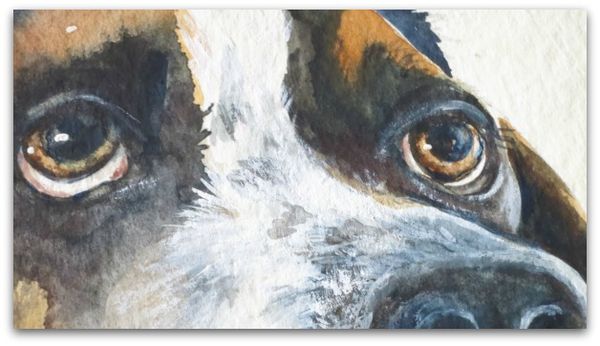
This is done in watercolor, but I cheat, and use white acrylic too.  I know that in the purest world of watercolor painters, this is frowned upon. But, I figure, its my picture and I can do as I like. So I do.  I think the watercolor wash of shadows and spots on the snout is nicely accented with the white hairs over it.  Now, the proper way to do this is to save the white of the paper, by using a masking fluid before painting the colors.  But I prefer the layers, so I don't bother doing it the right way.

(the whites of the eyes are pure paper and so is most of the white fur, just not the accents over it)

If I do painting classes here at the cottage, I'd tell people not to listen to snobs who tell you that your technique is wrong and go for a finished look that YOU like instead.

Anyone interested? If so, please let me know and we can try to set up a class.


Nc 009

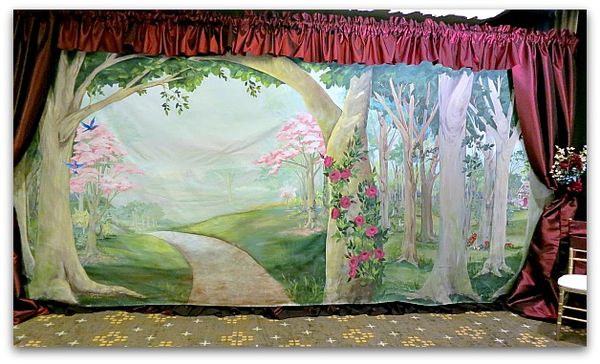
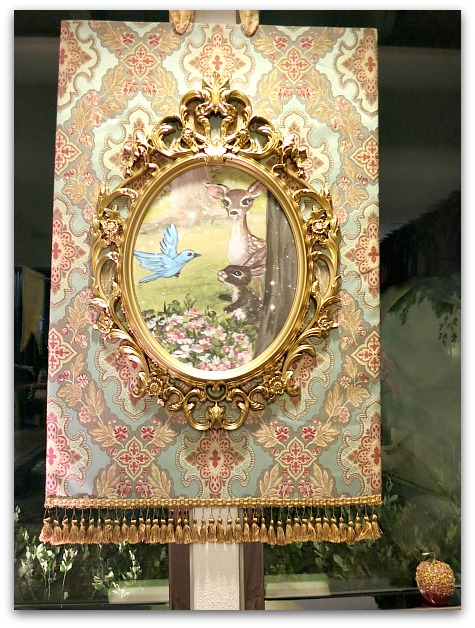
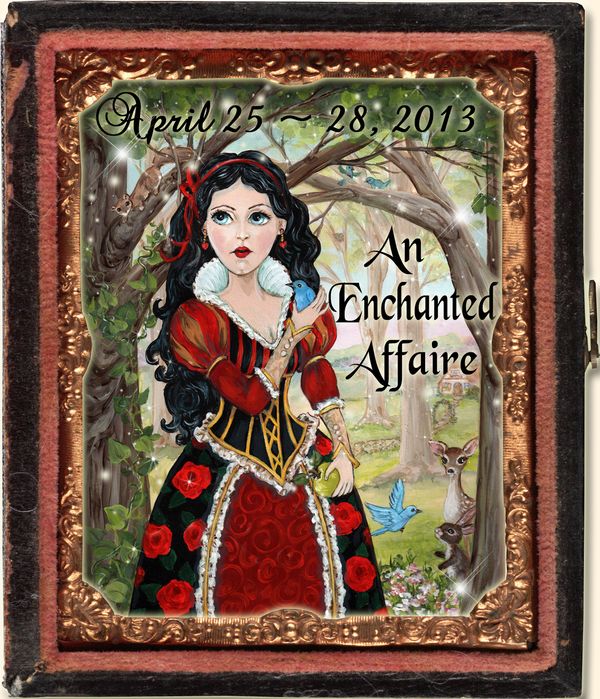
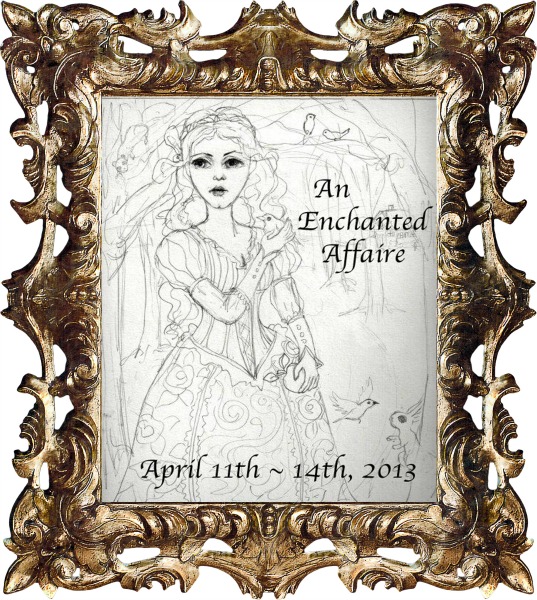
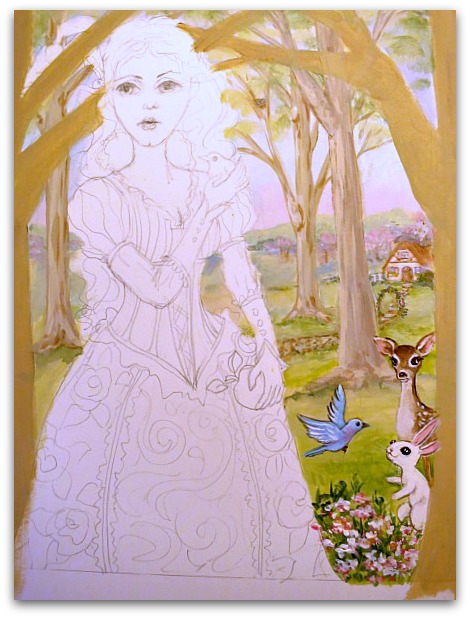
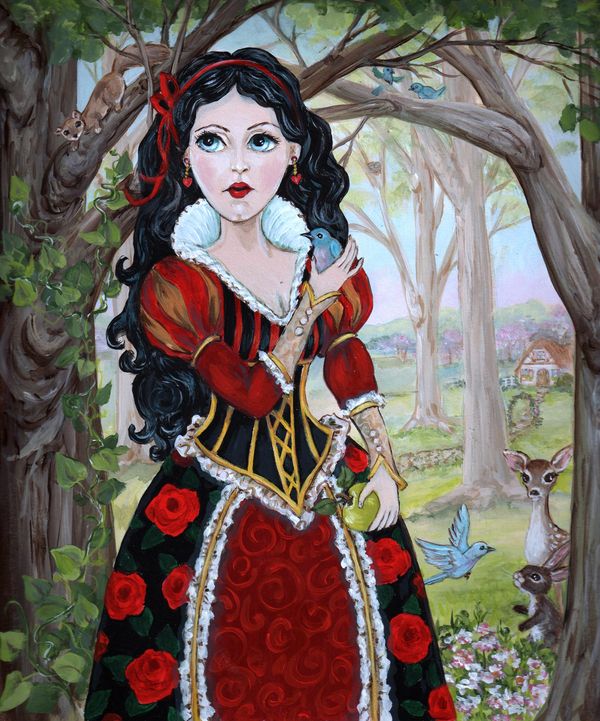
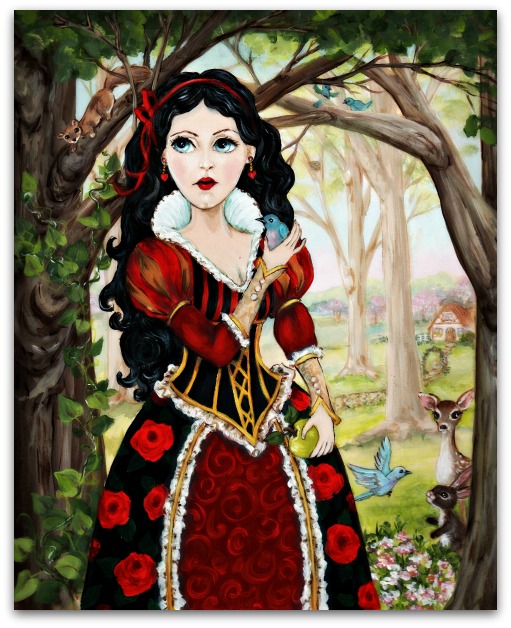
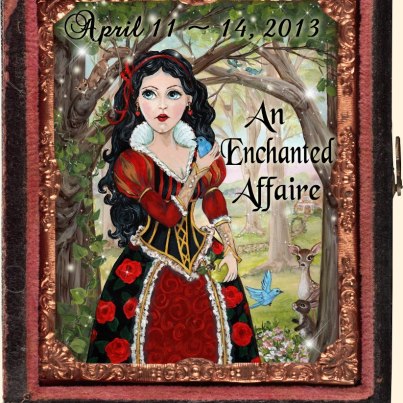
An Enchanted Affaire

paintings, Snow White, Workshops

6a00e54f8f8e9b8833017617156dae970c-400wi

I'm just about so excited that I could POP-

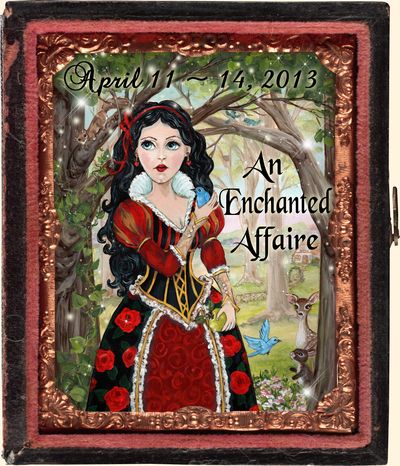
Lookee here at this!!!!!!! Yippee! If you've read my blog, you know how I love arty getaways.  And Kim's are to die for. What an honor for her to ask me to TEACH at one!!

And to create the artwork for the button too??  How did I get to be so lucky?

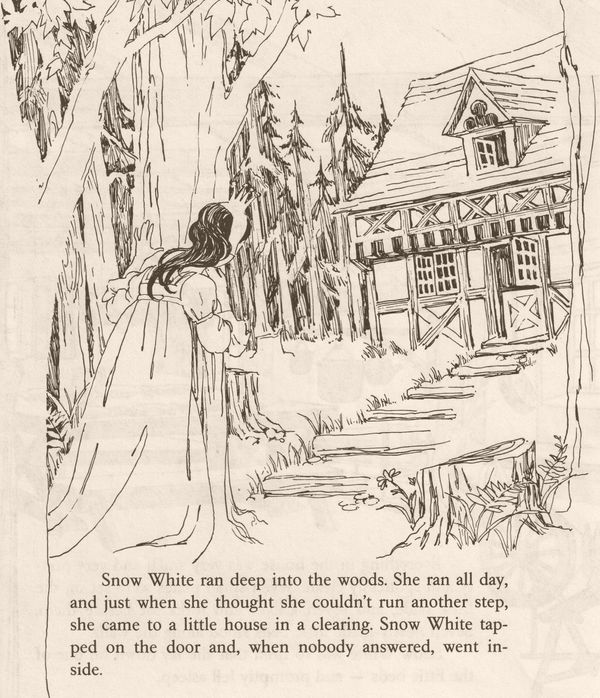
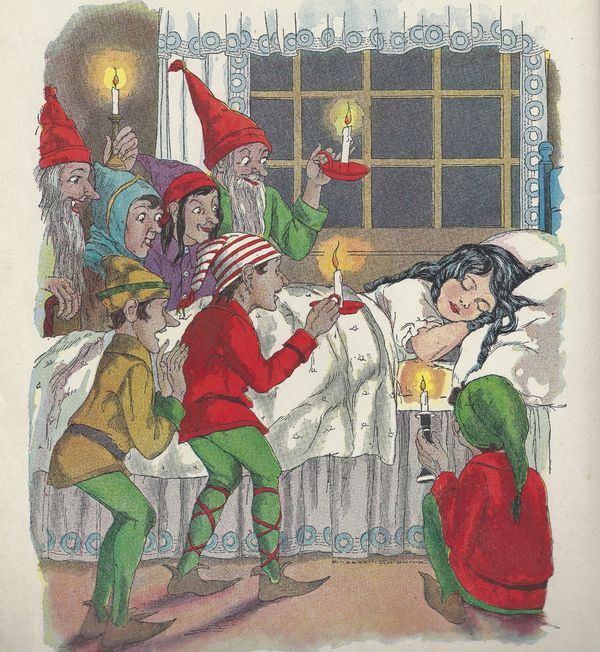
And did I mention that it is a fairy tale/Snow White theme? AT DISNEYLAND???

Pinch me.

  Foralae 014

 I've already started buying supplies for the 70 kits for the class and a couple dozen examples and practice kits. 

Actually, I think I am already done with the shopping part and after my little Ghostly Gathering here  at the studio in October, I can start assembling the kits.  It pays to be ahead!  The classes in CA will be very close to Birdsong 3, so I'll have to be super organized to pull it off.

(There is still space for Romantic Gothic Ghosts if you'd like to join us for a day of elegant, spooky fun)

Foralae 017
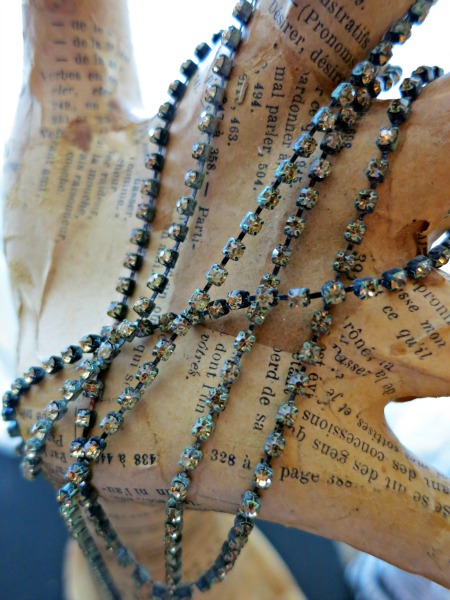
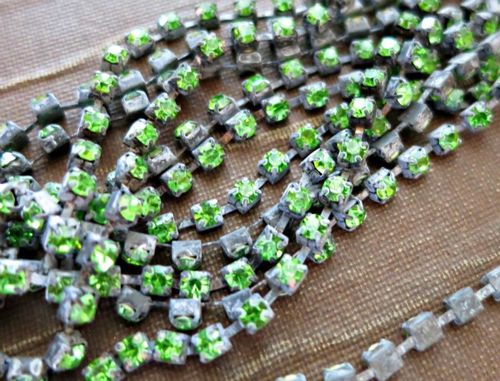
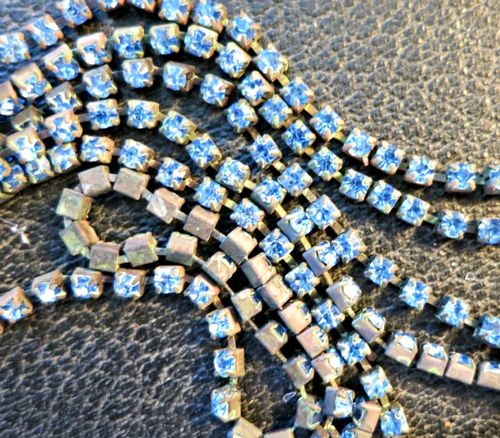
I wanted some colored rhinestone chains for the class I'll be teaching, so while I was buying, I bought plenty of extra for the Boutique too.

I have peridot, ruby, silvery gray, topaz, and baby blue.

Foralae 011

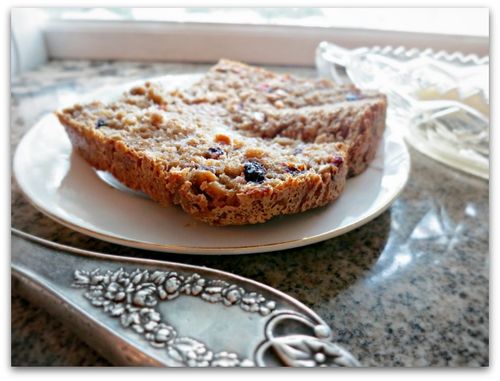
Yummy Bread Machine bread – too, too good

Dew Drop, fairies, family, Food and Drink, Hens, paintings

Under table 019
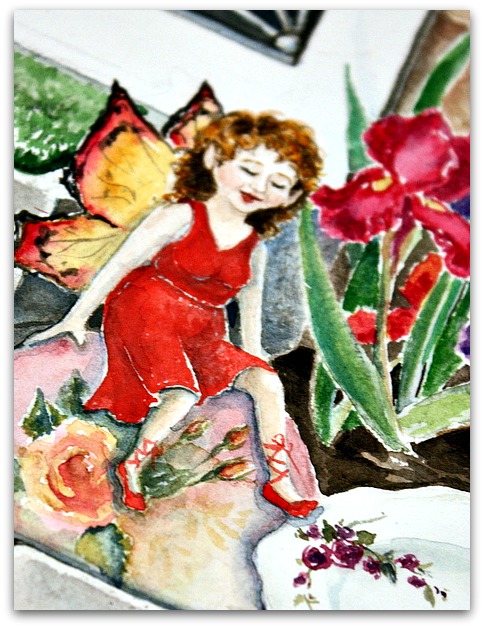
This week has been a hodge podge.  I repainted a fairy, finished another, signed up a TON of people for the swap (yay! This will be a fun one!), babysat my own little fairies, and baked a TON of bread.   I might just weigh a TON more now that I've experimented with my new bread machine a bit…

Under table 015
As the smell of fresh baked bread fills the house, my Sister-In-Law, Sandy, and I do all we can to stop ourselves from standing over it, each clutching a stick of butter in our greedy little paws.

You know you've baked too much, when you realize the 5 lb bag of flour is empty.

I'm not a measuring type, but I've tried to approximate measures, so that the machine will be filled with the right amounts, and not overflow.  And I've learned that as much as I love the pure whole wheat flour, it can be a bit heavy for most people.  I've switched to mostly whole wheat, and about a 1/3 bread flour.  Its lighter and breadier.   

Pure whole wheat does make a good, solid, filling peasant type bread though.

Here is my favorite made up recipe (sort of- my own measurements are eyeballed)

Yummy Bread (as Sugarwings calls it)

1-1/2 cup leftover coffee, still warm, not hot (I drink Starbucks Vanilla)

1/2 cup organic clover honey

3/4 cup dried mixed berries

1/2 cup roasted pumpkin seeds

1/2 cup roasted sunflower seeds

2 cups whole wheat flour (organic)

1 cup unbleached organic bread flour

2-1/4 tsp bread machine yeast

Dump into machine in that order. From what I hear, you want the liquid on the bottom and the yeast on the top.  I don't know why.

Bake on the whole wheat setting. 

Stand by with your stick of butter so you are ready when the bread is done! (notice that I didn't add oil or butter to the mix? I forgot to, and liked it better this way, it was moist and soft, and I put enough butter on top while its hot, that I do not need any inside the loaf too)

Bread machines are too, too easy to use.  It takes me less than five minutes to make a loaf of deliciousness.  If I keep this up, I will become housebound, too big to fit through the front door.  

534928_10150972039329477_1265330368_n

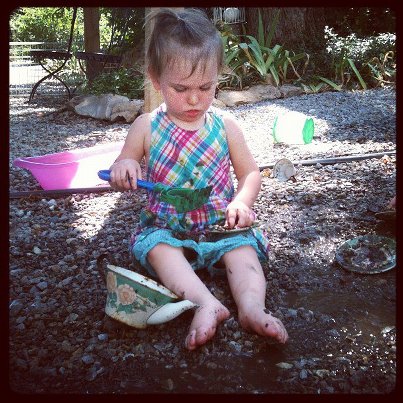
On Thursday, it got up to 107 degrees.  In June.  Yes, 107. Dang!

I had both little girls here, and we really did try to play outside. We turned on the hose, made mud pies and stayed in the shade till almost noon. I was proud of myself for staying out that long.  As soon as lunch time came, I had the perfect excuse to give up on the great outdoors and get into the air conditioning.

Under table 009
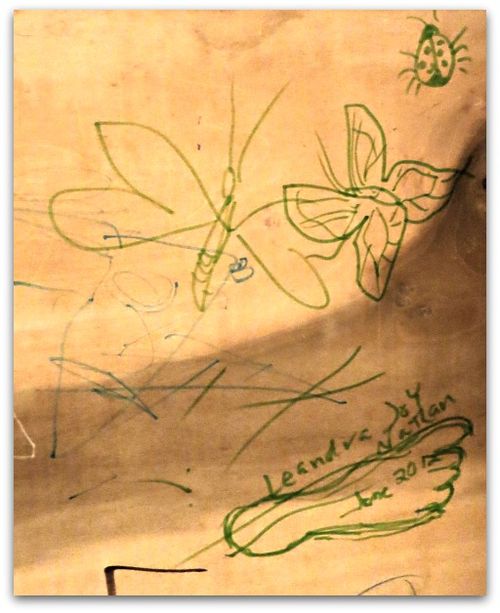
Then, we did the same thing we do on blizzardy days. We built a fort of blankets over the dining room table, filled the floor with pillows and climbed in to watch movies and read books.  We also brought markers, and drew all over the under belly of the table. Sugawings traced her foot and I dated it.

Under table 003
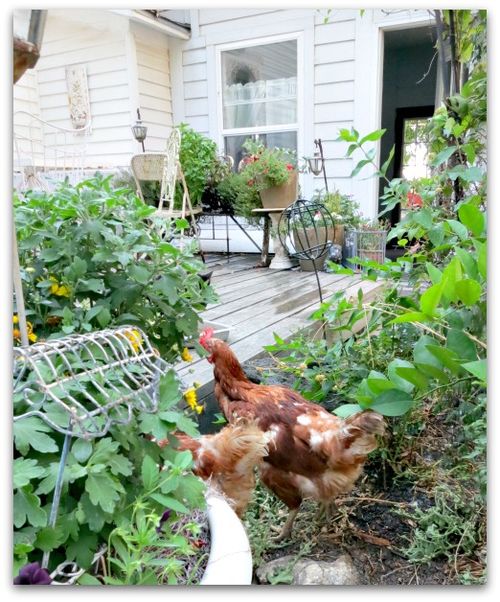
It was too hot for the chickens today too, when I turned on the hose to water the flower beds, a couple of them dove in to cool off in the water.


Under table 018

There hasn't been a lot of time for making things other than bread this week. I did finish a few book covers for the swap, I need to keep on top of that and make a few here and there, so I'm not swamped with too many at the last moment.  We are at about 60 or so right now. 

I hope you'll join us if you haven't yet.

  Blue pansyWhite Pastel

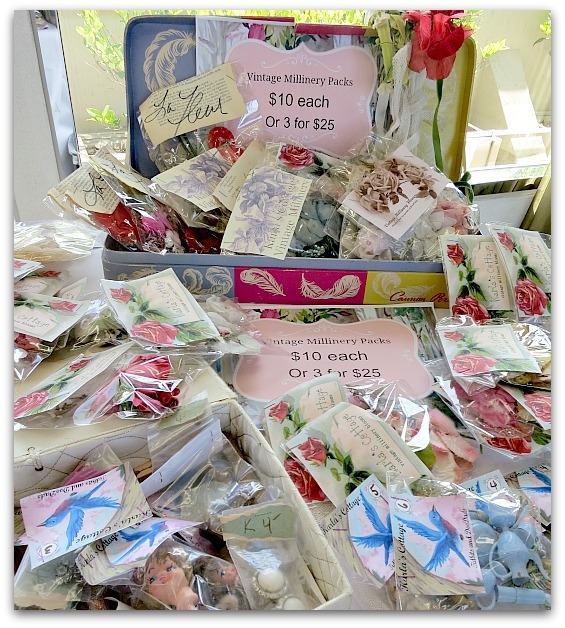
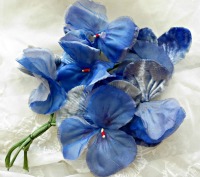
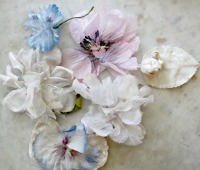
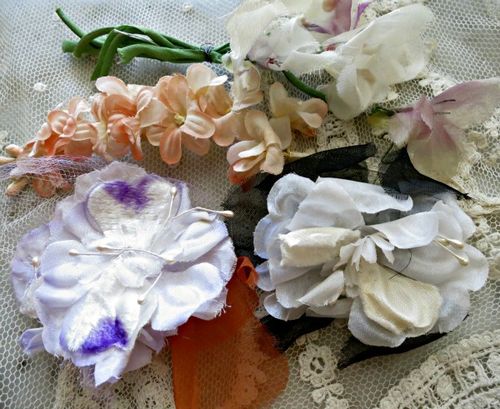
Believe it or not, I actually made time to list some millinery packs in the Boutique! 

For sale 025
Including some Halloween/Autumn tones. 

For sale 005
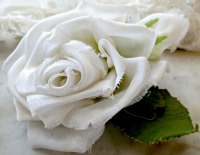
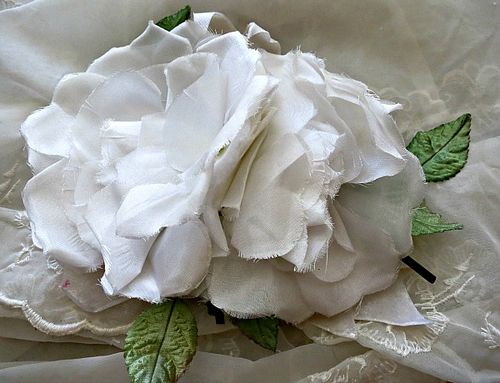
And one magnificent double white rose with white velvet ribbons!

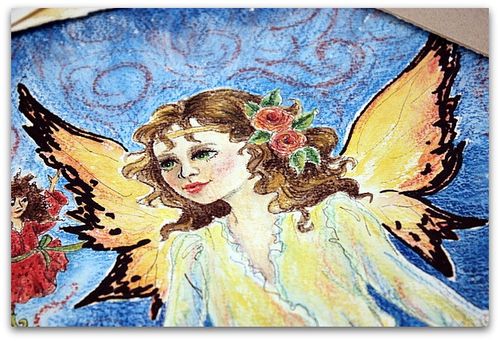
Painting fairies

Books, fairies, paintings, swaps, vintage paper/collage art

Fairybook 005

.
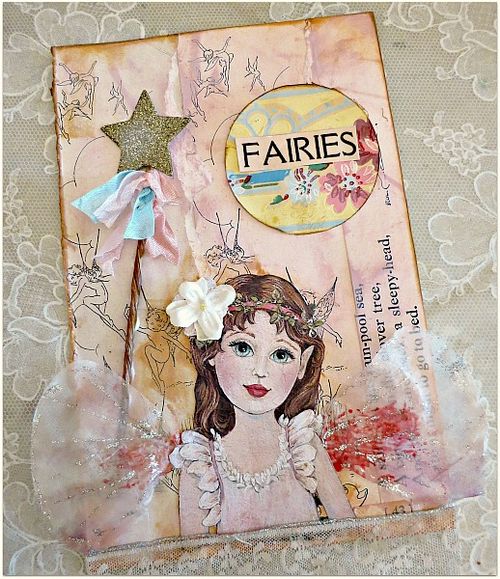
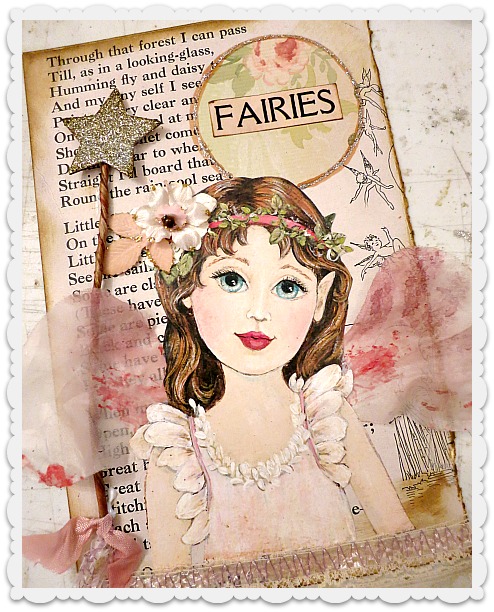
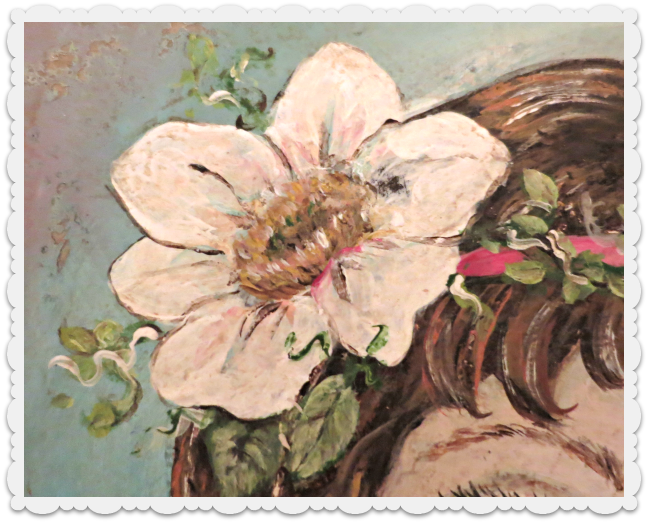
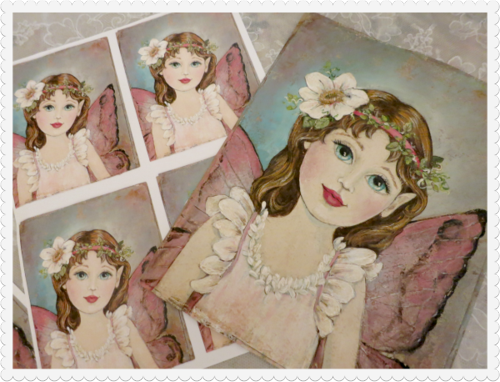
This week, I've done a lot of painting.  Still not sure, but I think this might be the right fairy for the book swap covers. Fairybook 004
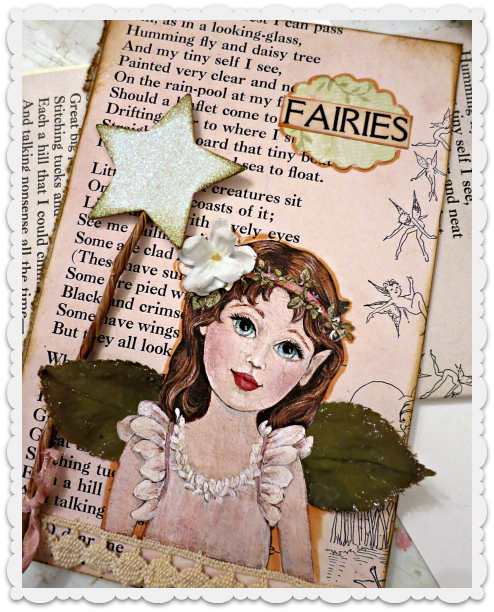
I'm experimenting with different copy sizes and papers.  When I make the covers, no two will be exactly alike anyway, even if I use the same image.  I'm using vintage millinery petals and leaves for the wings, and trimming the bottom with a variety of laces and ribbons.  The wallpaper under the title will be changing too.  I'll have an assortment of florals that I'll be cutting from. 

The back of the cover will be done in vintage wallpaper too. But I like the text behind the fairy. Or do I? Maybe I'll do some with wallpaper too. 

When I have to make dozens and dozens and dozens of something, I need some variety as I go along.  So a few changes here and there make the work much more interesting.

  (by the way, thanks to all of you who signed up!! I'm excited that so many of you wanted to play fairy with us- and I have room for plenty more if you haven't signed up yet.)

Fairybook 008
The painting I did has a flower on the fairy's head, but I'm gluing a teensy millinery bloom over it.

Fairybook 003
She also has some wings, and a painted background, but I like the idea of cutting out the figure and adding 3-D wings.

Fairybook 007
I'm not one hundred percent positive that this will be the cover yet.  I'm in a painting mood, I might do a few more girls and see which I like best.   There is also no reason why I have to do all the covers the same, either. 

If you'd like to join the swap, please do!  Email me me with your name, blog name, and email address ( you do NOT have to have a blog to join, of course)  Details here.

Winged friends

fairies, Hens, paintings, swaps

Progress 017
Things are going well with the Ladies.  They are feeling enough at home that we can leave their doors open all day, and they return to the coop to lay their eggs. 

We have 8 boxes for them, but there are only two or three that they like.  And they deposit the eggs together in the same nest all day. The next day they might use a different box, but all will use the chosen box of the day.

Progress 012
The Rhode Island Reds are about as lovable as a chicken can be.  All run up to me when I step outside. I'd like to think its genuine fondness, but I think they are just greedy pigs and  wondering if I might have a treat.

What surprises me about hens, is how soft they are. And that some of them actually seem to like to be petted. 

Our other four ladies, the Americaunas and Red Stars, are not nearly as friendly, but I hope that changes. They are much larger, louder, messier, and squawk at me like I have no right in the coop.  I am kind of wishing I'd stuck with just the Rhode Island Reds, since they are so sweet, adorable and act like they are thrilled to see me.

307020_10150954709389477_1613426477_n

I guess its time to tell the big, noisy, messy birds that  they are too juicy and fat to not at least pretend to like me.  Because I love fried chicken more than I love hens who act like I am an annoyance in their lives…  No, thier eggs are too pretty to give up on them.  Sugarwings and I enjoy the blue eggs they produce.

Progress 006
Don't forget, we are having a Faerie Book Swap!  Scroll down a couple posts for details. I painted this fairy as a possible part of the collage for the cover, but I'm not sure I want to use it.  I think I'd rather have a more vintagey looking fairy.

What do you think?


Pools Of Light

how to's, jewelry, paintings, vintage paper/collage art

Kecias visit 024
My sissy is a vintage jewelry expert.  She collects a wide variety of beautiful pieces and I've learned an appreciation about the subject from shopping with her or looking through her vast, luscious piles and stacked boxes of precious pretties.

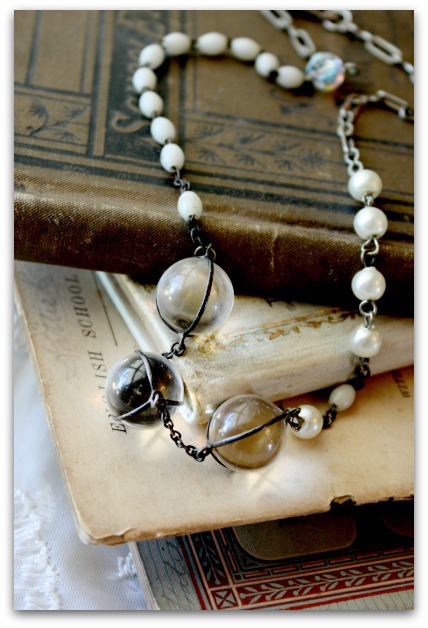
I've long admired her "Pool of Light" beads, without really knowing what they were,thinking  just pretty little crystal ball type dangles.

Kecias visit 013
So, when Beth had some junk jewelry for sale and had some of these little marble thingies in it, I was quick to snap them up to make my own necklace with.

Then I did some research about the balls, here is one thing I found:

For thousands of years this optically clear quartz has been used as gemstones because of its enchanting ability to absorb and affect light in the way that it does. Images viewed through genuine rock crystal balls appear to be reversed or upside down. They are brilliant, luminous and will be a conversation piece wherever worn. These literal works of art are finely crafted and are from turn of the century.

I  also found out that they were very expensive.  And felt a bit guilty about buying them from her for a couple bucks.  But I'd already made a necklace for myself, and one for a birthday coming up for some one else. 

And I did NOT want to take off my necklace!!

Kecias visit 025
So, I made a necklace for Beth too, using pieces I thought she'd like, including an old luggage tag from the Santa Fe railroad.

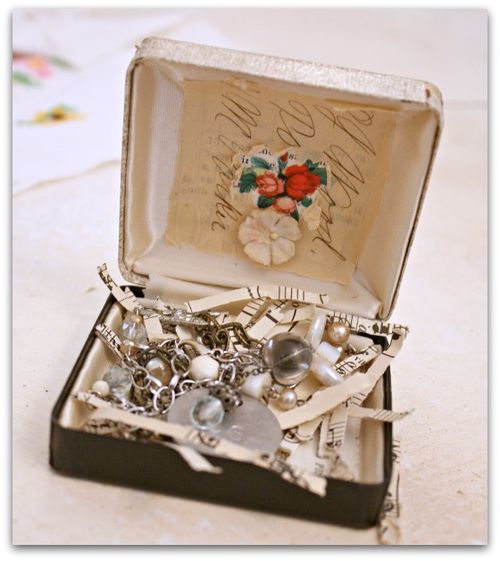
And that didn't seem like enough, so I foofed up a box for her too.  Its an old jewelry box, and to the top, I added text that included the word "prism" (seemed fitting) and a die cut rose. Over that, I smeared modelling paste, let that dry and added ink.

To the interior, I glued text to the inside lid, and a tiny die cut rose over that. 

Next, I layered hand writing from a ledger page, that had been waxed, so had a nice, transparent quality, and scraped it away from the rose under it, and glued a teensy millinery posey under that.

Kecias visit 009
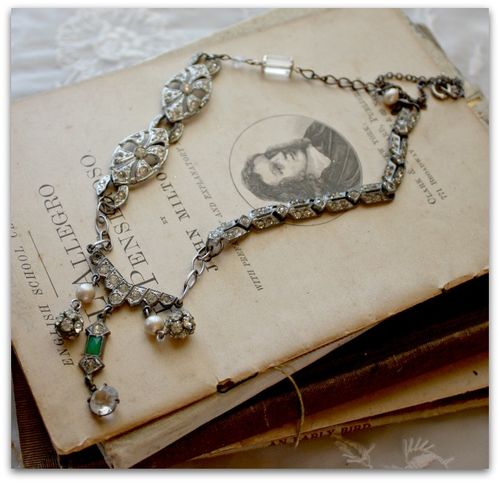
While my jewelry tools were out, I made this necklace too, as well as some earrings for a pal.

Its inspiring to have beautiful baubles to work with, so I was on a roll.

Kecia 022

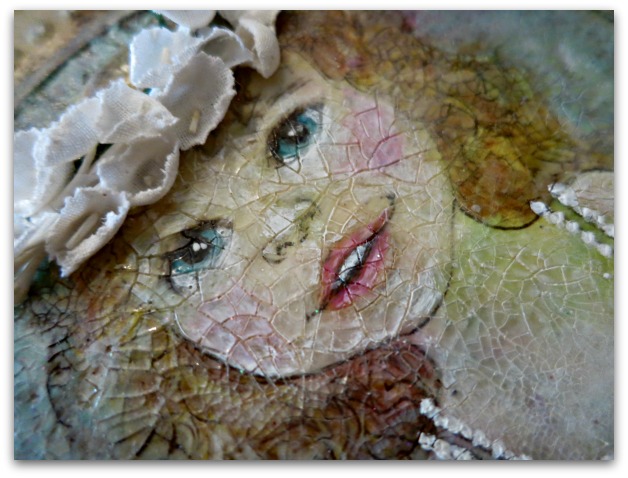
I did a bit of painting that day, too. I'm not done with this one, I'm adding some 3d wings to her too.

  For sale 61 075

Last day to enter the drawing for the bird themed collage! Drawing is Saturday.

For sale june 14 014
I'll leave you with some photos of newer listings in the Boutique.

Angel Crepe Floral
For sale june 14 021
For sale june 14 018

Raleigh 091

How to make a hand painted banner on canvas and tips on painting a rose topiary

flowers, hand painted signs, how to's, how-to projects, paintings, Travel, Tutorials

Banner 001

Here is a little break from Birdsong talk!

I've spent a lot of years painting murals, I travelled around the country and painted quite a few hotels, day care centers, and even a casino, as well as people's homes.    But the scaffolding and ladders really got to me, so I moved on to other things. 

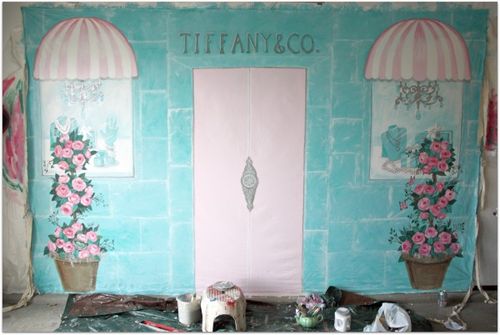
Every once in a while I'll get to do one again and always enjoy the opportunity. Especially a canvas one that I can work on in my own space and take my time on.  This one was sent to my pal, Kim, for her Tiffany's event, where I am at right now.  (I've pre-posted this)

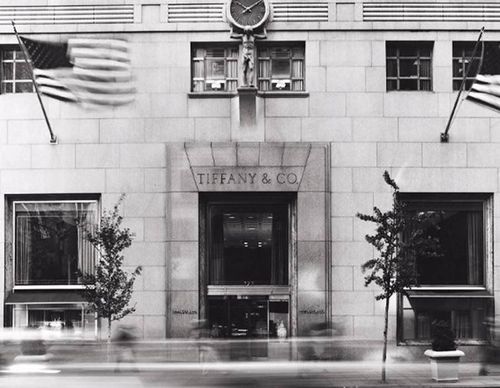
While this isn't exactly what the front of a real Tiffany's shop looks like, it is just right for the ladies attending Kim's party! Whimsical, fun, and pretty.
!cid_tie_8CEB029EE824472_6AC_D916

Kim wanted something more light hearted than the cold stone of the original building in NY. 
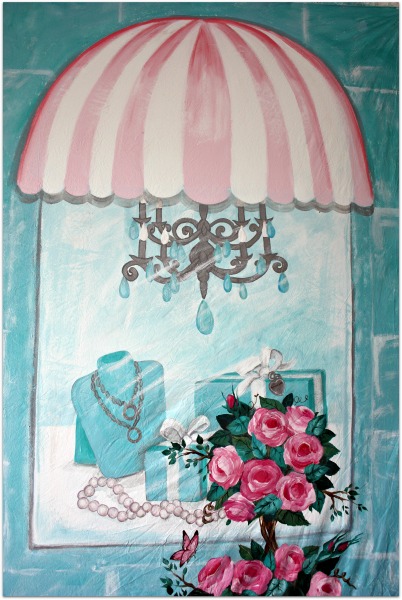
Finished banner 013

So, we took a few liberties with our design. 

My painting is all free hand..  I just paint as I go.  My lines aren't perfectly straight, but I think that adds to the whimsy and suits my style.

Plus, I know that I could NEVER do straight lines, so I don't even try! But since this was so architectural, I used a level to help out with the door and window shapes.

!cid_tie_8CEB185855D263D_9D4_24421
Here is the inspiration that Kim sent to me.  I used the fanciful nature of this with the stone front of the real building, along with the colors she asked for to come up with the banner design.
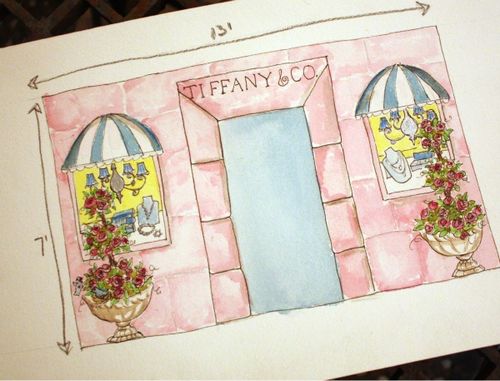
Banner 009
Here is my basic sketch for the idea.  We decided to flip the color scheme, so more of the Tiffany Blue would show. The canvas is being used as a backdrop for a photo booth, and with people standing in the middle, not much of the door itself would show.
Chicken coop building 063

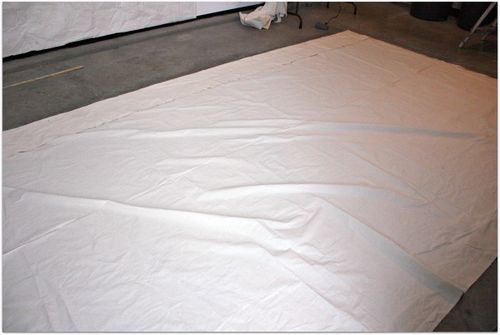
My first step was getting the canvas ready. I like to paint on drop cloths, but this picture was larger than most seamless dropcloths are.  I found fabric big enough to avoid seams at Darhma Trading Co.

I washed and dried mine hoping to remove the fold marks that way. MAN, WAS THAT A MISTAKE!  It came out of the dryer looking like a wadded up piece of paper.  I had to IRON the whole thing, and 13 x 8' is a lot to man handle over an ironing board.

  I'd say, iron the folds only, don't do it the way I did! 

After struggling with the ironing board till I was  steaming myself,  I laid it out on the floor to cut and pin.  After carefully measuring and cutting, I hemmed the two sides on my sewing machine, and then laid it back out on the floor to pin the rod pocket at the top. I measured and cut it in a way that let me keep the hemline at the bottom as is, no sewing.

By the way, it helps to have a second set of hands to wrangle the fabric and help feed it into the sewing machine, this was a big job and even this lightweight canvas feels weighty when you are trying to sew it due to its size.

Another tip I have is to use duct tape to hold the hem in place along with the pins.  It helped me.

If you are going to hang it with grommets, add these later. We didn't want the ropes to stand out much, so didn't want to use grommets this time.  I cut up strips of the fabric I had trimmed off, and sewed them in half for added strength.  Then zig zagged them to the back of the cloth at regular intervals.

While this will hang from a pole in the rod pocket, I was worried that it would blow or sway in the breeze, so the straps of fabric sewns the the painting's sides can be tied to the structure, and will help secure it and keep it in place.
Chicken coop building 064
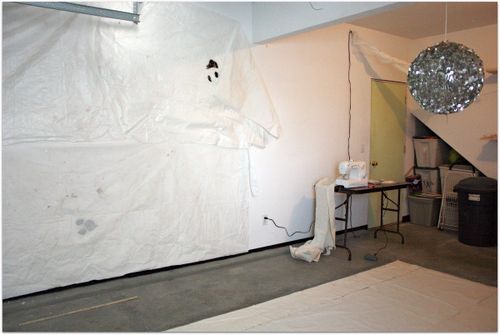
To do the artwork, I needed a large wall space, so I cleaned out my garage and covered one wall with drop cloths. Then, nailed the canvas up over it. (my drop cloths have also been used previously to make Halloween party ghosts, see the faces on them?)

(yes, I have a giant, sequinned disco ball hanging in my garage, it tells me where to stop my car when I pull in. I've seen people use tennis balls in the same manner but that doesn't seem to be as much fun)
Banner and baskets 018
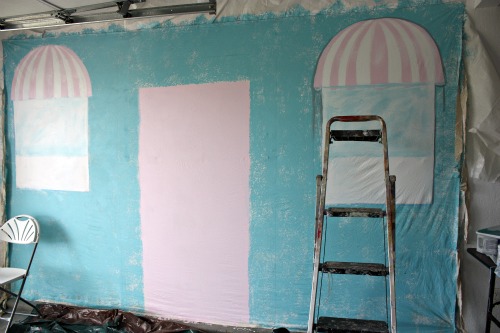
First step was to prime. 

I'm picky about primers, and know its important to use the right one for the job. In this case, a cheap, dry wall primer was fine. And I was glad I used it, because the fabric was thirsty and soaked it right up.

After it was primed and dry, I drew the door, and window with chalk and blocked in the colors.

For a large painting like this, quarts of latex wall paint in flat or eggshell works best for back grounds.

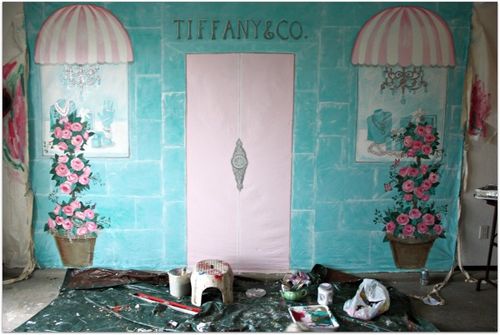
I used a sponge roller brush for the "stone"

To create the awnings, I marked the center of the top of each window, then tied a ribbon to a pencil.  The ribbon was cut to the length from the center of the window to the edge of it.  I held the ribbon at the mid spot, put the pencil on the corner of the window, and while holding the ribbon in place, drew the arc to the other corner.
Banner progress 001
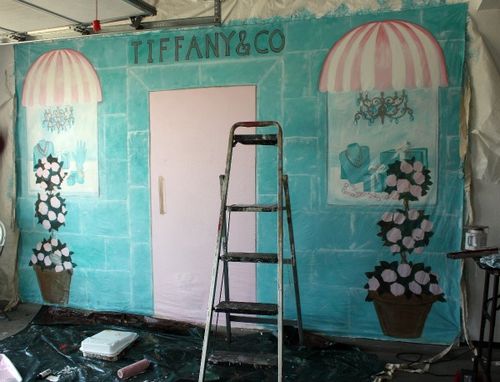
For depth, I dry brushed a darker aqua over the sponge rolled base color, then did the same, lightly with white. I used white to create the mortar lines too.  The mortar lines are drawn on with a sponge dipped in the white paint.  I didn't want a sharp line that I might have got from a brush.

Next, I finished the window paintings and awnings.  Always work from the background out.  Nearer things are last to paint.

The two topiaries are my foreground, so I blocked those colors in after the windows were done.

Notice the Tiffanys sign? I stupidly painted it too high, over the rod pocket, so painted over it to redo.  Which really isn't a big deal. Its only paint. It can be changed till you get it right.  You might notice my doorknob is different in this picture than in the finished one too.  After I roughed this in, I didn't like  it, and a swath of pink paint over it erased the plain door knob quickly.
Fairy designers 035

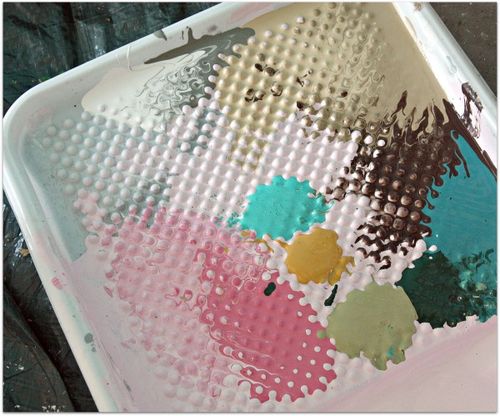
For the detail work, I used 2oz bottles of acrylic craft paint.
Finished banner 005
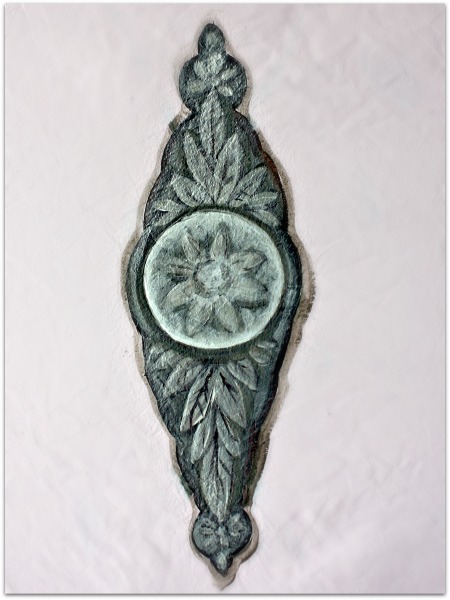
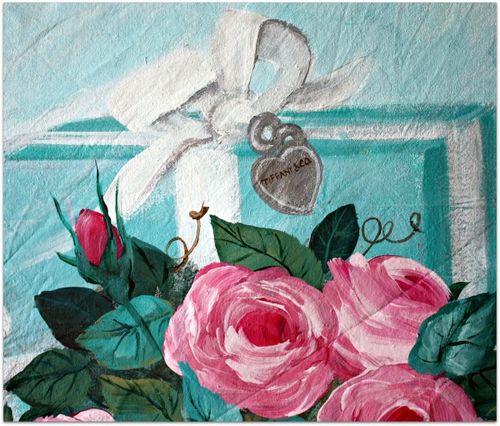
To get the metallic look that I have on the door knob, jewelry, and chandeliers, I painted them all in regular acrylic paint first to get the shadows, highlights, and shapes. Then, I covered that in  metallic paint.

I used the same 2oz craft bottles.  The silver and white metallic paints are very sheer and take a lot of coats to really cover, but that is what I like about them. I can do just one or two coats over my painting and get the metallic shine, but not cover up the details. But because they are sheer, its hard to build up color.  That is why I do the basic shape in opaque paint first.
Fairy designers 032
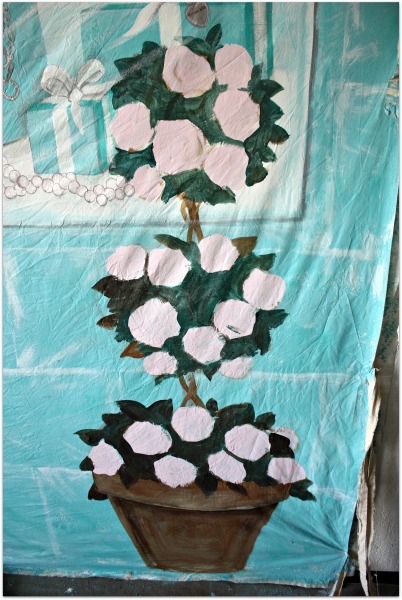
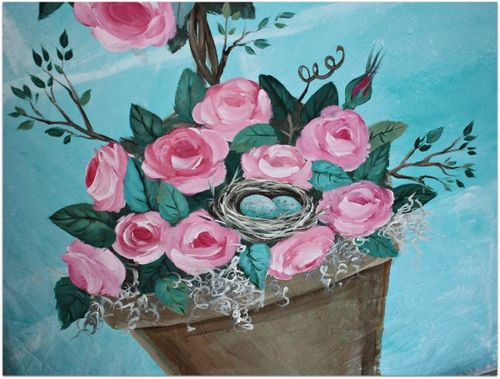
When creating a topiary, I always draw the pot with brown paint first, then sketch three circles, connected by twisted stems.  After that, I block in the basic rose shapes, and color the entire background of the balls dark green mixed with a dark brown.
Fairy designers 033
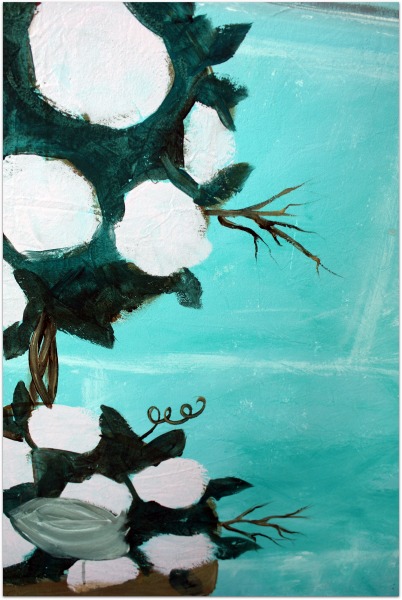
The same principal applies for the foreground as it did for the background. Paint the furthest things first.  I do the sticks and leaves in dark colors, then highlights over that. 
Fairy designers 036
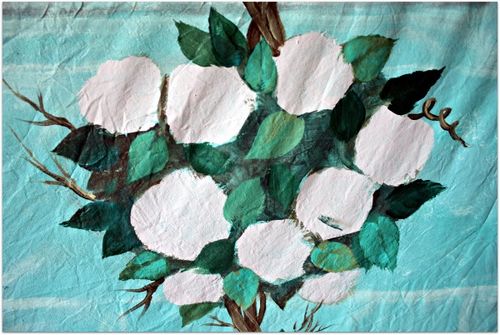
Next comes the leaves from dark to light, adding detail as I go.
Fairy designers 037
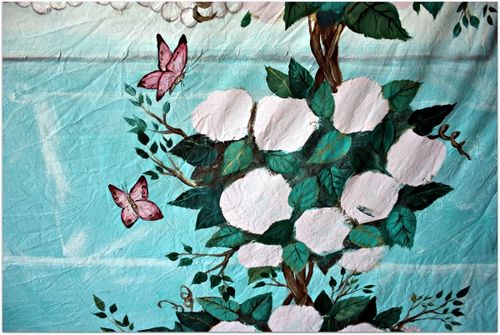
I got side tracked and added a few butterflies!

After painting the pot/sticks/leaves/ then roses, I went back and touched up some of the leaves so that they were covering the roses a little bit here and there.
Finished banner 007

The moss is really easy, just scribbles and swirls with white and gray on a liner brush.  I paint the roses with a 2" flat brush, and the leaves with slightly smaller flat brush, adding veins with a liner brush.

Darker leaves toward the back, lighter in front, gives the illusion of roundness. The roses should face different directions, not all the same.

There is a tutorial on my sidebar with tips on doing a nest.
Finished banner 011
Layering is important. Make sure it looks like there are items in front of each other.

A few twirling tendrils out the side of the topiary soften the painting.
Banner 007

For the lettering, I used pale grey, outlined with dark brown. On the highlight side, I added a line of watered down white, on the shadowed side, a line of aqua a shade darker than the stones.

Next step, I let the paint cure a few days. Yes, it was dry to the touch, water based paints dry fast. But- I wasn't taking any chances of it sticking together when I rolled it up, so I gave it some time.

To mail it without fold marks, I bought cardboard tube mailers. They weren't big enough to put the 8' high mural inside of, or long enough either, so I duct taped 8 foot's worth of them together, and tightly rolled the canvas around it, then took the roll to the UPS store where they have boxes of all sizes and shapes.
April 030

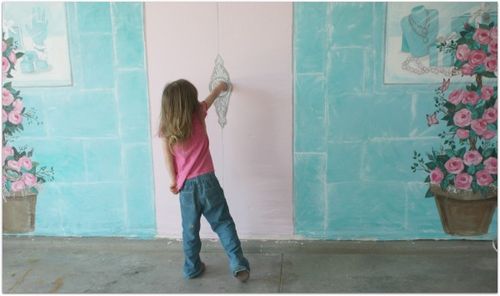
Well, hopefully, when I return from California, I'll have some pictures of my friends and I in front of this storefront! 

For now, I have pics of my own little model whose imagination turned a painting on the wall into a private play house.  Here she is opening the door.
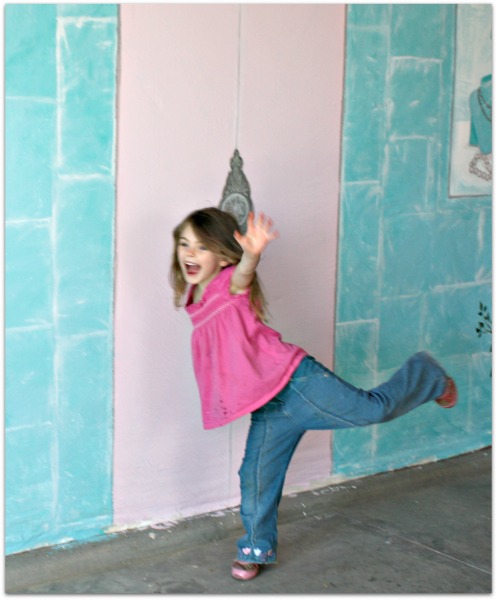
April 020
And jumping out of the door to yell surprise.
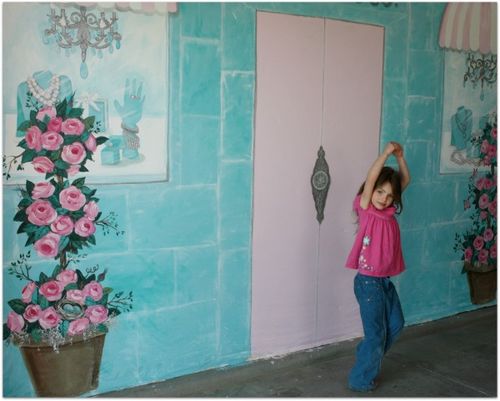
April 024
And dancing through the door.

The pictures I don't have are of her drawing on the door.  Yep, she had some fun with chalk making a picture just like Grammie did. Oh well, it was only chalk and wiped right off, coulda been worse…
A forgotten drawer of pretties and a not forgotten, but delayed Fairy Swap

bird song art event, fairies, flowers, paintings

IMG_7162
The other day, I needed some supplies for a quick sketch to determine the style of a mural I am planning, and had to dig through my painting supplies drawer to find the paper I needed.

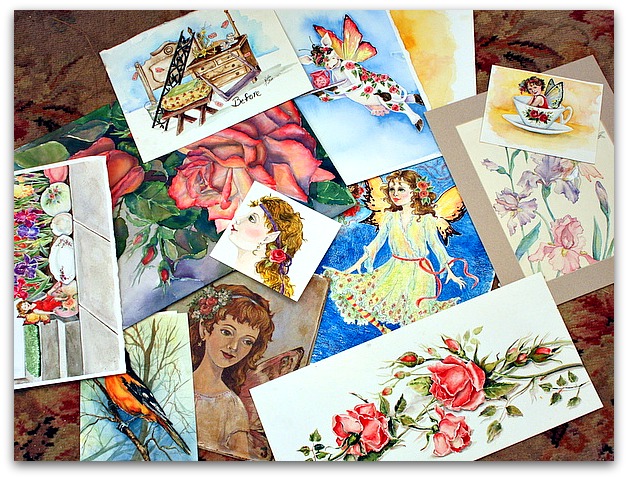
While I was in there, I took a little time to look at some paintings I have stashed away in the drawer. Some I had plans for, some I just did for the heck of it, the others were the basis of cards or something else that was a one time thing.

IMG_7165
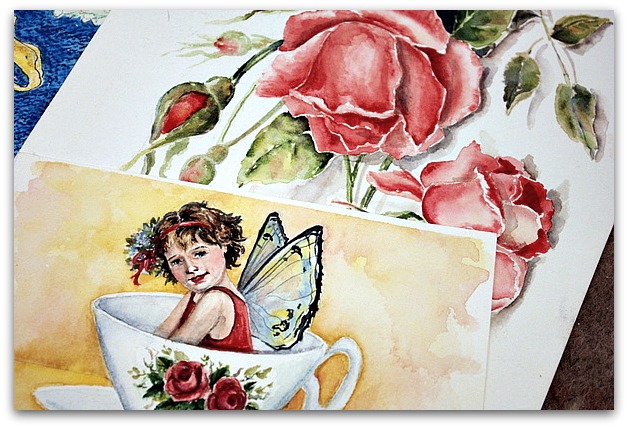
Recognize the roses? They were used as part of my blog design.  I really should frame those, its one of my favorite paintings.

IMG_7166
In the last few years, I have not taken the time to paint like I used to.

IMG_7163
Finding a drawer full of paintings that I'd forgot about brought back a lot of memories.

IMG_7169
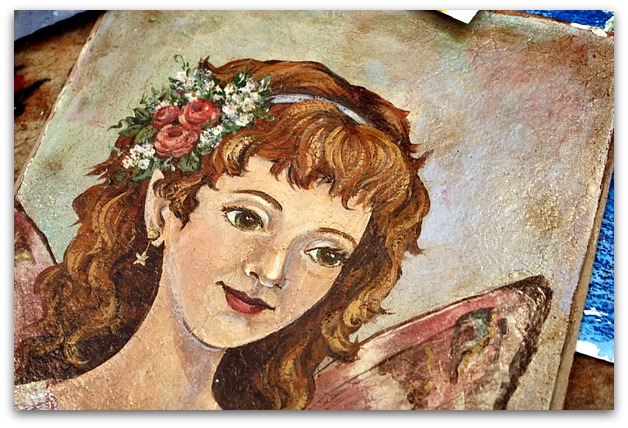
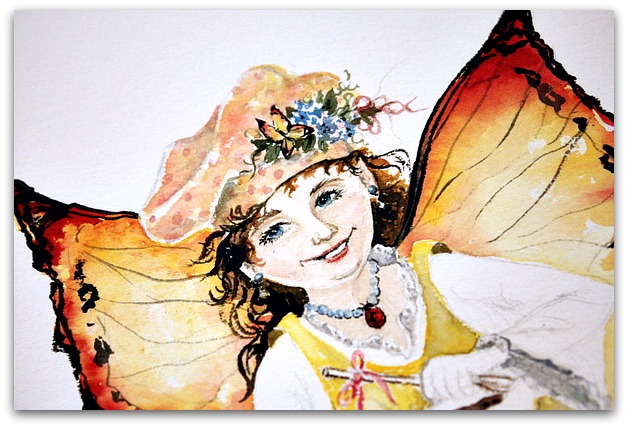
Normally, I finish everything I start, whether I'm feeling satisfied with it or not. Its just  a quirk of mine, I keep going till its done. So I was surprised to find this half completed fairy in the drawer. Hmmm, while I have my paints out, I might just have to finish her. Looking at all of these has got me in a painting mood.

On the other hand, I have plenty of other things I need to get done and I do my best to not get sidetracked with projects that are intriguing but not on my list.  Durn list!  Its pretty long at this point. And adding to it won't make marking things off go any easier.  I'm even considering writing the list down, its getting so long and I dont' think my brain can take holding any more on this mental list of things I have hovering above me like a storm cloud.

Sometimes I think that seeing things written down makes them easier to tackle and less intimidating.

IMG_7248
Writing directions and photographing step by steps for the Twining and Twirling Tutorial, 3 Wire Workshops was NOT on my list. I do tend to get sidetracked and have now spent three days on creating that blog site.  Well, at least I got a lot of nests made for Birdsong while I was at it!

IMG_7137
Speaking of Birdsong, I got the loveliest gift in the mail from Mercedes!

IMG_7138
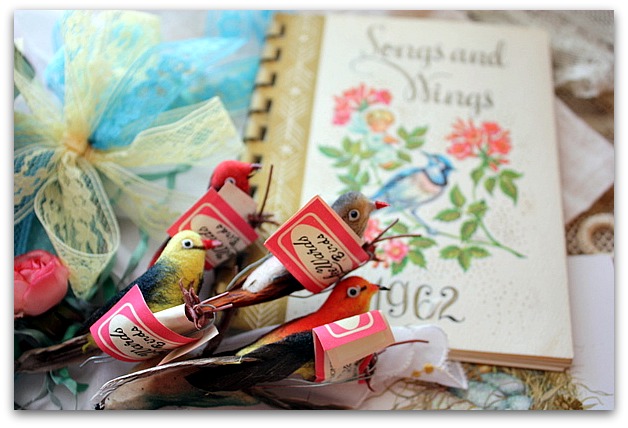
She had hoped to come  to our weekend party in April and couldn't make it after all. She found this box of spun cotton tiny birdies and a vintage date book filled with birdie illustrations, and sent them to me.  I will share some of them with the attendees, and add Mercedes to our Sponsor list on the side bar of my blog.

If you'd like to sponsor something for the drawings or goodie bags, please contact me.

Another new sponsor is Gail Schmidt of Shabby Cottage Studios. She has donated two $25 gift certificates to her shop for door prizes at Birdsong. Her shop is filled with things that the winners will be thrilled to shop through!  Here are some of her sites:

Thanks, Mercedes and Gail!
IMG_7280
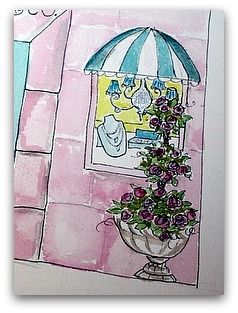
Oh, and the sketch I needed to do for the bigger project, that got me started digging through the drawer of watercolor memories? All done. If I had a list written down, I could cross this off of it!  Here is a snippet of the picture, I don't want to give away the whole surprise.
IMG_7164
On my mind since before Christmas, was hosting a Fairy Swap.  I want to do a book of fairies, and I still plan on doing it.  But so many things came up in my family since the holidays, I never got it planned for this winter.  Now, here comes spring and I'm on the countdown to Birdsong. 

I could probably squeeze in time to do a swap, despite that looming list- but its the space that the packages take up that is stopping me. Could I squeeze those in?
I will be turning my studio into a classroom for 25, and a hundred piles of fairies spread out over it might not fit very well with the students!
IMG_7168
As I have done for Alice, Dorothy, and Birdsong swaps in the past, I'll paint a cover for the theme, copy it, and then embellish each cover by hand and add some nice vintagey pieces.

But for this one, I'm planning something Bigger and Better. Details to come, lets plan on May, okay? I think the fae prefer springtime any way, don't you? Their little wings would be frosty now.

So, please bear with me, I do plan on hosting this swap, and am excited to do it, sorry that I have to wait!

On a completely different subject and one that ticks me off almost as  much as losing Picnik, have you heard that Google Friend Connect is closing too?  I'm wondering, will I lose the followers on that list?  What do you know about it?

If you read my blog on Google Reader, but got there by subscribing on my side bar with Google Friend Connect, maybe you should subscribe directly on Google Reader, or I could just vanish from your list.  I really am not sure what will happen.  But I'd hate to lose you as a "Friend" even though Friend Connect is gone!

Fairy crossing

hand painted signs, paintings

IMG_4124

I was honored when Jenn asked me to help with the decor for her big to-do in Asheville. Her fairy event will be over the top fantastic, as everything she does always is.

  IMG_4128

So, I was so pleased to be a part of such a pretty gathering.  The setting for the event looks beautiful in the photos, but Jenn is  going to fairy it up even more.   I made a few signs to display at the venue.

IMG_4126
When I make my signs, I like to use old wood.  One of these is a small table top, the others are panels from salvaged doors.

IMG_4127
I love it when I can use the existing paint with its chippy patina.   I just give it a light sanding so my acrylic paint will hold, and then a good cleaning, and when I am done, a clear coat.

These were done earlier in the summer, and it was nice to day dream about seeing my arty friends and playing fairy, even though the date seemed so far in the future. But now its here, and I'm on my way as you are reading this.  I'll have a few pre-written posts for while I am gone, so please come on by while I am gone.

IMG_4130
When the event is over, two of the signs will be for sale.  I told Jenn to pick one to keep as a gift from me.

IMG_4125

If you are interested, check back when I return from NC, and I'll let you know which two are for sale. 

 EDIT- This post was written ahead of time, before I left on my trip. I'll have new posts all week while I am away, but might not get to answer all comments or emails, but I will be reading and enjoying them on my Ipad. Thanks for coming by! I hope to add some "Live" posts from the road too.

A few painting projects, a mini tutorial, and some more dust

Kitchen remodel, paintings

IMG_4736
The guys are done!! All the cute workmen are gone, and now the kitchen is all done. Well, kinda. I am painting and caulking trim, touching up walls, and unpacking.  The contractor was just wonderful, please contact me if you are local and need his number. I'd recommend him highly.  His crew was on time, hardworking, polite, helpful and skilled.  Plus it all came in under budget, and we got some other repairs done along the way.

And when he was done, he offered to move all the furniture back in for me!  I took him up on this big cabinet that I fixed up to go in the mud room.

IMG_4743
But the rest of it is all buried under this mess of stuff that needs unpacked and put away.

IMG_4744

And all of that is buried under a heavy coat of dust. I'll be busy for a while…
IMG_4562
Here is a before photo of the step back cabinet that I repainted for the mud room. I traded the white corner cabinet that used to be in the dining room to my sister-in-law for it.   The inside was already covered in nice, old wallpaper, but the color was a bit off for my room.

IMG_4735 Sadly, it was glued on and I couldn't pull it off to save it.  I had to cover over the green wallpaper with another pattern from my stash that matched the room better.  On the shelves, I used some ledger paper that I bought at Roundtop.

IMG_4738
More of the Texas ledger paper was used on the doors, with a medallion of roses from another wallpaper over it.

To paint the piece, I used the technique on my side bar under tutorials.  I brushed on Glidden Gripper primer (bonding) in white, right over the finish as is, no sanding.  Over that, I brushed on a creamy, toast colored glaze, and wiped it off.  Then, I used a rough grit sandpaper to age and distress. 

IMG_4732
Lately, I've been on a bit of a redo roll. I found this little cabinet at one of my favorite antique malls (4 Corners) and touched it up to match the kitchen. I loved the chippiness of it, but it was red, yellow and white, which just wouldn't work. (sorry, no before pics- Bad Blogger!!)

I didn't want to lose the chippy look, but it was really bad, a lot was falling off in chunks, so I roughed it up and got the loose bits off.

Then, I painted it with the white primer.

IMG_4733

 Over that, instead of glaze, I used Minwax poly/stain combined. I have a ton of colors now, since I was trying to find just the right color for my floor and bought multiple small cans to sample.

I brushed on the poly/stain, wiped it off and then let it set outside to dry, since poly is smelly.  I think that this will be enough to seal it and keep more paint from chipping off. I gave the interior a clean coat of plain creamy white paint.

I think I'll use it to house our sprinkle collection.  Sugarwings and I love to bake, and we have a lot of sprinkles, so it will be fun to have those on display in the new kitchen. I can put them into pretty bottles and fill this cabinet up.   It might get some spices in it too.

IMG_4739
Some of you asked to see a close up of the rose topiary cabinet.  It was built by Sugarwings' Daddy, along with all of my other cabinets, and I added the same embellishments to it. You can find them here.

On this one, I added color to them instead of leaving them the color of the cabinet itself.  I used a few different ones to form an oval frame, then painted the topiary inside.  A little piece of the frame got cracked off and needs repair, and I still have to finish painting the trim around it.

IMG_4746
There are lots of little touch ups to do around the room.  The top edge of my mosaic steps needs to be redone, since some of the tiles had to come off to rip out the old floor to get to the wood underneath.  This will be the last thing I do. First, I just need to get stuff painted and clean so I can get the room functional and back to normal.

Sugarwings and I need to get to baking and use some of those sprinkles!


Scroll to Top