paintings

Accomplishments

paintings, Tutorials, vintage paper/collage art

Nest banners

This was a nesting weekend for me. My husband is out of town, Sugarwings is with parents, nothing was on TV that I wanted to see, and I had nothing but studio time! (but I have to confess I couldn't go the whole weekend without snuggles, I had to sneek over to my son's house to hold the baby Sis-star for a while)

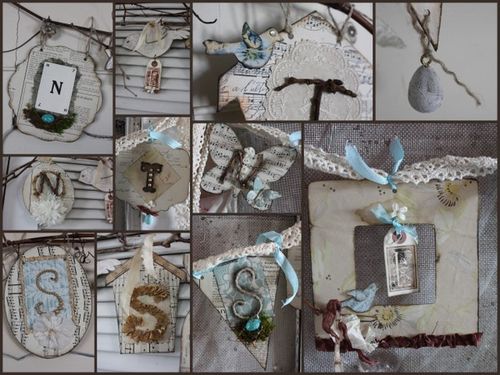
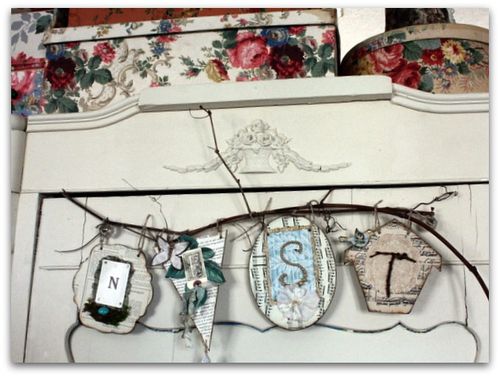
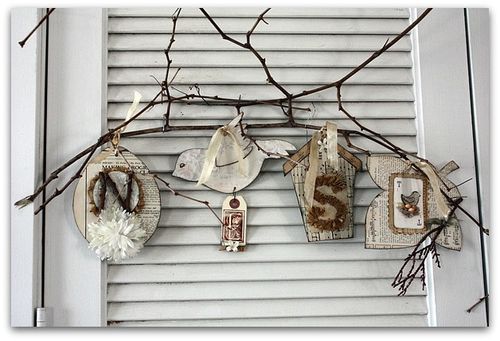
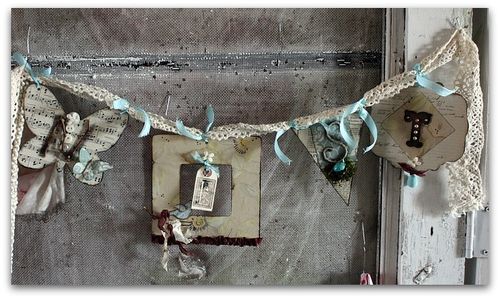
So, I made up two more banners for my Bird Song event this spring.

IMG_8880
My plan for the class is to provide a packet of supplies, and patterns and ideas.  Plus instructions for the different ideas, of course.

I want everyone to have choices for their project.  I'll have lots of examples made up and plenty of pretty papers to work with.

IMG_8873 It will be such fun to see what everyone comes up with. One of my favorite things to do when I attend a class is to walk around the room and see all the ways one single project can turn out.

With this one, the variations will be countless!  I can't wait to see what our 20 students make.

Thanks for your patience in waiting for me to get the ball rolling on this class.  Sign ups are SOON.

Thanks also for your kind words about my worries for Sugarwings. I appreciate all the private emails and messages about your own kids.  We always hurt more for our little ones than for ourselves, don't we?

IMG_8881 After making up all the banner bits, I got busy typing up instructions and drawing the patterns.  I hope I don't get a stiff neck from patting myself on the back too much, but I just have to brag about how early I am getting this done.

I've got all the stacks of vintage paper, wallpaper, tags, chip board, millinery flowers, turquoise bird egg beads, moss, and tons of other goodies laid out on my table ready to make up the kits. 

MONTHS ahead of time!!!!!!!!!!!  Yep, there is lots of back patting going on around here.

IMG_8858

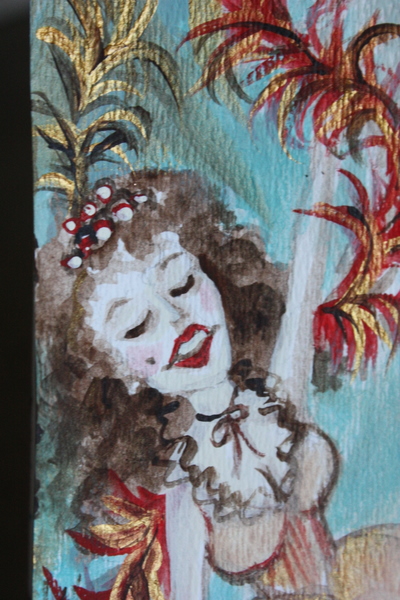
Not only that, but I did a quickie, little painting for the Moulin Rouge event I am attending in March too. Here is a corner of it.

I'm so proud of myself that I am taking the night off now, to go sit in front of the TV with a good movie and a plate of rotisserie chicken from the grocery store.  There is nothing like vegging out in front of the TV with food I didn't have to cook, after a couple of days of hard work. 

A new computer and some old pictures and some pictures I’ve NEVER seen before

paintings

IMG_8648
While I had family members in town who were much more computer literate than I am, I took advantage of their skills and had them help me buy a new laptop.

IMG_8644

Its WONDERFUL!!!!  I'm using it with a docking station so that I have the same keyboard and screen as before, but can now have the option to be more portable.  Plus, this guy is speedy. Wow, I didn't realize how slow my old one was till this new one started whipping through pages at lightening speed!.

IMG_8646
There is a slight learning curve with the update to Windows 7, and moving from Outlook Express to Live Mail. 

And a few little glitches like, I can get emails but not send any….  That will be  an easy fix,I'm sure.  I'll unplug the laptop and take it back to the sweet boys at the Geek Squad who are probably sick of me by now. But I can't go quite yet, my car is trapped in a snow drift and I'm not going anywhere for a while.

IMG_8647
So, I've been cleaning out files and poking around trying to learn this new machine's tricks.  I had to re-download Picassa and when I did, it went a little wild and added dozens of pictures that I'd never seen before.

I don't know where they came from, but they weren't mine. I've been deleting file after file after file of hot rod cars, pin up girls, and who knows what. 

One really weird thing was that there were a lot of photos that looked kinda familiar.  But weren't. Like photos of kids that were sorta like Sugarwings.  And Yorkies that weren't mine.  And pictures of artwork oddly similar to what I do, but that I did not do.

Is my new laptop haunted?

IMG_8649

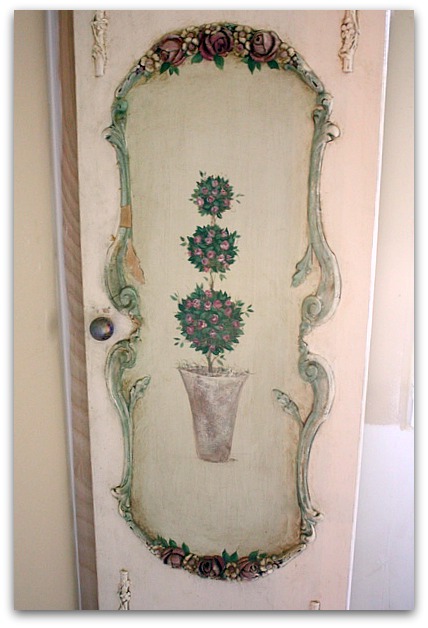
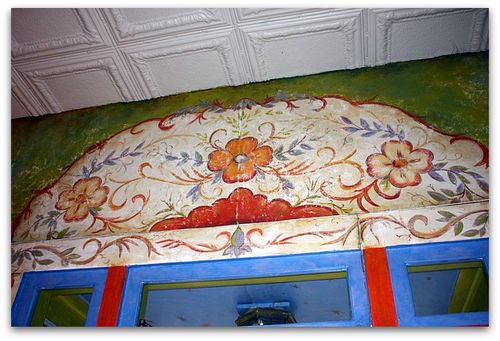
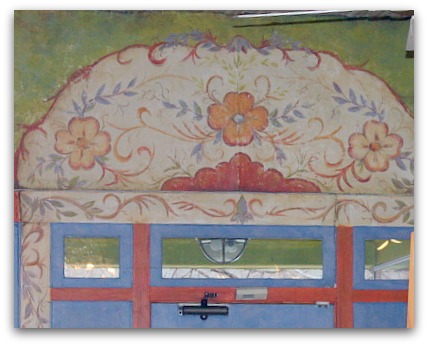
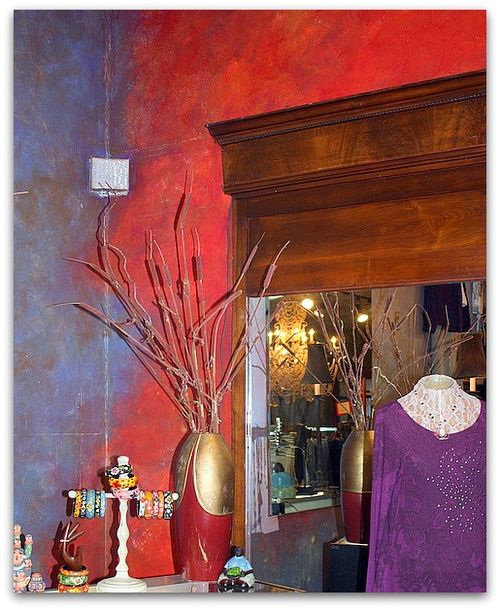
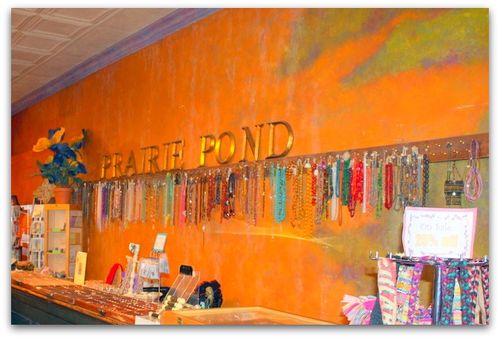
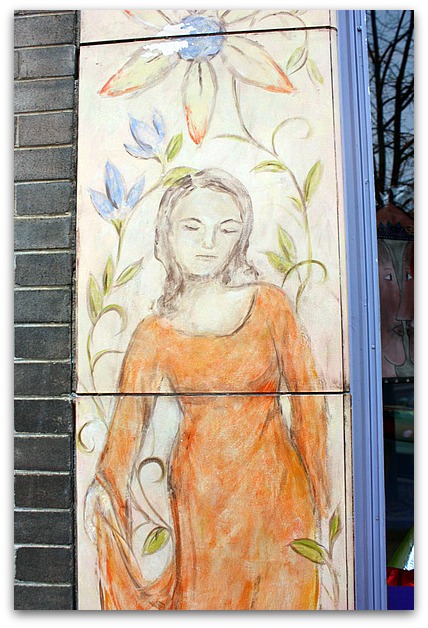
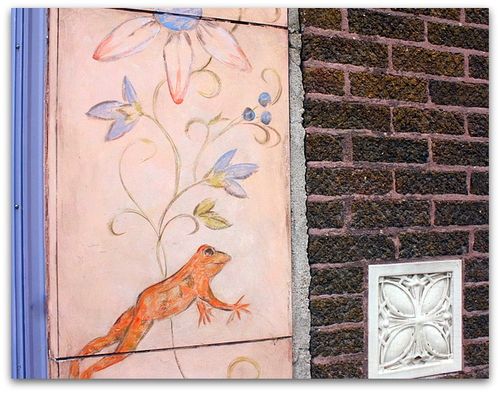
To delete all the photos that didn't belong,  I had to go through all of my pictures and clean out ones that weren't mine.  While doing it, I found a few that I'd taken but never shown. Like these paintings I did at a downtown Lawrence shop. Once upon a time, I was a muralist and faux painter. 

I don't miss all the ladders. It was hard work. 

IMG_8650
So is shovelling out cars from the snow.  Which I'd better get busy on.  Uck. Unless I can charm my boys into doing it for me….  There is nothing better than having adult sons!

Art ADHD

antiques/junking, fairies, flowers, paintings
IMG_4468

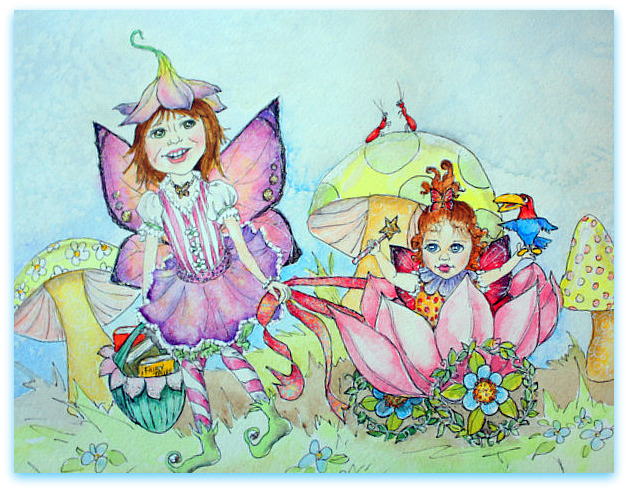
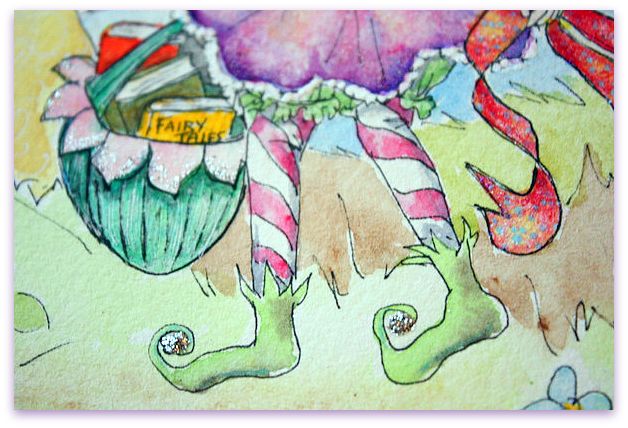
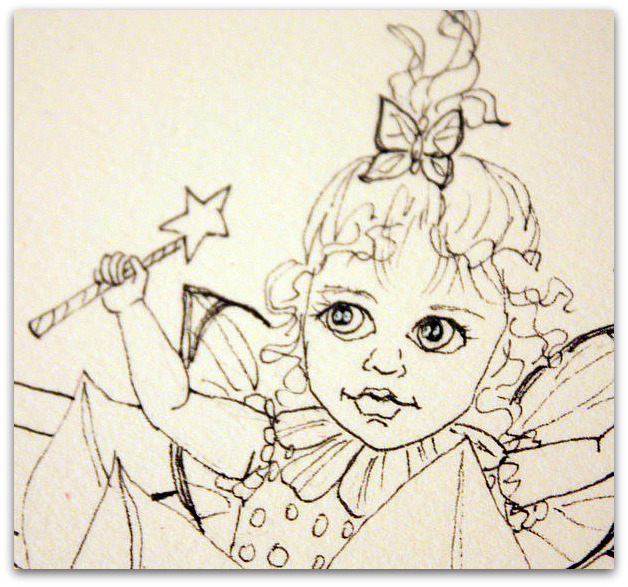
Today, I finished a fairy painting that was more than a bit overdue…. Sorry, Janice! But its finally ready now!!

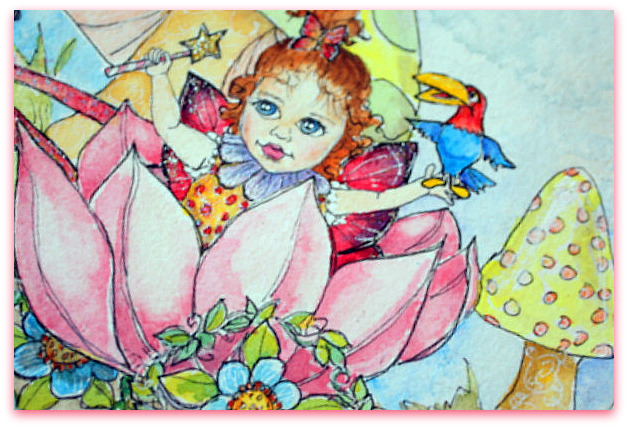
I was given a stack of pictures of these two sisters, and some info about things they liked. The older girl enjoys pulling her baby sister in a wagon, so I put the littlest fairy in a flower petal cart.

IMG_4471
As proper Lawrence, Kansas girls, they both like the Jayhawks. So I added a pet Jayhawk for them.

IMG_4472
And the older girl enjoys reading to her sister.  How sweet is that? So, I included a bag of fairy tale books.

After I have my paints out, I wonder why I don't do watercolor more often.  I think that I should at least leave some paints and brushes on my desk to remind me that I am a painter…. and maybe to incorporate some painting into my collage work too. 

IMG_4481
My interests are spread out quite a bit. I adore working with millinery, ephemera, and well, most things old and pretty. But painting was my first love and I should try to get back to it more often.

Vintage roses 002 

What I really love to paint are flowers. Especially if I make the picture look vintage.  But I do love cutting and gluing, and using cherished old lace, old postcards, WALLPAPER (yummy yummy wallpaper),  and rhinestones in my art too. So, I can't picture going back to painting full time like I used to.  Its just too fun to find cool old things and imagine what they can be made into.

IMG_4483
Plus, the hunt is half the fun.  As much as I love to paint, going to a retail store and buying a tube of paint is no comparison to hitting a flea market to find supplies!
IMG_4499
Even silly things like this.

IMG_4510
And even sillier ones like this!  Life is too short to limit myself to just one style and one type of art.  So, I'll dabble in paint like always, and still flit from idea to idea, playing with ephemera, and making stuff no one wanted into something pretty.
Even though, some days I wonder… if I had stuck with one thing and really worked with it for a life time, would I actually be successful? 

Or just bored?

IMG_4513
If you are like me and love to use vintage supplies, I'm adding these items to the Boutique, with more coming in the next few days.

Older, wiser, more tired

fairies, holiday decor, paintings, swaps, vintage paper/collage art

IMG_4155

Today, I've been working on a little fairy picture.  So far, so good, but now I've run out of time. Its always so hard for me to stop a project midway…. but as I get older, I get wiser. Or more tired? Maybe that is it. Once upon a time, I'd have stayed up all night to finish it.  Now, I know that I need some sleep because tomorrow is a big day. 

The best kind of day, a flea market!
IMG_4151
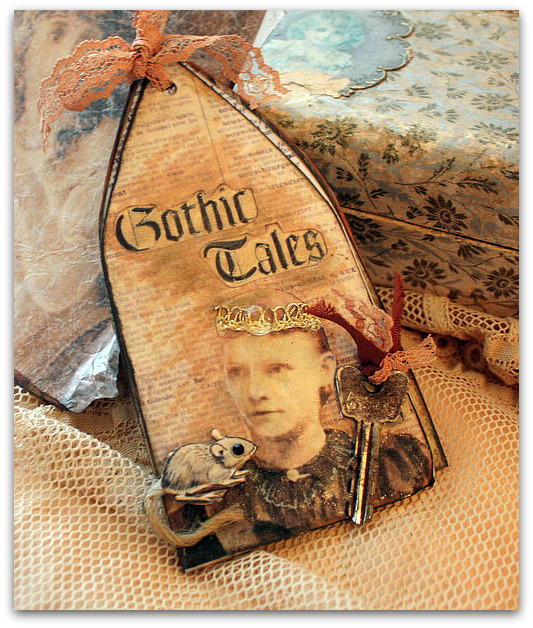
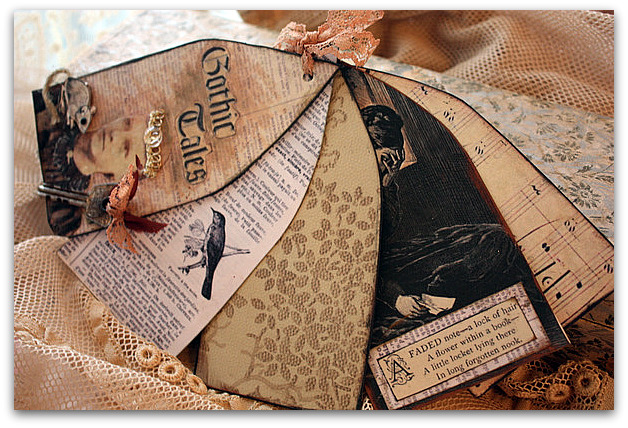
But I did finish this- its Beth's first project for Romantic Gothic Ghosts.  She made this mini journal easy for us, you have the option of following the directions and making it step by step, or just downloading the cover as is and embellishing it! That was my choice. Quick and easy!!

I copied and printed it exactly as she made it, then added inks and marker.  After that, I used "Paper Glaze" on the girl for a bit of a shine and to make her stand out, then I gave her a crown.

There was a mouse on her shoulder in Beth's version, and I turned it into a more 3-D look by printing  the same mouse picture, ( provided in our image collection), and gluing it directly over the other mouse with a bit of folded cardboard underneath to raise it up. It's eye is a little black crystal and its tail is a bit of twine.

After that, I added a key.  One of the images that I scanned and provided was a cool, gothic style key, but I had a bunch of keys on my work table so I used one of those.

IMG_4156
It was easy to finish, I printed some of the papers we had in the collection onto cardstock and cut them out with Beth's pattern. 

Beth's tutorial for the book starts Friday.  Then, over the weekend, we have some Halloween decorating tips coming up.  Information to join the 12 days of classes (including tips, giveaways, and LOTS of good images) can be found here.

This book is in the mail now, to the winner of my August giveaway, Debbie.  I'll offer another one of our projects from the class to the September winner. If you are interested, just leave a comment!

IMG_4157
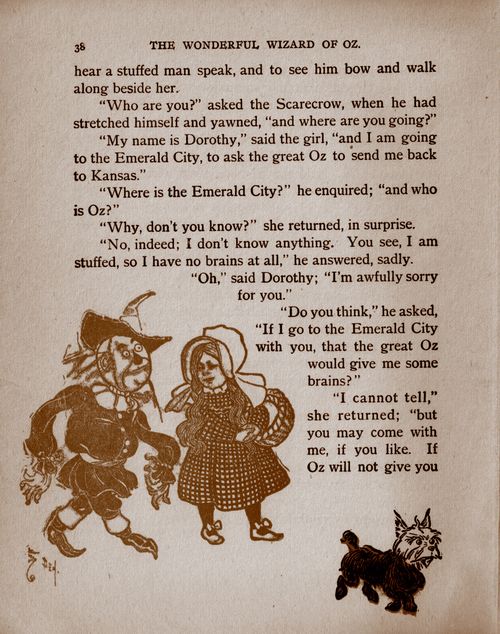
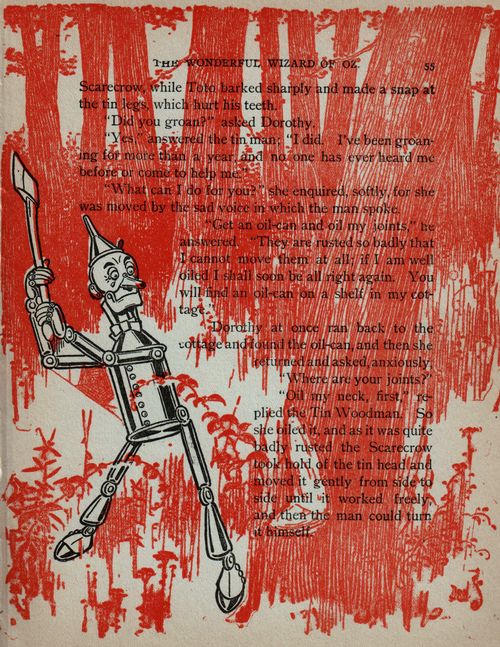
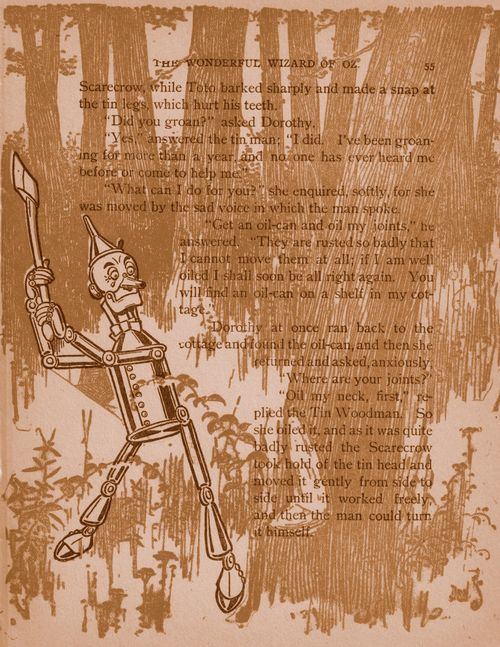
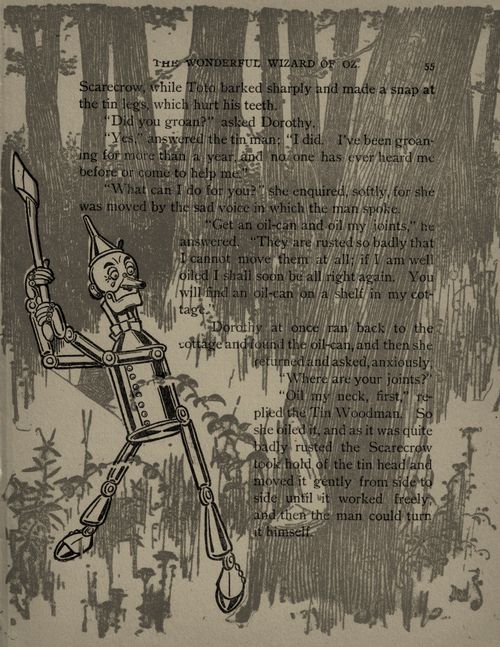
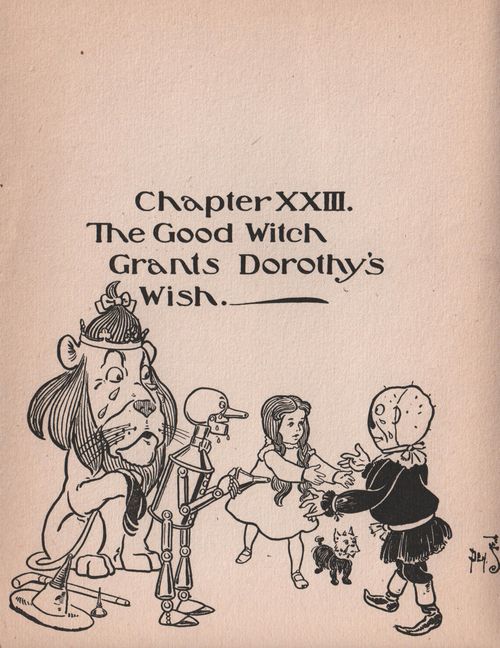
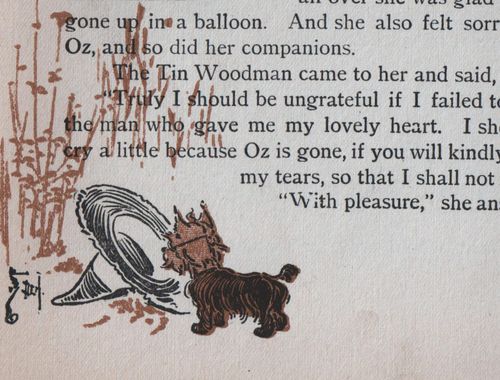
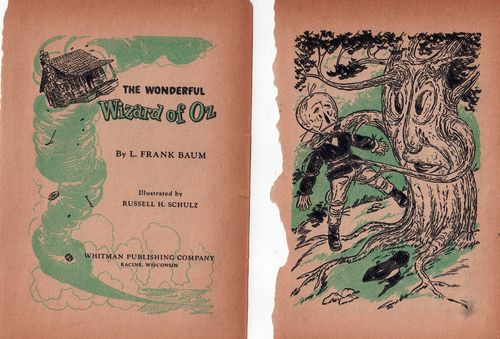
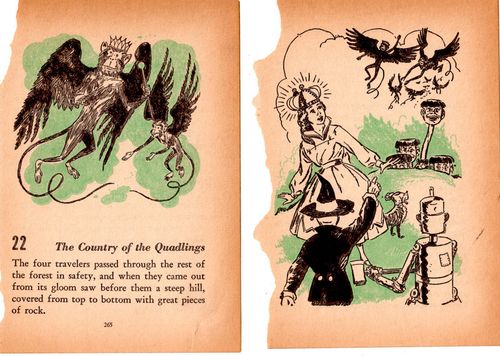
Last week while shopping my way across Ohio, I found another old Wizard of Oz book. Not as old as the first one, and not as many illustrations, but hey, it was only $2! And its pages will be great for wrapping up the Dorothy tag books as I make them up and package them to send out to everyone.

IMG_4160
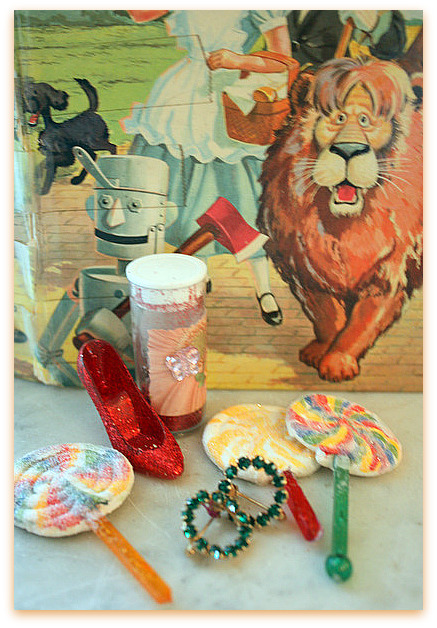
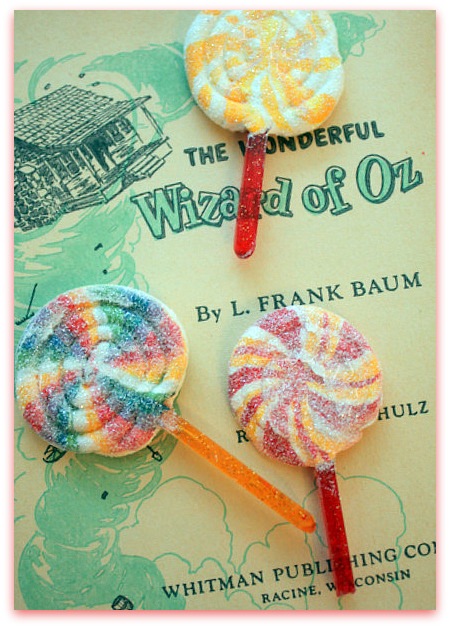
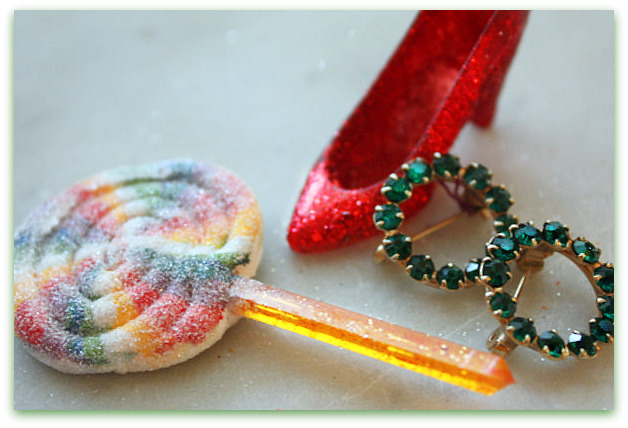
My lollipop charms are done and ready to tie onto the tag books.  I made them with paper clay, stuck them onto vintage stir sticks, then painted and sugared them.

IMG_4159
Some are better than others, no two are quite the same. They are far from perfect, but I think they'll be fun to have on the tag books, some books will get lollipops, some will get ruby slippers.

I'm also looking for "emeralds" to foof some up with.  I found these two pins at the same store I found the book, and they were only $1.  Heck, I couldn't go to Hobby Lobby and buy charms for that. And these are nice, old rhinestoney bits.

Oz 001_picnik

Here are some images from the Oz book I just got in case you still need pictures for your tags. Or just like Oz images, help yourself!  Click on the images to open the pop up window and save that one to your computer to print, it will be a larger version and print more clearly.

And here is a site with free Oz images to use too.  Amy reccomended it to me.

  Oz

Oz monkeys


August Giveaway announcement and some ghosts drifting by

Dorkies (Yorkshire Terrriers), give away, paintings, Tutorials, vintage paper/collage art, yorkies
IMG_3776

Beth came over yesterday for a craft day, and brought Button.

IMG_3737

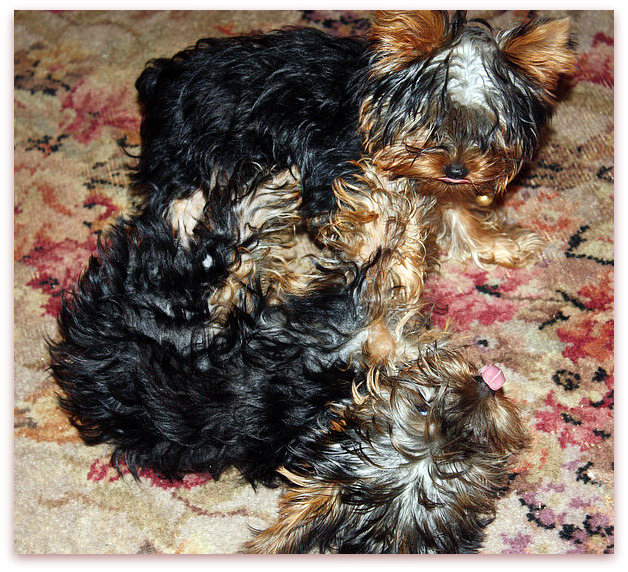
He and Agnes Rosebud were thrilled to see each other, and it was wrestle mania for most of the day. They had some ferocious growling too. Well at least, they thought they sounded pretty fierce, I kind of thought they sounded like a sewing machine.

  
IMG_3761


Beth also brought her projects for our upcoming classes for me to photograph.  Yep, we have decided to do some online tutorials! 

Romantic Gothic Ghosts, for all of us who would love to decorate our homes for Halloween but don't want to put up with orange, purple and black! We will focus on the moody, flowing, dark style of old Gothic romance novels. Think Wuthering Heights and Jane Eyre, and did I mention, moody? 

Details coming- I hope you'll join us.  I've been BUSY scanning and editing tons of illustrations, backgrounds and portraits that we'll provide for you to copy and print to use in our projects. And I have a feeling that you'll find lots of uses for all these images!

Now, I just need to get busy and come up with some projects myself.  I'm behind! Beth had a boxful of great stuff she'd been doing, and all I've done is prep work so far. Now that Sugarwings' birthday bash is behind me, I can get to work on my dark and dreamy creations for the classes.

IMG_3334
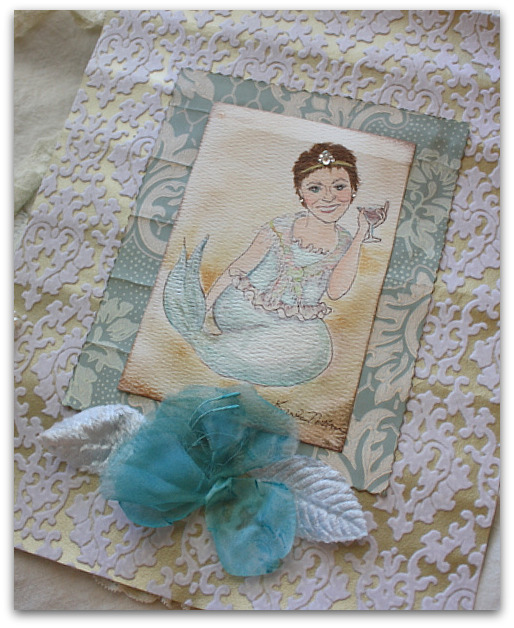
Can you take one more mermaid from me? I've been on a siren of the sea kick for months, haven't I?  But this is something special for my pal, Majia. 

Its her 50th, and Jessi gathered up 50 artists to each do a page in a scrap book as a gift for her.  My page is a watercolor of her as a mermaid "holding court" in the lounge of the hotel we stayed at during Kim's event last month.   Happy Birthday, Majia!!

Now, I'd better go brainstorm and make some stuff for our upcoming classes.  I have some ideas brewing and my fingers are itching to get started.

Please leave a comment if you'd like to enter my August Giveaway.  I'll be giving away one of those upcoming projects. One that is still in my head, so I can't show you any photos yet!


Picnic baskets, puppies, pigtails, and poppies

Books, how to's, paintings, vintage paper/collage art
IMG_3589

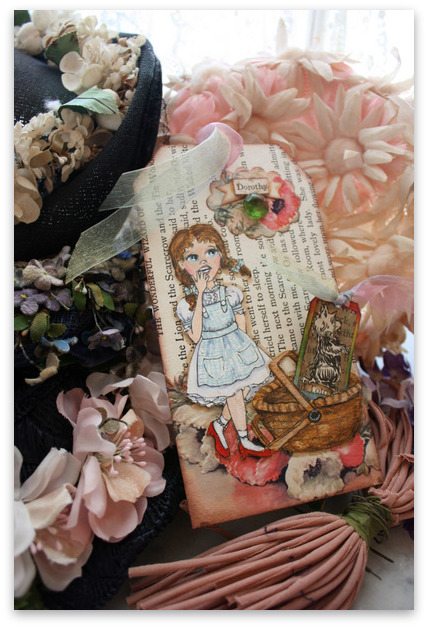
The covers for our Dorothy tag book swap are in process!

I used a page from the old, old book that I had as a background, and added poppies from a vintage greeting card to the bottom, and also used it for the oval shape at the top too.  To the oval, I added "Dorothy", cut from the book too.   And an emerald.  Or a stone that looks like an emerald, at least.

The little girl herself was painted onto water color paper, cut out and glued to the tag, then I did the same with the picnic basket.

(Oh, the hats are from my lastest score, all under $10 each, at my last junking trip!)


IMG_3590

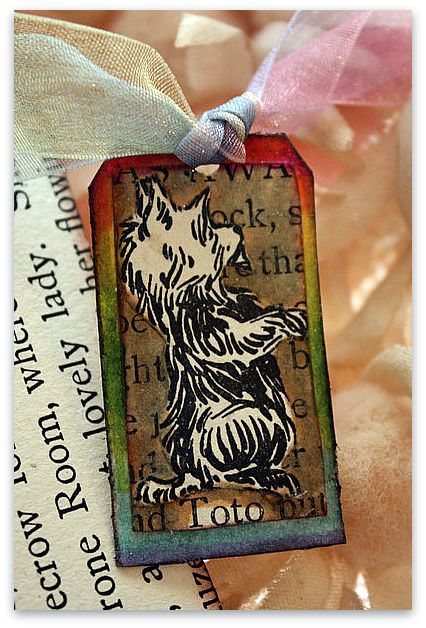
After that, I cut Toto from a page in the book, glued him to some words from the story, and used marker on the text to make the dog stand out more, and glued him to a tag.  I used a handful of markers to make the background look like a rainbow, and then cut a slit into the basket with an exacto knife to slide the tag into.


IMG_3581
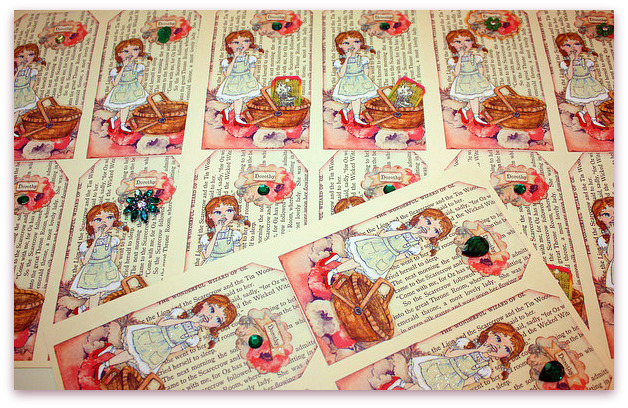
Next, the tags went to the copy store, where I had them put onto ivory card stock.

I guess I got ahead of myself when I said that I was all done with my tags and was sad to be finished. I've still got a bit to do….

Since these are on ivory, I had to brighten the whites with white ink.

Then, I used a clear, glimmer ink on all the blue checked gowns.

I outlined the "Dorothy" banner in brown so it would stand out a bit.

The basket had to have a slit cut into each one to fit the Toto tag into.

After that, I glued an "emerald" under each banner, and sparkled Dorothy's slippers with ruby glitter.

They need to be cut out, and I still haven't found the perfect paper to use for the back of the tags, and the backs do need to be covered, to create a pocket for the Toto tag to be slipped into.  I also need to find the perfect ribbon to tie the books together and to add to the dog tag.

Whew! But the project does go fast. And I enjoy doing them all. 

IMG_3580
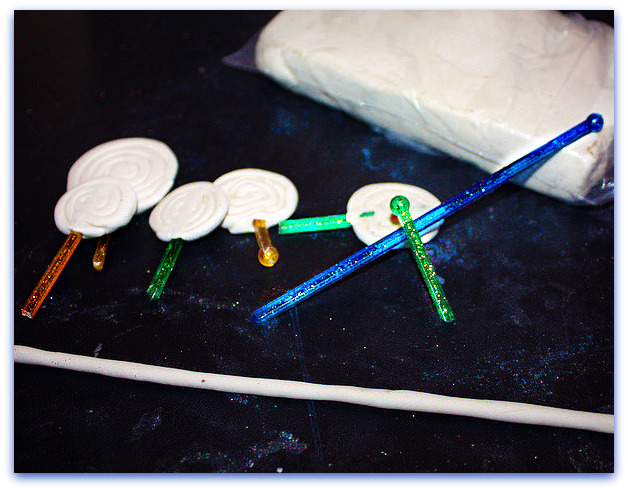
Since I couldn't find enough ruby slipper charms for everyone in the swap, I decided to try to make lollipop charms. 

So far, so good.  I'll have to see how they dry and how they look painted. I'm making them from paper clay, rolled out into a snake, then twirled into a sucker shape and poked onto a vintage swizzle stick, cut into pieces.

After the clay dries, the sticks will be pulled out, dotted with glue and stuck back in.   I'll paint them and tie them to the front of the books with ribbon. Well, I hope it goes well, they might be fragile. That's why I've only made these few to see how it goes before I make dozens.

You have no idea how hard it is for me to be practical and stop, to wait and see if it works!  I tend to go over board and keep going and going and going.  I'm kind of proud of myself for letting this batch dry before filling the world with lollipop charms!

Okay, back to the land of Oz, I have tags to trim and glitz!

Details about the swap are on the side of my blog, click on the button if you are interested in more details and want to join!

Blowing it all away, plus some Oz images and a tag swap deadline extension

Books, celebrations, family, housework, paintings, parties, vintage paper/collage art

IMG_3573

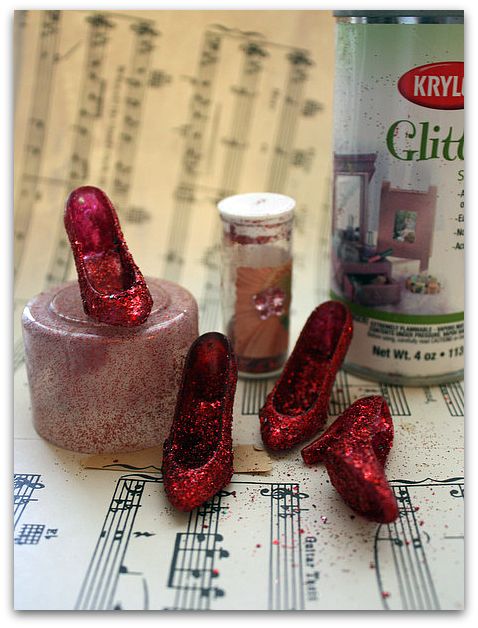
Look what I found on Etsy!  I bought all the little plastic shoe charms that I could find, even though they weren't the right colors. I fixed them by using red glitter spray to get them wet and sticky, then tossed them into a bowl of red glitter.

I mean "ruby red" glitter. 

The first 50 people in our Dorothy Tag Swap will get one on their tag book. For the rest, I need to come up with something else….

The swap is still open, and I've had a lot of people say that because of Back To School, they are swamped. So…. we are extending the deadline.  Instead of Sept. 15th, lets go for the end of the month. You get a couple more weeks to work on them!

Also, we have a flickr group, please join!

IMG_3563
Personally, I'm glad to have the extra couple of weeks too! I've been trying to get ready for Sugarwing's Under the Sea Birthday Splash Party.

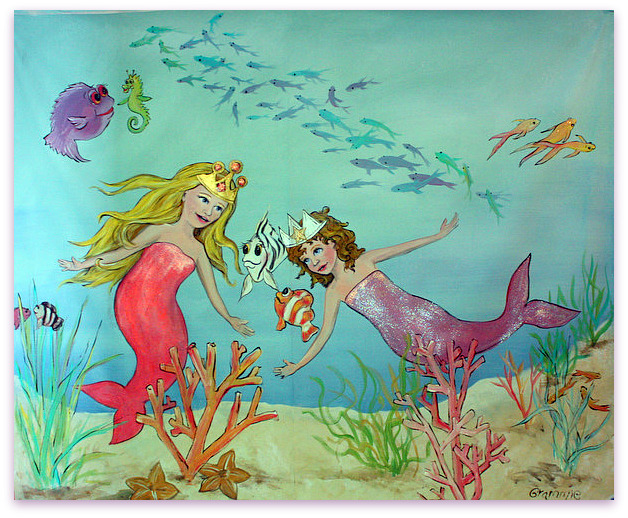
Yesterday, I painted this mural onto a canvas drop cloth cut down to fit the wall above the bed in her big girl room at her Hippy Chic Mommy's house.

IMG_3568
For the party, the mural will be nailed to the side of the house.  I'm setting up a tent for kid's crafts and this will be the decor behind it. 

Years ago, I used to paint murals for a living. It was a goooood living.  But hard. When I'd paint hotels and bars, it usually involved a lot of scaffolding, and that is heavy to move around, plus I have a fear of heights and really detested being up 20 feet  high. The worst thing ever is to be on a LADDER on top of SCAFFOLDING!  It gave me the willies.

Plus, not a lot of Kansans were open to murals.  But gosh, other states love them! When I was painting a public space in Florida, I'd get a ton of job offers and ended up working nights in private homes as well as days on the job I had traveled there for. 

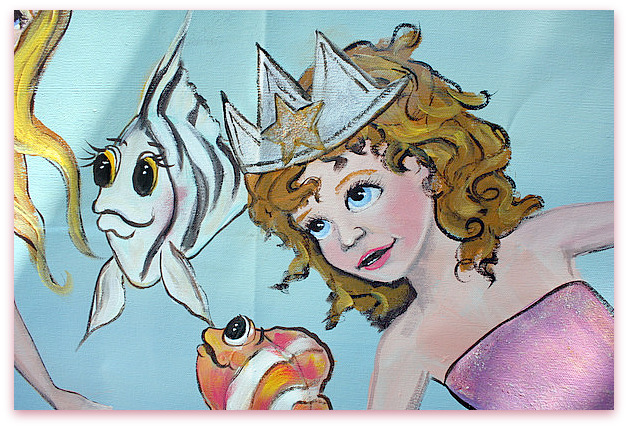
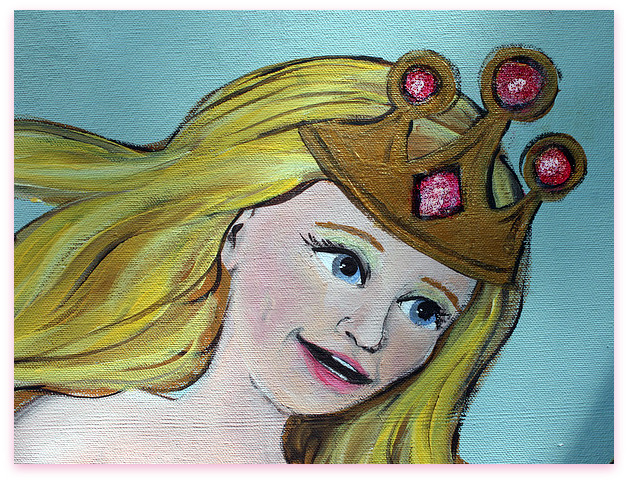
My favorite thing to paint was kid's murals.  One thing I always did was to make sure that each character in the painting had a buddy.   Lots of conversational groupings make the picture more interesting for kids.

IMG_3567
Painting "murals to go" sure is easier than doing it directly onto a wall! I liked using the drop cloth, I could work at my own pace, in my own home while playing with the dogs, snacking, watering the garden and taking breaks! 

I thumb tacked plastic to the wall of the garage, and then tacked up the canvas over it so the paint wouldn't seep through to the wall behind it.  I worked on the scene through out the day and was able to get other stuff done too. 

Sugarwings loves Mermaids, I hope she likes this birthday gift from me!

IMG_3574
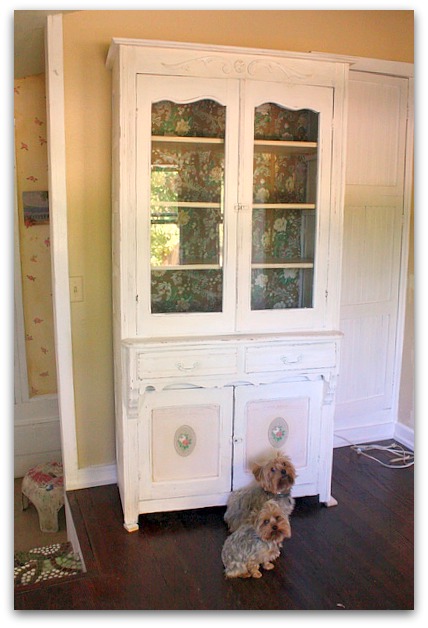
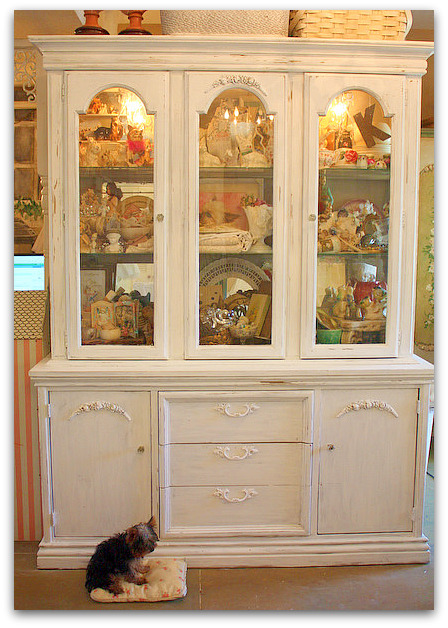
While I was taking breaks from the mural, I repainted this hutch in my studio.  Since I am the one who painted it in the first place, I knew that the top coat on it was water based poly.  So, it didn't need any pretreatment of priming or sanding.  I was able to simply dry brush a couple coats of white satin paint over the existing taupe glazed with brown.

After it dried, I lightly sanded it all for a distressed look.  Silly me, I was too lazy to run to the store to get a coarse sandpaper, and now have a sore arm from sanding with with a fine paper. It took way too much work and too many sheets to rough up the hutch!  I have a bad habit of not stopping until I am done, and really should have just quit yesterday, until I had a chance to pick up another pack of sandpaper. 

Membership 003-1 

Another thing I got done for the party was to get a start on cleaning the studio. Its such a mess and this is spider web season.  Why does my home get so cob webby every single July and August??? This year, it is so bad, I am tempted to leave them, let them spread a couple months and just throw a Halloween party.

Membership 006-1

While I had the garage cleared out to do the mural on the wall, I used the leaf blower to clean the room.  I dreamed of being able to use that to just blow all the cob webs away in the house too.  If I were a minimalist, it wouldn't be so bad, but as a collector of junk, I have too many things that would blow away along with the mess.

I did clean the stair way that goes up to my husband's office with the leaf blower. There was nothing that could be ruined or blown away, and I have to tell you, it was a magnificent thing to do. What a great idea!  I cleaned the breezeway and my car while I was at it. 

Membership 003-2

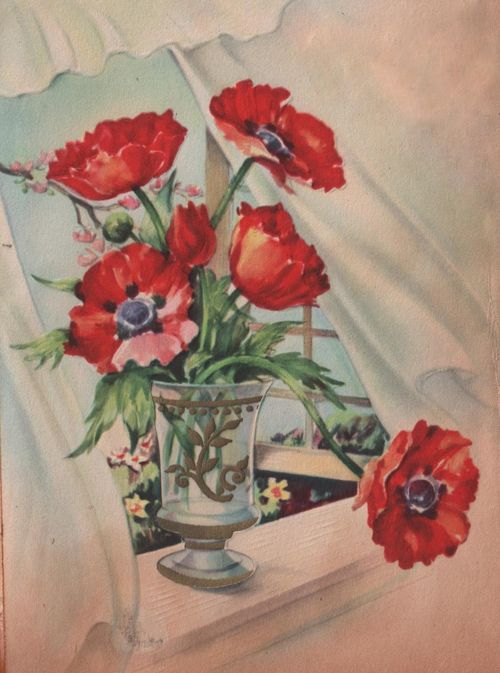
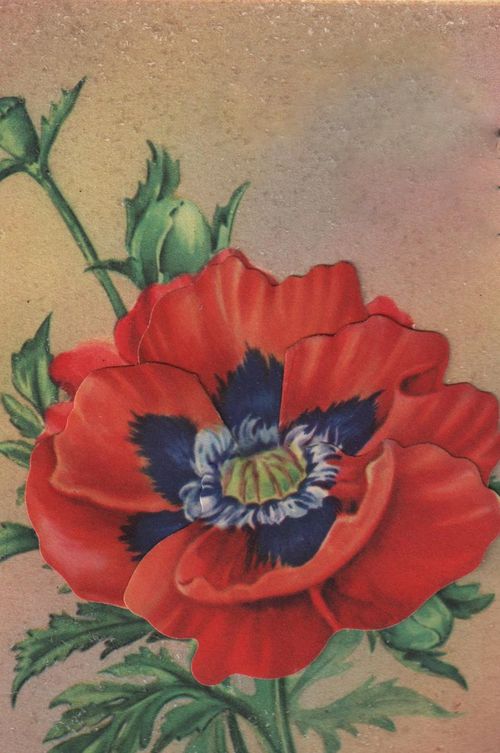
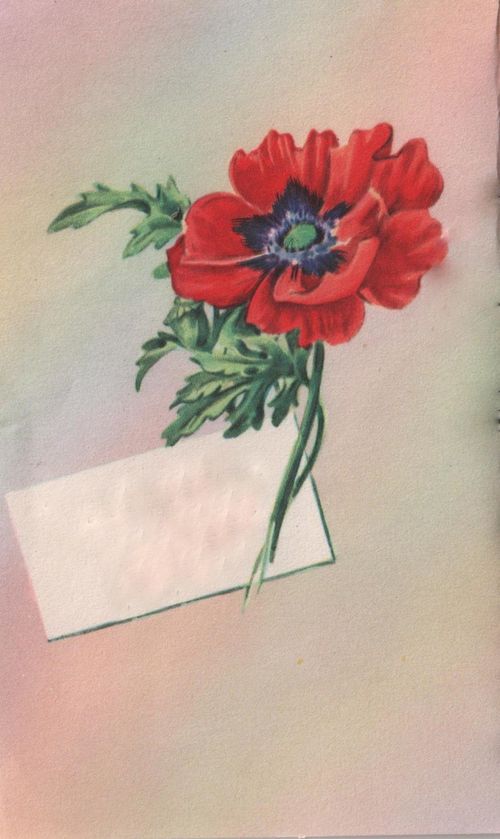
Are you wondering what the pictures of poppies have to do with cleaning my house with a leaf blower?  Nothing at all.

I just thought that you might like these.  I used a lot of these vintage greeting cards with poppies in my Oz tags.

Membership-1

I've also scanned more pages from my 1920s Oz book for you.  You don't have to be in the swap to use them, help yourself if you want some.

All you need to do is click on the picture for it to pop up in a larger size,save, and print it.

Some of these are edited into sepia for you, too. 

Membership 004-3 

Membership 004-4

Membership 004-5
Membership 005-4
Membership 005-5
Membership 007-2
 

Membership 007-3


Membership 005-7

That elusive ZONE

celebrations, paintings, swaps, vintage paper/collage art

IMG_3540

Today, I was in The Zone.  I was at my desk for about 12 hours with no interruptions and nothing to do but make stuff. While still in my jammies. Dogs at my feet, a box of Cliff bars nearby, a stack of ephemera to sift through and create with, what could be better?

These kind of days don't come along often. The kind where you think you might need to get up to turn down the air conditioner and never get around to it. The kind of day when you think that maybe you need to get up for a glass of water, and two hours later realize that you forgot and are thirsty enough to drink glue.  The kind of day when you know you have a million errands to run and that you figure you'll make just one more thing before you do them…. and a few hours later, you just admit that the chores are going to wait till tomorrow.

These are the kind of days that I treasure because I know they are rare.  Usually life gets in the way of slipping into the zone, dinner needs to be fixed, or laundry folded, appointments kept.  Not today. 

Today, I made stuff. 

I felt like I sat down to work about 3 hours ago, not 12.  That is what The Zone is all about. Losing yourself in your work.  It doesn't matter what you make, its just making it. 

Tonight, I'm stiff and tired and I think I might stink (remember the air conditioner that I never turned down?).  But what a day!!

Pretty names

Dorkies (Yorkshire Terrriers), family, paintings, parties, Sugarwings, We're having a party, yorkies
IMG_1177

Thanks to all of you who signed up for our Dorothy Tag Book Swap! There is room for plenty more, if you haven't joined yet, please do.

I added pdfs of images from my 1920 Wizard of Oz book to the previous post, where you will find details about the swap. Even if you don't join in, please use and enjoy the images. I'll be posting more images in future posts as I get them scanned.

Maybe they will give you some ideas… I hope something gives me a few. I jumped into this swap without a single idea for a tag!

IMG_3463
Maybe because I am still knee deep in mermaids, its hard for me to switch over to Oz.

IMG_3465
This is for playing "Pin the Shell on the Mermaid" at Sugarwing's 4th birthday party.  I painted it on foam core board, and added lots of glitter. (why doesn't glitter ever look glittery in photos??) We'll tie a bow on a shell and stick a thumb tack to the ribbon, then kids can try to get the shell on her necklace.

Today while looking over the list of kiddos attending, I was struck by how pretty all the names were.

Look at these unique names!

Leandra Joy

Gaea

Baila

Lillie

Madison

Sarah

Adeline Grace

Lizelle

Finn

Clover

Calliope

Amadeus

Cohen


IMG_3468 

Today, I also finished my air clay mermaid, to go with the ones I made in Jenny Hernadez's class. I'll use these fishy gals as decor on the buffet, not out with the kids' stuff. 

IMG_3466 

There are some other shell decorations for the party, that I have a feeling the little ones won't appreciate as much.  So I'll be using the shell art that I got from Kim on the grownups table.  The kids get Ariel and pirates.

ttp://artisticbliss.typepad.com/my_weblog/2010/06/a-few-spots-still-left-.htmlIMG_3469 

Finally, I might be getting burnt out on making mermaids.  When I got to the base of this, I was sick of it, and just glued wide satin ribbon around the box, with a smaller ribbon and a shell brooch over it. I'd spent enough time on it already, so finished it quickly.  The boxes under the ones I did in Jenny's class were loving covered in vintage wallpaper and properly foofed. This one is just "completed" and that was enough!


IMG_3471

There is still a banner to be painted for the party too.  I want to do an under the sea themed canvas for Sugarwing's new room. She and her Hippy Chick Mommy just moved to a new place, and I wanted to do a painting for her as a gift. I'll nail it to the side of my house for the party, it will go with the theme.

My little fairy baby loves mermaids, even more than fairies. I nicknamed her Sugarwings before she was old enough to know what her likes and dislikes were going to be.  But "Sugartail" just doesn't sound very wholesome, anyway. 

IMG_3443
That little girl loves to play in water, summertime and garden hoses are great for her.  Poor Agnes Rosebud isn't as fond of watersports. You can tell by the look on her face that she knows that a cup of water is about to be poured on her again, and she is resigned to it.  You can almost see the plan forming on Sugarwing's face too.

IMG_3434
And its not such a bad thing on a hot day to be a bit wet. 

By the way, have you seen "Dispicable Me" ?  The cutest little orphan is named Agnes! Maybe this will become a trendy name.  I hadn't heard that it was a popular one, have you? My dog is named after my grandma.

The little girl from the movie kind of looks like my Agnes Rosebud too. Here she is, its about 4 seconds, so look fast.

A Rosy Redo

antiques/junking, Dorkies (Yorkshire Terrriers), flowers, paintings, redos

IMG_2903

Now that we are in the midst of summertime, I felt like the living room needed to look summery too.  I took my background of creamy whites and added a blooming garden of roses to the room with just a few touches in about 15 minutes.

The first step was taking down the Shabby Chic cream velvet curtains (from Target) and putting up these vintage curtains from a garage sale.  They had pleats at the top, that I had un-stitched with a seam ripper last year, so that step was already done ahead of time. 

These curtains are different lengths, but who will know it with the sofa sitting in front of them?

IMG_2909

In the past, I had done this room with browns and had made this sofa cushion seat cover.  I've got a few extra covers lurking in the back of the closet for when the mood strikes me. I don't cover the whole couch, just the seat and pillows. Making them is as easy as making a pillow case, and I am NOT much of a seamstress.  I keep them simple, by not using zippers or buttons, I just sew ribbons to the back to tie the cover shut.

(I've also just wrapped the cushion in a pretty quilt before too- that works if you don't have teenagers around. Teens just kind of DO things to destroy a couch. They sit HARD)

I also keep a stash of pillows in the linen closet for trading out too.  A floral pillow goes a long way towards brightening a room.

I added a dinner napkin (with roses) to the little table, and a retro kitchen table cloth to the side table, along with a plate, and a small botanical print.

When my son walked into the room, he told me that I had a "lot going on" there.  Yea, I know. That is what I like about it!  Its an explosion of lots of roses ranging from pale pink to cherry red.

IMG_2915
The fastest way to add some color to my white room was to set out some fresh cut flowers from my garden.

IMG_2917
And I already had a white millinery bloom tied to the lamp shade. I just slipped a pink rose in on top of it.

IMG_2913
Over the years, I've had many colors on my walls, but I think they'll be like this for a while.  I've washed them with layers of glazes in colors ranging from ivory to deep tan, with hints of gold and bronze.  I feel like its a good background color to anything I add to the room. 

Keeping the basics of the room neutral means that I can add splashes of color here and there and have a whole new look in a matter of moments.

On the TV cabinet, I draped another rose curtain and added two rose plates and a tray to what was already up there.

IMG_2912
On the other side of the room, all I needed was a couple of throw pillows on the white chairs and 2 vases snitched from the guest room.  Oh, and a table runner that matches the dinner napkin that I used on the little round table. I'm not a fan of matchiness, but this is what I had handy.

IMG_2898
There are always hints of roses in every room of my house, like on the floor mat that I painted to set the dog dishes on, and the table and small hutch that the dog bed is under.

But even with some roses here and there, the room was predominately white and cream, and these pinks just became background until I added all the rose patterned textiles. Now, this stuff seems to stand out too.

IMG_2931

The dog's bed is a lid to a Rubbermaid container that I put a pillow on.  By sitting the pillow (in a washable sham) on the lid, it keeps it up off the ground in case the puppy pees on the floor, or Twinkle steps in the water bowl and spills it, or some other of the millions of ways that the dogs mess up the floor and would get their pillow wet.  I look for shams on sale at TJMax, sometimes I can find them for under $3.

And by slipping the bedding under the table, the dogs feel like they have a cozy den to hide in, and I have a bit more space.

IMG_2923

As much as I love my creamy whites, I just need an infusion of color now and then.  Plus, I just enjoy a change of scenery. I have some old, powder blue toile curtains that are nicely aged and slightly yellowed that I want to try next. Especially if I find some pretty bark cloth rose material at garage sales this summer for making pillows. 

Geez, I just redid the room today and am already thinking about the next one? 

Yep, that is what makes it fun! The planning and creating and the thrill of the hunt for new bargains.

Scroll to Top