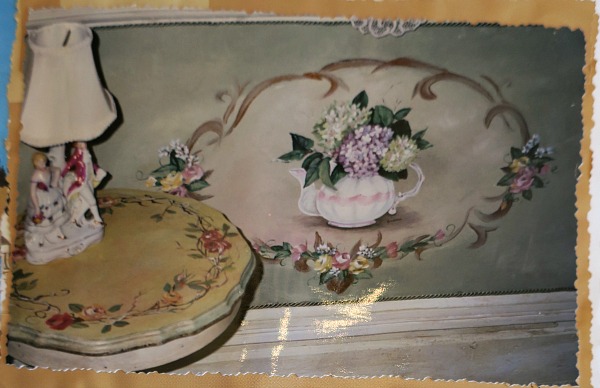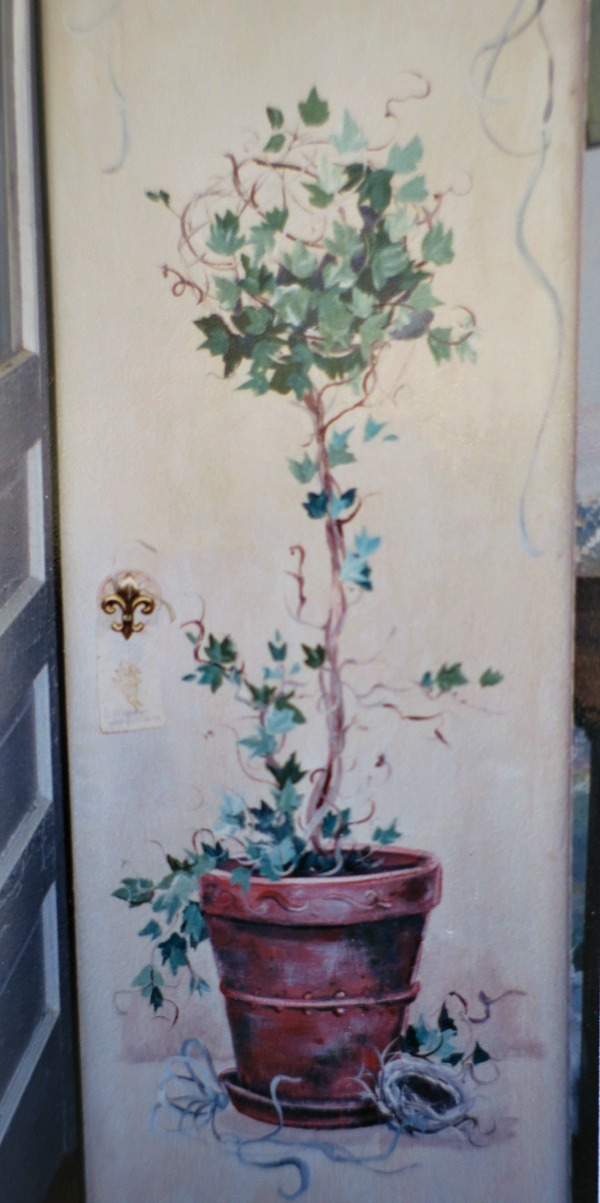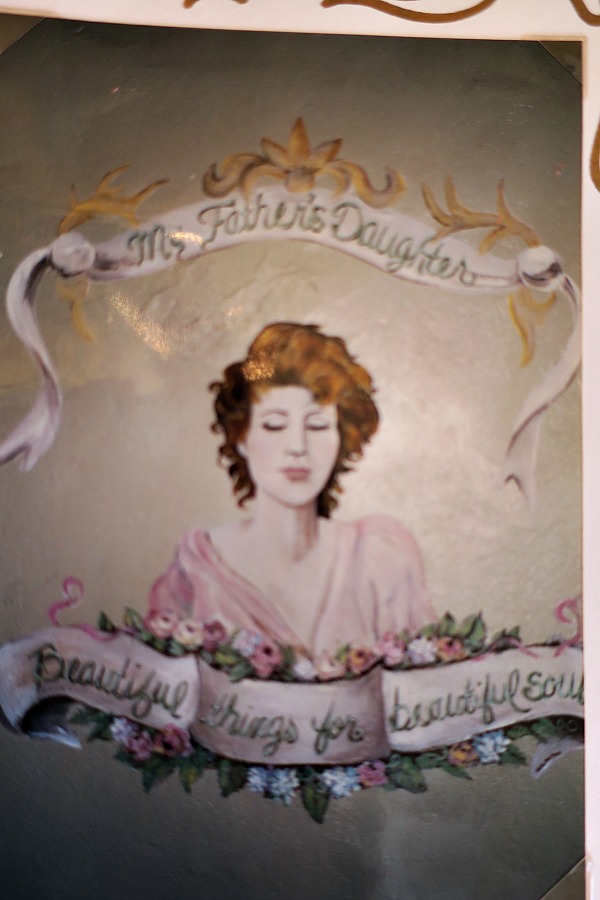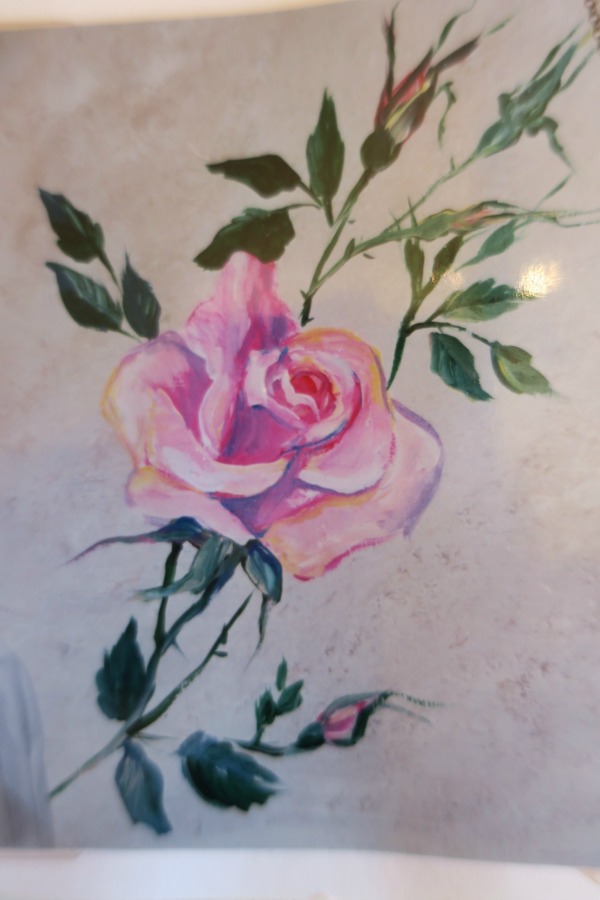
paintings

Painting smoke detectors

cottage, paintings

IMG_3078

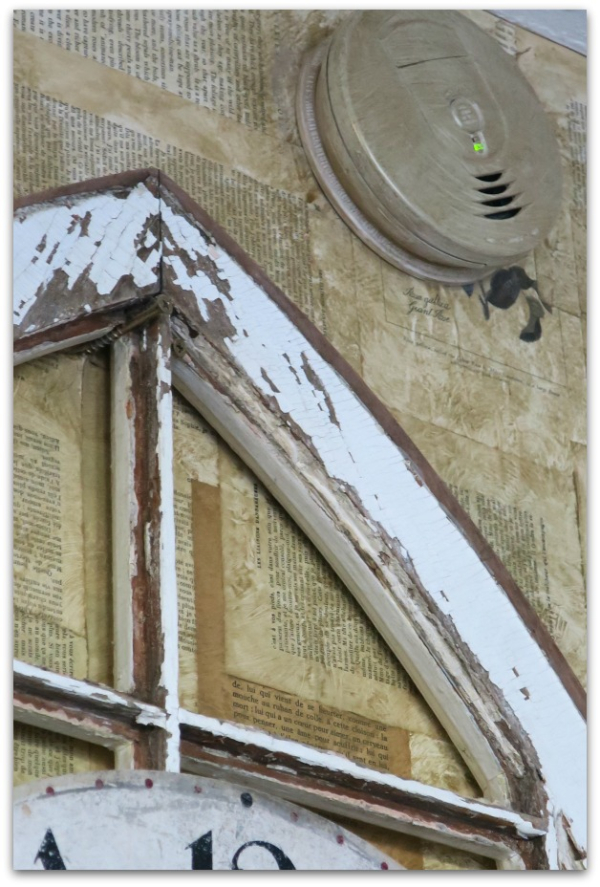
When we added the new room last year, and had an electrician around, I had him do some updates here and there in the rest of the house. One was replacing smoke detectors.  This one was white when installed and I ignored it for a year, much like the one up high in the 15' peak of the space we built.

I don't know why I didn't fix it right away. It is such a simple thing to do.

The trick is to not paint very heavily. I use a chip brush dipped into my paint, then wiped off slightly to have a dry brush effect.  Lightly, lightly, with barely any paint on the brush, I daintily add a little color to the detector.

Then let it dry, and do it again, slowly building up tint.  But not clogging or blocking anything.

I can promise you that the appliance still works, because when I burn cookies, it screams at me, even with a coat of paint on it!

IMG_3080

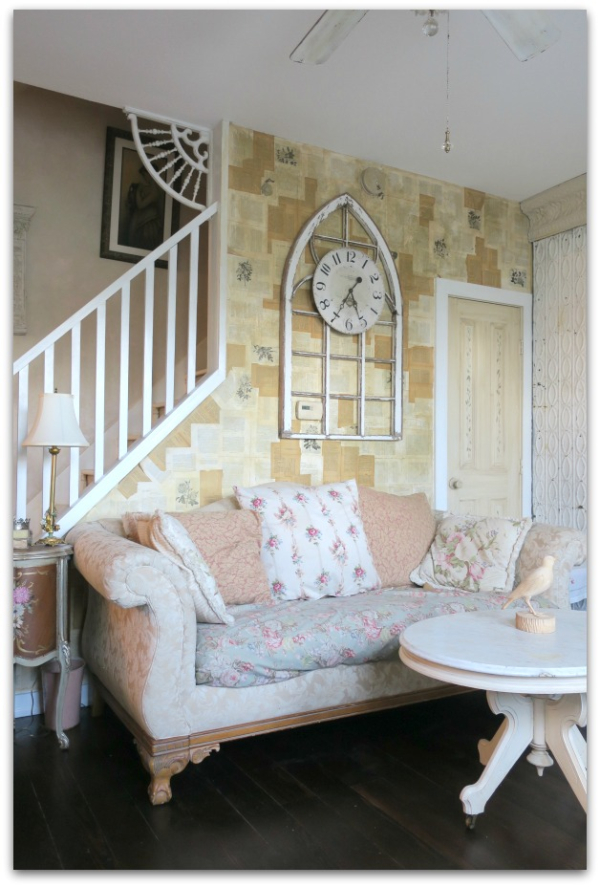
And it almost disappears on the wall now.

IMG_3082

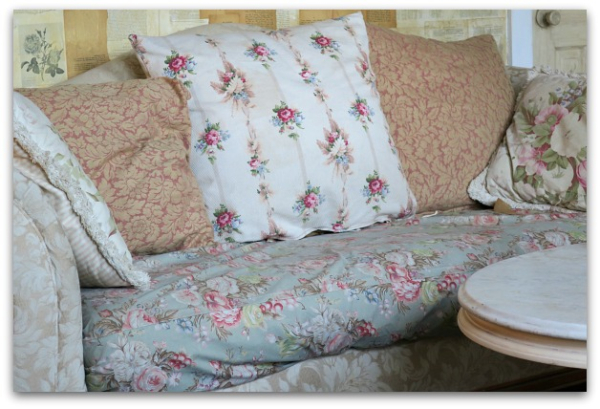
The new slipcover, is actually a duvet cover.  It is too big so is tucked under the cushion, but not in a very tidy way.   I still love it with the soft tones of my vintage fabric pillows.

 And since I'd washed the previous slipcover on the steam setting of the washing machine (oops!) I needed a quick replacement and had no time to sew.

Hopefully, everyone will be gazing at the new and improved smoke detector and not even notice the messy job I did.

HAHA!

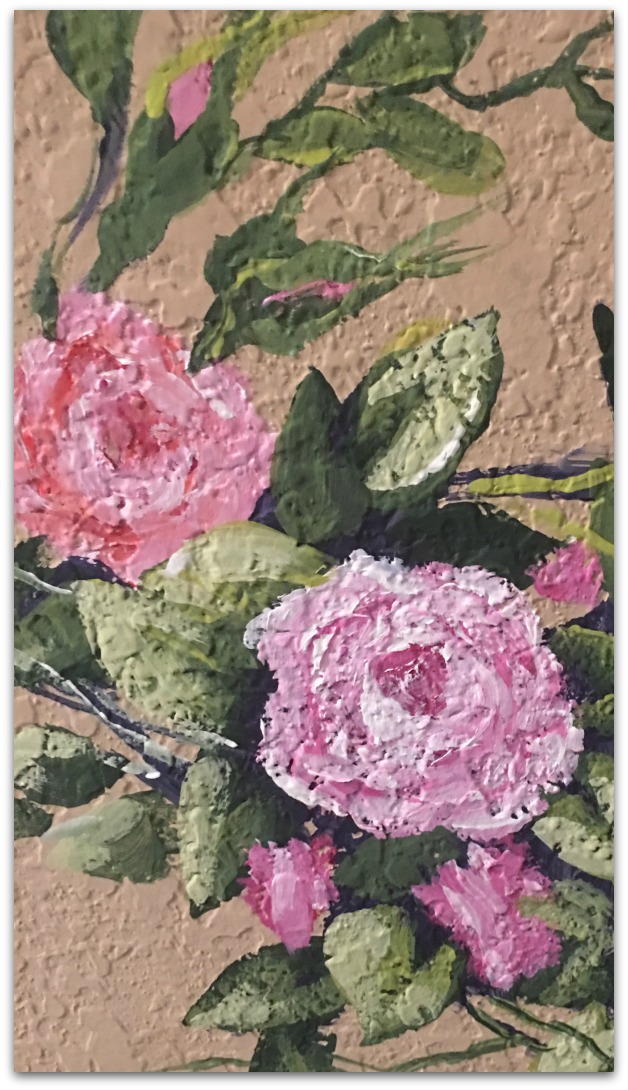
More roses on the wall

flowers, paintings

IMG_3031

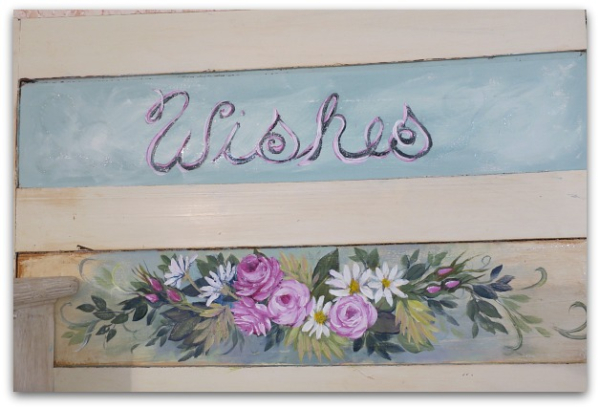
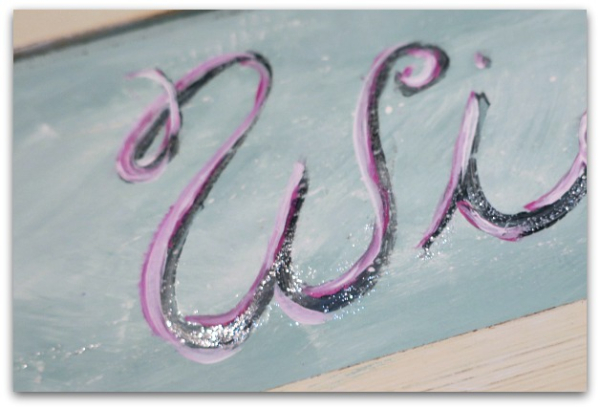
While I had my paint brush out, I thought I'd do a few more flowers.  This "WISHES" sign is done on an old cabinet door.

IMG_3032

The word seemed to call for some sparkle.  So, I accented it with silver glitter.

IMG_3035

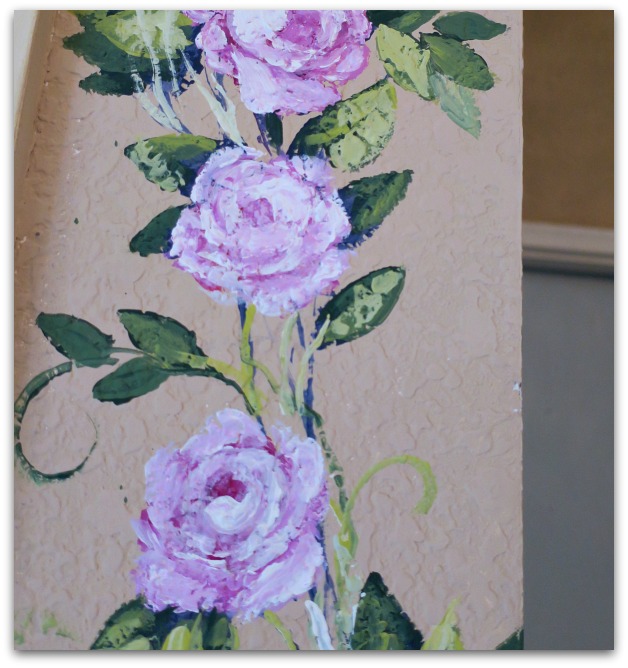
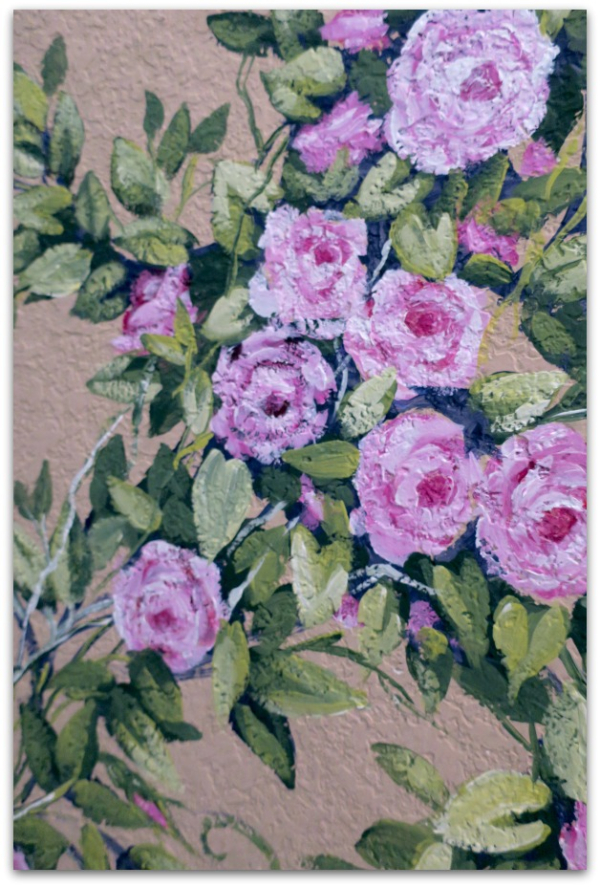
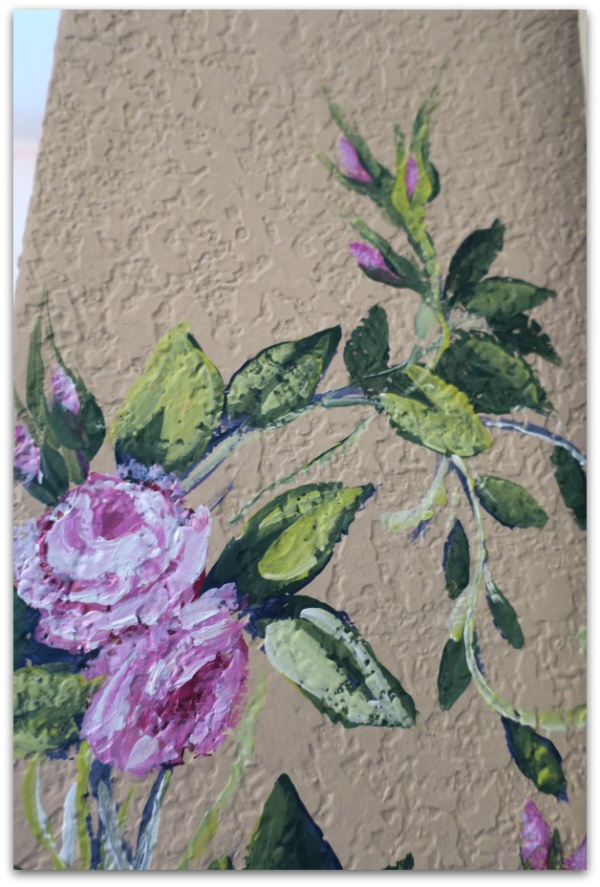
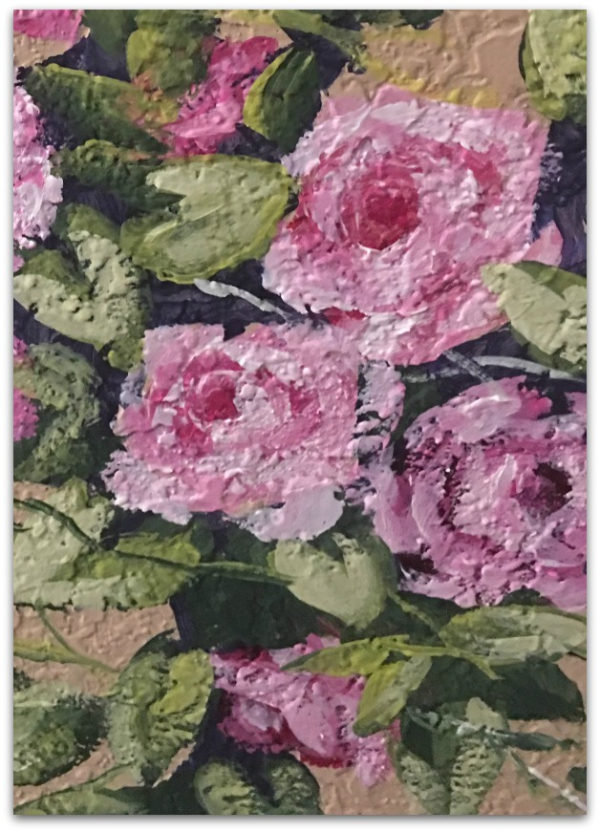
Here are some close ups of the rose vine I showed in my last post.

IMG_3036

I hated to put away my brushes and paint, but it was time to move on, I have a lot to do to get ready for the holiday season, with Snowbirdsong coming up as well as a Christmas home tour.

IMG_3038

Both of which I am looking forward to, but it was still hard to stop painting!

IMG_1470

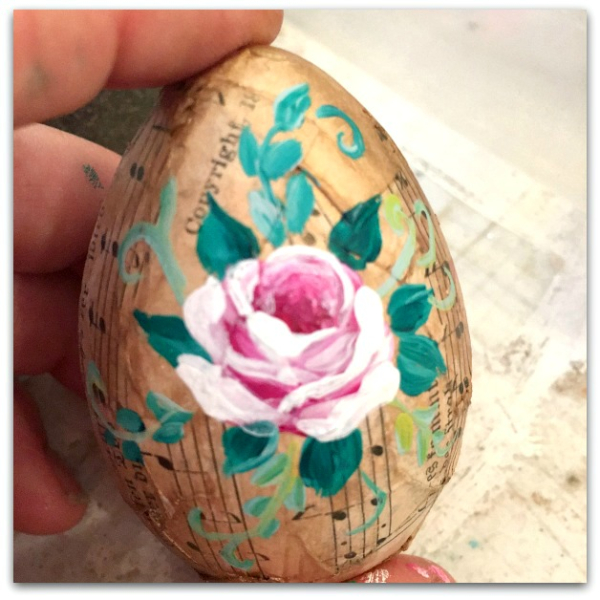
Although, I do have a few more of these egg ornaments to do, so it won't be put away for too long.

Hand painted roses

flowers, paintings

IMG_2128s

Last year, I dropped a quart of red paint in the studio.  It splattered so far that I am still finding spots I didn't see before.  

What a mess!

I cleaned up as much as I could, touched up paint on doors, cabinets, etc, and ignored the main sploosh that went up the wall and onto the ceiling, it was too much to face.

IMG_2126

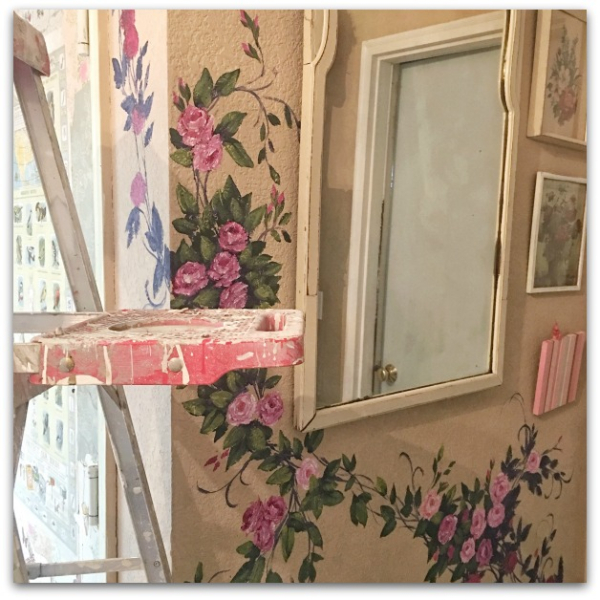
Eventually, I knew I had to deal with it, but since I didn't have any more paint in the wall color, it would mean that I  had to repaint not just this red splotch, but the entire west wall of the studio, behind the computer, my storage, and the big, heavy, wardrobe I use as a treat cabinet.

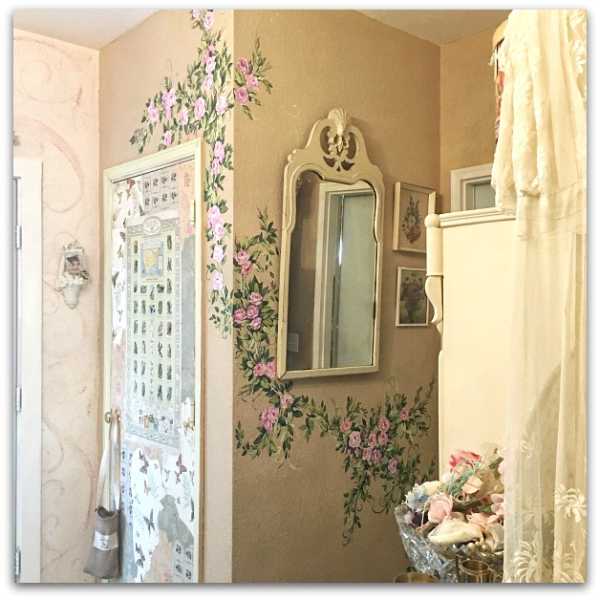
As nice as fresh paint in a new color would be, I decided it was too much work. So I painted over the red blotches only.
IMG_2127

And I am happy that I did!  I really like having a rose garden in my workshop.

While the ladder was out, I touched up the red freckled ceiling with white, so everything looks tidy again.

IMG_2128

Now, I just wonder why I lived with that ugly bunch of blotches for that long before I thought of this save.

Festival Faces

family, paintings, Sacred Circus


There is a 50% off sale in the Boutique!!! To access the bargain prices, type in

LABORDAYSALE

 at the checkout, and hit "recalculate" and watch the amount drop in half.

I'll be out of town and away from my computer and out of touch for a few days, so shipping will be next week.  Please remember that the postage prices will be adjusted when I get the actual total from the USPS as I box the goodies up to send to you and I will refund excesses.  
www.karlascottage.com


IMG_2867

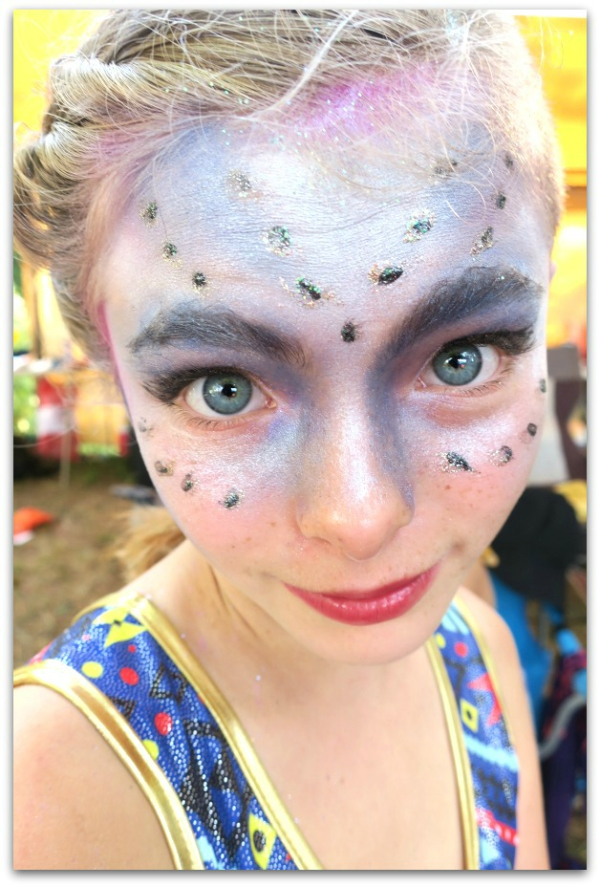
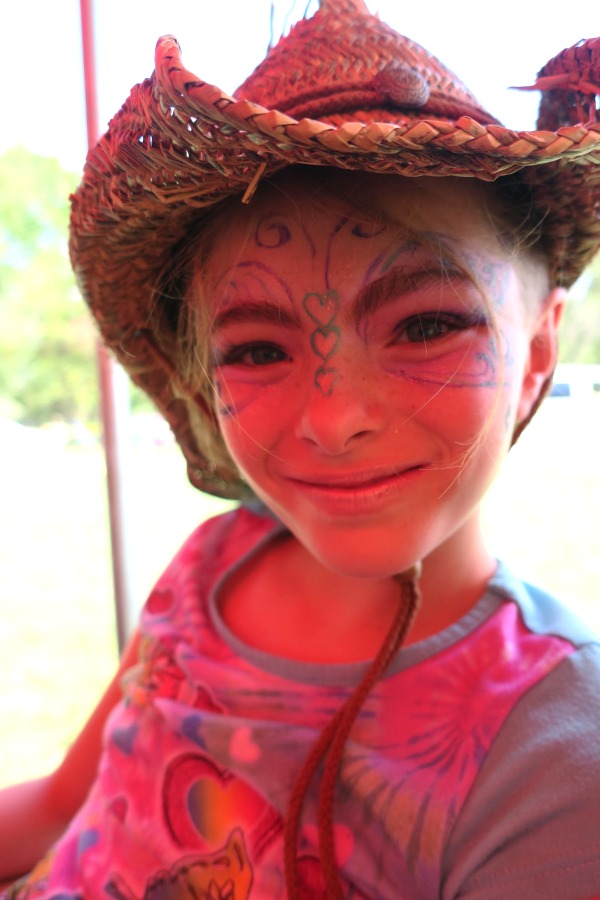
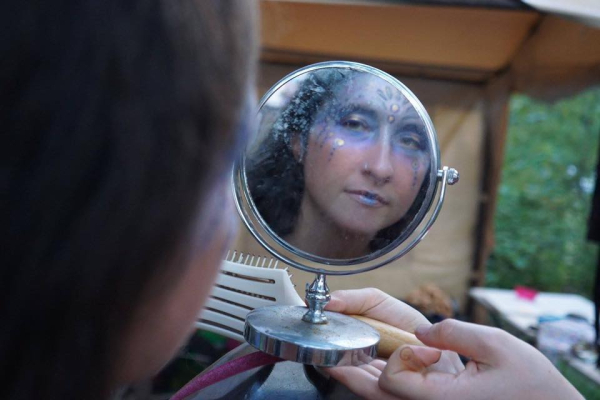
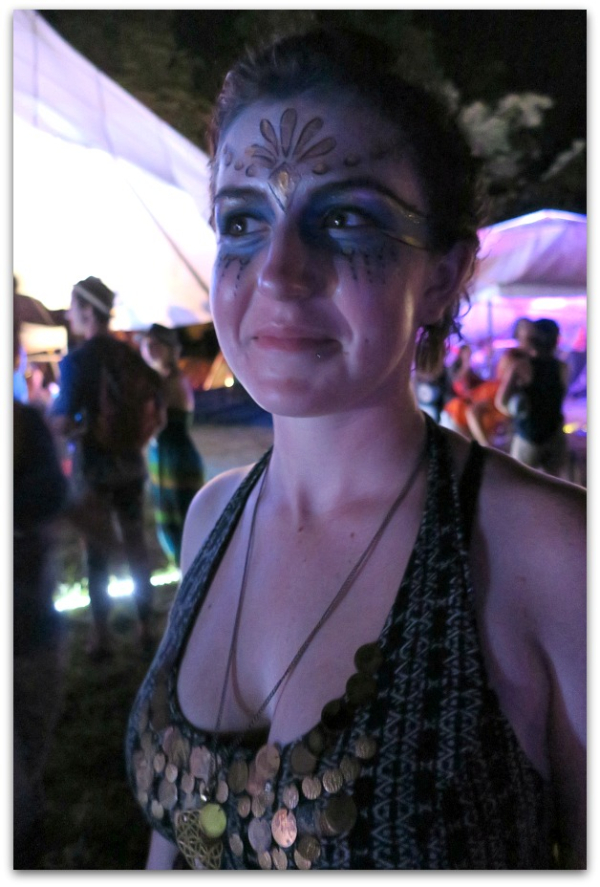
At the Darkening of the Sun festival my kids performed at, I was asked to help with the face painting.

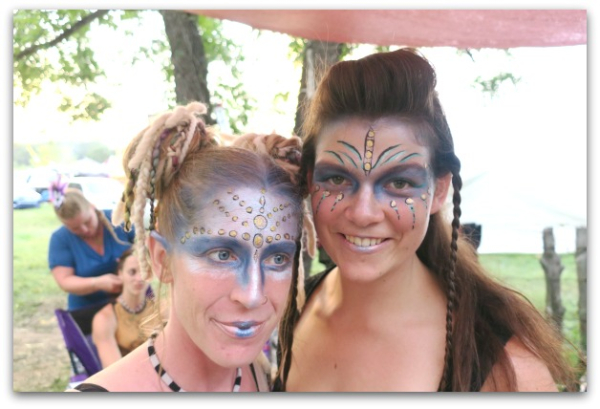
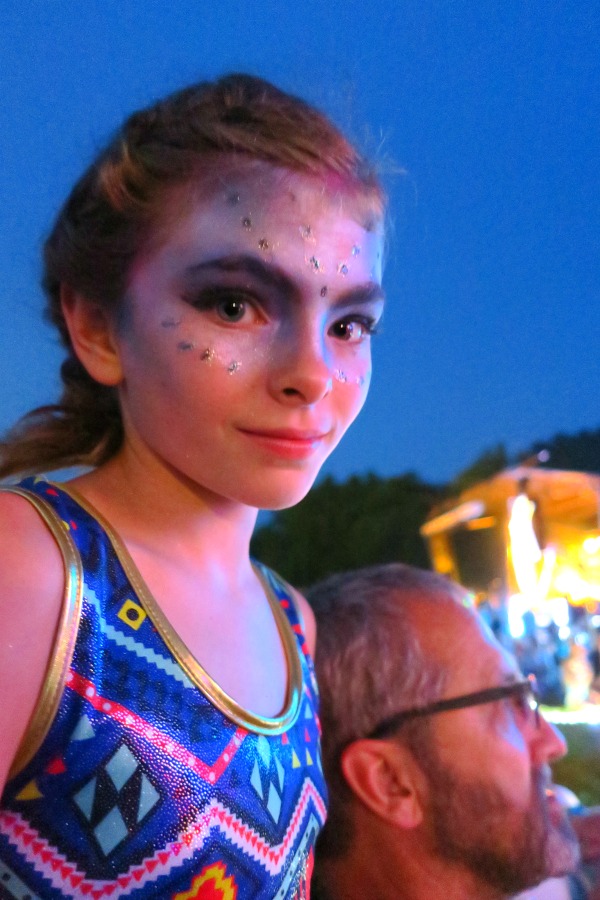
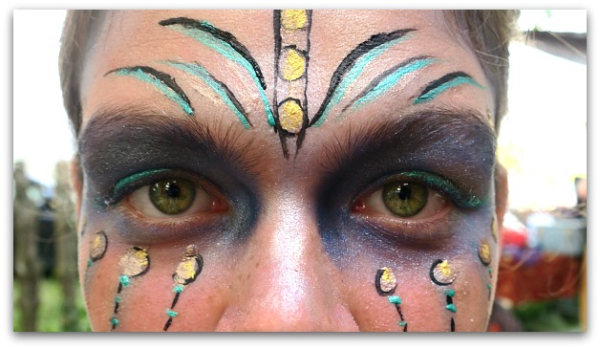
The theme was tribal that night, and they didn't want to appropriate native designs, so we went with an Avatar/tribal look, with lots of blue.

IMG_2876

I probably painted a dozen or so faces, and am afraid it was done so fast, I barely got photos. I thought I'd get them after the show, but the light was bad and people were busy.  

(that is our Hippy Chic in the background, doing hair for the show, she is a master braider)

IMG_1992

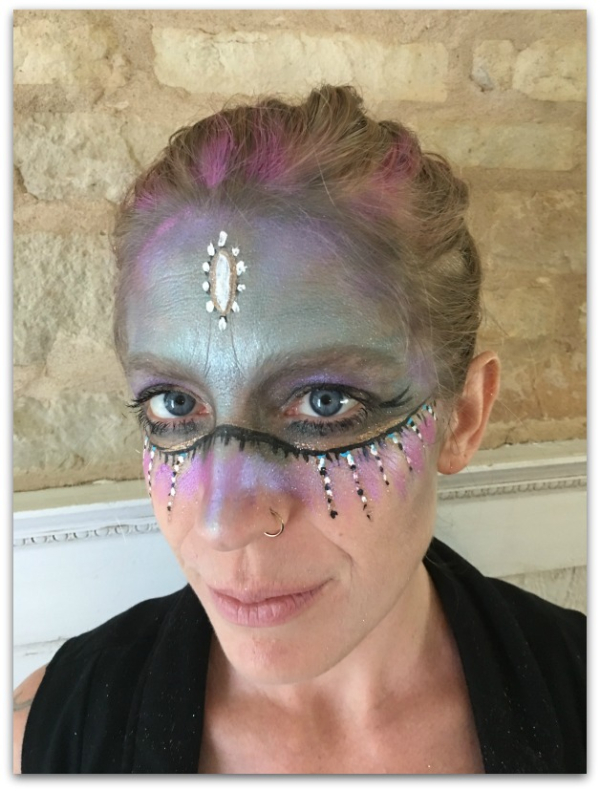
Here is one of our practice looks before the show and I had more time to do it, plus had white. I didn't have any white with me for the performance, which I think made the designs not as vibrant from the crowd.

 But the troupe has asked me to do butterfly faces in the future for an act Sugarwings has in mind, where the aerialists start out as eggs, and morph from caterpillars to cocoons to butterflies.  

IMG_2858

I'm excited about that, I love  butterflies.  And it is nice that they are asking me to help again. I loved doing it, even with the rush with less than perfect results, they were ok with what I did.

 I was afraid I'd let them down.

IMG_2878

We used eye shadow for the shading and eye liner for the designs.  I think I'll have to throw in some white paint too for more distinction.  

IMG_0358


The makeup help up well, so much so that with no hot water, a lot of the performers woke up in their tents the next morning with the look intact.

I was curious about how that effected the sun screen situation….  When they went up on the hilltop in the bright sun to watch the eclipse, did they end up with a sunburn in a tribal pattern?

IMG_2888

I've got plenty of shots of Sugarwings in her makeup, since she hangs around on our laps as much as she can.  

IMG_2870

And Sylvan's face was done first, so the light was good and the line of performers hadn't gathered yet for me to work on them, so I took some of her.

IMG_2997

Avahni was the only other picture that I took. 
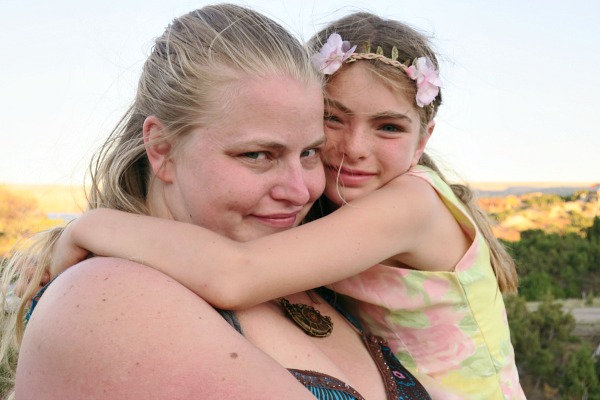
I gave Sugarwings my leftover paints and she has been face painting everyone who will sit still for her.  Maybe she and I will go into business together.  
Hooked on floating frames and another Wyoming painting

paintings, Travel

IMG_1885

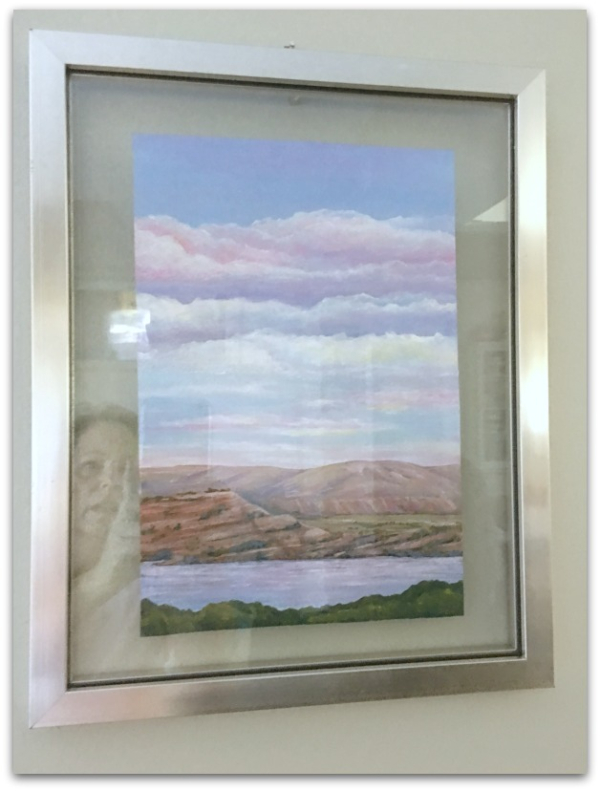
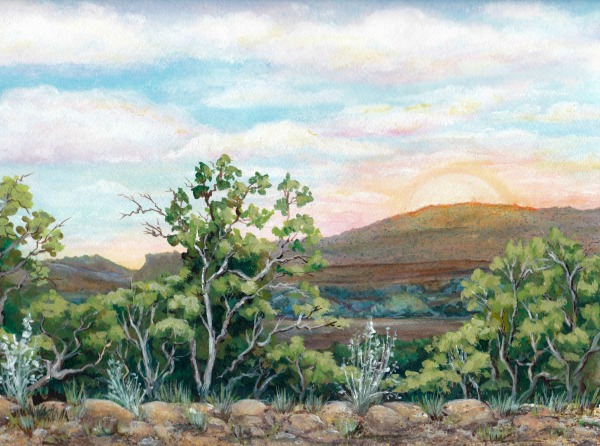
Our last night in Wyoming was a little drizzly at dusk, and the cloudy sunset made for some soft, stunning tones.  

Of course, I had to do a painting from the photo I took from the roof of the house!!!  

And, of course, once again, I didn't create the piece on a standard size piece of paper, so it wouldn't fit in a ready made frame.  My choices for framing were either a custom one (too expensive) or another floating frame with the picture sandwiched between two sheets of glass.

(The glass is probably too reflective, when you look at the painting, you see yourself, but Ryan won't care. This one is a gift for him.)

IMG_1898

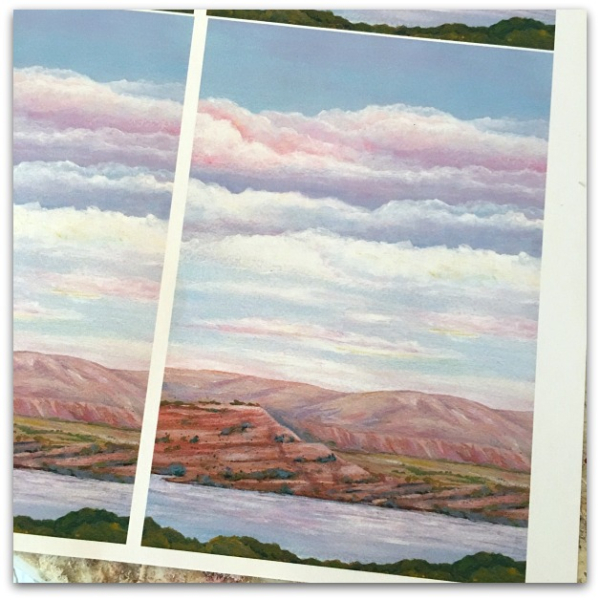
This painting, and the other two vacation scenes that I did were made into note cards to give as gifts.  

IMG_1889

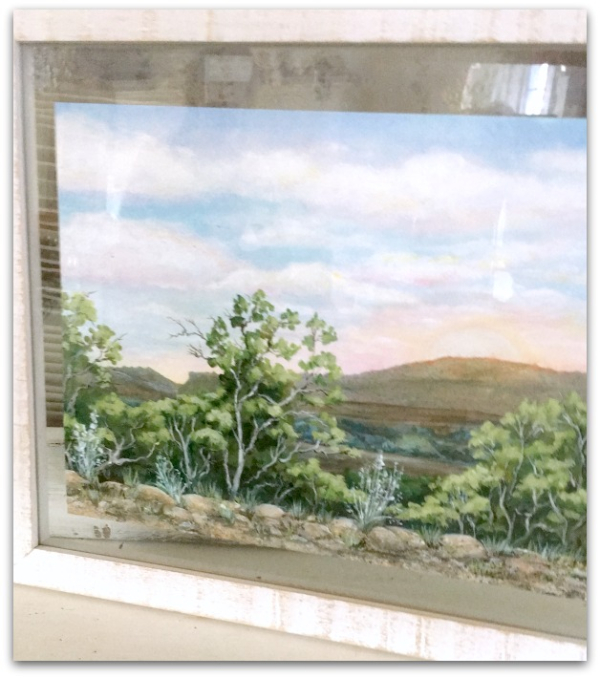
The  painting I'd done earlier, was also popped into a floating frame, just like these.   

I really like the ease of this style of framing, but know I can't do it all the time, all over the house, that would be too much of a good thing.  The dusk painting will be in Ry's room, and this one is being sent to the owners of the home as a thank you for letting us stay there. 


Labels for the honey jars, and steps to an acrylic dog portrait

dogs, Food and Drink, Hand painted, how to's, paintings

IMG_1928

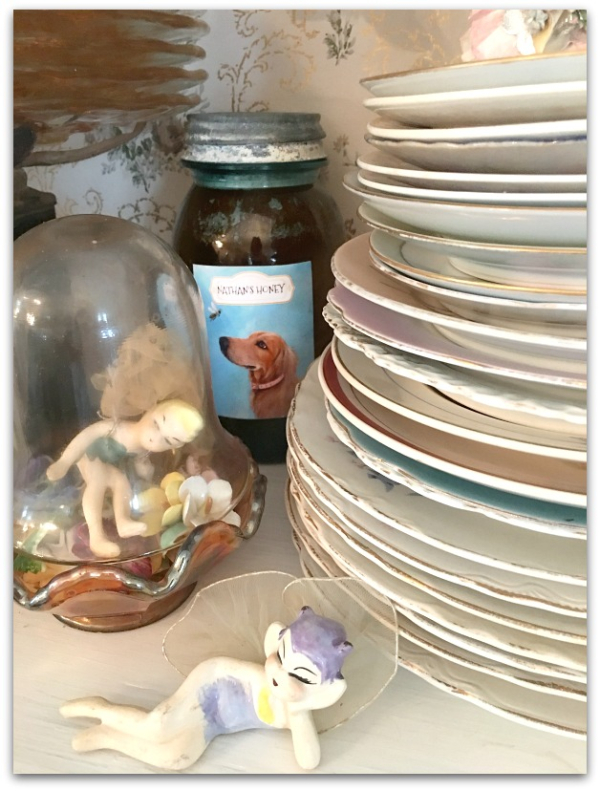
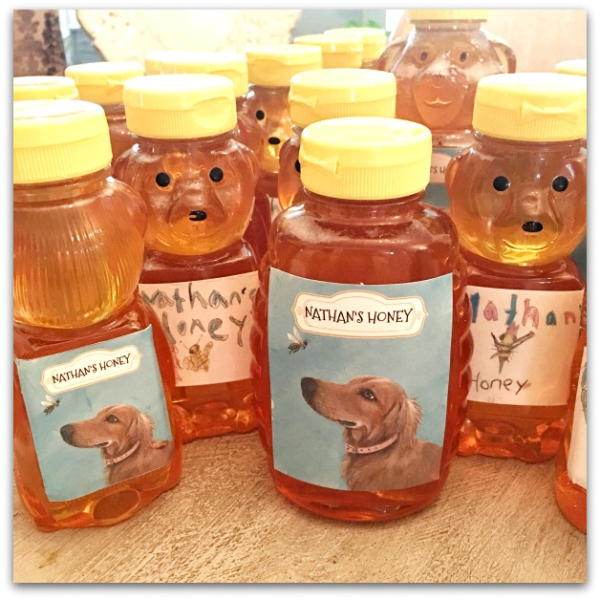
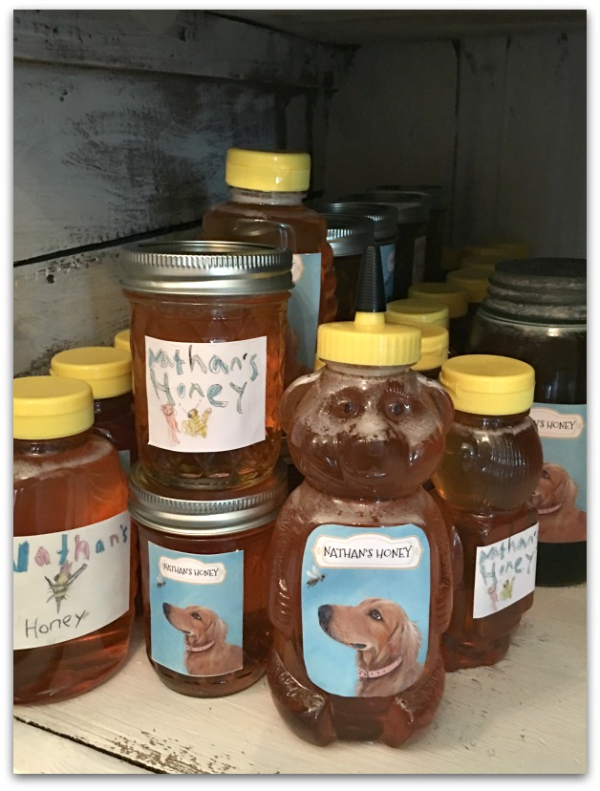
It was important to my husband to have special labels for his honey jars. So he asked the family to make some for him.  

IMG_1926

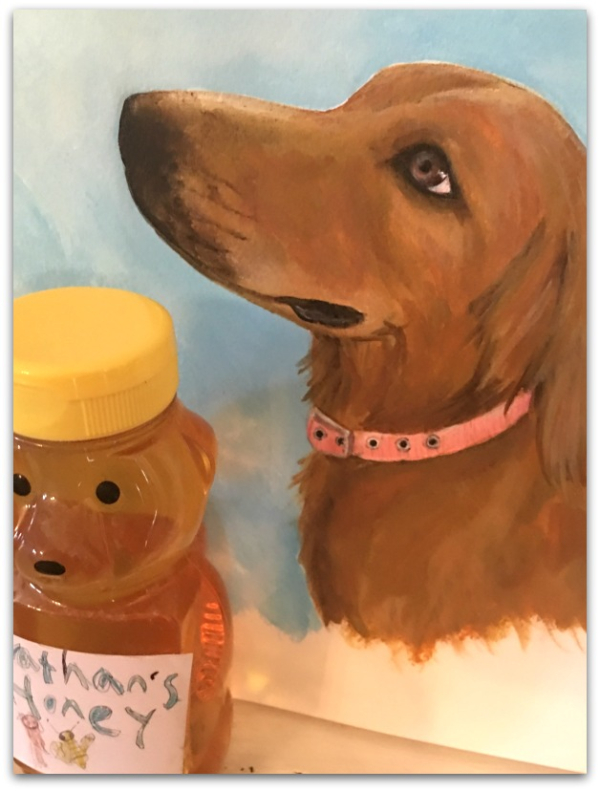
The grand fairies did some drawings, I painted our dog, Honey, and we used a mix of the designs on the bottles, front and back.

IMG_1881

That man LOVES his dog, and our anniversary was this week (32 years!), I figured I could combine label making with creating a gift for him all in one dog portrait.  

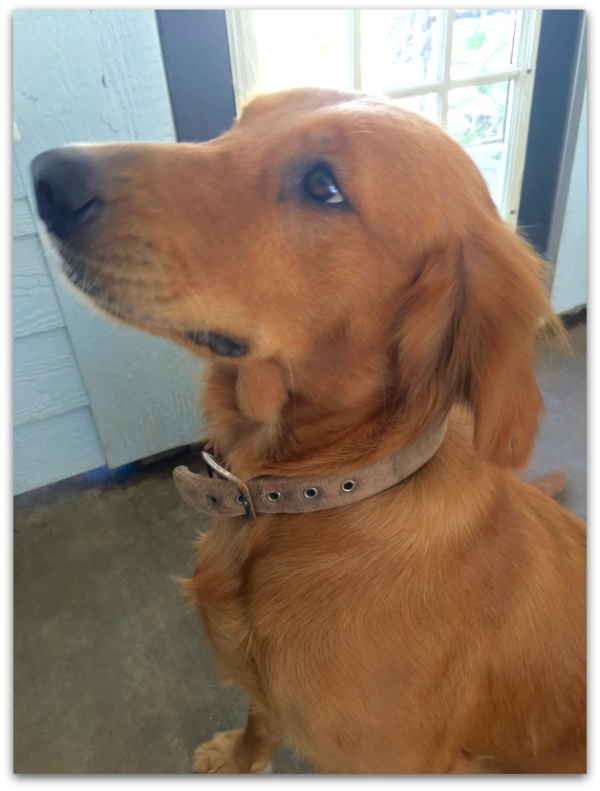
This is the photo Honey posed for. I held up a treat to get her to look up to the point where a bee would fly above her in the painting.  

She seemed disappointed when her modeling session was over, she was enjoying the treats.

IMG_1899

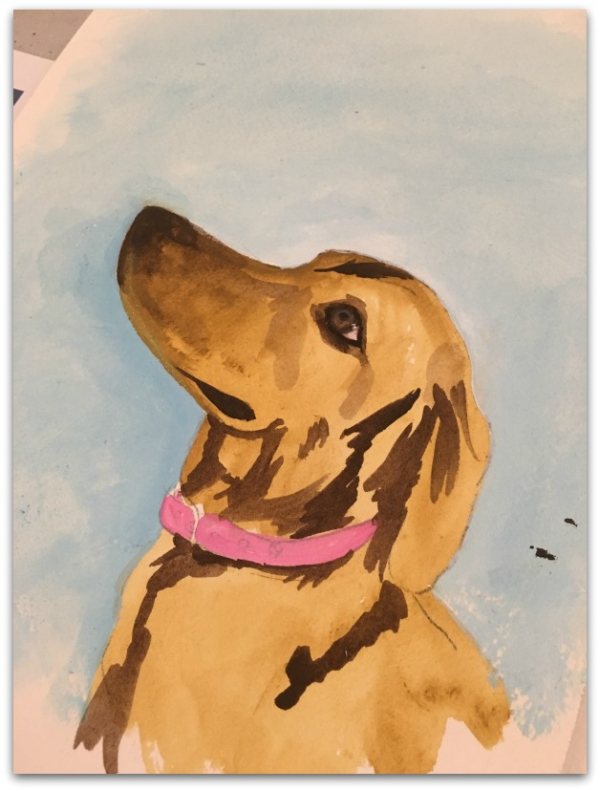
First, I did a value sketch over the pencil drawing.

IMG_1901

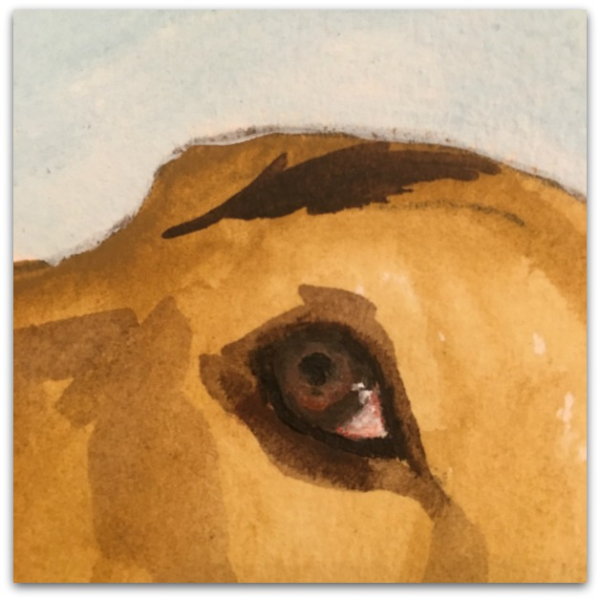
Then I started on the eye.

IMG_1902

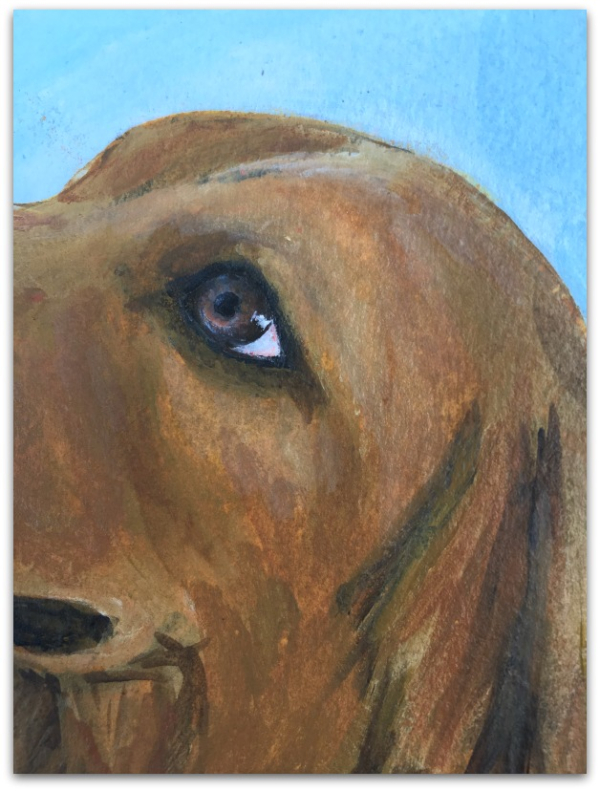
The layers started to build up next and the eye got more detail.

IMG_1903

At this point, it was almost done, all that it needed was fine tuning, the little hairs that gave it depth and texture.  I chose my background color to compliment the blue that the girls used in their own art.

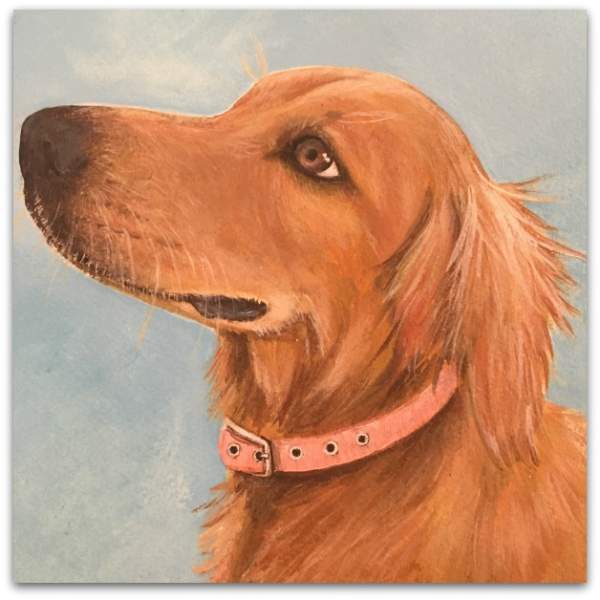
IMG_19132

The final step makes a big difference, doesn't it?

IMG_1927

After scanning the designs, I sized them and printed pages of the pictures onto matt photo paper, cut them out and glued them to the bottles.   

oh no!!!  

How could I have spent about 8 hours staring at the dog photo and painting her from it and not notice that her tags are missing???  As I was editing this post, it popped out at me that she has no tags. Dang, I just bought new ones for her before we went on vacation last month.  Looks like I need to make another one.  She is not going to get a sparkly, rhinestone one this time. She gets the cheapo, plain style if she isn't going to appreciate the nice one and take care of it.

The Colorado painting is hung

paintings, Travel

IMG_1848

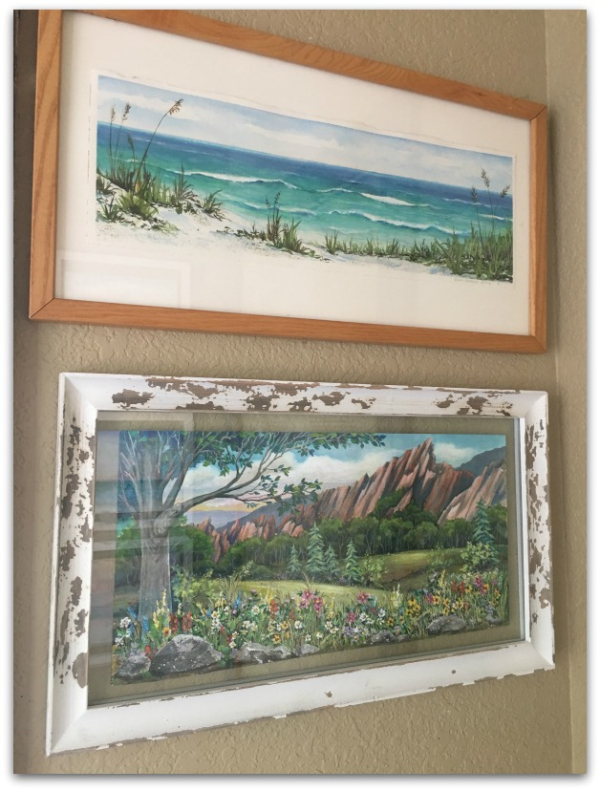
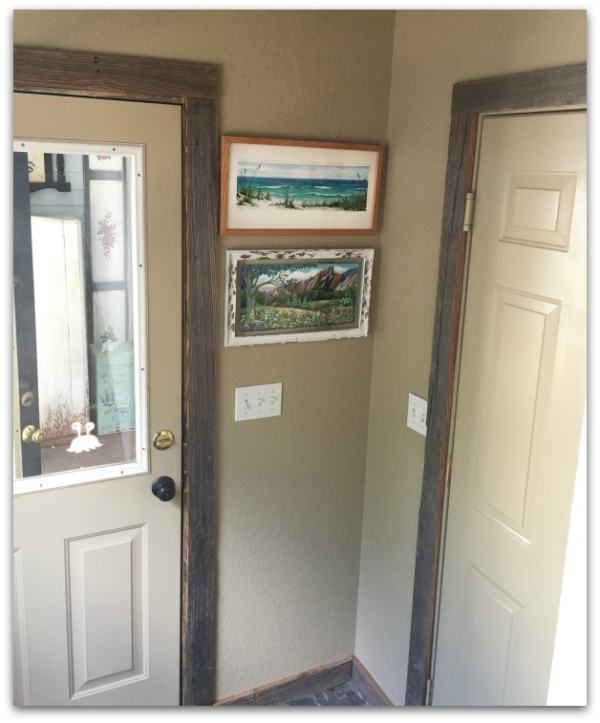
The painting that I did of Colorado doesn't exactly match the rest of my house, with its bright colored wildflowers and red rocks.  But it was a sentimental piece for me and I realized that it was a similar size to the painting I did years ago of Destin Beach, FL.  

IMG_1849

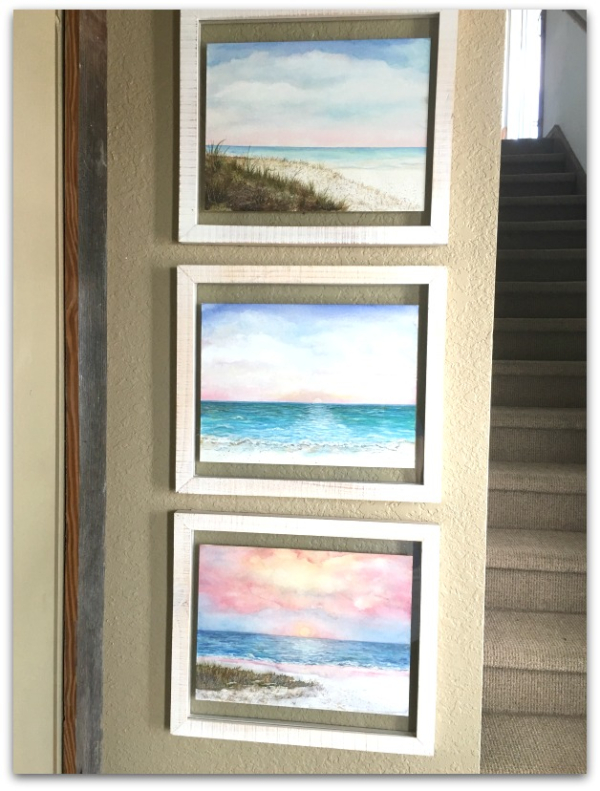
So, I hung it with the other vacation paintings in the entryway to my studio and my husband's office, at the bottom of the stairs.

IMG_1850

It is keeping the three paintings from Siesta Key company.

I'd better not take any more trips, I am out of wall space.


A Family Reunion and Birthday Bash

celebrations, family, paintings, Travel

Sunrises

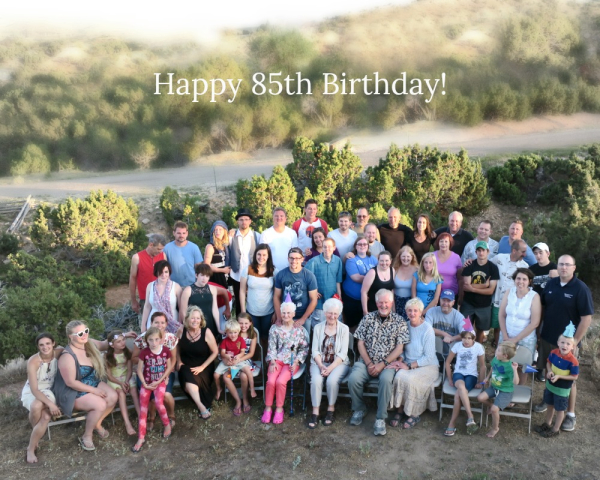
My husband's mom turned 85 in July and we all gathered at a lake house in Wyoming, generously loaned to us by brothers of a family member.  The home had beautiful views from every angle, some looked over the lake, others to the mountains.  This is the sunrise I saw from my bedroom window! 


IMG_2568

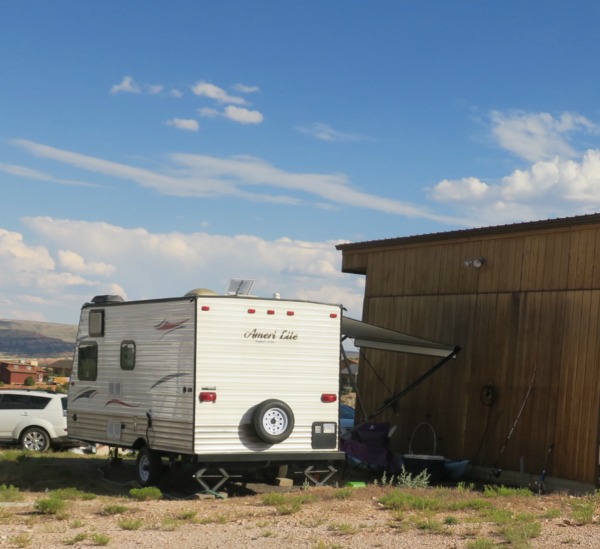
The lake house was spacious, with two kitchens and a gazillion beds.  Still, we were worried about our hermit-ish son, Ryan and hauled the camper across country so he would have a private space to hangout in and get away if crowds made him nervous.  We called it the world's biggest rolling suitcase, and filled it with belongings from all eleven of us who were coming from Kansas.  

IMG_1733

My husband was firm in making Ryan come on the trip, even though he doesn't like to travel or be in crowds.  Ryan has a sensory processing disorder that makes him shy away from noise and gatherings.  Two years ago, we cajoled him into flying to Florida with us too, and while there were moments that he wasn't thrilled with it, he had a good time, and ended up being my rock when there were some issues I was having trouble with and could always be counted on for a smile or a joke.

IMG_1730

And once again, my husband was right to insist that Ryan join us, because that guy spent the whole week grinning and having fun.  (We were at the lake house 3 nights, then off to Colorado to spend a few days with just our branch of the family)

IMG_2377bd

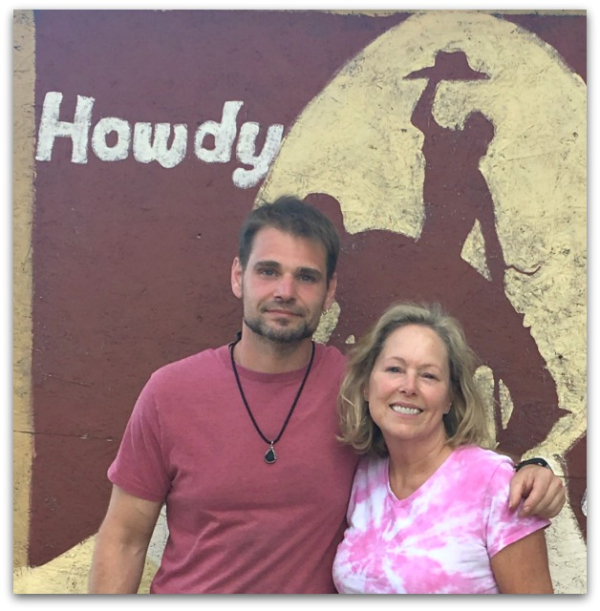
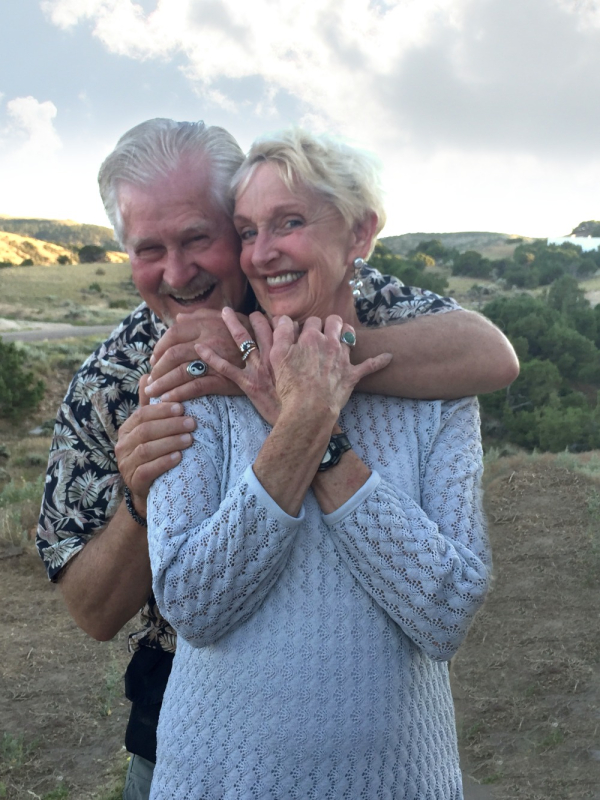
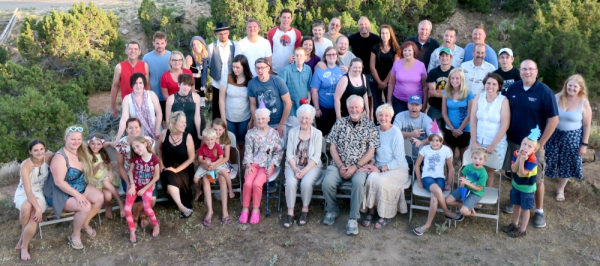
How could anyone do anything but have a ton of fun when surrounded by these people???  I am blessed to not only be married to Rich, but also to be a part of his loving, and fun loving family.

IMG_1701

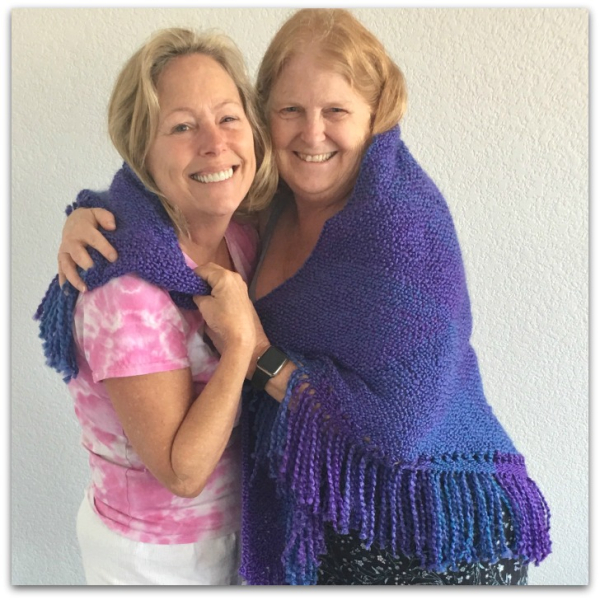
I consider his siblings, my sibs too.

(Terry is a big time, Birdsong helper and is donating this hand woven shawl as a door prize at Snowbird's Song in November)

IMG_2589


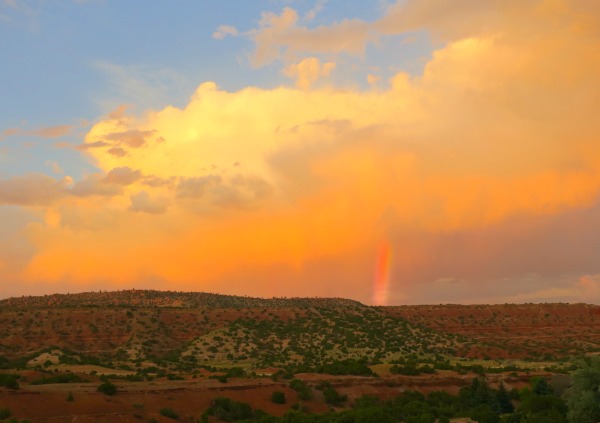
Joan's 85th birthday was an excellent excuse to come together from every part of the country.  We spent time sitting on the rooftop deck, watching clouds and rainbows…

IMG_2591

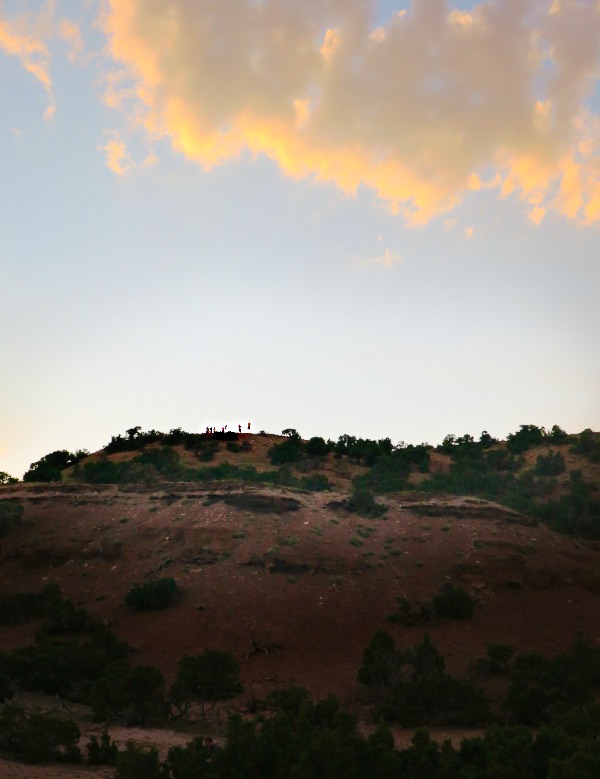
exploring the hills behind the house….  

(see the tiny people up on the ridgeline?)


IMG_2511

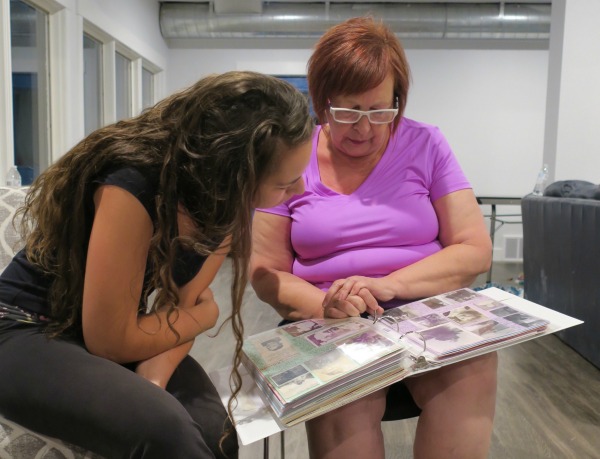
going through and laughing over stacks of photo albums…

IMG_2596

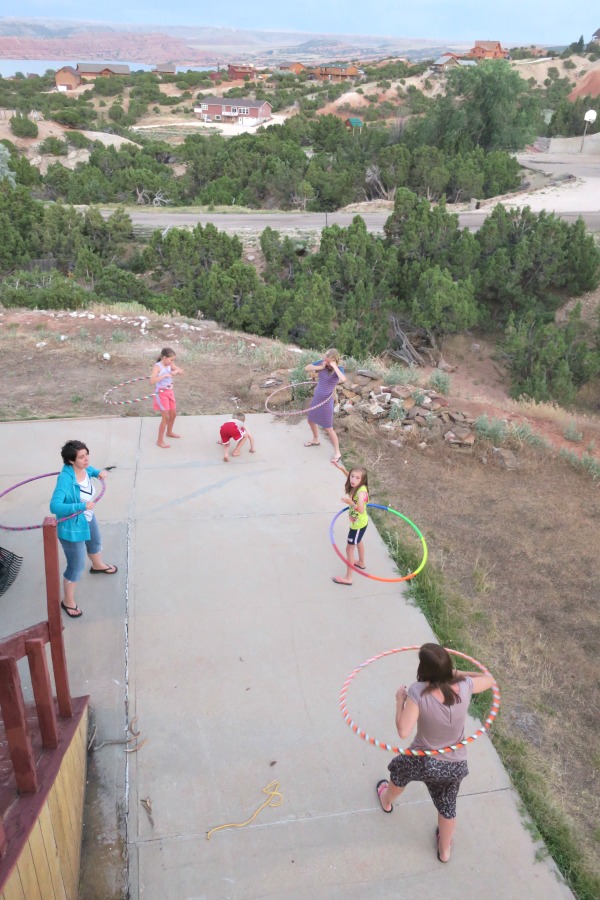
hula hooping…

IMG_2516

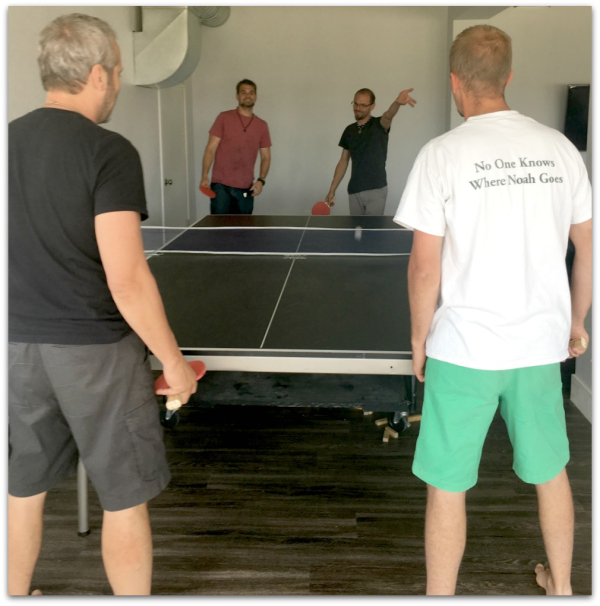
competing in a day long, ping pong challenge…

(which ended up being so much fun that we didn't even go down to the lake that day, the first two days, most of the group were out on jet skis and boats)

IMG_2503

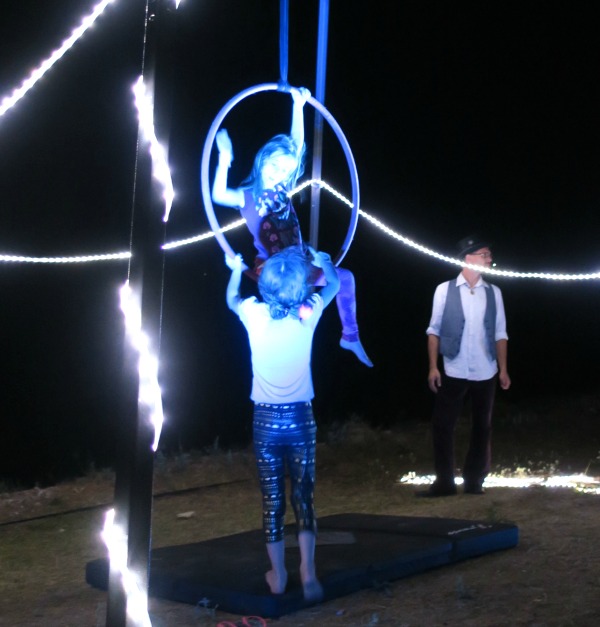
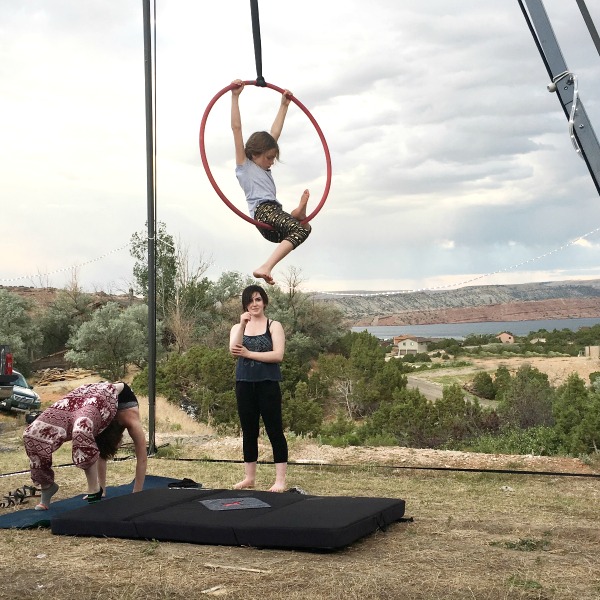
learning some circus tricks…

(my kids brought their rig for a grand performance, and gave lessons to anyone who wanted to learn)

IMG_1587

lots of circus fun…

IMG_2418

being serenaded by a professional actress and songstress…

(Aunt Carol gave a lovely performance of Joan's favorite songs as well as baking the best carrot cake ever)

IMG_2565

collecting pretty rocks….


IMG_1620

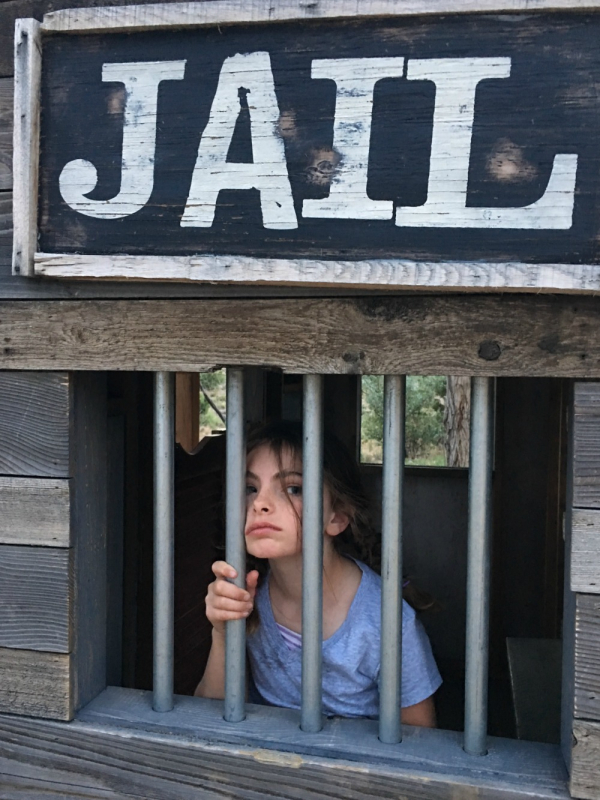
hanging out in a Wyoming style playhouse…

IMG_2532

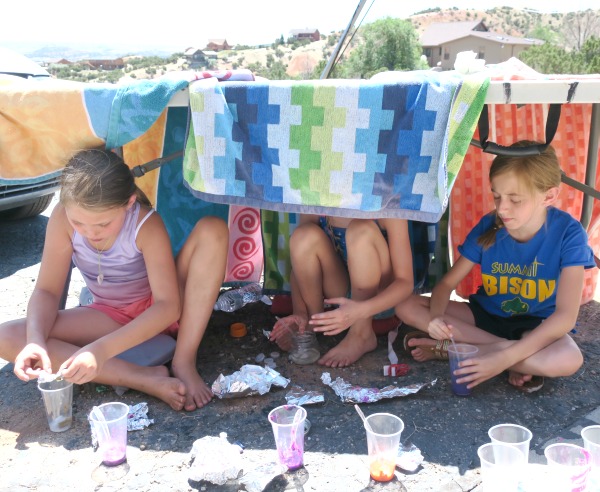
crafting with cousins…

IMG_1737

being goofy…

IMG_2404

relaxing…

IMG_1726

super relaxing…

IMG_2402

getting hugs…

IMG_2513

lots of hugs…

IMG_6279

more hugs…

IMG_2412

did I mention hugs?…

IMG_6219

yes, there was hugging…

IMG_2405

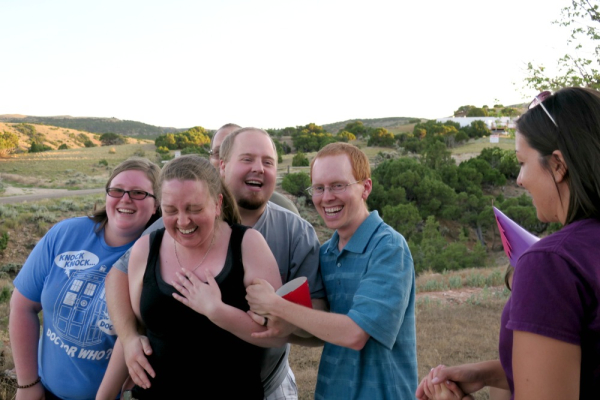
laughing…

IMG_6197

loving…

IMG_1741

coloring…

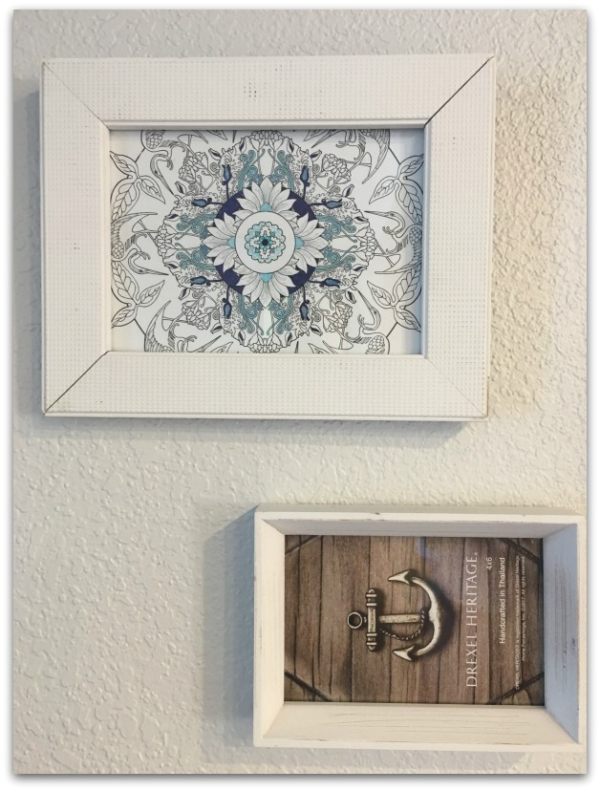
(The house was newly renovated, we were the first to stay in it.  Many of the frames on the wall were straight from the store, not filled in yet, so one sister added her coloring page to a frame.  I'd brought a tub full of craft supplies and others brought colored pens, we had a craft table covered in art work of various stages, it was left up to drop in and work on when the whim struck)


IMG_6122

and cooking, cooking, cooking….

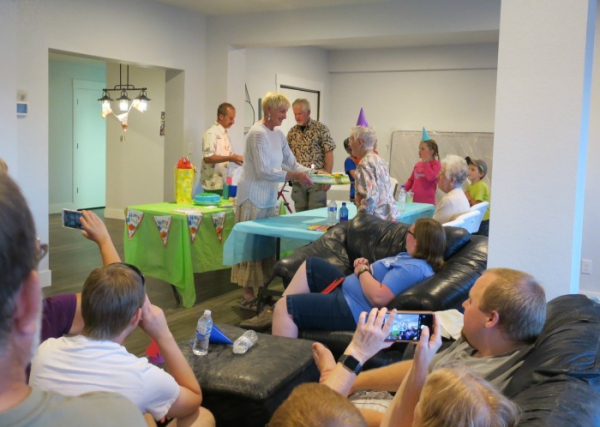
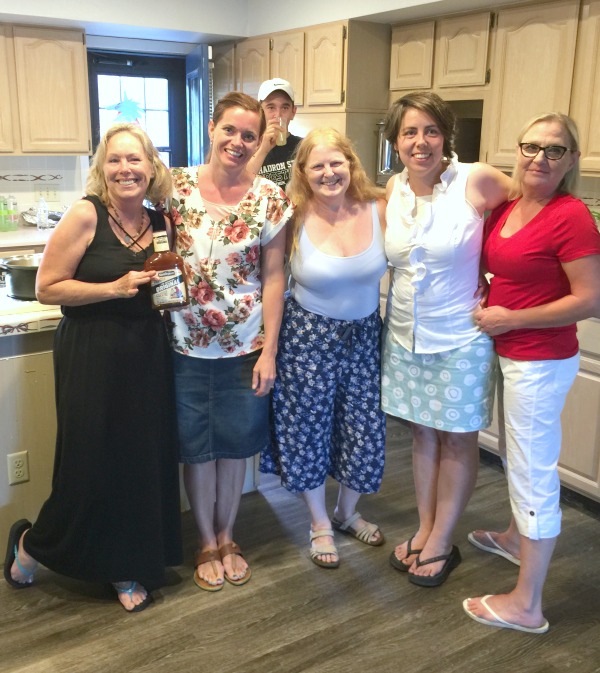
(each branch of the family had a meal to be in charge of, but we all pitched in to help each other)

IMG_2385

Everything that an ideal family reunion should be.

 Did I mention that I was blessed to be a part of this group?

Yep, I sure am.


Portraits from the past, thinking about Mother’s Day

family, paintings, puppies!

IMG_1073

I used to do a lot of portrait sketches.  This was one of the very first ones, a charcoal pencil drawing of my grandma (Dad's mom) when I was 16.

IMG_1074

These are colored pencil from a few years after the first.  My other Grandma and my Mom.  All of these pictures are on a shelf hanging in the stairway landing, in a grouping with other family pictures.

IMG_1075

This shot from my wedding is one of my faves, it is the only picture I have of my mom and grandma together (along with my sisters and I).

IMG_1072

The wall is a  mix of paintings, drawings, and photos.  None of the art is all that great, but it is sentimental to me.  This watercolor is of a photo of my husband's grandma, Gladys, with one of her quilts behind it, and a gladiola in front.

IMG_1079

The area is a quiet corner of our home, we rarely use the upstairs unless we have guests, or the grand fairies are sleeping up there.  So, the mix of portraits aren't a focal point in our cottage, some of the frames are cheap and cheesy, like the one from the 80s on the drawing of my grandma, but the collection means a lot to me. 

I take time to stop and look, sometimes will go upstairs just to think about the pictures and the people in them.  Especially on Mother's Day.

  IMG_1155

Speaking of mothers- I can't leave you without pics of Honey and her pups, can I?

IMG_1150

And  of Twinkle, who has had her own share of puppies, wishes these babies were hers.

IMG_1156 IMG_1158

Restoring an antique table with no stripping

antiques/junking, cottage, Hand Painted Furniture, paintings

IMG_1930

I love my "new" French side table!

IMG_1821

It started like this.  $30 at an estate sale, good lines, ruined finish, missing a few bits of trim, but sturdy.  The first thing I did was rough up the finish with a sanding block, taking off as much old varnish as I could, but not all of it.  

I thought I could touch up and restore the flowers, but it turned out they needed completely repainted.  The style was so pretty, I used that as a basis for my own painting, and tweaked the colors to suit my own taste, a little less purple and orange, a lot more pink and blue.

IMG_1898

You can tell the varnish was still spotty, some came away when I sanded, but I didn't try to get it down to bare wood.

IMG_1896

There are flowers on all three sides.

Next I painted the edges aqua with chalk paint from Hobby Lobby.  And added trailing viney-swirly gold, and painted the beaded trim the same gold.  I rubbed that gold paint over the raised carvings on the table legs with my finger tips.  

After that dried, I generously brushed on dark wax, and wiped it off with a soft towel. A chip brush is the best tool for getting down into the crevices of the trim and carving. I added more in places where the bare wood still showed, and made sure it got soaked in to those spots.  The photo above is with one coat of dark wax, it looked better after a second.

IMG_1899

The finish isn't perfect, but perfect is over rated. I like things to look aged and worn. So, some spotty varnish is okay with me. I also didn't try to replace the few places where the beaded trim was missing, that sort of thing happens over time on vintage pieces.

IMG_1906

If you are not a painter, you could still use this technique on old wood, without the flowers I added. It was all pretty quick and easy.

Scroll to Top