paintings

Framing solution

cottage, dogs, paintings

IMG_1873

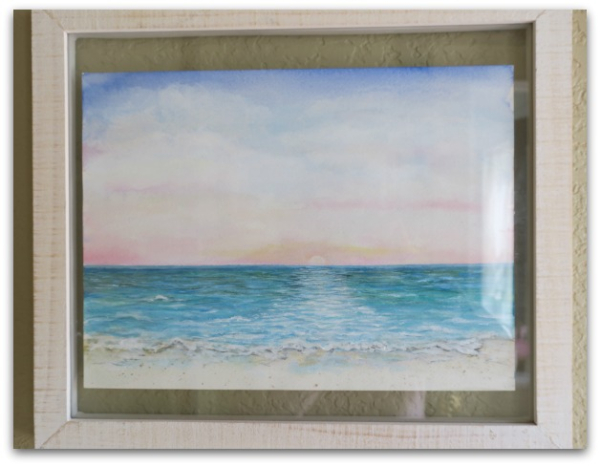
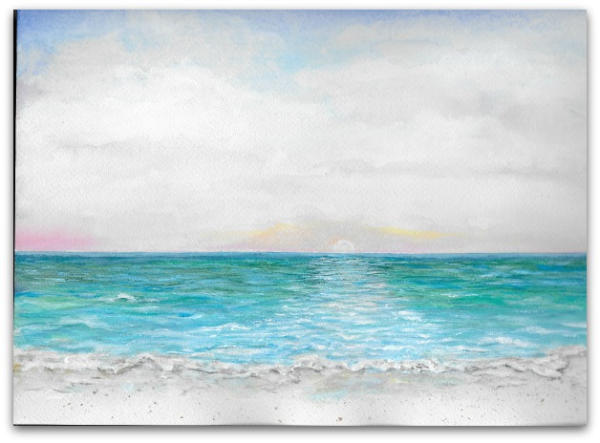
When I was in Florida, I painted these watercolors of our view of the beach from our condo.  But when I got home, I wasn't sure what to do with them. They were not a standard size, to pop into a ready made frame, and not that great that I wanted to spend money on a custom frame for them.  Plus, they looked better up close, they were not paintings that showed much from across a room, so wouldn't display well on a big wall.

IMG_1874

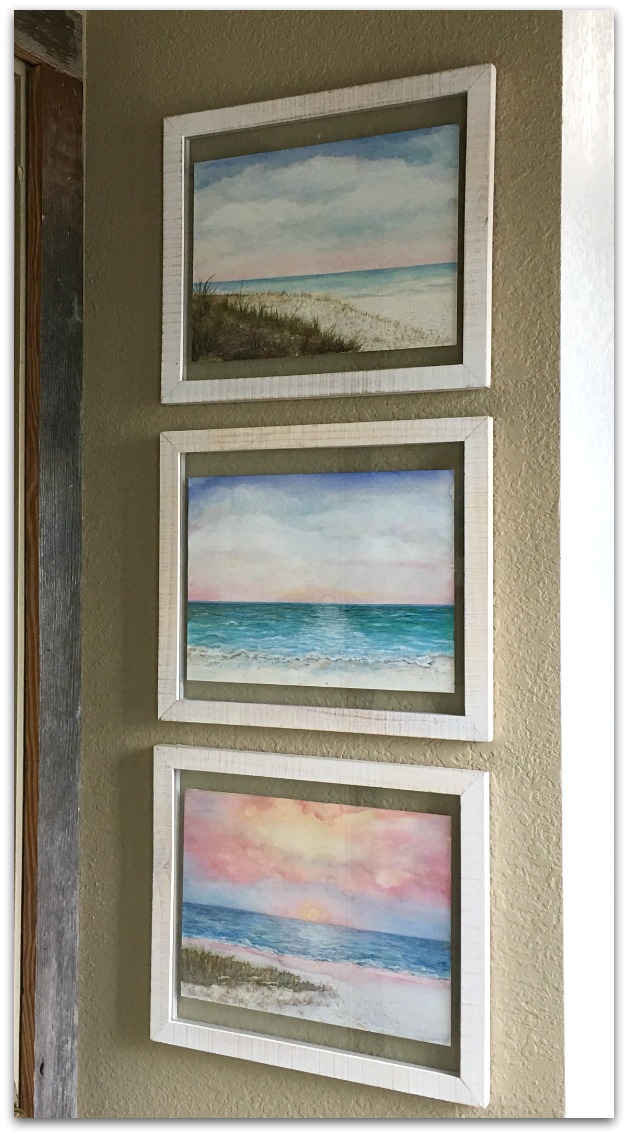
These floating glass frames were on sale at Hobby Lobby, and didn't have to fit exactly like a matted frame would have. (although they do fit better than they look like they do in this photo, it is shot from an angle)

Cheap, easy, and I like the way the sandy colored wall shows through from behind the glass.  That would have been a good mat color!

IMG_0850

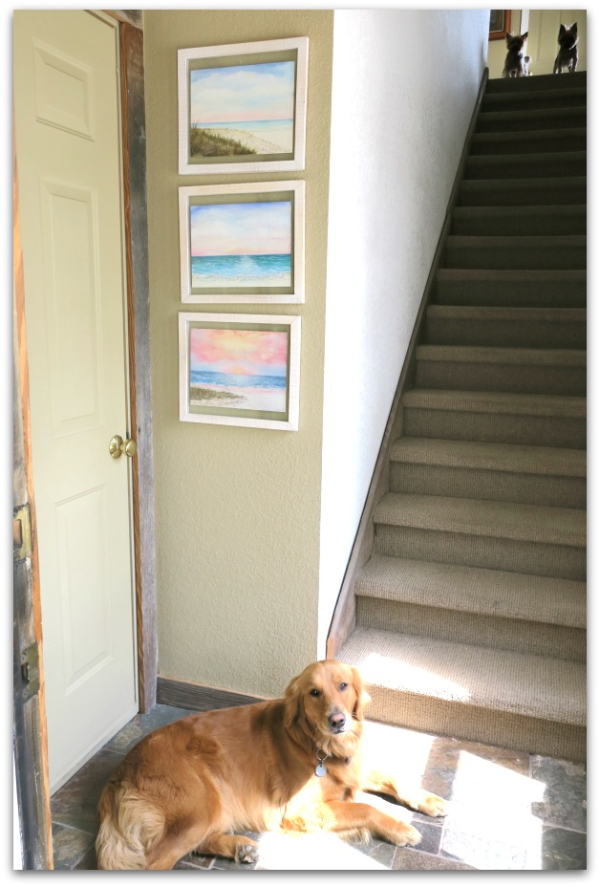
Hanging them on this narrow wall at the bottom of the stairs was a good solution too.   All viewing of them is from close up, the way they show the best. 

And walking through here to go to my studio is a nice reminder of a wonderful trip.


Painting at the shore

paintings, Travel

IMG_0659

Our time at Siesta Key was the best.

As always.

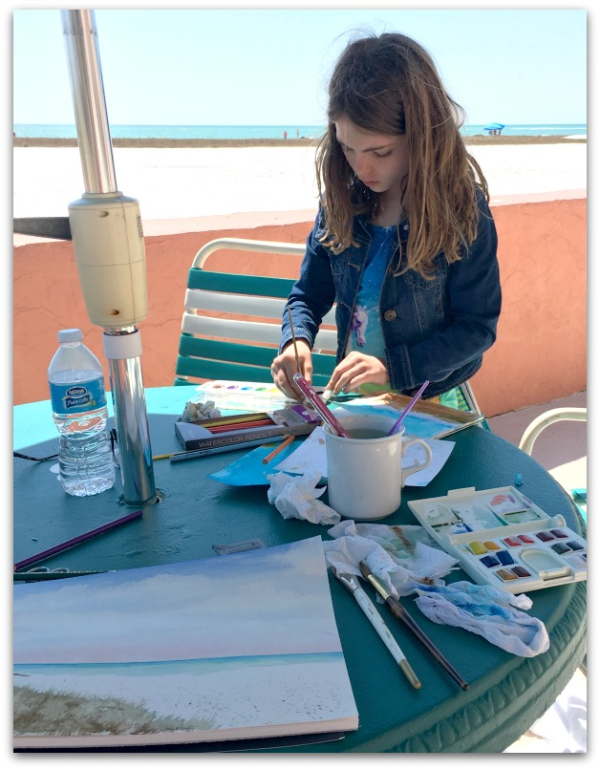
We like to stay at a place right on the sand, and while it isn't fancy, it is my idea of a dream vacation spot.  When my sisters and I stay there, we like to craft and look out the window at the waves. Sugarwings and I took it a step further and did our artwork out on the patio, listening to the ocean as we painted our view.

IMG_0715

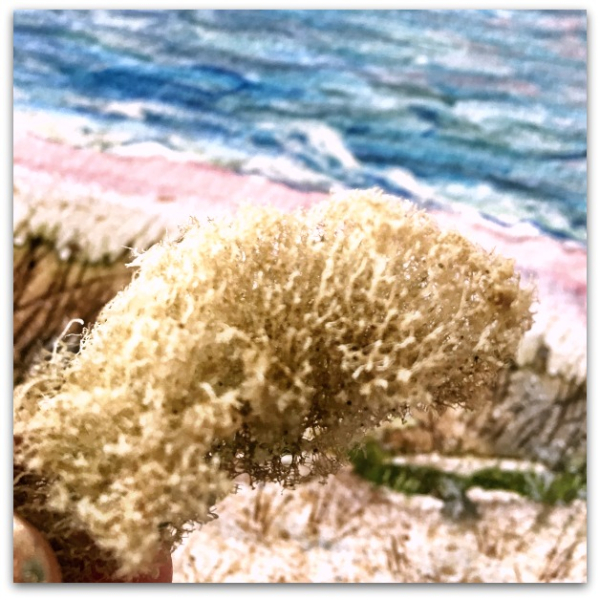
We found a sea sponge on the beach to use in texturizing our pictures.  It was just what I needed to paint the sand, along with a few splatters from a rough brush.  Sugarwings got into the splattering too, I'm glad we were using watercolors, or we might  have had some issues with the management…. As it was, I had to ask her to do her splatters away from me, I was getting a few extra on my own painting.

IMG_0712

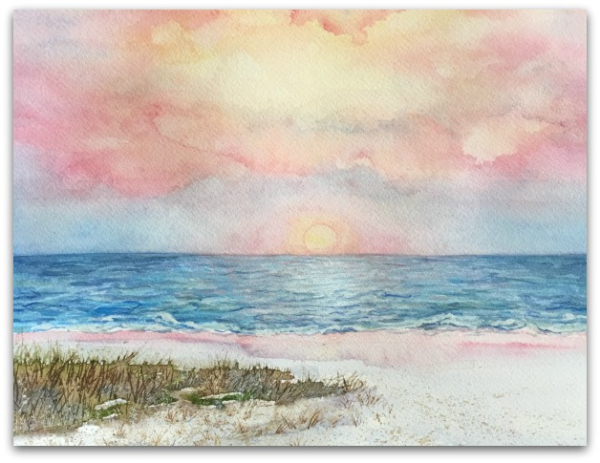
This one is sunset with a wet on wet watercolor sky.

IMG_0703

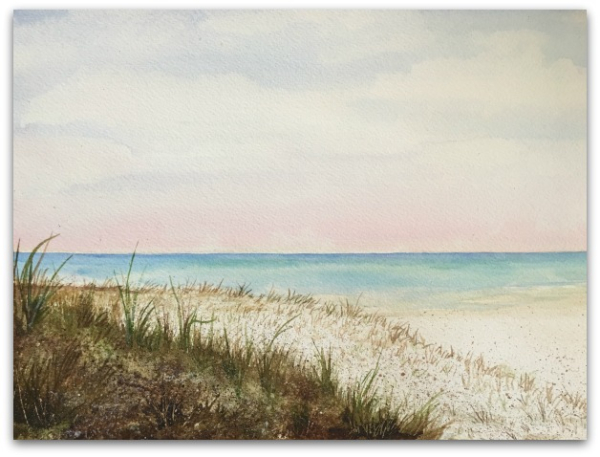
Same view, different angle, so that the small rise seems bigger, almost a hill.   I worked from photos that taken on my ipad, and then propped up on the table to look at.  I know there was a big ocean right in front of me, but I prefer using the photos.

The lighter green in the water is the sand bar and the area to the right is where we spread my Dad's ashes a few years ago.

  Scan

This is one that I painted with acrylic paints after I got home, from a quick, watercolor sketch I did that day on the patio.

These are small, 9×12", and I'm not sure what I'll do with them. They are kind of small for the wall since they wouldn't show up in detail from across a room. The size isn't standard, I'd have to custom frame them.  They aren't that good to spend too much money on getting them framed… so, I don't know if I'll spring for that.  Maybe a standard frame with a custom cut mat is more affordable, then hang in a small area, like the bathroom?  

They might just go into a scrapbook as a memory of a lovely time with my grand fairy at one of our favorite places. 


Poodle Portrait

dogs, guncles, paintings

IMG_9656

As you read this, I am visiting the GUNCLES!!!!

Yay, me! 

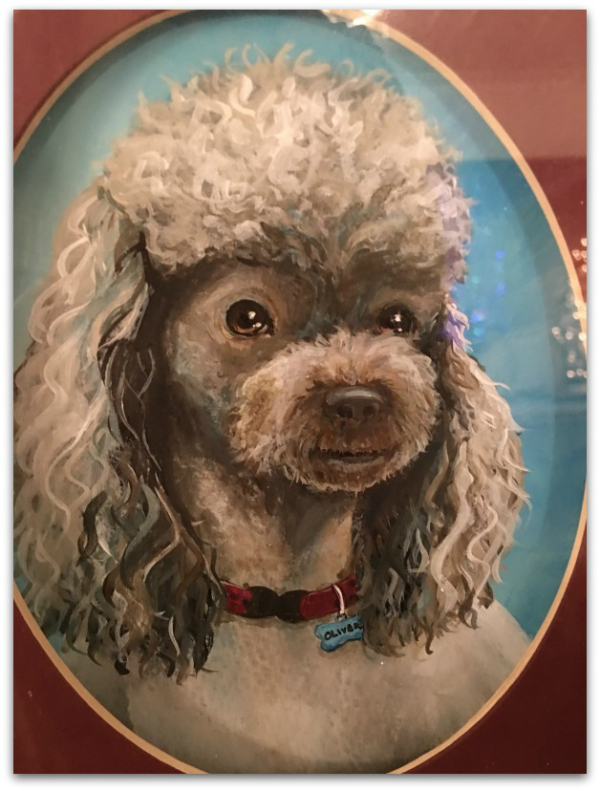
Since I knew I'd be seeing them right after the holidays, I didn't mail their gift, instead I'm packing it in my carry on to bring down.  They are fantastic, loving, doggie dads, so I painted one of their babies for them. This is Oliver, and he is pretty dang sweet.


I’m stuck

flowers, paintings

IMG_8745

This is a painting I started and am struggling with.  For now I've hung it on the wall to watch it and plan what changes need to be made.  Sometimes a break is what is called for when I'm stuck.  


I like this flower, just not the other one (not shown here, because it is annoying).


Painting number 2, lost in the roses

Hearth Room, paintings

IMG_0044

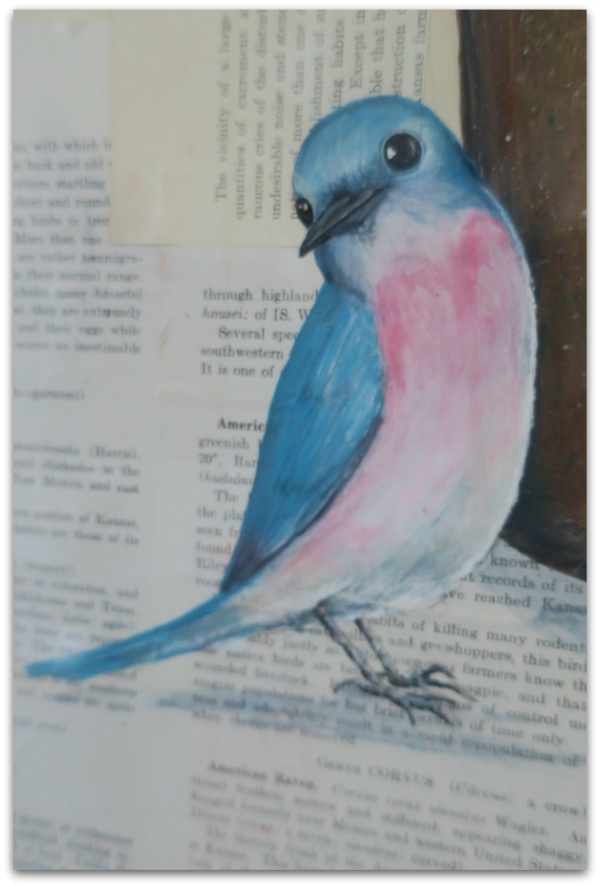
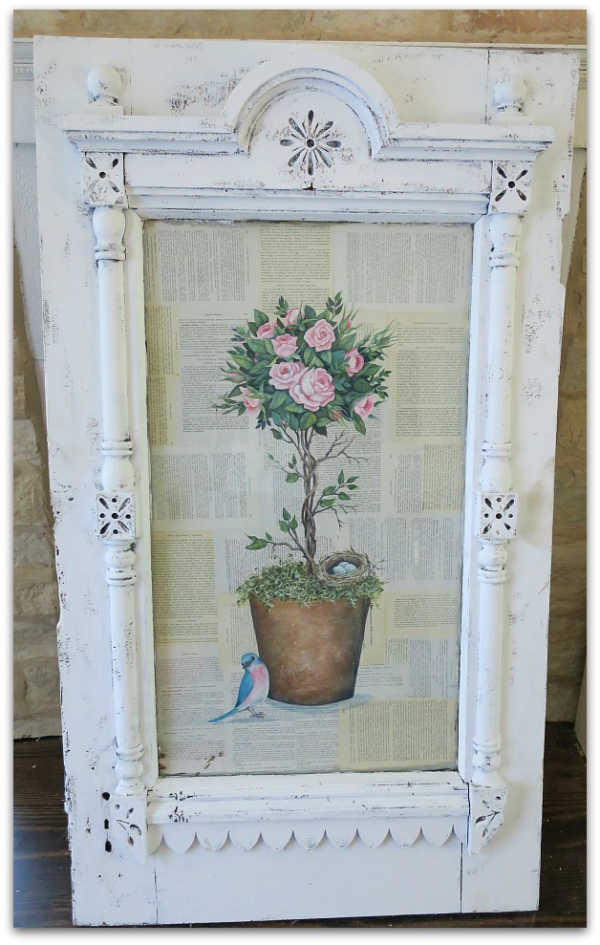
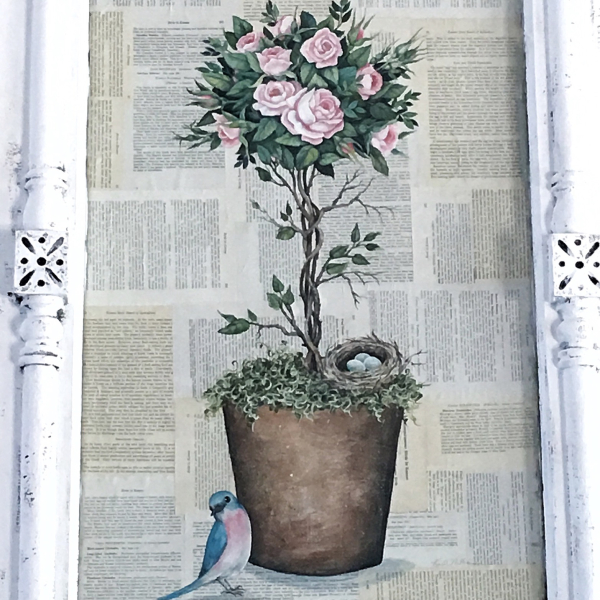
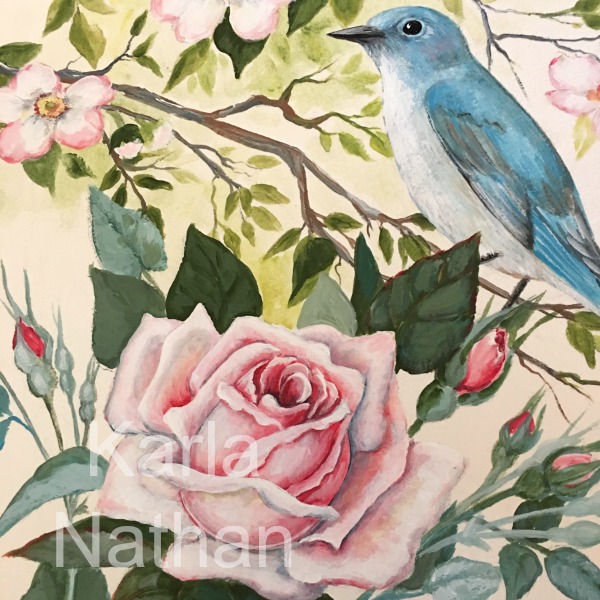
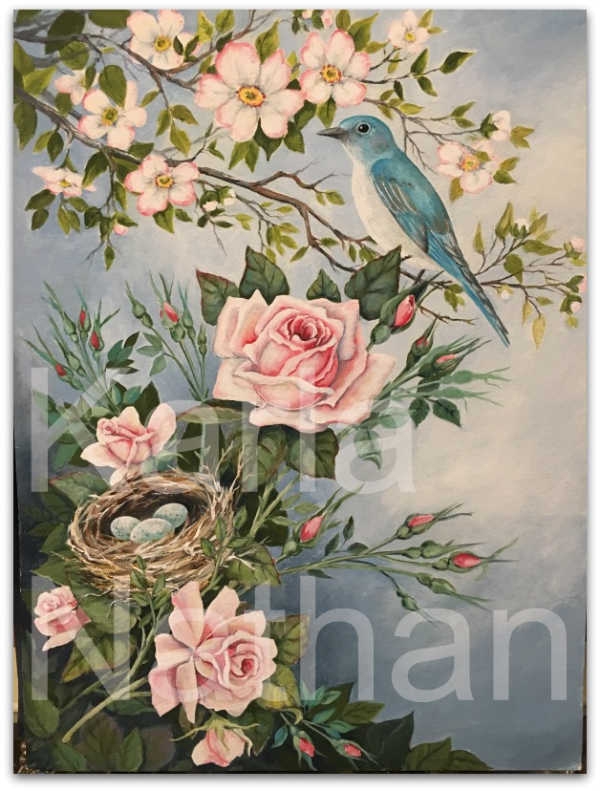
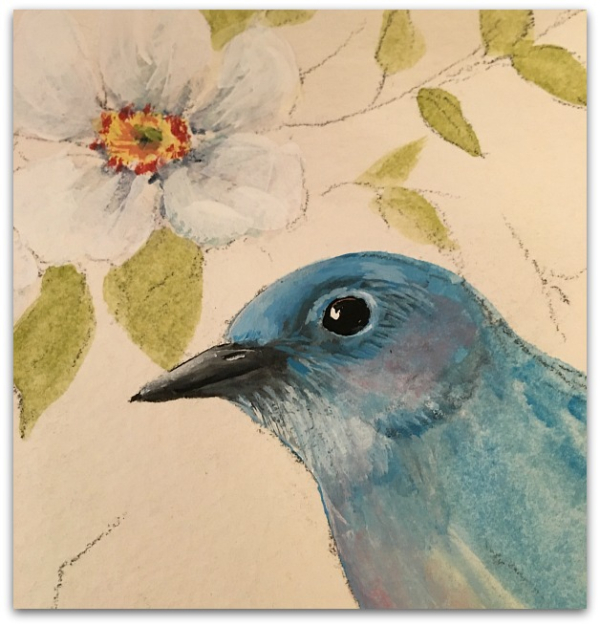
Here is another little birdie friend in the 2nd painting I've done for over the mantel.

IMG_0042


Last spring, I found this top half of an old, ornate door at a flea market.   It still had its wavy glass and I thought it would be the ideal frame for a painting above the fireplace on the rock wall.  The first painting I did had too much going on, I needed something more simple that could hang high and still look good from across the room.

IMG_0024

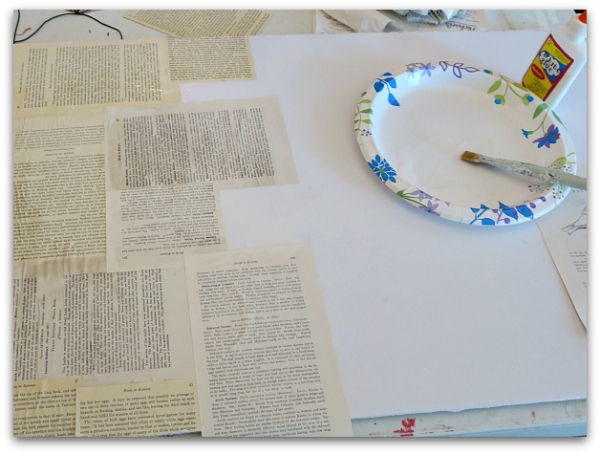
For the background, I tore pages from a vintage book titled, "Birds in Kansas" and glued them to a foam core board.  Some pages were yellowed, so those were scattered around randomly with the whiter pages for a nice piecework pattern.

IMG_8517

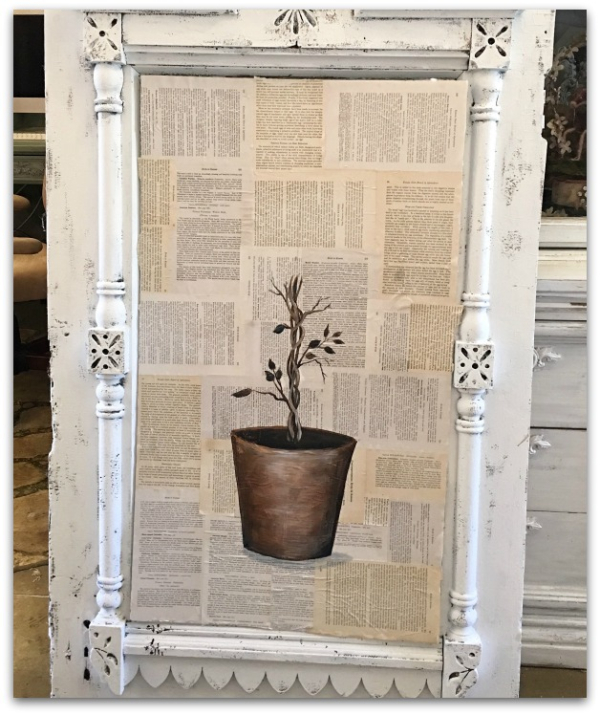
After that, I started in on painting the pot for the topiary I'd planned.  At this point, it looks a little like Groot. 

I think my family would have enjoyed the picture if I'd left it like this.  We all adore Starlord and Groot.

IMG_0043

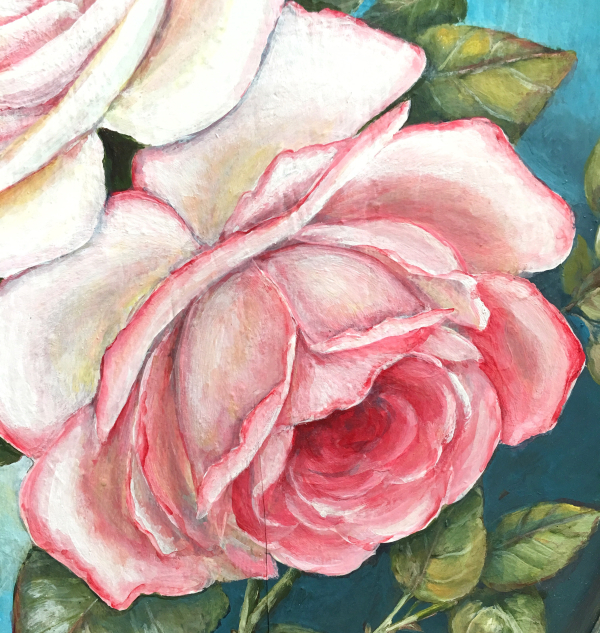
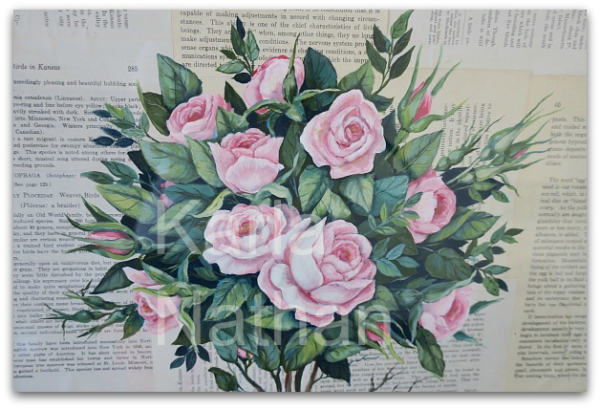
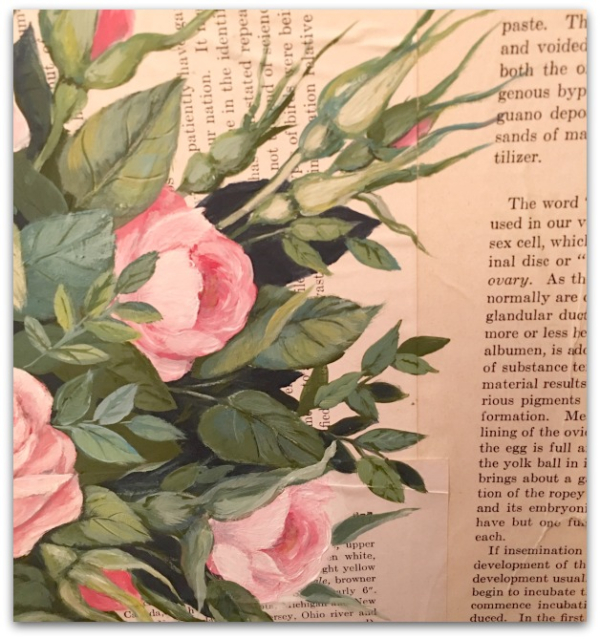
Here is a close up of the roses.

IMG_0045

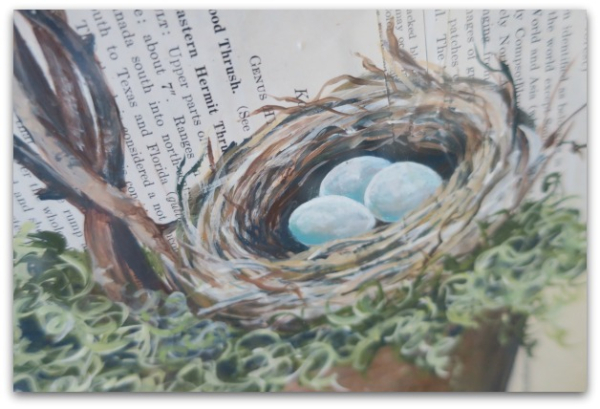
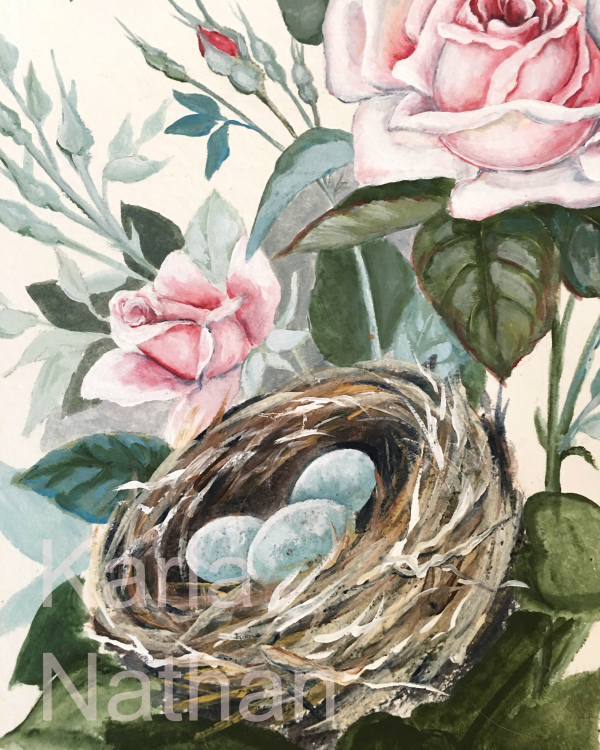
And this is the nest in the mossy pot.

IMG_8528

Doing the two paintings for the mantel was so much fun for me. I used to be a painter, mostly watercolors.  But in the gallery world, I always felt slighted and looked down upon because my subjects were too "pretty".  No edge, no drama, no angst. Just pretty and happy. My style didn't fit into that scene and I kind of drifted away from this over time.

IMG_8540

Maybe now, being older, I just don't care what others think, so I can paint what I want without feeling like I'm lacking. I might be doing more painting in the future. I didn't realize how much I'd missed it, till I got lost in these roses.


Inspiration for a painting

cottage, Hearth Room, Kitchen remodel, paintings

IMG_8484

Last month at Good JuJu I stumbled across the perfect curtains for the new addition. They are not what I was looking for, and I hadn't even planned on curtains. I thought I'd go with shades covered by lace sheers (I'd bought a boxful of vintage ones at an estate sale for $6, that just needed a little repair and hemming to fit).

IMG_8483

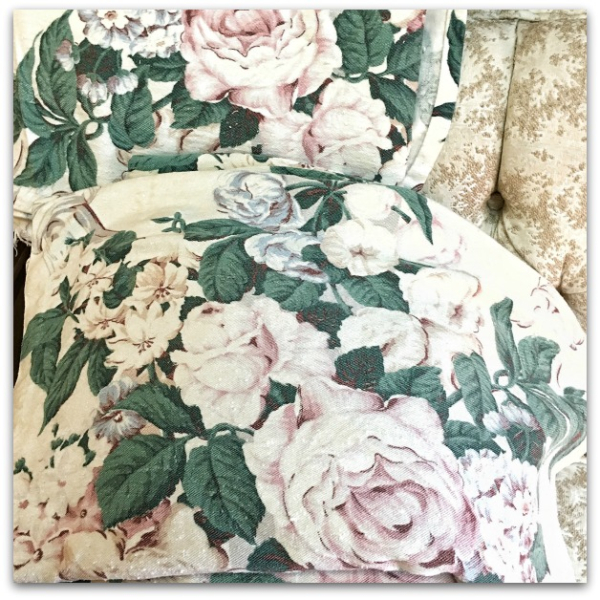
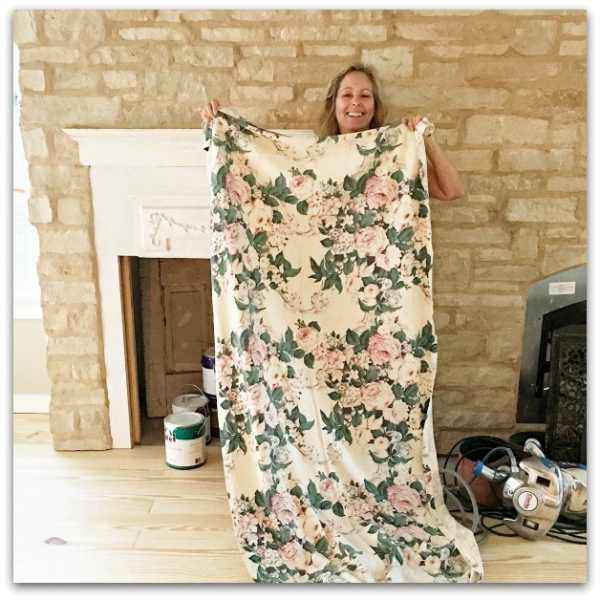
But when I saw a pile of these, perfectly faded, soft colored, old barkcloth panels in great condition, I fell in love.  I've had a thing for barkcloth since I was a kid and spent time in my Grandma's cabana room on the side of her Sarasota trailer.  She had curtains and seat covers, all in mismatched tropical patterns, in that nubby, old material.  Later on, when I discovered that cool, old fabric was made in ROSES too, I was enamoured with it.  

Silly me, I debated the purchase of these for about a half hour of dithering, and almost walked away.  I wasn't quite sure if they would fit the windows, and fabric wasn't on my shopping list that day. 

Then, I came to my senses and realized that 6 long panels and one extra length valance of beautiful, vintage fabric for only $150 was a deal I should never walk away from.  Even if they did not fit the windows, I could make pillows and slipcovers, it was a lot of material.

And I was right, they didn't fit the windows. Though, there is a deep hem, and with some finagling, I can make them work.

IMG_8493

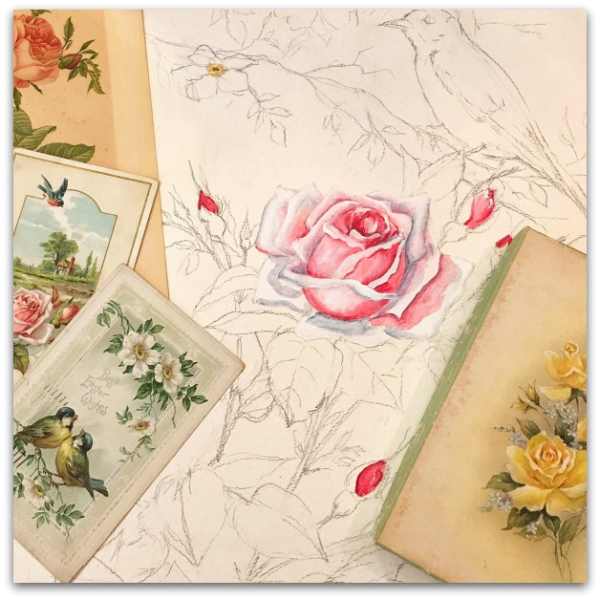
Once I had the curtains, my plans for the room changed up a tad.  I needed a coordinating something or other for over the mantel and I decided to paint some pink roses in the style of old postcards to hang up there.

IMG_8491

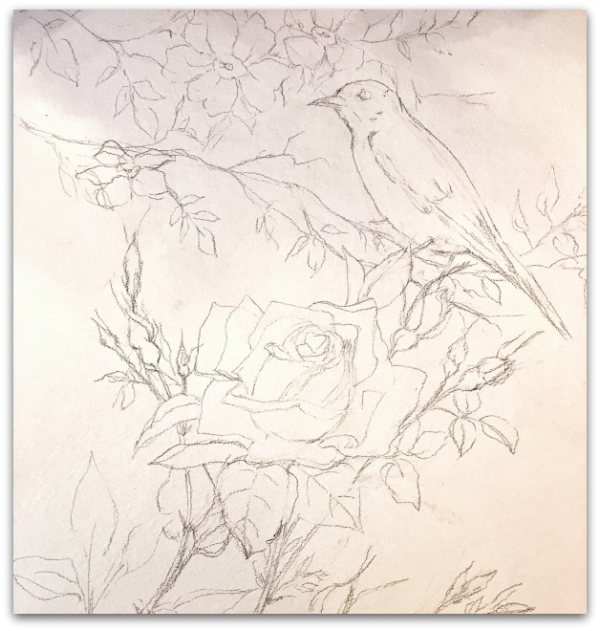
And the picture should have a bird in it.

IMG_0005 (1)

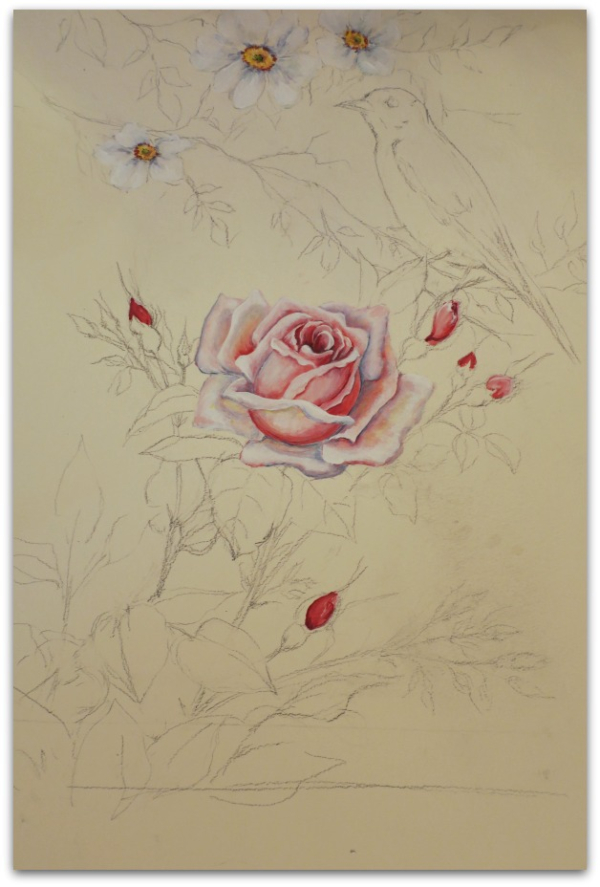
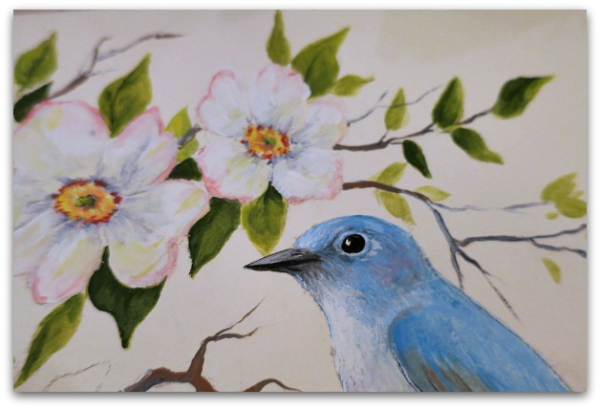
Here are some of the steps of the work.

IMG_8496

IMG_0023

IMG_8500 (1)

IMG_8503

IMG_8514

And here is the finished painting.

Trouble is, it was too small and too busy for the giant frame I had in mind.  I needed an enormous anchor piece on that 15' stone wall, and this needed to be closer to eye level to enjoy, not up so high. I'll still use it on the mantel, but will set in directly on the mantel and lean it against the larger painting.  I'll post about that one later.

PS- Before this gets framed, I hope to get some copies made for my shop. I'll let you know.

Murals of the past

guncles, paintings

IMG_9277

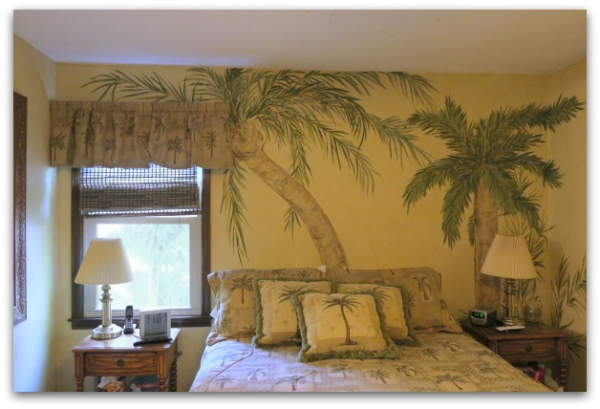
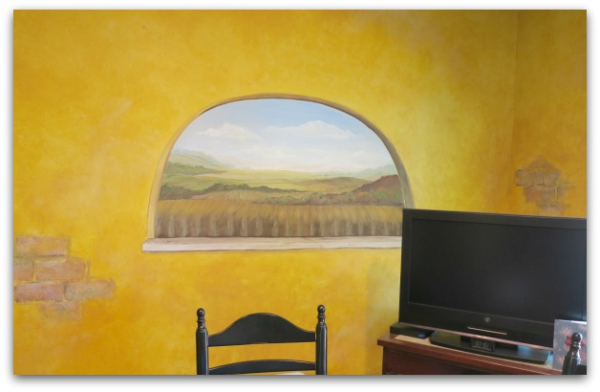
When Guncle Randy was here, he spent some time with his life long buddy, Susie.  I dropped him off at her Kansas City home and she gave us a tour of some of the murals I had painted for her what seemed like eons ago.  We figured out it was back in 2002, not as long ago as I had guessed.  This is the master suite, and at the time, Randy helped me do the rag rolling technique on the walls, then I added the palm trees.

IMG_9264

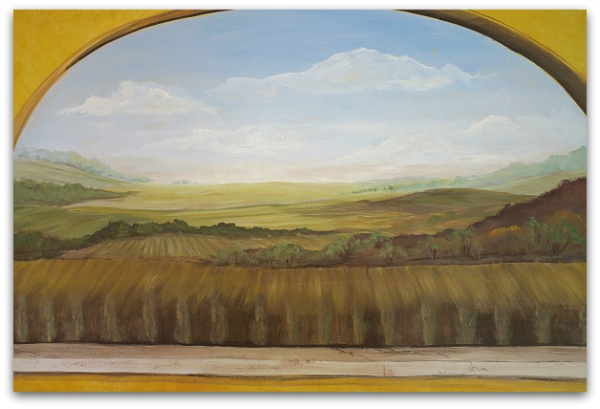
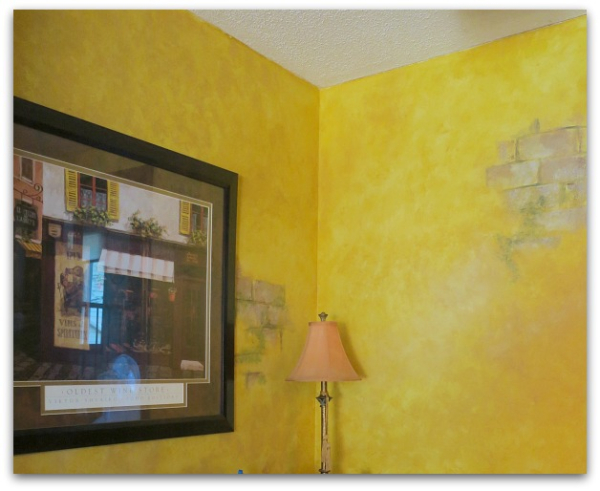
The kitchen was also painted with a ragged on glaze over the gold color they had applied, and I added faux bricks along with a window onto a French countryside.

IMG_9273

It was a pleasant surprise to see them still there.  

IMG_9268

I'd forgotten about the bricks, those were something I used to do a lot of years ago.

IMG_9282 

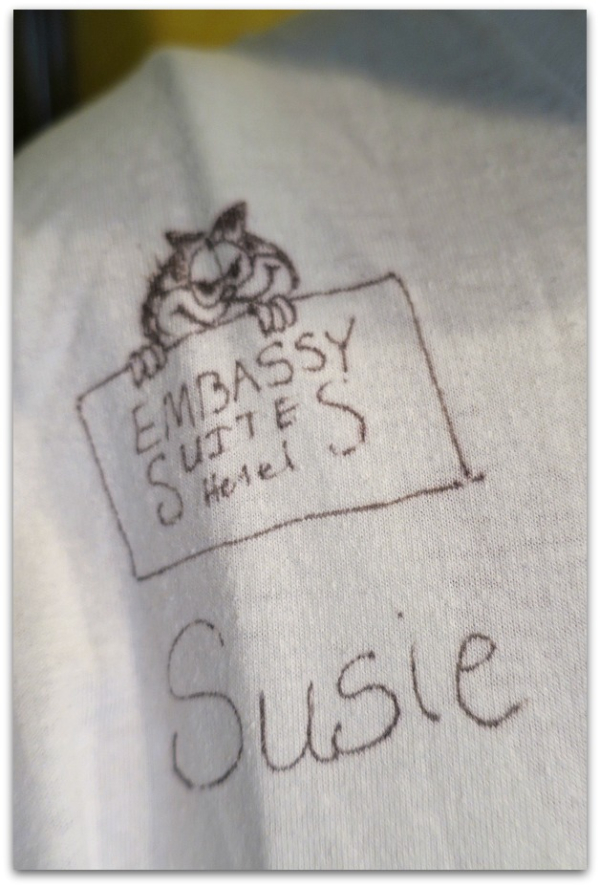
Yet another blast from the past was this little kitty.  

Back in the day, even before I was a muralist, I painted tee shirts.

IMG_9281

Garfield was a mascot for Embassy Suites, where Susie was head of sales, and she commissioned me to make up some painted tees for her staff.

IMG_9280

She dredged this one up to answer the door in when I came to visit.  

Funny thing, I had just met one of my son's friends the day before and got to talking about her dad who used to make wooden toys for Sliver Dollar City.  I told her that the amusement park used to send me boxes of toys and dolls to do portraits of onto tee shirts to sell there.  And she said that as a child, she had a hand painted teddy bear shirt from there. That must've been one that I had done.

So, after not thinking about those shirt paintings for ages, all of a sudden, two thoughtful remembrances came up within days.  I found it very touching to know that artwork I'd long moved on from was a fond memory for another person.  

A new look for the bathroom with a sunburst faux finish ceiling

cottage, paintings

Playdate 004

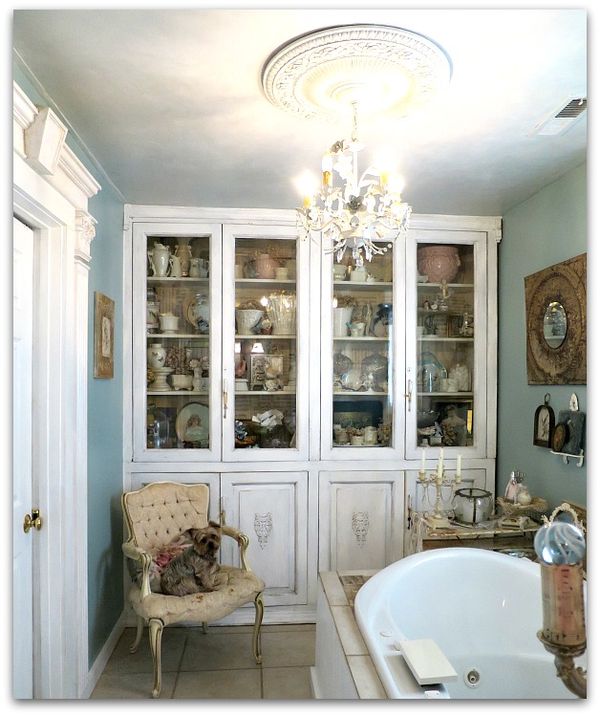
I've been tired of the walls in the bathroom for a while, and have longed for a deeper shade of blue there that would transition with the paler blue tone I had on the adjoining bedroom walls.  I'd put off redoing it because I'd originally painted the ceiling a faded pink, back when the walls were a deep chocolate brown. 

And that pink ceiling, while a subtle tone next to brown or cream, looked like cotton candy when I held up any blue paint chips near it.

And I hate, hate, hate to paint ceilings.  Especially white. Not only do I get a neck crick, I become snow blind, miss spots, and am constantly up and down the ladder to double check and see where I have skips.
Playdate 002

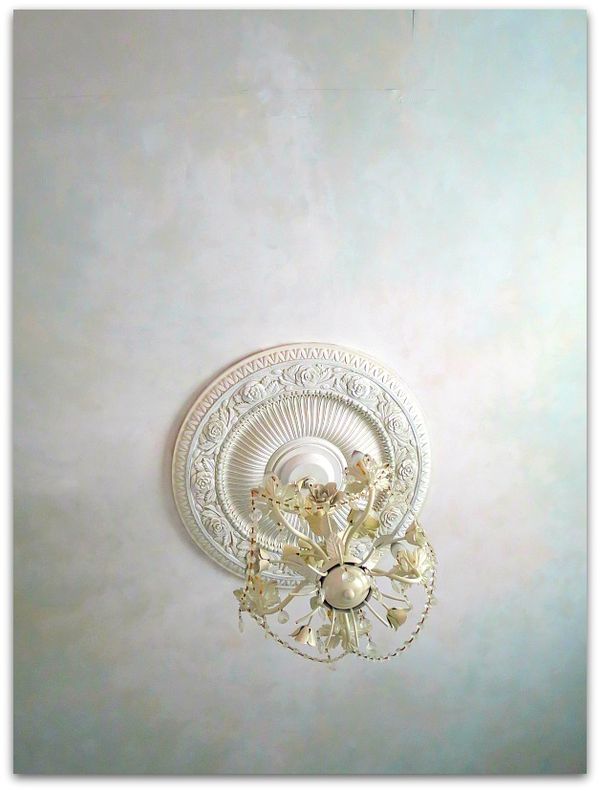
So, I decided to make the existing pink work with a faux finish. I lazily thought this might be quicker, and actually it was.  It was not any harder than washing the ceiling with a rag, there was no cutting in, rolling, or going over it with multiple coats.

I poured some of the blue paint into a cup of clear glaze, and did the same with white paint .

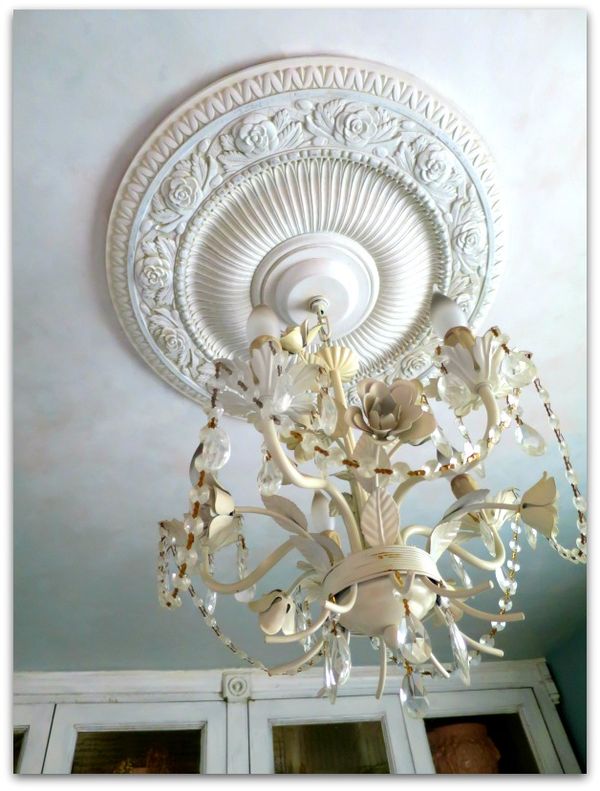
Then took a damp rag, and heavily covered the outside edges of the ceiling near the walls with the blue, blending in a washing motion as I went. As I got further into the center of the ceiling and away from the walls, I added the white, also washing the color on with an old rag, and also rubbed white over some of the blue I'd already laid down.

 Away from the walls, I added paint and glaze with a much lighter application, so more pink showed through.  

Around the chandelier, I wanted the pink to shine through like a sun burst, so stopped using any blue at all when I got close to the light fixture. 
Playdate 001

My neck hardly got bent out of shape at all, but I still I celebrated finishing the job with a nice, long soak in the tub.
Playdate 007

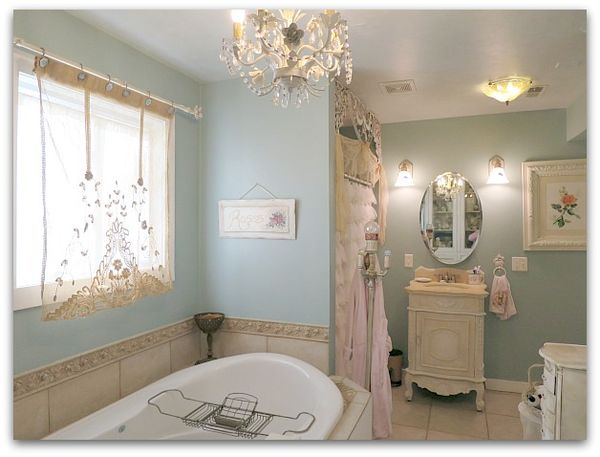
My view of the finished room while soaking was exactly what I wanted. I'm loving the blue walls, and the cloudy ceiling makes me happy. (the curtain doesn't fit well, but that is another day's worry, for now it will do-)
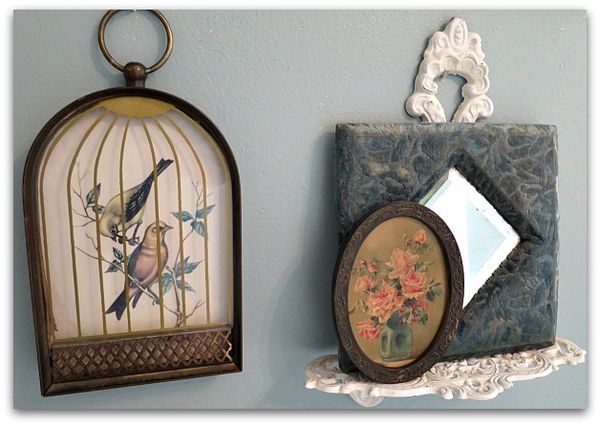
Playdate 005

While I had the walls bare, I'd taken the opportunity to change things around to a more springy look, with roses and little bird pictures.
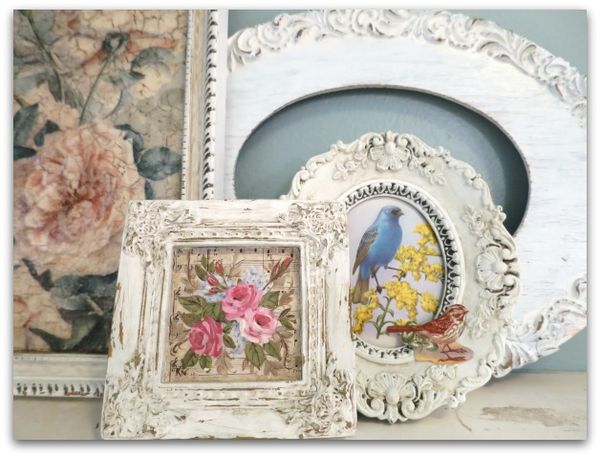
Playdate 011

I dug through the studio to see what I could bring in. I'm not sure it is all just as I want it, but for now, it is working. And I'm pleased with the colors.
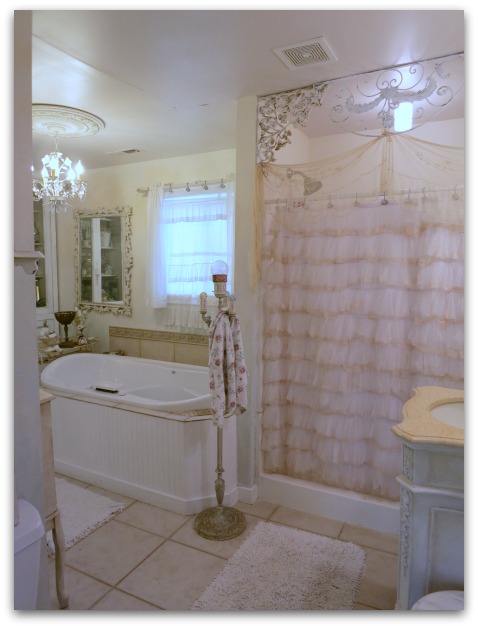
Cottage 008

Here is a before. While I am a fan of white on white, I always felt this room just looked washed out.  Though, "washed out" is probably fitting for a bathroom,  it just wasn't quite right.
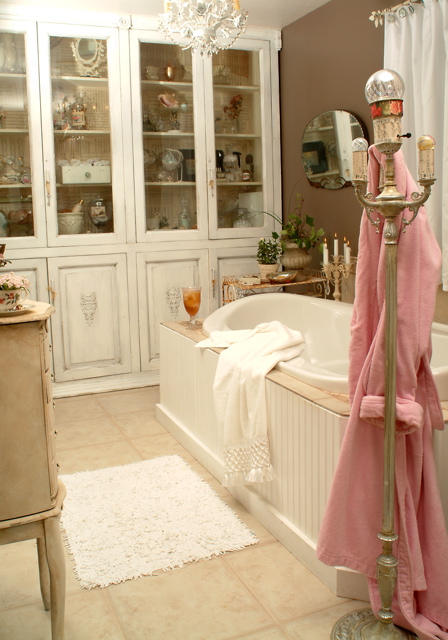
KarlasCottage2

This was the original color, and I always liked it.  A deep color makes the cabinets and wood work stand out more than the tone on tone version I thought was washed out looking.  
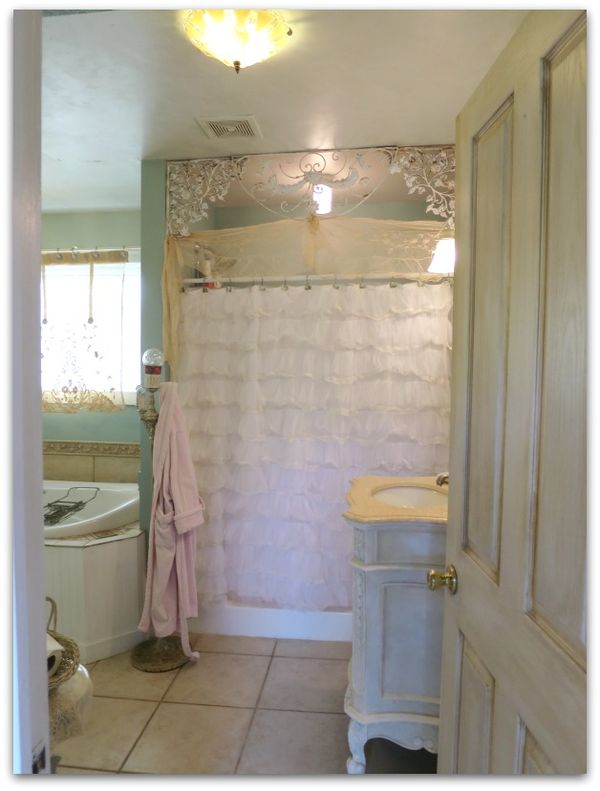
Playdate 013

Changing a paint color can certainly change a room, even when everything else stays the same.  
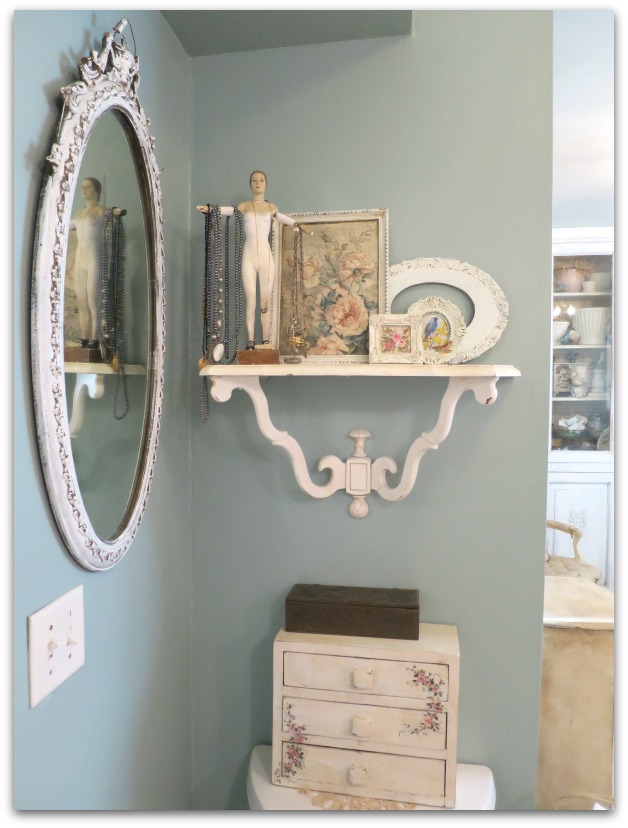
Playdate 010

The color is Valspar, April Rain, but I had it mixed in Behr, because I prefer working with that brand.
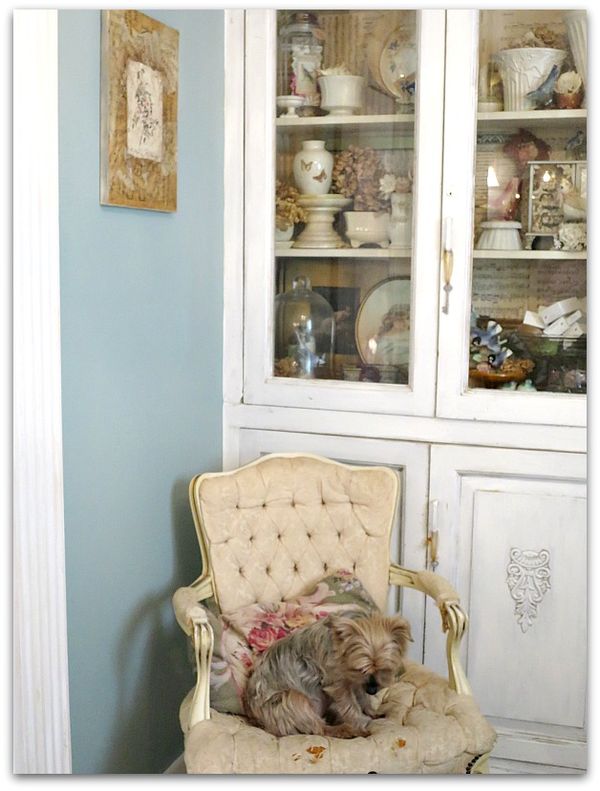
Playdate 003

Do you ever have a room that bugs you, and while there is nothing "wrong" with it, you just aren't satisfied? That is how I'd been feeling about this bathroom.  I've been busy prepping for the remodel we have planned, and am slowly but surely making the Farewell to Downton journals, but this was something that I had a nagging itch to do, and squeezed the painting job in even though it wasn't necessary, and other issues had a higher priority.

Because I'd had enough of being bugged by it and decided that it needed to be done.

NOW.

And I'm glad I did.  Other things will still get accomplished as needed and will be easier to face since I took time to do a project that I'd really wanted to tackle. 

Well, at least I hope so…  But for now, I'm very pleased with the new look.
 

Springtime sprucing up

cottage, dogs, Dorkies (Yorkshire Terrriers), paintings


IToruk 038

Our breezeway takes a beating over the winter.  It is too cold for me to care about cleaning it up, cats make it their home, we stack firewood out there, and it just becomes a mess. Sadly, it is also the entrance to our home and it never looks all that welcoming in the coldest months. 

The paint has needed touching up for a while, so I decided to tackle that small job first. Well, I thought it would be a small job….

First mistake? I used the wrong can of pale blue paint.  I had brighter blue freckles from one end of the room to the other.  Because, of course, I was efficient and finished the job quickly, and didn't realize the colors weren't a match till the paint dried and I was long done.

12718208_10154024965599477_8777049849426989363_n

Second mistake?

I rarely use a drop cloth, because I'm pretty tidy and don't drip, unless it is a big job and I start to get tired and careless as it goes on.

And I didn't drip this time either. 

But I did leave the lid off the can while I went to the store to buy more paint.  And the cats checked the color out while I was away.

Toruk 039

Third mistake?

I didn't save the name of the original paint, or any samples.

Which might have been helpful, even though the hardware store no longer had that brand of paint, I could have at least done a computer color match.

I pride myself on not only, not being a dripper, but on also having an excellent eye for remembering colors.  (uh, except for using the wrong can of paint, that doesn't count, does it? That was not paying attention).

So, I bought what looked like the right shade and once again repainted the freckled areas I'd created by using the brighter blue. This time, I painted entire boards, not just spots and I have to say, it was looking good.

Til it dried

Paint always dries darker.

Well, at that point, I wasn't giving up. I did NOT want to repaint the whole room, those boards are hard to get in and around, I couldn't use a roller and that sounded like a BIG job.  (although, as much time as I'd spent messing up and redoing, I probably could've repainted the whole shebang another color much quicker)

So, I started adding white to the color I'd purchased, since the shade was right, the tone was just too dark.

And it worked.  I don't think you can see the patches, and the room looked so fresh and clean that I touched up the doors and washed the curtains too.

Toruk 040

A clean coat of paint on the door is so much more welcoming, isn't it?

Toruk 043

The Christmas wreath on the door is perked up for springtime too.  I pulled off the winter trimmings and stuck some pink roses into the grapevine.  Then clipped a bird and eggs to the nest (there had been a big white dove, and some ornaments in the nest).  

None of them are glued down, and the stems seem to be staying in pretty good. 

Toruk 041

This urn was stuck in front of the new gas line pipes. It doesn't completely hide them, but will help until the azalea gets bigger and does its job of obscuring the pipe.

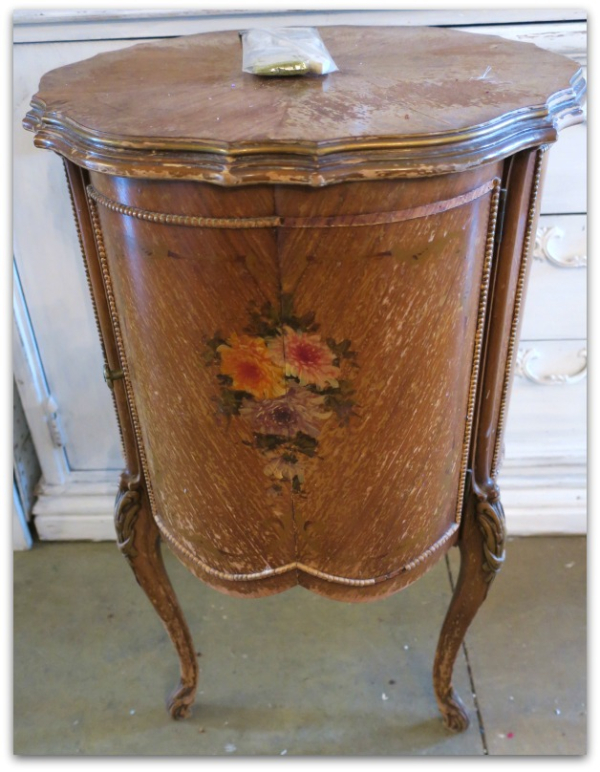
And now, I'm ready for the next project.  There is a lot of spring spiffing up to be done around here. (like painting that wardrobe in the first photo. I bought it late fall and haven't tackled a redo on it yet)

I'm also Spring Cleaning in the Boutique, if you'd like to take advantage of my urge to purge the inventory, please use THIS link to access the shop.  All items will be 50% off including the tutorials and existing sale prices.

Sculpy dragons

paintings

IMG_7403

At the romance fantasy writers' retreat that I helped my sis, Terry, with in January, we had some craft time along with all of the author meet and greets, workshops, games and meals, snacktimes, and treat times.

There was a LOT of good food, we ate like Hobbits-

Here is a sample of a Hobbit's menu for the day:

Breakfast – 7am.

Second breakfast – 9 am.

Elevenses – 11 am.

Lunch – 1 pm.

Afternoon tea – 3pm.

Dinner – 6 pm.

Supper – 9 pm

Yep, that sounds about right. We had a lot of tasty breaks for goodies.

IMG_7405 (2)

The whole weekend was pretty interesting, even though the books weren't my typical genre to read, it was a racy yet, light hearted change for me.  And the attendees were so happy to there that their enthusiasm was contagious.  The hostess, S. E. Smith, is also an artist and she travels with Sculpy clay to create with during downtime at the workshops she attends. She brought some along for this event and led us in making some baby dragons hatching from eggs.

This was my first Sculpy experience. I've worked with paper clay and air dry clay, and each have their own pros and cons.  I didn't do very well with this stuff, but it was fun to try.  I found myself re-smooshing and ruining an area I'd just worked on. I think that with practice and with tools, I could get the hang of it though. 

12508754_10153810609194477_4069770034755721544_n

One thing I discovered is that if you use multiple colors, they can smear together easily. At least if you aren't careful.  

One of the things most people love about this clay is the way it can blend as you use multiple colors to make your creations.  But I found it messy and flat looking.  Here is my hatchling at the event, and I wasn't too thrilled with the way I'd made him.  

1929921_10153810598939477_9028913416159325429_n

This one is even worse. 

So, when I got home, I got out my paints and touched them both up. Adding some metallic and pearl paints really helped.   

IMG_7404

While they still look like a first attempt with clay, I think they are better than before.  And I love an excuse to have something to paint.  

Which reminds me, I need to go and paint some frames. Not quite as much fun as painting dragons, but I'm doing them for my "Farewell to Downton" art journal swap, and that is pretty durn exciting for me!  I scrapped my first example because I didn't think it was as regal as I wanted it to look.  
Back to the drawing board, because this book had to have the feel of luxury that we all drool over on the show.  After searching online, in all my favorite stores, and trying lots of different ideas, I found some mini, ornate frames to add to the covers that was PERFECT touch.  But they are garish colors, and need to be painted white with glints of gold. 
Look for details to  join the swap soon.

If you don't want to miss my announcement and would like me to contact you with the info when it is ready, please leave a message here or email me at:

karlanathan@sbcglobal.net


Scroll to Top