photography

Big, Fat, Travel Journal and how-to’s- Part Two and some digital photo vacation tips

Books, family, guncles, how to's, photography, Travel

Photobook 011

Where were we? Oh yes, in the middle of the travel journal.  This book is made the way I did the Nature's Blessing Journals for the swap, and there are directions on how to make these type of books from scratch in my online tutorial, here.

In the tutorial, are  ideas on finishing pages too, if you'd like more details to make one of your own.

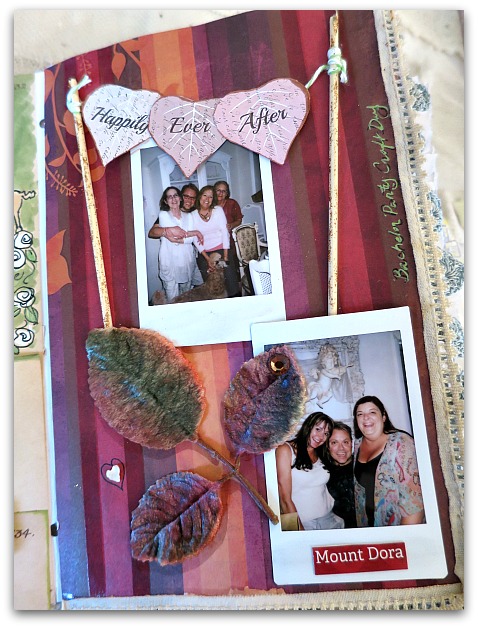
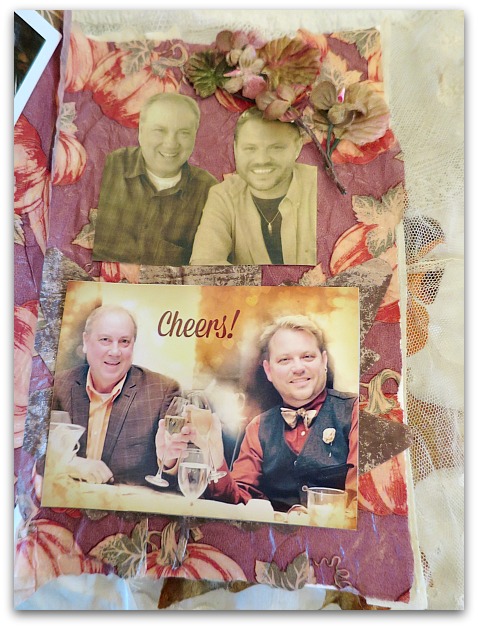
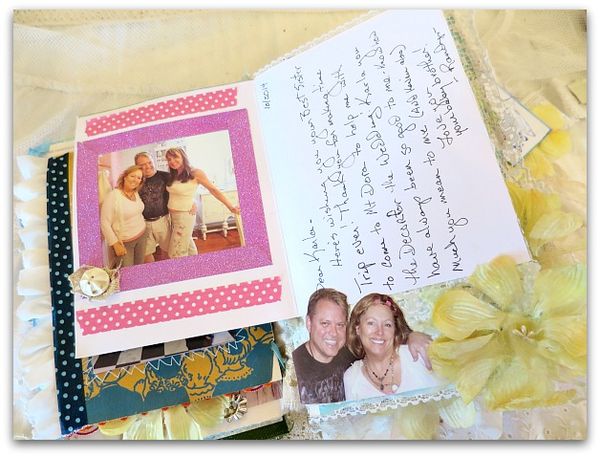
This page is showing the inside of a card that Guncle Randy made for me. So I added pictures to it from our Bachelor Party Craft Day.

The polka dot and glitter tape borders are from the dollar bin at Target, what a deal!

Photobook 012

Here it is with the card that he made for me closed.  Greeting cards are great to add to journals and scrapbooks, you glue down the back and can add to the inside of them.

Photobook 021

During our craft day in Mt Dora, we worked on Randy's wedding decor. So I used some of the fall toned paper from the projects to make this page. Over it, is a leaf (outlined in brown marker for a shadow effect) from the velvet hat he bought,  instant photos from that day, a heart shaped shell I found on the beach,  and one of the mini garlands we were making for his centerpieces.

I tied a bit of baker's twine to the two little wooden skewer sticks, glued them down, then glued the garland pieces right on to the string.  For the centerpiece, I punched holes in the leaves with words and tied them to the string, but this way seemed to be a better fit for the book.

The words, "Mount Dora" were cut out of a brochure we picked up.

Photobook 022

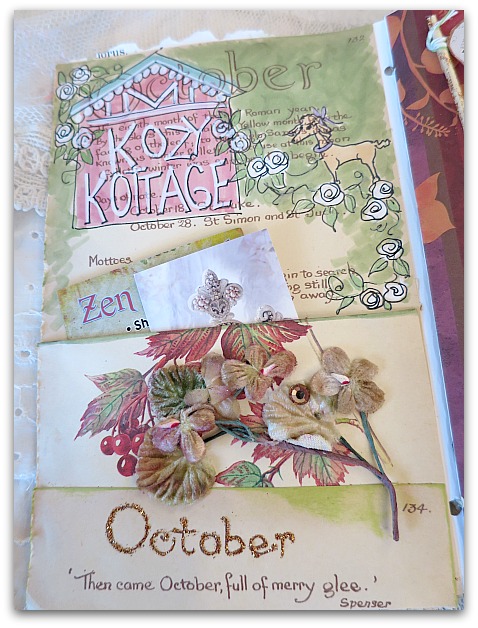
On the adjacent page, I used an October book page from a garden journal to make a background and pocket. I inked the edges in green, and highlighted "October" with Stickles glitter.

With Tim Holtz Distress markers, I drew a pink cottage and Karen's sweet poodle. I like those markers for this kind of work, because you can still see through them to the text below.  For detail, I used a black ink pen and opaque white  marker.

The pocket is perfect for business cards I gathered while shopping downtown.

Photobook 013

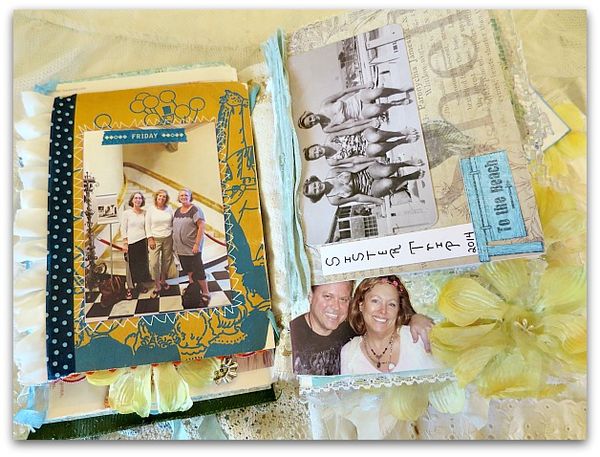
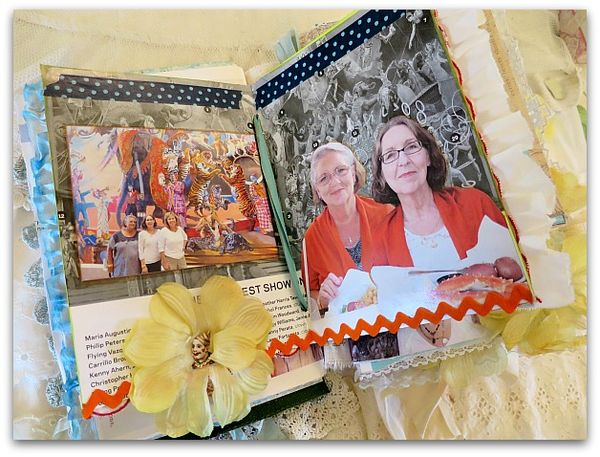
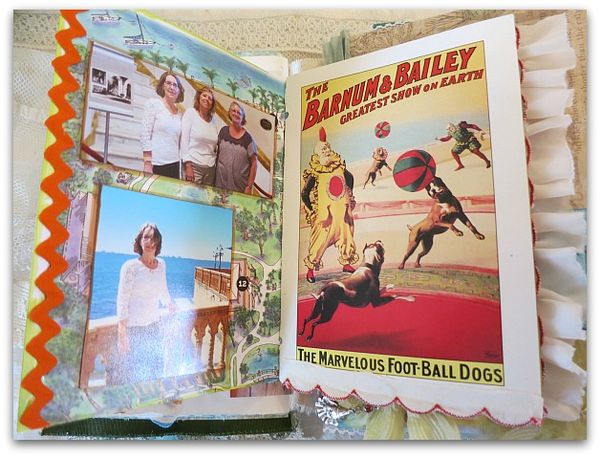
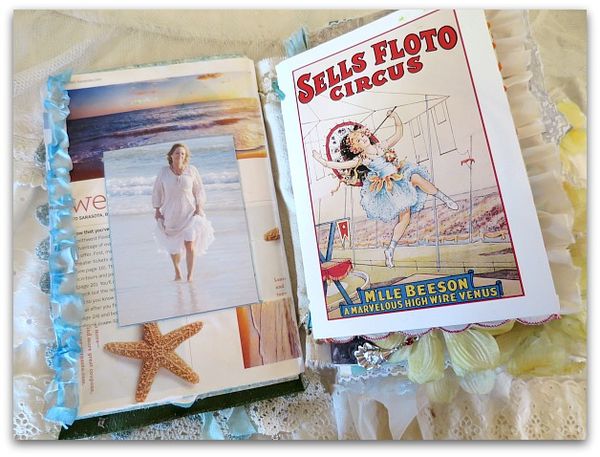
Another way to use greeting cards, is to punch holes in them and tie them directly into the book itself, instead of gluing them down to the pages.  At the Ringling Bros. museum, I picked up a couple circus cards and tied them into my journal.  I covered the inside with brochure pages from the museum, added photos, and colorful rick rack trim.

I thought the polka dot tape was festive and circus-y too.

The sunshine yellow flower got a clown face center.

Books 007

I thought that the outside of the card was plenty cute, and left it as it was. A few ruffles was all it needed.  Not every bit of the book needs to be covered. 

On the opposite page, I used the museum grounds map as a background for photos. The pictures are outlined with brown to make them stand out a bit.

Books 005

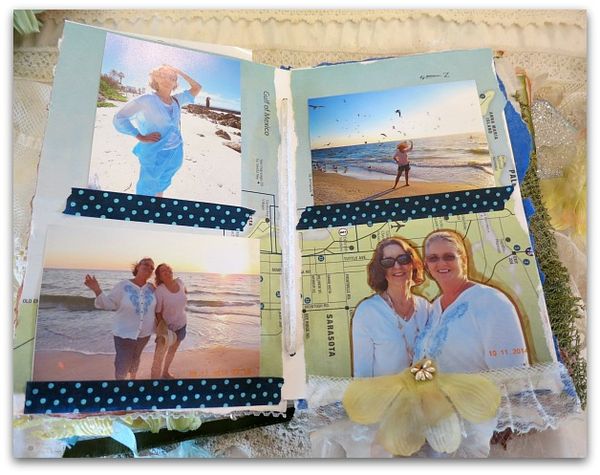
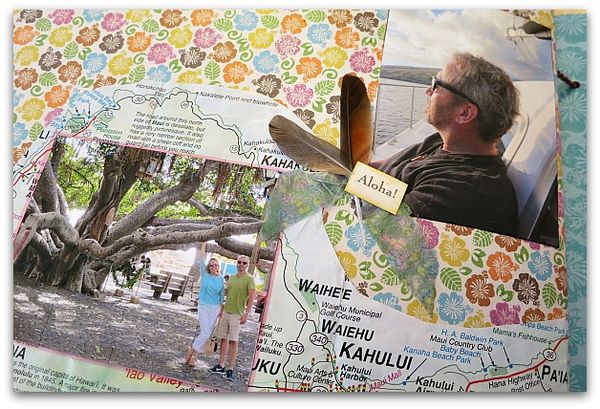
This is a map of the coast, with a few photos, accented with polka dot tape.  I cut the figures out of one picture and shadowed them by outlining with the brown marker.  And added a ruffle and a half flower to the bottom.  

When I do the backgrounds, I like torn edges, and keep it all a little rough, not perfectly cut.  I also like to have lots of peek-a-boo bits like the ruffle and flower petals.

Books 008

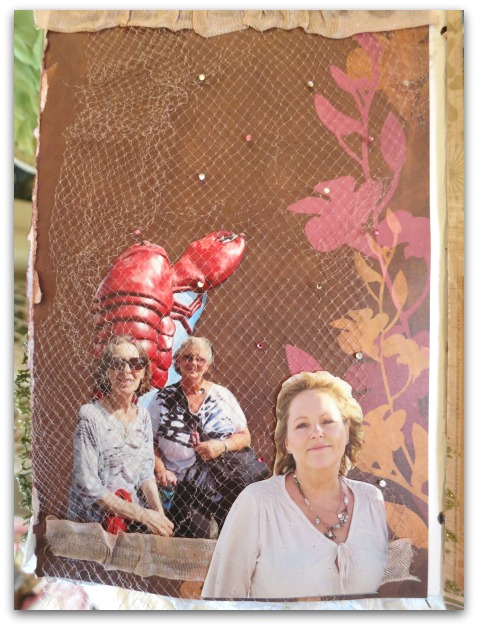
This one was fun.  Bobbie and Sissy were posed in front of a giant lobster, and I slipped their cut out silhouettes under a netting from an old hat, and added my picture over it for dimension.

The netting is held down at the top and bottom with a piece of glued down ribbon.

Books 009

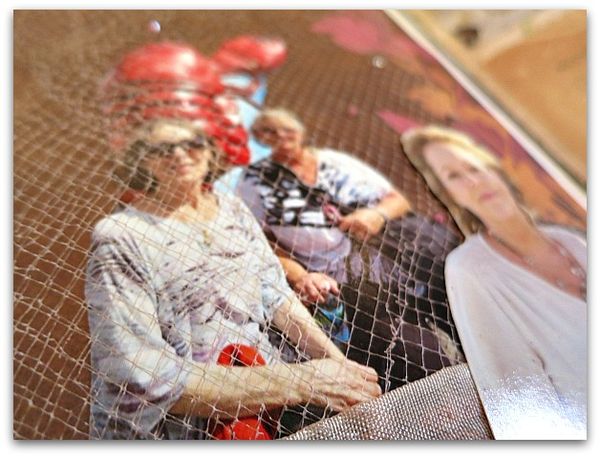
Here is a close up to see the details.

I might have liked this one better if I'd used a blue background, but I layered it back at the hotel room, then when I got home and went through the photos, these are the ones I thought would be cute on this page. Brown is okay, and since it wasn't planned ahead, I had to make it work. But if I had it to do over again, I'd have used blue.

Photobook 014

Sometimes it is nice to have some simple pages, like this travel brochure page with a ruffled ribbon and a single outlined photo, then an unadorned greeting card from the circus.

Photobook 018

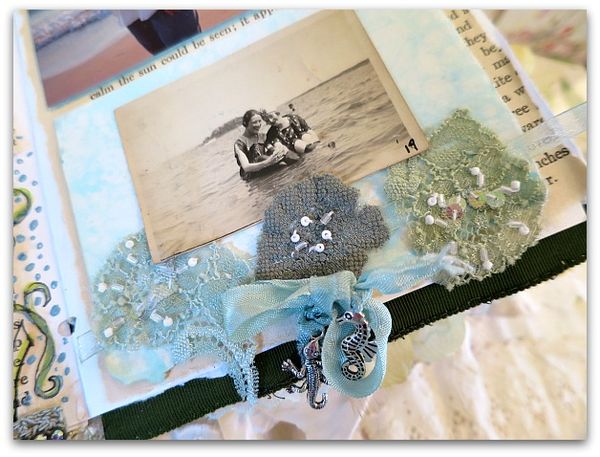
Here, I have folded a piece of paper in half, and glued down the back of it. Ribbons are glued to the front and back to make a tie, and charms we found at a Sarasota bead shop are added to the ends of the ribbons.

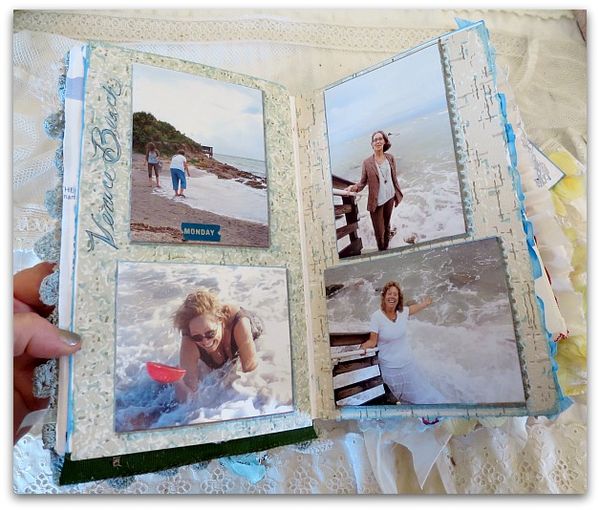
I bought a vintage photo album at a junk shop and the beach pictures from it were the perfect addition to many of  my pages.  One is used here with lace medallions as trim.

Photobook 019

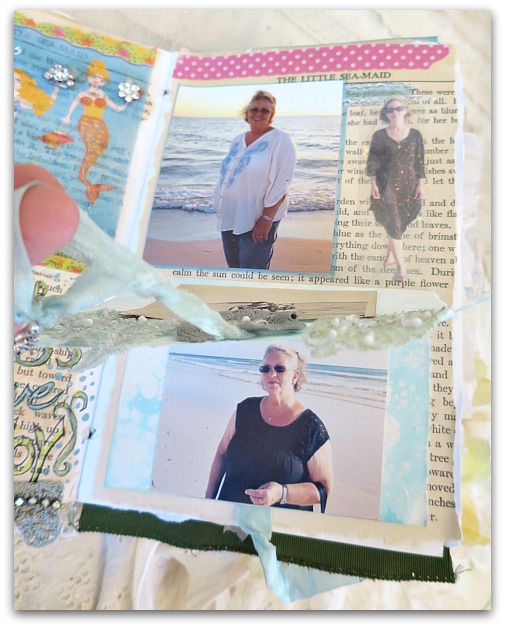
When the folded blue paper is untied and opened,you can see the picture inside.

Another full photo with a beach view is above it, and is outlined with blue.  The figure next to it is cut out for variation.   I find it more interesting to have different shapes and sizes of pictures than to show the same beach background over and over, exactly the same behind each person.

Now, I just love beaches to death, but for the sake of the art journal, this layout is a little more interesting than a row of same size, same background pictures.

A stip of polka dot tape makes a simple, and easy border. With a marker and white opaque ink, I've highlighted the words, "sea princesses" that I saw in the text of the old paper that I was using.

Photobook 023

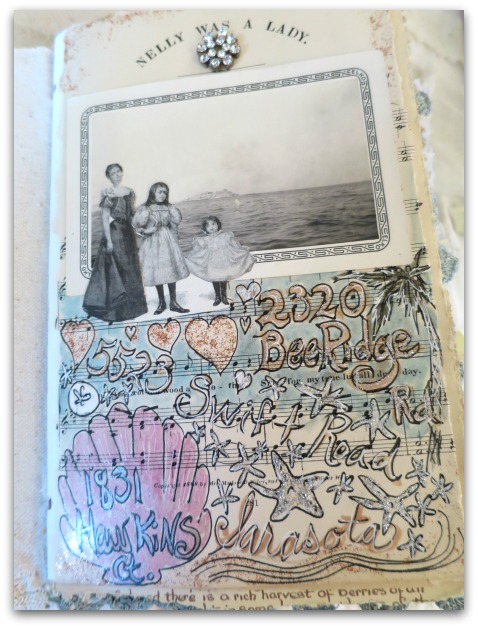
One afternoon of our trip was spent driving around and looking up past addresses of our Great Grandma Nellie, Great Aunt Caroline, and Grandma Smith.  

When I saw this sheet music with Nellie in the title, I knew I wanted to use it for this day. I added a vintage ocean picture, and cut out three girls from very old magazine to glue over it, then wrote the addresses we'd looked up on the rest of the paper.  

 I doodled shells, and hearts around the words, and then added some glitter and a rhinestone.

Photobook 004

Part of my trip included a flight from Florida to New Hampshire for the Guncles wedding. While it makes an odd color palette for the book ( sunny beach tones and fall hues) it was even weirder to pack the suitcases for both climates.

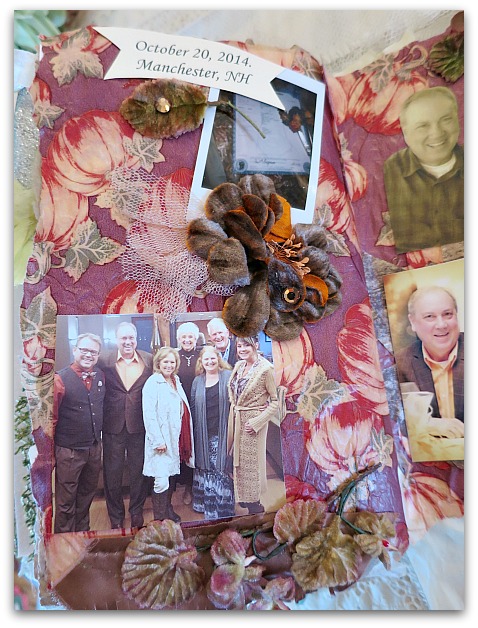
Here, I have some pumpkin themed tissue paper crumpled up and glued down as a background, and over that, I've added photos and some velvet flowers from a hat Randy found while we were out shopping in Mt. Dora.

Photobook 005

The adjacent page matches, and has a banner cut out of the wedding announcement.

Nbjgifts 027

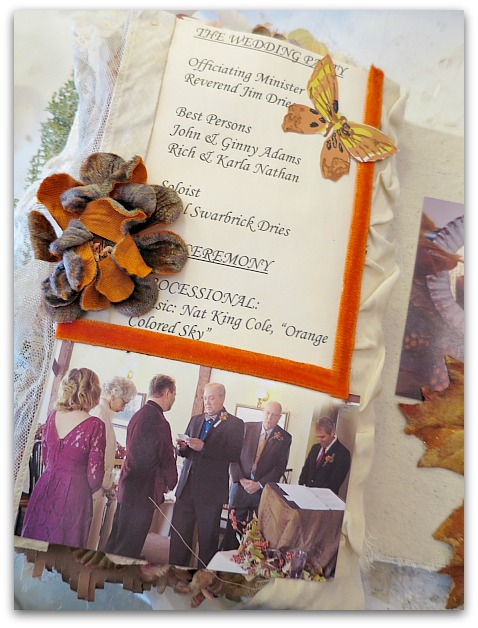
A photo from the ceremony is layered over the program, with some lace trim, and orange velvet ribbon, topped off with more blooms and an autumn butterfly.

Photobook 015

This page is a plain, wallpaper backdrop, with four fun photos. I left all four of them intact, but notice that I did cut them to slightly different sizes? Each is outlined in ink to make them stand out a bit, and one page has some doodles down the side of the pictures.

 Here are some tips I follow for digital photos while on vacation:

  • Pack your battery charger!
  • If you are using your camera phone, edit the pics with something like the Snapseed ap before posting them. Crop, brighten and sharpen for better photos.  
  • For your phone or camera both, DELETE all noticeably bad pictures daily. Blurry, unfocused, bad angles, snaps should   be cleaned out to save space, and to save time when you are ready to upload to your computer at home.
  • I email myself the photos I want to keep from my phone, then open them on my computer when I get home.  I then delete most of the photos from the phone, so that I don't have so many on there that I can't find the faves that I want to see.
  • Take a lot more photos than you think you will need.  This will give you more to chose from.  
  • When you get back home and upload, be selective with the pictures.  If you've taken hundreds, narrow it down to dozens. Really.  I know it is hard, but honestly, you will enjoy having the best ones to keep and you don't need so many duplicates.  Pretend you are at an optician's exam.  Remember how the Dr. will ask, "This one? Or this one?"  With multiple photos of the same scene, clean out by comparing them one at a time, to chose the best couple from the multitudes.
  • But watch out for hidden goodies!  If you have a group shot and one person has made a face, another has her eyes closed, and a third is drop dead gorgeous, consider cropping the picture to be a close up beauty shot of just the stand out person. 
  • Here is a big one for me, I tend to tilt my camera a lot. So, I have to be careful to straighten each picture before cropping.  Its very distracting to see the ocean in the background sliding away to the side of the picture.  A straight horizon line with water is very important.  Same with ceilings and walls for indoor shots.  
  • After straightening, figure out what needs cropped. Crop some pics in close, and leave the backgrounds in others.  You'll want variety.  But if there is a big expanse of ceiling showing, ten feet of driveway in front of your subjects, or a plain, boring wall, get rid of it. Keep backgrounds that are attractive, or tell a story about where you are. But if the backdrop is unnecessary, crop and focus on the subject of the picture.
  • I like Picmonkey for my editing. The site is self explanatory and easy to use. 
  • When editing, use Tooth Whitening sparingly.  Yes, make the subject more attractive, but don't make them look unnatural. Same with Eye Bright.  And while I'm sure everyone would appreciate less wrinkles, please don't iron out the faces to look like the person is one of those bad, "After" pictures in a spread on plastic surgery gone wrong.
  • My favorite use for Wrinkle Remover is to blur backgrounds to really make the foreground pop.
  • If there is a glaring color that stands out in the background, like an orange sign peeking through a pretty tree scene or a bright blue shirt on someone walking by in the distance, I go to Eye Color, and chose gray to draw over the bright color and tone it down.  I don't want the veiwer's eye to be led to something that stands out and distracts from the subject of the photo.
  • If you are planning on using the pics in a scrapbook like I did, make sure you leave room for cutting them down to various sizes after they are printed. If you overly crop, and then print them all the same size, you have no space left to cut them down to make some smaller for the album. And I think that the albums look much more interesting with a mix of sizes.

***************************************************************************************************************************

Rwc2014

ps- Want to come to my cottage studio for a Christmas class? I have two available, how to see you here!
Kansas Sunflowers

family, flowers, photography, Sugarwings

Sundlowers 049

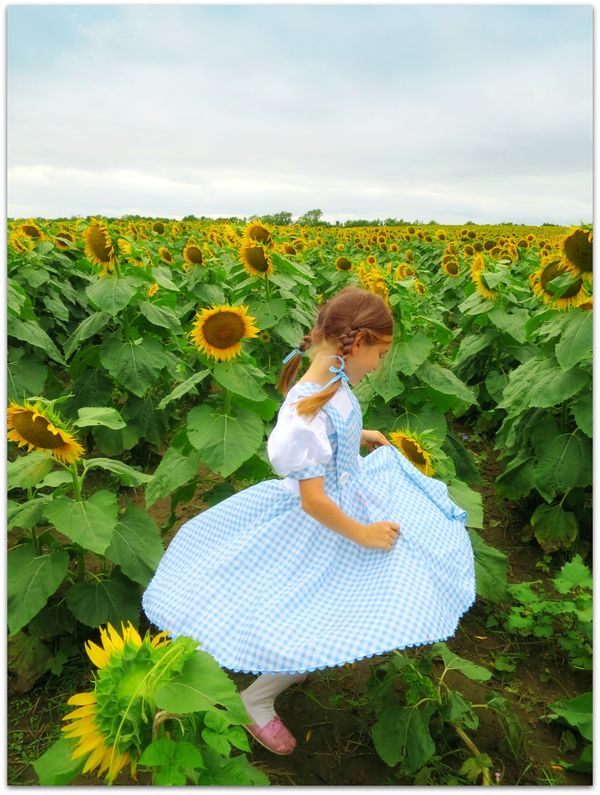
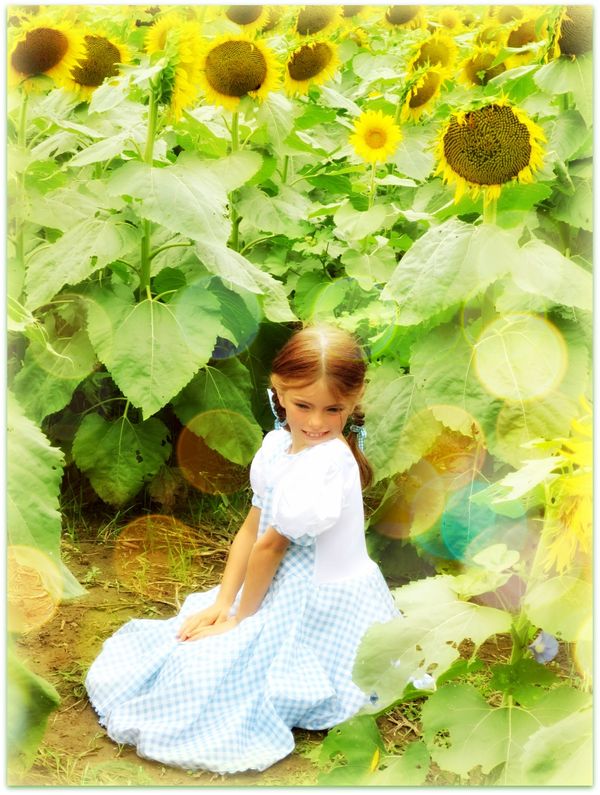
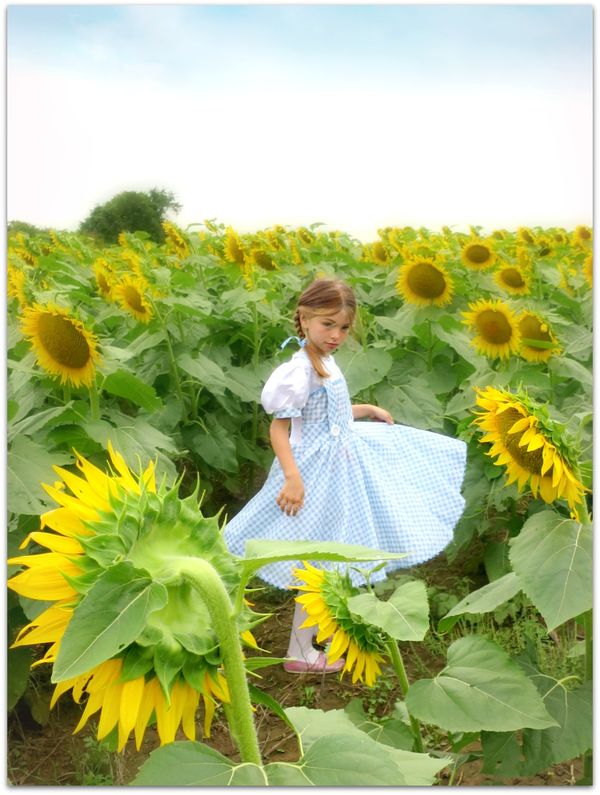
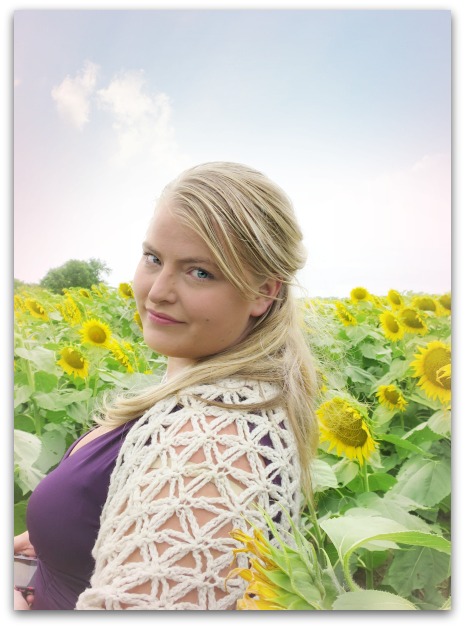
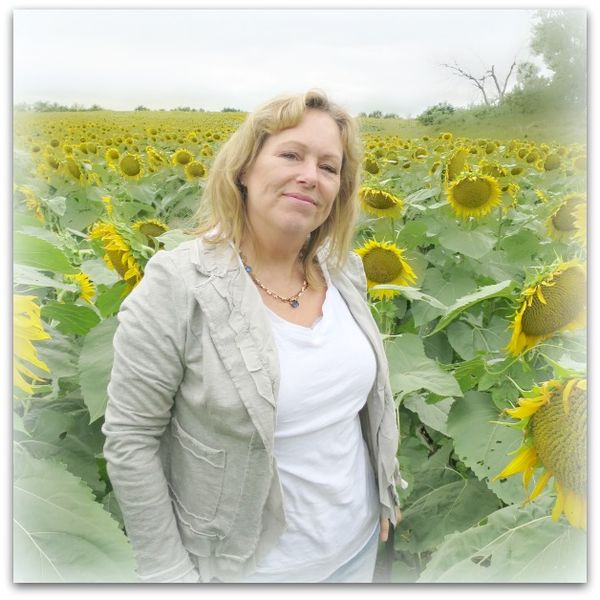
Outside of Lawrence, halfway to Tonganoxie, there is a sea of gold, stretching out as far as the eye can see.

Glow

I've lived in this town for over 20 years and this was my first visit there. How could I have been missing out on walking through the rows of sunflowers?  What was I thinking?

Sundlowers 051

While I always thought it sounded pretty and that I'd like to go and see the flowers in bloom, I had no idea that the field would have such an enchanted feel to it.

Sundlowers 021

Lots of families were there, all taking photos, probably a dozen cars full of people. But, the moment you step into the rows of flowers and are swallowed up by the blossoms, you are alone in a world of yellow and green, lost in the rows of looming giants.

Sundlowers 041

How strange, to be ten minutes outside of the city, and amidst at least 50 other people, but feel so isolated and hidden.

Sundlowers 056

But not in a scary way, it is a magical feel.  No, an enchanted feeling. That is the only way to describe it.

Sundlowers 018

I grew up in the middle of an Indiana corn field.  Walking into the corn, and into the sunflower field is similar, but the flowers are so much prettier and special.   I loved playing the corn when I was young, and could lose myself in the stalks, or find a hiding place to lay back reading a book for a few hours with my Irish Setter as a pillow.

Sundlowers 031

The sunflowers had me reminiscing about those days in the Hoosier corn fields, but as much as I enjoyed those times out in my brother-in-law's crop, this was something different.  At some points, we were completely hidden away, with flowers topping 8-9'.  Other spots, they where shorter, or there was a slight hill to stand on and we could see acres of yellow off into the horizon.  

Sundlowers 082

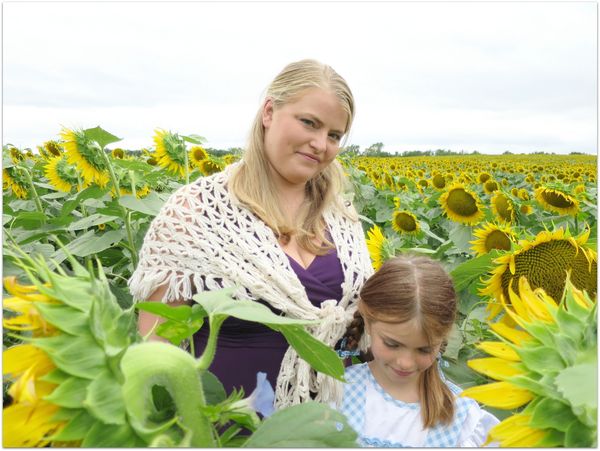
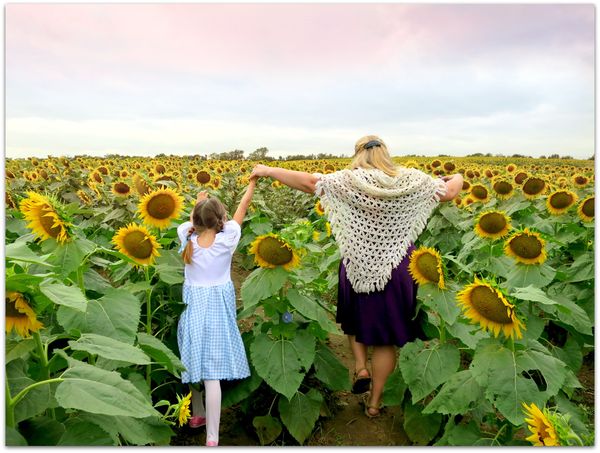
I think my girls shared my excitement. I don't know how you could walk out into the vastness of the field and not feel the magic.

Sundlowers 036

 In some spots, there are clearings, that beckoned me to grab a dog for a pillow and bring a good book to hide out with for a while.  I could have easily spent hours in one of those little rooms with green walls.

And then, there would be places so dense, we had to back track and find a new route through, and we'd wonder just how far we'd wondered  from the car, just to find out that we were actually only ten feet from the road.

Sundlowers 040

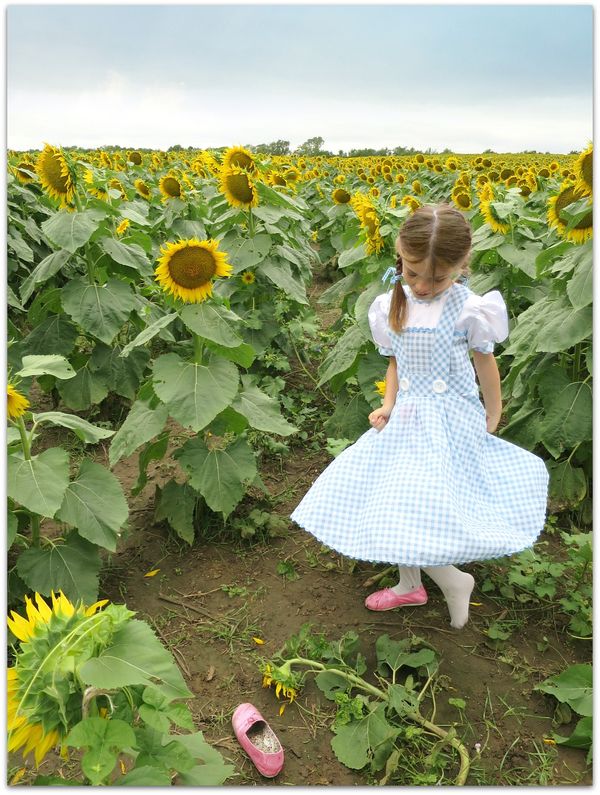
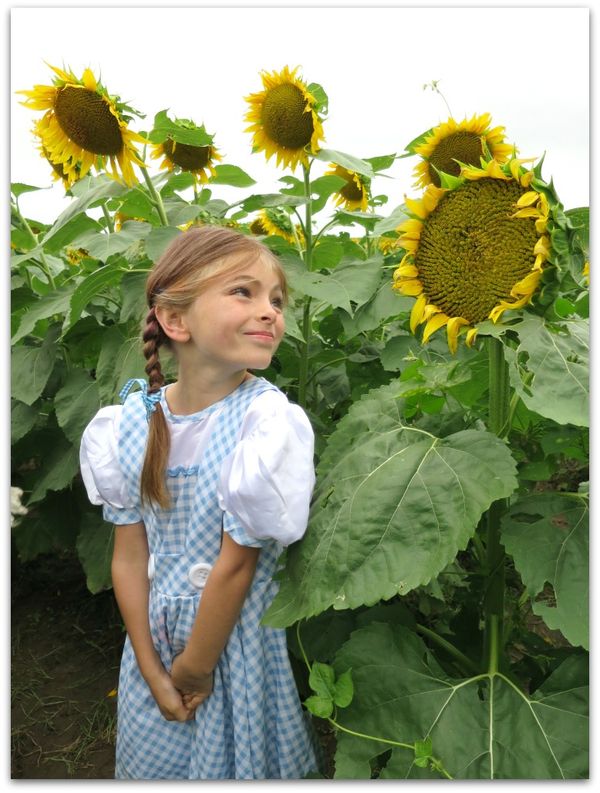
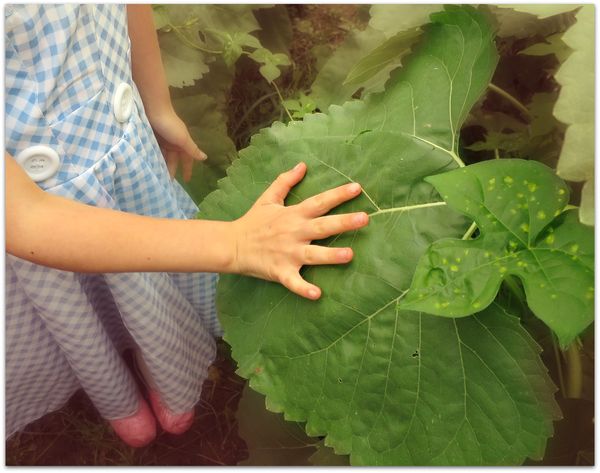
And woven all about the stems, were blue morning glories, the color of our Dorothy's gown.

Sundlowers 094

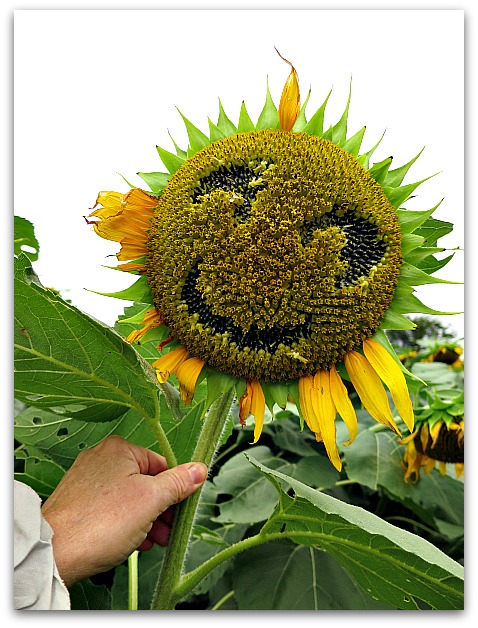
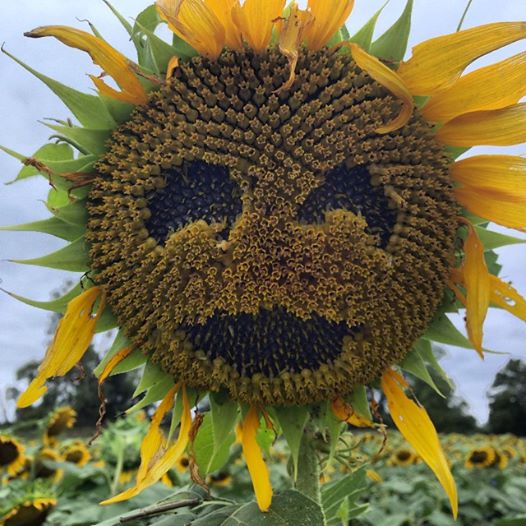
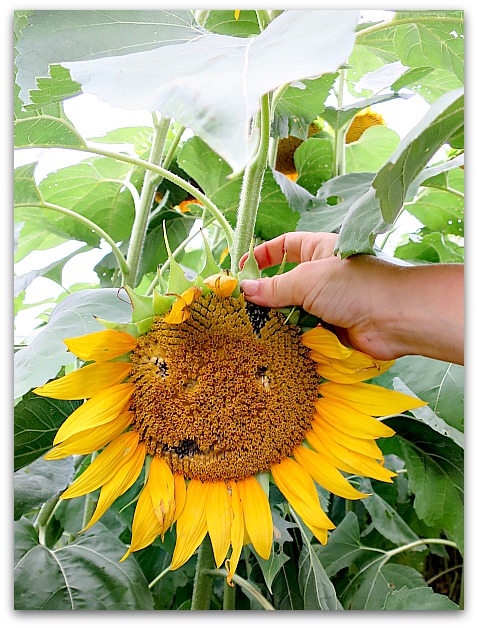
We discovered that sunflowers weren't just to admire, you could also play with them.  

1907794_10152647146084477_8338617495142823609_n

By plucking out a few seeds, you can make happy faces, we wanted them to look like they were laughing, so they would feel as happy as we did.

I hope that others walking through the field see our sunny faces and smile back at them.

Sundlowers 091

Sugarwings made a happy face too.  

The fields are free to visit, anyone is welcome.  The farmers ask that you leave them as you found them, take out your trash, and pay a dollar each for any flowers that you pick. There is a donation box to help the land owner defray the costs of the field.  

We paid for the ones we defaced (well, really we "faced" them) and we picked a couple too.  

Sundlowers 053

I hope to take Dewdrop there for a few pictures too.  I think she'd look cute in a fairy gown.  Being dwarfed by the towering blooms makes a perfect backdrop for a fairy photo shoot. 

Plus, I just can't wait to get back there myself. 

Kansas vs Maui

drawing, paintings, photography, Travel, vintage paper/collage art

Valentine fairy 010

Happy February!  Man, what a cooooooold, brrrr-ey winter.  I was so lucky to get away to Hawaii and escape the worst of it, but I still feel like I've been a human popsicle most of the season. Some of it is because of the propane shortage, the price of heating our house more than doubled, and I've been keeping careful track of thermostat settings.

Valentine fairy 014

Geez, I thought Hawaii was expensive.  At least a vacation is a memorable, relaxing, and worthwhile way to spend too much money.

Valentine fairy 013

Now, don't get me wrong, I love a cozy, warm house and know it's important. But I'd sure rather pay half as much to do it. 

Normally, we prepay for our gas for the entire year way back in August, to get a set price. If I'd had the foresight to do that last summer, we wouldn't be paying double now. But I'd still be cutting back and turning down the thermostat, since there is a shortage. It's scary to think of running out!  Our firewood supply is low too.

Valentine fairy 011

Maybe we should turn the heat to a minimum, pack up and fly back to paradise, spend the money there instead of on propane!
Valentine fairy 015

I wish.

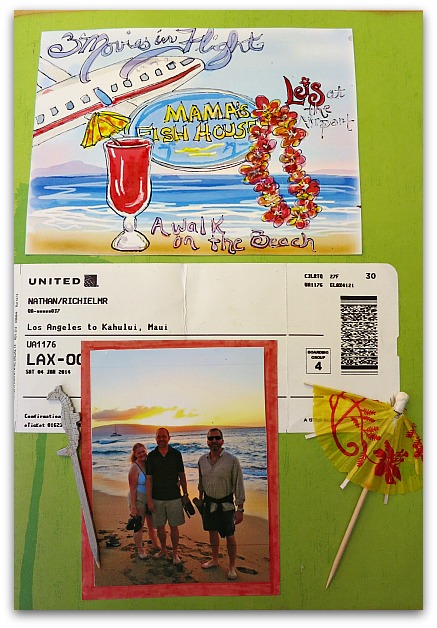
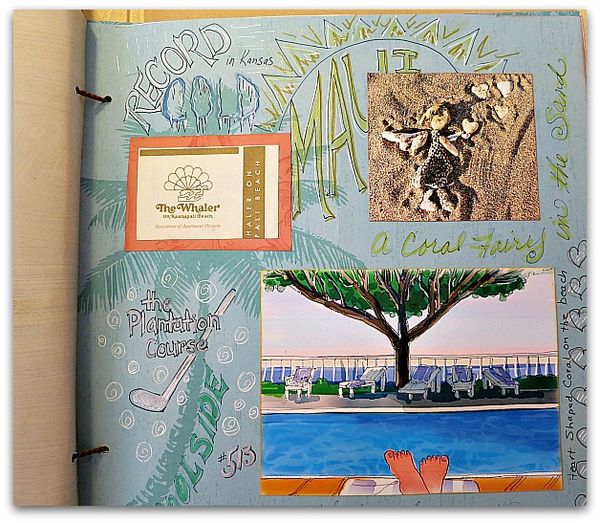
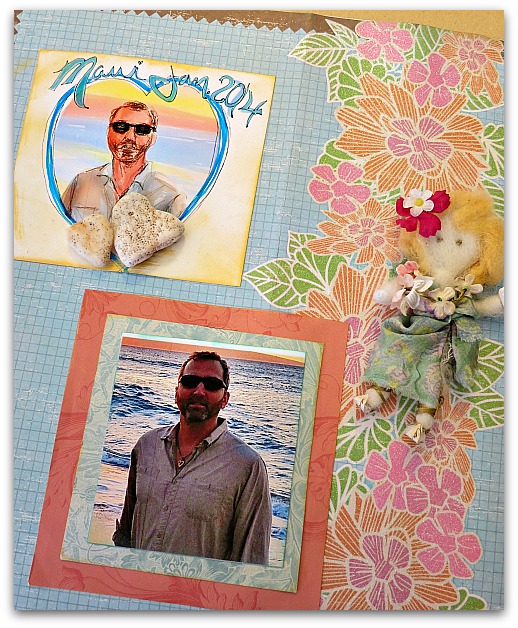
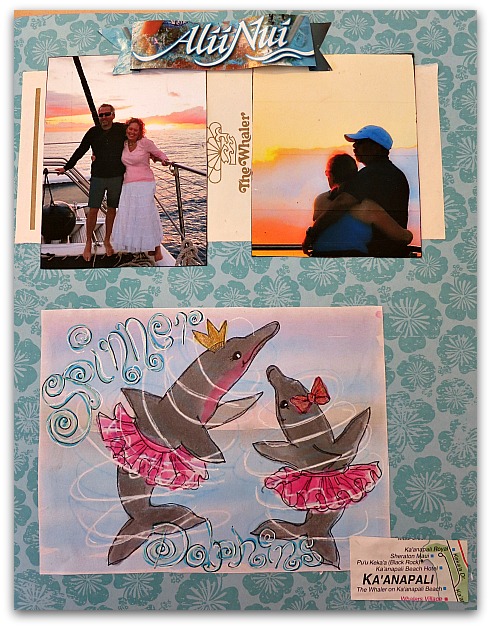
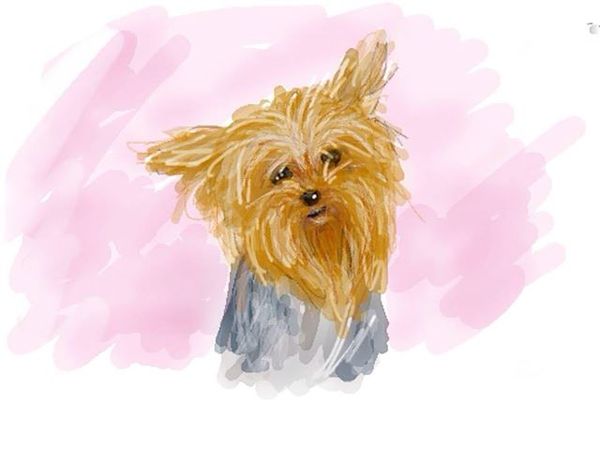
For now, I'll enjoy my album from Maui. I printed the finger painting water color sketches I'd done on my iPad, and used those in the book along with a few mementos and some pictures. 

The ap doesn't allow a lot of detail, so printing them, and adding hand drawn elements and words with ink really gave them the punch they needed.

1653569_10152137399144477_1121859462_n

Here is one directly from the ap.  I don't think it needs any further detail, Dorothy Rosebud's furry mess of a hairdo is bad enough without more clarification.  But the shaggy layer is helping her keep warm, so it will have to stay til either spring comes or the price of propane comes down! 
 

magazine pictures or articles, photography

Halloween and garden 104

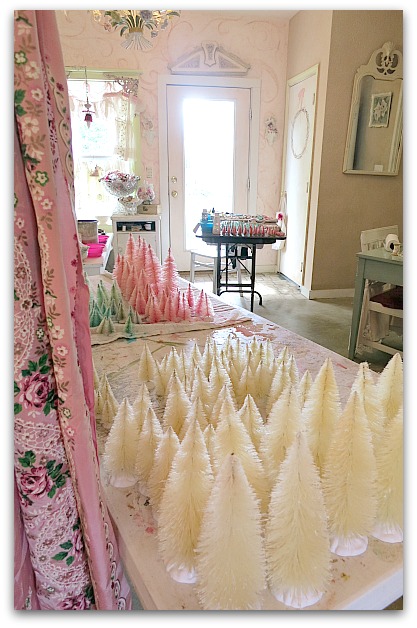
This is what I was working on right before I had to spiff up for the Where Women Create photos in the studio.

Halloween and garden 106
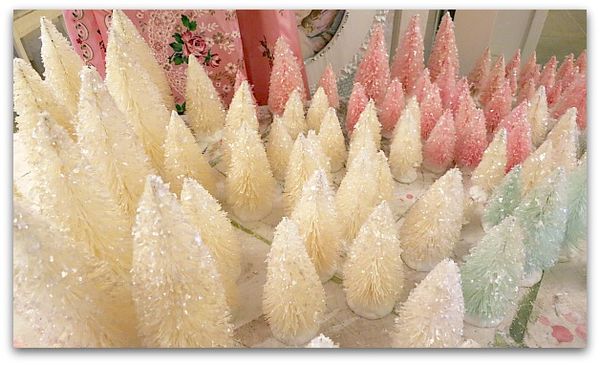
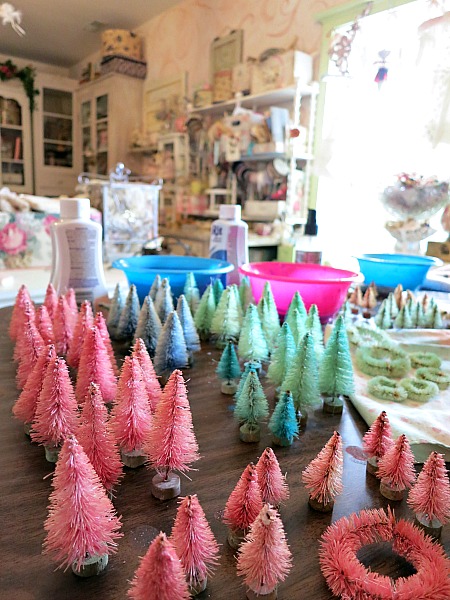
Tiny trees in process, everywhere.  But the room was tidy as can be, I set up folding tables and rolled up the rug and tried to contain the messes I was working on.

Where women create 196
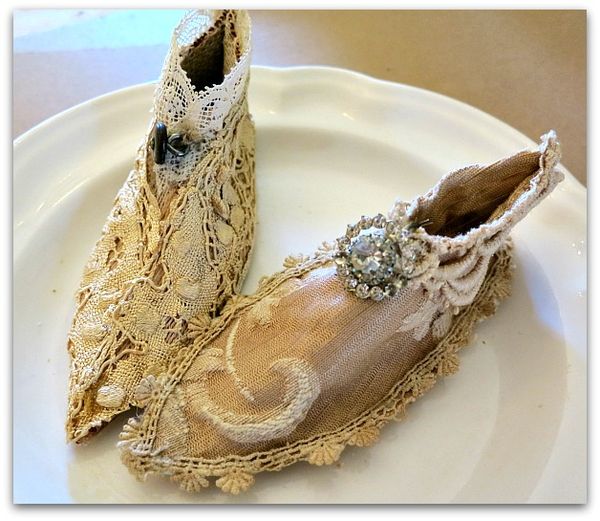
During the "try not to mess it up stage" between cleaning the studio for a shoot, getting sick and postponing, then trying to keep it nice for a couple weeks for the next shoot, I even had a mini craft day. Beth and Karla came over, and Beth made elf shoes from Dawn's tutorial.

There wasn't a lot of space to work, since I was trying to keep all chaos contained as much as possible. But tiny shoes don't need a big workspace.

Where women create 197

It was the third date Carol and I had set for the photos, I'd cancelled two times due to illnesses.  That means I had to get the room ready THREE times.

Where women create 187

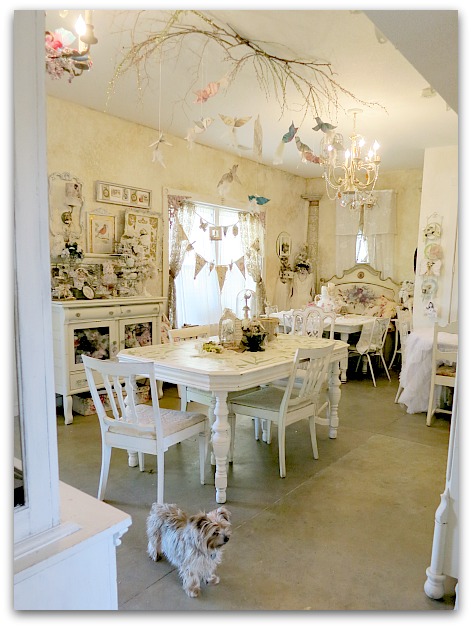
And the every day nature of my studio isn't exactly pristine.  I've learned that the more space I have, the more I fill. When one table is uninhabitable, I move onto the next!

Where women create 200
While it was a struggle to keep the room semi neat while waiting for the date with Carol, it was so worth it. She got some lovely pictures.  (not these, hers are saved for the publication and are much better than what I take)

Where women create 207
I'm enjoying the temporary tidiness, but it won't last long. I'm in the midst of whipping up prototypes, then kits for our projects on November 23rd, at Romantic Cottage Christmas.

(this fairy and angel are from my online Mini Dressform tutorial, not for the upcoming class)

Where women create 186
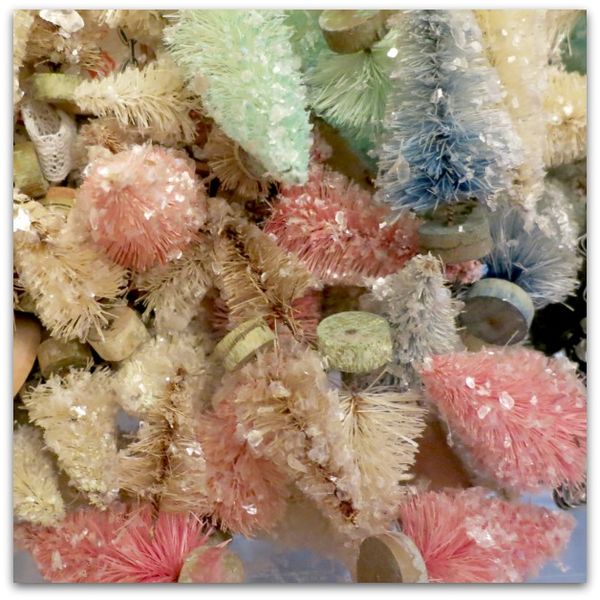
Now that the photos and article are turned in to the editor, and all my trees are glittered up, I'm ready to focus on the upcoming class.  I've been day dreaming about Christmas cookies and other treats…. I guess I should be thinking about the workshop projects instead.

If you are in need of mini, glittering trees, I have some in my Etsy shop.  Not a lot yet, but if you don't see what you want, just ask me, as you can see, I have plenty.

Where women create 202

  Where women create 203
Where women create 205
Where women create 214
Where women create 208
Where women create 211
Where women create 212 Where women create 215
Where women create 216
Where women create 217
Where women create 218
Where women create 219
Where women create 220
Where women create 213
Where women create 221

Where Women Create

dogs, Dorkies (Yorkshire Terrriers), magazine pictures or articles, photography, studio tour

Where women create 262
What a fun day!

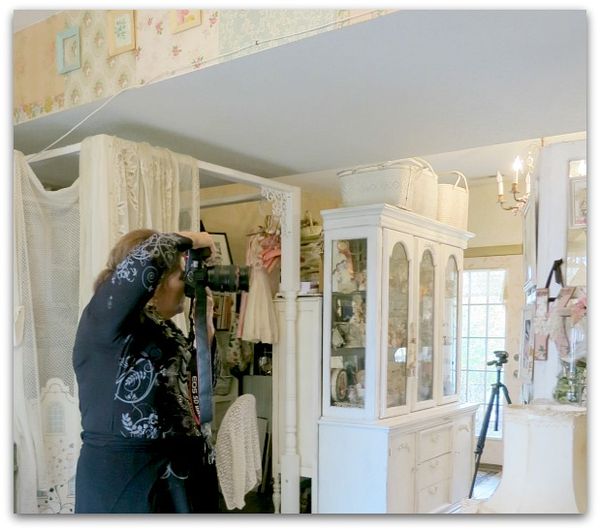
Carol came out to shoot my studio for Where Women Create.  After me cancelling on her TWO times due to illnesses.  One nasty sore throat bug and another was when I swallowed a string from a grilled tenderloin, and ….. well, it's an odd story and ended up with my esophagus being scratched, then irritated, then dilated at the hospital through a scope… but anyway, finally, I was able to reshedule Carol's visit to Lawrence.

It wasn't easy, she is a busy lady (and rightfully so).  And the editors gave us a deadline extension, so all should be set for the January edition.


Where women create 260

Unless I broke Carol's camera.  She did her best to get some portraits of me for the article.  But posing isn't my strong suit. She had great directions for me to follow, but when I am told to do something with my body, I seem to be totally incapable of doing it, and do the opposite instead. You should see me in something like aerobics. I'm the one turning right instead of left and hopping back or into the next person.  No grace, no skill.  Kind of the way I dance.

Which is about as good as my singing…

When she asked me to drop my shoulders, lean forward, cross your legs, put your weight on your back foot,  relax my forehead, lower my chin, all it sounded like to me was, "pretend that you are Quasimodo."


Where women create 258

Carol had me laughing, so most looked like this, or if it was any good at all, my eyes were closed, of course.


Where women create 255

 I watch America's Next Top Model, but it didn't seem to help. To "smize", you need your eyes open.

  I offered to throw in a few booty tooches.


Where women create 201

But do you know who is a good poser? Tinks.


Where women create 212

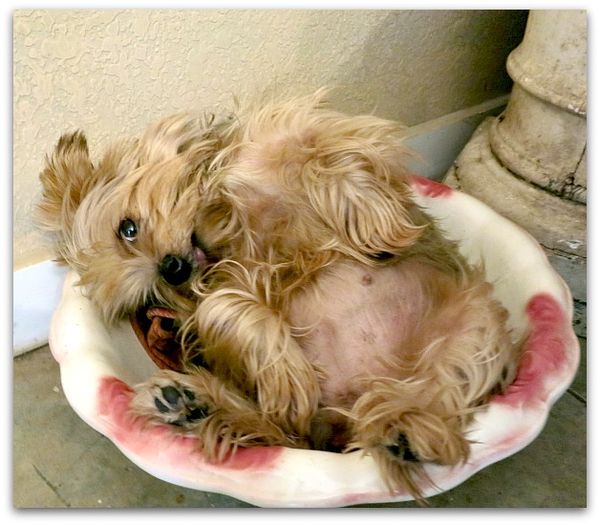
That dog was a real ham, and a hard worker too.  Whenever there was a "hole" that needed a styling fix, we plopped in the dog. And she was pleased a punch to help out.


Where women create 191

When we tried to get photos of the two of us together, Twinkle followed Carol's direction, cocked her head, smiled, kept her eyes open.  Too bad she had eaten a pile of cat poo earlier, her breath wasn't too sweet when we were up close and personal for the shots.

By the end of the day, she was worn out from all the hard work and was done with helping out.  She'd filled holes in several shots and I think made for some really cute vignettes.


Where women create 206

We were all tuckered out at the end of the day, and finally stopped for a lunch break about 3.  I picked a couple handfuls of greens from the garden and warmed up some soup I'd made for Sunday dinner.  It had started out as vegetarian chilli, but I kept adding to it.  Our garden had too many goodies still growing in it that I wanted to use. I even added pureed pumpkin, and it was pretty durn tasty.

Isn't soup always better the second day?


Where women create 198

I've got a billion or so photos that I took with my camera, but I feel like I've shown my studio a billion or so times.  You might think they are all kinda redundant.  I guess if I don't get any other pictures taken this week, I'll show them.  I mean, these are new and different angles and not boring at all…. 

Where women create 204

Details about the winter workshop, Romantic Cottage Christmas, here at the studio are on my side bar. 

If you'd rather come to see the room in person, I'd love to have you join us!


gawdy photo editing tips

family, how to's, photography

Magic

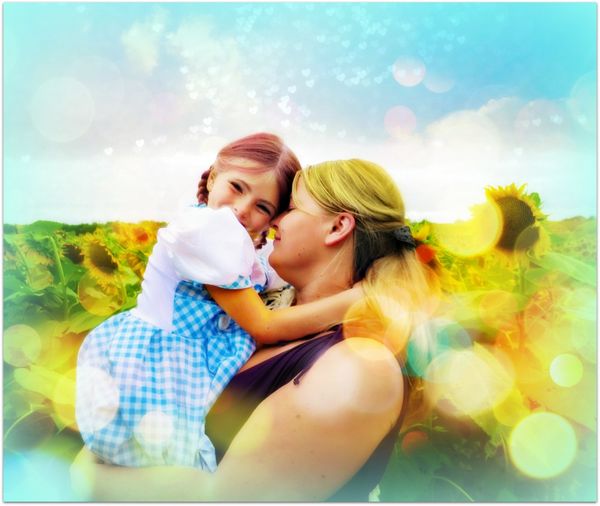
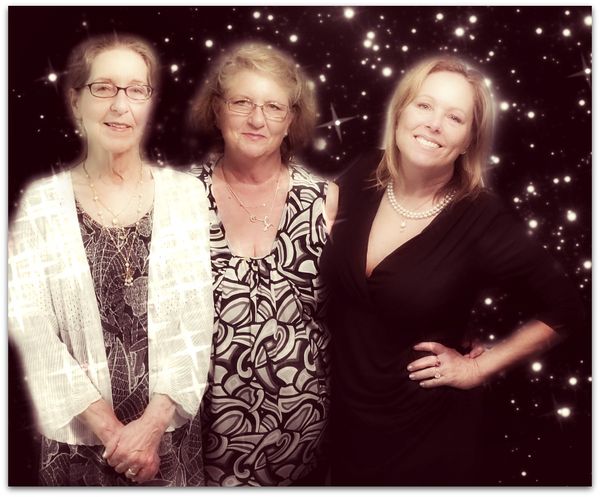
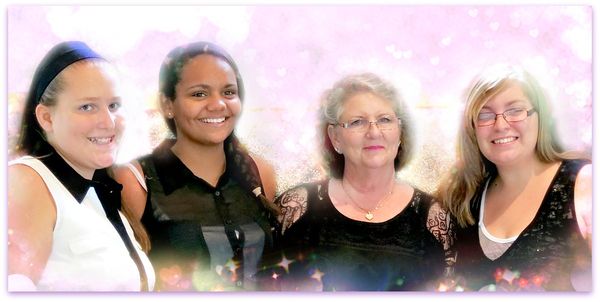
Although the reason for my trip to Indy was a sad one, I'm always glad for a chance to see my family there.  Since I've been home, I've been playing with some of the photos from the visit.  Picmonkey has some great tools to use.  For this one, I used Bokah to blow out the back ground to white by making the sparkles as large as they'll go, erased it from the figures, then added more bokah stars here and there, and a starry background from the selection of textures. 

I also turned it black and white, then erased that from the skin tones. To warm up the skin tones, I colored them with sepia, then faded it. 

Over that, I added Orton.


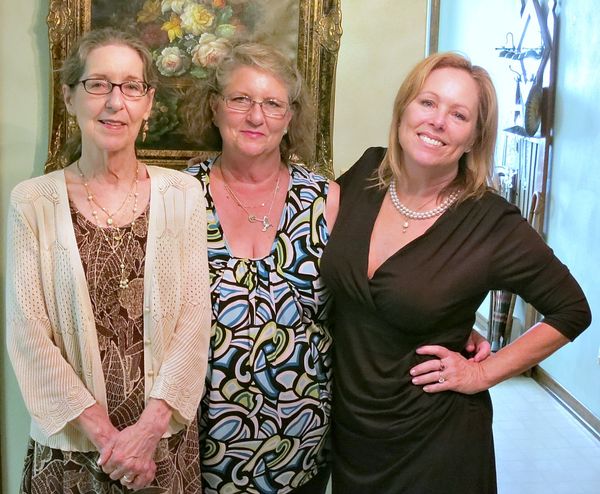
Carroll 001

Here it is undoctored.

(I loved my new dress! Pima cotton, comfy as wearing jammies. And only $20 from the Tonganoxie thrift store that carries brand new clothes from the Peruvian Connection.


Pink

In this one, we were standing in front of a gray wall, that had distracting piece of trim head level, and it looked choppy.   So I bokah-ed it away.  I'm sure that people who know how to use Photo Shop are much better at this and can cut images out in a more professional manner.  But this is so easy and quick, I'm sticking with the (mostly) free online editing!


Glow

After that, I added Orton for glow, and more sparkles from Bokah.  And a lens flare at the bottom.


Carroll 034

These girls were standing in a big family group shot, so I used bokah and wrinkle remover to blur out the other people after cropping, and then made it all glowy with orton.


Shelli

 Wrinkle remover is found under the lipstick icon, for facial touch ups, but I use it to get rid of backgrounds I don't like.   It probably took about 4 times to blur out the wall enough to add the colorful bokah sparkles.  Shelli didn't need any wrinkles erased from her pretty face!  I really think that when you use that feature on faces, it looks plastic and fake.

Carroll 039

This is the original, untouched up.


Close up

This closeup is from the same photo I showed first.  Instead of stars, I used the cloud texture.  And then softened the picture, and tinted it with sepia (faded).


Carroll 045

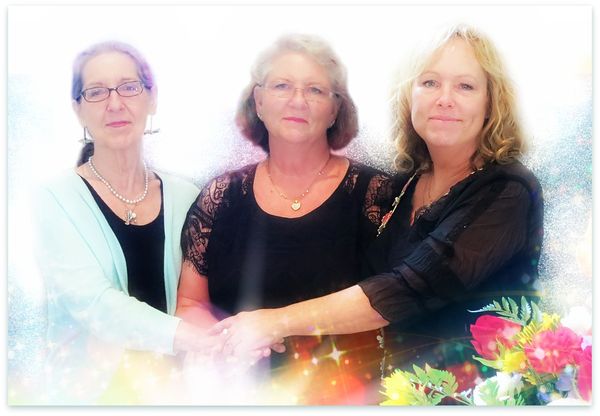
This photo is a bokah explosion.  Hearts, pink and white done in lots of sizes, some stars, and lots of sparkles.  Then, Orton for over all glow.


1231095_10151876981558534_904455847_n

If you thought I went a little over the top on the other ones, get a load of this one. I don't even know what I did to it, lots of  sparkles, tints, glows, and some drawing.The gawdier and brighter the better!
Lately, I've not felt like I've really had much time to do artwork, or to photograph and list things for my shop.  But I've been able to satisfy some creative yearnings by playing with these pictures. Each only takes a few minutes and is a no muss, no fuss way to play.

Plus, I kind of get to spend a little more time with my family when they are far away.

PS- thanks so much for your concern about Ryan. He is doing rehab now and getting stronger.  He has a date to be released to work and called the warehouse that had hired him before all this happened. No word back from them yet, but our fingers are crossed that they still have a job for him.

Fantasy Photo Editing tips and short cuts with Picnik part two

fairies, family, how to's, how-to projects, photography

B & F
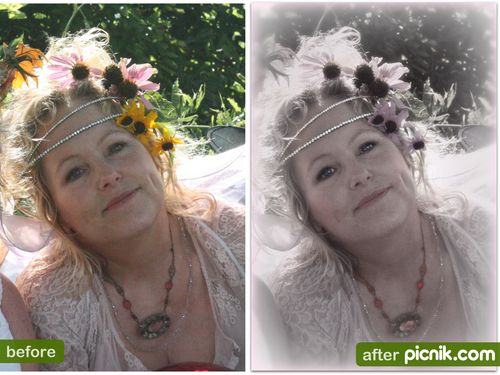
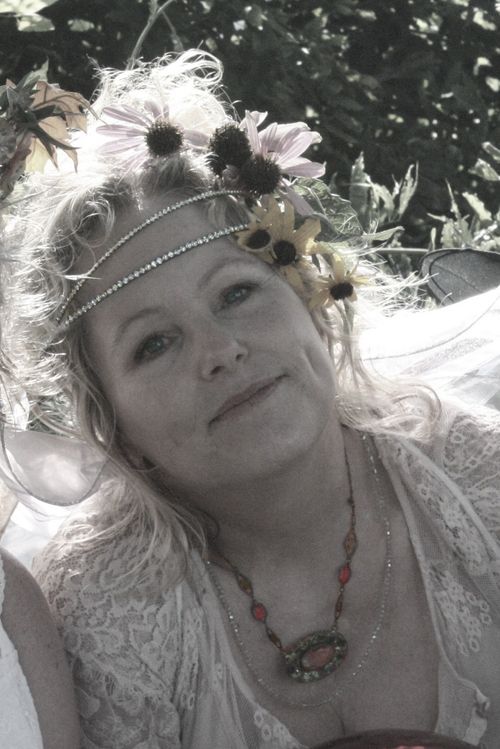
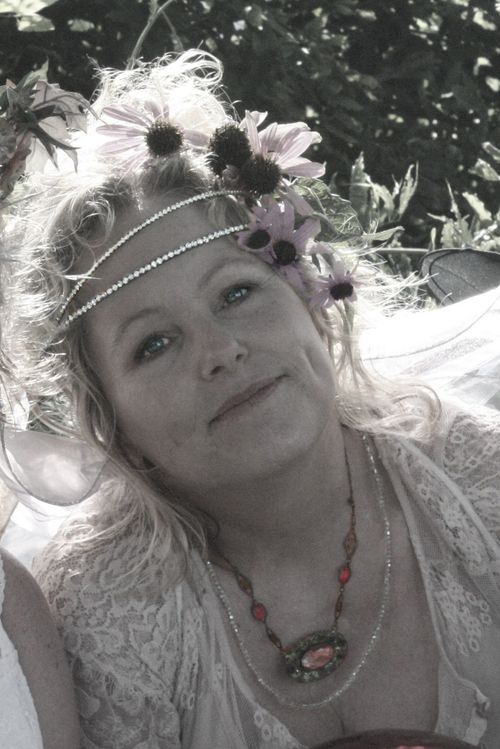
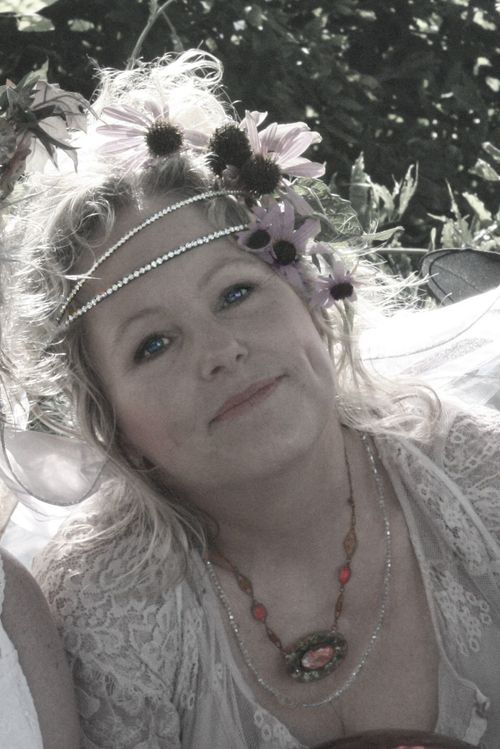
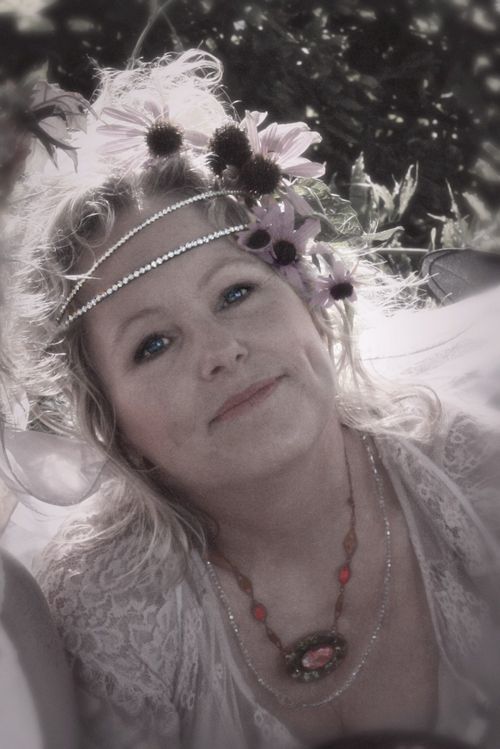
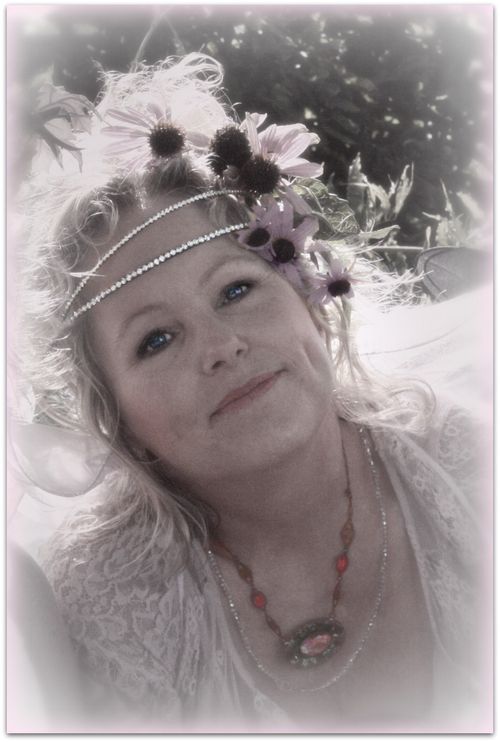
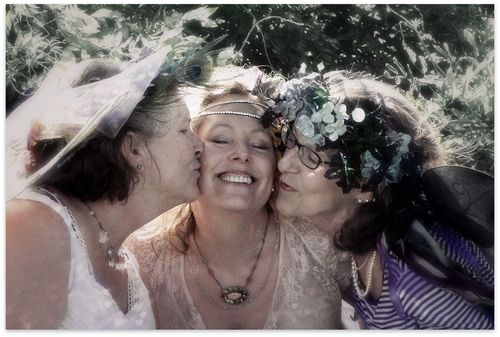
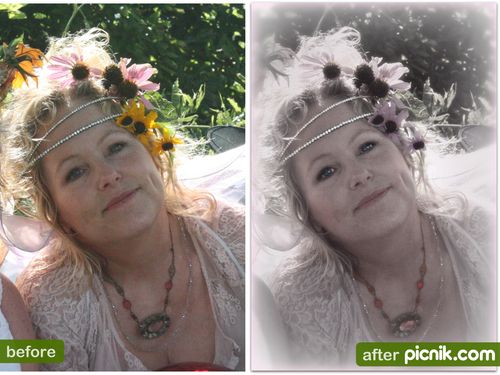
On this photo, I wanted softer colors and an over all, dreamier, softer look.  (at 53 years old, I can use all the soft effects available for my skin!!)

IMG_3543
 So, I skipped all the fixes on Edit and went straight to Create.  I turned the whole picture Black and White, under Effects at about 20%. Before applying it, I erased the black and white from the eyes and jewelry.

IMG_3543
Next, I used Eye Bright on all of the jewelry and the eyes.

Then, under Eye Color, I used the full strength gray to take away the yellow in the flowers, applied it, and tinted them to match the other colors with a purple Eye Color, faded.

  IMG_3543
Under touch up, I used Blush, in a skin tone on the skin, and faded it away, then did the same with a pink Blush on the cheeks and lips.  I added a bit of faded blue to the iris with Eye Color.

IMG_3543
One of my favorite tools for faces is under Seasonal, Valentines Day. Its "Heart's Desire" and gives the whole photo a pink tint, with blurred edges. I applied it with its largest size at 53%.

IMG_3543
Finally, I used Matte (Effects) in two layers, a pale pink full size, but faded a bit, then a darker pink very small and faded over that. To finish, I added a grey drop shadow.

Fantasy Photo Editing tips and short cuts with Picnik

fairies, family, how to's, how-to projects, photography


  Kisses

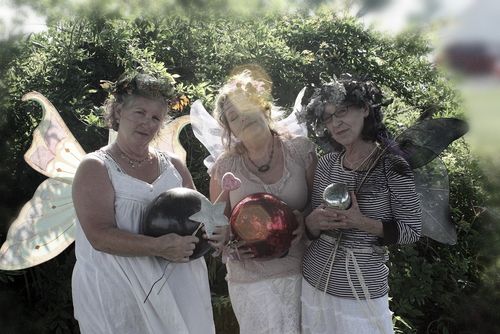
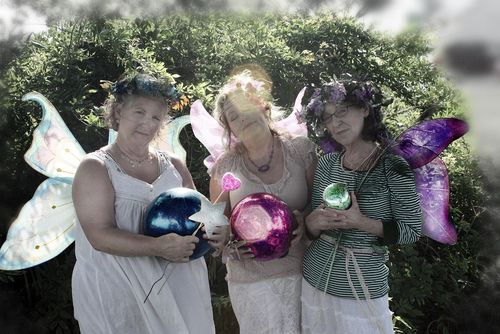
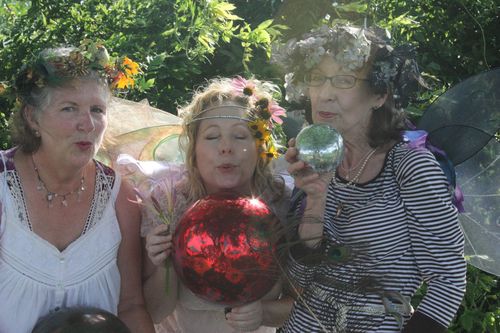
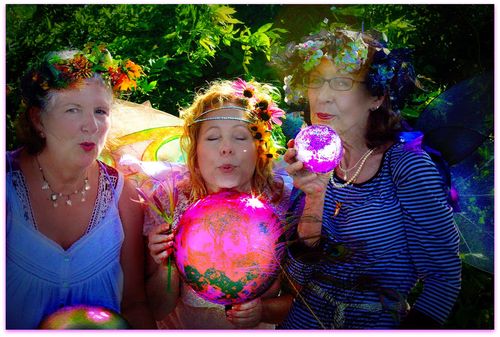
While I was in Indiana, my sisses indulged me and we played Fairy Dress up. Bobbie Sue's husband used my camera to get some photos, and as cute as they were, I thought they could use some added magic. (By the way, my sister lives on a highway and we were in her front yard wearing our fairy gear. Its good to have family that likes to have fun and doesn't get embarrassed when cars drive by and honk when we are being silly)

Here is how I did it, if you are interested. I use only Picnik, which is free. But some of my choices are from the premium selections, so they cost $24 a year. Much cheaper than buying Photo Shop, quick, easy and simple.  I can't figure out Photo Shop myself, and Picnik is so self explanatory its easy to learn.

I don't spend much time per photo either, never more than 5 minutes each. I take a lot of pictures, and enjoy editing them, so don't have a lot of time to spend on each, or I'd never get anything else done if I didn't keep it quick.

 Click on any photo to see it in a bigger window.

(for the picture of me flying, I tilted it, with Rotate to make it look like I was flying off, the other steps are similar to the ones below)


  Before and after

First, go to "Edit" and auto fix, then slightly sharpen. Next I do auto colors, and then cut the saturation in half.

Example

Go to the "Create" section and in there, find "Touch Up"

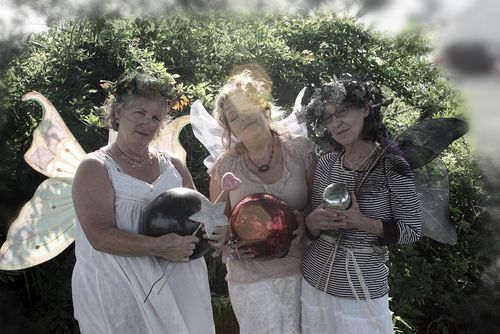
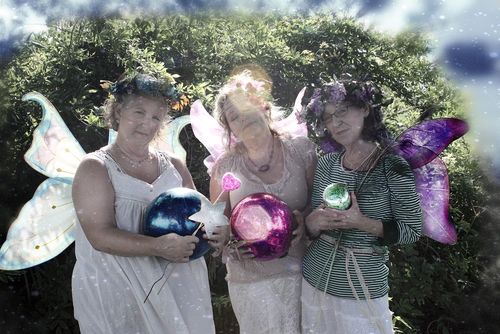
I use Wrinkle Remover to get rid of the red car in the background. It took three applications to get enough strength of the blur to cover it.  I ran a circle of Wrinkle Remover all around the edges of the photo to make it match too.

Example

I clicked on the gray eye under Eye Color and used that all around where I'd blurred the edges.  You can only do one color at a time. Save each and move on to the next.

   Example
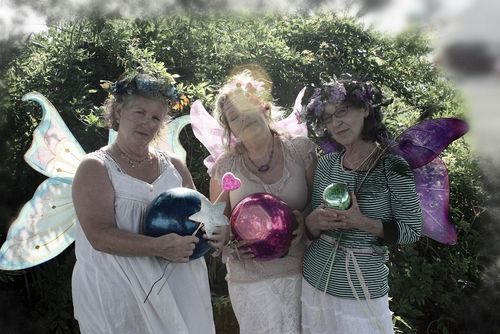
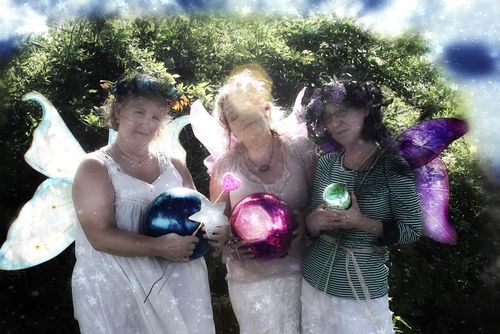
Eye Color was used again to tint all the magic wands, wings, orbs, and hair embellishments, as well as the wings.  After tinting, I faded the colors by sliding the bar till I liked the strength of the color.

Over that, I used Eye Bright, then lightened it a great deal, so the wings and orbs had a bit of a glow.

Example
But that wasn't quite dramatic enough, so I used Eye Bright at full strength on the lightening on the orbs and highlights of the wings one more time.

To make the fairie's skin glow more, I used Dodging, still under the category of Touch Up.

   Exmple

Over the blurred background, I did a faded blue Eye Color, then went to the Featured section and added a solar layer, and faded it down.

Example
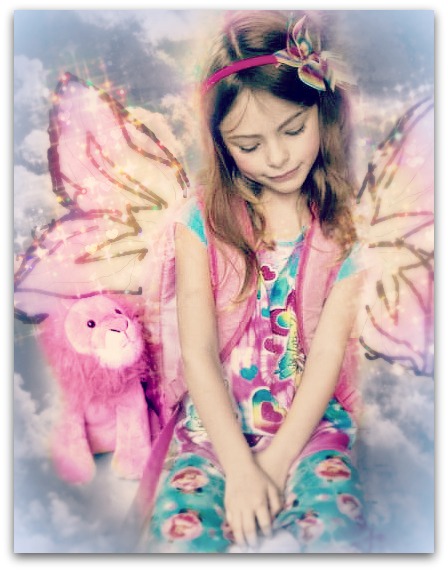
Next, I used Ortonish under Editing, and faded it half way. Over that is Bokah Stars from Fourth of July under Seasonal. I like to make the stars tiny, and do two or three layers of them, in different sizes.

Example

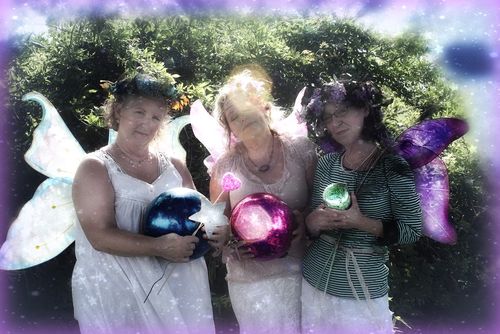
To finish, I used Matte under Effects, in blue first, then faded, and over that, pink, faded and smaller.

IMG_3572
This picture has nice light coming through over my shoulders, so I decided to accent that.

Blowing fairy dust
I made it really colorful, not my typical style, but fun and fairy-ish.

Here are the steps:

  • Auto Fix
  • Sharpen
  • tint orbs pink with Eye Color
  • lighten and brighten orbs and wings with Eye Bright
  • Eye Bright full strength on all jewelry and again on the orbs
  • full Saturation (under Effects), before applying, I erased the Saturation from all skin tones
  • Lomo-ish (under Effects) to darken the edges and make the center glow
  • Eye Bright on wings and around the orbs
  • Dodging to lighten the faces
  • Drop Shadow in pink

B & F

For my next post, I'll show you some softer colors and ideas.

Scroll to Top