redos

Caged

redos

IMG_1243
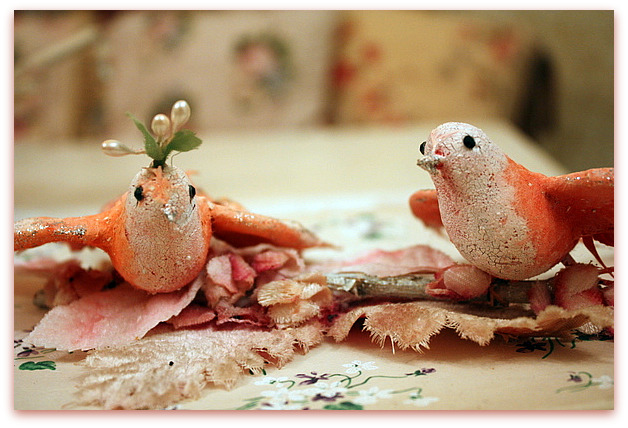
Of course, I couldn't do anything else till I painted these bird cage charms that I showed you in the last post! I know there is a ton of stuff to get ready for my trip to Texas and teaching at Paper Cowgirls, but sometimes its nice to take a mental break from all the real work and do a fun  job instead.

EDIT– so many people asked about these charms, that I added a few to the Boutique 

IMG_1244
It was a quick little project and a much needed, pleasant, side trip to my busy day.   All it took was a spritz of bonding primer (both sides) a dab of blue paint on the birdie, done with a teensy brush, then a slap of glue and a sprinkle of glitter.

This might not have been very high on my priority list for right now, but it made me happy to do. Now, I can go back to my boring kit making.   All of the ribbons are dyed and everything is arranged, trimmed and ready to go. All I have to do is the packaging.  Ugh. That part is no fun at all.  I'd rather be making stuff.

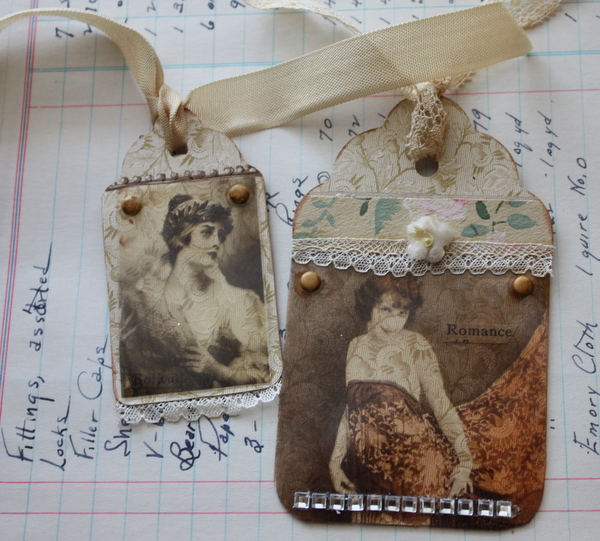
Hmm, maybe I can make some cute tags to tie onto the packets….AFTER they are all packed up.  That will give me something to look forward to as a reward for getting it done.  Okay, back to the drudgery.  Have a good weekend!

Lace, starch, giggles, and snorts

redos, Tutorials

IMG_1764

What gorgeous weather we are having! I took advantage of the sunshine to get outside and do some yard clean up.  Last fall, I kind of slacked on the leaf clean up and realized what a big mistake that was this spring.  Leaves left over the winter get soggy, heavy, half decomposed, and best of all, used as a cat litter box.

So, the leaf blower wouldn't do the trick, it took rakes and snow shovels to clean up what I could have just blown away into the woods if I'd done it last fall.

But, its done now and while the yard still has its grey winter gloom look, it isn't buried in leaves.  Everything looks much tidier.  I picked up sticks and branches, and raked over mole mounds to flatten them out.

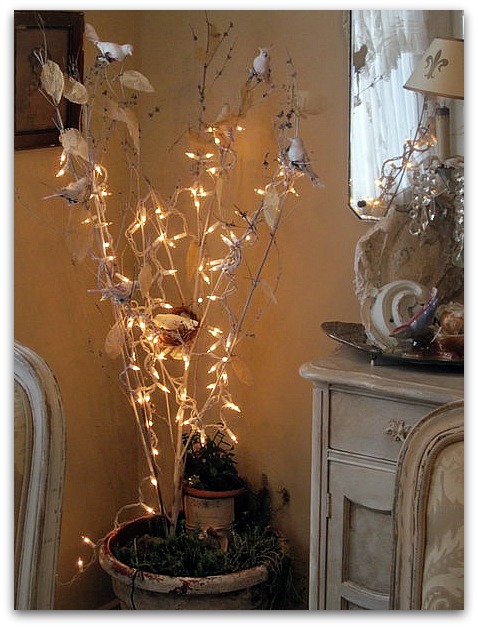
Gee, that's interesting, huh? Well to get to the point of the story, I found a branch on the ground that I thought was a pretty shape, and I spray painted it white to bring into the house.

IMG_1767
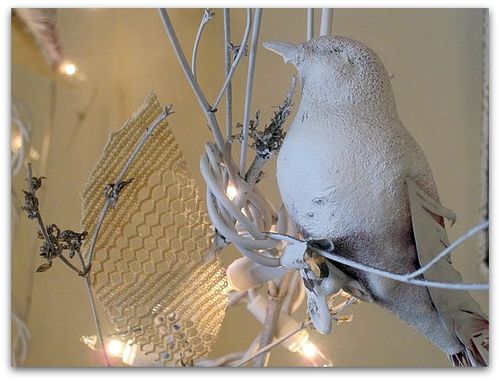
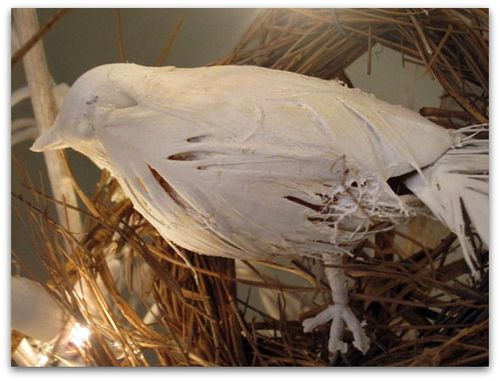
It was a good day to be outside spray painting, so I grabbed a few vintage cardinals and white washed them too.   I thought maybe I'd foof them up and add crystal eyes, millinery flowers, and other pretties, but decided that I liked them just as they were, simple and white.

IMG_1771
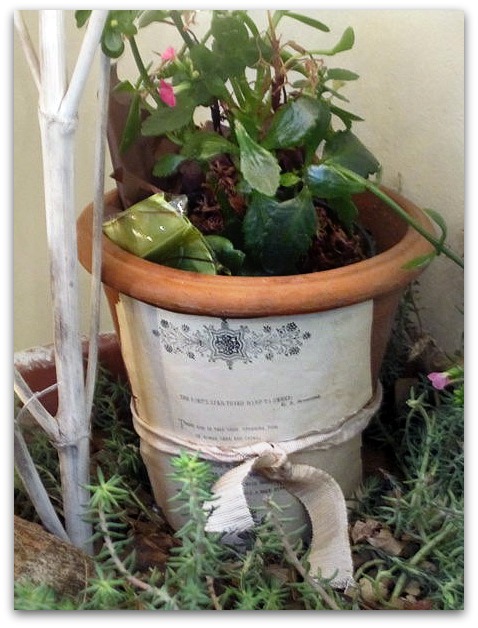
I brought in a peeling paint flower pot full of sedum and stuck the branch down into the dirt.  The sedum was nice, but I wanted a bit more at the base, so I sat a house plant into a terra cotta pot, tied a pretty page from an old book to it, and added that next to my tree.

To make sure the tree stayed upright, its stuck in the dirt nice and solid, and I braced one side with a rock and the other with the pot of flowers.

IMG_1749
The fun part was making leaves for my tree.  I'd seen some similar ones at Anthropologie last year and wanted to try making some myself.  I don't know how they did theirs but this worked for me.

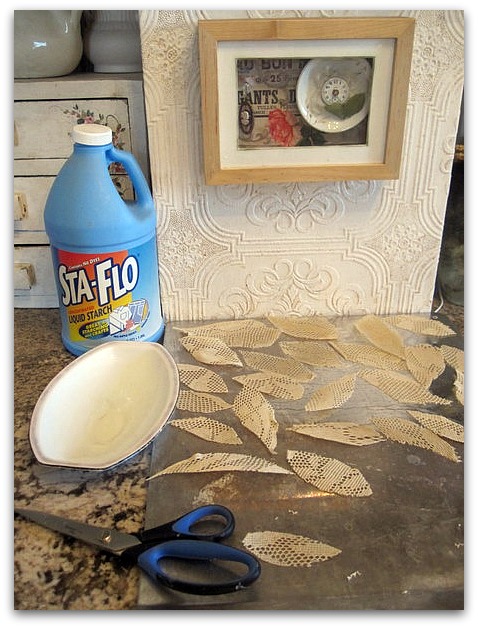
I cut some random leaf shapes from lace and soaked them in full strength starch, then left them on a cookie sheet to dry over night. 

When they dried, I wired them onto the branches.

I'd also wrapped Xmas lights around the tree, and did a slightly crappy job of it, they are just loosely draped. It would have looked better if I'd spent more time on it, and attached them more attractively.  But the branches are pretty fragile and I didn't want to snap them all off by messing around with them too much.

IMG_1765 
One bird sits in a little nest that I found in my stash, the rest of the birds just clipped on.

Besides waiting for the leaves to dry over night, it was a very quick project. And easy to do.  I didn't use a pattern for the leaves, and they are different sizes, just like a leaf would naturally be.  I discovered that it was easier to trim them up into a better leaf shape after the starch had dried, than before I dipped them and the lace was floppy and wrinkled.

If you want to try this, it's probably a better idea to starch the lace, let it dry, then cut the leaves out. 

You could also purchase white birds at a craft store if you don't have any old ones to paint. 

Another variation you could do, is to just put branches into a large vase or urn, not a flower pot full of dirt.

IMG_1760 My weekend wasn't all yard work and spray paint.  The newest Fairy Grand Baby came by to visit for a while and we got in some good giggle time. That baby has the cutest belly laugh/snort thing that she does.

Oh, you are NOT going to paint THAT are you???????????? Yep, and here is how.

Hand Painted Furniture, holiday decor, how to's, how-to projects, redos, show and tell, Tutorials, vintage paper/collage art
IMG_4422

Thanks for all the compliments about my pretty little fairy baby at the Renfest!  I have to agree, she's a cutey.

We had her most of the holiday weekend, along with my mother-in-law here for a few days from Green River, WY.  Chasing Sugarwings kept me busy most of the time, but after she left, I had a day to spend with my husband's mother. She sat at the dining table and embroidered and at first I was up and down doing little chores here and there, and tidying up the place (after Hurricane Sugarwings has blown through, there is a lot of picking up to do).

 
IMG_1378

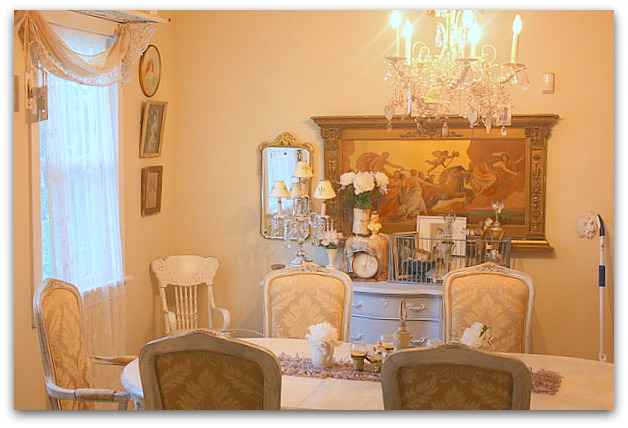
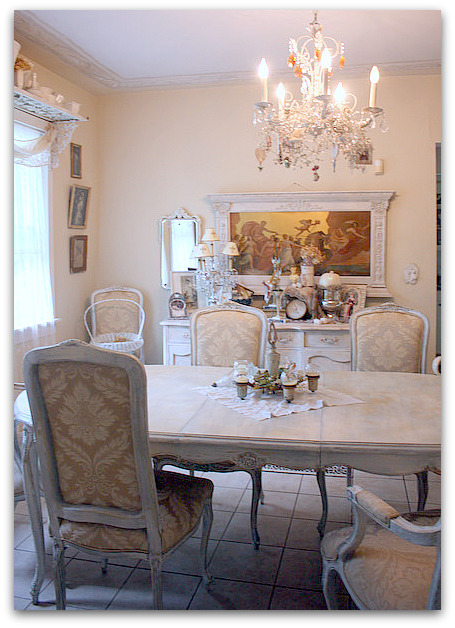
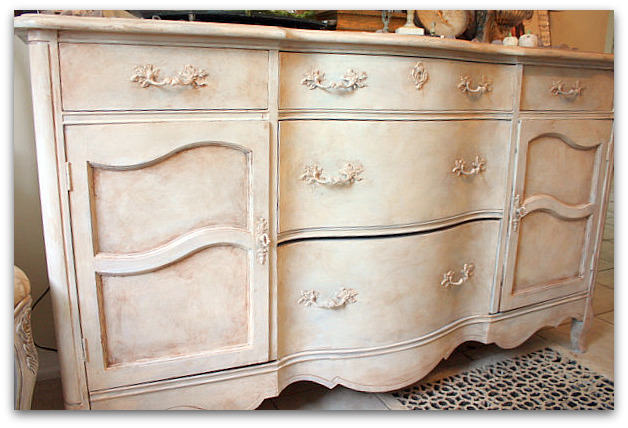
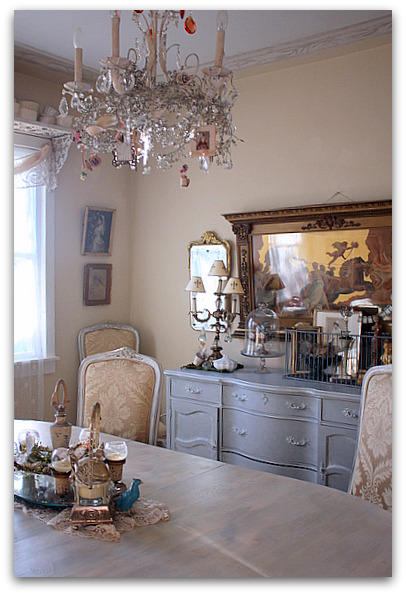
But I did spend a bit of time sitting at the table and the more I sat, the more I stared at the buffet and the painting above it.  The buffet had been maple finish and I painted it gray with a cream glaze over it last spring.  And the picture was one that I have loved for years but always thought about lightening up.

For the last few years, EVERYONE told me not to paint it.  And I rarely leave things as is, but I knew that this frame was worth money the way it was.

But honestly, was I ever going to sell it? No, I've had it for a long time and always plan on keeping it. I figure that I deserve to look at it and enjoy it, without debating whether or not it should be painted.

IMG_4430
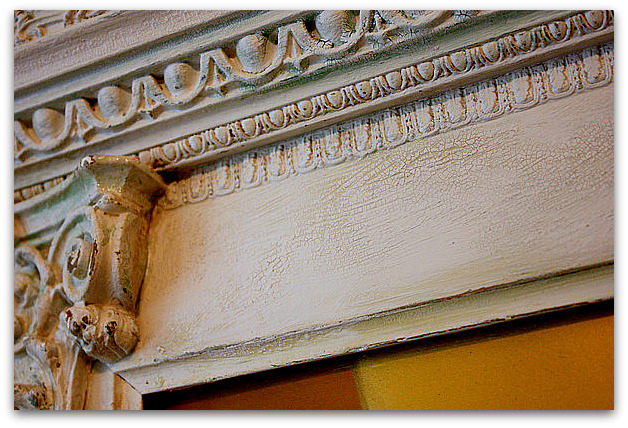
I know, there will be gasps of horror. But I'm glad I did it.  And I didn't just slap some white on it, I took my time and made the frame look old. Well, "took my time" is all relative, I guess. I paint fast, I had the buffet, the small mirror frame, and the large, antique frame done in about 3 hours while I chatted with my mother-in-law. 

Here is what I did:

  1. Primer, good bonding primer.  I just tucked some wax paper behind the frame and painted it on the wall right where it hung. The wax paper protected the wall from my brush.
  2. A coat of ivory/bisque eggshell paint
  3. Thick coat of porcelain crackle finish (I worked on the buffet while this dried)
  4. Next, I brushed on and wiped off coffee with cream colored glaze
  5. After that dried, I lightly sanded all raised areas.   I was careful to do this lightly with a sanding sponge, because much of the ornamentation was plaster.  I wanted to get down to the gold paint, not the white plaster.
  6. I added another layer of crackle glaze.
  7. As the crackle glaze dried, it had a chemical reaction with the exposed gold paint and turned a greenish tint, like a copper patina. (this is a trick I discovered accidentally a while back and love to use. Its unpredictable but pretty)
  8. Over this, I  brushed on and rubbed off an ivory glaze and a sepia glaze, randomly putting them over the frame, some over lapping, some spots one color, some spots no glaze.
  9. After it all dried, it was a little too green, so I dry brushed the ivory/bisque colored base paint over the areas that were too vivid.
  10. Then a little more sanding to bring out the dark wood and more of the gold paint underneath.

This was a lot of steps, but I think they paid off, the frame looks like it was out in someone's shed being stored away for years.

The main trick is to not be too perfect.  Nature doesn't age things perfectly.  Sometimes the trick to a good faux finish is to be messy.

I did NOT cover this with clear coat. If I had, there might have been another chemical reaction with the newly sanded spots with gold paint showing through. It would have turned more green after the clear coat dried.

IMG_4436
The buffet got a very similar treatment, with a creamy white painted streakily over the existing gray, so the gray showed through.

Then, crackle glaze, and sepia brushed on and wiped off over the crackle, after it dried.

I used the sepia very heavy in corners and edges.

When it was all dry, I used an acrylic clear coat over the entire piece.

IMG_4437

I love crackle.  Its tricky and unpredictable, but wow, when it comes out nice, it is really something.  Don't ever use too much, use it selectively in spots.  Not on every single inch of the piece. And feel free to add another coat or two if needed, and you're not thrilled with the first. (this only applies to porcelain crackle, weathered crackle is a different product.  Read your labels!!)

IMG_4415
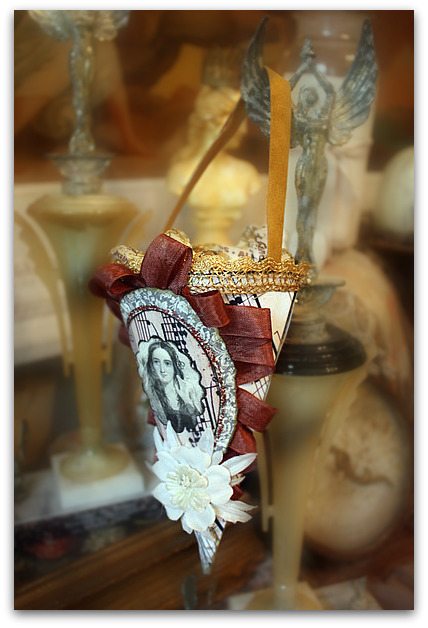
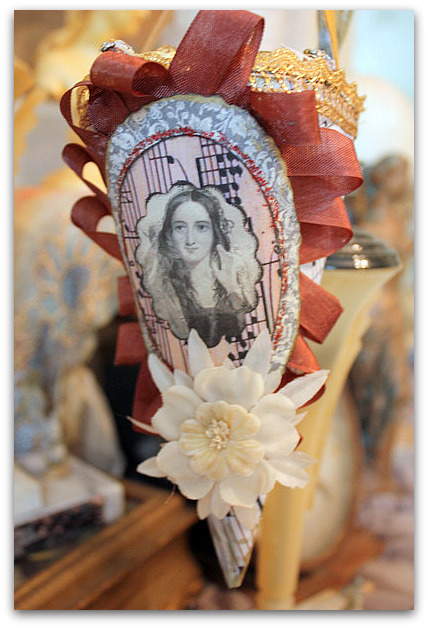
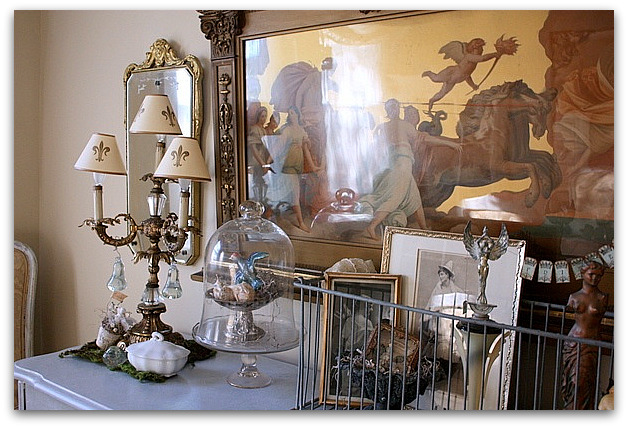
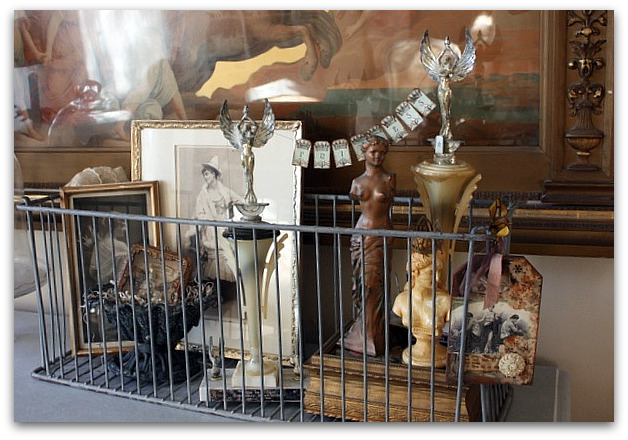
After repainting, I re-foofed the top of the buffet, using some of the projects that I made in the Romantic Gothic Ghosts class. This cone was done from Beth's images and tutorial.  I didn't have a cone handy, so I used an upside down party hat.

I'm so glad that I have the class pretties to display in my "new" dining room for fall! The moody, wistful shades (with NO orange!!) are just what this room needs to look festive and still look like "my" house- not the Halloween party store.

We are adding some little videos, giveaways, and decorating tips to the Gothic Ghost blog.  The posts will be left up as long as I have a Typepad account (and I don't see me leaving any time soon), so you can take the classes at your leisure. But if you want to win any of the prizes, those are time sensitive.  There are still three to give away.  

IMG_4412
Often, I see the beautiful posts up for White Wednesday, but I'm never in time to enter. Well, today seems to be a good fit and timely too. So, I'll be linking with Faded Charm.

White wednesday 2
As much as I love whites, I really should make more of an effort to be a part of it regularly!!

There are so many link parties now a days… Here are more that I joined.  I usually don't get around to it, but they are always fun when I do!

Power of Paint

Transformation Thursday

IMG_4434

A Rosy Redo

antiques/junking, Dorkies (Yorkshire Terrriers), flowers, paintings, redos

IMG_2903

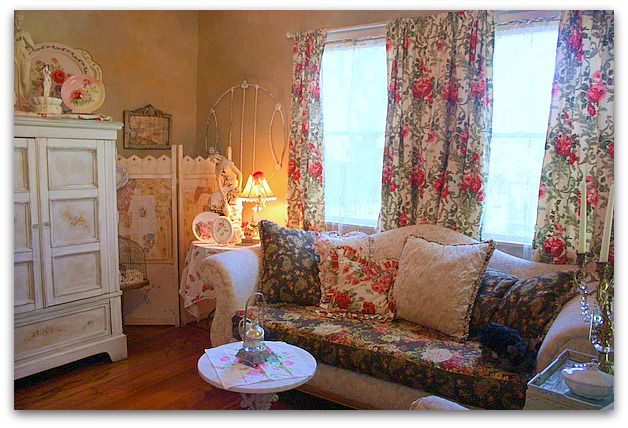
Now that we are in the midst of summertime, I felt like the living room needed to look summery too.  I took my background of creamy whites and added a blooming garden of roses to the room with just a few touches in about 15 minutes.

The first step was taking down the Shabby Chic cream velvet curtains (from Target) and putting up these vintage curtains from a garage sale.  They had pleats at the top, that I had un-stitched with a seam ripper last year, so that step was already done ahead of time. 

These curtains are different lengths, but who will know it with the sofa sitting in front of them?

IMG_2909

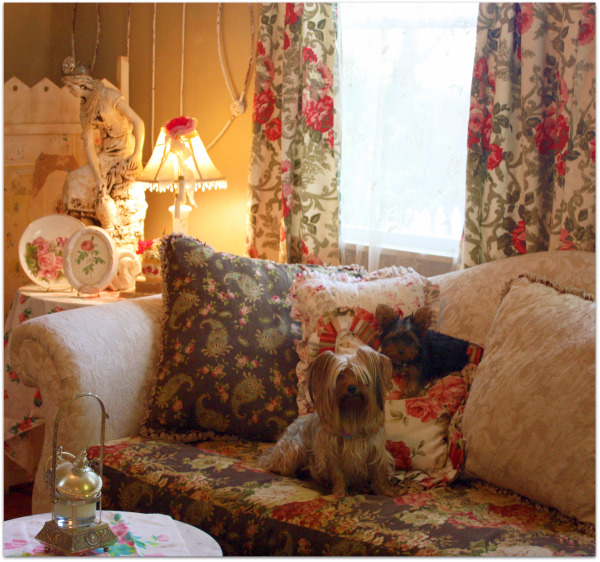
In the past, I had done this room with browns and had made this sofa cushion seat cover.  I've got a few extra covers lurking in the back of the closet for when the mood strikes me. I don't cover the whole couch, just the seat and pillows. Making them is as easy as making a pillow case, and I am NOT much of a seamstress.  I keep them simple, by not using zippers or buttons, I just sew ribbons to the back to tie the cover shut.

(I've also just wrapped the cushion in a pretty quilt before too- that works if you don't have teenagers around. Teens just kind of DO things to destroy a couch. They sit HARD)

I also keep a stash of pillows in the linen closet for trading out too.  A floral pillow goes a long way towards brightening a room.

I added a dinner napkin (with roses) to the little table, and a retro kitchen table cloth to the side table, along with a plate, and a small botanical print.

When my son walked into the room, he told me that I had a "lot going on" there.  Yea, I know. That is what I like about it!  Its an explosion of lots of roses ranging from pale pink to cherry red.

IMG_2915
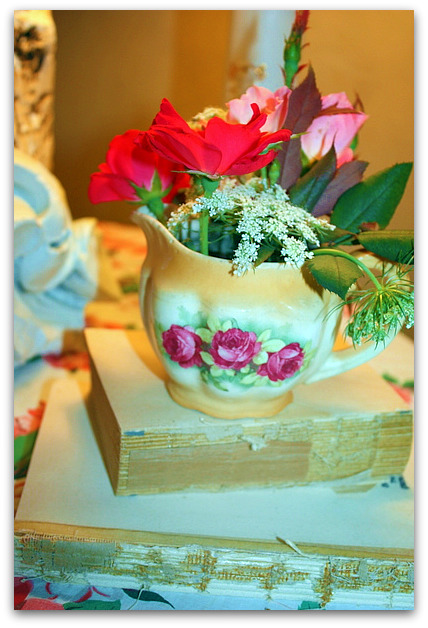
The fastest way to add some color to my white room was to set out some fresh cut flowers from my garden.

IMG_2917
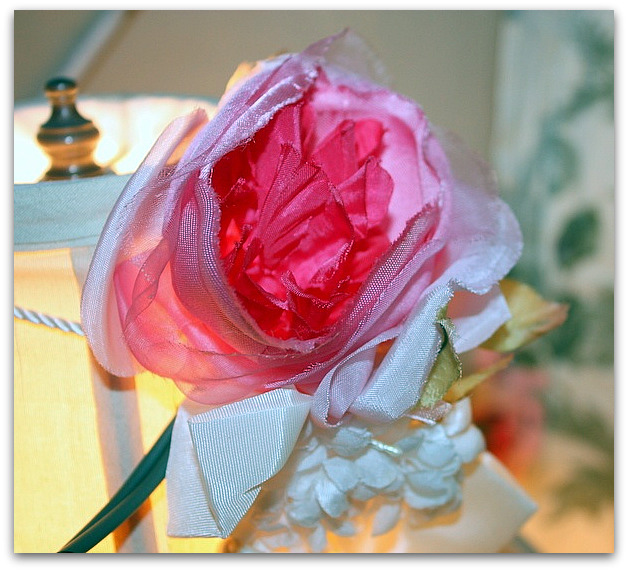
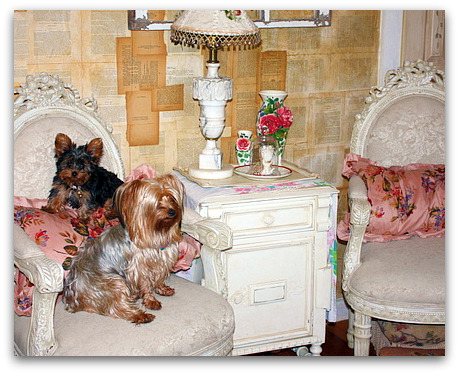
And I already had a white millinery bloom tied to the lamp shade. I just slipped a pink rose in on top of it.

IMG_2913
Over the years, I've had many colors on my walls, but I think they'll be like this for a while.  I've washed them with layers of glazes in colors ranging from ivory to deep tan, with hints of gold and bronze.  I feel like its a good background color to anything I add to the room. 

Keeping the basics of the room neutral means that I can add splashes of color here and there and have a whole new look in a matter of moments.

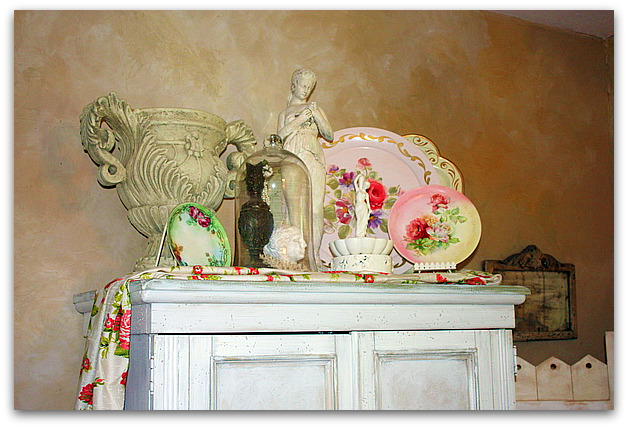
On the TV cabinet, I draped another rose curtain and added two rose plates and a tray to what was already up there.

IMG_2912
On the other side of the room, all I needed was a couple of throw pillows on the white chairs and 2 vases snitched from the guest room.  Oh, and a table runner that matches the dinner napkin that I used on the little round table. I'm not a fan of matchiness, but this is what I had handy.

IMG_2898
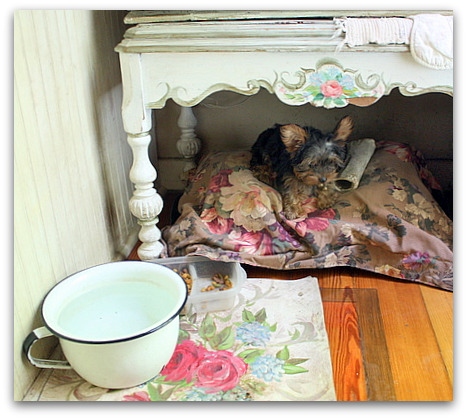
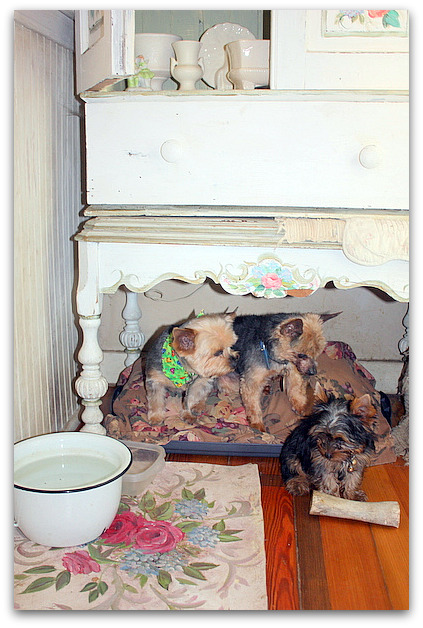
There are always hints of roses in every room of my house, like on the floor mat that I painted to set the dog dishes on, and the table and small hutch that the dog bed is under.

But even with some roses here and there, the room was predominately white and cream, and these pinks just became background until I added all the rose patterned textiles. Now, this stuff seems to stand out too.

IMG_2931

The dog's bed is a lid to a Rubbermaid container that I put a pillow on.  By sitting the pillow (in a washable sham) on the lid, it keeps it up off the ground in case the puppy pees on the floor, or Twinkle steps in the water bowl and spills it, or some other of the millions of ways that the dogs mess up the floor and would get their pillow wet.  I look for shams on sale at TJMax, sometimes I can find them for under $3.

And by slipping the bedding under the table, the dogs feel like they have a cozy den to hide in, and I have a bit more space.

IMG_2923

As much as I love my creamy whites, I just need an infusion of color now and then.  Plus, I just enjoy a change of scenery. I have some old, powder blue toile curtains that are nicely aged and slightly yellowed that I want to try next. Especially if I find some pretty bark cloth rose material at garage sales this summer for making pillows. 

Geez, I just redid the room today and am already thinking about the next one? 

Yep, that is what makes it fun! The planning and creating and the thrill of the hunt for new bargains.

To paint or not to paint, that is my decor dilemma

Dorkies (Yorkshire Terrriers), hand painted candelabras, redos, yorkies
IMG_1138

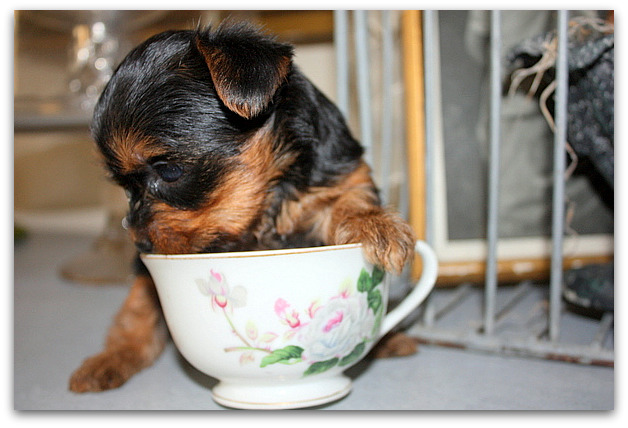
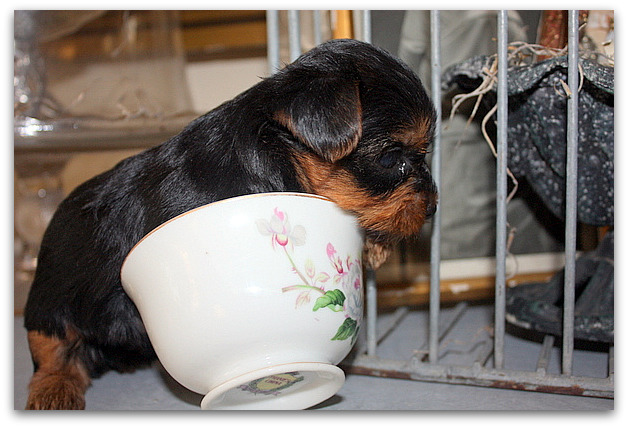
Pixie Pie came by this morning with her mom to borrow some teapots and cups for a party they are having. I couldn't resist playing with the teacups as I got them out… (don't worry, I washed it after!)

IMG_1139
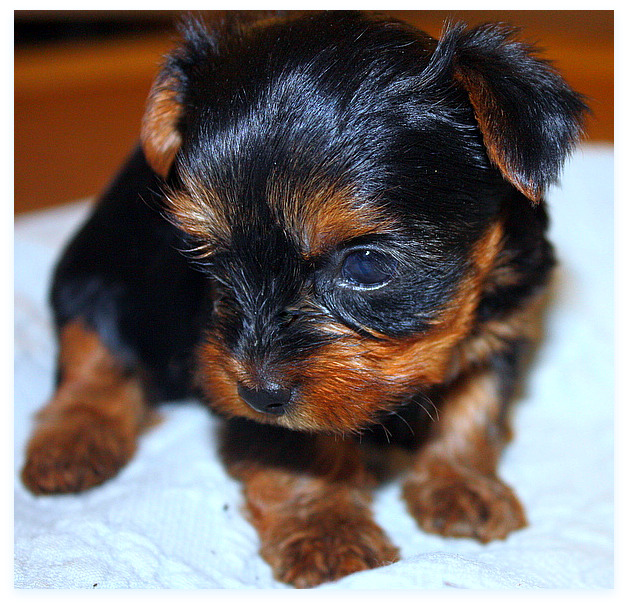
This little girl is spoken for, and I have been calling her Bella for now because she is going to a friend that I met up in Omaha at Silver Bella.  She is a sweety. Well, they all are. Now, they come running to me when I yell "Puppies!!!! Puppies!!!" in a high squealy voice. Yes, it is probably annoying to any humans who might be around, but the babies love it.

IMG_1165

I'm wondering if we should do a Name the Puppy contest again?  So far, I call them all Puppy, except for Bella.  I'll get some photos of each and tell you a little about each one's personality and you can help me name them.  I'll find some prizes too!

IMG_1131

This weekend, I am cleaning up my studio and listing things in the Boutique.  I want to get some space made and get the room ready for a party next weekend.  I'm hosting a Creative Cottage Getaway for some arty friends and figured it was a good time to clear some clutter before they come. 

Today is a Sugarwings day, but after she leaves, I'll be working away in the studio getting stuff organized and making space for FUN.

IMG_1150
My guest room is getting re-vamped (photos soon) and I've kind of finished lightening up the dining room.

At first, I wondered if the creamy golds and grays would work together, then I realized that they were Dorkie colors!  No wonder I redid the room that way, I love Twinkle's pretty fur. They say that people and their dogs grow to look alike, has anyone ever mentioned that a home will start to look like the dog too?

IMG_1145
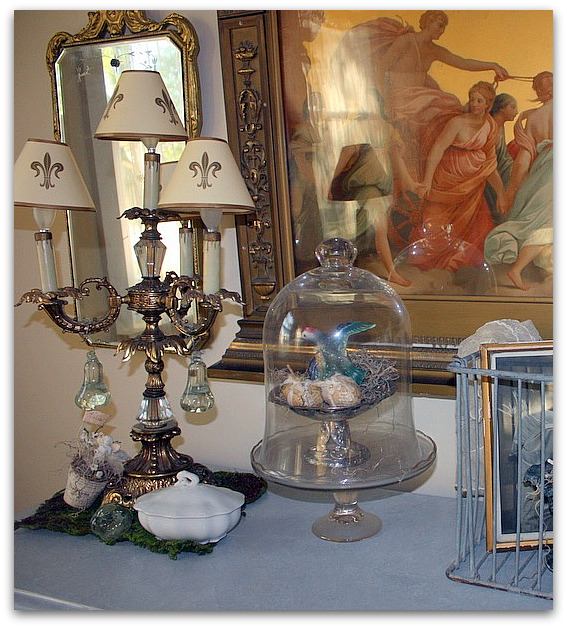
This great, old picture was in here before, and I thought it was too heavy and dark, so I took it down and hung mirrors there instead. Then, when I redid the furniture and brought the buffet back in, I thought the space could use something more substantial, so I brought it back.

Plus, it sets the theme of "lovely ladies" that the basket is filled with.

IMG_1144
This is where the Queen Fairy from my previous post has gone to live.  In the basket of lovely ladies.

IMG_1142
This is my dilemma, right here.  The lamp.  Great lamp, and I have a ton of crystals to add to it, along with those big crystal pears.   I was shopping at a friend's store when someone came in trying to sell it to her, she didn't want it and I asked if I could buy it.  It was $40 which is a bit high for me, but its so ideal I had to get it!

Normally, I paint most everything. White or cream.  But you'll notice that I've never painted the frame of this old picture, and that is because the finish is so perfect as it is.  Every once in a while, I'll stand in front of it and day dream about grabbing a brush, but so far, I've refrained.

So, I think the lamp looks good with the other metals on the buffet, but yet, I am still thinking.. white… white.. white…

Is it just my natural desire to paint all things white, or is it an honest design instinct that this should be white?  Well, creamy white and distressed, not bright white.

I'm thinking I should ignore the call of the paint brush and leave it for now.  What do you think?

IMG_1157
And don't forget to be thinking up some puppy names!

A so-so redo

Dorkies (Yorkshire Terrriers), flowers, redos, vintage paper/collage art, yorkies
IMG_0249

I hope everyone had  a great holiday weekend! Our little fairy baby is feeling better, but now we are dealing with trying to convince her that she really needs to take her yucky medicine twice a day for 7 days.  I gave her the dropper and a glass of water to play with and that has helped. After giving herself pretend medicine for a while, she is not fighting us as much when we try to squirt the real stuff into her mouth.  

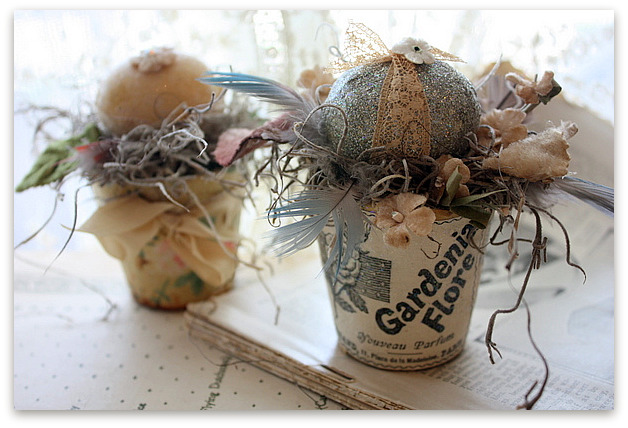
My big pile of giveaways from last week are in the mail, hopefully at their new homes by now.  The Peat Pot Pretty in the front went to Dawn.   The one in the back is listed in the Boutique, and a third one is a giveaway for the first 150 sign ups I get on the Google Friend Connect on the sidebar of my blog. If you want a chance to win one, just add your name. Thanks!

Did you notice that this is not the peat pot pictured in the giveaway post at the top of my blog?  I made up a special "nest" pot for Dawn, complete with some fluffy, downy feathers.

IMG_0248
No pups yet! Look at that belly. She must have about 20 packed away in there.  (not really, she had 6 last time and that was a lot for a dog her size)

You know, I have never claimed to be a math whiz, but you'd think that even I could count 62 days from Feb. 6th to figure out when the babies are due.  I was a week off, she isn't due yet.  I feel a bit foolish about it, but Twinks is really disapointed, that dog is worn out and ready.

IMG_0254
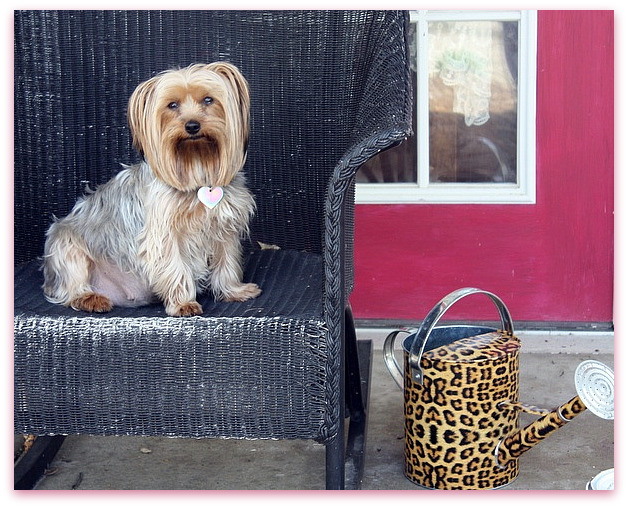
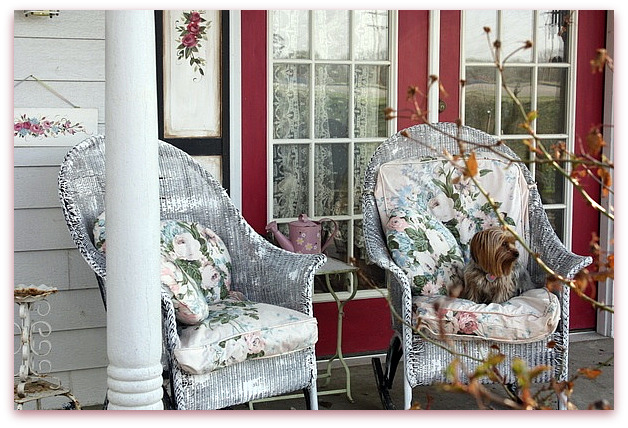
Have you ever done a makeover and then wondered why the heck you bothered?  I got an itch to repaint these chairs, but am not happy with the white now.   I just dry brushed the white on, for a rustic feel, but I wonder if I'd like them better if I'd spray painted them nice and solid. And green.  But- I've been thinking about repainting the French doors blue, that would be better than the red.  Nothing seems to go together anymore, when the chairs were black, it all tied in just fine.  What I'd really like, is a porch swing…  But I wonder if we'd break the window in the door with one?

IMG_0258
This Spring weather got me antsy to make a change, and adding a few pansies to the planters in front of my studio was not enough, but painting the chairs didn't do it either. Doing that just makes the porch look like it really, really needs some redoing now. Durn it.  And I don't feel like I have the time to complete it right now.

In the past, I've been called a Serial Painter. I couldn't leave my
house alone, was constantly repainting rooms. But since we've had
Sugarwings, and I discovered blog surfing… well, I've slowed down on
the redos, my days seem full already.  I'm sure that I could find the time to repaint the French doors blue and add some blue hydrangeas to the shutters so it would match, and now, I'll just have to squeeze it in somehow.

IMG_0016

I did find time to add a few little things to Etsy as well as to the Boutique. 

IMG_0003

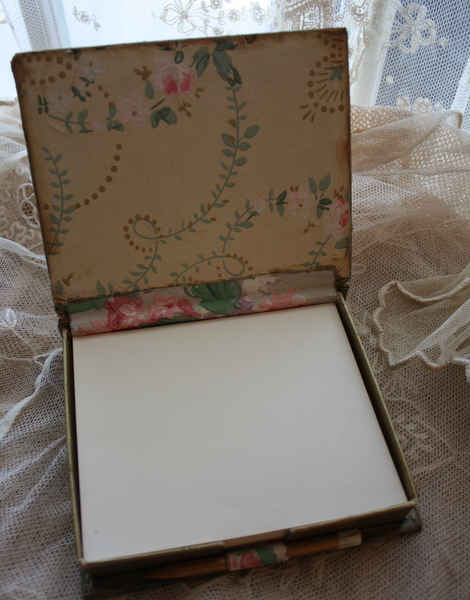
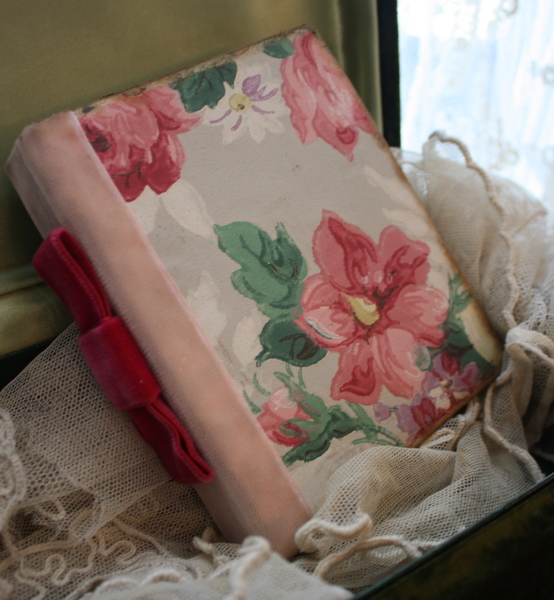
This is a note paper holder that I foofed with some of my favorite old wallpaper.  Its made like a book, and comes with a stack of paper and a tiny pencil.  Its not old-old, but its not new either.  I'd say late 60s.  I've made it look older with the coverings and velvet ribbons.

IMG_0004
 

Wouldn't it be a cute storage box once the note paper was used up? I could see keeping a little art journal or diary in it…  Speaking of which, I told you about Hope's journaling classes the other day, but since it was Easter weekend, I was worried no one saw it.  She is GOOD, I love her work, if you are interested in learning about keeping an art journal, she's the person to learn from.

A mini office redo for a mini office

collections, redos
Wpaper jan 004

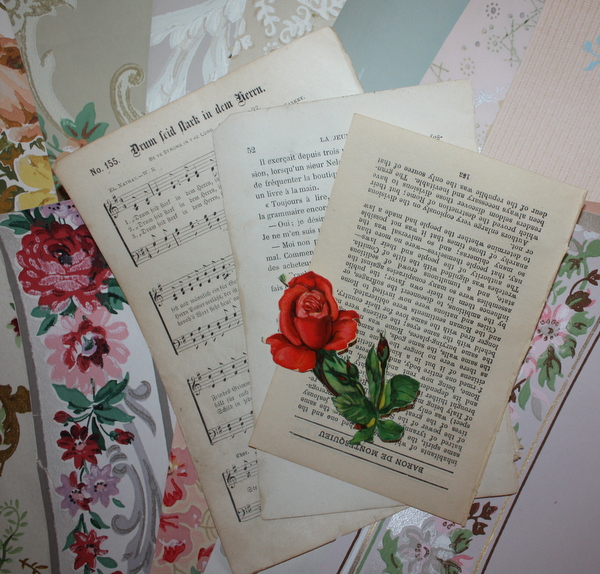
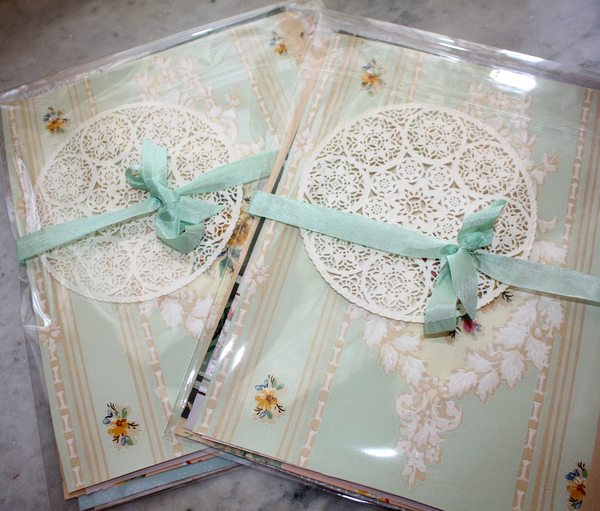
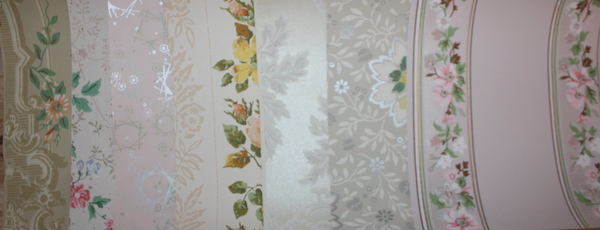
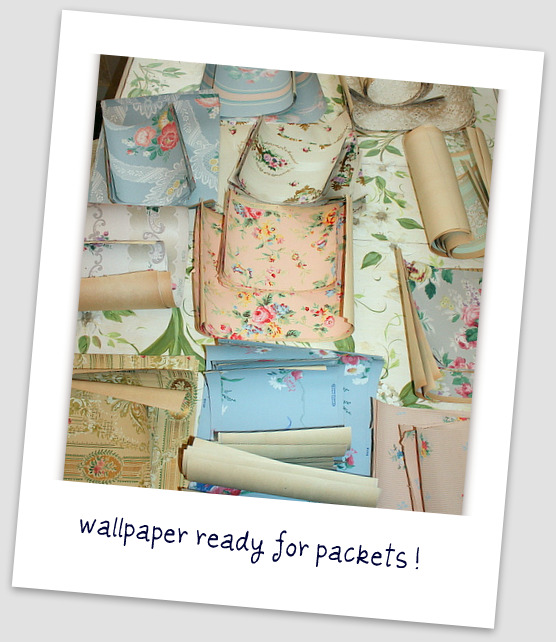
Wallpaper packs are ready!!  Man, it feels like such an accomplishment for me, because that job drug on all week.

Wpaper jan 017

But, its not like I was slaving away for 12 hours a day getting them done…  Its such a boring job that I came up with all sorts of little excuses to do something else and not finish. 

Trying to get through that stack of paper was like reading a book that wasn't exactly a page turner, but still plugging away with it.  When I am reading a so-so book, I can take forever to get to the end, and don't want to start another book till that one is done.  So, I'll pick up a magazine, read blogs, or watch TV to procrastinate going back to that book.   I don't know why I won't give up on a book like that and start another… I'm a finisher, I guess.

Wpaper jan 027

So, while piles of cut and to-be-cut wallpaper filled up my studio, I felt too guilty to do any artwork out there.  I was saving a fun creative job as my reward for finishing.  But, I did let myself get side tracked by cleaning out Sugarwing's art supply cabinet, and redoing my office area a bit.

Wpaper jan 040

Since cleaning isn't all that fun either, it didn't feel like cheating.  I must really hate to chop wallpaper, if I'd rather redo all my office drawers and sort paper work.  But at least I didn't get so desperate that I worked on taxes!! That little treat is still waiting for me.

Wpaper jan 044

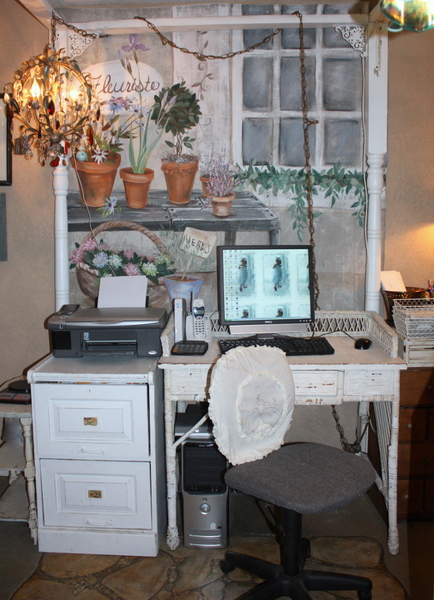
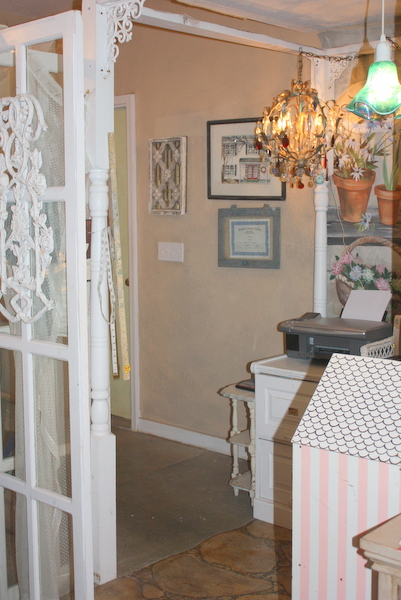
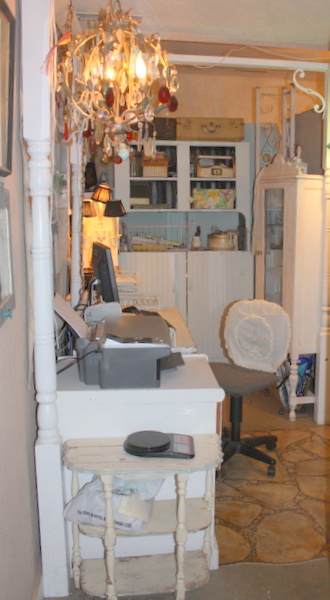
My office is a section of my studio, walled off by room dividers I've put together with  vintage doors, and  a mini gazebo creation thing made of porch posts, two by fours, and iron brackets.  Yesterday, while Sugarwings  played with her doll house (of course there is a doll house by the computer!), my son, helped me switch out desks and rearrange all the wires so they weren't as obnoxious.

The area feels much more functional, this desk is just a tad bit more comfy than the previous one. 

And doing it was a welcome break from cutting and ironing…

Wpaper jan 043

The cabinets in the office are all filled with shipping supplies and things listed to sell in the shop.  The area could probably be prettied up with better storage (yes that is a Walmart bag on the shelf), but it is a working area, and everything is usually buried under papers and packages anyway.

(the rug is a floor mat that I  painted on vinyl floor covering)

Wpaper jan 028 

The wallpaper couldn't be avoided forever though.  And I got a good jump on it today, all packs are made up and photos are done on quite a few. Some are actually for sale now!  The Boutique at Karla's Cottage is well stocked for now, and if I can bolster the courage to add more, I have a few more stacks to list there.

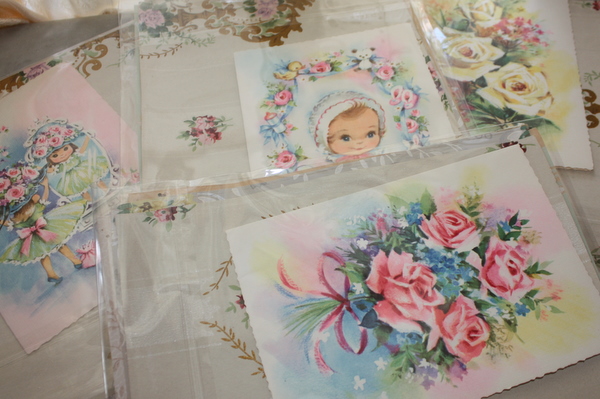
Thank you, for all your requests for pretty papers. Its so wonderful to work with, I'm glad to know that lots of you guys love it too.  I am so looking forward to sitting down to my worktable and cutting and gluing a bunch of it into something!  Tuesday is craft day, with some friends coming over, so I plan on delving into a big pile of scraps then as my reward for chopping and ironing all week.

Repairs 003 

While I was avoiding my chores, I also spent some time playing online. Do you RMS? 

Rate My Space is a site by HGTV where you upload photos of your home and people either say mean things or compliments about it.  And rate your rooms.  I show my home on my blog all the time, but people who read my blog, usually "get" my style and like the look. On RMS, you never know who is looking or what they'll say. 

Its kind of fun. You can rate my kitchen here if you&
#39;d like.  Then, have some fun looking through.  The pictures run the gamut of people asking for advice, to magazine worthy rooms.  Its a great way to kill time while trying to avoid work! 

And for more fun while avoiding work:

 Jen over at Sanctuary Arts is having a redo party, and I have linked this post to hers.  Check out the other links there for some good ideas about prettying up your home.

Feathered Friends and a forgotton giveaway

collections, give away, redos, Sugarwings, the Boutique at Karla's Cottage
Beths gifts 021

Beth and I finally got together today, we've been trying since Christmas Day!  She and her husband were supposed to have Christmas dinner with us, but got snowed in.  Between bad weather, and many other little issues, we hadn't had a chance to hang out since. 

Today, she was able to come here and we worked away in the studio making things and talking for what seemed like a few minutes, but was  really hours.  When she left, I begged her to come back tomorrow, it was so nice to have a day to relax, chat, and catch up while creating things.

Beths gifts 011
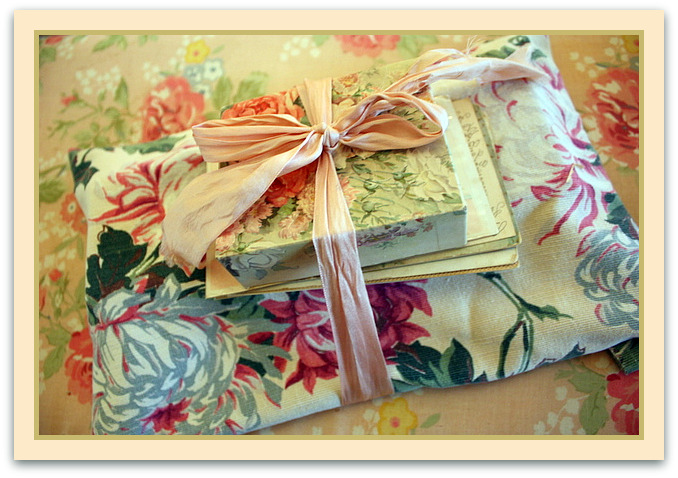
We also exchanged gifts, a few weeks late. Here is what she brought me. I hated to open it, the wrapping was so flowery and gorgeous, but was glad I did!  I got a sharp, pink kitchen knife and cutting board (everyone HATES my kitchen utensil situation when they come over, and I really needed this upgrade), as well as a stack of especially pretty post cards and a floral box.

Beths gifts 001
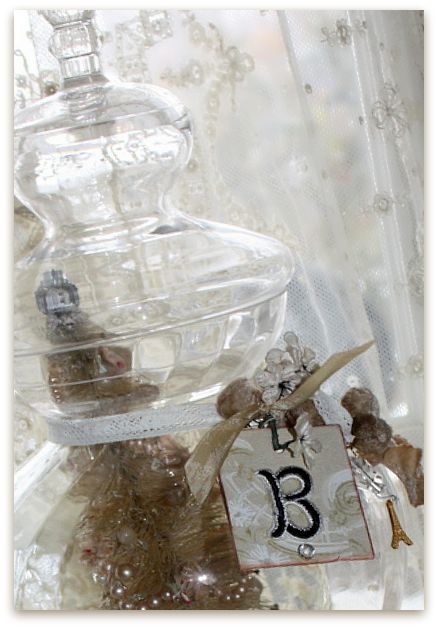
I'd made her a Christmas tree (yes, kind of late to enjoy that one!!) and placed it into a lidded glass jar that I decorated with her initial. I figured she could pack away the tree and use the jar in her studio for supplies.  I also gave her a coffee travel mug that I fixed up, but forgot to take a picture of. I did a similar one for myself, so I'll show that with some how to's another day.

Beths gifts 009
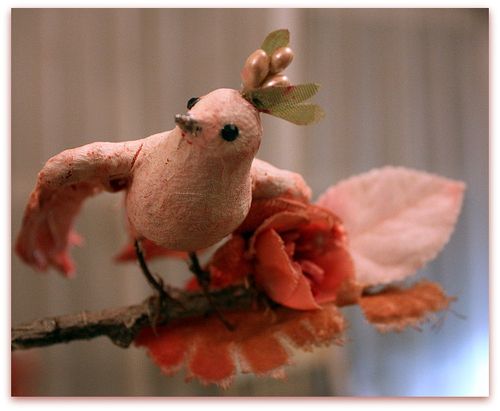
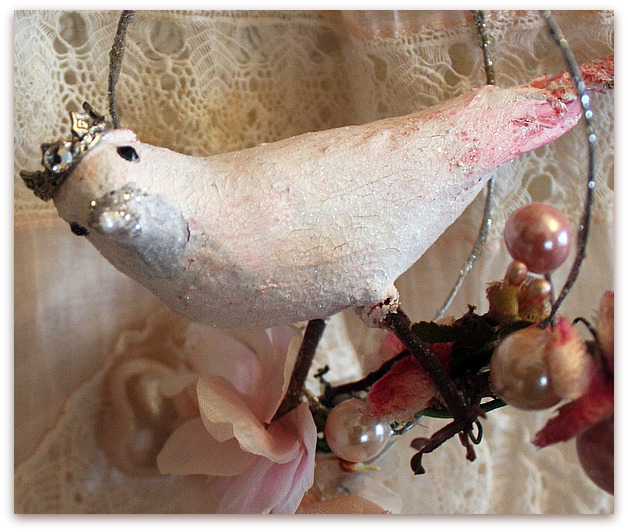
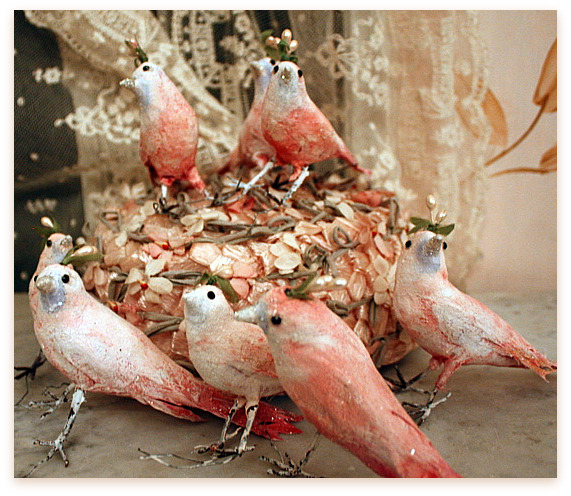
For me, today was birdie day. I had some red birds, that were a nice, vintage cotton fiber, but honestly, I just am not a red person. So, I thought I'd try painting them.  I used a combination of acrylic paint, then crackle paint, then glitter and was pretty happy with the results.

Beths gifts 014
These two are in love.

Beths gifts 023
They are all love birds now, instead of cardinals.  Some have already been used in projects and will be lovely Valentine displays, that can carry on into Spring time since there are no hearts or other blatant signs of Valentine's – just a feeling of it. 

Others are individual birds that are ready for you to use in your own projects, or to simply enjoy as is.

If you'd like one, they are listed in my Boutique.

I've got big plans brewing for beefing the Boutique back up, its a bit emptied out after the holidays.

Beths gifts 003

I've already listed a few packs of Heavenly Wallpapers (sorry, they are already sold!) but am still chopping and will be adding more soon as I get all the slicing and dicing done.

There will be an announcement when they are ready to sell.  I've got 11 x 14 and 8 x 10 in about 15 styles so far, but want to cut more up and get a full restock done.  Since I've got over 200 rolls of wallpaper, I can't cut them all without spending a lifetime doing nothing else, but I at least want a BIG assortment ready to share with you. I hope to have at least 25- 30 patterns cut and ironed and photographed by the end of the week.

Leeleehats 015_picnik

There will be some new millinery packs coming too.

Leeleehats 009_picnik

Its a lot of work to pluck the blooms, but at least I have a helper!

I forgot all about the January Giveaway!! How about a bird?  I made an army of them today, the ones pictured here are just a few. If you'd like a foofed and glittered bird, please leave a comment on any post, all month.

Forget Zero Dollar Decorating, I’m going shopping!!!!!!!!!!!

antiques/junking, Chandeliers, how to's, redos
Repairs 032

I got out of the house!!! We had quite the heat wave, temps roared up into the low 20s. So, of course, I had to go outside into the world and soak up some of that great weather.

And shop!
Repairs 022
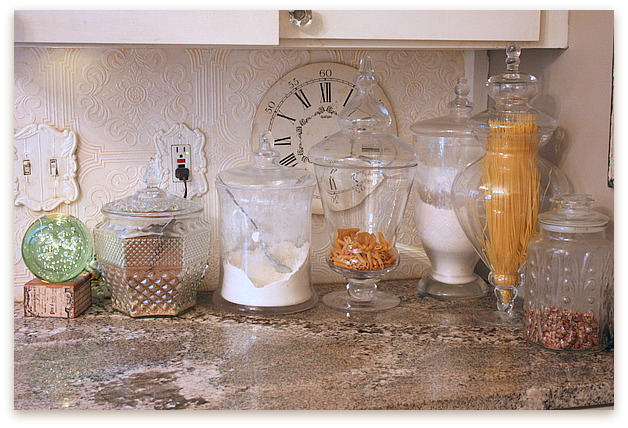
My Zero Dollar Decorating is done, I went out spending!  First stop? Curious Sofa.  Debbie had emailed 20% off coupons with an announcement of big sales.  I had been coveting some bamboo rugs she carries, with vintage style script on them. Sadly, there weren't any in the size I needed, but I HAD to spend my coupon, right?  You can't let 20% off at Curious Sofa just slip by.

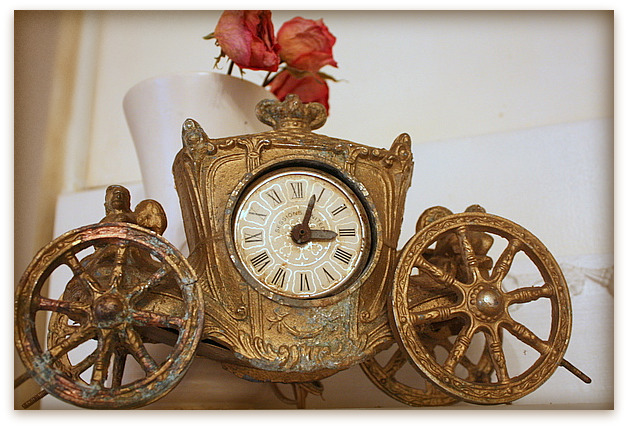
So, I bought the clock in the first photo.  It seemed to be just right for the new look in the kitchen.  While I was in the neighborhood, I swung by Beth's booth at Mission Road Antique Mall and picked up the clock face (2nd photo).  Hmm, looks like the beginning of a theme, to me.
Repairs 024
When I saw this Cinderella's carriage, I knew that clocks were the right choice!  It was found at my favorite antique mall, the Rusty Chandelier in St. Joe.  My friend and I were both needing a good girlfriend day out and we made the most of it. Talking non-stop for about 10 hours, shopping, dining, and shopping some more.  There was no one home at either of our houses, and no reason to get back, so we just made a day and an evening out of it.  

After being cooped up for so long, it was exactly what I needed to myself back to normal. Sometimes you just need a day out, to talk to another adult who you are not related to, but just love like a sister and have a lot in common with.  What would we do without our friends??? Including blogfriends- thank you all, for keeping my company while I was snowbound. If I didn't have your email conversations during this last cold snap, I'd have really gone insane. 

Its nice to know that friends are only a keystroke away! 
Repairs 004
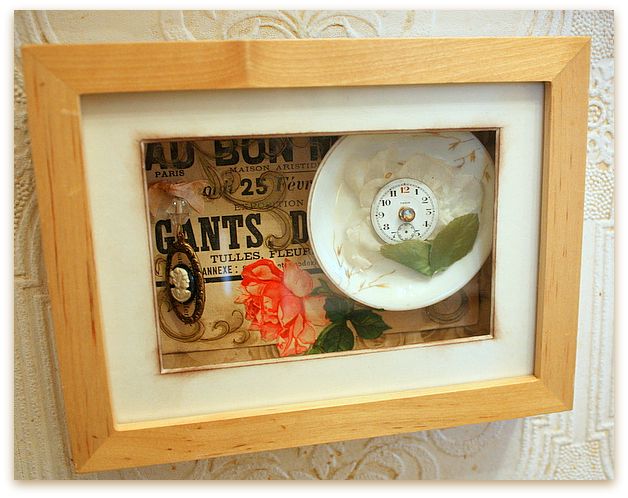
Since I had found my clock theme while out shopping, I decided to add a watch face to a piece of art I made today for the kitchen.

I started with a French ad from an old magazine, and glued a butter pat plate to it, added a millinery bloom and the watch face to the center of that.  To the middle, I glued a rhinestone.

Then, I cut a tiny oval of old text and glued it to a charm, and glued a mini cameo to it, and hung it from a crystal.  With a punch, I made two holes under the word "Paris" to put a ribbon through, then tied that to the crystal to dangle it.

At the bottom of the page, I pasted a German die cut rose.

It didn't quite look done, so I drew some scrolls and swirls in metallic inks. If I'd planned better, I'd have drawn it first, instead of trying to work around the things I'd already glued down.

After that, I rubbed dark brown ink along the inside of the mat, and popped it all back together.  Now, I want to go buy some more shadow boxes and make more! I loved doing a 3-D collage, or is it called an assemblage?
Repairs 021
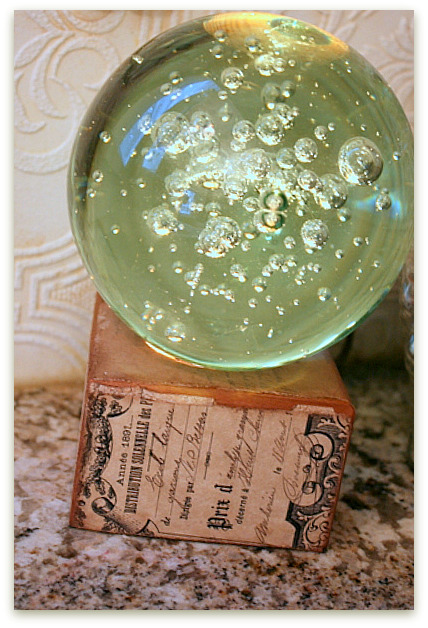
Another purchase yesterday was this crystal ball, bubble night light.  While I had the old French papers and glue out, I covered the wooden base of this, and inked the edges.
Repairs 007
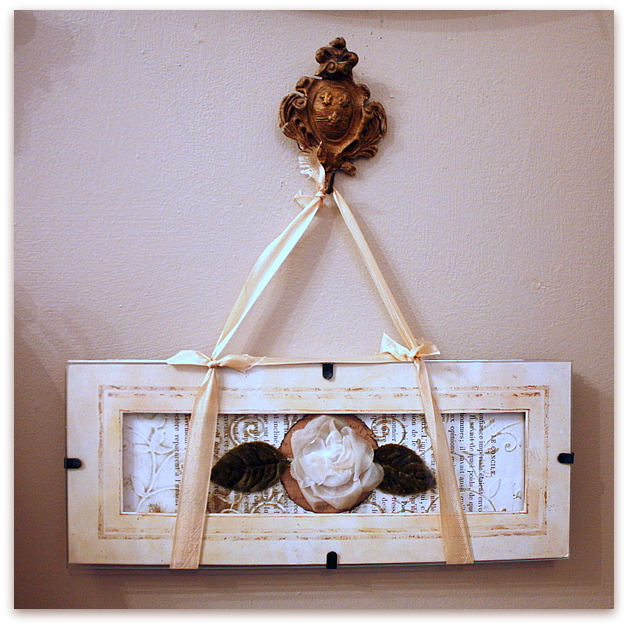
This frame was from our trip yesterday too. I wanted new accent pieces for the kitchen redo, but just couldn't find what I wanted, so decided to make something. 

In this, I used more French text from an old book, that I'd embossed one day when Beth brought over her Cuttlebug.  

To make the  embossing stand out, I rubbed over it with a bronze ink pad.

In the center, I added a circle punched from the cover of the French magazine, which was a nice brown, then glued velvet petals and a white millinery rose to the circle. 

After putting it back together, I fashioned a hanger from ribbons.  I tightly tied two ribbons around the frame, then looped another one through them, and hung that one over a hook on the wall.
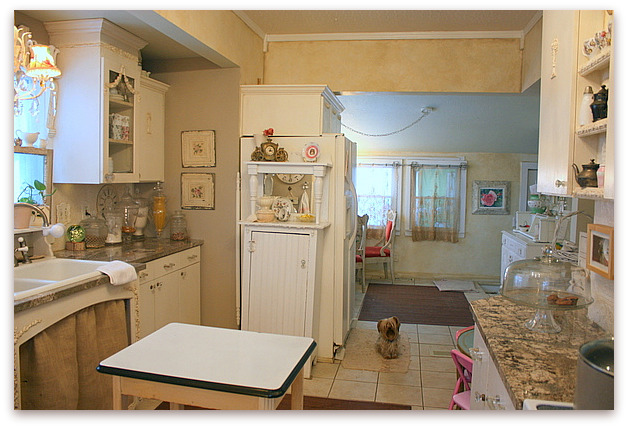
Repairs 019
Here is a view from the far side of the kitchen. A great view of just how crooked the old house is…

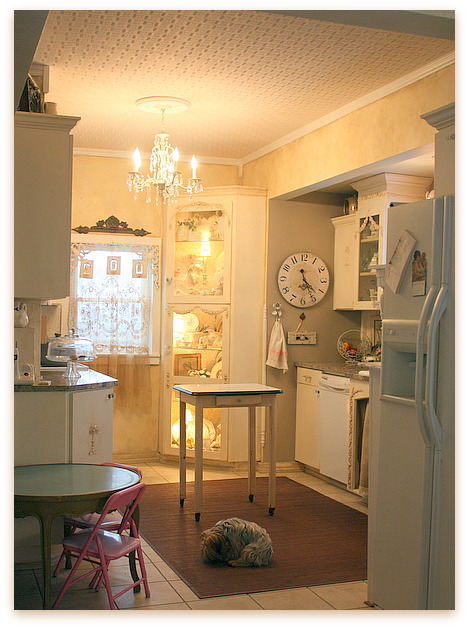
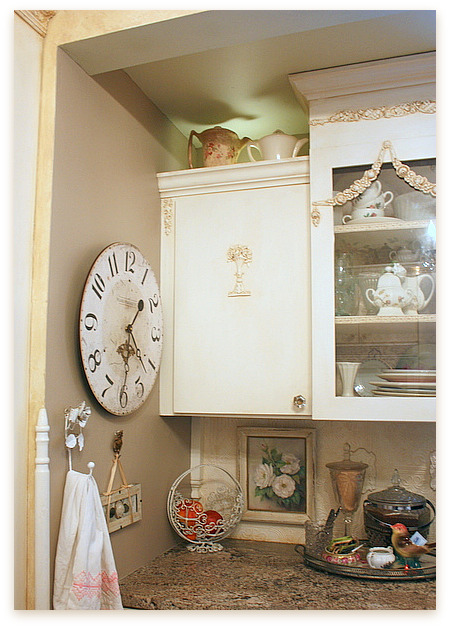
After dropping my friend off after our day of shopping, I stopped and got a can of creamy taupe paint to change the walls behind the cabinets by the sink. The inset had been chocolate brown (like the rugs) but it seemed way too dark after my other changes.  So, I was painting at midnight last night.  It was a quick job though, because Behr now makes a primer/paint combo and it covers like a dream.

(that is a pot of chicken rice soup on the stove, yum, I'm hungry just thinking about it in the kitchen waiting for me!)
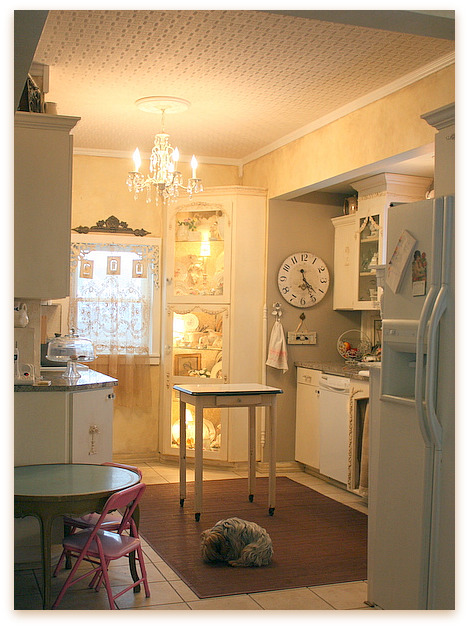
Repairs 003
Here is the kitchen from the other direction. The wooden piece over the window is also from yesterday's expedition.  I got it at Rusty Chandelier's sister store, Jesse James. (Or would Jesse be a brother store? They share a parking lot)

After painting the inset creamy taupe, I had to add some of that color to the faux finish around the other walls.  I think I'm done.  Well, maybe…. I really would love to find some non-princess chairs for Sugarwing's table.
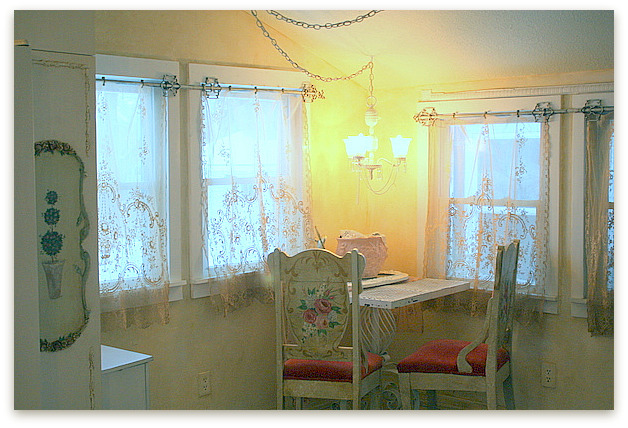
Repairs 031
  And I am still planning on bringing in some metal garden chairs for the breakfast nook

if the snow ever melts.

I've got some old alarm clocks that I might take apart to get the faces from, and add some of those to the china cabinet, too.

And I really, really, really want those rugs from Curious Sofa! Either this one, or this one?

Well, maybe I am not done, after all.
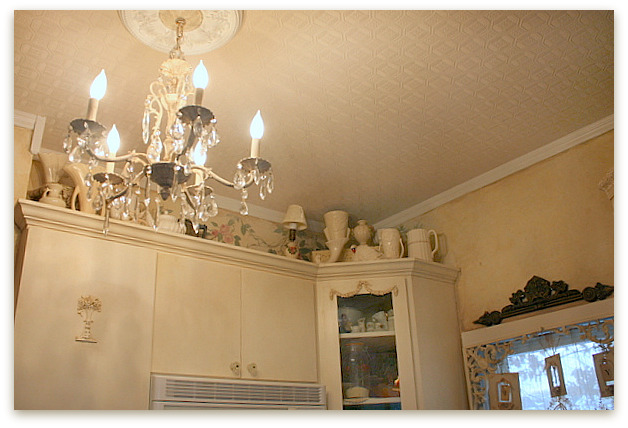
 
Repairs 026
Are we ever done?  That is what makes it fun!


Here are my totals for what I spent, after I escaped from the house and  the Zero Dollar Decorating:

paint- $36

trim over window- $19

frame for flower collage- $2

clock faces- $6

Cinderella's carriage- $29 (big splurge, but SO cool!!)

Clock from Curious Sofa- $48

bubble night light- $15

Fleur de Lis hook for flower collage- $6
Where all the roses went, and my kitchen through the ages

Hand Painted Furniture, magazine pictures or articles, paintings, redos, show and tell


Repairs 092

My Zero Dollar Decorating has slowed to a crawl, I seem to have caught a bug of some kind.  Or does Cabin Fever also cause joint aches and stomach cramps? Ugh. Its still colder than ever, but all of our cars are freed from ditches and snowbanks. I just am not up to getting out of the house. 

People have asked me to show more whole room pictures of the kitchen, I'll take some when I am feeling a bit better.  This bug is giving a whole new meaning to the phrase "under the weather" for me!  I was feeling bad enough from being cooped up by the cold, I sure didn't need to catch a cold too.

There are a few photos that I had taken of where I moved the deeper, brighter color things from the kitchen to, I'll show those now.

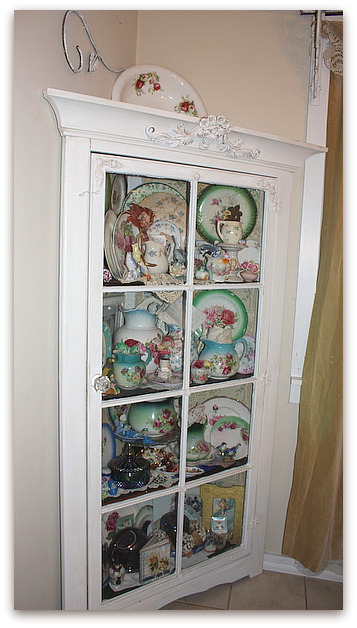
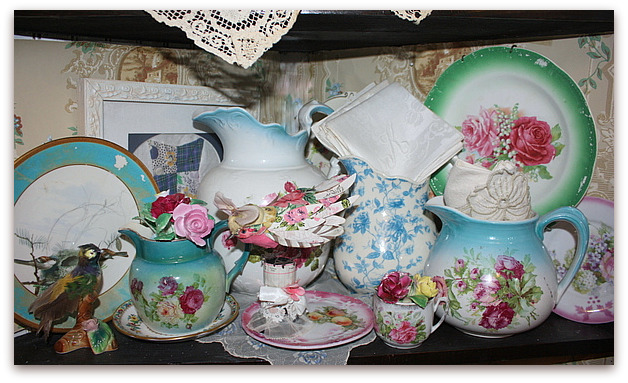
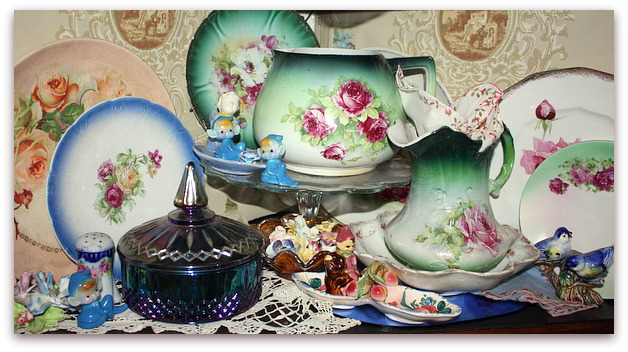
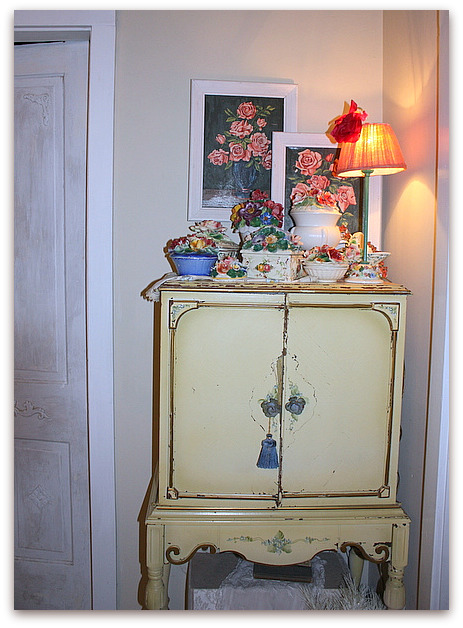
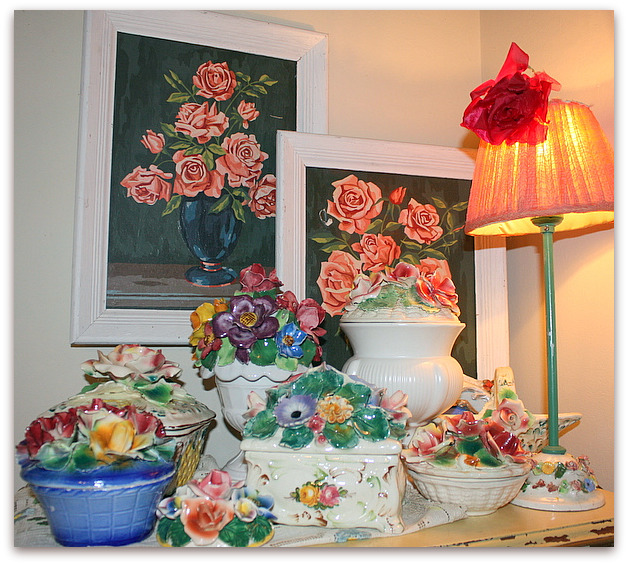
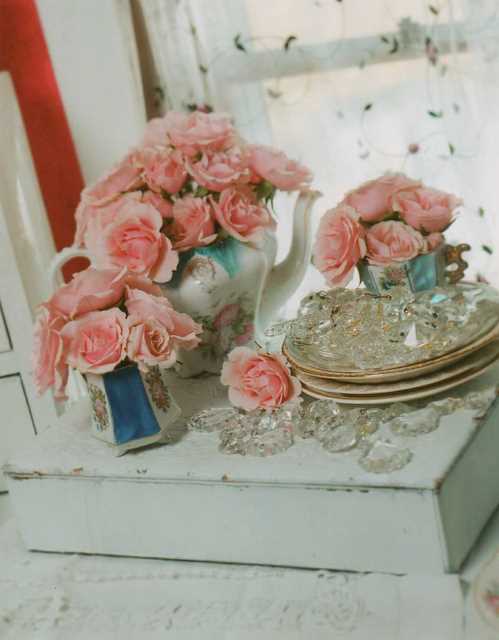
Before, the corner cabinet in the dining room was all done in blue and white.  Now, I've added roses to it from the kitchen, on top of all the blues.

Repairs 095

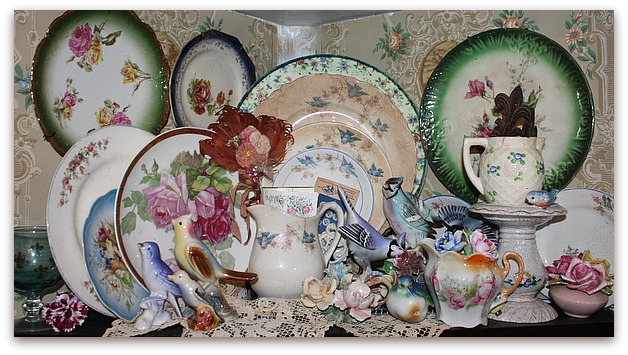
The blue bird themed plates and figures, I've collected for a while, as well as the china roses.  They are another remnant from my antique mall days, I'd bought them to sell in the booth and they never did. As I was redoing all my shelves, I wasn't surprised to see how many things I own were by default. Stuff I bought to sell and ended up keeping.  Its not a bad thing, because I always told myself that I would not ever buy anything merely to sell it, I had to really like it and say it was something I'd add to my own home (because unless you are magic, not everything sells!).  It was a form of staying true to my own sense of style, I guess.

Not all of this is inventory that I kept, the large chintz cake plate was my mom's, and so was the aqua wine glass.    A gift from family, and some from friends are here too.

Repairs 096 This shelf has some sentimental things, a framed quilt square from Grandma Nathan, a hankie from Grandma Downey, two pitchers covered in roses from my favorite flea market (reminders of fun times with my pal, Beth), and the bird I made at Silver Bella in Denise Sharp's class.
Repairs 100

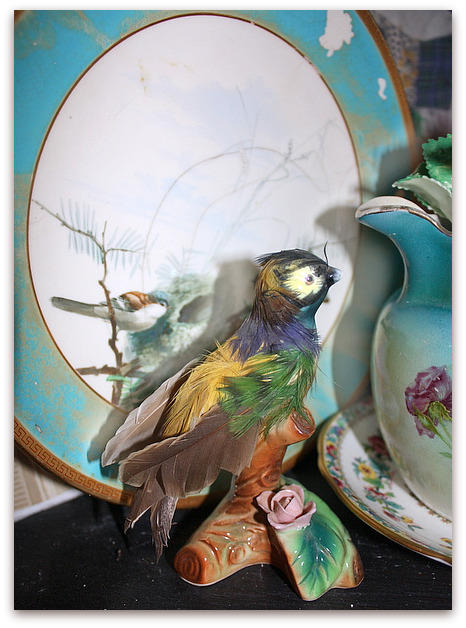
Plus this bird, she is so wrong she is right.  I wonder if some crafty lady in the pre-glue gun days, added the feathers to this poor figurine or if it was meant to be this way?  I see things like this and am oddly attracted to them, wondering if someday, my own embellishments that I am making to things now will be looked kindly upon in the future by someone at a garage sale with a quarter to spare?

Repairs 097
Repairs 098
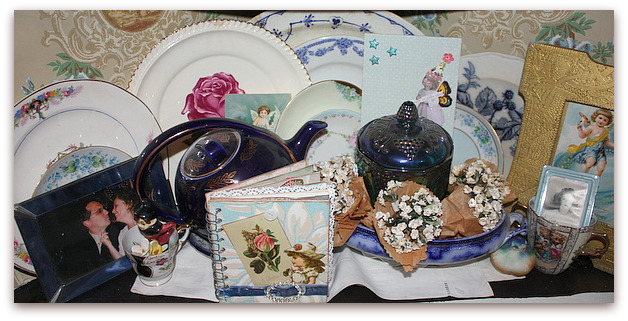
The blue mirrors that are in this cabinet remind me of my sisses, who both collect blue mirrors too.  The carnival glass and the cobalt teapot were both my mom's and those items were the original reason behind even having shelves filled with blue and white.  Funny, how a couple of pieces of sentimental things can influence a whole room.

The photo on the left is of my husband and I about to share a smooch, and the frame on it is an old blue mirrored one.  The photo (with a glare on it) on the right is my Mom's high school picture.  Sugarwings has been made into art by my friend, Lori, and Beth created the vintage wallpaper covered journal.

I'm not exactly the sort of person to have a traditional hutch filled with wedding china.  My stuff is a miss match of things I like, hopefully pulled together in a way that's attractive.  But most of all it makes me smile when I see it.  I am the sort of person who, really, really enjoys her stuff and likes to see it out and about.

Repairs 093

Again, no one wanted these paint by number roses.  I had them for sale here and there and there was never a taker for them.  I even tried to give them away a couple times.  Am I the only person to appreciate fine art?  Actually, these bring back lots of memories of paint by number sets I had as a kid and adored. 

Repairs 094
And I do think they are pretty.  Especially grouped with all of these blooms.

I'll leave you with some previous transformations of my kitchen, these photos are all from magazine articles I've been in.  Some are from before we got the new cabinets, and some are from before I discovered pastels….

Cake plate 

Img049
(I wish I hadn't sold this table!)

Img051
Kitchen

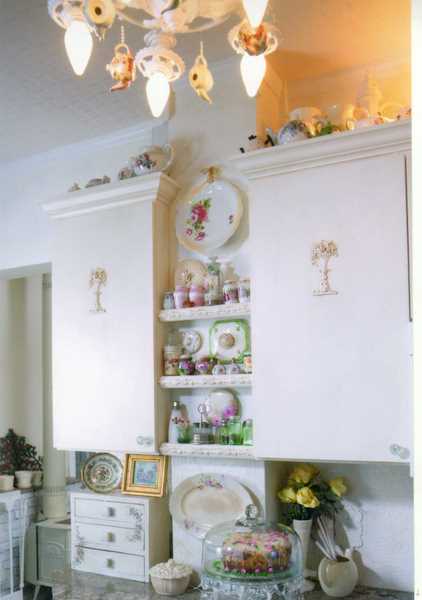
Teacup chandleier

My house from the photo shoot

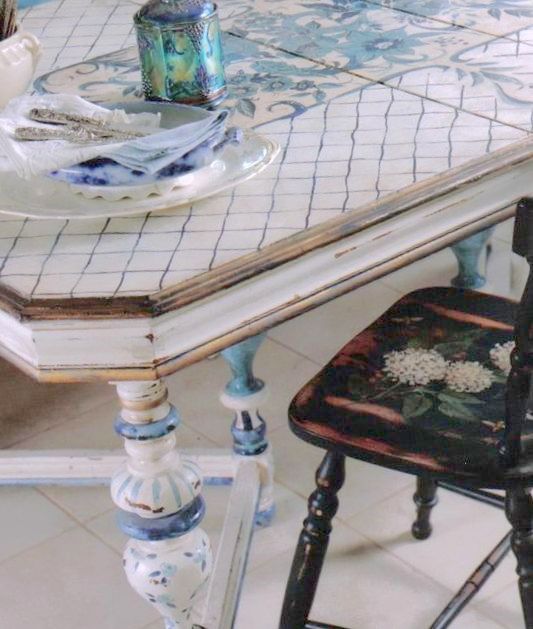
(My mom's carnival glass inspired the painting on this table, its sold too)

How do you paint a table with a leaf in it and still have a pattern on it?

First, paint the whole table without the leaf. Then add one leaf, and paint it so that the edges match up to each side of the table.  If you have another leaf, match it to the first leaf and the edge of the table on the other side.

Copy of mag shots. older

Img050

Okay, better stop now, I'm getting to the really old ones that were more country than cottage and they  make me cringe!

Scroll to Top