redos

More Zero Dollar Decorating

redos
Repairs

Its still cold, I'm still stuck indoors staring at these same walls, and sick of them! So, I kept going with my Zero Dollar Decorating.  (plus it gave me something to do so I could avoid starting on taxes!)

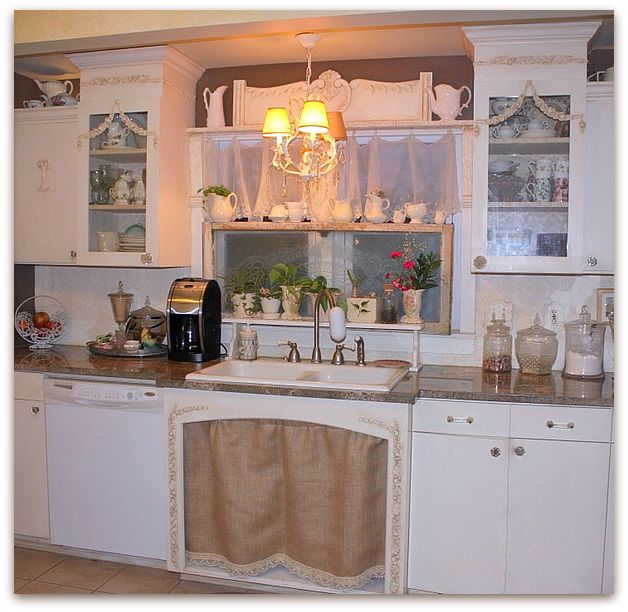
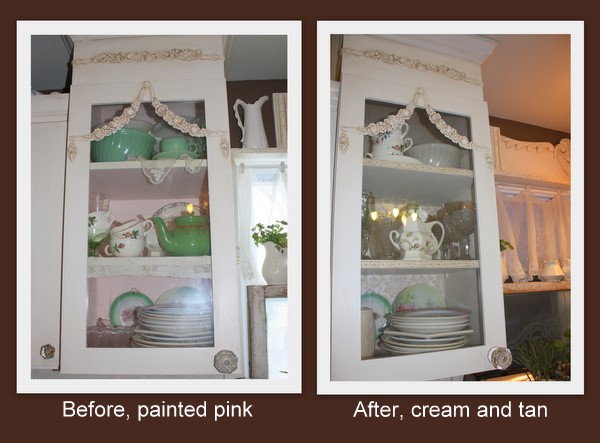
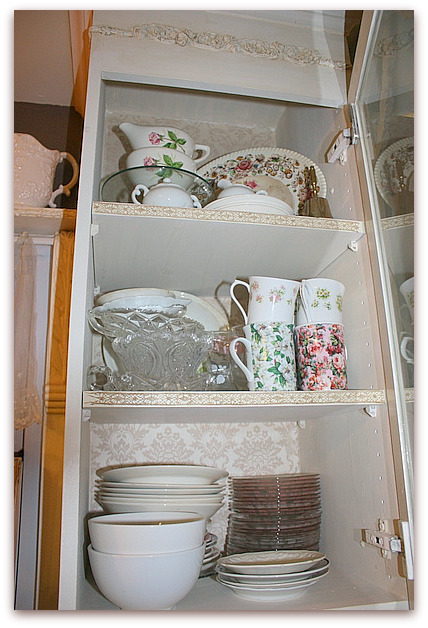
In the kitchen, I repainted the interior of my glass door cabinets, and covered the backs in vintage silk wallpaper, then rearranged the things inside, to have a more neutral look.

Repairs 056
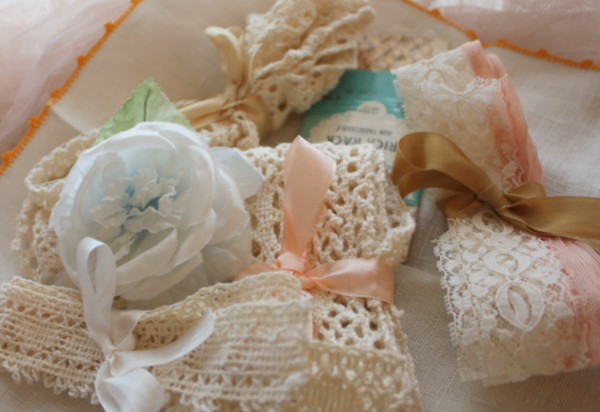
On the edges of the shelves, I glued some of the pretty hand made trim that I got from my Late Great Aunt Caroline.  The wallpaper is some of my stash, and the paint is the wall color from the adjoining dining room.

Repairs 052
After painting and moving around the plates and glasses and mugs, I decided that I needed a more neutral curtain for below the sink.  When I rummaged around in my studio, I came across some burlap and decided that was just what I needed.  But when it was done, it was a little too un-Karla-like, so I took it down and sewed some of my aunt's old lace to the bottom. 

I'm pretty happy with it now.   I also covered the lamp shades with brown paper to warm them up a bit too, and to match the new curtain.  Hmm, looks like I need a light bulb…  And too bad that the coffee maker is such a dominant feature on the counter. It looks like a big, black robot! But, heck, I LIVE here and I do need my coffee every morning!

Repairs 057
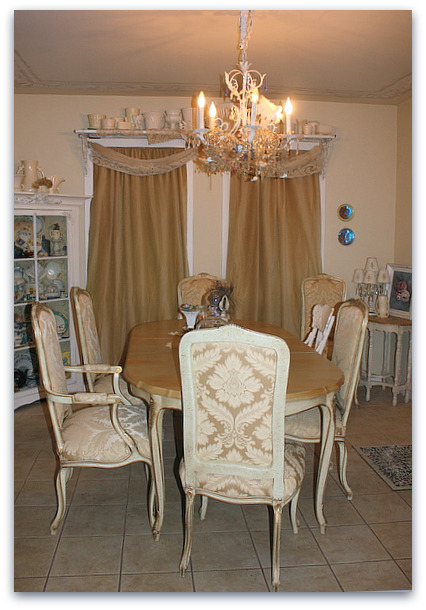
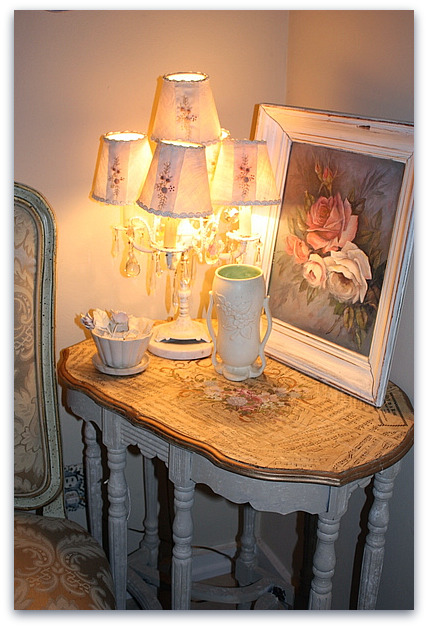
For the dining room, I turned the table to a different angle and gave the room a whole new look.   Then, I brought in a side table from the studio to fill the space that I'd snitched the cabinet from to take to the bathroom the day before.  Its not permanent, I'd rather have something with a door or drawers to store table linens in.  I've got a piece in mind, but it is TOO COLD to go out to the garage to get it and fix it up!

Repairs 060
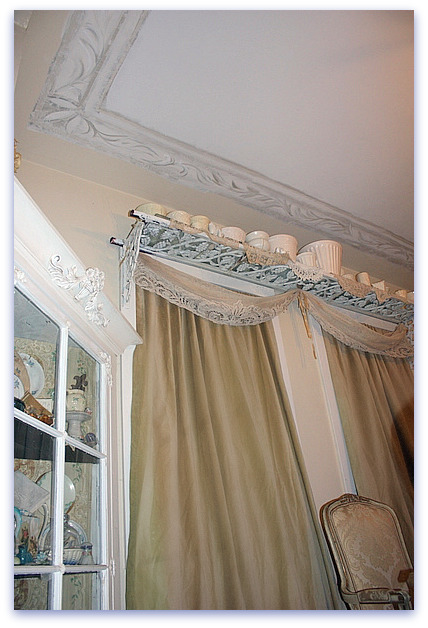
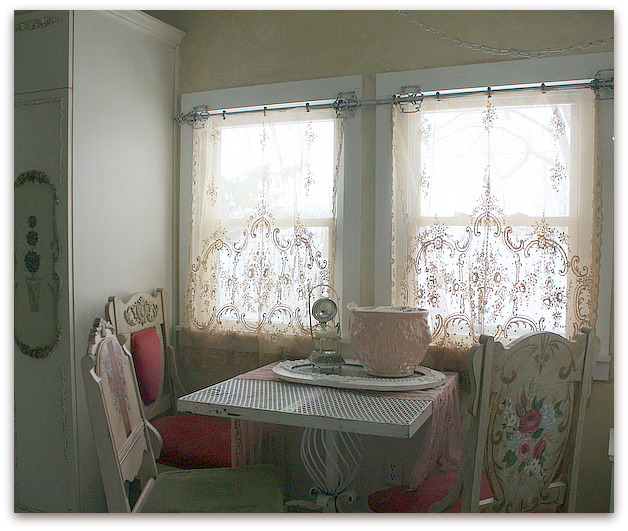
To feel warmer, I hung some heavier curtains over the lace panels that I had up. These are from Target, about 7 years ago, a nice, heavy velvet that really traps the cold air coming in around the windows.  They looked a bit blah, so I took some ribbon and safety pins to tie up a lace panel that I sometimes use as a table runner.

Repairs 066 

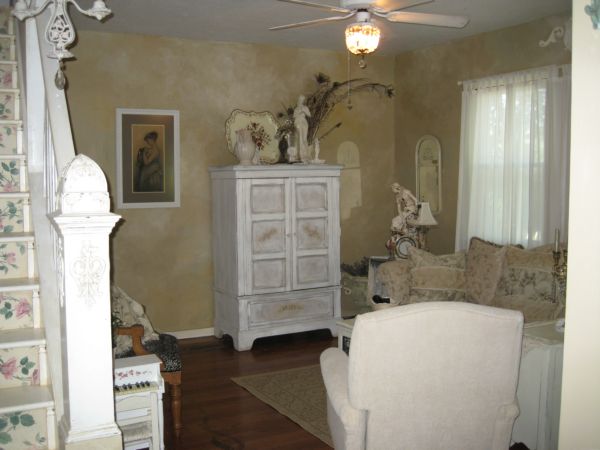
Since it was too cold outside to hop in the car and go shopping, (plus, I am broke from Christmas) I was forced to shop around the house and studio to find things for my redo.  None of the changes are very big, or dramatic, but they've helped me cope with some winter blues!

Zero Dollar Decorating

housework, redos, the Boutique at Karla's Cottage

Repairs 032

Only 3 days into the New Year and I am already making good on my resolutions.  I've been touching up, cleaning up, and foofing up.

Years ago, we had a leaky skylight. It was repaired badly, you could always see a lump in the ceiling. So, I'd covered it with textured paint.

The lump was still there.

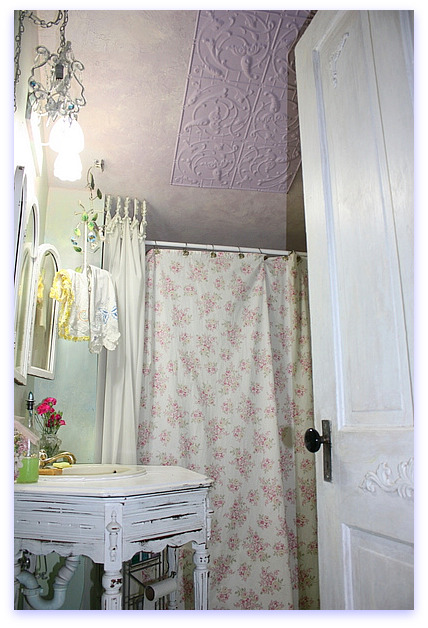
Then, I put this old ceiling tin over it, that did the trick, but the tin panel didn't hit the studs and wasn't secure on one side.  It kind of dangled a bit, but not a lot. Still, it bugged me, but I ignored it.

But today, I reattached it with anchor screws!  I still need to glaze over it in pink, so the lavender isn't so strong and it matches my faux finished ceiling better.

Repairs 049
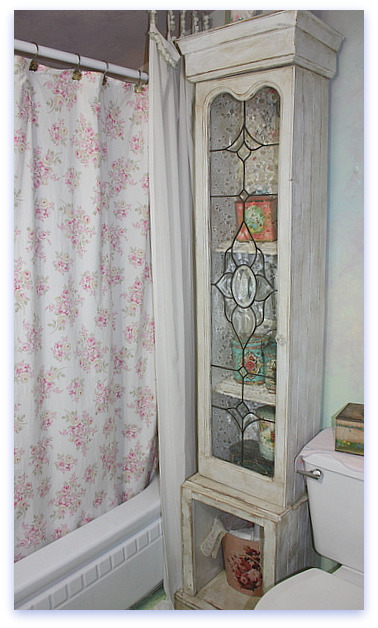
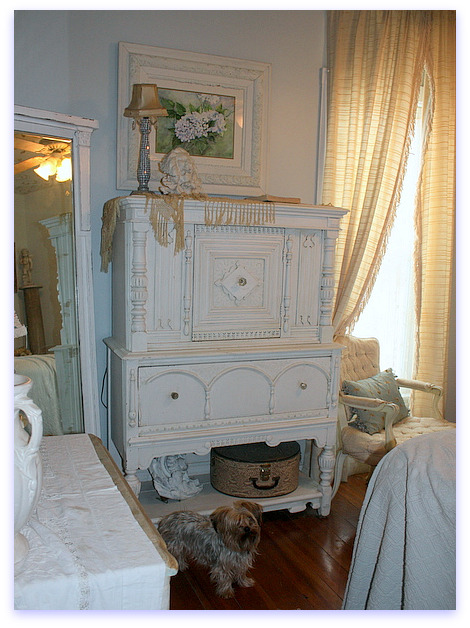
All of this snow and cold has made me feel like a prisoner in my home and I'm starting to get sick of the view.  So, I decided to do a little Zero Dollar Decorating by moving stuff around in the house. This cabinet was in the dining room before, I moved it into the bathroom and brought some vintage tins in from the studio to store Q-tips, band-aids, etc. in.  There is an old tin trash can lined with a doily in the bottom, that now holds TP.

Repairs 048
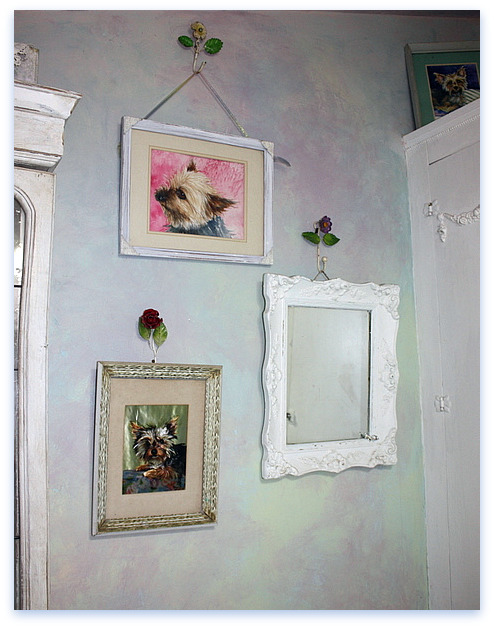
After moving the cabinet in to the bathroom, I had to rearrange the wall grouping.  And I even filled all the old nail holes after moving the pictures around!

Then, I went around the house and filled other neglected nail holes. And squirted lots and lots of calk (always use the paintable kind!) into any crevice that felt drafty.  I went through 4 tubes of the stuff. We have an old and drafty house.

Repairs 035
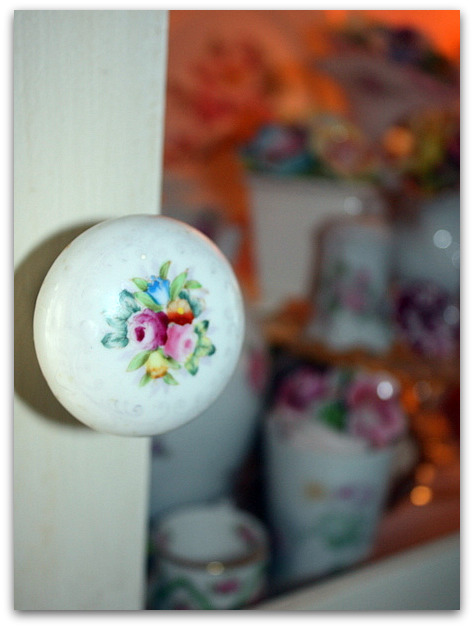
The right length screw was found for the knobs on the cabinet in the bedroom.

Repairs 038
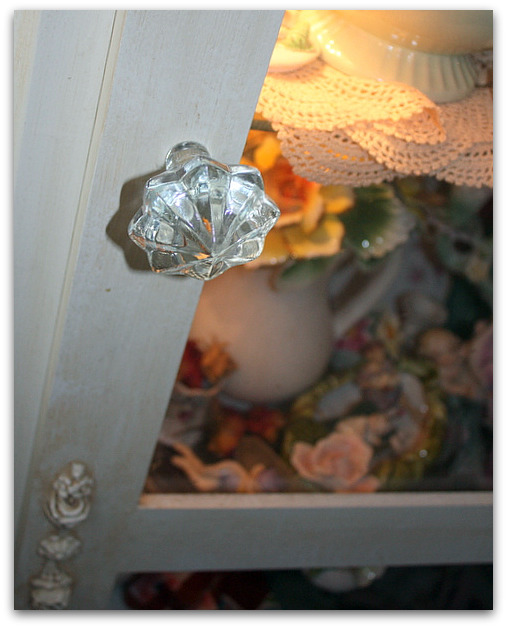
And I found a screw to fit a knob to go onto this corner cabinet door in the kitchen.  For some reason, My home has been  a Bermuda Triangle for knobs this year. They have fallen off in my hand, the screws have rusted and broken, or just plain cracked in half. 

Repairs 041
The corner cabinet used to have two matching door knobs like this, now it is this one and the glass one in the previous photo.  I don't mind a mis-match, actually, I think I prefer it.

Repairs 026
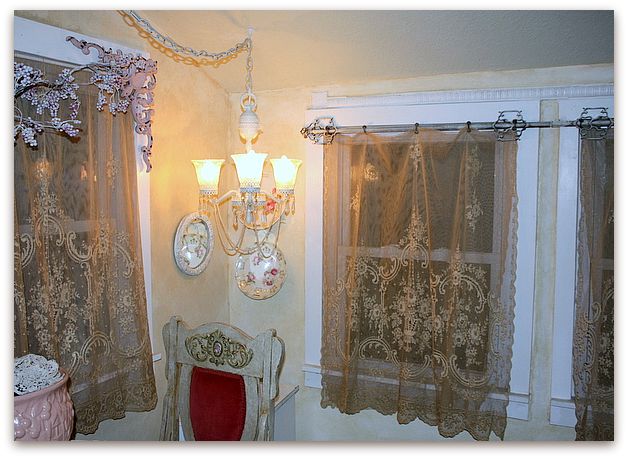
Here is a before and after of more Zero Dollar Decorating. (The left side is the before, and still has my Christmas garland of berries up) With the new, (old) French netting curtains, I thought my pink iron corner bits were a bit too much. I took some old iron fence posts (that were used elsewhere) and hung them up as curtain rods. 

Repairs 030
Isn't that an improvement?  I'd like to change the chairs too. These will go in my studio, and I'll bring in some garden chairs to rustic it up a bit.  I love pretty, and always will, but too much pretty all together gets to be a bit overly sweet. So a few rougher elements will tone it all down.

(The pink urn holds gloves and hats, and this table is near the front door)

Repairs 046
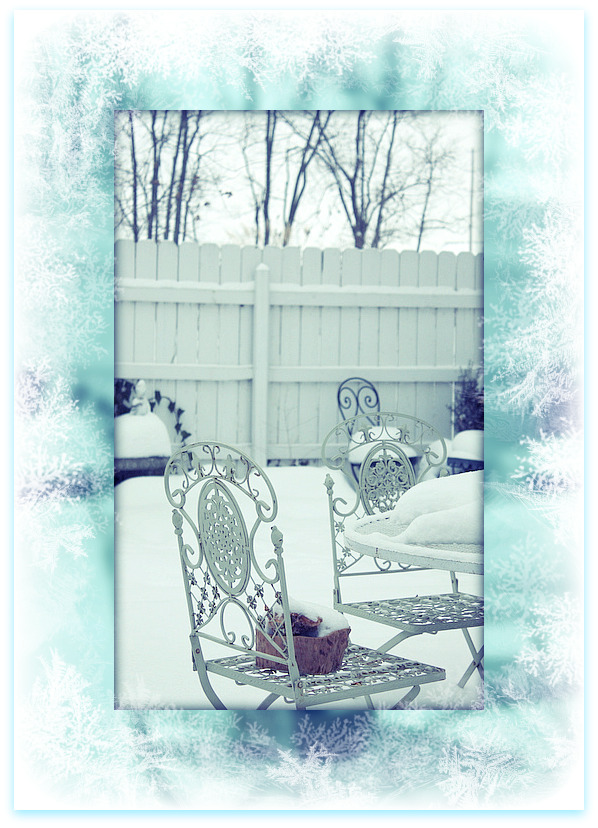
But with this ice and cold, I'm going to take my time on getting those chairs inside! Bbbrrrrrhhh!  I've got some other shuffled decor going on too, that will keep me busy.  Since I took a cabinet out of the dining room, I need to look around the house for something to replace it with.  I think there is a broken table in the garage I could fix up.   And I am thinking about de-rose-ing my kitchen a bit.  Not completely, but enough to take away that overly sweet look that I mentioned. 

I've also repainted Ryan's bathroom and bought the paint to redo a door in Sugarwing's room.  I'm going at this resolution with gusto and determination.   All the Christmas decorations are put away and I'm ready for a new look.  But on a budget. So far, I've only bought a couple of screws and a quart of paint.

Heavenlypaper
 
Before I forget, the winner of my December Giveaway and the gift certificate from Vintage Workshop is

 Rhea

Copy (2) of img334-1

Since I'm in a tizzy of home repair, (Handyman Don comes tomorrow!!) I don't have time to list new things in the Boutique. So far the 50% off sale has been wonderful, thanks to all of you who have shopped there. I'm extending the sale until I can get caught up and have new goodies to share with you.

Details are:  Go ahead and make your purchase and pay by paypal. I will refund 50% of the total plus any excess postage (the site over charges on multiple purchases sometimes, its hard to judge).

If you are paying by check, please email me for a total and I will mark things sold.

As of tonight, I've "cleaned up" the site and have all the sold items deleted so it is easier to shop in.

Thanks again!


There is a fun Before and After party at

http://thriftydecorchick.blogspot.com/2010/01/before-and-after-party.html

Check it out for some great ideas for your next redo!

Treating the Treat Cabinet to a redo

flowers, paintings, redos, show and tell, Silver Bella, vintage paper/collage art
Treat cab redo 006

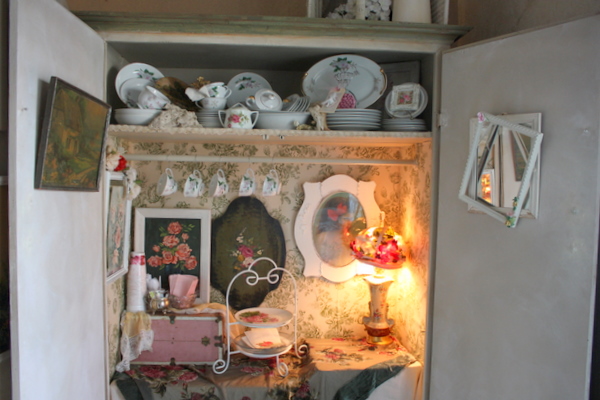
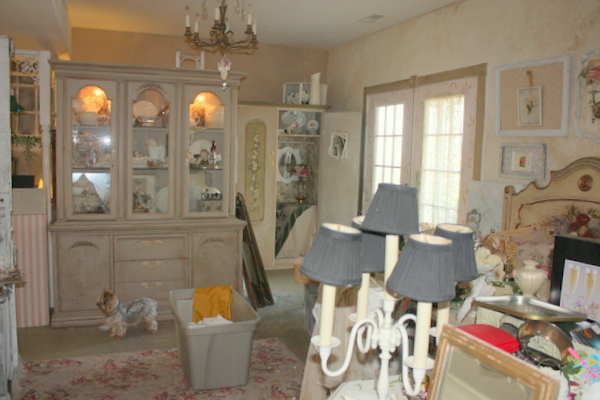
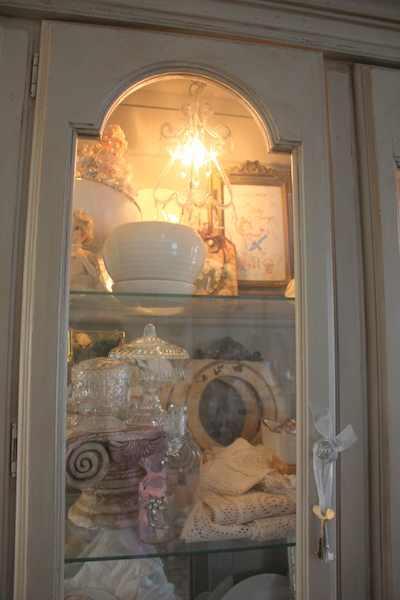
There was a little detour on my way to getting the wallpaper ironed, cut, and sold… I decided to spiff up my studio for Thanksgiving dinner. The treat cabinet was treated to new (old) wallpaper in one of my favorite toile rose patterns.  I thought about indulging myself and using one of the glorious new papers that I bought at Wallpaper Heaven, but decided to go with this, since it was more neutral.  I can change the colors of table clothes, and decor inside this much easier with this background. 

Plus, this goes well with my hand painted roses on the outside of the doors.

Years ago, I got this cabinet by trading $20 piece from a garage sale. Its been a lot of colors and styles since then!

Treat cab redo 005

My son helped me rearrange the furniture so that the cabinet was in a location near an outlet and now all the goodies will be illuminated! The room is much more functional this way too, more space to set up tables for dining or for crafting!

Mess

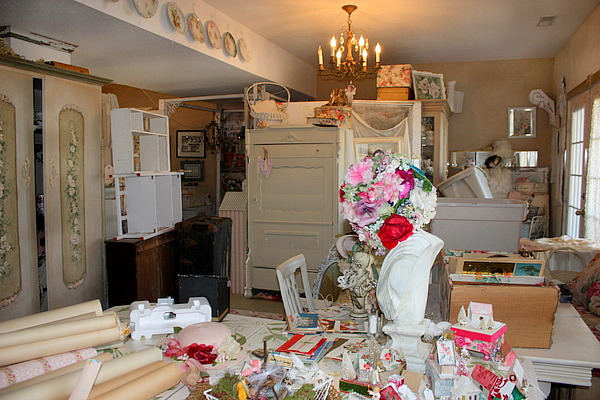
This is a before shot, with all my Silver Bella inventory spread out waiting to be transformed into Miss Frenchie inventory.  I gave up and shoved it all in the garage for now and will deal with it after Thanksgiving.

(see the pile of wallpapers, waiting for me to get them ironed and cut?)

The treat cabinet is on the far left, in this picture.

Treat cab redo 009

I don't have a completely done After shot for you, but here is one mid-way.   Even with all the clutter spread out, the room seems more stream lined with the furniture moved around, doesn't it?

Treat cab redo 007

I've always loved this big china cabinet, but it was facing the front door and was never really that noticeable in the room.  Now, it is front and center.

Actually, that "I've always loved it" is a lie. When I bought it, I freaked out. It was one of those auction moments of pure panic when I realized that I bought a giant monstrosity that was too heavy for me to move, needed a complete makeover, was too big to fit in my van, and I was in trouble.

During the bidding fever, I was so excited to get this for under $50, that I wasn't thinking about what I'd do with it. After trying to remove the glass shelves and scratching the window in the door, and not being able to budge the giant, heavy thing by myself, I actually started to cry right there at Gold River Auction hall. 

Luckily my sons bailed me out with the old farm truck. And luckily the old farm truck made it all the way to Kansas City and back.

Now, I love it!

Treat cab redo 017

 
The top shelf of the treat shelf just holds a set of dishes from the same auction ($22). I really should get rid of them, there is no space in the kitchen for them and I could use storage space in the studio for MORE WALLPAPER!

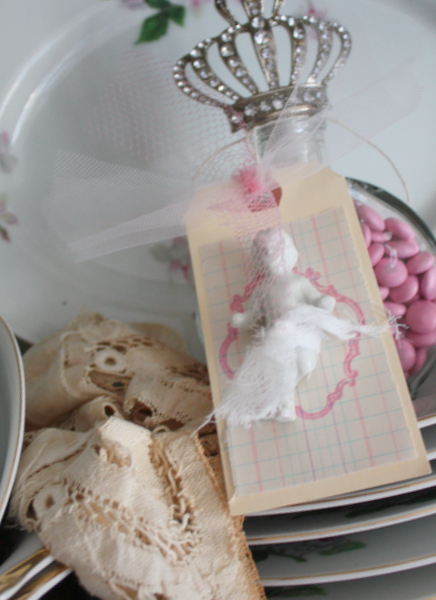
The jar of pink M&Ms with the crown topper was a gift from fellow Bella, Suzanne.  She was the Frozen Charlotte Fairy at Silver Bella and was passing out these sweet dolls on tags all around! (not only was Suzanne generous, she is one of the funniest people you'll meet, and hanging out with her was a highlight of my trip)

Treat cab redo 020

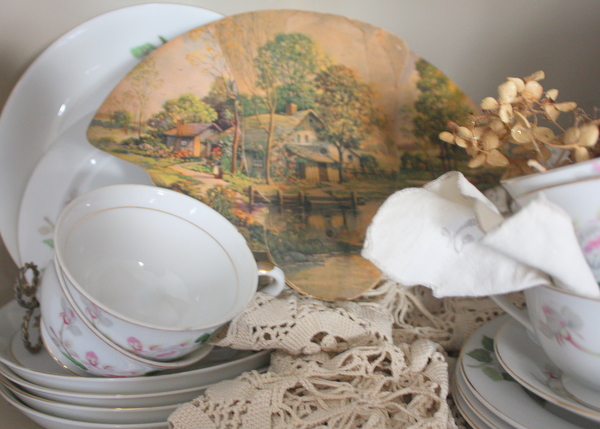
The cottage print fan was a gift from Beth. She knows I collect pictures with a cottage and flower garden.  I daydream about living in a home like that, and strive for that meandering, overfilled garden look here at my own farmhouse style cottage.

Treat cab redo 024

Beth also knew I'd love this print and brought it to me.  So, I thought I'd share it with you.  Its saturated colors will be beautiful in a project, so feel free to download and print it!  If you get a chance, tell Beth thanks.

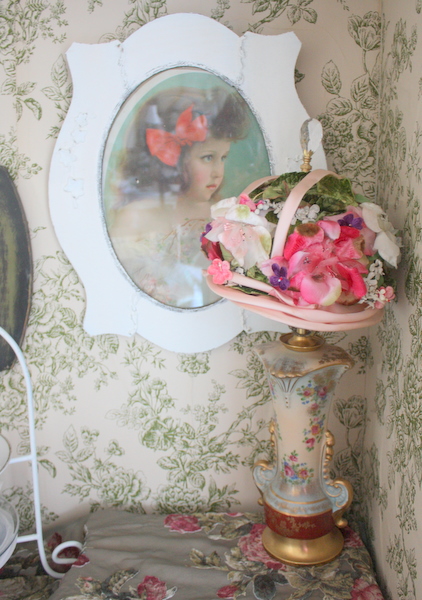
My plan for it, is to frame and hang it in the treat cabinet, the colors compliment the old picture of the little girl already hanging there.

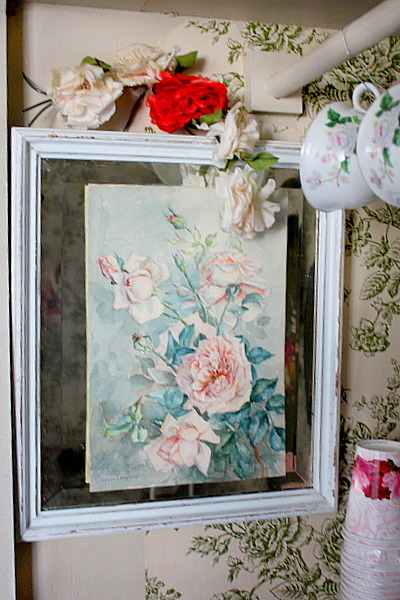
Rosemirror

Notice that I didn't finish the wallpaper inside the cabinet?  I got close to the corner… I have to admit that I didn't match up my repeat either.  I don't need perfection, sometimes good enough is plenty good for me.  

The painting is a vintage watercolor that didn't have a frame. I taped it to a white framed mirror.

Treat cab redo 028

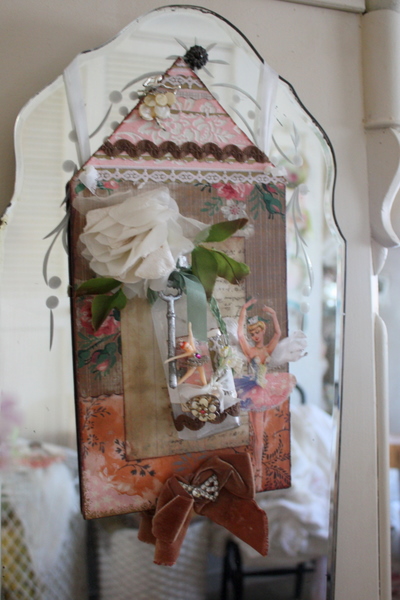
This project from last year's Silver Bella is hung over a mirror in another part of the studio. I love the reflection and light of having lots of mirrors, but get sick of seeing myself in them. This is a good solution!

Novemeber giveaawy 025
Back to work for me. But remember, all comments count toward the November Giveaway bundle of trims.

Tending to my Christmas tree farm

collections, Dorkies (Yorkshire Terrriers), holiday decor, redos, vintage paper/collage art, yorkies
IMG_5753

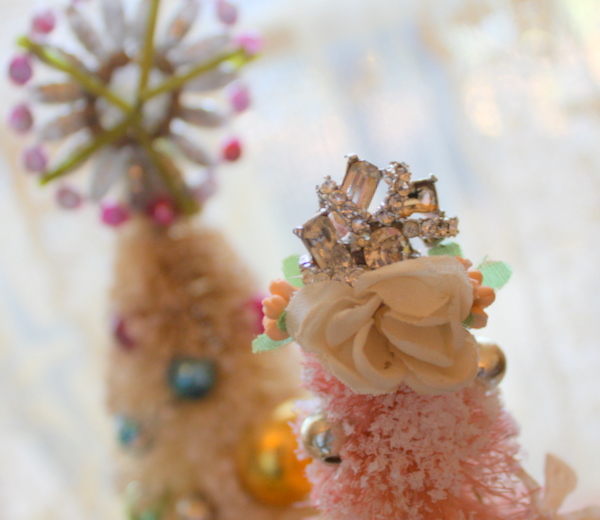
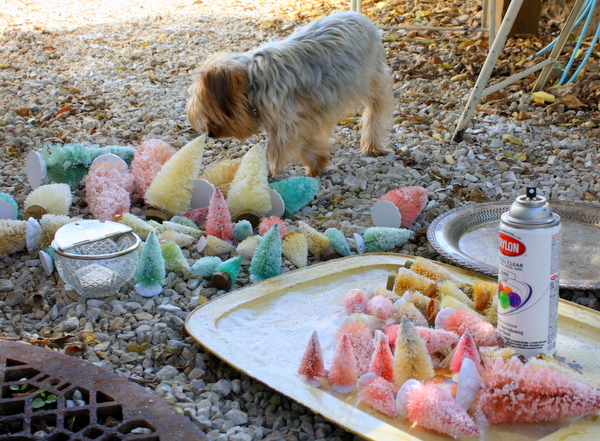
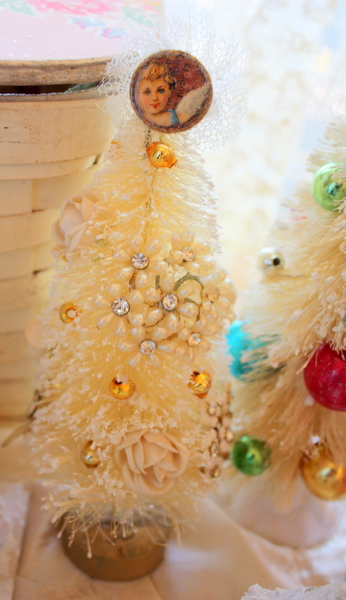
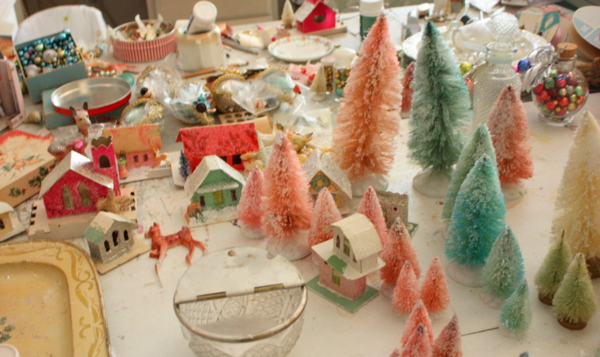
Progress is being made on the Christmas trees.  All are bleached, dyed, and glittered, and a few are foofed.

IMG_5738

This year, I am trying something new with the glitter.  I used a high gloss poly spray to mist each tree, then rolled it in a snowy glitter.  After that, I spritzed it with a spray can of silver glitter/poly, hoping that would seal it.

Now, some of the glitter always flakes off no matter how you put it on, so there will be some molting, but it seems to be working very well.

IMG_5751

The cold weather snap is over and yesterday was beautifully fallish.  I had the doors and windows open, and sat outside in the rocks to spray trees.  Is it ironic that I was enjoying the warm weather so much that I started on a Christmas project? 

IMG_5749

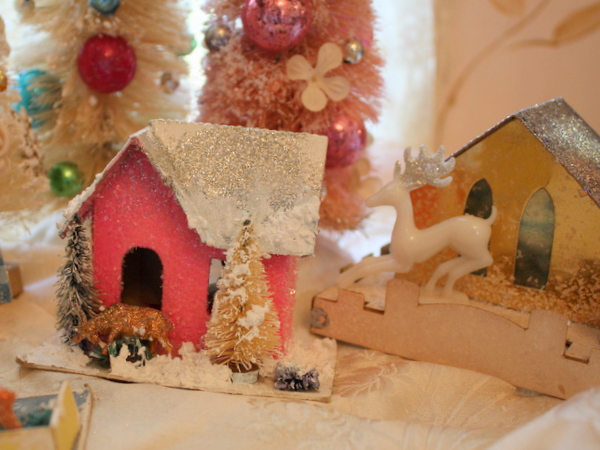
While I was feeling the holiday spirit, I started on a few putz house remodeling projects too.

IMG_5758

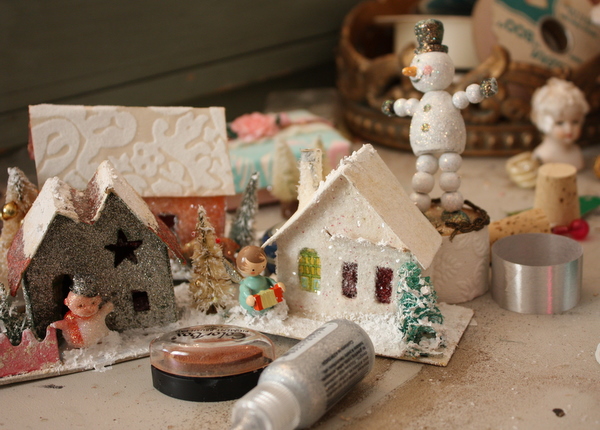
It involved repainting some of the more garish colors, adding wallpaper, glitter, fake snow, and some of my teeniest dyed trees. Also, some little vintage characters, snowmen and deer that I glittered up. 

These houses are now ready to display as is, or for me to use on some ephemera covered boxes I want to get started on.

IMG_5754

My table is looking like Santa's Workshop!

Of course, I don't have any of that cheap elf labor, its all me doing the glittering and gluing. The only helper I know that would work for candy canes is Sugarwings and she has a bit of a heavy hand with the glue… I've known her to use a half a bottle on one bird house, so I doubt if I'll let that little pixie be my assistant on this.

IMG_5755

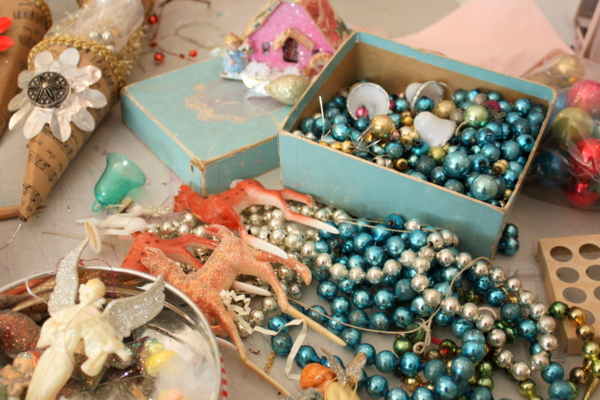
Beth did help me out, though, she GAVE me a lot of the boxes that I will be covering with ephemera and topping with houses, plus a ton of the old bead garlands!!

Normally, I collect those old mercury bead garlands all year at garage sales, flea markets, etc, but this year was a bit of a dud.  Not much luck on the strings of beads, no matter where I looked. (at a decent price, at least)

There were some left from last year and I did buy 4 strands, but I go through quite a bit of them at the holidays.  So, Beth was a great help, but then, she always is.

By the way, Beth is having a wallpaper giveaway, you should go visit her!

IMG_5757

She is owed a lunch for her generosity, at least, huh? I think I need to treat her to our favorite place, Pei Wei, on Friday when we hang out together. She is always giving me the best stuff.

IMG_5742

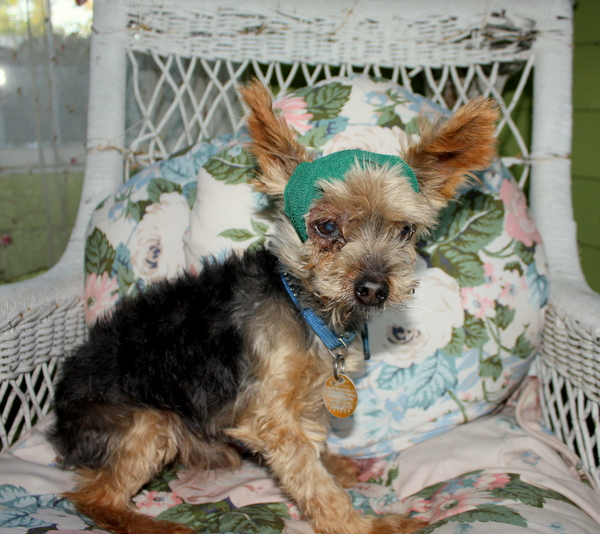
We are planning on estate sailing on Friday in Kansas City, then crafting at her house, but it all depends on how this little guy is doing. This is Bookie, you rarely see photos of him, because he is old and likes to spend his days sitting on the porch all alone, or laying on his pillow.  

The poor little guy has been attacked, by something, I have no idea what, or when.  He is such a loner in his old age, that some days, I hardly see him, he is like a shadow around the house. We have a doggie door and a fenced yard, so he comes and goes as he pleases. So, I'm not sure when he was hurt. I know he was fine on Saturday when I gave him a treat.

But on Monday, I noticed he was covered in blood and was ill!!  I rushed him to the vet, and was told that something had bitten his head and that it was infected pretty bad.  He had a fever, and his head was horribly swollen.  He might have a broken leg too, but was in too bad of shape to be put under for an X-ray.

What could have done this to him?? A possum? A raccoon? Our mean farm cat? That cat hates Bookie, it could be.  It has to be something that could get over the fence. It terrifies me to think that there is a creature out there on my property that is attacking my mild mannered, sweet, little, guy.

Buttons and beakers

antiques/junking, family, redos
Buttons 002

Man, it felt good to get the glue out today!  I've had a busy summer, but today, I was all on my own, just me, the glue, and the studio.  It seems odd to have Sugarwings gone all day at school, but it does make a difference in my productivity.  After making her some Care Bear toast (sunflower seed, whole grain bread cut with a teddy bear shaped cookie cutter after toasting), I sent her on her way and went to work.

Buttons 003


So what did I do? Just simple projects, adding wallpaper to a jewelry box, and sorting buttons into interesting vessels and foofing those up to sale at Silver Bella.

Buttons 005


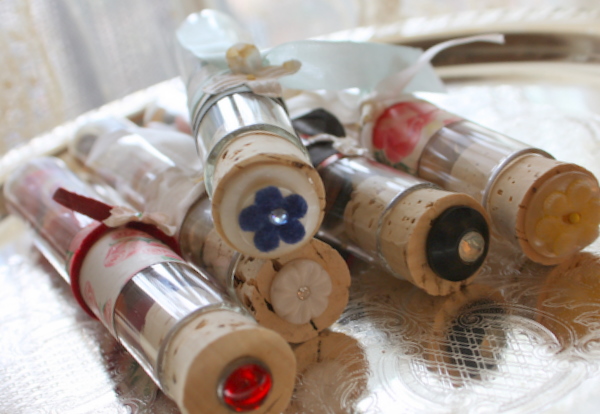
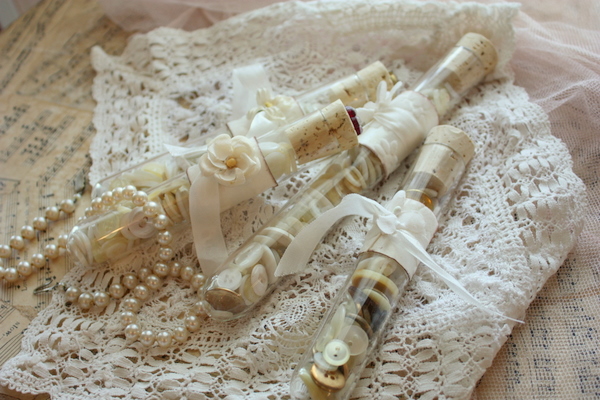
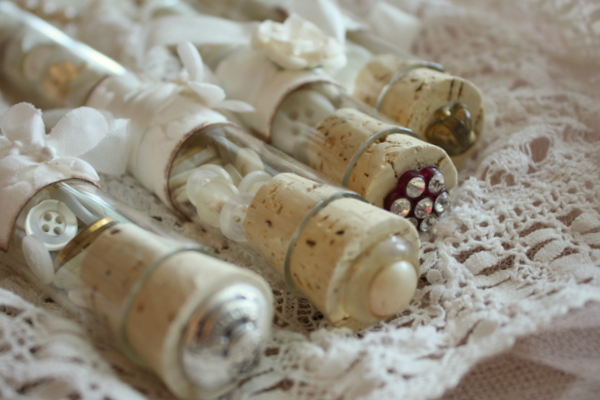
These vintage test tubes were fun to fill and foof.  I had to run to Hobby Lobby to buy some corks for them, but everything else used is all vintage. Little squares of wallpaper make the label, and it is tied up with old ribbon and topped with a millinery bloom.  Then, the corks each got a pretty button to spruce them up.

I only had 10 of them, I wish I had more. That is the trouble with using vintage things, I can't just order more when I need them. I just kind of use what I find when I go out treasure hunting. 

Buttons 010


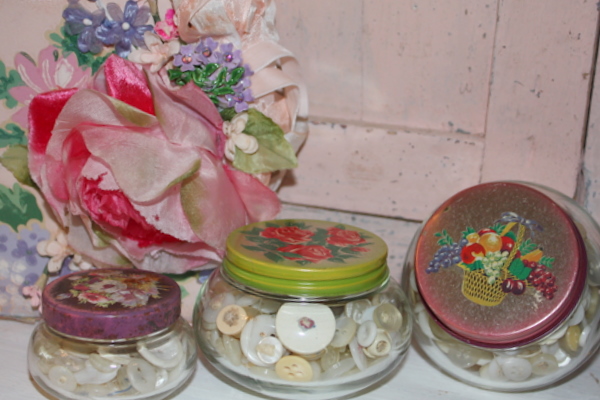
Earlier this summer, I found a boxful of these old jam jars.  These three are pretty as is, so I just filled them with buttons and that's it.  The rest have lost the details on their lids, so I'll get to play with them a bit more.

Buttons 007

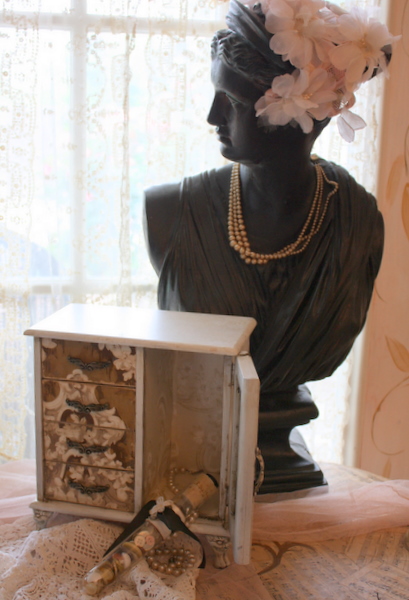
At my last garage sailing trip, a lady gave me this jewelry box. It was marked a dime, but she said she wanted to get rid of stuff, so she gave it to me, along with an armload of beautiful, plum colored velvet bedding! (that I gave to a friend who was redecorating)

Buttons 008


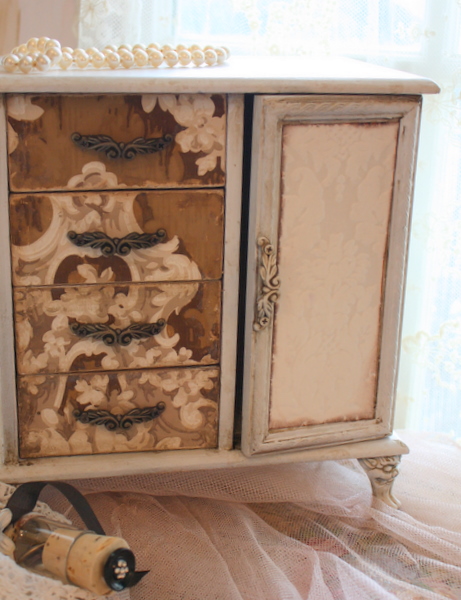
The box was not that attractive, but I saw some possibilities. First, I primed and glazed it, with the technique in my sidebar.

Then, I glued down three coordinating wallpapers that were a birthday gift from Beth.
 
I'm not sure if I'll do more to it or not… I could put another paper on the top and do something to the front of the door, but I kind of like it as is.

Bobbie's birthday 209

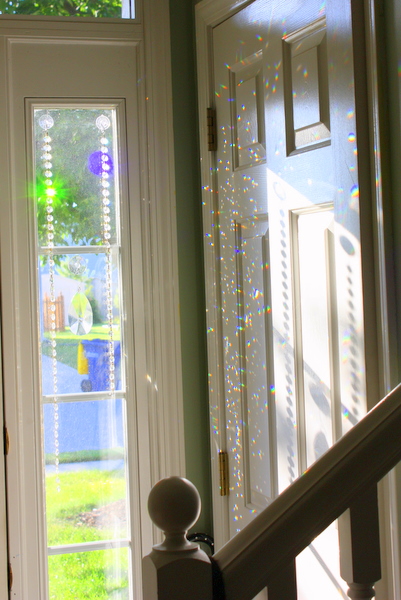
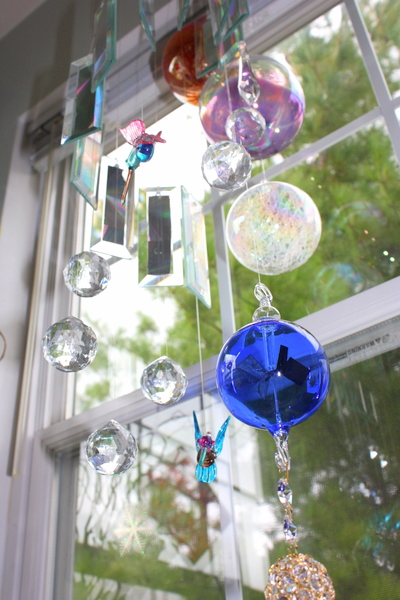
The door of the jewelry box could never be as pretty as Sissy's front door. As the sun flows through the window, it hits all the prisms she has hanging there and creates light birdies that fly all around the room.

Bobbie's birthday 211  

And onto the dog.

Bobbie's birthday 174

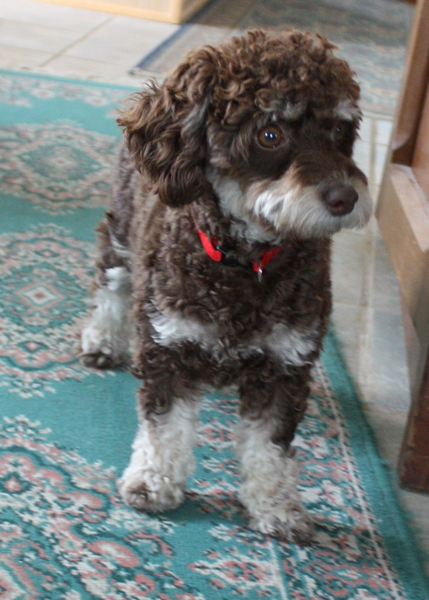
Isn't she a cutey? This is Elphie, my little cock-a-poo niece.  She'll be coming to visit next week when I have the Nathan Campgrounds open for business (20 relatives camping in our yard!!)  I just hope that bossy little Twinks plays nice with her.  They are just about the same size, but Twinkle thinks she's bigger than she really is.

Bobbie's birthday 178

Its almost time for Sugarwings to get home from school, so productive time is about over.  I'll leave you with a few photos of my Sissy's sparkles, then I need to squeeze out a bit more work from this last half hour of time that I have.

Bobbie's birthday 144

Bobbie's birthday 147

Bobbie's birthday 177

Isn't everything colorful and pretty at Sissy's house?

Aug giveaway 026

Don't forget you have a few more days to enter the August Giveaway by leaving a comment.

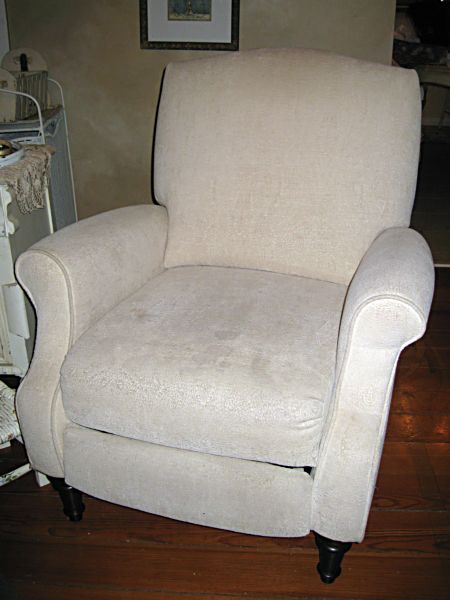
Should a poor sewer who hates to even try, attempt a Magnolia Pearl inspired slip cover on a RECLINER? While taking muscle relaxers for a strained back??

Books, how to's, how-to projects, redos

Chair redo 014 

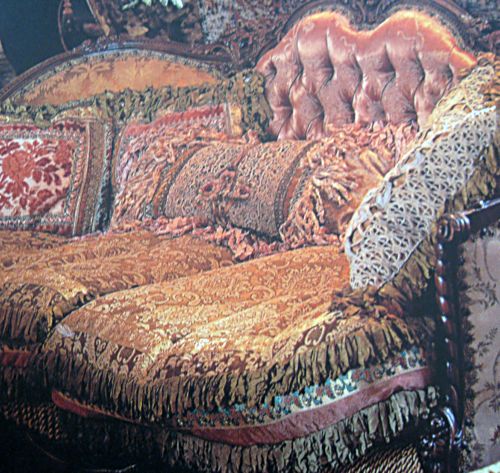
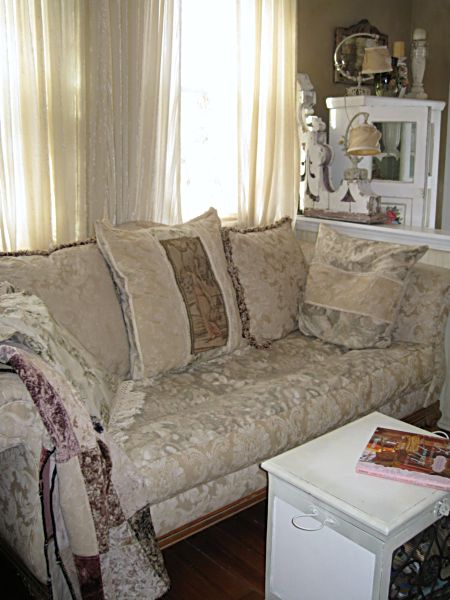
Have you read the Magnolia Pearl book? Beth gave it to me for Christmas and I have been obsessed with the photos.  Now, not all are to my taste exactly (I think old rugs on the walls in the kitchen is just gross and dusty and musty)but I love the idea of it all.  But in MY colors.  Still, just look at this sofa. I was inspired by the opulence of it all, and have always loved the crazy quilt layering of fabrics when I make slipcovers.

Chair redo 016 

My sofa could use a bit of the embellishments I spied in the book.  I have a good start with the mixed fabrics already.  If I added a few velvets and trims, I'd be close. Well, close enough for my house.   I have to consider that it is climbed on by two year olds and dorkies, plus we use the sofa for real life, not for display!!!  All of my fabrics need to be washable.

Chair redo 032 

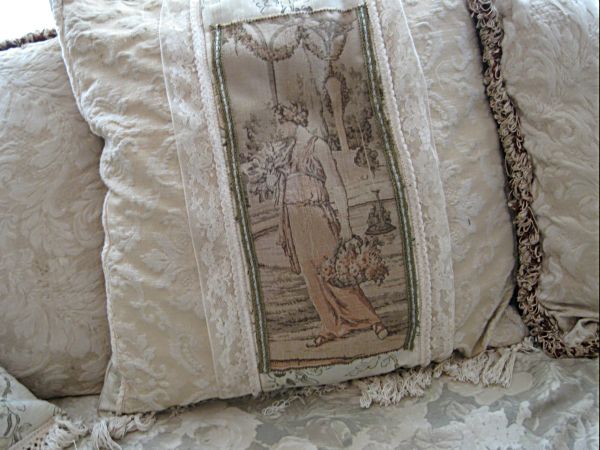
One element I really enjoyed from the book was the use of old textiles.  So, I cut up a tapestry I'd found at an antique mall years ago and added a section to the center pillow of the couch.

Chair redo 010 

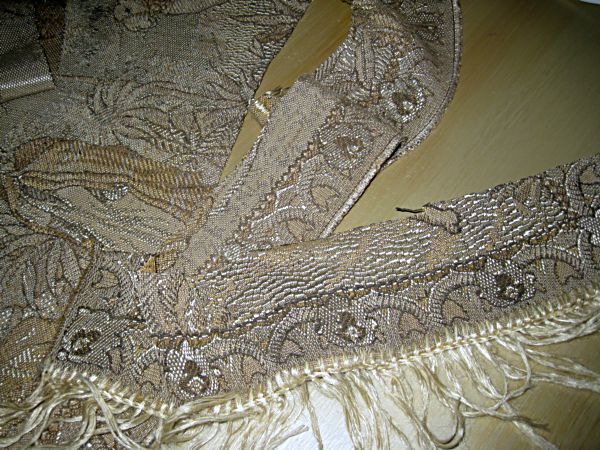
Another one, got cut up for ruffles on the chair that I decided to recover in a Magnolia Pearl-ISH way. This tapestry's design wasn't as pretty as the Grecian ladies on the other runner, this one was elephants and guys in turbans.  But I loved the over all look of the fabric itself, it really shows its age.

Chair redo 

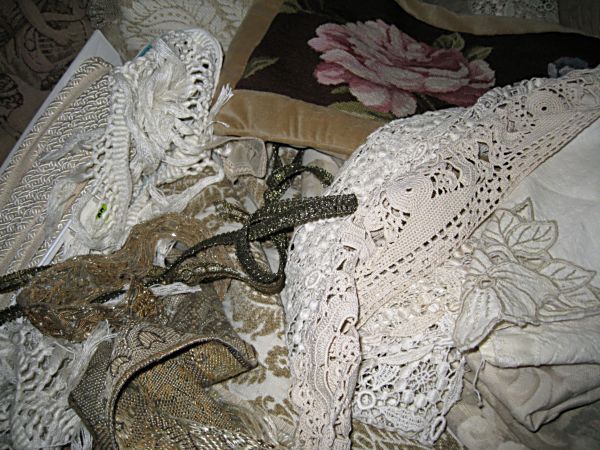
The next step was to gather up piles of remnants and trims and doilies and whatever else I had lurking in the linen cabinet in my studio.  I wasn't exactly sure how and where I'd use it all, and actually didn't end up usingmost of the bits and pieces. But it was good to have a pile to look through, hold up to the chair and pick from.  Nothing was planned out, this chair just came together from the inspiration of what I'd seen in the Magnolia Pearl book and what was left over from other projects or laying around the studio.

Chair redo 001   

If a furniture store ever sells you an insurance package for light colored fabrics, please read the fine print.  I liked this oyster white velvet, but was worried about dirt showing. So, for an extra $35, I got a guarantee.  Any stain or dirt that got on the chair would be cleaned off by the company or else I'd get the chair recovered free.

Sounded good.  But it wasn't.  The fine print says it covers everything in the world but normal dirt.  So, the chair got a bit funky and no matter how I cleaned it, it always looked smudgy. The oyster white slowly became mucky gray.   I daydreamed about recovering it.

A local seamstress was going to make a slipcover for me, but she decided not to, she said recliners are too hard to do.

So, of course, I figured I could do it myself. Even though, if you sat near me in the sewing segment of Silver Bella, you would know from the constant complaints I spouted, I HATE to sew.  Hate it. And am a novice.

Chair redo 006   

Since  I was house bound, while babysitting new puppies and their poor little, over worked mommy, I thought a project that I could do in the newborn's nursery (my dining room) would keep me busy.  I'd strained my back at the gym and was on muscle relaxers so wasn't quite in my right mind either.

You  know, I kind of thought when I started working on the chair, that it would make a good How-To for the blog.  Until I got going on it, then realized, it was just too hard to explain, since I was making it up as I went along.

Chair redo 003 

But here are some helpful tips if you feel like making yourself bonkers by trying to make slipcovers for a recliner from a hodge podge of fabrics:

  • gather up lots of materials to play with.  What you think you are going to use, might not work, you need plenty of odds and ends to choose from
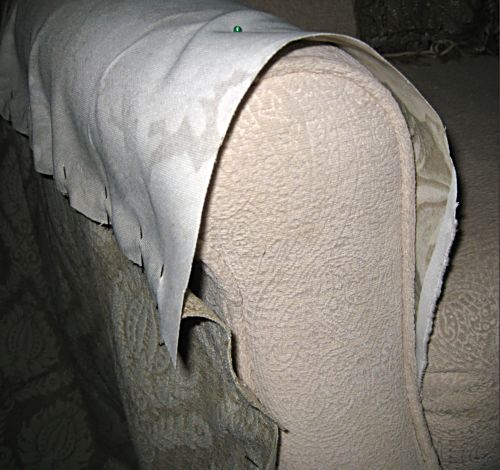
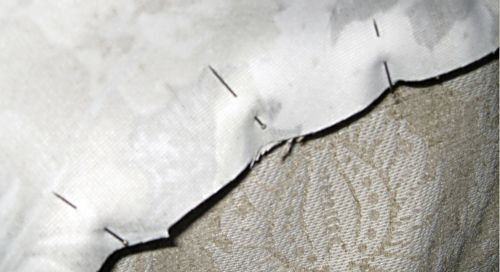
  • lay out your fabrics right side up to judge where you want them, then flip them over inside out to pin.  I pinned mine where I wanted it, then trimmed the fabric around the pins
  • have all your pin heads face the same direction!
  • don't sew over any pins, unless you really enjoy changing needles on the machine
  • keep the sewing machine manual handy in case you need to change needles
  • those pearl pins are easier than regular straight pins.  Especially the bright colored ones, they show up better and you hit less of them with the sewing machine needle
  • eye balling is easier than measuring.  No one will be using  a tape measure on your chair when they come to visit, so if you think it looks pretty good, you should trust yourself enough to go with that.
  • it doesn't have to be perfect.  A slouchy look has a lot of room for errors. 
  • throw in some unexpected textiles for fun
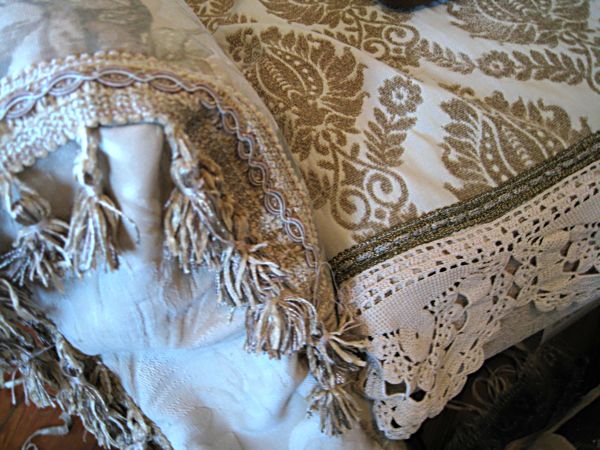
  • fringes and trims can cover up crooked seams pretty good
  • if you don't have any muscle relaxers, try  a glass of wine before starting the project

Chair redo 012 

The "sleeves" of my chair were terribly twisty. But the fringe saved them.

Chair redo 021 

 The back side should be interesting too! This is the side that faces the newborn's nursery (my dining room).  I gathered up the ruffle with some old taupe velvet ribbon and roses that I pulled off an old hat (I have a few of those around).

If you decide to cover a recliner, you need to remember that it MOVES.  The cover has to be done in pieces, not all one throw like a regular chair.  I made the "'sleeves" first, then attached them with upholstery screws, to the inside of the arms.  Then, the seat is simply a hemmed and trimmed piece of fabric that is tucked in around the sides, not attached to anything.  The piece over the back, is made like  a pillow case, that slips over it.  And the foot rest cover is screwed down too.  Buy extra upholstery screws, you will need more than you think!

Chair redo 023 

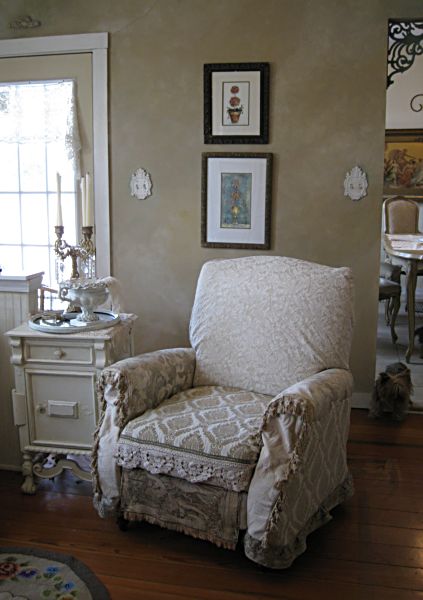
Well, not exactly Magnolia Pearl, but it is at least Pearl-ish.  Of course, the chair itself is the wrong style, not antique and not ornate.  But it is comfy and I like a soft recliner for reading in.  I call this my Grammy Gypsy Chair.

Chair redo 019 

Hopefully, the busy fabrics won't show dirt the way the original one did.  And, I can always take it apart and wash any section that gets dirty, if needed.

Chair redo 034 

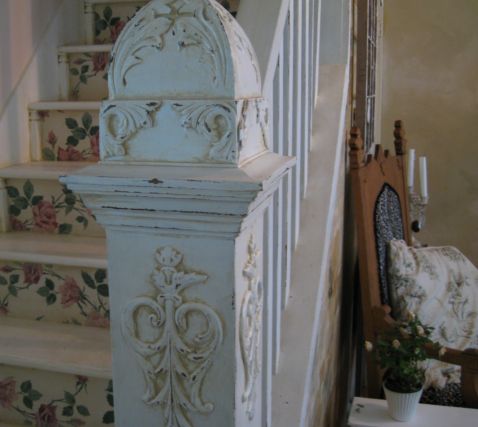
While cleaning up the room, I was ready for some more changes, and added this iron piece to the wall. (I'd had it up in the guest room, but now that Sugarwing's Daddy lives up there, he prefers his Hippy Tie Dye to my antique decor, so I took it down).  Notice that I still have Christmas lights in the urn in the corner? I am calling it a winter decoration, instead of a Christmas one and keeping them there for a while. I enjoy the glow.  And the vintage photo of the WhiteWitch that I had up for Halloween is back as a pretty lady dressed for Mardi Gras instead.  That sounds better than "the Clash of the Holidays"!

January always makes me want to redo a bit. I guess it is being cooped up indoors, and staring at the same stuff over and over and getting tired of it.  Also, taking down all the glitz of the Christmas decorations, makes the home seem dull with out them.

Or maybe it is just the muscle relaxers.

Packing it Up, and more about the SPARKLY SURPRIZE GIVEAWAY

celebrations, give away, parties, redos, Silver Bella, vintage paper/collage art

Sbella_booth_289

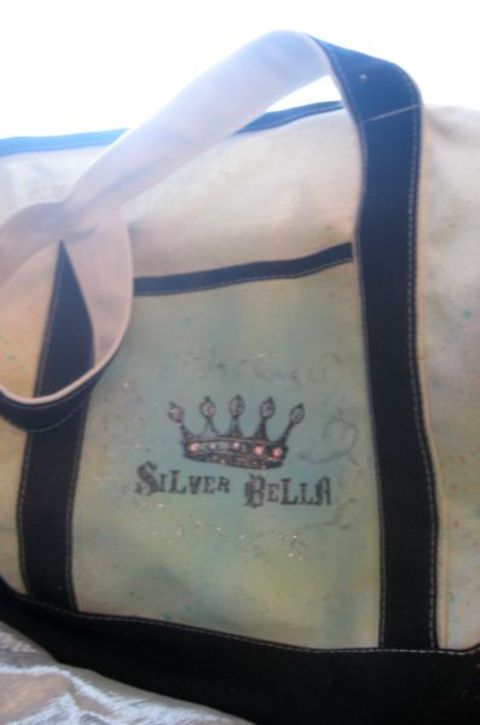
The bag I needed to pack my supplies in turned up! But after a summer of being filled with sunscreens, picnics, and carried to the lake, it looked a bit rough.Sbella_booth_290
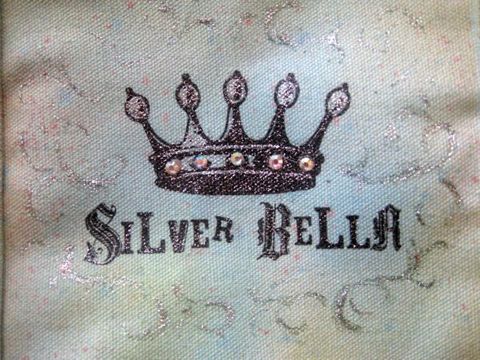
To cover some blotchy spots and stains, I squirted the canvas with glimmer mist.  Is is washable?  Who knows? Will I have blue running down my arms if I get caught in the rain while carrying it?  Could happen.

I also added silver Stickles glitter and a few  crystals.  So, if the color runs away, at least the sparklies will stay around!Sbella_booth_306
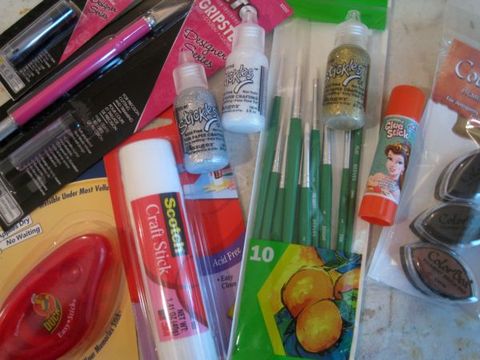
Hey, did you see that Hobby Lobby sells Stickles now! Yippee!

While there, I picked up a few things for the trip.  I feel like I am getting ready for the first day of school, with all of these new supplies! I treated myself to all these new goodies, it just makes it even more fun.  There is nothing like the feeling of opening a brand new box of crayons (or color crins, as we always called them) and seeing those sharp points that have never been put to paper yet!Sbella_booth_308
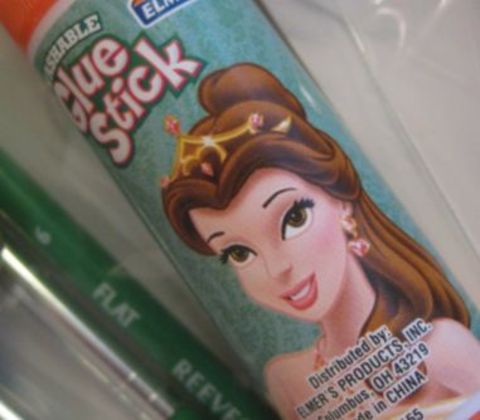
Sugarwings gave me one of her new glue sticks.  I thought Belle was appropriate for the occasion!Sbella_booth_304
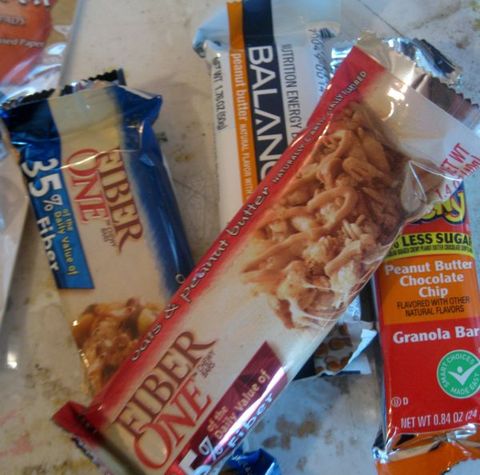
The hotel we are staying at has a free breakfast, so I will be well fed in the mornings, but thought it wouldn’t hurt to have some easy to grab food with me when there isn’t much time between classes for lunch.Sbella_booth_295
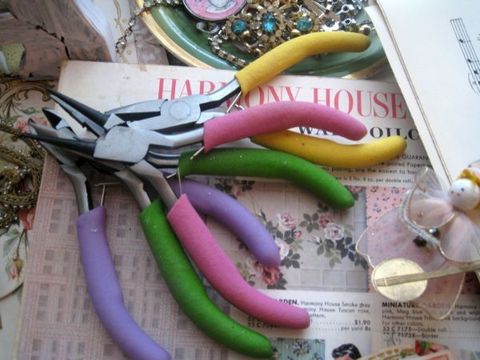
What else goes in the bag? Trinkets that sparkle,  a book of wallpaper samples, some French sheet music, jewelry tools, mats, and doodads.Sbella_booth_297
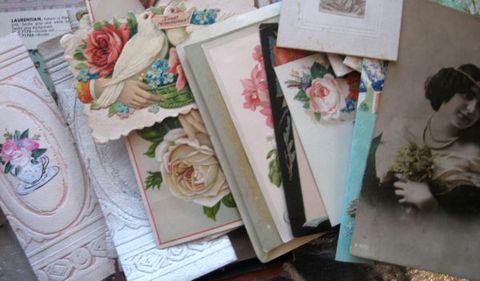
Last year, I took a lot of extras with me and was glad I did. This year, the instructors have asked us to bring some extras along.Sbella_booth_292
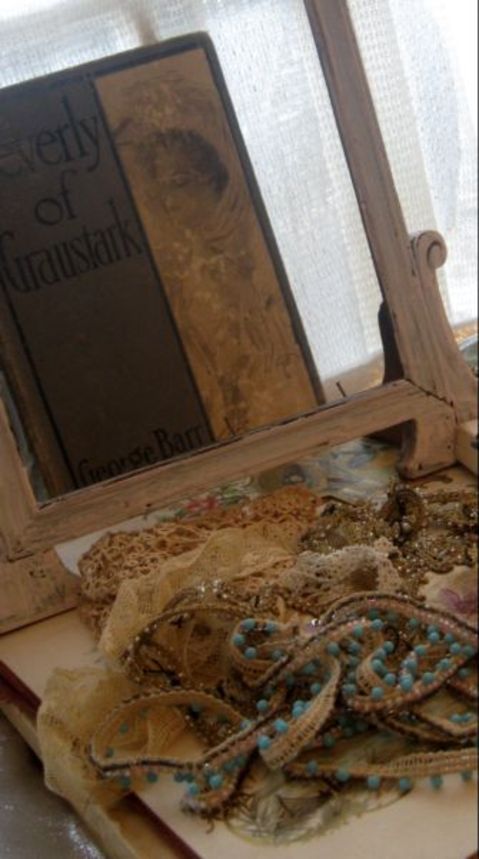
Plus, it seems like there are a lot of items called for this year, like books, frames, game boards, etc.  Sbella_booth_294
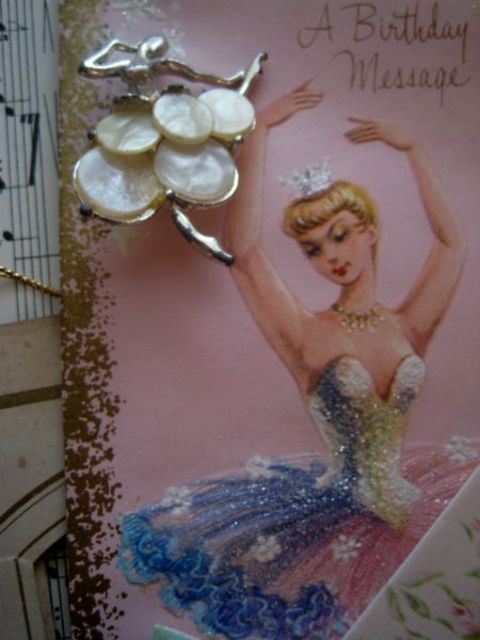
This ballerina pin and card are coming along just because I like them. I have no idea if they will fit into the theme of any of the classes!

  Now, the classes all sound really interesting and I’m sure they will be great to take. But- the photos of the projects are more like sneak peeks, and it is honestly hard to tell just what they will be like when done. At least for some of the artwork.Sbella_booth_275
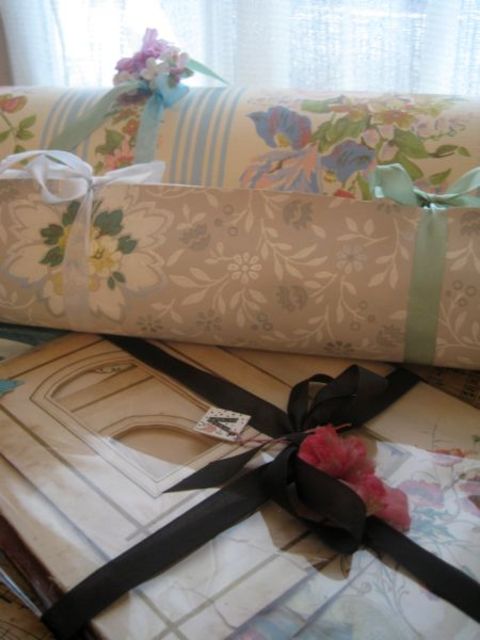
Sadly, I didn’t join in any of the swaps this year.  But my friend, Valita offered to trade some wallpaper and photo album mats for vintage crystals! I jumped right on that.

So, her trade is packed, as well as some special orders and gifts that I am bringing.Sbella_booth_288
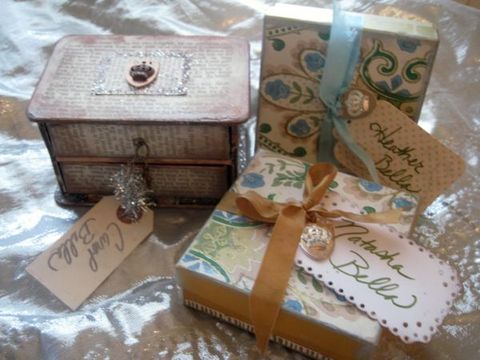
Tomorrow, Heather and Natasha arrive! I decorated some little boxes  for the presents I made for them, as welcome gifts.  While I was gluing paper, I fixed up this mini chest of drawers for my roomie, Carol.

If she hadn’t agreed to share a room with me, I might not have decided to go to Silver Bella  because the costs were just too high.  I owe her! So,  I made her a thank you gift and then fixed this up to package it in.Sbella_booth_320
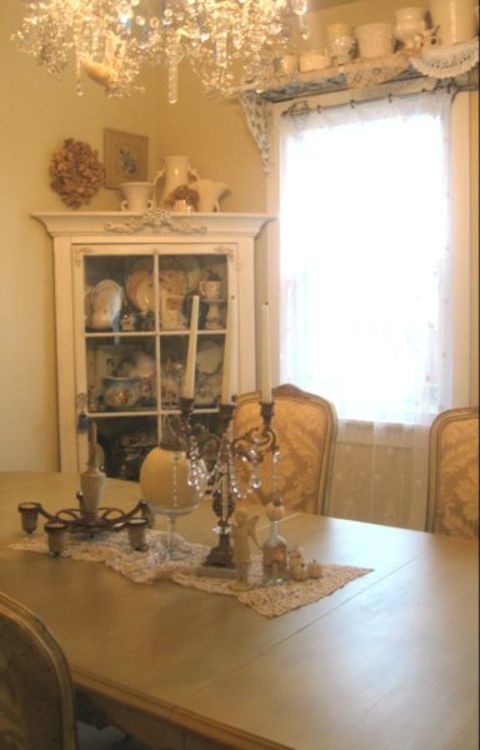
When I clean house, I tend to get side tracked.  While mopping the dining room to be ready for house guests, I just got to thinking how much I hated the table top. It was a blah wood, that was dinged up and cups left rings on it every time we used it.

I love the table and chairs, and really didn’t want to repaint the whole set. Sbella_booth_315
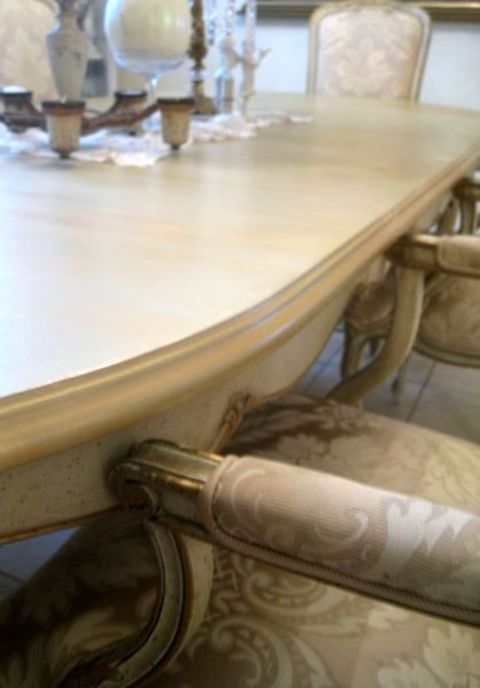
That problem was solved by painting the table top kind of to match, but not too matchy-matchy.  I used metallic champagne paint that I had left over from a previous project, then a gold glaze over it, blending while the paint was still wet.

I like the shimmer the metallics make, and am glad I stopped to do this. It was so much more fun than mopping the floor.Sbella_booth_278_3 Sbella_booth_283 
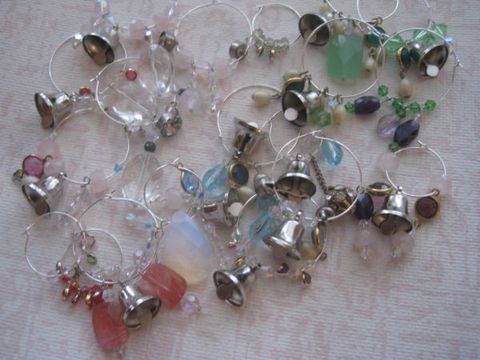
Lets see, supplies packed, house cleaned, table painted, gifts made, truck loaded with my wares, and these wine charms made to give as party favors tomorrow night.

I think I am about ready to go!

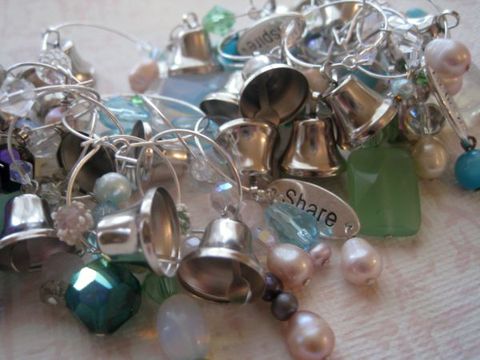
These are wine charms that Gwen, Carol and I made up earlier for the Glitter Lounge.  I still  need to pack the pink sugar with edible glitter to rim the champagne glasses for our party.  The Godiva chocolates are in my bag, and ready to be sprinkled with glitter too!

I also need to pack my clothes. Ugh. The worst part.  Did I mention that 10lbs snuck up on me?Sbella_booth_271_2
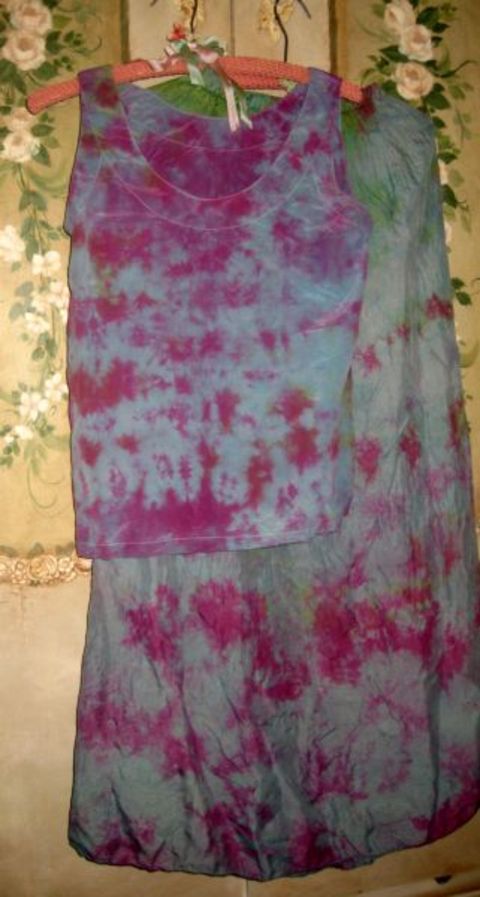
After packing, I need to run to the post office and mail this silk outfit to my Sissy. She left it with me to tie dye for her and I want to mail ti before I go out of town.  I hope she likes it, it started out a butter yellow, and now looks kind of mermaidy. Silk takes the dye different than the cottons I am used to, so it was a bit of an experiment.Sbella_booth_273
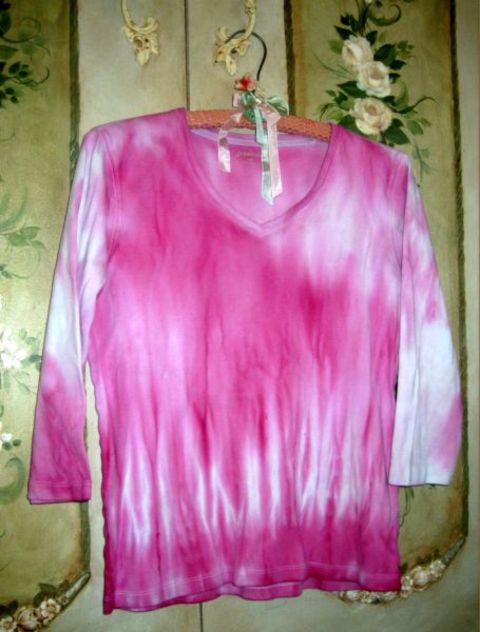
This formerly white shirt goes to her too. I have a raspberry dyed shirt for myself to wear this weekend too. 

I’d better get to packing it, I still have a dinner party to get ready for too.

I don’t know when I’ll get to post again. Hopefully after the party tomorrow night, but maybe not till after Silver Bella. 

I promise to bring you  a souvenir! This month’s SPARKLY SURPRISE GIVEAWAY will include some of the edible glitter to sprinkle on your holiday treats, and something, who knows what? from my weekend in Omaha.

Leave a comment to enter!

And please excuse me, if they don’t get answered. I’ll be away, then have company, then need to get caught up, unpacking and re-opening my shop.  I will read and enjoy each and every comment, but I am sorry I won’t be able to answer.
The Cuppy Cake Song works magic

Dorkies (Yorkshire Terrriers), magazine pictures or articles, paintings, redos, Sugarwings, vintage paper/collage art

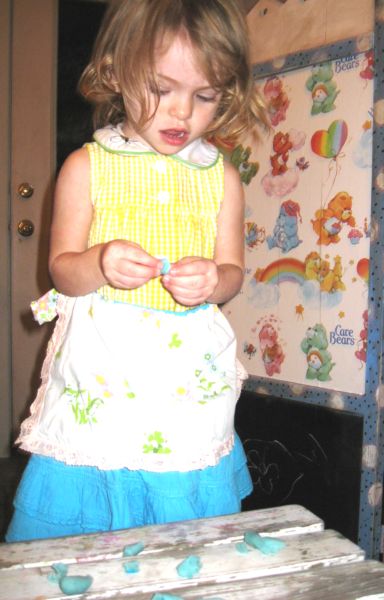
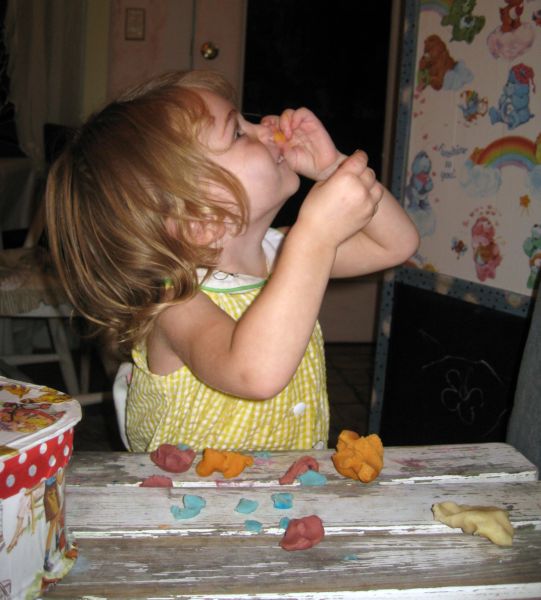
Playdoh_010 Sugarwings loves her new play dough from Robin! She spent about 3 hours in the studio with me while I worked and I was able to get a lot done, as long as we sang and talked and I sat down to make things with her here and there. 

She sculpted play dough for about an hour, then was ready to move on to an hour of markers, then an hour of paint. I was amazed that a 2 year old could be as obsessive about working in the studio as I am! We are definitely related.Playdoh_026

Robin scented and colored the play dough with Kool Aide, so there was a lot of sniffing, and calls for "Mell this one Grammy!"

By the 3rd hour of artwork, she was wearing only a diaper and war paint, with stickers up and down her arms and play dough in her hair. She started out cute though.
We played in the garden hose a while after this.Playdoh_044

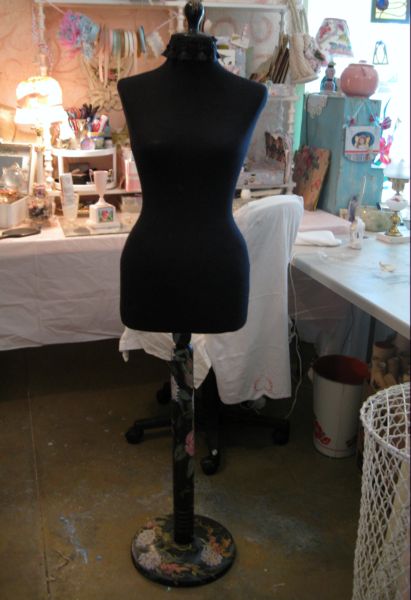
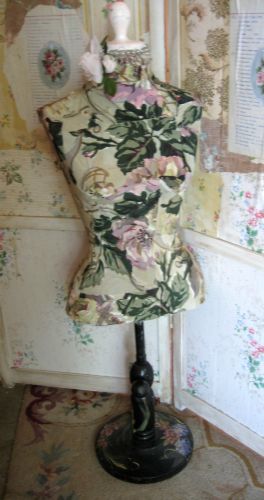
While the fairy grand baby worked on her crafts, I redid Lou Wanda and Lucinda.

They’ve been with me forever, used as jewelry displays. I’ve tried to use them for blog photos, but they are so dark, it never works well.Playdoh_045

So, I decided to go for a lighter, brighter look, but wanted to keep their feet as is, I had painted flowers on them years ago and still like that part.Playdoh_062

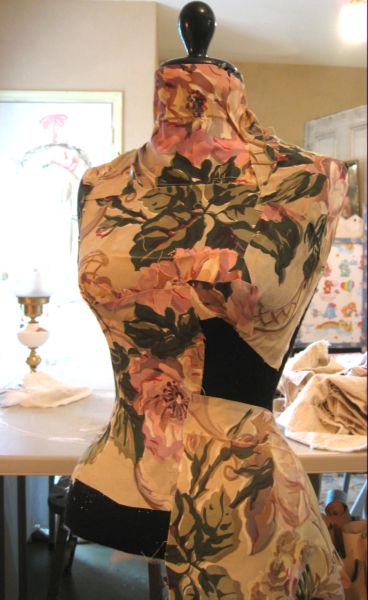
This is a remnant of a favorite fabric of mine, it was the last little bit left, but not quite enough. So I decided to do a crazy quilt look, with different shaped patches cut out and glued down. I left frayed edges showing, and was happy with the look.

I’d cut a piece of fabric, then glue it on and trim off the excess, till I filled in the whole form.Playdoh_063

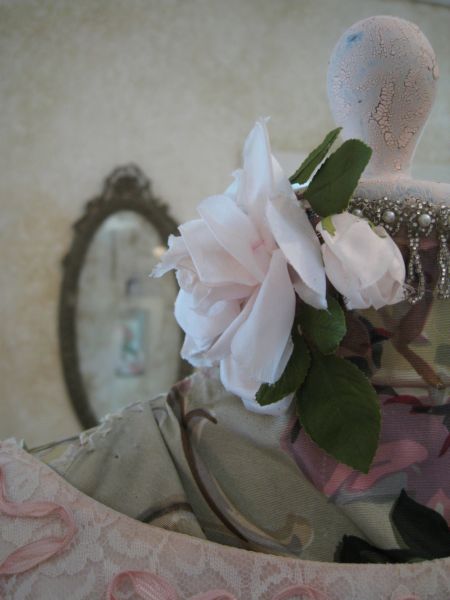
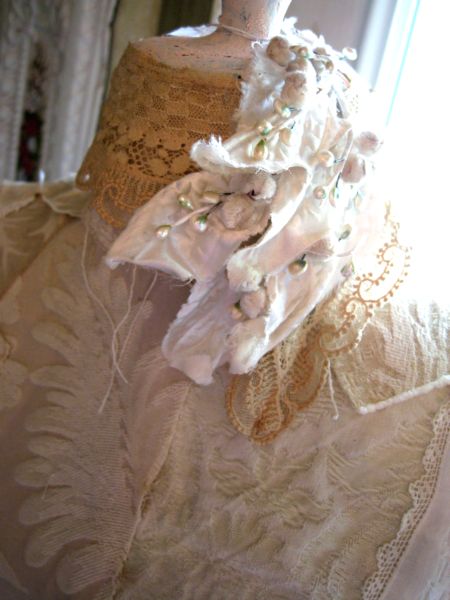
Then, I lightly sanded the black knob on top and painted it shell pink with crackles, added vintage beaded trim and a millinery flower.Studio_clean_up_073

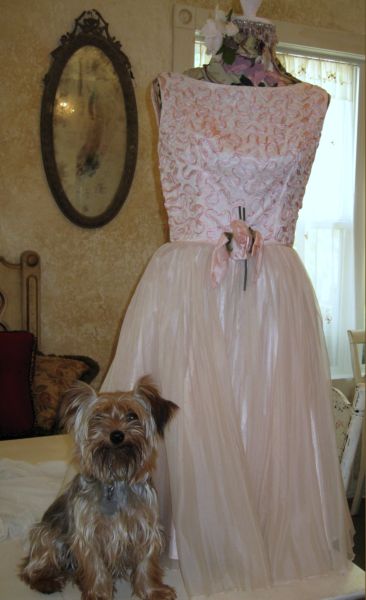
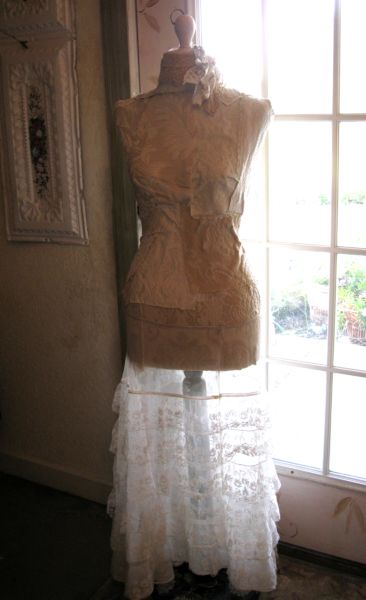
Now, Lou Wanda is dressed in that prom dress I couldn’t zip up. And seeing it on her, I understand why!!

Yes, that is a dog sitting on my dining table, but actually, the table is for work, not food.

And yes, that is an extremely thick layer of filth on that mirror on the wall. I just bought it for $2 and it needs cleaned up and repainted. Its on the wall now to get it up off the floor and out of my way.Studio_clean_up_074

Of course, not a lot of the fabulous fabric shows while Lou Wanda is wearing the prom gown, but she won’t always be dressed, so I am glad I covered all of her up.Playdoh_058

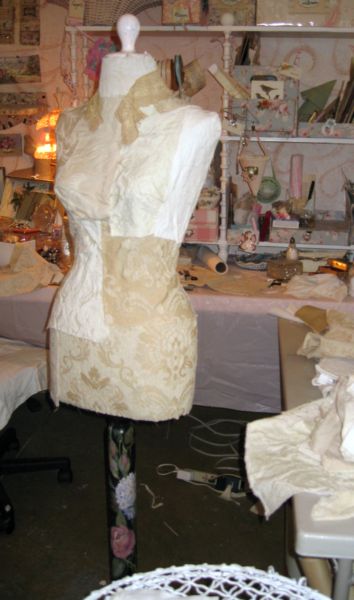
Lucinda got the same treatment, but with an assortment of creamy upholstery fabrics left over from a slip cover project.Playdoh_067

She also has some cut up doilies stuck to her and a spray of old, perfectly smooshy velvet leaves.Playdoh_066_2 

I dressed her in an old half slip.

I’m still shocked that Sugarwings worked on her projects the whole time I worked on mine.  I have to thank Jennifer Hayslip for some help, she has a song playing on her blog right now, that the baby loves. We looked it up on line and played it over and over and over for hours. 

And I still can’t get the words right. I am hopeless at learning lyrics.  I always end up making up my own.Wallpaper_books_051

After Sugarwings went home, singing her own version of the Cuppy Cake Song, I made up a few wallpaper journals and packed up tidbits to sell along with them for the new owners use to for embellishments.

Jenny Doh might be interested in them for Somerset Life, but of course, that is never official until she sees them in person and makes up her mind then.  Some things they use, others they send back.  I certainly don’t take it for granted that they will be used, and I also don’t get hurt or sad when things are not accepted.

I’ve juried art shows and craft shows myself and understand the process.  "Not accepted" rarely means "REJECTED", in the negative sense. It just means, "not what we were looking for this time".

Studio_clean_up_075 But I did get some good news! My studio will be in a future issue of "Where Women Create"! This is a new magazine coming out from Somerset (don’t they have the most diverse and interesting selection of publications?) based on the book  by Jo Packham
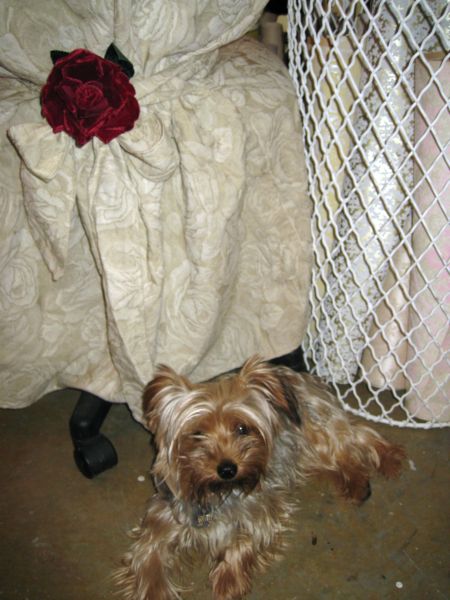
So, I decided to do something about my seating in the studio. I found a cheapo computer chair and slipped a cover over it and tied a rose from Holly to it.

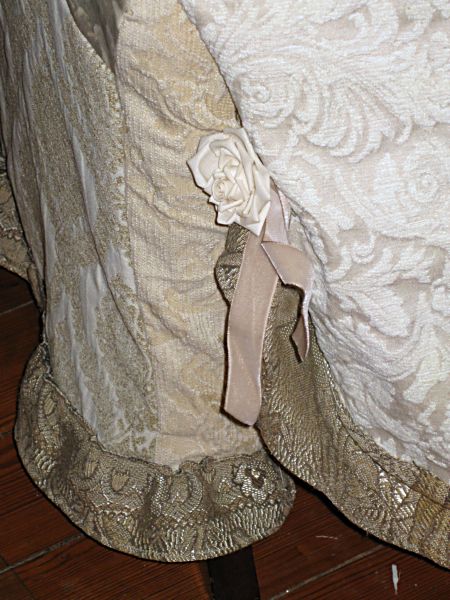
Who knew that a slipcover meant for  a dining chair would work??? I had one (from a garage sale) in my linen closet and thought it was worth a try, and hey, perfect fit and length, I don’t roll over the hem at all.

And it is so comfy.  I used to have just a hard backed chair from a garage sale to sit on, and if I sat there  too long, my legs fell asleep.Playdoh_048

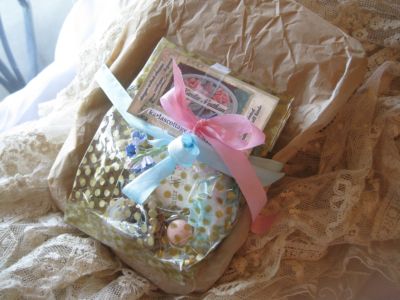
While Sugarwings crafted, I not only covered the two dress forms and spiffed up my chair, I also got this gift wrapped up. It is the 1950s House Wife Kit for my August giveaway, already to be mailed to you.  Well, to one of you.  Just leave a comment and it might be YOU.

Tomorrow I am going to Sparks and White Cloud with my BFF Beth to shop at our favorite Flea Market.  Maybe I’ll pick up something there for September’s giveaway.6a00d8341c090953ef00e553f9f02188345

Before I leave for the day, I hope to post something for this event, a tribute to Tasha Tudor.

Check out Clarice’s site for info. 

I’d like to paint a little tribute to Miss Tudor, since I am supposed to have my paints out to work on another project. Man, my days are not long enough…..

A garden tour

Dorkies (Yorkshire Terrriers), flowers, redos

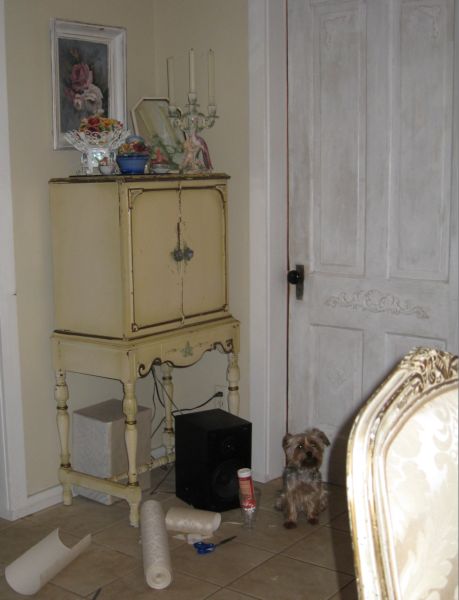
Summer_garden_and_gifts_043 I finally found the perfect stereo cabinet to match my new dining room table!
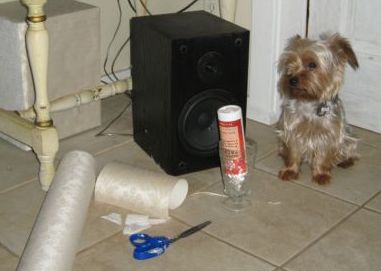
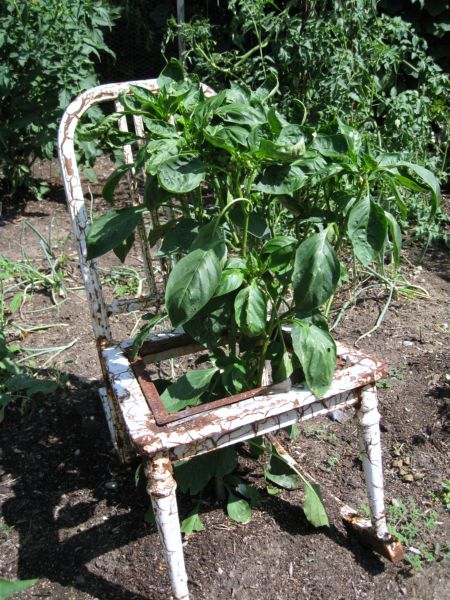
Well, almost perfect.  The black speakers stick out like a sore thumb when I tucked them underneath the cabinet.Summer_garden_and_gifts_041

So, Twinks helped me (and I have to say, she really isn’t as much help as she thinks she is) cover them in silk brocade wallpaper over the box and cut up lace curtains over the woofer/tweeter parts. 

I know they aren’t exactly gorgeous, but they will kind of blend into the background now and not stand out like the black did.Summer_garden_and_gifts_013

Today started out humid and in the 90s, but a light rain brought the temperature down and made weeds easy to slide up out of the ground, so I spent some time in the veggie garden this afternoon.Summer_garden_and_gifts_012

LUSHNESS was overflowing everywhere! 

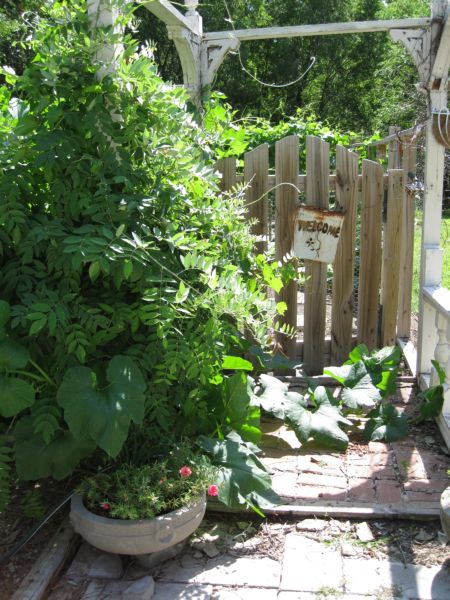
Our garden is planted inside the foundation of the 100 year old  barn we had to tear down.  Years of manure and composted hay on the site make for some fantastic soil.Summer_garden_and_gifts_010

I’ve added compost to it too and use plenty of Miracle Gro.  Sometimes, I think it might be too lush!  I’ve had to trim back the spaghetti squash just so we can get in and out of the gate.Summer_garden_and_gifts_022

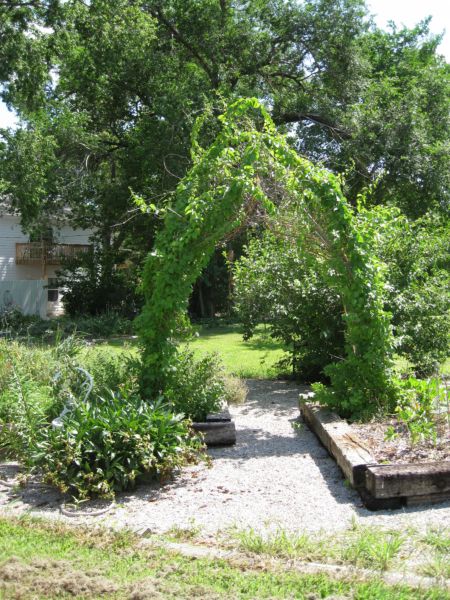
There is green everywhere in my yard.  This year, all the plants are enjoying the milder temperatures and extra rain.Summer_garden_and_gifts_023

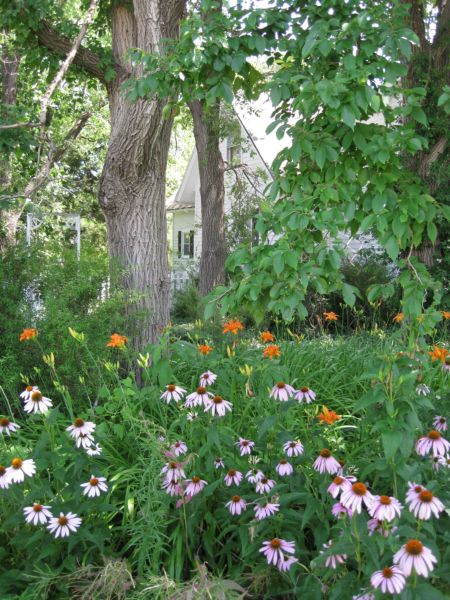
My large perennial beds are thriving, with no attention at all.  Summer_garden_and_gifts_024

These are just "ditch" lilies, but I enjoy their dependability and abundance.  And especially the fact that they choke out all weeds and I haven’t touched this bed since I planted it 16 years or more ago!Summer_garden_and_gifts_026

The overgrown green plant in the right hand corner is another that chokes everything else out. I have to shoot it with Round UP to kill it off regularly, or it would be the only thing growing on my land!Summer_garden_and_gifts_028

Too bad I don’t have more plants in bloom right now.  The problem is that I didn’t fill in around the perennials with enough annuals this year.  I knew I’d be going to DC and taking some other trips, and didn’t want to make the yard work too complicated for my son while I was away.

Right now, I have hoses and sprinklers running to key areas (mostly veggies and new plantings) and all he has to do is turn the faucet and it all self waters.

Of course, a sprinkler system would be nice instead….. but not in my price range.  Summer_garden_and_gifts_035

I’ve done my best to plant traditional Kansas plants that take care of themselves and adapt to the weather conditions.

If they start to brown up in August  when the ground gets dry, I know that is just normal and let them go, they’ll rebound and come back in September when things cool off.

That just makes me appreciate the yard even more when it is going through its lush phases like now.

Using what you have

antiques/junking, Dorkies (Yorkshire Terrriers), Etsy Goodies, fairies, give away, magazine pictures or articles, redos

urBedroom_redo_099 Those two talented sisses are asking us to show our mantels.  Well, that is right up my alley right now, and I am so happy with my bedroom do over that I’d love to show my mantel again.

I usually don’t keep anything on it, just the mirror above it, and sometimes a stack of books or magazines.Bedroom_redo_067 

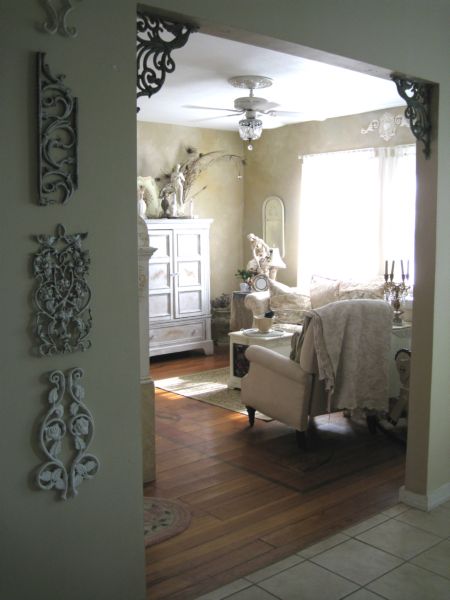
I promised to show some other corners of my room, here is the doorway. Well, I guess that is pretty self explanatory, sorry.Bedroom_redo_066

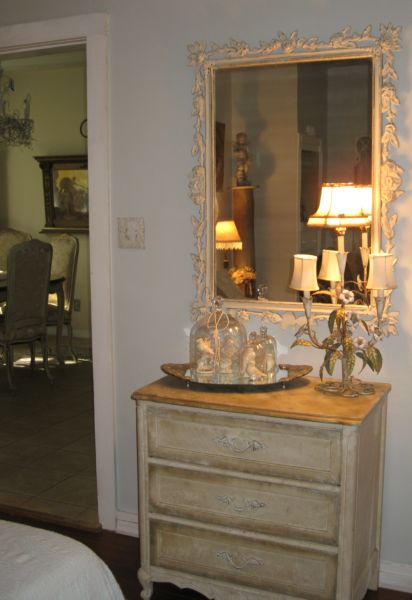
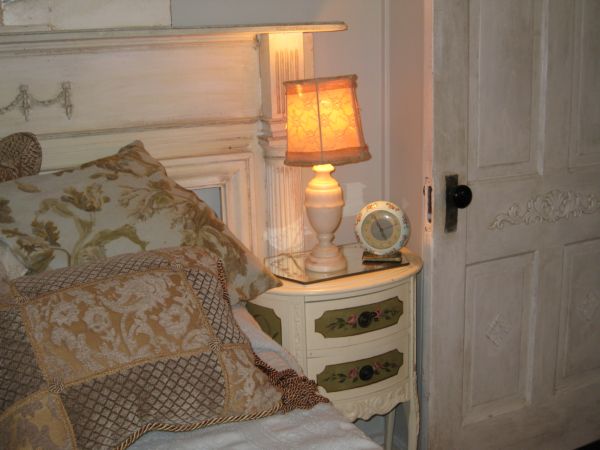
See the pretty alarm clock? A gift from Beth, that was so pretty, I just had to paint the room to match.  Even though the clock is merely ornamental, isn’t a cute little ornament?

The table it is on is from a whole set I bought an auction,  2 twin beds, dresser, mirror,Bedroom_redo_060 and two tables. I repainted them all and sold them, but had to keep this one table for myself.
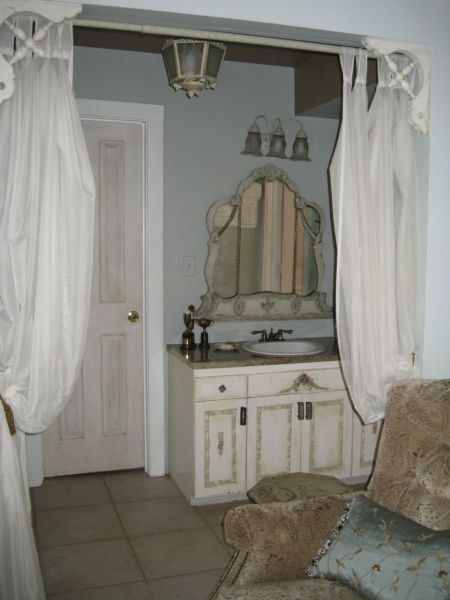
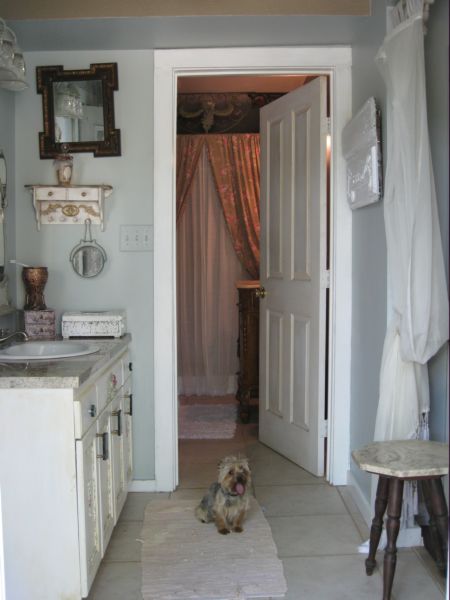
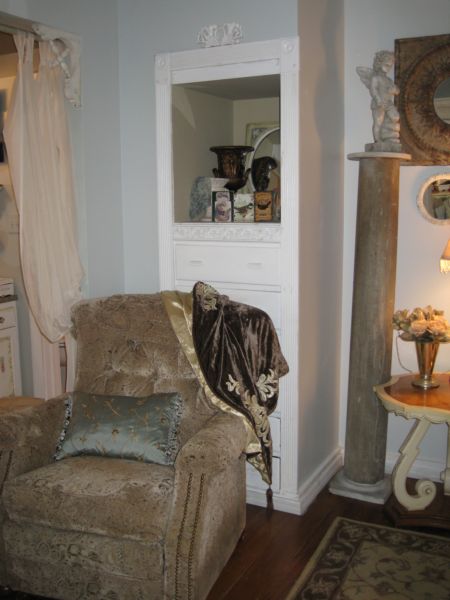
This recliner, which is a concession to my husband, is the inspiration for the bronze/sepia vines on the ceiling. I wanted a soft blue room, but had to tie in this chair that sits smack dab in front of the TV.

In the alcove above it, I have my screen from the Birds and Bonnets Swap.  I’ve used little birdies around the room, I thought they went with the garden feel of the space.Bedroom_redo_065

Beyond the chair is my sink area. I painted it a slightly darker shade of the same blue, and used a warm carmel-ly brown on the ceiliBedroom_redo_104 ng.

The carmel brown color matches the Shabby Chic (from Target) shower curtain in the connecting bathroom.  I always try to give my rooms a flow from one to another.Bedroom_redo_051

By redoing the bedroom, I ended up redoing the rest of the house too! Not repainted, but switched around and knick knacks traded back and forth.

These metal salvage pieces were in 3 different areas, but I really like the affect of having all four of them lined up together.Bedroom_redo_075_3

After an evening of "use what you have decorating", I had given three rooms a new look just by shuffling my junk around.  The drawing of the goddess now in the living room, used to be in the bedroom, and it was replaced by a picture that was previously in the dining room.Bedroom_redo_076

All the things on top of the entertainment center (except the goddess statue I just repainted a couple of posts back) used to be in the bedroom.  Now the little birdies are in their place there.Bedroom_redo_054

The large print on the wall in the dining room used to be in the guest room. 

So, for simply repainting one room and getting a new (vintage) bedspread, one goddess statue and an alarm clock, I feel like I have a whole new look!  Bedroom_redo_073

But then today, I went to some garage sales, and look what I found to replace the too small, too old lady looking, too brown little chair that was there before!

A  THRONE!  A Leopard print covered throne!

In garage sailing dollars it was kind of pricey, but in antiquing money, it was a bargain. I paid $60 for it, and it is solid as a rock, and very old, with brand new fabric.

Bedroom_redo_078 I do think it could use some paint. Something like the way I painted the banister, but not exactly, I don’t want it too matchy matchy. A little darker and with some glimmer, maybe?

yes, yes, yes, I know it is solid oak and the wood is in perfect condition!Bedroom_redo_080

It was a quick garage sailing morning, that one stop used up my cash supplies. I did get a couple of trinkets here and there, and added some treats to the June Garage Sailing Giveaway Prize Pack.

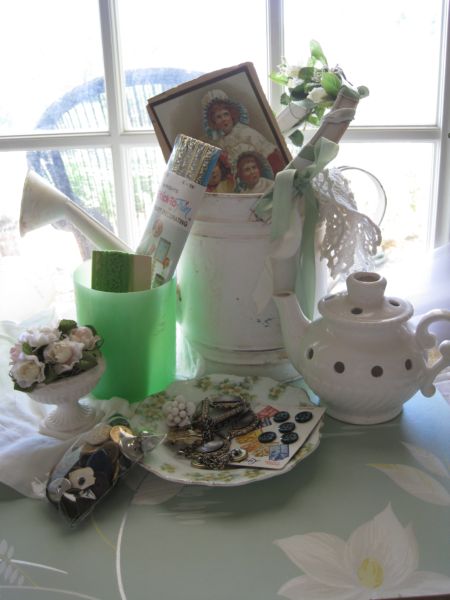
Can you spot the new additions? green lace ribbon, a bag of old buttons, and an old green plastic cup.

I’m going with a green and white theme for garden season, it looks like!

Remember, all comments are entered, every one, every month counts towards my drawings.

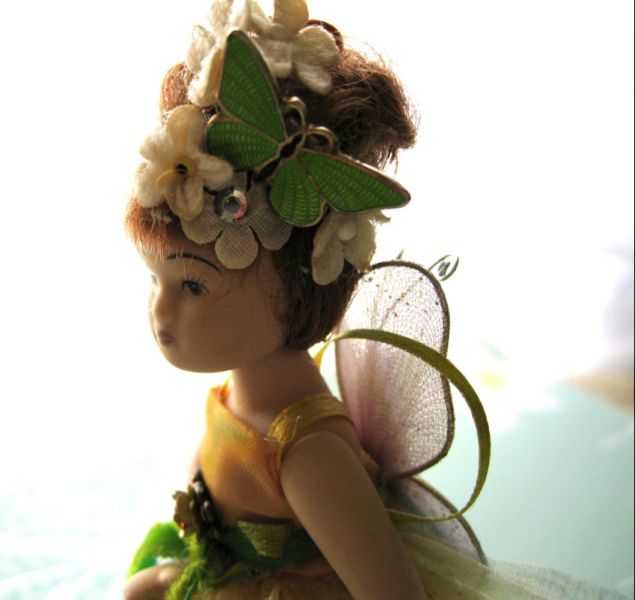
As usual, I have run on long enough, (too long, actually) but I wanted to mention that I listed a couple of my fairy dolls on Etsy and also have reduced some prices, so please check out the sales!

Bedroom_redo_082 I did finish my article for the fall issue of Romantic Country, thank you to those who were asking how I was doing.

Here is the first paragraph if you’d like a sneak peak:

When the air starts to develop a slight nip and rich reds and golds begin to tint the leaves, it is a perfect time to savor the outdoors by dining al fresco.  While summer is known for picnics, fall is much more suited to the venue.  The heat has eased up, and most of the summertime bugs have flown away.  In this Mid-Western town of Kansas City, artist and antique dealer, Carol Spinski took advantage of autumn’s agreeable afternoon weather and created a garden party under the trees to welcome the season.

Scroll to Top