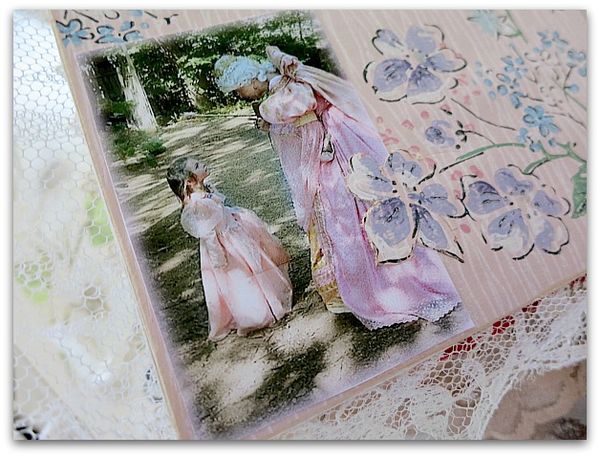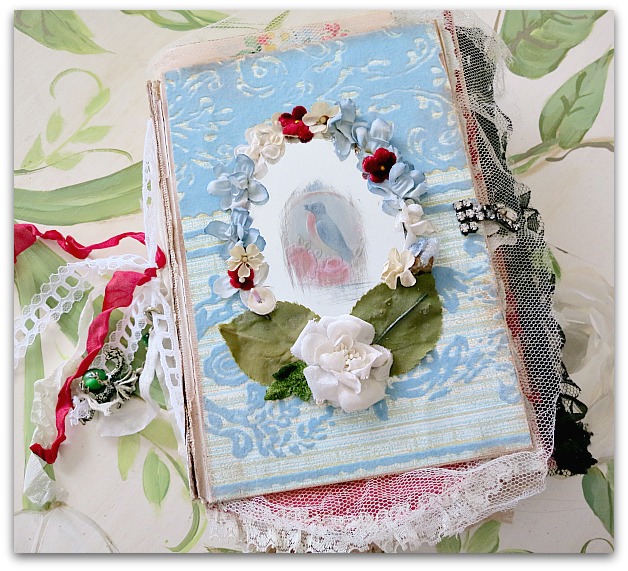
Snow White

A fairy play room part 2

cottage, fairies, Hand painted, Hand Painted Furniture, Snow White

Cottage 086
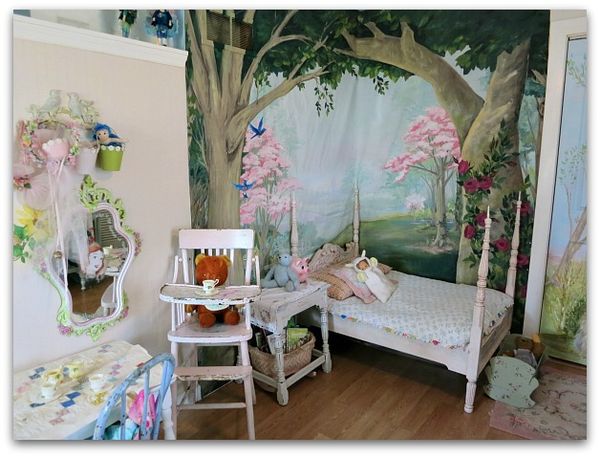
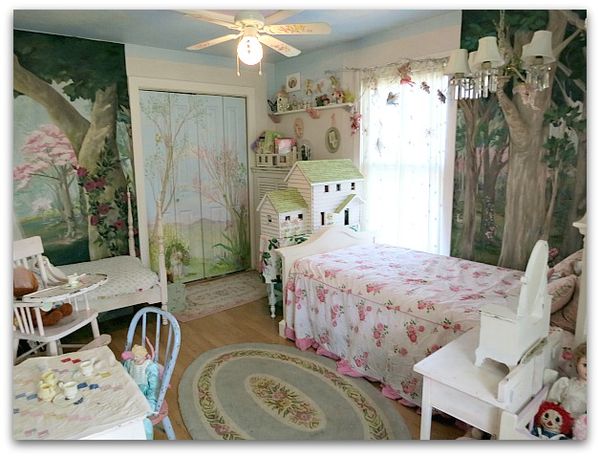
A few weeks ago, I showed you some photos of the little fairies' room after I added part of the canvas mural I'd done for An Enchanted Affaire

After thinking about it, and talking to Sugarwings, we decided that more of the mural needed to go in the room.


Enchanted weekend 031

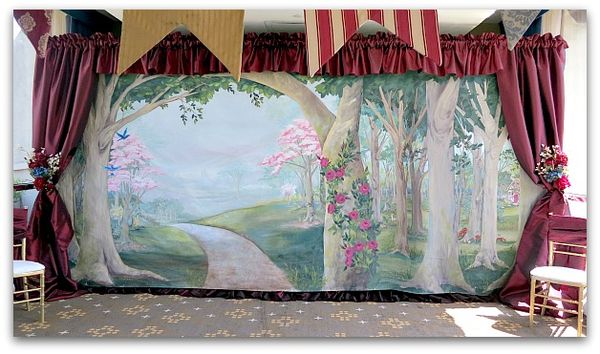
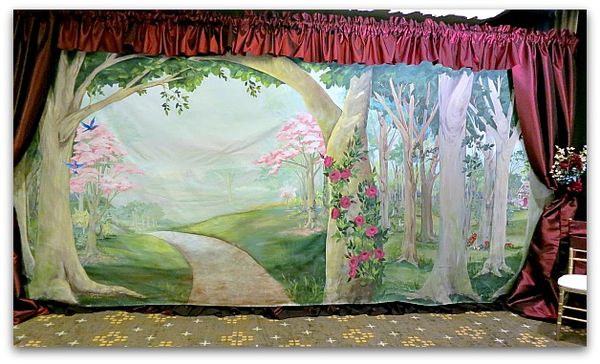
Here is the whole thing, set up at the event.  I'd designed it so that the right side was a darker side of the forest and the main interest was to the left.


Cottage 092

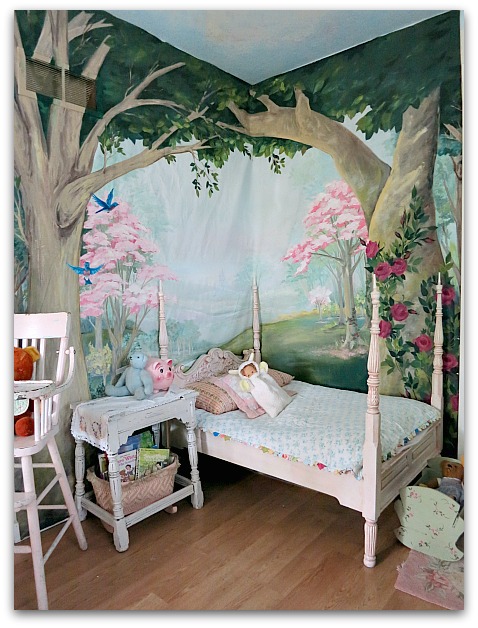
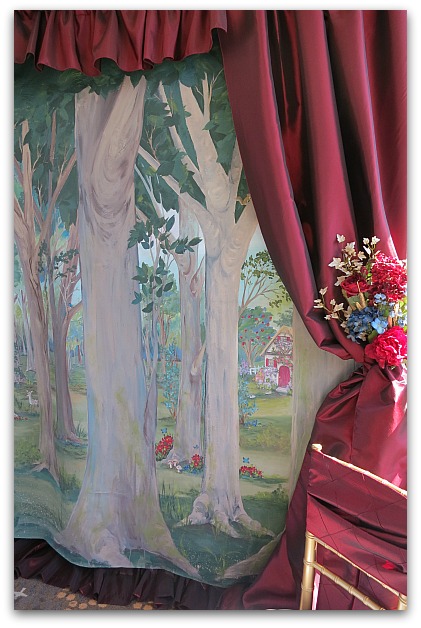
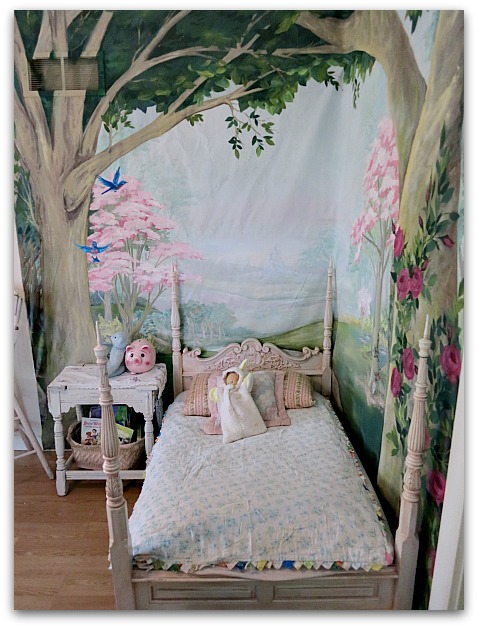
We cut off  the sunlit meadow side and put it behind Dewdrop's tiny little bed.


Cottage 076

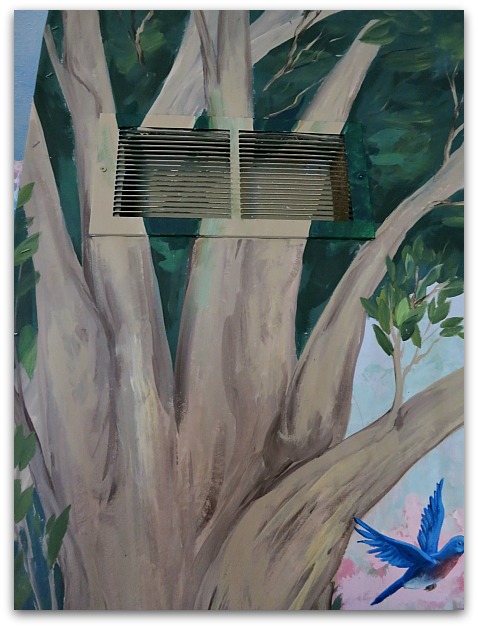
Later, I went back and painted the vent to make it blend in.


Enchanted weekend 034

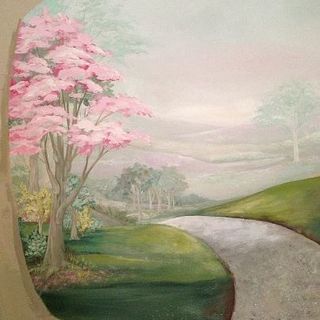
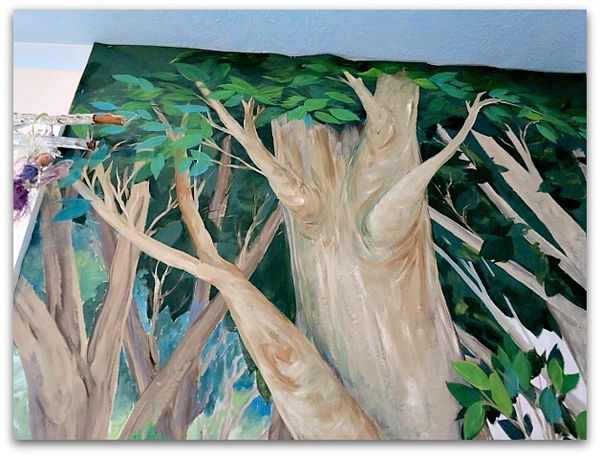
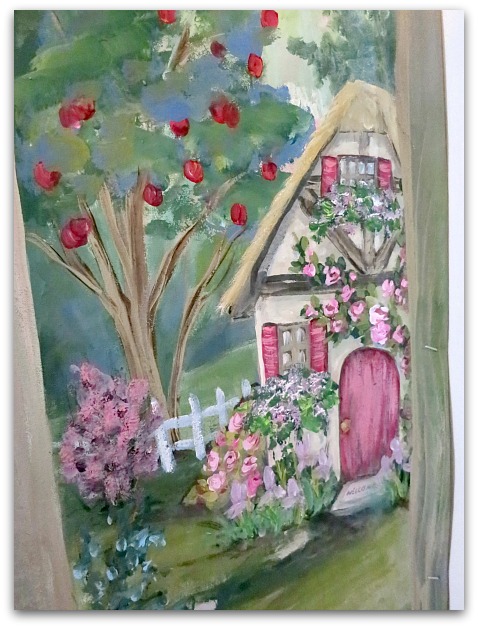
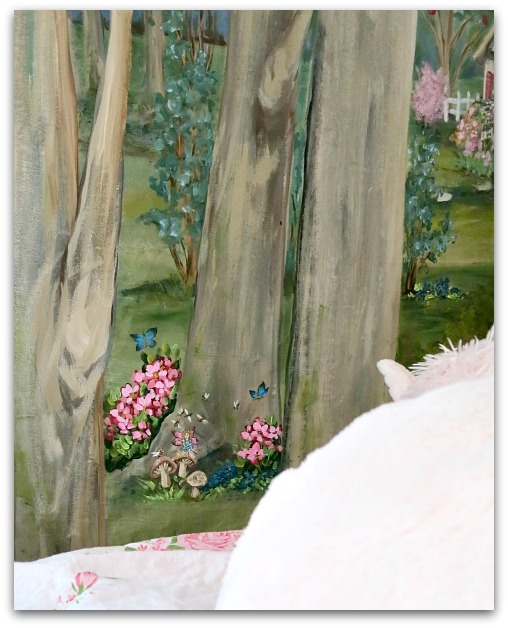
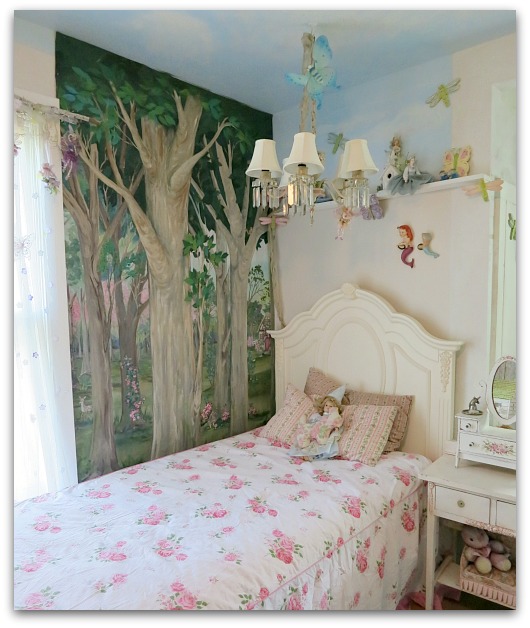
This was the section left over to use by Sugarwings' bed.  For one thing, the center tree is just blah, it wasn't meant to be a focal point. For another, the flowers were too red, and so was the cottage.


Cottage 075

So, I livened up the central tree with more branches and some lighter toned leaves.


Cottage 072

And pinked up the cottage. (sorry, the crooked photo makes it look like the house is melting)


Cottage 074

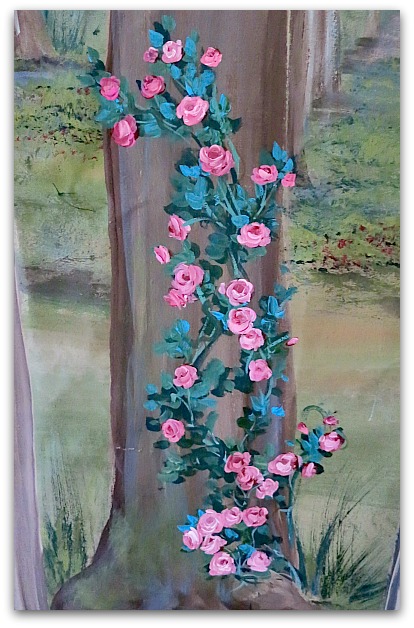
One of the smaller trees in the distance got some vining roses.


Cottage 073

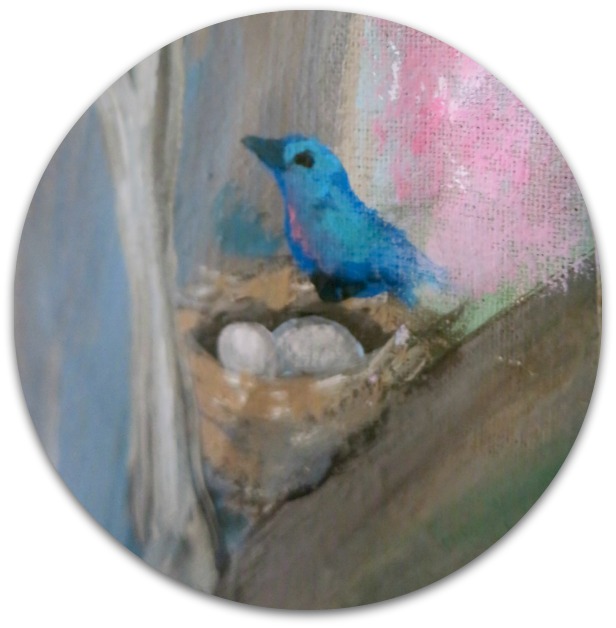
And the blue bird got bluer.  Basically, I wanted the whole thing a bit lighter and brighter since it was going to be part of a little girl's room now.


Mermaid bed 009

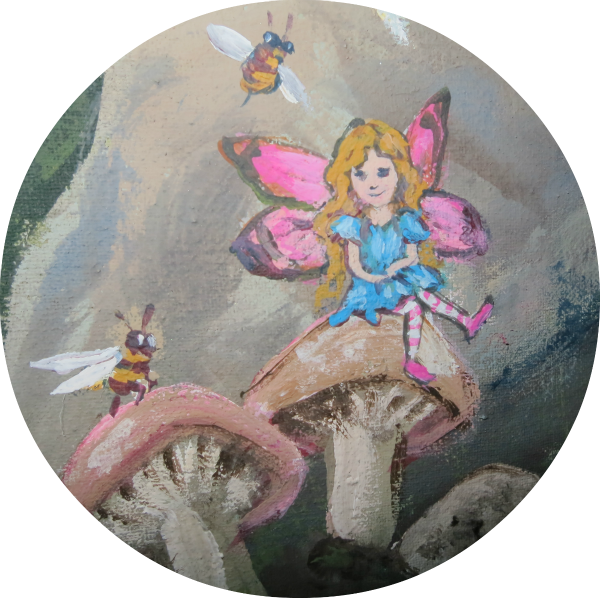
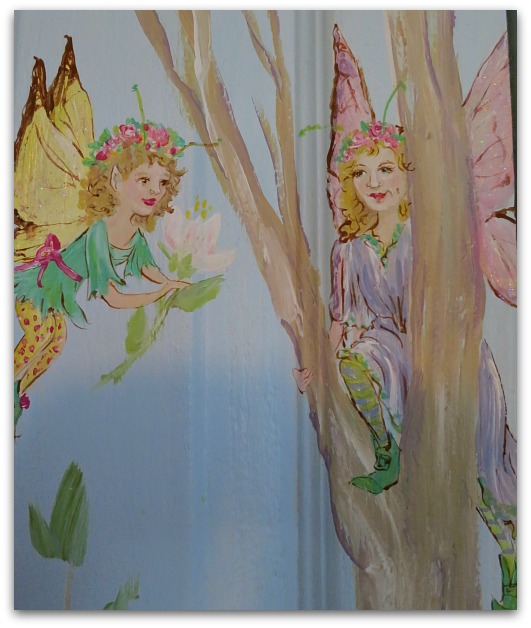
All the red flowers became pink ones, and a fairy with a flock of bumble bee friends was painted in right where Sugarwings could visit with her when she laid down to sleep.


Cottage 068

My poor, old, eyes! This girl was only about an inch or so tall. 


Cottage 084

After repainting the forest, I looked around the room to see what else we could do.

I changed out the bedspreads with some lighter weight ones for summer. The girls also now have a vintage, pink high chair to use when it's feeding time for the teddy bears.  Dewdrop had outgrown the chair and I was wondering what to do with it. Giving it to them to play with has been a hit with them.


Cottage 085

I'm not sure about the droopy wrinkles in this part of the canvas, but the kiddos don't mind.

Cottage 079
Just like they don't care about the choppy look  the room gets from it's various wall treatments.  From a design standpoint, this could have been done much better, and I know that the original mural on the closet walls doesn't go with the canvas ones that we hung in there.


Cottage 077

But it has some sweet fairies on it, so the theme still fits, even if the style doesn't.


Cottage 091

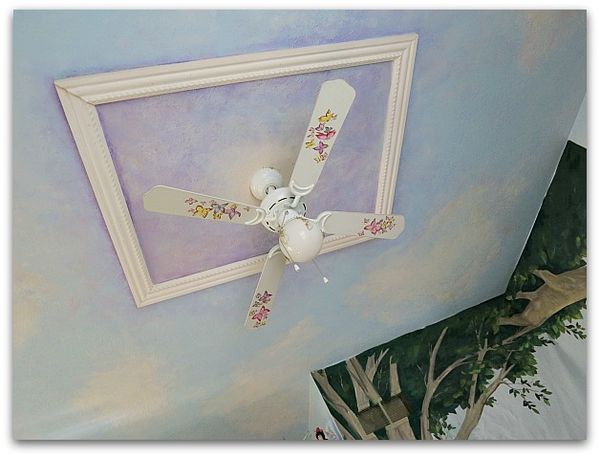
At least the ceiling still matches, I painted it like a sky before Sugarwing's was born.  When she was still just a wish, not quite a person yet.


Speaking of wishes…. my little one loved the redo, but was wishing for a pink bed. So, what do you figure I did about that?

Part three of the saga up next!


Projects from An Enchanted Affaire

Snow White, vintage paper/collage art

Enchanted weekend 025
My friend, Lesa Daily, makes the cutest birds!  Her class at Enchanted was something I'd been anxiously awaiting, and it was every bit as wonderful as I'd known it would be.


Enchanted weekend 027

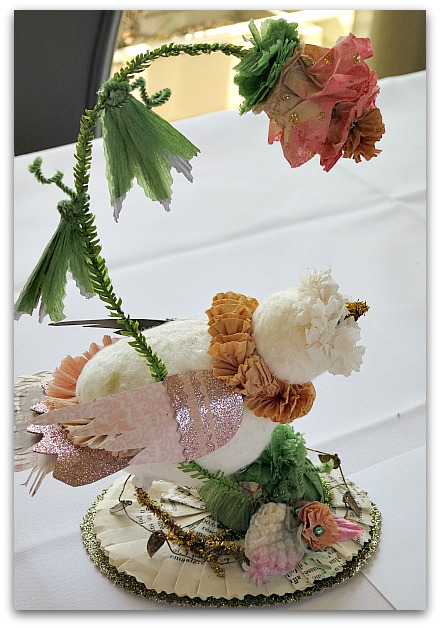
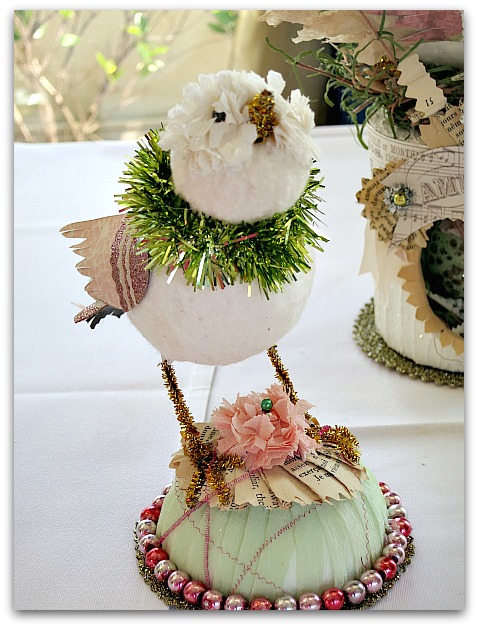
Don't her little birdies just peep with personality?  These are some from her vendor night table.  I fell hard for that first one, it's a beauty.


Enchanted weekend 118

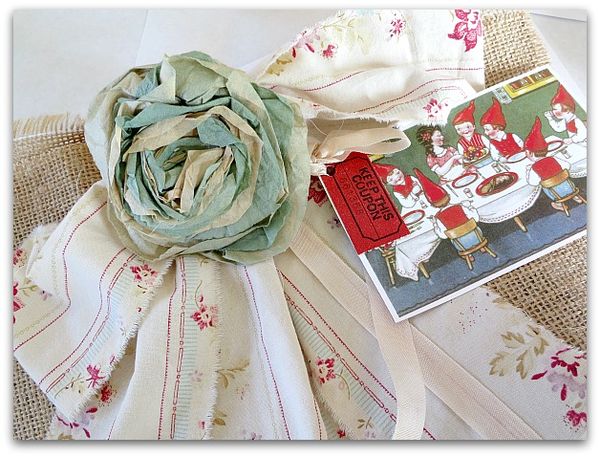
Lesa's kits were cute as a bug too.  The rose is a brooch made from coffee filters and I've enjoyed wearing it on my white denim jacket for a pop of spring color.


Enchanted weekend 119

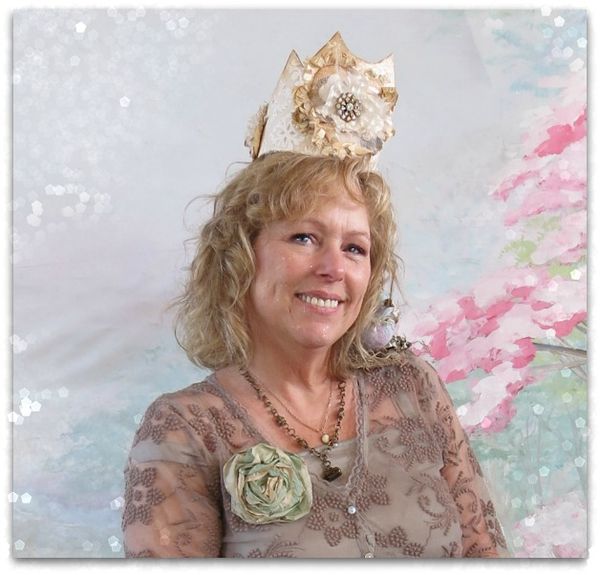
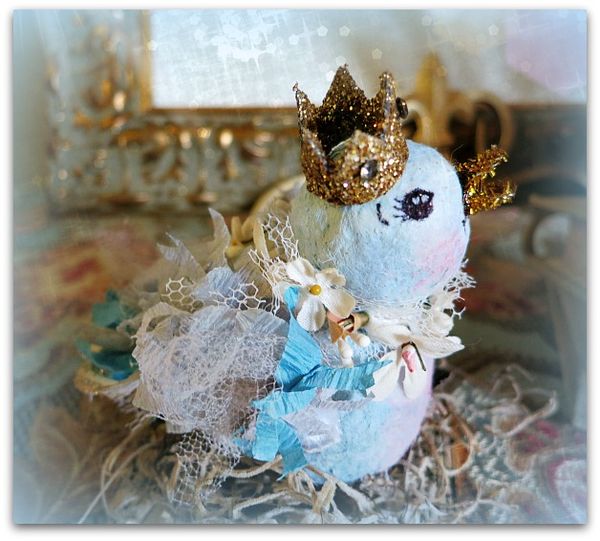
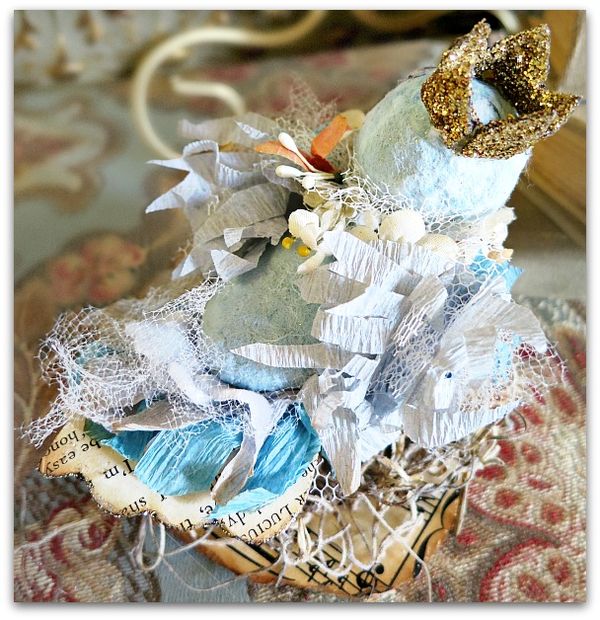
Her class was a birdy crown, but I made mine in two pieces. I wanted the crown to be out at the holidays, but the blue bird was to be year round. 

There he is on my shoulder.  Isn't there a song about that?? Zippity Do Dah Zippity Yay… somehow that is not quite right.  But I'll be humming it all day anyway.


Enchanted weekend 122

I could get hooked on making these lil guys.


Enchanted weekend 123

Mine is foofed up with lots of tulle that I'd brought along.  And a wreath of flowers on it's neck.


Enchanted weekend 124

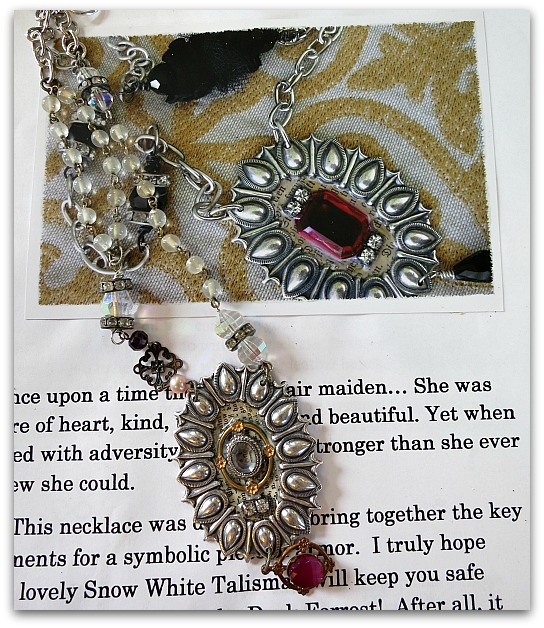
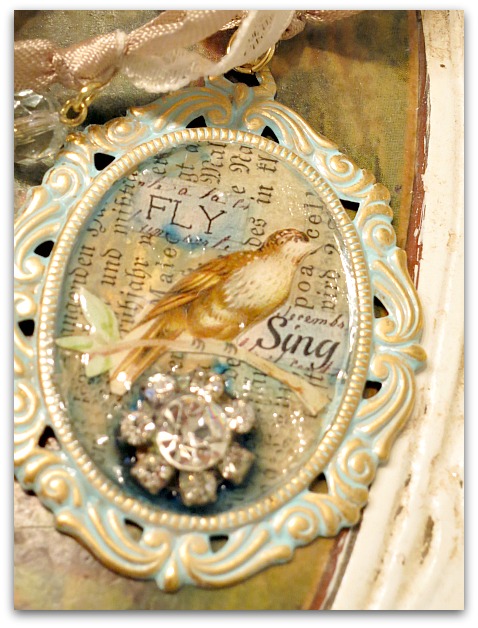
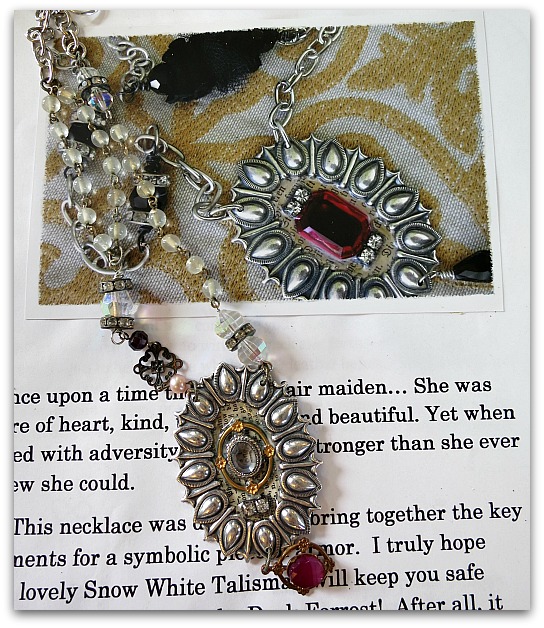
My pal, Natalie had a fun class too. Her pendant was one of my inspirations for the Birdsong necklace we will be making.  Hers is the one in the instructions, mine is the one lying on top.


Projects' 006

And here is how I'm doing our Birdsong piece.


Projects' 004

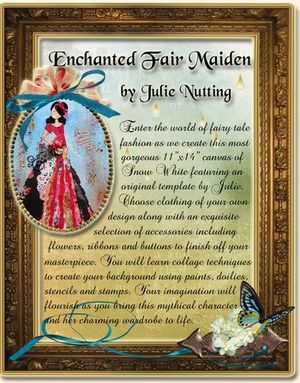
And oh my, this was a fun class too!  Julie Nutting
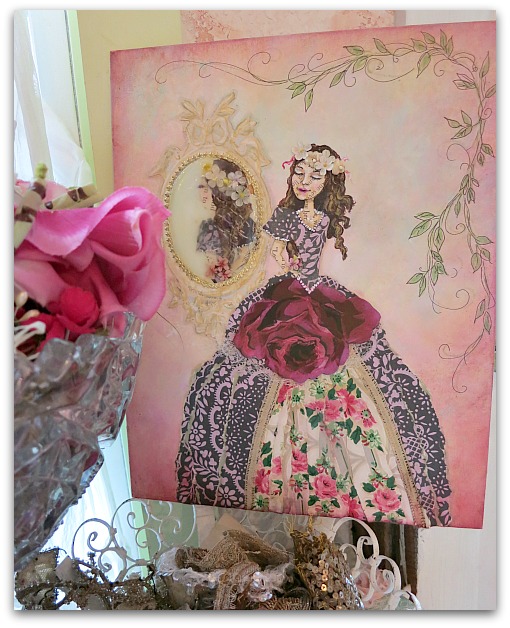
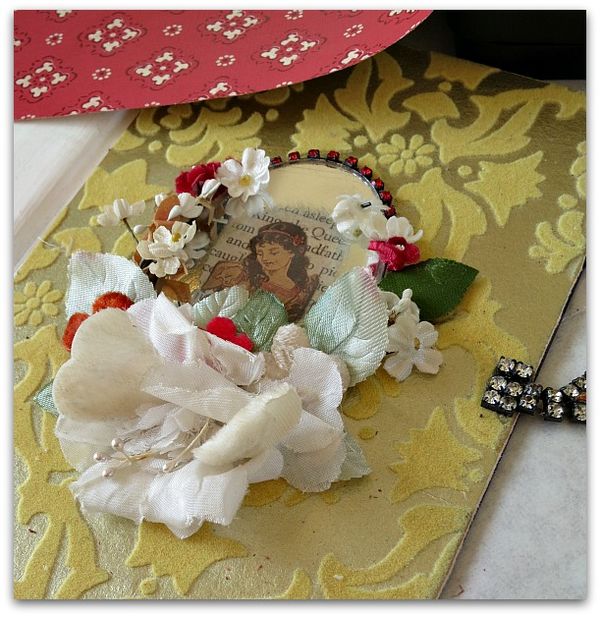
  had us painting a background then crafting a paper doll from strips of torn paper. I used my own wallpaper and changed it up a bit by adding a mirror behind our Snow White.


6a00e54f8f8e9b8833017ee40951d3970d-350wi

Mine lost some of the whimsical charm of the original when I painted a face on her.  But I still like it.  And had a blast during the class. All three classes were delightful! (that is my new favorite word, Sugarwings and I have been using it nonstop).

 
Enchanted2_0725

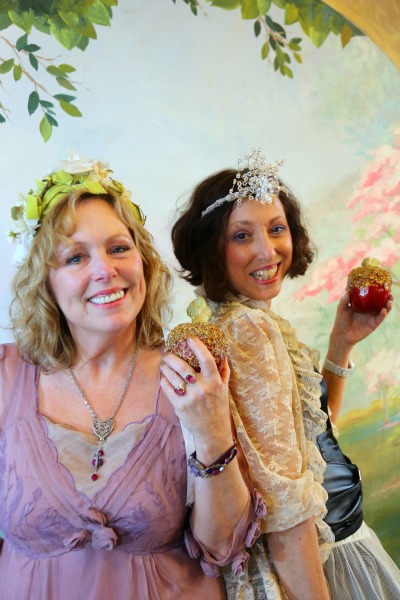
Carol Spinski was the photographer for the event and she provided us with hundreds of free photos to download!  I snagged a few of my faves and will share a few with here.

The rest of these photos are all done by Carol.

Enchanted2_0544

Enchanted-237

Enchanted2-392

Enchanted-685

A Book of Enchantments

Books, Hand painted, jewelry, parties, Snow White, vintage paper/collage art, wallpaper, We're having a party, Workshops

Enchanted weekend 115
The weekend in CA at An Enchanted Affaire was filled with fun and friendship-from so many nice people


Enchanted weekend 066

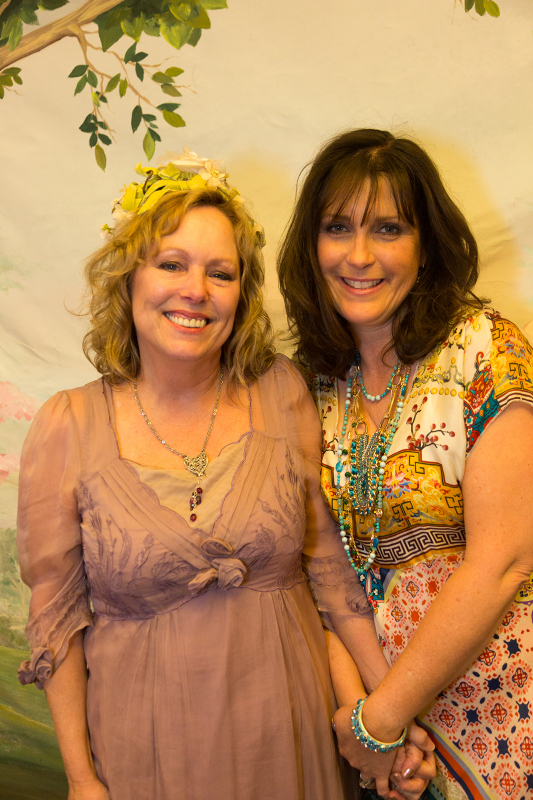
People like Charlotte, who I've known a long time through blogs…


Enchanted weekend 064

And my husband's sister, Terry, who came along to her first big art weekend…


Enchanted weekend 044

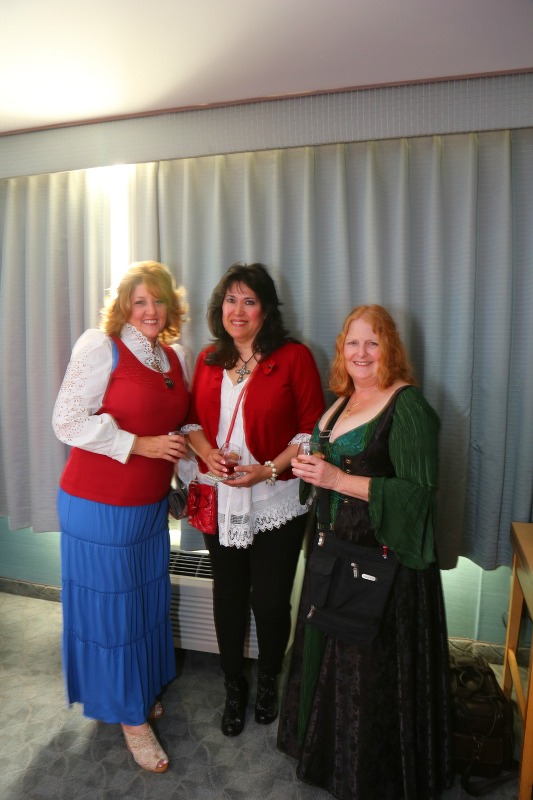
And goofy gals who I am lucky to meet up with again at various getaways like this…


Enchanted weekend 079

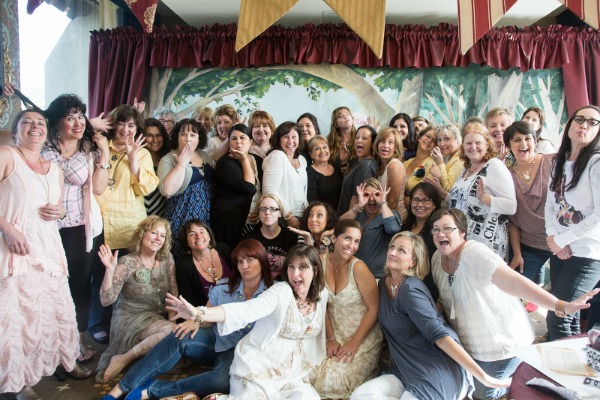
And tables full of new people to get to know. 

Teaching at one of these is the best way to meet people, I was flitting from one end of the room to the other, pausing to talk to everyone at the tables. 


Enchanted weekend 080

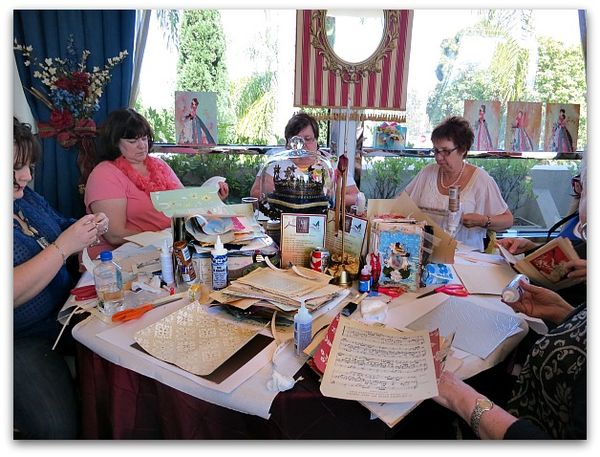
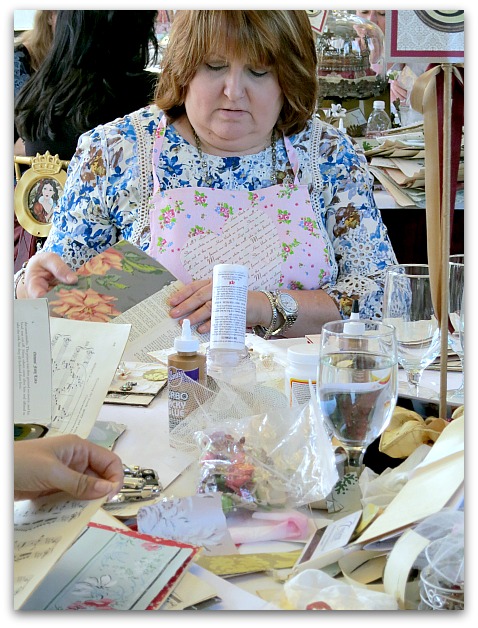
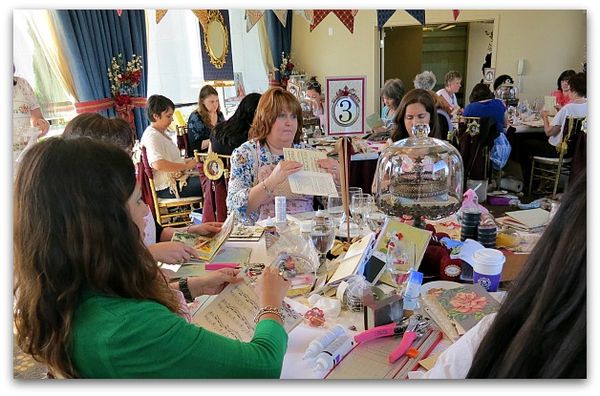
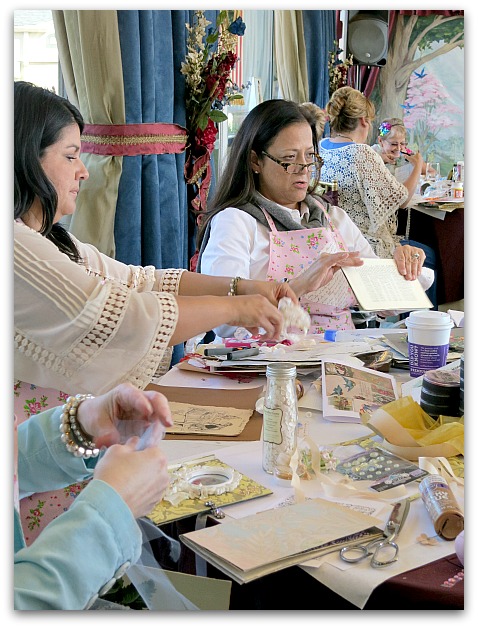
Here is part of my table.  I took classes as well as teaching this time, and asked to have "newbies" sit with me if they wanted. It was fun to get to know some different people. At most events, I sit with my same friends every time (and really LOVE that) but I realized that I'd met them all at these kind of places and I should open myself up to meeting some more new friends. 

Good idea!!


Enchanted weekend 081

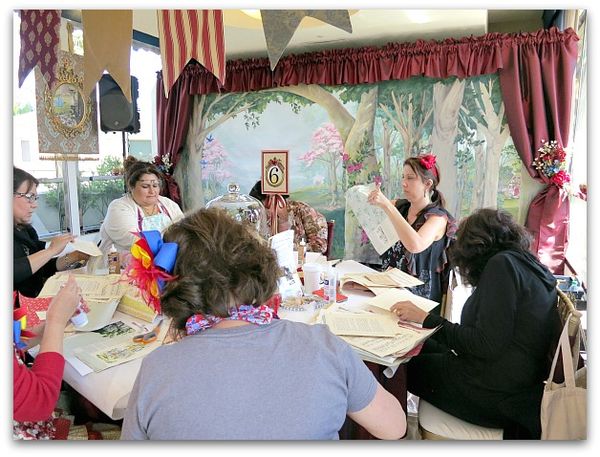
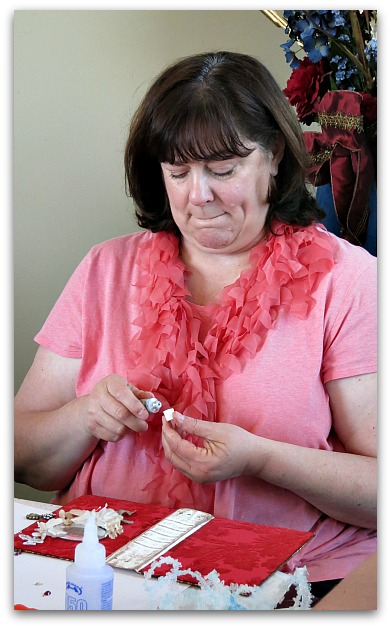
This is another one from the class I taught. Being up and moving around during class made for a good time to get photos of everyone at work. Normally, during class, I'm so involved with the project, I don't get to see what everyone else is doing.


Enchanted weekend 082

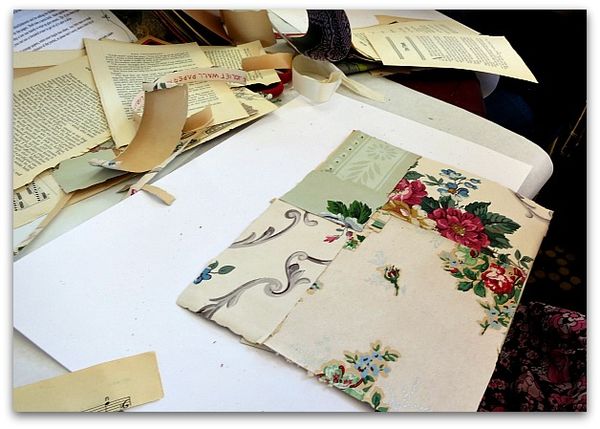
Hopefully, the ladies enjoyed the class.  The first half of it was pretty much busy work, tons of gluing paper to card stock to create the background of the book.


Enchanted weekend 083

After making the pages, we crafted the cover and assembled the book.


Enchanted weekend 084

It looked like most people at least got that much done, not many were able to start decorating, though.


Enchanted weekend 087

But I provided an overflowing kit full of goodies, so they had plenty to play with later when they were ready to start embellishing.


Enchanted weekend 074

If I teach this again, I think it would be better in an all day class, so we can do the decorating of the interior of the book too.


Enchanted weekend 075

There were lots of examples for interiors, and many ladies took photos inside of my own books for later on when they finish theirs.  


Enchanted weekend 095

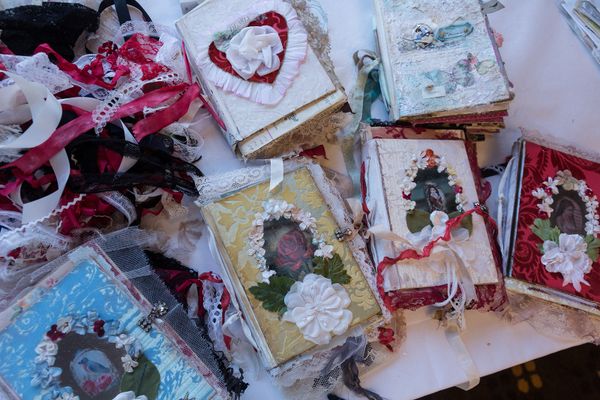
Here are some completed covers by the students.


Enchanted weekend 096

Here is another.


Enchanted weekend 097

When they started working, I'd told them that it was absolutely impossible for any two of them to have the same book when they finished, even if they tried their durndest.

With vintage supplies, and a big page of collage images to chose from, the completed books were bound to be filled with variety!


Dreams

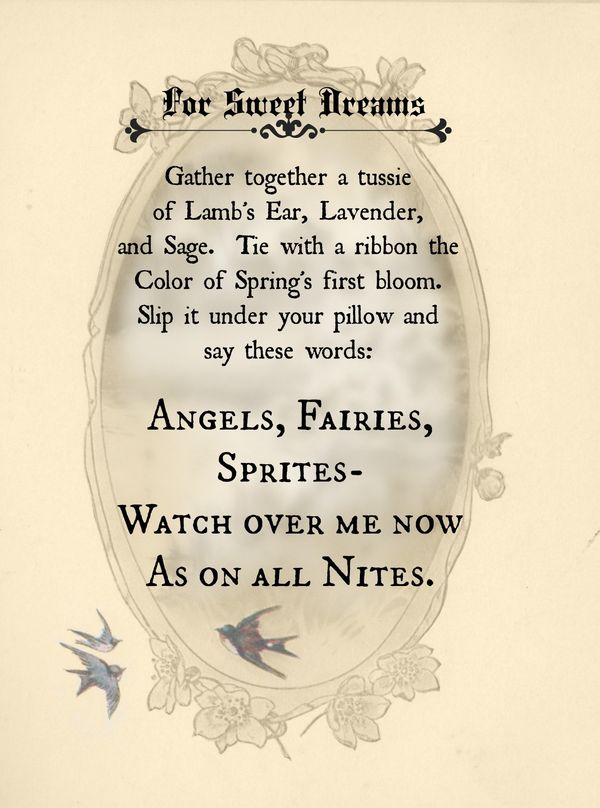
Since my book was titled, " A Book of Enchantments" I decided that I needed a few enchantment spells to add to it.  So, I wrote 4 little poems about finding joy, happy dreams, a true prince, and hope.  They are printed on vellum and are part of the embellishment package.

(by the way, I made extra kits, if you want to buy one for $65, there are a few left. Many ladies bought a second while there, so I think that means they liked them)

EDIT:  my email is down, if you could leave a comment or contact me on FB, I'll check those to see if anyone is ordering kits.  They are selling, but there is still a few left.


Enchanted weekend 071

Kim had asked all the teachers to provide a prize for the drawings, so I brought this assemblage.


Enchanted weekend 088

It was won by my pal, Natalie, another teacher.


Enchanted weekend 124

I LOVED HER CLASS!!!!!!!!!!!!!!!!!!!!!!!!

I used a smokey quartz and ruby on my own creation.


Enchanted weekend 090

I'll leave you with a few more photos from my class, and still have some more pictures of the event to show you later.

Enchanted weekend 092
Enchanted weekend 091
Enchanted weekend 094
Enchanted weekend 072
Enchanted weekend 073
Enchanted weekend 049
Enchanted weekend 051

My Snow White Weekend

paintings, parties, Snow White, Workshops

Enchanted weekend 065
Kim's big bash was so much fun! And everywhere I turned, there was some form of my artwork.


Enchanted weekend 052

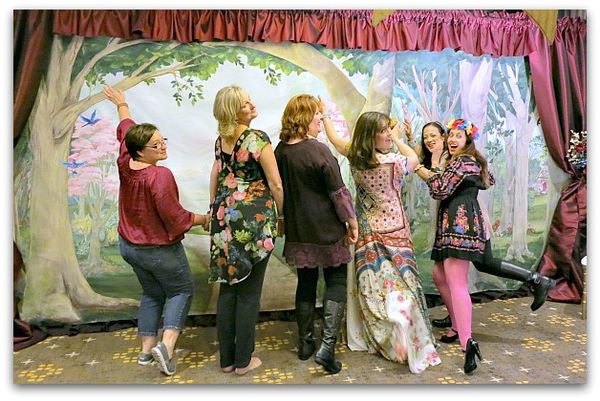
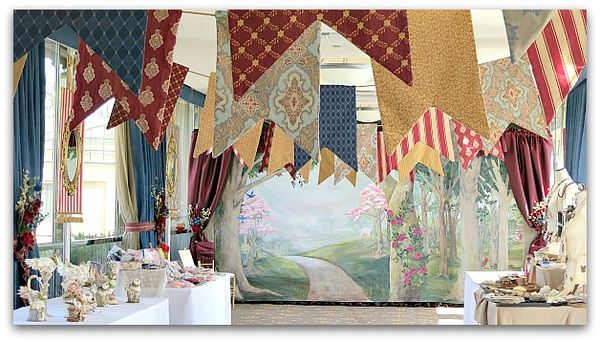
First of all, the giant mural filled a whole wall at the back of the room-


Enchanted weekend 023

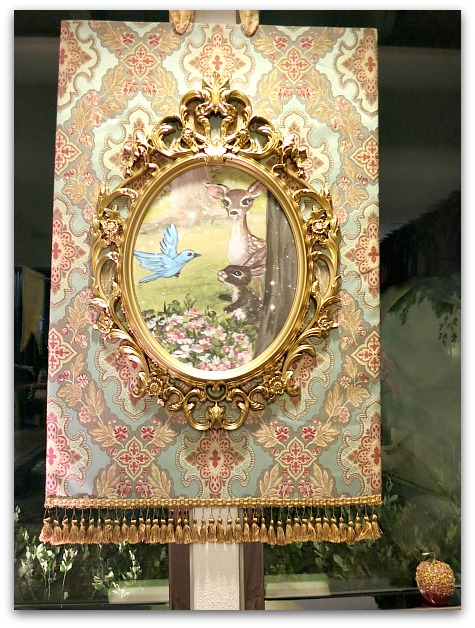
but also Kim had blown up images from the background of the smaller painting I'd done that she was using for the event button.  (this is one that I kept for myself, Kim sold the rest. She also gave me the large poster from the lobby)


Enchanted weekend 054

This one was my favorite one.


Enchanted weekend 038

She hung banners from the ceiling, for a very royal feel. Here is the room set up for vendor night before everyone arrived.


Enchanted weekend 022

For my vendor table, I made tags from the images on my mural. I like them so much that I'll use them for Birdsong too.


Enchanted weekend 055

My Snow White painting was plastered on everything from the chocolate lollipops, the itinerary, to a lot of swap projects or tags.  I was a little overwhelmed by her.  But it was a good kind of overwhelmed.

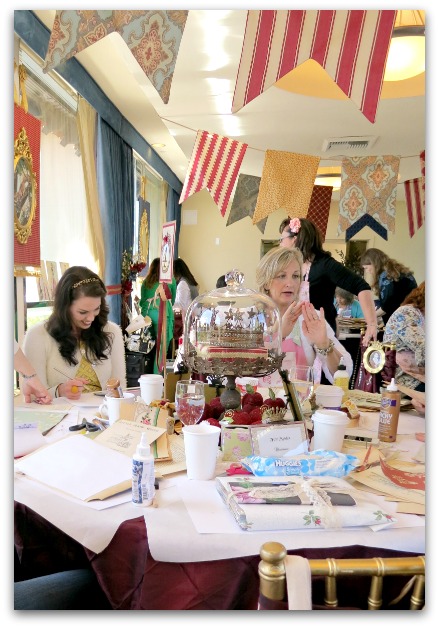
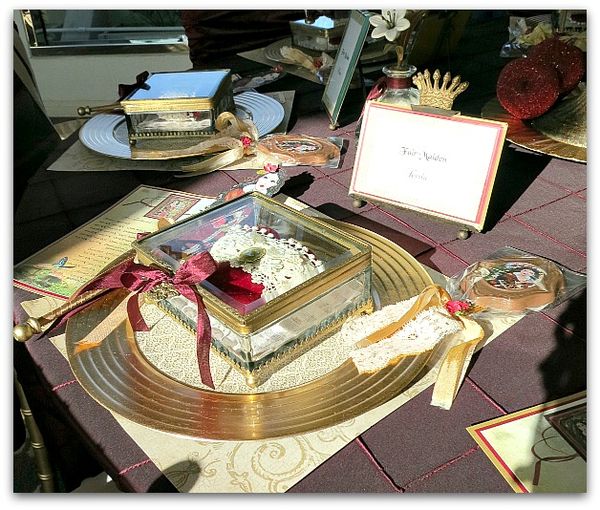
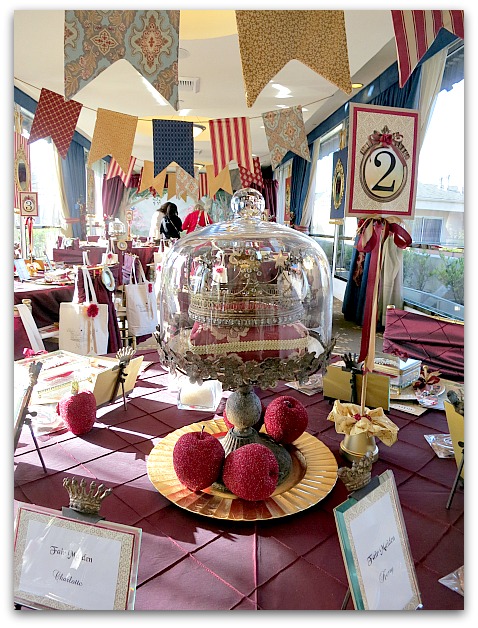
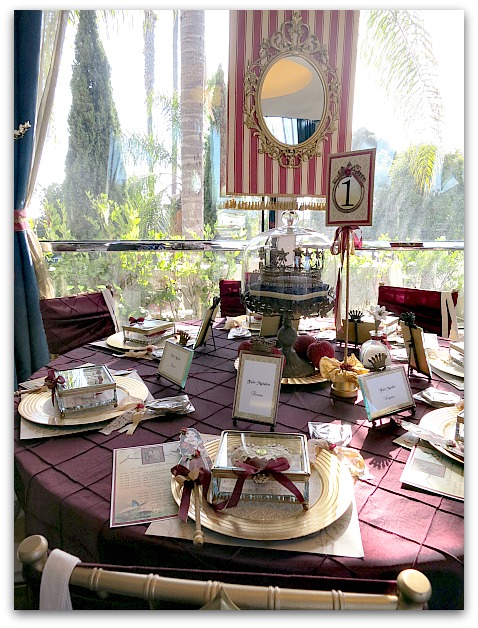
Kim never misses a detail, and our work tables were beyond beautiful.  Everyone got a bevelled glass "casket" with a velvet heart,  and a matching crowned frame. All were extra good quality items, and pieces I will treasure forever, not just little party favors. 


Enchanted weekend 057

And look at the centerpieces!!!!  Gosh, they were something. What a pretty view we had while working.


Enchanted weekend 062

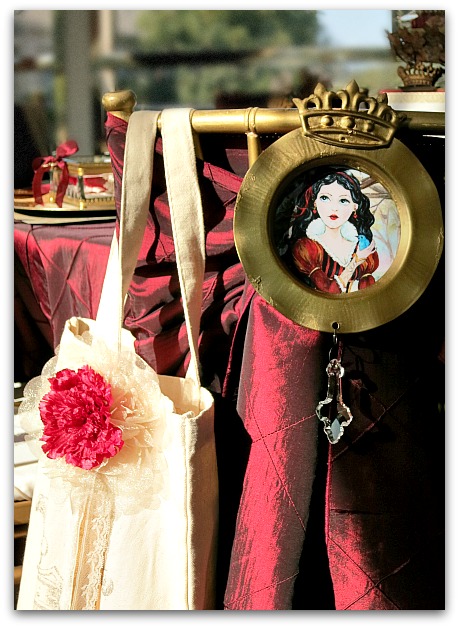
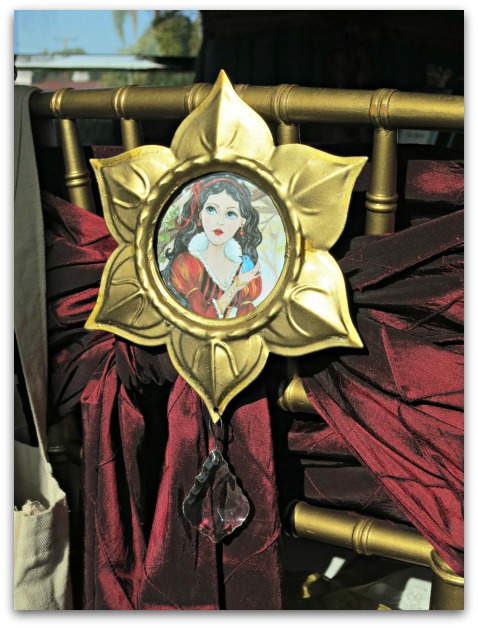
My Snow was on the back of every chair, in a frame we were each to keep.  Along with a goodie bag stuffed with treats.  The bag itself was a heavy canvas, yet again, another Kim trademark. Her gifts are high quality items that will last and so nice that you'll be glad they did.  No cheesy, cheapy things that are just for show for the day. 


Enchanted weekend 061

And look at how lush the fabrics are the she drapes the room in.


Enchanted weekend 059

The weekend truly was enchanting.  I'm so impressed with Kim's talent and eye for beauty, plus her gracious style of hostessing.

Thanks for another memorable weekend, Kim!

(and I'm soooo looking forward to next year, the theme of Downton Abby will be delightful- that is if all the characters are not killed off by then)


Collage filled lockets for Snow White

Dew Drop, jewelry, Snow White, Sugarwings

Jewelry 004
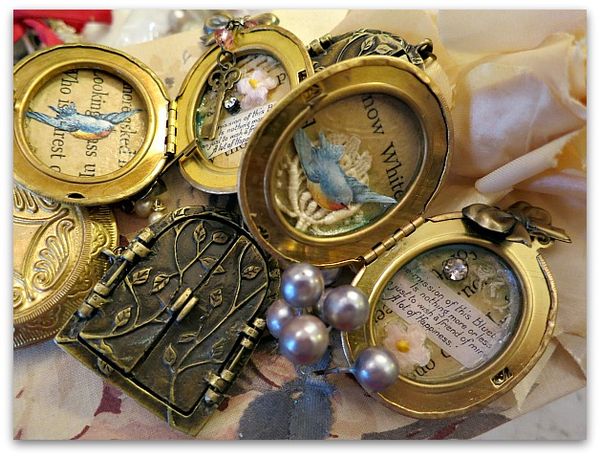
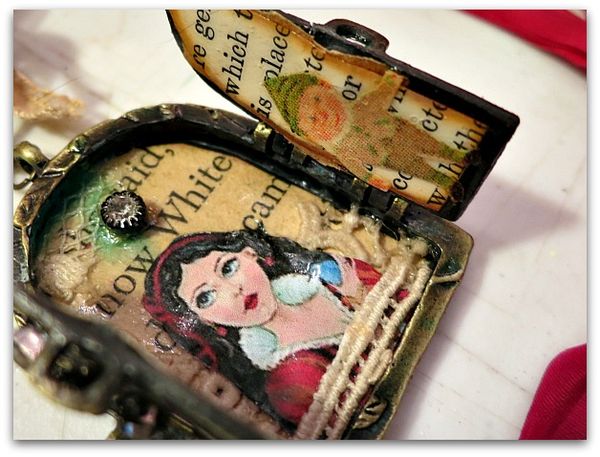
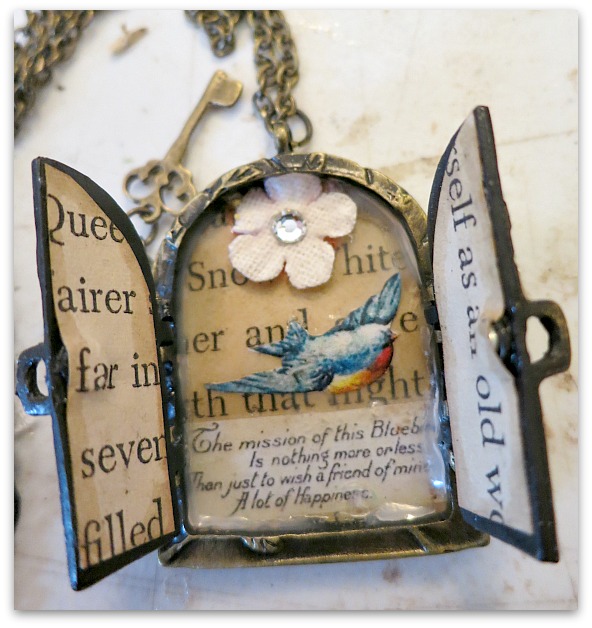
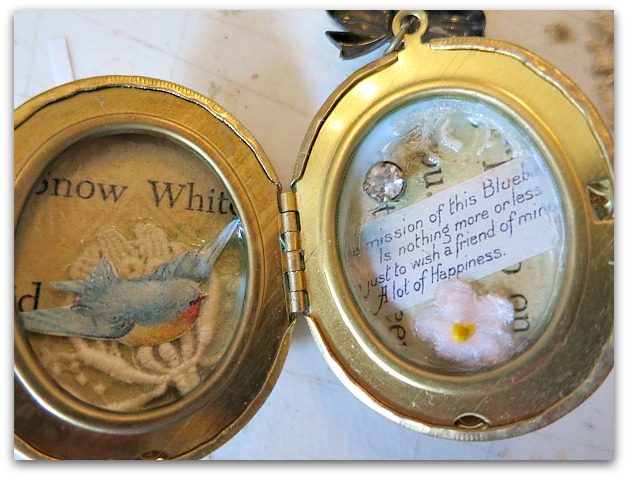
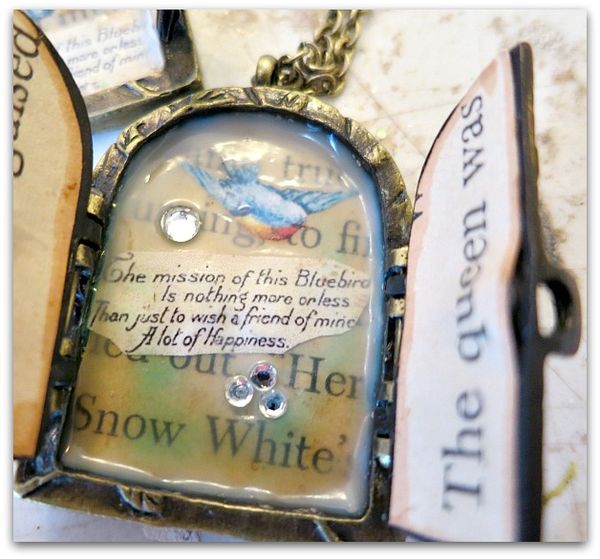
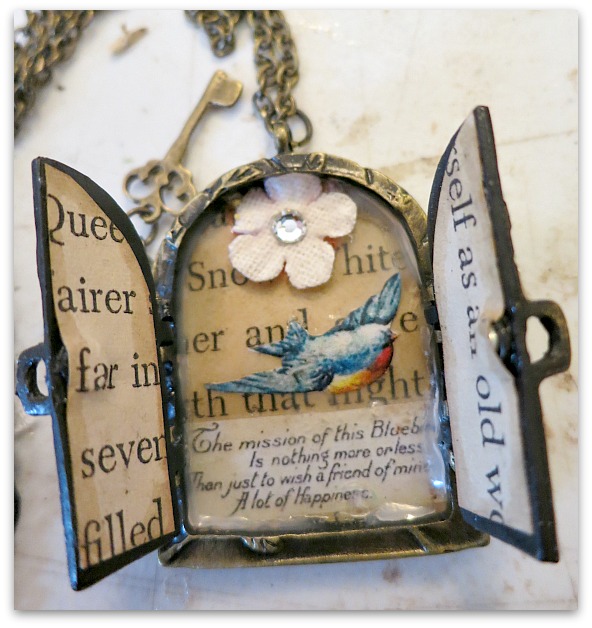
Earlier I showed you these lockets from Victorian Trading Co. that I foofed up with some Snow White themed collages inside.  I didn't mention what they were for though.  These were packed to take to CA with me to use as table mate gifts.  They can be added to a ribbon or chain to wear, or tied to the journal we are making.


Jewelry 007

I made one for myself too, using a copy of the image I had painted for the event.


Jewelry 006

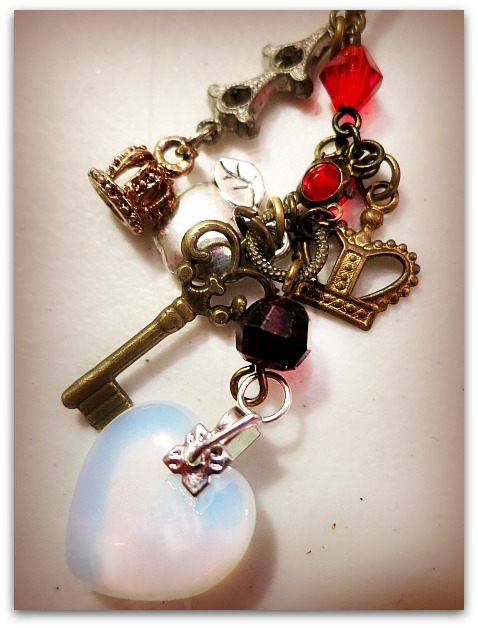
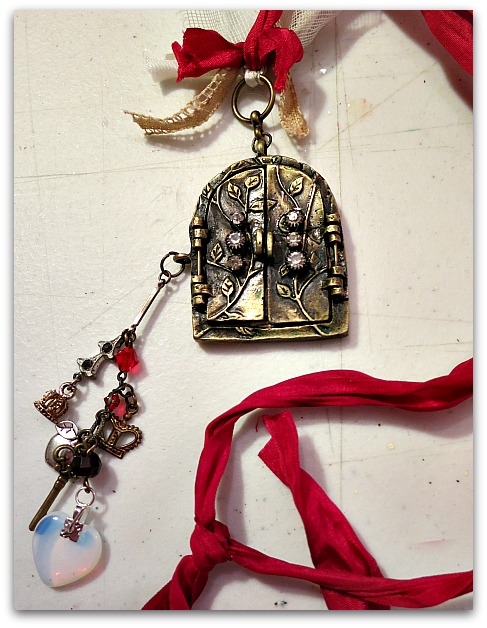
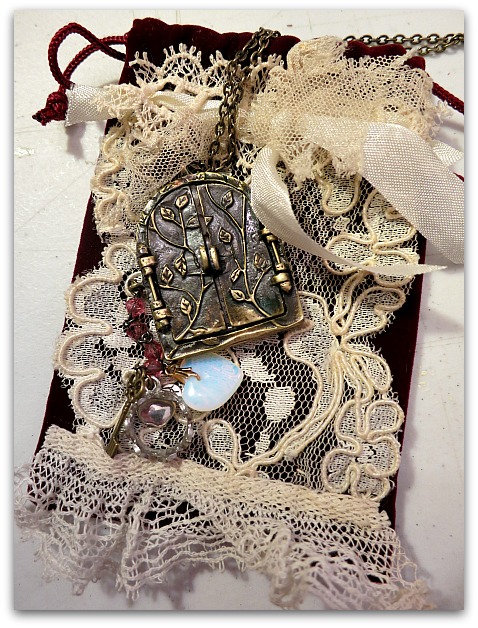
The little door lockets came with a key on a chain, but I changed that and added a few more trinkets.


Jewelry 005

Then tied it to a red silk ribbon.  While working with the locket and trying to bend a crooked door, I broke the door in half. ( Hence, me keeping one for myself)  I tried to repair it with metal glue, but honestly, I don't trust the stuff. I hope it holds. I added a mini strand of rhinestones to help keep it together too.


Jewelry 012

It's been a bit of a locket kick for me lately.  I also joined the swap hostessed by Terry Frias.  I made one of the door pieces up as a hostess gift for her.


625670_10151512188164477_213823211_n

My swap partner was my husband's sister, Terry Neibaur.  

We had a questionnaire to fill out about styles and preferences. Terry said her birthstone was garnet, and she liked gems but not bright colors, and wanted something more delicate, but steam punk or fantasy.

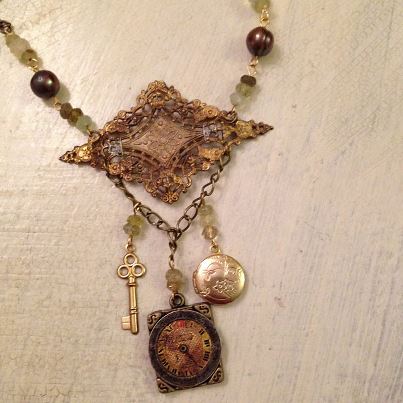
I was able to find garnet beads in some pretty colors of green and gold, and a teensy locket. The larger beads on it are bronze colored pearls which I thought would be pretty with her red hair.

  This photo (taken earlier) shows a key, but it was only temporary till I could find something steampunky or fairyish. 


Birdcage pop 007
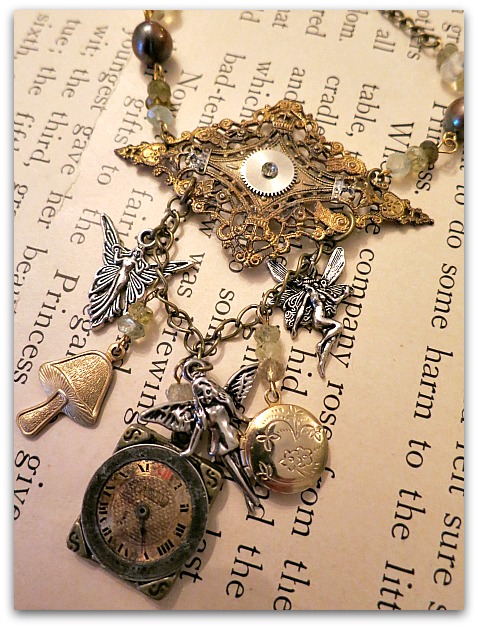
Here it is after I fantasied it up.  And added a gear with a rhinestone to the center of the pendant. I'm not a steampunker normally, but I think the gear is at least a nod to the genre.


Birdcage pop 016
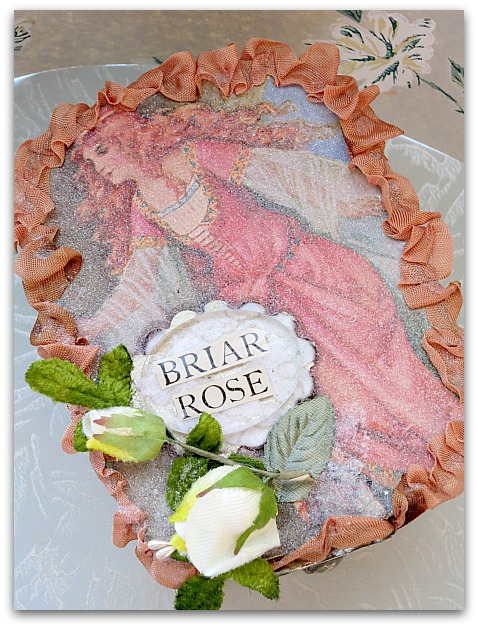
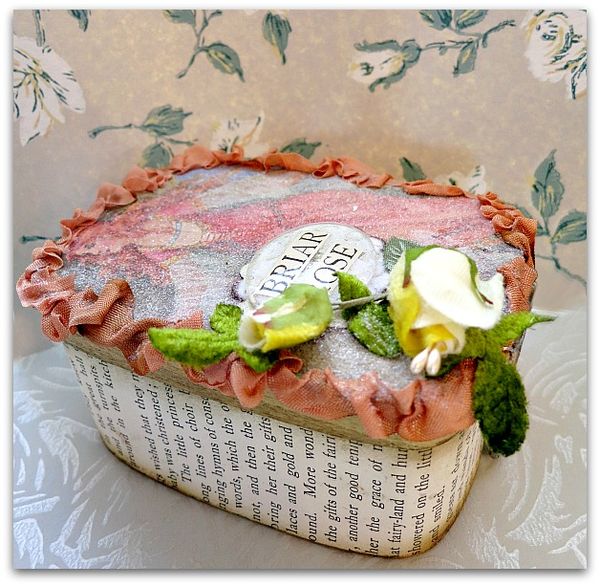
Terry's favorite princess fairy tale is Sleeping Beauty, and even once named her shop, Briar Rose. When I found this page in a vintage storybook, I knew I had to save it to make something for her.  Terry even has the same hair as the lovely princess on the page.


Birdcage pop 017
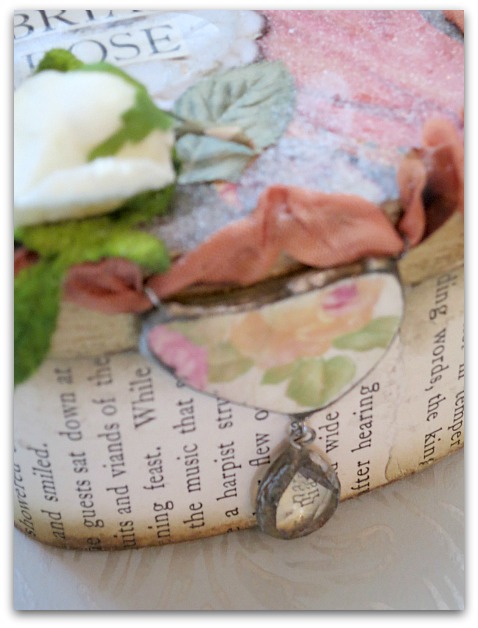
So, I created this box to wrap her necklace in.  The text on the outside is from the Sleeping Beauty story, and the inside is covered in vintage velvet.


Birdcage pop 015

  Hope she likes it!


********************************************************************************

 
Wire cage tutorial 700

I've been working on this wire birdcage tutorial, and now have it ready to send to you!  You can get the details here.


An Enchanted Forest painting and some deep (for me) thoughts on aging and time (but no math)

hand painted signs, Snow White, Workshops

Easter 13 152
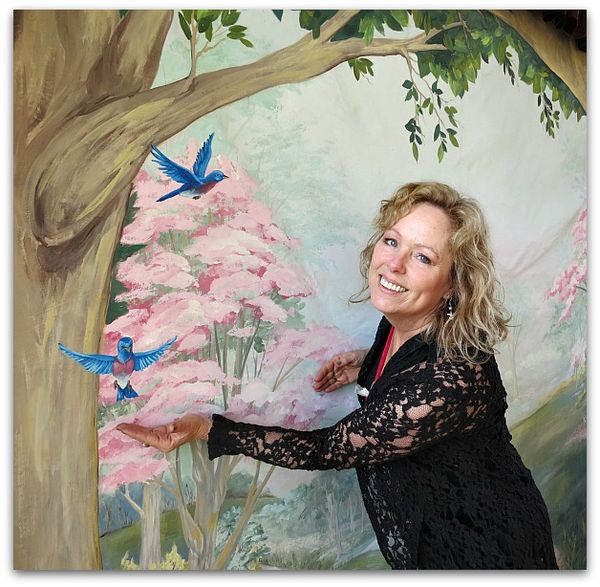
I thought I'd show you some steps to the Enchanted Mural I did for Kim's event.  I posted a few beginning photos here and there while I was working on it, but as it progressed and started to look like something, we wanted to save the "reveal" as a surprise for the Fair Maidens attending the party.
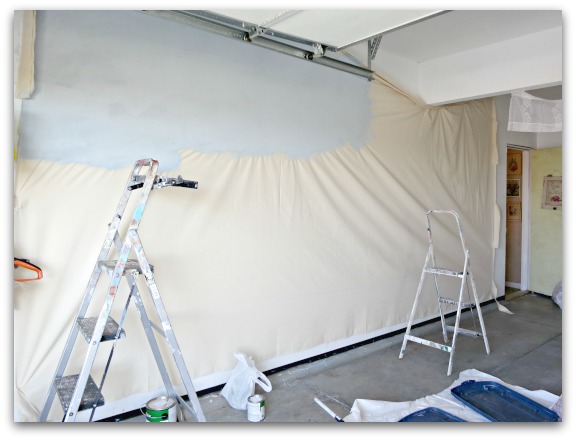

Mural start 010

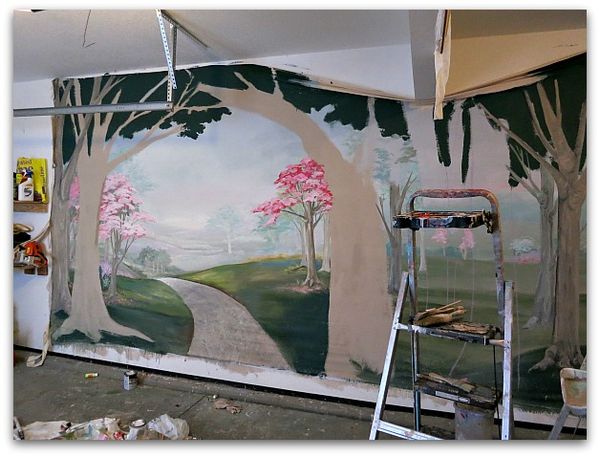
It measures 8-1/2' x 16'.  Too big for my garage wall! I had to bunch it up under the soffit, and move it down to paint the top after  I was done with the rest of the picture.

The first step was background color, blue sky, brown ground. I didn't bother to prime it this time.  I also forgot to cover my wall with plastic. 

Oops. 

Which would be fine, if the whole mural had seeped through, would be kind of impressionistic and fun. But no, just blobs of blue and brown.

Misc 015

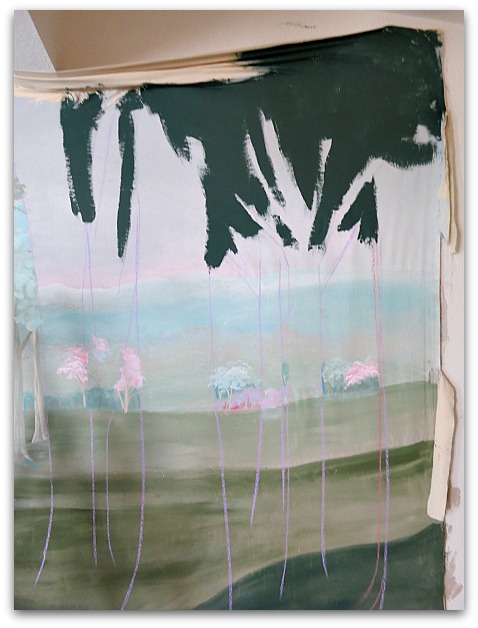
Next, I painted the horizon and hills off in the distance, all in faded tones. After that, the grass.  And I sketched the trees in chalk for the trunks, then blocked in the dark leaves at the top.
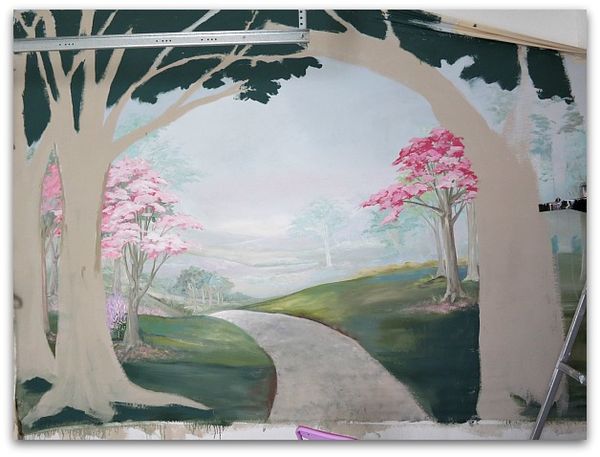

Misc 017

I was going for a look of standing at the edge of a dark forest, looking out into a meadow and off into the distance.   I thought a road leading to a castle far away was appropriate for the Snow White story. 

481372_10151474523274477_1584892405_n524892_10151476068339477_1898446915_n

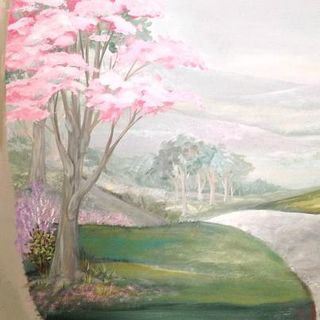
Here are a couple of "during" shots as I tweaked the sunlight.  You can see that my background behind the pink tree on the left changes.  I did a lot of re-dos on that area.  But hey, it's only paint, you can change as much as you'd like. And I was making it up as I went along, so some things didn't work as well as others. There was a lot of painting over.
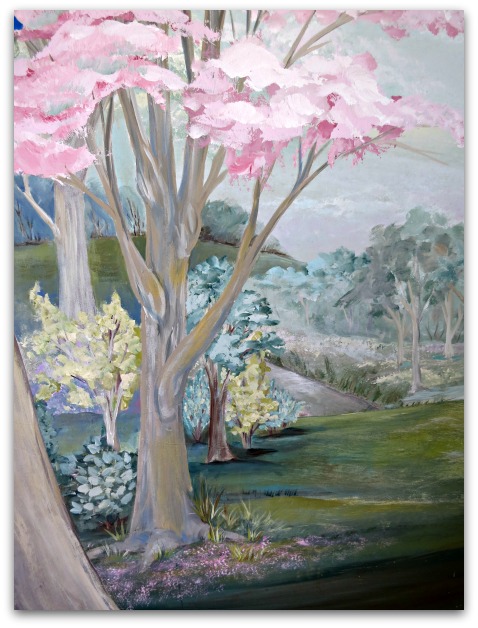

Mudball 011

This is the final effort for that same spot under the pink tree.  Deeper shadows and some yellow splotches of sunlight.

Misc 021

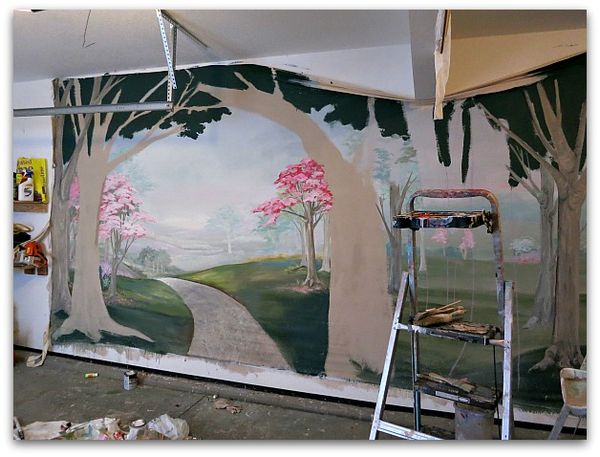
The whole thing is done in layers. I felt like I really got to know that forest.

Like the fact that there are more pink trees far away to the right. They got covered by trees in the foreground. If I had done a drawing first, maybe that little issue wouldn't have come up, huh?

Easter 13 153

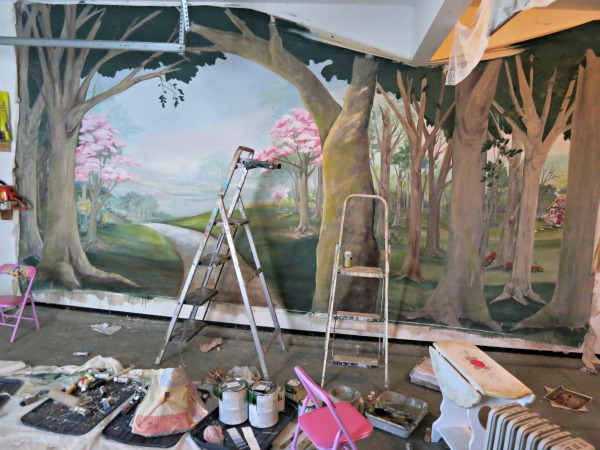
Here is it is, filled in a bit more.  Notice the shadow across the road under the trees?

Easter 13 149

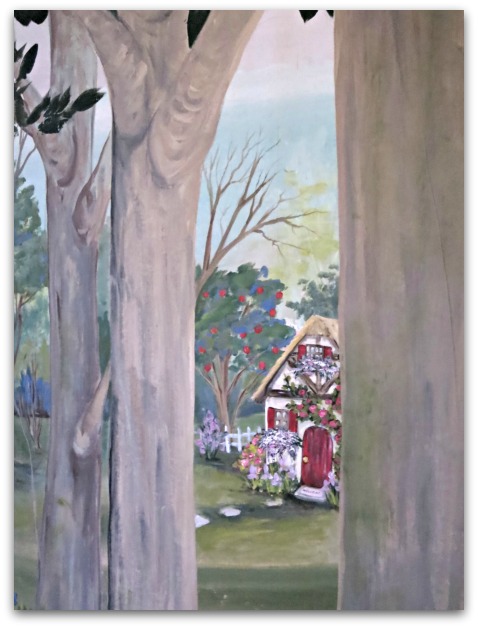
I added little surprises out in the woods too.  (early version)

Mudball 010

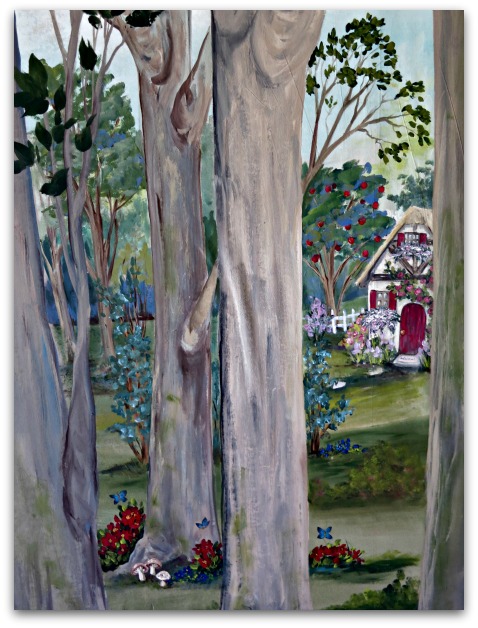
(Completed version)

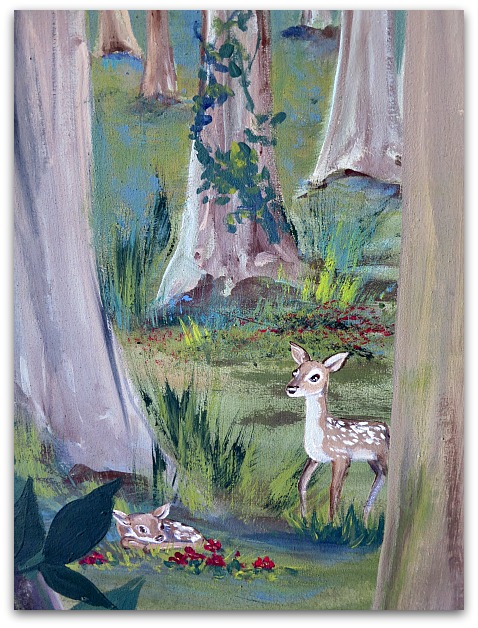
This is where Snow White lived with her stumpy buddies. 

Mudball 003

Her friends, the deer are in the woods too.

Mudball 006

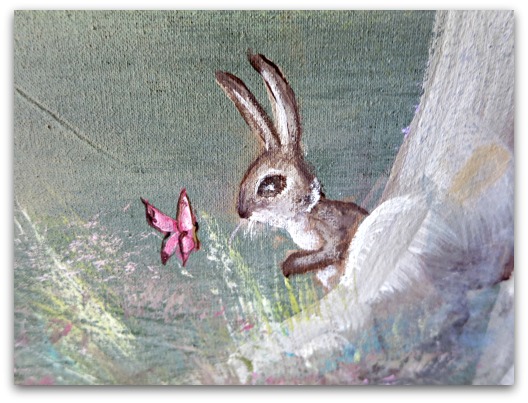
As well as a bunny and some butterflies.

Mudball 001

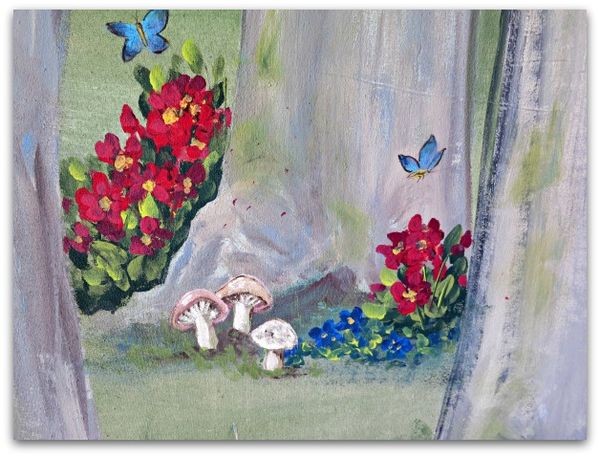
I added a couple mushrooms.  I wanted to do a whole fairy ring of them, complete with dancing fairies, but I actually was able to stop myself in time.

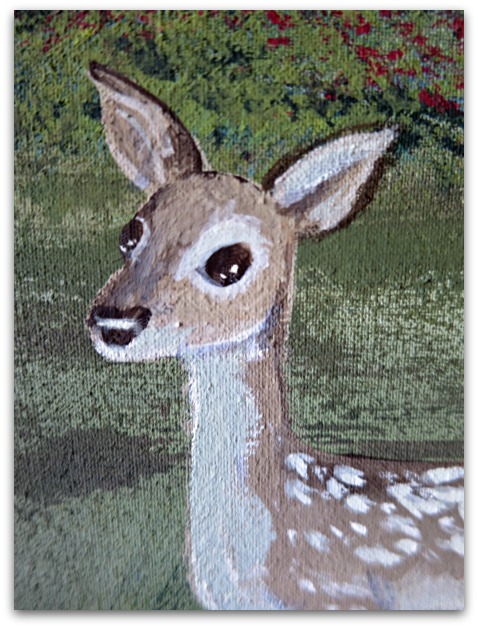
This mural is meant as a photo backdrop.  No one will see the tiny goings on in the background for the photos.  But I was so involved with my own day dreams, I got carried away and spent way too much time on the far away details. They made me happy.
Mudball 008

But they really took too much time away from my real life. I spent so much time wandering around the woods in my make believe life that I got nothing else done.  I've not added any new things to the shops, I've had no income. That is why they call us starving artists.  Sometimes we get so wrapped up in creating that we don't care about selling.

But I am far from starving. I tend to snack as I paint.  Not a good thing for the waistline. I figure this mural cost me $1000 in sales online and added 5 lbs to my belly. 
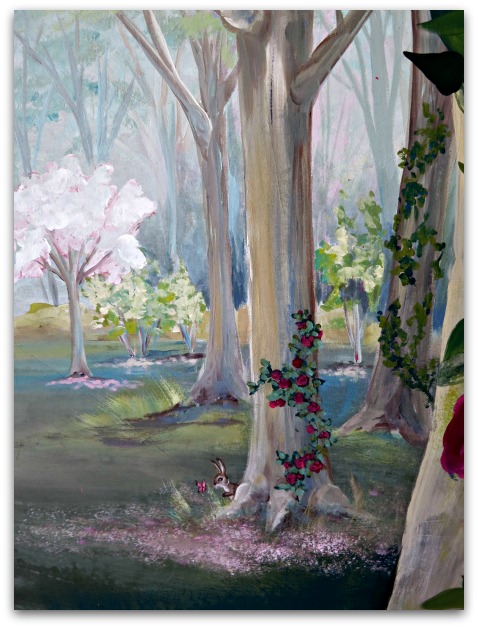

Mudball 005

Oh, but I sure loved being in this fantasy world!
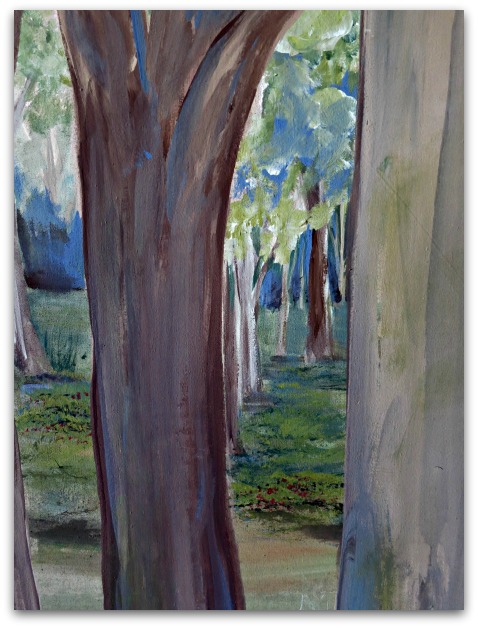

Mudball 009

Years ago, I did murals for a real job, but have gotten away from it.  I used to be super fast, because I did so many.  But with this I really zapped my time. 

I was wondering if it has something to do with getting older? (I'll be 55 in a couple weeks)  I seem to do everything slower as time swoops by me so fast.

Here is how I figure it:

When you are a kid time drags. Remember waiting for your birthday?? Those months seemed to take forever to go by.  But compared to the amount of time you'd been on the earth, it was a pretty large percentage of your years.  Lets say you are almost 5, maybe about 58 months old.  So those two months till your 5th birthday are………

Wait a minute, I don't do math or percentages, what am I thinking???? My point is that two months of your life as a child is a huge chunk of time.  Two months of your life as a 50 something adult is nothing.  You've lived through 600 some months.  Time goes by faster due to your frame of reference.
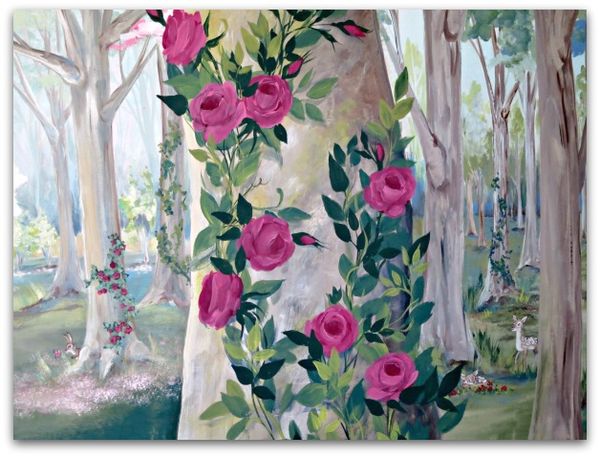

Mudball 014

That is what I am blaming on my slow down.  I take forever to get anything done and I used to be lightening fast. I think it is because time is slipping by so quickly that I don't register how long I've spent on a task. All afternoon at my desk feels like an hour or so.

Plus, as I said before, I got a little carried away on this project while living in the imaginary forest.

Easter 13 151

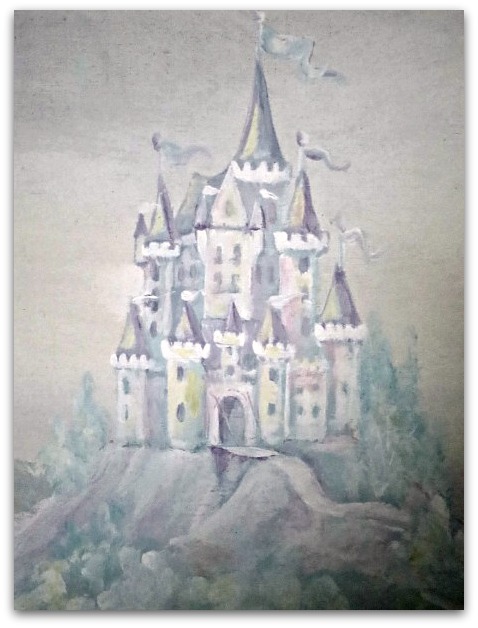
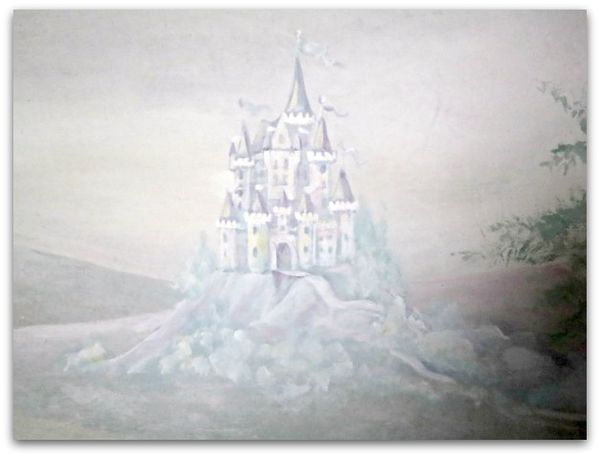
Case in point, this castle? I spent two hours on it. 
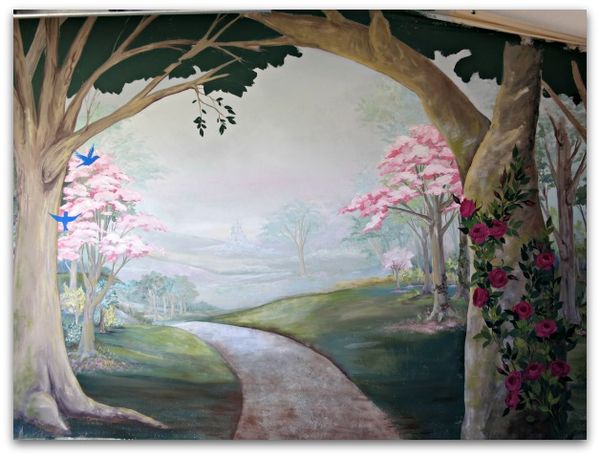
Mudball 013
(the blue birds and leaves are just blocked in at this point, no details)

And you can barely see it. I wanted it to look very far away, and it does, but did I need two hours of detail to do that?  Oh well, I love the castle, so I'm glad that I did.

Another thought on aging:

As I get older, I care more about details.  I wonder how many more big projects I'll be doing? They seem to matter more to me, so I put more into them.  Not that I plan on kicking the bucket any time soon, or that I expect to be too creaky at 60 to get anything done.  But I'm just more aware of the remaining years and how precious they are.

Okay, back to the painting?

While I wanted the forest to seem dark, to emphasize the light in the break in the trees, I didn't want it to seem scary. The shadows are a pretty blue, and while there are bushes and grasses, it's not over grown and tangled. It's a friendly forest.  And since it is a photo back drop, I had to watch out for hot spots.  No glaring whites or brights, all are faded or toned down.  Which gives it a dreamy look, I think.
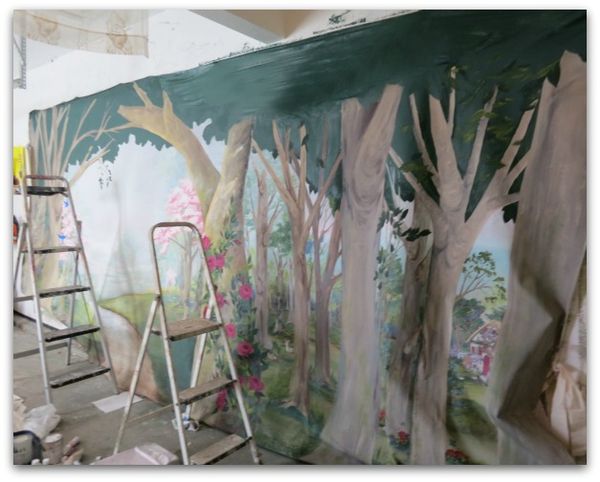

Mudball 022

I'm afraid I can't get a photo of the complete thing while it is in my garage, there is no space to hang it up all stretched out. When I lowered it to paint the top, I had to roll up the bottom few inches.
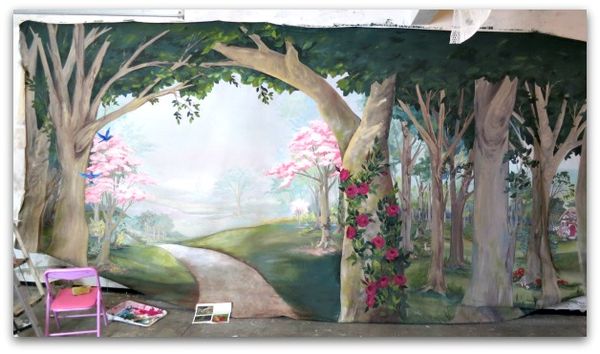

Done 010
Curtains will cover a foot at the top and 6" at the bottom will have to be rolled under to make it fit.  Curtains will also cover 2 feet on each side. I didn't know this till it was 90% done, so I went in and brought the leaves down lower and darkened them to keep the effect of a dark forest.  If the leaves were mostly covered at the top, it would change the look of the design.
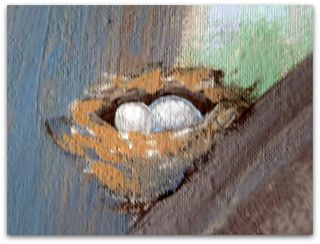

Mudball 004

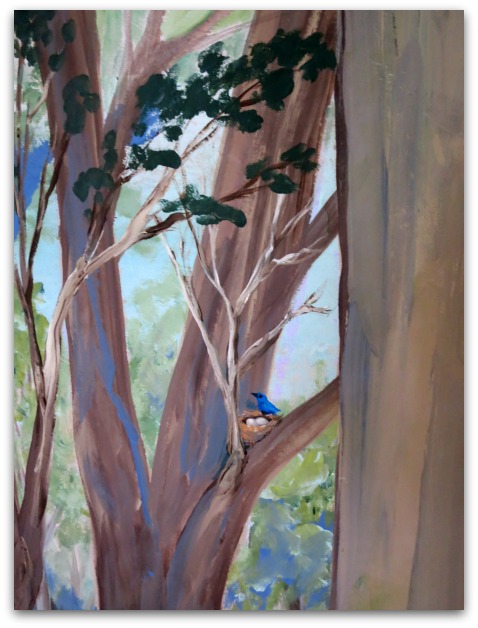
This is a nest I added and wasn't happy with.
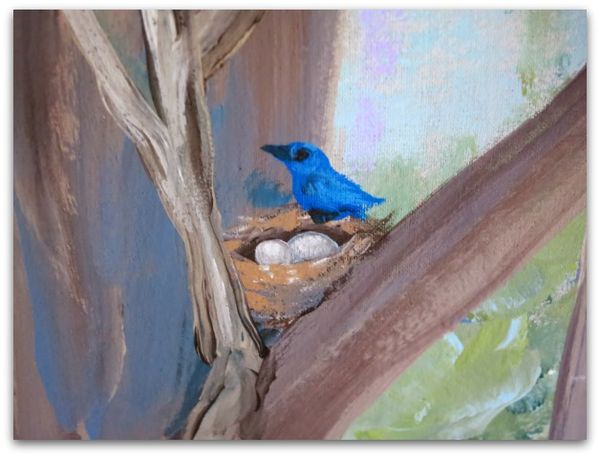

Done 005
This is what it needed!


Done 004

Much better!

If you want directions on painting a nest, I have a free tutorial here.
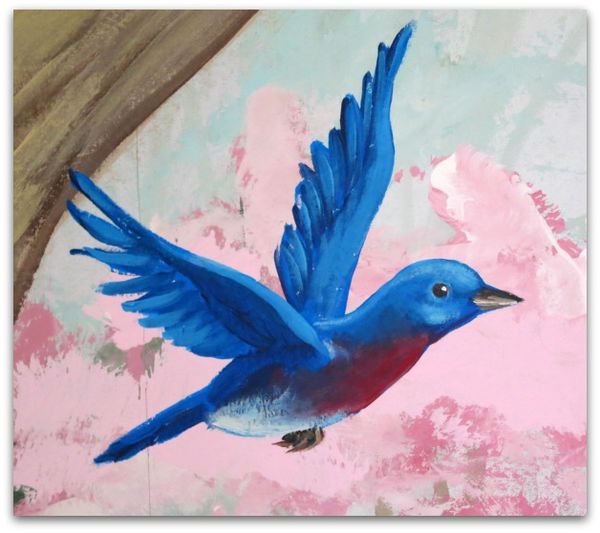
Done 006

I'd have added more blue birds, but was afraid that they were so bright that they might stand out too much in photos.  And they could look like they were sitting on the head of someone standing in front of them in the photos.
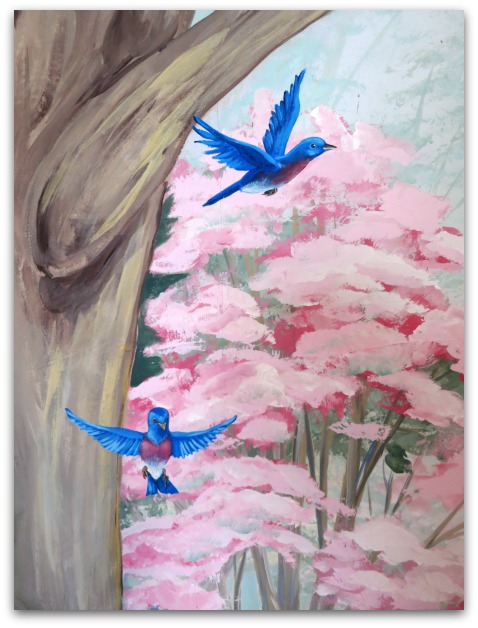

Done 007
And I think one of them will be cut out by the curtains, but maybe the tie backs will save it.
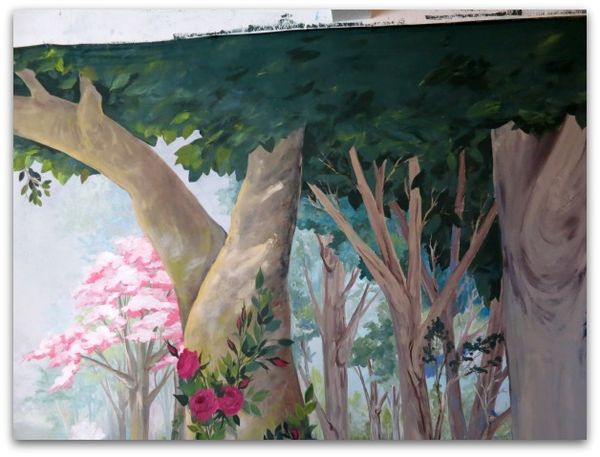

Done 011
Sadly, it is also too big to hang anywhere at my house.   I donated my time (not planning that I'd spend ALL my time on it,) not the mural itself, so I get it back after the party.

I'd thought about selling it, but I have grown attached. I might cut it up in sections and wallpaper the grand fairies' room with it.  I'm not sure yet. 

***********************************************************************************************

  
Wire cage tutorial 700I've been working on this wire birdcage tutorial, and now have it ready to send to you!  You can get the details here.
Blue bird lockets

jewelry, Snow White


Done 016

Between painting projects and gardening goings ons, I've been making some lockets.


Done 015

These have a, yes, you guessed it, Snow White theme.  Hmmmm, wonder what I'll do with those??  (I am in a locket swap but none of these are the item I have made for it, I'll show you that after the gifting)


Done 017

I've done mini collages on the insides, and coated them with Diamond Glaze. It's not dry yet, you can see where it is a bit milky around the edges.  I'm waiting for it to get good and dry to add beads and whatever to the exteriors.


Done 016

These lockets with doors were cute as is. I thought they looked like doors to the Dwarves' cottage.  I found them at Victorian Trading Co.

We have the only outlet store for the catalog here in KC. Typically, I prefer junk shops, but this store is my weakness.  And having everything there 50% or more off the catalog price doesn't hurt.


1a6907

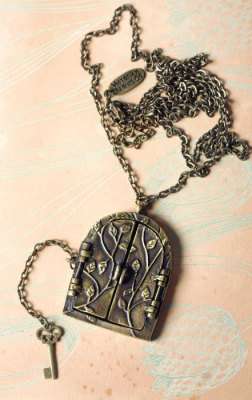
This photo is from the catalog.  They call it a Fairy Door, and that works for me too, of course! But I thought it would be great for Snow White. The other lockets I made collages for are from there too. 


1a3658-2
1a6760

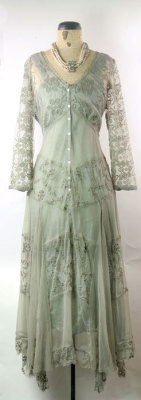
The reason I was shopping there was to find a dress that had a fairy tale feel.  I tried on everything in the store, some were too Victorian, a lot were too young looking, most were too small. But I did end up with these two (I didn't get green, I got taupe)

They could probably be worn to a Downton Abby party too, if anyone wants to invite me to one. hint hint???

I'm thinking about wearing them with velvet jackets and boots. Less fussy, more me.

And the best part is that they were much cheaper than the catalog, less than half price, plus for every $100 you spend, you get a $20 gift certificate.   Which bought me a bagful of lockets!


Gloating in my Early Birdness

Books, Snow White, vintage paper/collage art, Workshops

Misc 022
Well, I still don't have the piles of extra wallpaper photographed and listed for sale in my Boutique. But the KITS ARE DONE!!!

  As I was cutting up hundreds upon hundreds of pages, I thought it was going to seriously deplete my supply.  But, I think I'm safe there… (I have two more storage places for papers too)

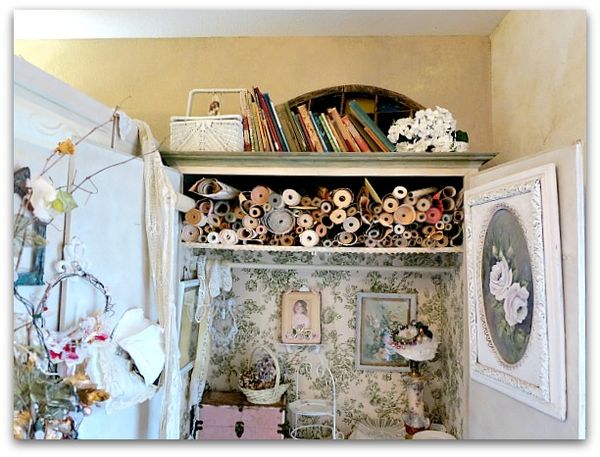
The fairy tale books that I have been buying went up on top of the Treat Cabinet for storage.  I like having them separate from my other hoarded piles of old books, so that I don't accidentally use the pages for wrapping paper.   These are special! 


Misc 024

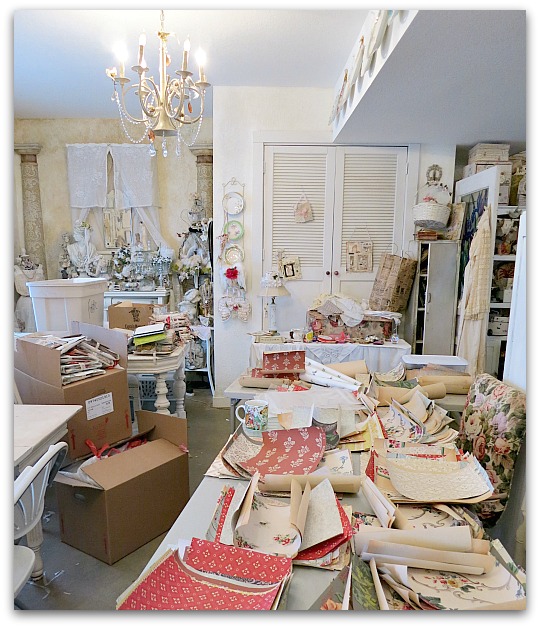
My poor, poor studio, still has not recovered from kit making for an Enchanted Affaire.  But look! The kits are DONE.  Two giant boxes are filled up and ready to mail when the time comes. What a nice feeling to have it all packed up a month early.
Well, mostly all of it.  I still have to box up examples, extras, etc to take along.  I'll probably add those to  my suitcase.  These boxes are heavy…  what makes me decide to make such elaborate, complicated, heavy kits to ship all the way across the country??? I tend to get carried away by what would be exciting to do, not by what is practical to do.

Backhoe 027

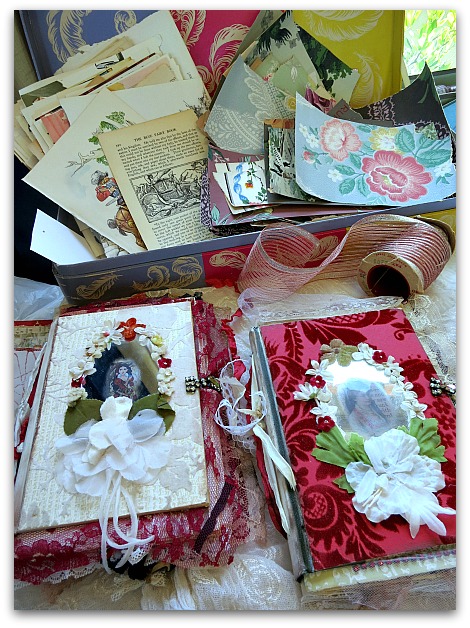
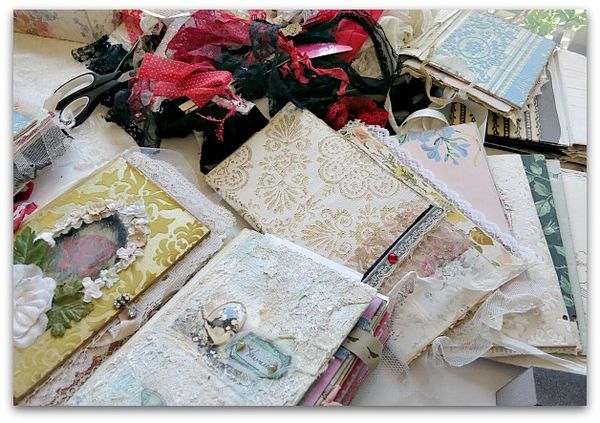
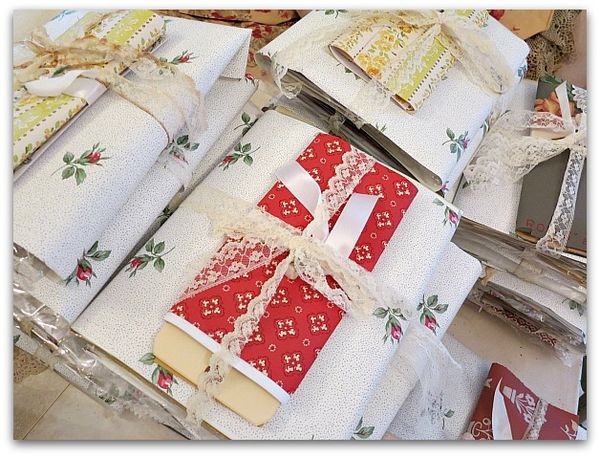
The kits are wrapped in papers and ribbons that can be used when creating the project. And what is fun about these packets of goodies, is that no two are just alike. It would be impossible for two people to make the same book.  And they are chock full of The Good Stuff. Yummy!

Progress despite the Kansas weather

Nathan Family Fairy Food Forest, Snow White, Sugarwings

Backhoe 015
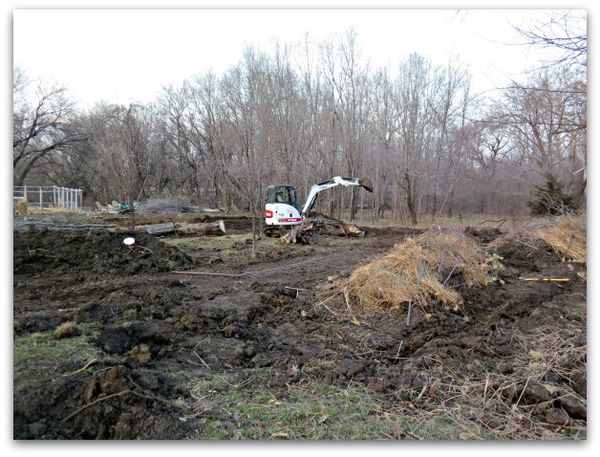
We have had some spotty weather this week while we've rented the backhoe to prep the field for it's transformation to a food forest. 

But between cold and rain, there have been enough days to get some work done.  On the nice days, I've been slathering paint onto a 15' canvas for An Enchanted Affaire.


Misc 021

It's progressing, but still needs a lot of work.  I was hoping to get it done before my trip this week, but that is not happening.  At first, I thought I'd only work on it during nice days so I could open the garage door for good lighting.

But since there are so few of those, I'm going to have to plug in a space heater and keep the door shut.


Backhoe 006

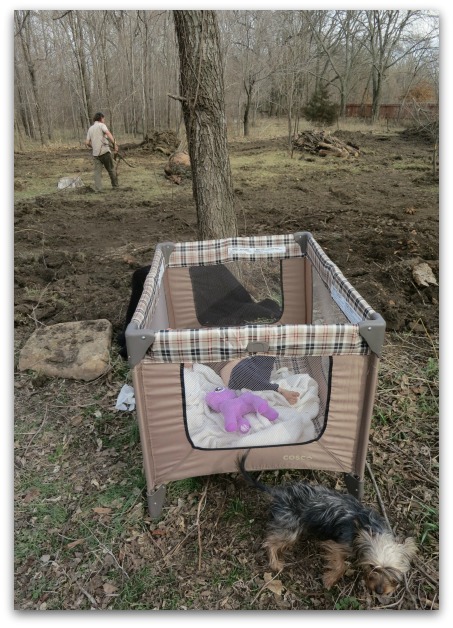
As the work progresses on the Nathan Family Fairy Food Forest, we've all juggled turns watching Dewdrop.  This was Albie's turn.

 
Backhoe 021
Backhoe 022


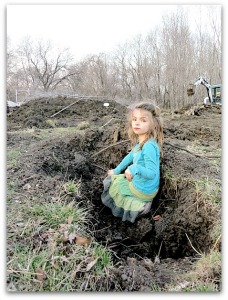
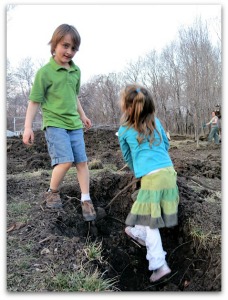
As long as the weather cooperates, the kids are having a blast playing while the parents work on the garden landscaping and Grammie paints in the garage.

But we only have the backhoe for a week, and we've had as many bad days as good days.  It has a heated cab, so my son can keep going, but not during the deluge of rains or the snow that we have had. The weather has been so sucky, that the rental company is giving us an extra day for free, which helps a lot.


Backhoe 020

There has been a lot of progress, whether it looks like it or not, even with the bad weather.


Backhoe 011

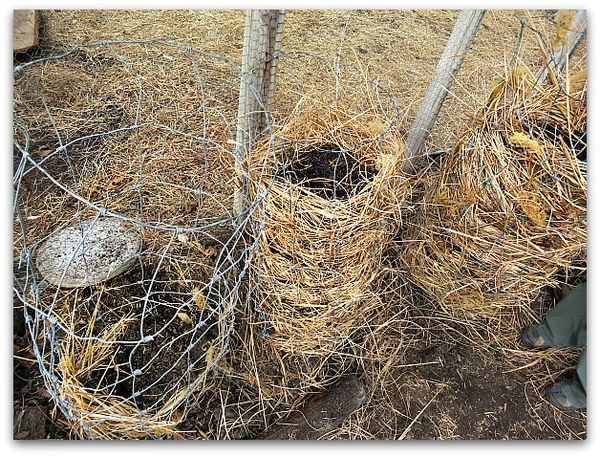
We even have the beginnings of a crop!  Our Gypsy  planted potatoes for St. Pat's Day.  She has taken a wire tomato cage, lined it with straw, and filled it with dirt and tater eyes.  The theory is that the plants will poke out through the holes of the cage, and when the crop is ready to harvest, you just remove the cage, let the tower of dirt topple over, and pick through it to gather your potatoes.

Genius!


65504_10151473867564477_754784787_n

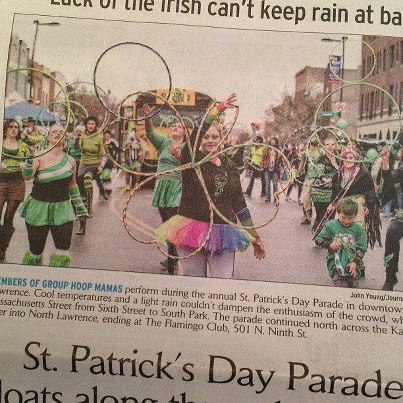
Speaking of St. Patty's, Sugarwings and her Hippy Chick mommy were both in the parade this year.  Here is her mom hooping it up, on the left.  Our little leprechaun was in the bus.  That is good, because it was COLD.

Backhoe 016
I'll be away for a few days, seeing the Guncles in Florida and visiting some friends. (details later, it's a surprise visit for someone) I could use some Florida Sunshine!!!

I've prewritten some posts, so please keep coming by to visit.

There is only so much time in the day, so I try to make the most of it!

Books, Dew Drop, fairies, family, Snow White, vintage paper/collage art, Workshops

School music program 090
There is not much new around here, I'm still wading through piles of Snow White books and items to stuff into the kits.


School music program 082

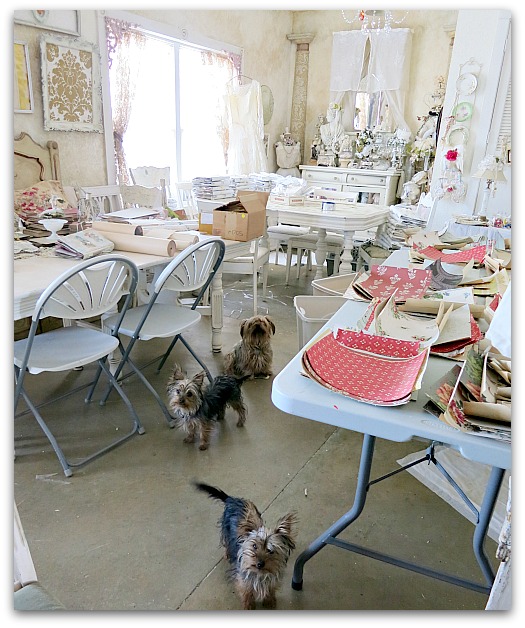
See what I mean?  Every table in the studio is heaped up with carefully sorted (even though it doesn't look like it) goodies to do with the kits.  I even set up two extra tables, and also filled tubs. 

But hey, there is HOPE! Look at the stack of wrapped kits on the far table, in front of the window. Yep, the packaging is almost done.  The rest of the room is just littered with the detritis of making the kits.

Those stacks of cut wallpaper on the table?  Some of those are sorted into piles, ready to photograph and add to the shop.  My son and I got just a tad carried away on those chopping and ironing days we had.


School music program 088

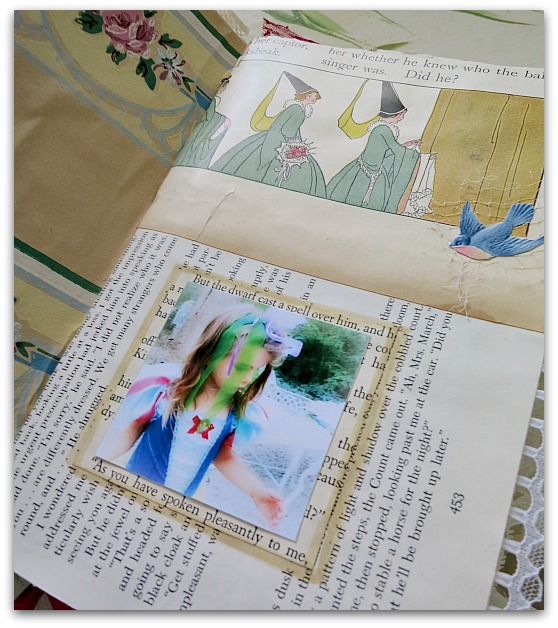
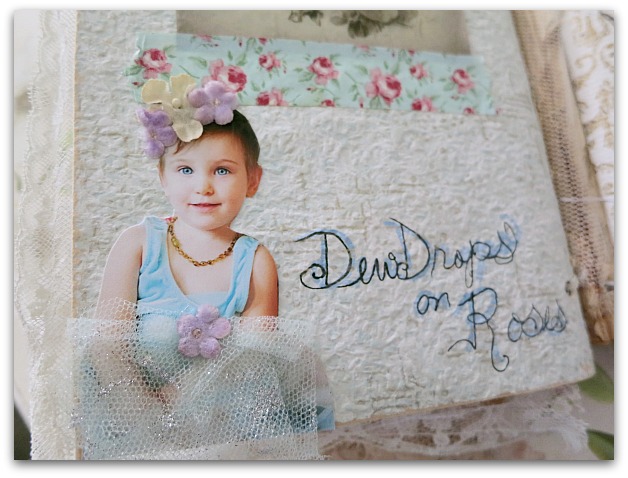
But the truth about why nothing else is happening around here, is that I am soooo hooked on the books themselves.   I've made up four examples for the class, including one that I'm am keeping for myself and personalizing with family fairy tale photos.

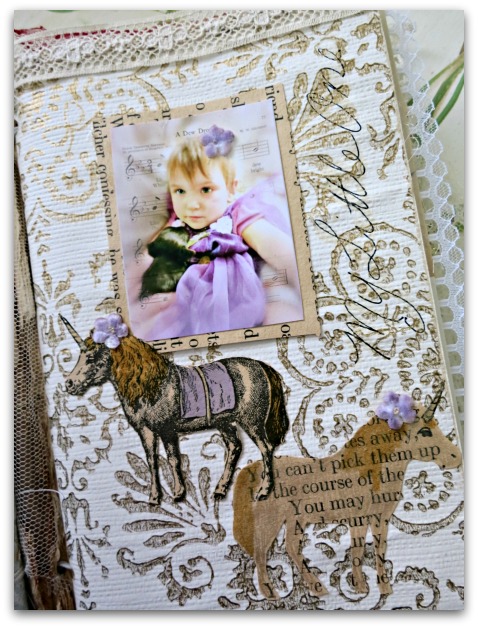
On this page, I've taken a page from one of the children's story books, and cut Black Beauty from it, with another page behind the horse as I cut it out so that I ended up with a second animal shape.  (it was an accident, but one that I am glad that I did!)   I added a unicorn horn to each, flipped one over, layered them on the paper, and tinted them with glitter markers.

Dewdrop adores "honies" above all things.  She is a "My Little Pony" addict, and calls them honies.   So, this page is for her.


School music program 089

There are other things I could be doing, but this is more fun.  Plus, I thought the students  might appreciate having samples in different stages to look through.  This one will be almost complete, but I am saving space in it to add pictures from the event itself.


School music program 087

There has also been some Birdsong3 behind the scenes details to tend to.  It's funny how much time such things take up, even when the event in months away.  Oh, but how worth it! I'm really excited to know that I have both of these fun weekends to look forward to.

Hopefully, once I get all of these kits boxed and ready to mail, I can concentrate on making Birdsong projects and kits.  And selling that pile of wallpaper. And doing my taxes (Beth offered to help!! Yay, there is nothing better than having an accountant buddy at tax time. And all I have to do for her is redo her antique mall booth.  Heck, that is a pleasure to do, not a hair pulling, tear inducing, fork in the eye, task like tax prep).

There are also extra kits from last year's Birdsong that I forgot about. And need to add to the Boutique. I'd planned on listing them last year and haven't yet. I also found a stack of surplus Fairy Book covers that I'd planned to sell too. 


School music program 084

But there is only so much time in the day.  You know what I have noticed?  I can keep going full tilt and workiing my backside off (not really, it actually seems to grow, not diminish) and never really get ahead.  Because there is always more to do, and only so much time in a day.

I've noticed that my income seems to level out, no matter what I am working on, because nothing is "extra", it ends up taking the place of something else.  So, if I do shows, I am ignoring my shop.  If I concentrate on the shops, I am not having time to make things.  And on and on.

You just can't do it all. At least not at the same time. But that is what is such fun about my so called job.

I can switch it up, go from classes, events, creating, selling, shows, one to the next.  It certainly never gets boring!  When I focus on one area, it does very well, especially the Boutique. But my life would be very dull if all I did was photograph and list and ship every day.  So, I'm glad I can stretch out and try different venues and take breaks from the online shop.  It's still there, still selling, but not as much when I'm not adding to it reguarly.

Yes, changing my focus might not be getting me ahead financially, but it sure keeps me hopping and happy!


Scroll to Top