studio tour

A visit with Peeps

friends, studio tour

Enlight1341
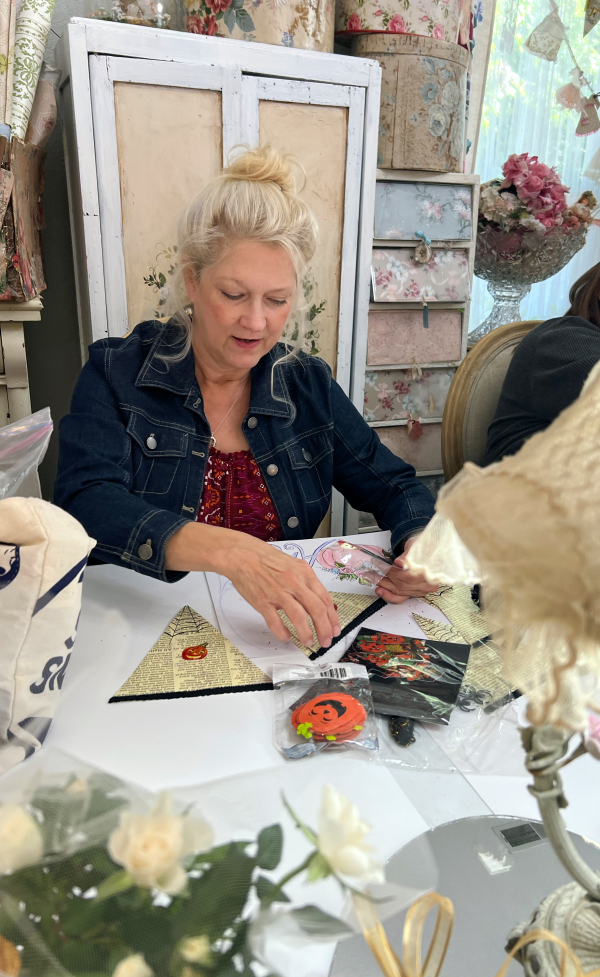
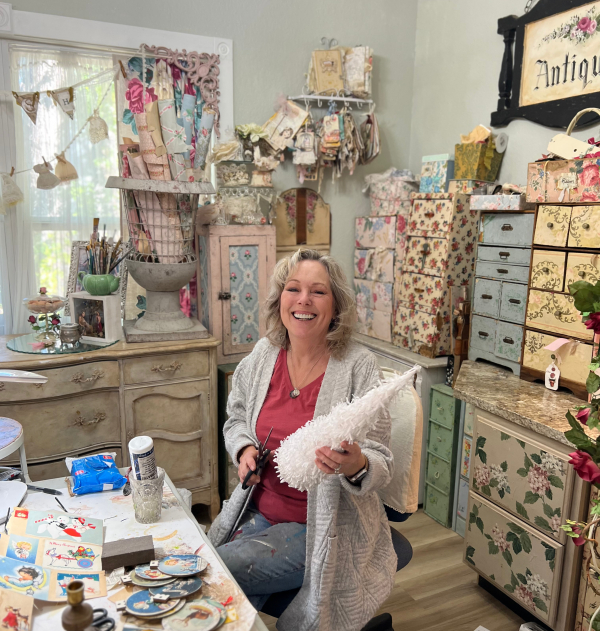
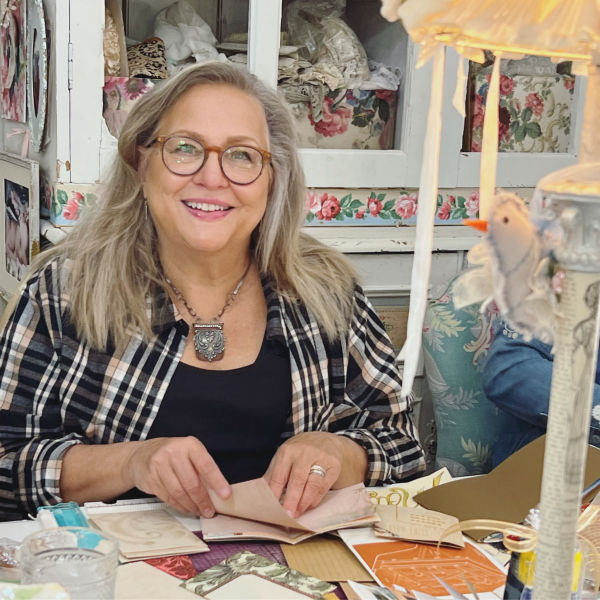
My friend, Maggie, was visiting from the west coast, so I hosted a craft day with local peeps in her honor.

Enlight1346
Everyone brought their own crafts and a side for lunch, I made a meatloaf and bread.

Enlight1343

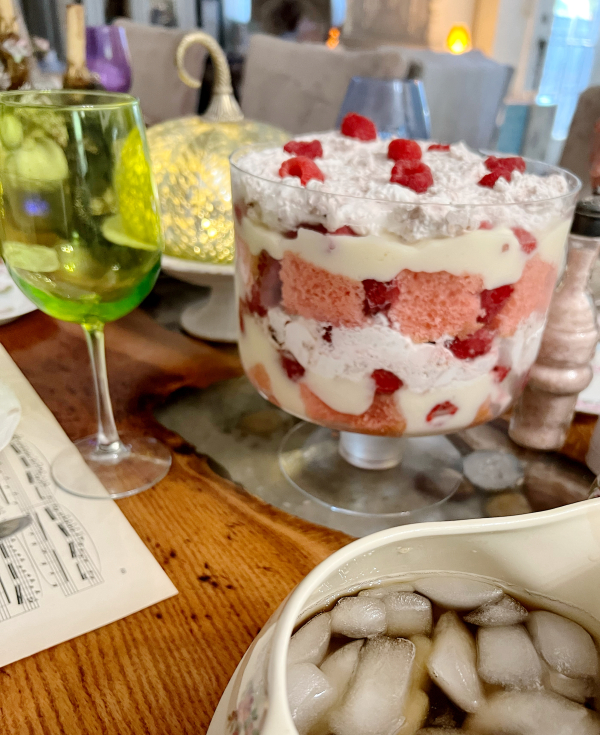
Angie made this lovely trifle with fresh whipped cream, which tasted even better than it looked.

Enlight1345

Over the years, I have discovered that sheets of white poster board work best on my craft tables to cover up all of the stains and wear.  

Enlight1344

Previously, I’d either taped down craft paper, or used throw away table cloths.

Enlight1360

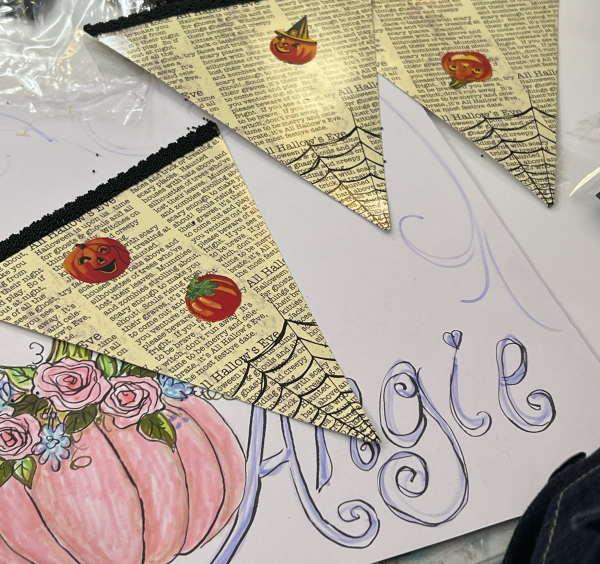
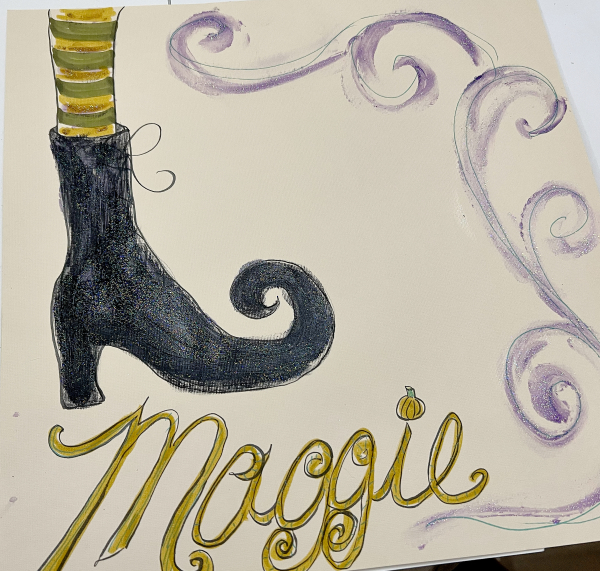
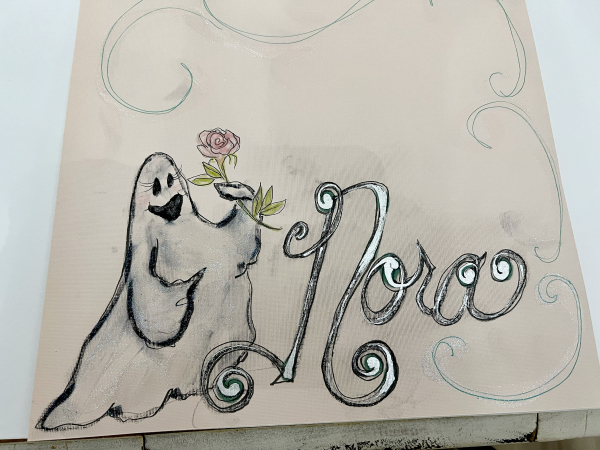
To dress up the plain white, I make placemats of scrapbook paper with names.

Enlight1359

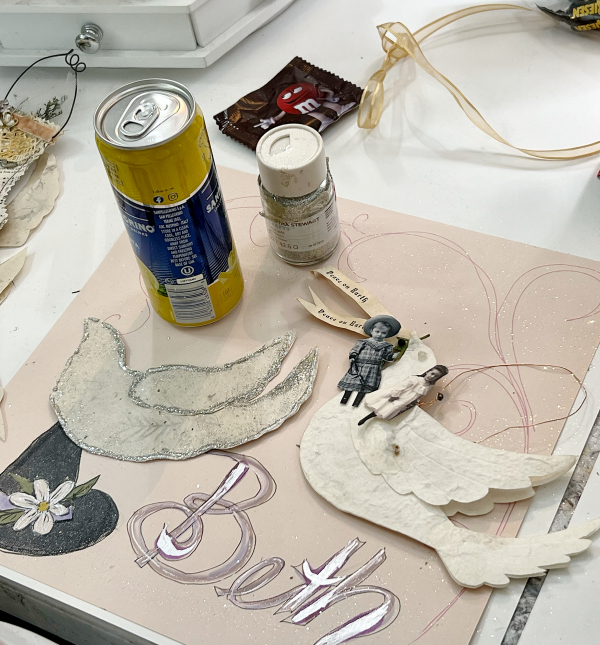
And some quick little doodles.

0DDD6C65-A71B-46B5-830A-4600721A7F25

Of course, once we get to making things, you don’t even see the table.  If you’re doing it right, that is! 
SavingPNG
I was working on Xmas goodies.  My booth is all set up, ready for the November First Friday weekend, so now I’m making stuff to refill it for December.  
It was exhausting to redo the space immediately after the October sale, but there is no way I could comfortably leave on vacation without having it complete before taking off.

Enlight1347

After getting my billions of buckets of holiday inventory tagged and arranged, I was finally able to relax and enjoy a sweet day with friends.  I was sure ready to sit back, snip and glue while chatting.  Just perfect!

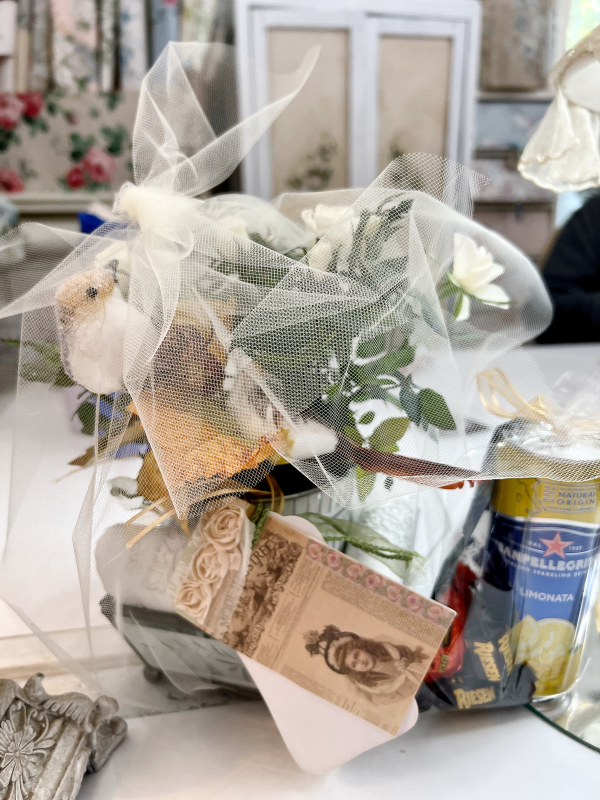
And thank you, Angie for the white roses, all wrapped up so special.

Studio tour part two, behind some doors

collections, cottage, studio tour

SavingPNG

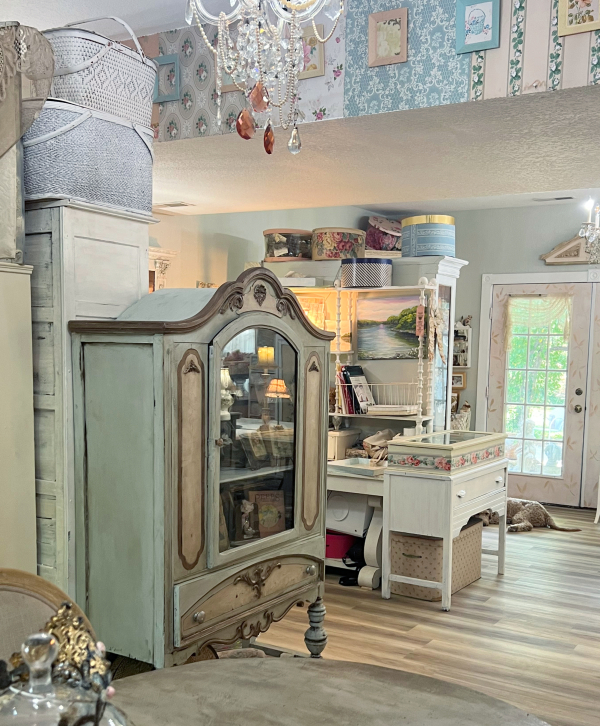
It would be impossible to pick a favorite thing about the studio redo.  Unless it is the time spent with my boy.  Adam drove out from NC for a week of work to transform the cold, hard, cement floor into a cushy, warm vinyl one.  
SavingPNG
While here, he got the work done in record time so we were able to have some fun adventures while we had him in the same state for a while.  And he accomplished so many other giant, or little helpful tasks.

 He repaired the basement foundation (very big!)

Tuck pointed the rest of the foundation

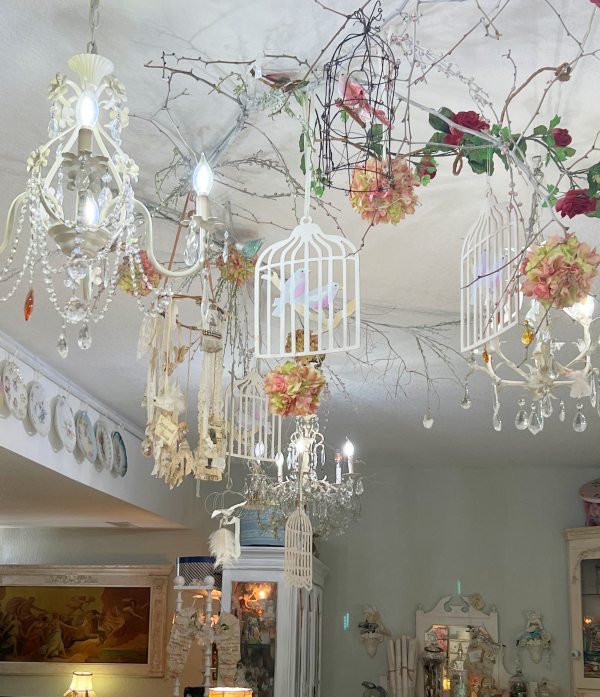
Hung chandeliers and branches on my ceiling

Repaired my desk chair

Replaced all of the weather stripping throughout the house

Fixed a water damaged threshold

Trimmed up some damaged siding and screwed the downspout into place so it wouldn’t happen again

Helped haul and reposition all of the furniture back into the studio once the floor was done, into a puzzle piece layout that made the most of my square footage

And that was just in the spare time he had since the floor was finished so quickly.

Basically, he wandered around the house and figured out what needed some tweaking or redoing, and just fixed it.  He was busy all day long and into many evenings the whole week he was in Kansas. Sugarwings was thrilled to have her daddy around, and so was I.  It’s not that often that a mom gets a complete week of one on one time with a grown son, especially one who is a master craftsmen and fixes everything that he sees wrong.
SavingPNG 

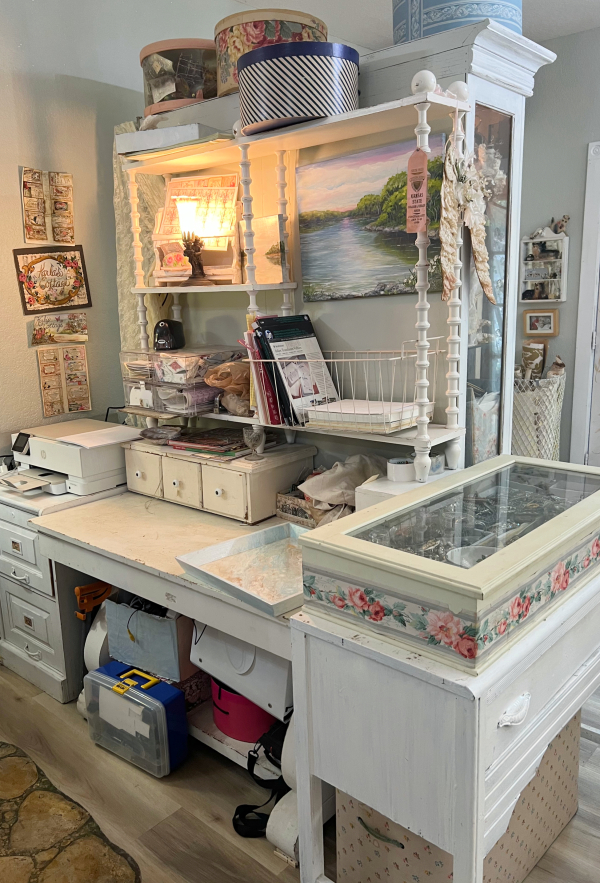
I had a vision of exactly how I wanted my tagging/shipping area by my desk, but the pieces didn’t quite fit.  Adam stopped to cut small bits of wood to adjust heights and made this come together for me.

Having all of the items I need for price tags, printing, and shipping is going to make getting inventory ready to sale a breeze.  I might hang a curtain over the bottom of the table though.  The piles under there kinda take away from the streamlined look I wanted.
SavingPNG

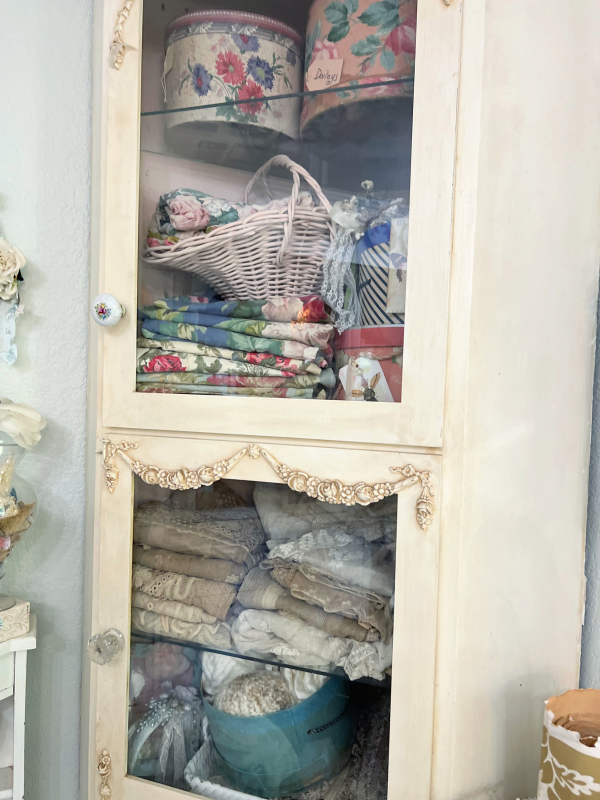
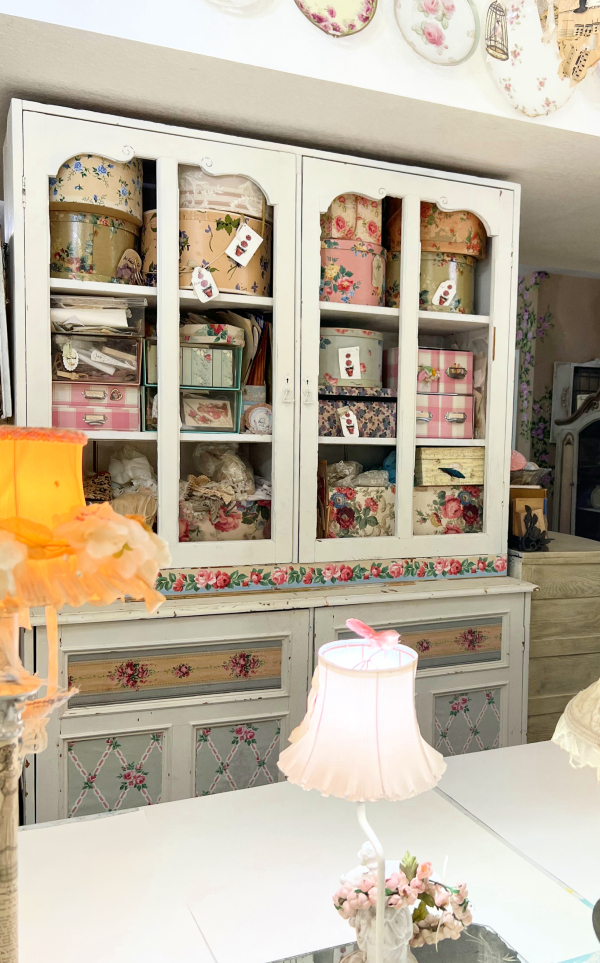
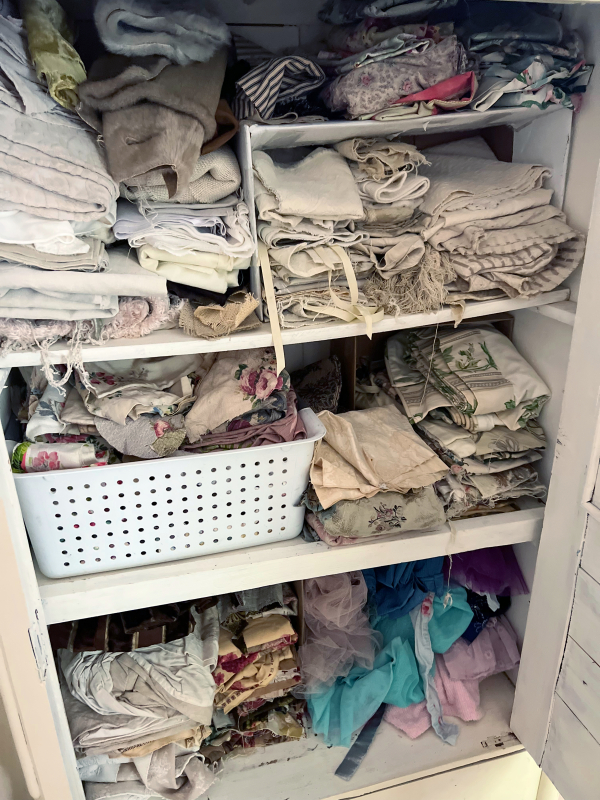
While adding my goodies back into the room, I spent time thinking about how to store them in a better way.  Instead of piling all the fabric into this cabinet, I separated by type or color and used cardboard boxes and a basket to make dividers.
SavingPNG

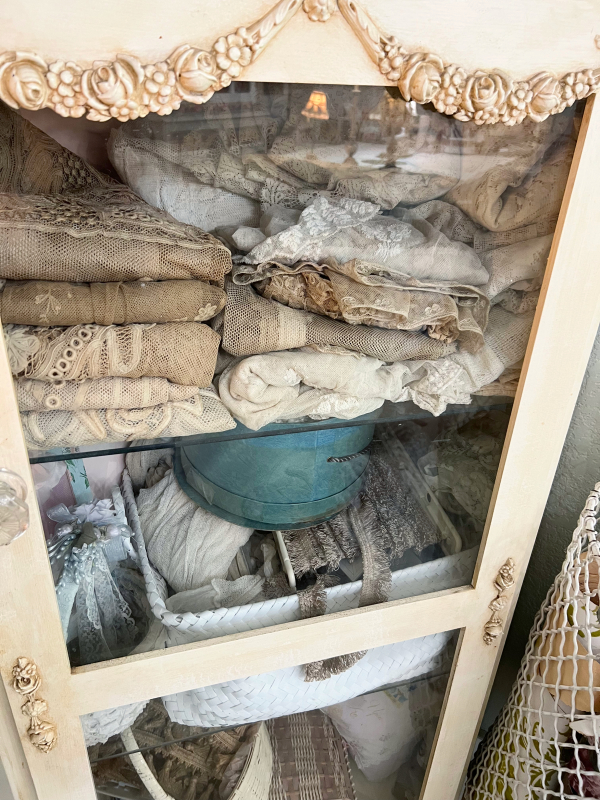
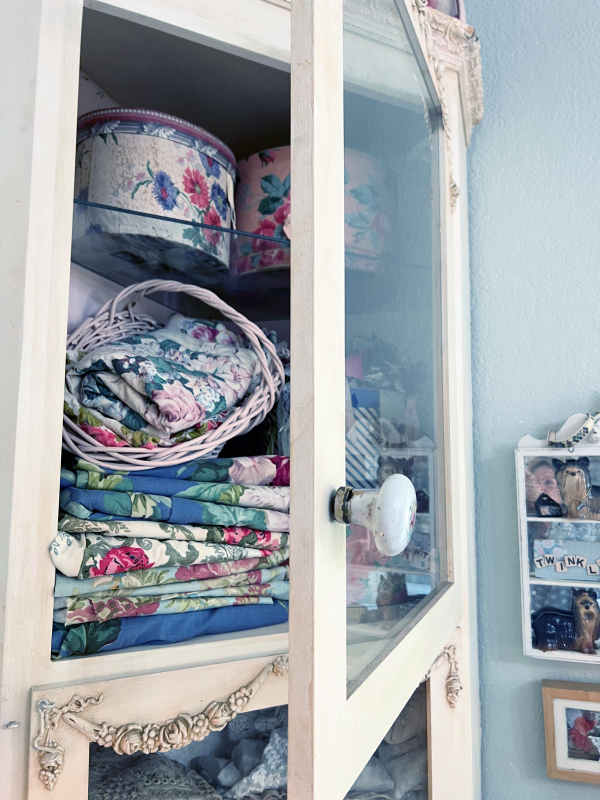
The loveliest fabrics and lace panels were put behind glass.
SavingPNG

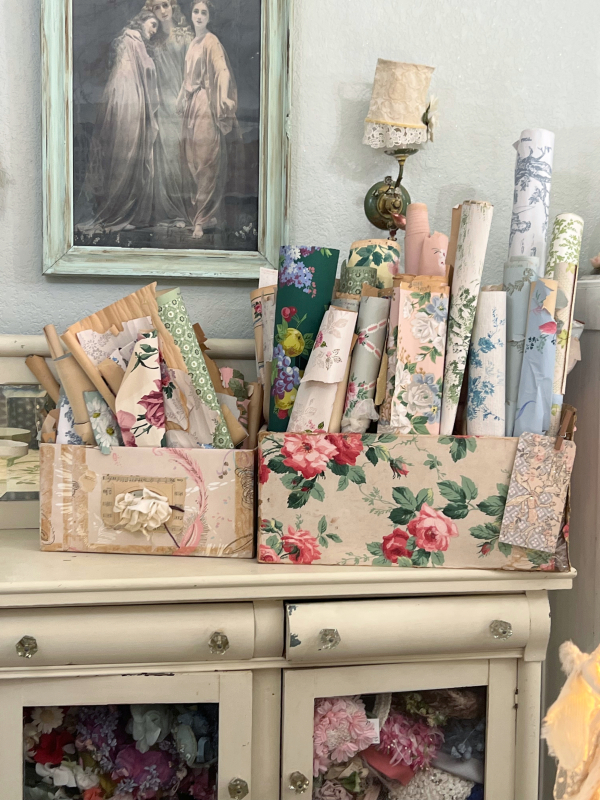
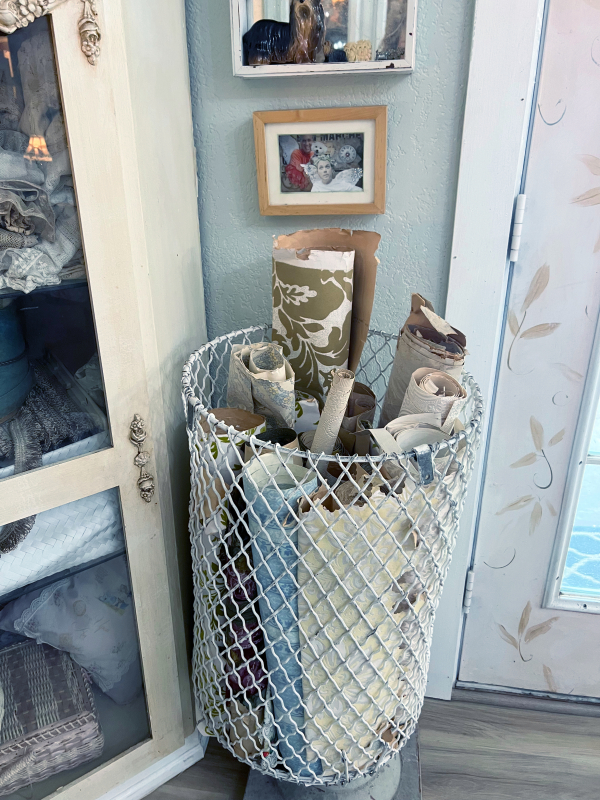
Instead of keeping my beloved wallpaper in a hard to get to stack, it’s now in multiple, easy reach containers.
SavingPNG

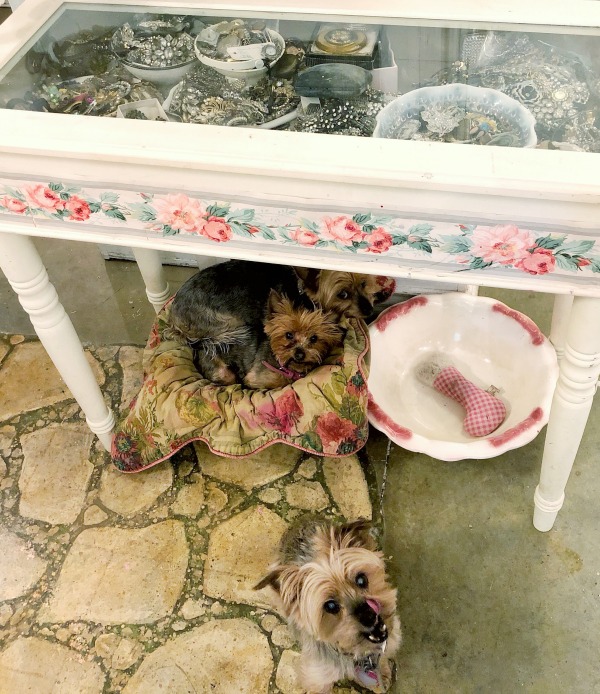
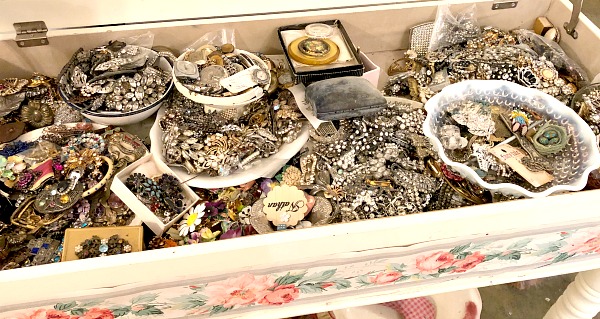
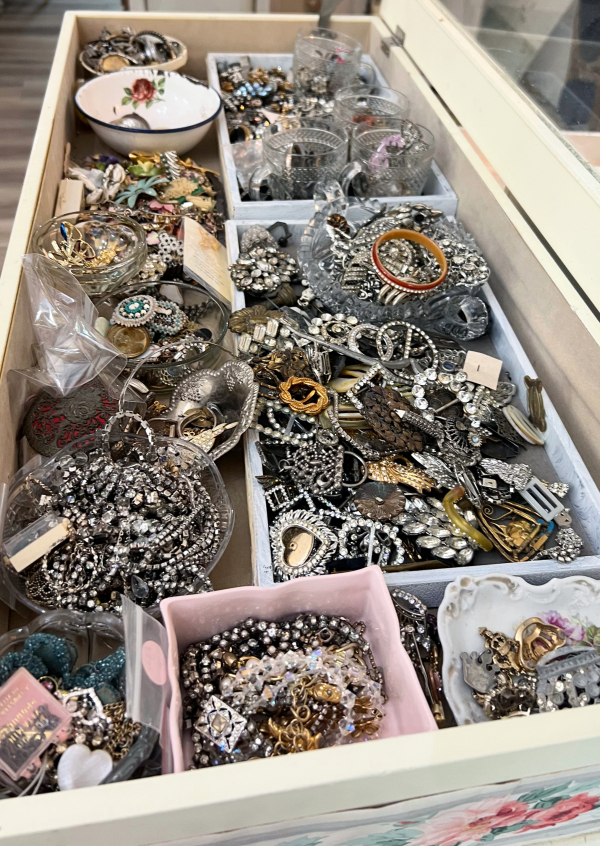
Some things were left as is.  I’ve always liked having this glass topped box of jewelry on a table near my work area.  These are mostly pieces meant for gluing onto projects.
SavingPNG

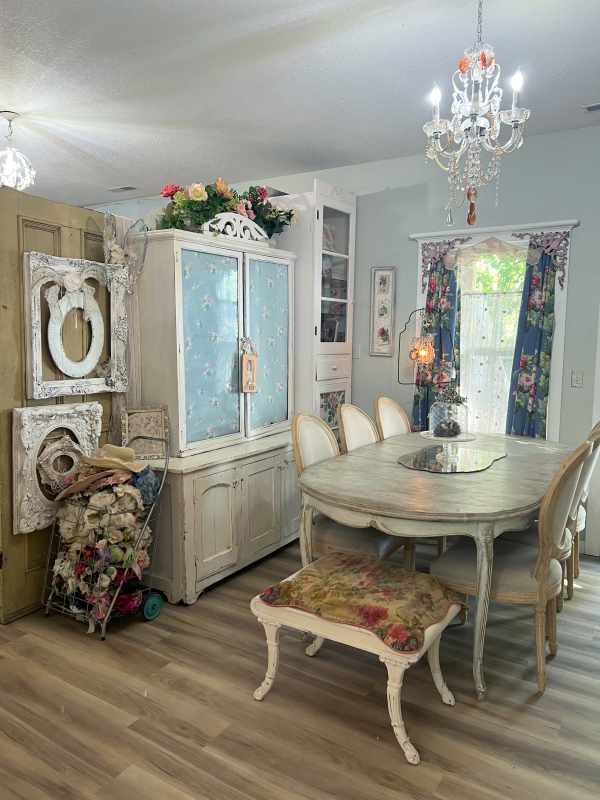
The stacked, plastic boxes of beads and findings to make jewelry are all stashed in this cabinet.  I’d covered the back wall in a pretty wallpaper, but then didn’t like seeing the chaos of the plastic bins.  So I got out more wallpaper and taped it up on the inside of the glass to hide the supplies.  

This is a table that I hope to keep cleared for making jewelry.  The tall cabinet is filled with books and behind its wallpaper covered door is tools.
SavingPNG

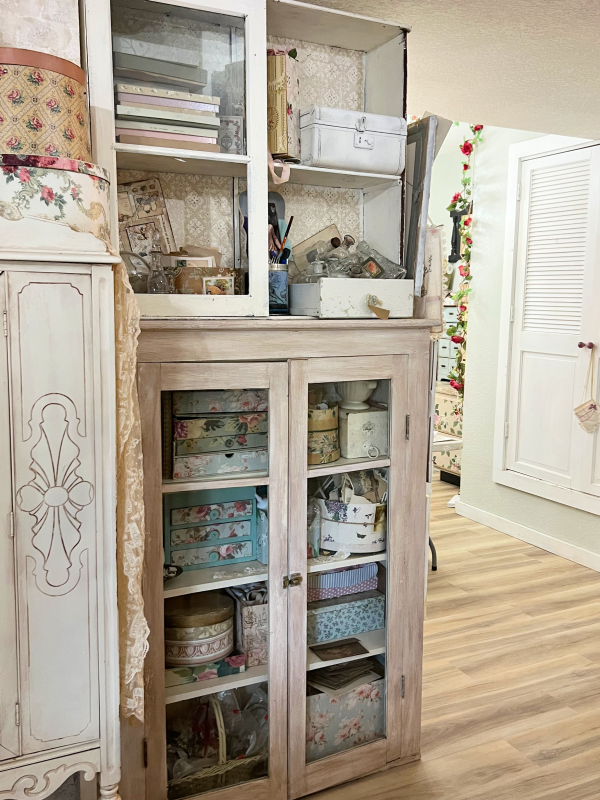
Many of the things inside this piece are in the same spot they always were, just the cabinet is moved.  Same with all of my little wallpaper covered chests.  I can still find most things, the cubbies they are in haven’t changed.  Old habits are hard to break, so I did my best to reuse the same boxes for the same stuff, just in a better way.
SavingPNG
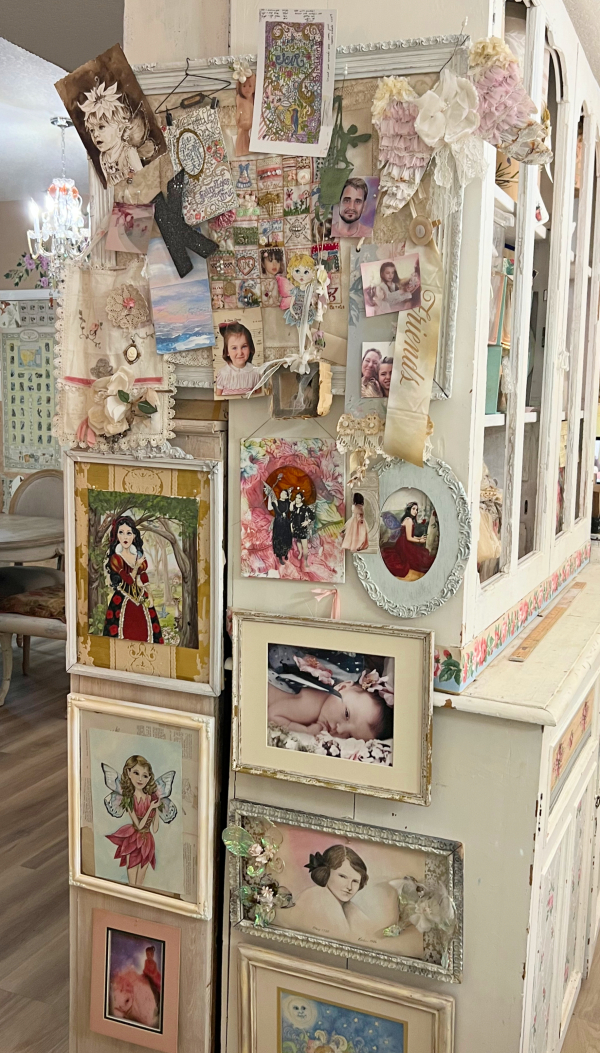
My paintings, family fairy pictures, and gifts from friends are gathered into one inspiration board type spot instead of scattered around the room.
SavingPNG

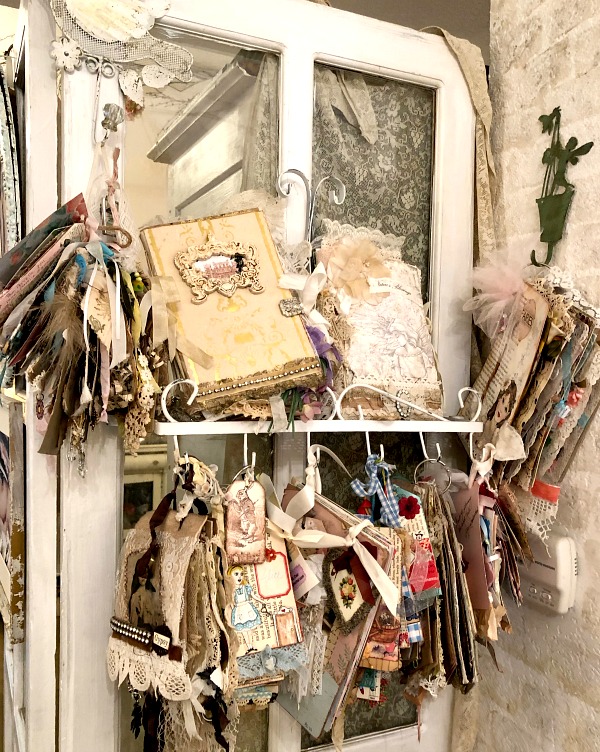
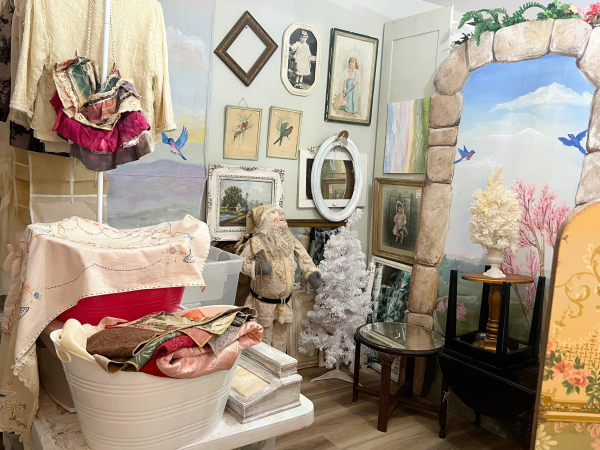
This is the storage area back in the corner behind the screen.  I’ll be bringing stack of painted furniture in to fill it up and possibly overwhelm this space.  But at least it will be out of the way and in its own spot.  
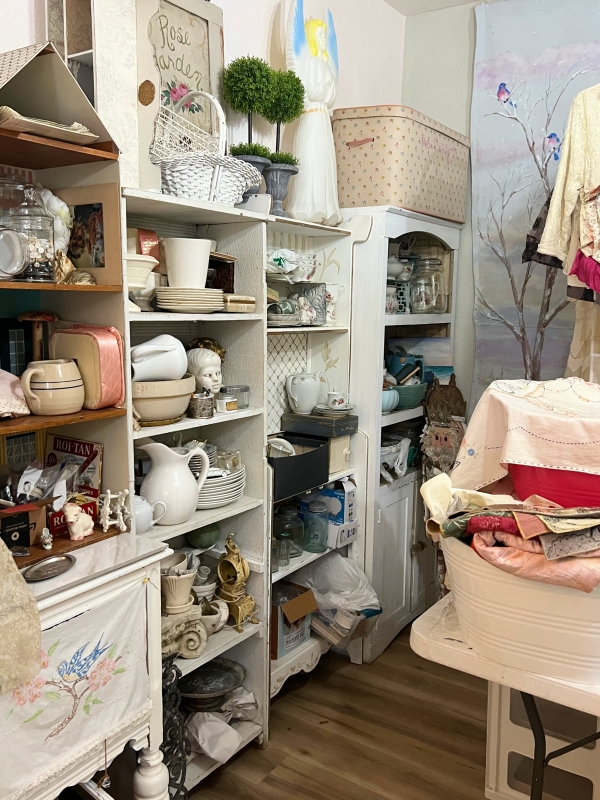
SavingPNG

These shelves are filled with breakables and stuff that doesn’t easily fit in tubs.  It’s all inventory for the antique mall.  I also use clear plastic tubs to store stuff for my booth, and stack them up in the garage.  As I buy goodies at garage sales, I sort them into color or season and put them into the clear bins.  Now, if I could just train myself to tag them first…
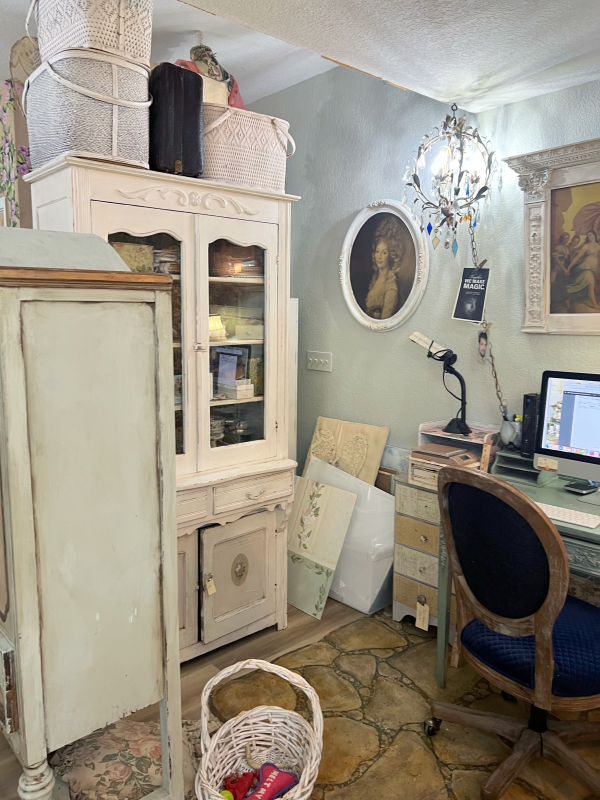
SavingPNG

All of the items for sale online go into a cabinet next to the computer so I don’t mix it up with my other inventory.  I hope to get this piece stocked up for the holidays now that I have finished this huge reorg of my studio.

Of course, there is a dog bed and basket of toys by my desk too. Molly and Dorothy like to hang out with me there. 
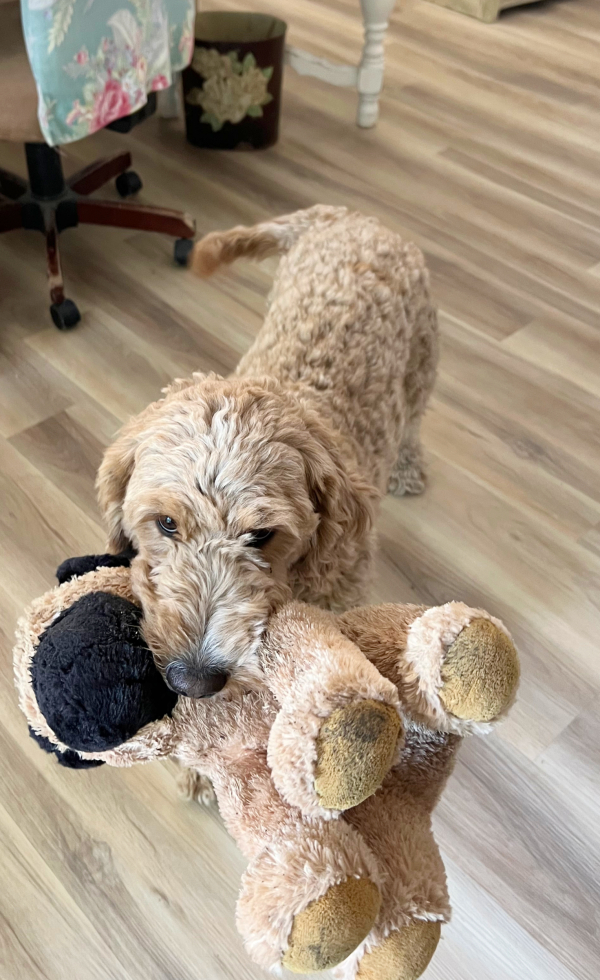
SavingPNG
Molly always needs her toys nearby.

Thanks for looking around with me!  Now, I’m going to go enjoy that room that we worked so hard to recreate.
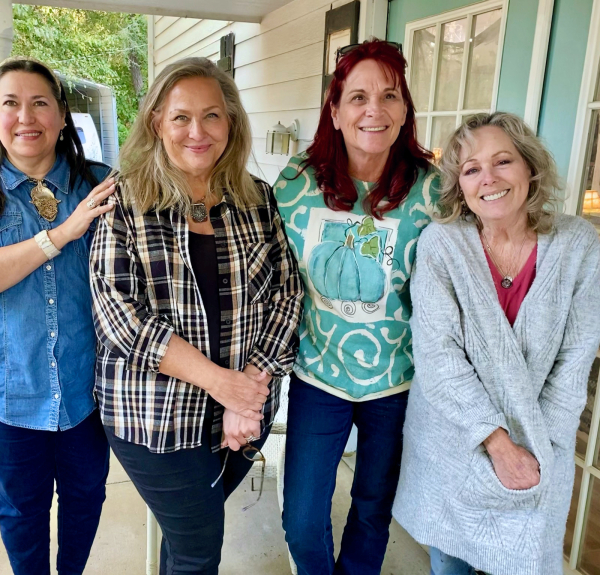


Not just a new floor, a whole new look and organizational system in the studio

Chandeliers, collections, cottage, studio tour, wallpaper

SavingPNG
I have officially moved back into the finished studio!

SavingPNG

And I adore each and every little nook and corner.

SavingPNG

Not only is the new wall color calming and serene, the new floor warm and easy on the feet, the area seems so much more spacious.

SavingPNG

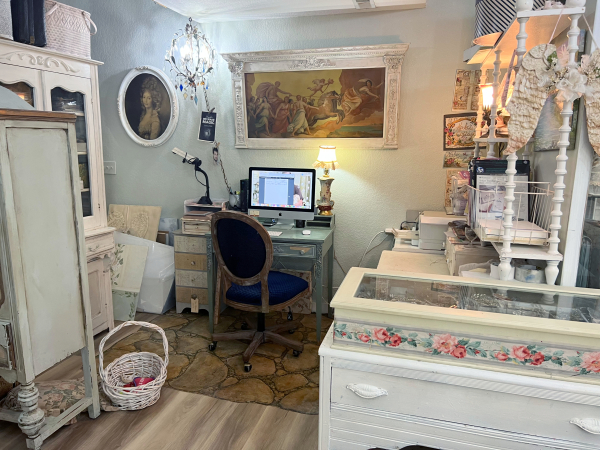
Mostly, it is the same stuff rearranged into a more peaceful set up.  Previously, my computer area was a dark, crowded hole because I wanted it out of sight.  Now it is laid out so that everything is attractive and still workable. 
SavingPNG

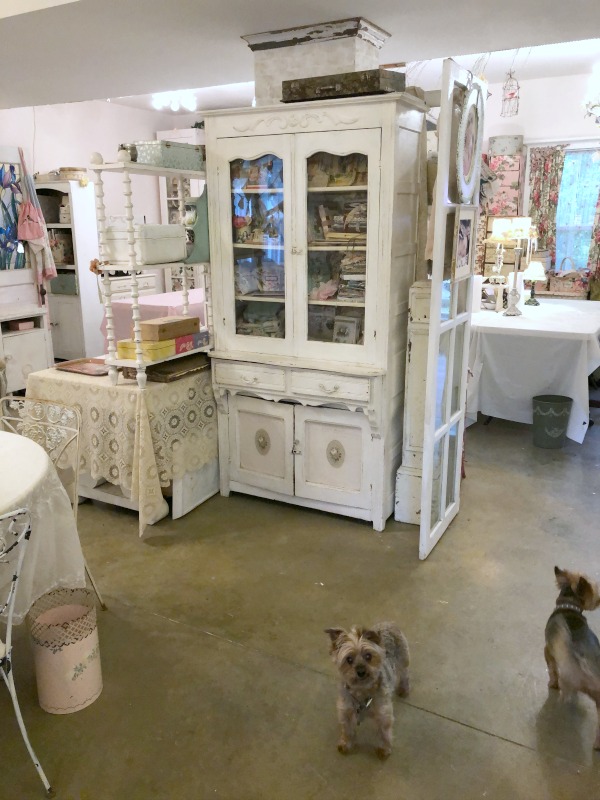
Inventory for the antique mall had taken over the room.  Now, I’ll be (hopefully) containing it in this corner, behind screens and pretty doors.  
SavingPNG
The lighting has had some big changes.  My workspace is now in front of the window, which helps a lot.  I’d had stacked furniture for good juju there and it had completely blocked any sunlight from streaming in, so that stuff is now located in the back corner storage area that doesn’t even have a window to block.

All of the table lamps’ and chadies’ lightbulbs have been switched out to clear, white, daylight LED bulbs.  Which means I have an boxful of mismatched off white and soft white bulbs that I won’t be using.  At my age, I need all of the clear, clean light I can get.

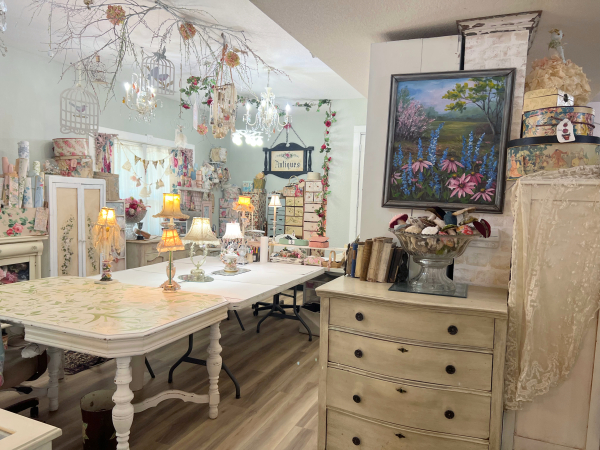
My son added two chandeliers on hooks above my work zone.  I covered the cords in branches and floral vines.

SavingPNG

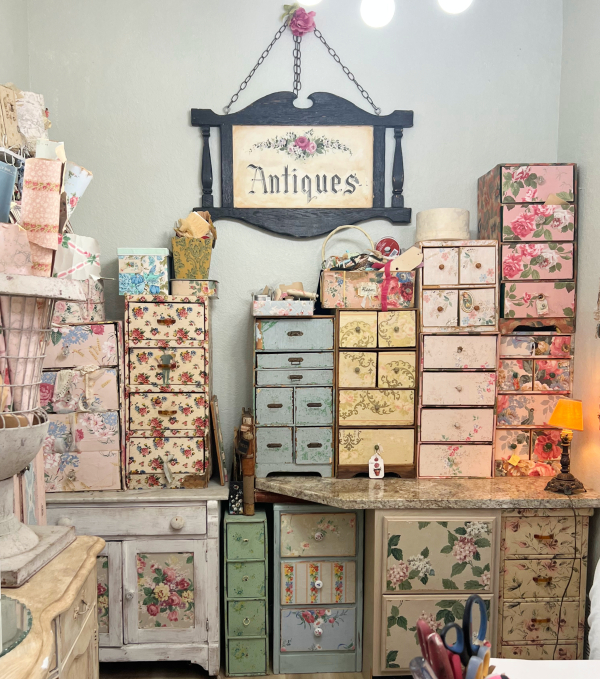
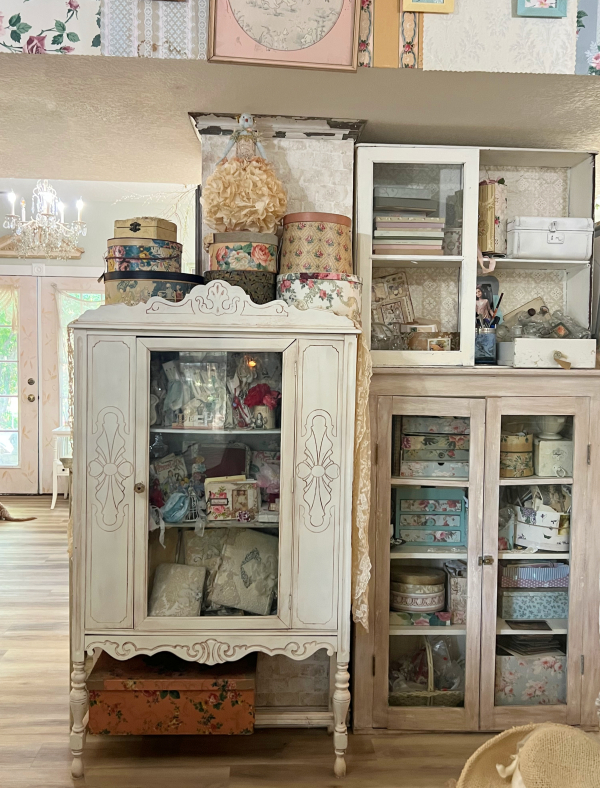
I was able to gather all of the wallpaper cabinets together for a bigger statement.  And they are convenient, right behind my rolling chair so I can glide over and grab supplies out of the drawers.

SavingPNG

Rolls of wallpaper are no longer in the big cabinet once used for treats and storage.  That giant piece is now in my breezeway, filled with outdoor cushions that I used to have to stash here, there, and everywhere.

The wallpaper is divided into five different containers and (sorta, but not quite yet) separated by color or style.

SavingPNG

Pretty curtains that had been jammed into drawers, now are folded up behind glass so I can enjoy them.

SavingPNG

Mt main goal was to find the very best options for all of the stuff that had taken over, and store it away into an intentional way.  Labeled, or plainly in view.  Because I tend to lose or forget I had things.  
SavingPNG
A place for everything and everything in its place!

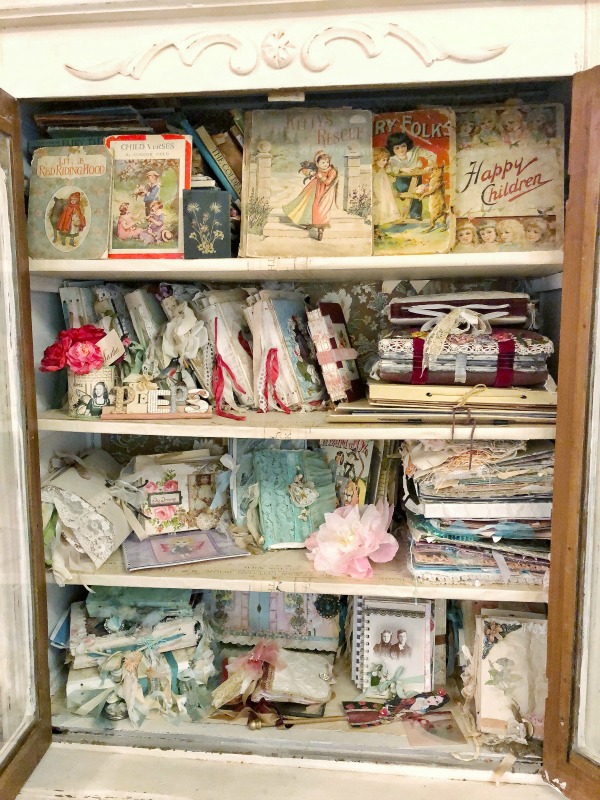
Most of the cabinets are filled with functional supplies.  But I did indulge a bit with just pretties.  The one on the left holds my scrapbooks.

SavingPNG

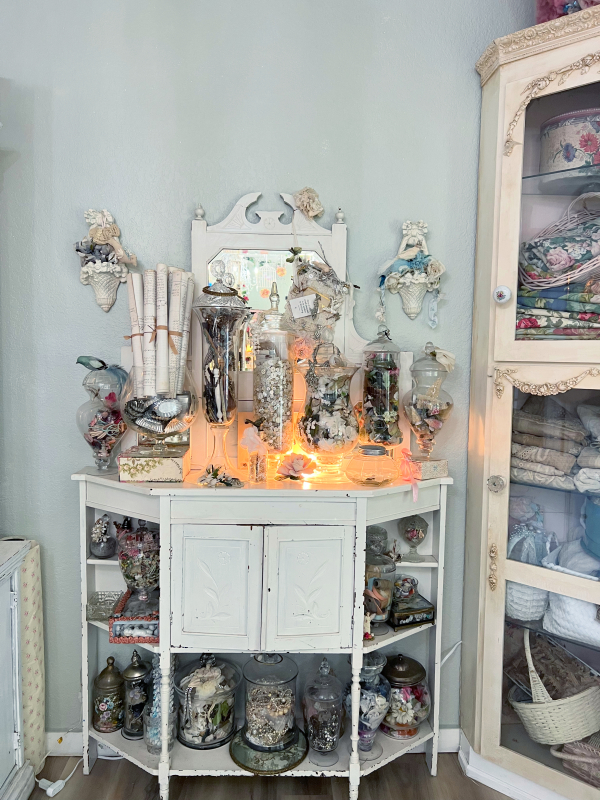
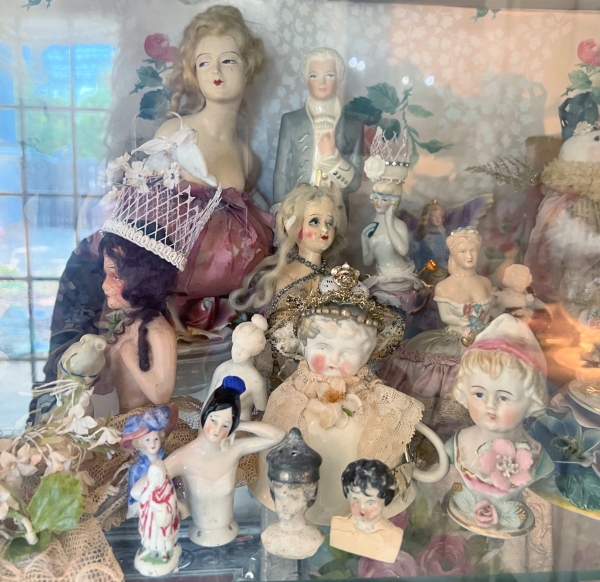
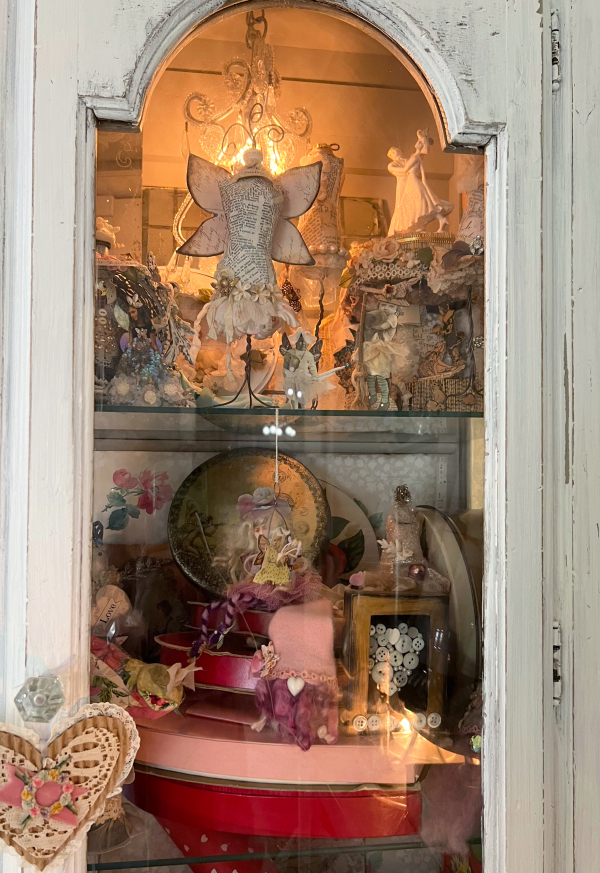
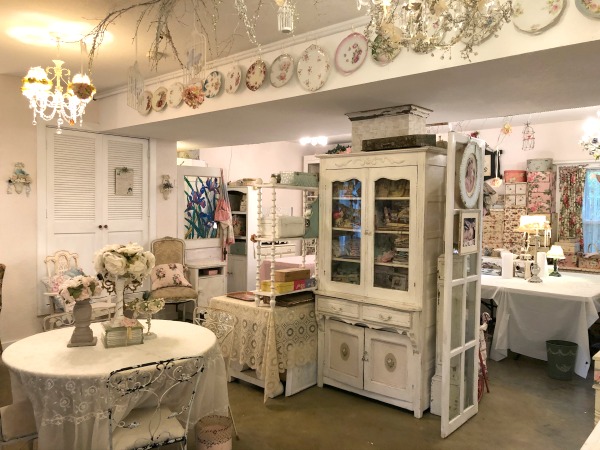
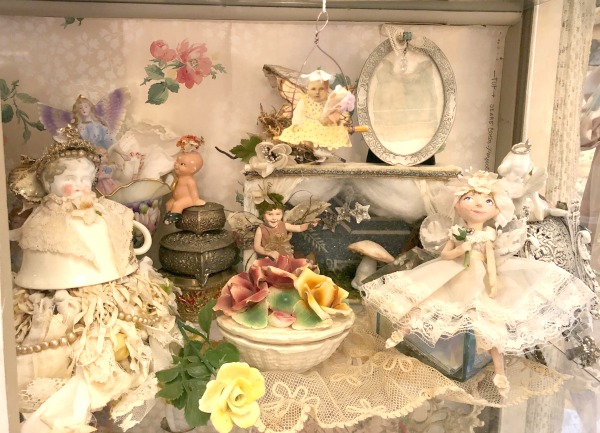
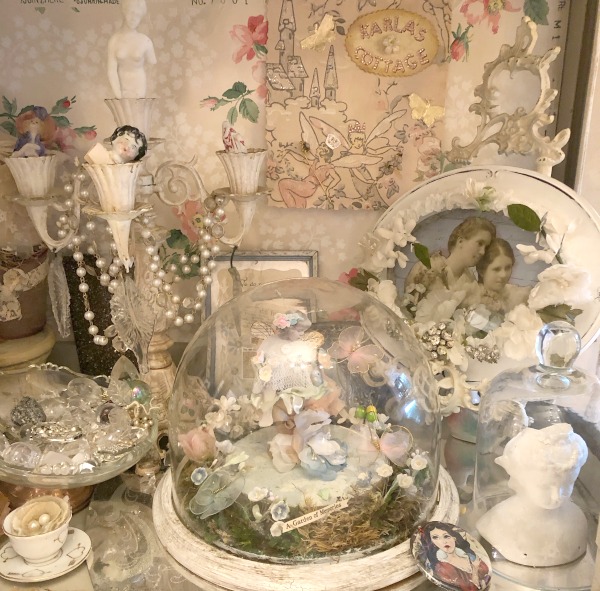
And my hutch still has a few collections behind the glass doors.

SavingPNG

Although, about a third of the hutch is now used for supplies, not just pretties.

I’ll show you more details in my next post  for now, I want to go and play in my new studio.


My Treacherous Journey

collections, fairies, studio tour

60AAAACE-DE71-4830-B4DD-F14B5107B0E5
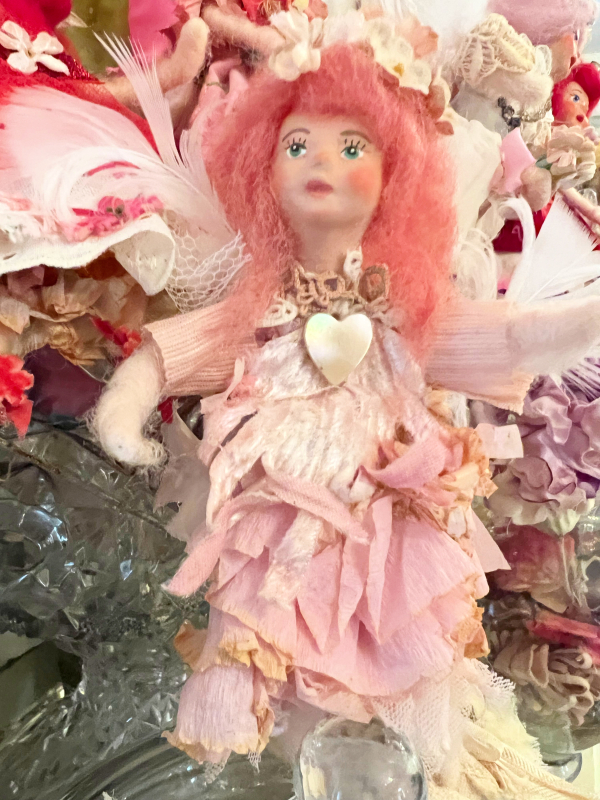
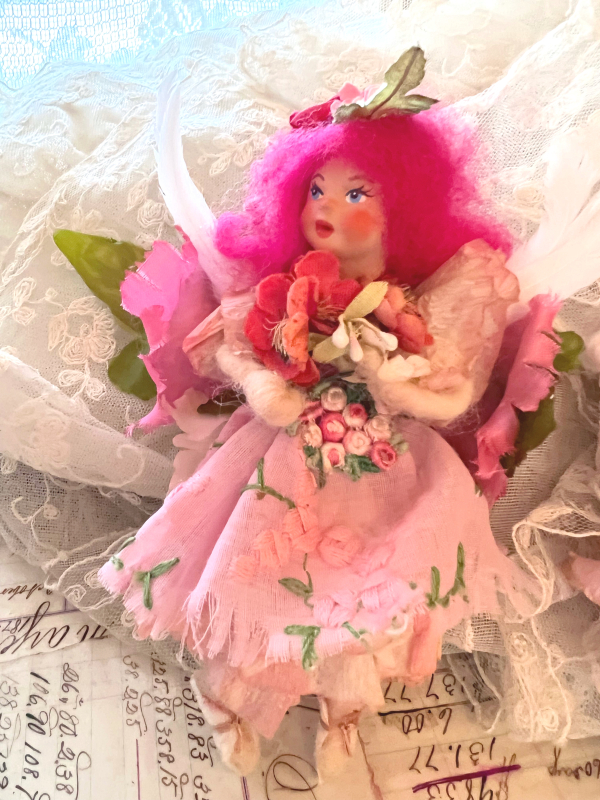
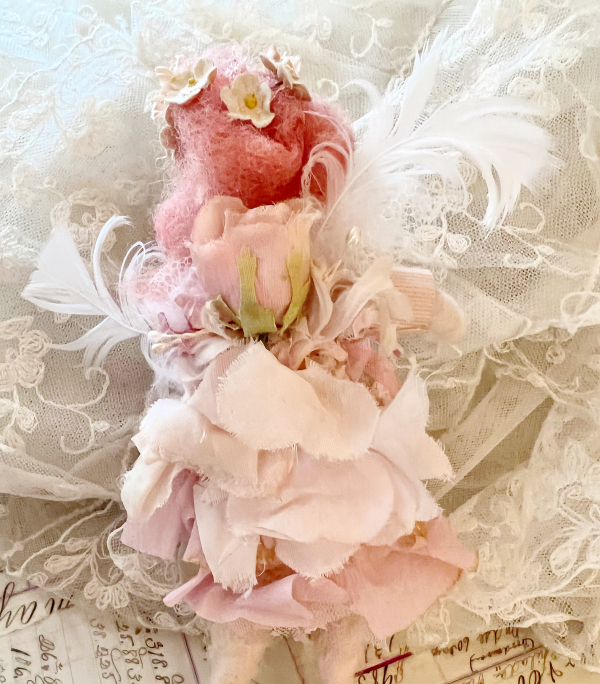
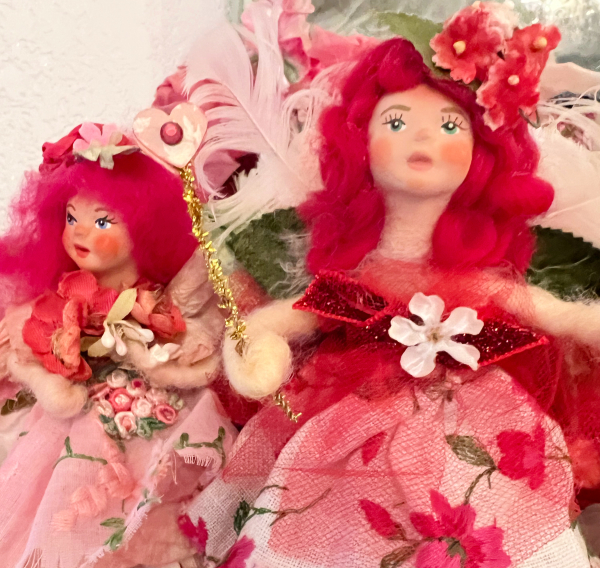
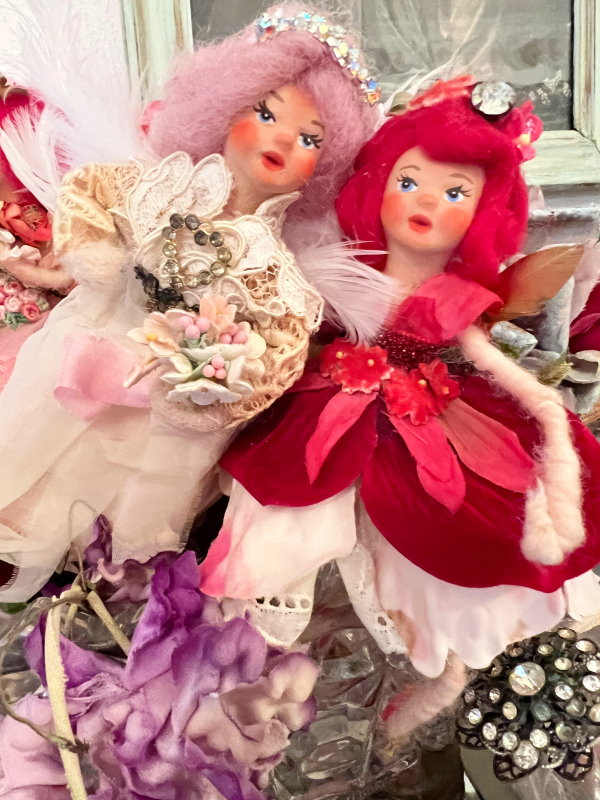
Before our January sale at Good Juju, I made some Sweetheart Fairies.
467456A7-E954-454A-8D1A-69719250E525
I’d found a boxful of vintage, handmade heads a few years ago and had just been waiting for inspiration to figure out what to do with them.

96AFFBDE-1B41-4265-BE89-958629B18D28

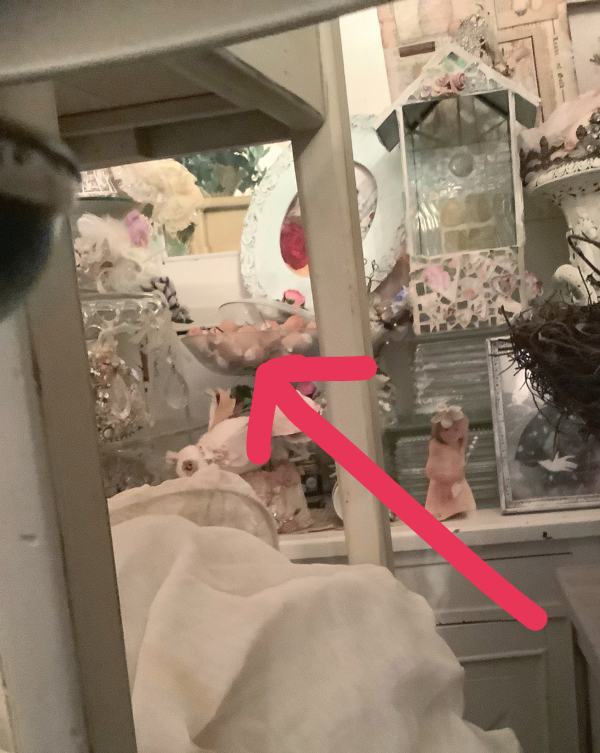
I had absolutely loved making angels from old dolls at Christmas, but was out of the vintage dolls, so couldn’t make more.  Then I remembered the big glass bowl of doll heads in my studio.

A0E3A4E3-9BC2-48DA-B765-5BF39629219B

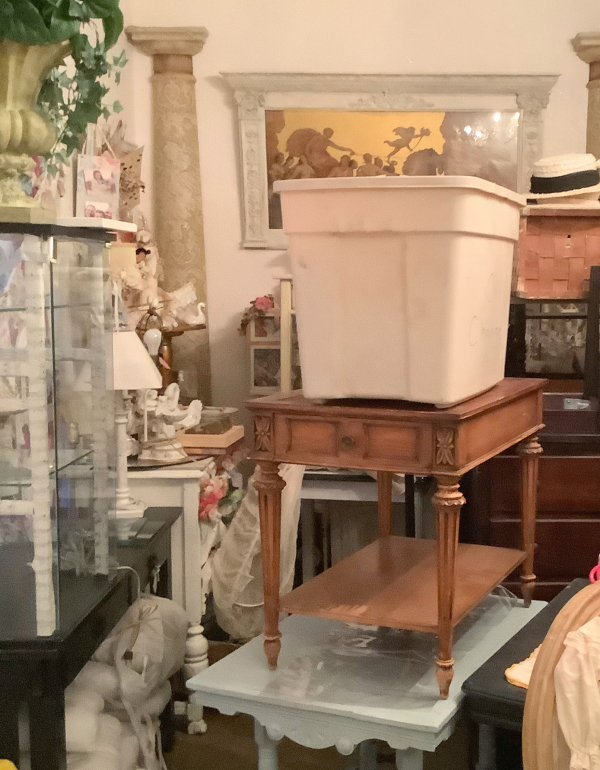
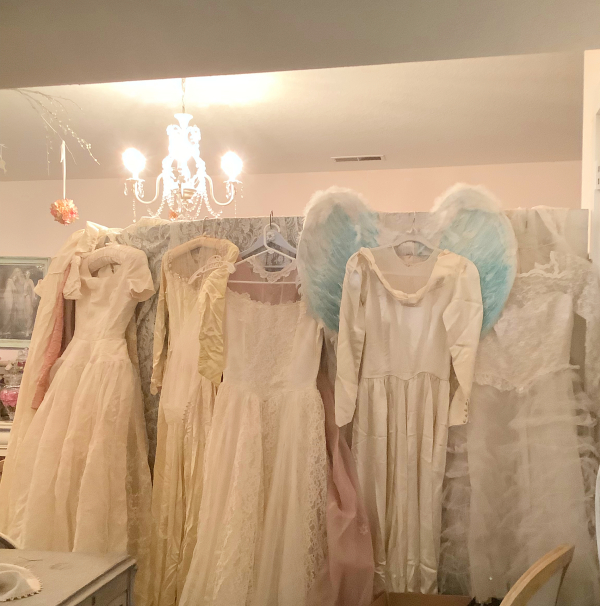
Since I have been vending at an antique mall, I’ve started collecting furniture to fix up.  Which meant I needed storage.  I had to give up a corner of my studio to stack the pieces until needed, and to camouflage the area, I cordoned it off with hinged together doors.

C4113259-7BFF-48C6-A8DF-32282E92B8B5

 Well, I hate it. But it was needed. And worked out okay, even though it ruins the natural light from the big window and is an eyesore.  I have covered the doors with gowns, but it kinda feels even bulkier this way.  I should take these down and paint or wallpaper the doors to make the room feel less crowded.

ED2DD6BC-973F-41DE-914A-64AEEB027D8F

The cluster of tables and dressers behind the barricade also blocks everything back in the corner behind the stacked junk furniture.  

And that is where the heads were.

 Getting to them was quite the scramble, and I could only squeeze through and grab a handful at a time.

370E89ED-F9FB-43F3-B573-E47FFA5D5FEA

Making the Sweetheart Fairies has become a slight obsession, so I find myself navigating the maze and reaching my way too short arm through a gap to snag another handful of heads on a regular basis.  I should just move some furniture, get the bowlful of doll parts and keep them in a more convenient place.

But that would be too easy.

83EE0BB9-9011-41F0-B64E-BFD873FF96DB

The bodies are wire and wool roving, and I dress them up in bits and pieces of vintagey goodness.  Most of these sold at the last sale, but I braved the treacherous trail through mountains of precarious piles and snatched another handful of heads.  

More to come! 


New in the studio

cottage, Hens, studio tour

8E629798-281C-4D9E-A340-9BA727B49133

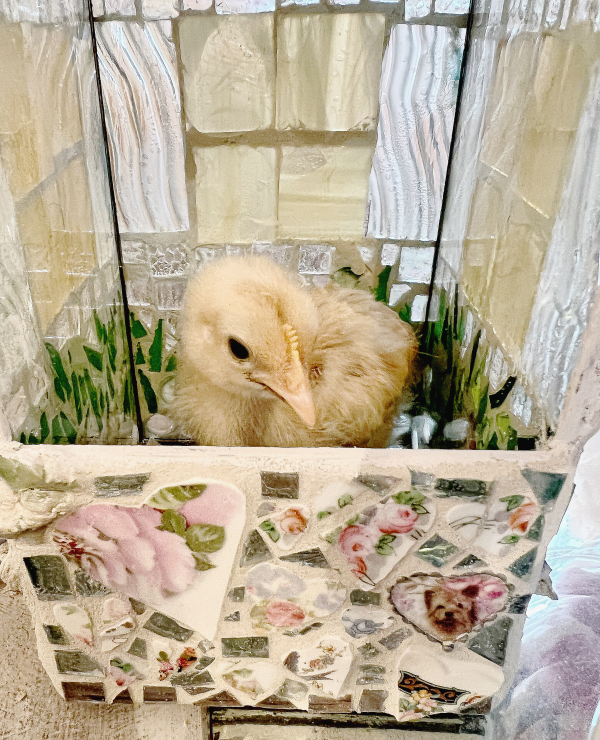
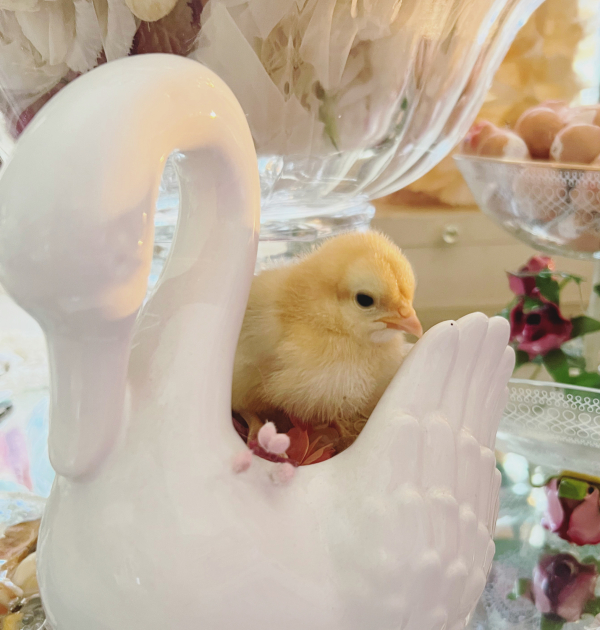
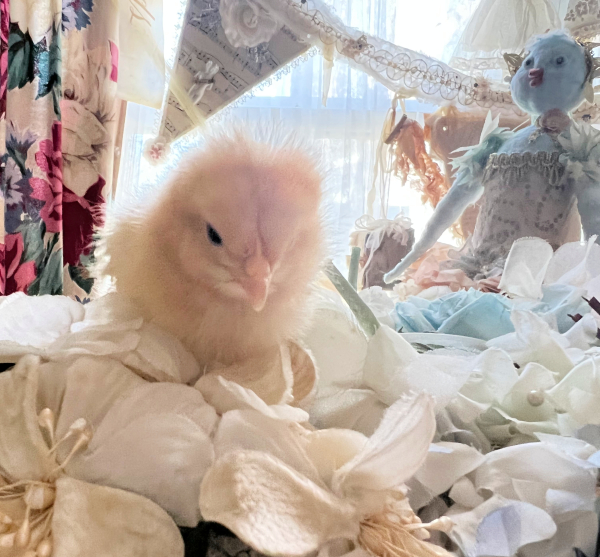
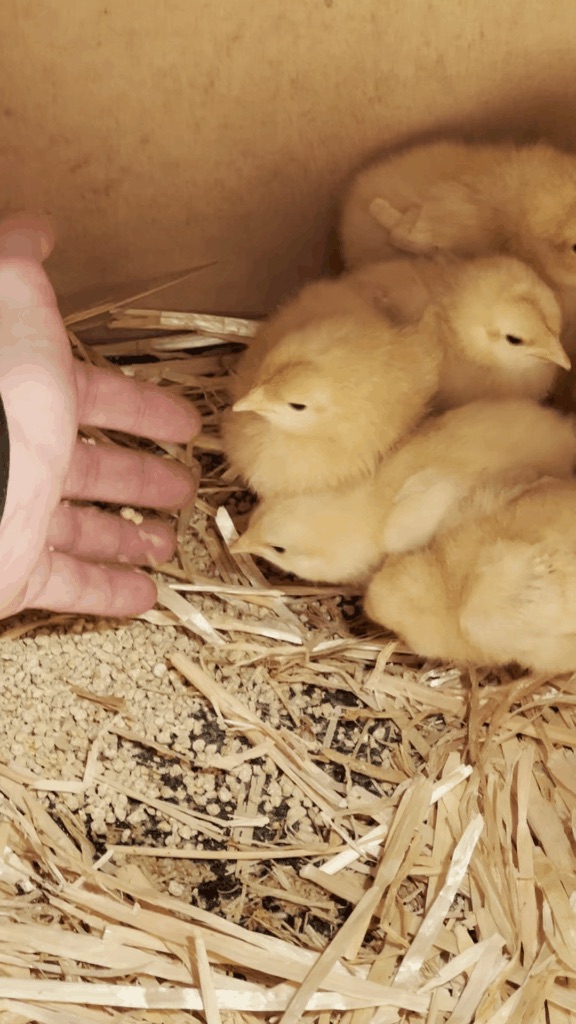
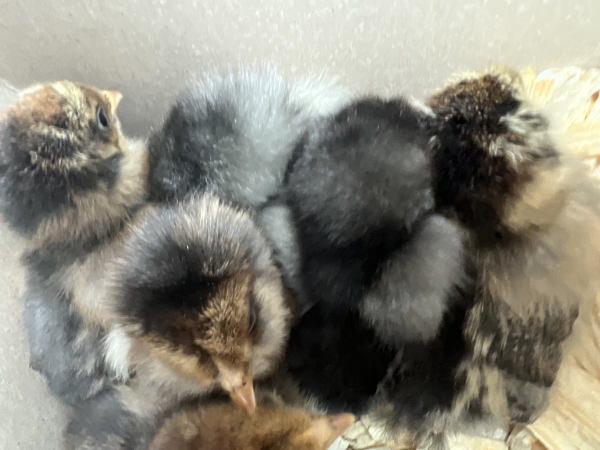
Did I mention our new peeps?

77F667A5-2910-4FD7-9758-8DB951CD778F

They arrived on the day before Easter, and it was right after I got whacked in the head, so I was resting and still in bed.

EBCFF409-FE0A-4DFB-95AB-DE72D4615AC1

Rich walked in with a box shaped like the kind Duncan Donut uses and I thought he was bringing me breakfast in bed since I wasn’t feeling so hot, quite a surprise!

423D53EA-7777-4B25-984E-94470C602E76

But these were an even better surprise.  They named after donuts because of my first impression of them.  

Eclair

Glazey

Cruller

Blueberry

Long Jane (I guess I could’ve named a hen John, but thought this was cute, I just call her Janey)

Maple

CF05FBC9-0B1A-4854-BD6B-93FA9D9E7BB4

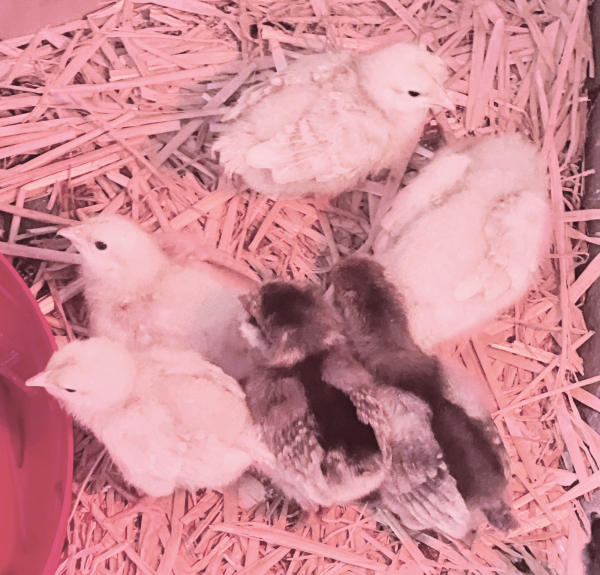
We enjoyed the new peeps so much we promptly bought six more, this time “Olive Eggers.”

D1C36C39-C26F-4AF5-8922-760F958BD83F

Here is a more recent photo, they are starting to feather out and learn to fly.  We put a grate over then pen to keep them in.  While I do not mind sharing my studio with them, to keep them warm, I don’t particularly like the idea of them having free range of it.

CC32D562-0046-4847-B263-26E20D8F2CDC

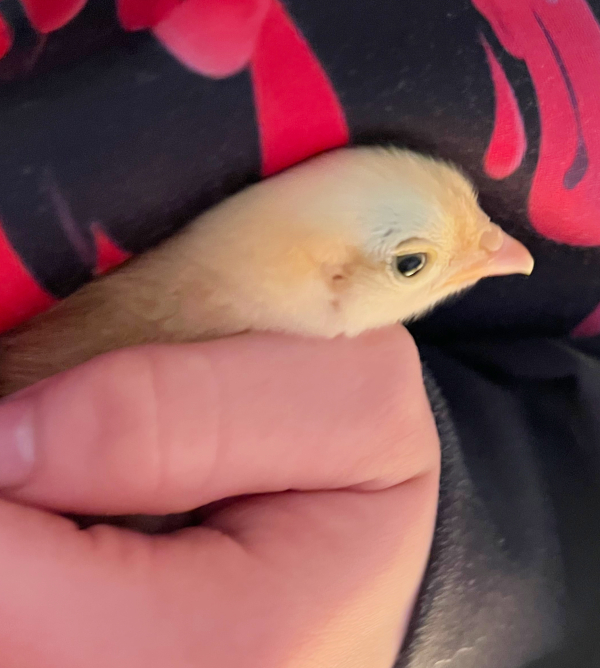
They have the sweetest songs as the peep and tweet all day.  It’s been such a relaxing sound to have in the background as I work.  I will miss them when they go to live in the coop with the big girls.


My Studio Redo (part 6- odds and ends)

studio tour

IMG_4935

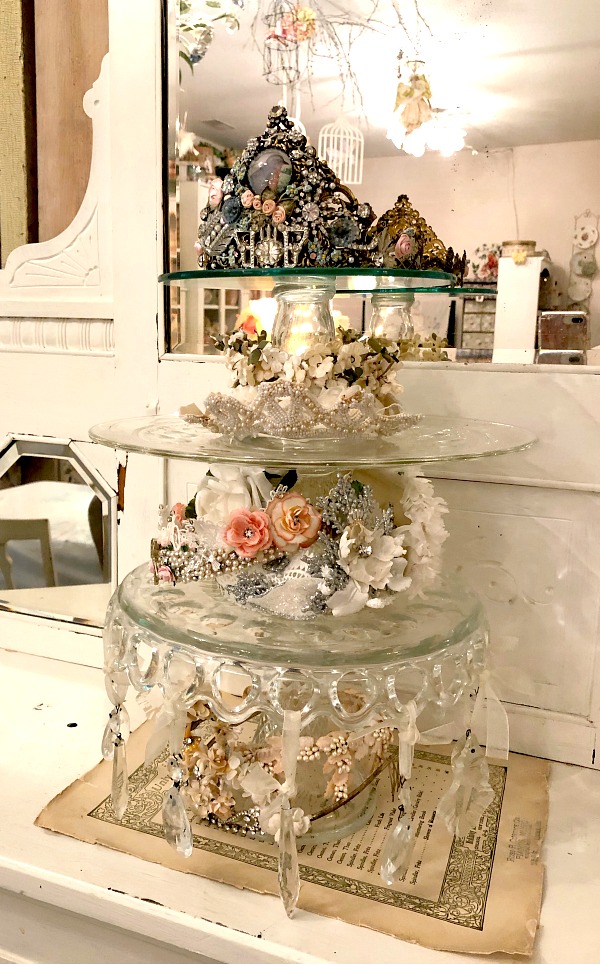
Some of the spaces in my studio are blessedly simple.  This cabinet holds very little. A stack of cake plates topped with tiaras, is all it needs. 

IMG_4975 2

On the bottom shelf, is an assortment of boxes.  Some are even empty!!!! I will either fill and label them as needed, or sell them later.

IMG_4970 2

Very few things were hung on the walls.  I'd found an old watercolor in a drawer and put it up by the doorway.

IMG_4974 2

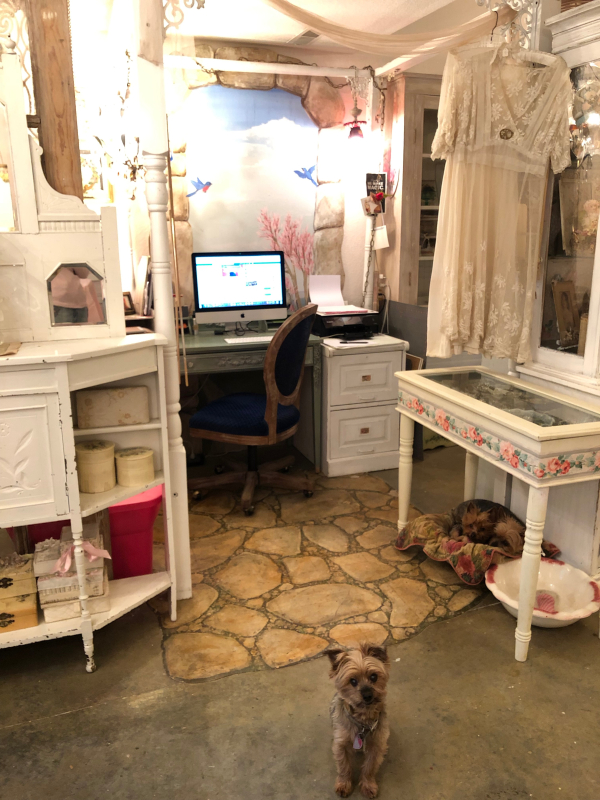
It is really nice to have the office area all spiffed up too. The walls used to be brown. 

Do not ask me why.

I don't remember, all I know is that it was a bad choice, and that space was too dreary, even with the blue bird painting in there.  

IMG_4971 2

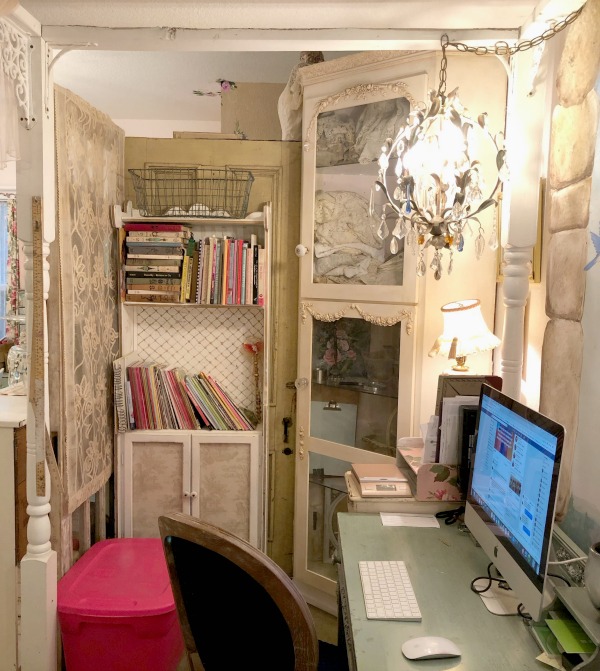
I also don't know how long it had been since the Mac had been unhooked, and dusted under.  Having a clean office desk has been a big perk of this redo. I even bundled up all of the trailing cords and tucked them away.

My office isn't as pretty as some of the room, but it is slightly hidden behind barriers and I don't mind.  I could add curtains to the glass doors of the corner cabinet to hide my supplies and throw something over the pink tub.  

Maybe I will.

IMG_5013

But for now?

I am going to enjoy every corner of this space I have custom crafted just for me.  

My Studio Redo (Part 5- small changes)

studio tour

IMG_4903

So far, I've been very happy with my redo. While it was a big job, with all the heavy lifting, cleaning, and painting, pausing to do little projects helped break up the job.  Like cutting up an embroidered runner to make a curtain for this cabinet, and adding flowers to it.

IMG_4946

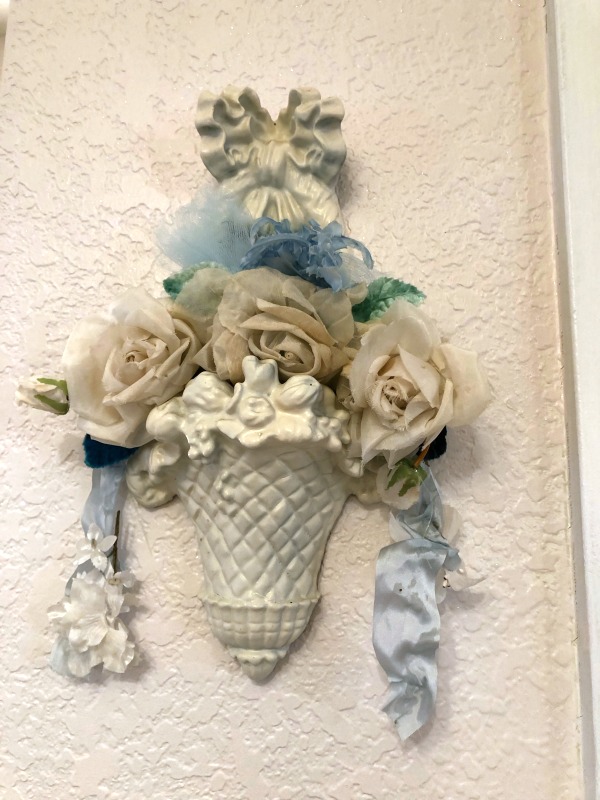
And tucking millinery  into this chalk wall pocket.

IMG_4896

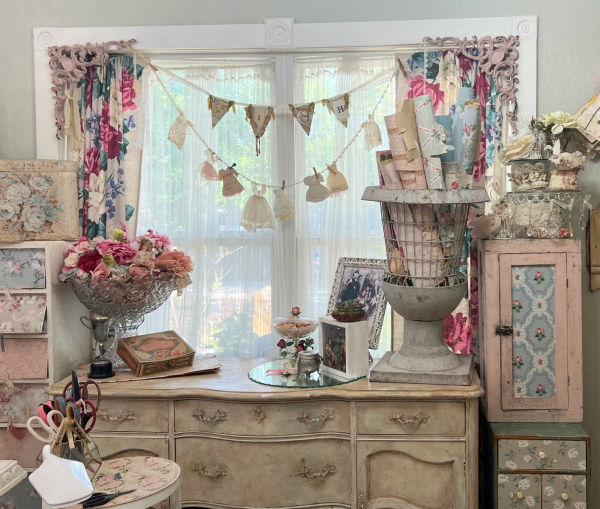
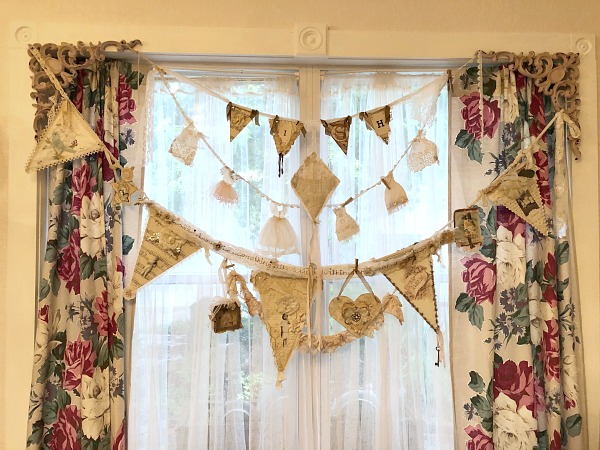
And re-hanging some banners in the window.

IMG_4910

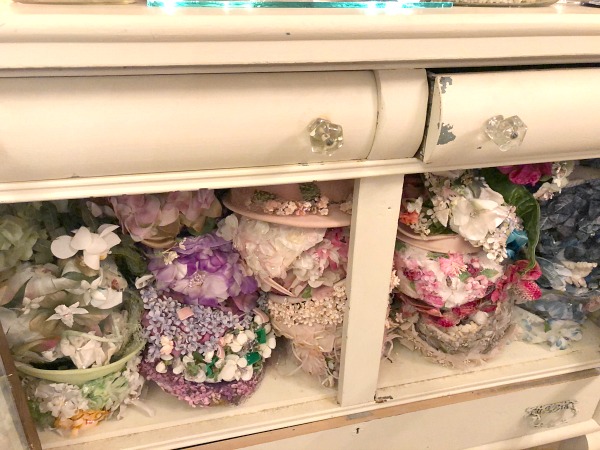
Sorting hats by color was so entertaining. I could have played with them all day.

IMG_4916

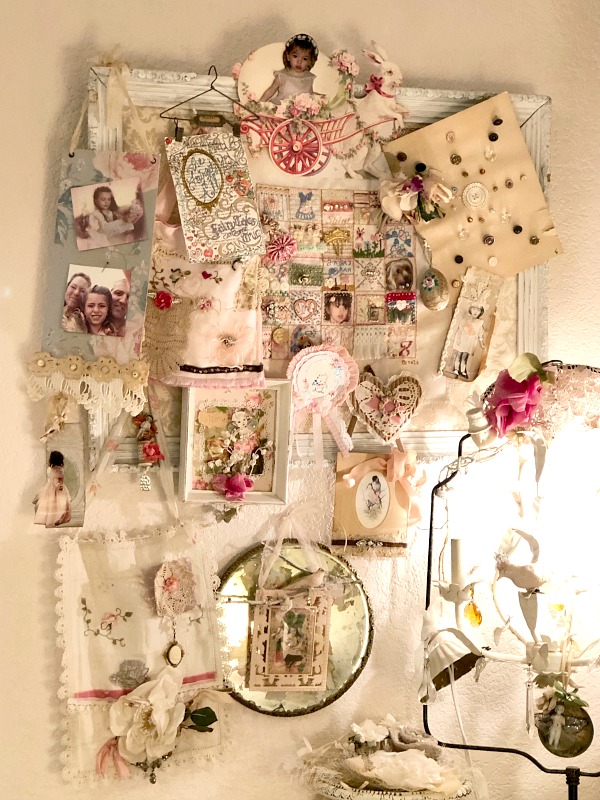
Odds and ends that I care about from around the room were gathered together on this vision board that features a gorgeous needlework piece by Beth.

IMG_4951

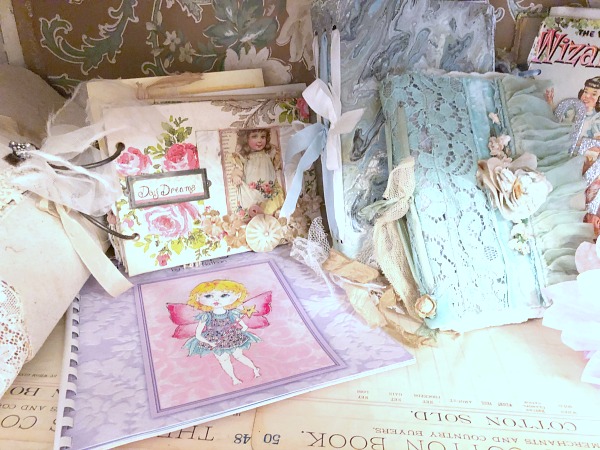
And I looked through old scrapbooks and albums as I sorted out the bookshelves.

IMG_4980

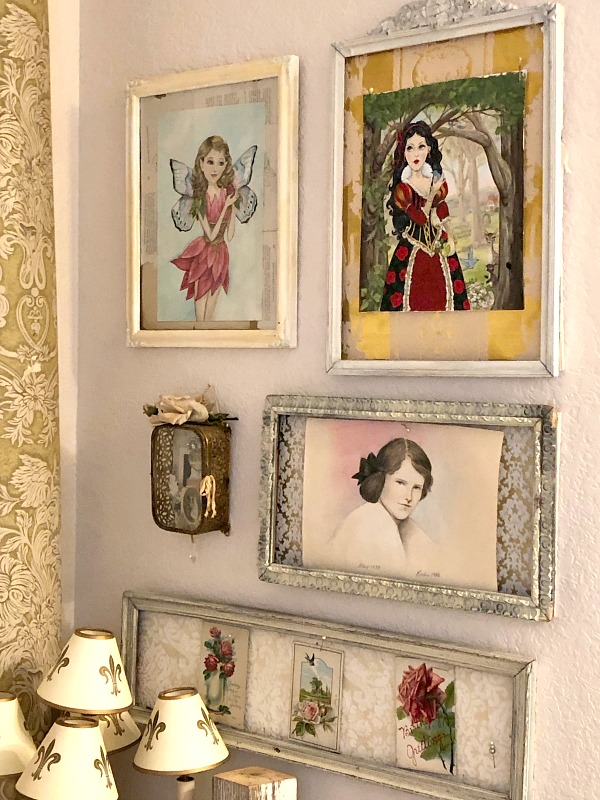
Some things I liked as they were, and rehung similar to the grouping they used to be in, just on a different wall.

IMG_4907

I even slowed down and plucked some old hats to refill a couple of the jars that had been dipped into for projects.

IMG_4913

In this punch bowl, I placed a stack of rose covered hats and sat it on a mirror, whose frame I broke while moving it.  The mirror makes a pretty tray.

Over all, I am very happy with all of the small changes as much as I am the big ones.

My Studio Redo (part 4, what is behind that door?)

studio tour

IMG_4954

One thing that came out exceptionally well and was a bigger change for the room, is the sink area.

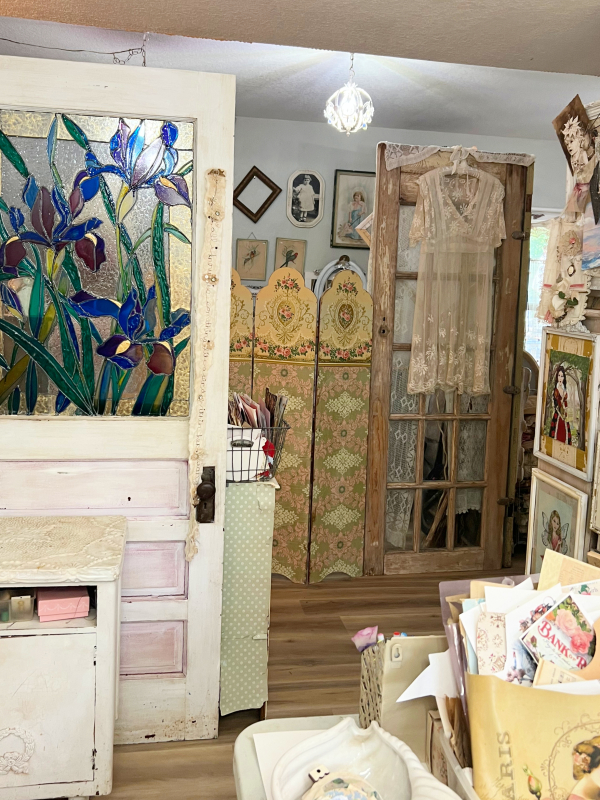
See that stained glass door with the iris on it? That is where the sink is. The door itself was the original kitchen door of our farmhouse, and the "stained glass" is actually a painting that I did onto the window.

IMG_4960

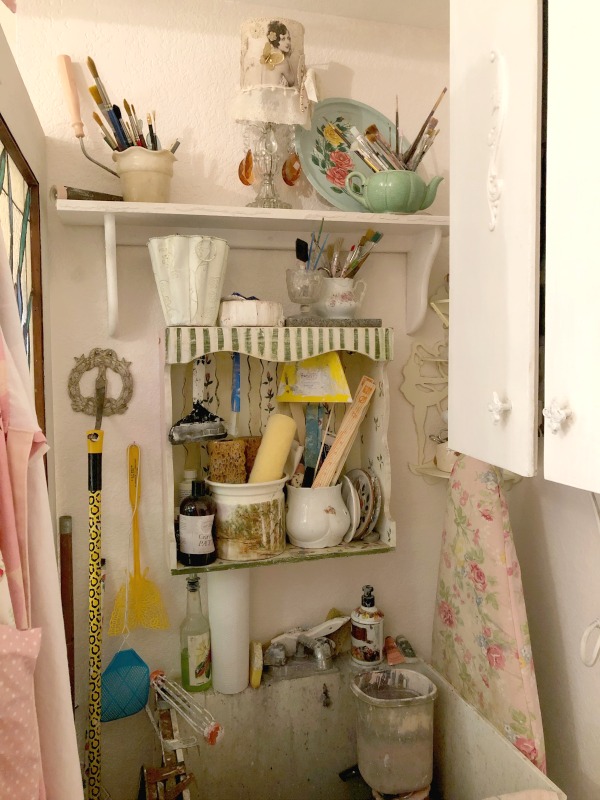
Here is what is hiding behind the door.  It is still a messy, studio sink, but it is much more organized and tidier than before. And it has lighting! That was a dark hole back there, and now is well lit. With extra shelving.

The door keeps it hidden away from the room, and the window lets in some light. Plus, I added two lamps.

IMG_4961

Cute shelving!

IMG_4959

There is a cabinet that faces the sink, and I have arranged supplies in old drawers and pretty boxes. (The fabric in the foreground is my apron, hanging on the door)

IMG_4962

The biggest improvement was sorting through dozens of old cans of paint stored below the sink.  Now, only necessary colors are kept there, and they are stacked neatly. 

And when I need to rinse out a brush or wash my hands, I can see what I am doing, the lights were a major improvement! 

My Studio Redo (Part Three, things I didn’t change)

studio tour

IMG_4930

When I began my redo, I thought I was going to move every single piece of furniture into a new location for a complete do over.

But sometimes, moving it around just for the sake of moving it, isn't the best idea.  Some things belong where they are for a reason.

IMG_4931

The Treat Cabinet was one of those.  I moved it, took everything out, washed it down. After painting behind it, put it right back where it had always been.  The spot it sits in just makes sense.

IMG_4902

I did treat it to new (old) wallpaper, though. And am glad I did!

IMG_4938

My jewelry cabinet also stayed in the same spot.  I wanted to sort the rhinestones but did not get to that chore.  But compared to all of the other projects that got done, this one was pretty low on the list, and I am not too upset about not completing that small task. 

And you know how life is, if you don't do something at the time, you tend to just live with it as is, right?

IMG_4918

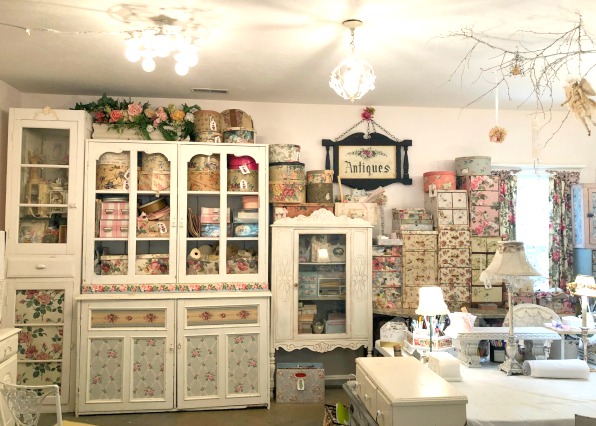
There is a large, glass doored hutch, that forms a wall that creates my office space behind it.  I didn't move it but I did take all of the displays out, and cover the back wall with wallpaper, then replaced the goodies onto different shelves.

IMG_4920

After so many big jobs and painting the walls, I was happy to have a fun little decorating endeavor to tackle.

IMG_4921

I had planned on getting rid of some clutter but ended up not needing to.  The plan was to use this space as more storage, and cover the glass with curtains to hide it all.

IMG_4922

But redoing the rest of the room and the base of the hutch helped with the storage issues quite a lot.  So, I changed my plan and didn't give up my glass shelves to storage.

IMG_4976 2

Reorganizing the contents of these shelves went a long way in making them feel less cluttered.

IMG_4926

Well, to me at least. I am sure that there are people who look at this and are horrified at the sheer volume of doodads I have accumulated.

IMG_4927

As I get older, I like things more streamlined, but I still like layers of stuff.  Having it purposely placed has made me happy.   Over the years, these shelves had become stacks and piles of things added as I got them, not coordinated as they should have been.

IMG_4928

And many of the pieces I have on display are sentimental, or things from classes I have taught or attended.  They deserved a special place to enjoy them.

IMG_4934

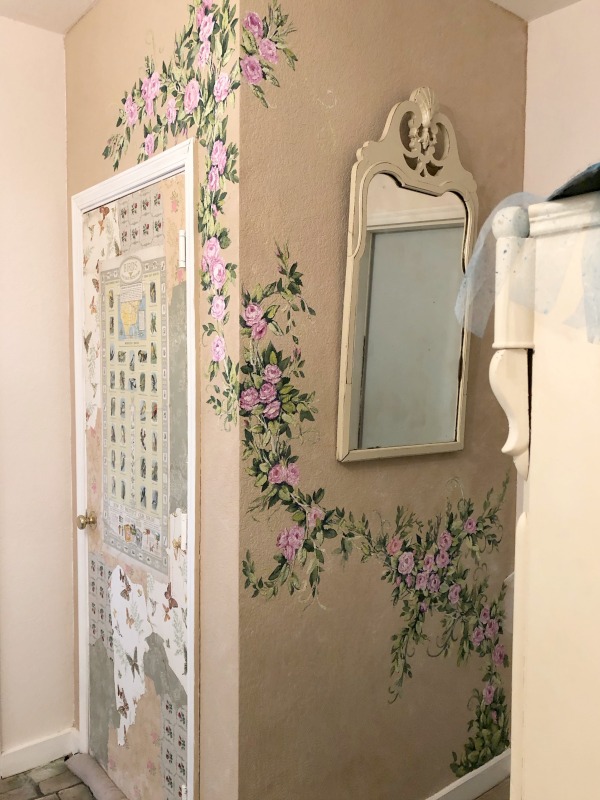
The closet wall by the door also stayed as it was.  While I wanted to brighten the room and have the walls the same, light pink, I wasn't ready to cover up my hand painted roses.   Some things don't need changing.

IMG_4939

My Studio Redo (Part Two- faux bricks and bookshelves)

studio tour

IMG_4941

Here is a photo of the center of the room after it was redone. It was a big job, but worth every minute my helper and  I put into it.  

(I am just humoring Twinkle, she thinks she helped quite a bit, but honestly, she wasn't as hard of a worker as she thought she was. Although her company was appreciated.)

IMG_4944

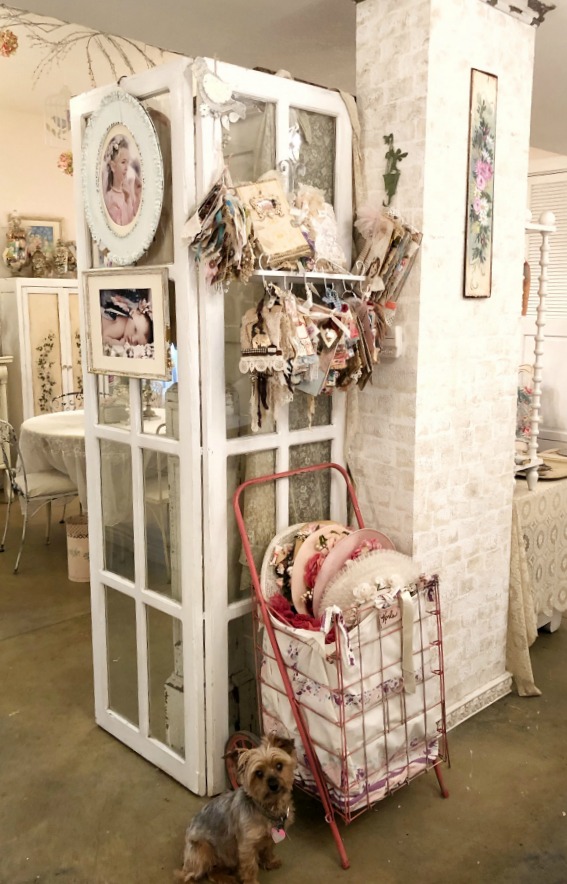
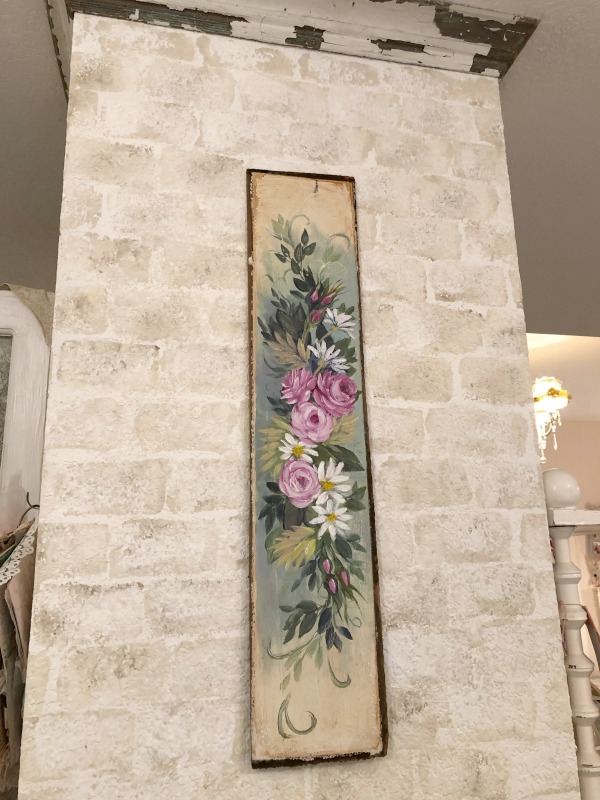
After all of the walls were a blissful pink, and I thought I was done, this column in the center needed a little something more. So I tore a sponge into a rectangular shape and quickly faux painted the drywall to look like bricks. Then, I liked it so much, I decided not to cover it up with too much stuff, and only hung this painted plank on it.

IMG_4943

There are books from all of the swaps I hosted on the side of it.

IMG_4933

This is the same column from the front  of the room.

IMG_4950

Inside are my art journals. 

IMG_4953

  These are my Florida albums.

IMG_4952

And these are family photo scrapbooks with a couple of sentimental items in front of them.

IMG_4947

Around the corner is the glitter station and some more storage.   There is room for boxes under the table cloth. This area isn't as pretty as some of the room, but it is functional. There is also room for more on the shelves, and a couple of the boxes there are empty.

IMG_4945

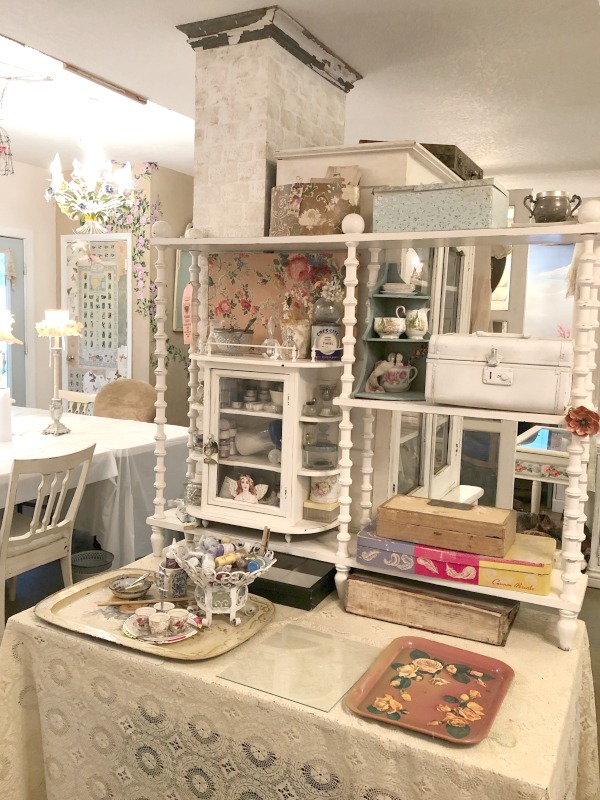
When I host Birdsongs, I will be able to shift some furniture to the garage and this area can hold a work table.

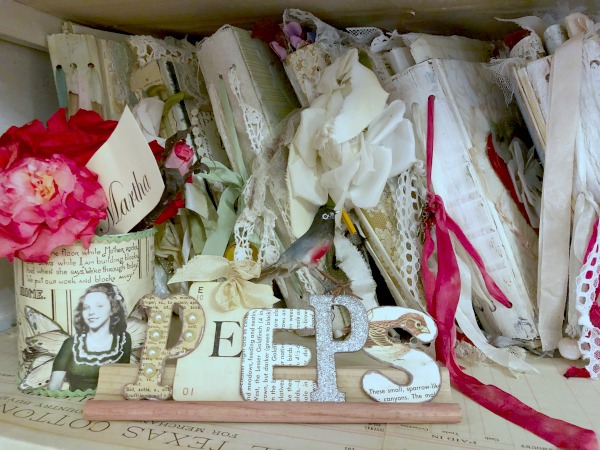
And the room is always prettier when filled with my Peeps!


Scroll to Top